
Hi All,
I woke up this morning thinking about making a mailbox spray, that said, I’ve never made a mailbox spray, so I thought I would go to the craft store and buy some materials and try my hand at making one for myself. So, off to my happy place I ventured (Hobby Lobby), and I started to search for something that might work; I was definitely winging it and really didn’t have a clue what I might come up with.
Okay, I’m driving home, and as I’m pulling into my driveway, I looked at my mailbox and decided that I was quite happy with how I had decorated it already and I decided that it didn’t need a Spray…

So I decided that instead of a Mailbox Spray, I’d make a spray and hang it on our wagon wheels (that hide our well pipe/head). Of course, again, I really had no idea what I’d come up with, but here are the materials that I purchased (all on sale for 40% off) and that I would be working with:
This ‘wreath’/’mailbox’ form:

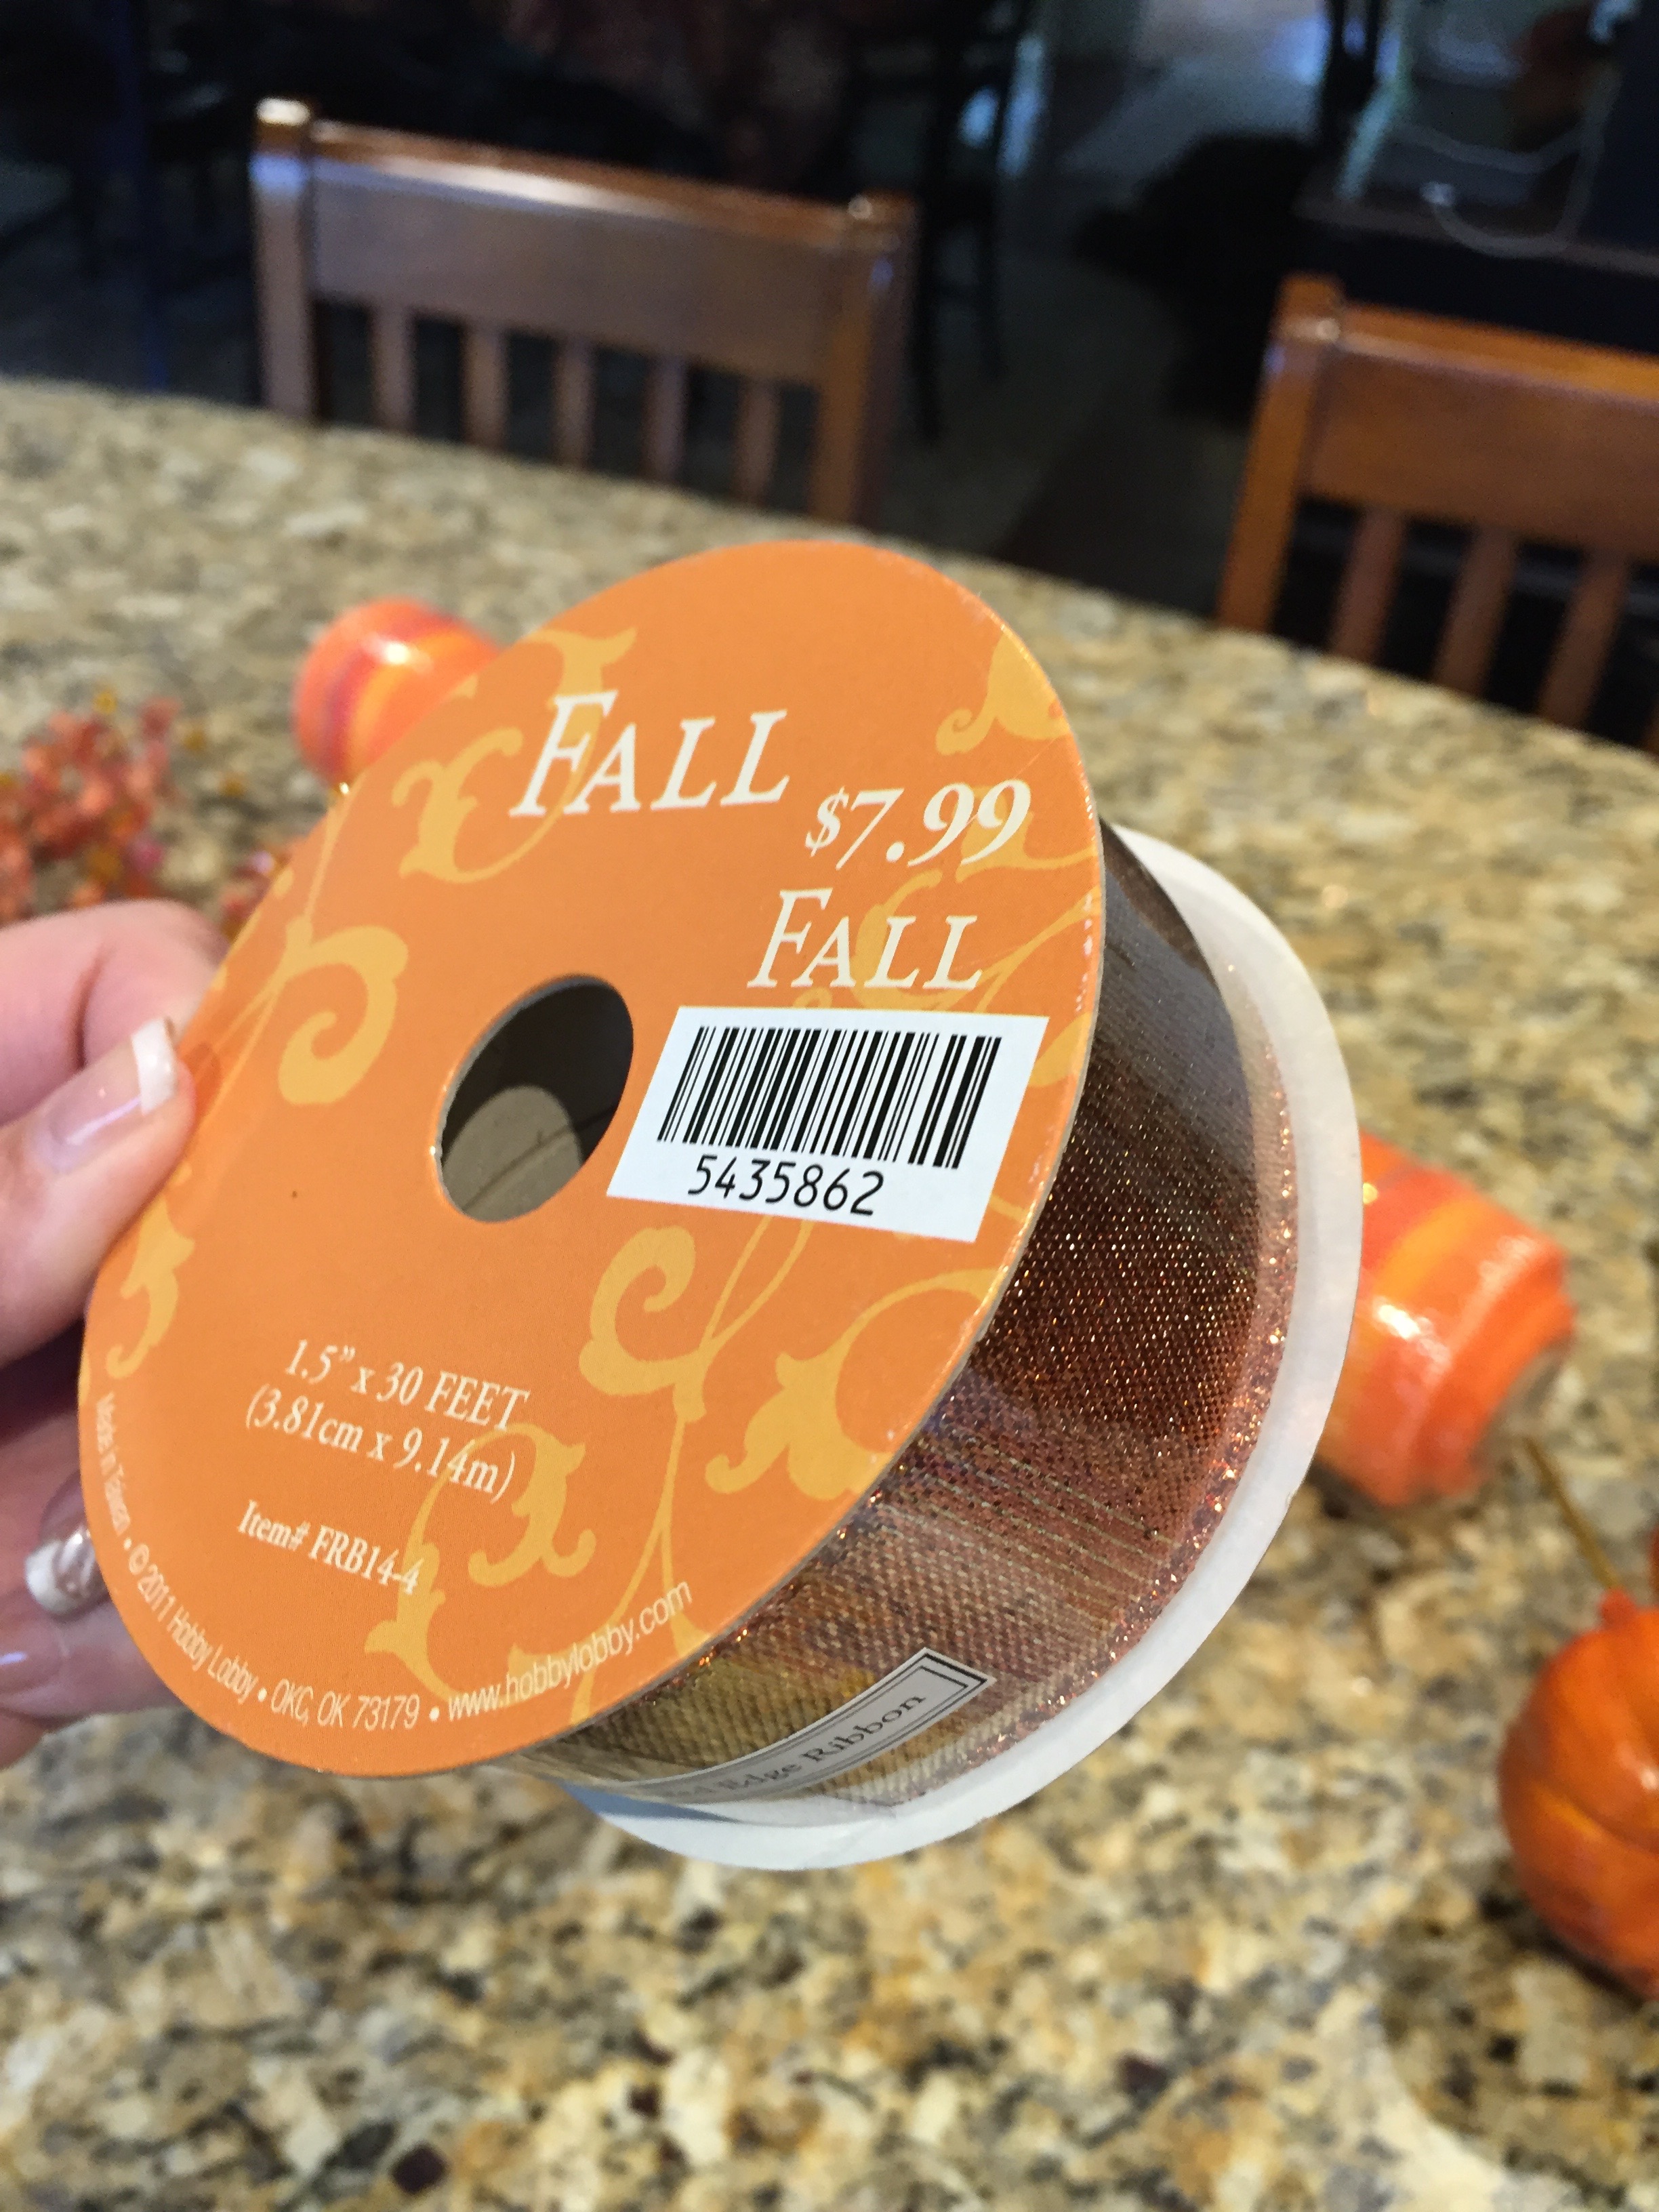
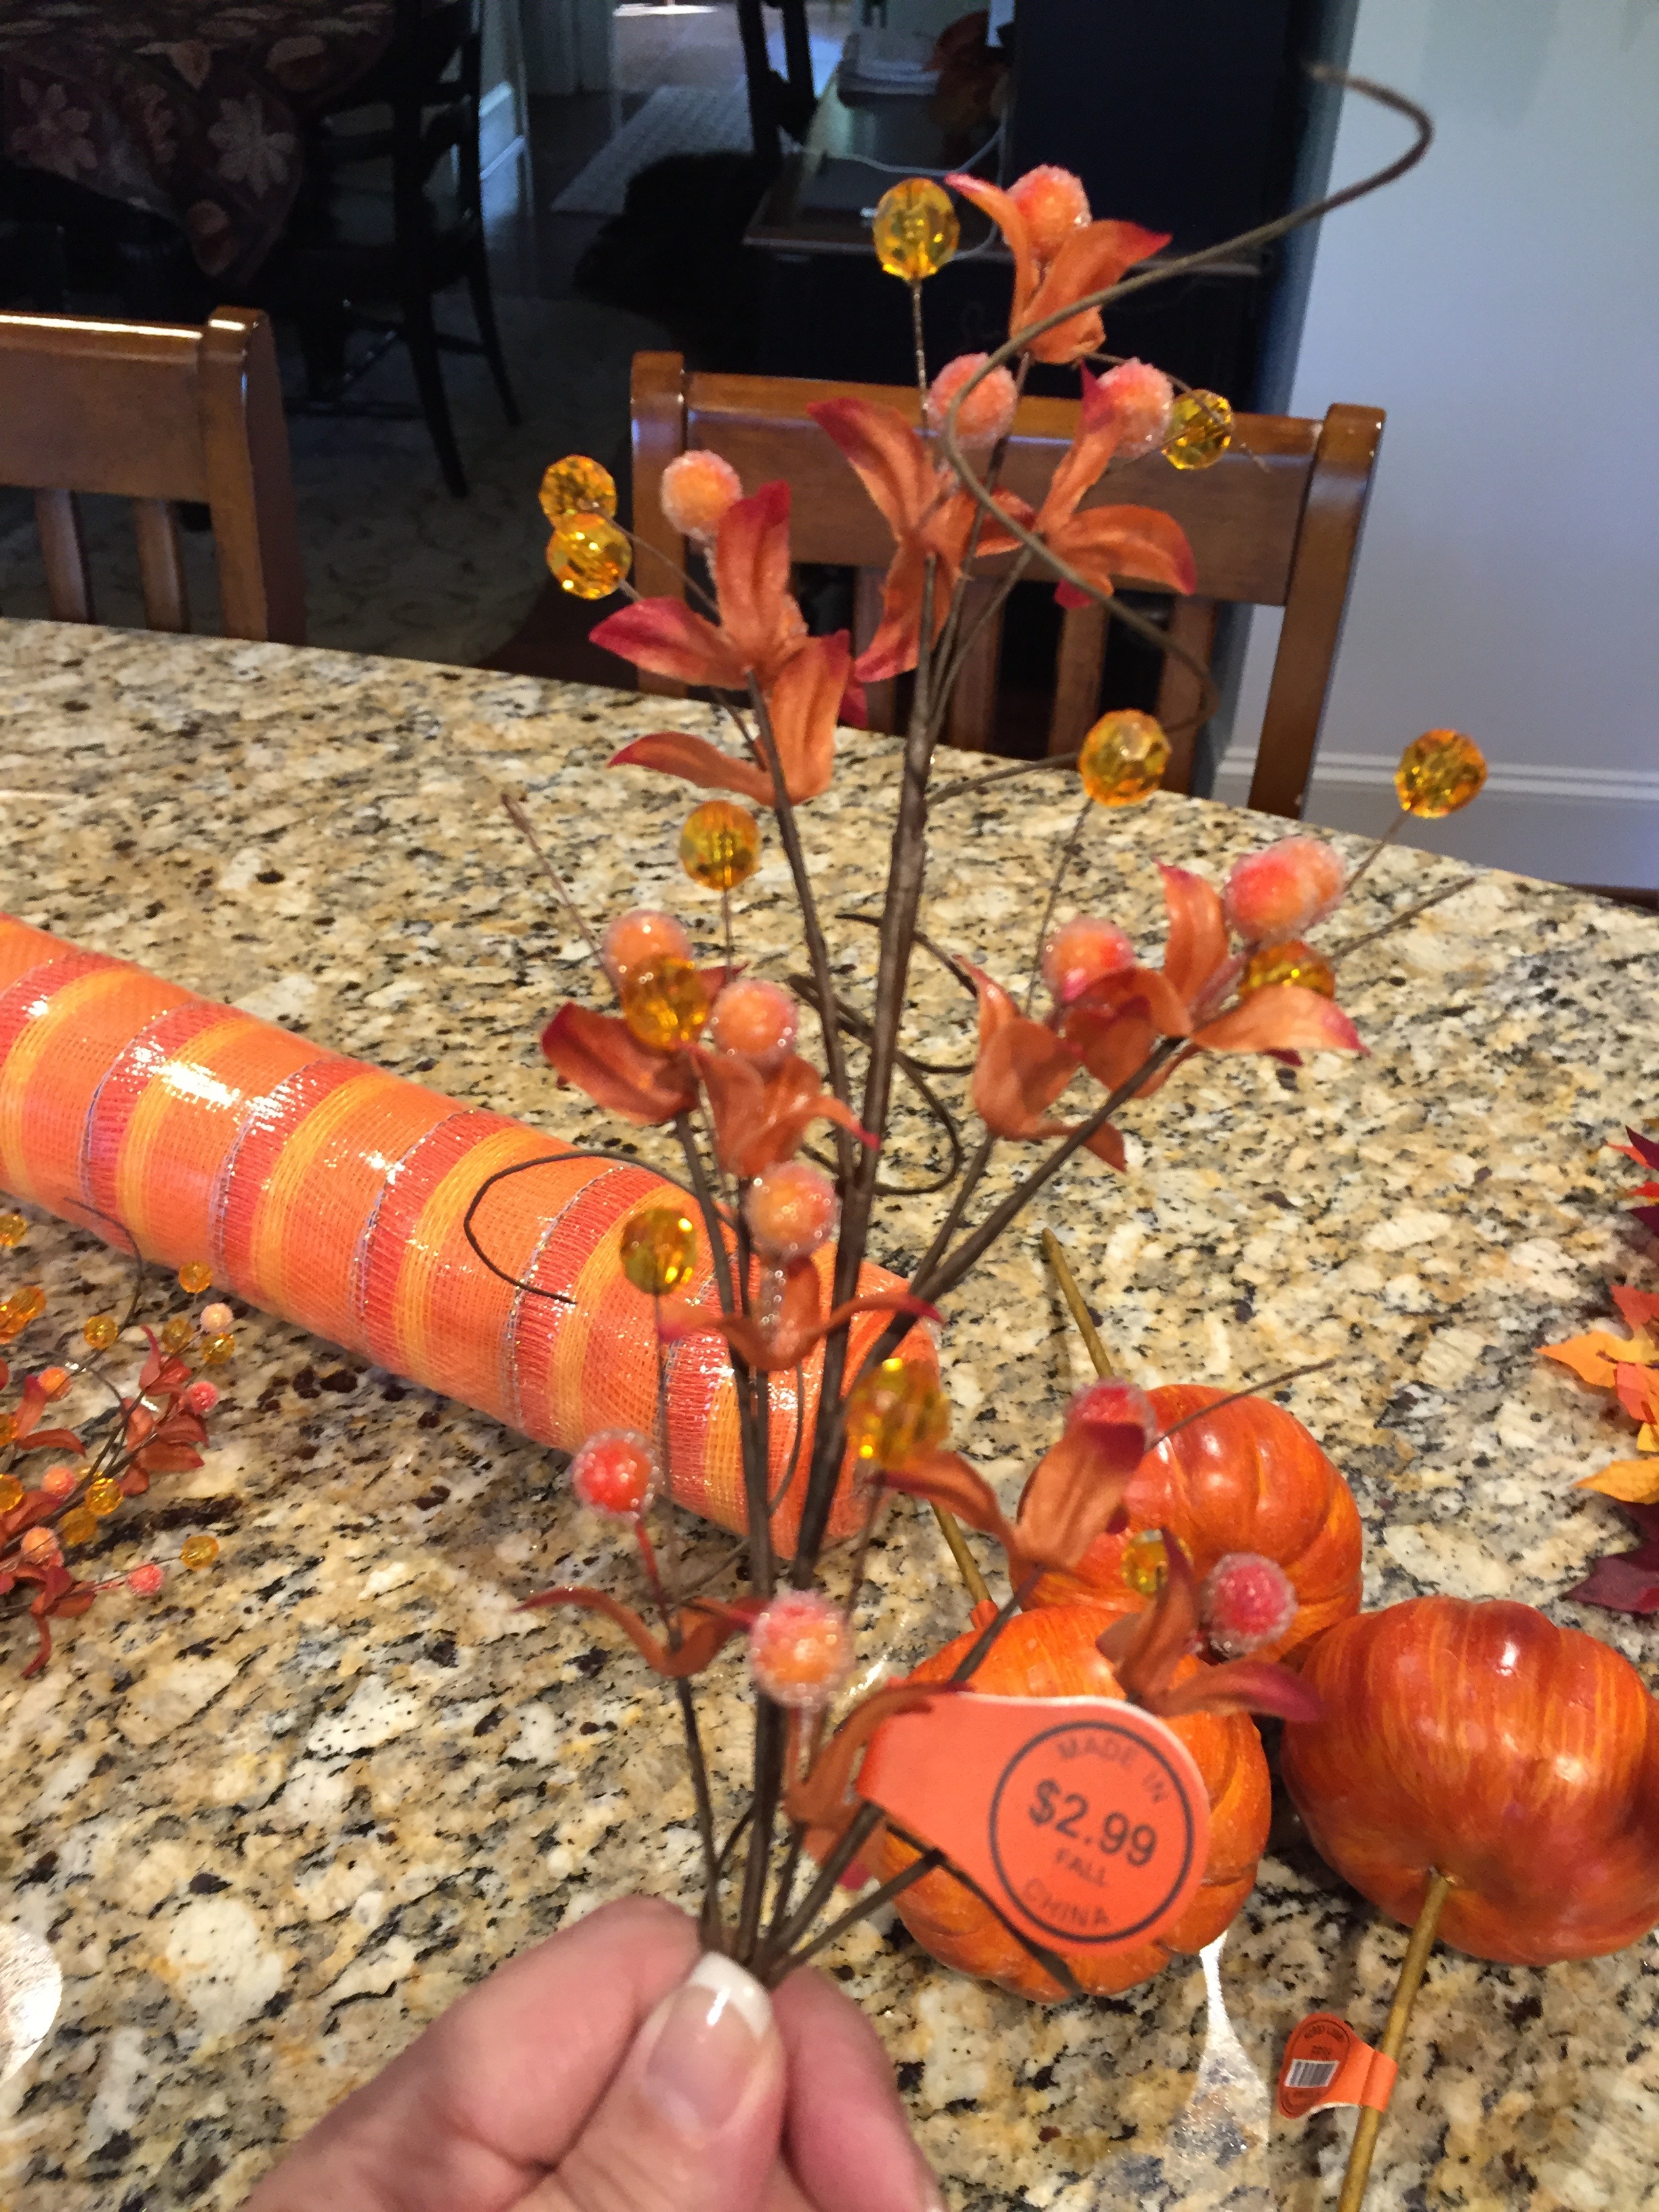
One roll of deco mesh and one roll of Fall ribbon:

Leaf, Berry and Leaf, and Pumpkin picks:


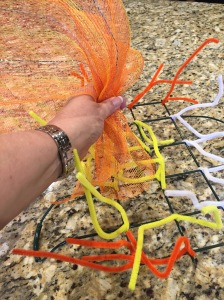
I also went and collected some pipe cleaners from my craft supplies and I dove right into this project. The first thing I did was twist pipe cleaners around each crossbar of the ‘mailbox’ form..Like this:

Once all of the pipe cleaners were in place, I started to attach the deco mesh in each pipe cleaner…making pretty large loops as I worked my way down one row…
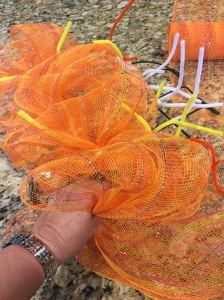
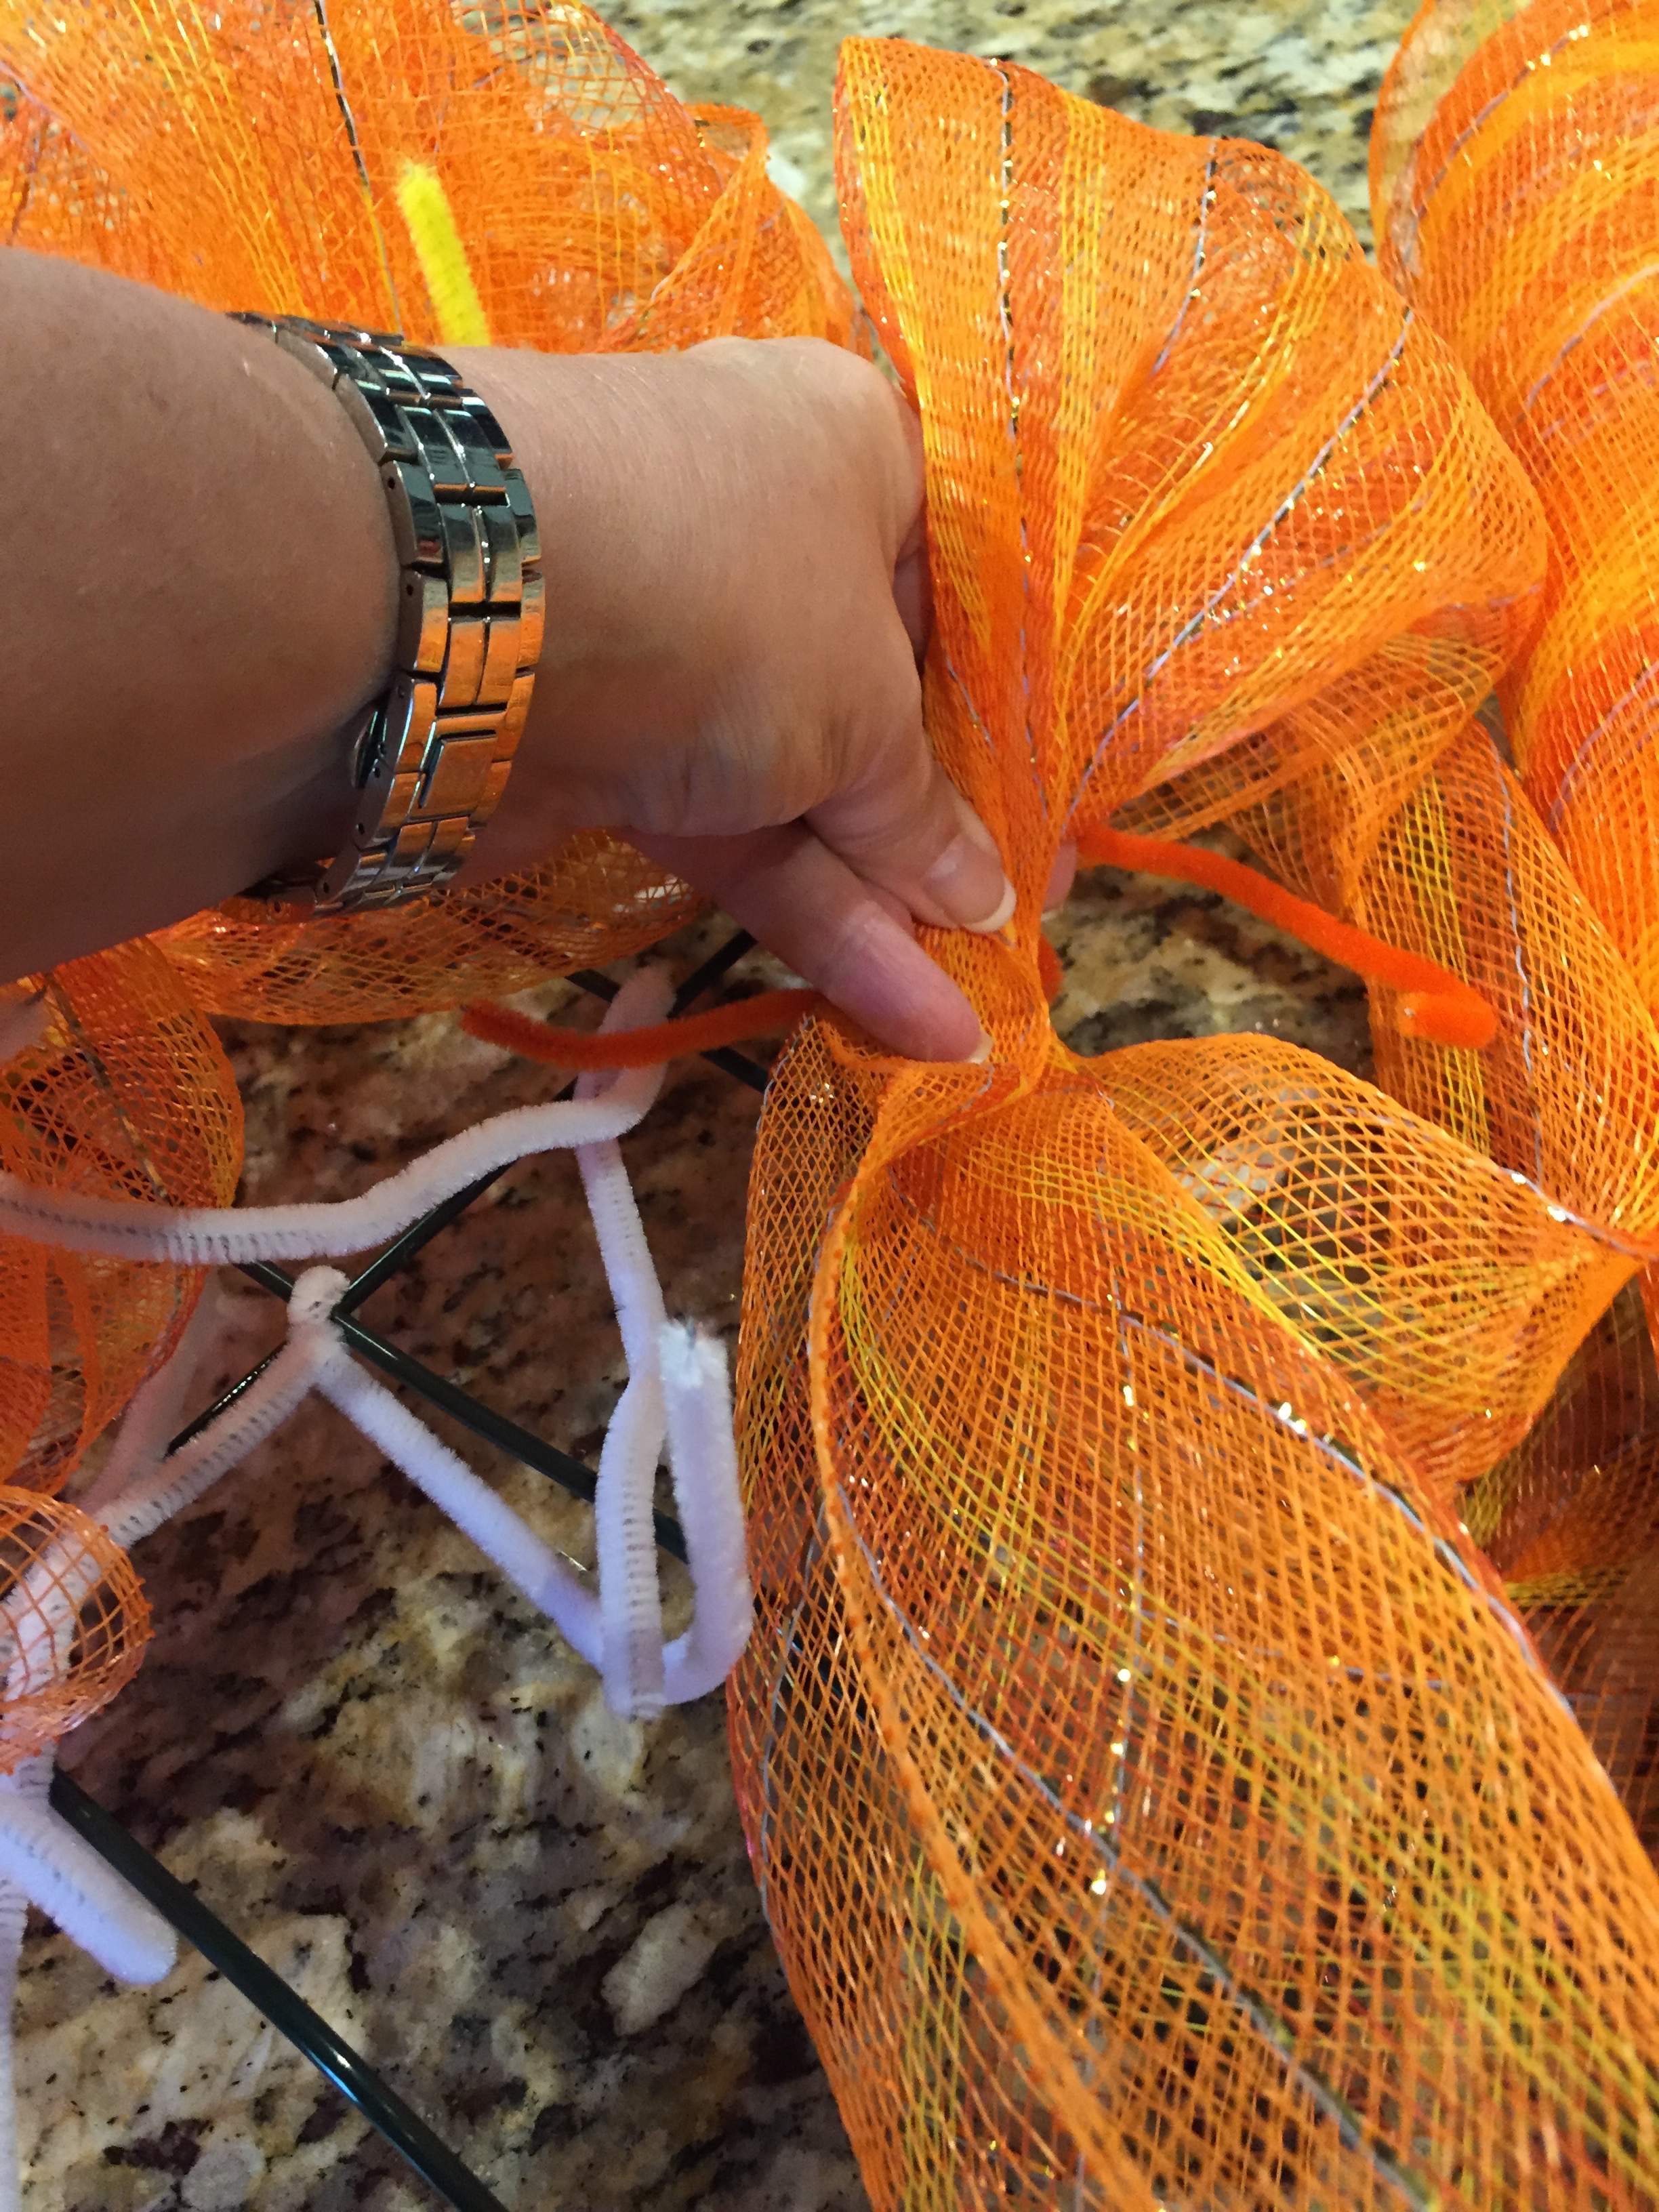
Then working my way to the next row until I completed all three rows…If you try this, don’t be afraid to make your loops large, the bigger the better in my opinion…it gives you more to work with and manipulate.
Okay, so that worked out well, I was ready to start adding a bit of the coordinating ribbon. The first thing that I did was cut 12-12″ strips:

Then I cut points into the ends of each side of the ribbon strips…


I then put them in 4 piles of 3 and tied a pile into each corner’s pipe cleaner–spreading them out once they were attached.

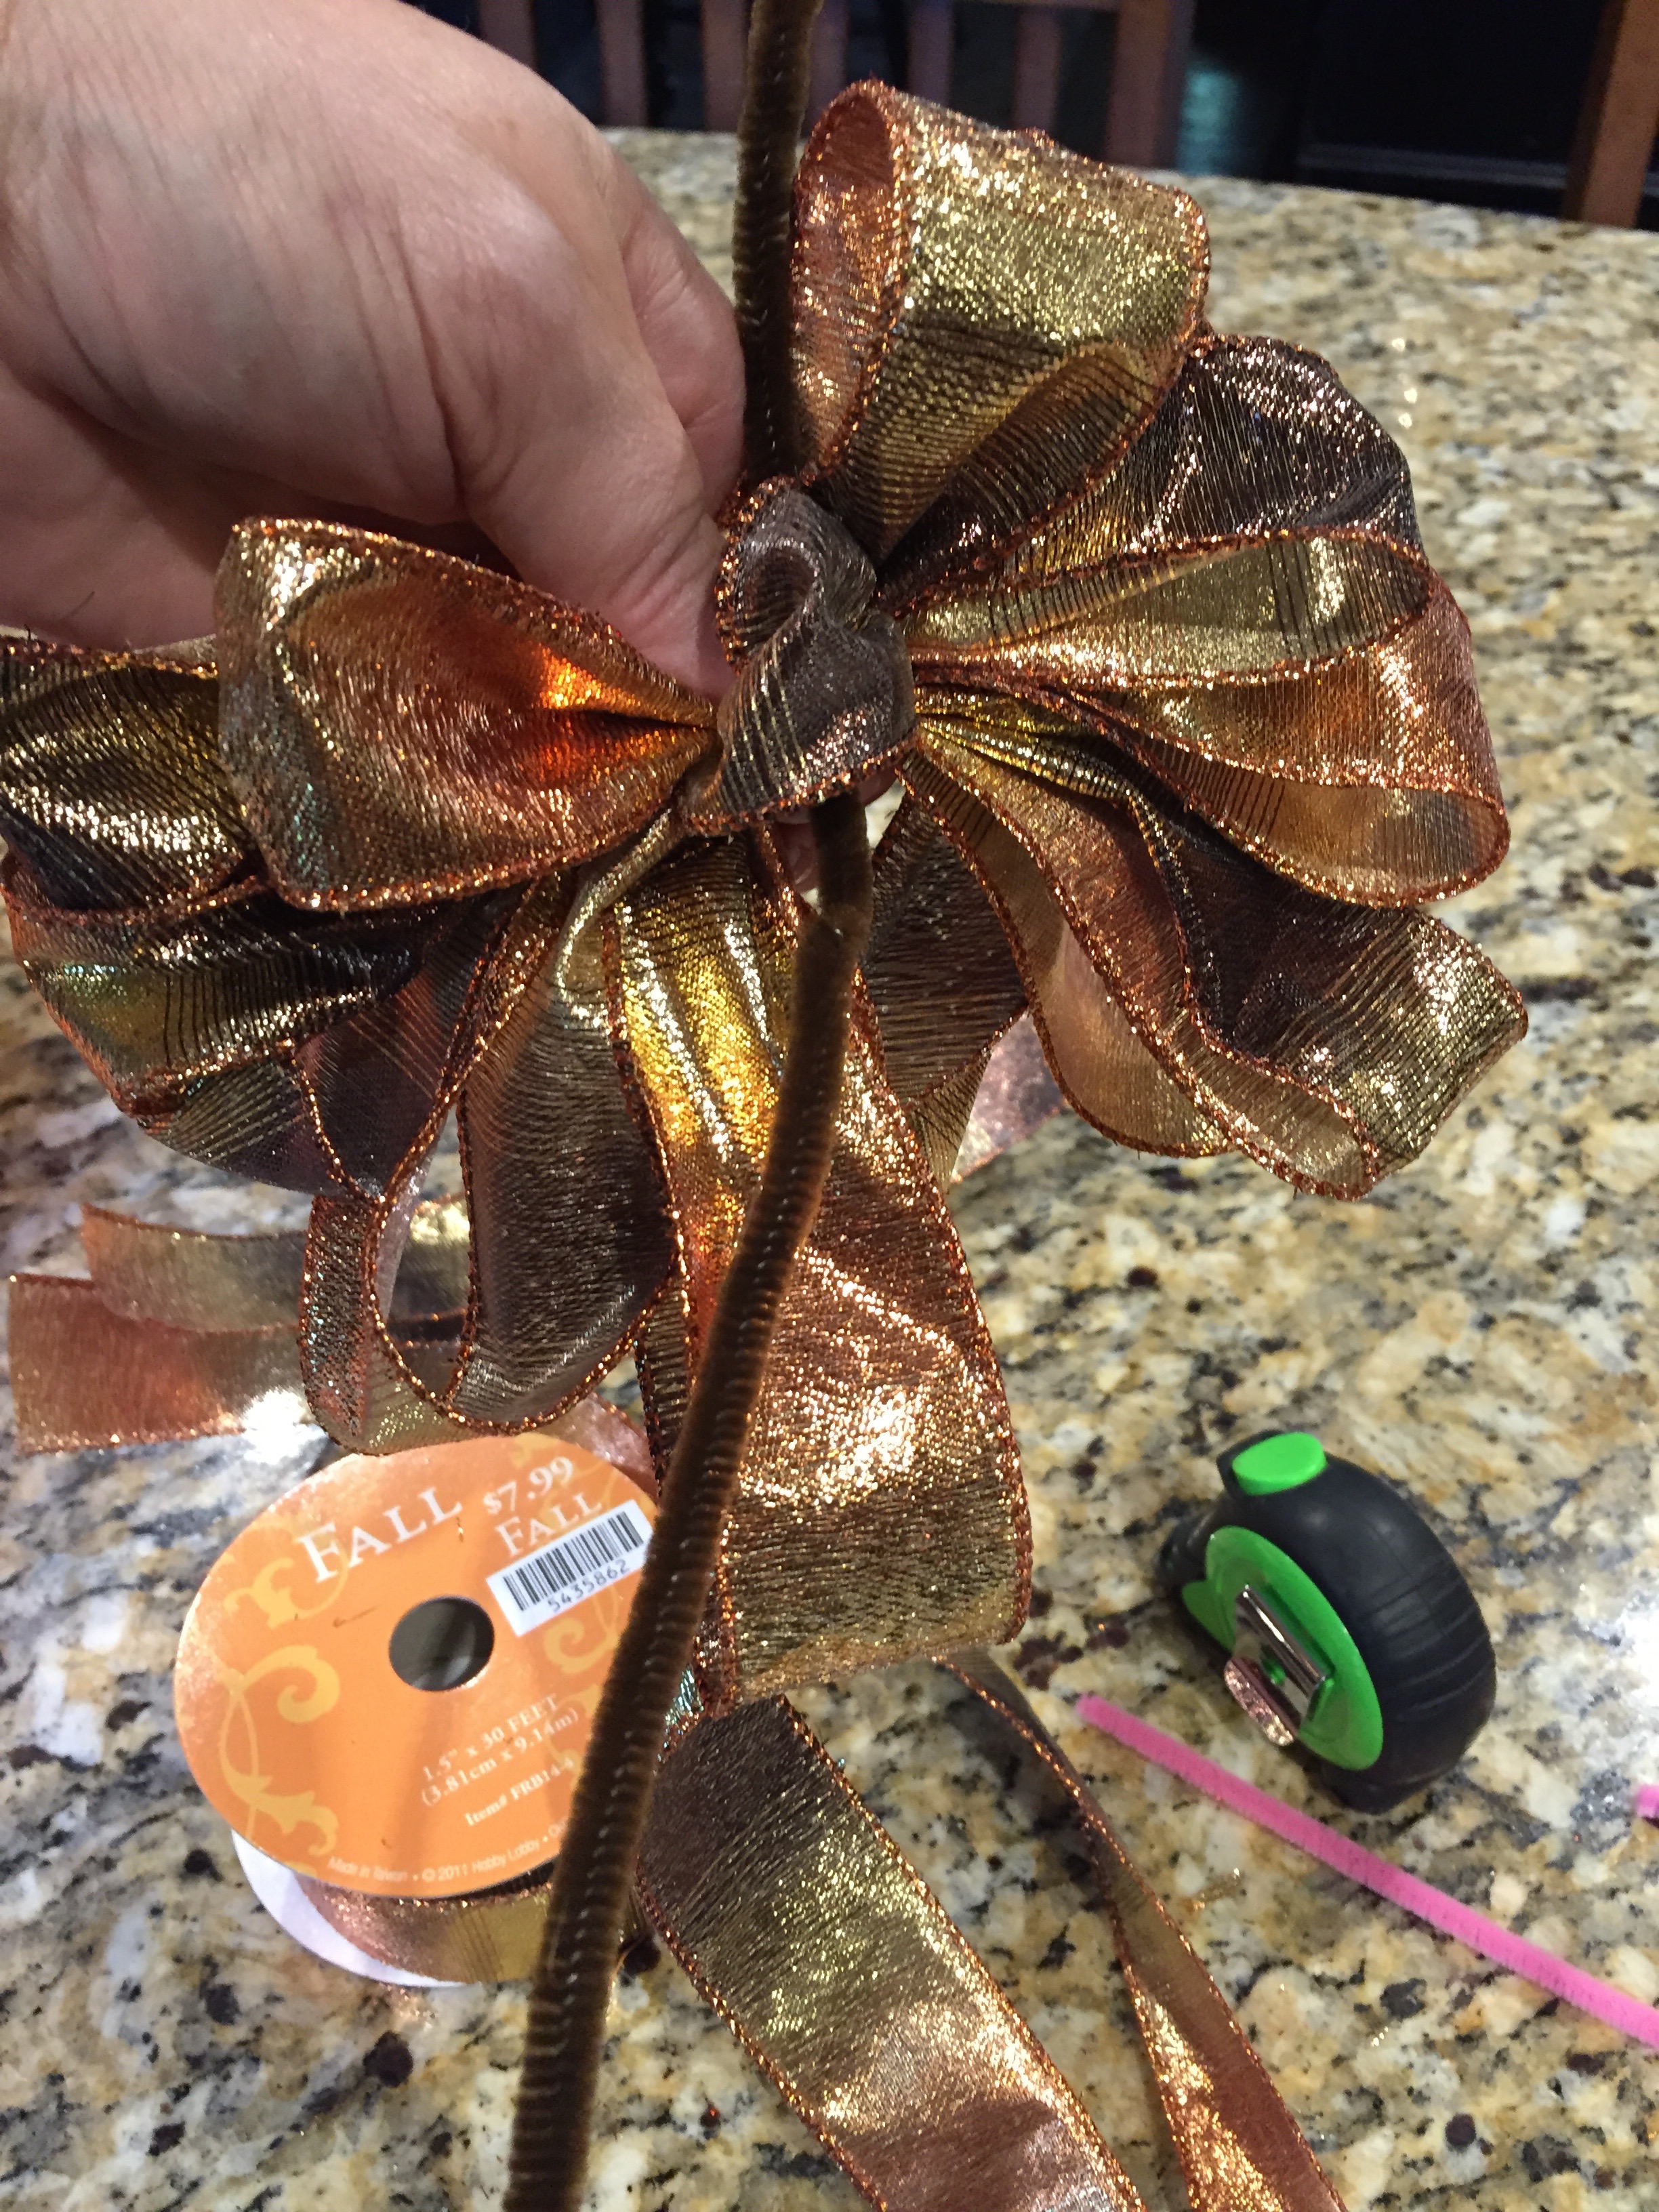
I then made a bow (see my Bow Tutorial Video) and attached it to the center of the spray by using the pipe cleaner that I used to close the bow…
Now it was time to add in the Fall picks, I quickly realized that I was going to need to hot glue them into place, it was way too poofy for me to add them into the existing pipe cleaners (which is what I sometimes do on my Deco Mesh Wreaths).

There was no rhyme or reason to how I arranged the picks, I just stuck them where I thought they looked nice and then I put glue on the stems and that held them in place very nicely.

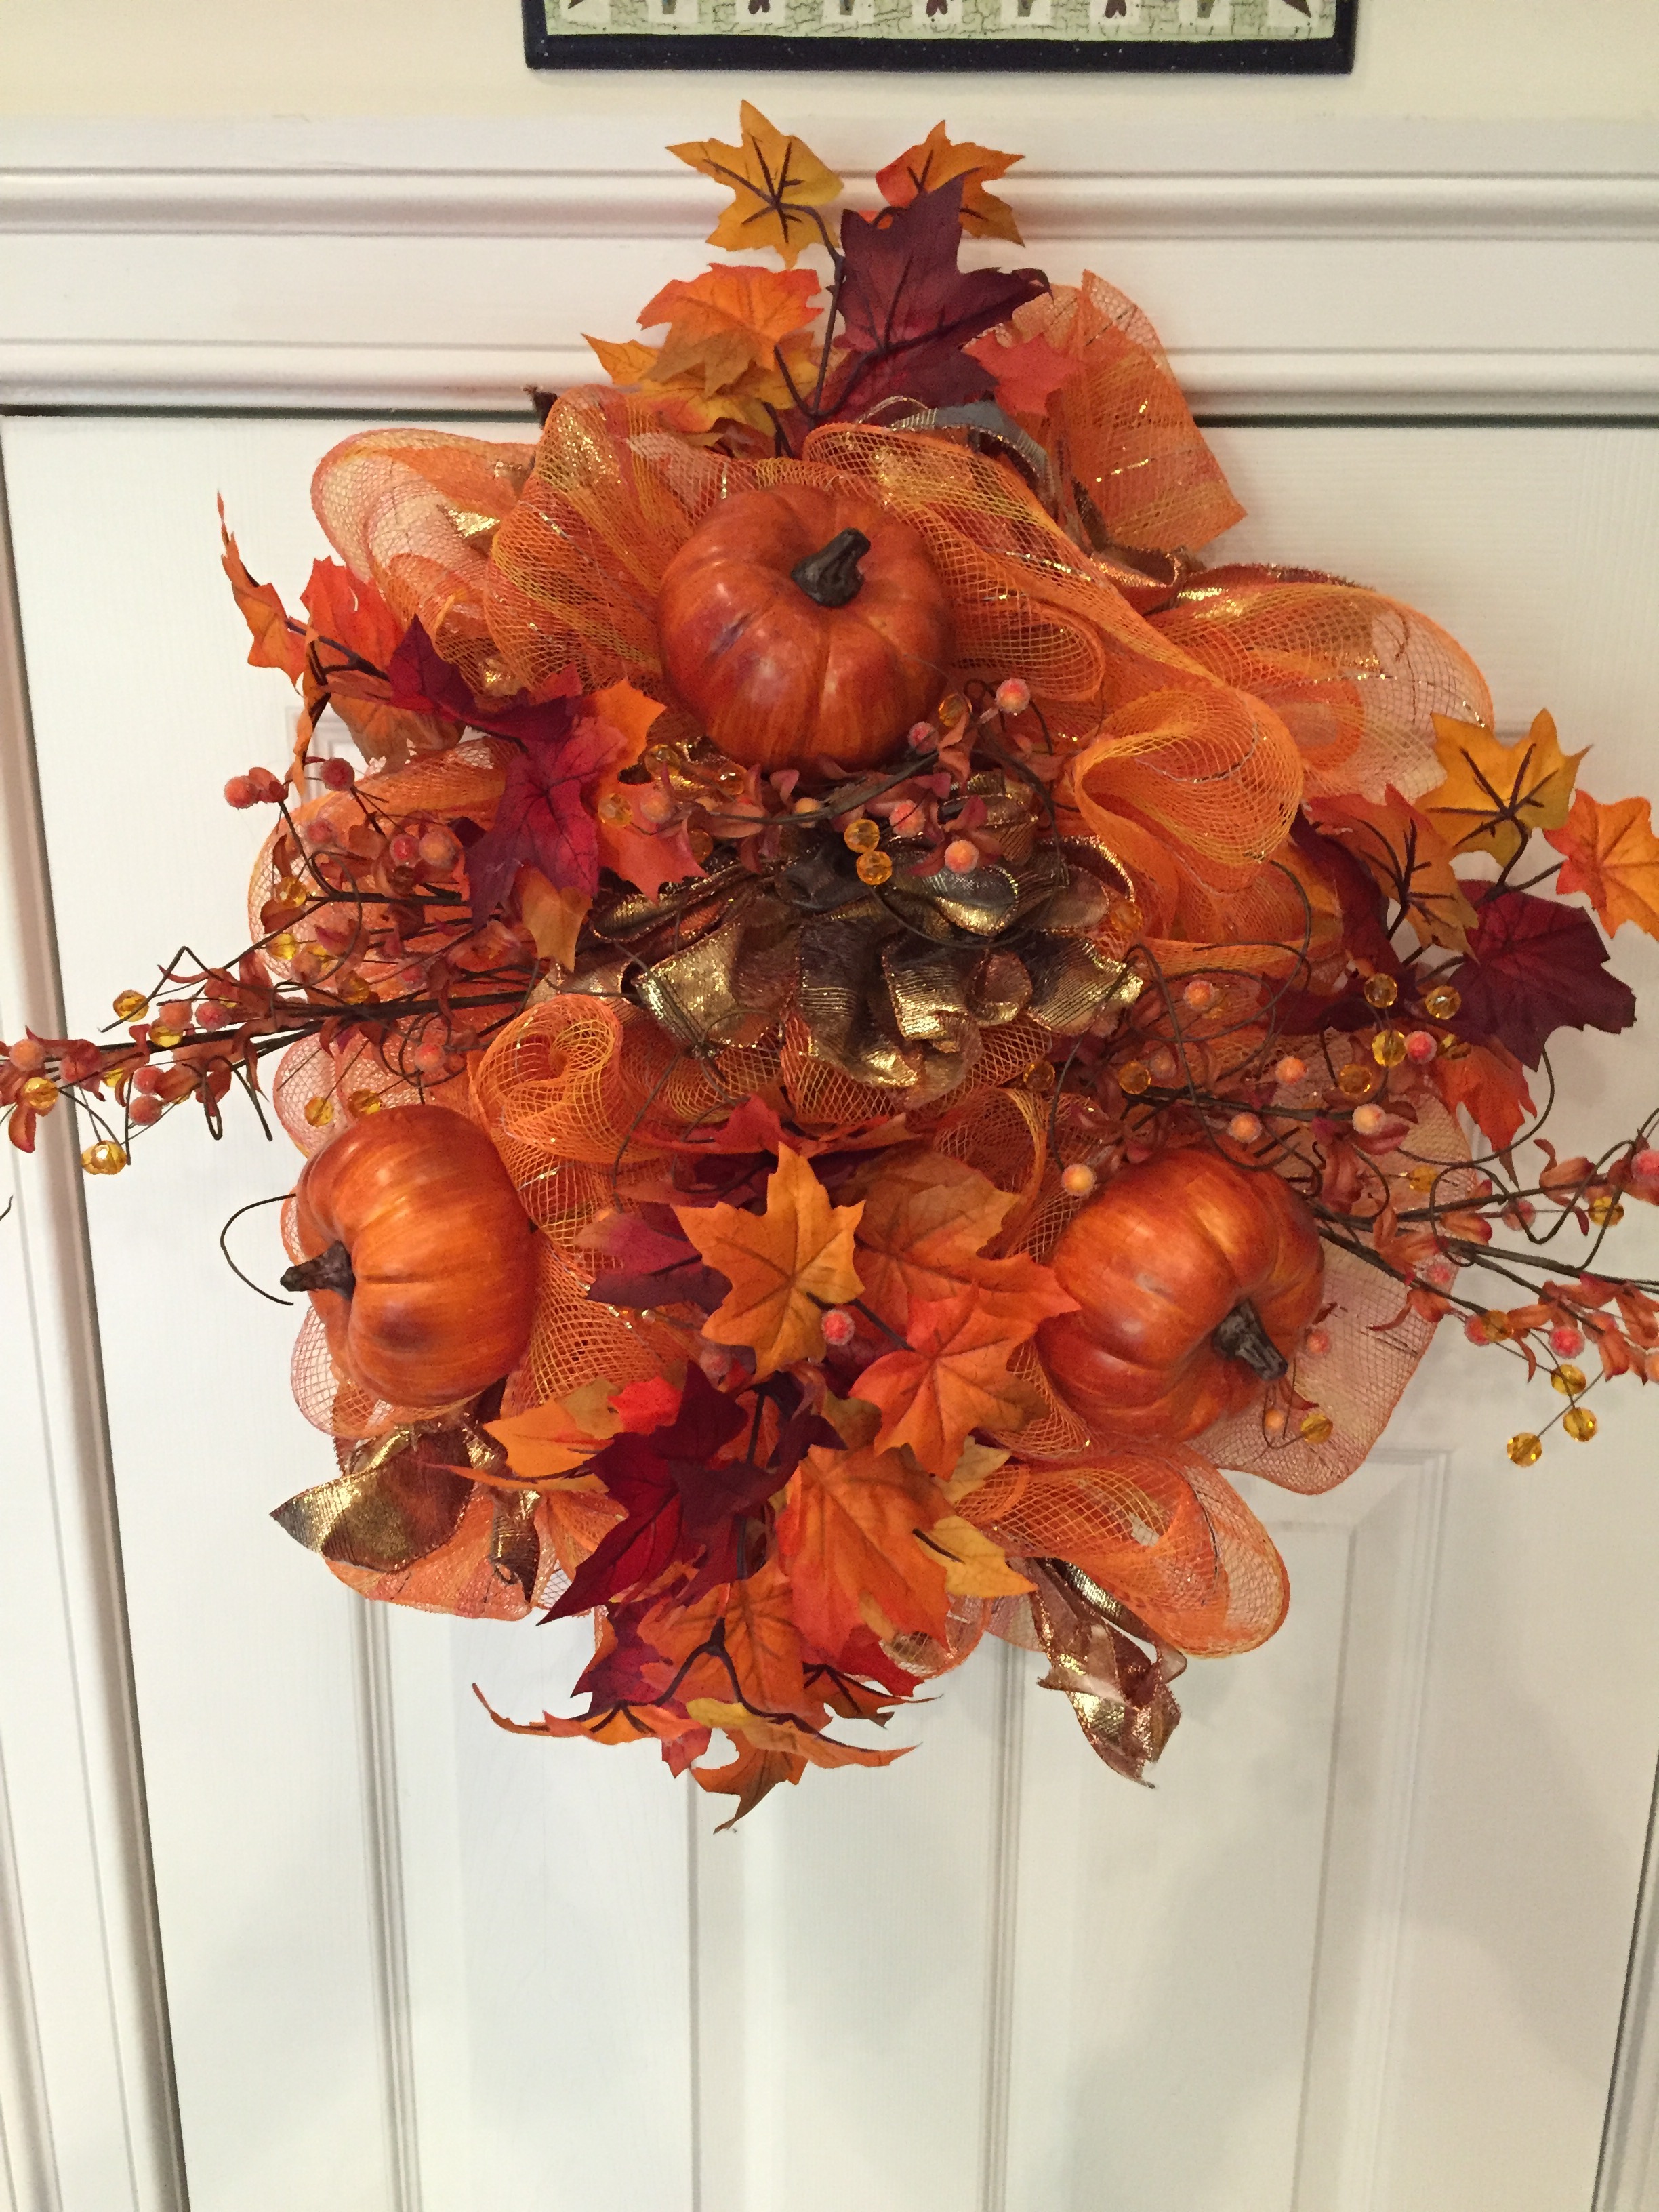
And this is what I came up with, I was pretty happy with myself… 😉
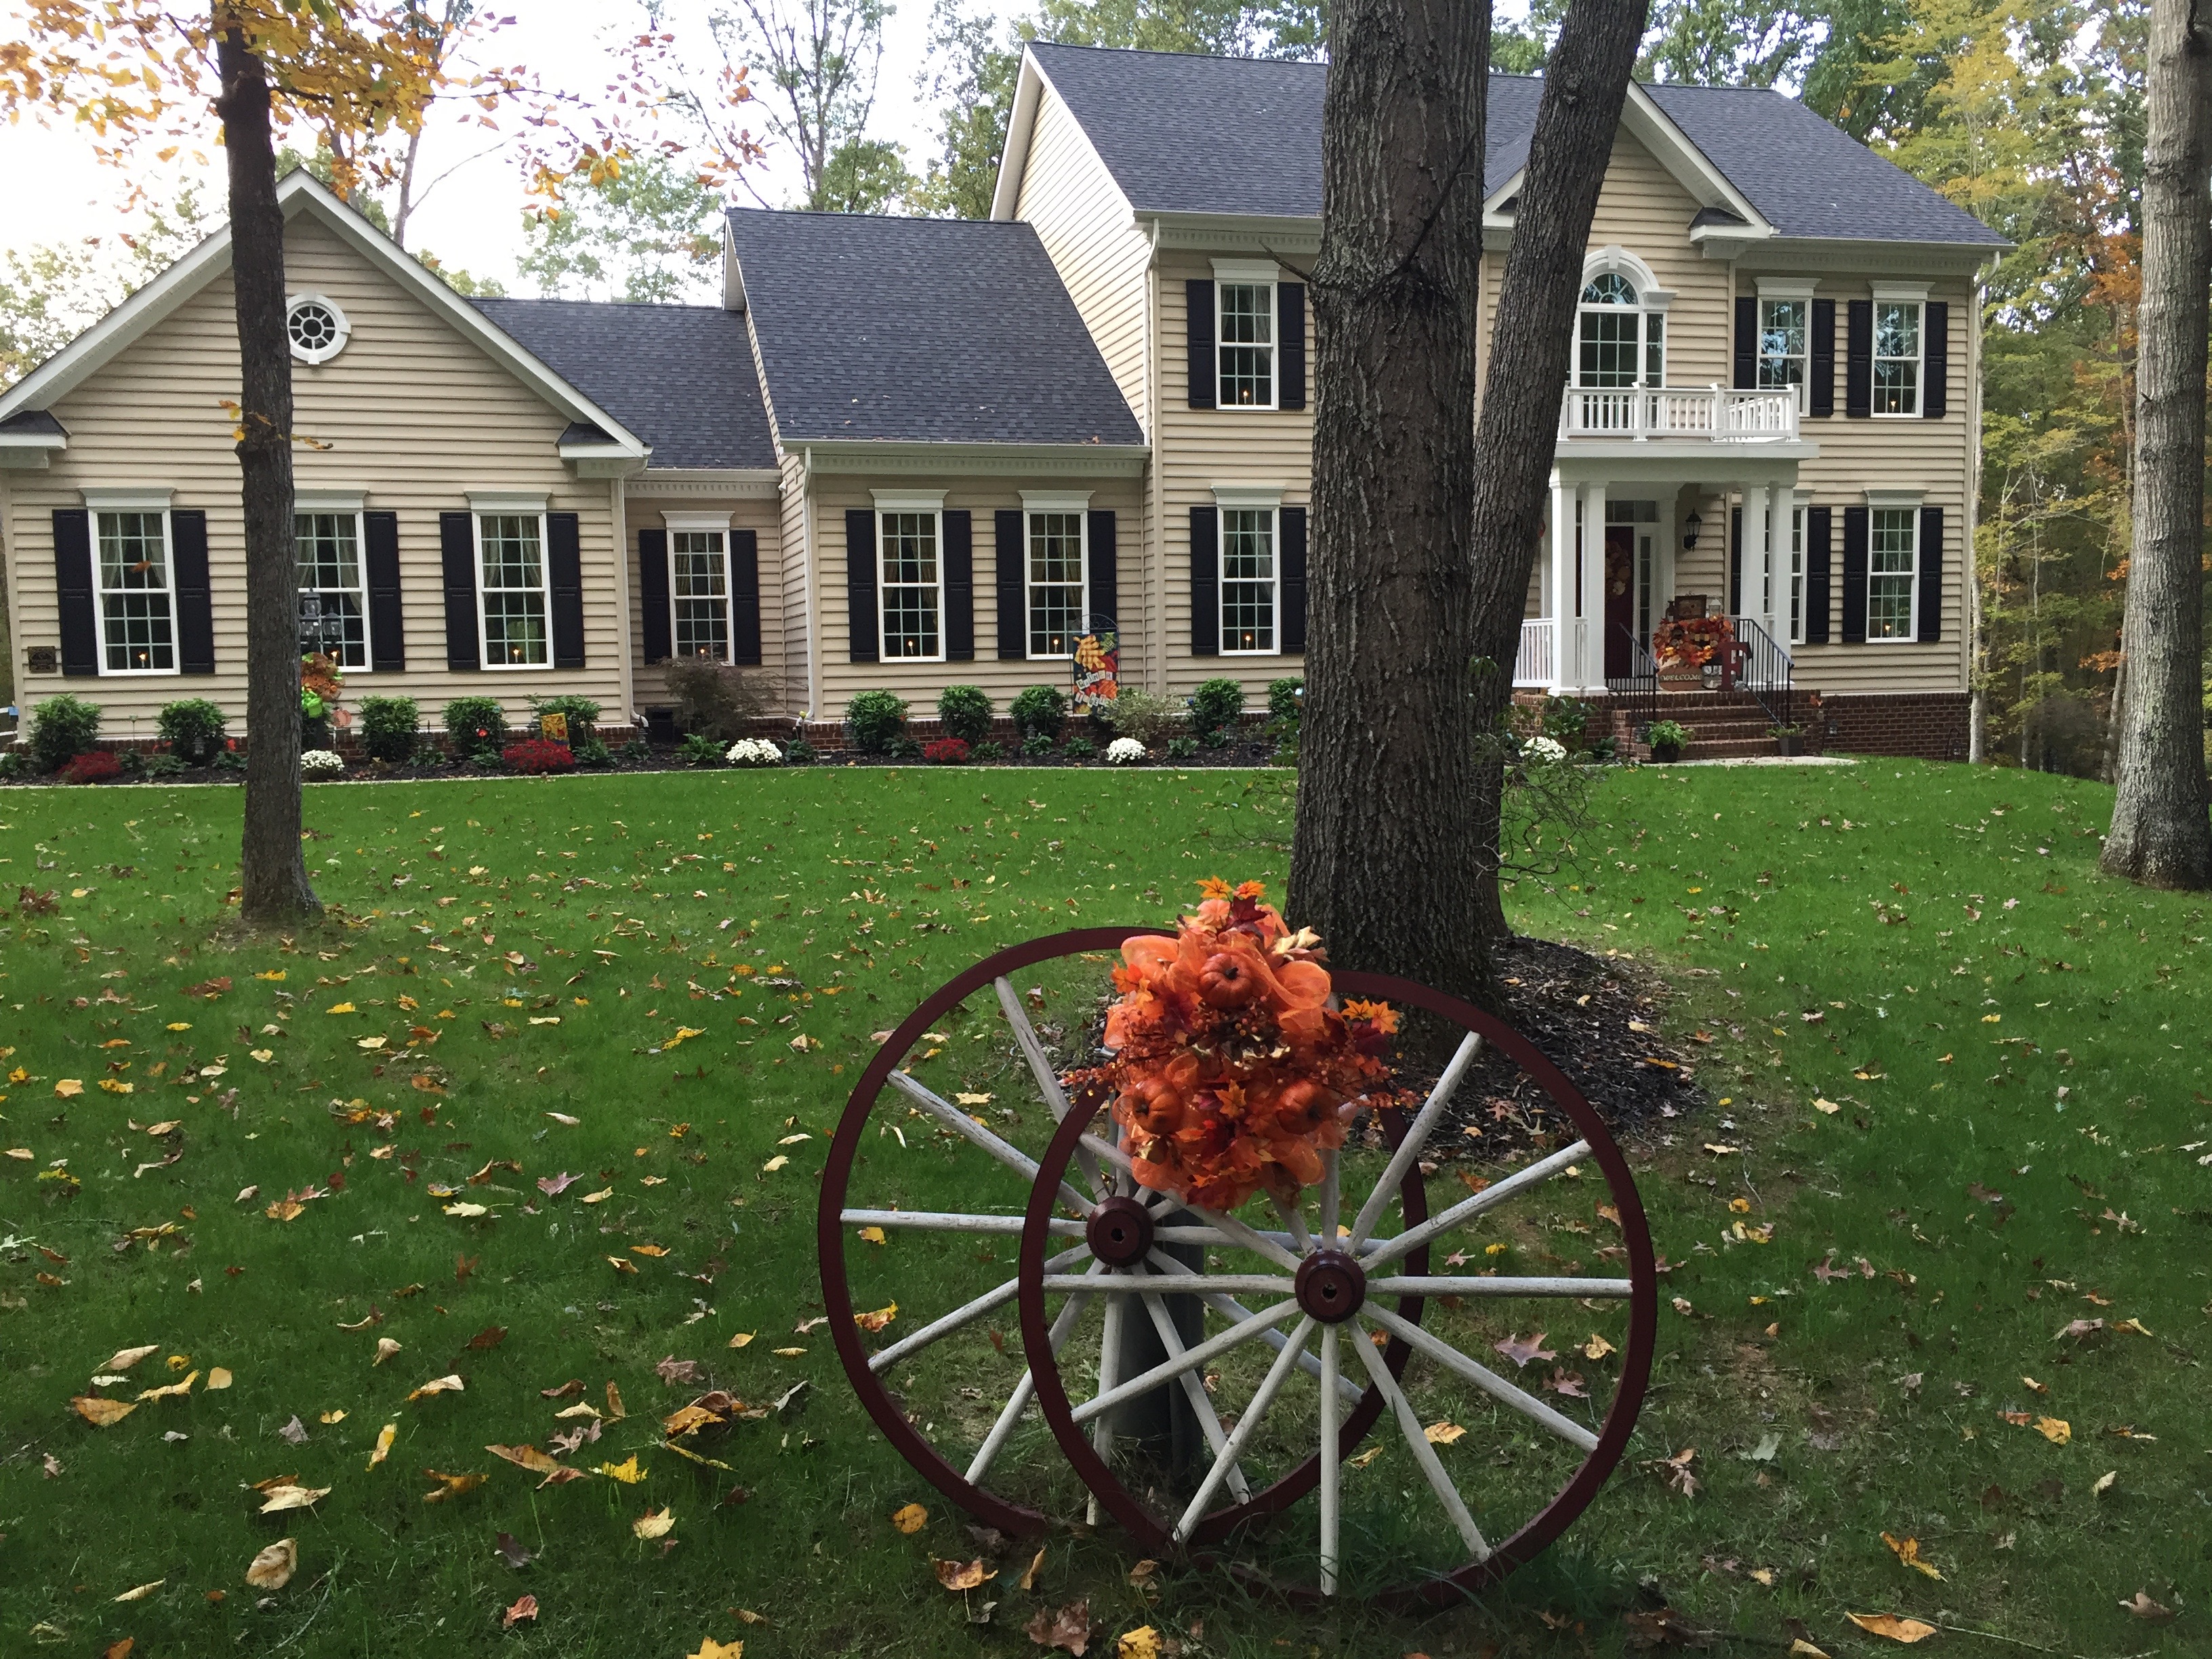
I used tie wraps to attach the Spray to the wagon wheels:

And here it is on the wagon wheels:


Considering that I had never made what I’m dubbing a “Spray”, I was pretty pleased with my accomplishment. It just goes to show you, if you just give it a try, you might surprise yourself as to what you come up with in the end. 🙂 Please don’t hesitate to leave me any questions that you might have in the comments below. 🙂
Until next time, y’all take good care! ❤
**In crafting there are no mistakes just unique creations**

Enjoying your blog! Great Job Arlynn!
LikeLike
Thank you so much Billie!!! 🙂
LikeLike
Pingback: Happy Fall Y’all 2016 Series: Outdoor Decorations – Country Craft Corner