
Hi All,
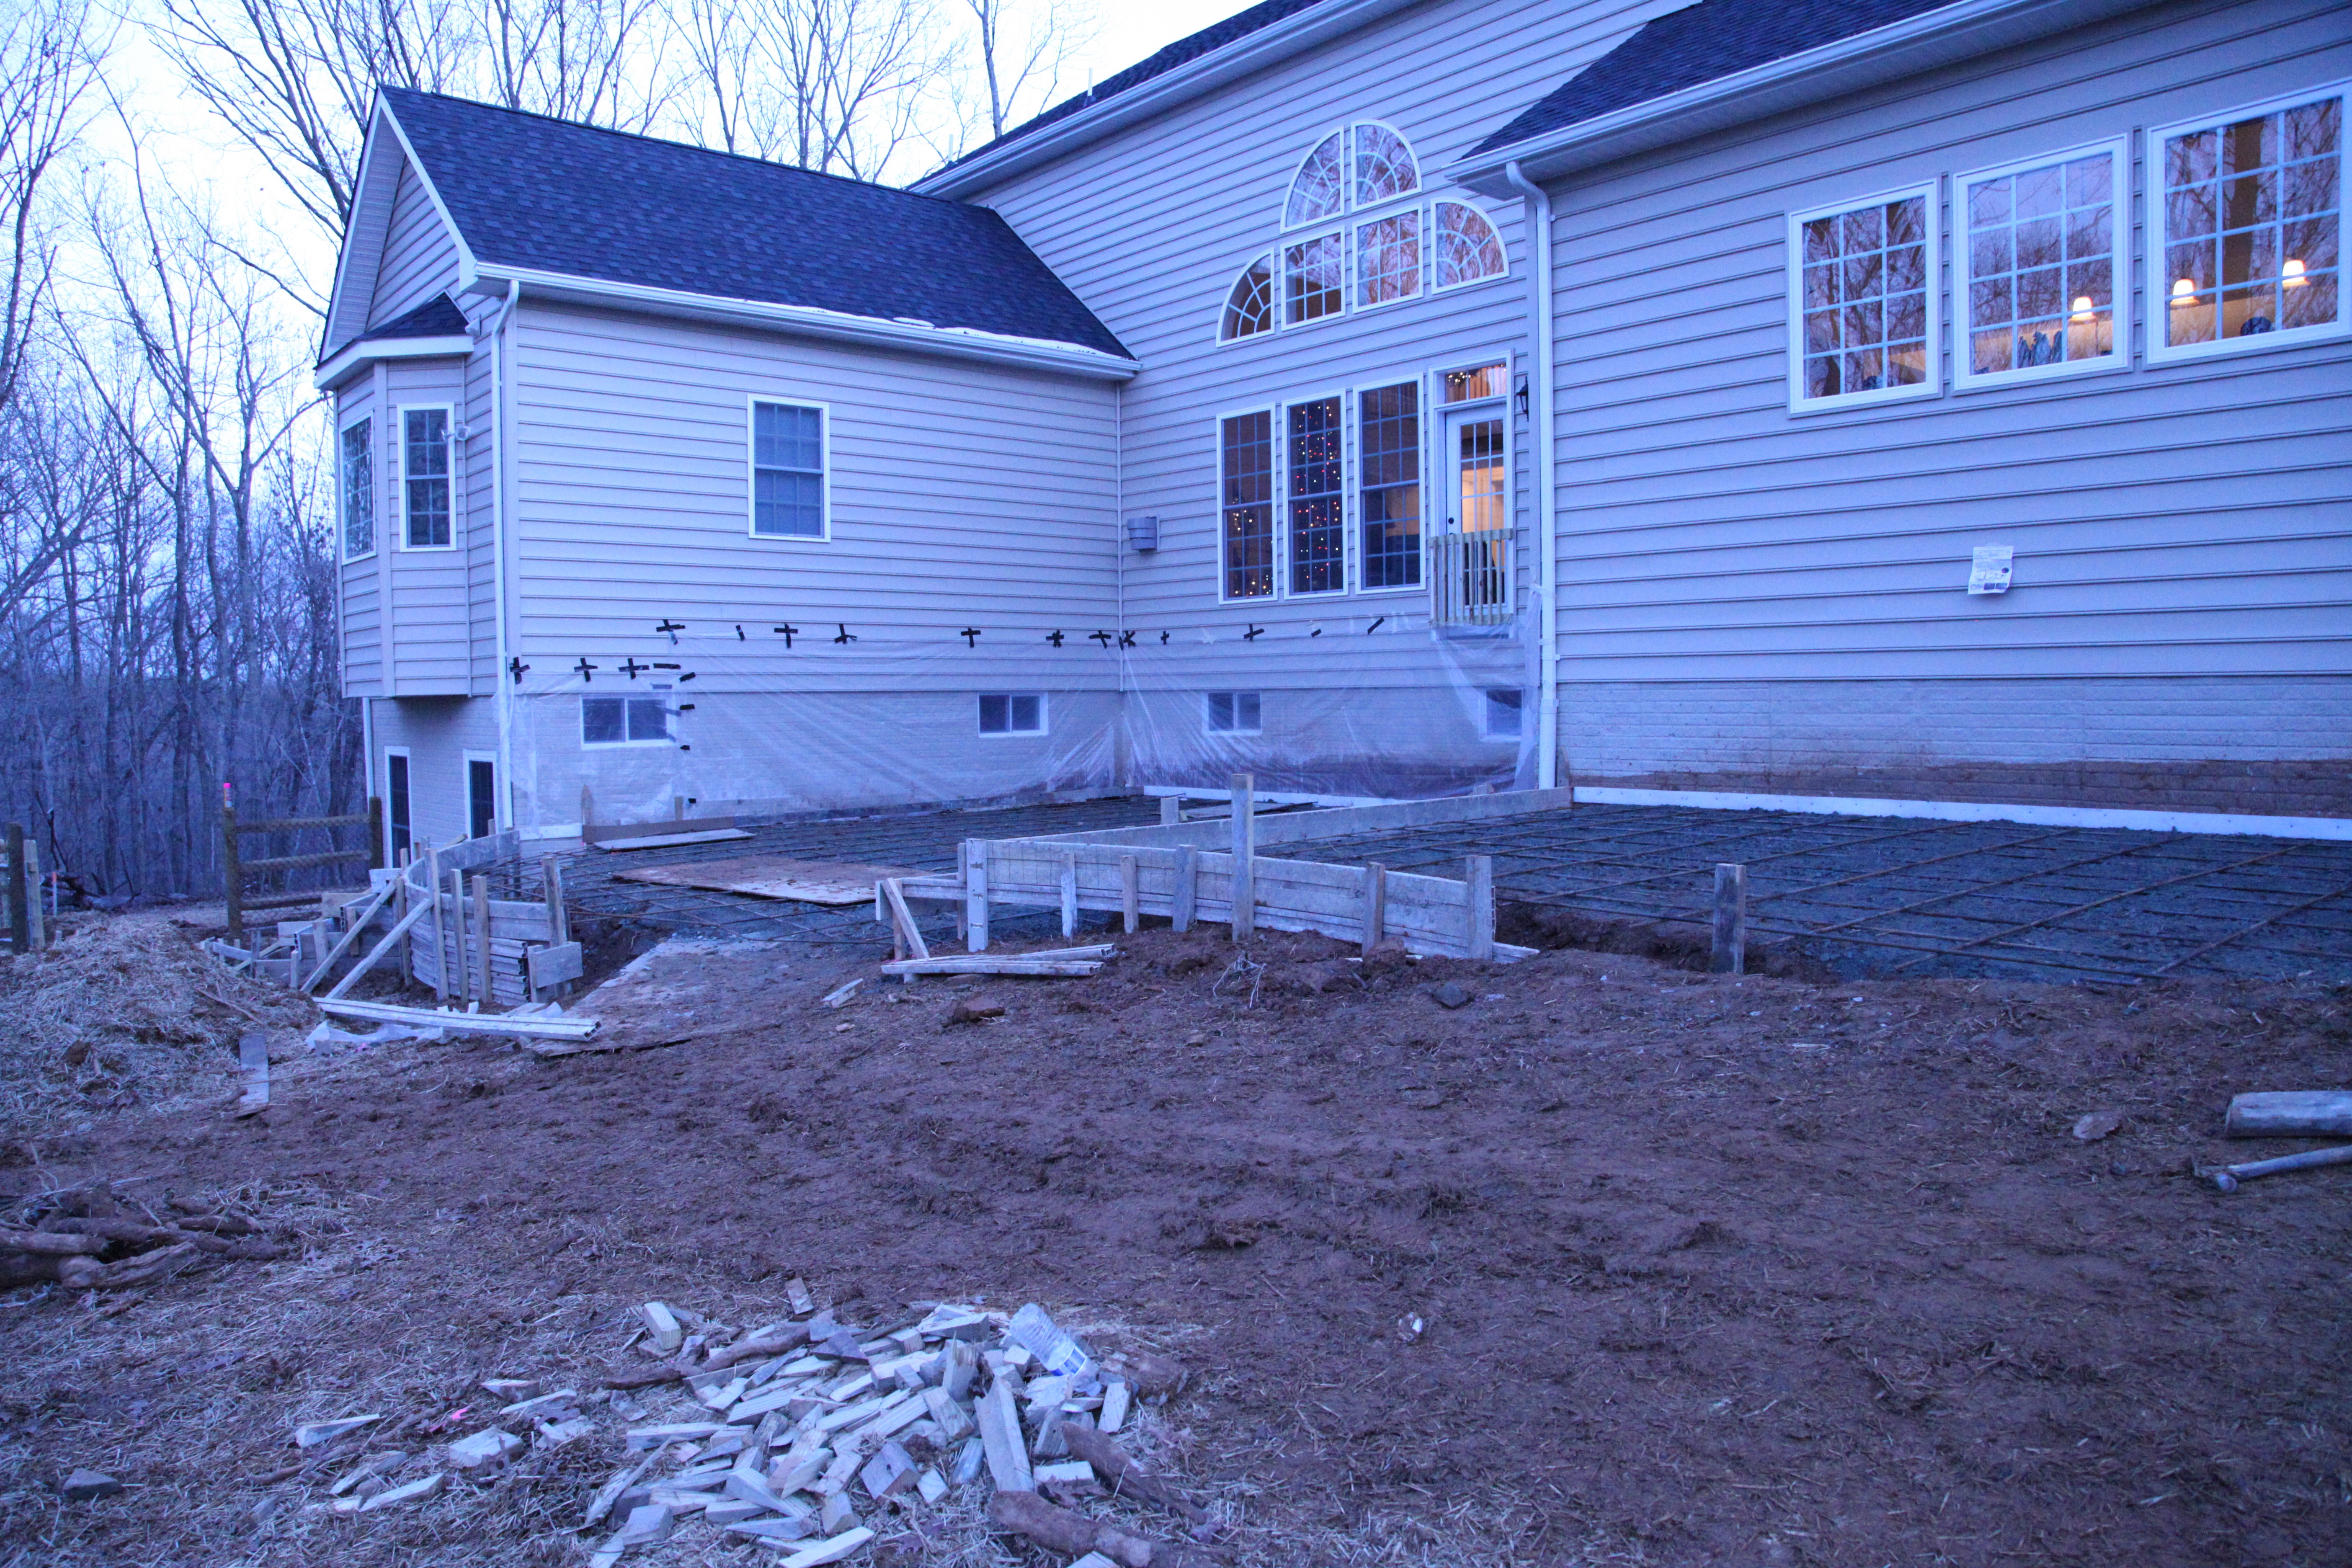
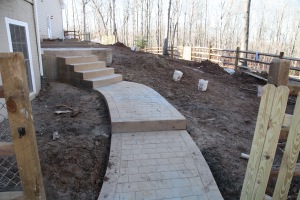
We moved into our house on the Monday before Thanksgiving a couple of years ago, we only had a few weeks to get moved in and kinda settled before the masonry company started to construct our stamped concrete patio. I have to admit, it was a rather stressful project because it took them a couple of months to complete; the temperature had to be above 50 degrees for them to come and work–it was winter and well, you get the picture. ![]() Not to mention the fact that our backyard was nothing but…well mud and hay. In fact, the reason we went ahead and had the patio put down then was so that it would be done by Spring and we could then grow some pretty grass. 🙂
Not to mention the fact that our backyard was nothing but…well mud and hay. In fact, the reason we went ahead and had the patio put down then was so that it would be done by Spring and we could then grow some pretty grass. 🙂
Here is the original design and all of the different colors and attributes that we chose. The finished product differs a bit:

We ended up choosing to have only one set of stairs coming off of the patio versus two as depicted in the rendering.
Preparing the space took upwards of a week:
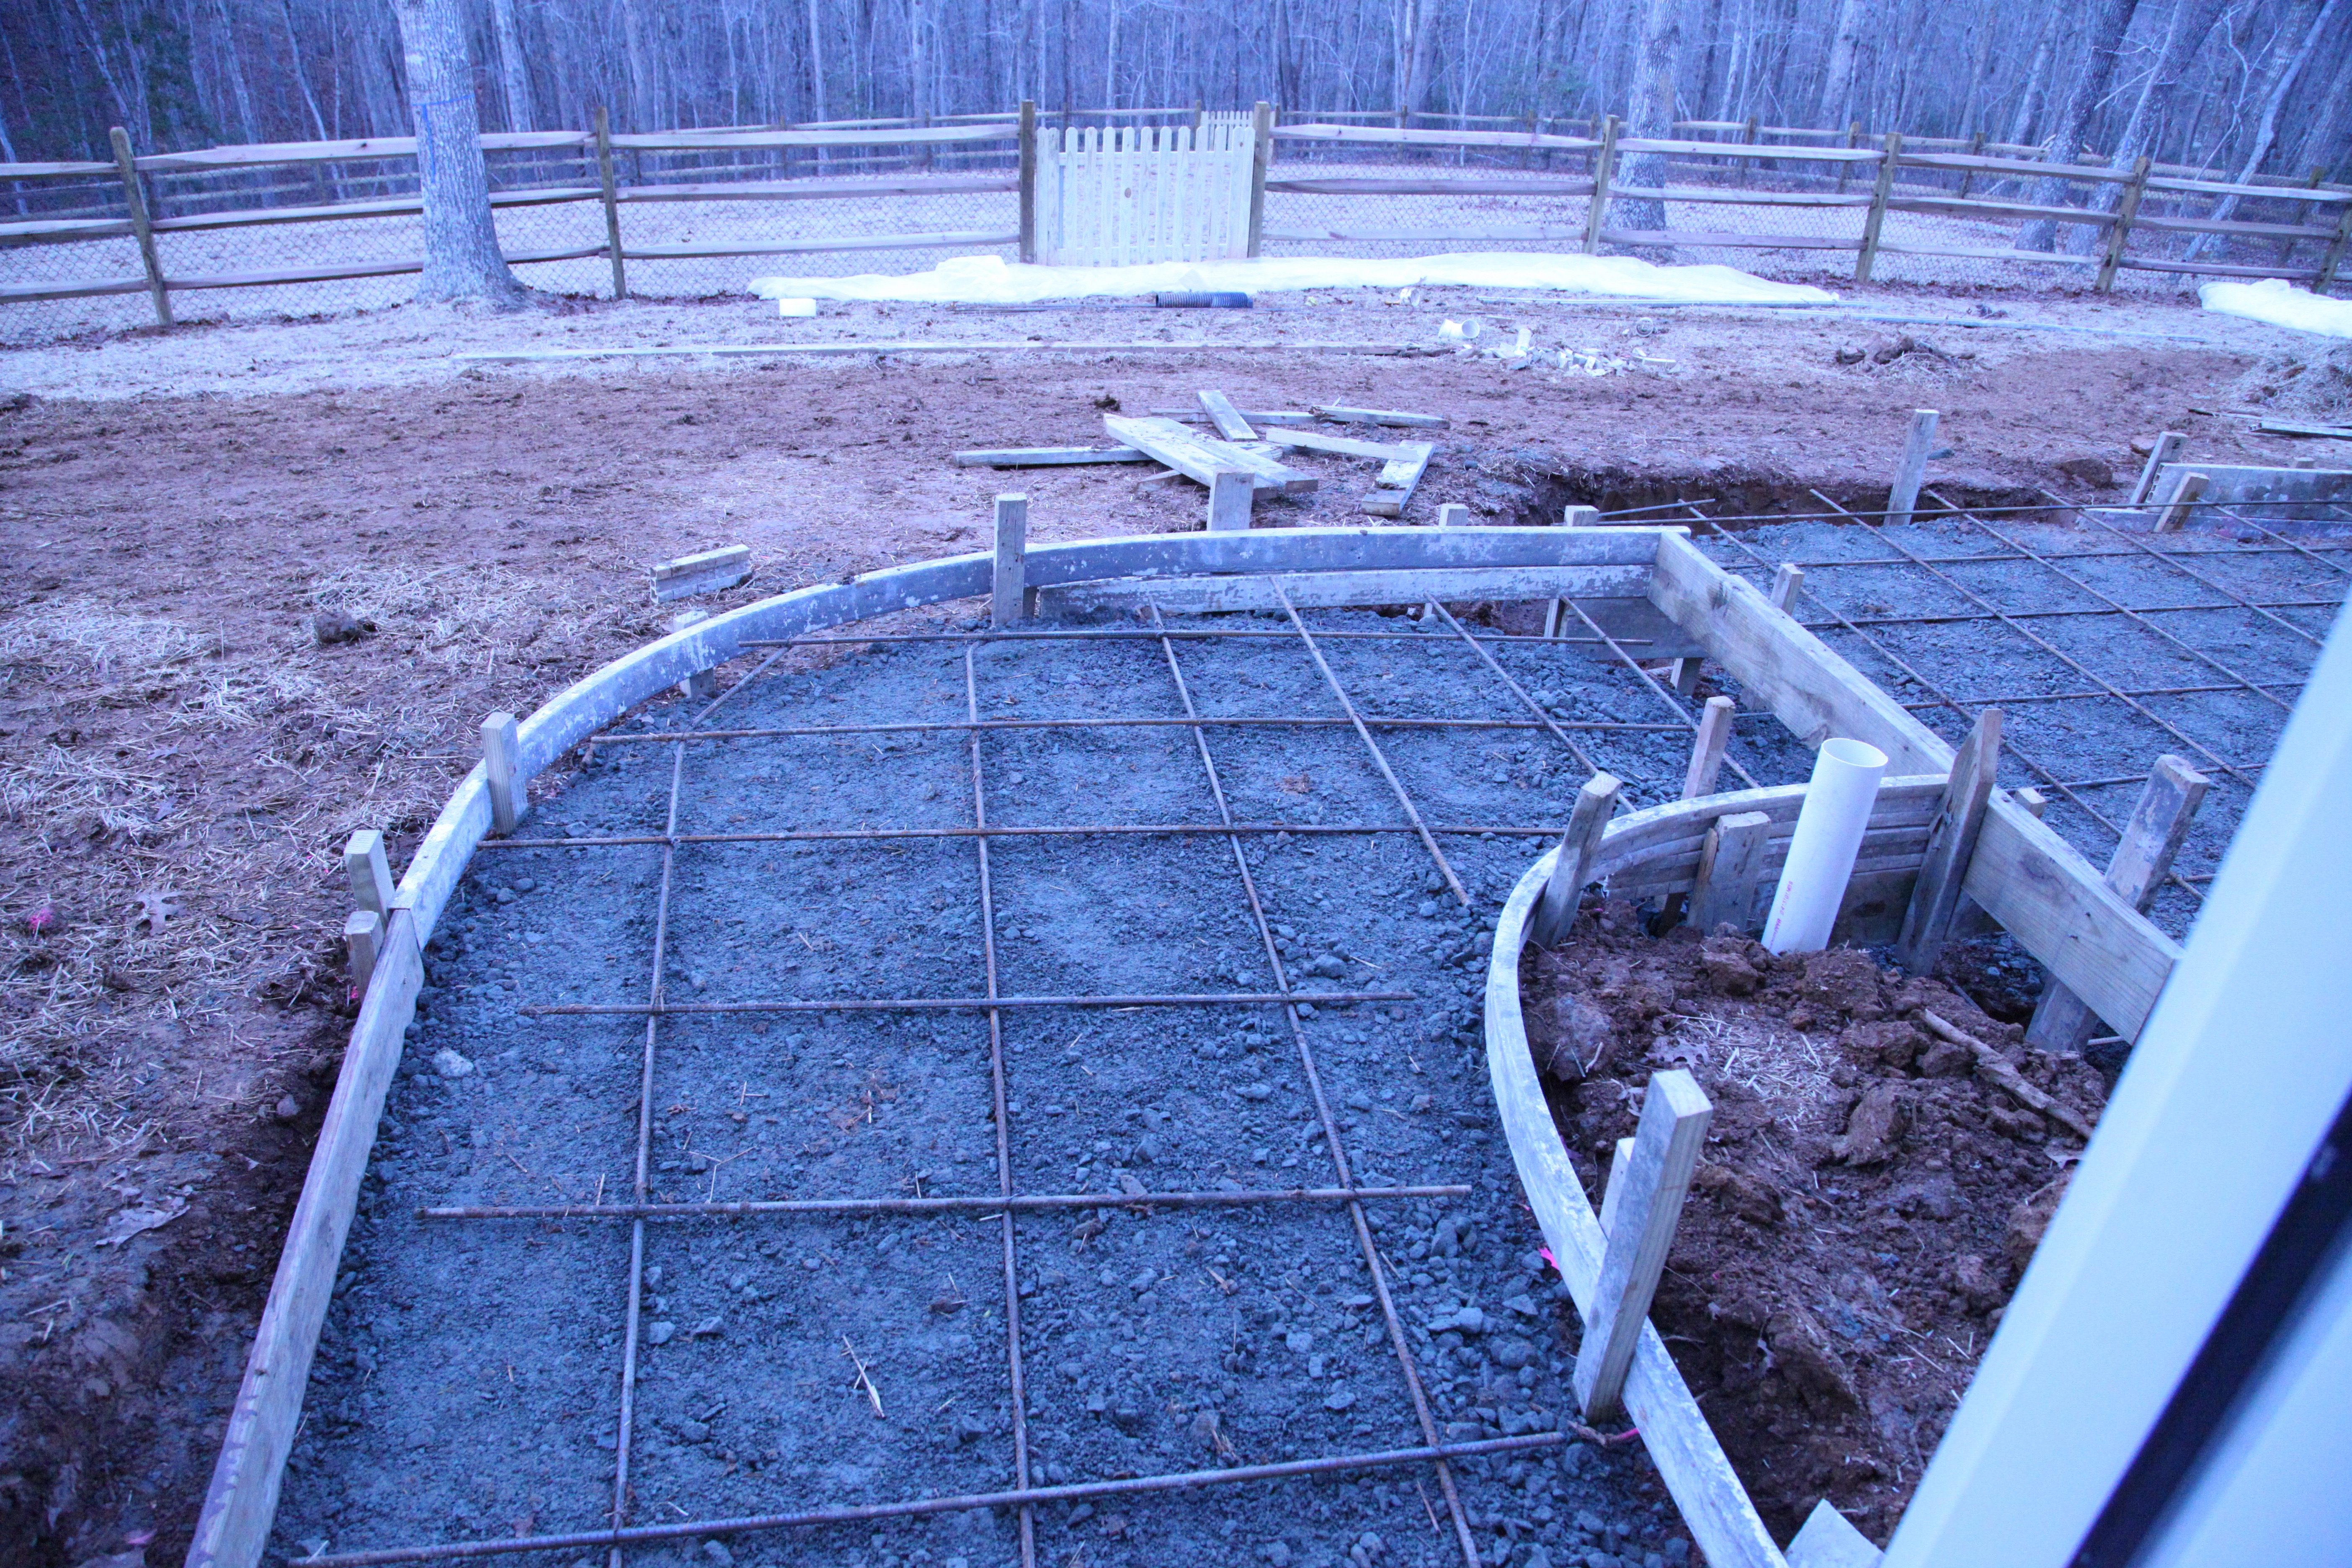
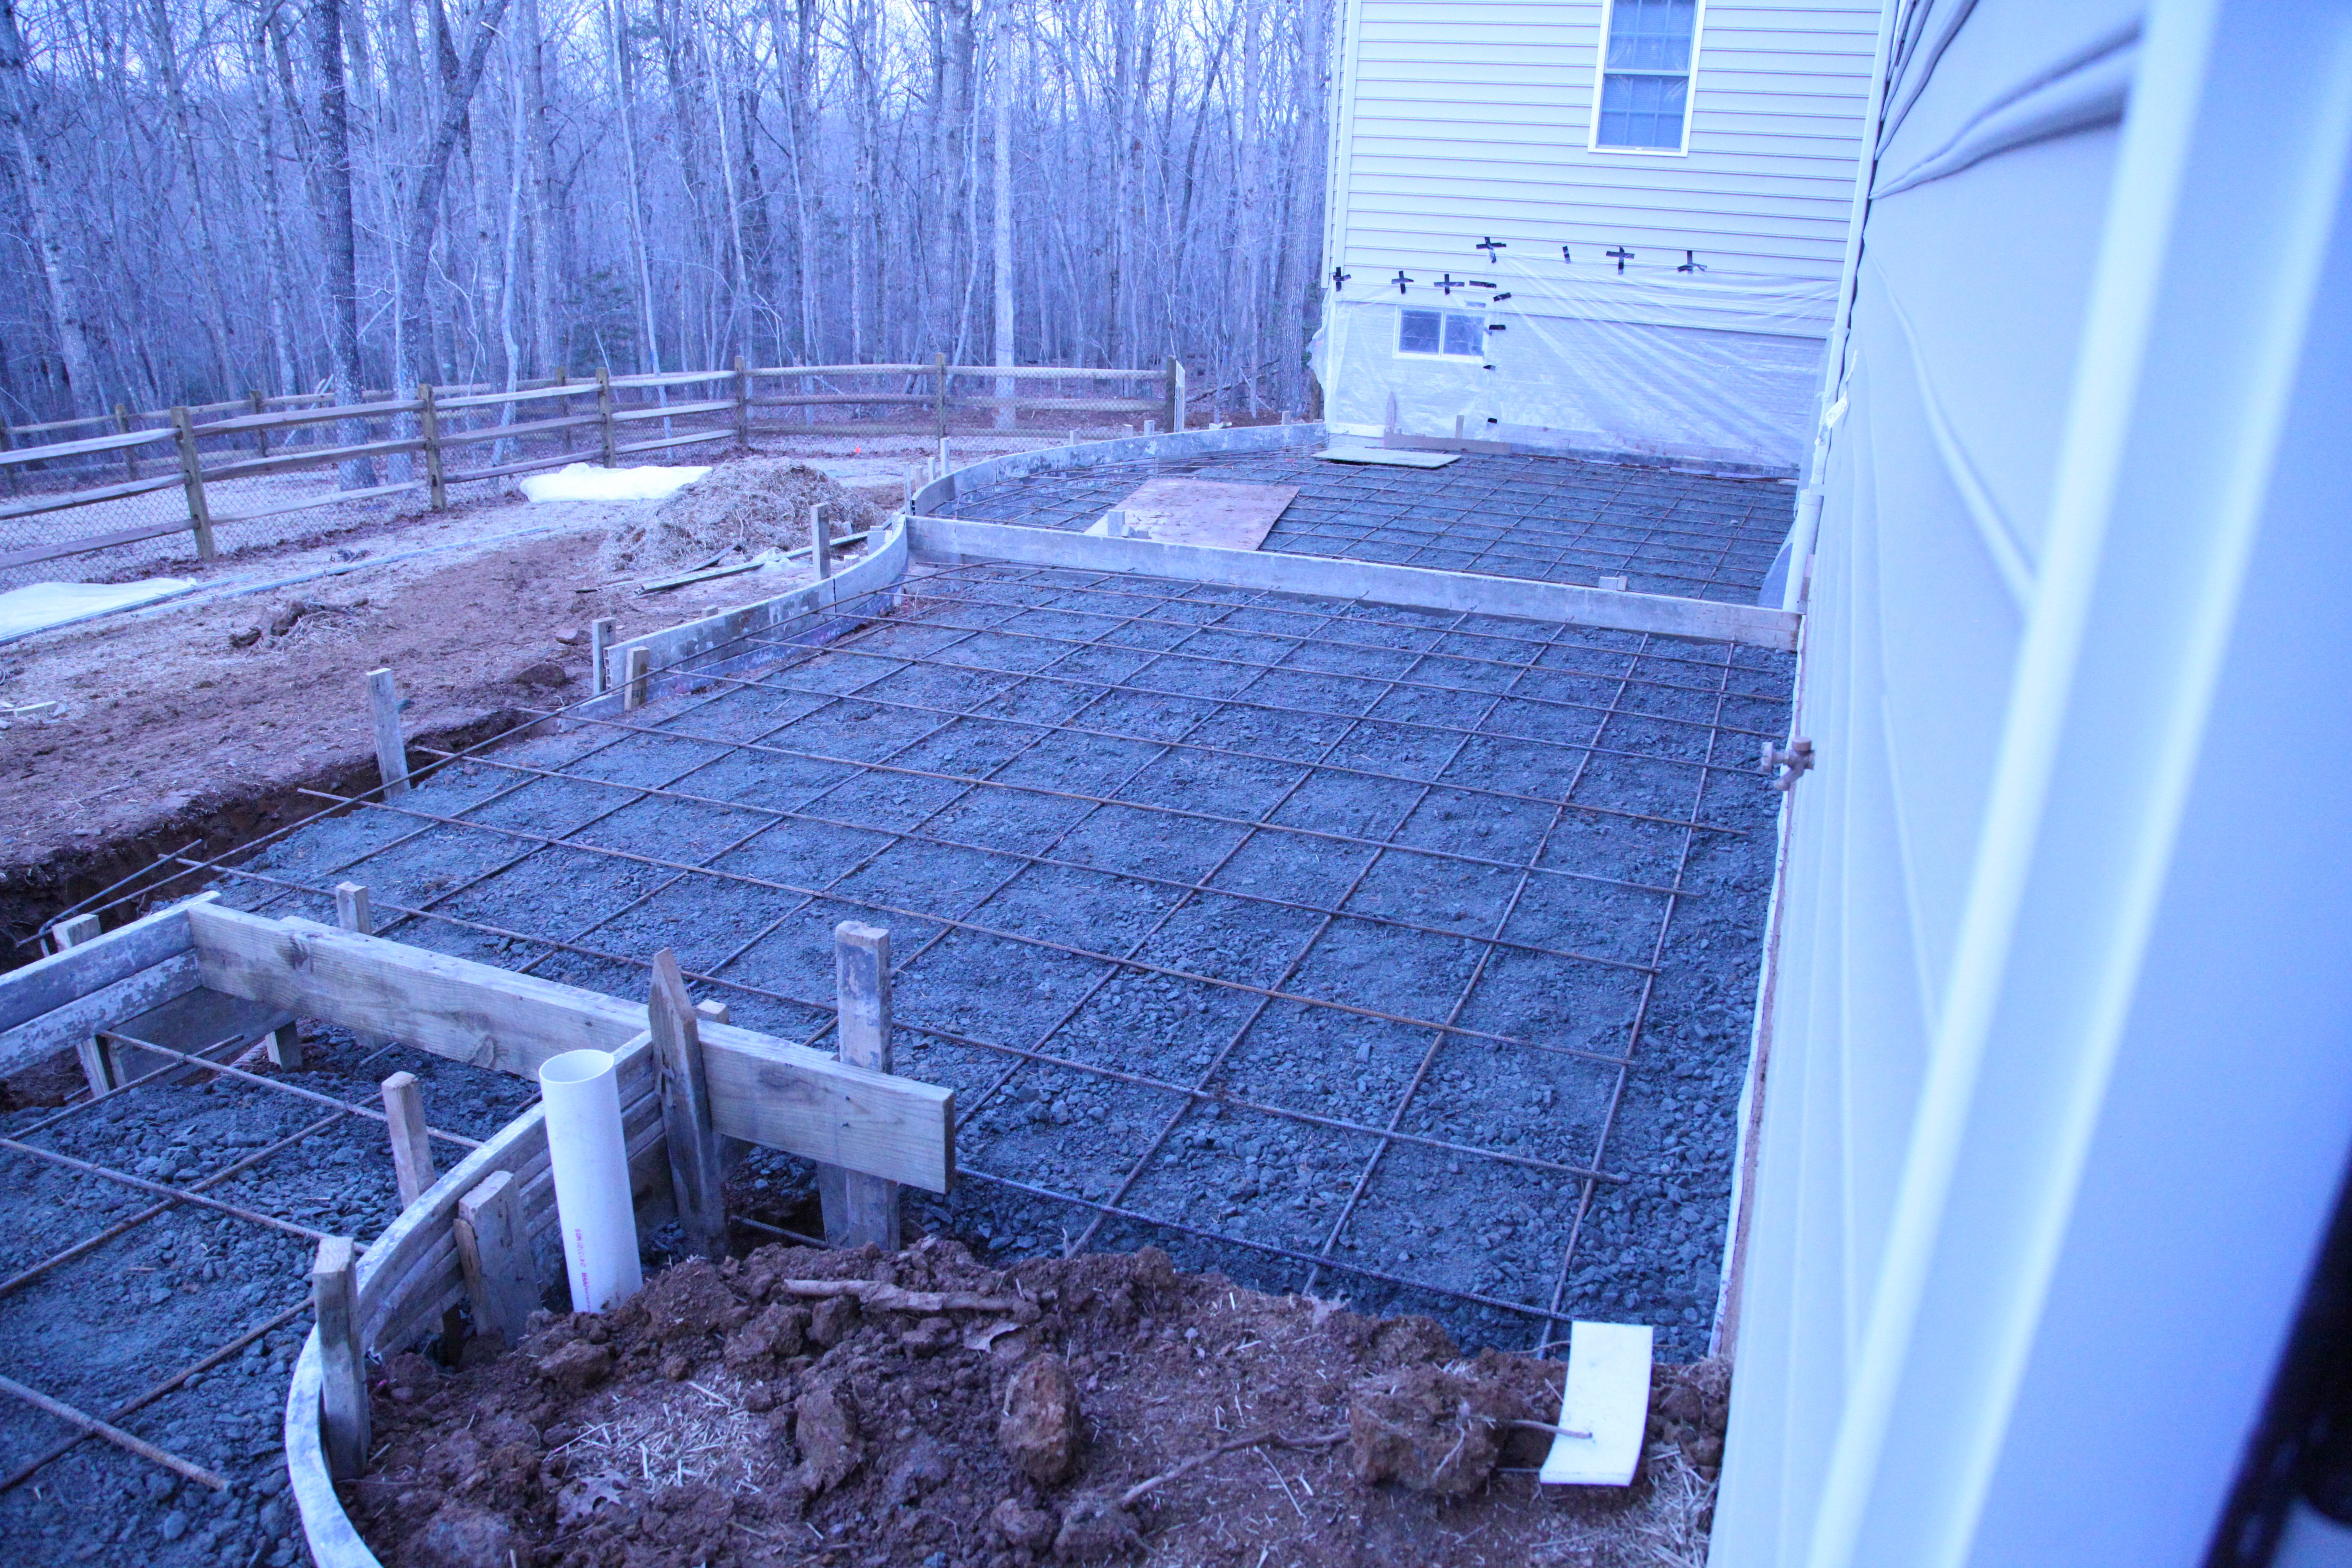

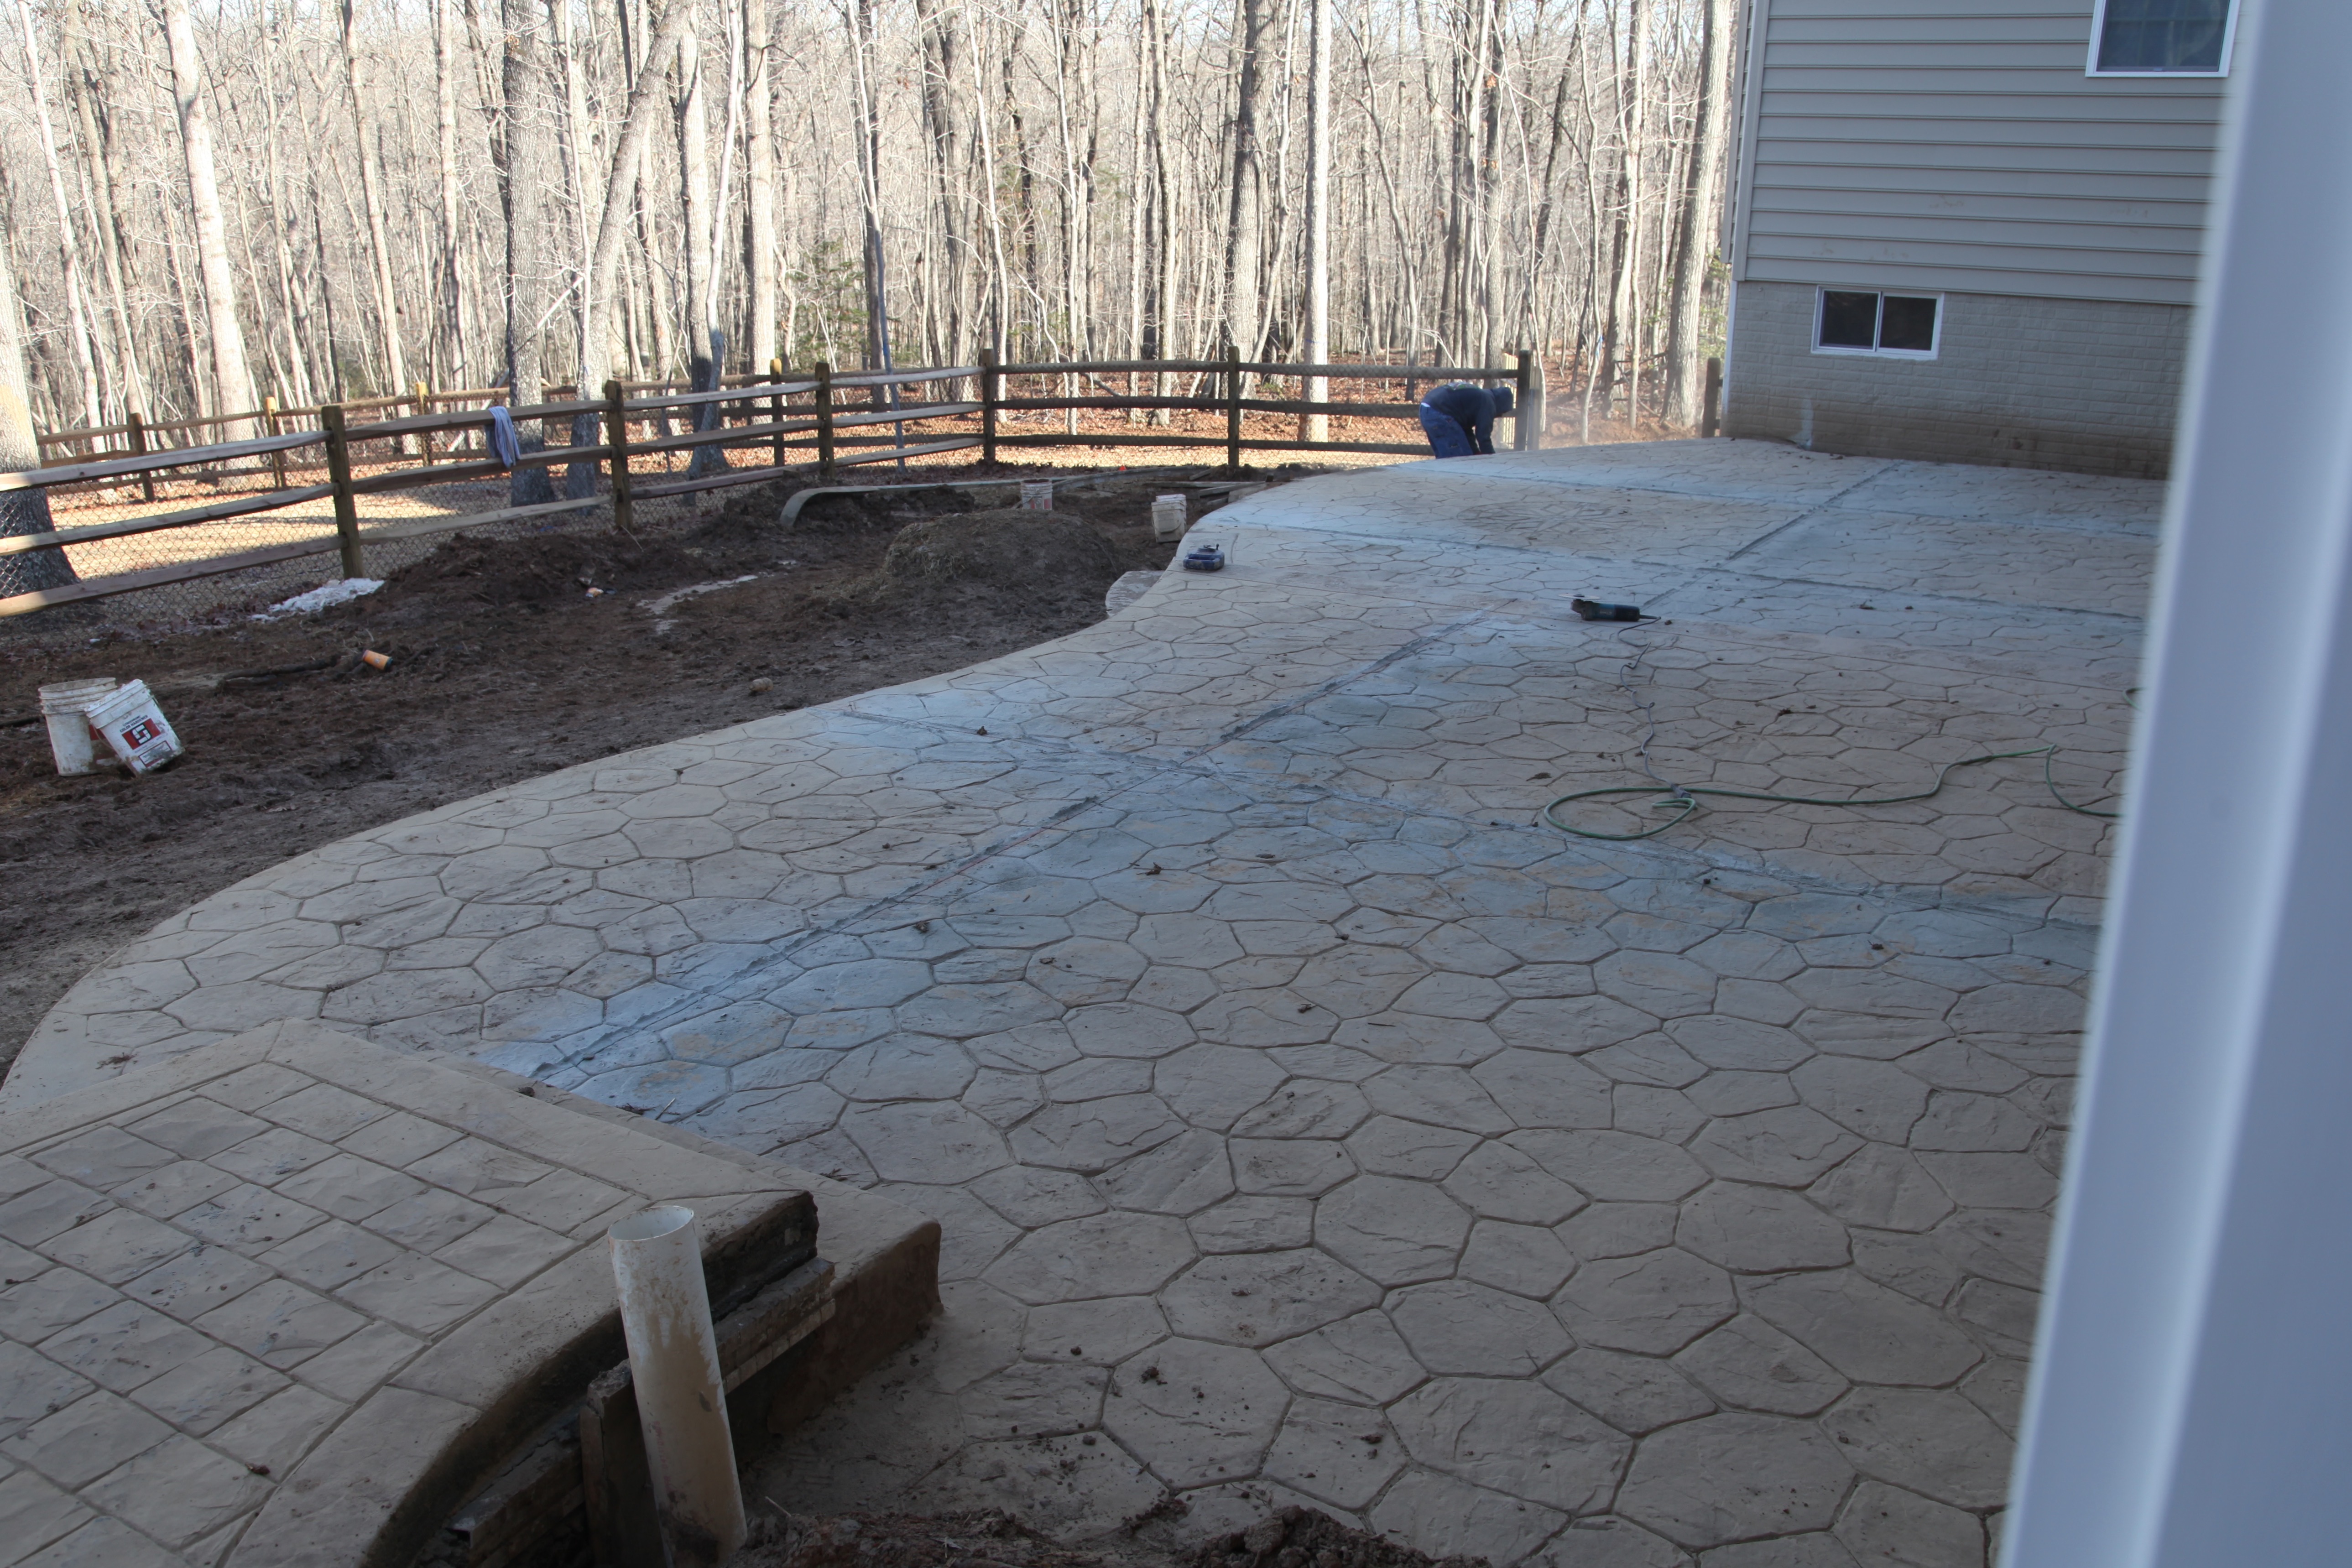
I neglected to get pictures of them pouring the concrete because I was mesmerized by them running their little bobcat that carried the concrete in and out of our yard and how they spread it out and evened it all out…it was quite the process. Then the stamping began, they truly are artisans, all of our choices started to come to life.
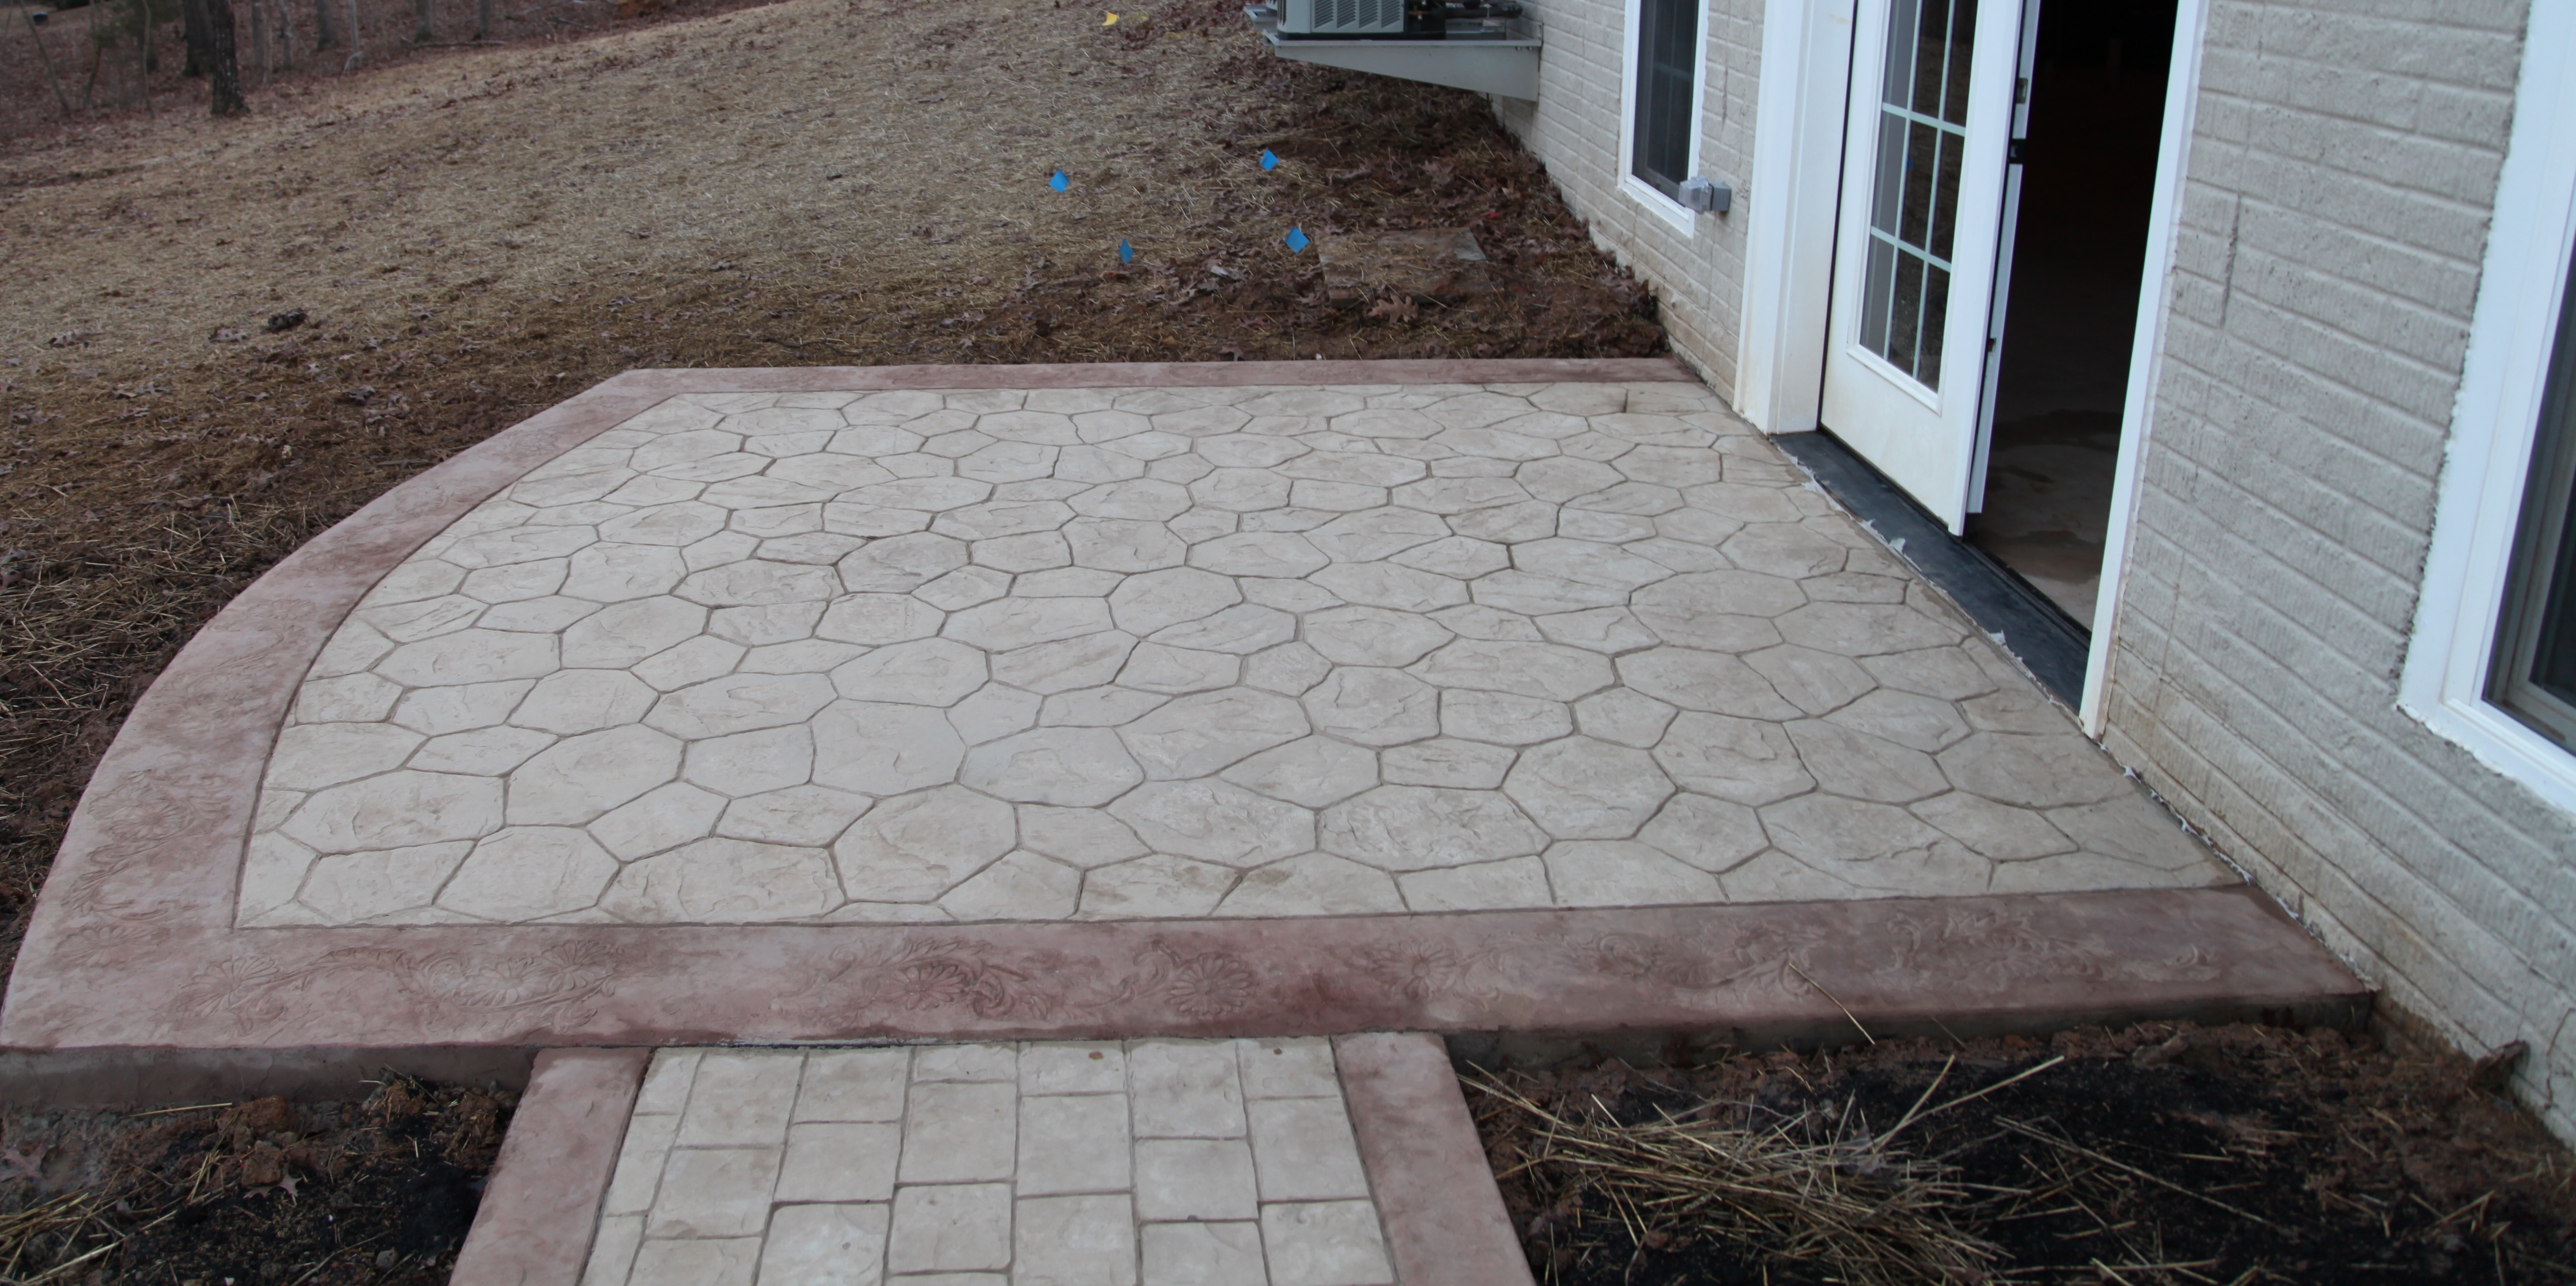
We chose two different patterns, one for the main body of the patio and a different one for the walkways:
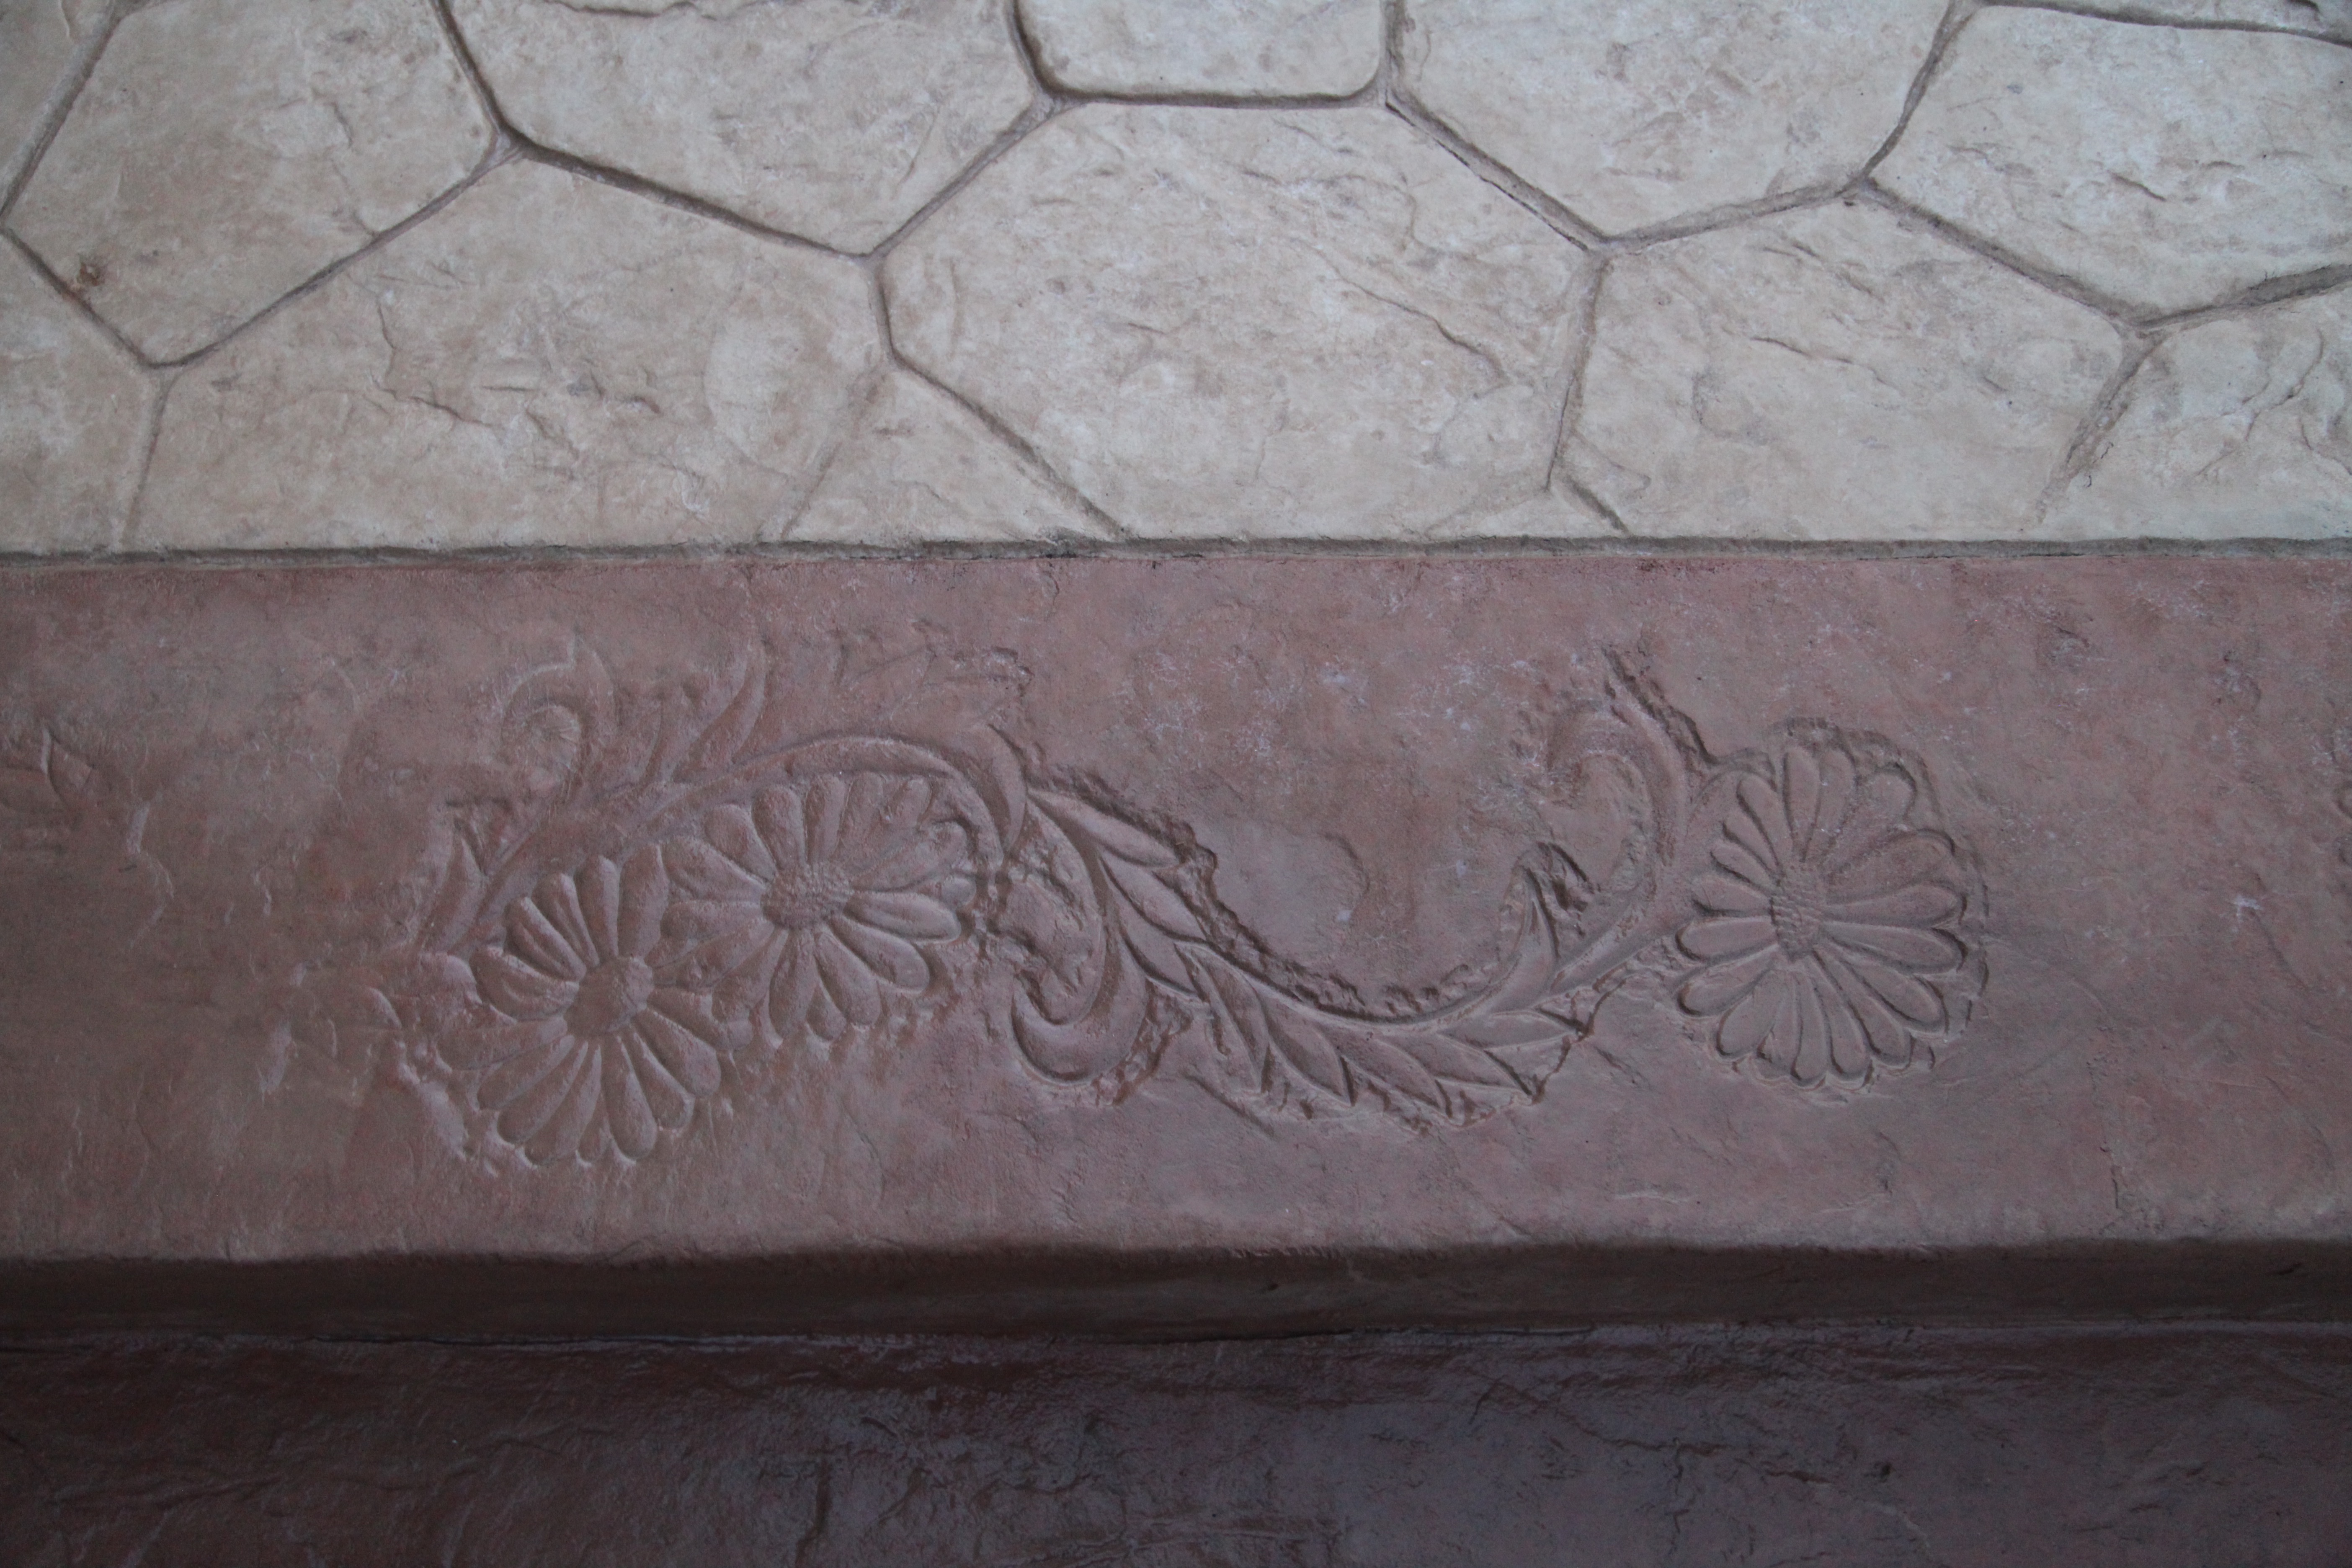
We chose a pretty daisy pattern for the borders; have I mentioned before that gerber daisies are my very favorite flower? 🙂

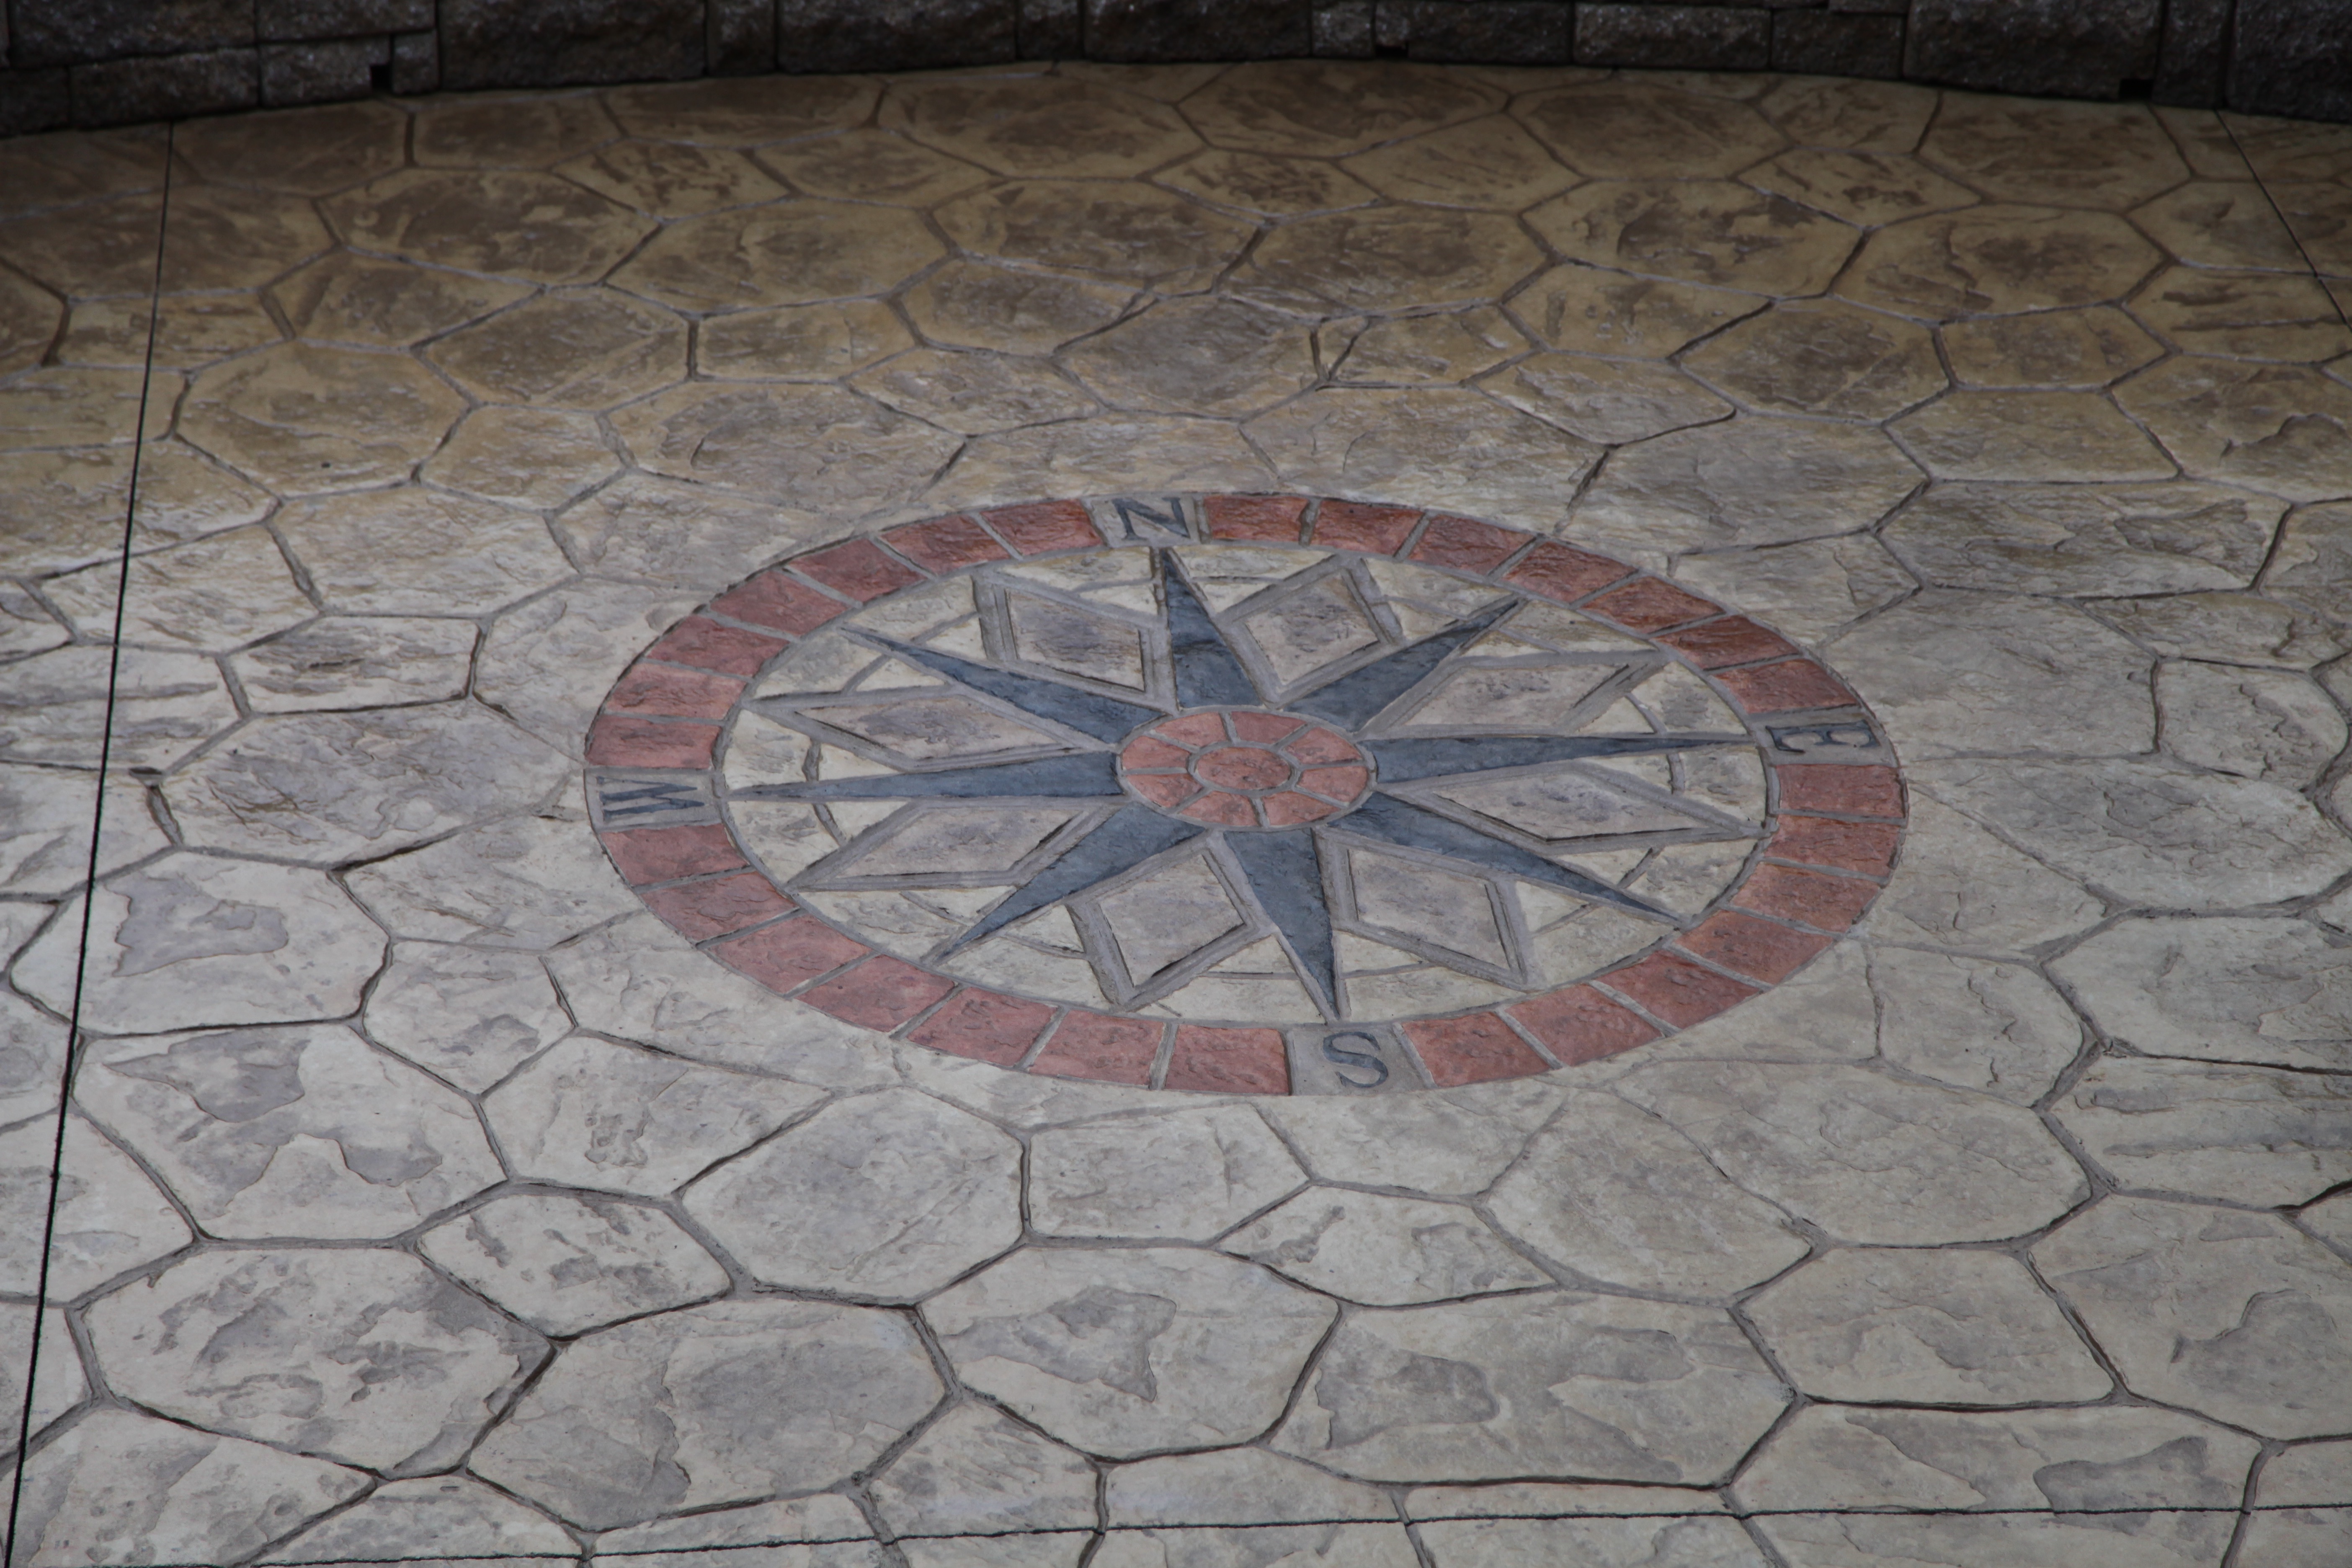
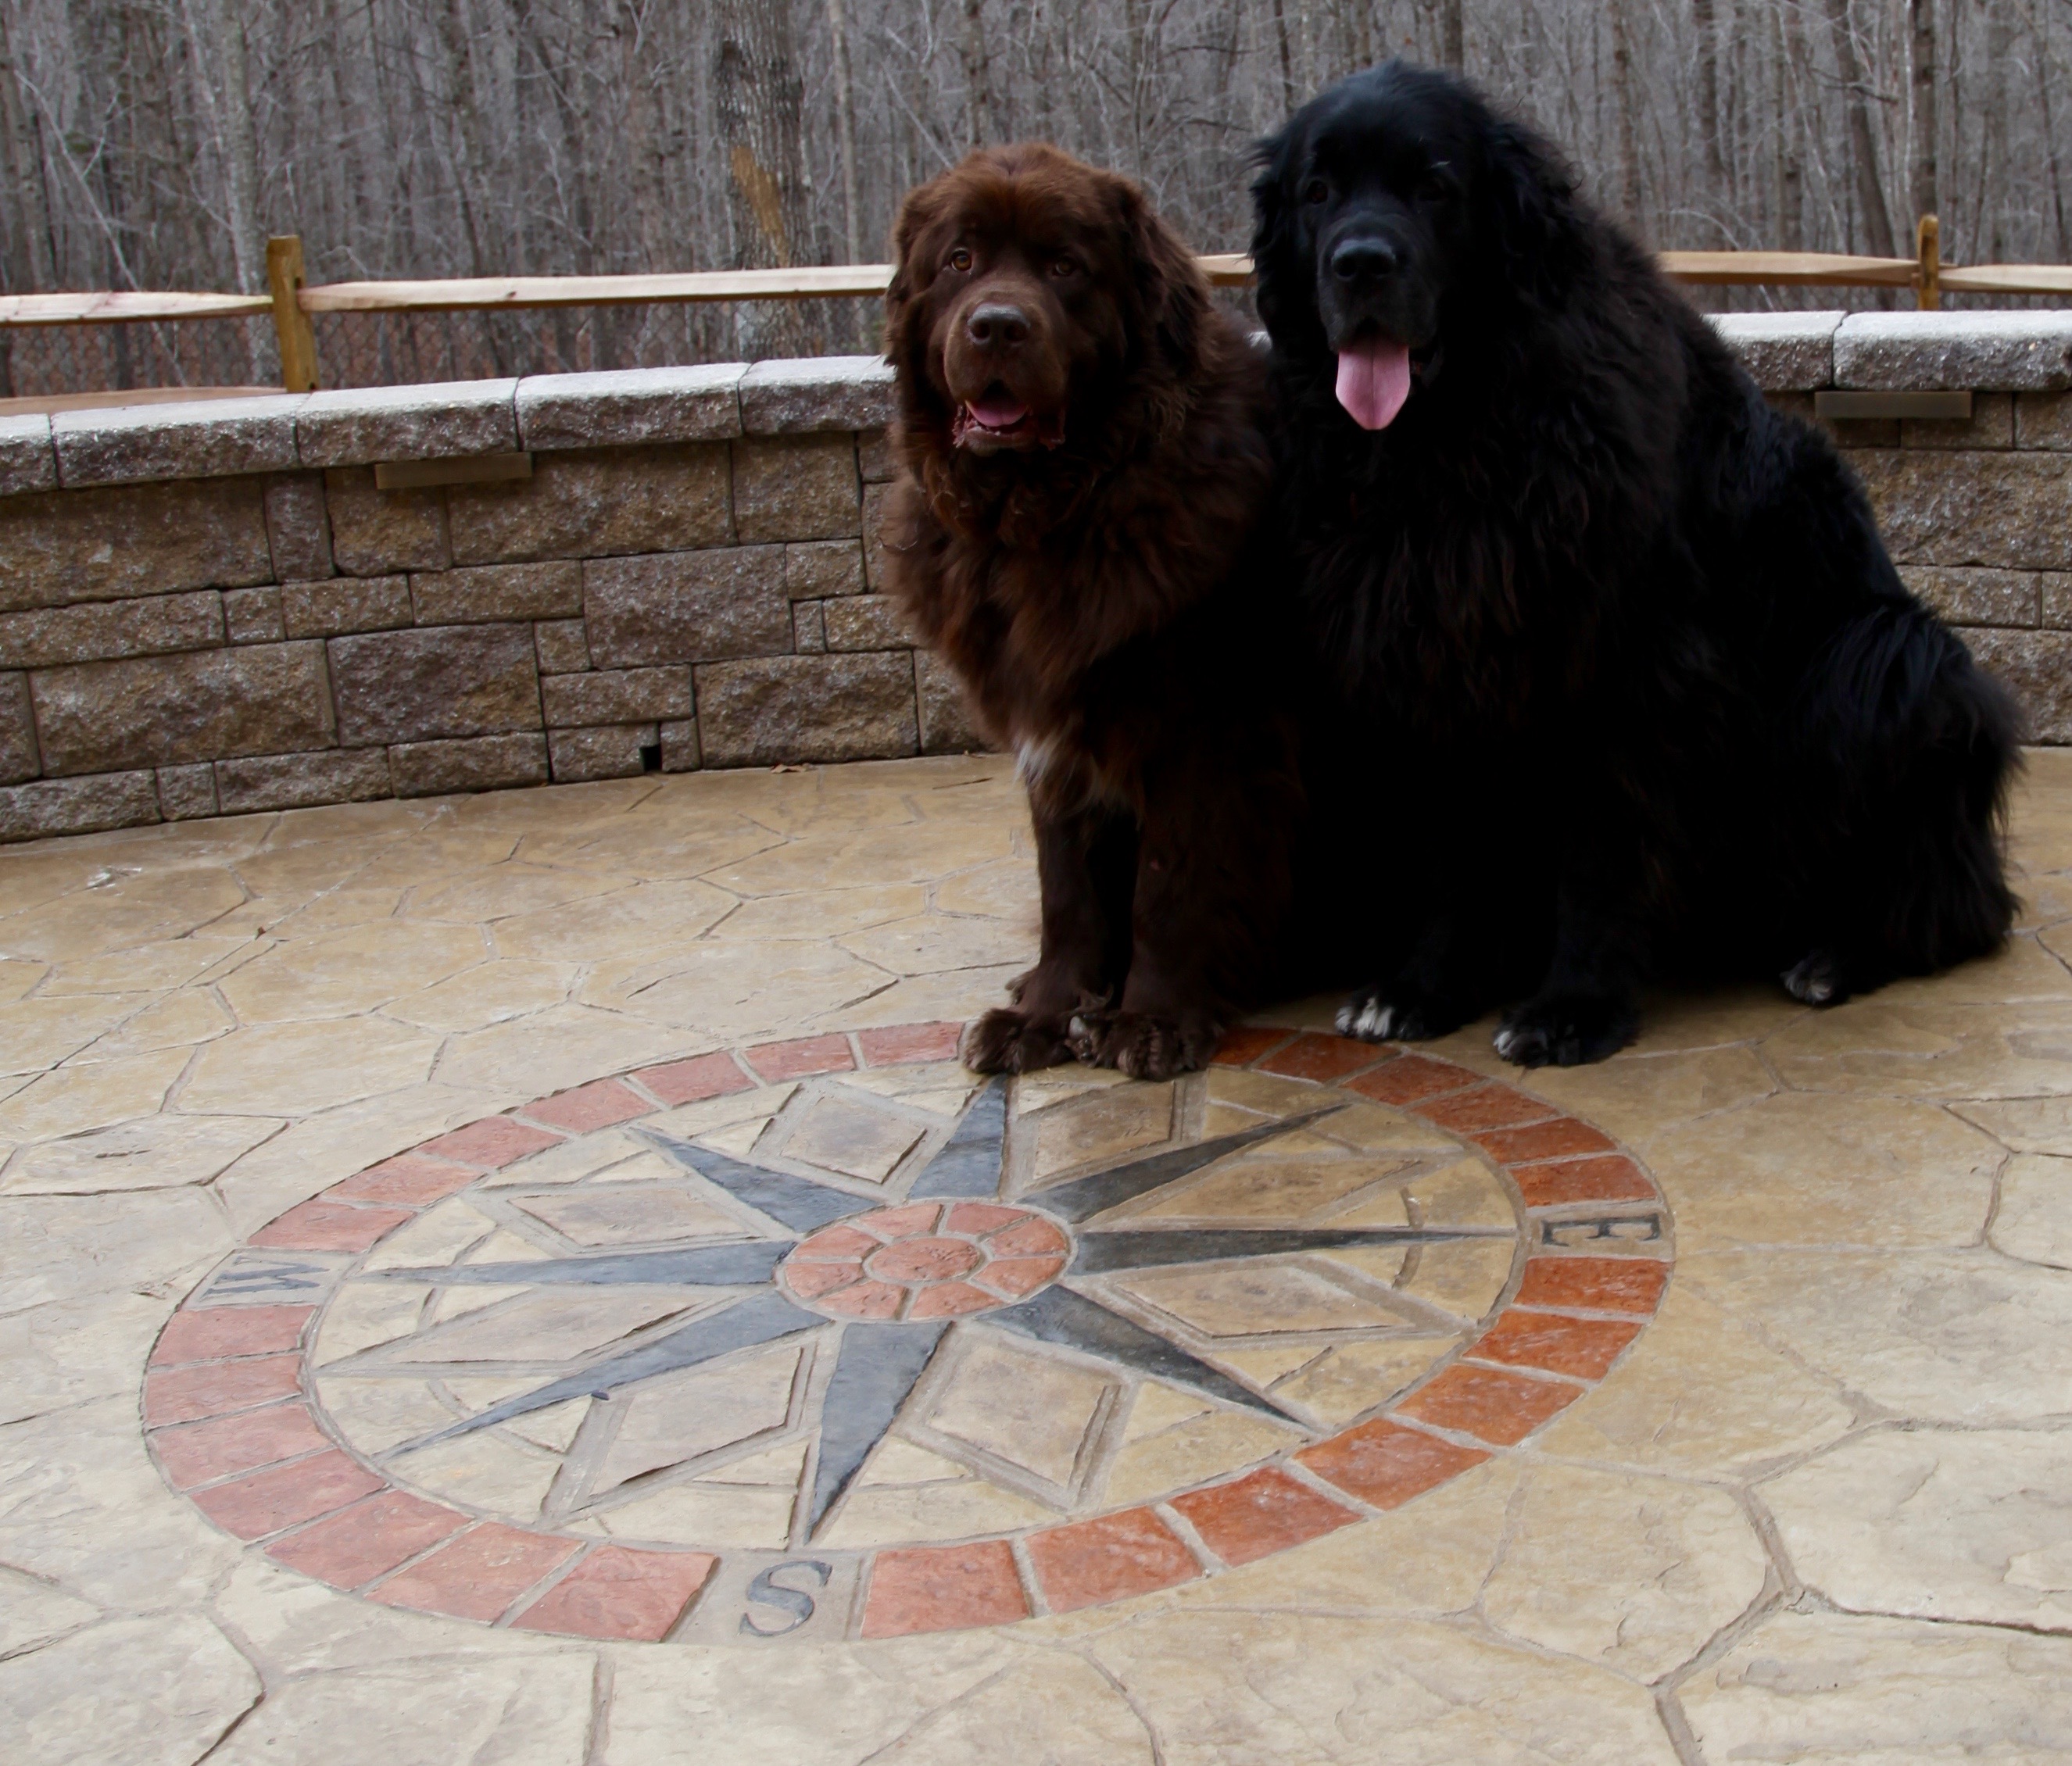
We chose to put a compass rose on the largest part of the patio:

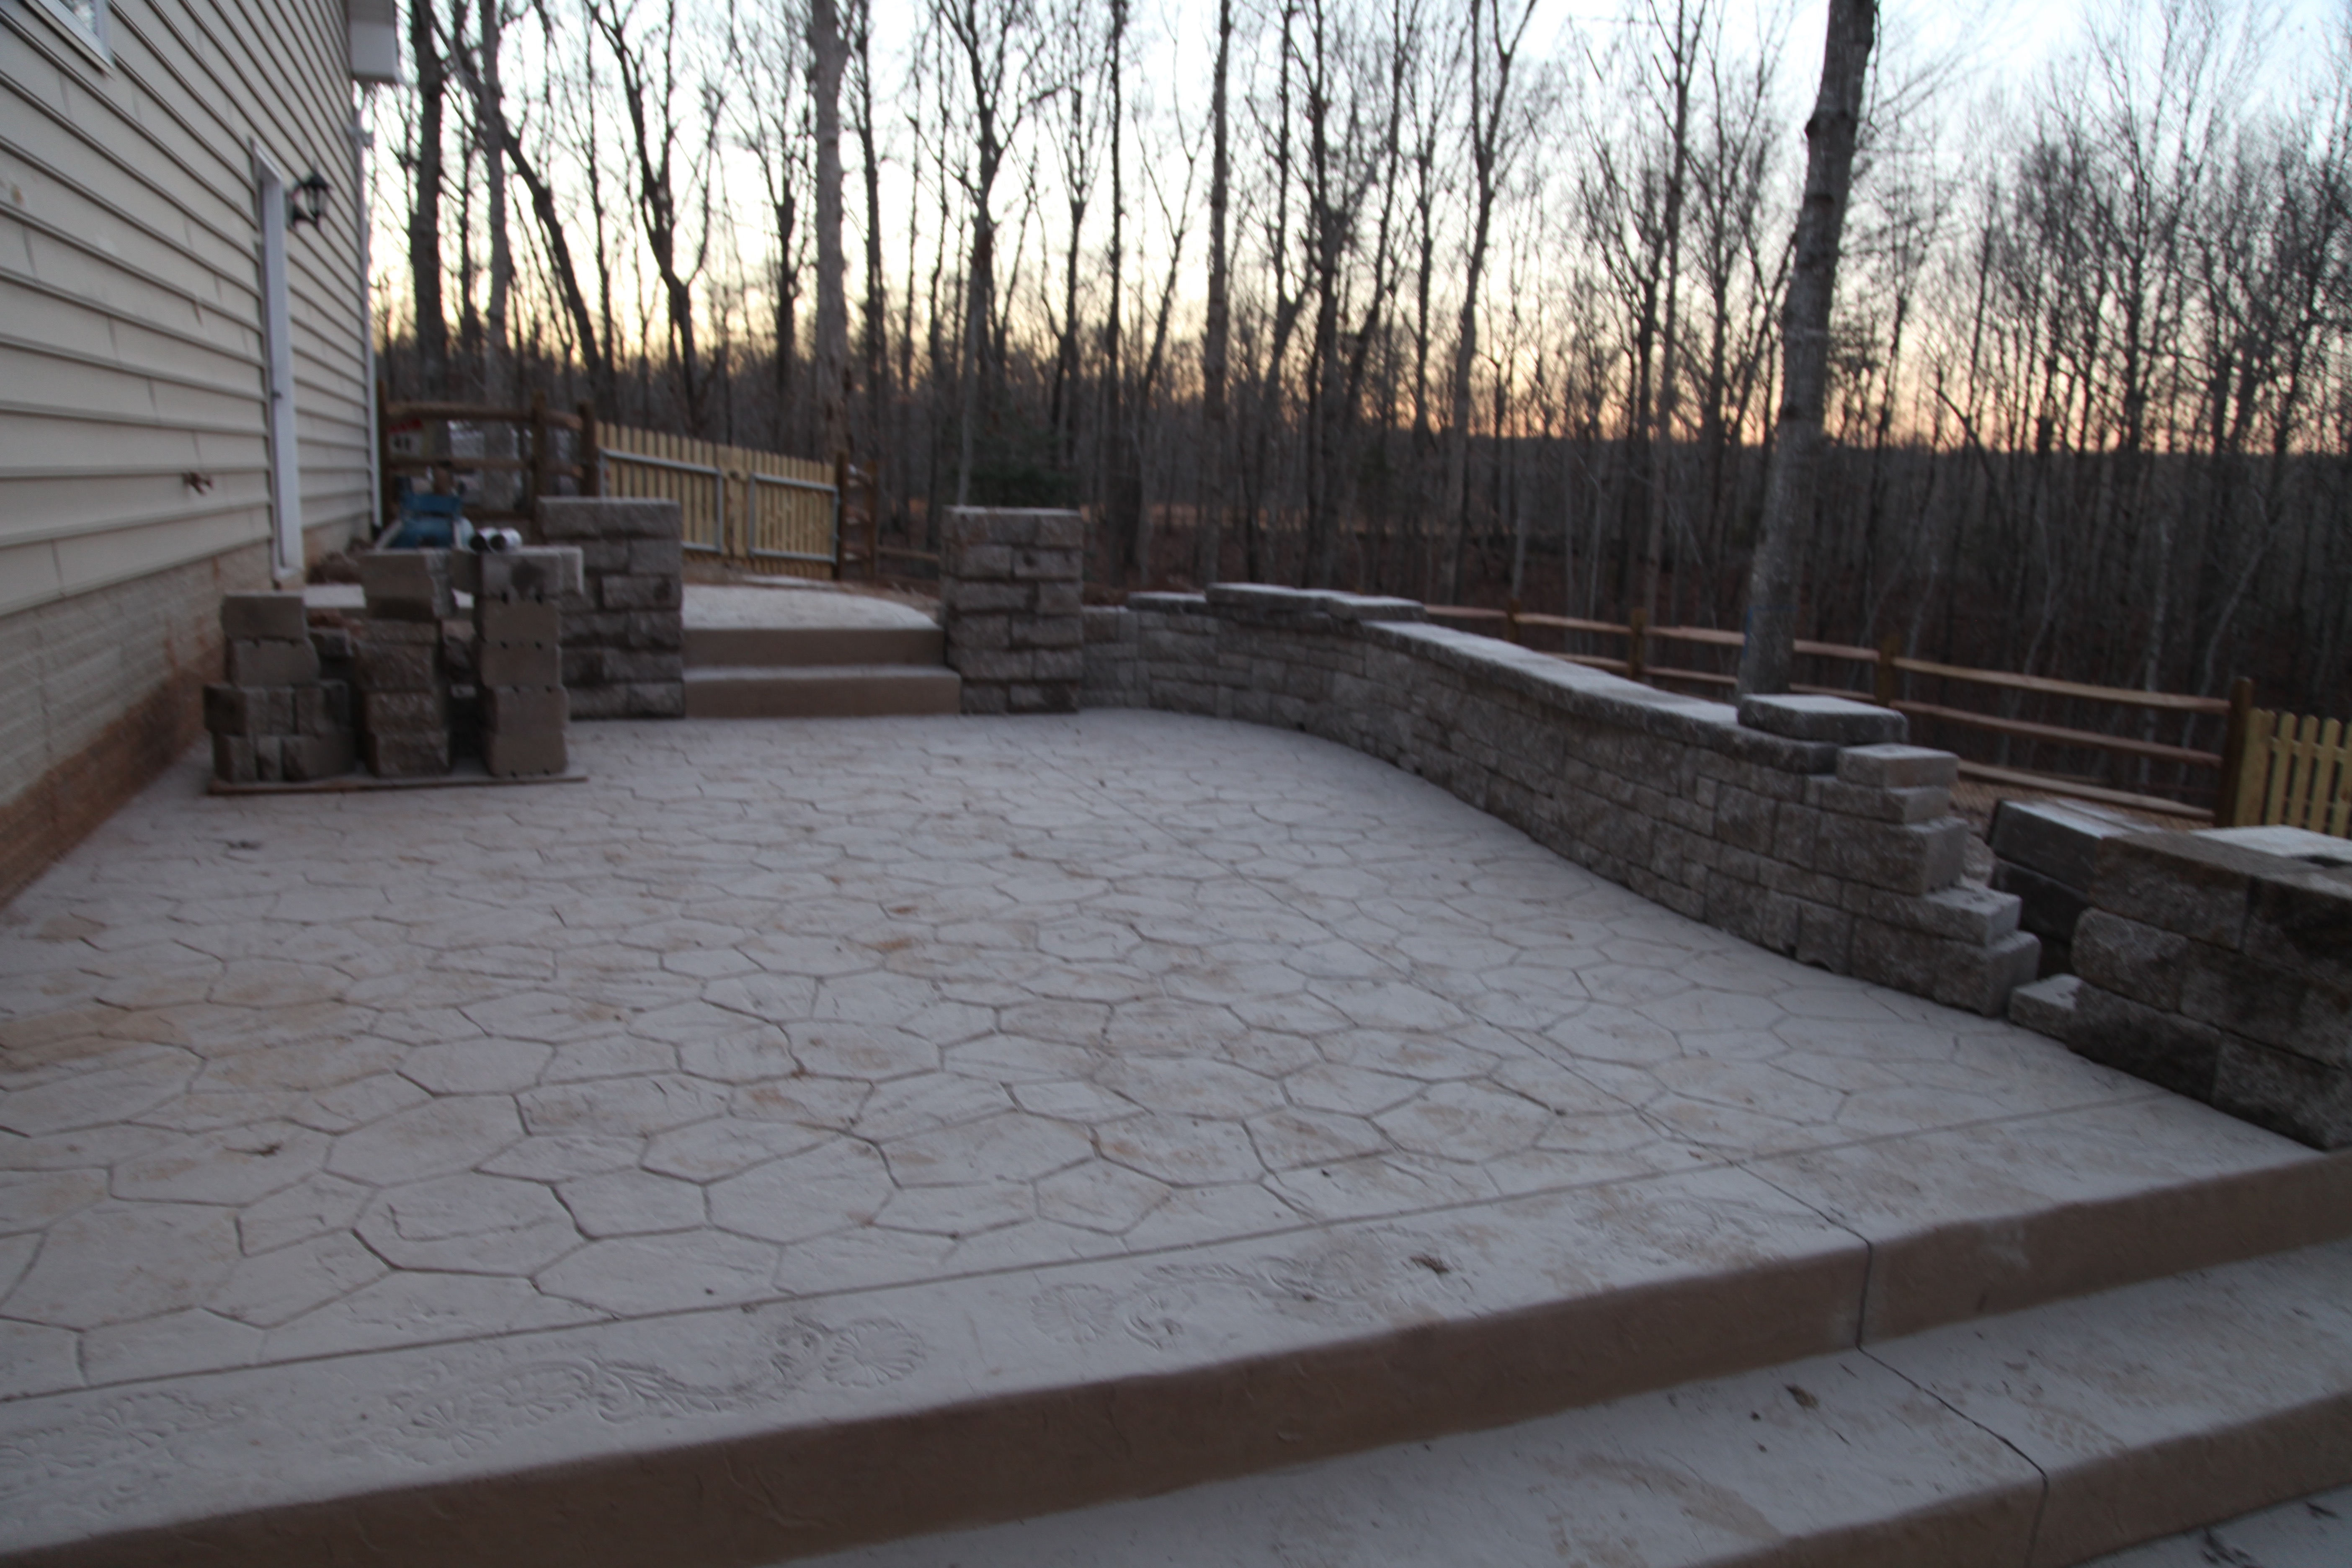
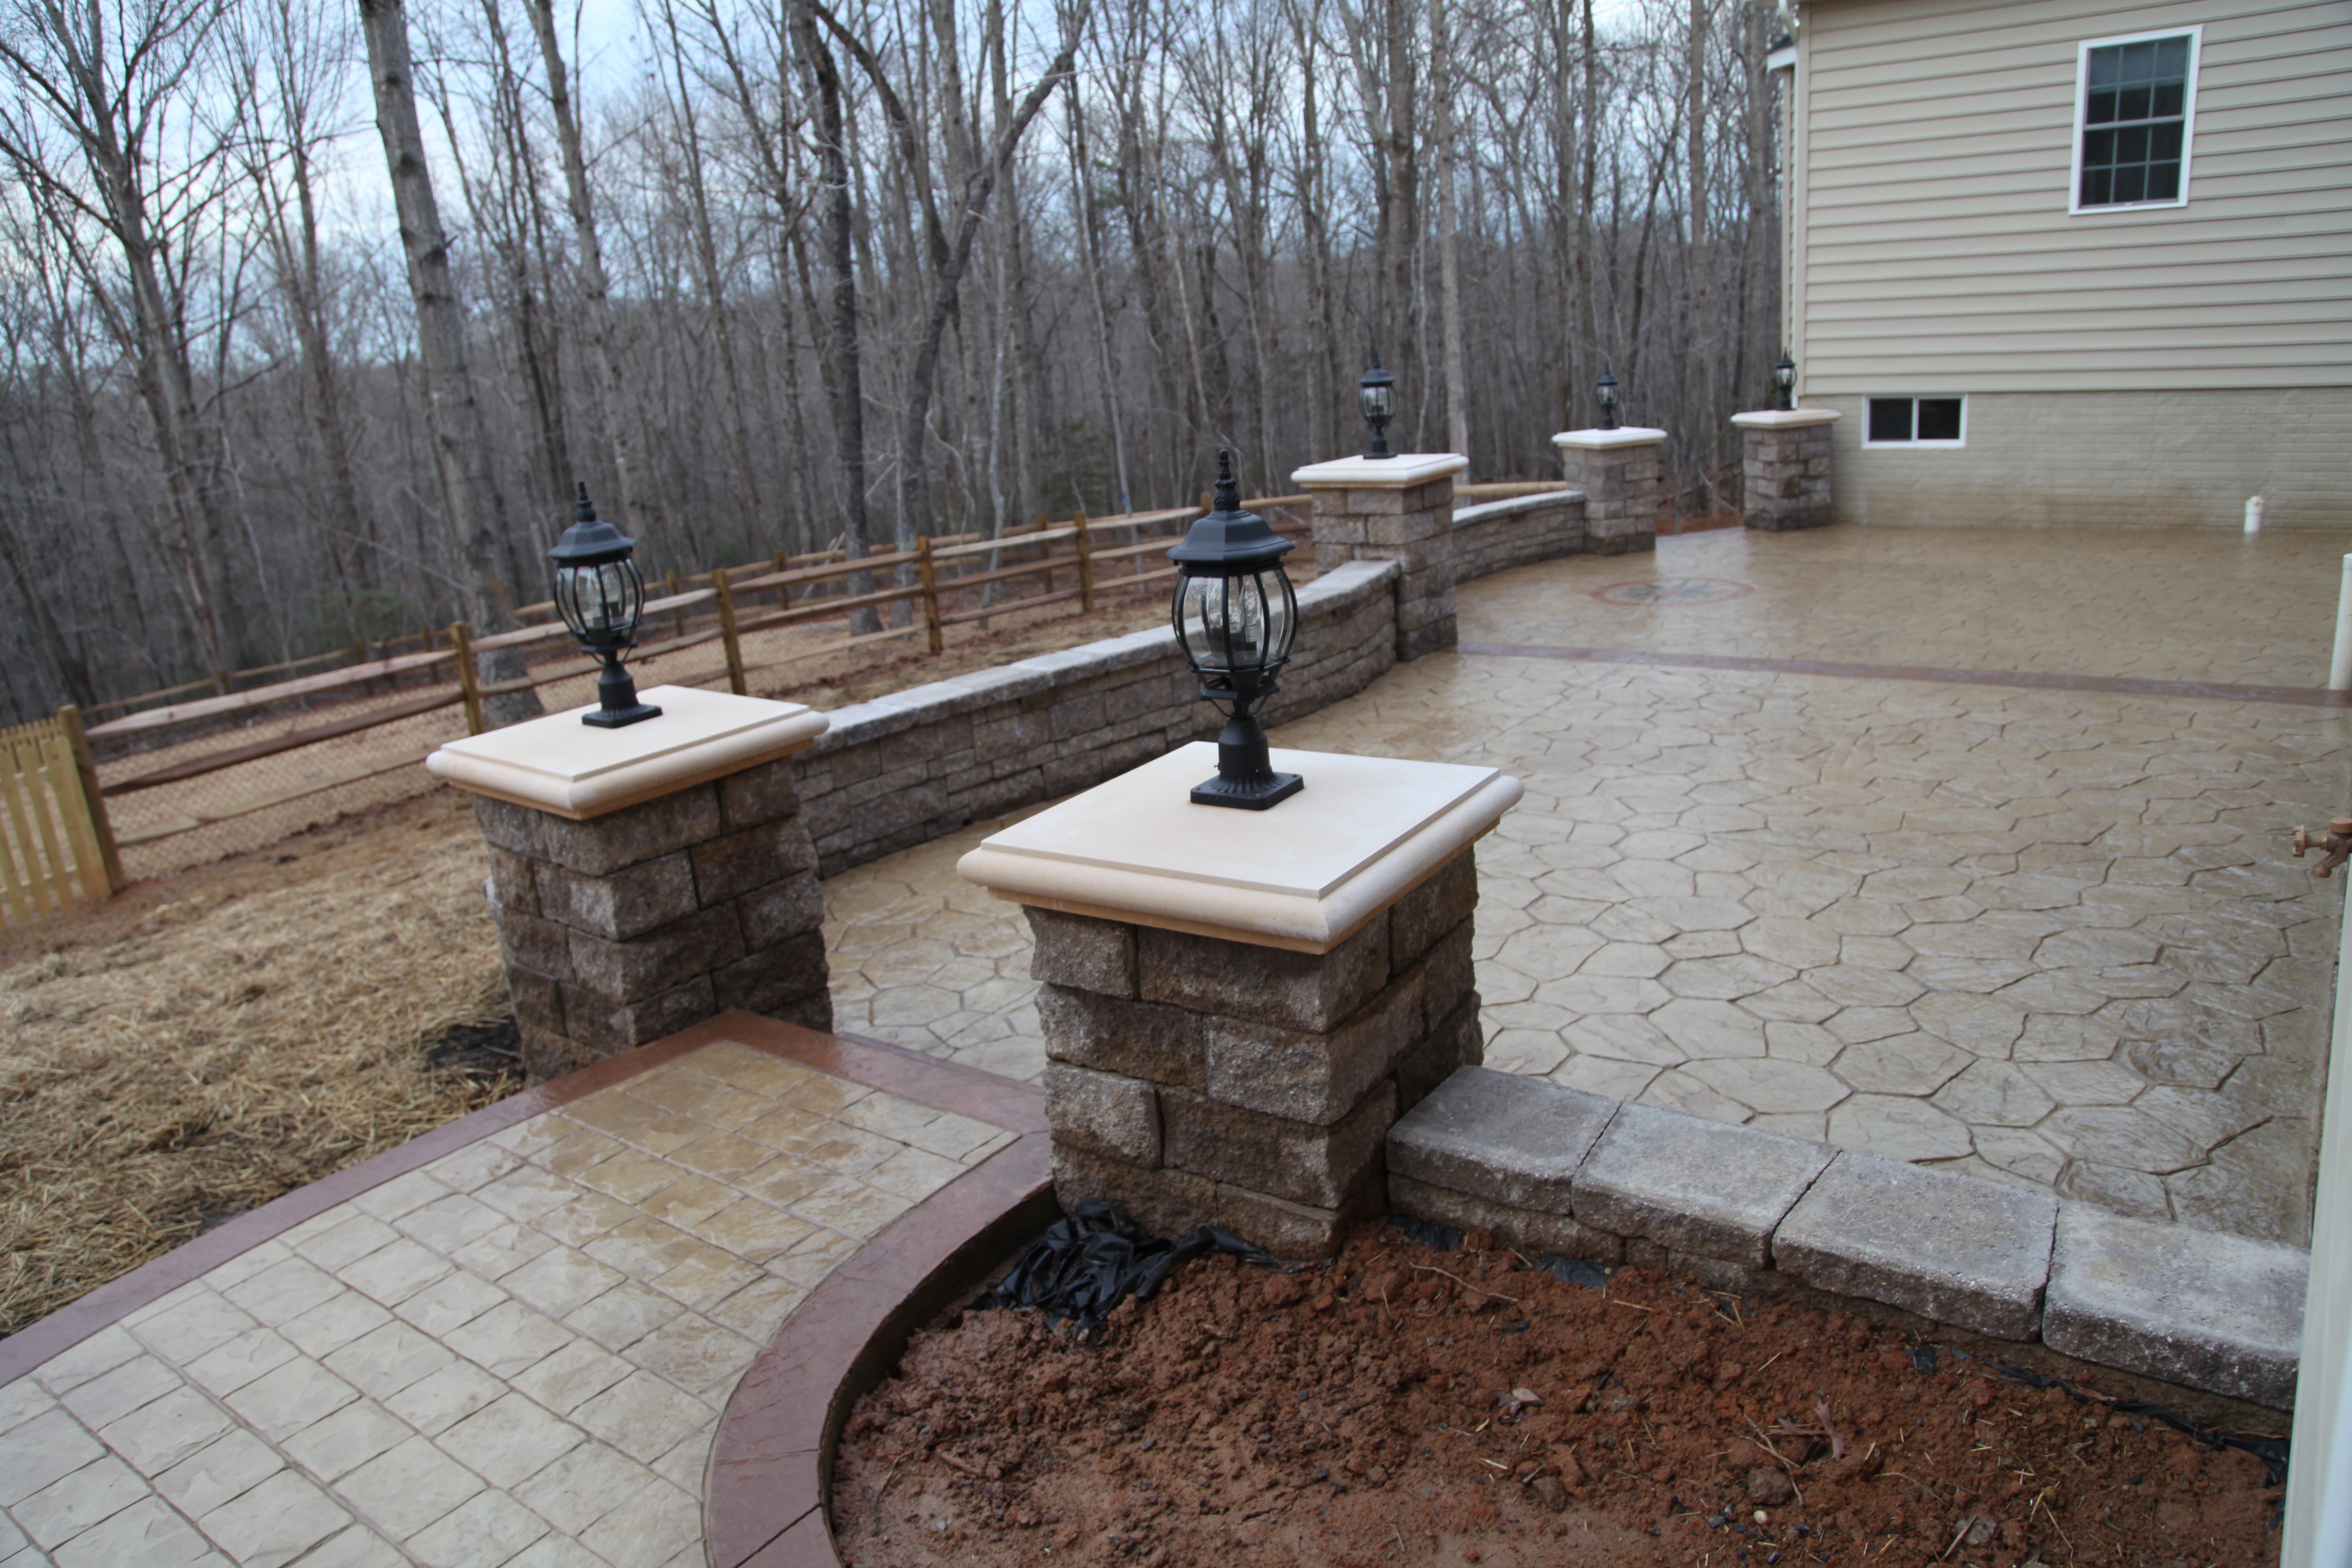
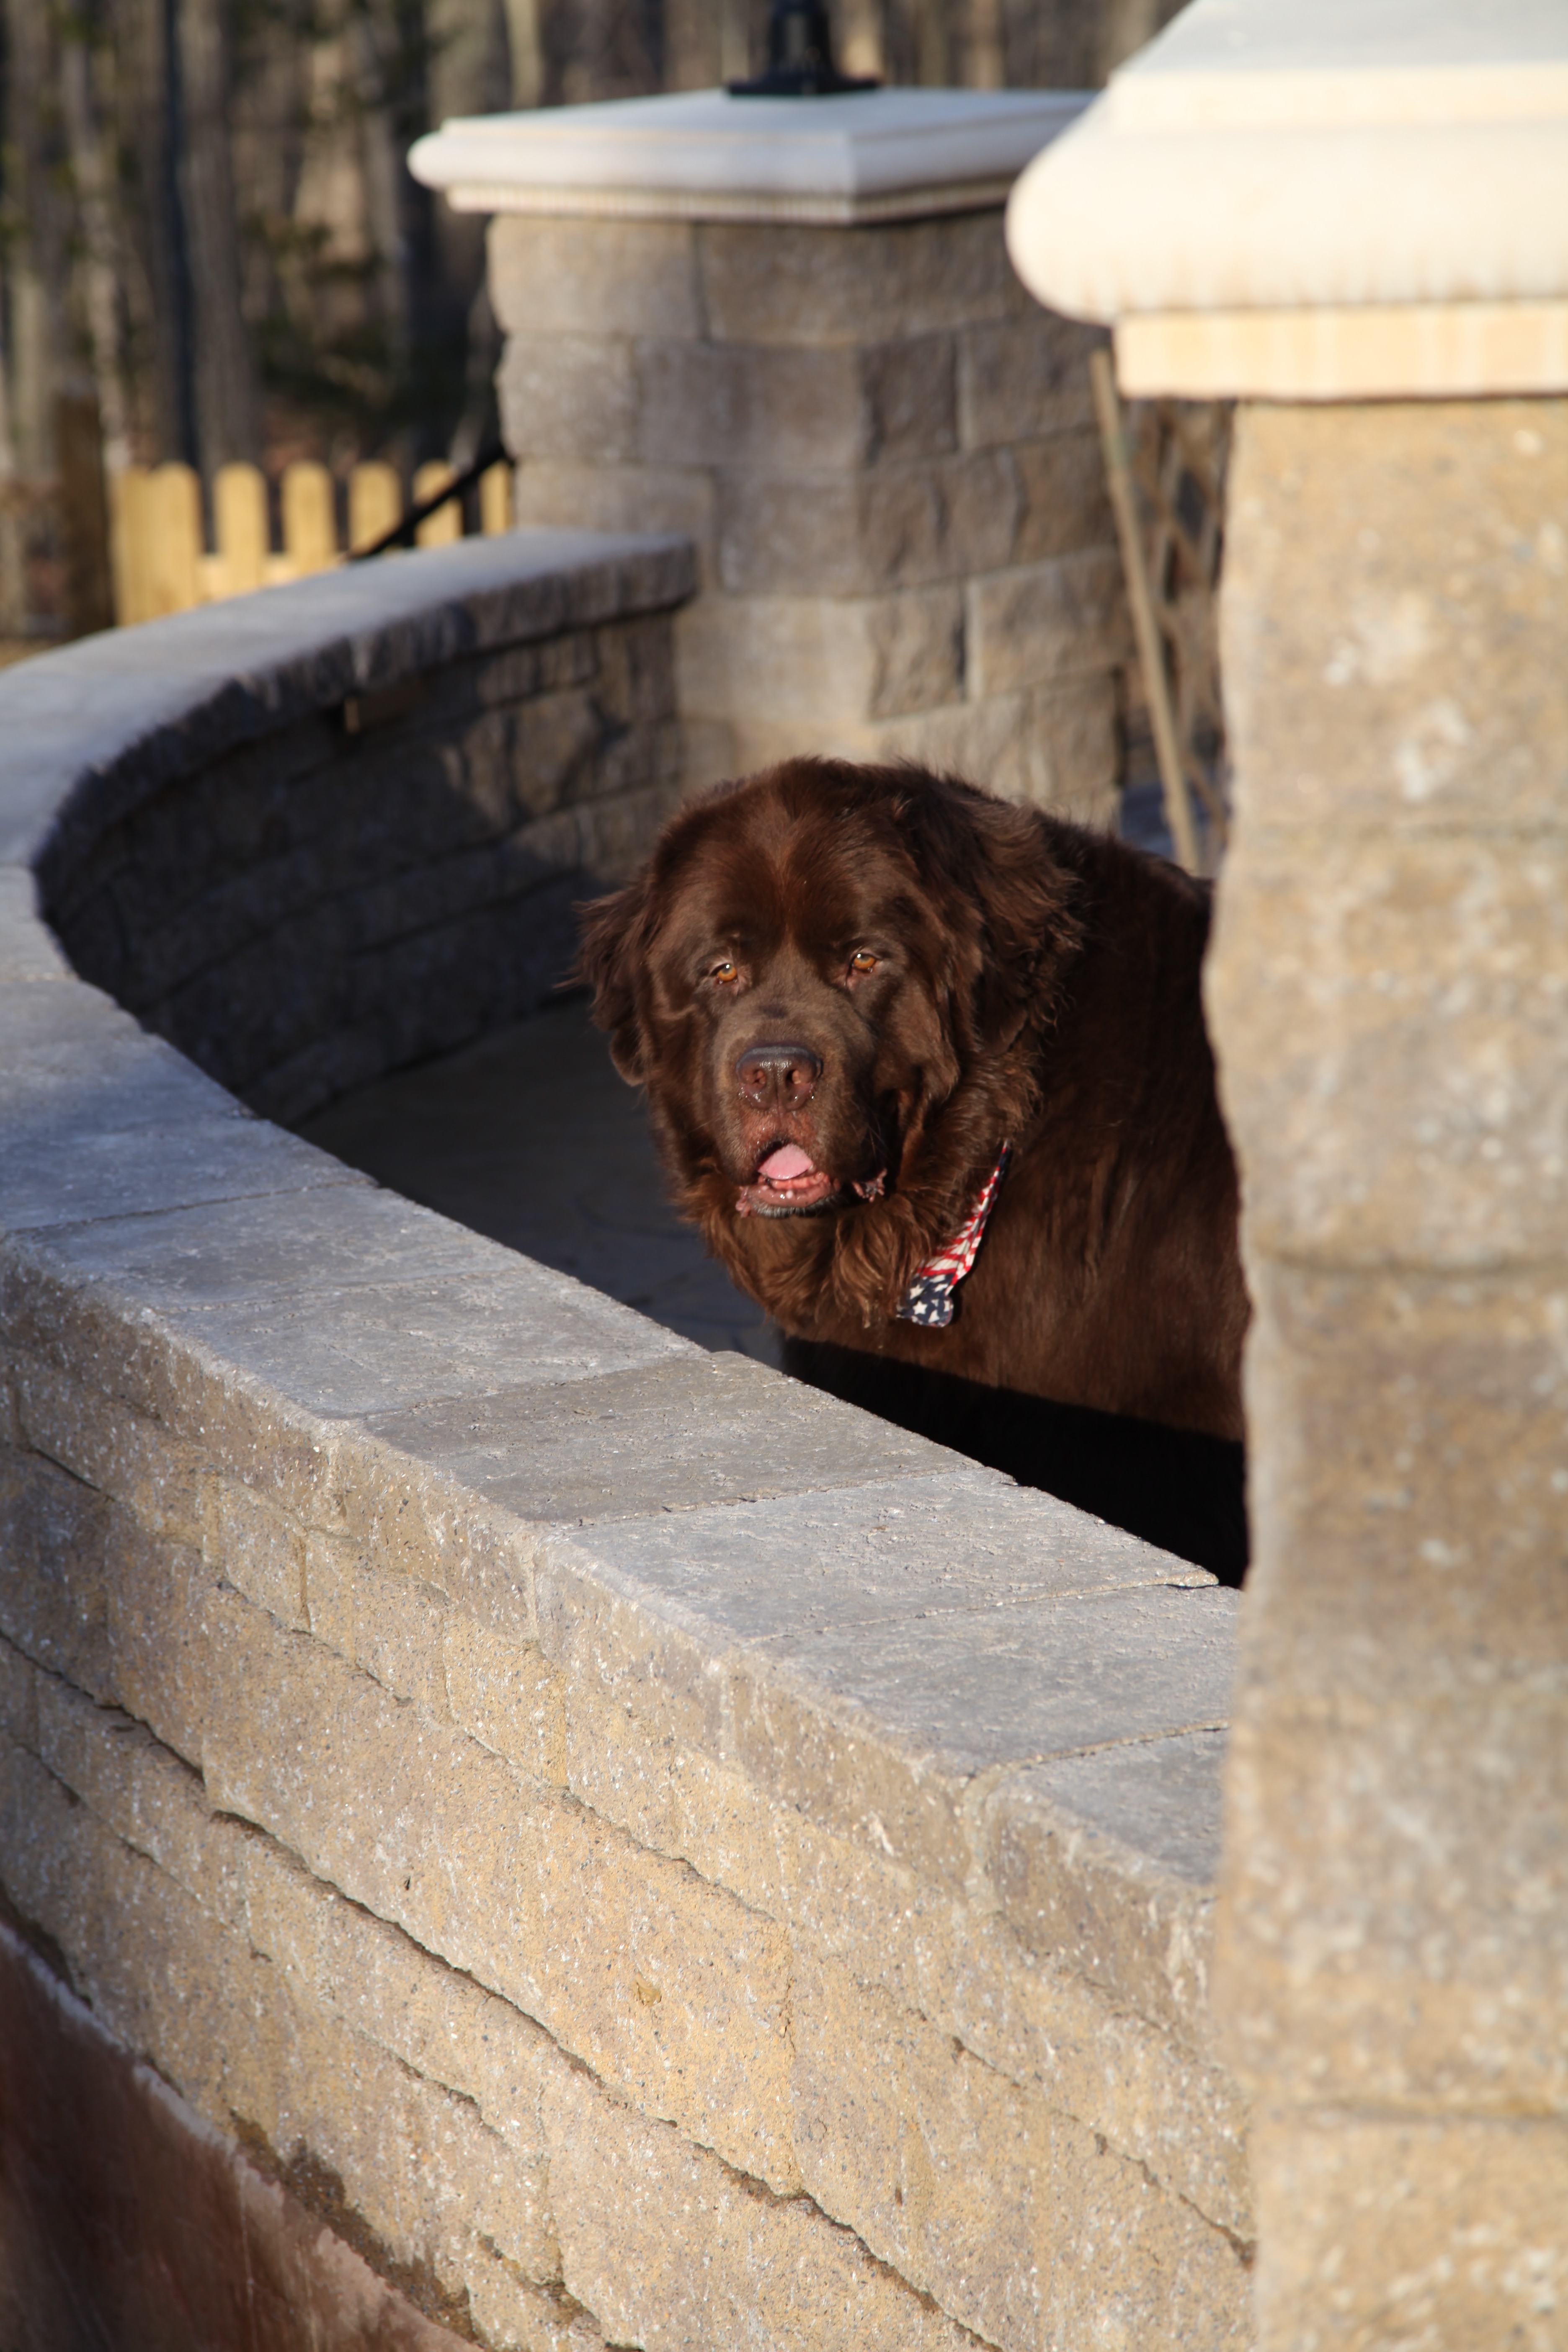
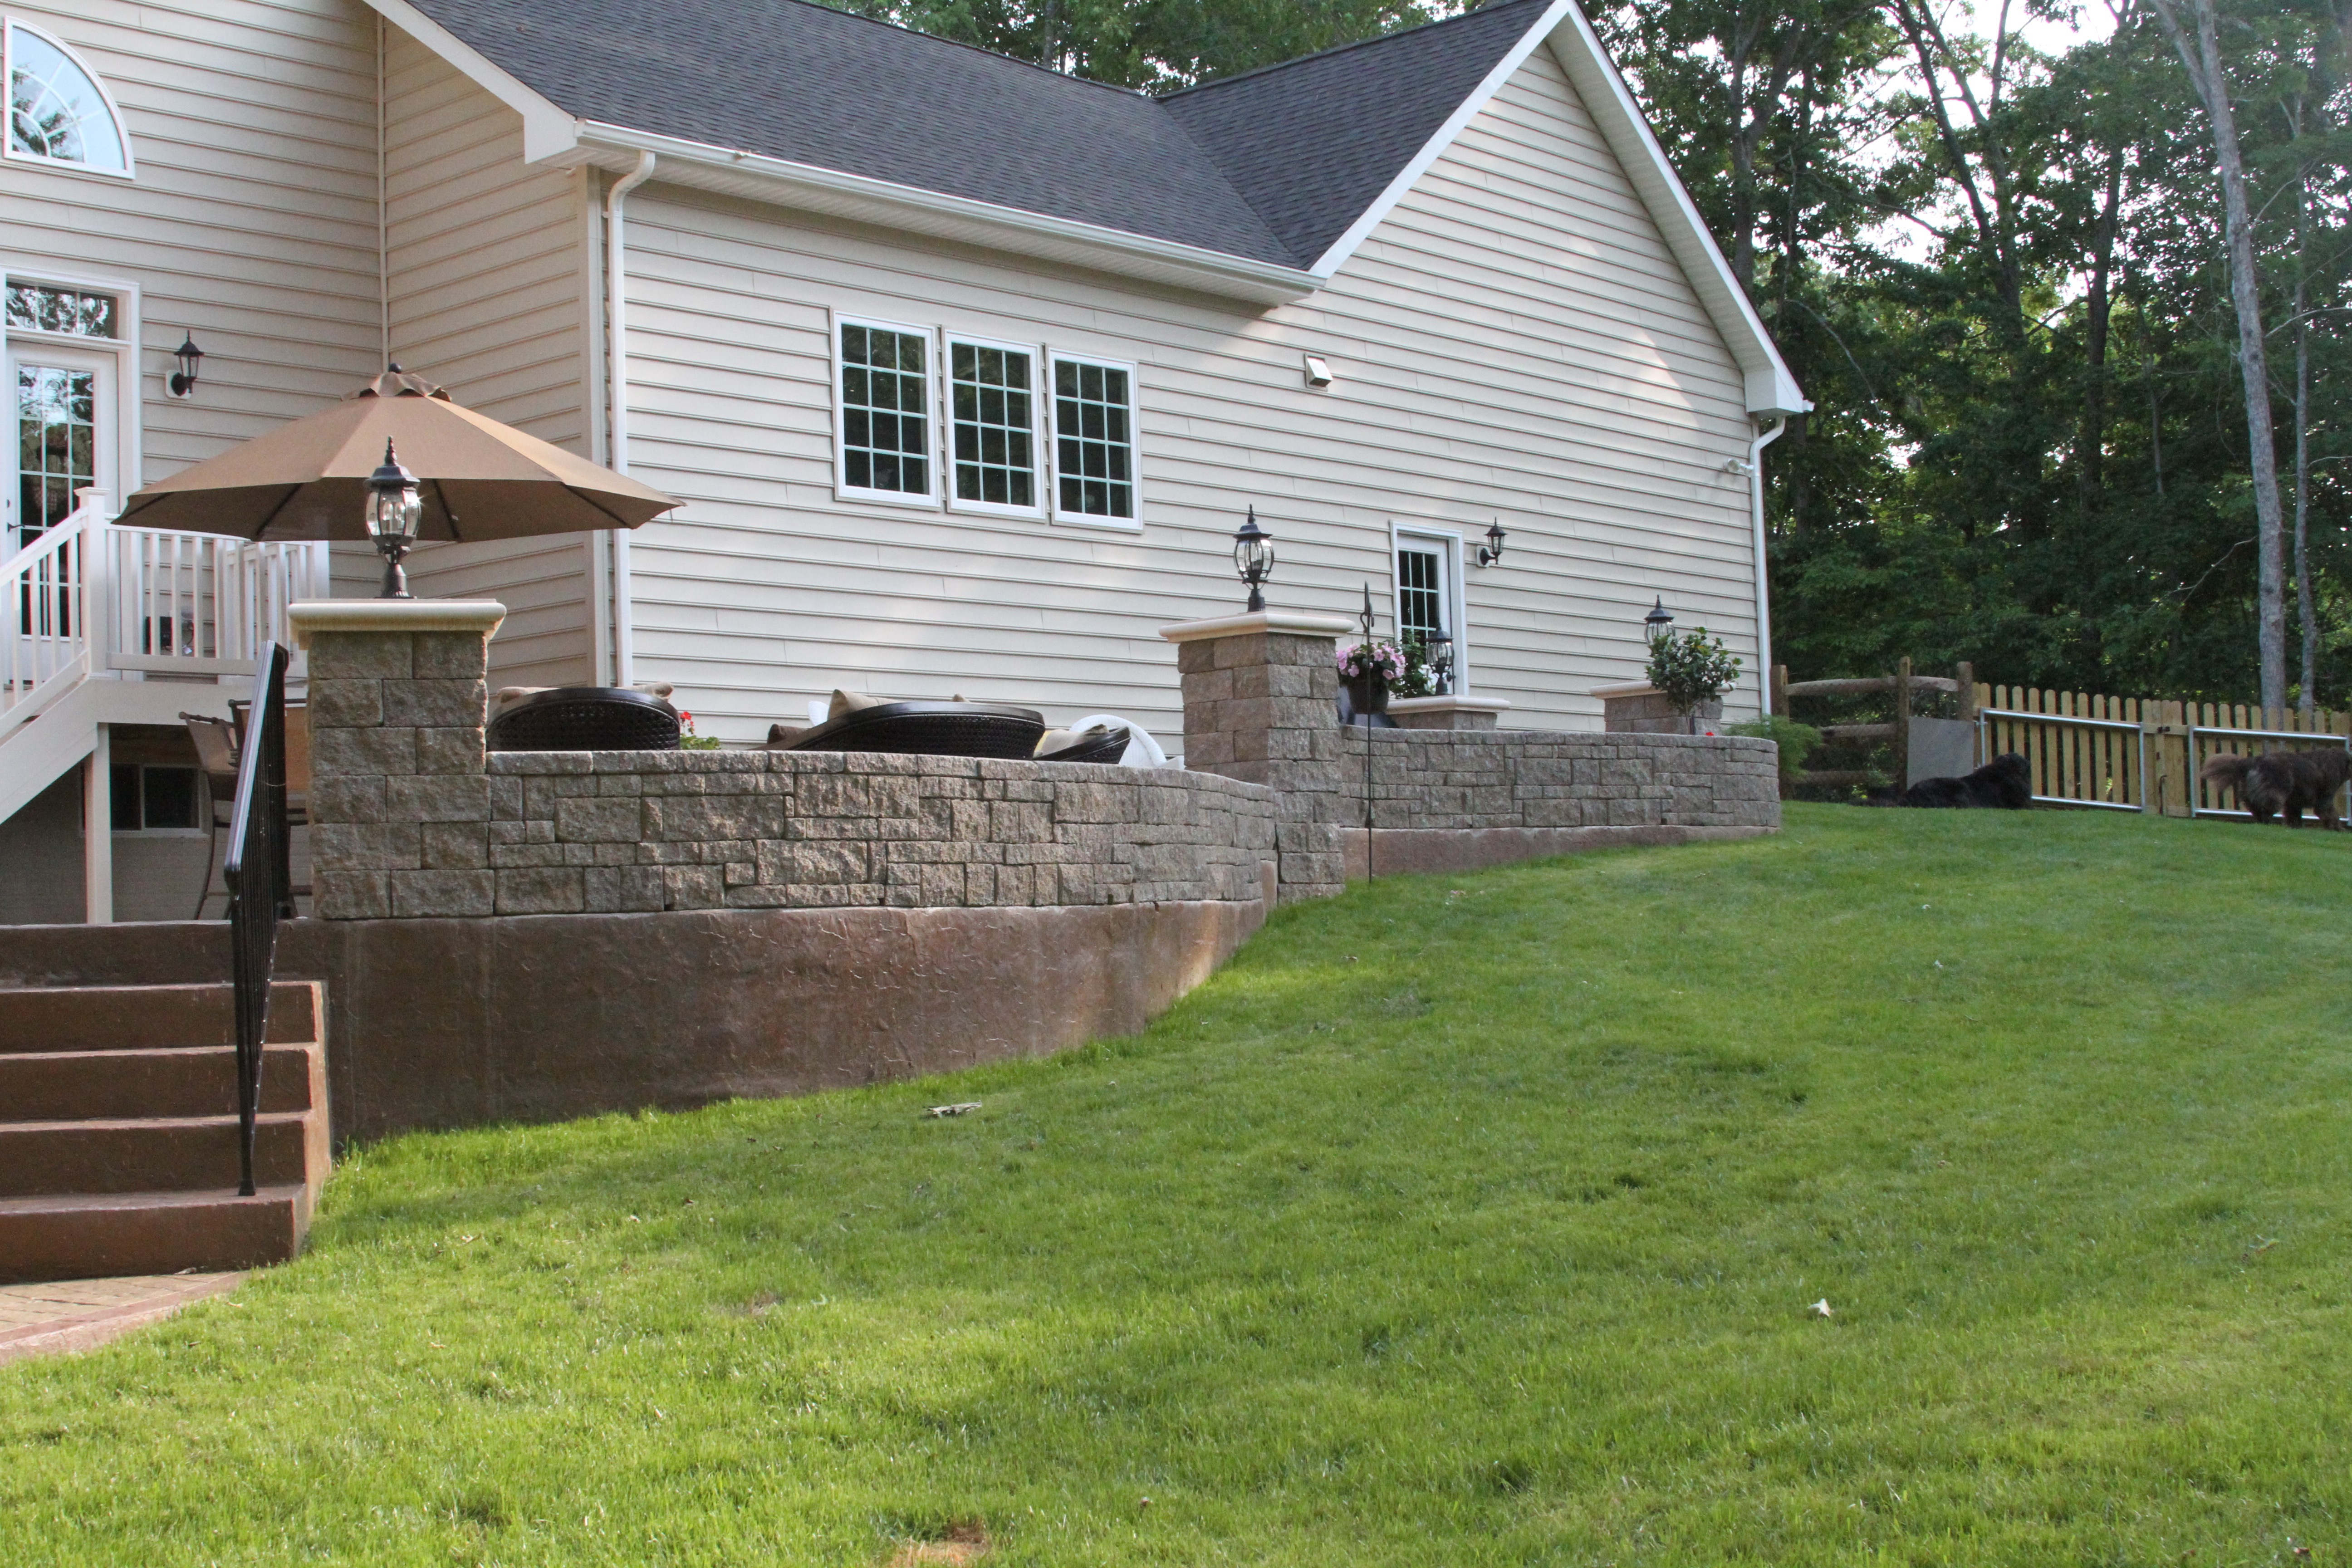
The next thing they did was construct the knee wall and the light columns, this took every bit of a week to complete:


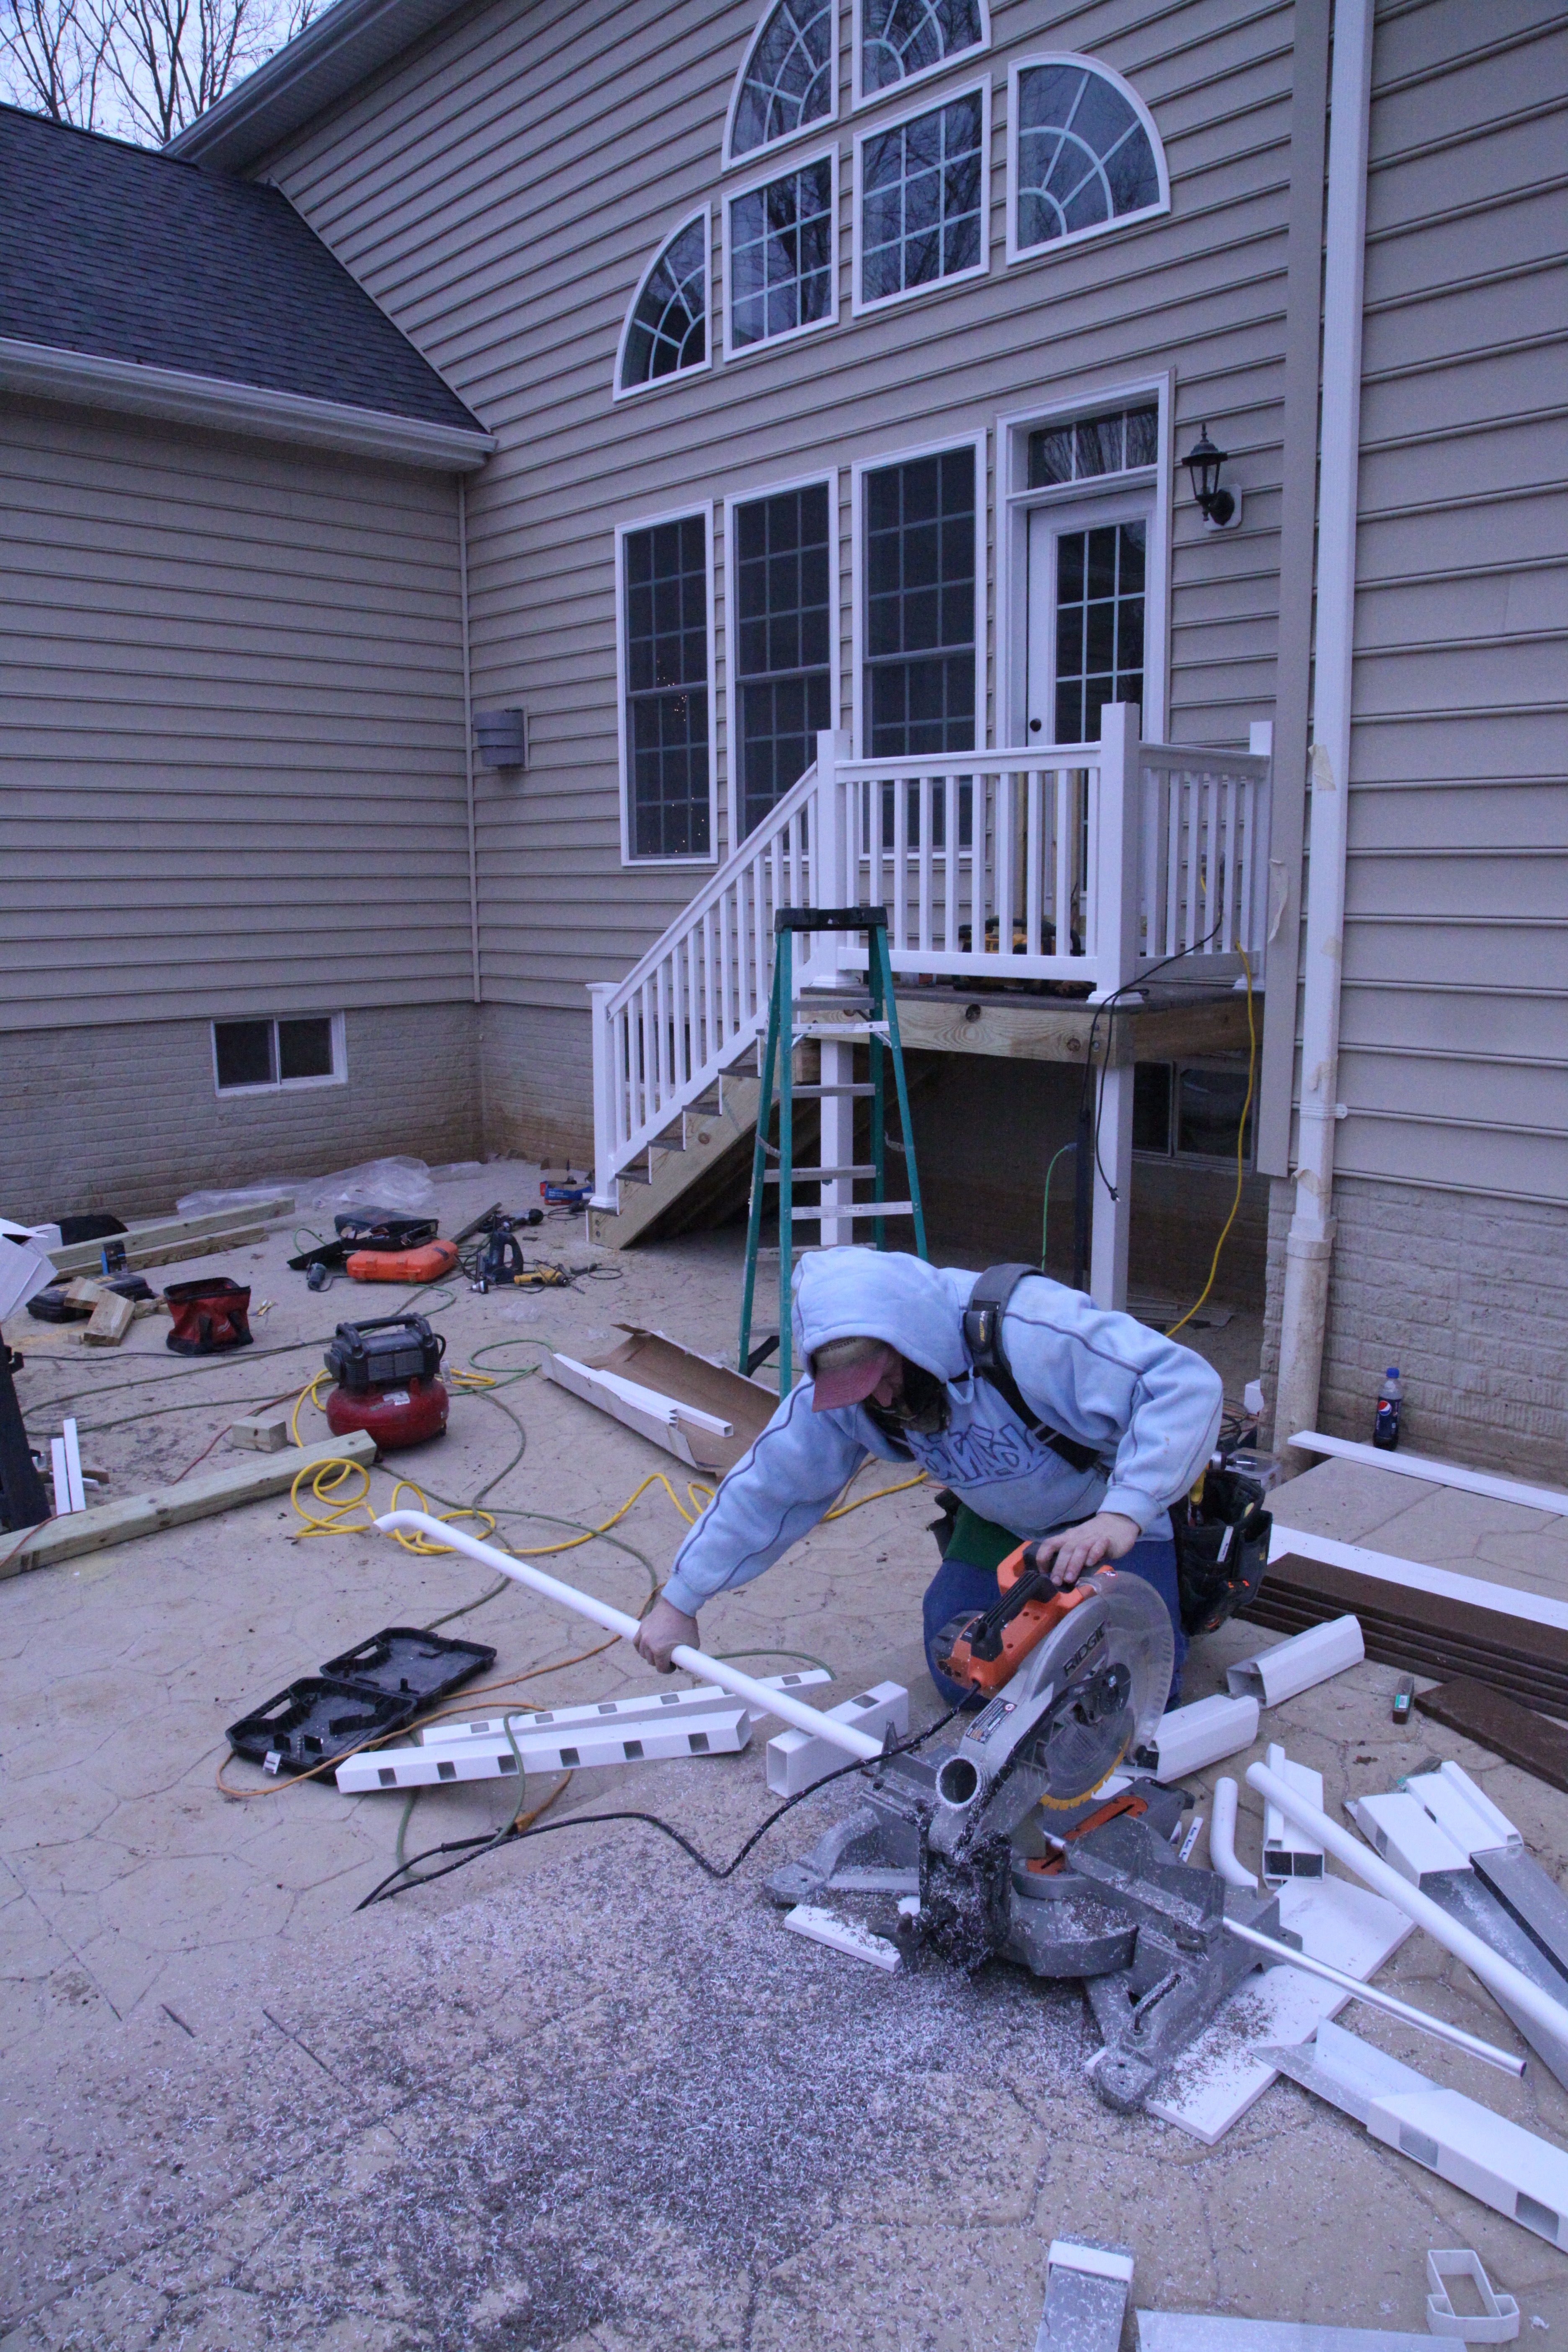
Then it was time to build a little deck and stairway; composite materials were used…

The next and one of the most tedious tasks was the staining process. We chose a neutral color for the main body of the patio and the walkways. The borders were stamped with the daisy pattern; the borders and the steps were stained a terra-cotta reddish color. They hand painted the compass rose:

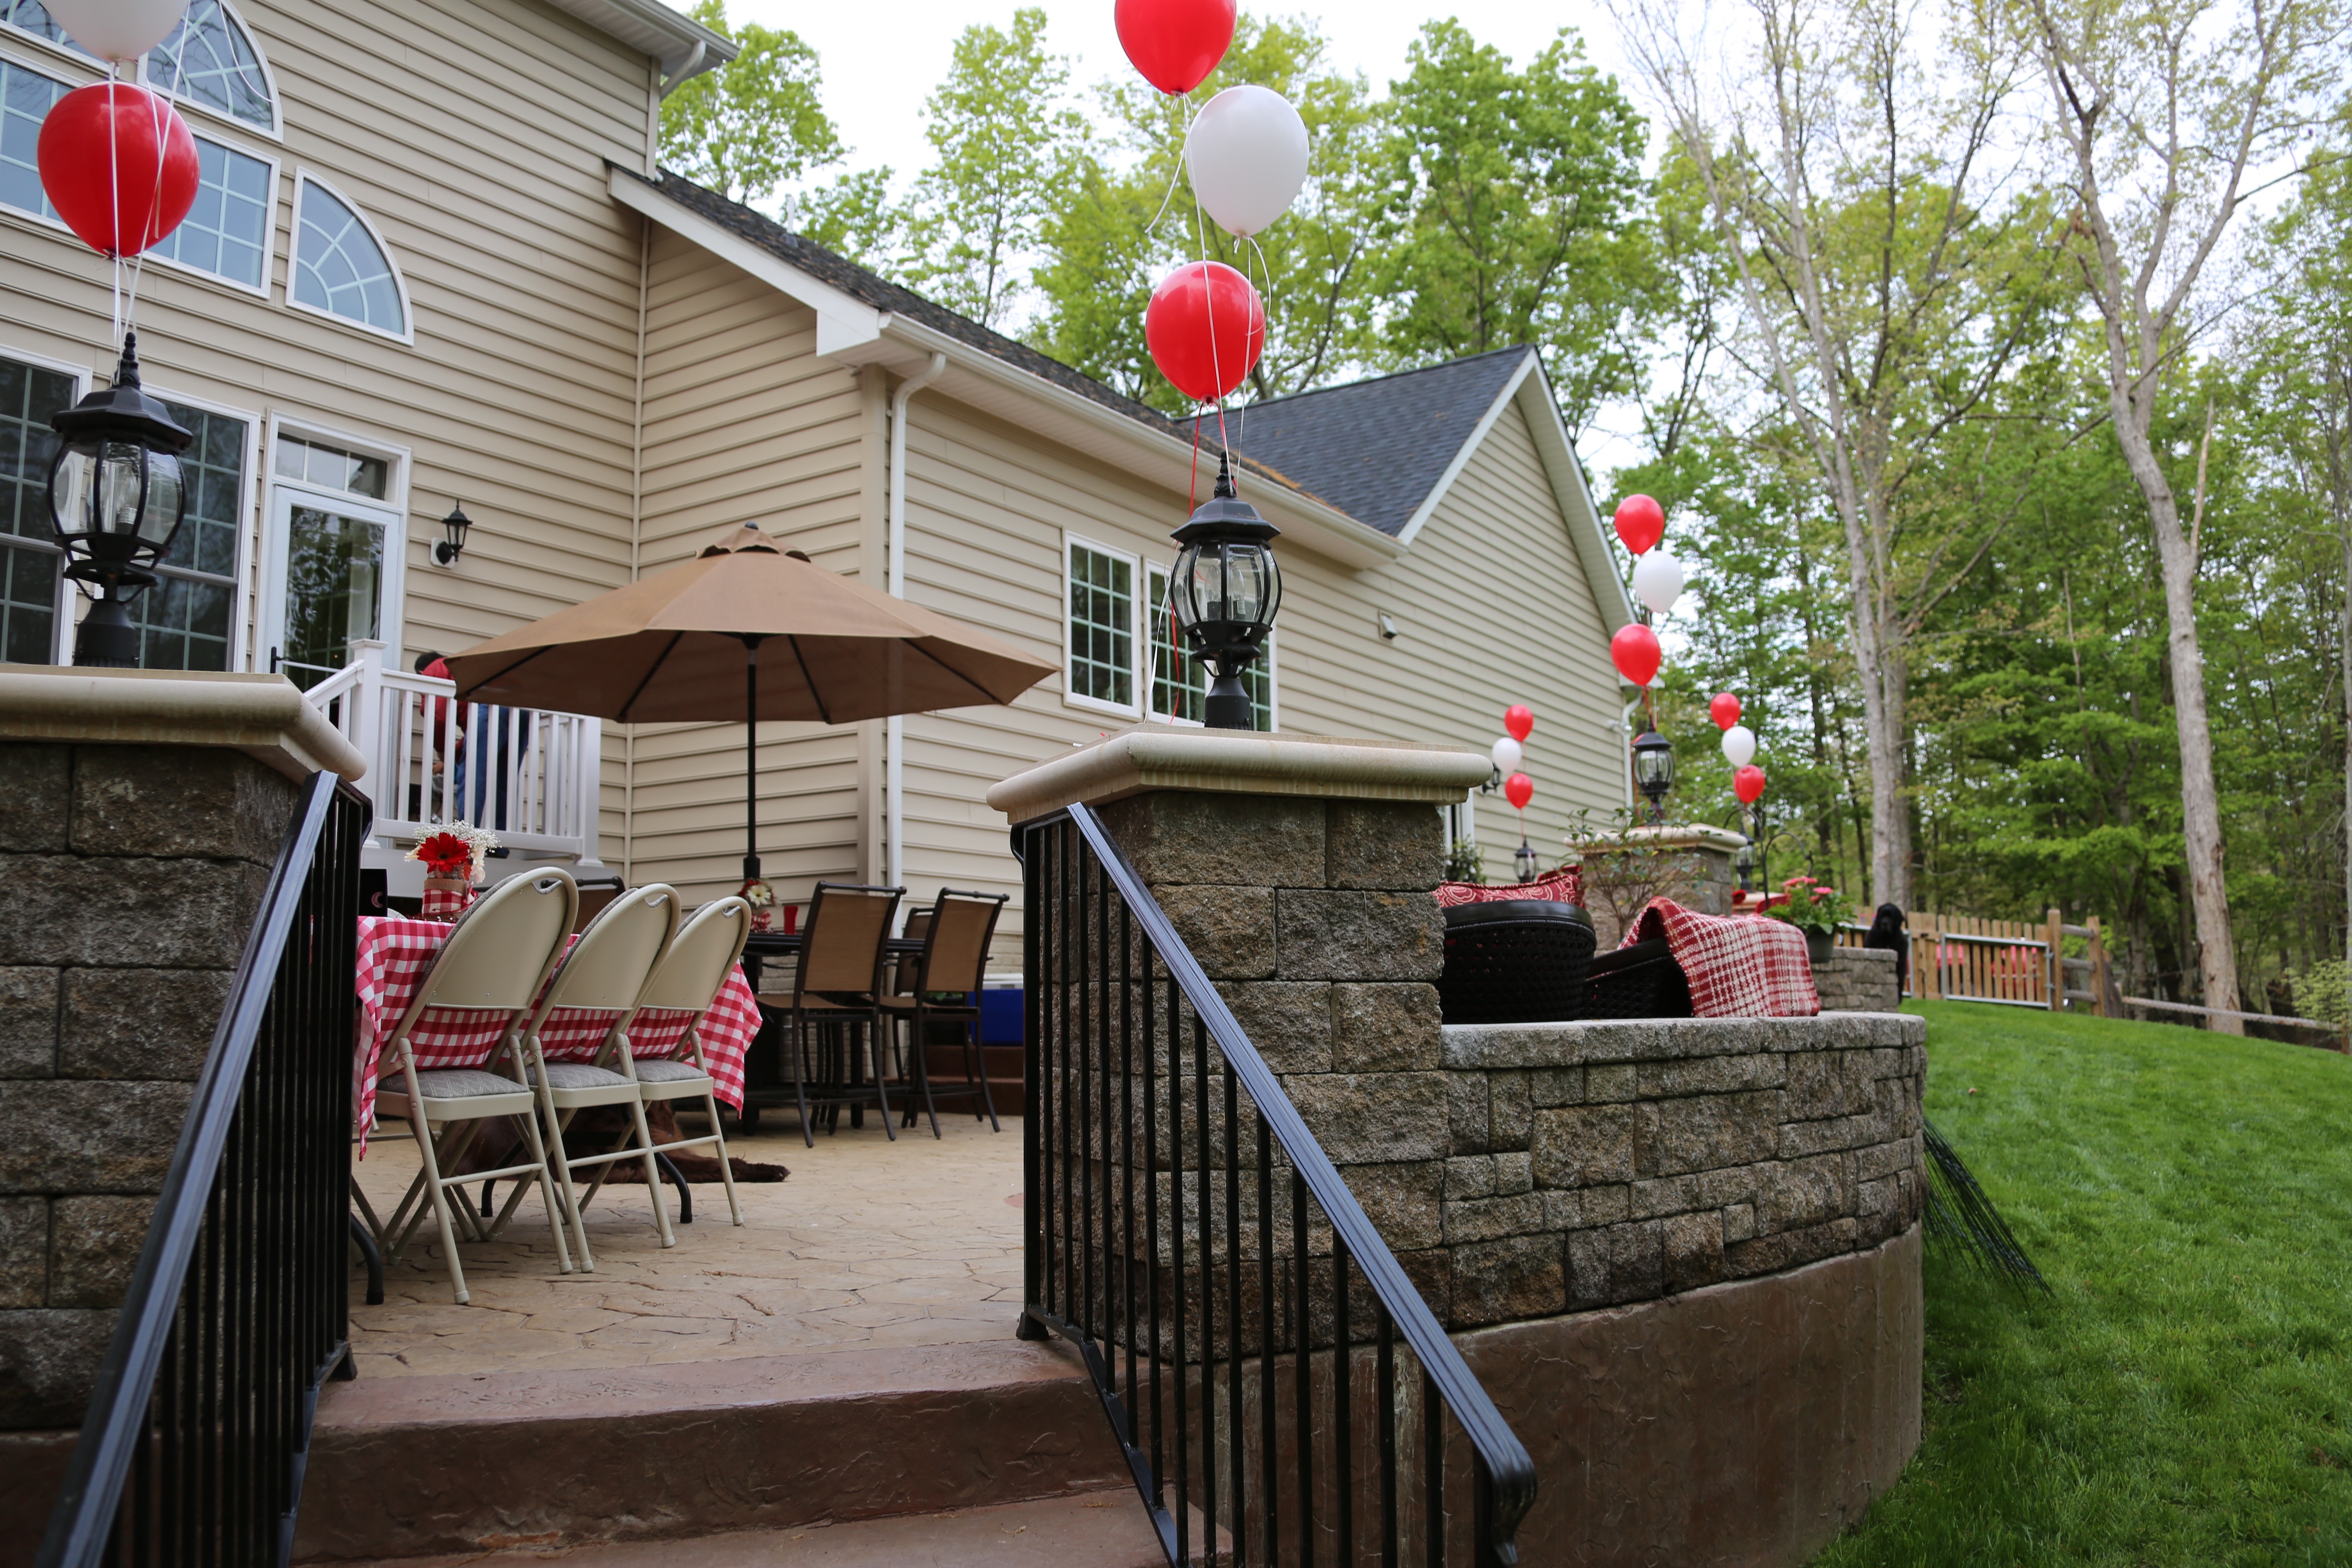
We chose the same lights for the patio that the builder put on the front of our house and there are also lights under the lip of the knee wall and on the deck stairs. (I’m all about the lighting…I love the lighting!)


When all was said and done, they did a lovely job on our patio! We utilize it all of the time in all Seasons. 🙂
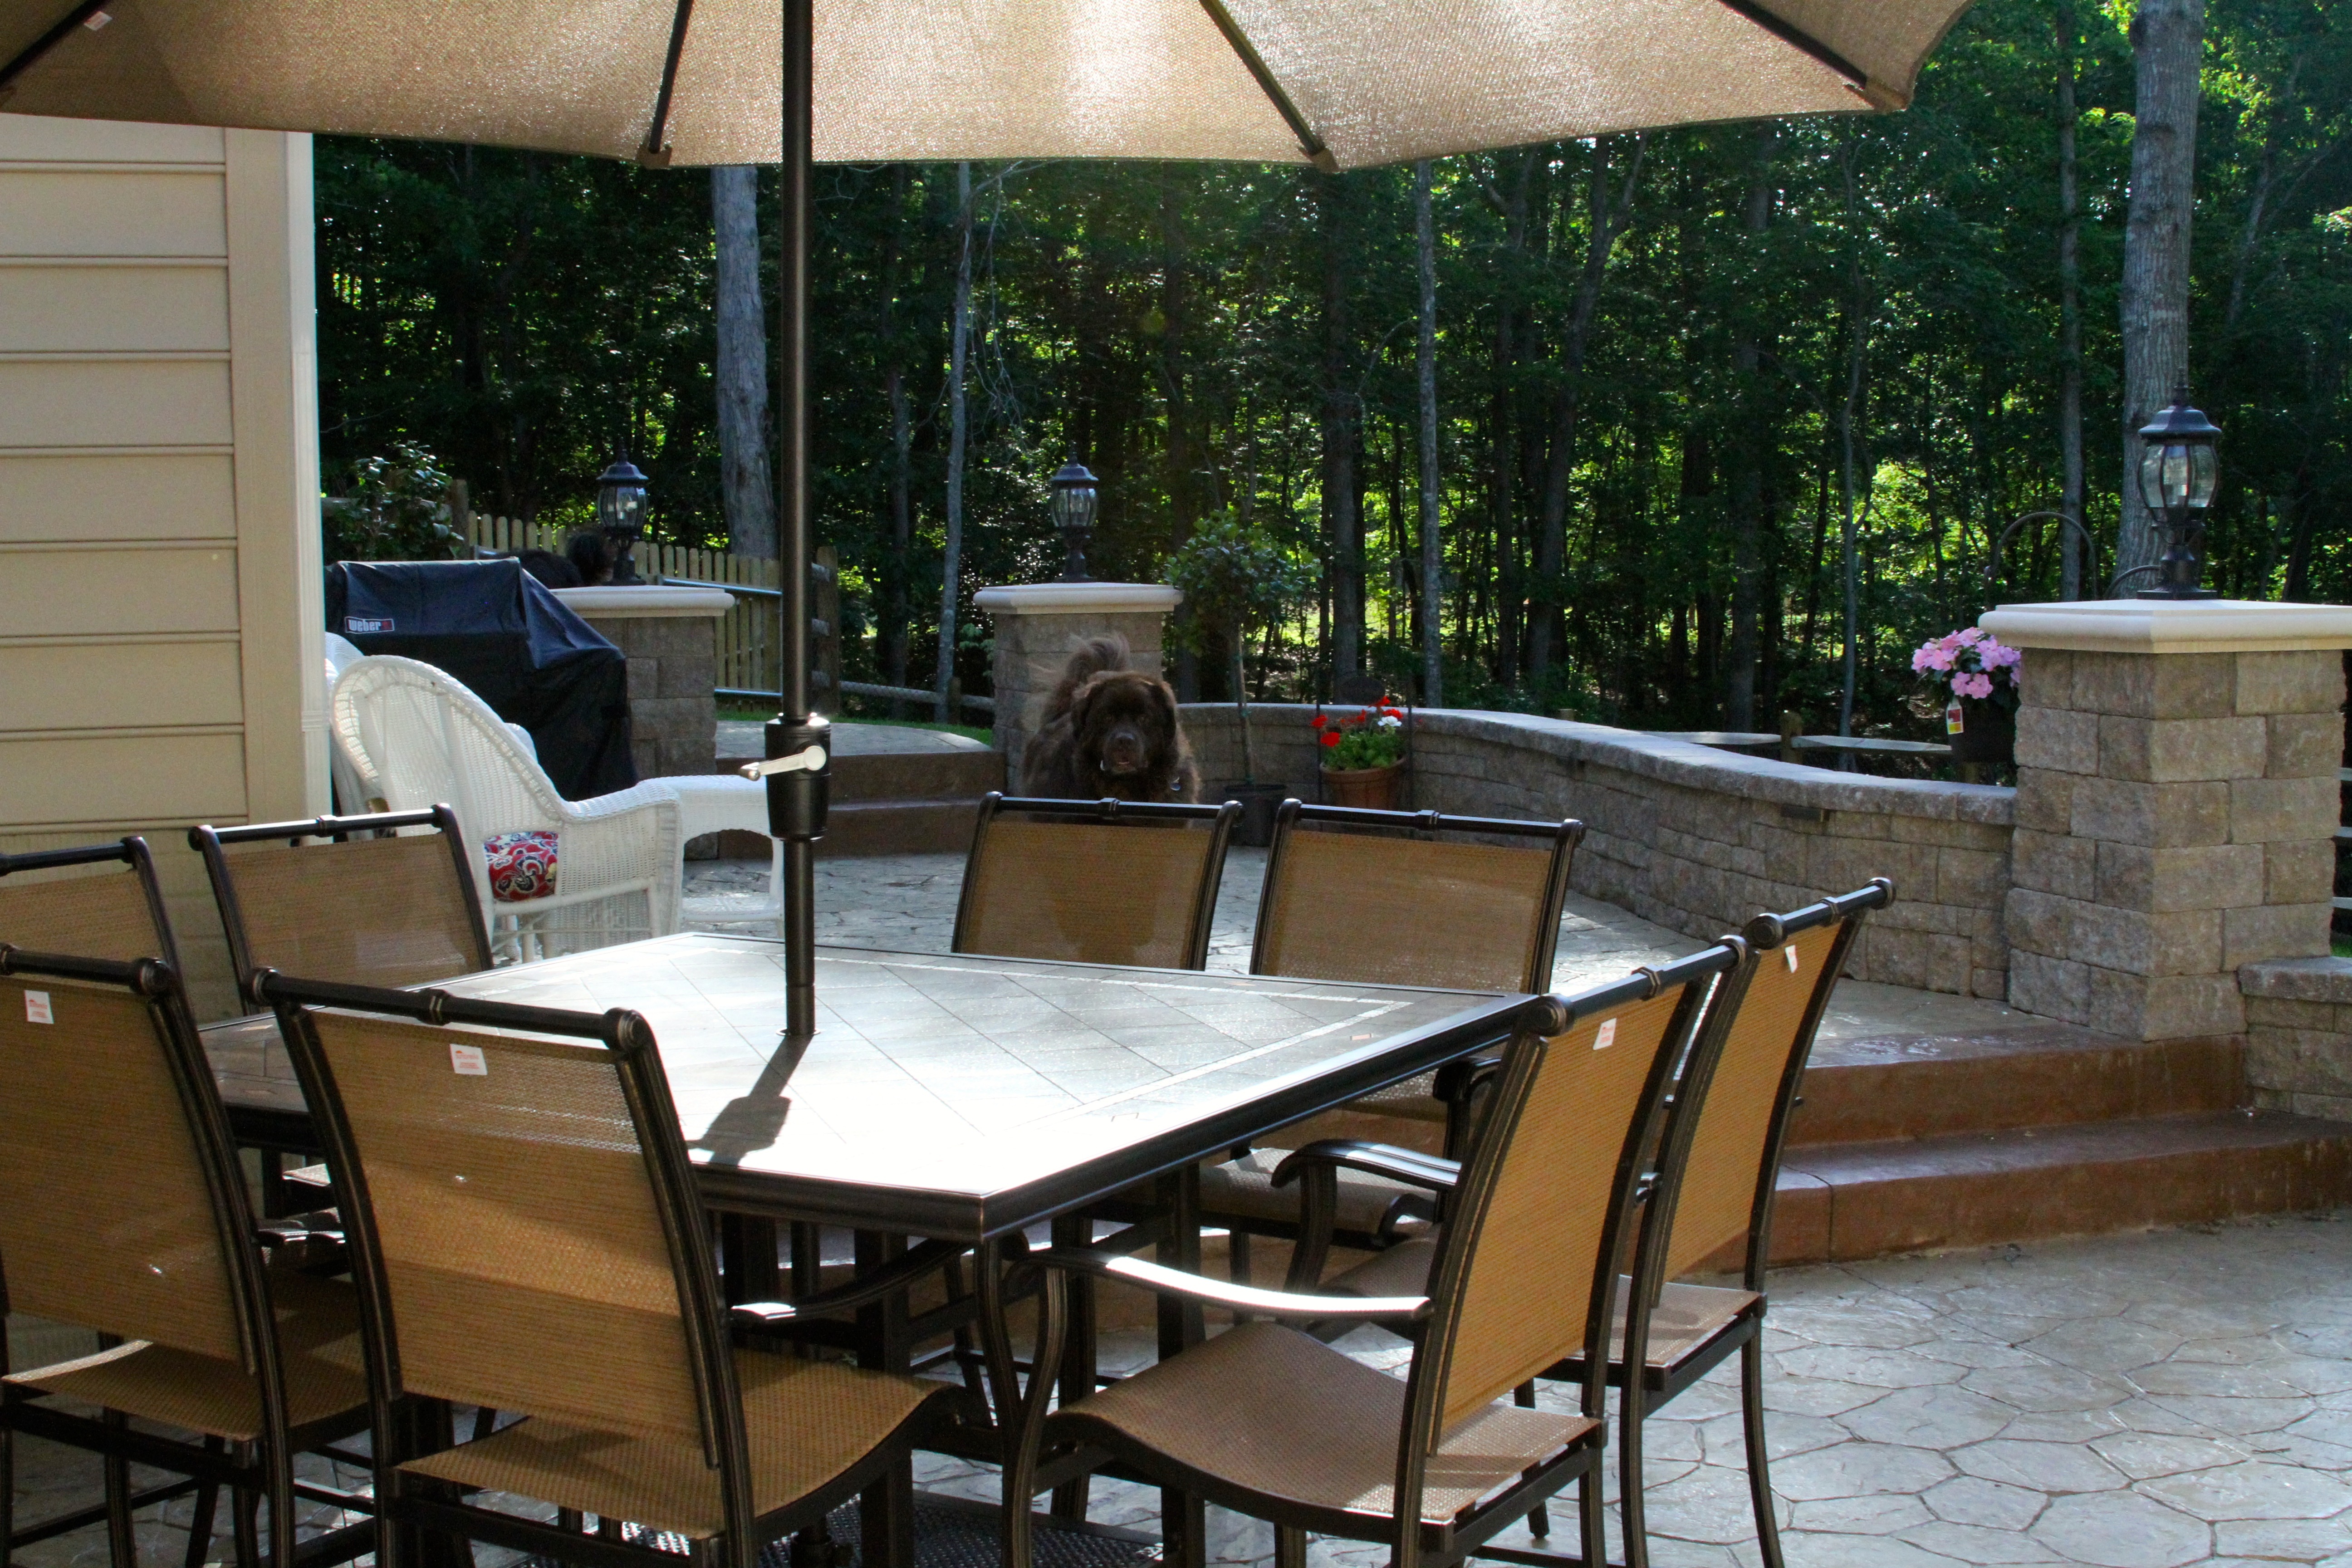

We have hosted a few cookouts for our kids here and we’ve also hosted our Family Reunion and this patio has worked out beautifully for all events:

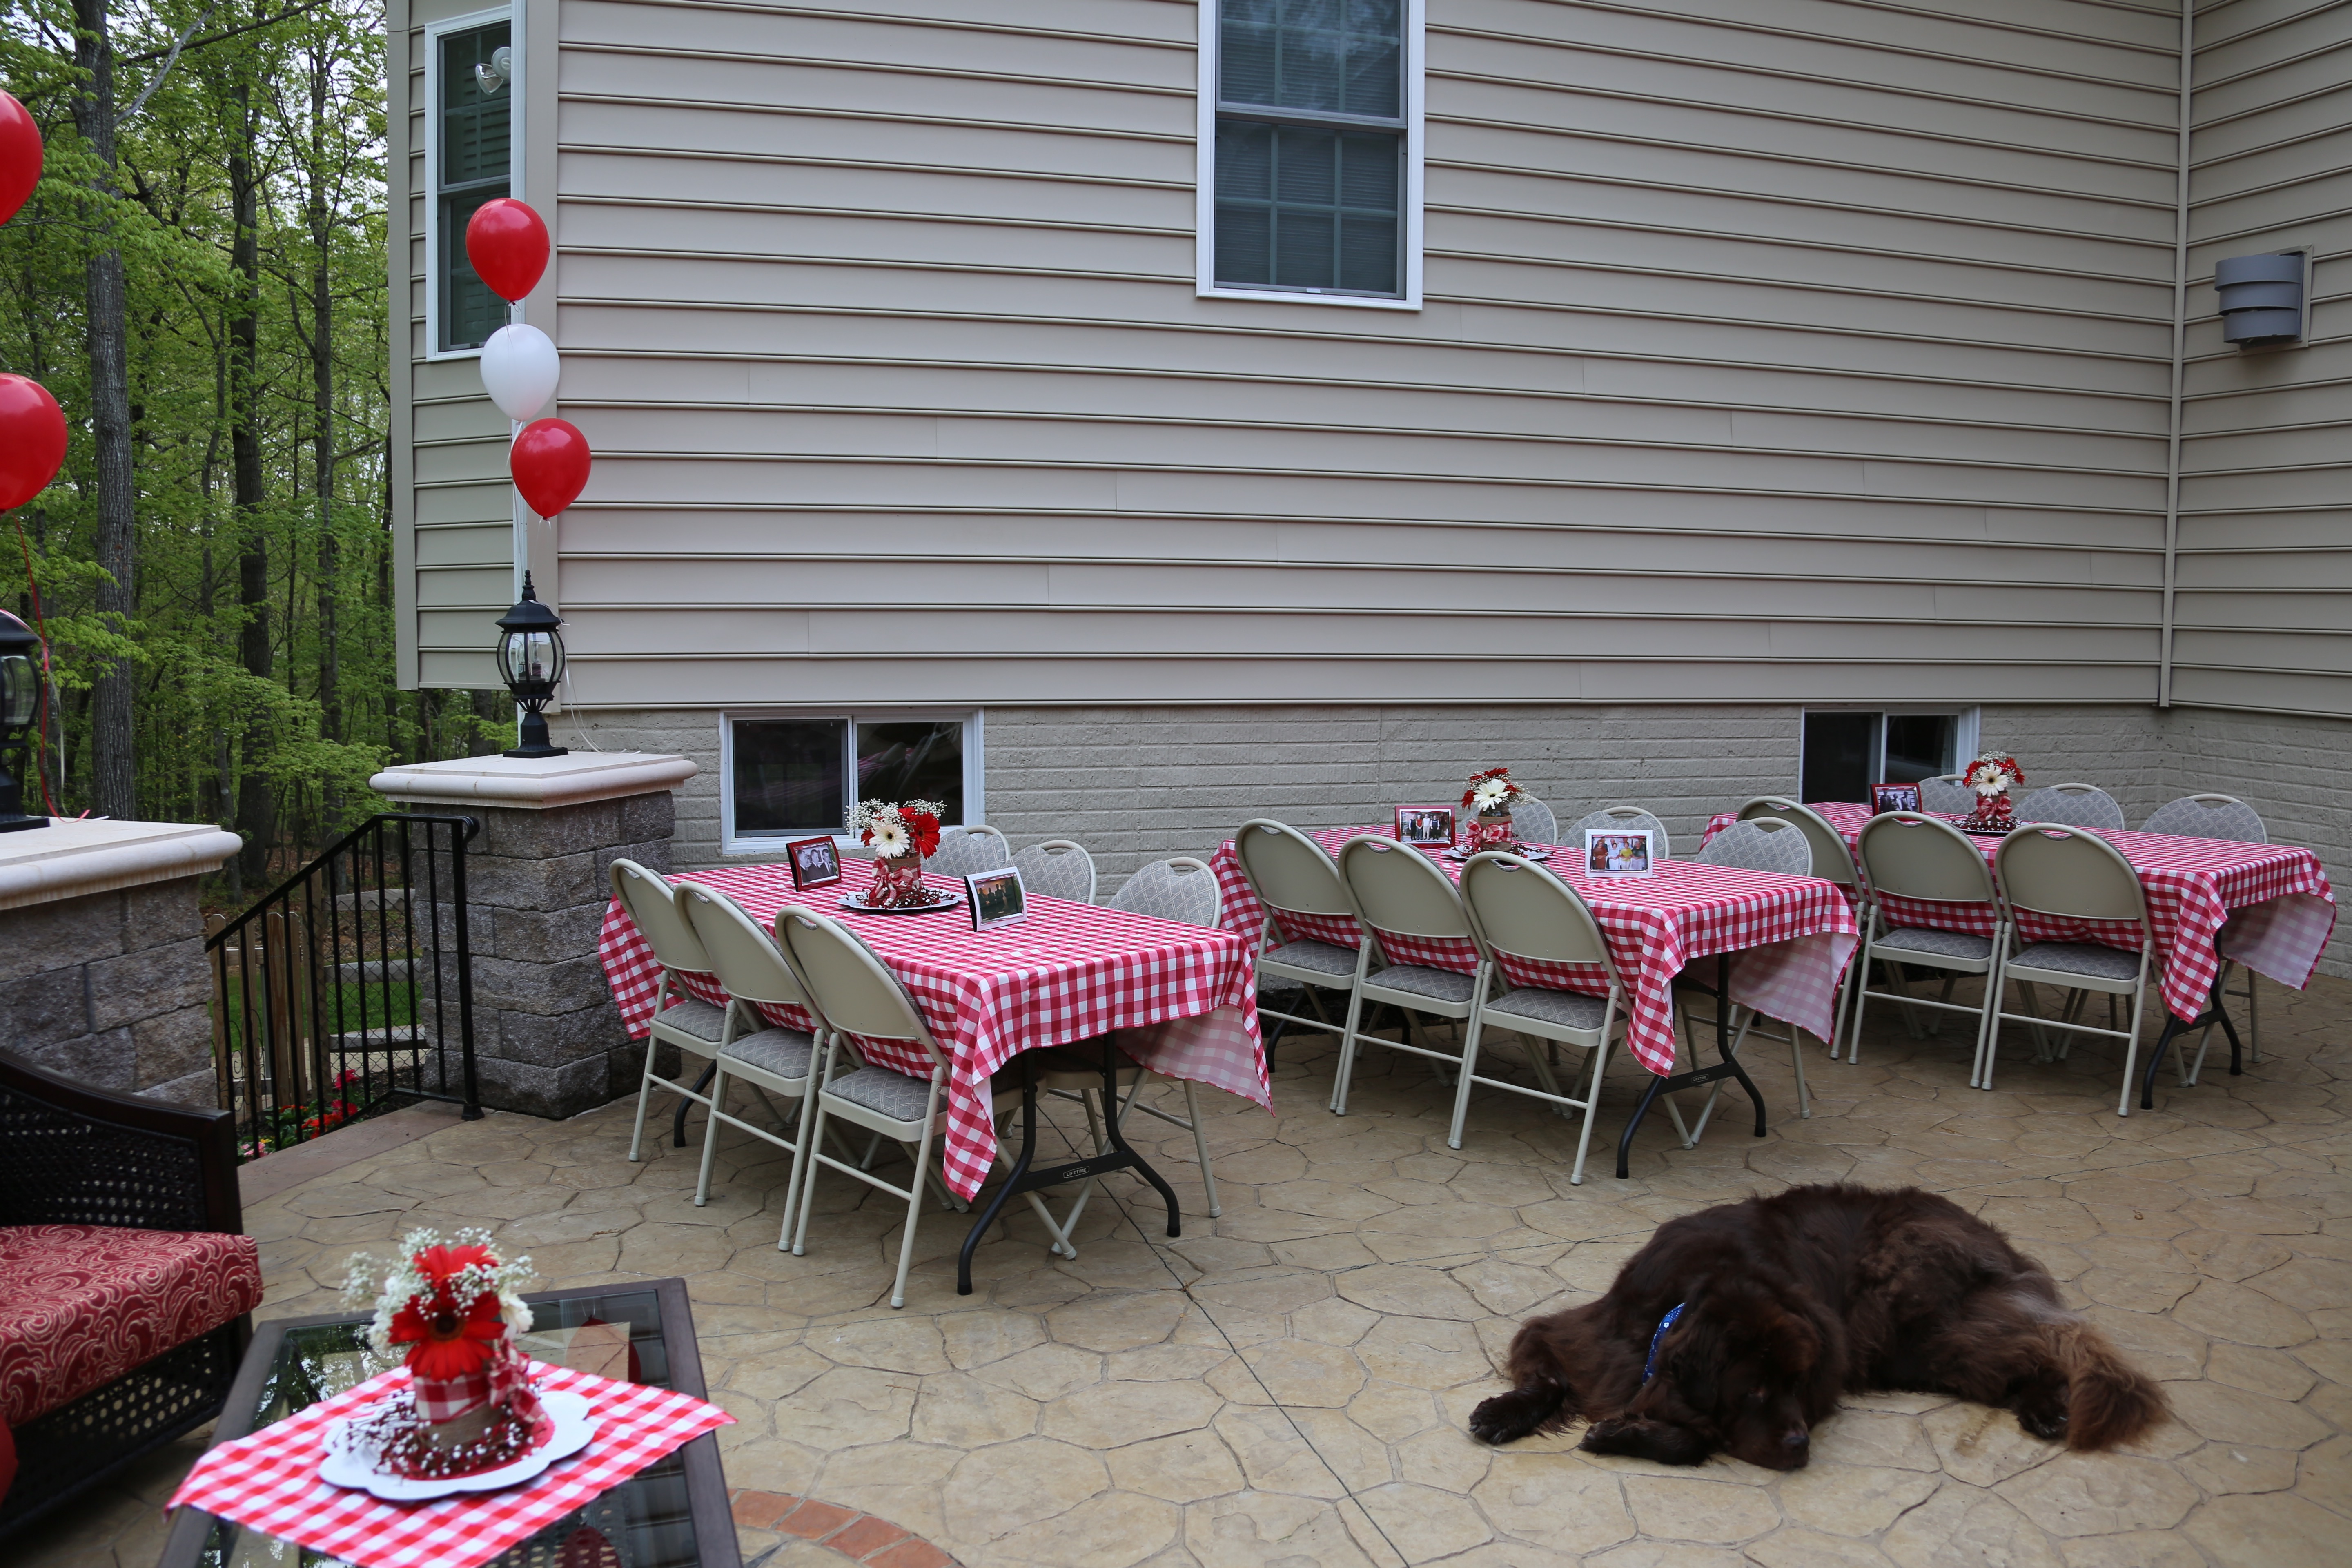

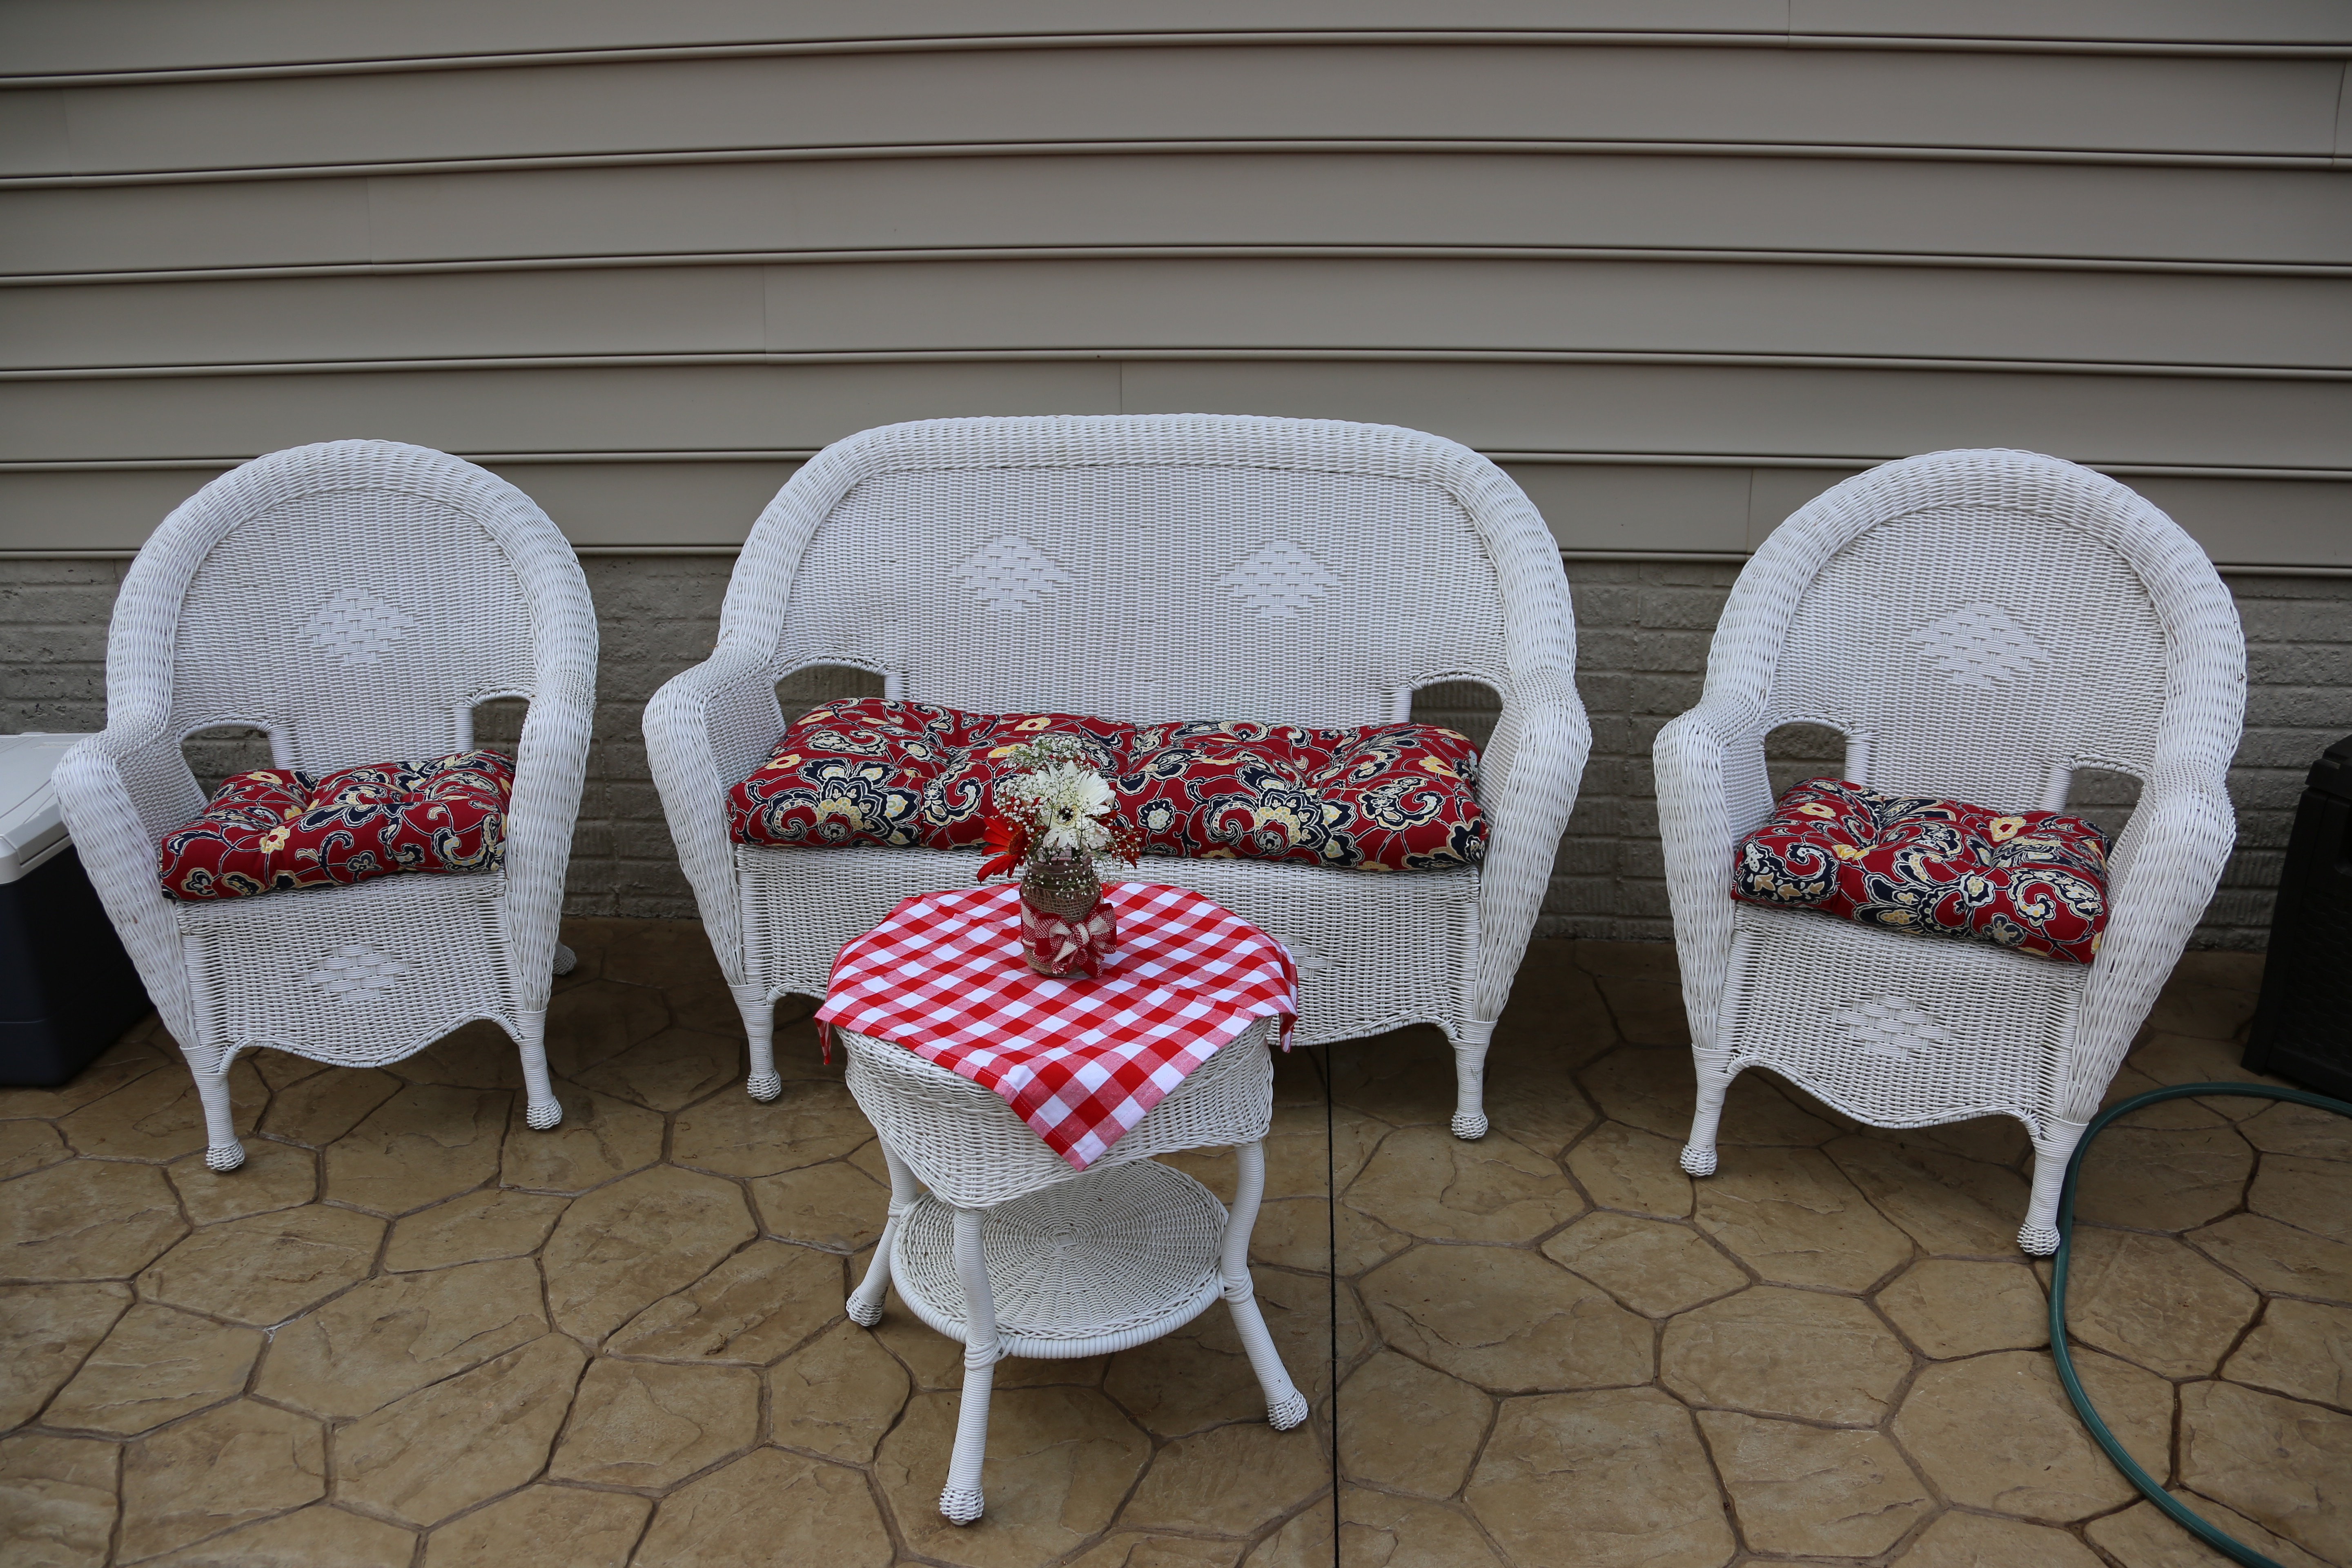
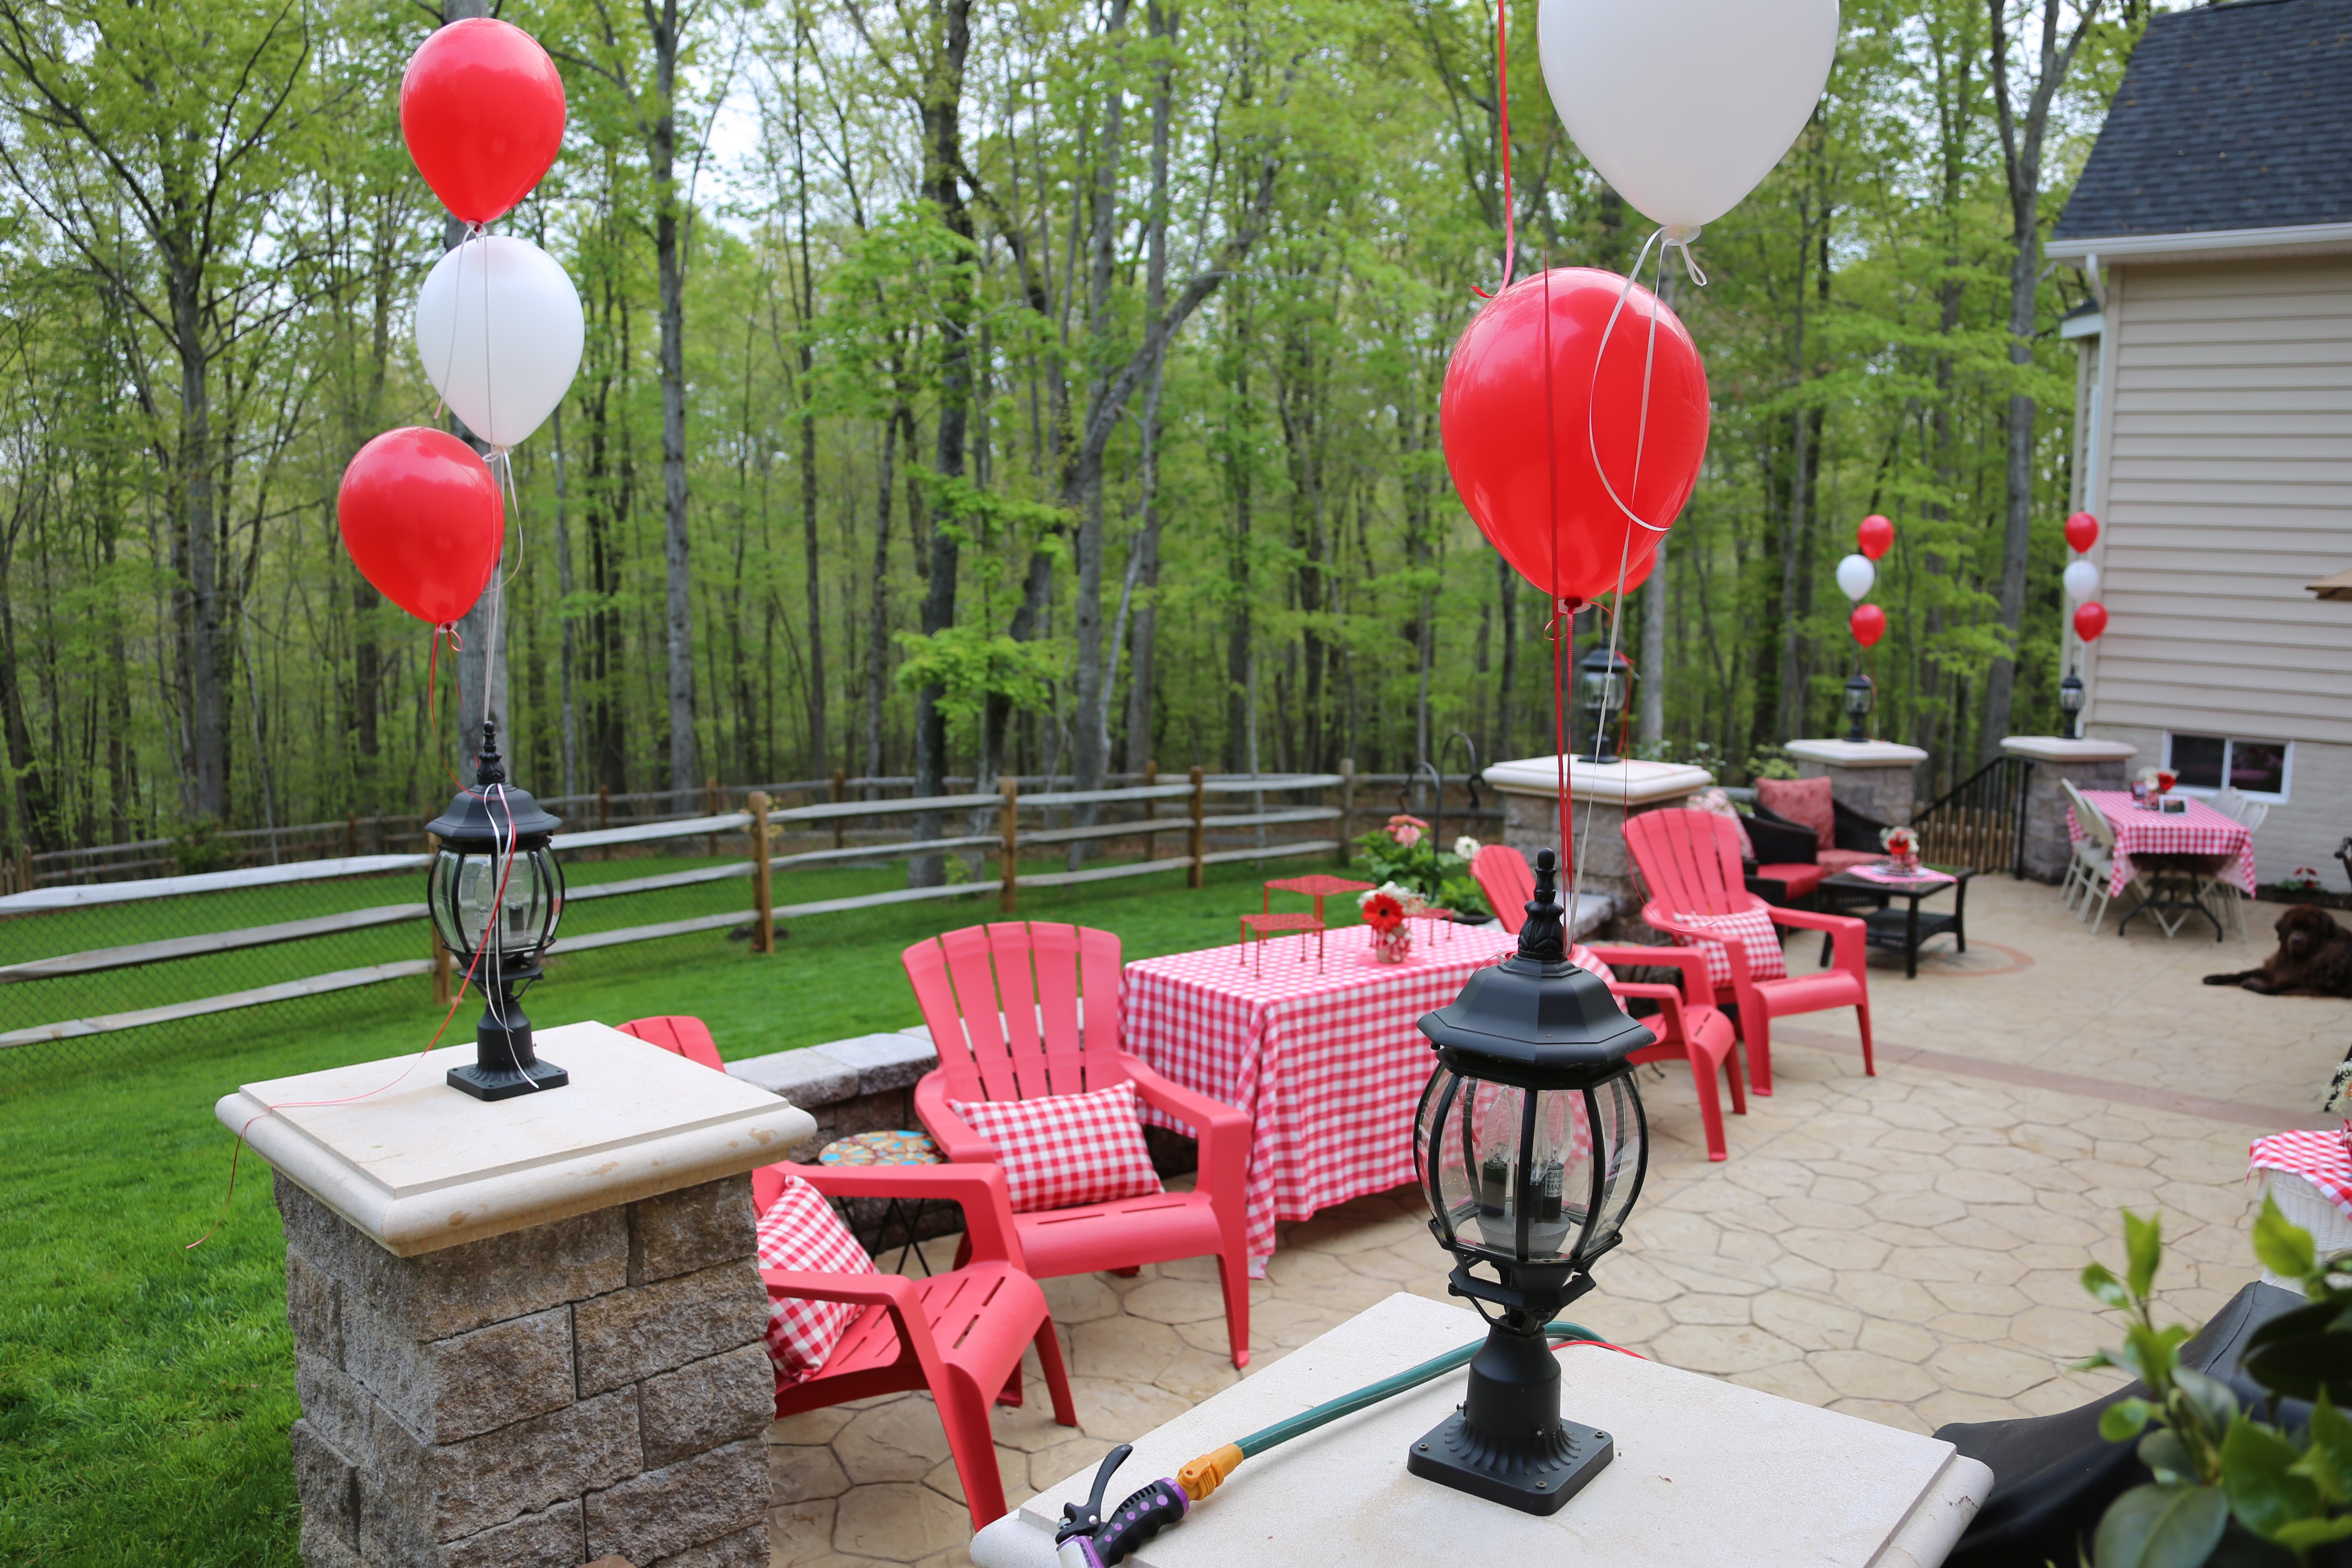
My hubby has now been able to grow himself a gorgeous lawn to go with the patio, so all is right with his world. 😉 All is right with my world as well, it is really nice to be able to have an outdoor space that provides comfy seating to be used for conversing, drinking hot cocoa, and helping people feel cozy and welcome. 🙂 Again, I have to stop and say how blessed we feel to have this lovely home…


Until next time, y’all take good care! ❤
~Arlynn

I love the compass rose on the patio, it adds to much 🙂
LikeLiked by 1 person
Thank you so much!! 🙂
LikeLike
Pingback: Video Home Tour: Mud Room, Garage, Backyard Patio – Country Craft Corner