I hope everyone had a wonderful Thanksgiving filled with family, friends, good food, and tons of love! We had a great time here, I ate way too much so I’m now back on my “regular diet” as opposed to my “see it eat it diet” that I was partaking in for too many days straight. 😉 I am forever working on my weight, maybe someday I’ll write a post about that part of my life. ANYway, I waited until Thanksgiving was over to decorate outside, I *think* I’m *finally* finished all of my decorating…wow, it took me 2 solid weeks to decorate the inside spaces and 2 days to decorate the outside — obviously, I do a lot less outdoors…haha. 😉
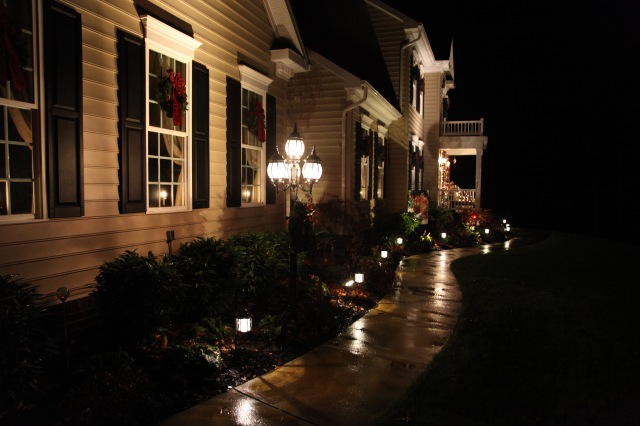
I love the look of lights in the windows, and as y’all know, I keep window lights on all year round. Also, my hubby installed wash lights, up lights, and walkway lights to illuminate the front of the house and the walkway. These lights go on and off every night controlled by a timer that turns them on at dusk and then off 6 hours later. If you’d like to see more about our outdoor special lighting, I’ve written this Special Outdoor Lighting blog. All of these lights worked in our favor when decorating for Christmas.
I will be highlighting the windows, front porch, front flowerbed, lamp post, wagon wheels, and a fence gate that leads to our backyard.
Okay, so here we go…
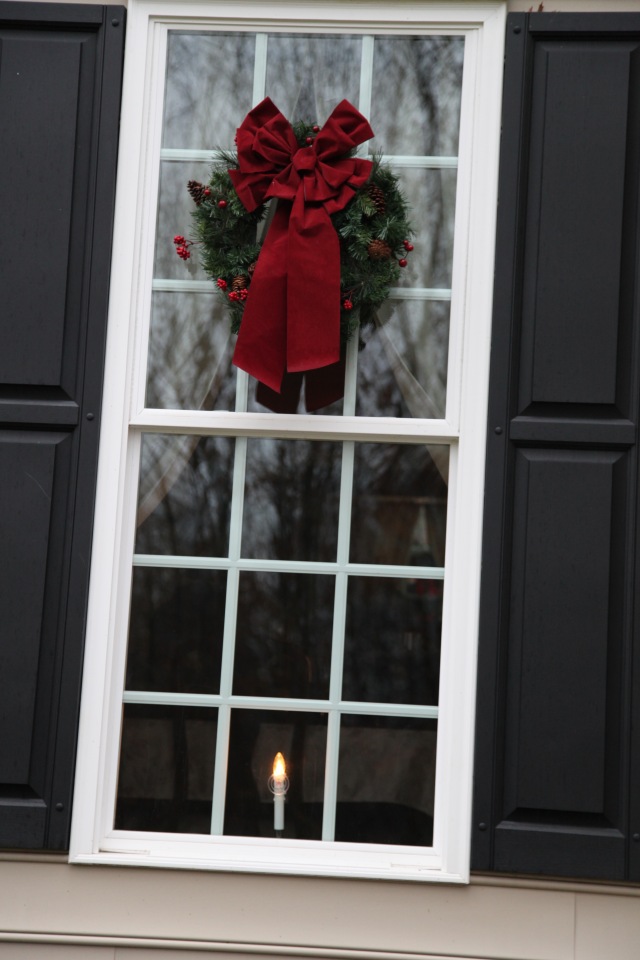
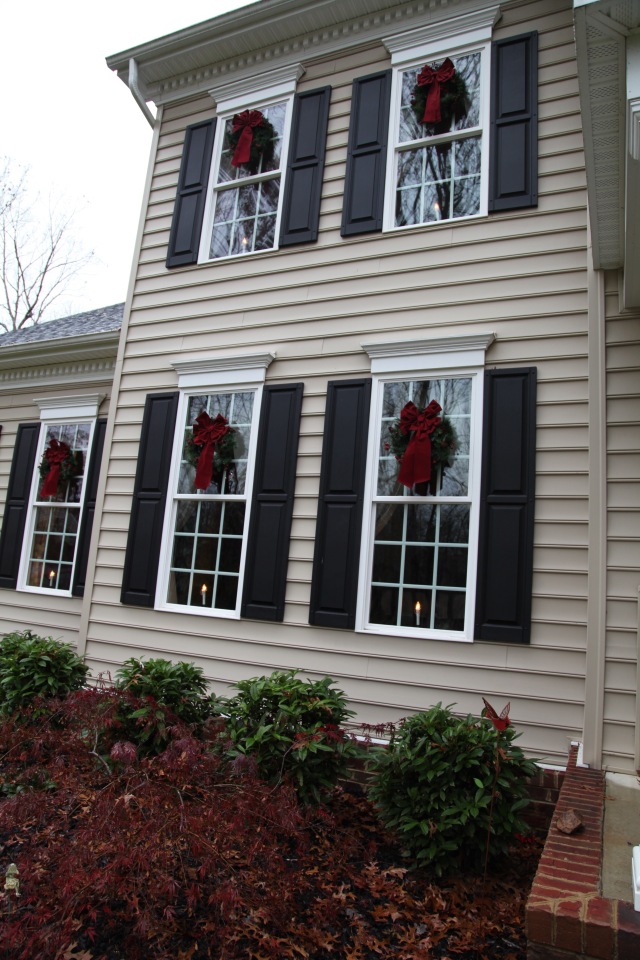
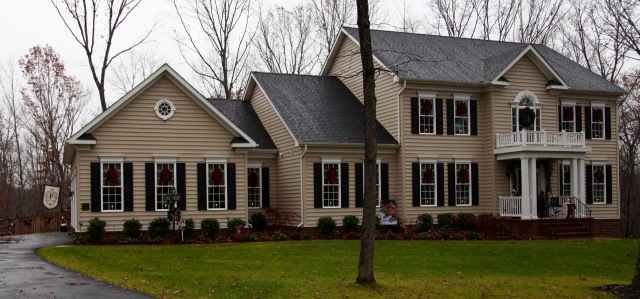
The hubby started the process by putting up wreaths on all 15 front windows, including the large palladium window above the little porch. We used 24″ pine wreaths, we purchased them at Michaels last year for 1/2 price. Here is a link. The wreath on the palladium window was quite a bit larger and I honestly can’t remember where we got that one. I did not make those bows! What? Nope, I purchased the bows last year at our local “And That” (Christmas Shop) store. They are pretty large and full though and that’s why I chose to go ahead and purchase them as opposed to making 15 bows…OH the hand cramps that would have ensued had I done that. 😉
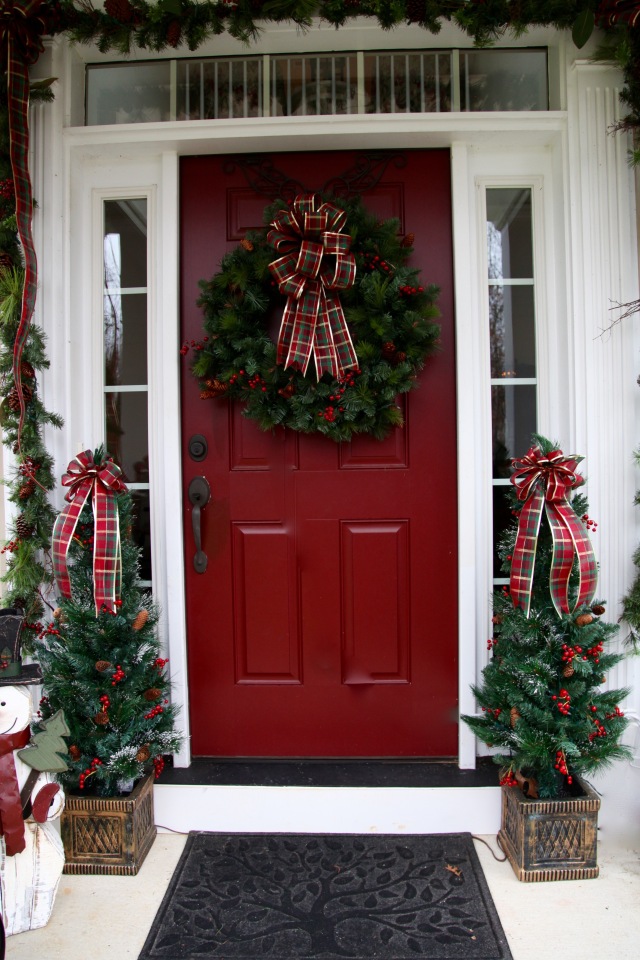
As the hubby was working on the windows, I was working on the front porch decorations. Sometimes less is more you know? So we chose to only put a lit pine garland over the door and let it drape down the sides of the transom windows. We added a big lit pine wreath to the front door as well as little lit potted trees on either side of the door. I made bows to add to each corner of the garland, one for the wreath, and 2 to go on the little trees.
Now onto my little red wagon decor. For those of you who might not have seen my post about my little red wagon and all of the different looks that I’ve created to go inside of it, check out my Little Red Wagon Decor post. 🙂
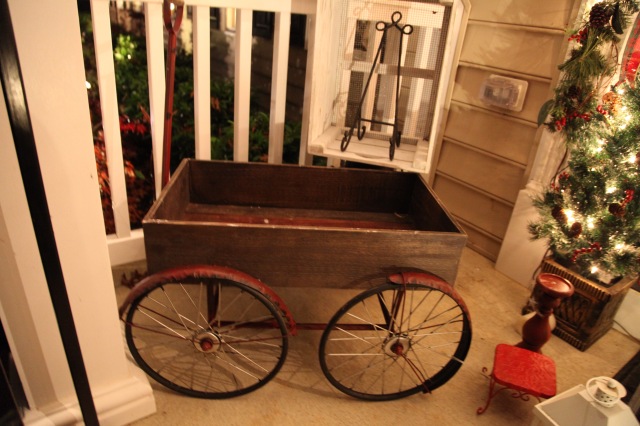
I decided to move the wagon to the other side of the front porch because we have a spotlight mounted on the railing that illuminates the front door and the wagon had been blocking it, so I moved it out of the way. Here is the wagon stripped nekkid of all decor…I purchased it at our local Plow and Hearth outlet store last winter. I added that white crate that you see in the back and I have it sitting on top of my grandmother’s old milk can.
I had gone down into our basement and spent quite a while rifling through Christmas bins full of unused decorations. I knew I’d be able to find *something* to use in this wagon. I started with an old piece of pine garland. I wrapped a 35 Christmas light strand around it and placed it on top of the white crate and inside of the wagon; this garland would serve as a nice anchor for the rest of the grouping.
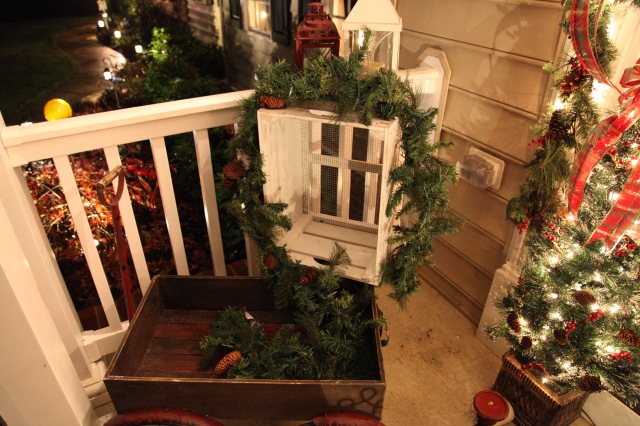
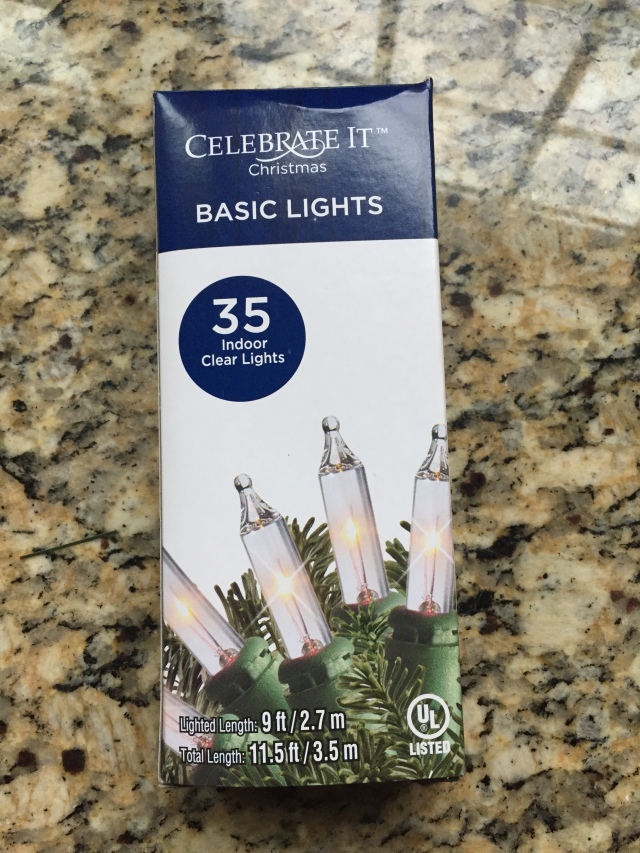
Next, I found an old pine wreath and wrapped lights around it as well and I made a bow out of the same plaid that I used for the over the door garland, front door wreath, and flanking potted trees.
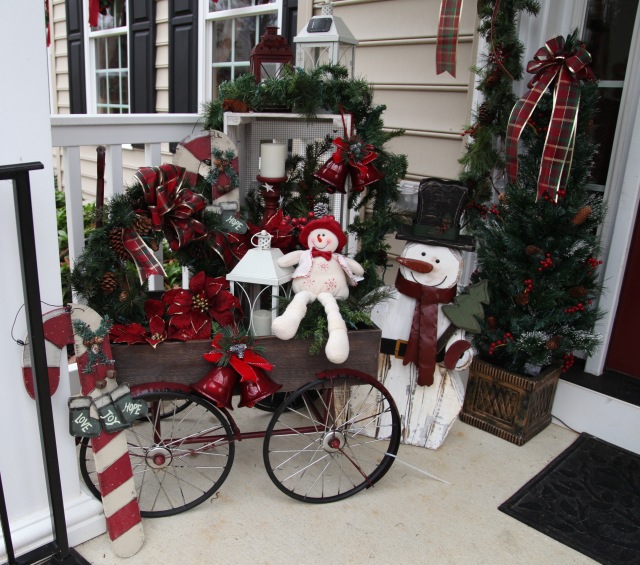
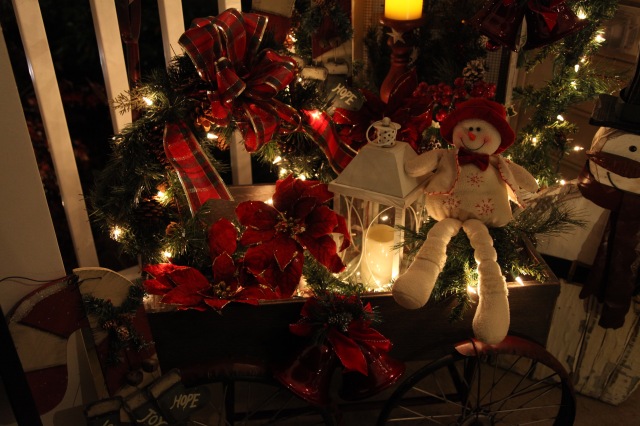
I placed the wreath in the left hand corner and then started to build the rest of the grouping working from the top of the white crate down and from the wreath over. I added 2 solar powered lanterns (the white ones), a red lantern with a battery operated candle, a large burgundy candle stick with a battery operated candle, some poinsettias, a few sprigs of pine (placed inside of the white crate to add depth and interest). I found those sets of bells at Michaels for 1/2 price, so I hung them on the one side of the white crate and on the front center of the wagon–I used sprigs of the pine garland like twist ties and that worked beautifully to hold them in place. Lastly, I sat a pretty red and white snowman on a little red stool, and added a couple of wooden candy canes and called it done. 🙂 I got the big wooden snowman at Kirkland’s several years ago, I snugged him in beside the wagon. I stood back, took a look, and was satisfied with how it turned out. 🙂
Here it is all lit up at night:
And from a distance…
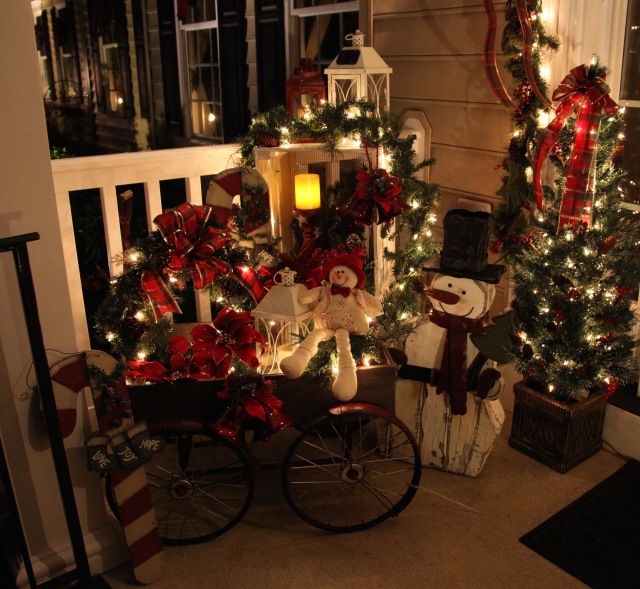
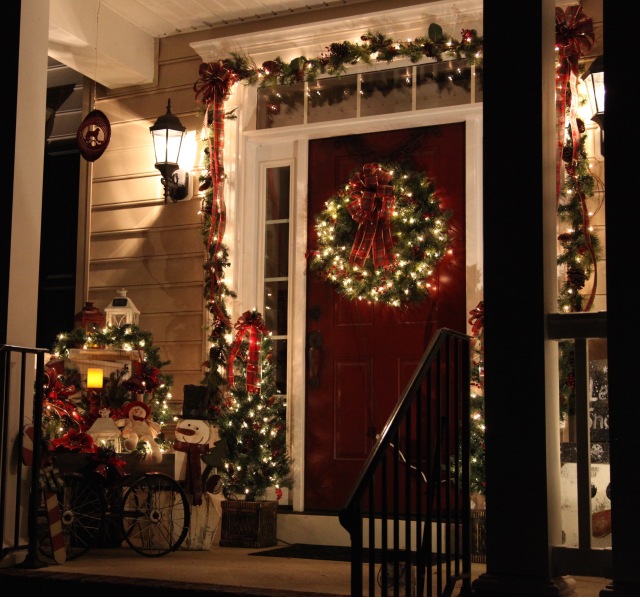
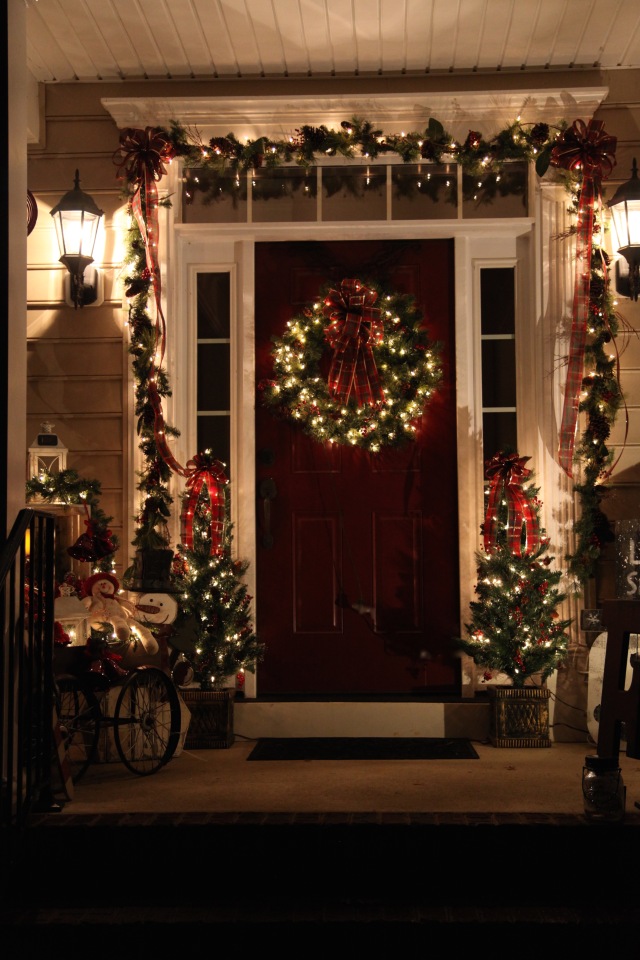
I found this large wooden snowman at The Christmas Mouse and I placed him on the other side of the porch beside the other potted tree…
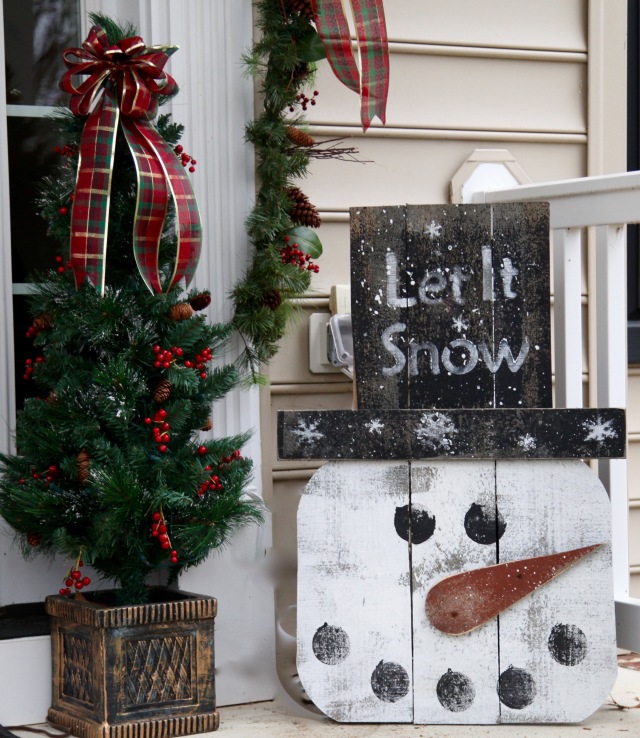
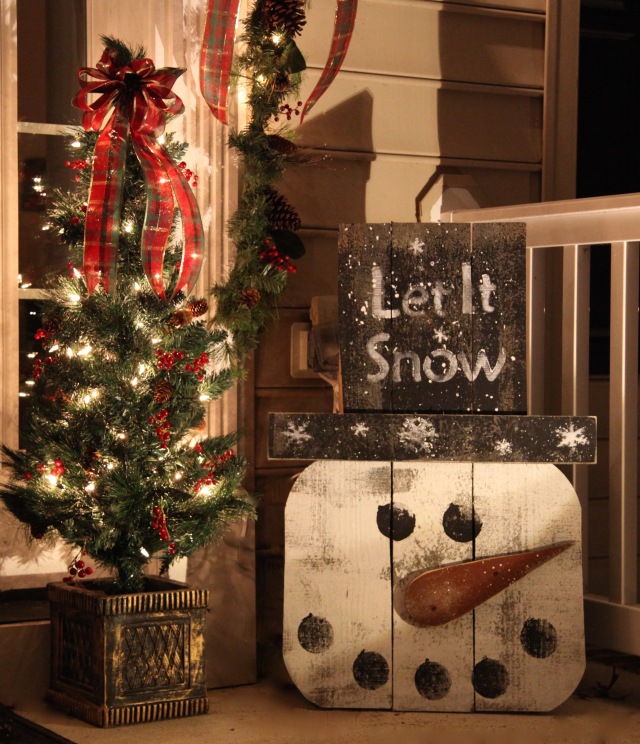
Here he is at night, the spotlight shines on him too…
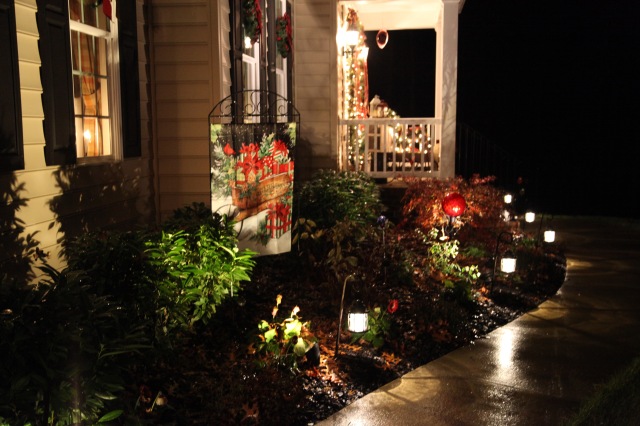
So, the hard part was done, now it was just a matter of changing out the decorative flags in the flower bed, switching out my gazing ball for a red one, adding a nice pine wreath to the light post & wagon wheels…
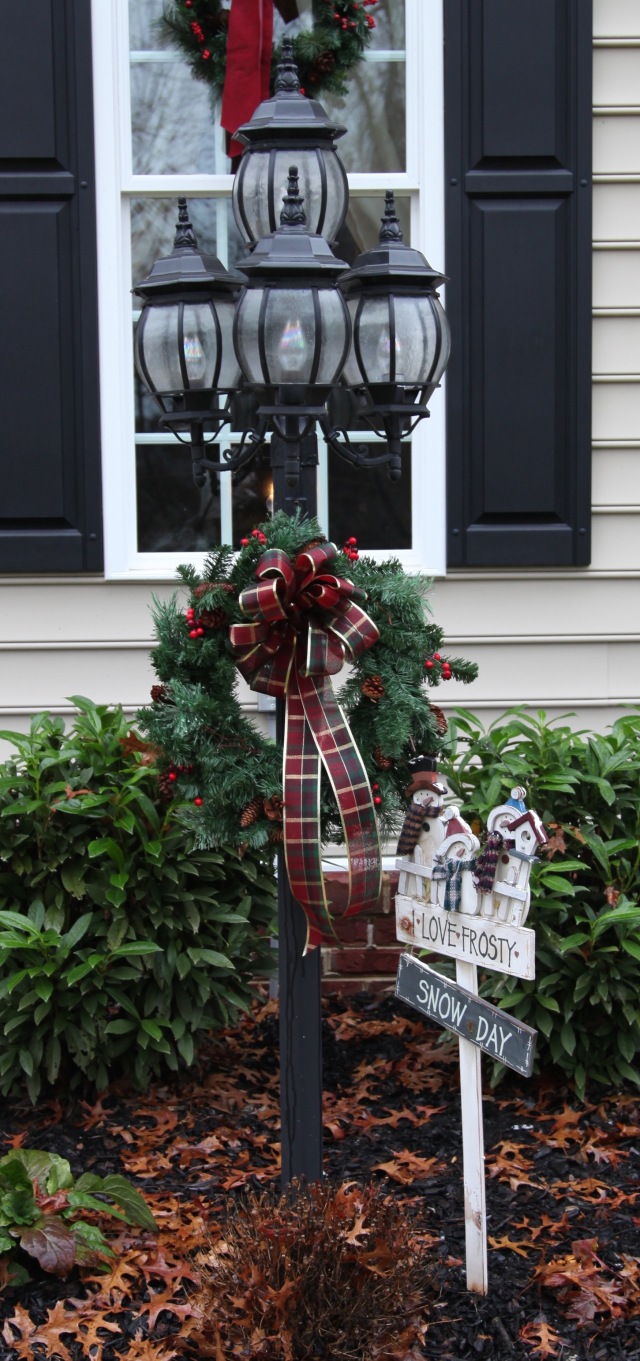
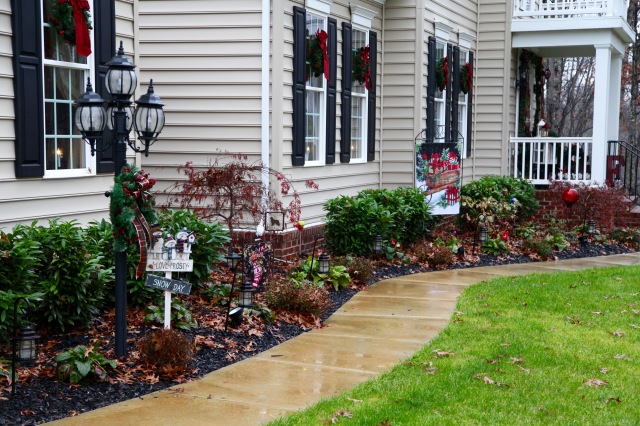
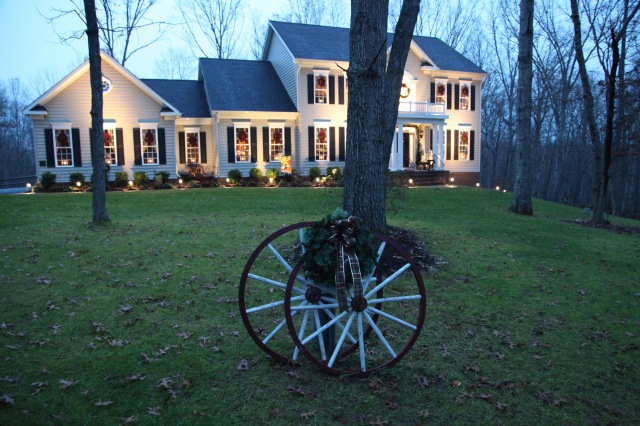
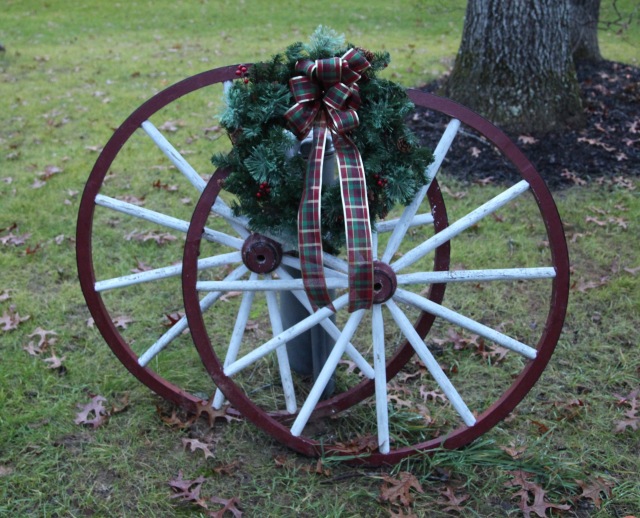
Yes, I made several of those plaid bows, and yes, my hands were so stinkin sore after doing so, but, I love that ribbon and I wanted something that would contrast nicely with the burgundy velvet window bows.
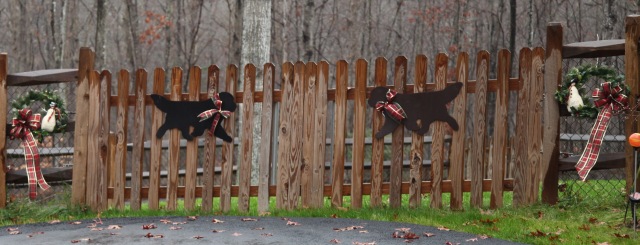
I finished up my outdoor decor by doing just a couple more little things. My dear friend Karen had given me 2 snowman wreaths years ago, at that time they had bright red ribbon bows and ribbon tied around the snowmen’s necks. I did a little repurposing to the wreaths…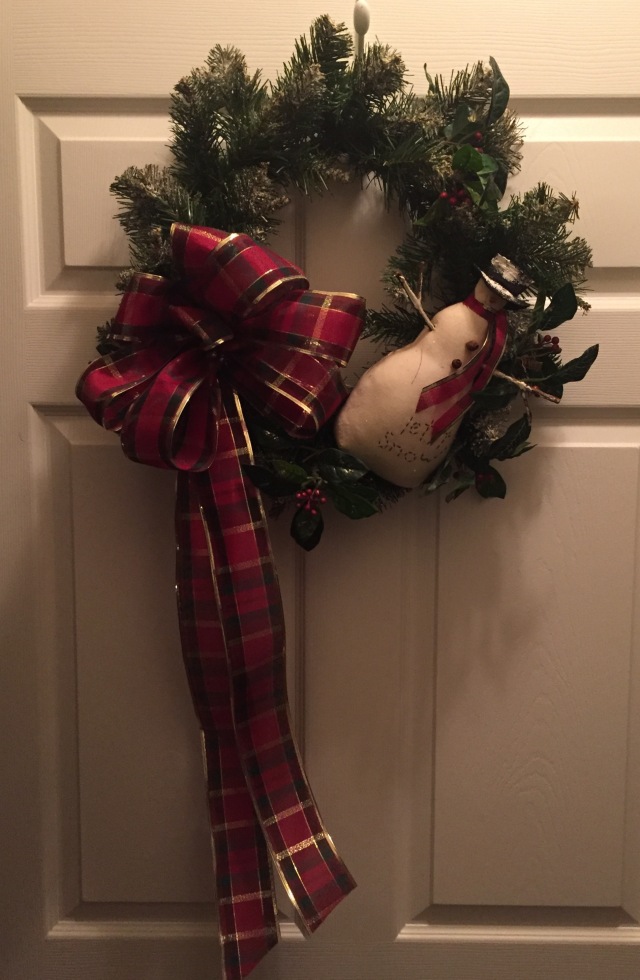 I decided to make new bows out of that plaid and use the same ribbon to tie around the snowmen’s necks…I hung them on either side of our “Newfie” gate (where silhouettes of our pups are located)… I also tied ribbon around the Newfs necks. 😉
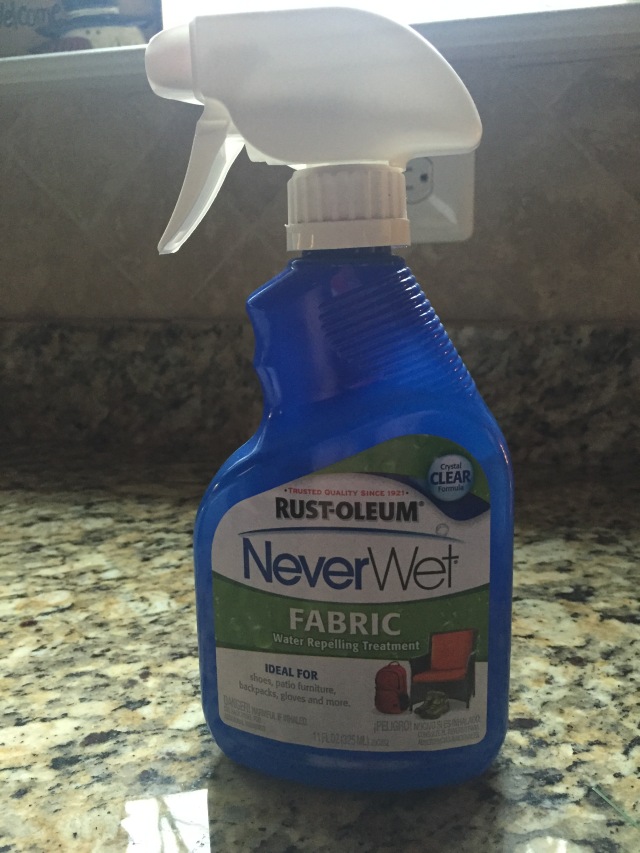
It has been raining buckets here for the last few days, so I went on the search for something that I could spray on those fabric snowmen and on all of my bows that would be exposed to the weather. I found this at Home Depot…fingers crossed that it works!
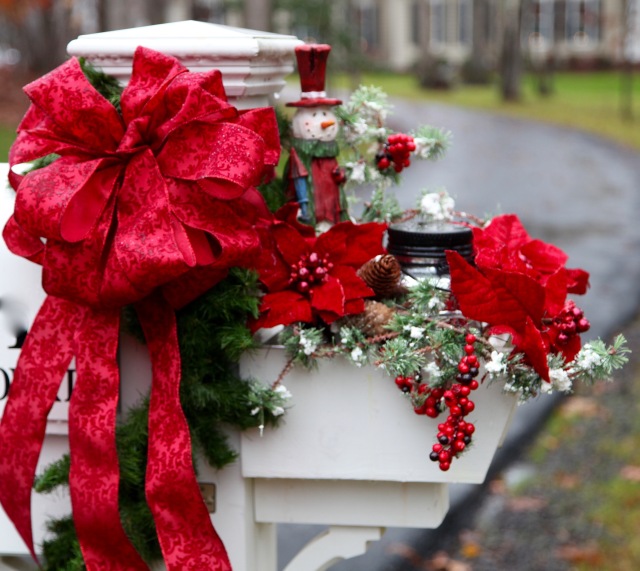
To finish off my outdoor decor, I decorated up our mailbox…Here is that little design…
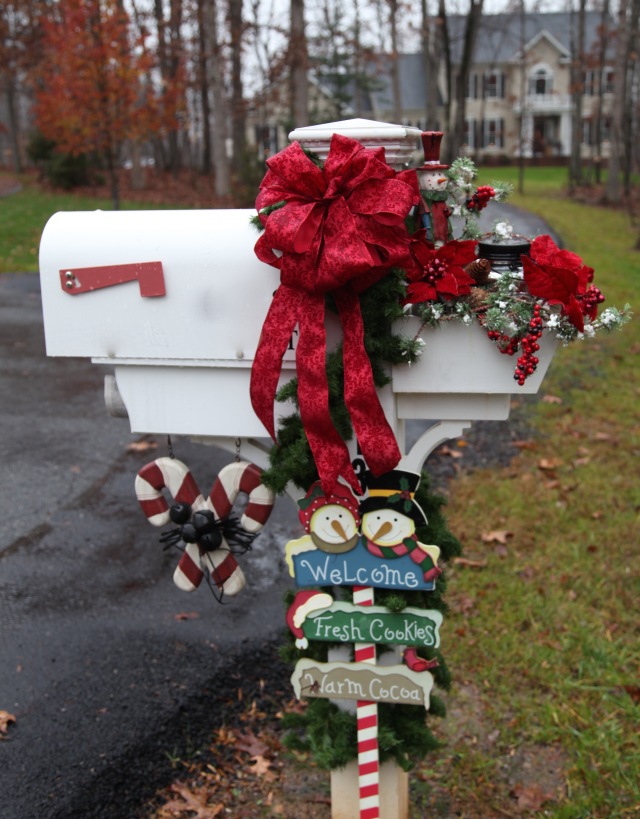
See that wooden candy canes sign hanging under the mailbox? That is actually meant to be hung on a little decorative pole (I had it hanging on the front porch of our other home). I didn’t have a place that I wanted to hang it here at this house, but, I’ve been using all of the “signs” that I collected throughout the years to augment my mailbox decor. I really need to do a post describing how I change out my mailbox decorations…I’ll get to that soon. 🙂 I get the signs from Piper Classics.
I can definitely say that I am completely (and finally) finished decorating for Christmas! I plan on writing one more Christmas themed entry showing y’all our large Christmas tree in our family room (honestly, nothing all that interesting crafting wise…but it sure is filled with all sorts of sentimental ornaments) and an all-over look-see around the house. I have really enjoyed doing my decorating this year and I’m glad that I started way before Christmas, I’d be a crazy lady now trying to get ‘er all done along with all of the shopping and wrapping.
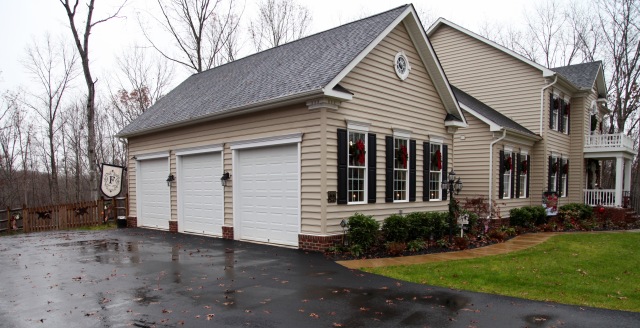
I hope that this rain stops soon, I’m not complaining about the rain, I realize that we can always use the rain, but, I think I’d rather be seeing snow! 😉
Here is one last picture of our home all decked out for Christmas…
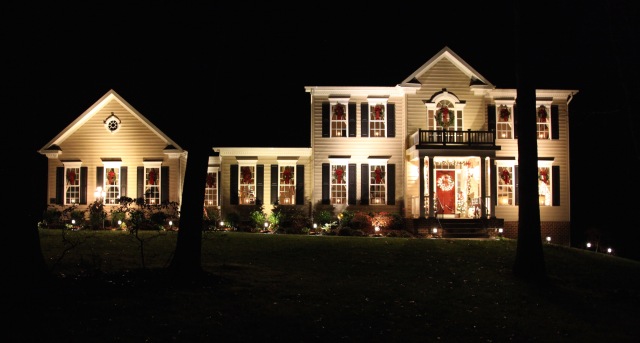
“Merry Christmas to ALL and to all a goodnight”. 😉
Until next time, y’all take good care! ❤
~Arlynn

everything looks lovely..know it took a lot of time..I have never heard of the “never wet” let me know how it works..
I am serious you need to help other people decorate now that you have finished your home..
LikeLike
Arylnn, have you posted the tree you decorated Thanksgiving night? the big one in your family room..I want to see that..you have not sent family pictures….
Sent from my iPad
>
LikeLiked by 1 person
I will send you some pictures a little later. I have not posted pictures of the big tree yet, it has a lot of sentimental ornaments on it, but it’s not too “crafty”. Haha I do plan to do one more Christmas themed post with that tree included and an all-over look at how the rooms look as one cohesive design. 🙂
LikeLike
Thanks so very much Carole!! I’ll tell you, the Never Wet stuff seems to be working beautifully so far (it is *still* raining here), fingers crossed it continues to do so. I think that would be so much fun to help others decorate. 🙂
LikeLike
Pingback: My Little Red Wagon Decor | Country Craft Corner
What a magnificent home! I am swooning over your outdoor Christmas decor! Gorgeous!
LikeLiked by 1 person
Aww, thank you so very much for your sweet words Nancy!! ❤
LikeLike