
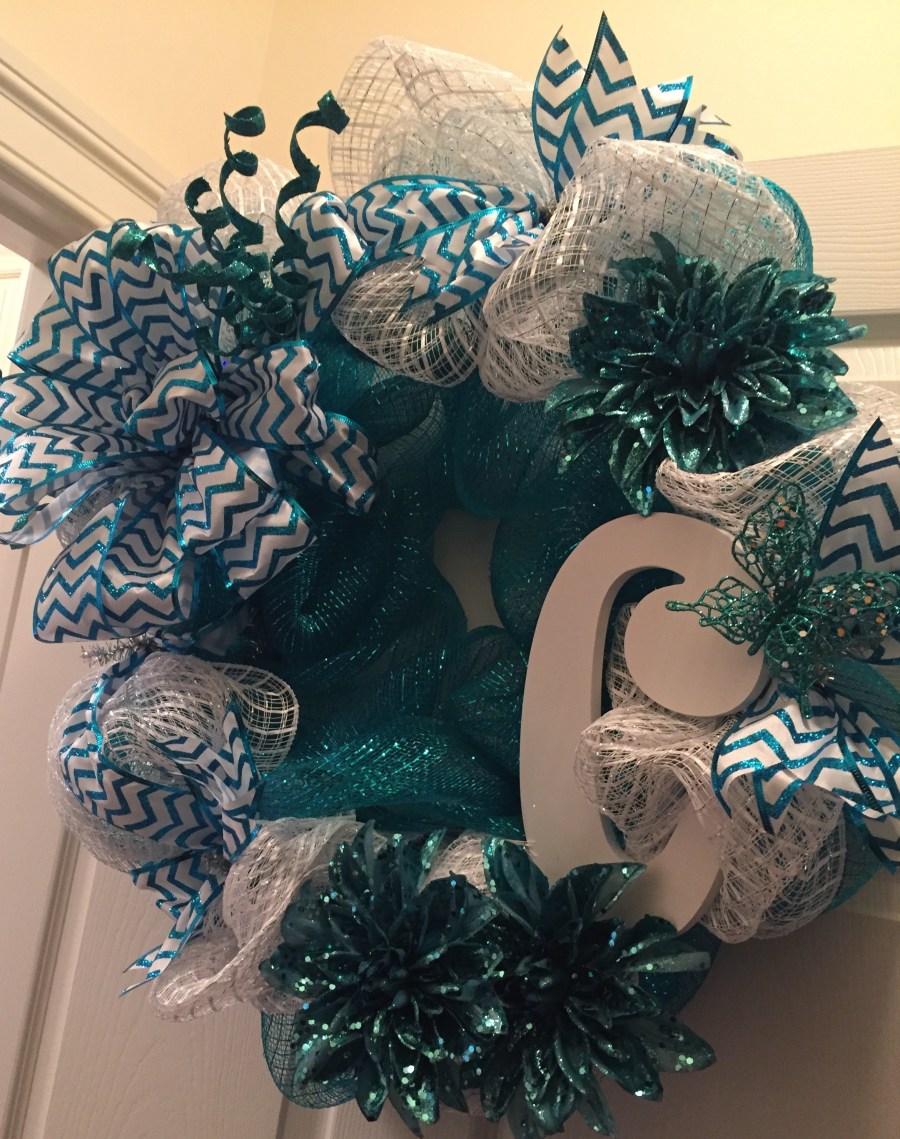
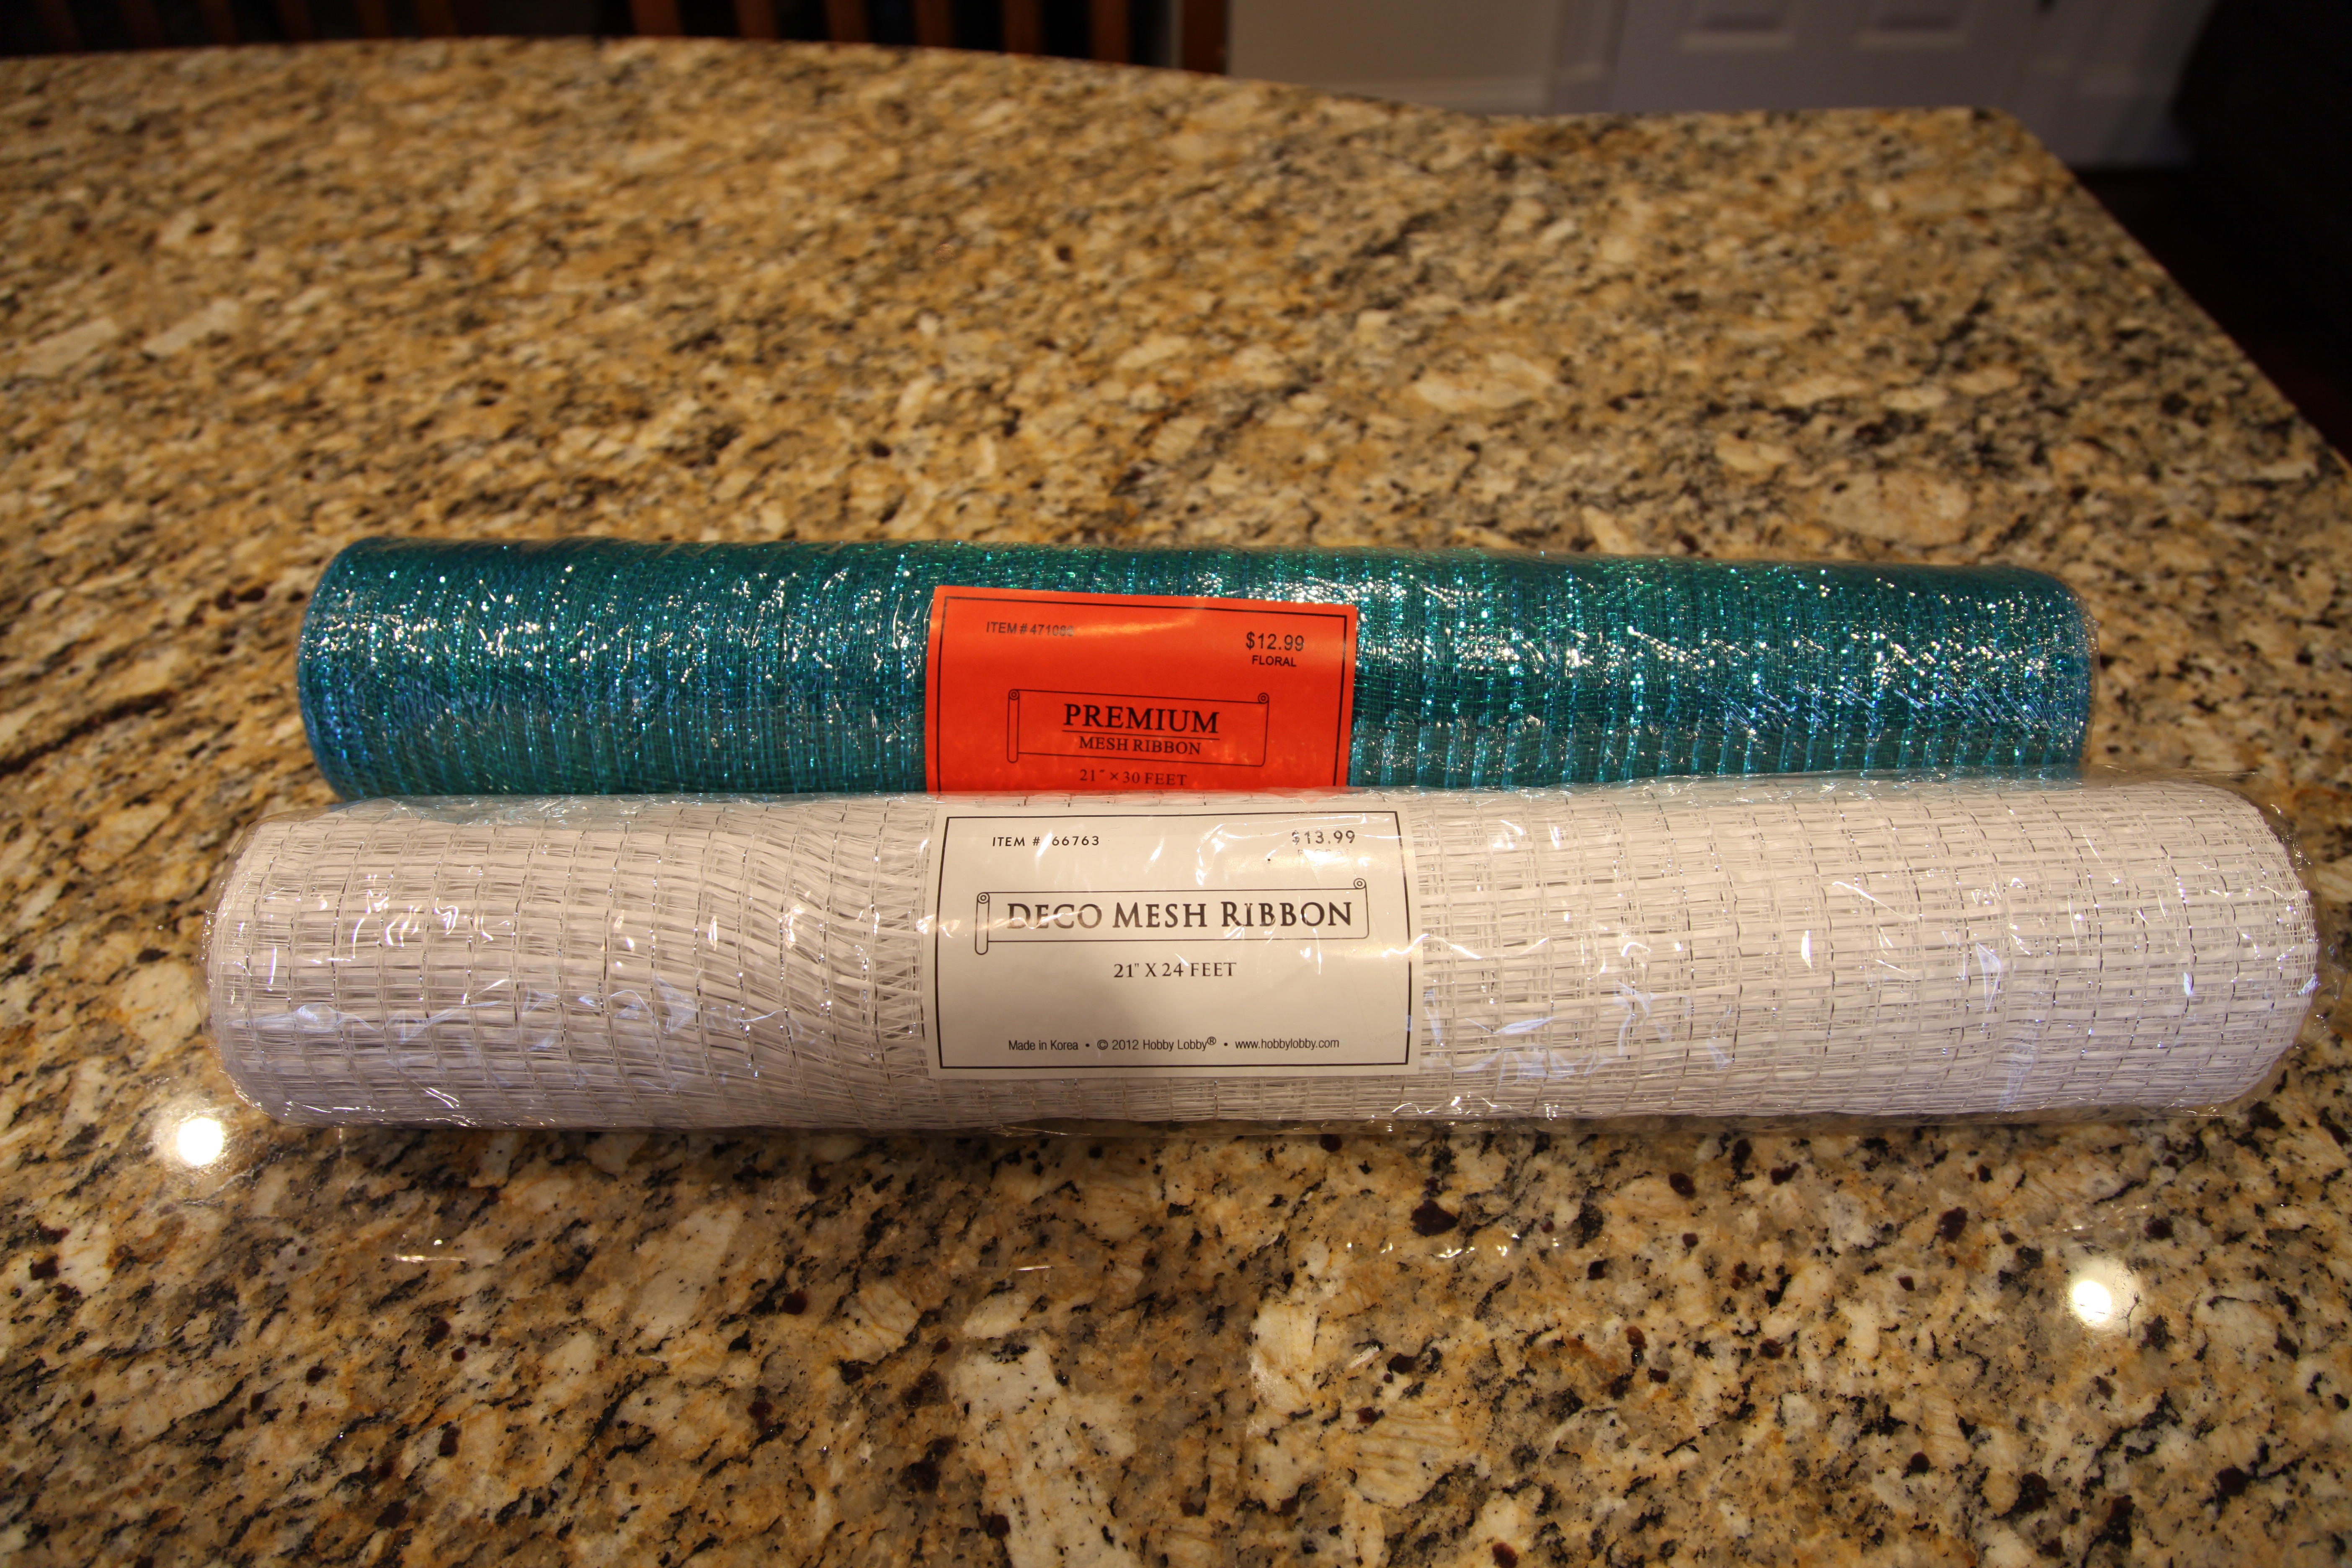
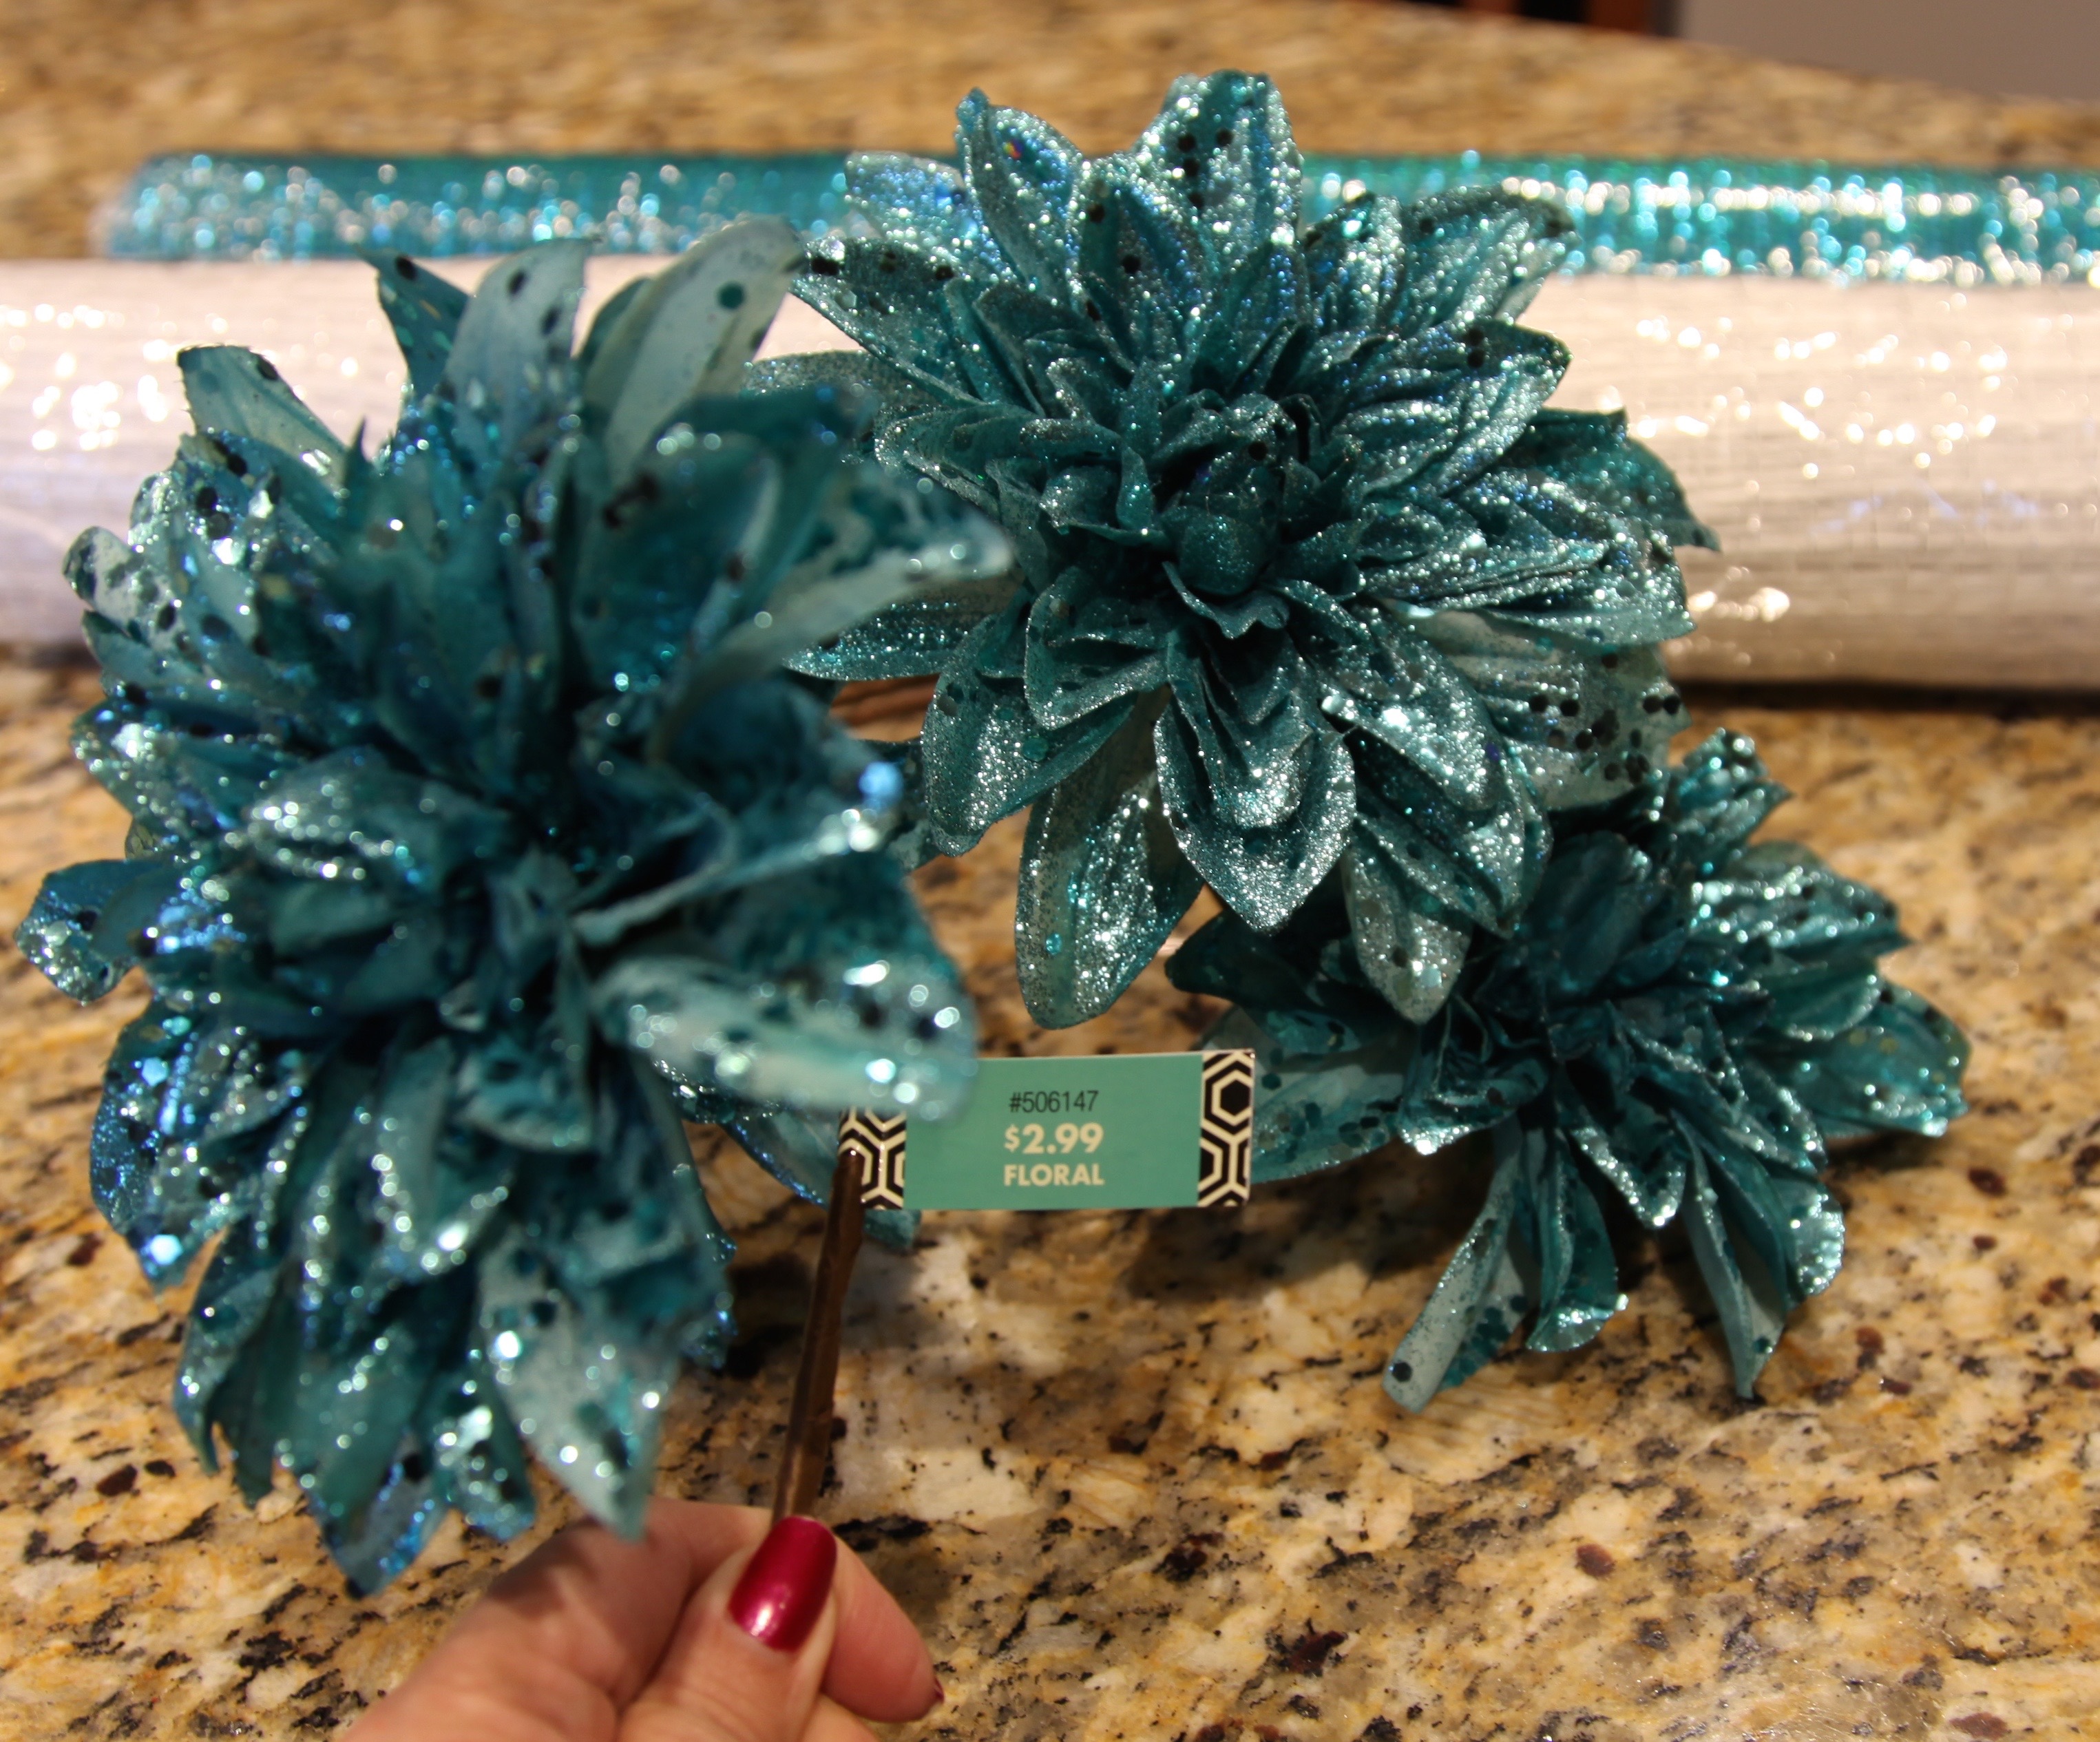
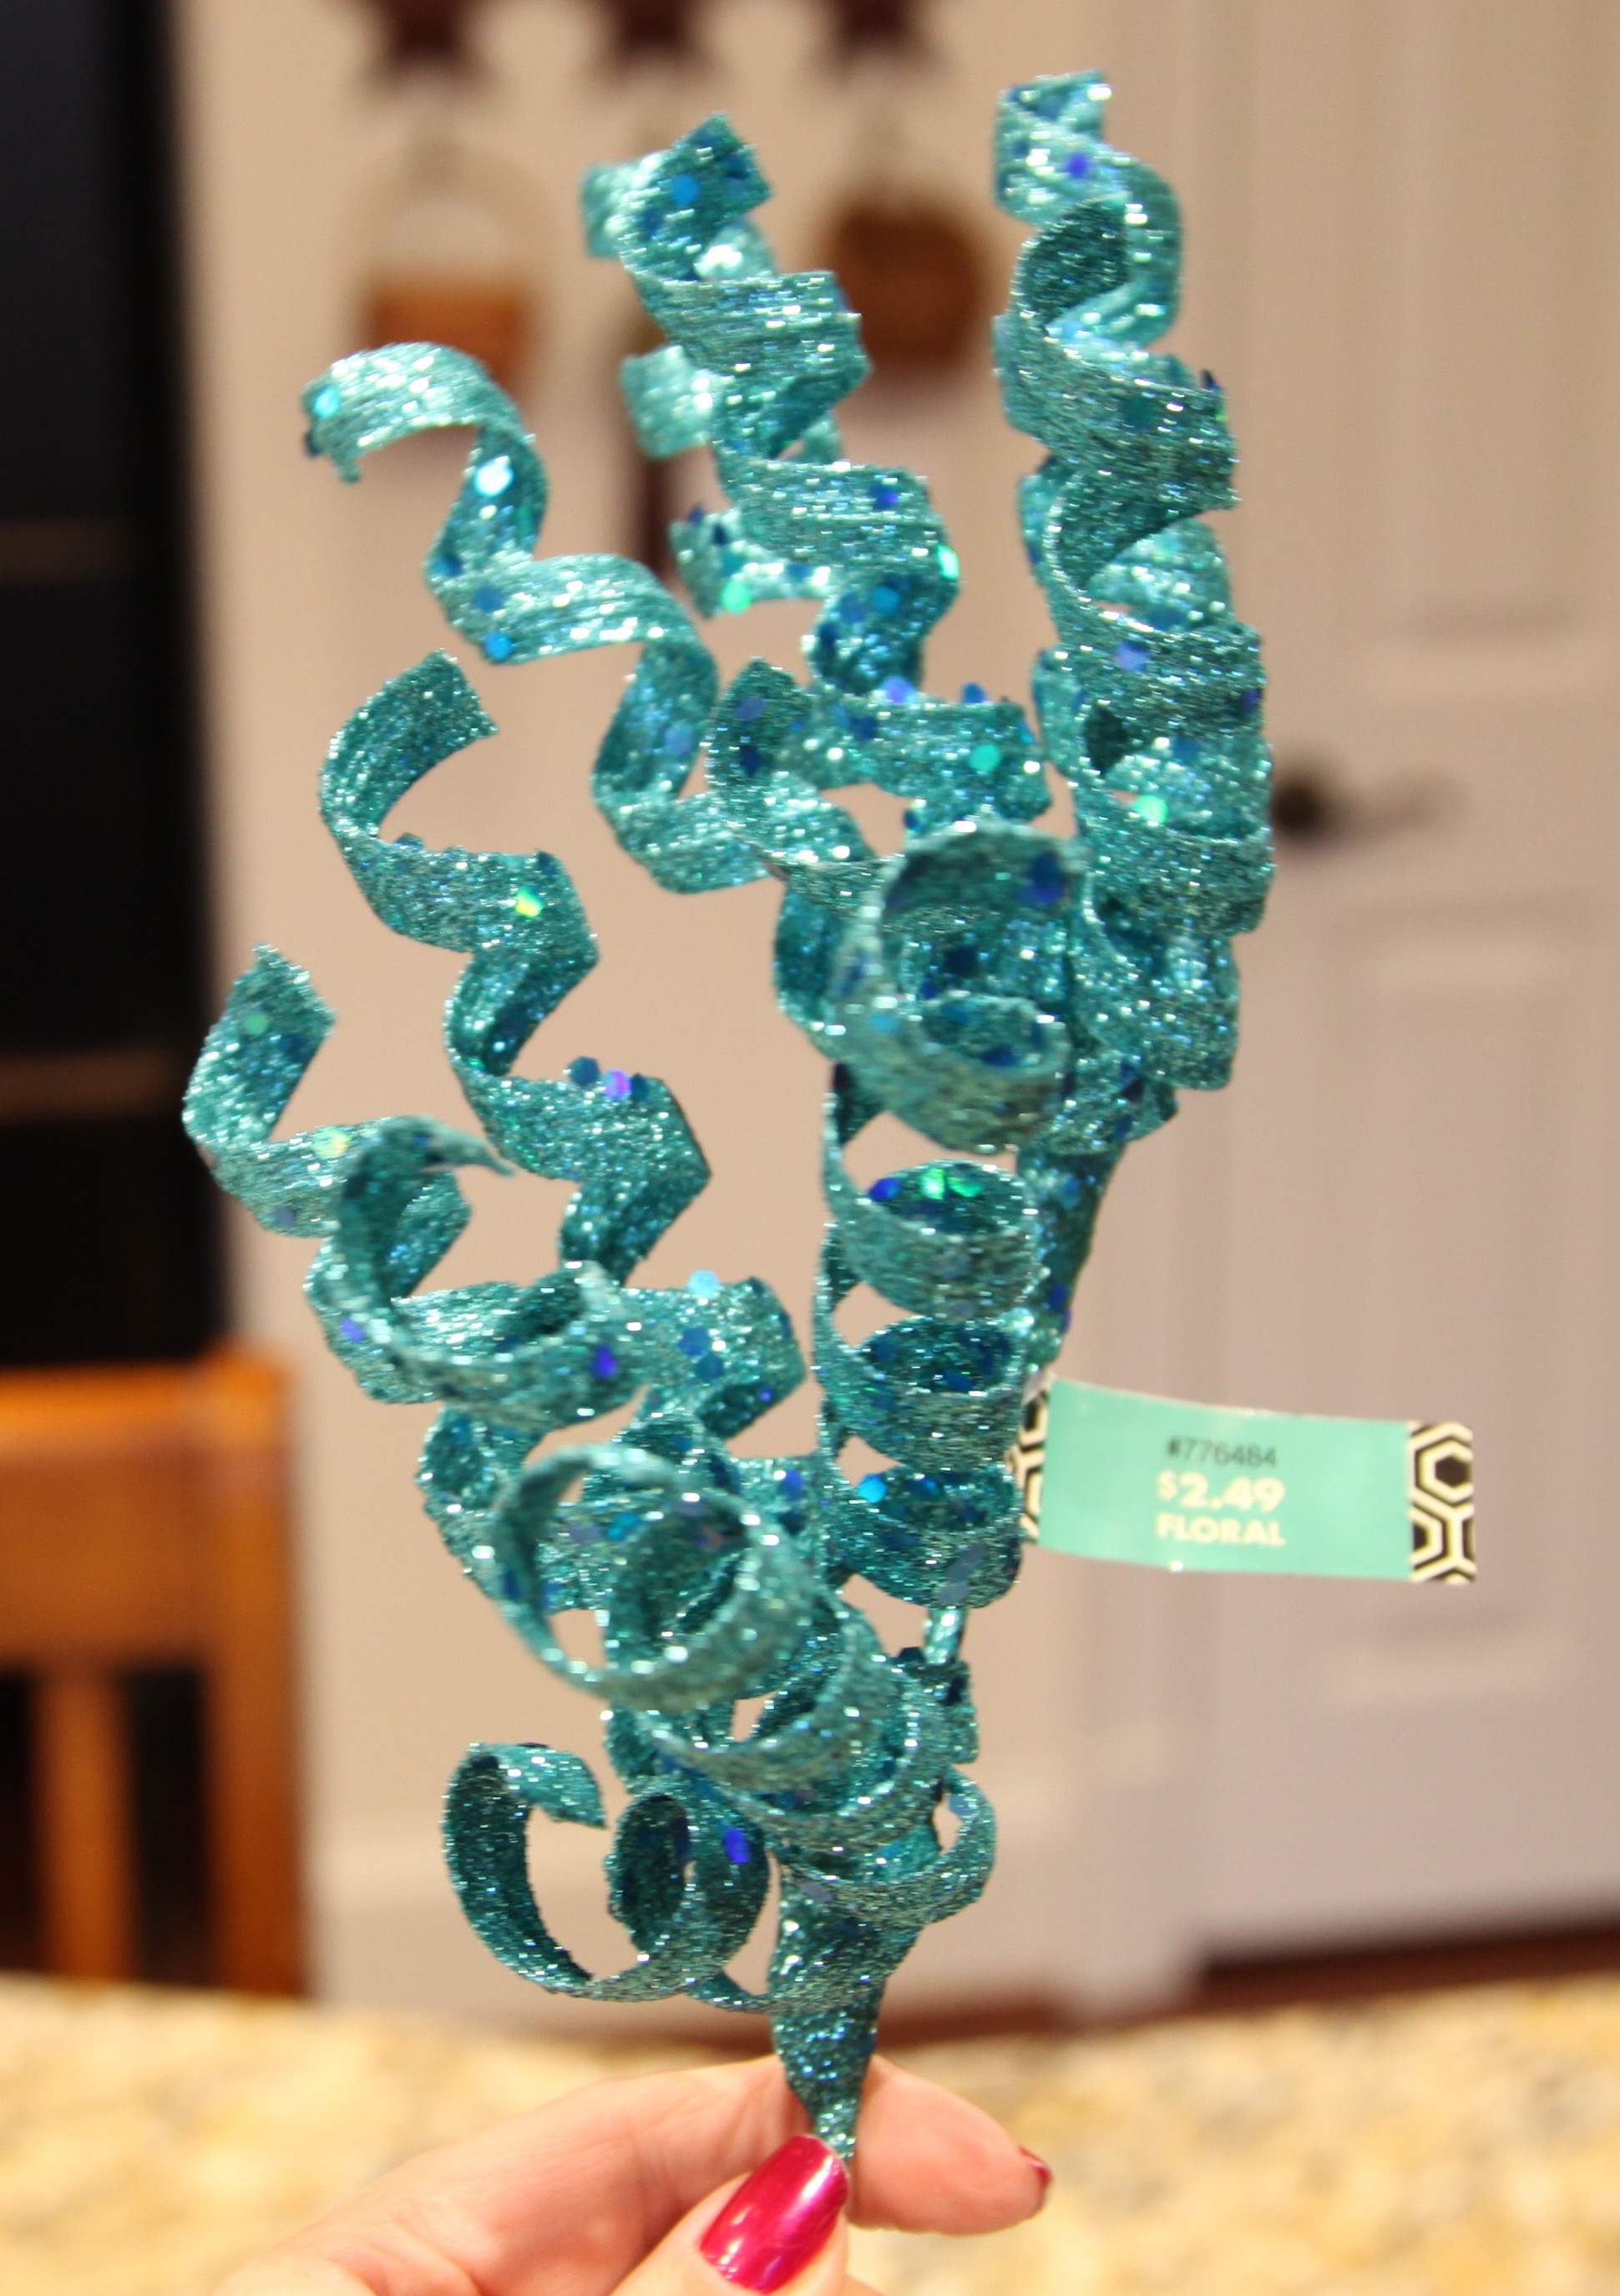
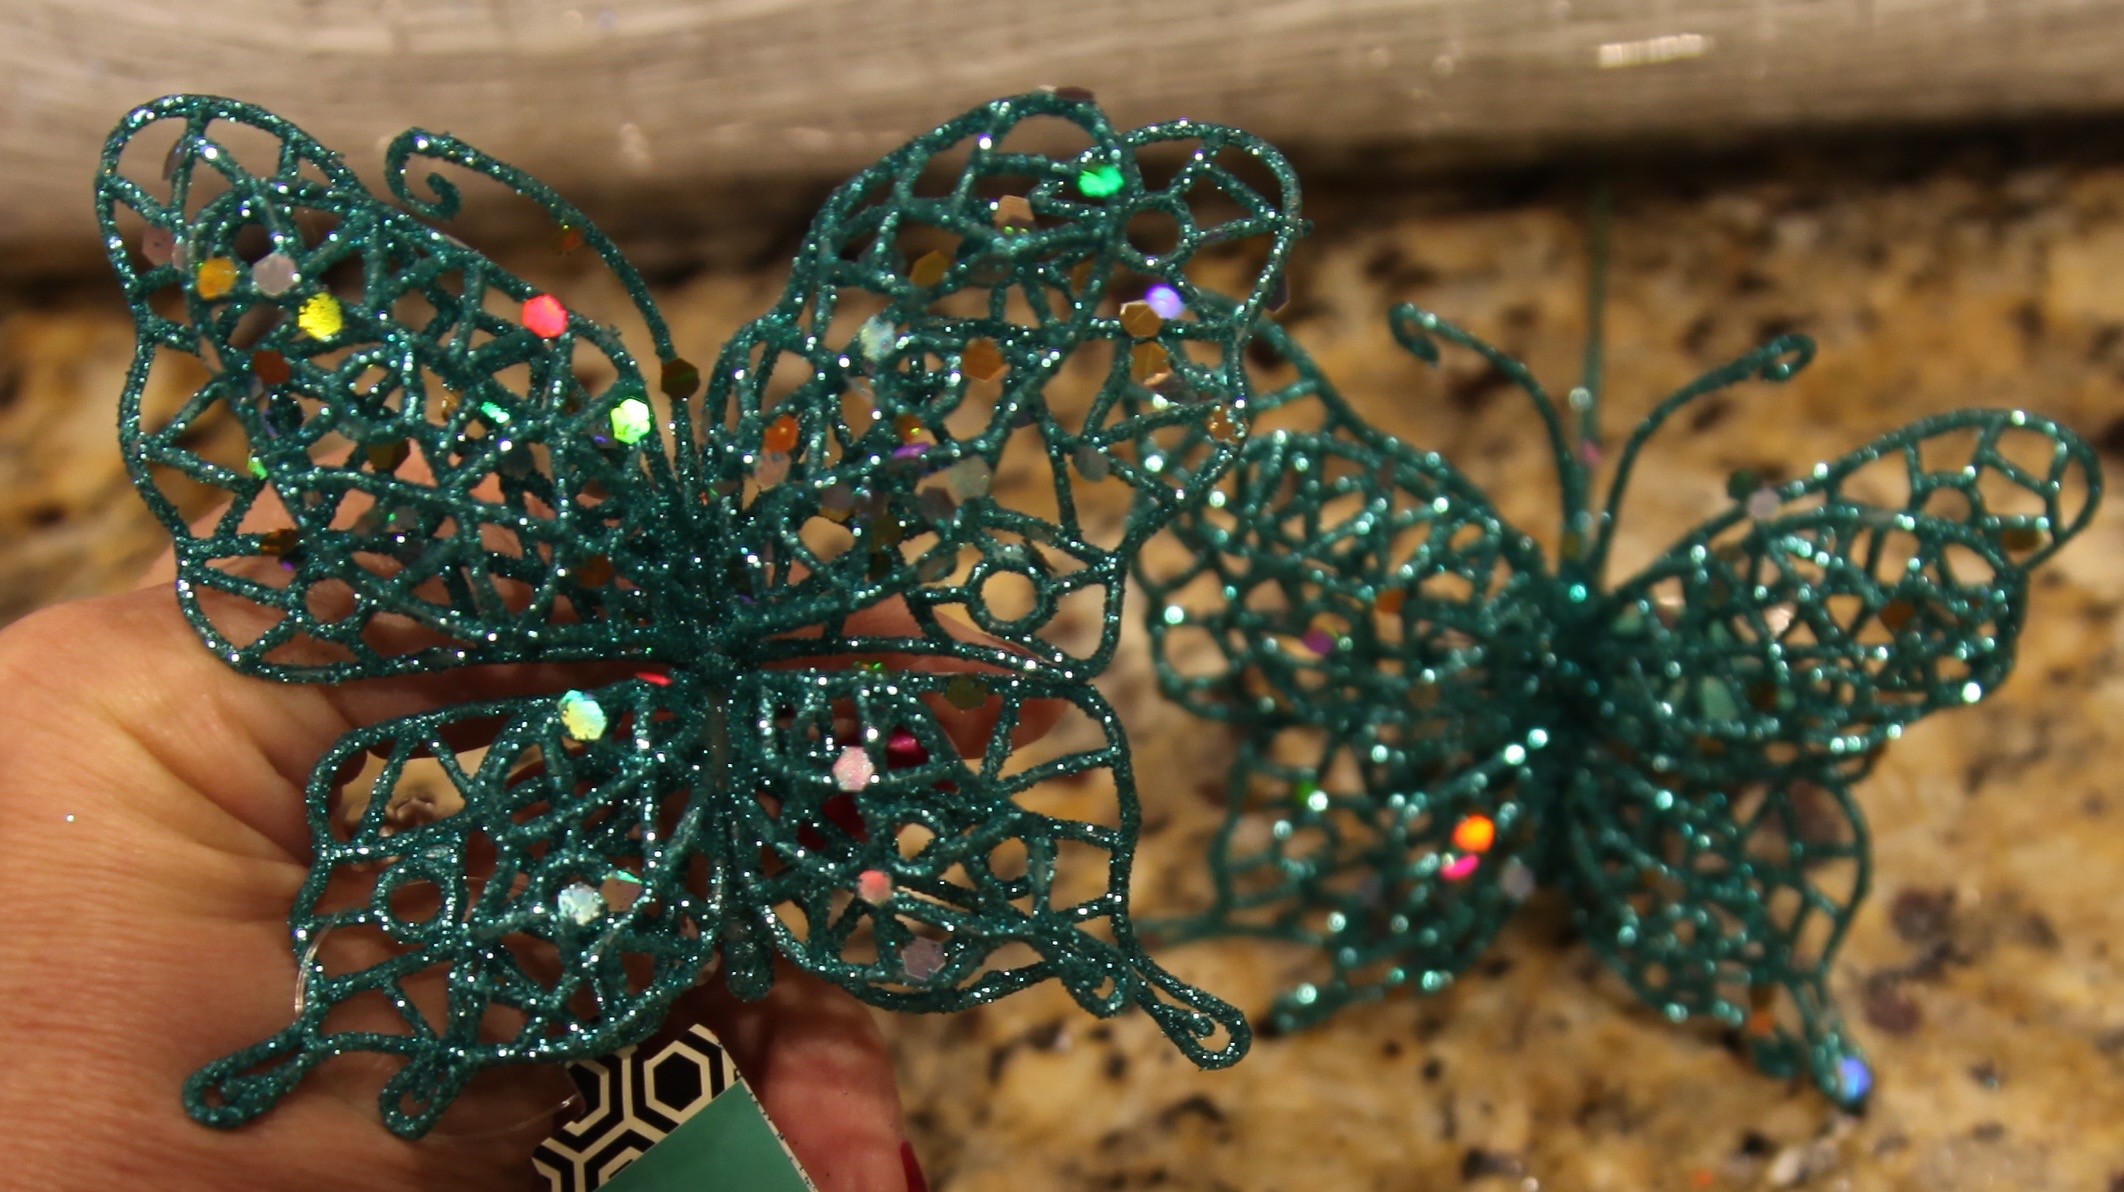
I was so touched that my oldest daughter asked me to make her another wreath this weekend, this one would be for her front door. It was my complete pleasure and honor to create something just for her. 🙂 Teal is her very favorite color, so I went searching for accents that would pair with it nicely. I found a roll of deco mesh in a beautiful teal color and I decided white would be the accent color and I was determined to not throw any other colors into the mix so I chose a white deco mesh, a wooden white “C”, a teal and white chevron ribbon to be used to make a bow, a few teal flowers, teal ‘scrolly’ things, and a couple of teal lacy looking butterflies. I’m really happy with how it turned out. Christin is tad (meaning *a lot*) more minimalistic than I am, so I tried really hard not to over do when purchasing stuff for this wreath; it goes to show you that you don’t have to use 5 thousand accent pieces to make a full and pretty wreath. 🙂
Here are pictures of the supplies that I used:

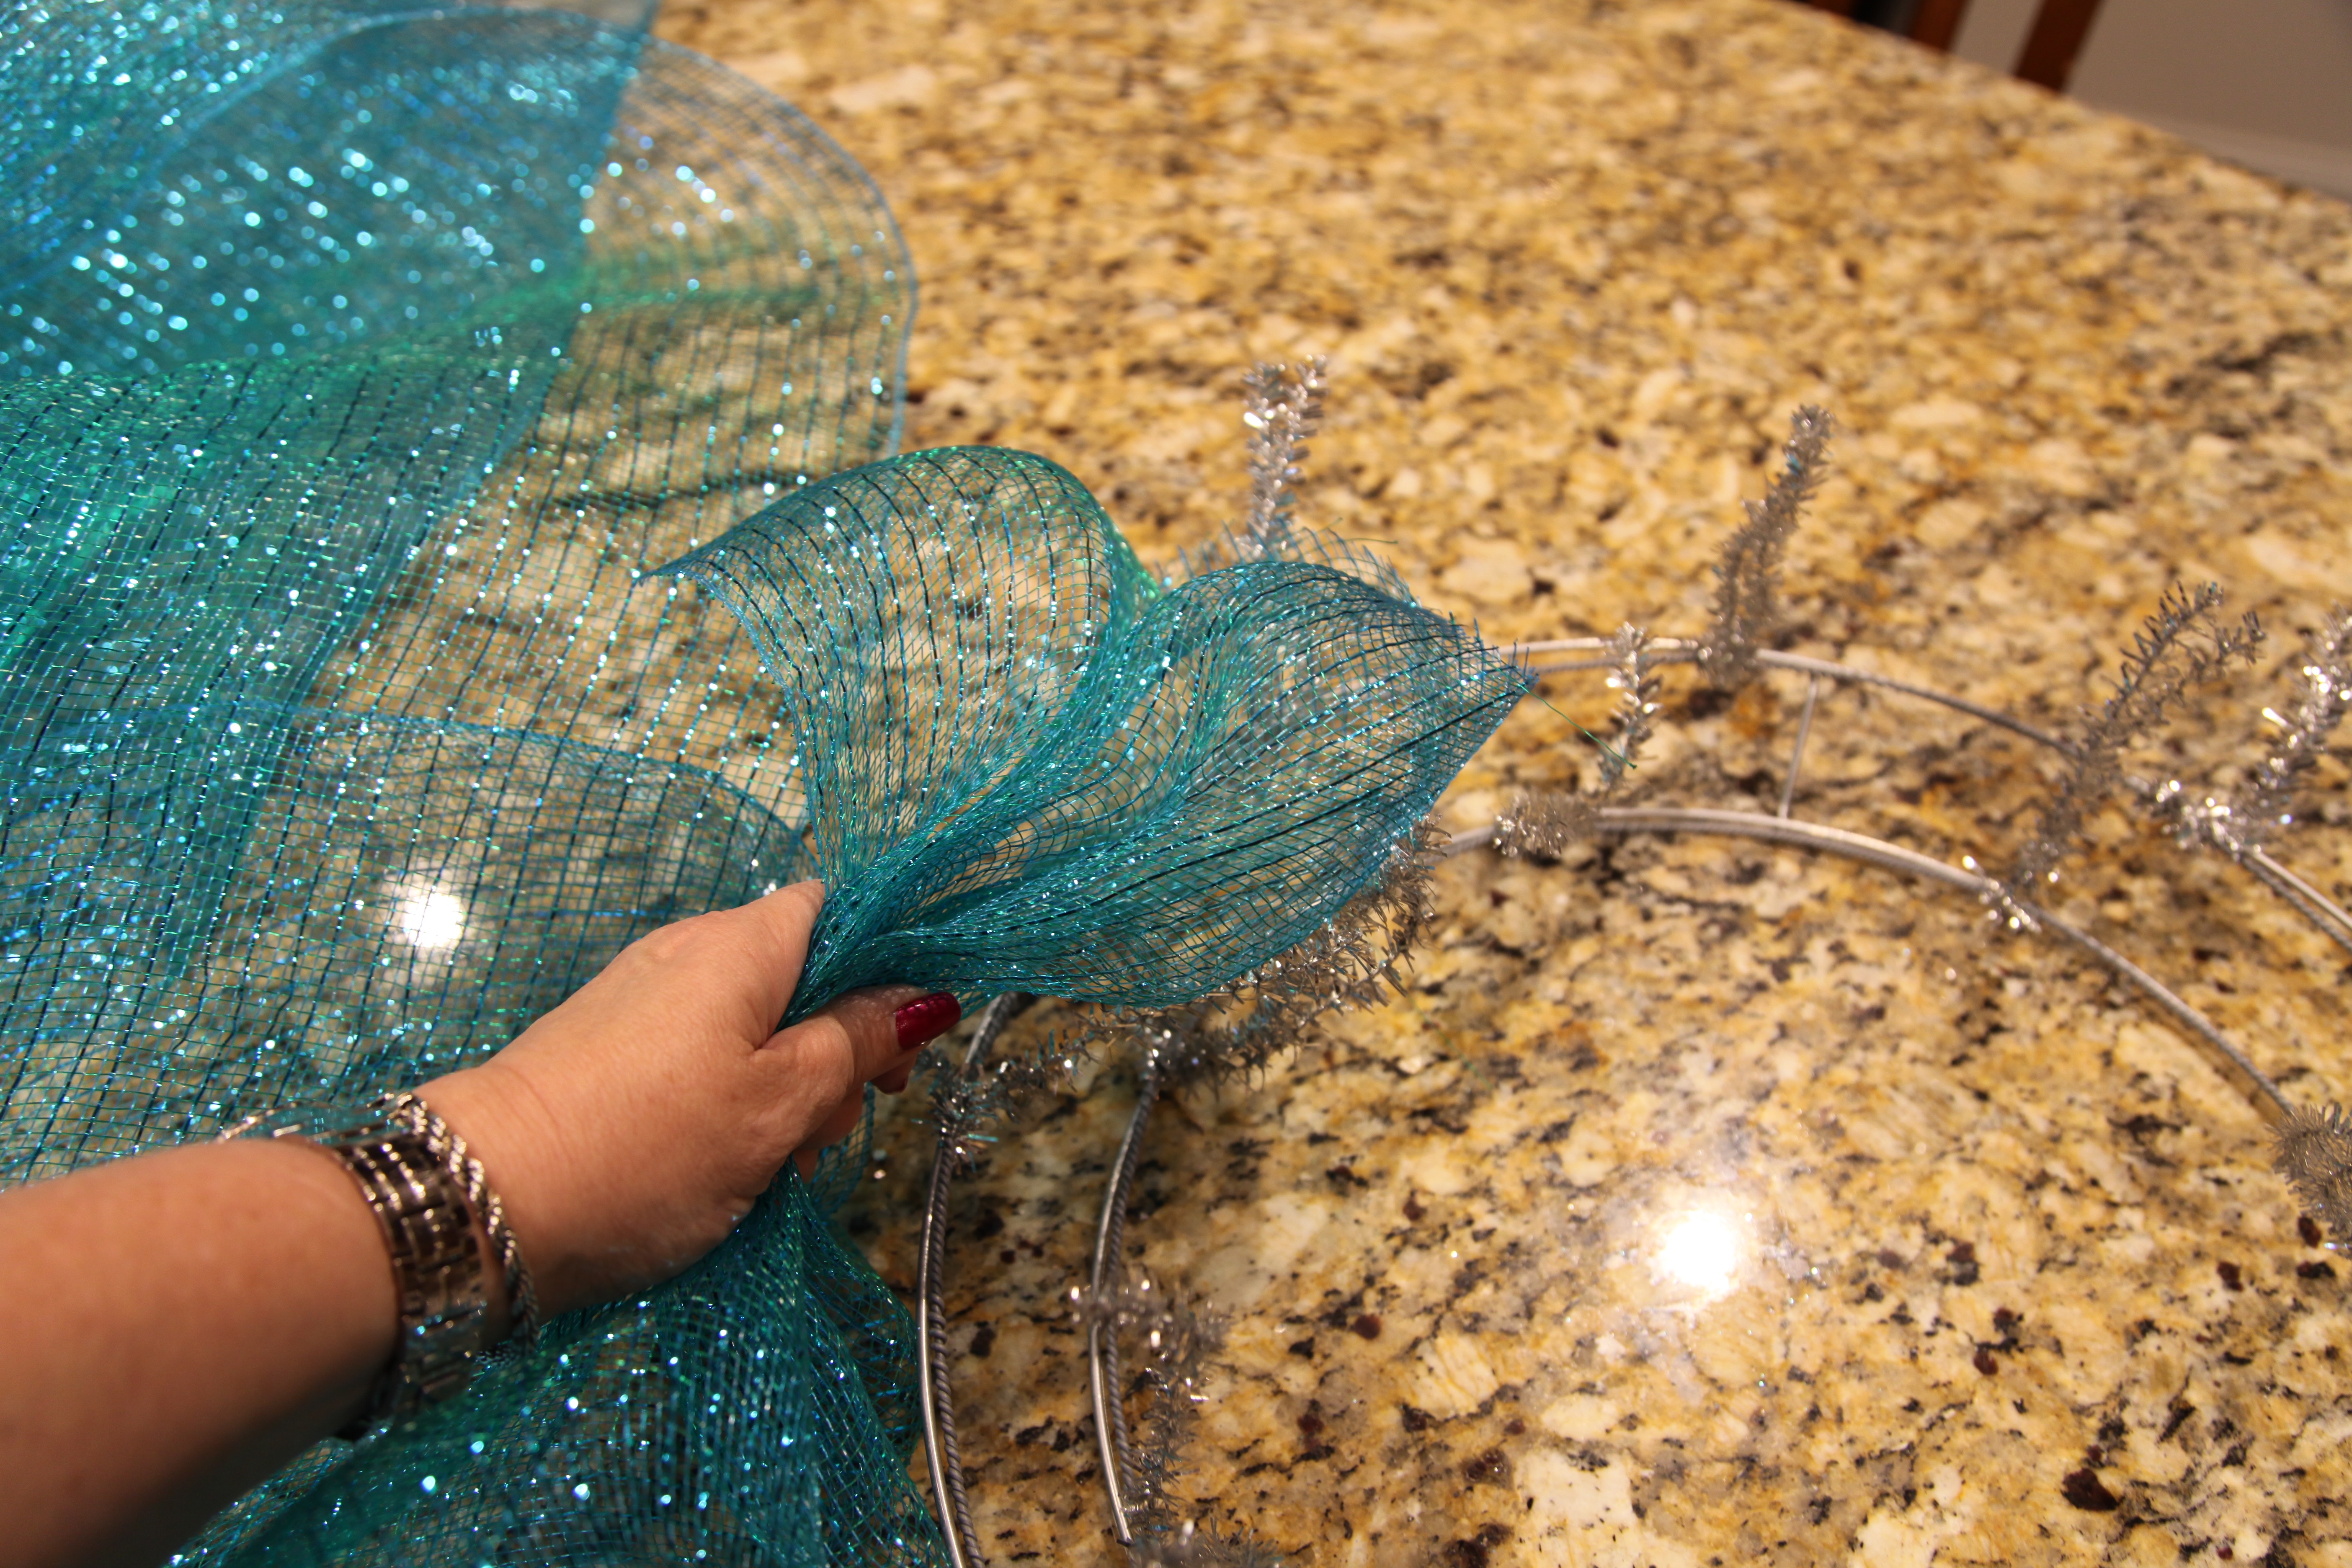
I used a 16″ metal work wreath that I found in the Christmas section at Hobby Lobby for 50% off…

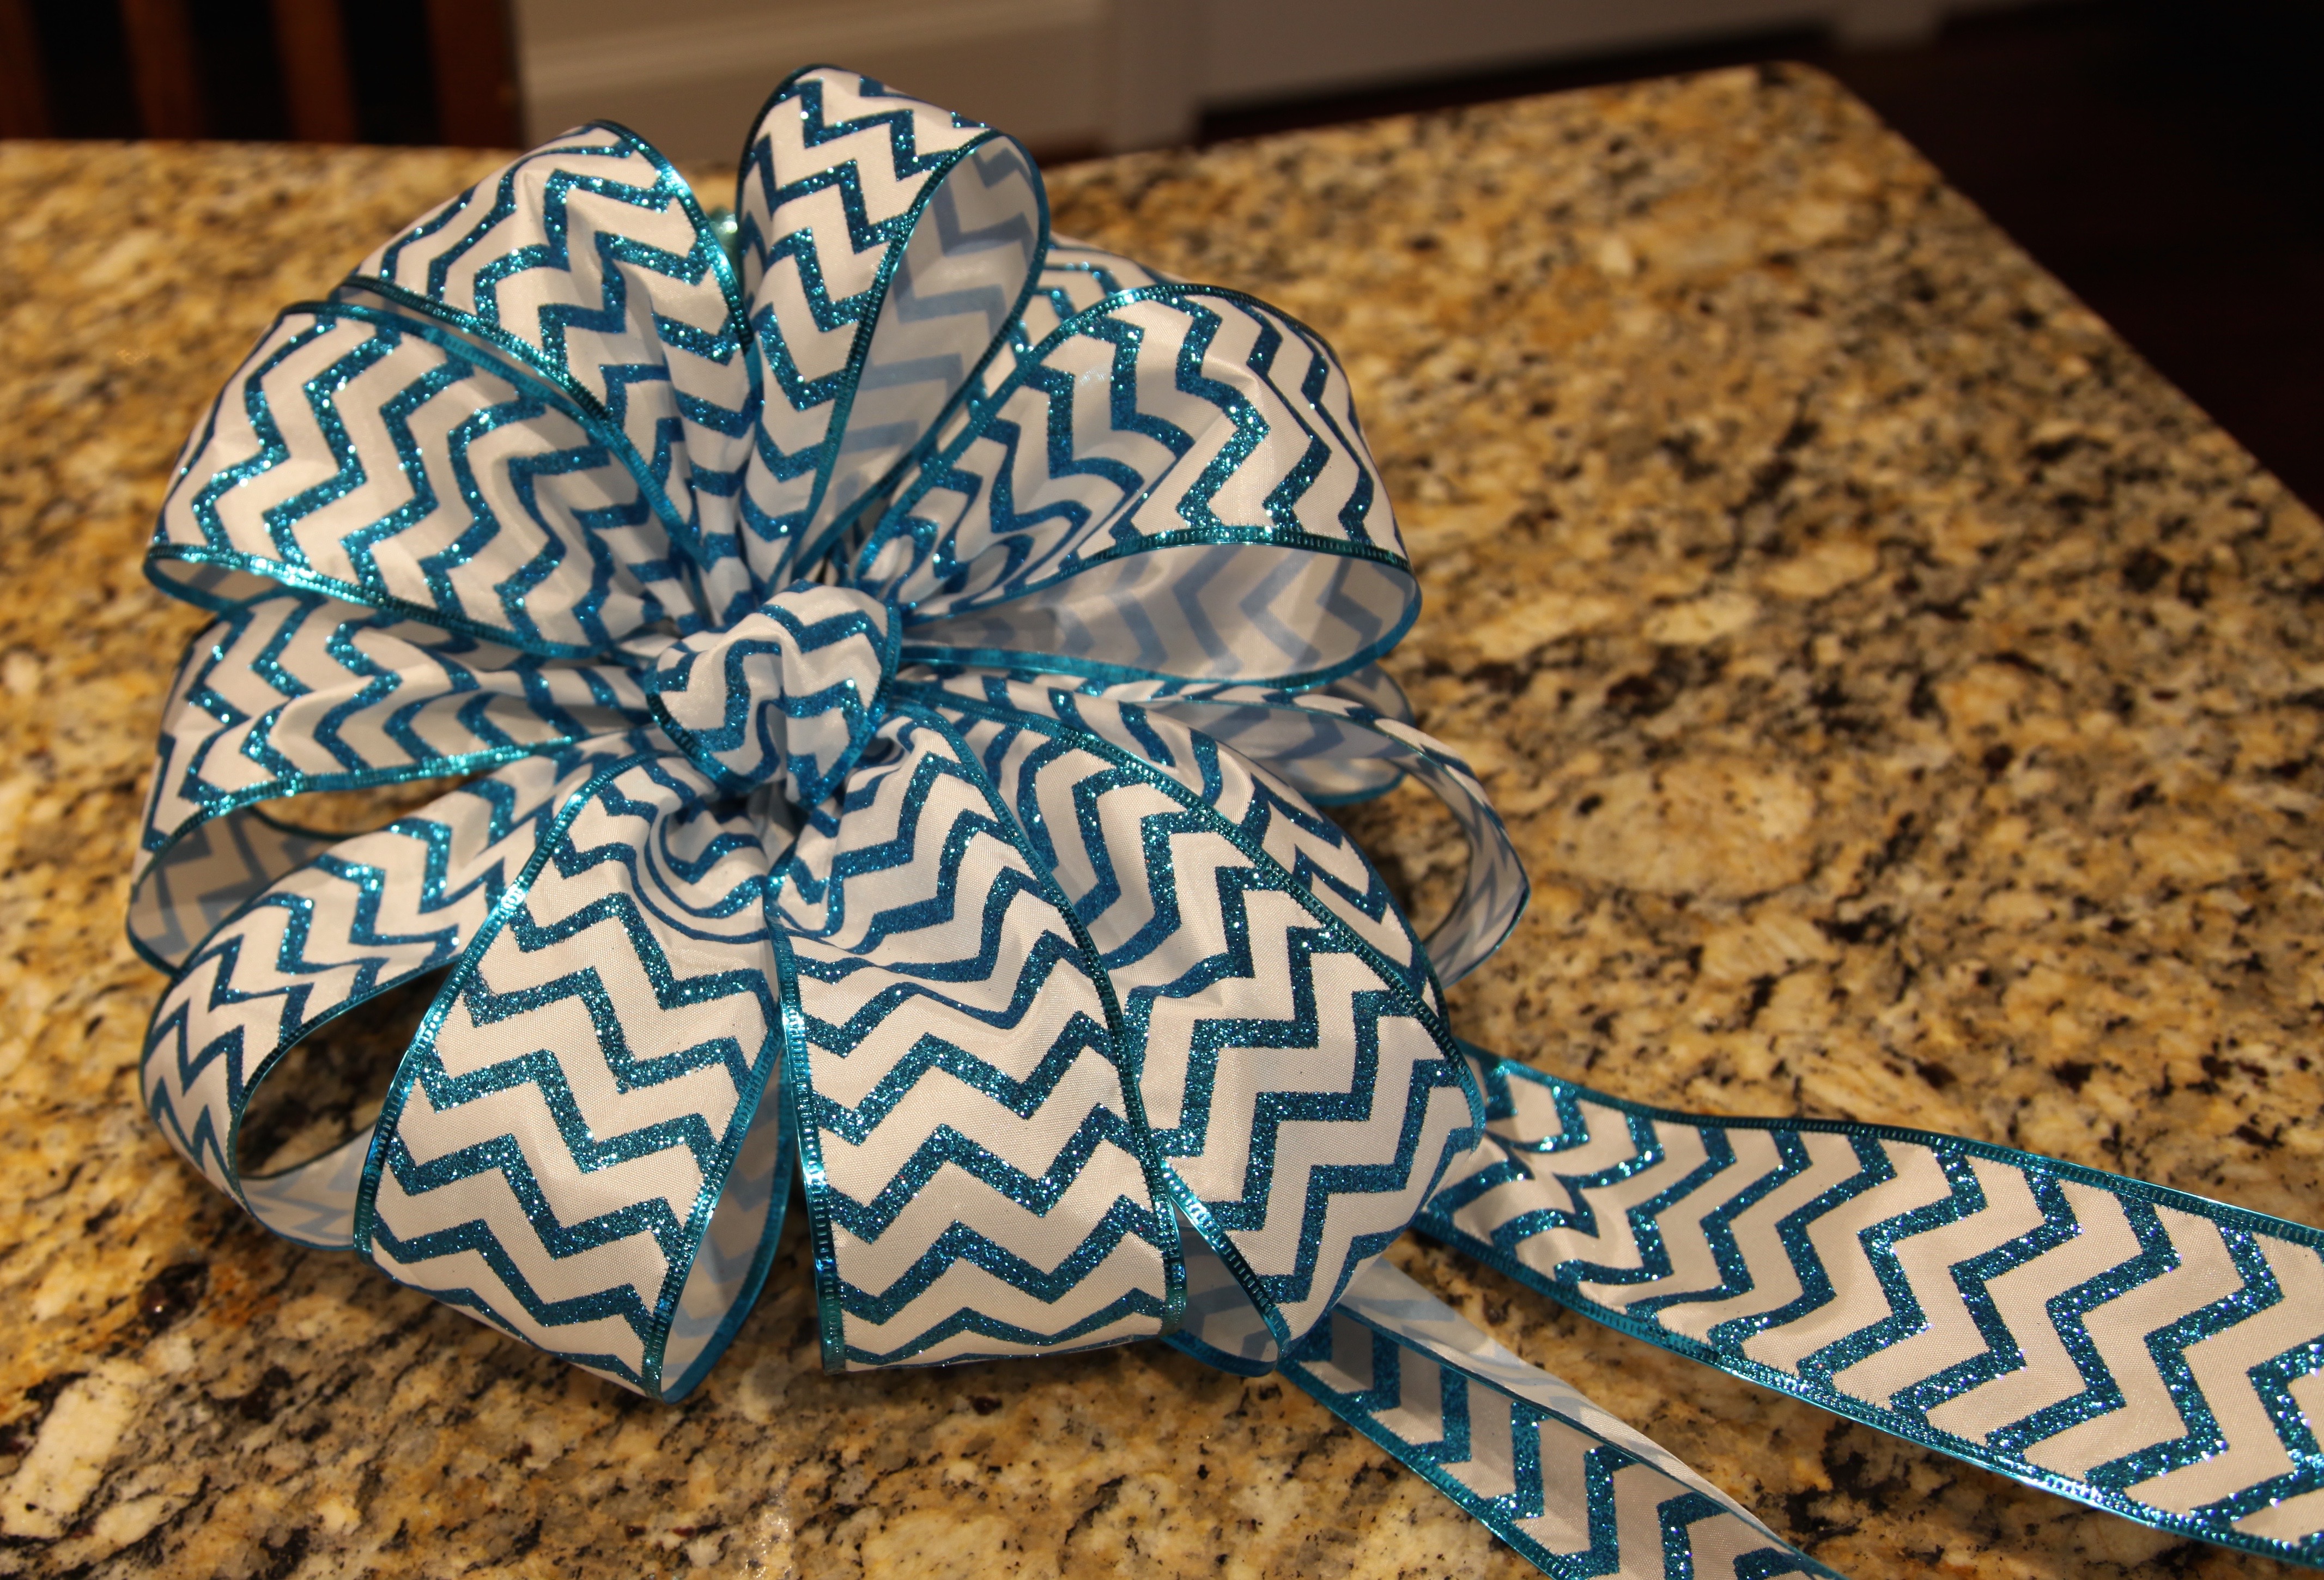
Next, I made the bow, I just learned how to make a bow like this. I watched this YouTube video. It wasn’t hard to do at all…YaY!!
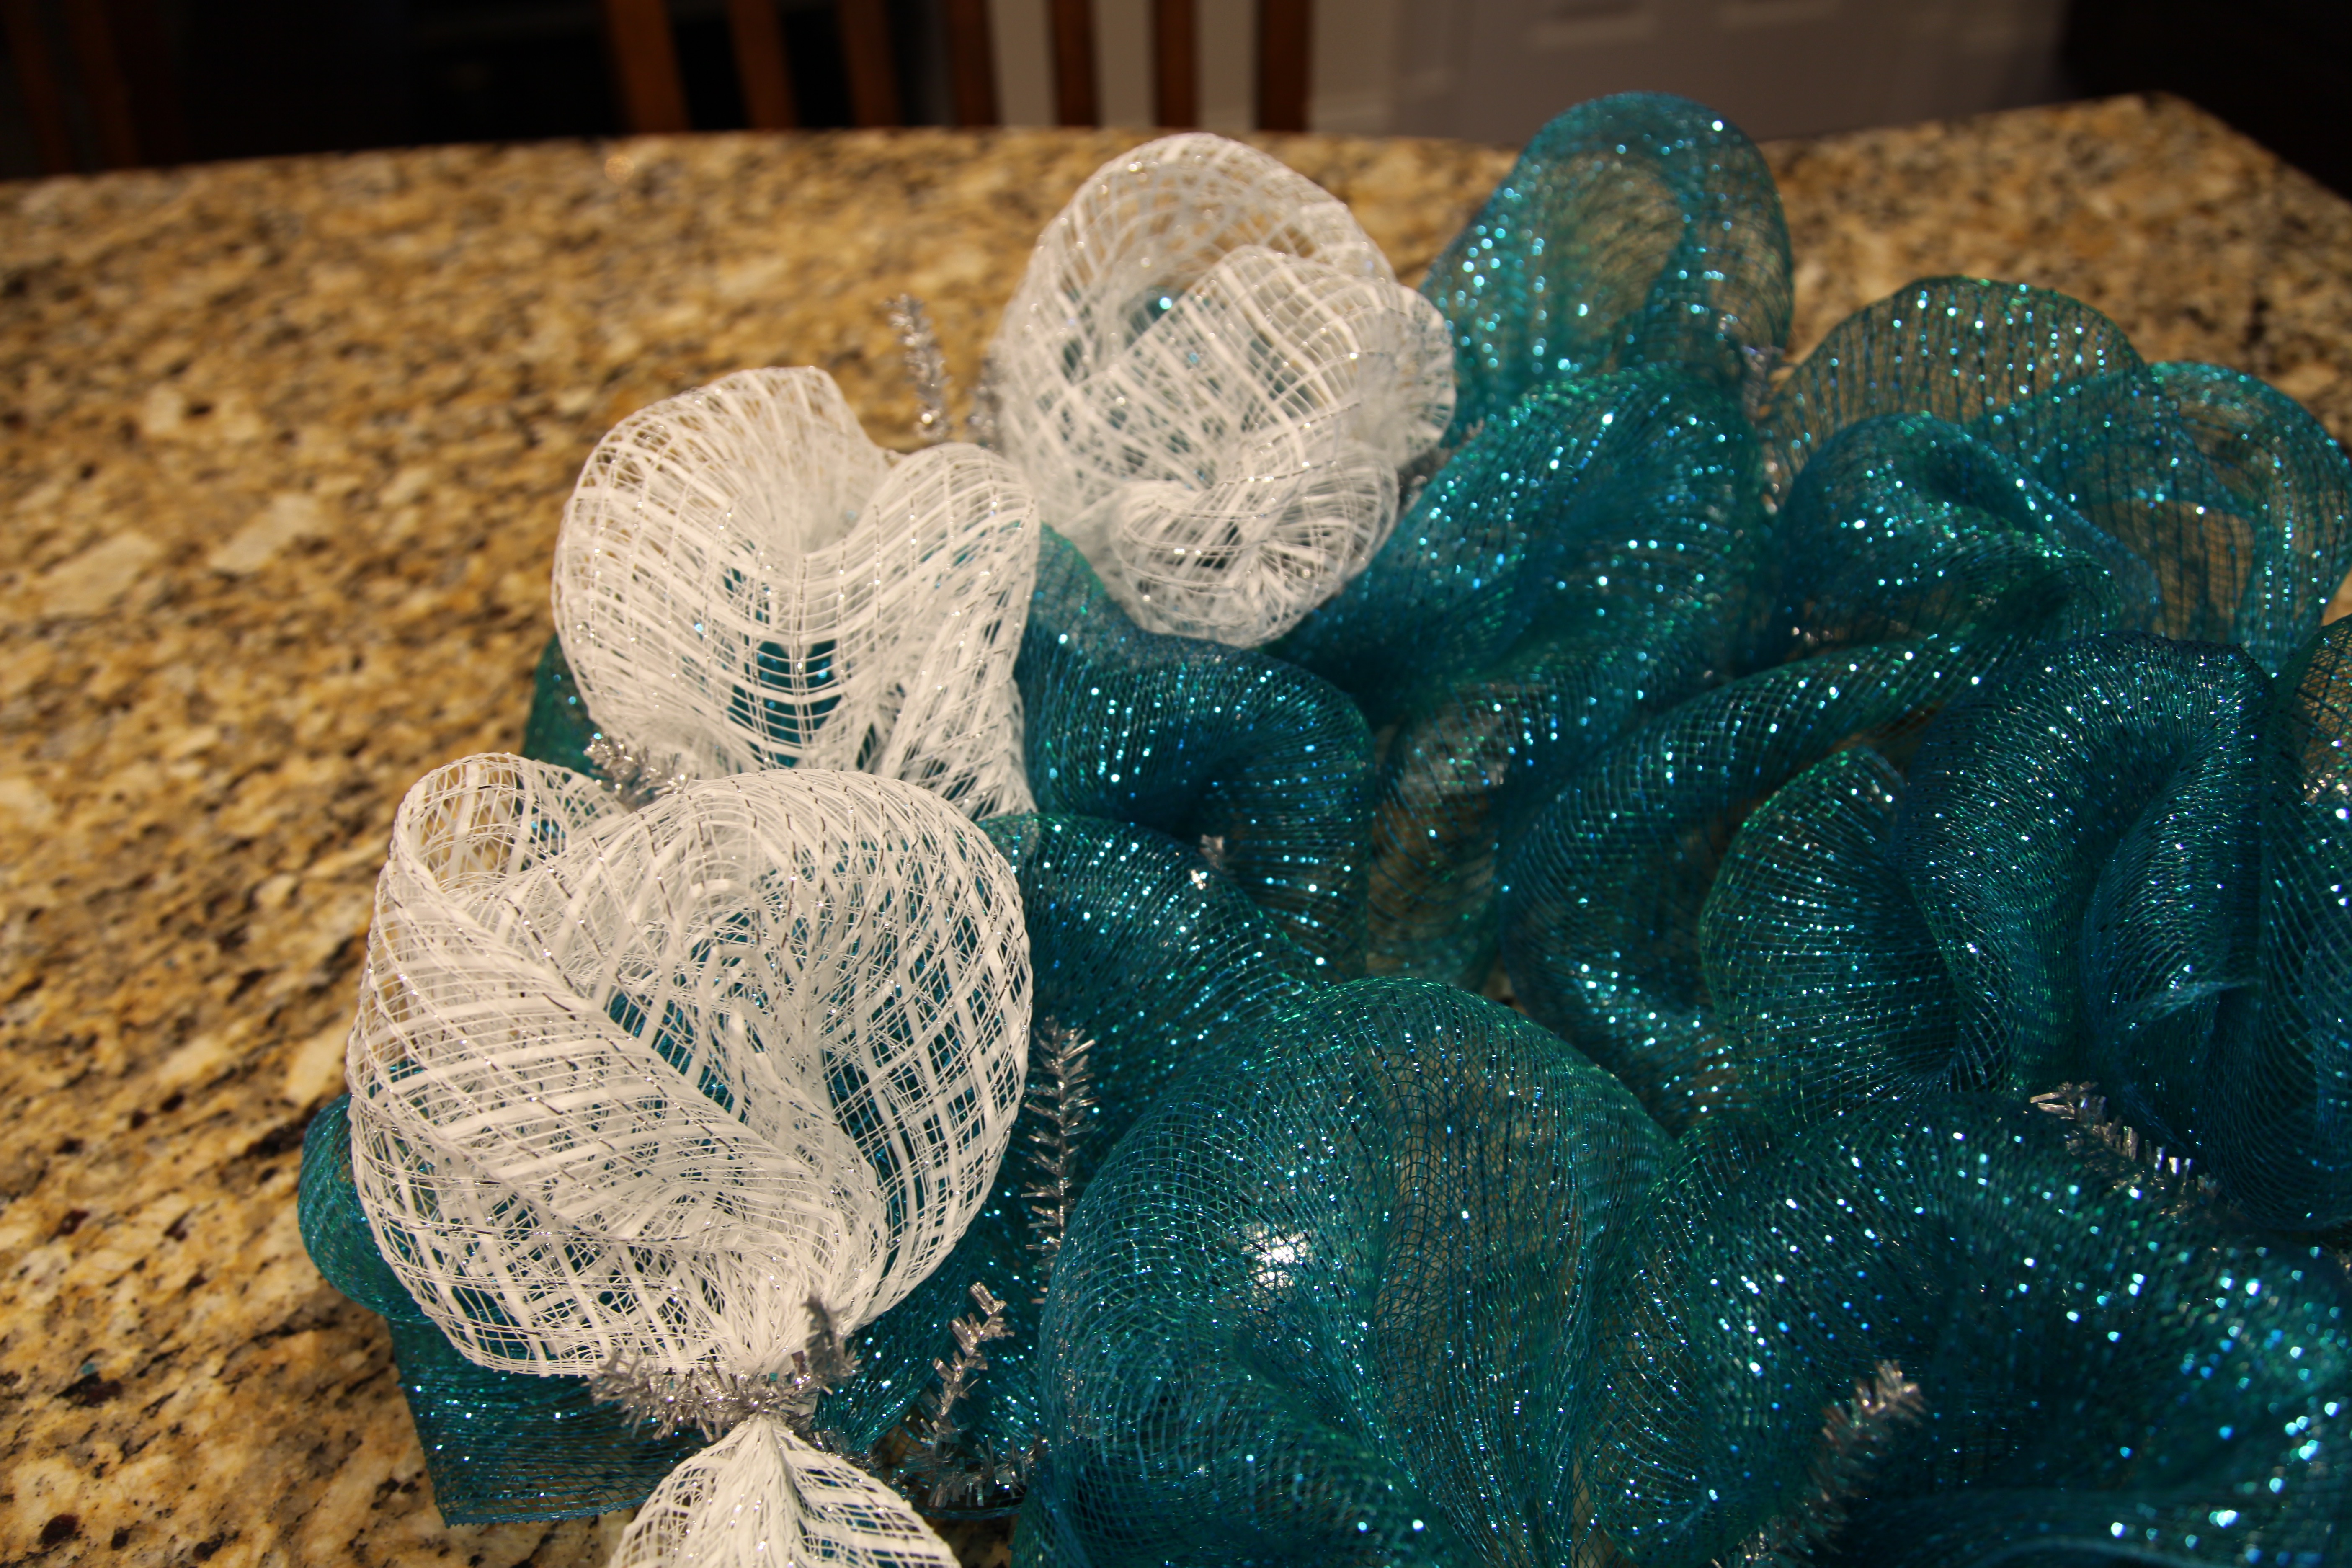
Then I started to attach the teal colored deco mesh by unrolling a good bit of the mesh and gathering the end of it into a tuft and catching it into a pipe cleaner, then moving around the wreath form, I gathered the mesh into 10-12″ loops and caught one in each of the outer pipe cleaners.
I then transitioned to the inner ring and continued in the same looping action catching a tuft in each inner pipe cleaner…

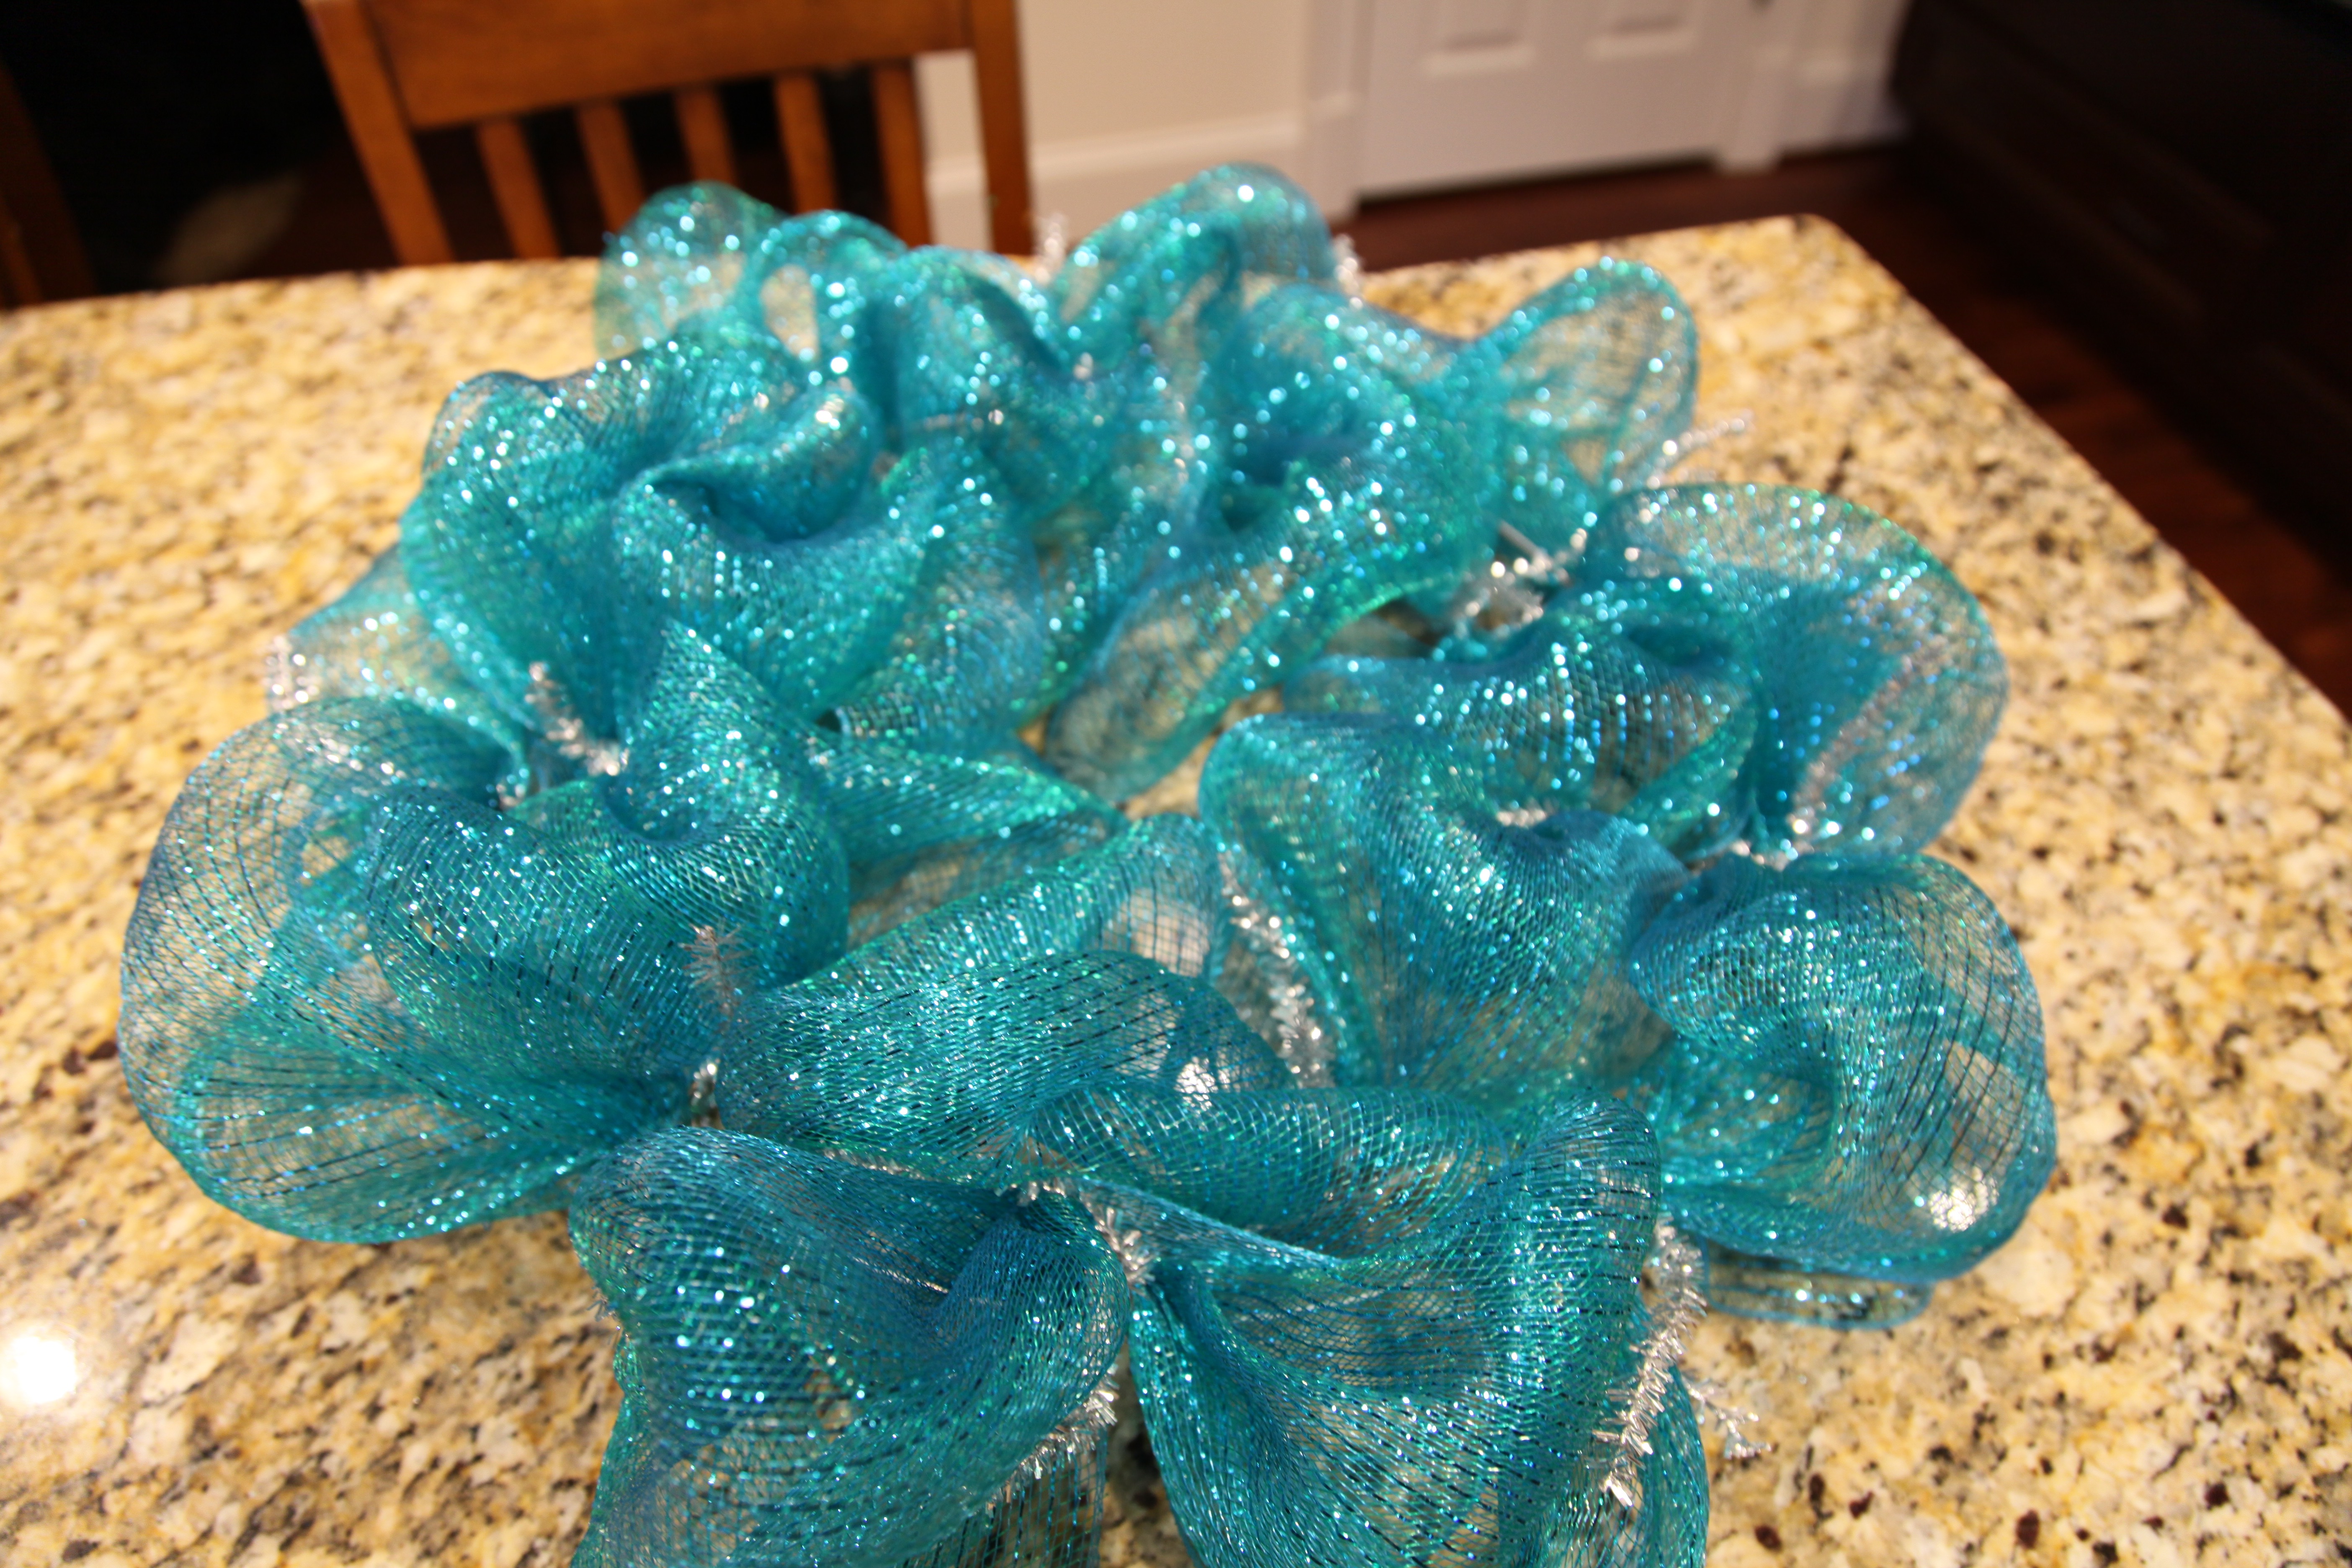
After that I unrolled a good bit of the white deco mesh and started to attach it using the same technique as I described above. I only attached the white to each outer ring and I simply added on top of the teal — I didn’t even untwist the twist ties, I just added it right on top of the teal and gave the twist tie another twist.

After the deco mesh was attached, I started to place the accent pieces. I started by hot gluing pipe cleaners to the back of the “C” so that I could tie it onto the wreath form…

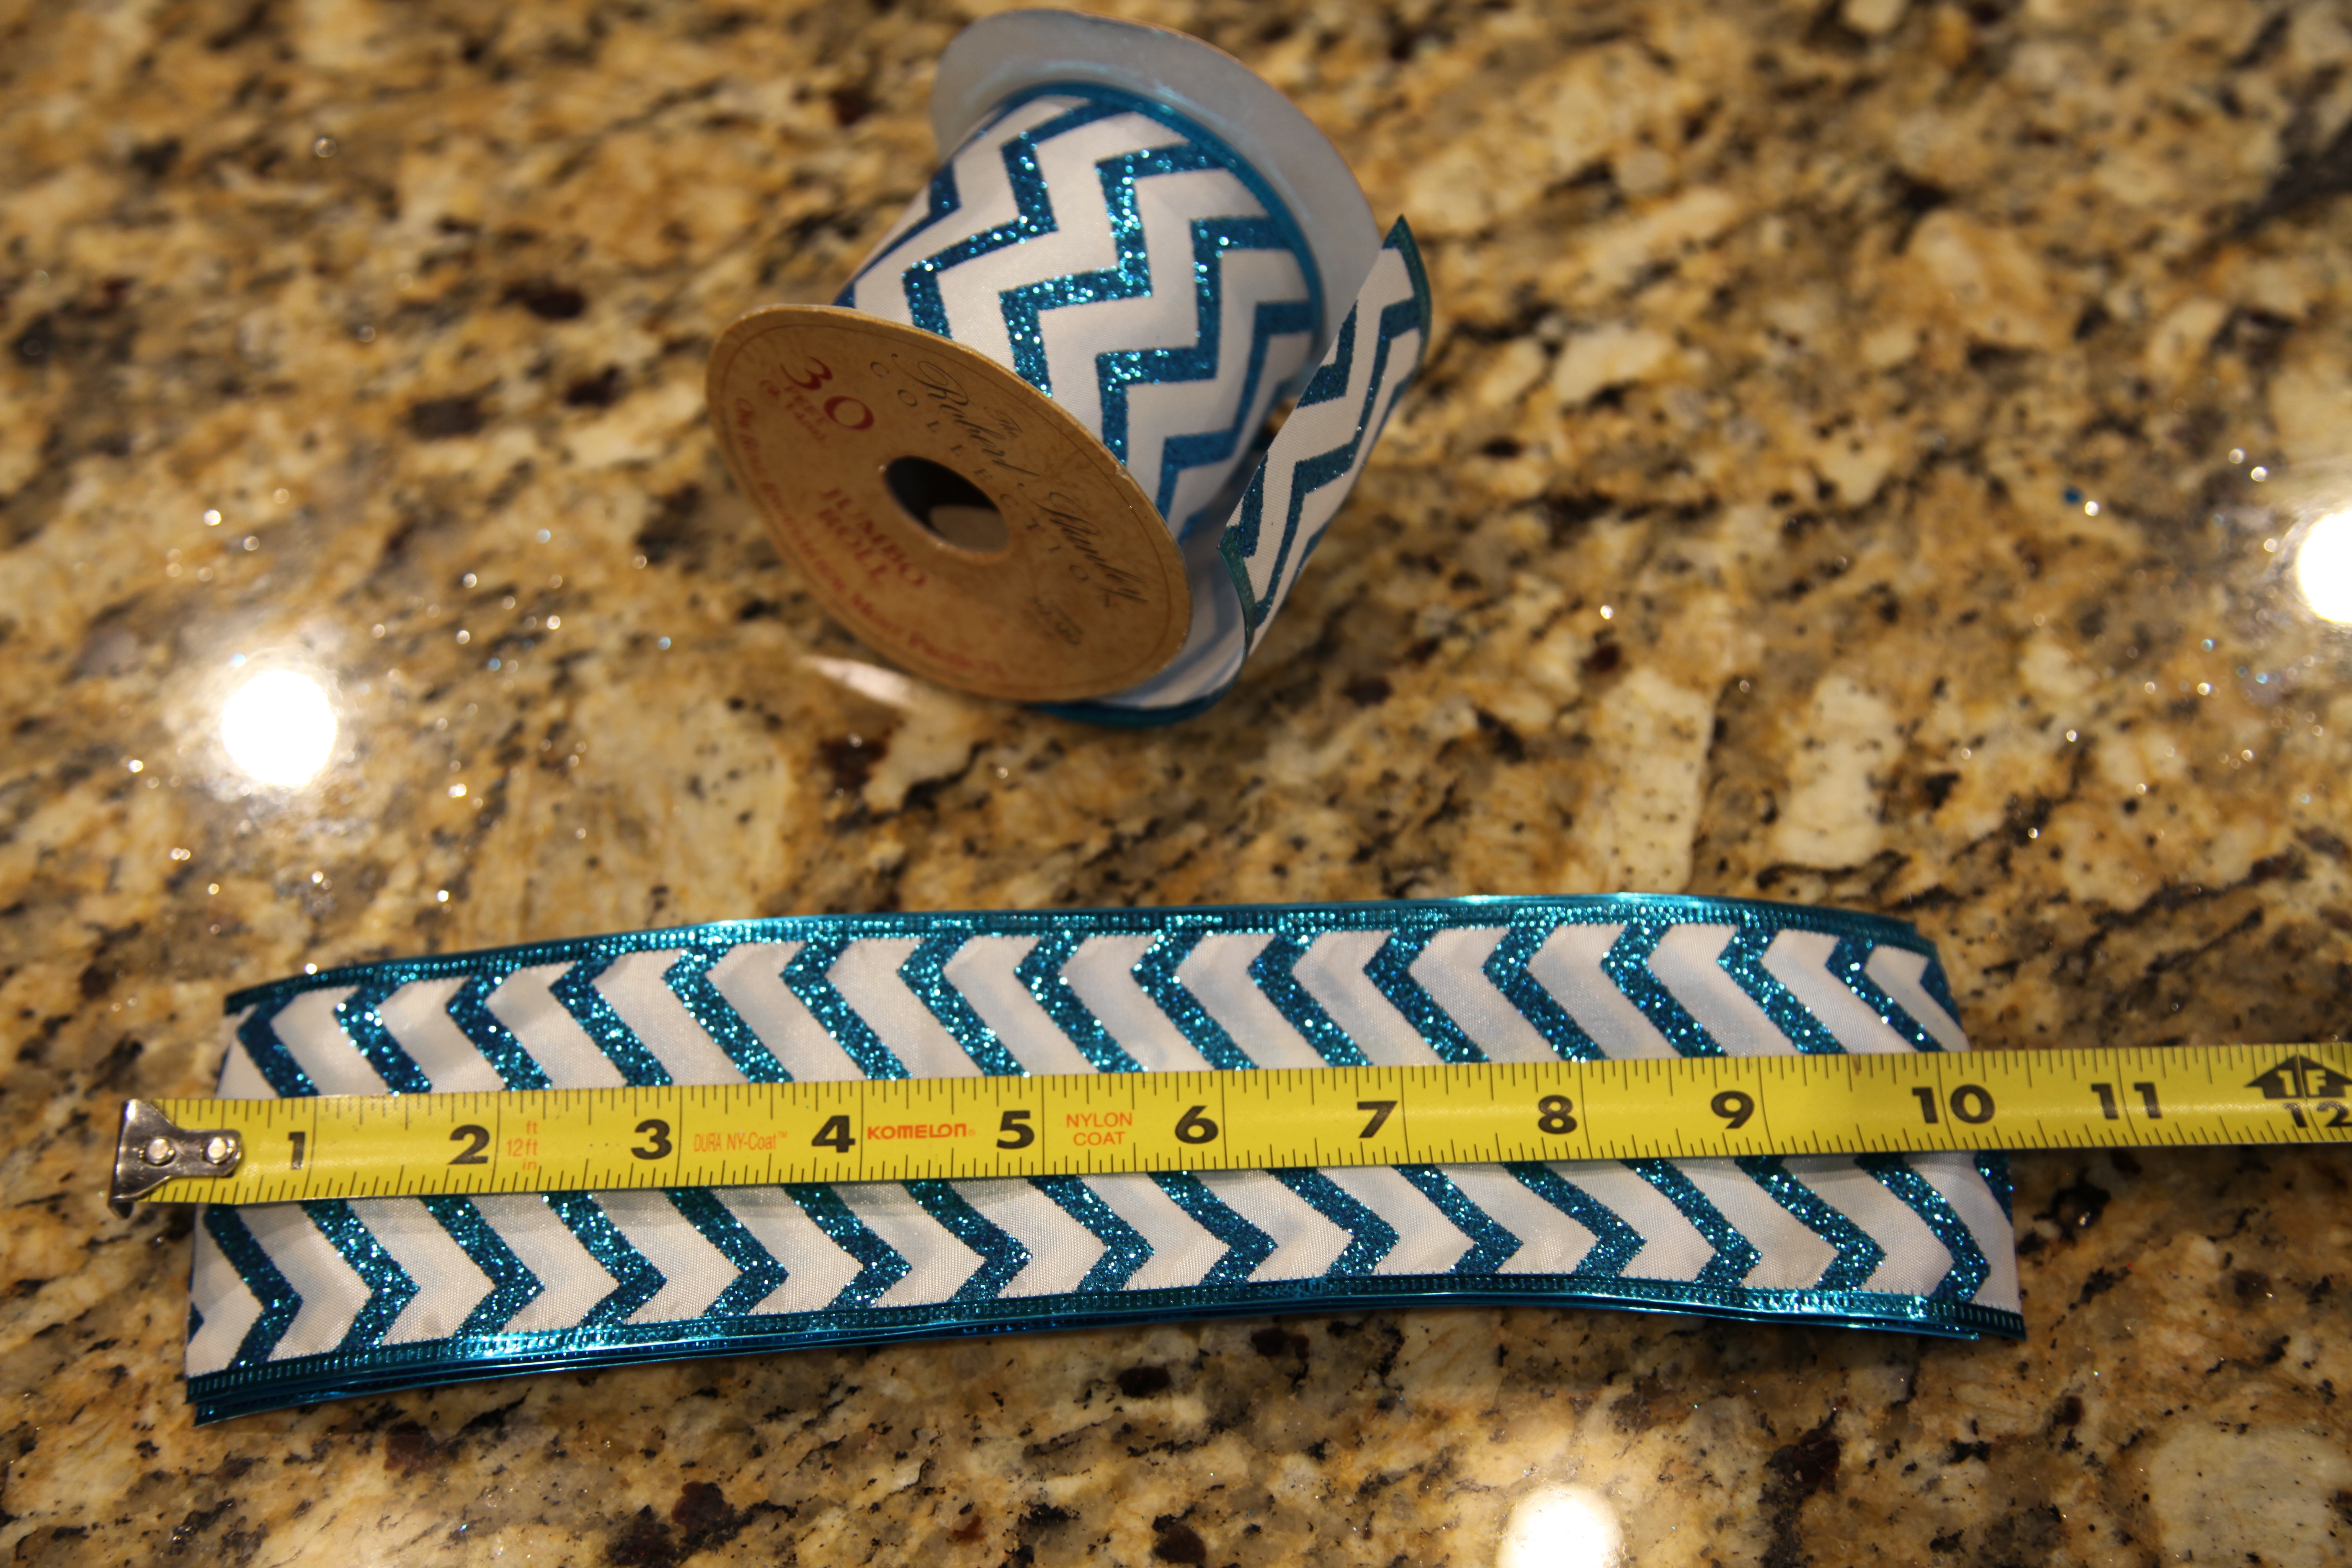
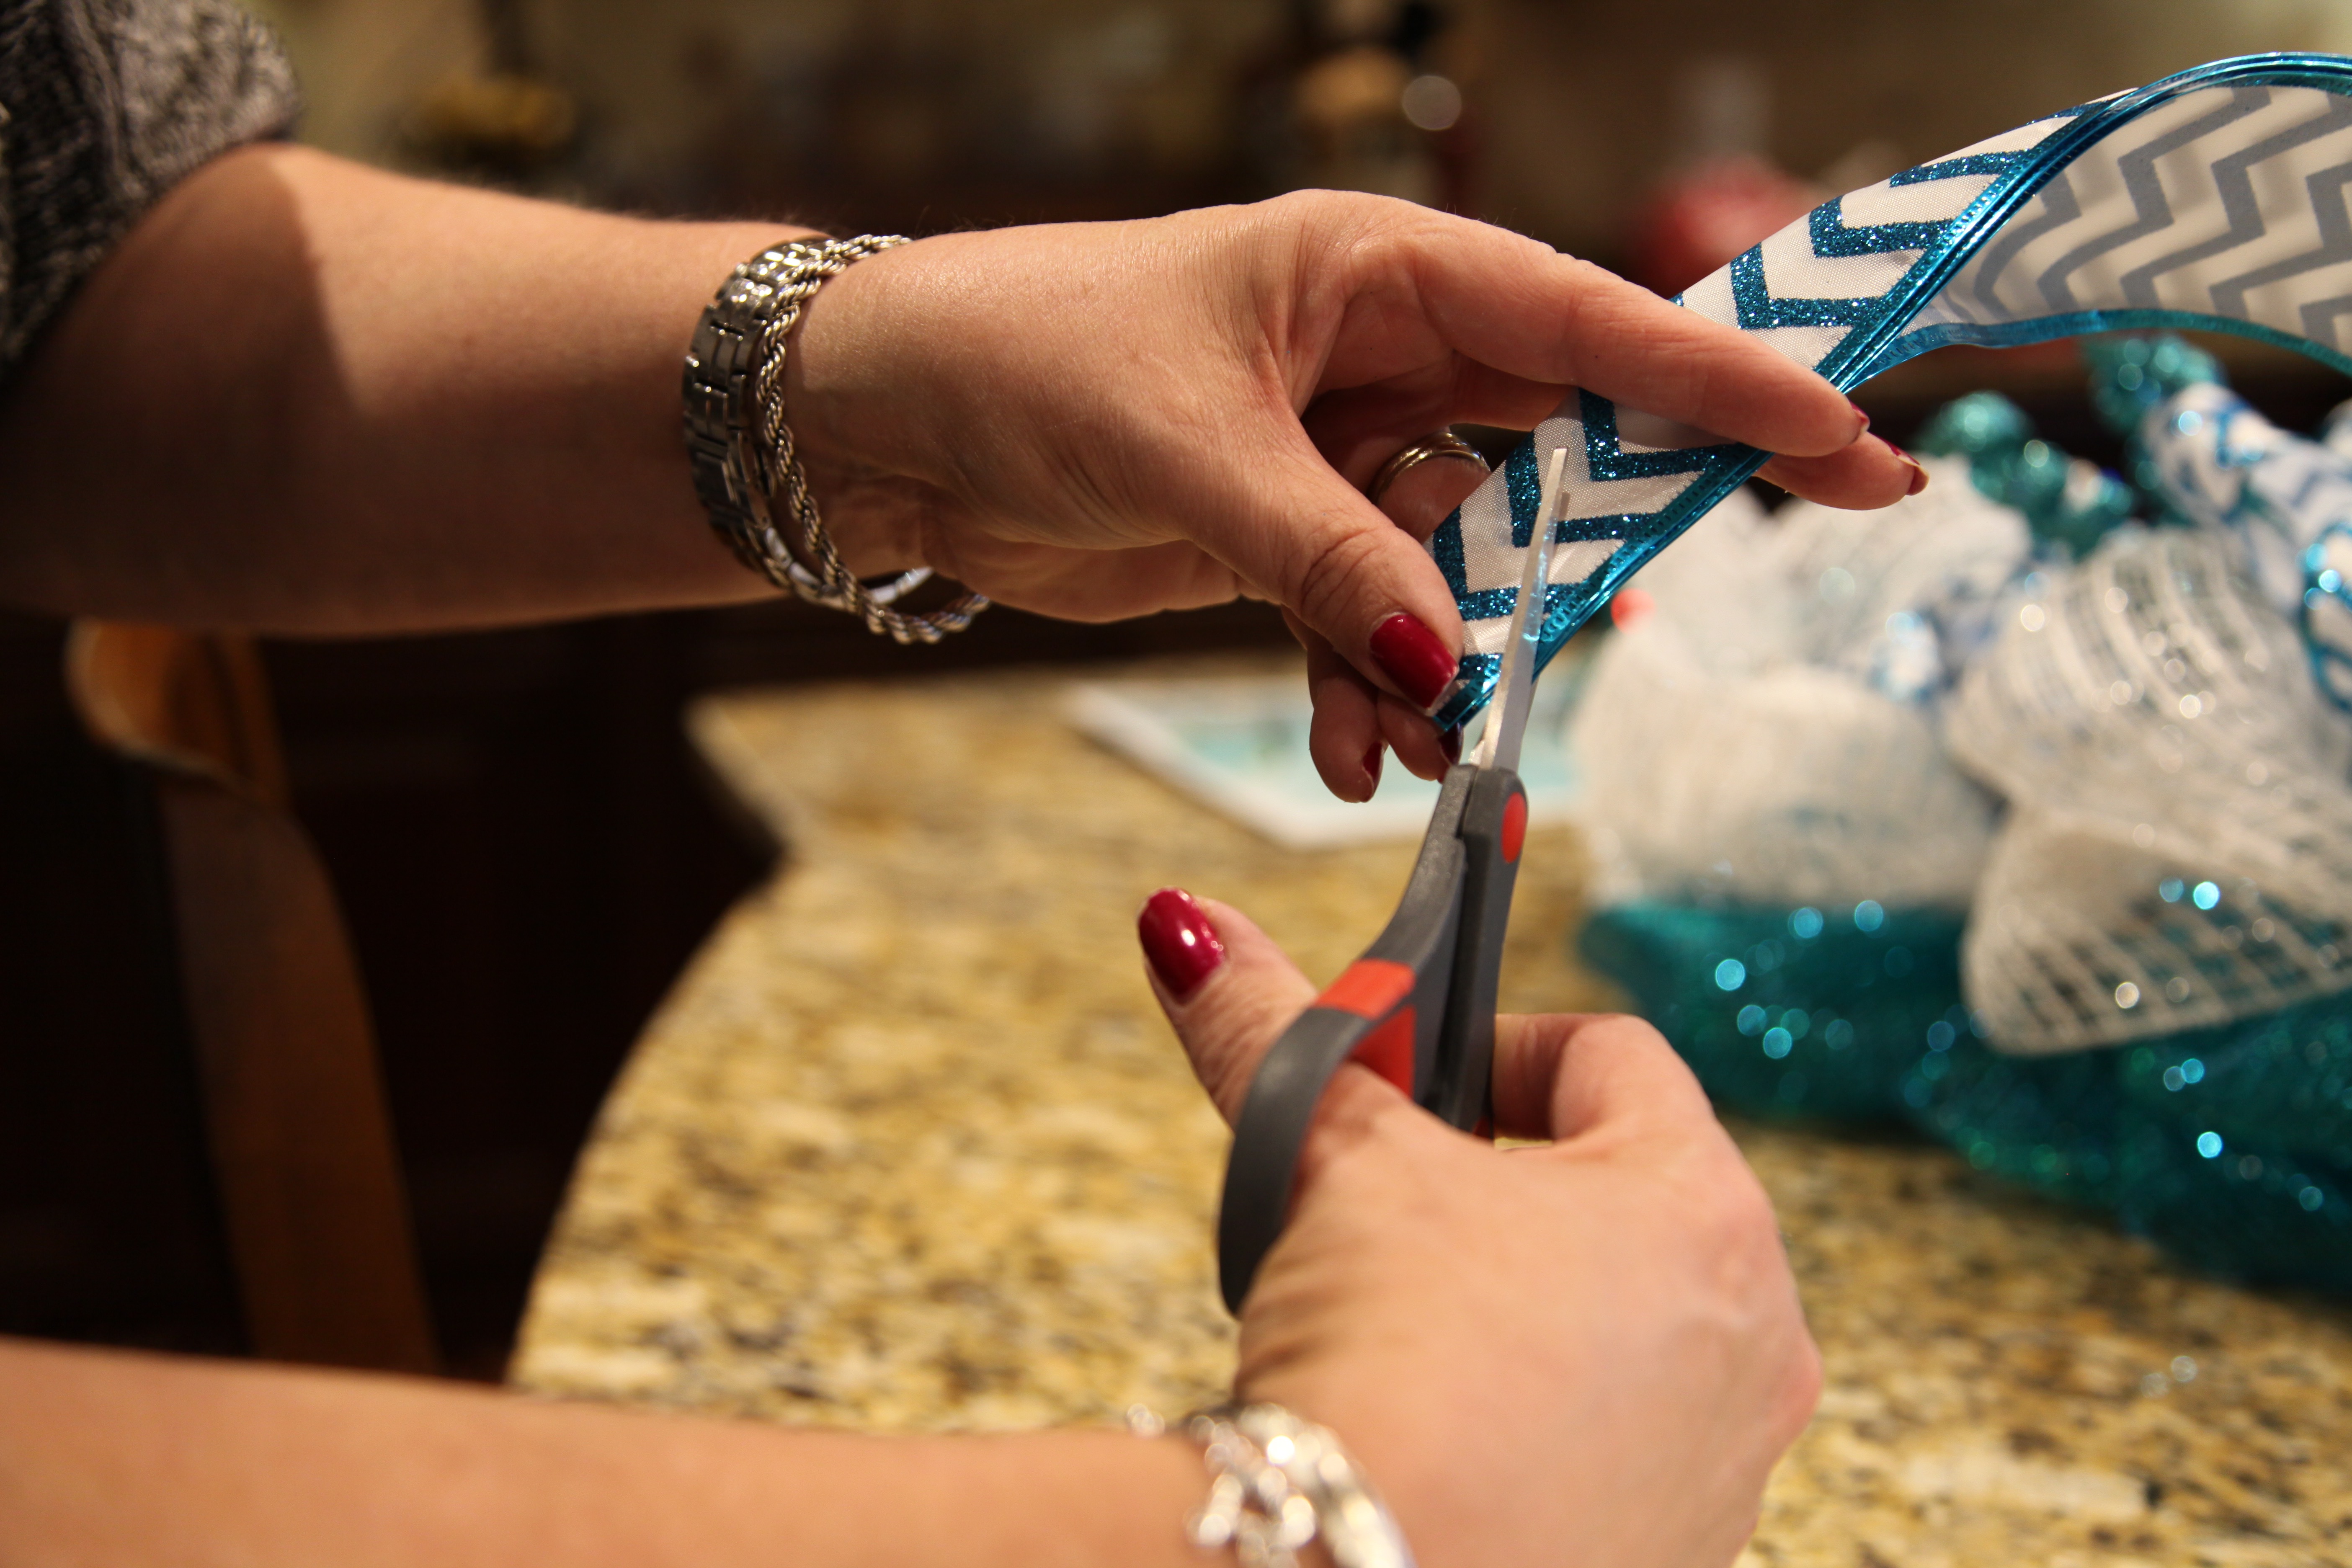
Then I tied the bow onto the wreath, and added the flowers, scrolly things, and the butterflies. After that, I took some of the teal and white chevron ribbon and cut it into 10″ strips. I made 3 piles of three strips and cut pretty edges on the ribbon, then I attached them onto the wreath and spread them out to look a little bit like a snowflake…

Christin was sitting at the kitchen island (where I was putting the wreath together) doing her lesson plans for this coming week so I was able to consult with her to make sure I was placing things where she might like them. I think that she is quite happy with the end result and when she is happy, well that makes me happy. 🙂 She will take it back to her home this evening and hang it onto her front door and it will be there to happily welcome her home each and every day from now on. 🙂

Until next time, y’all take good care! ❤
OH by the way, here is the link to the Whimsical Burlap Wreath that I made for Christin last weekend. 🙂
**In crafting there are no mistakes just unique creations**
