
Hi Y’all,
It is that time of the year when I start gearing up to make a few things to add to my Christmas decor and since we’ve only lived in this new house for a couple of years, I’m still gathering, creating, and building up choices with which to decorate for the Holidays. I headed to my happy place Hobby Lobby today to gather materials to make a wreath for the inside of my front door to be used with my Christmas decorations.
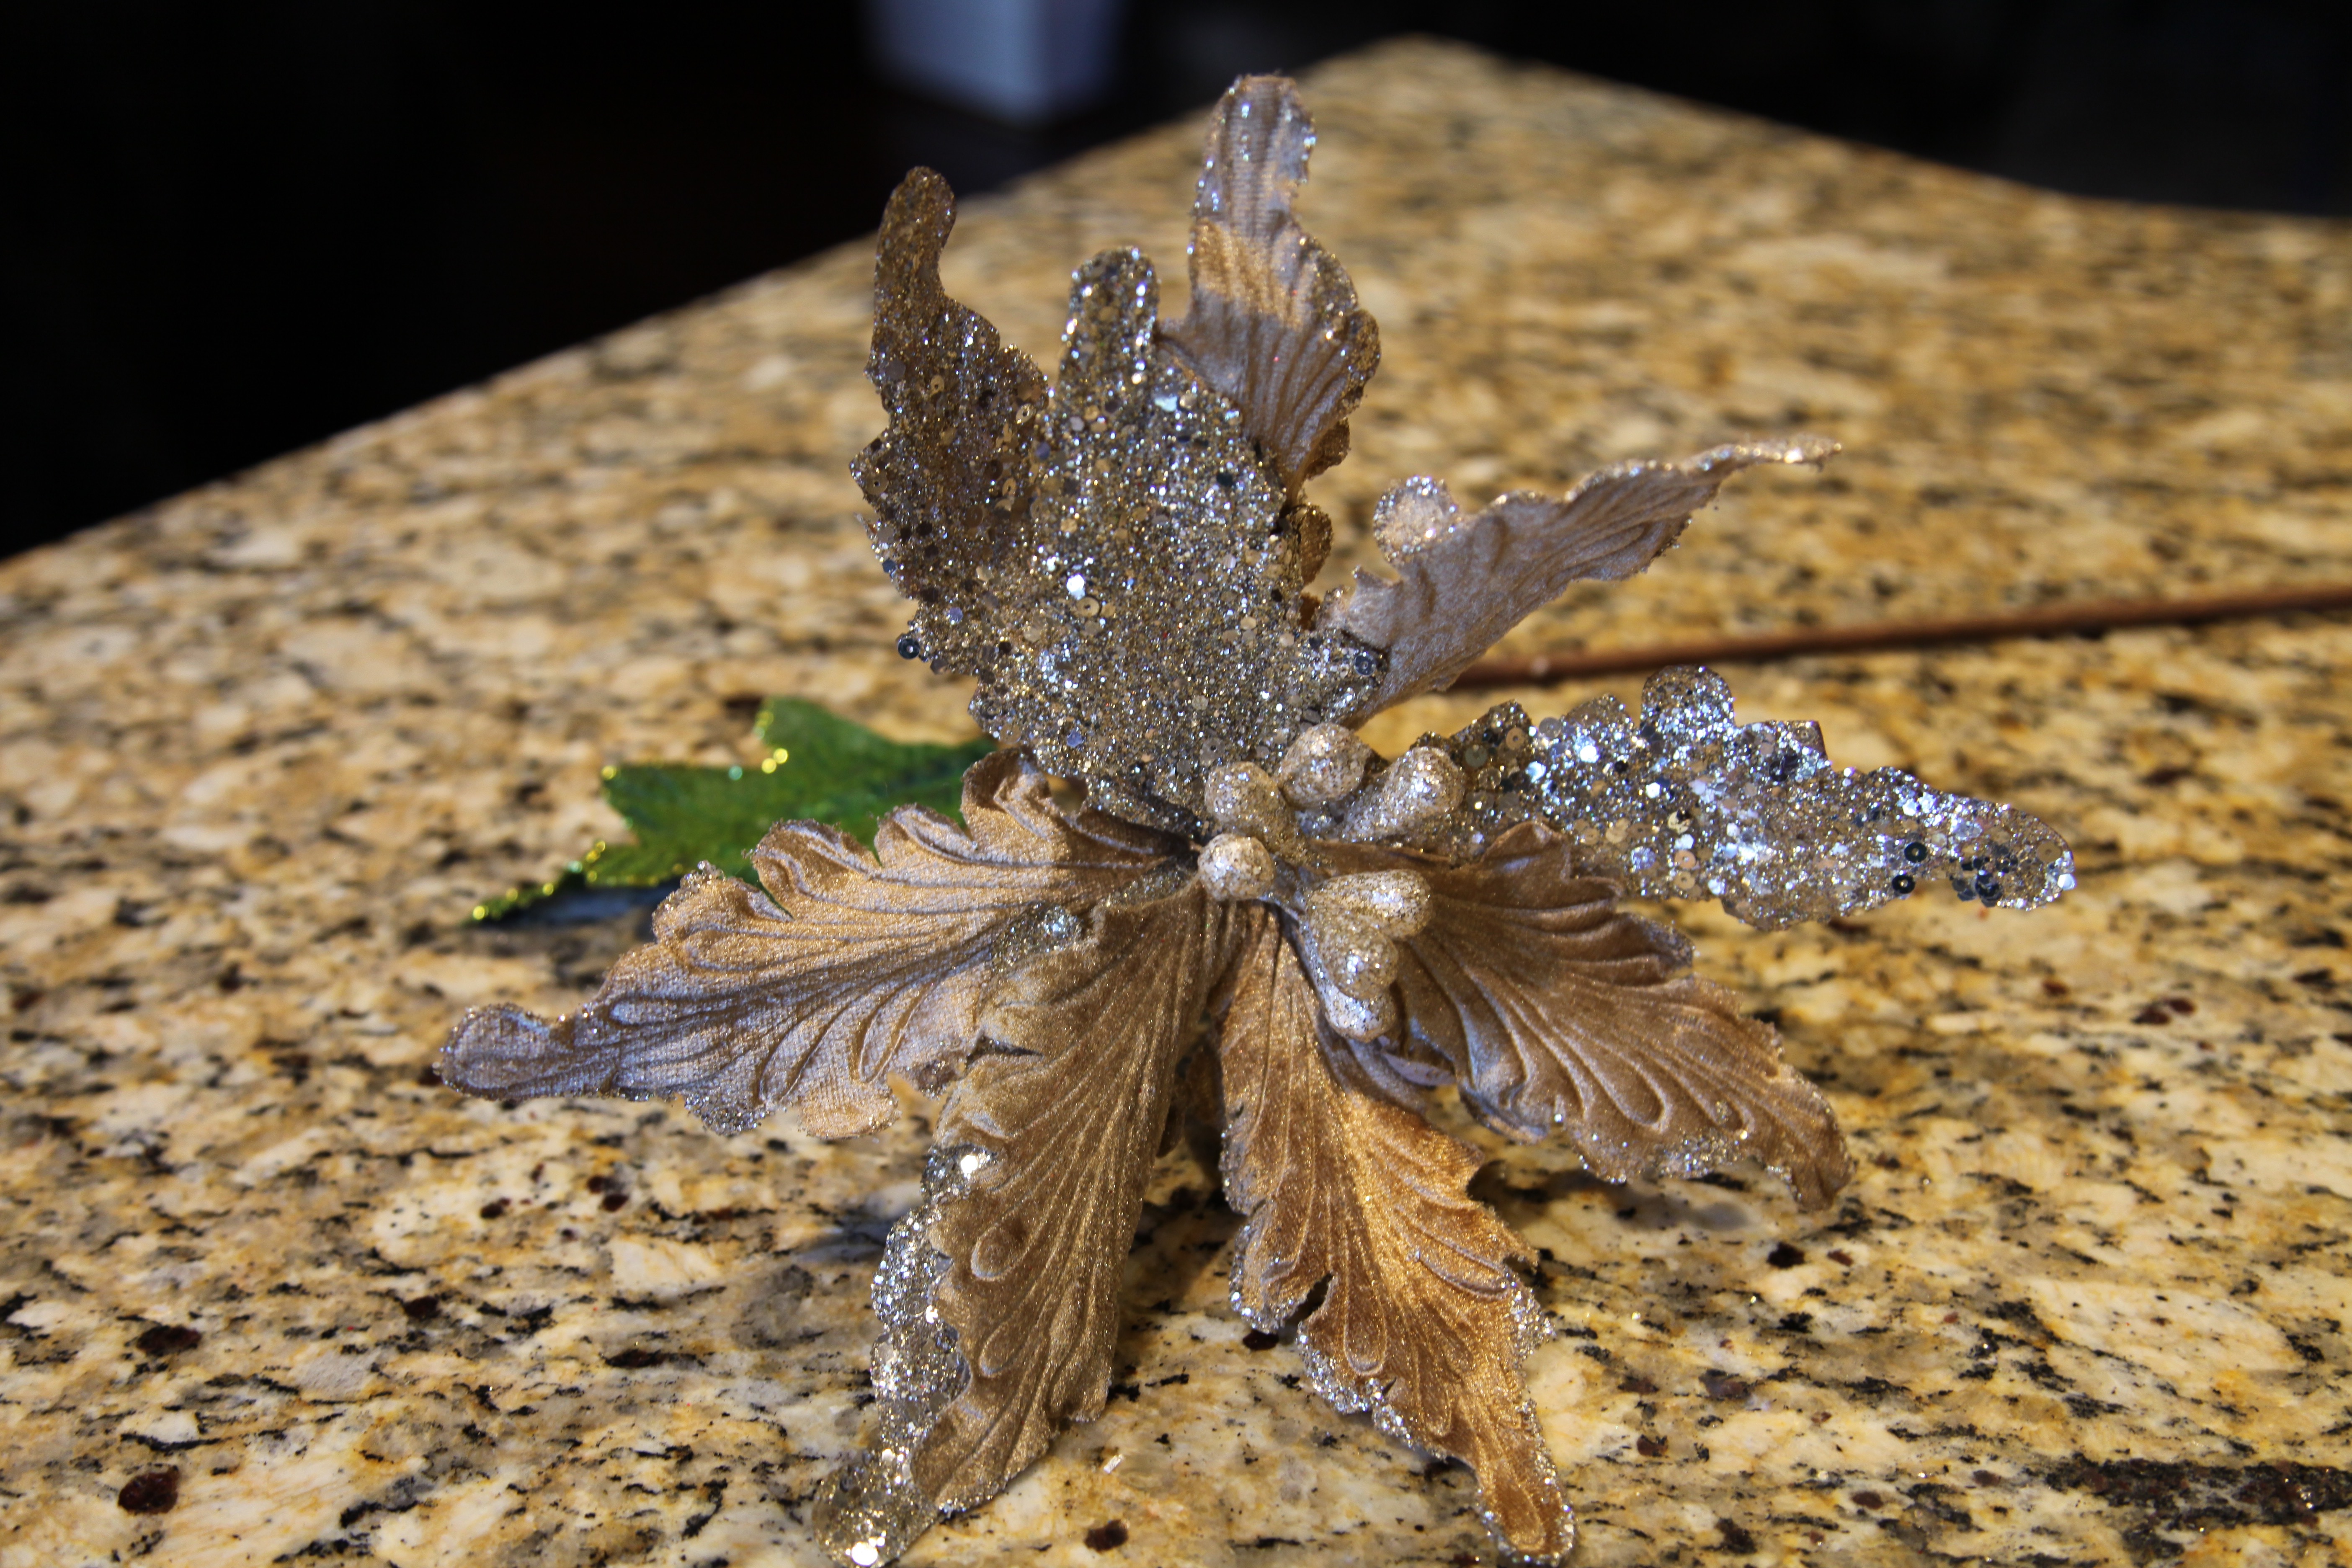
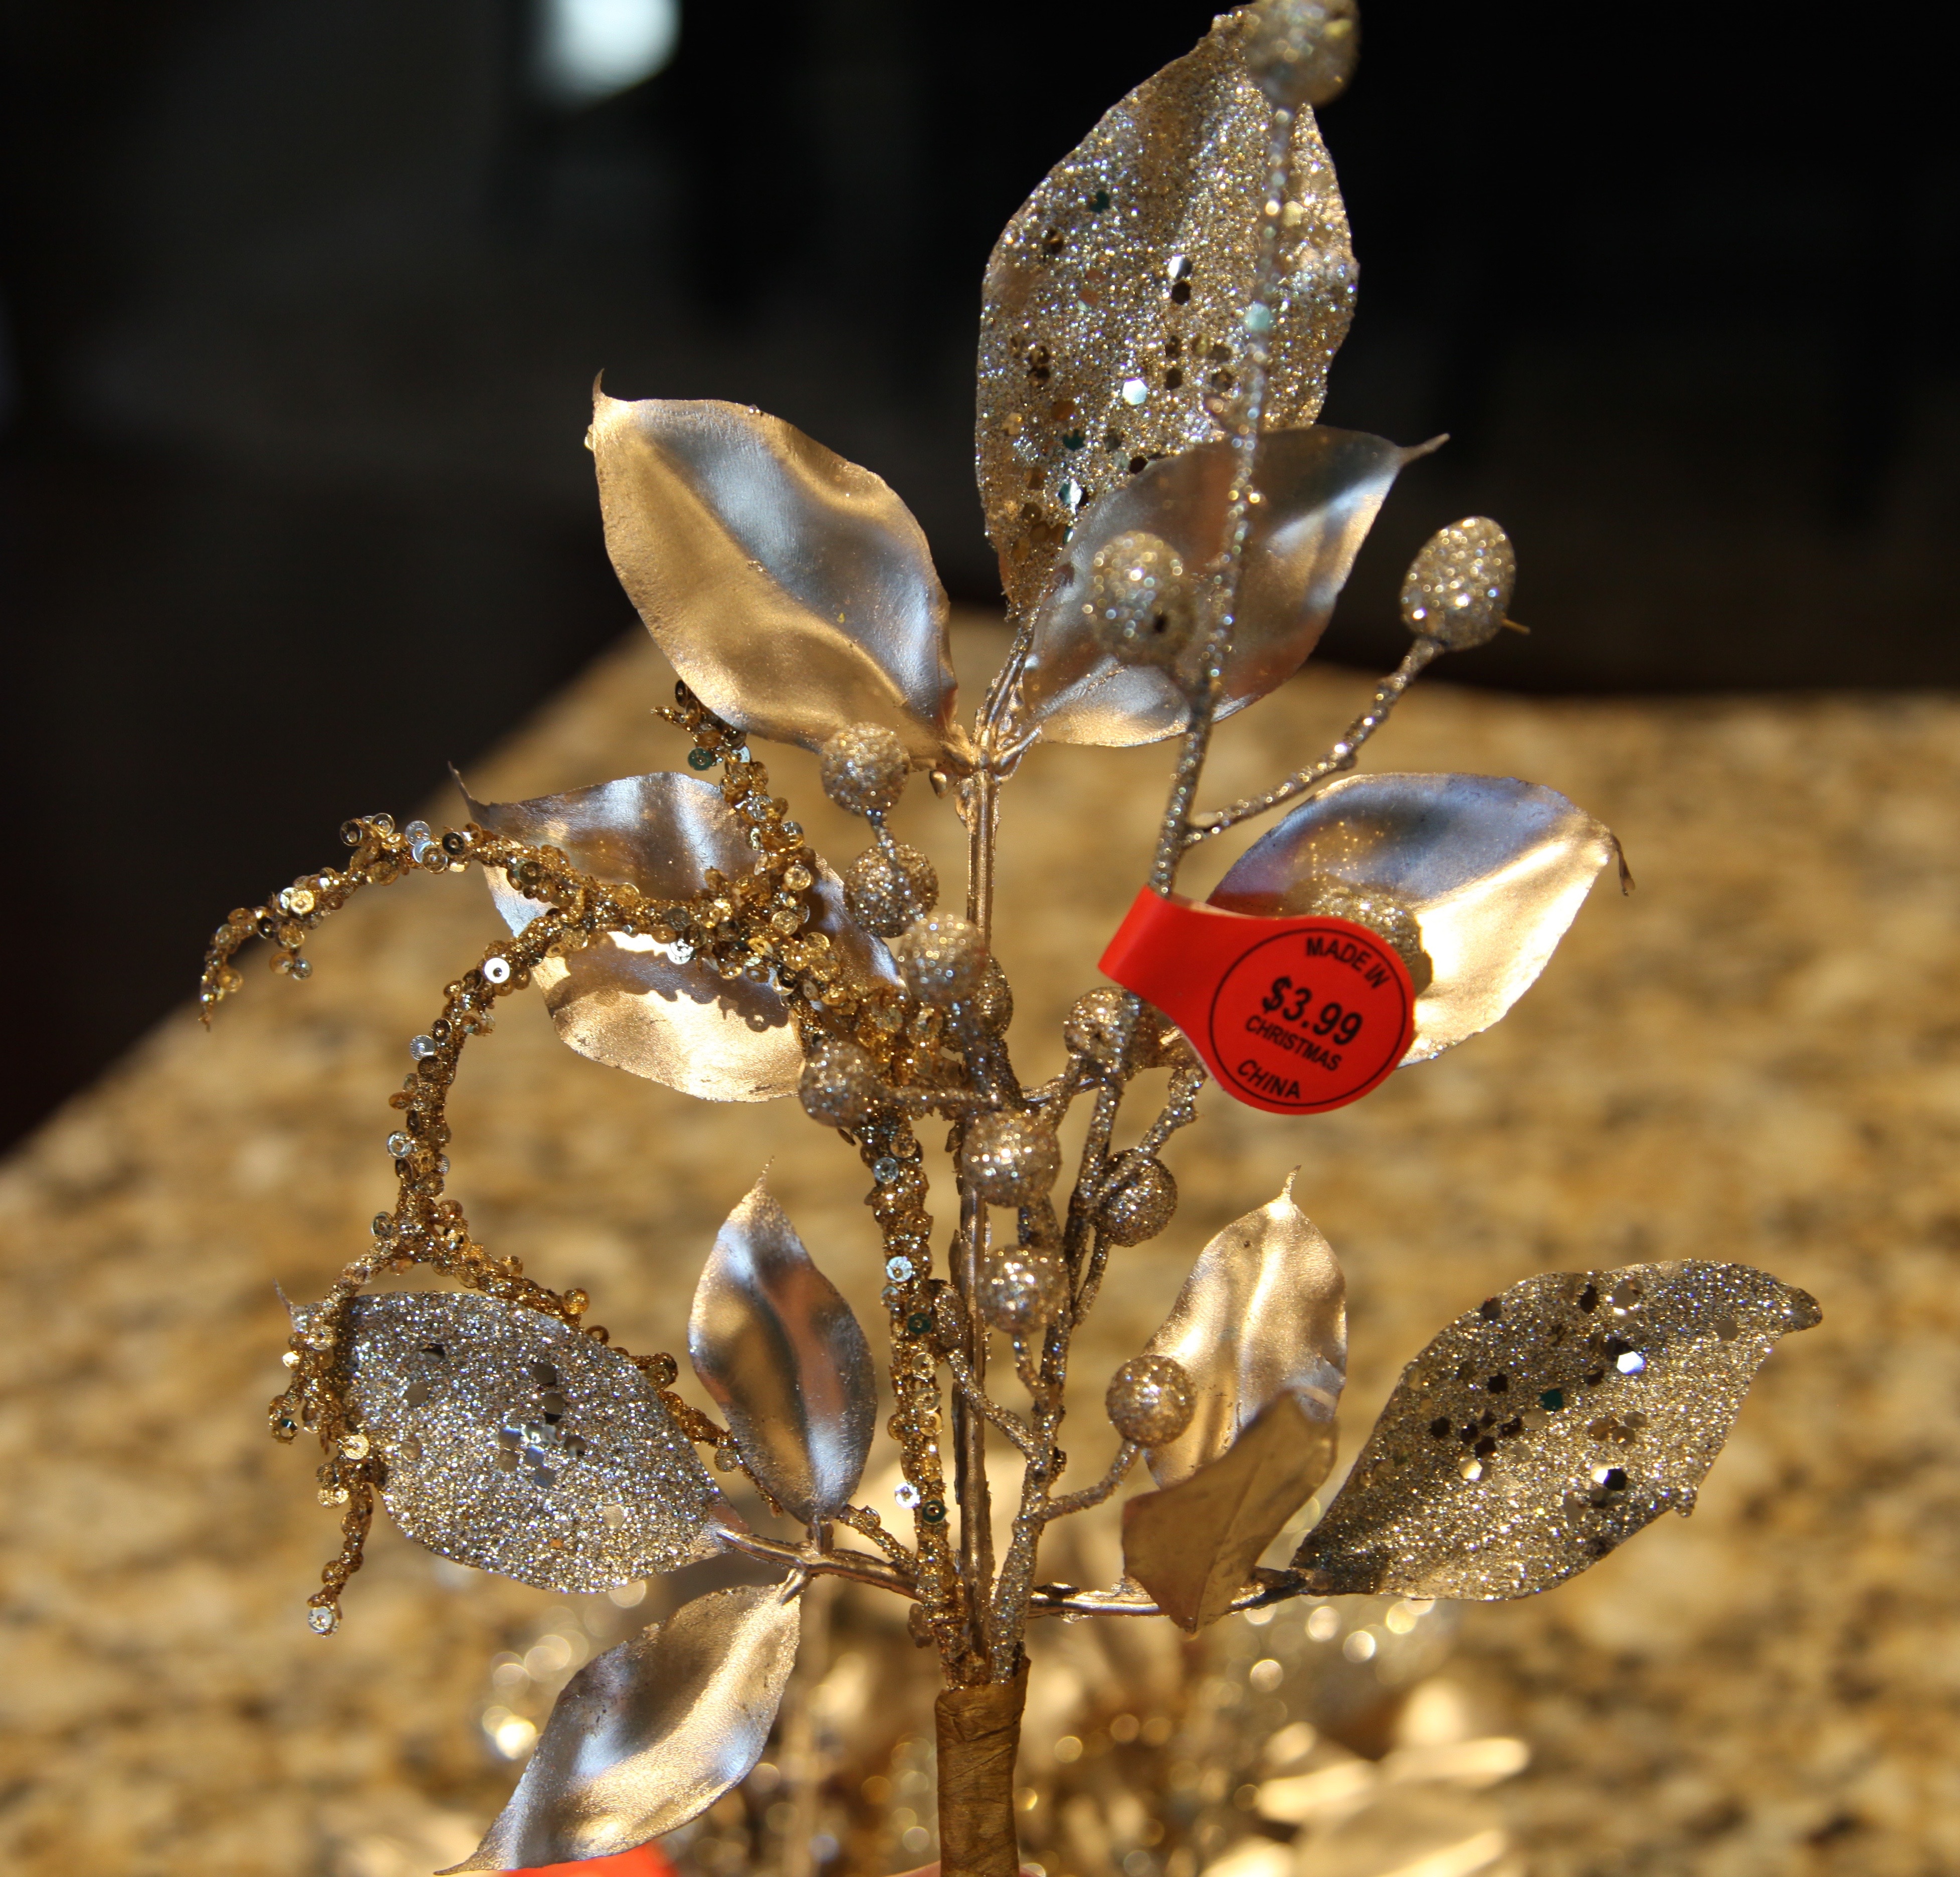
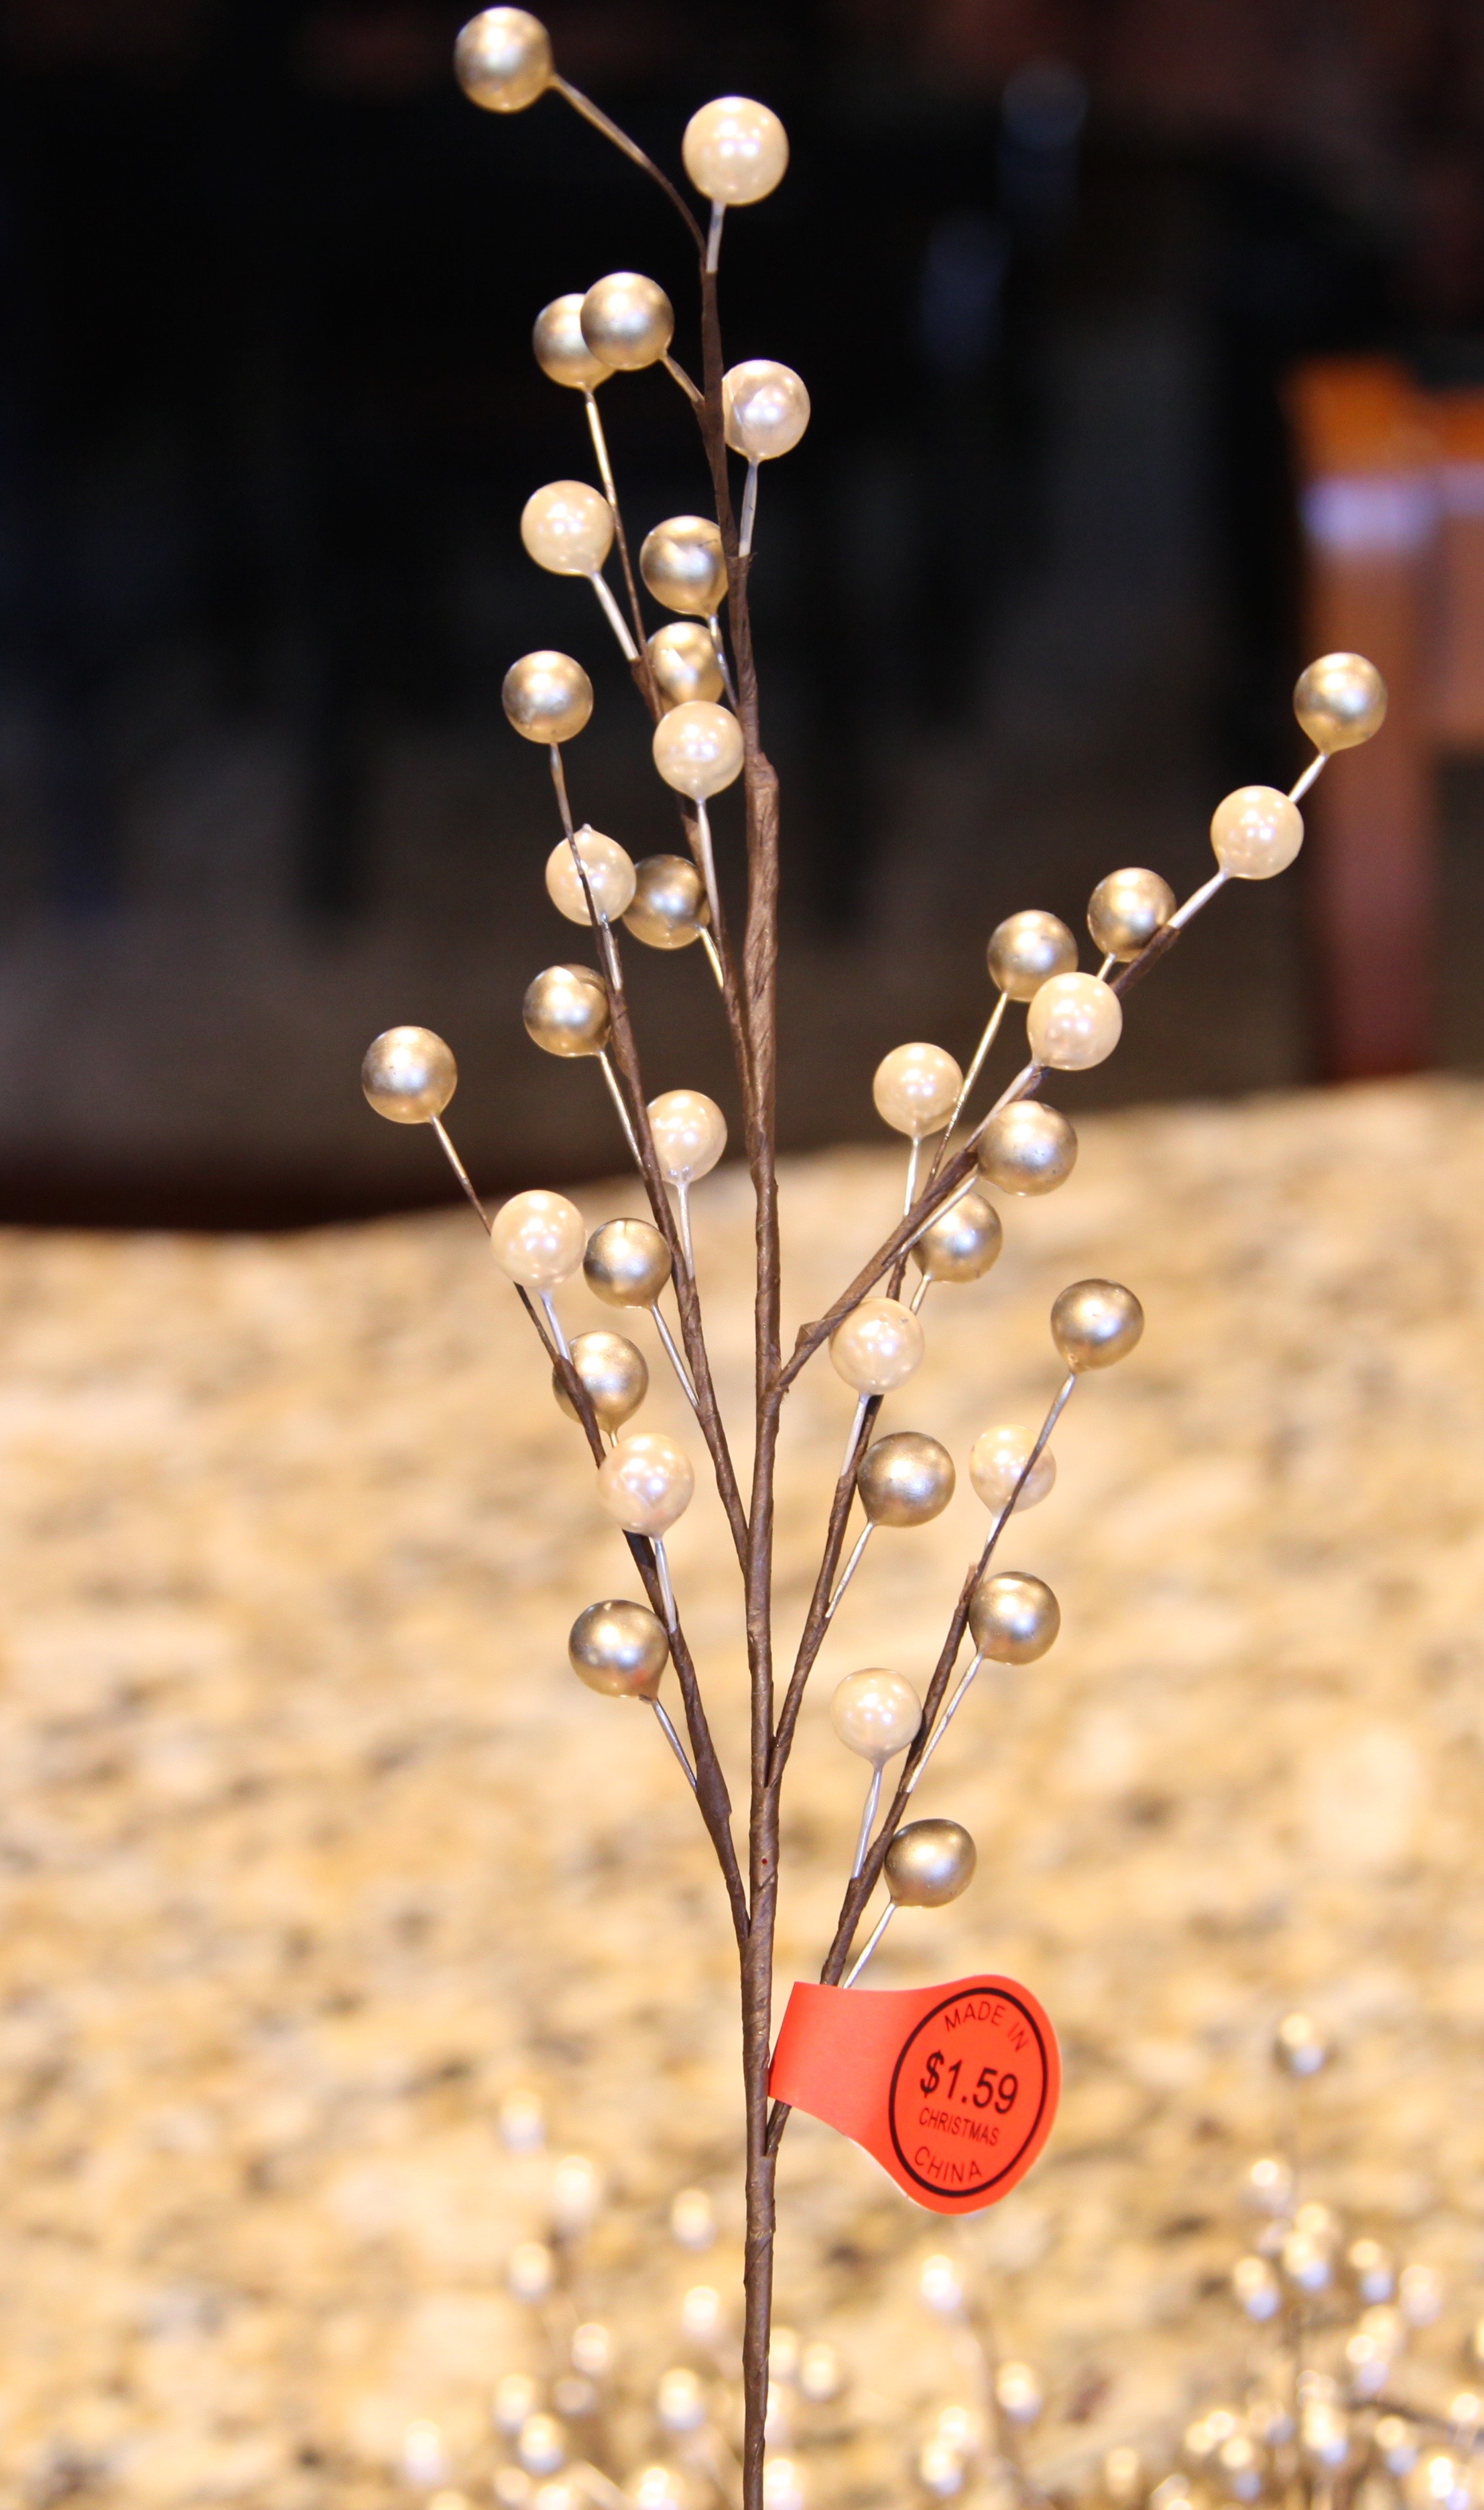
As I was searching–really wandering around aimlessly– I came across these platinum gold’ish’ flowers that looked kind of like poinsettias, the same color beads, and a pick with leaves and sparkly beads. Every single thing that I bought was 40% off today…
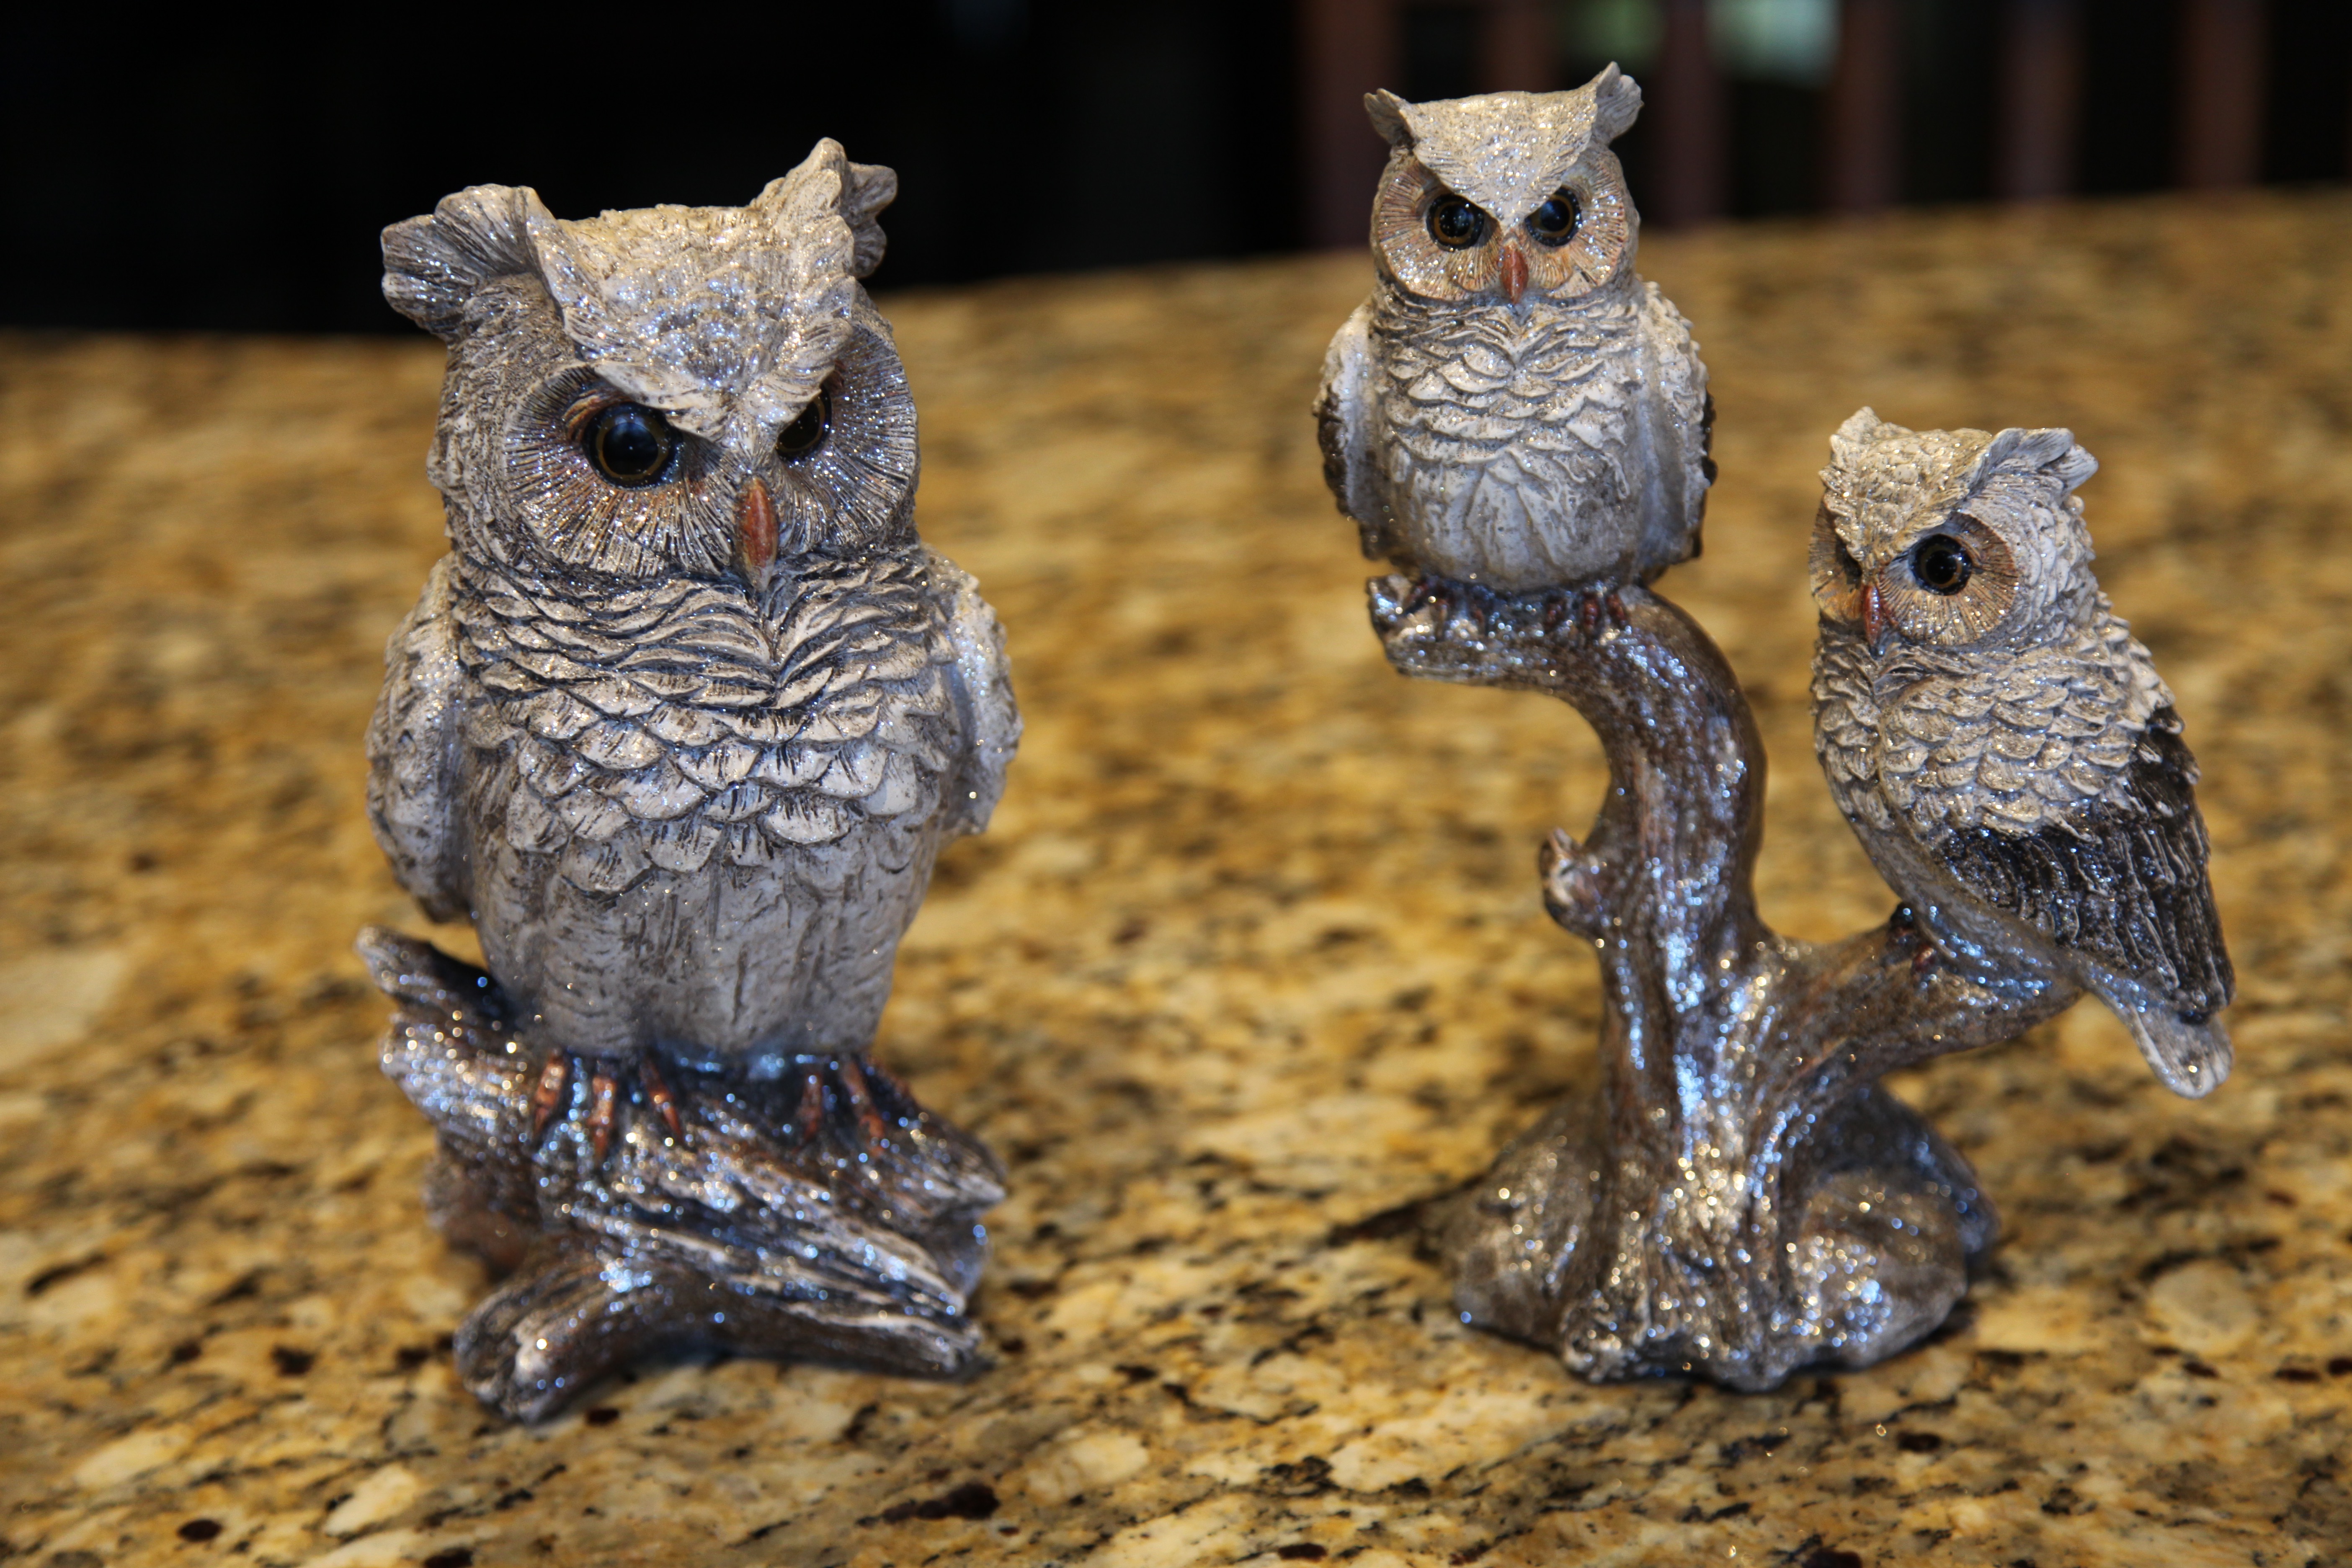
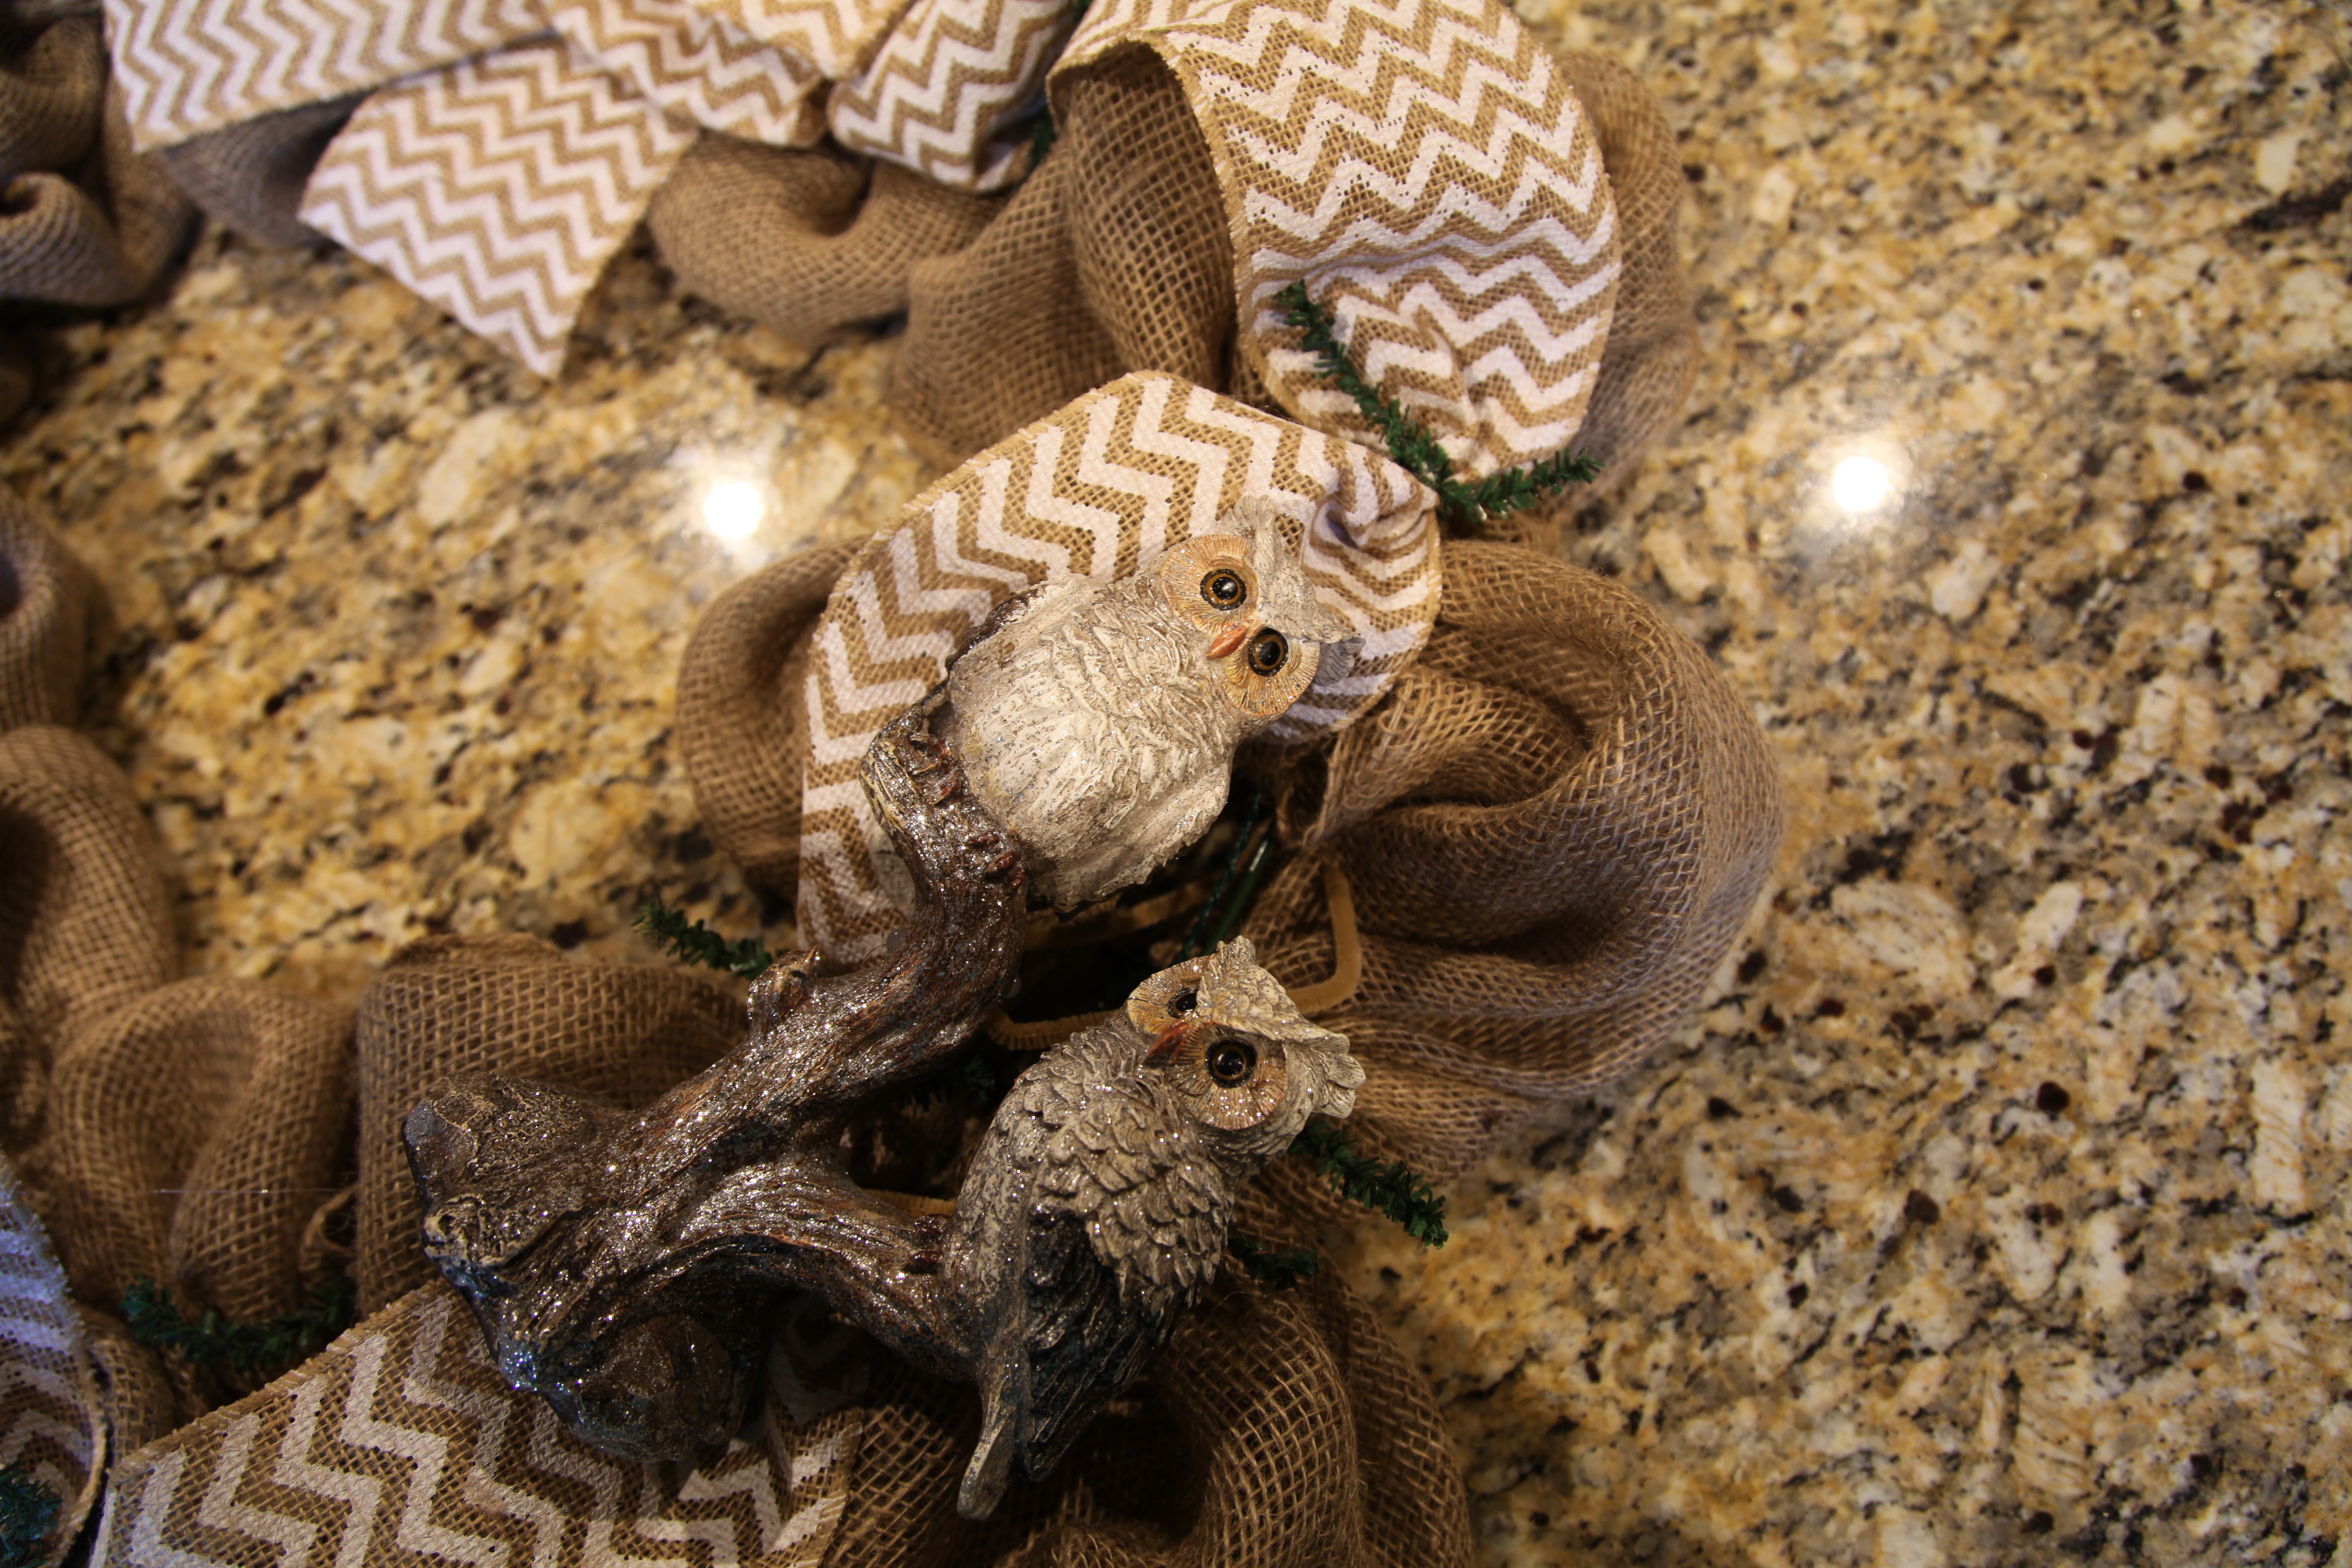
Then I found these really cute resin owls in the same color scheme:
I fell in love with all of that stuff so my entire plan for that wreath changed. Instead of me making an ‘in your face’ Christmas wreath (using that pretty country green that I use as an accent color in that part of the house), it turned into kind of a “Woodlands” wintery wreath which I think will pair beautifully with all of my Christmas decor. I can always incorporate some of the green color later if I want to do so, but for now, I’m completely pleased with how it turned out. 🙂
Here is how I made this wreath:
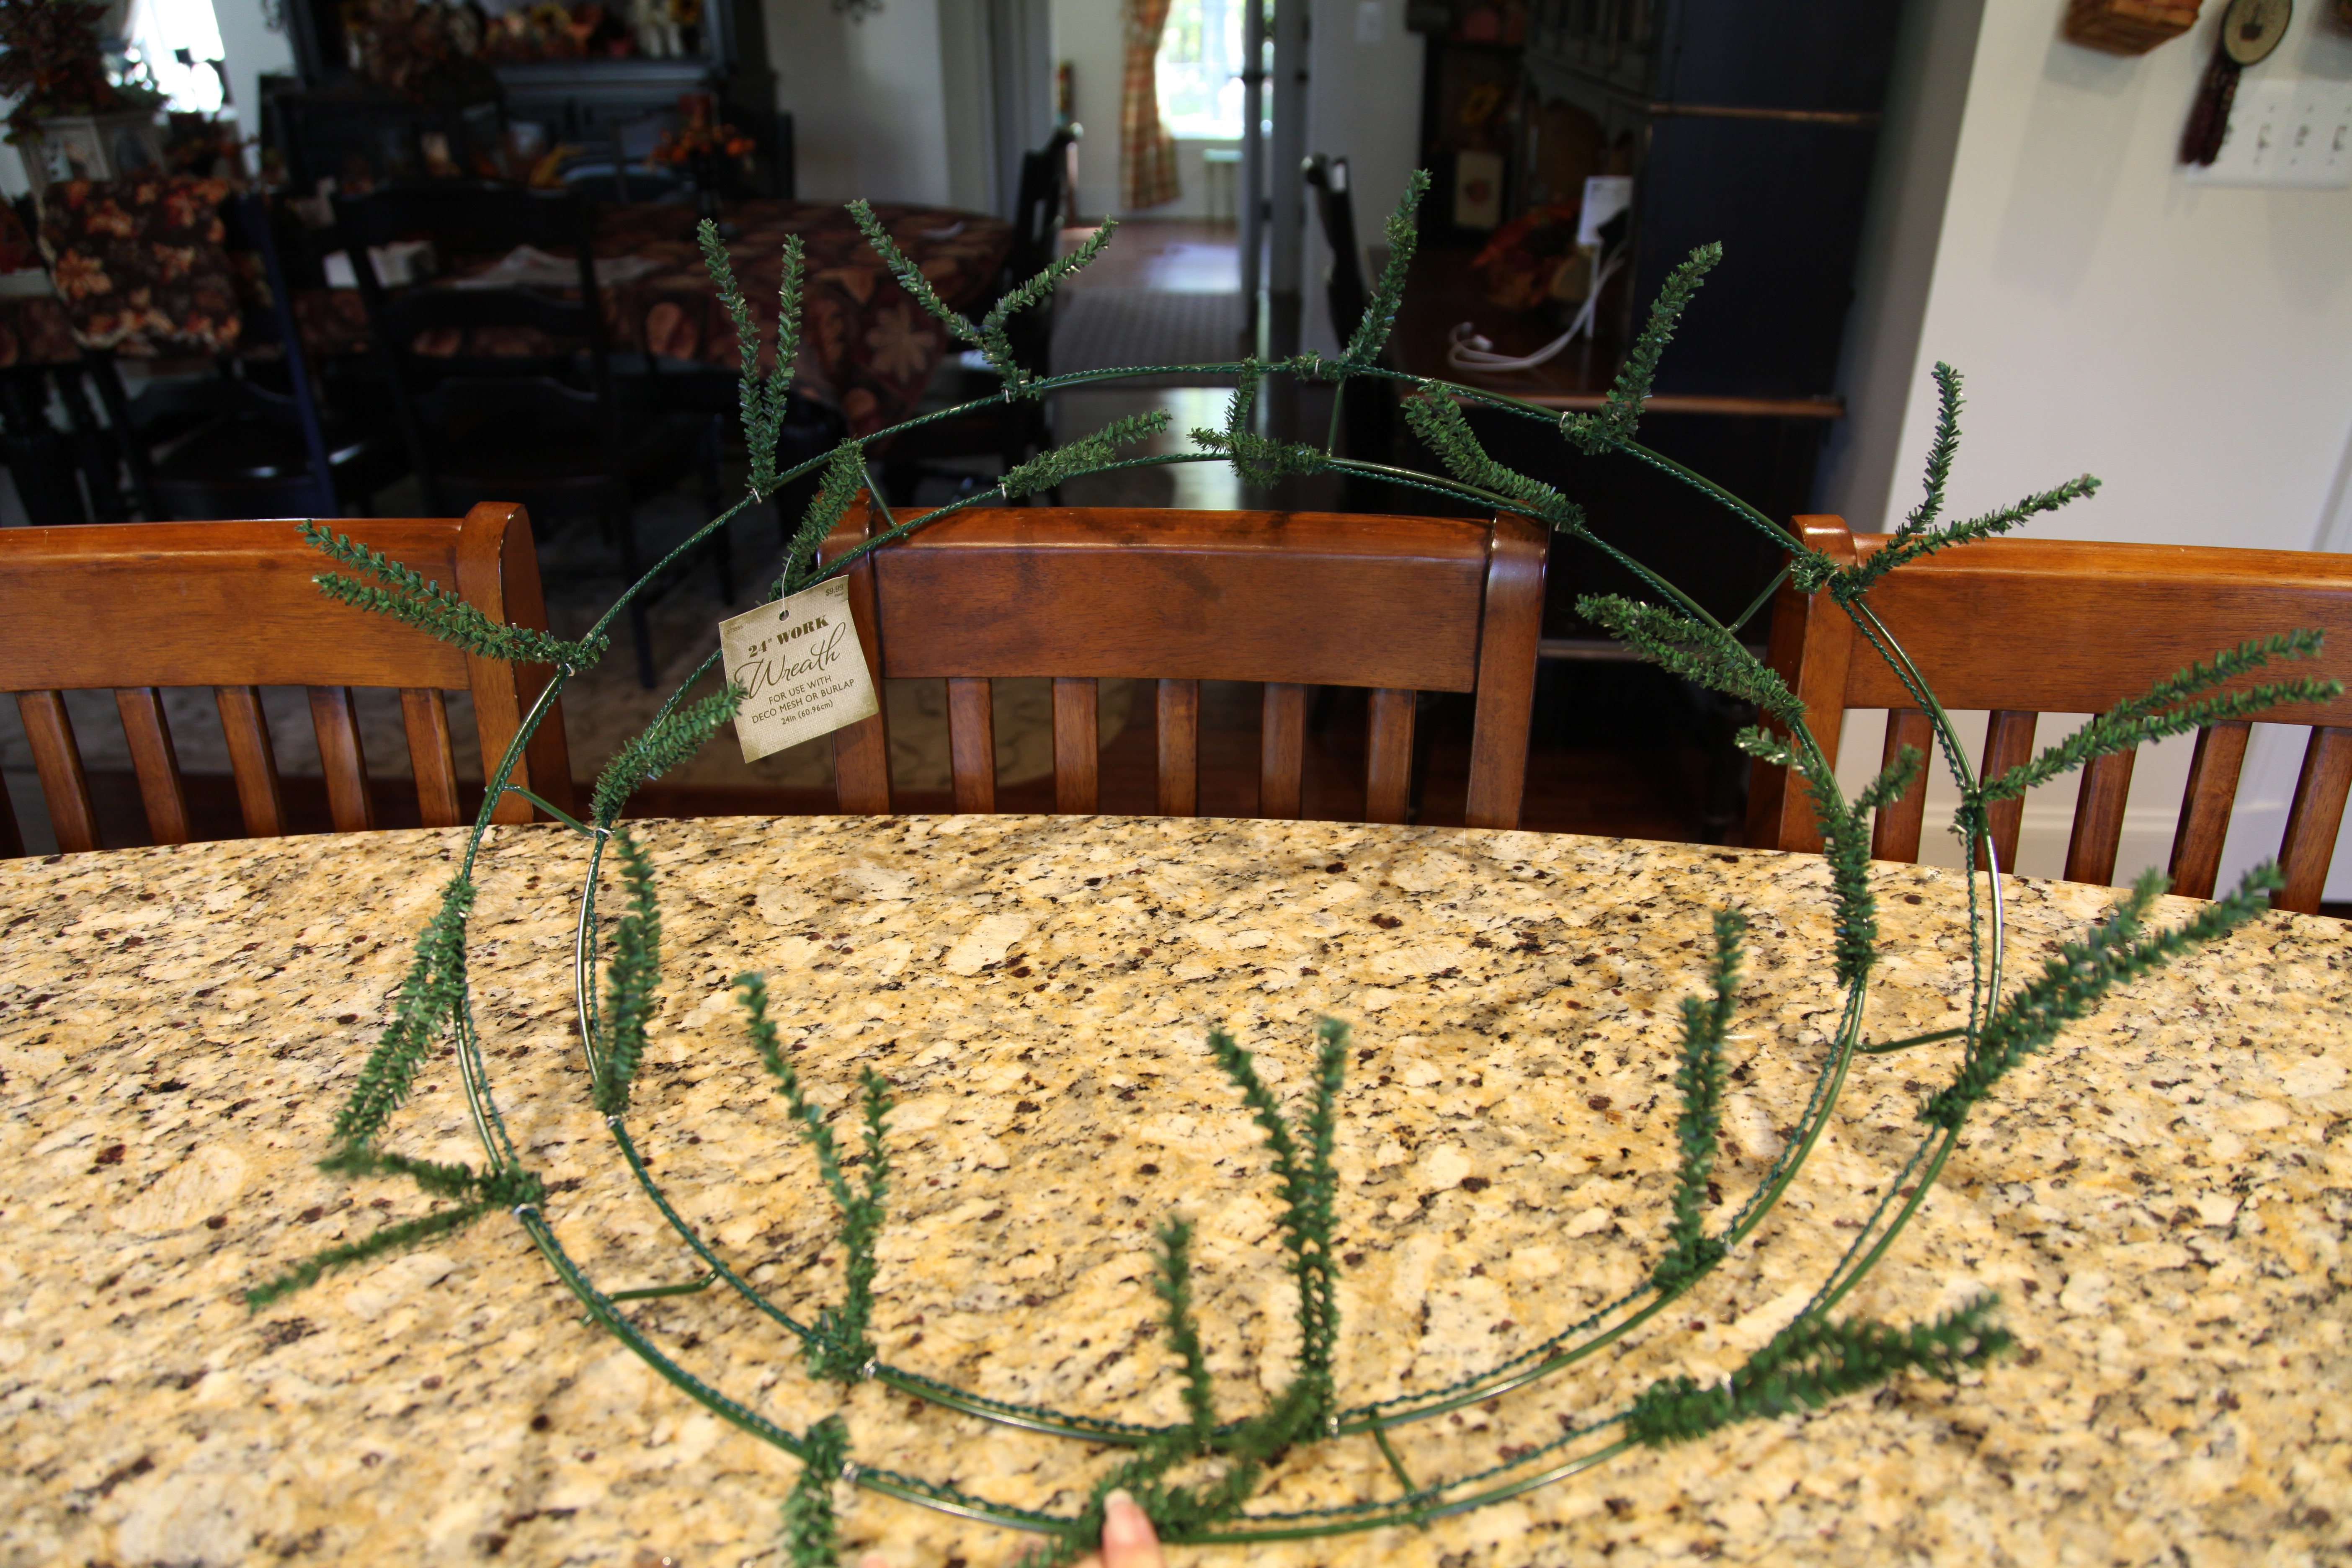
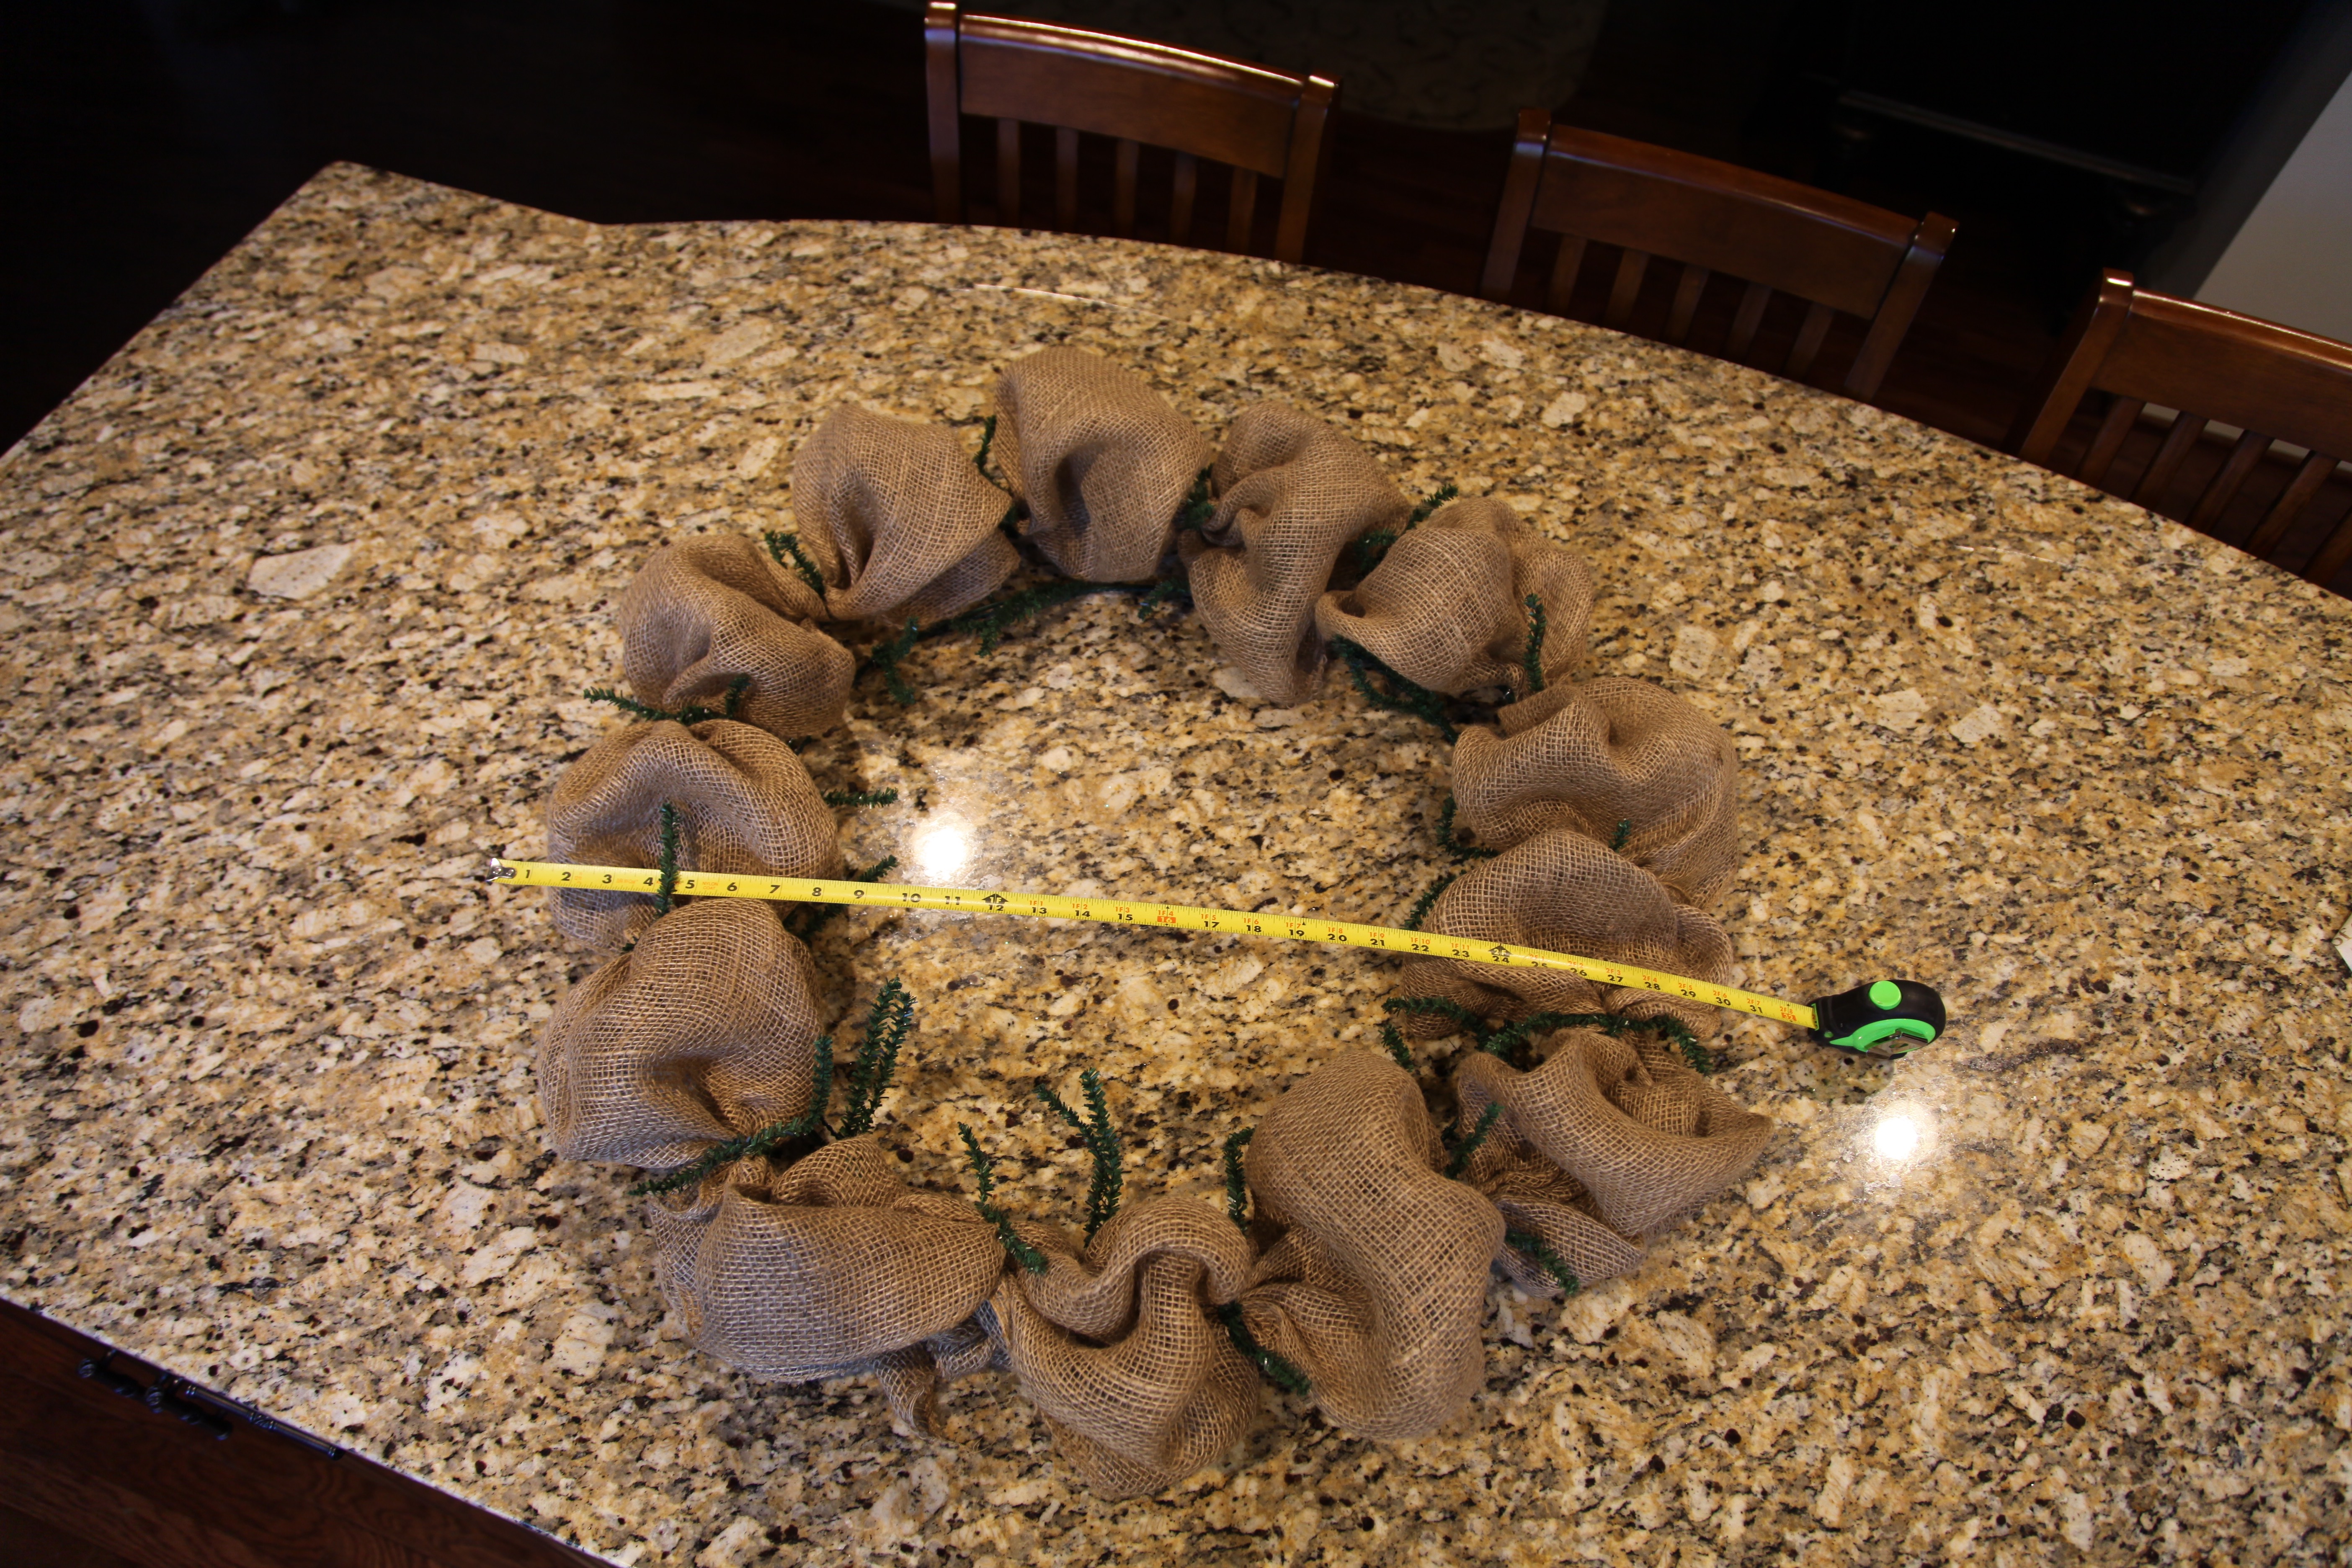
I used a 24″ wreath form with the pipe cleaners already attached:

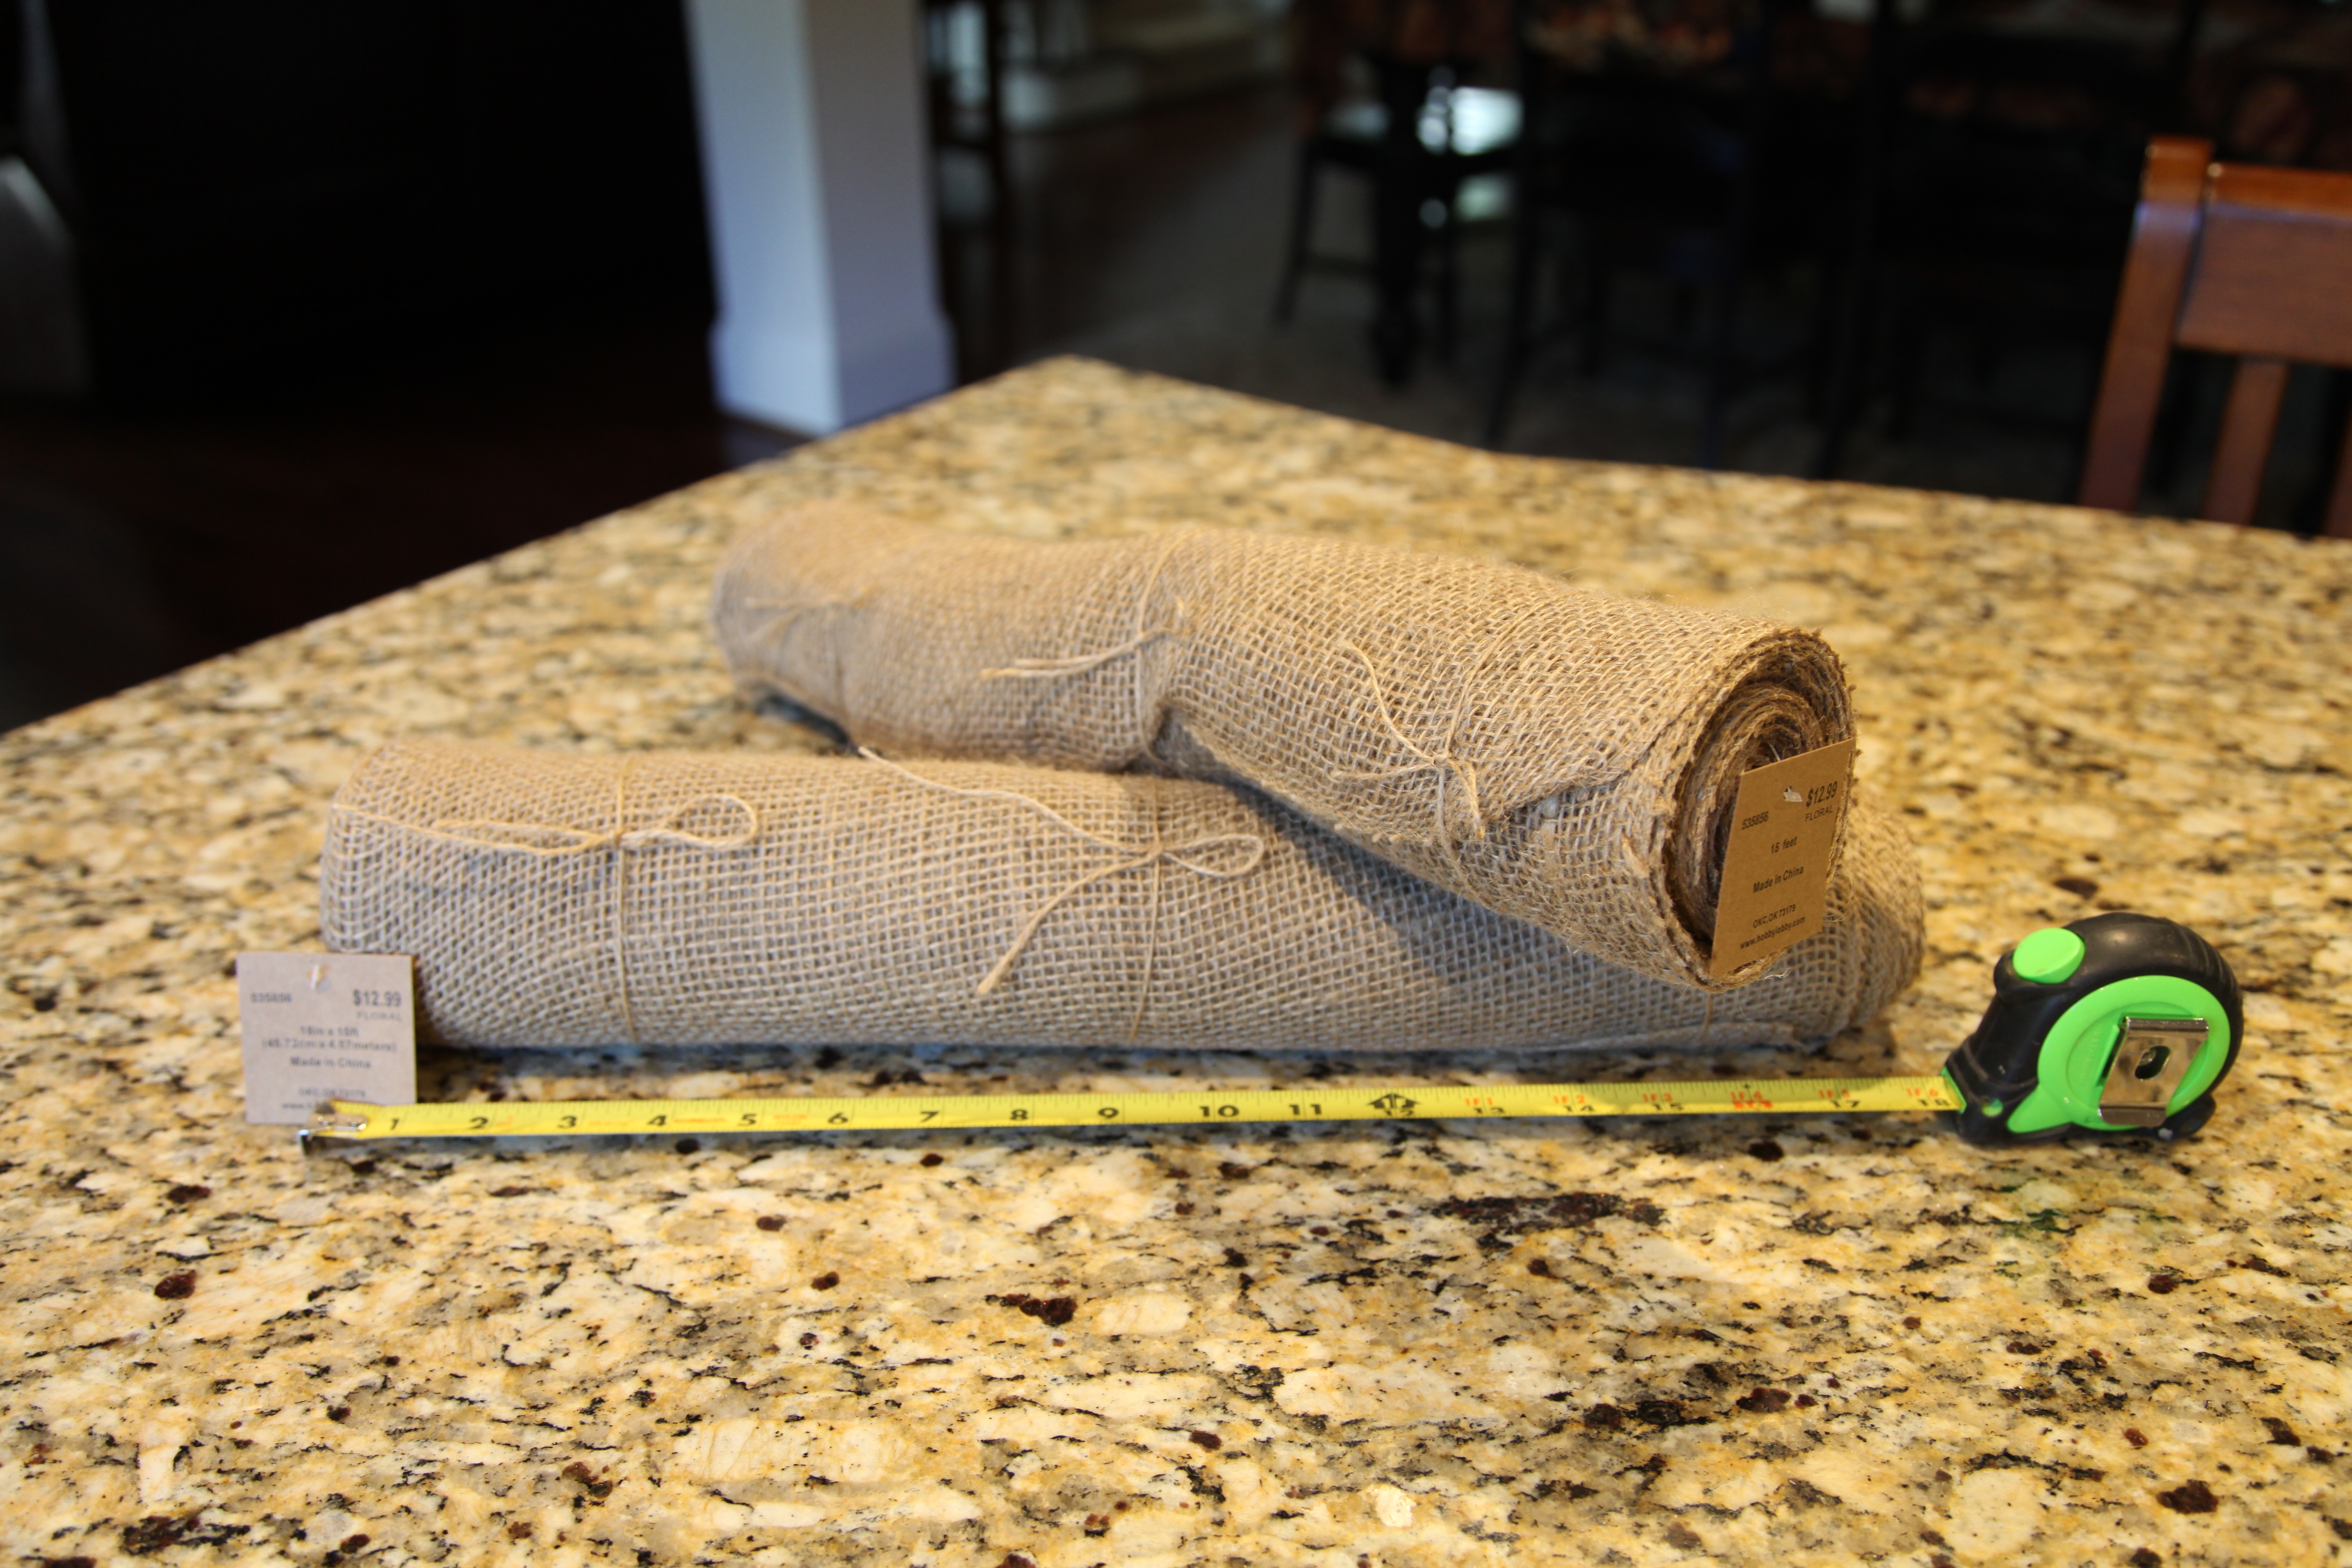
You’ll need 2 skeins of Burlap ‘runner’ for this sized wreath form…
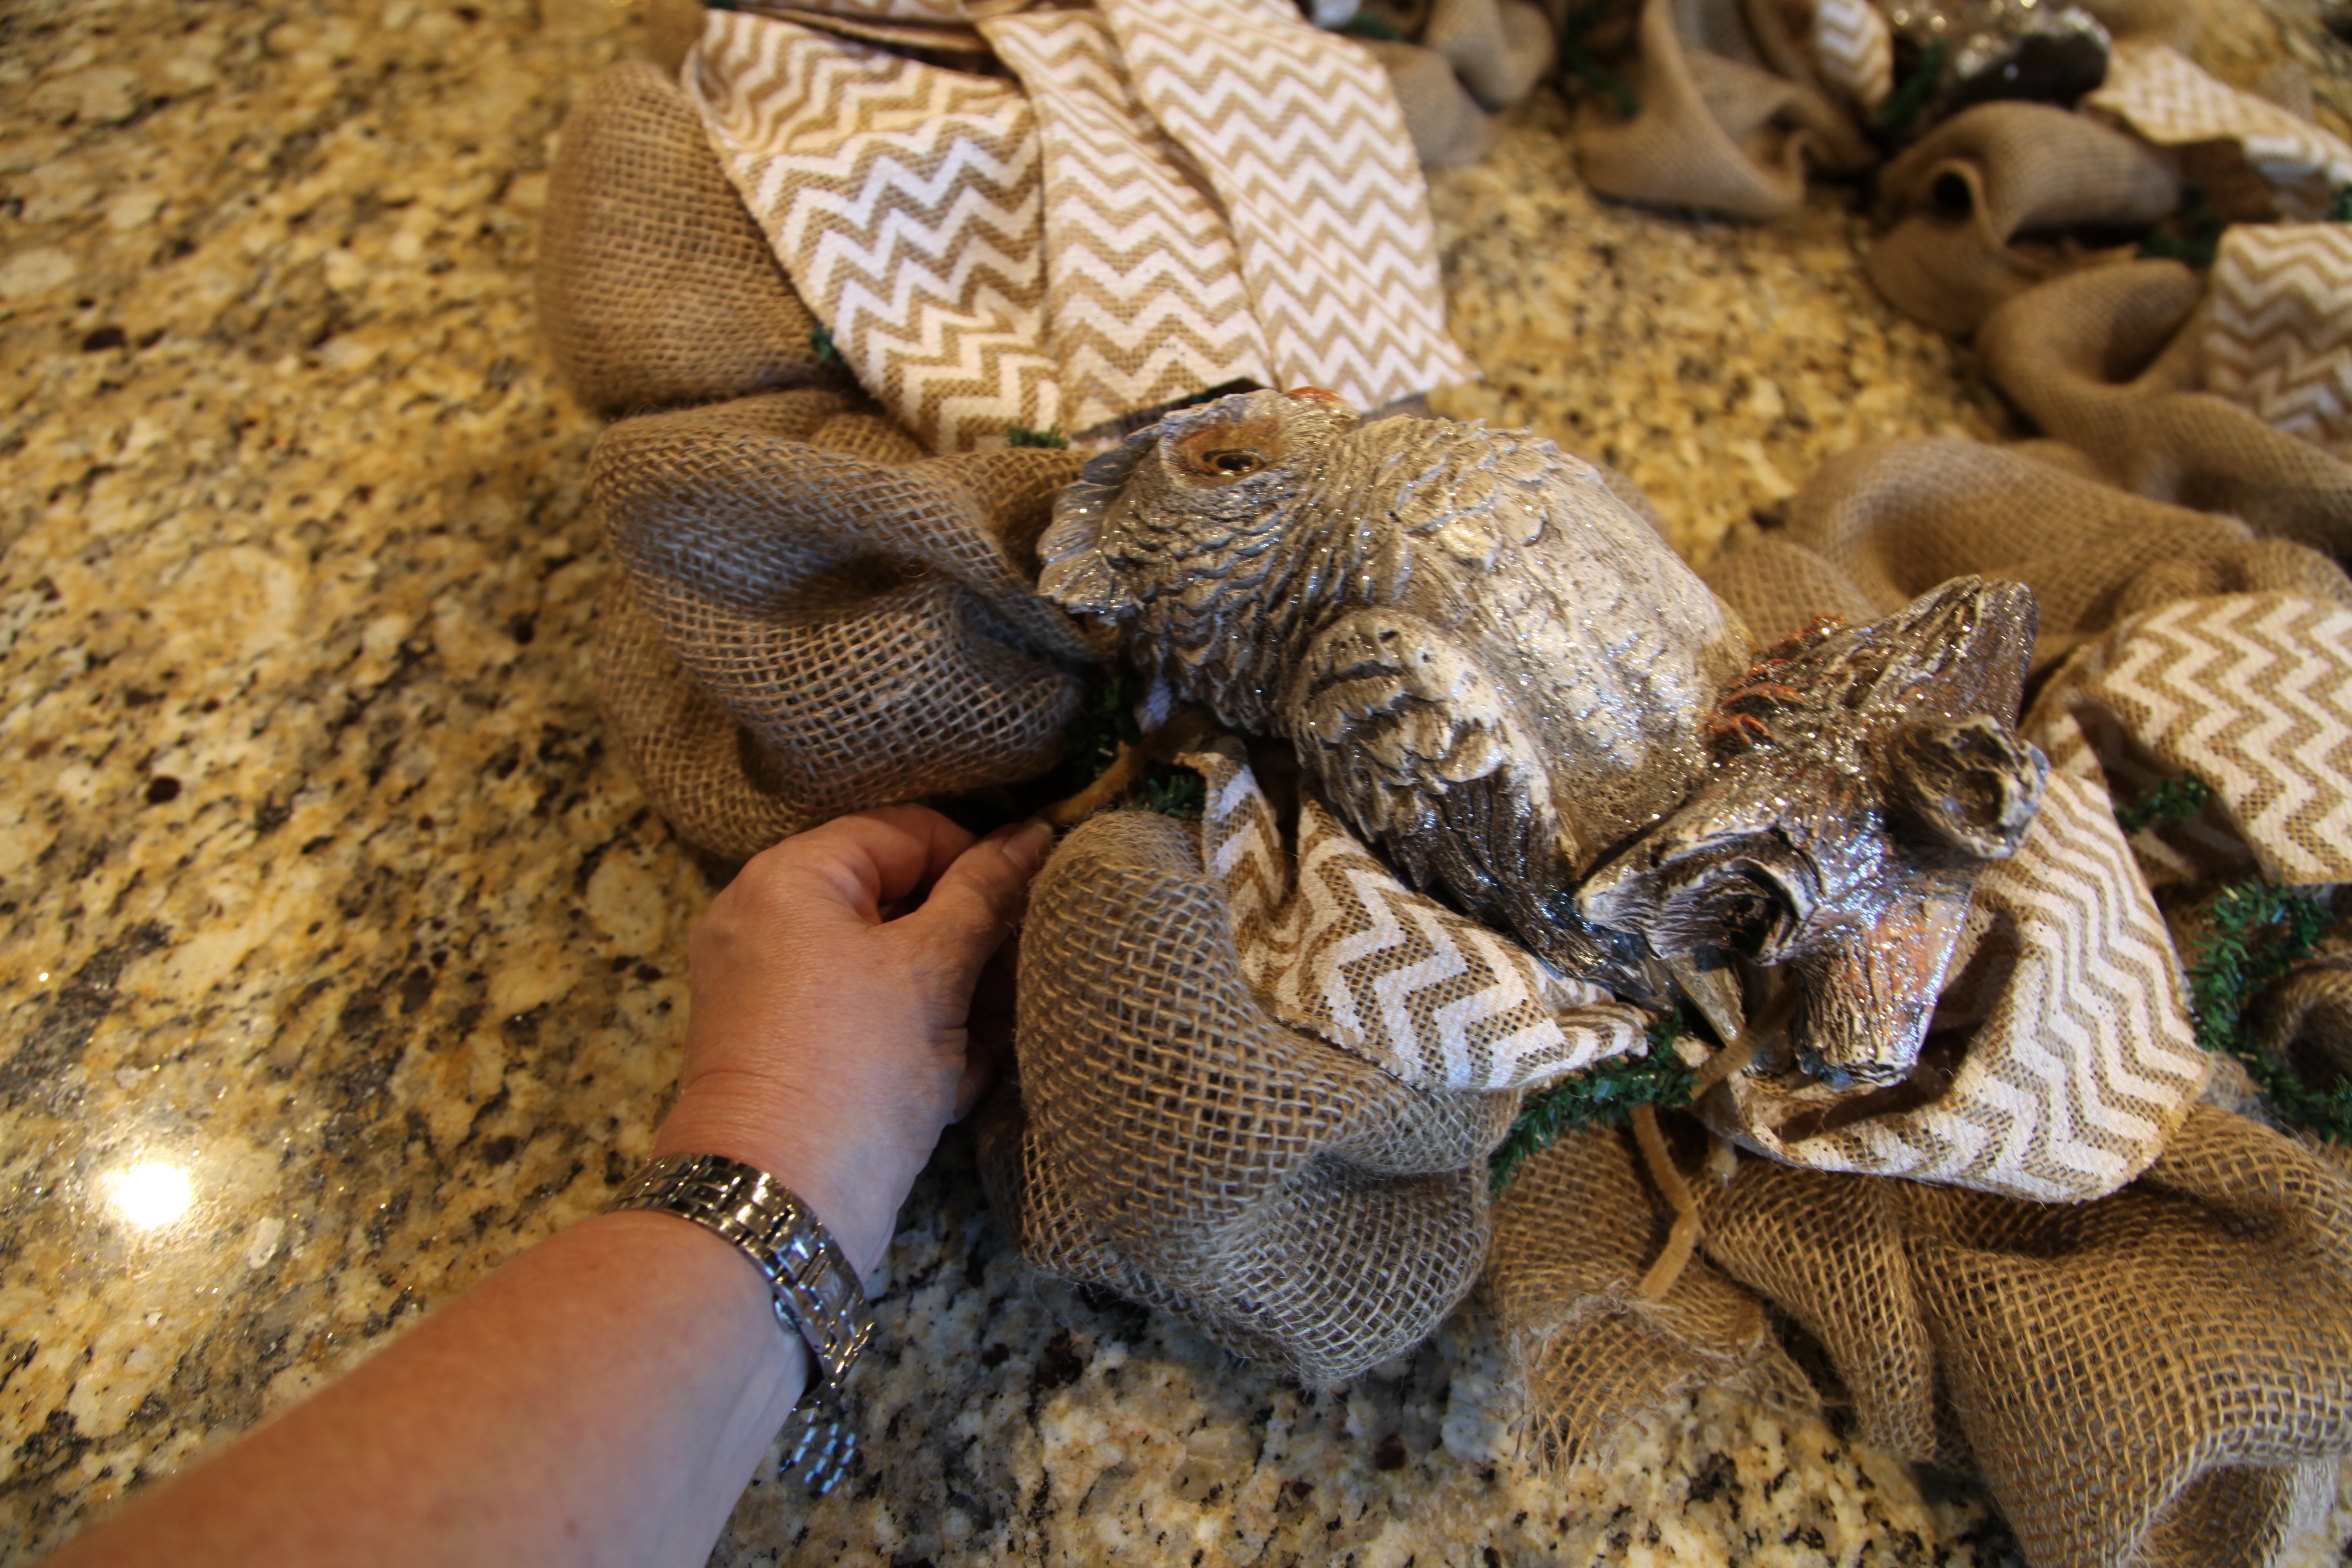
I hot glued pipe cleaners on the back of both owls so that I could ‘tie’ them onto the wreath–I knew that they’d be too heavy to glue into place…

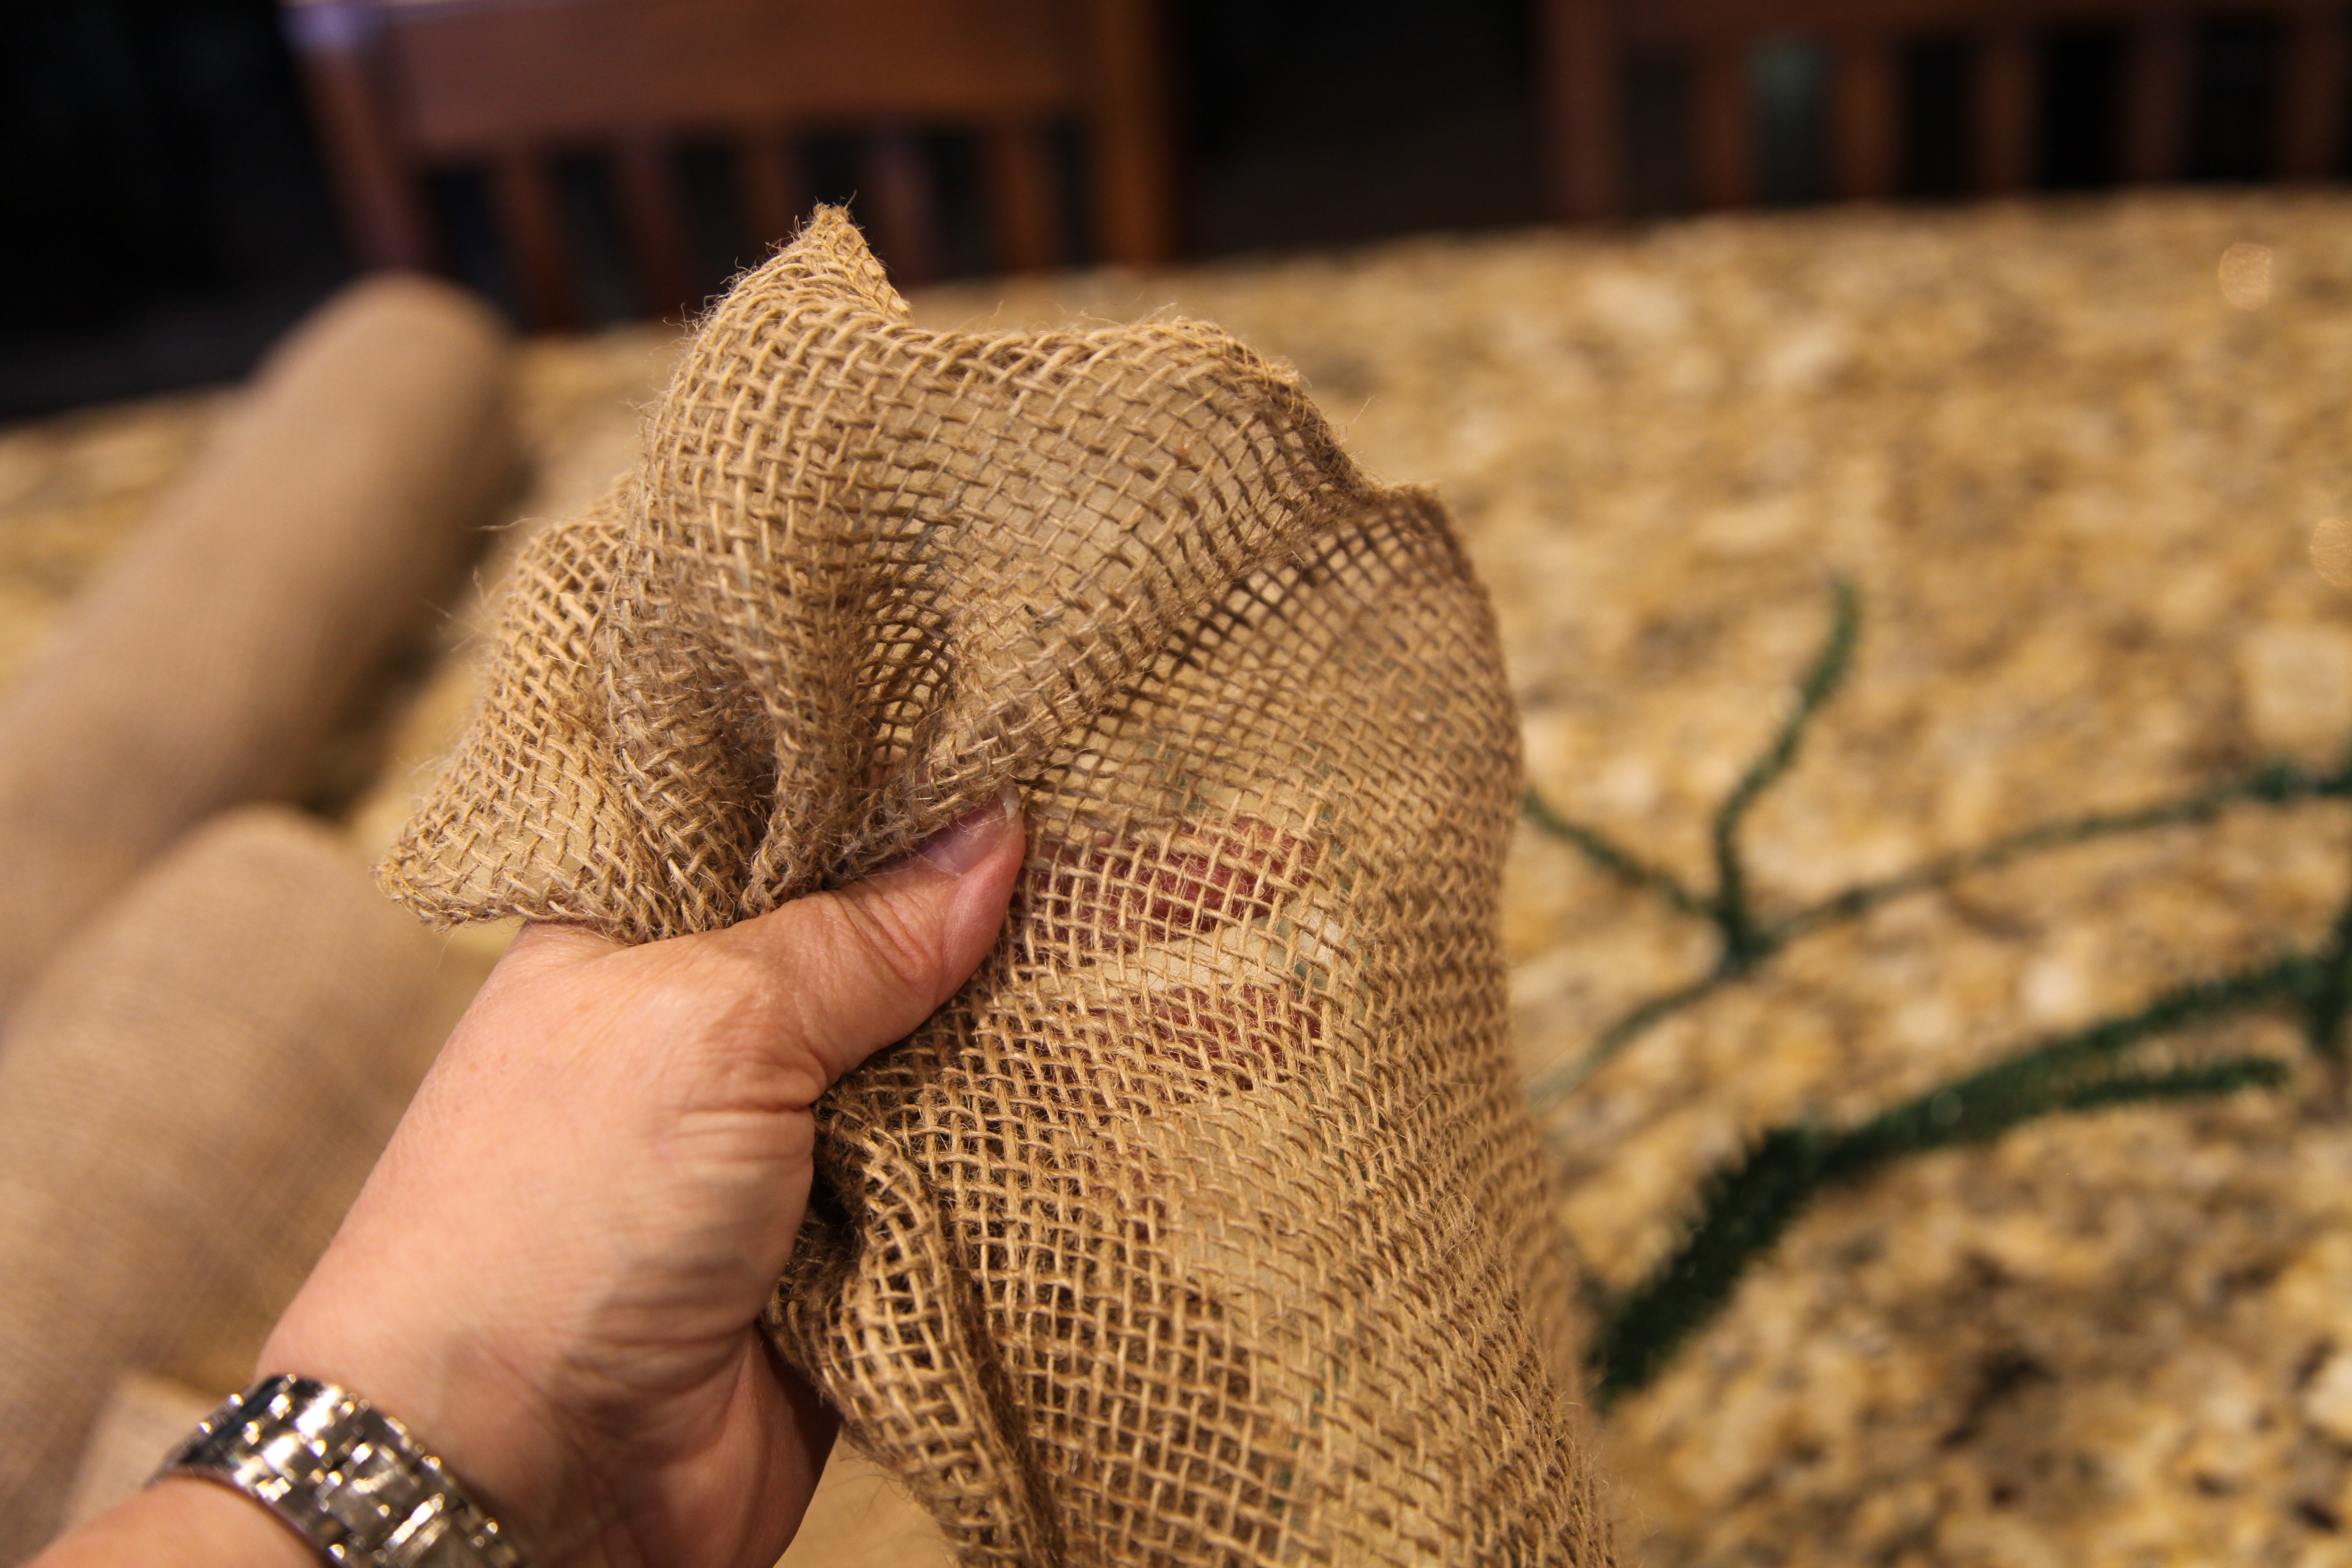
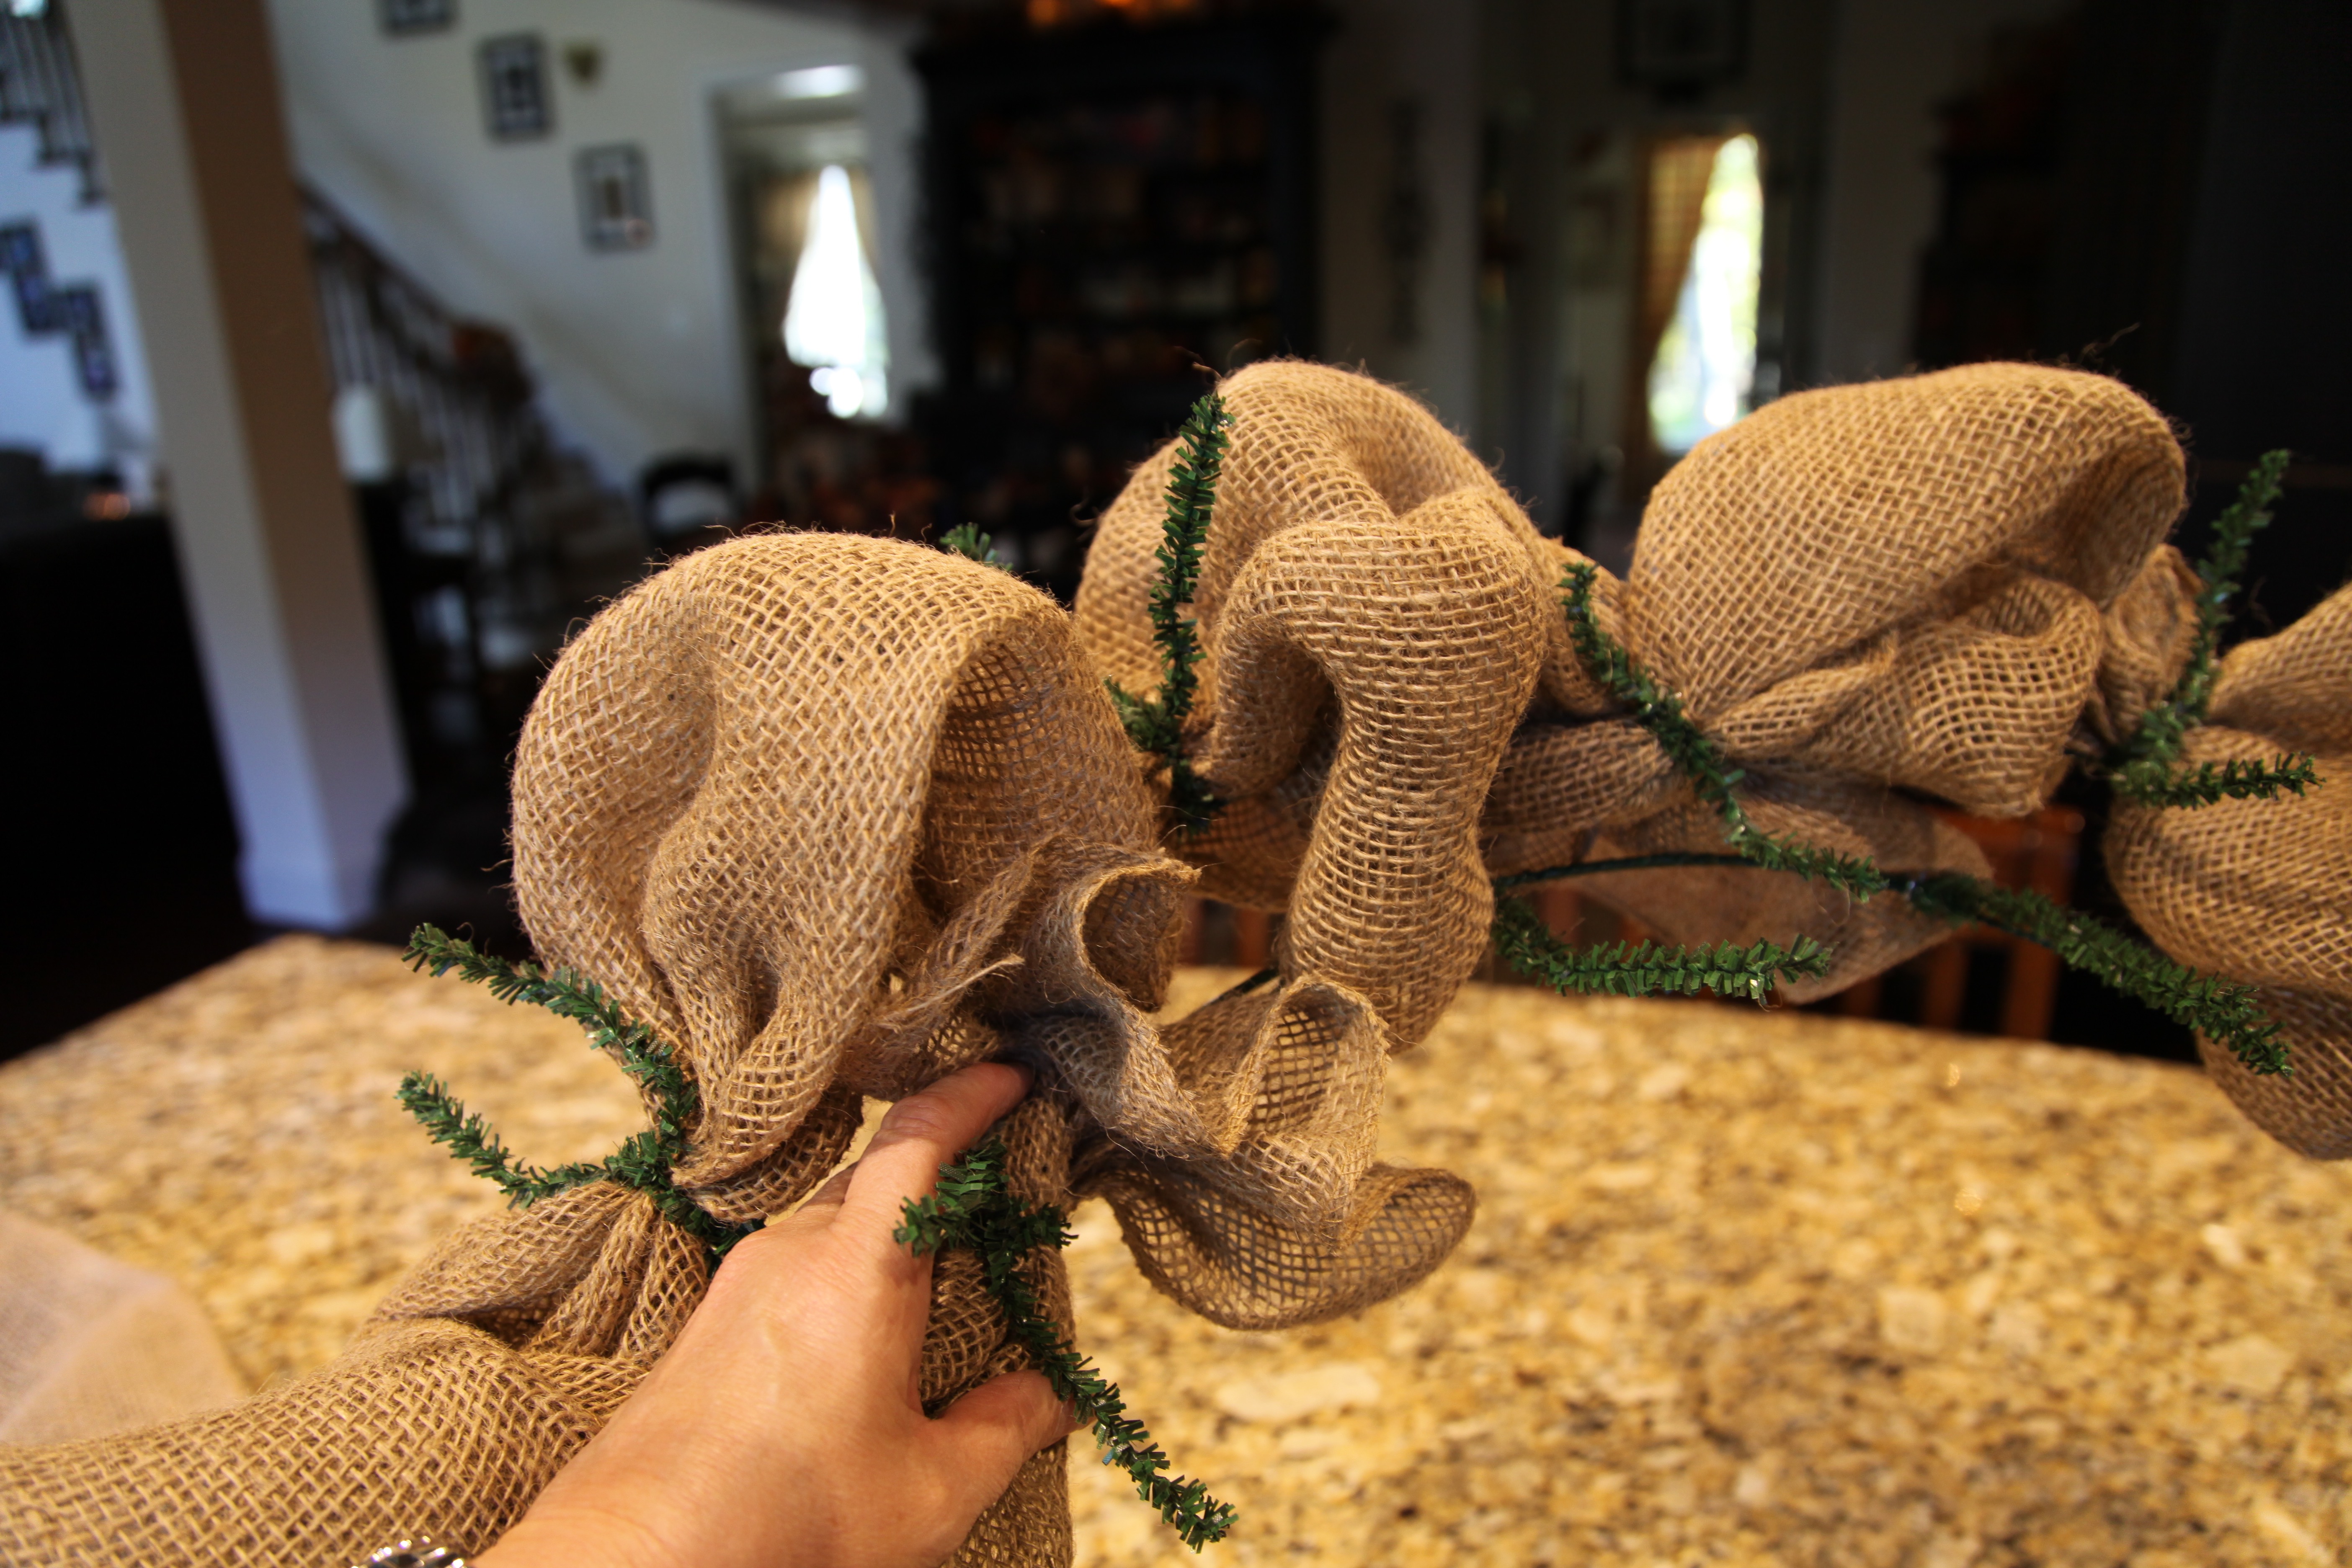
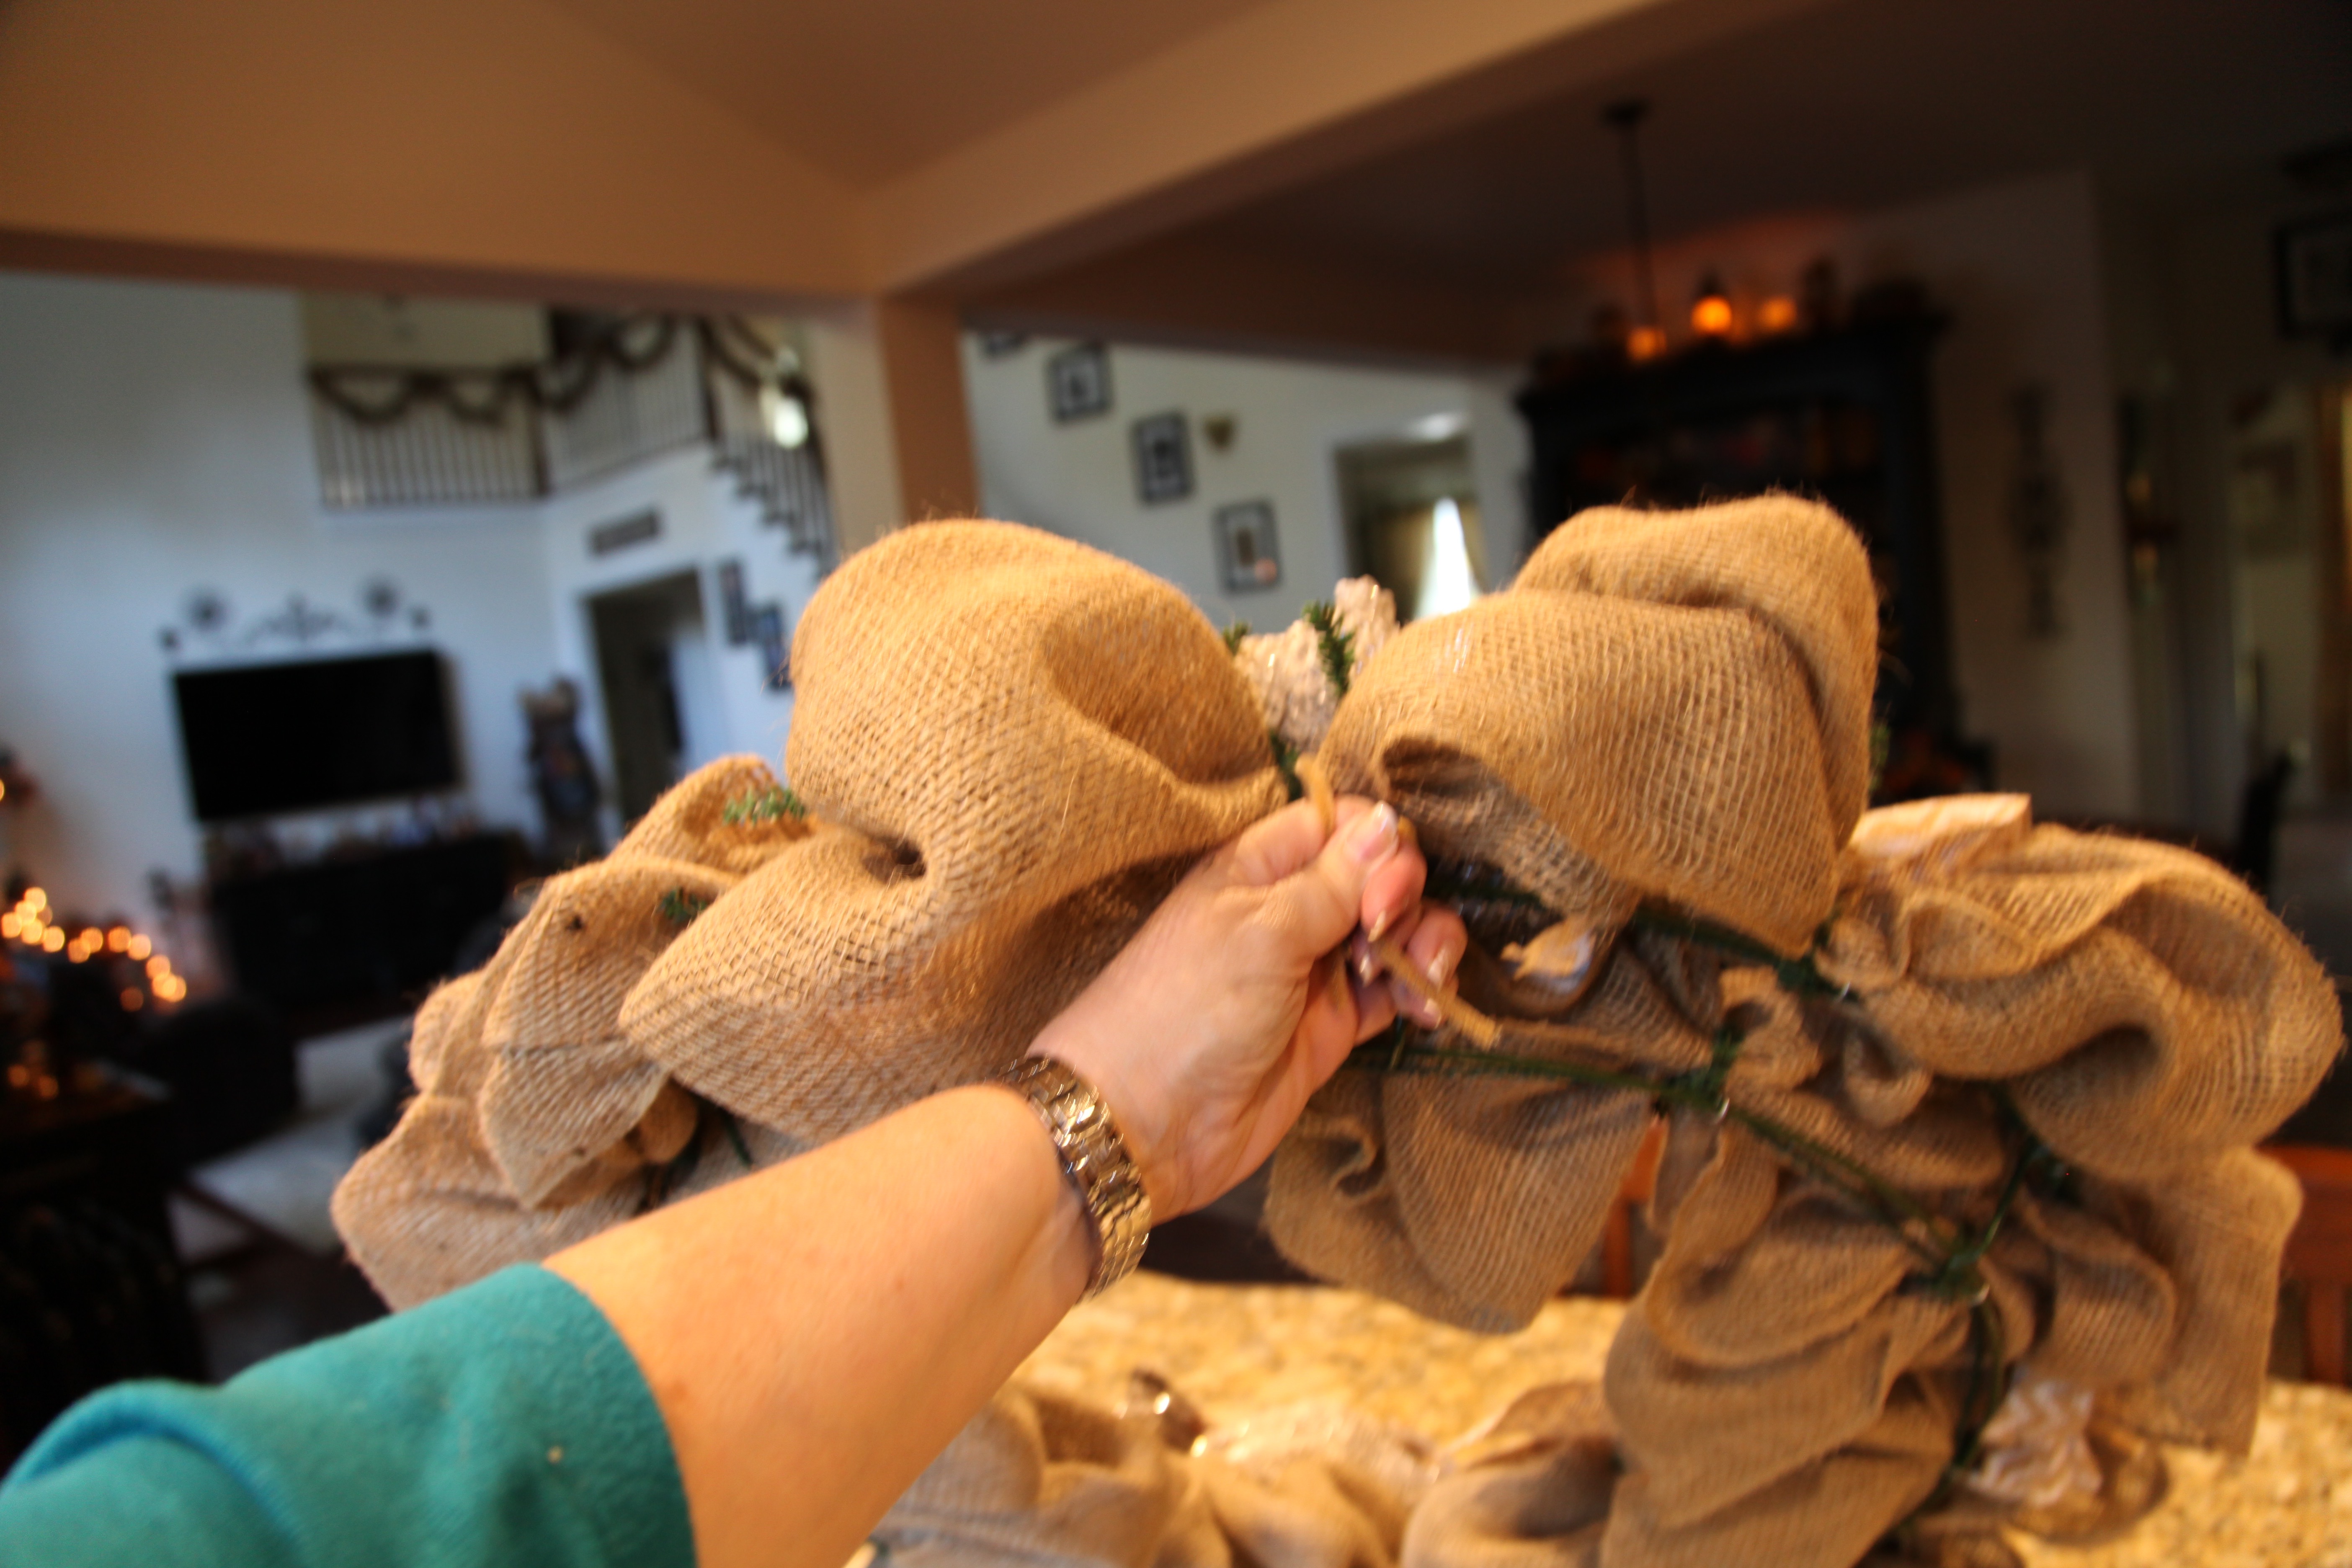
The first thing I did was to attach the burlap, I unrolled most of the skein, gathered the end and started placing it into one of the pipe cleaners on the outside of the wreath form. I then made a large loop (probably at least 10″ long) and caught it into the next pipe cleaner on the outer ring of the wreath form. I continued making loops around the entire outer ring of the wreath form; I used an entire skein for this row…

I then opened the other skein and started working in the same manner around the inner ring…

I used most of the 2nd skein on the inner row; you can see in the picture below how much I had left over…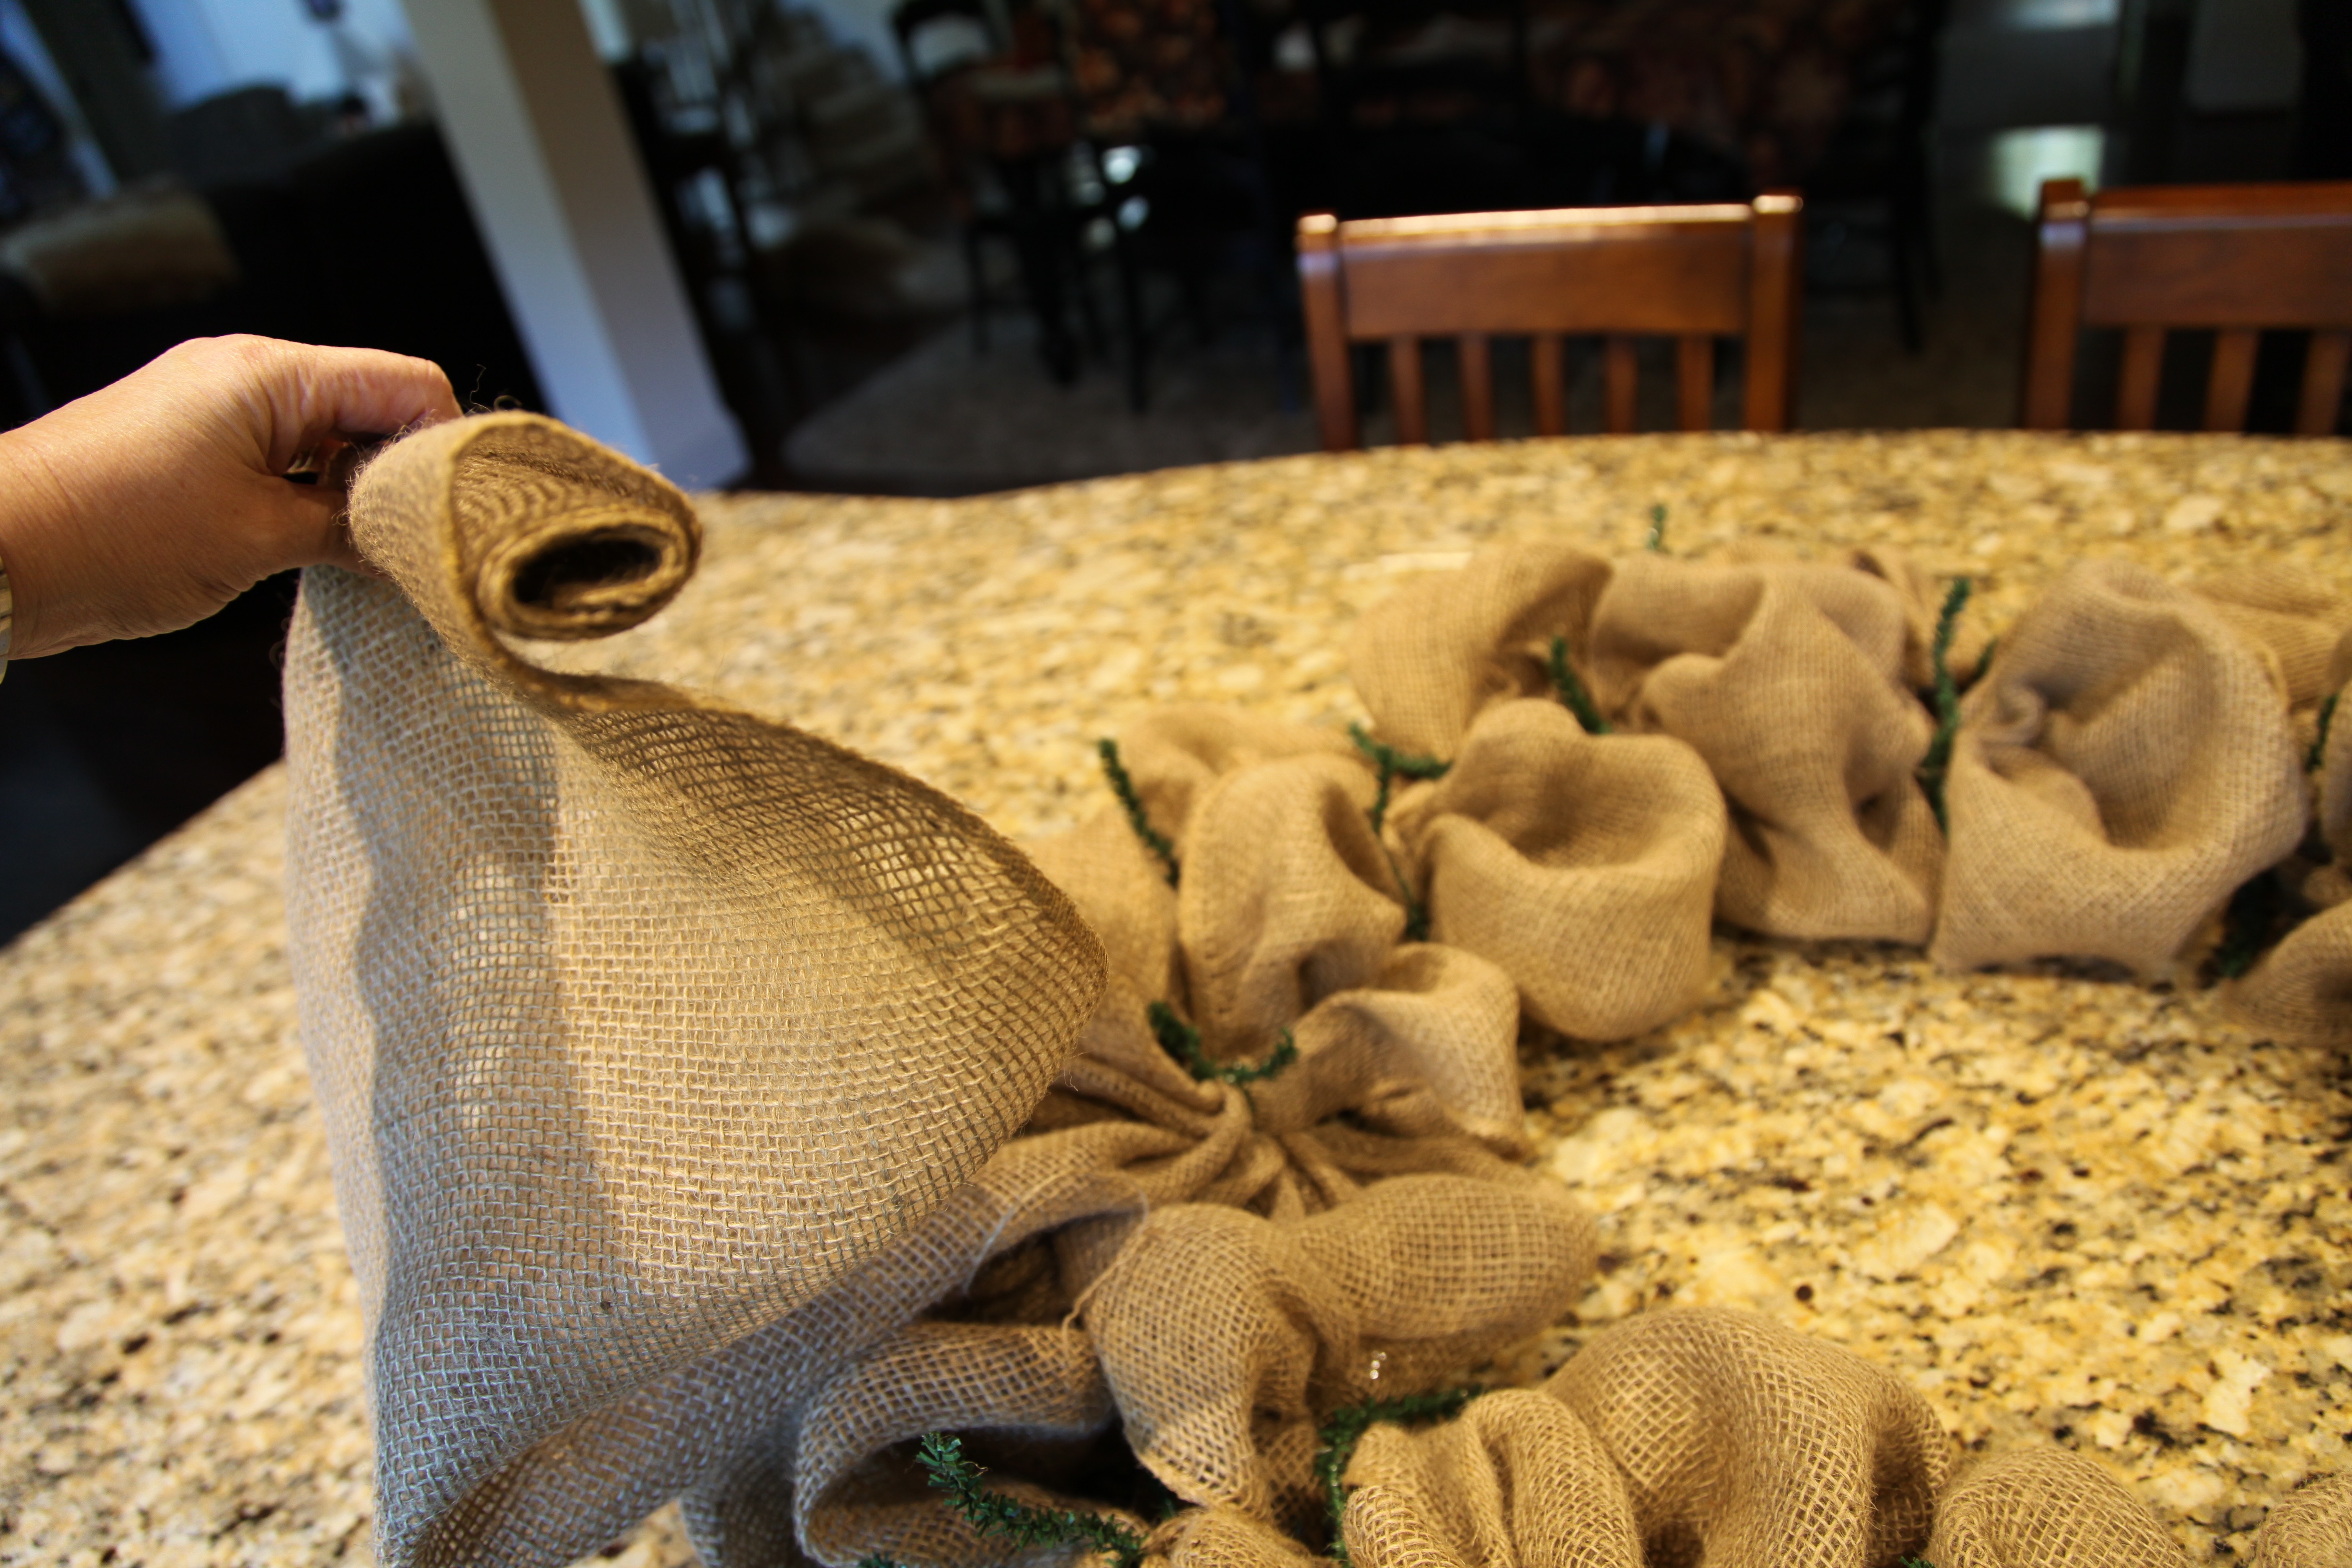
This size wreath form makes a huge wreath, it literally is almost as wide as my front door and it measures 30″ around…
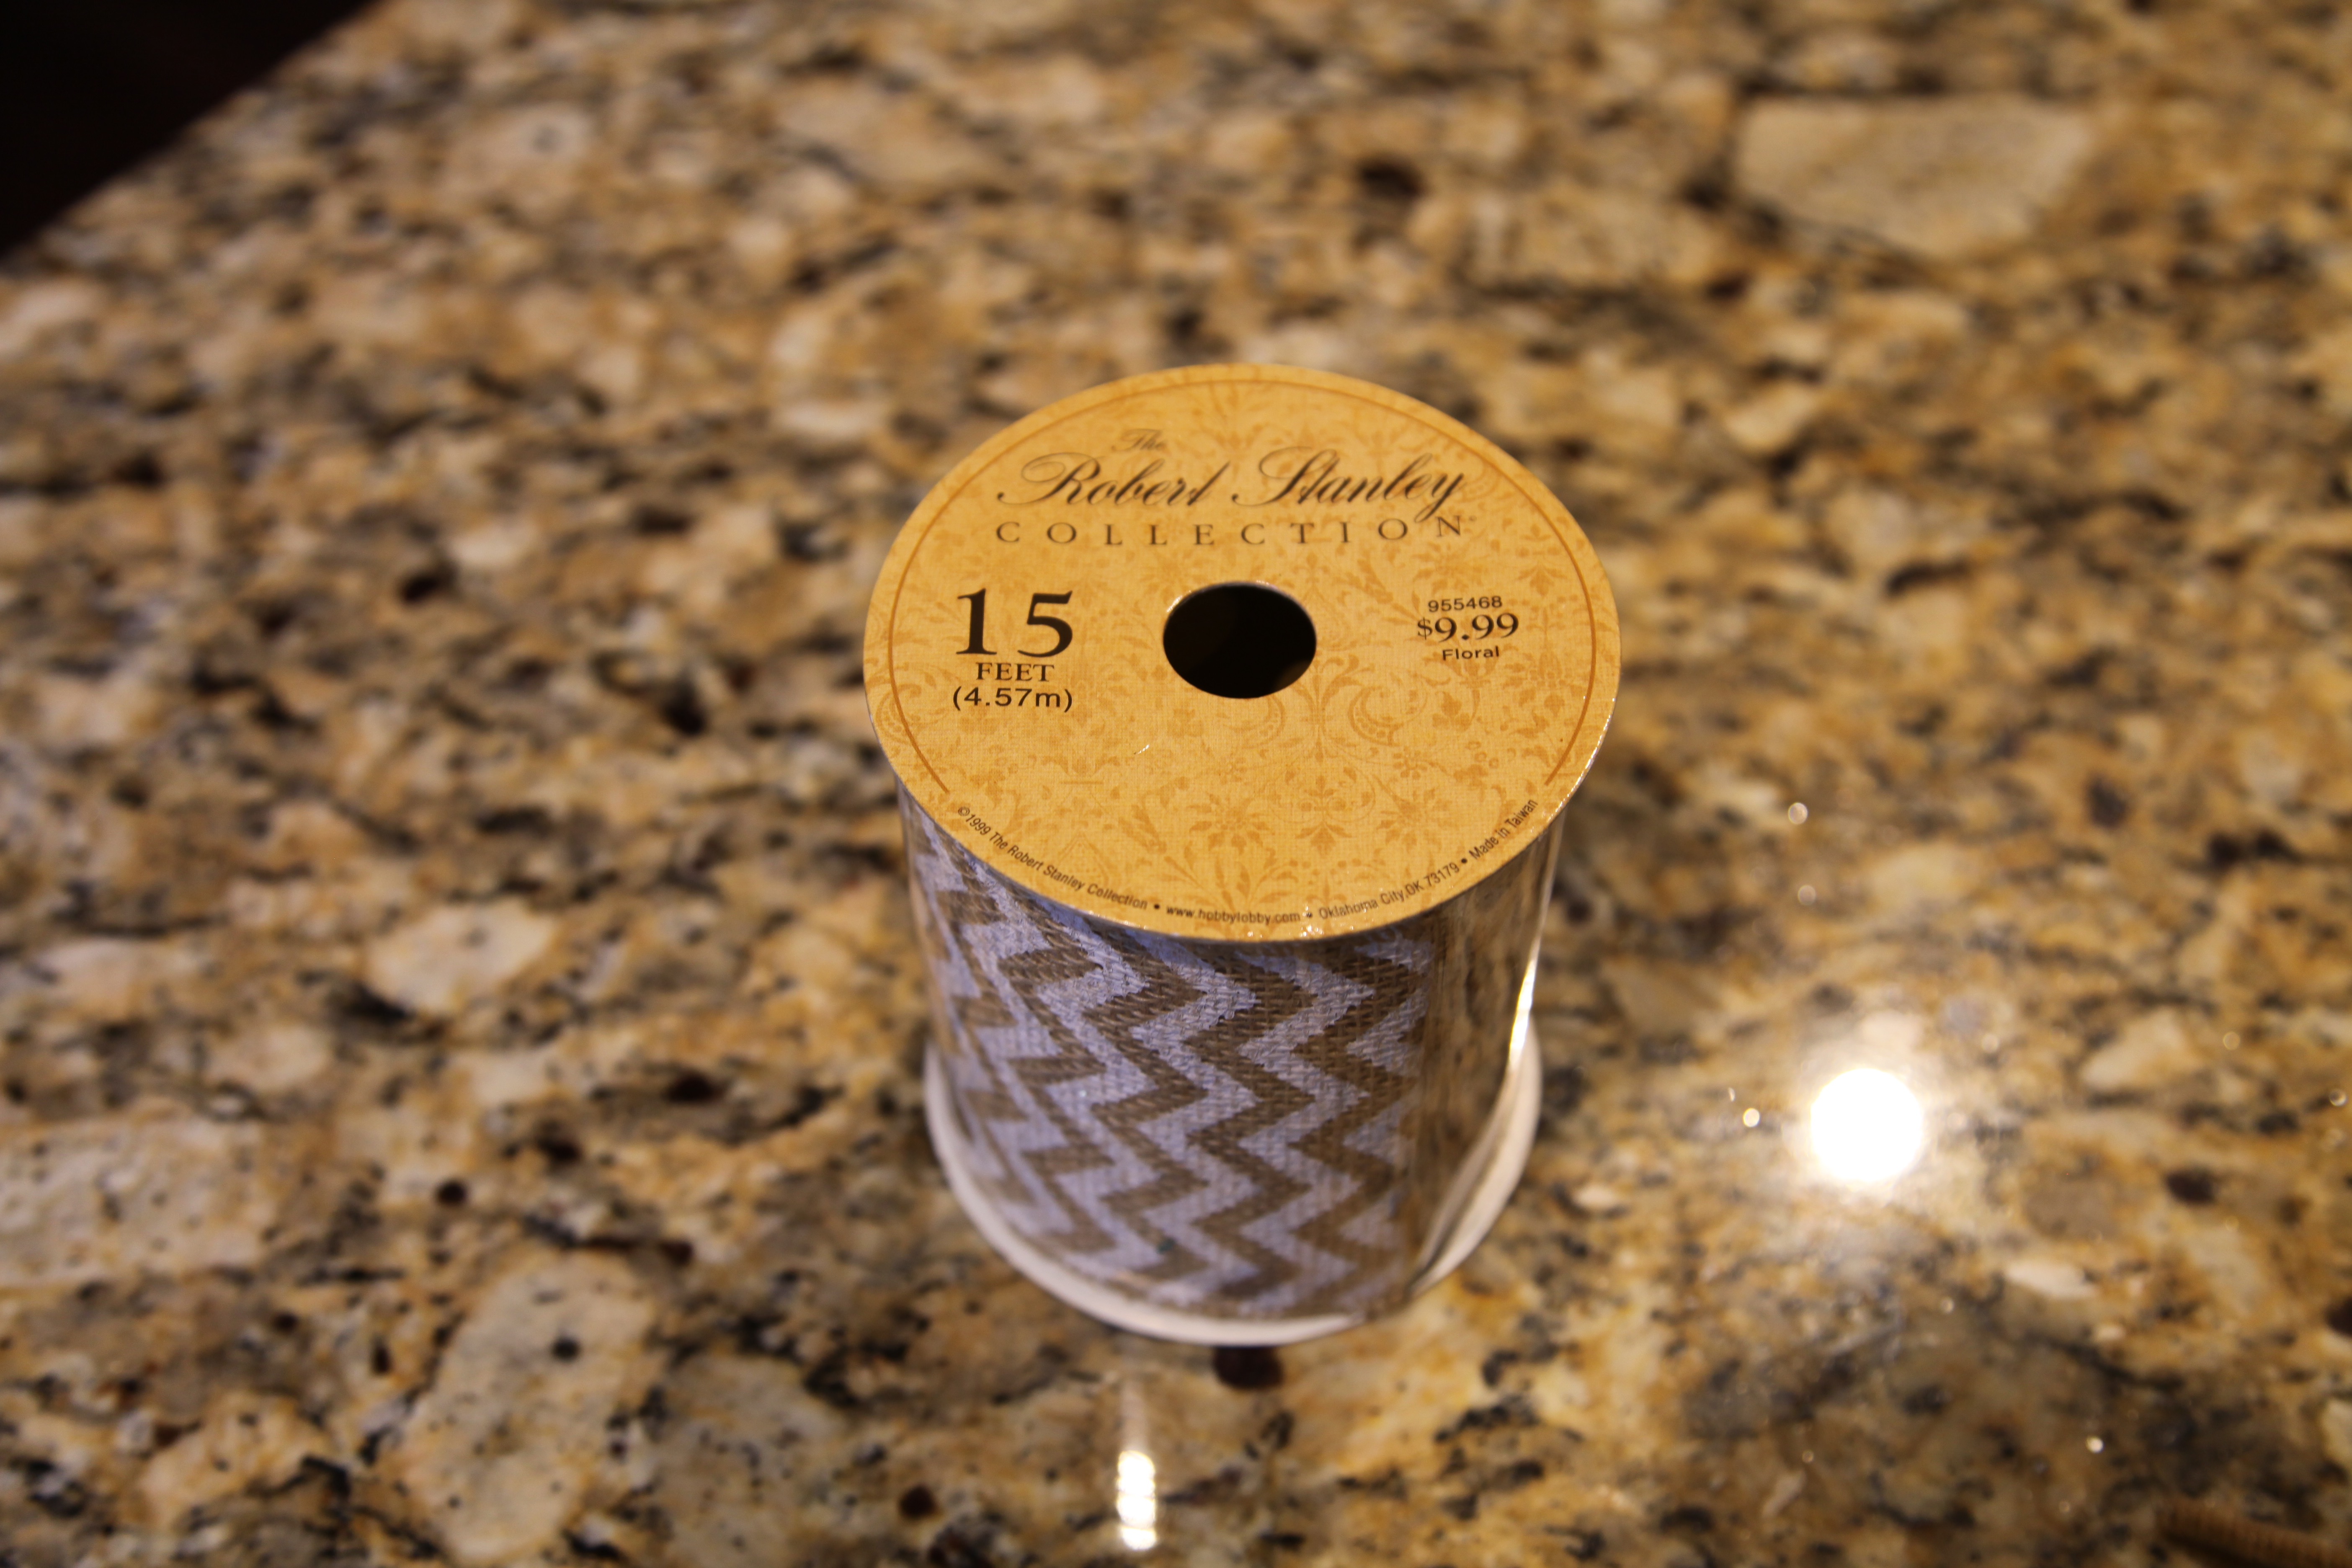
I then made a bow out of this chevron burlap ribbon…Here is a link to my “How to make a bow tutorial” video…
And then I proceeded to catch the remaining chevron ribbon in pipe cleaners. I caught it in every other twist tie moving from the outer ring to the inner ring then back out to the outer ring’s pipe cleaners working my way around the entire wreath.
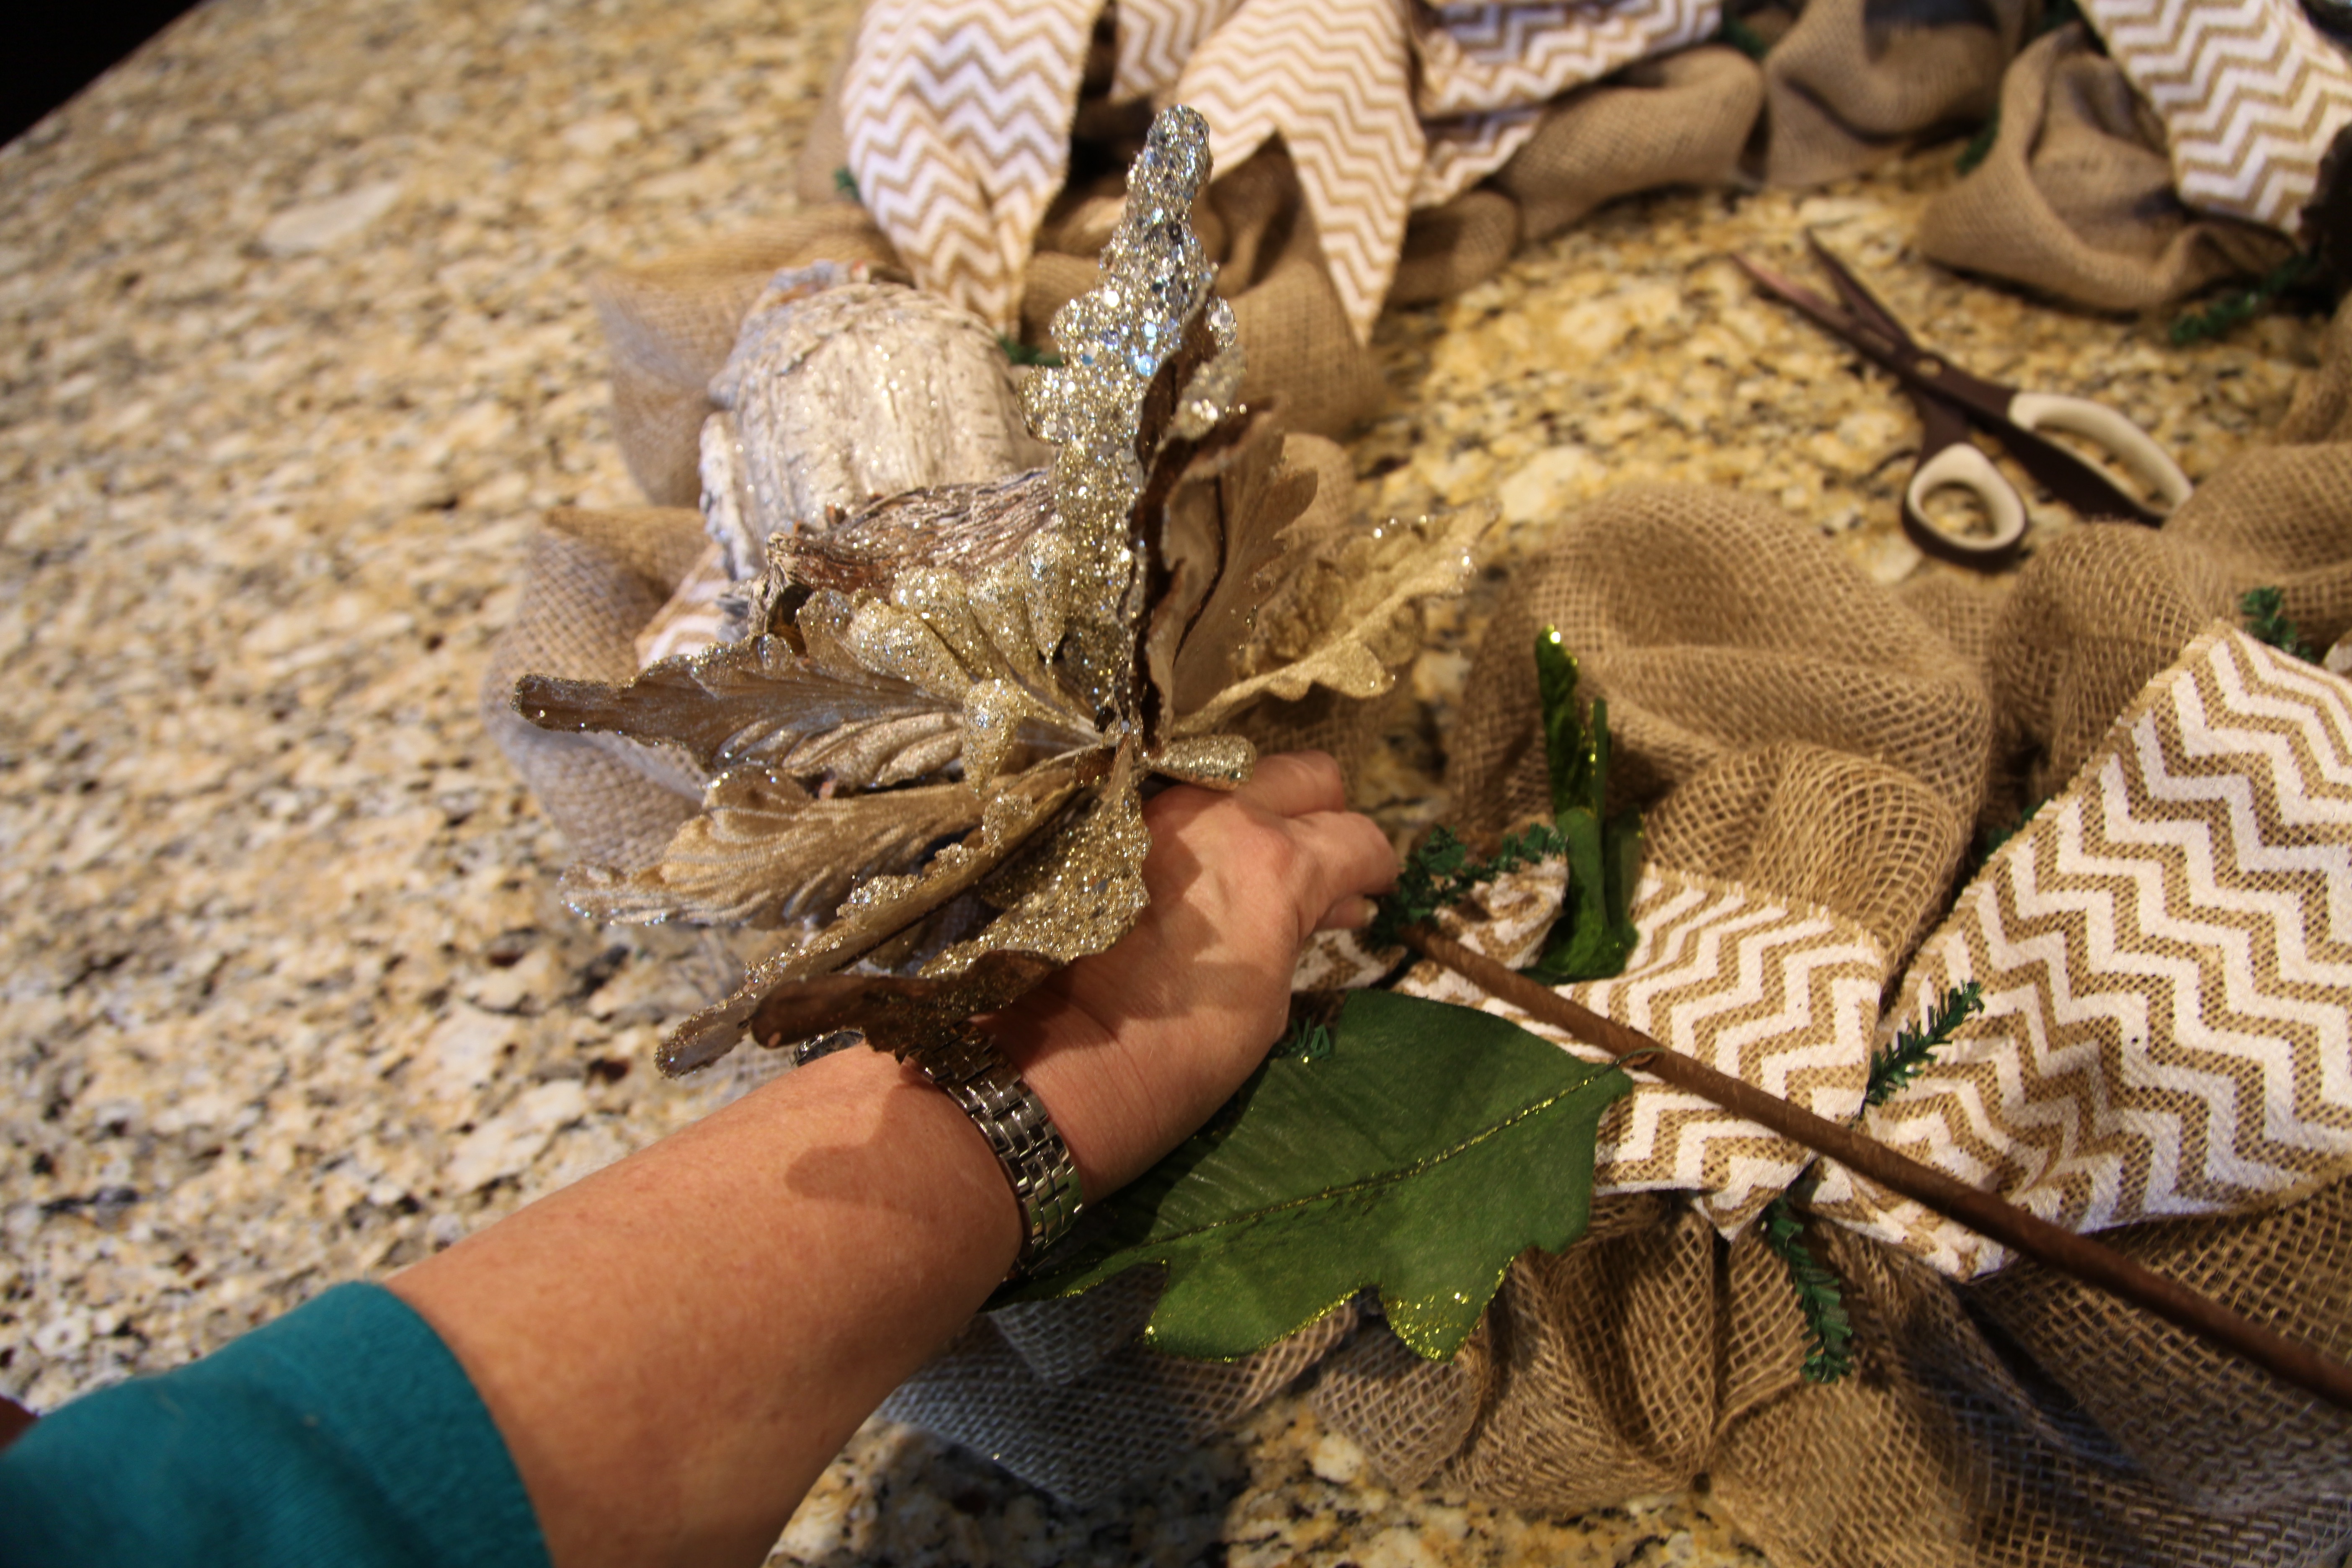
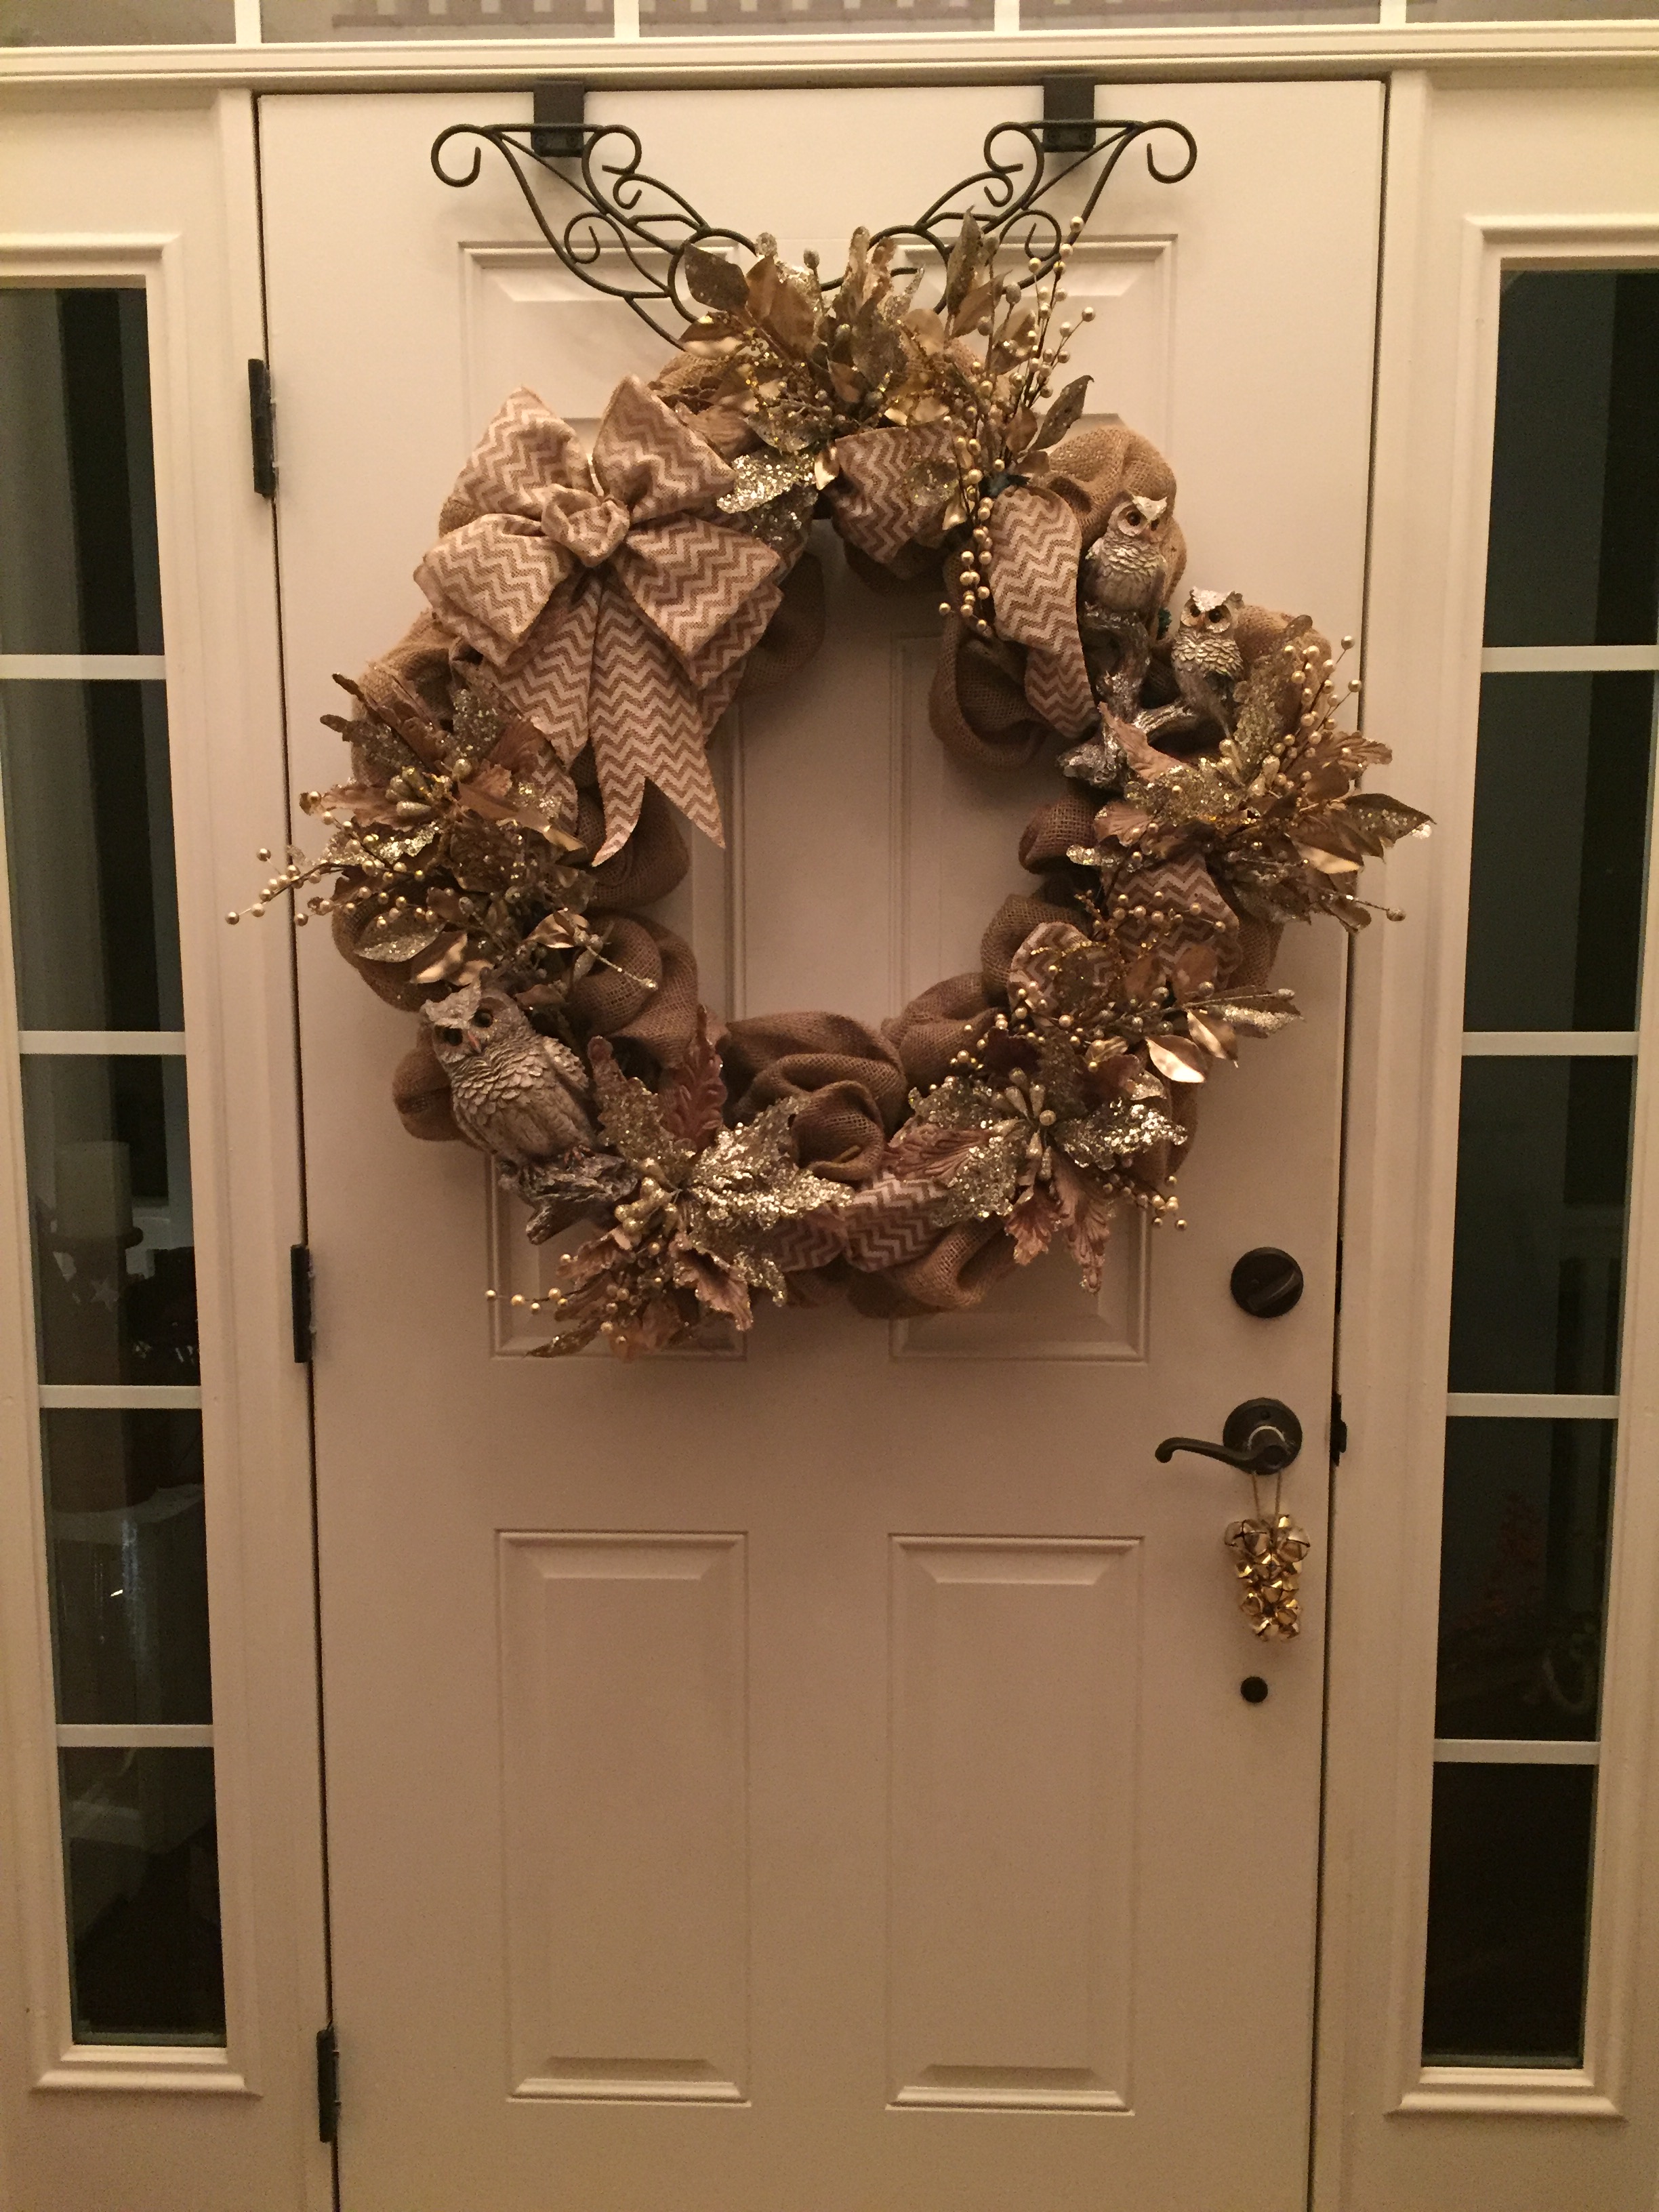
After I was finished adding in the chevron ribbon, I placed my bow where I wanted it on the wreath, then I tied the owls on, and started placing the flowers. There is no rhyme or reason or pattern to this part of the wreath making process, you just need to let your creative juices flow and place the flowers where you think they look pretty. I then hot-glued everything in place for security (sometimes I won’t do that, but those poinsettias were rather heavy and I didn’t want them to fall out)…
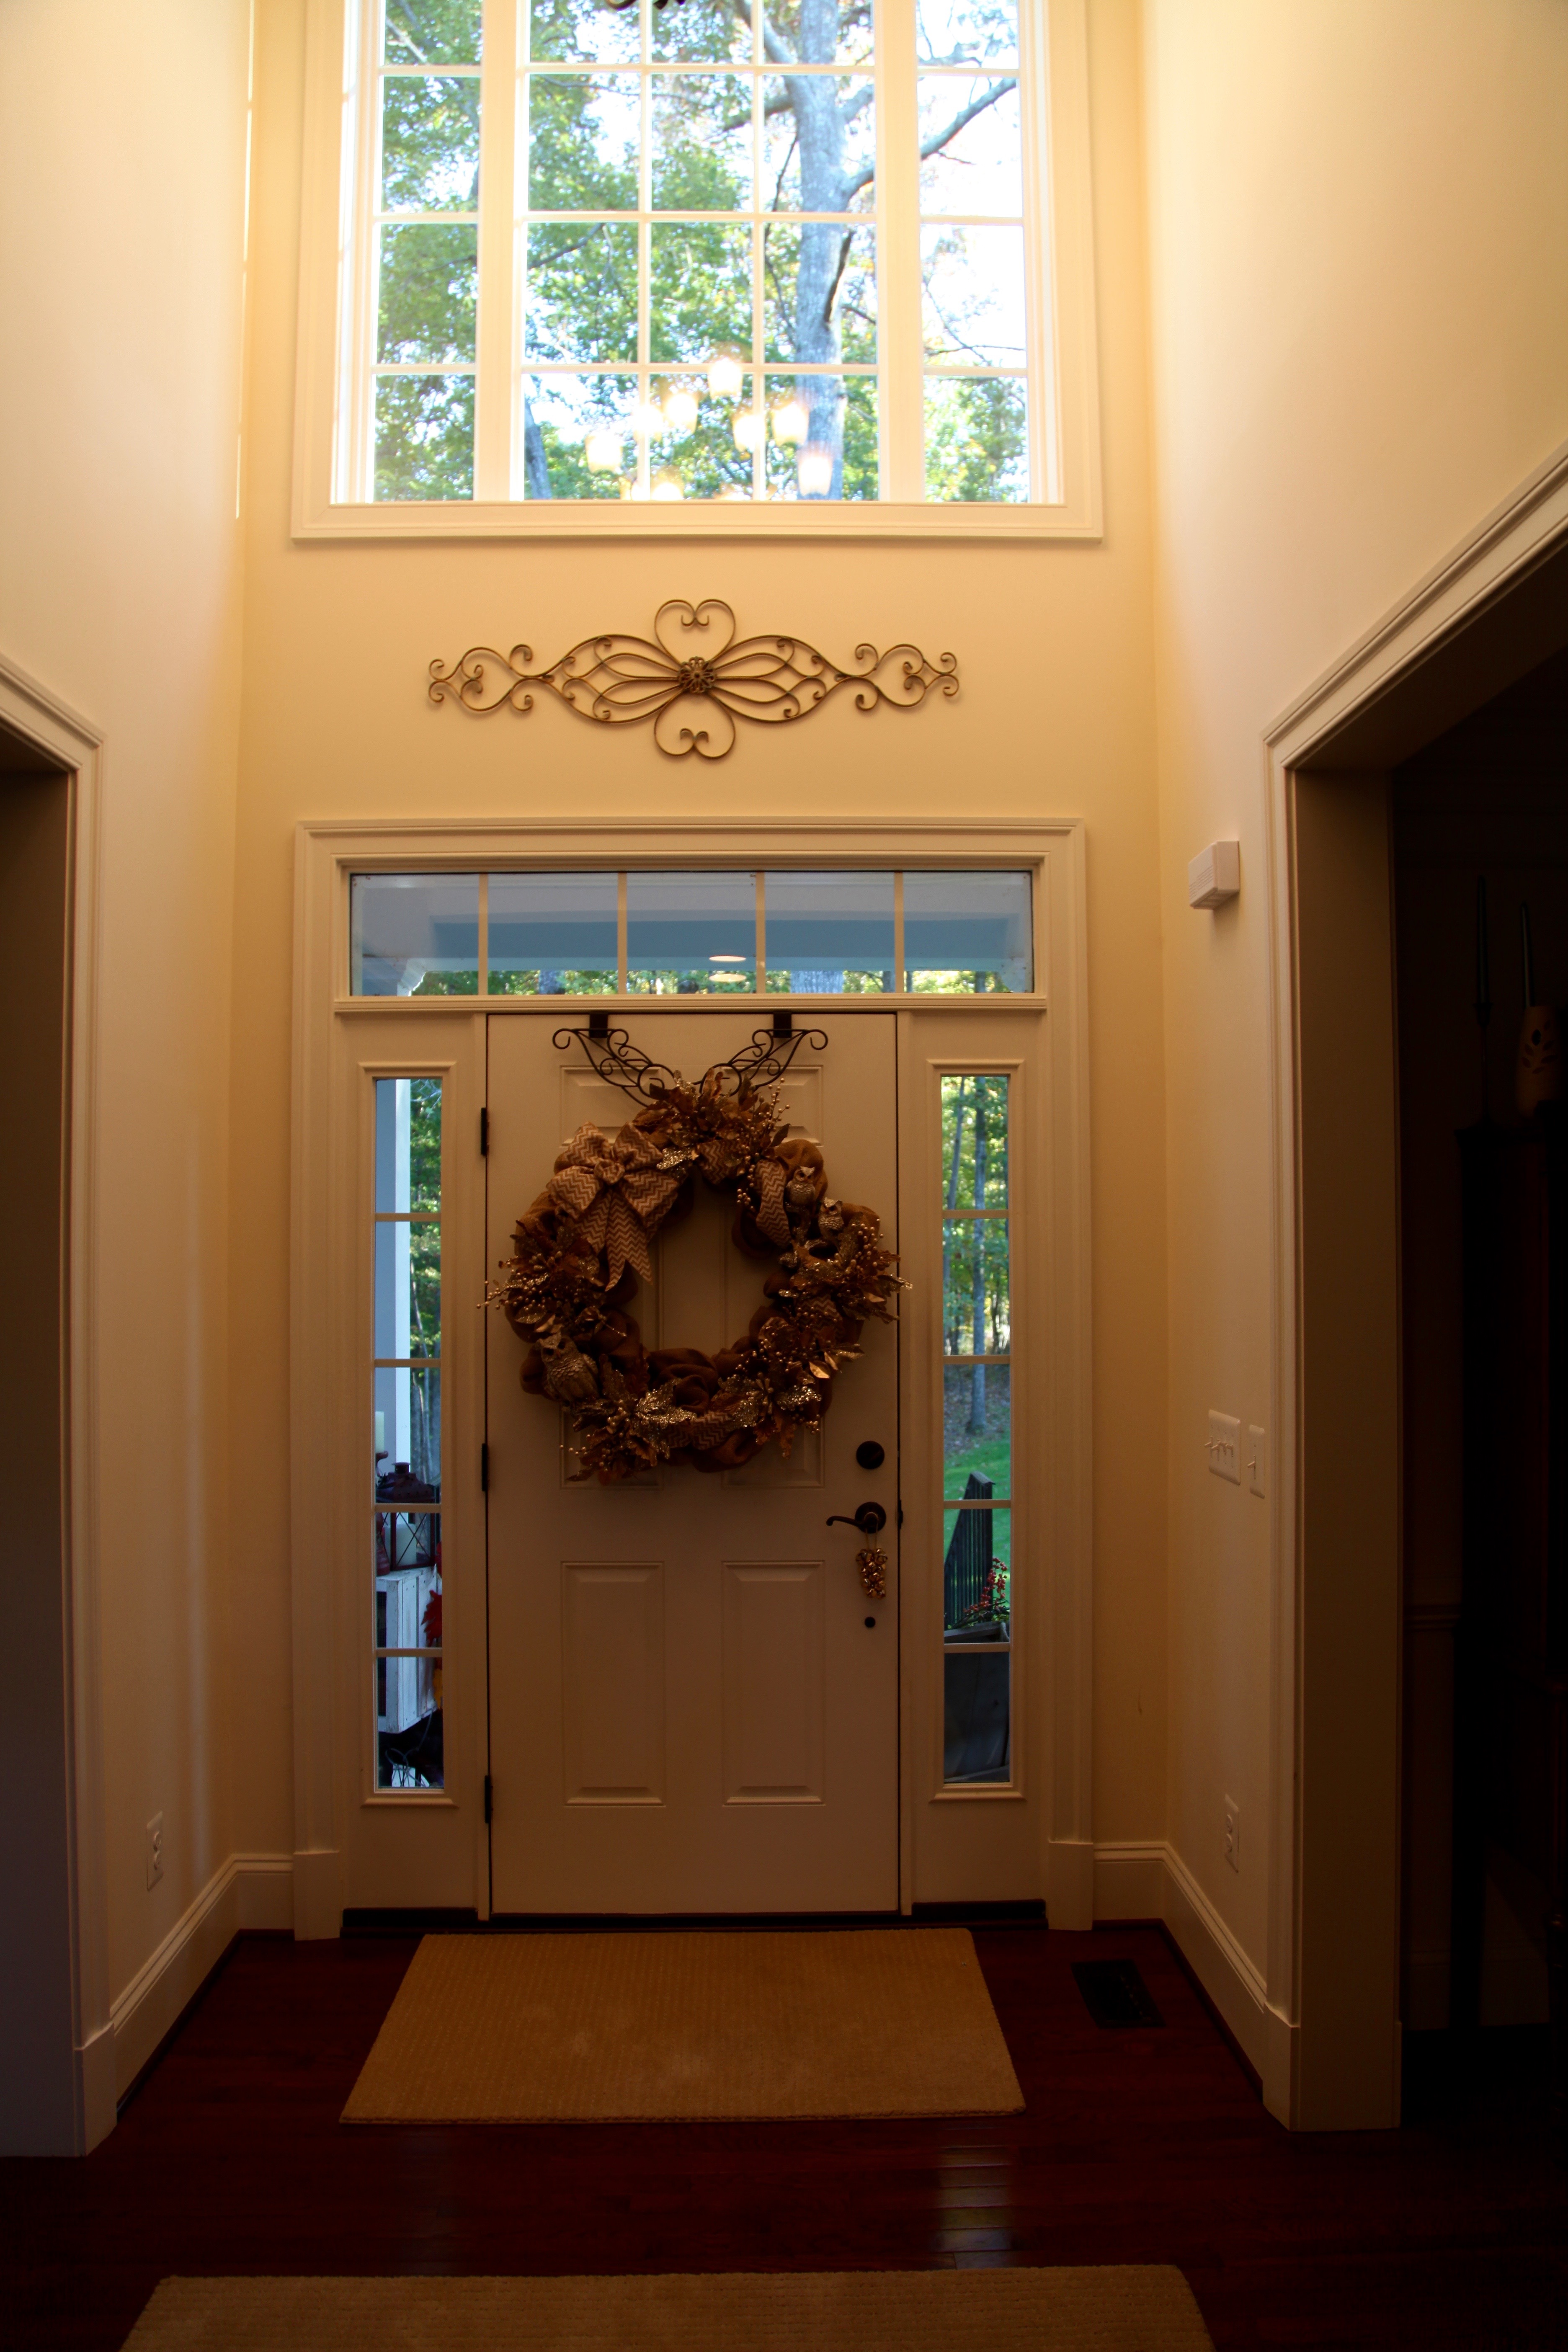
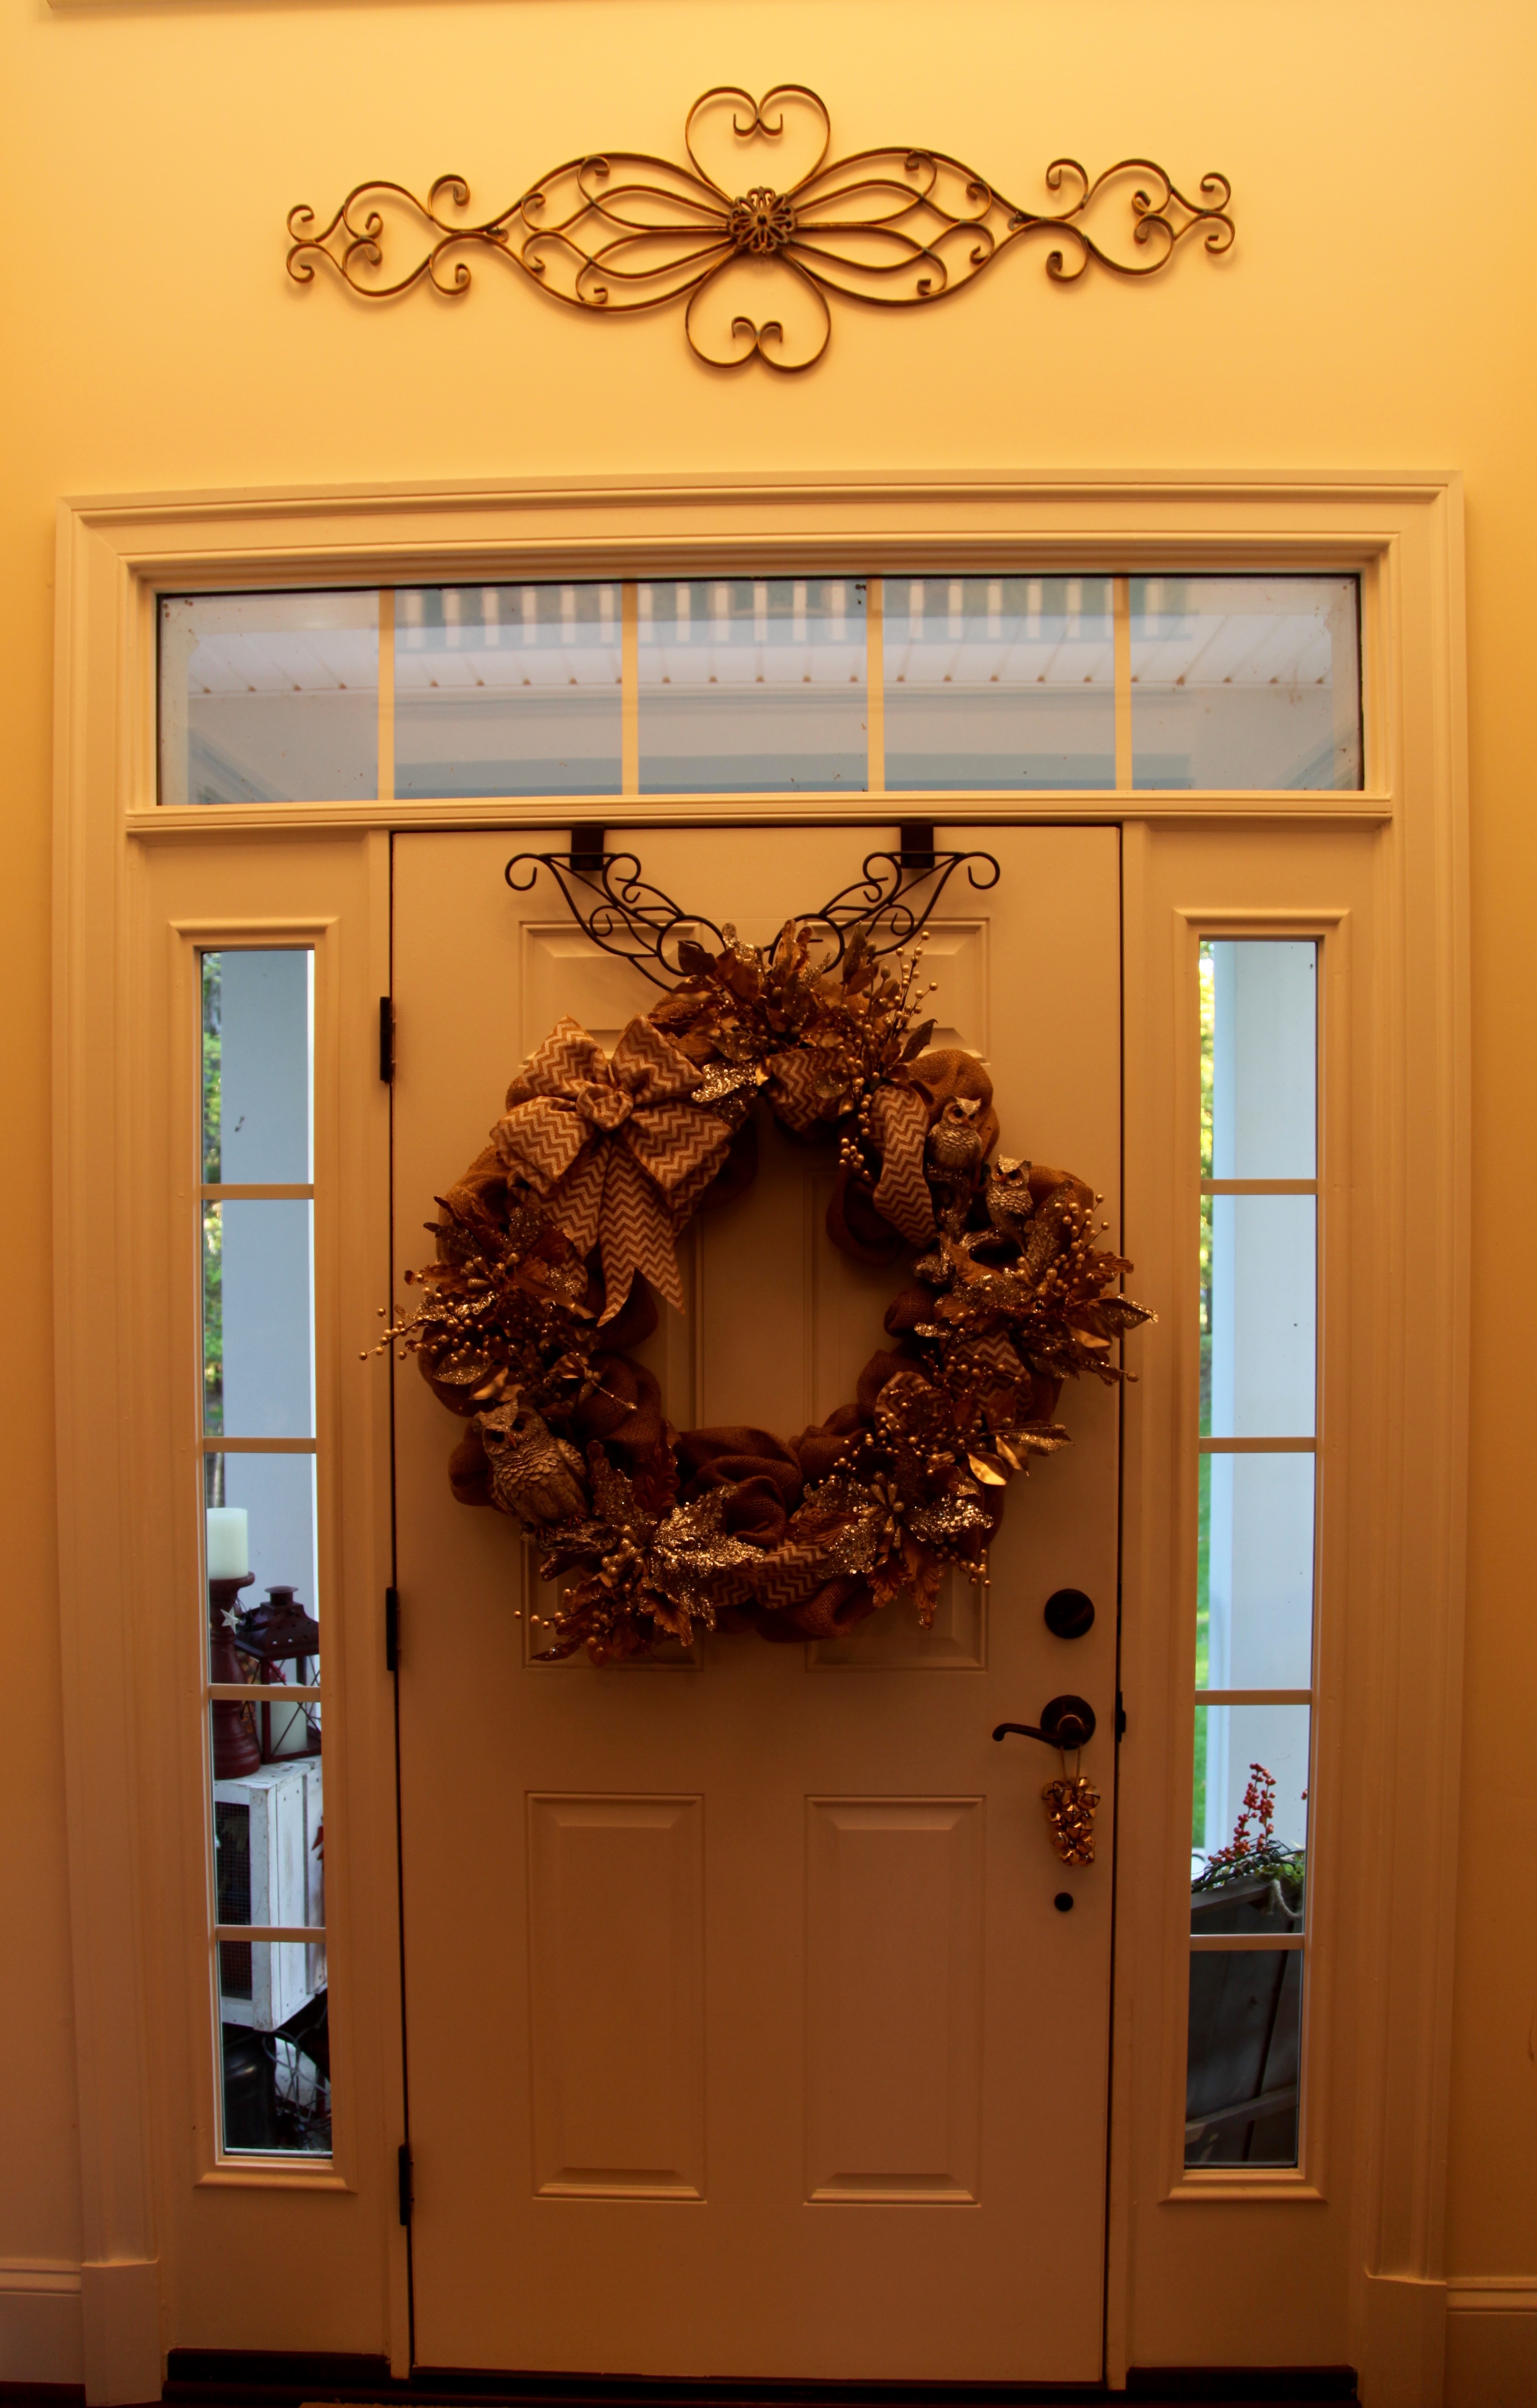
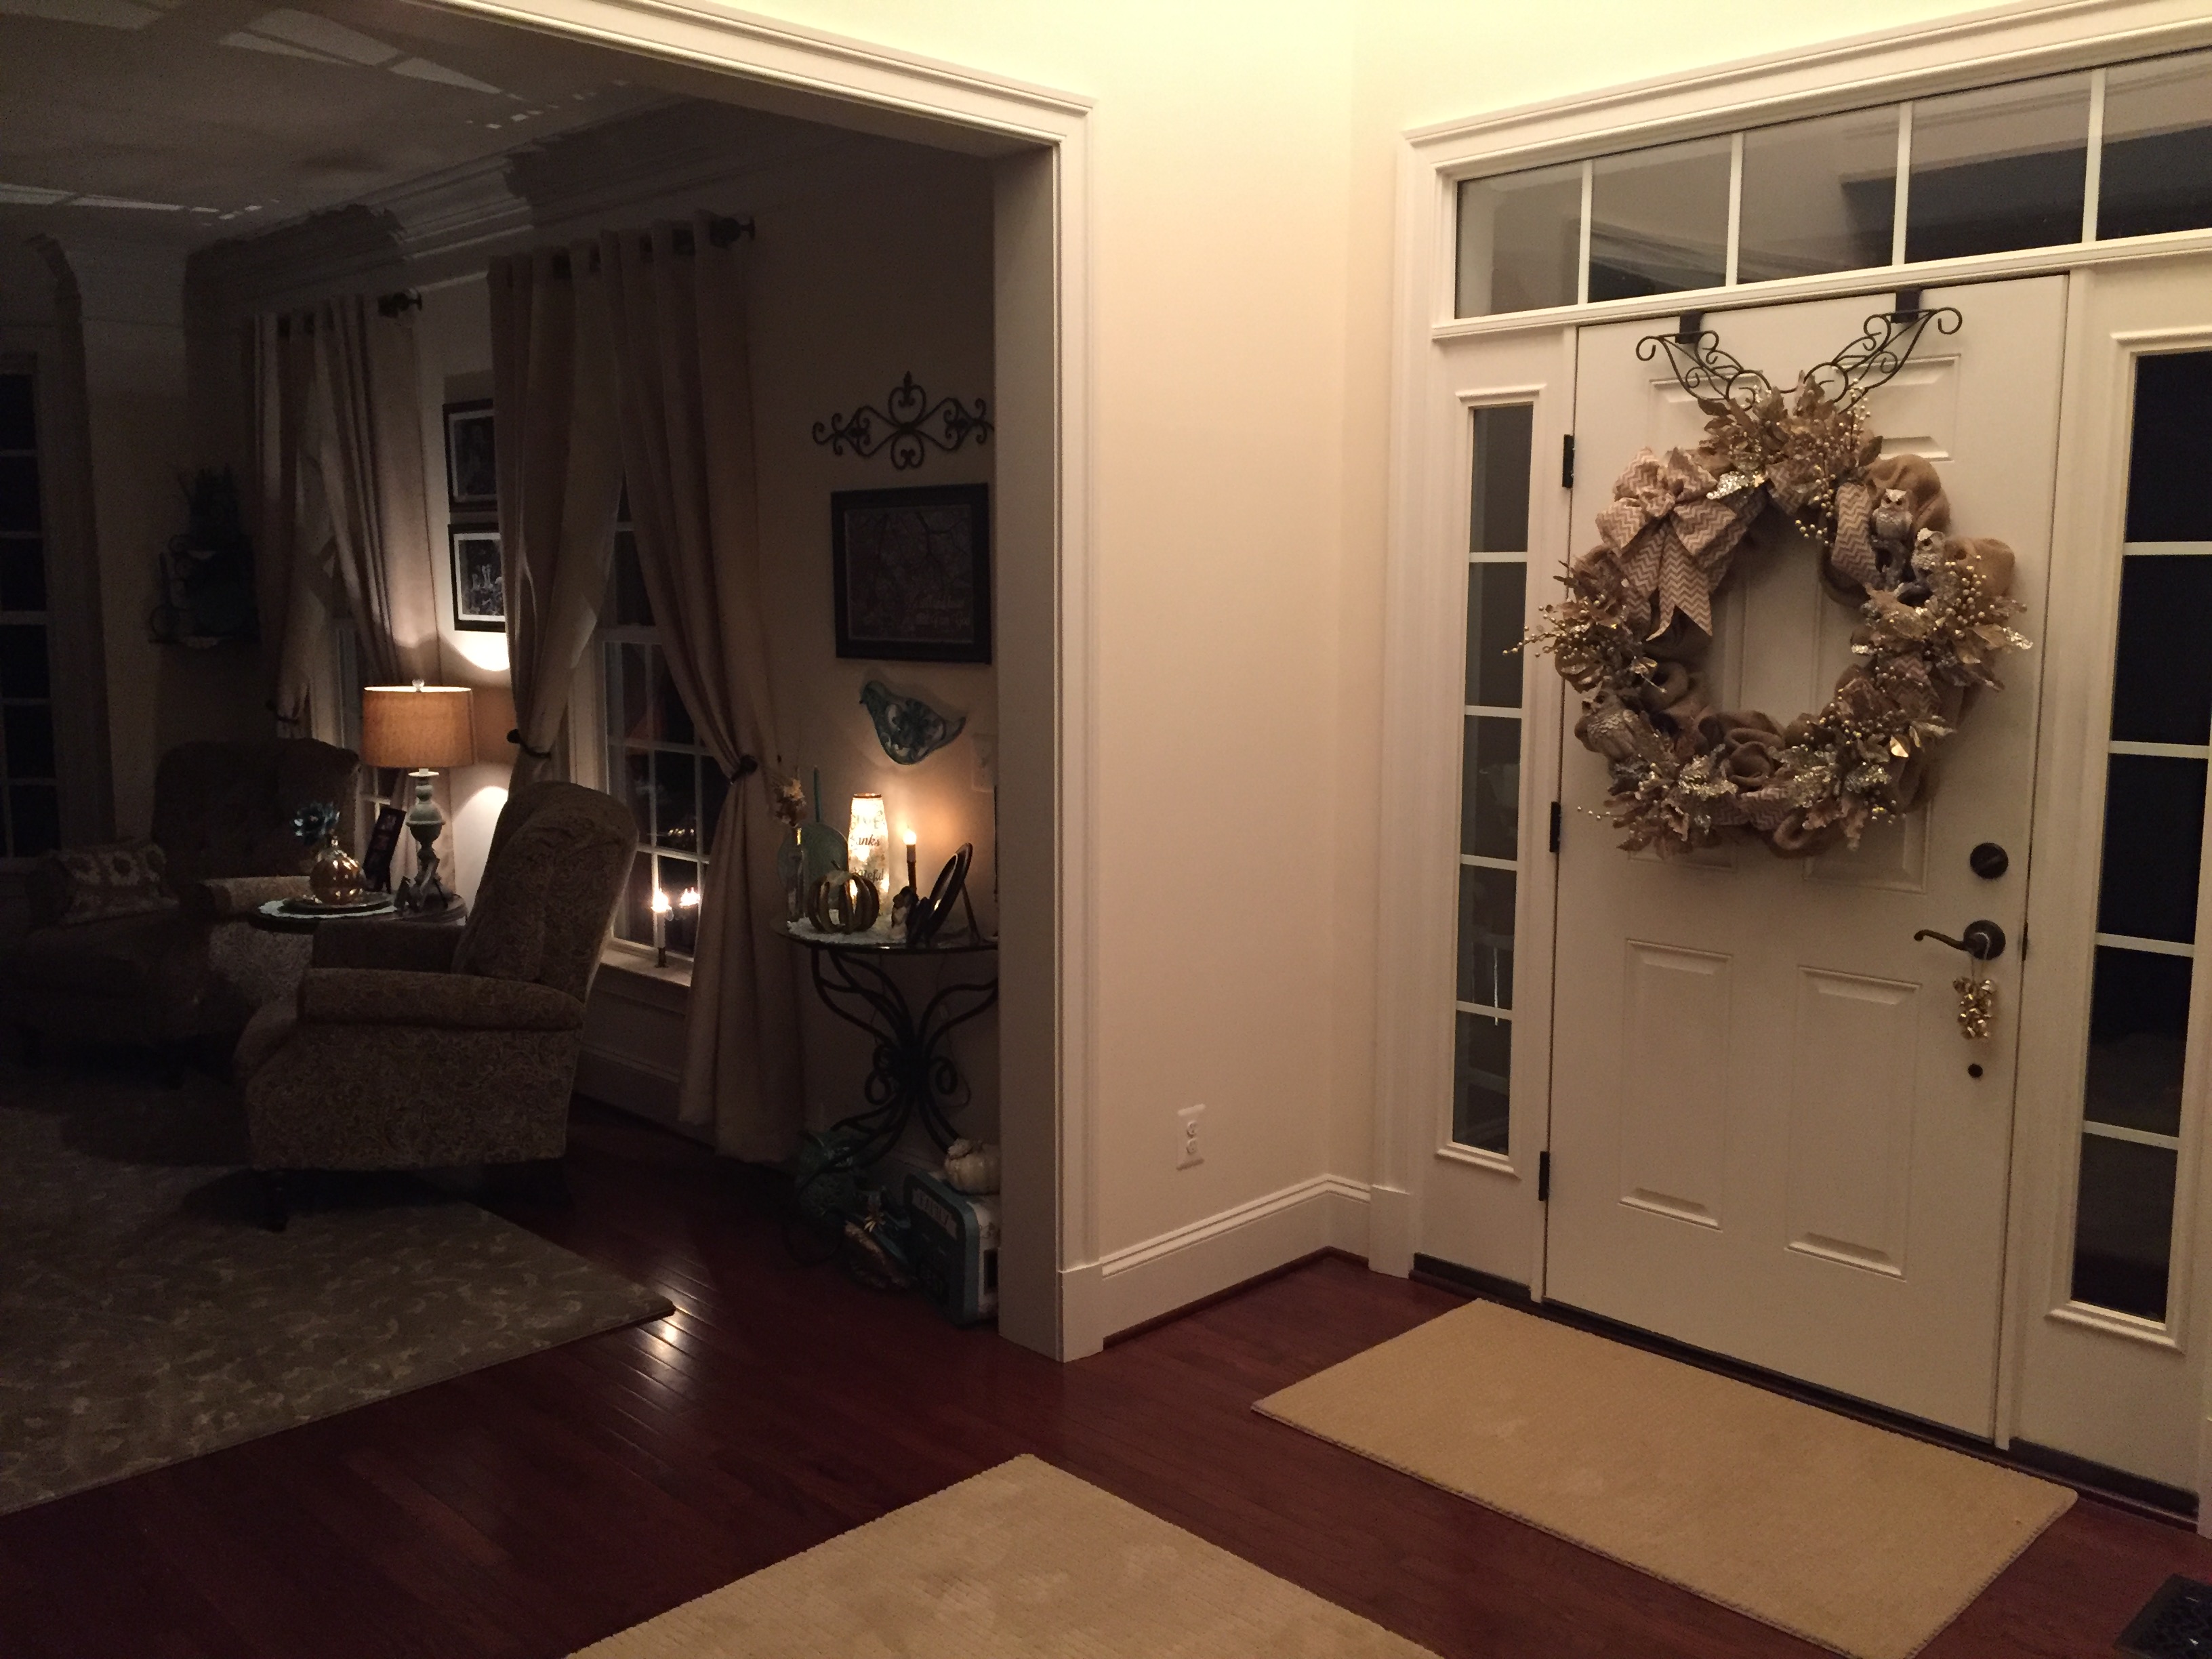
After I was finished tweaking it–took me a few minutes to get it exactly how I wanted it, I hung it up on my foyer door. I’m completely happy with how it turned out and I will probably leave it up there through Christmas and the Winter months.
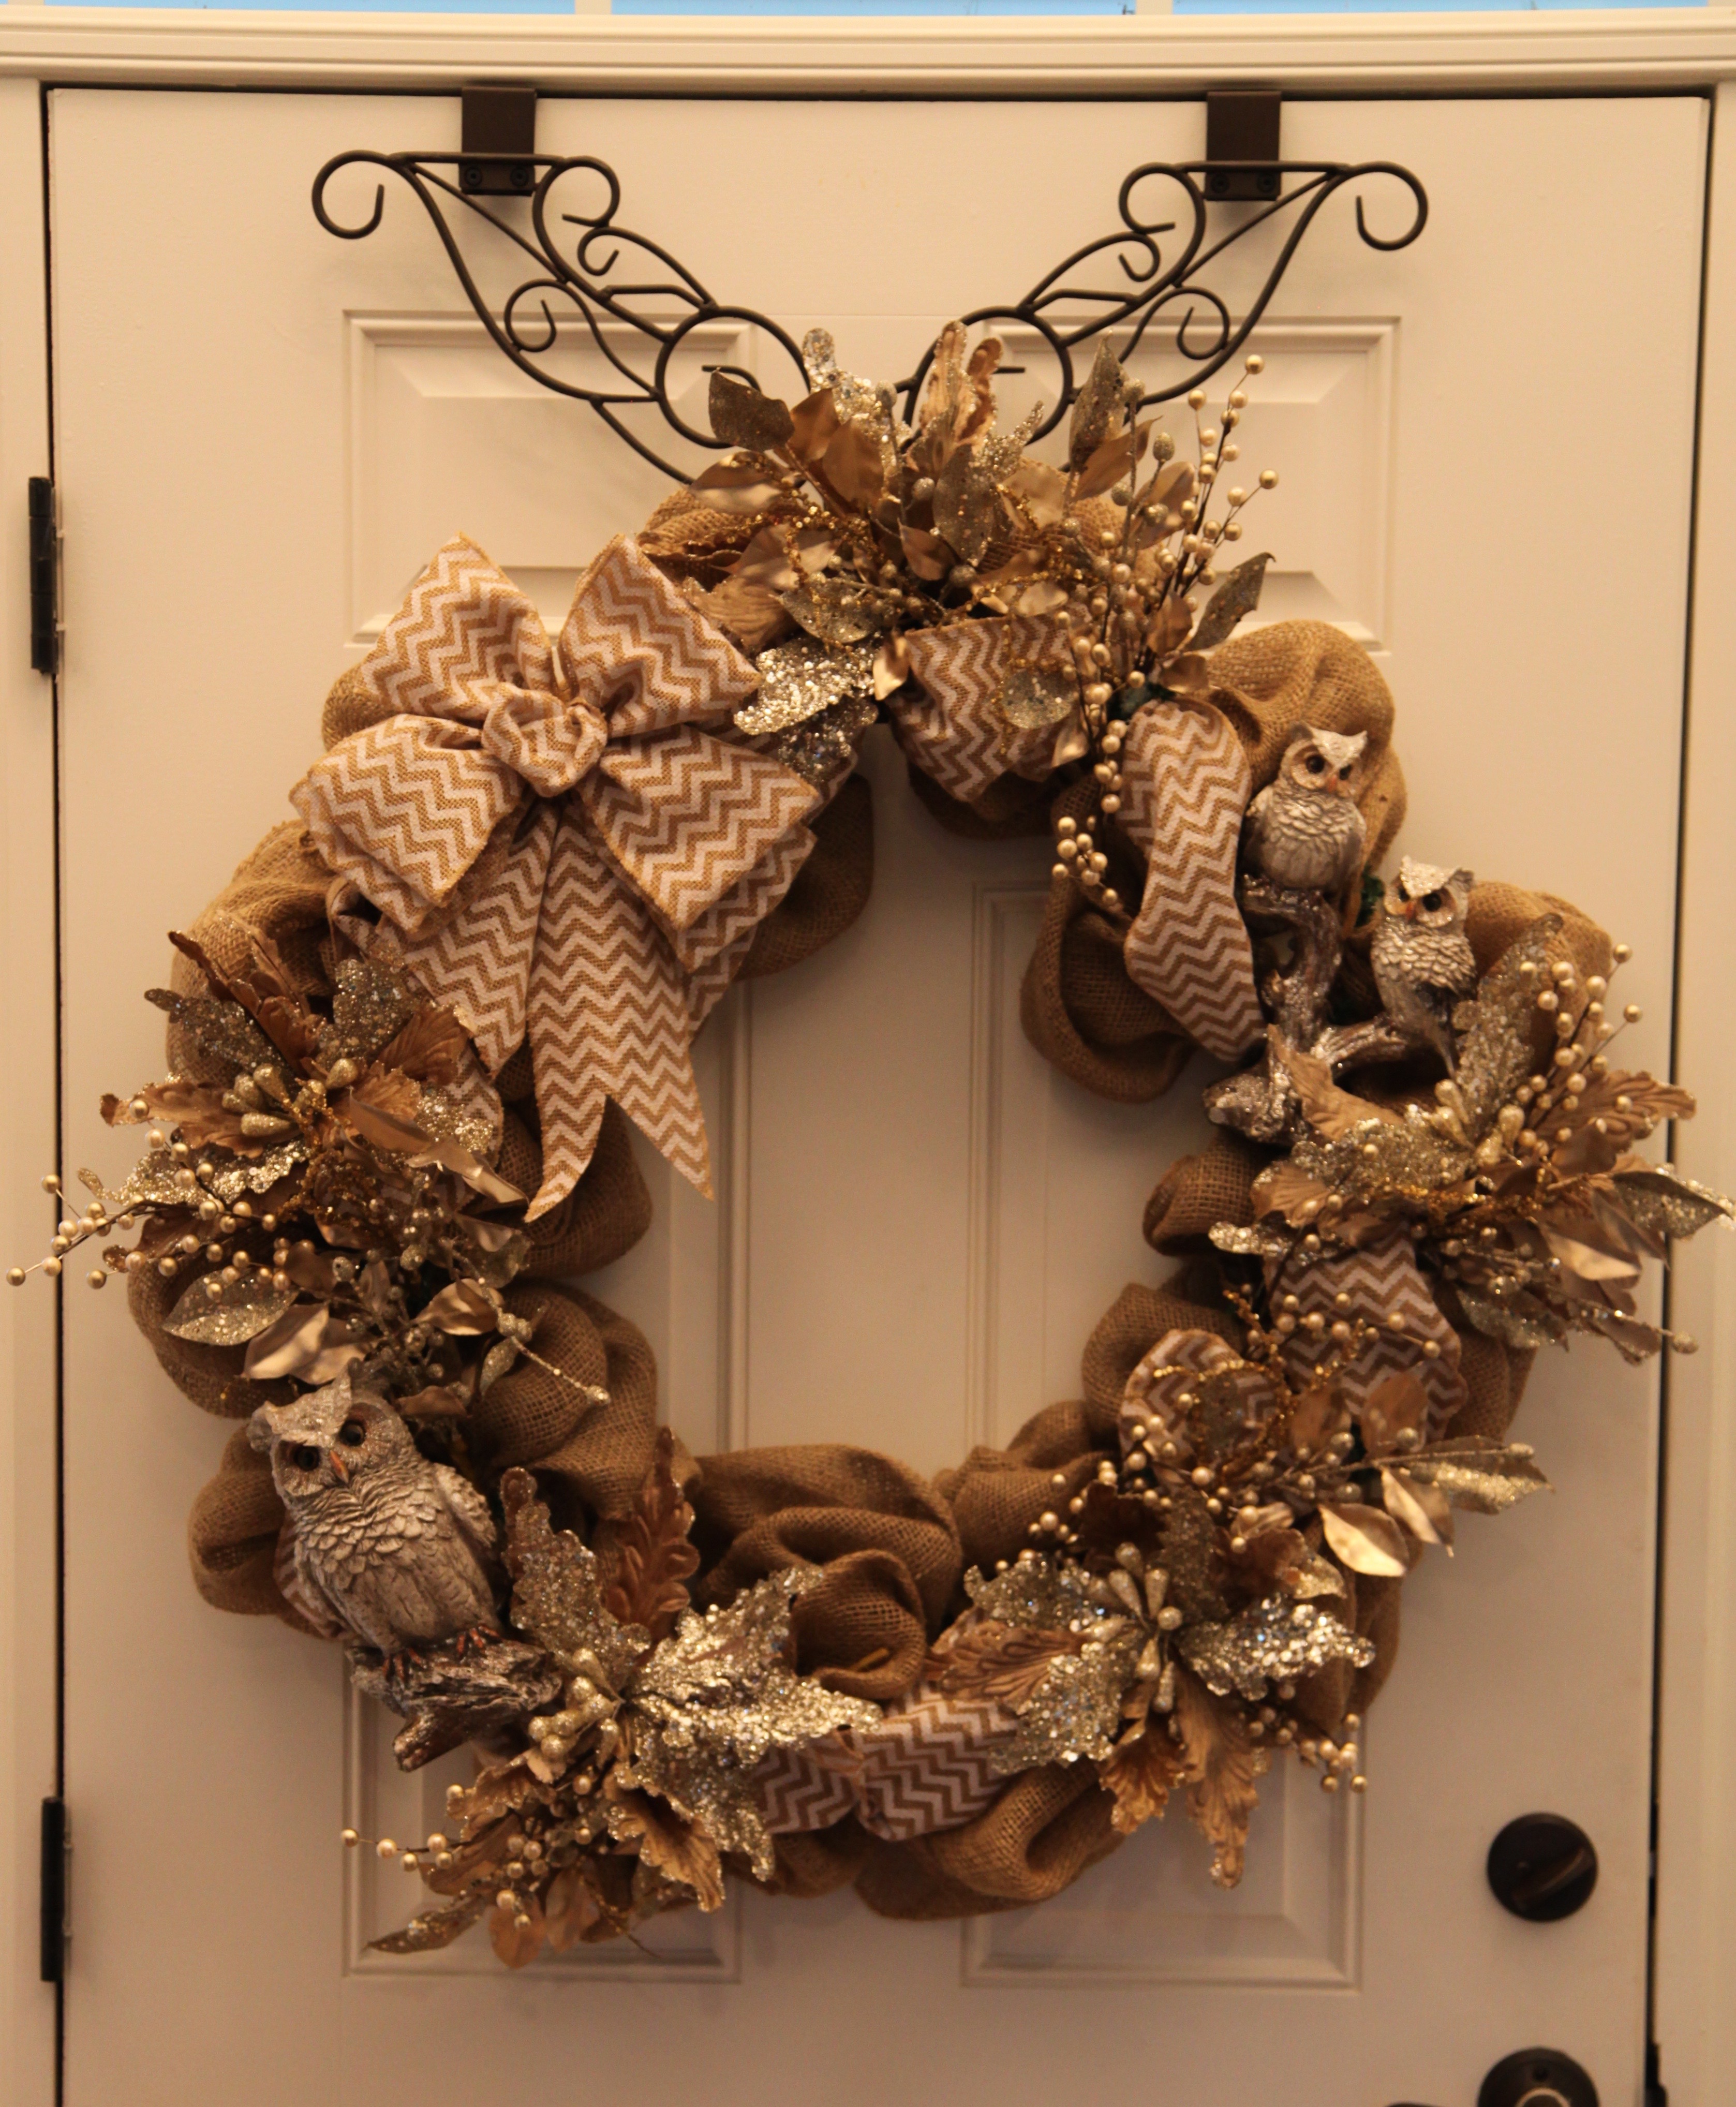
It just goes to show you that even my best laid plans can turn into something completely different. I’m happy that I let myself step out of my original thought process regarding this wreath. Go me! 😉
Until next time, y’all take good care! ❤
**In crafting there are no mistakes just unique creations**

Pingback: Whimsical Burlap Wreath (For My Daughter) | Country Craft Corner
Pingback: Burlap Christmas/Winter Wreath with White and Silver Accents | Country Craft Corner