
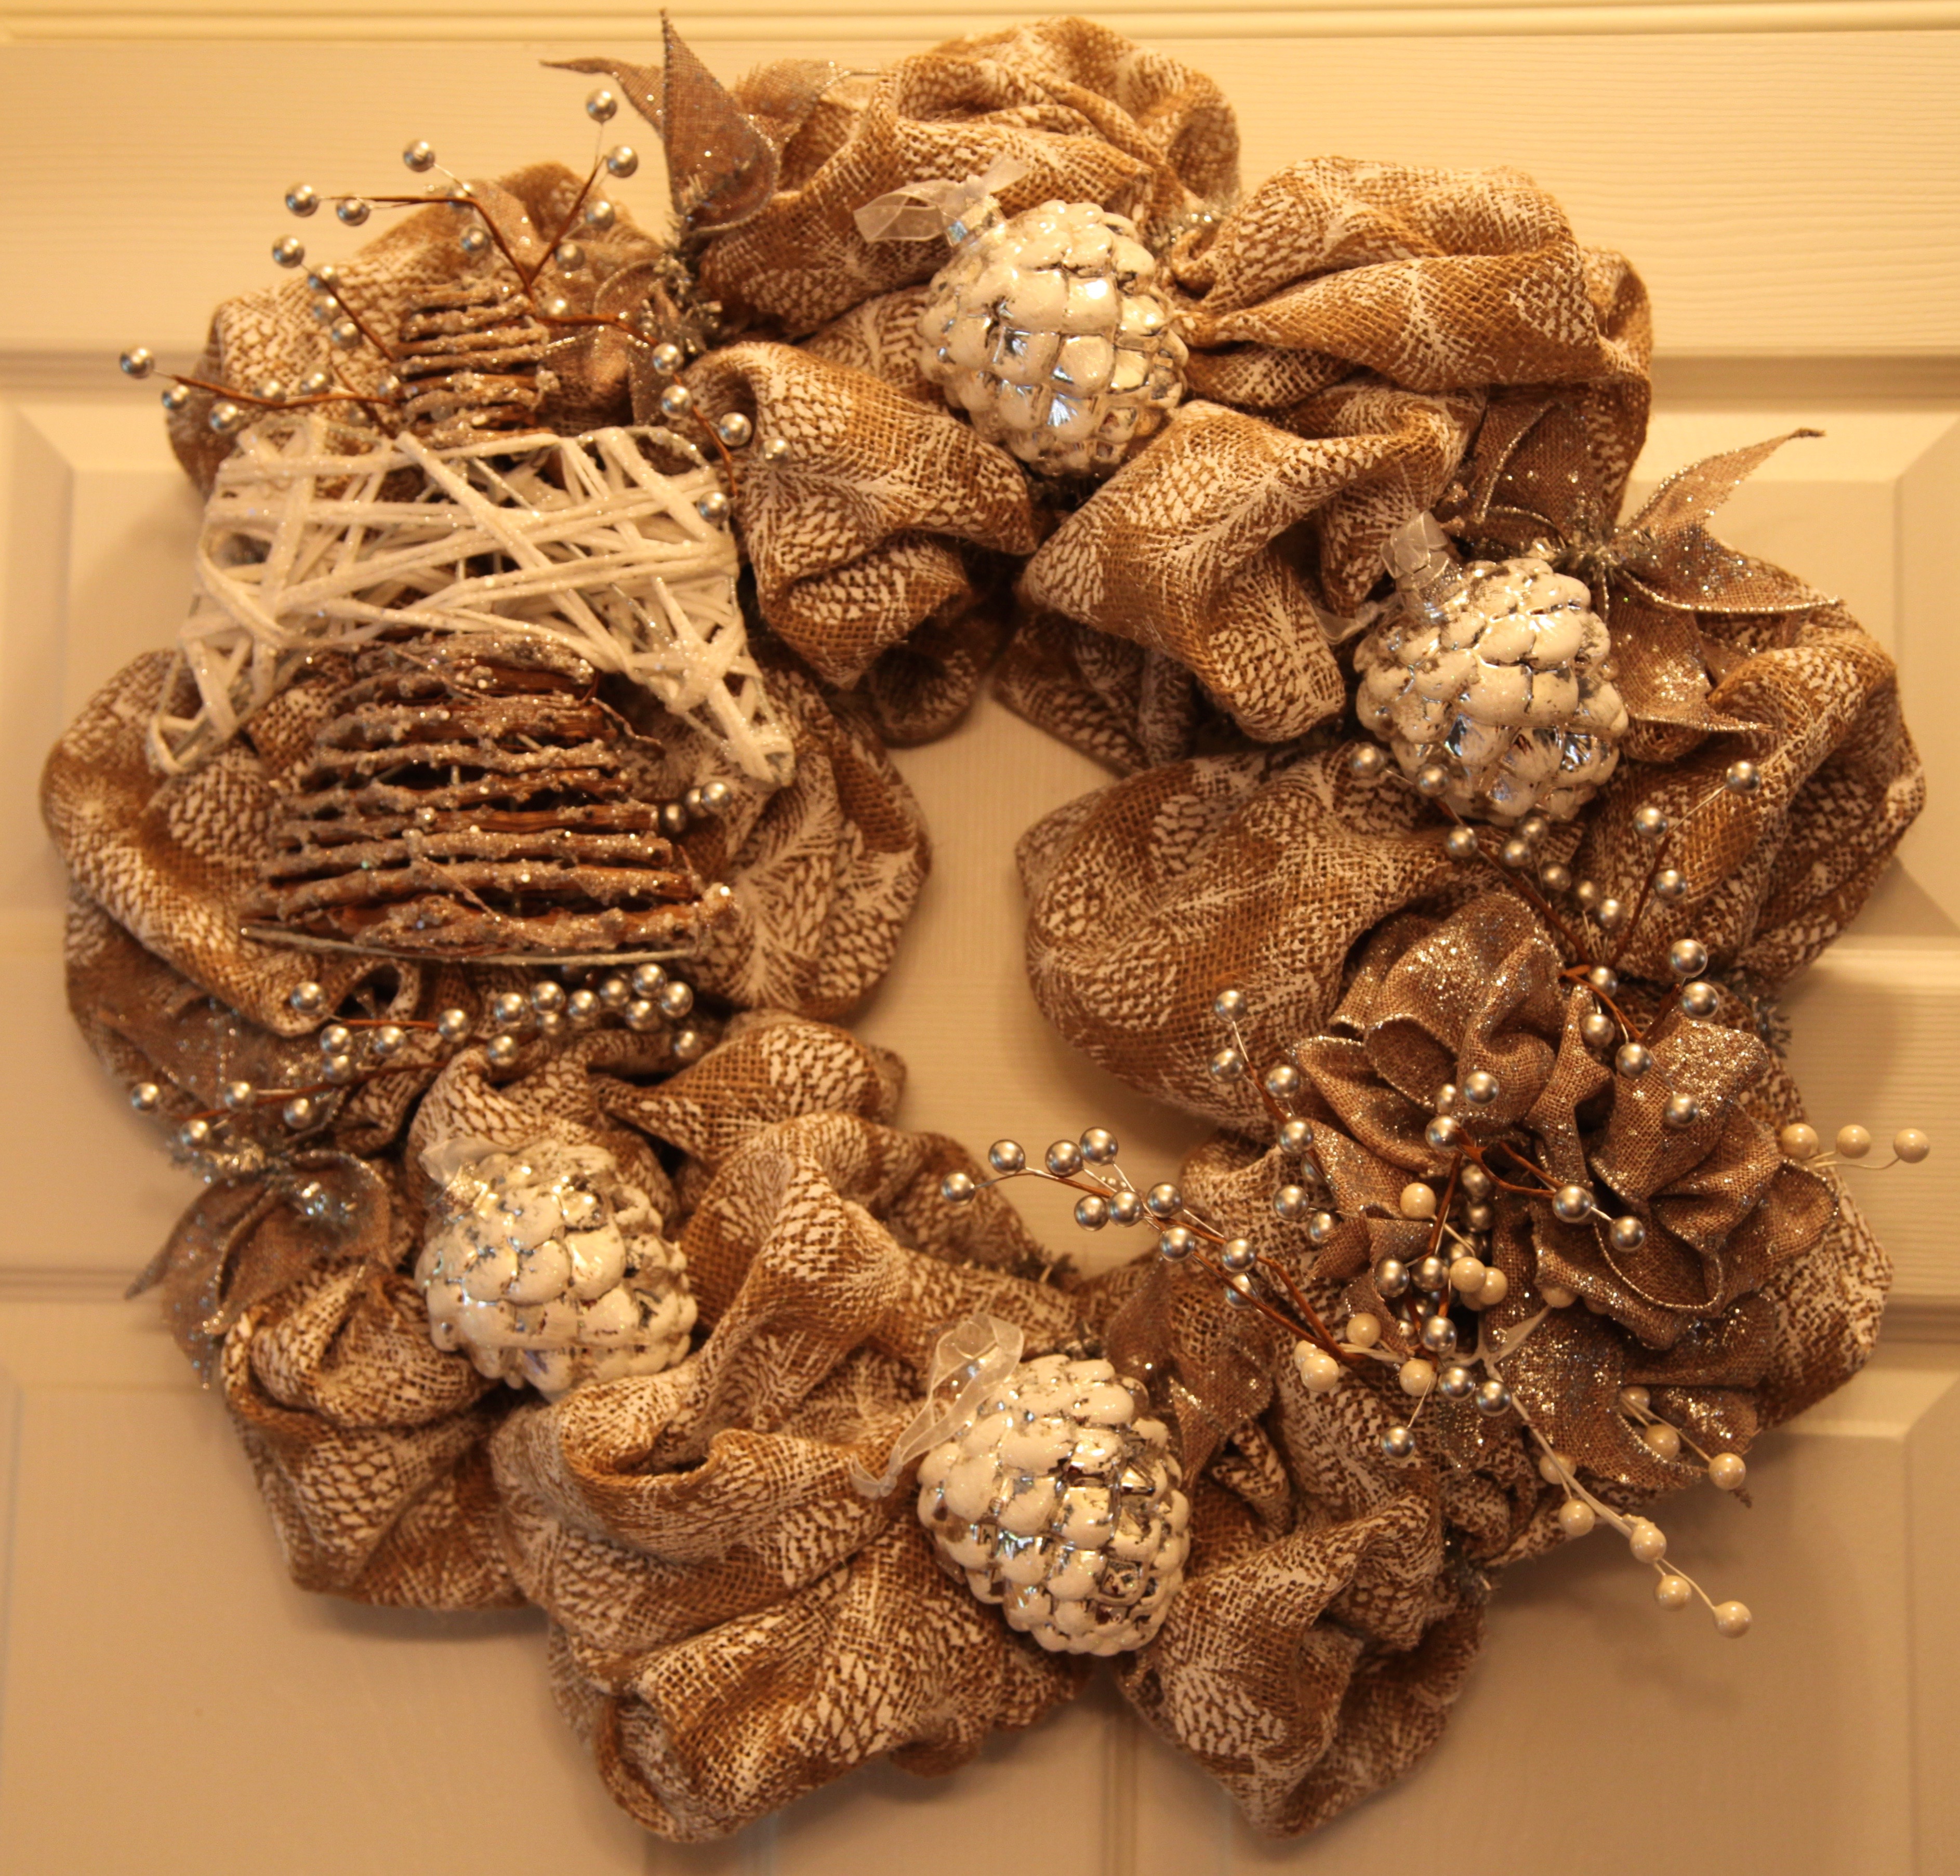
I am still itching to start decorating for Christmas and since I practically recreate the wheel when I decorate, I have decided to decorate my powder room with a more neutral woodsy feel, I am going to try to use accent pieces that will transition nicely from Christmas to Winter; I’d like to keep it in place until Spring. This wreath was my first and will of course be my largest contribution to said powder room decor. 🙂
I found the burlap that I used at Walmart, it is h-e-a-v-y duty stuff, and trust me, will definitely hold its shape beautifully. The burlap has white ‘flocking’ in the shape of pinecones stamped all over it which makes it quite stiff and honestly, I did struggle with it a bit, I just *might* have said a choice word or two to myself while struggling; but, the struggle was worth it in the end. I gathered all of the accent pieces to compliment that burlap. I chose a coordinating burlap ribbon with silver snowflakes, a grapevine & white angel, silver and white pinecone ornaments, and silver and white berry beads.
Here is how I put it all together:
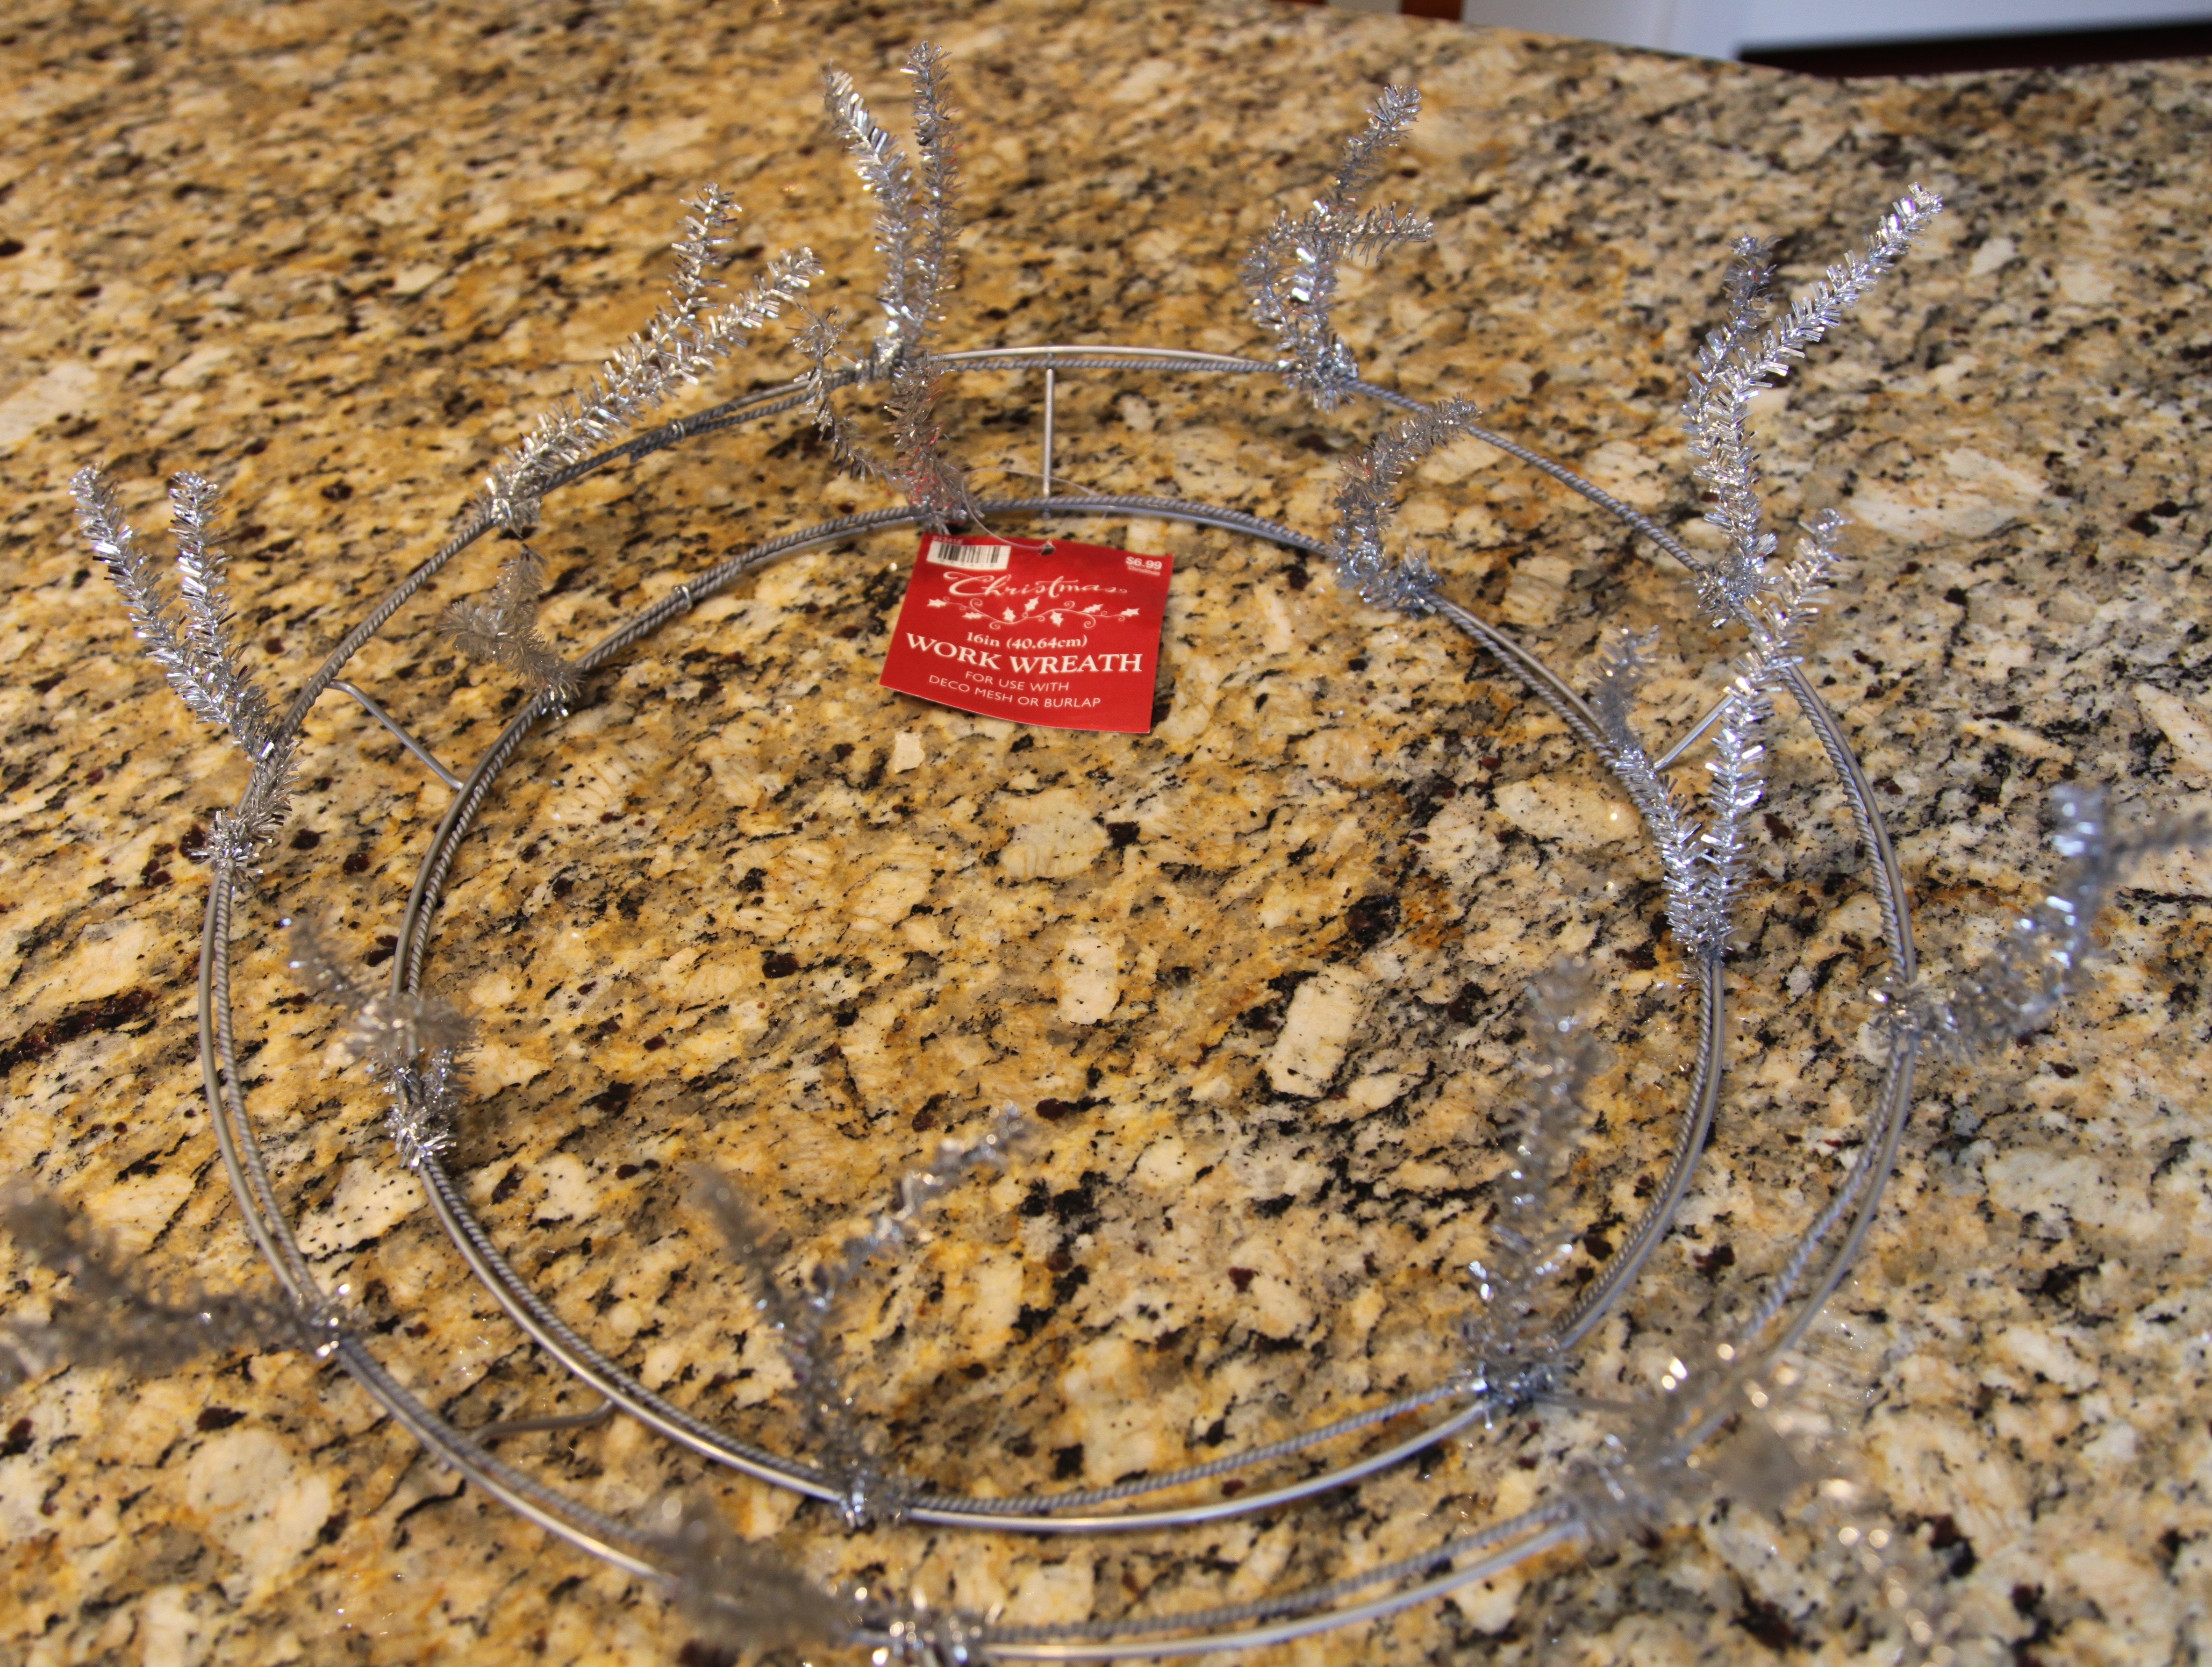
I started with a 16″ work wreath with silver chenille twist ties already attached…
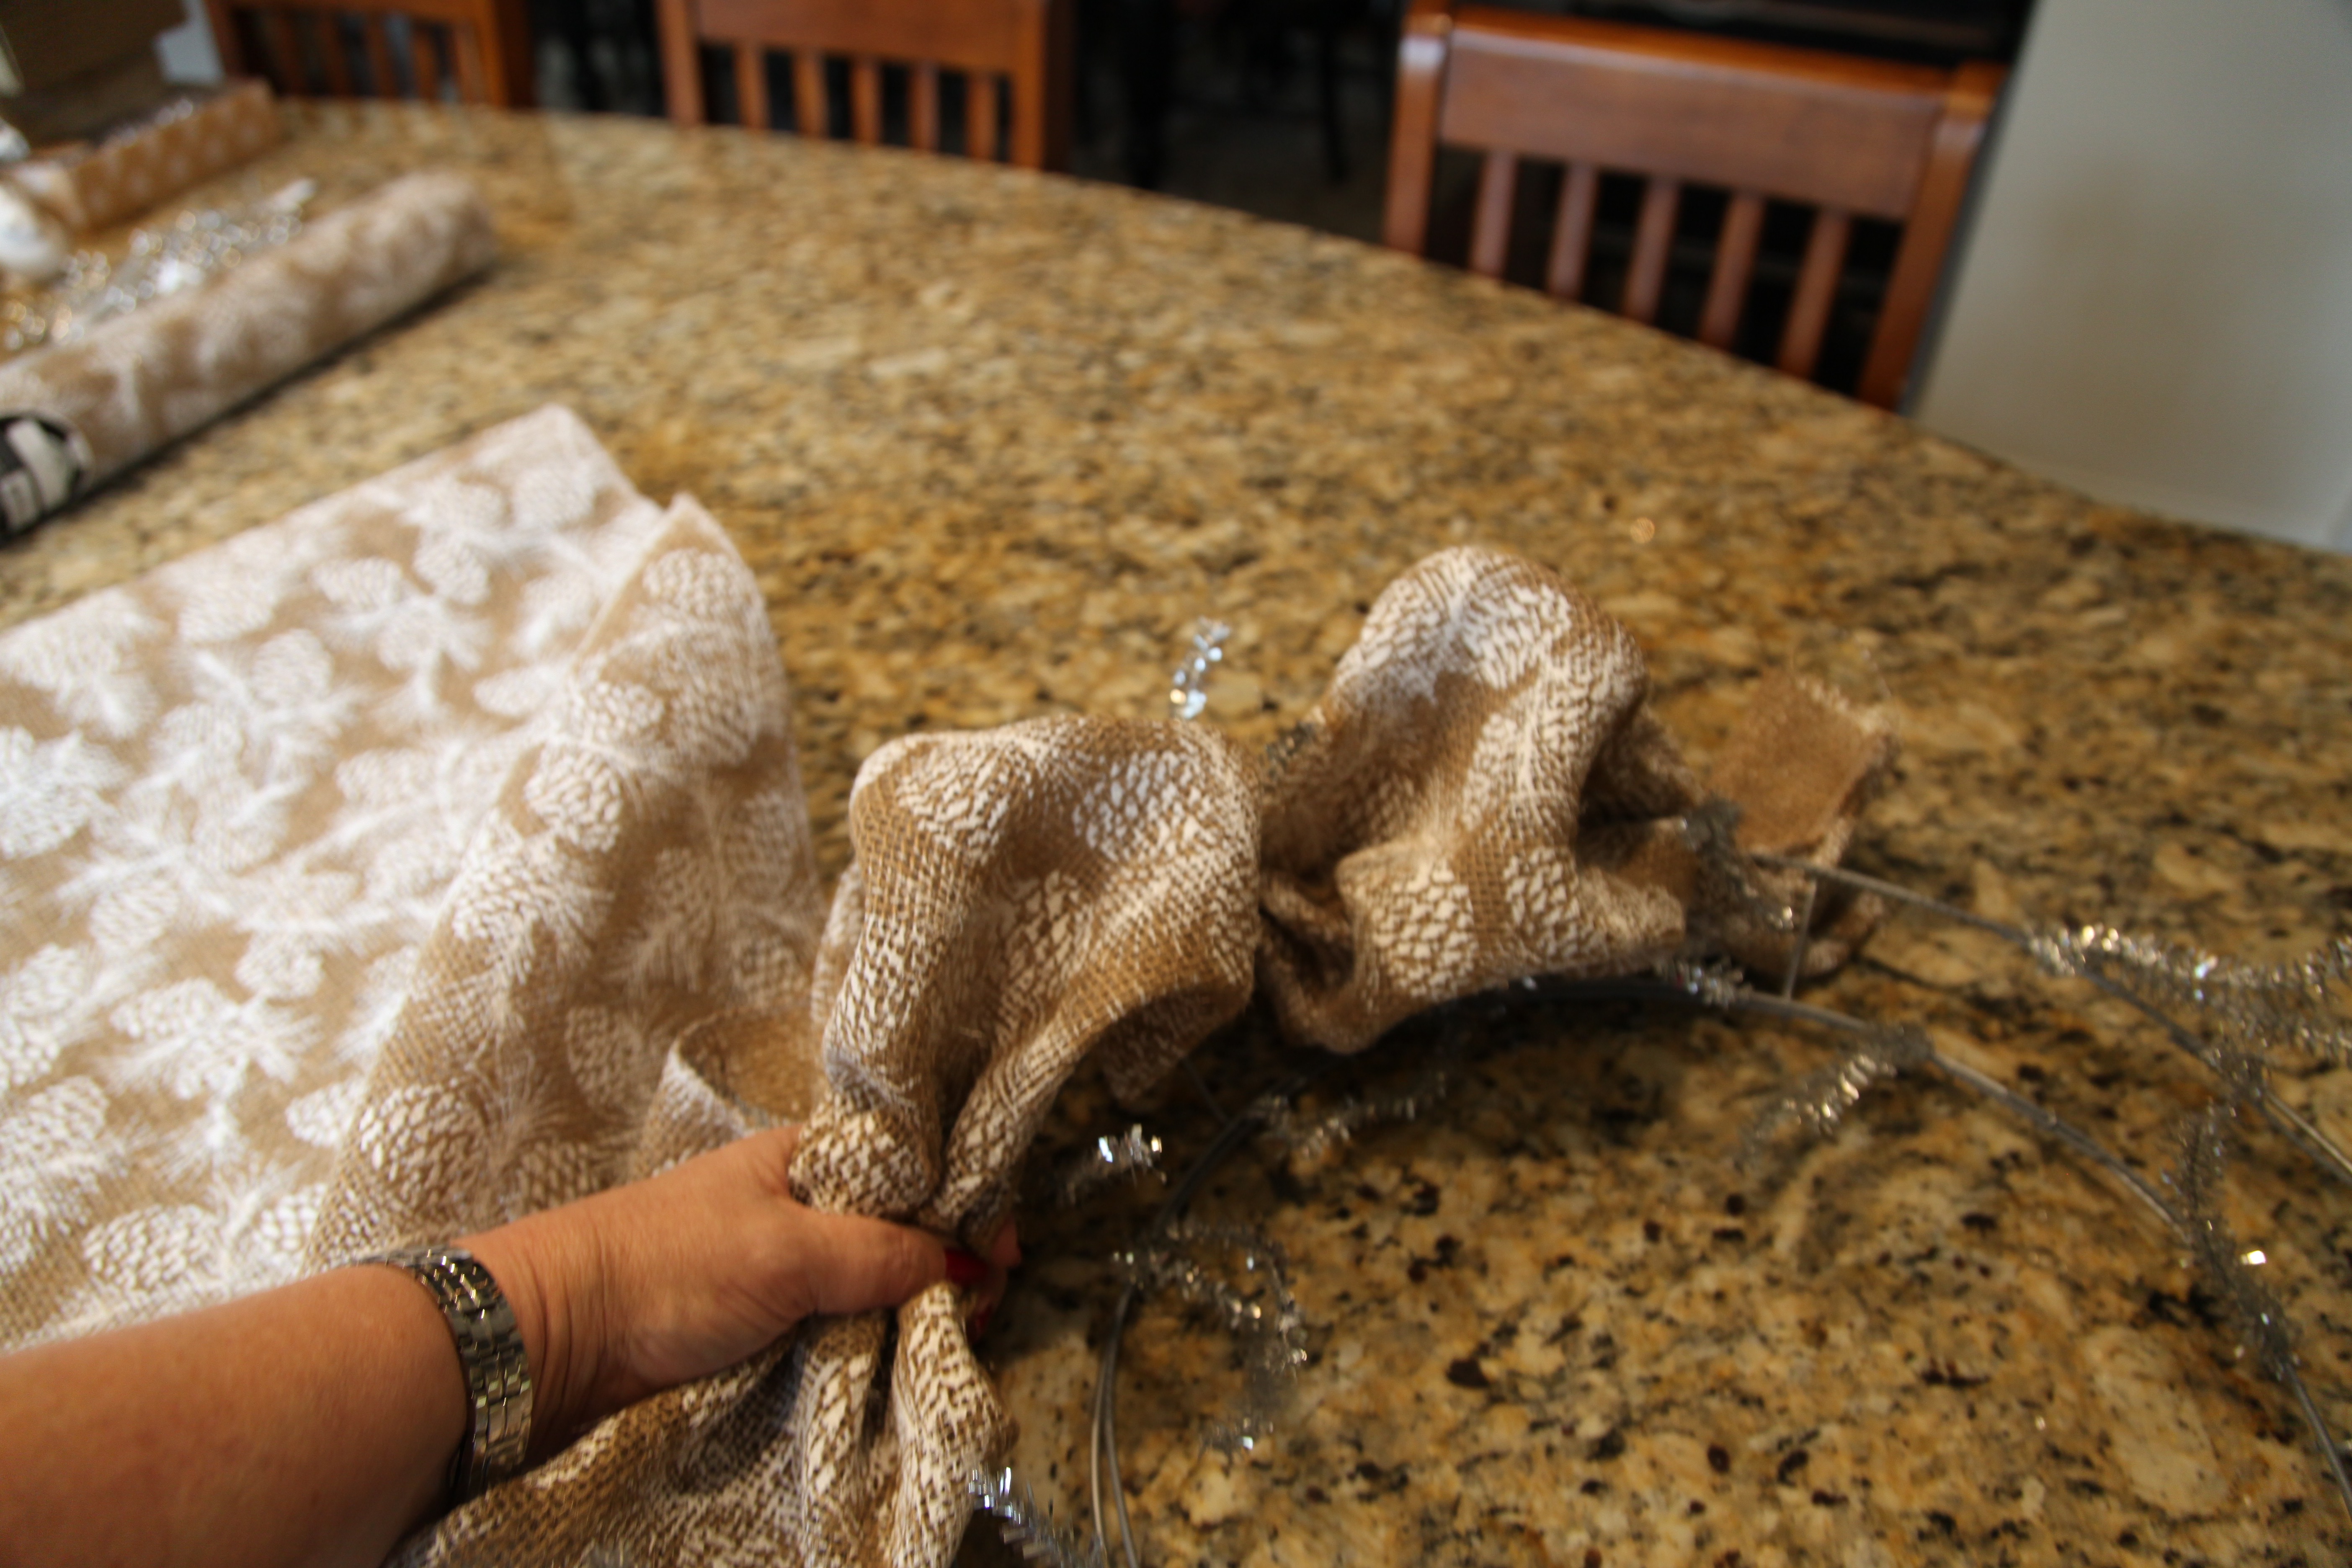
I used every single bit of both rolls of this burlap…

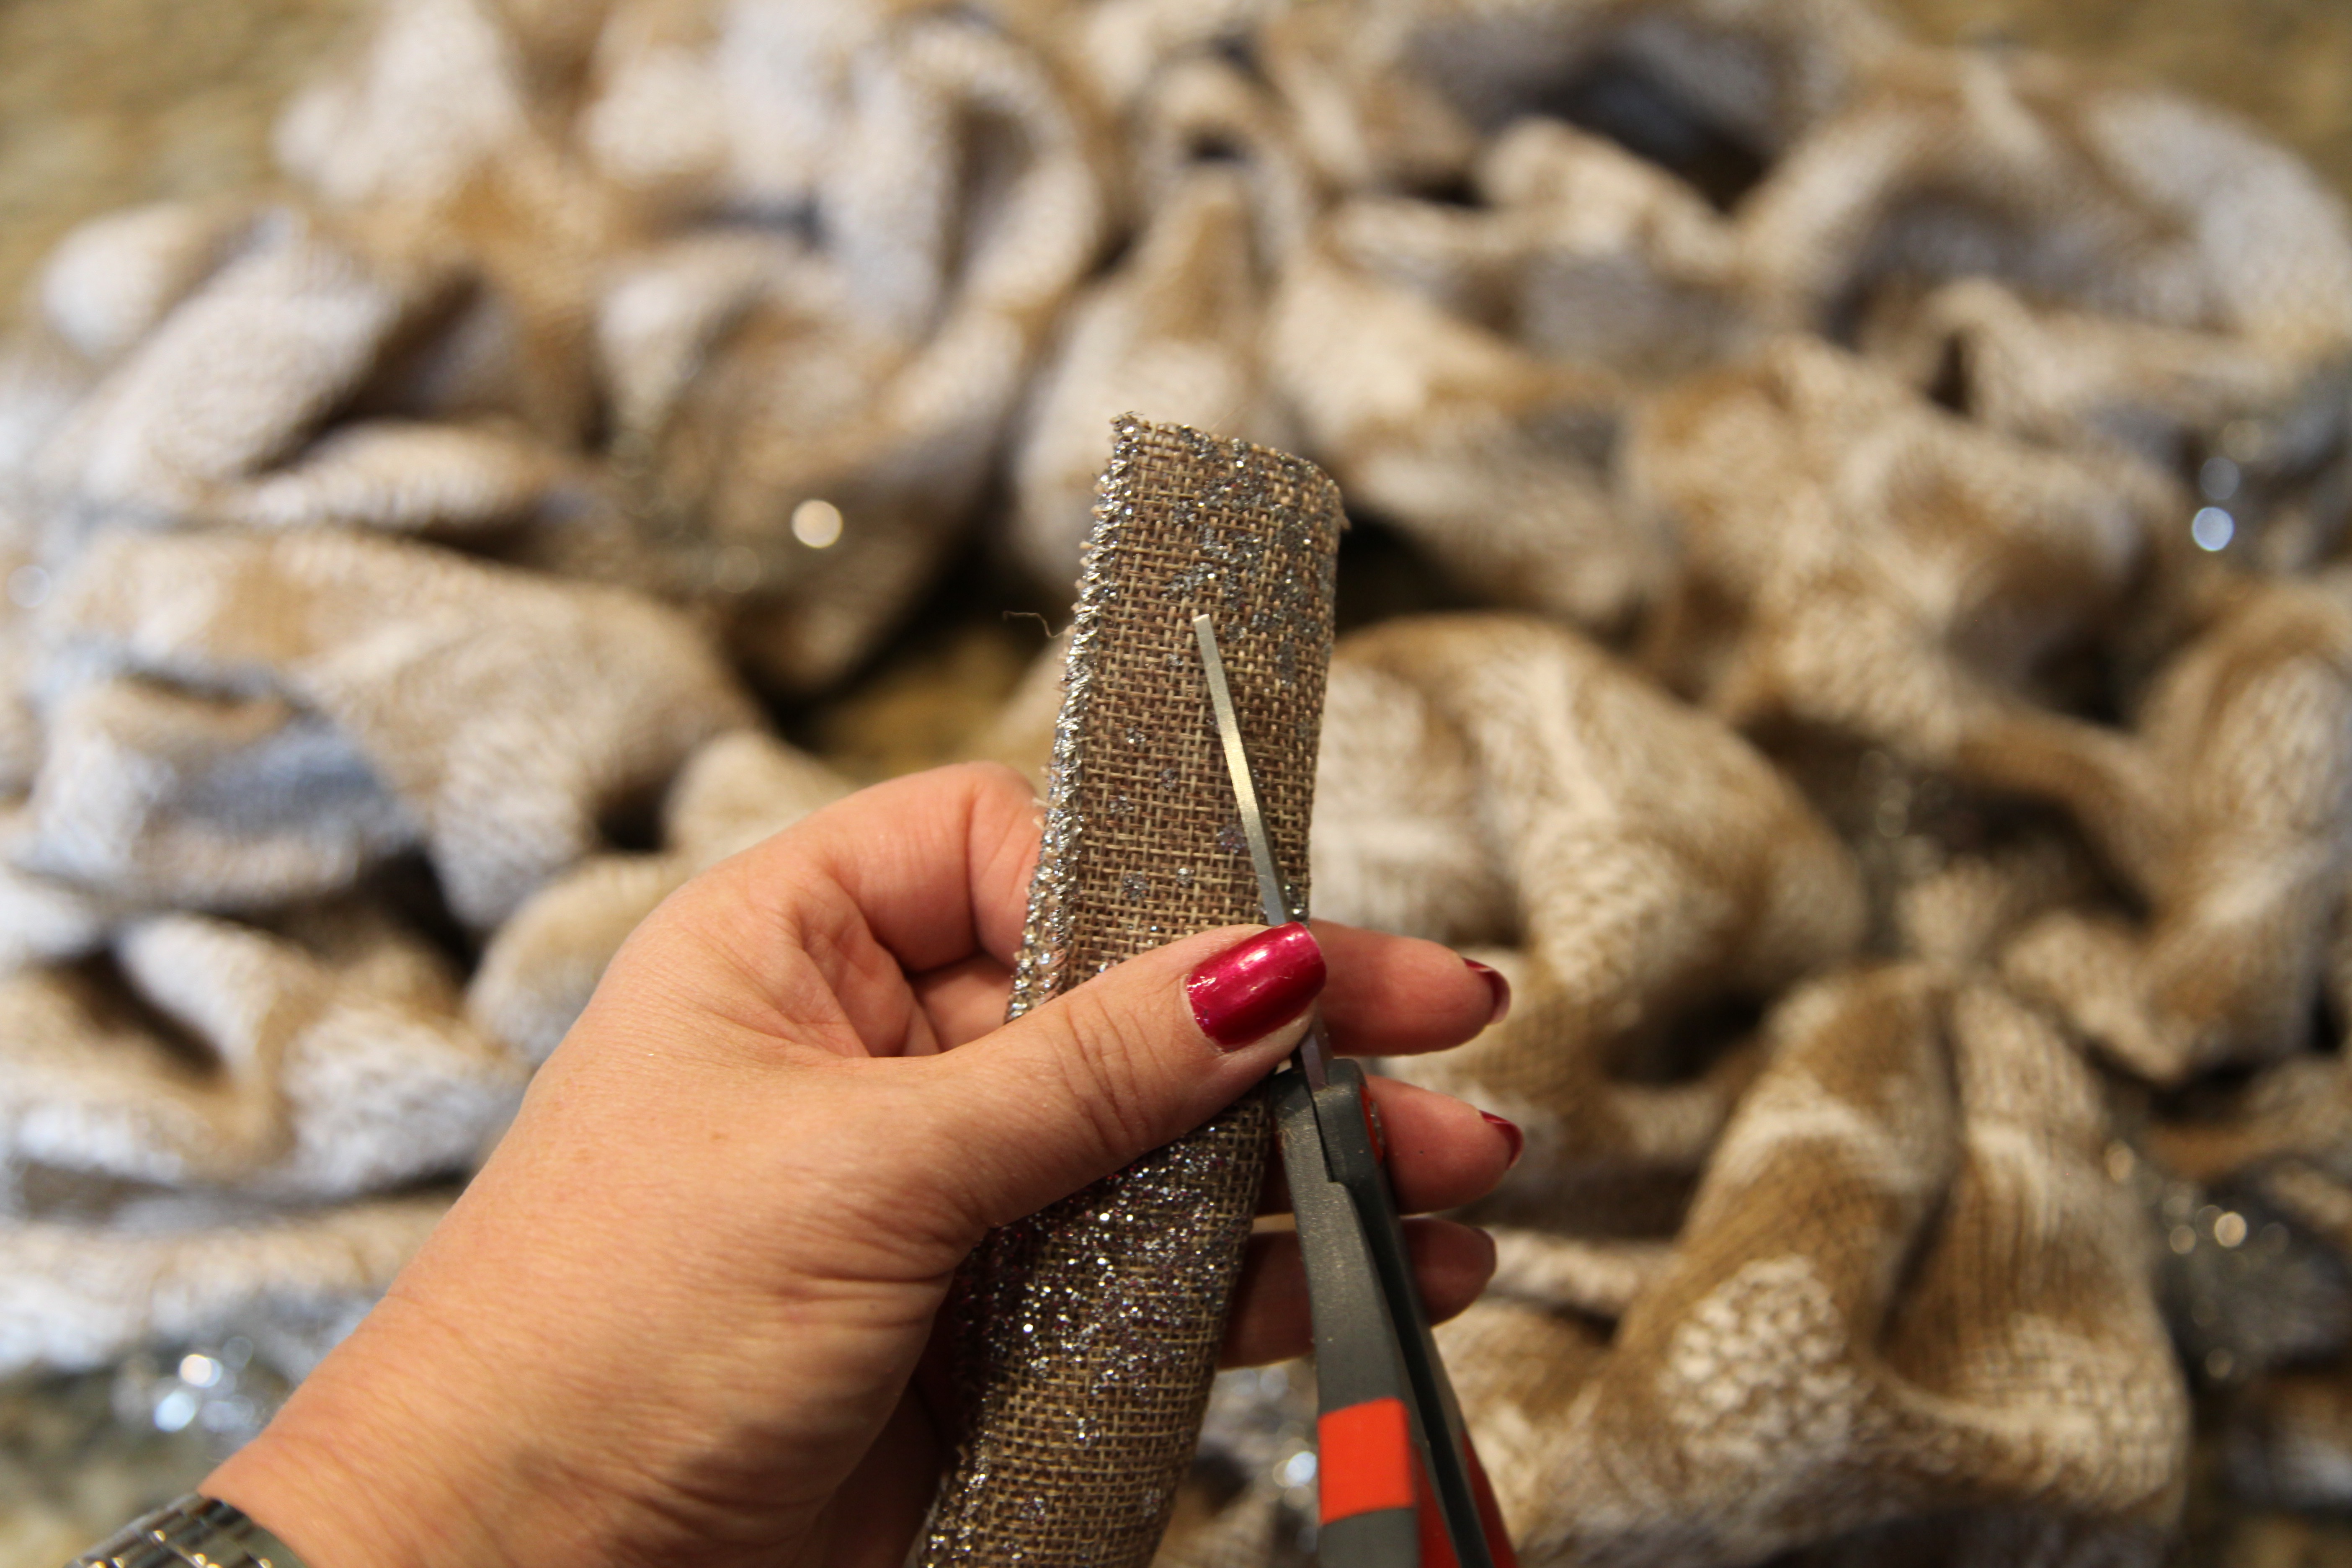
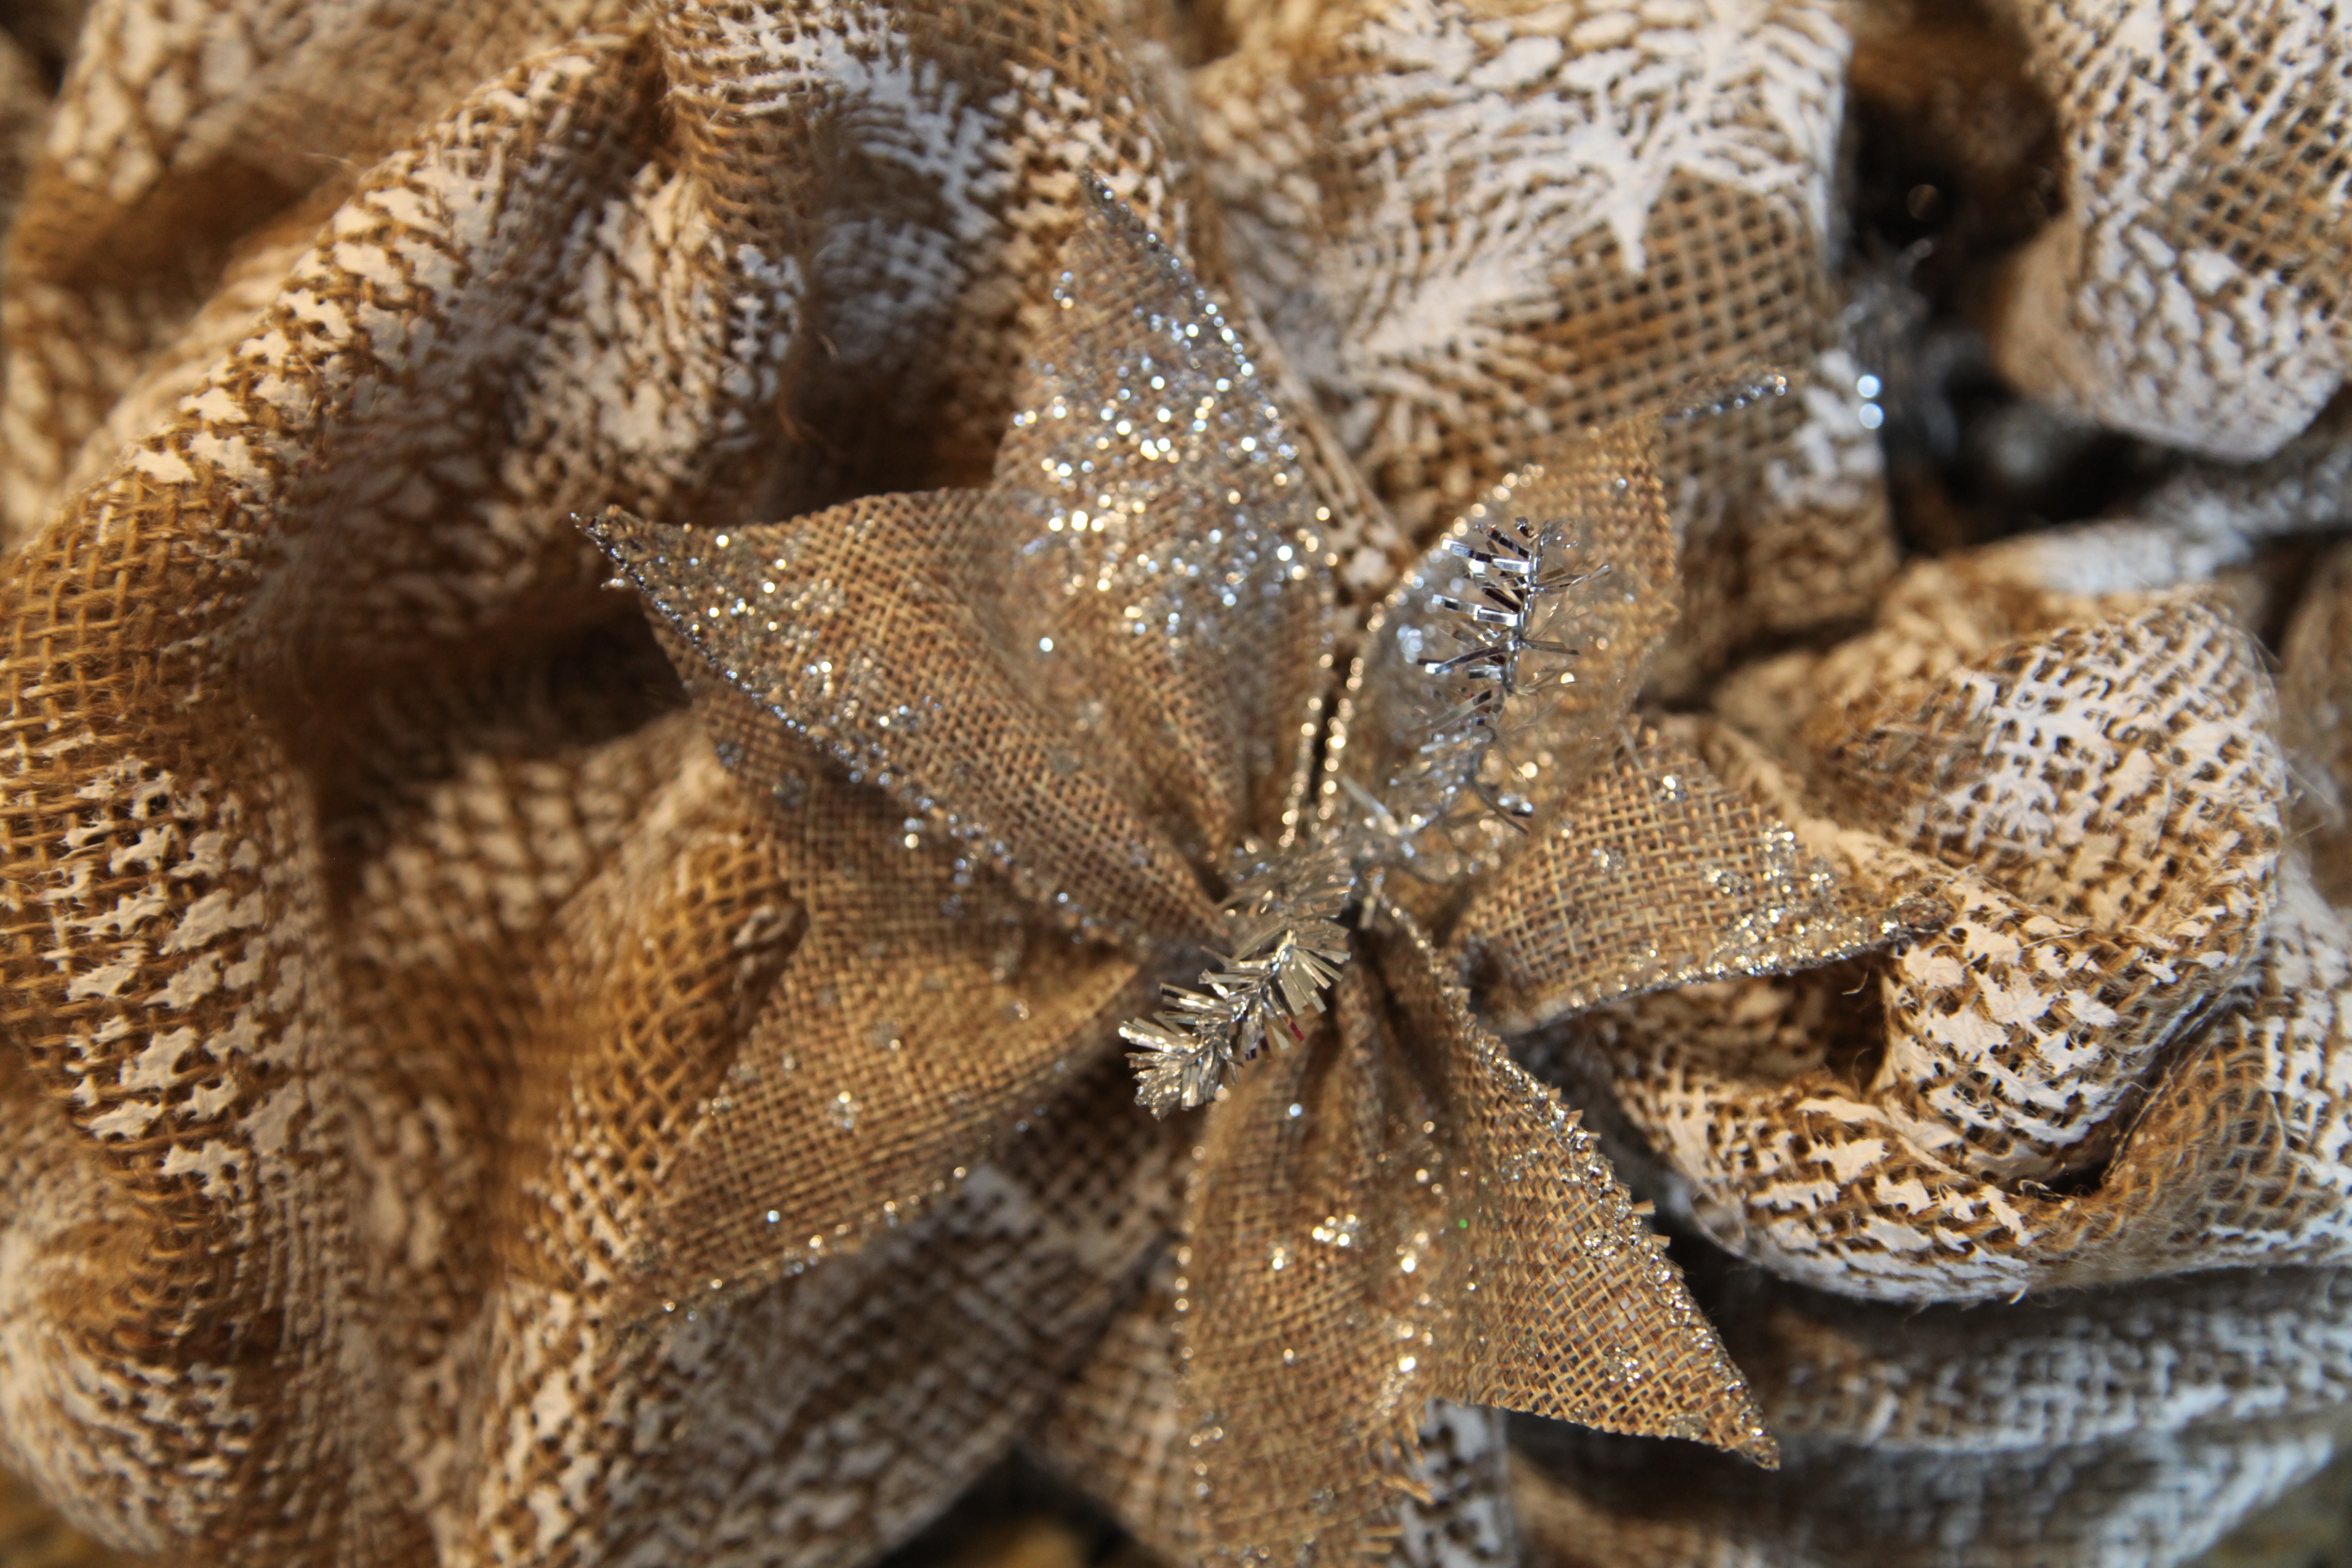
I made this bow out of coordinating burlap ribbon:

And then I started to put it all together; if you’d like to see how I put my burlap or deco mesh wreaths together, here are a couple of links: Burlap Woodlands Wreath and Christmas Deco Mesh Wreath…If you have any questions at all, don’t hesitate to leave them in the comments below, I’d be glad to try and help anyone who might need a little assistance. 🙂


I cut strips of the coordinating burlap ribbon into 8″ strips, cut the ends into points and attached a tuft of two to every-other twist tie on the outer ring of the form…

Then I spread them out to kind of look like a snowflake…
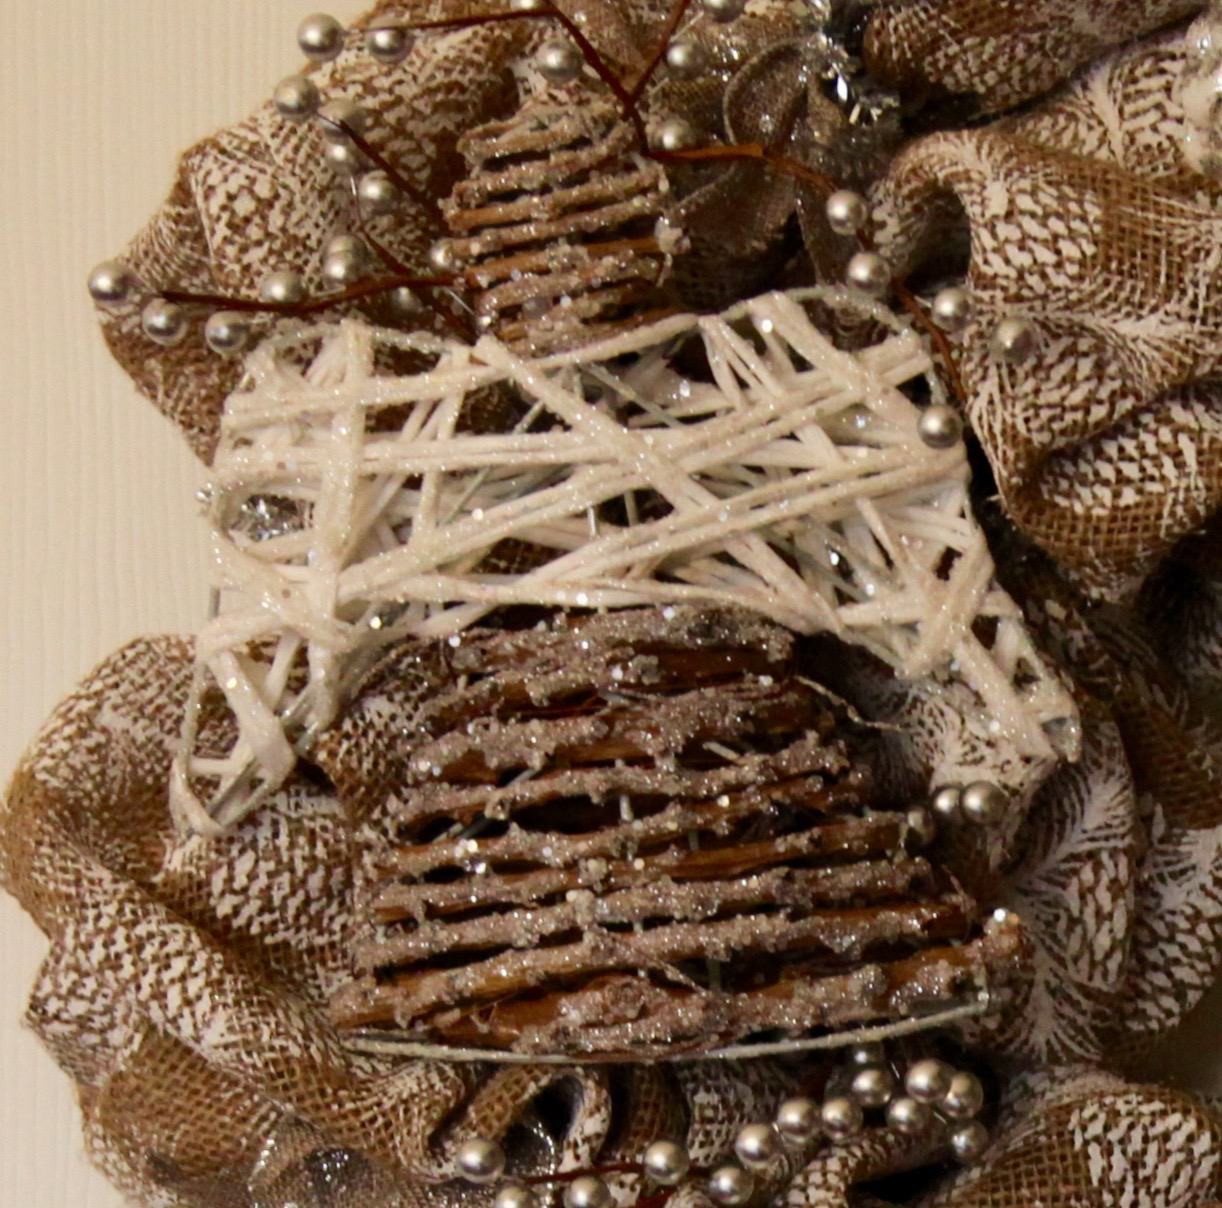
Next, I hot glued pipe cleaners to the back of this angel (purchased at Hobby Lobby for 50% off) and I tied her onto the wreath form. I knew she’d be too heavy and using hot glue alone would cause the burlap to sag; adding the pipe cleaners helped to secure her into place…

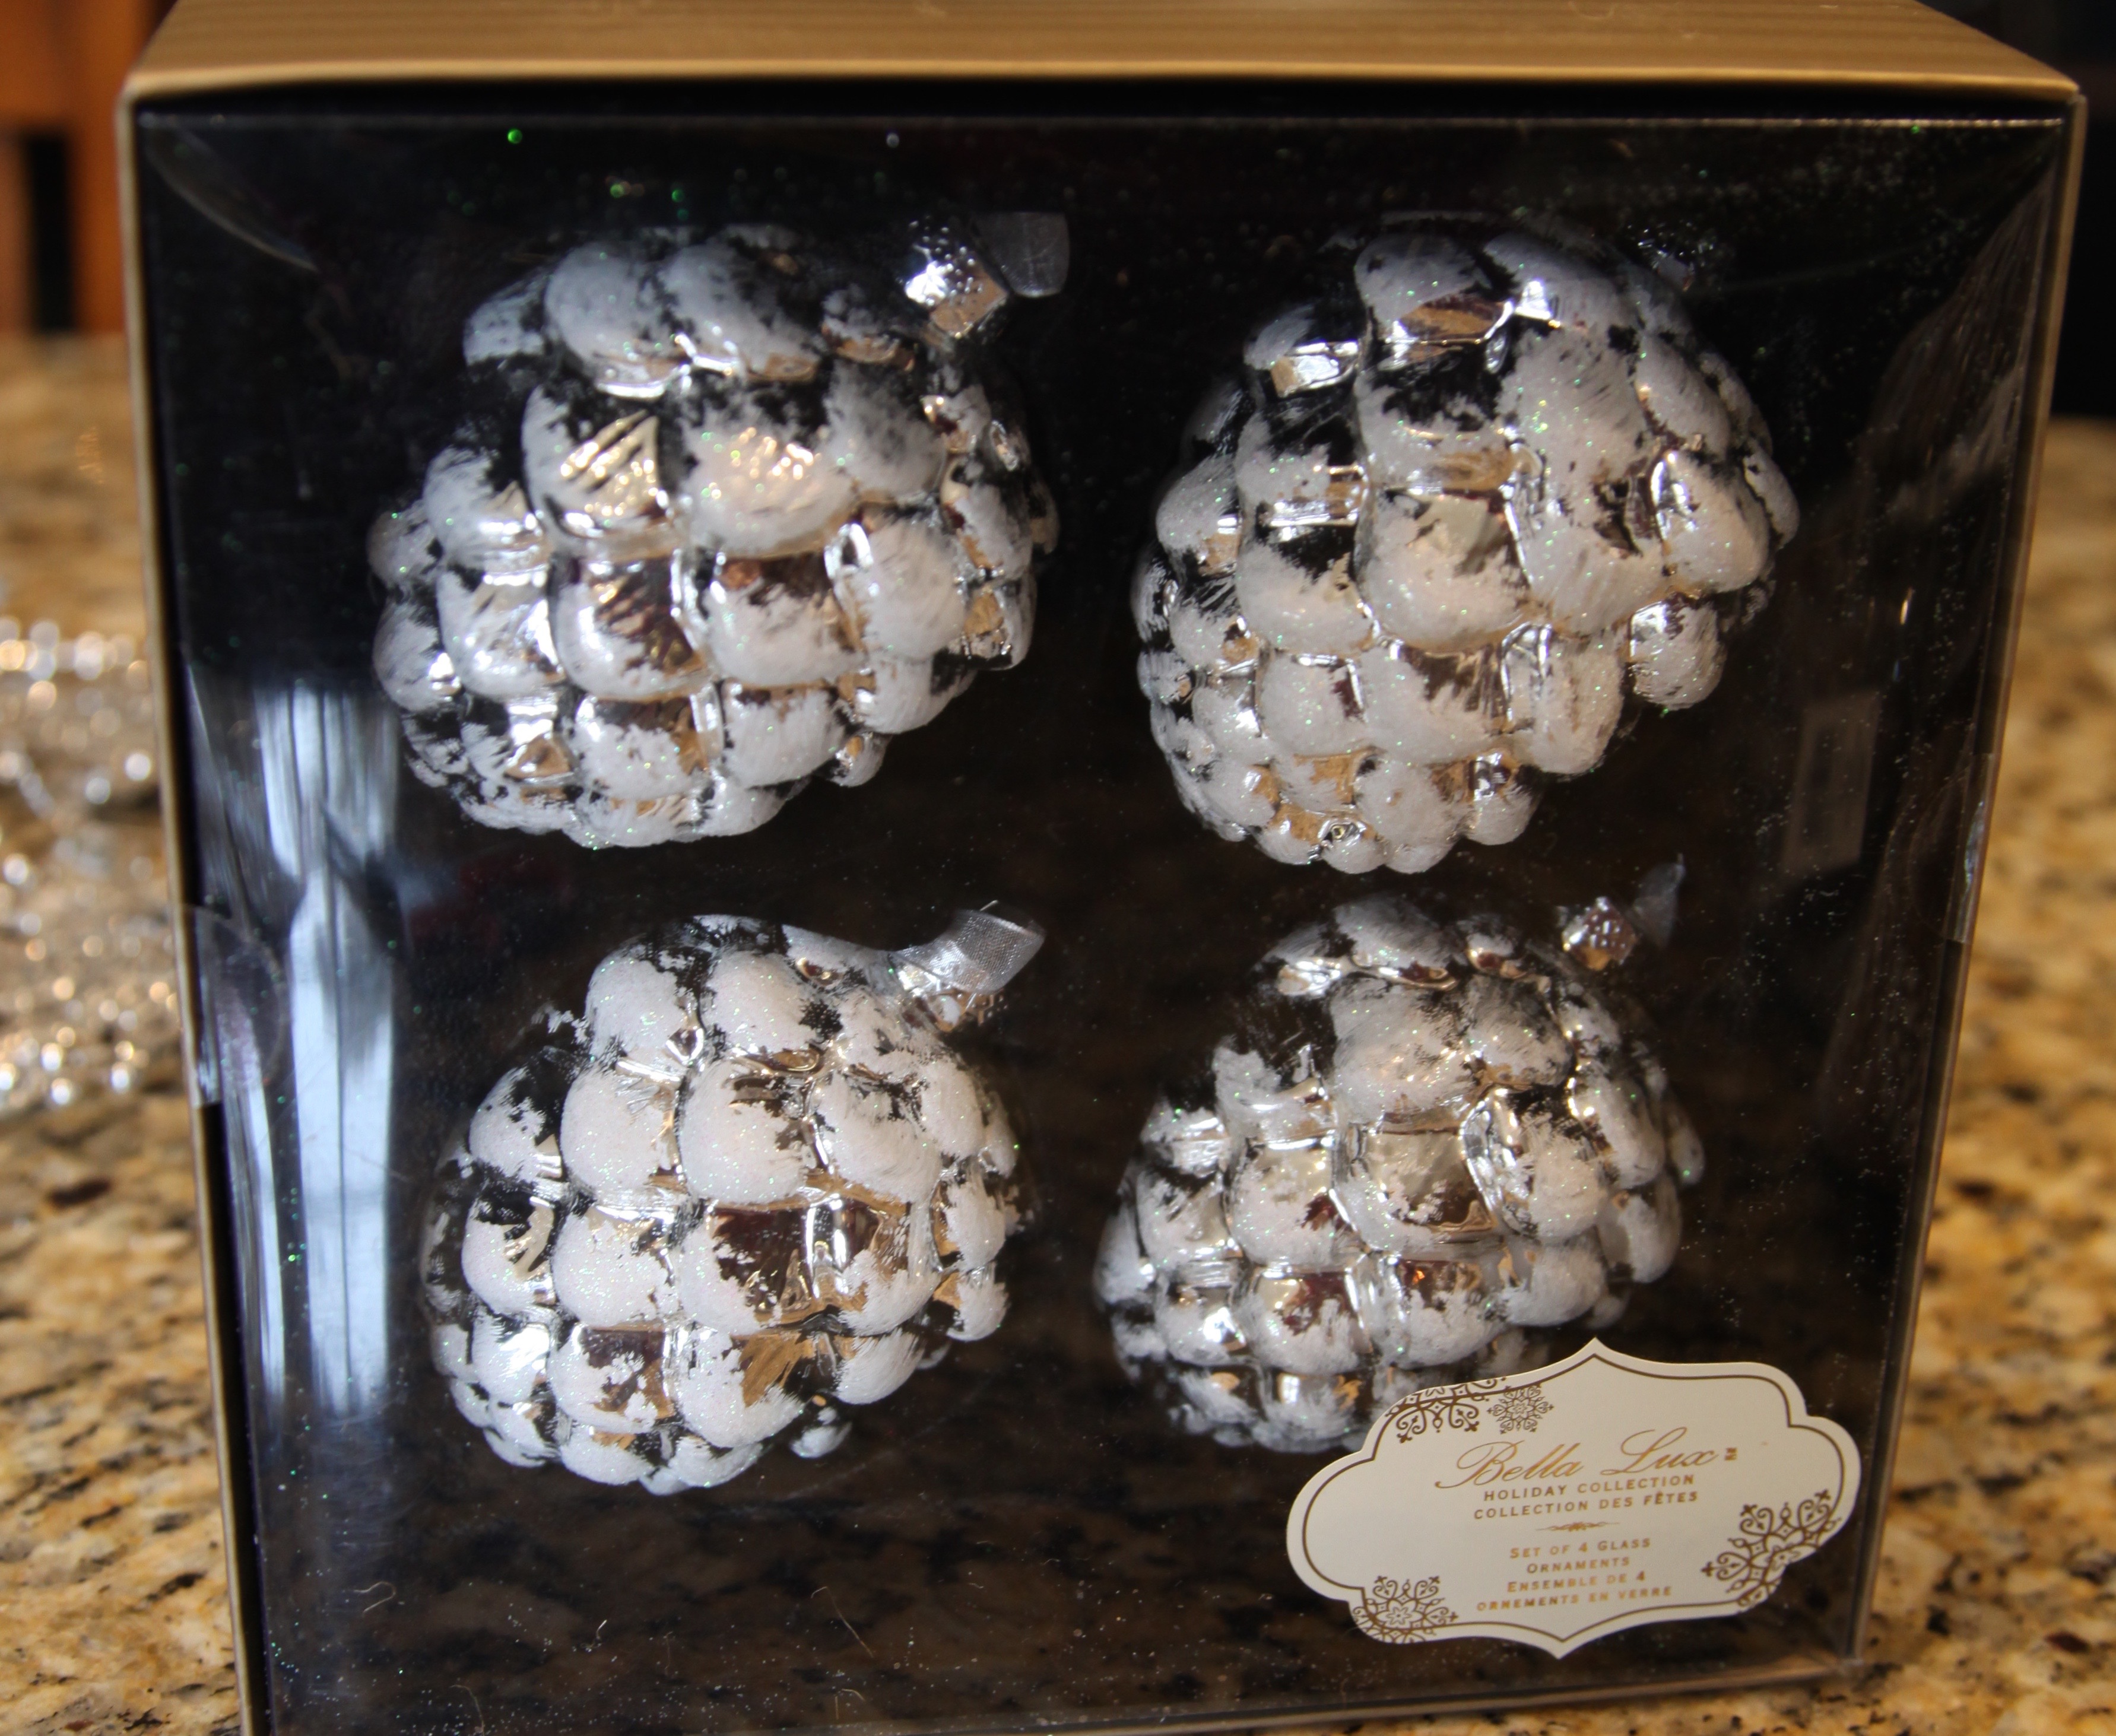
Then I hot glued these pinecone ornaments into place
Next, I attached the bow and accented it with the berry beads by weaving it through the bow loops…
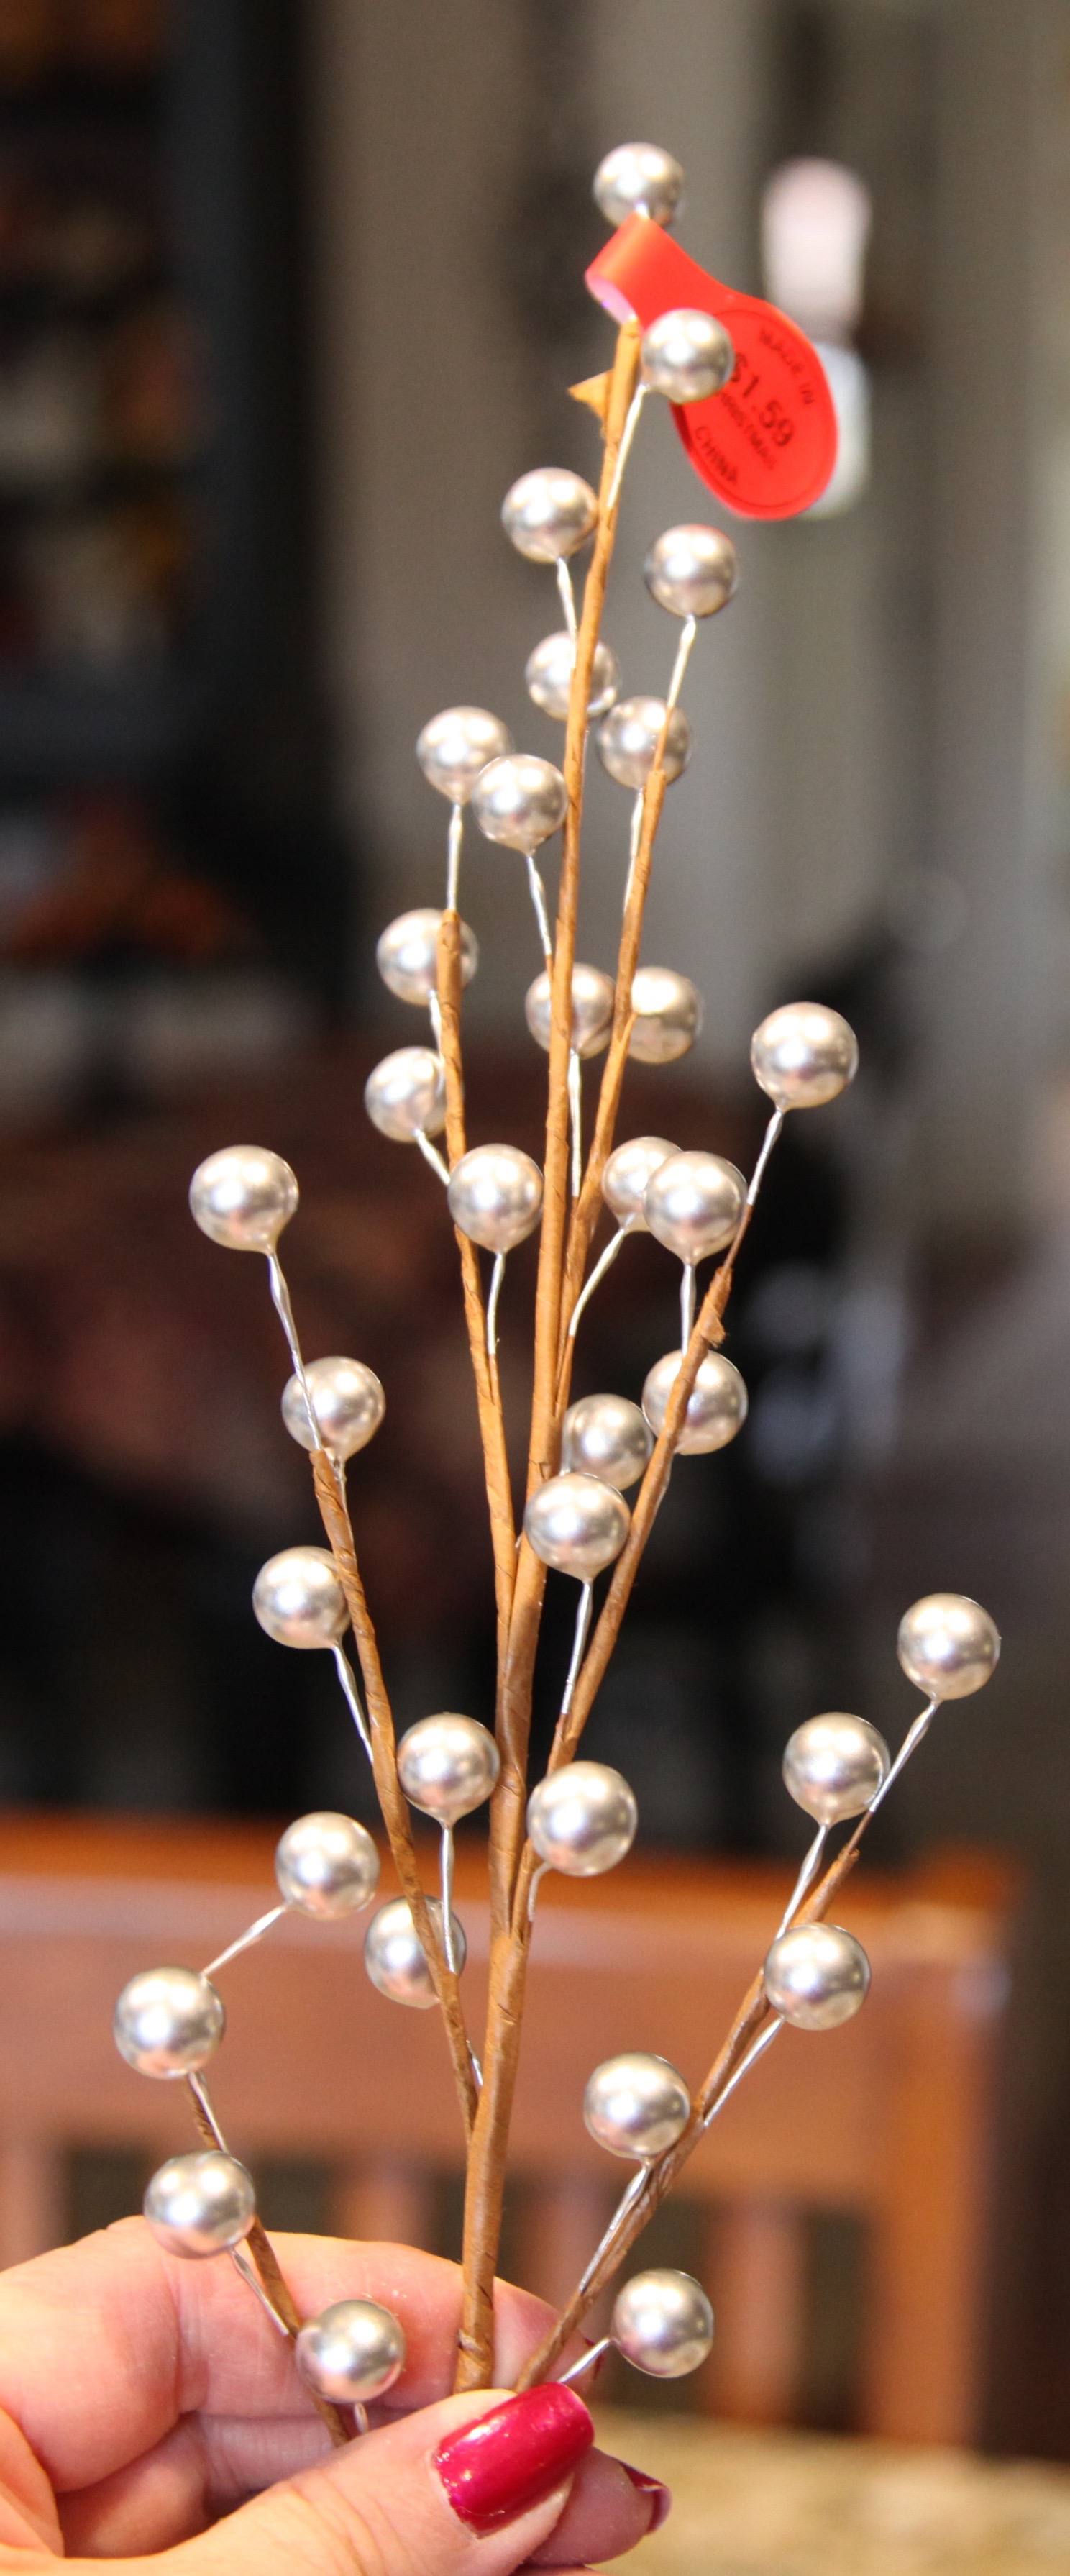

I placed berry beads around the angel as well and called it done…
Here is the finished wreath, it cost me in the neighborhood of $35 to make, only because the box of those pinecone ornaments cost $10. I purchased them at our local Home Goods store and that store hardly ever has ‘clearance’ items or offers a percentage off, but I loved the look of them and they were perfect for this wreath, so I cringed and purchased:
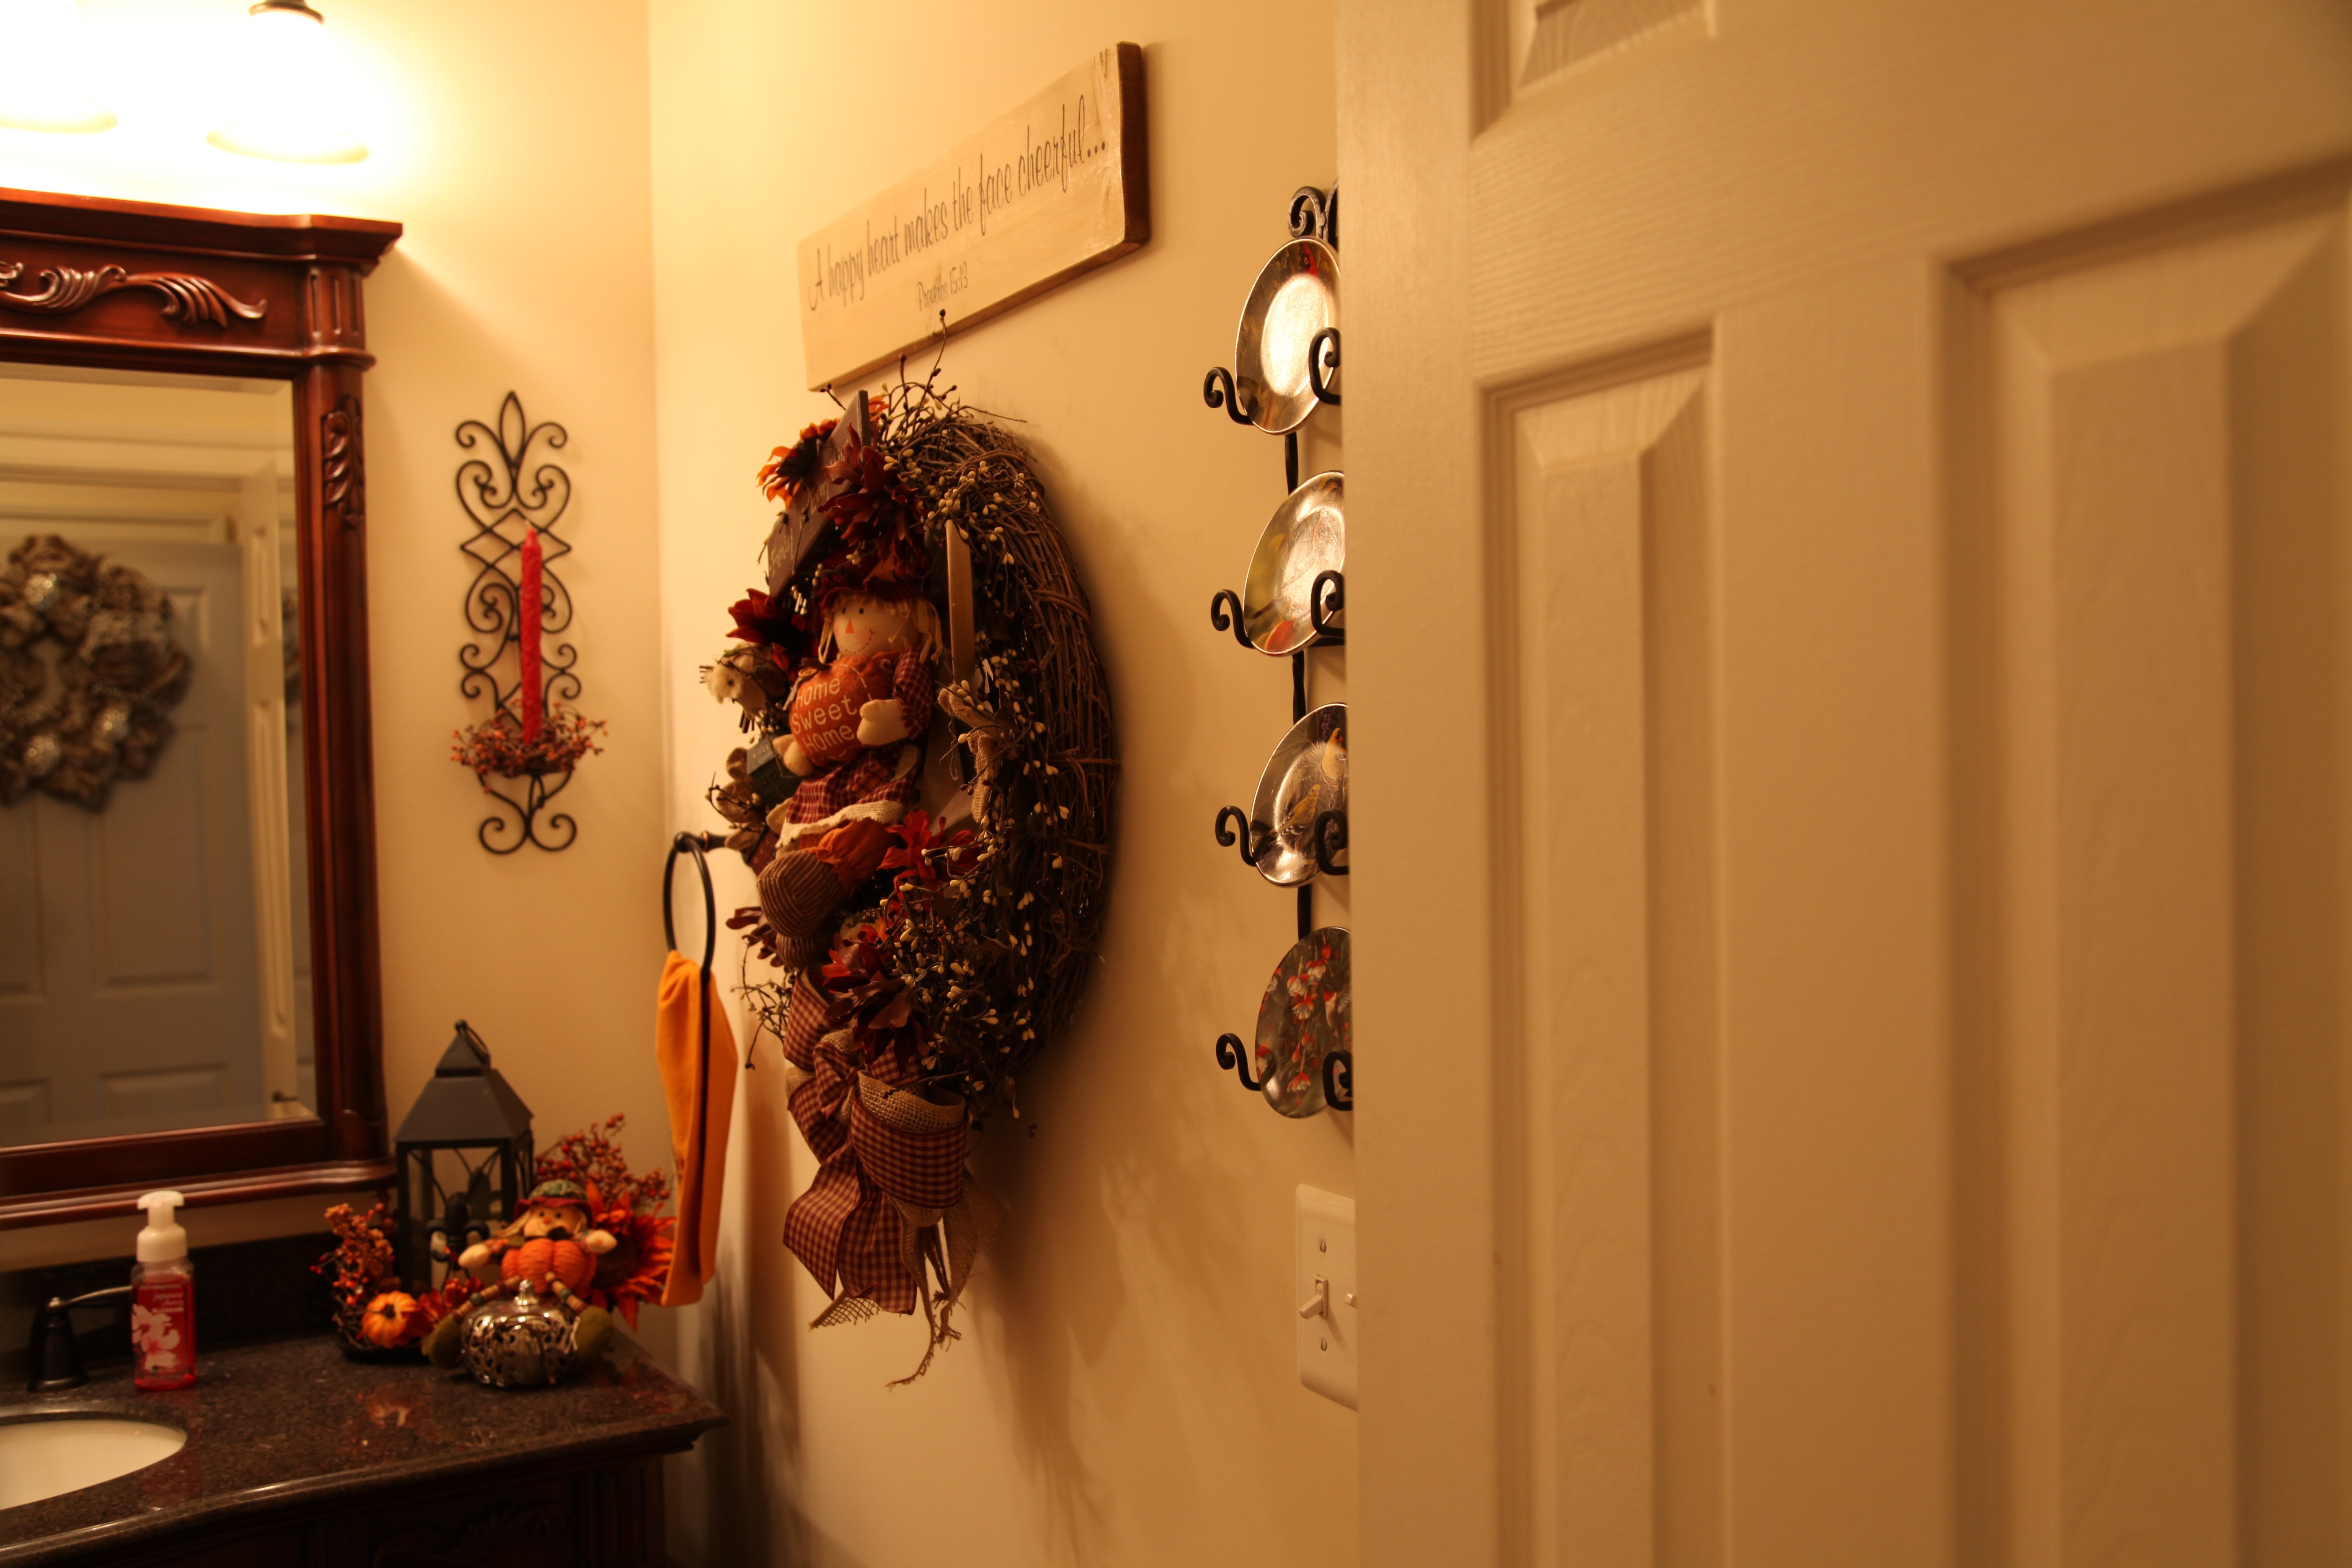
It will replace this wreath…
Now I will start to collect a few other accent pieces with which to decorate the rest of the room. I’m going to try to stick with whites and silvers only…I might throw a touch of burgundy in there in a few places…not sure exactly what I’ll come up with quite yet. I *love* the creative process though. 🙂
Until next time, y’all take good care! ❤
**In crafting there are no mistakes just unique creations**

Love it! I like the step by step tutorial! It is gorgeous! I start taking down fall tomorrow or Sunday. Then Christmas goes up! I will be traveling so I want it all done when I come back!
LikeLike
Thank you so very much Nancy!! I think you and I are of one mind! LOL I will start taking my Fall stuff down tomorrow as well. We are hosting Thanksgiving here at our home though, but, my dad is coming and he loves to see the Christmas decorations, so I will try my best to have most of them in place by the time he arrives. 🙂
LikeLike