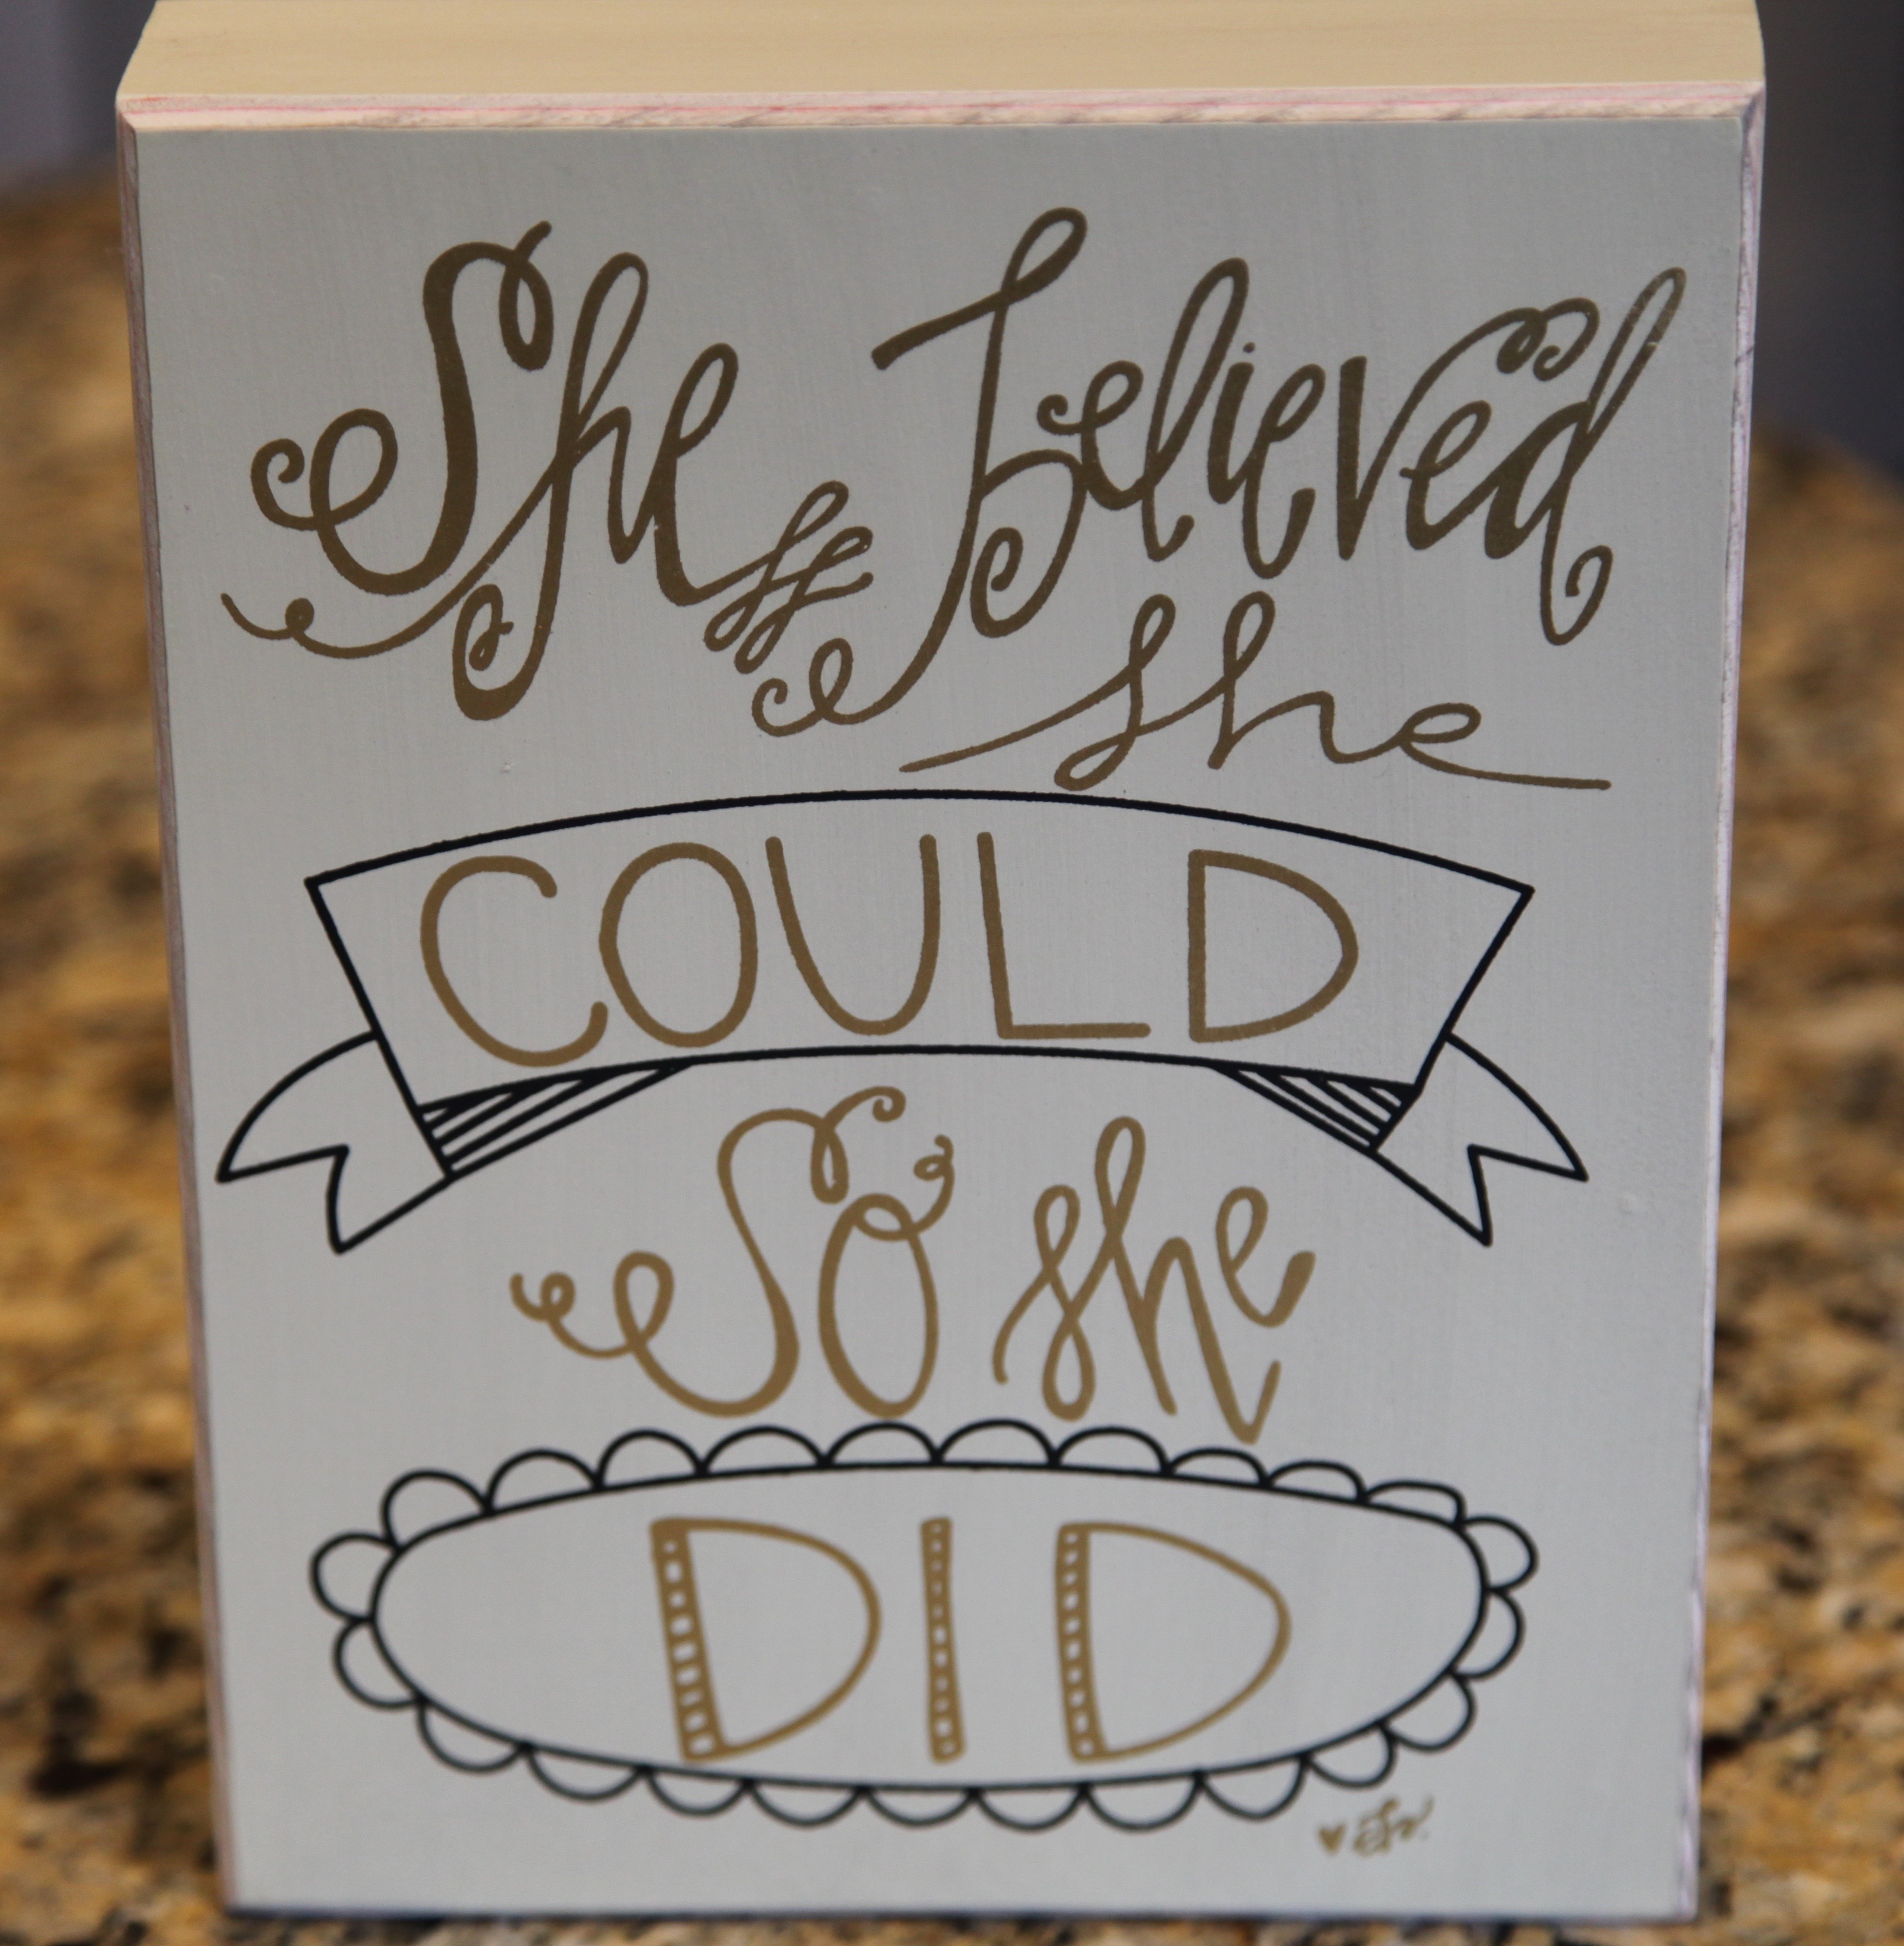
My daughter Christin asked me to make her a wreath! What?! I was so touched and humbled…honestly. She is a lovely decorator and I love the look she has created in her home, her decor is much more modern and, as she puts it, minimalistic than mine. So, as we were perusing around Hobby Lobby yesterday (buying paint for her students to use to make their parents’ Christmas gifts; 2016 calendars) she eyed some ribbon that she just loved and this picture. **Side note: I am one very proud Mama, Christin is an awesome teacher, one that interacts with her students beautifully! She regularly provides them with interactive projects–the very essence of “learning through doing’. She makes learning fun and interesting and her students adore her every single year! Yes, yes, one proud Mama am I…**
She knew she wanted a burlap wreath and she knew she wanted the accent color to be gold and that pretty teal’y’ green. So we started to build her wreath, here are the accents we chose to accompany this picture and to help to incorporate those colors…
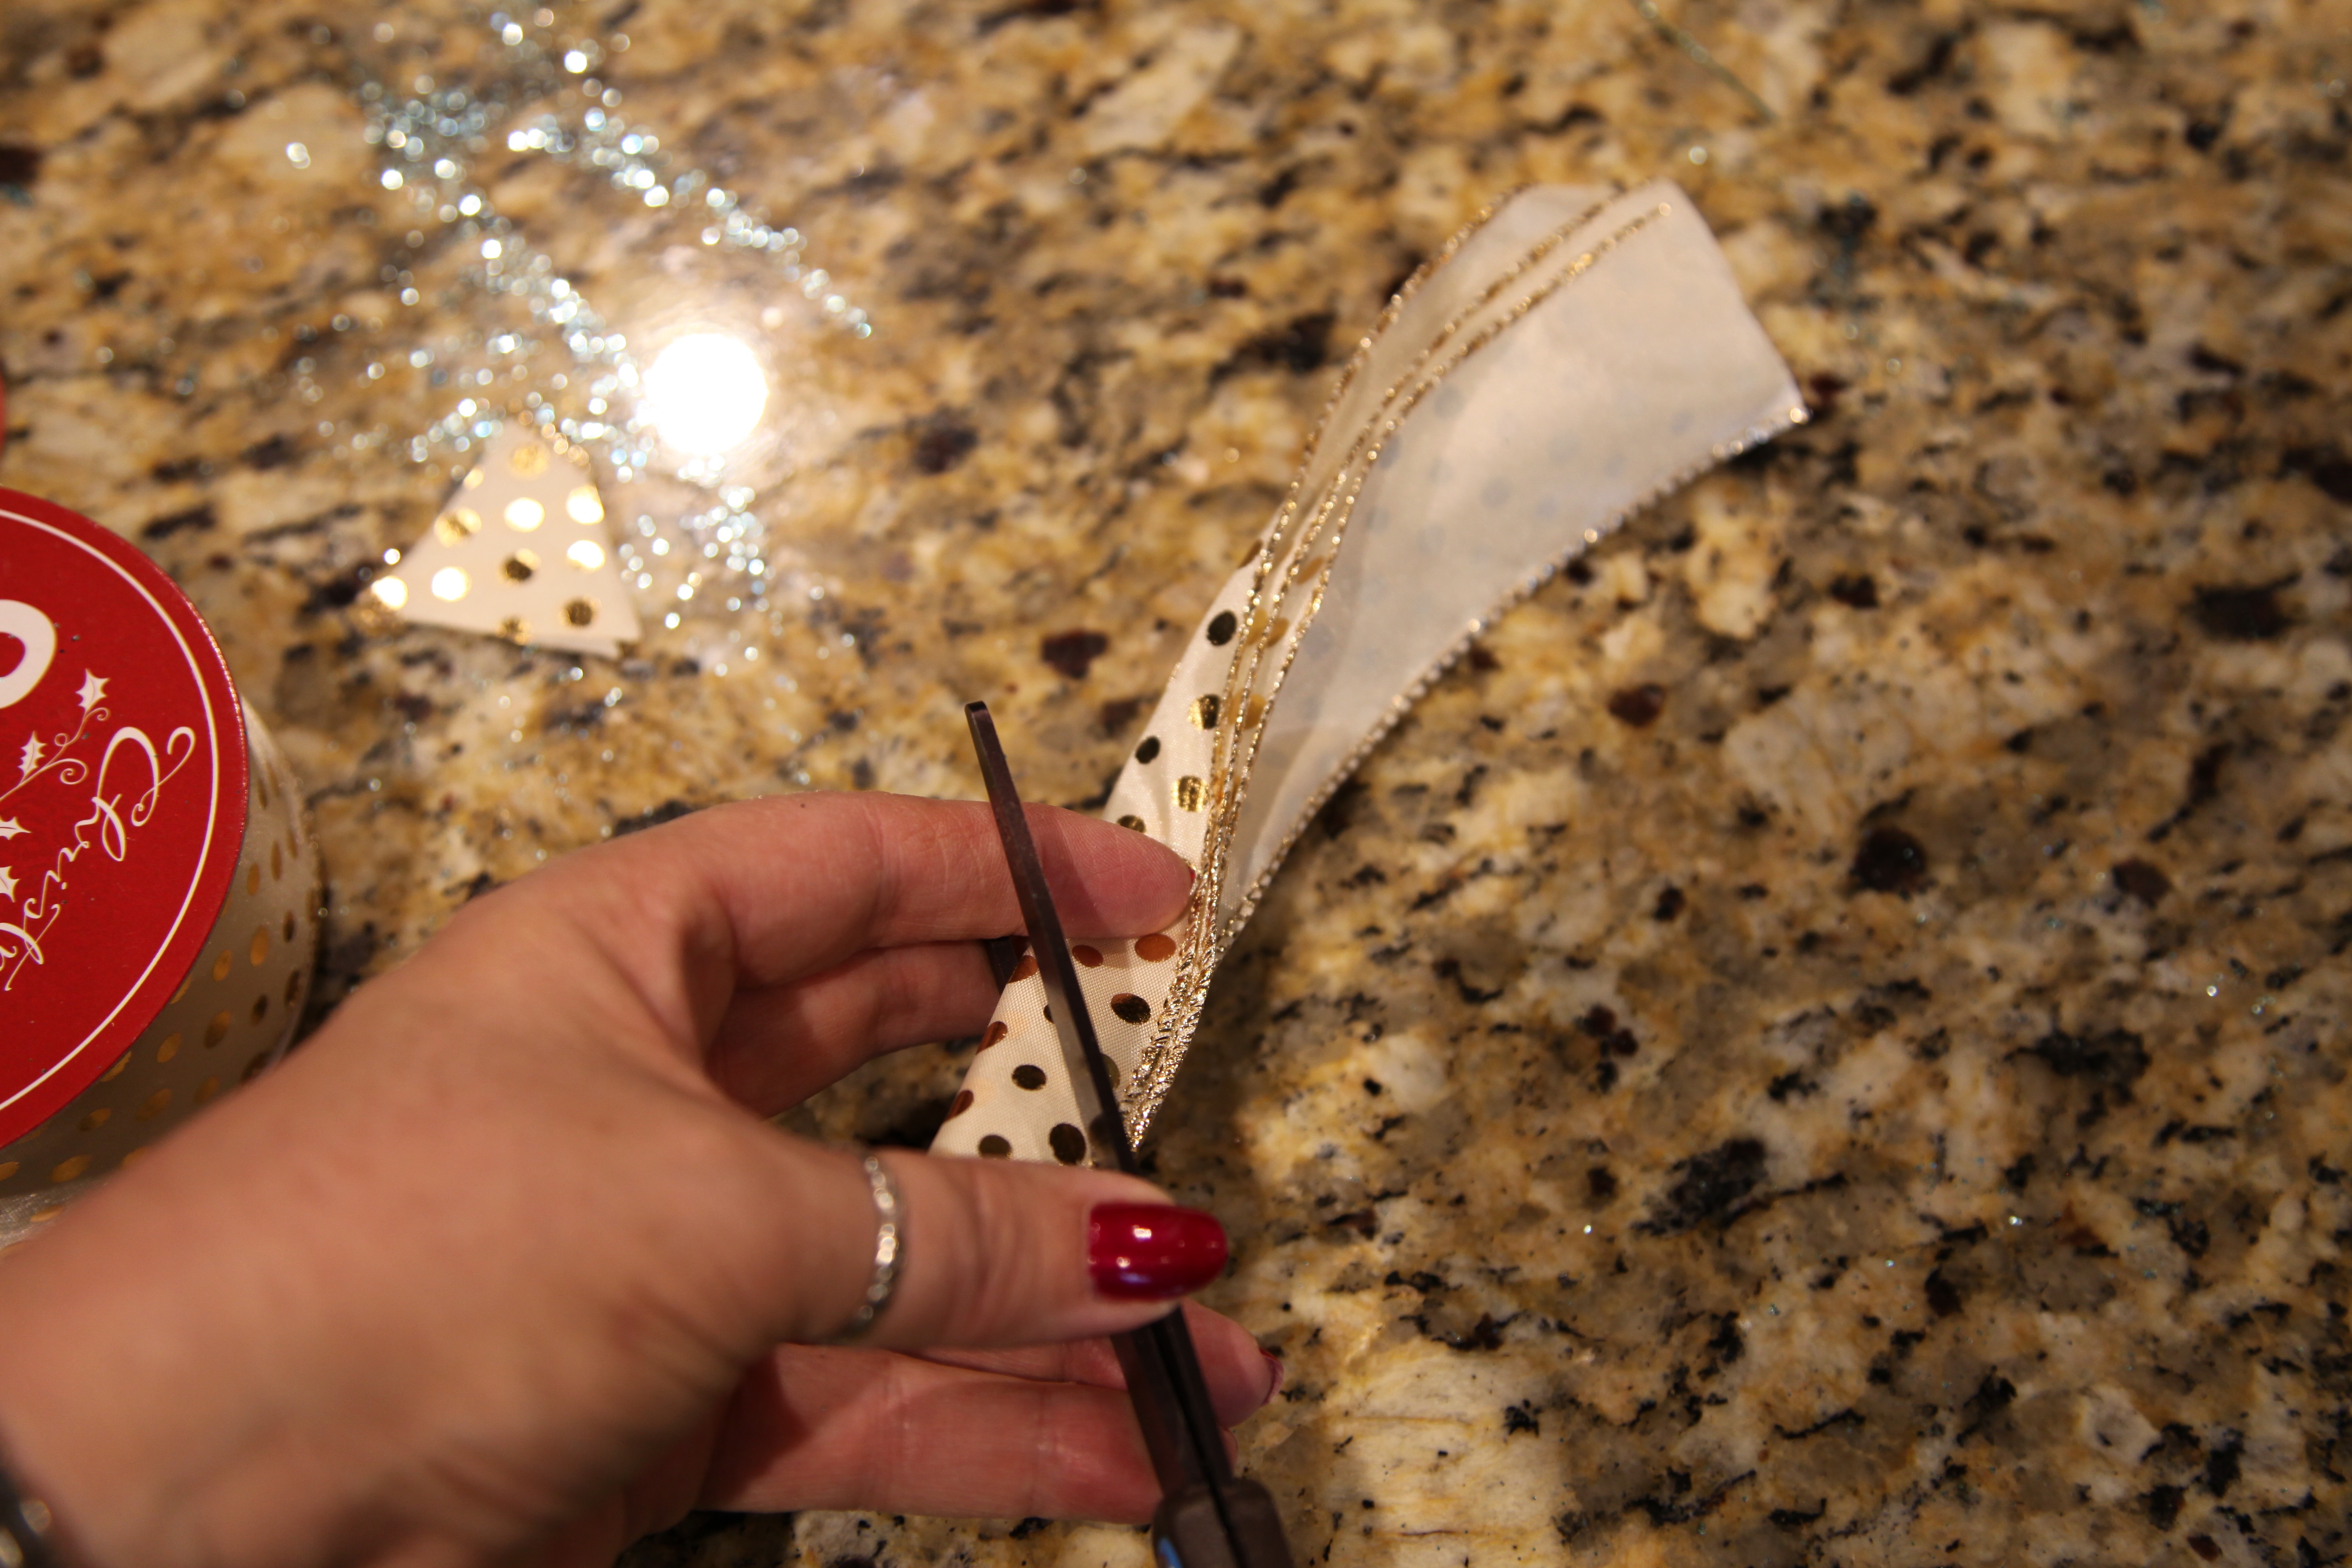
Of course we needed the burlap and a coordinating ribbon, Christin loved that cream with gold polka-dots, so we went with it…
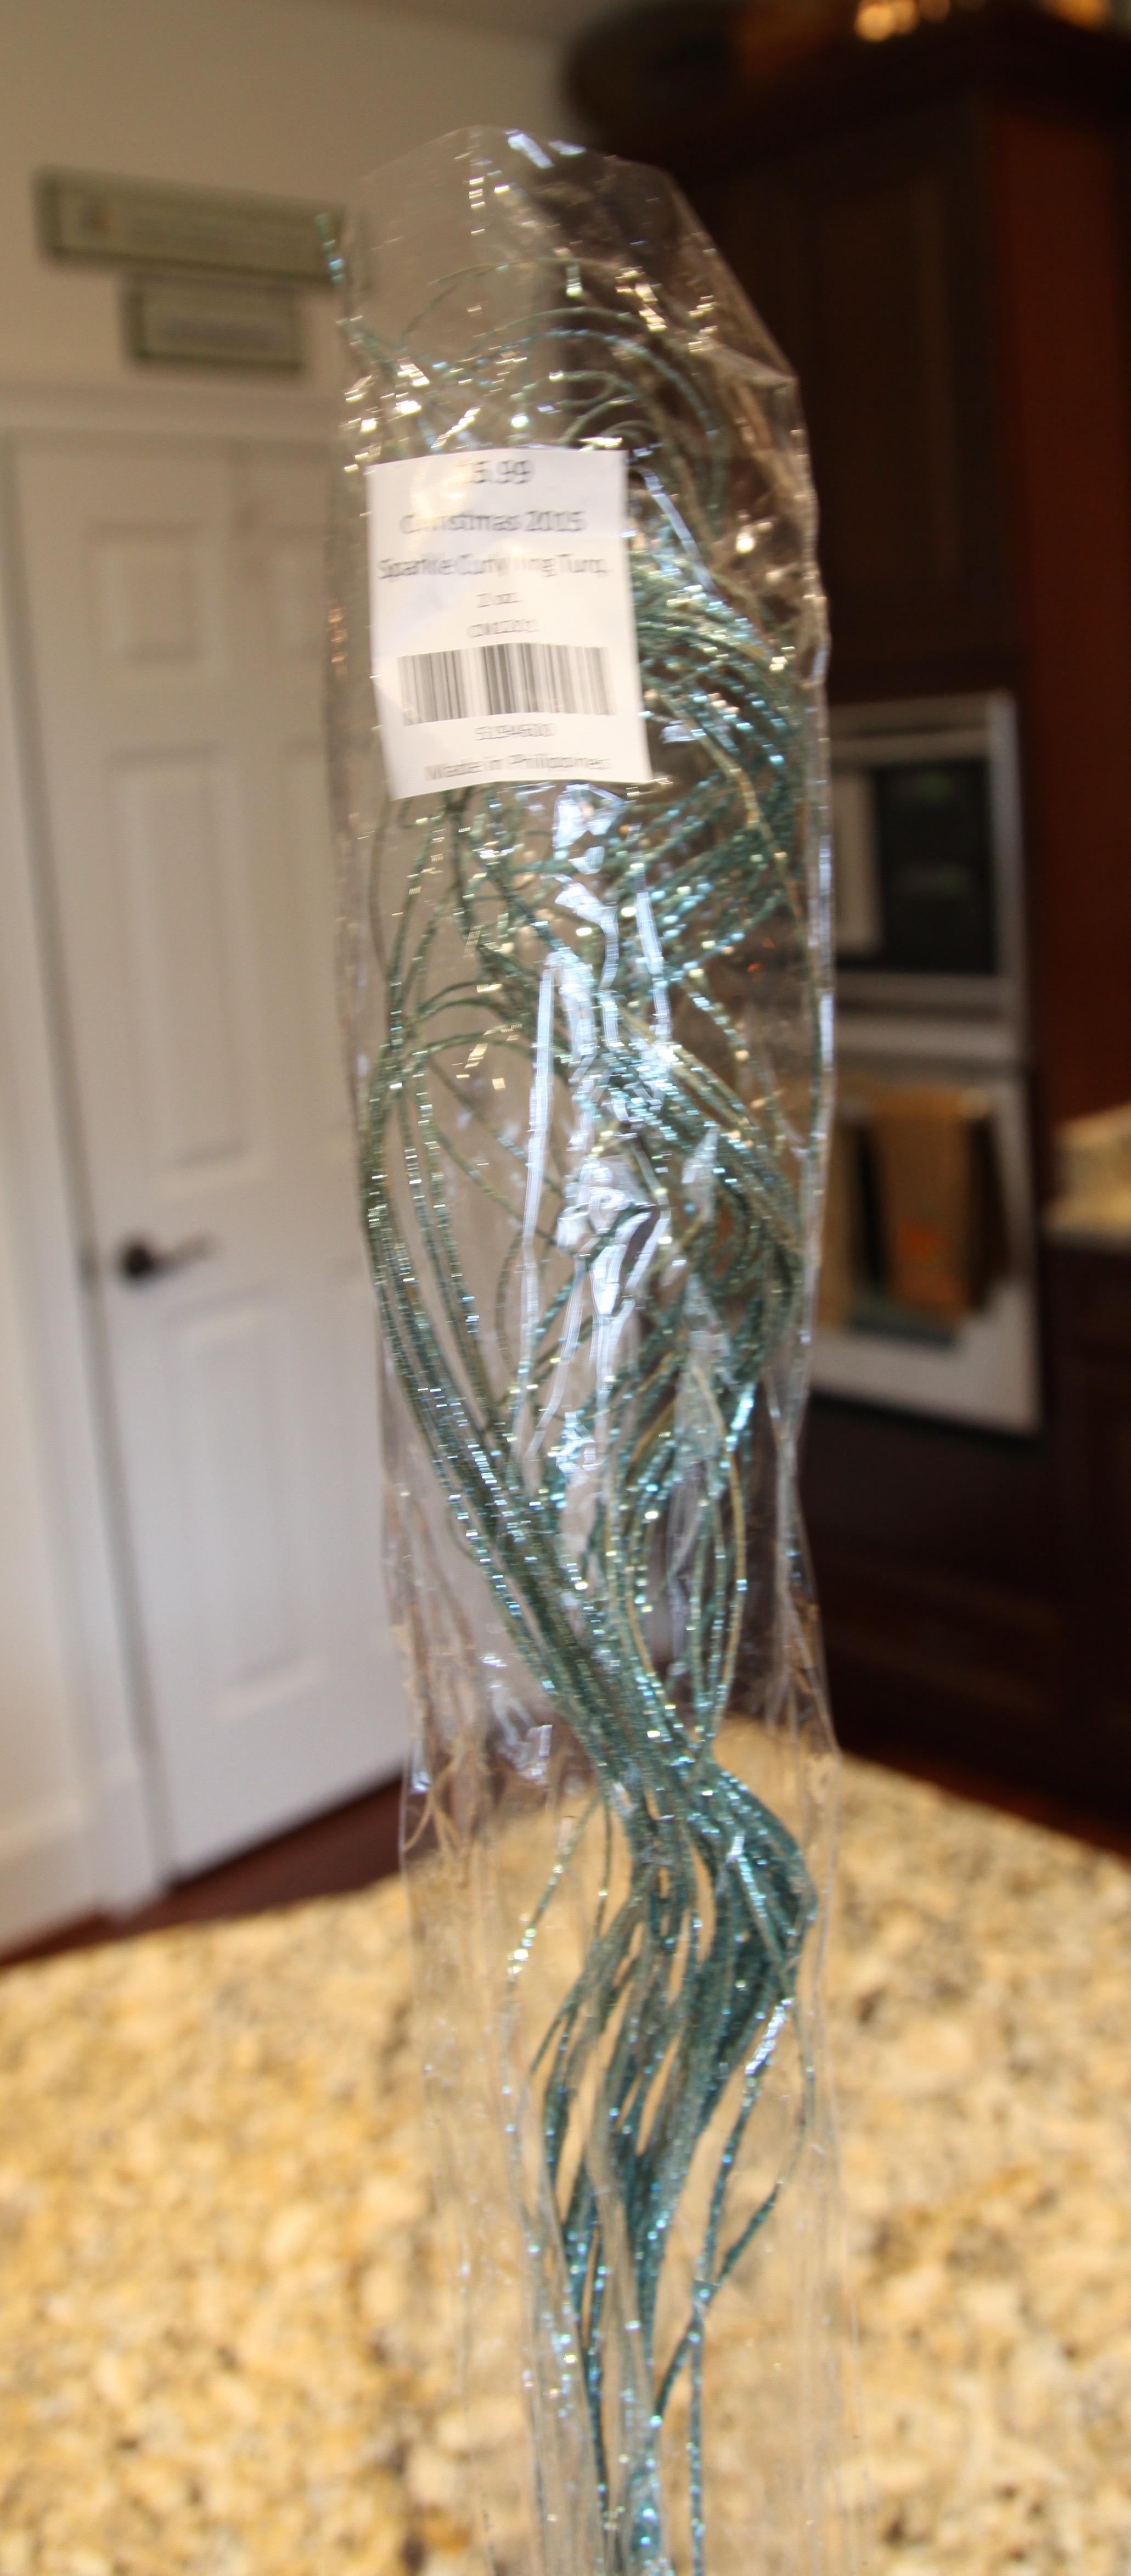
This stuff looked interesting, very glittery, and so pretty, and it was the right color, so we scooped it up…
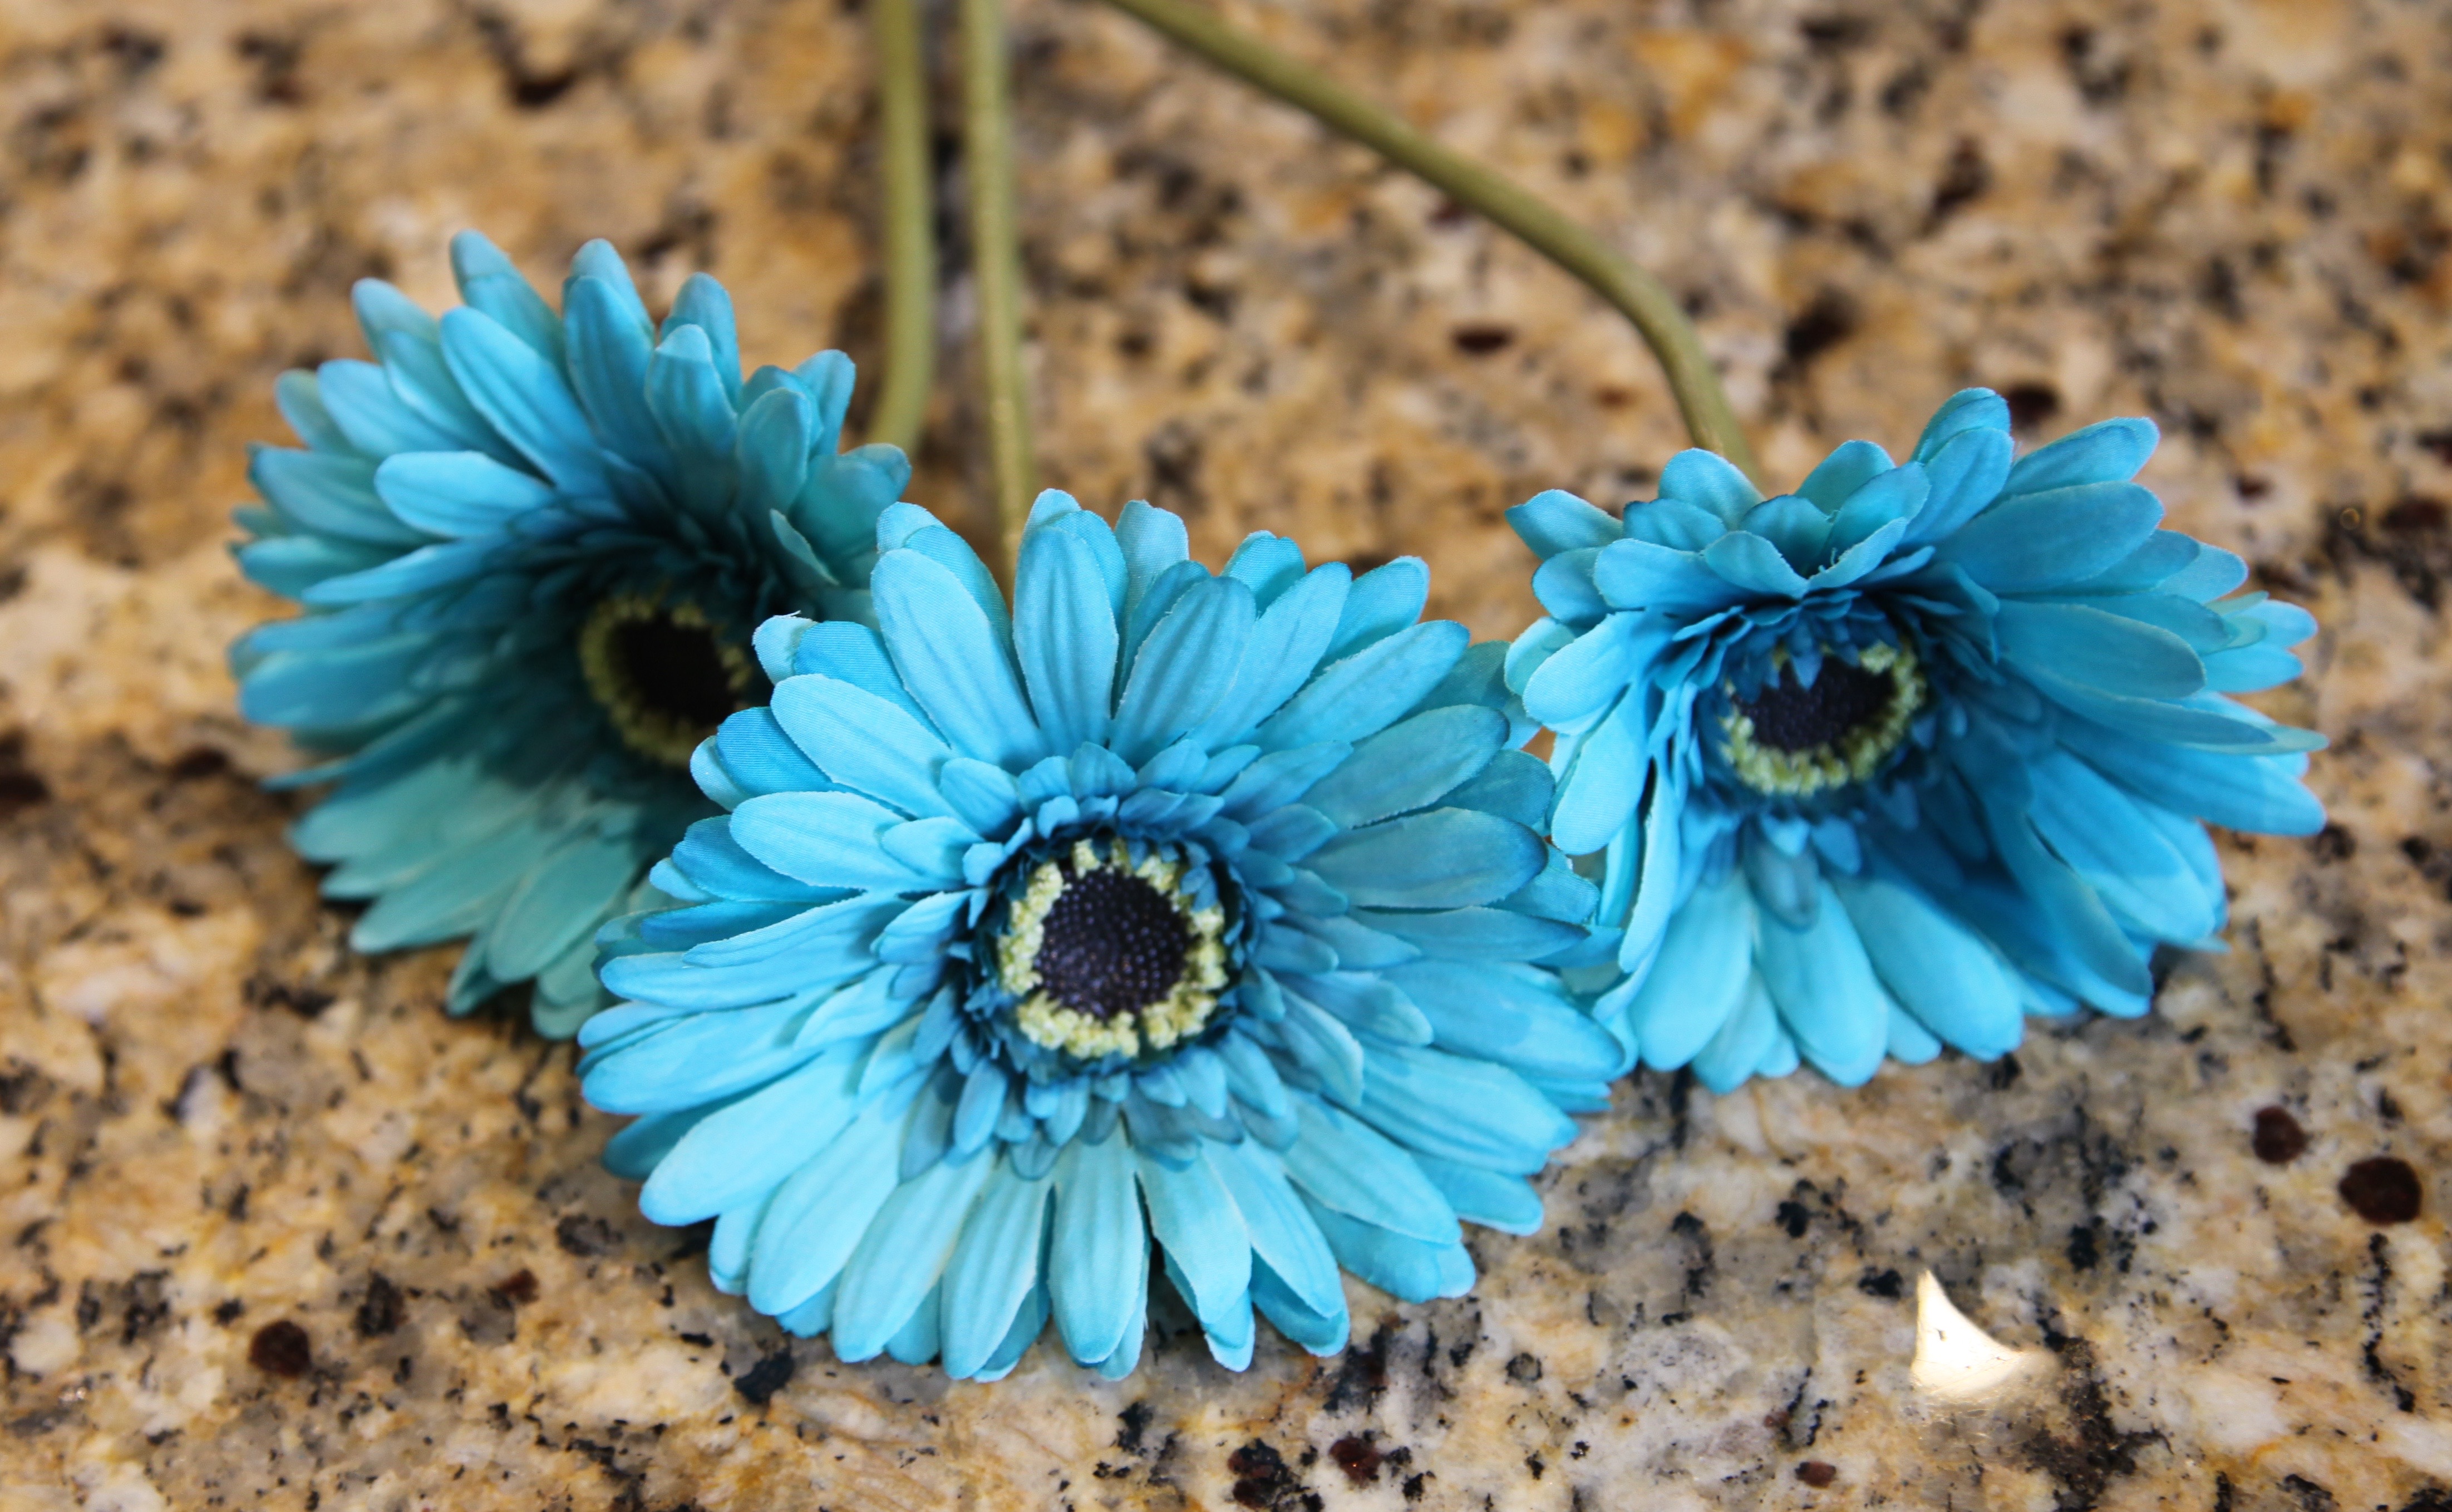
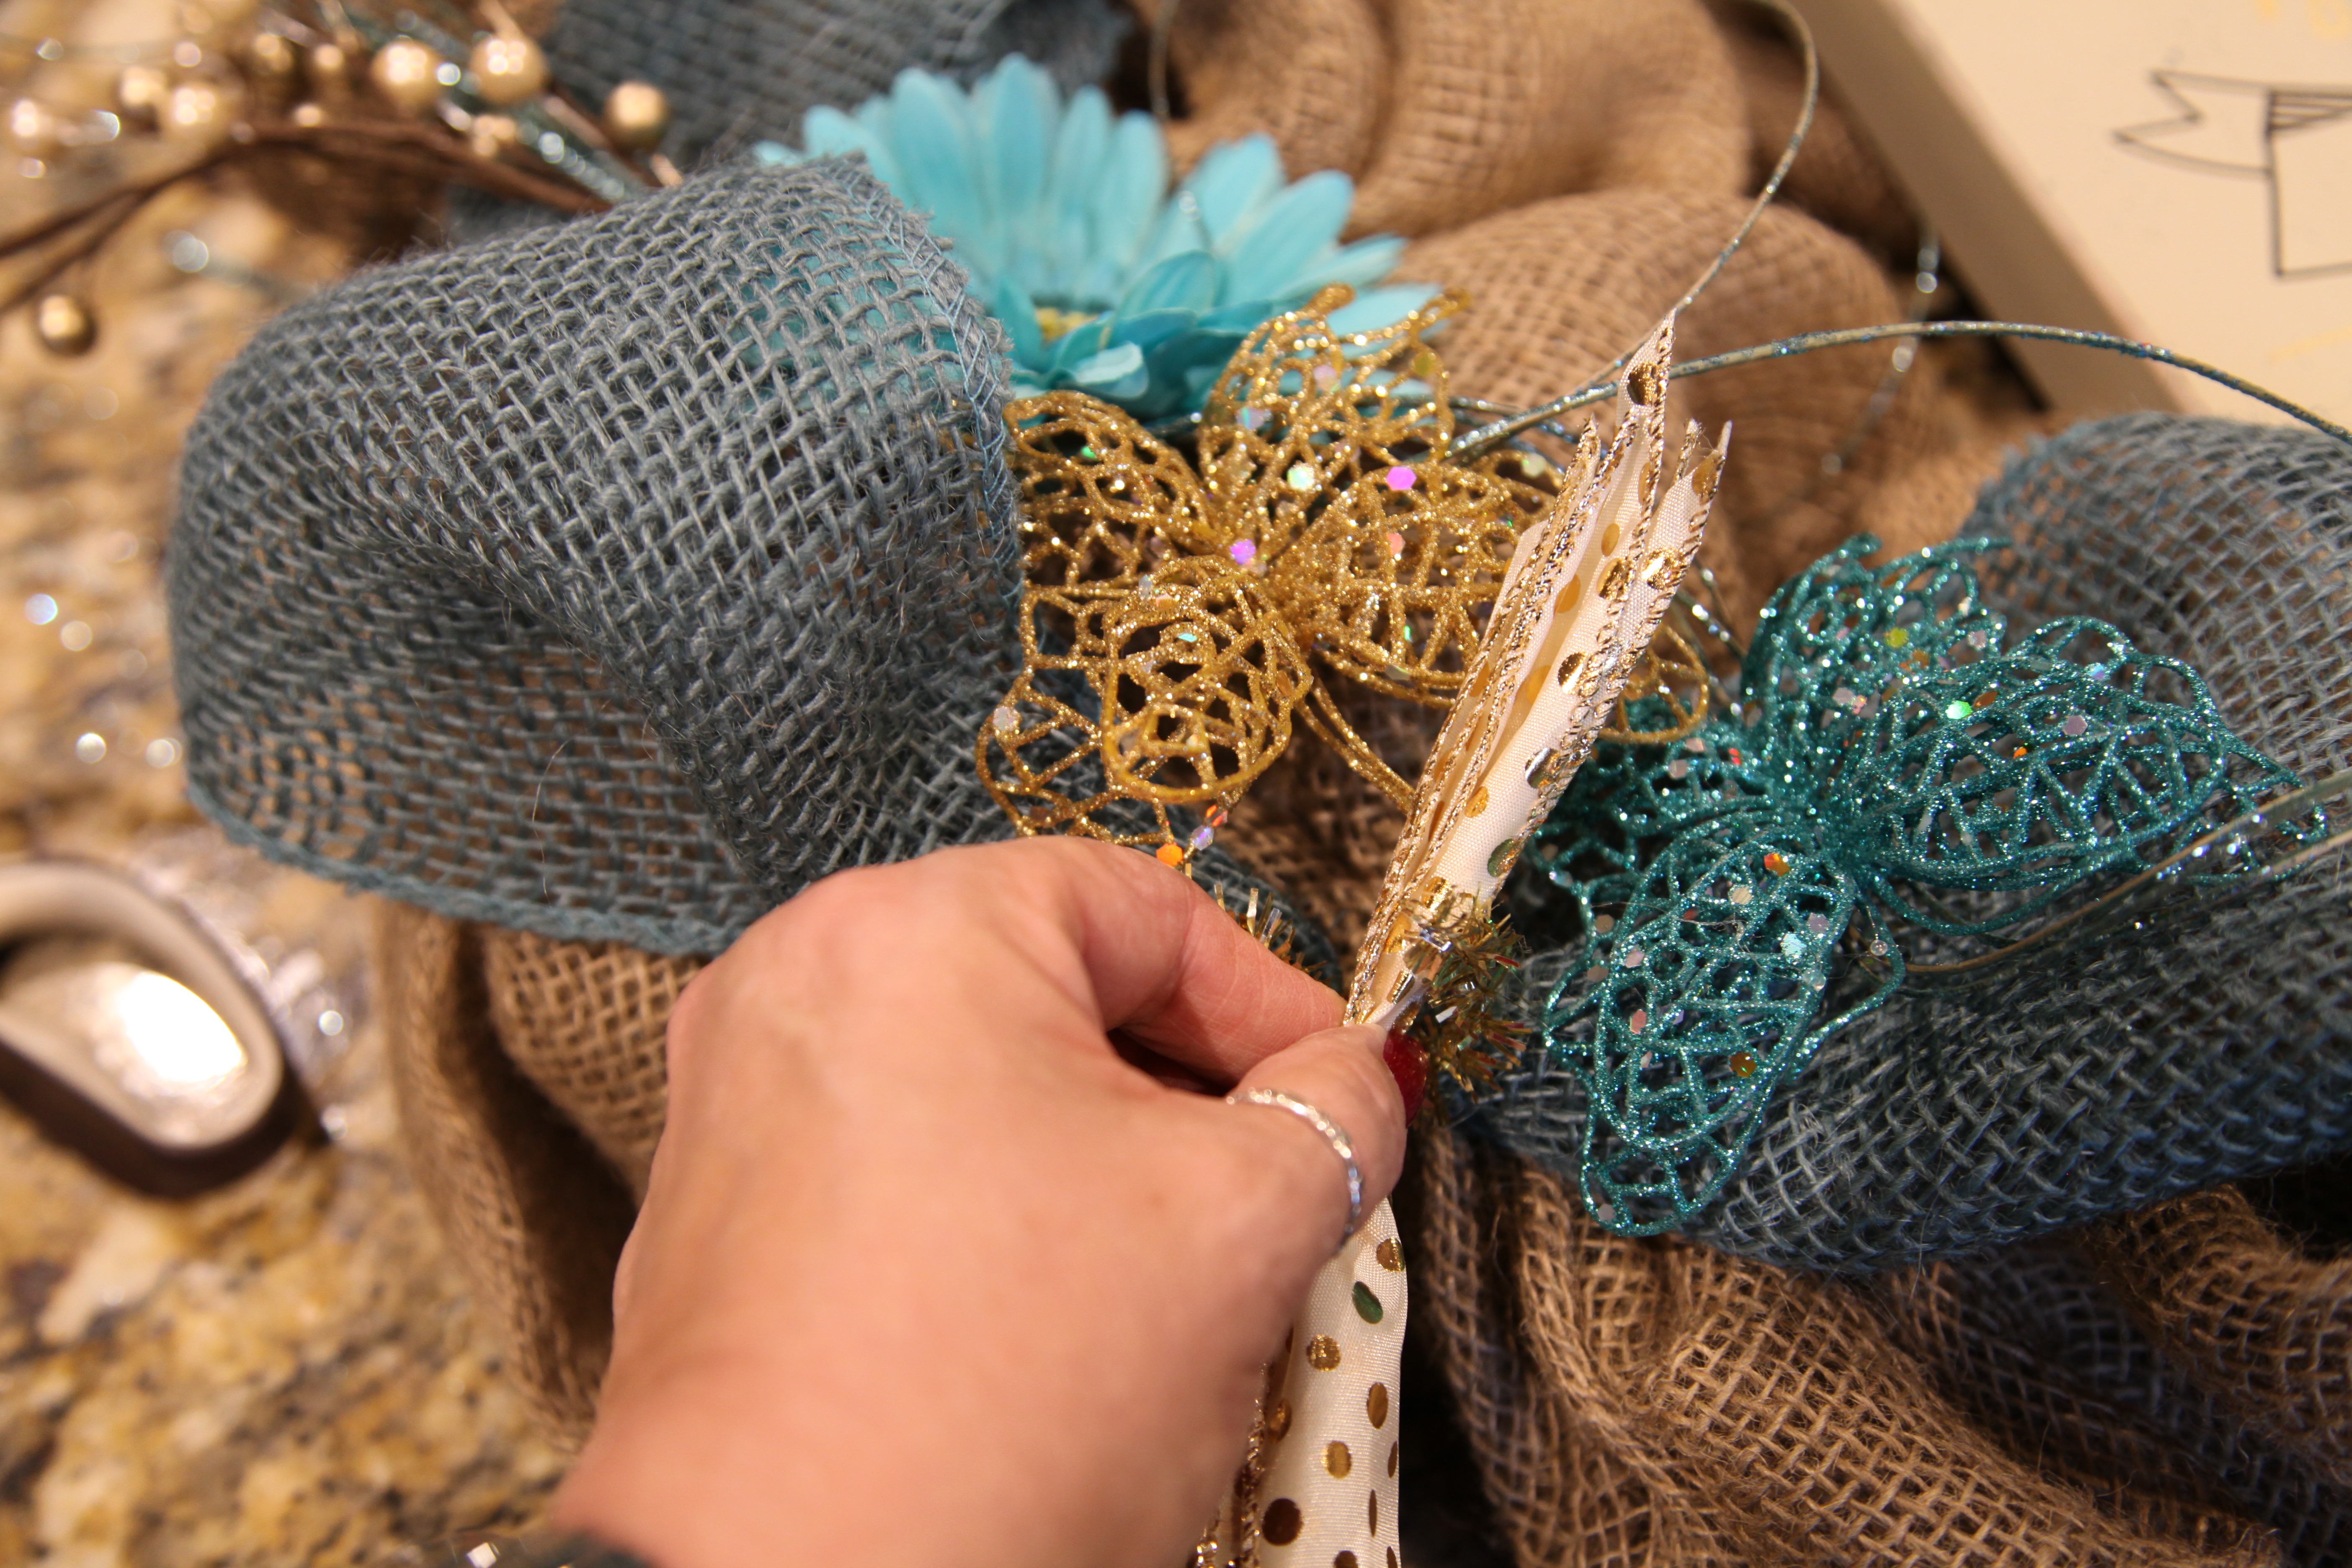
She loves gerber daisies as much as I do I think, she chose these in that pretty blue’ish’ color…
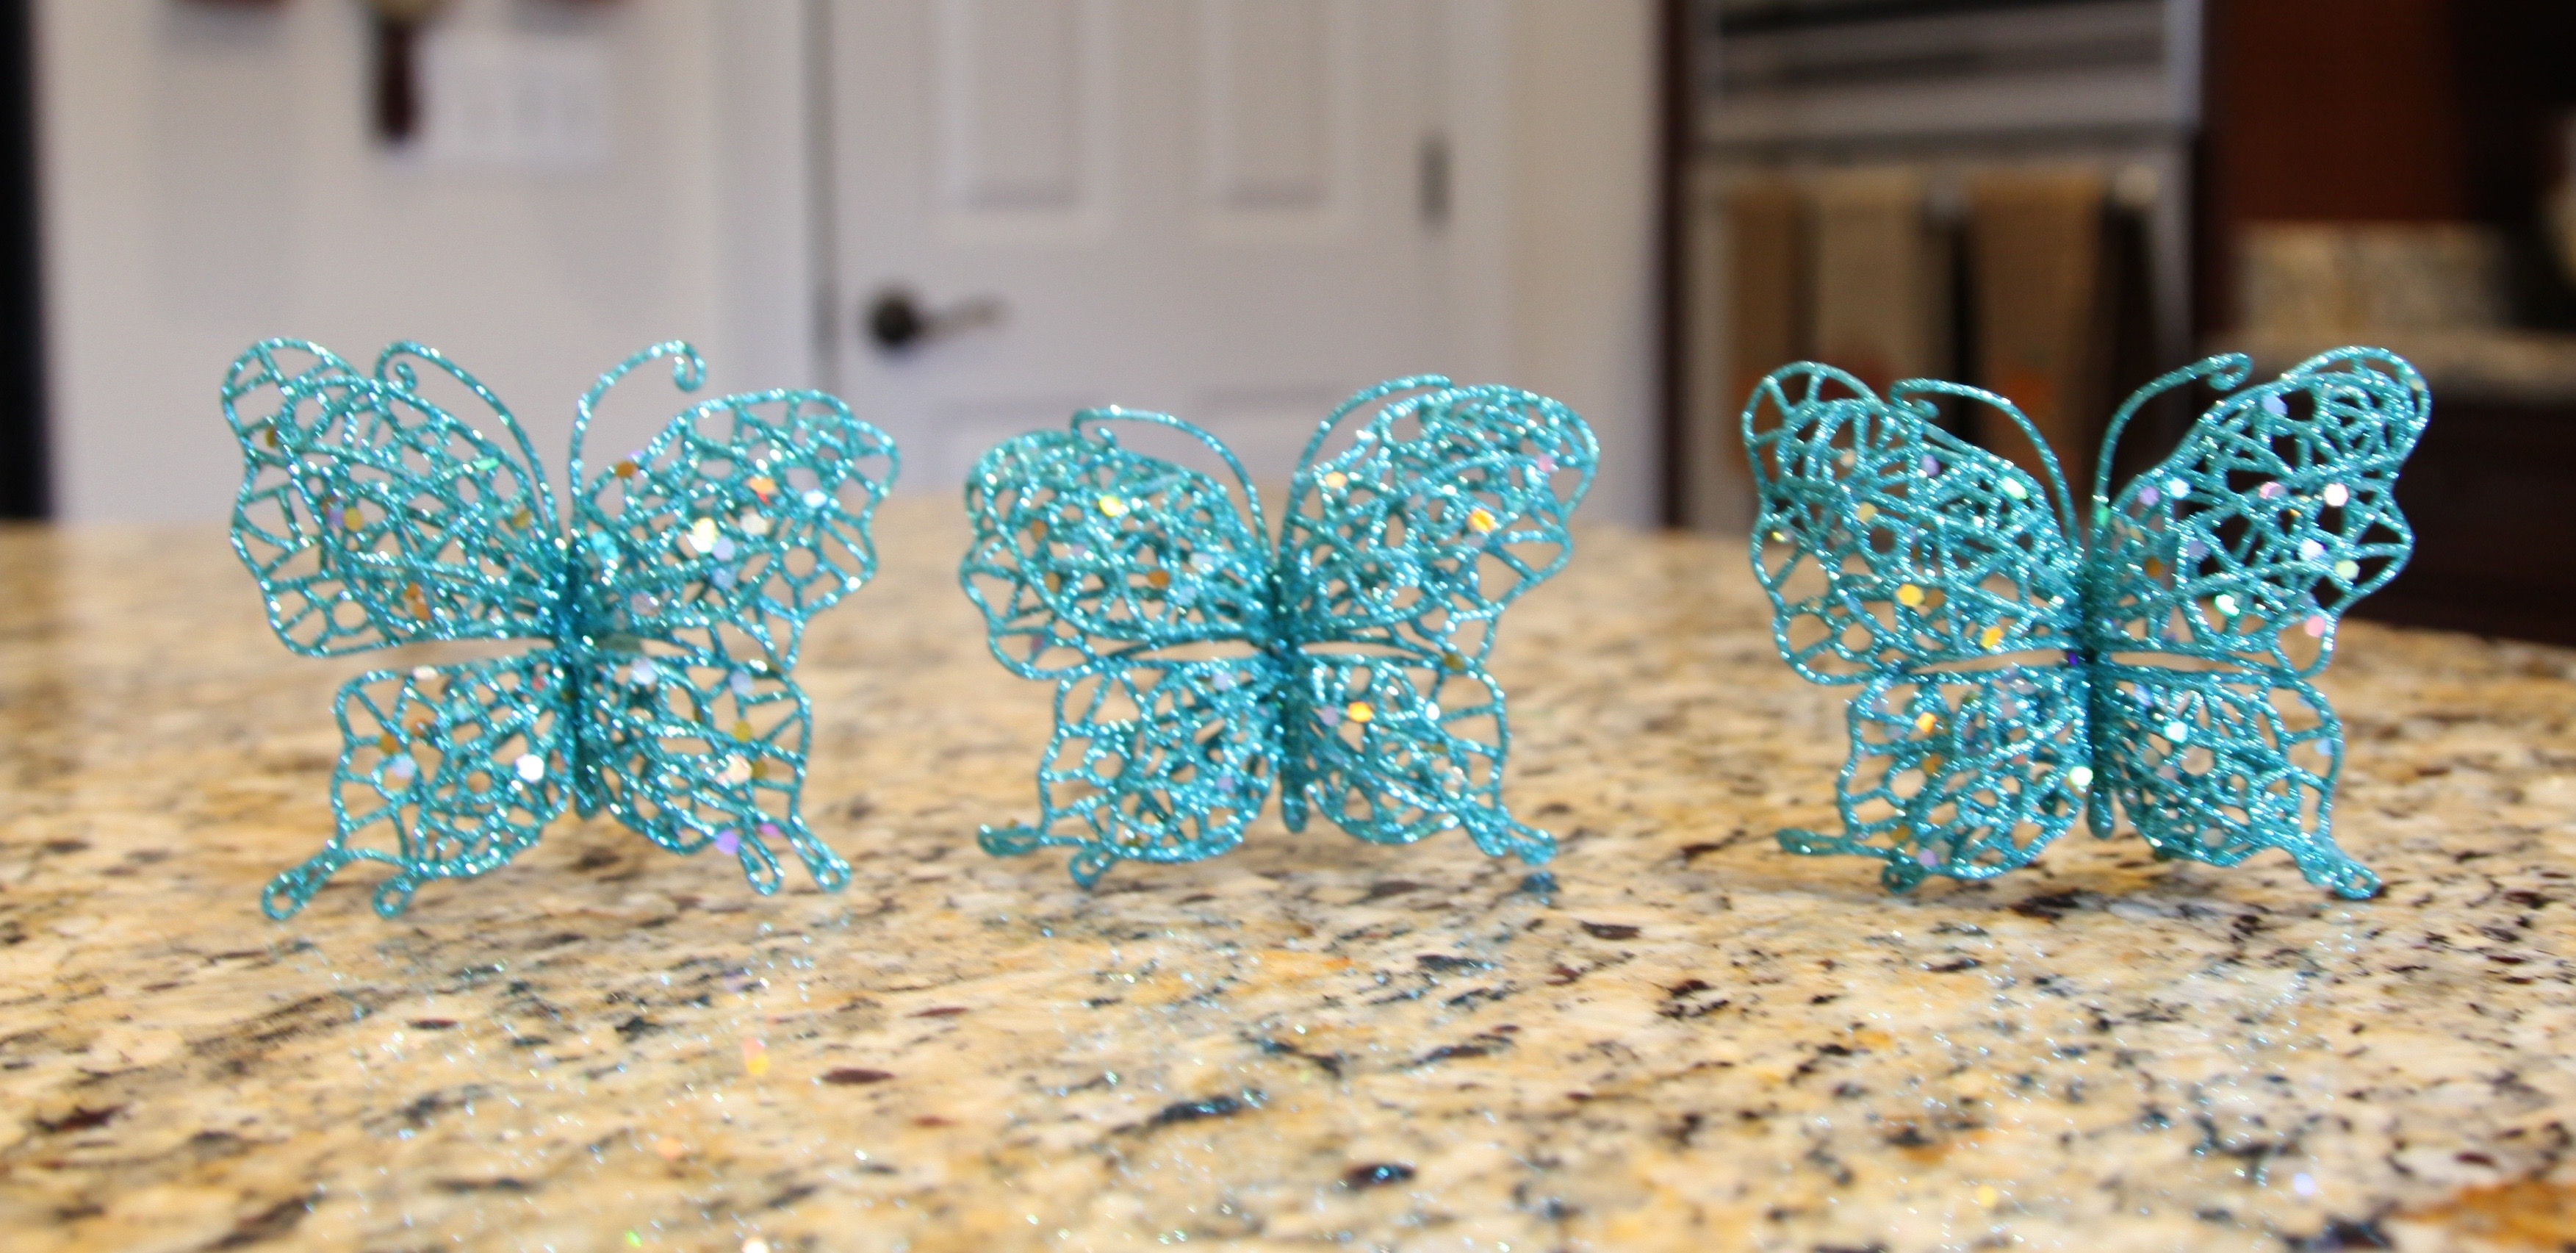
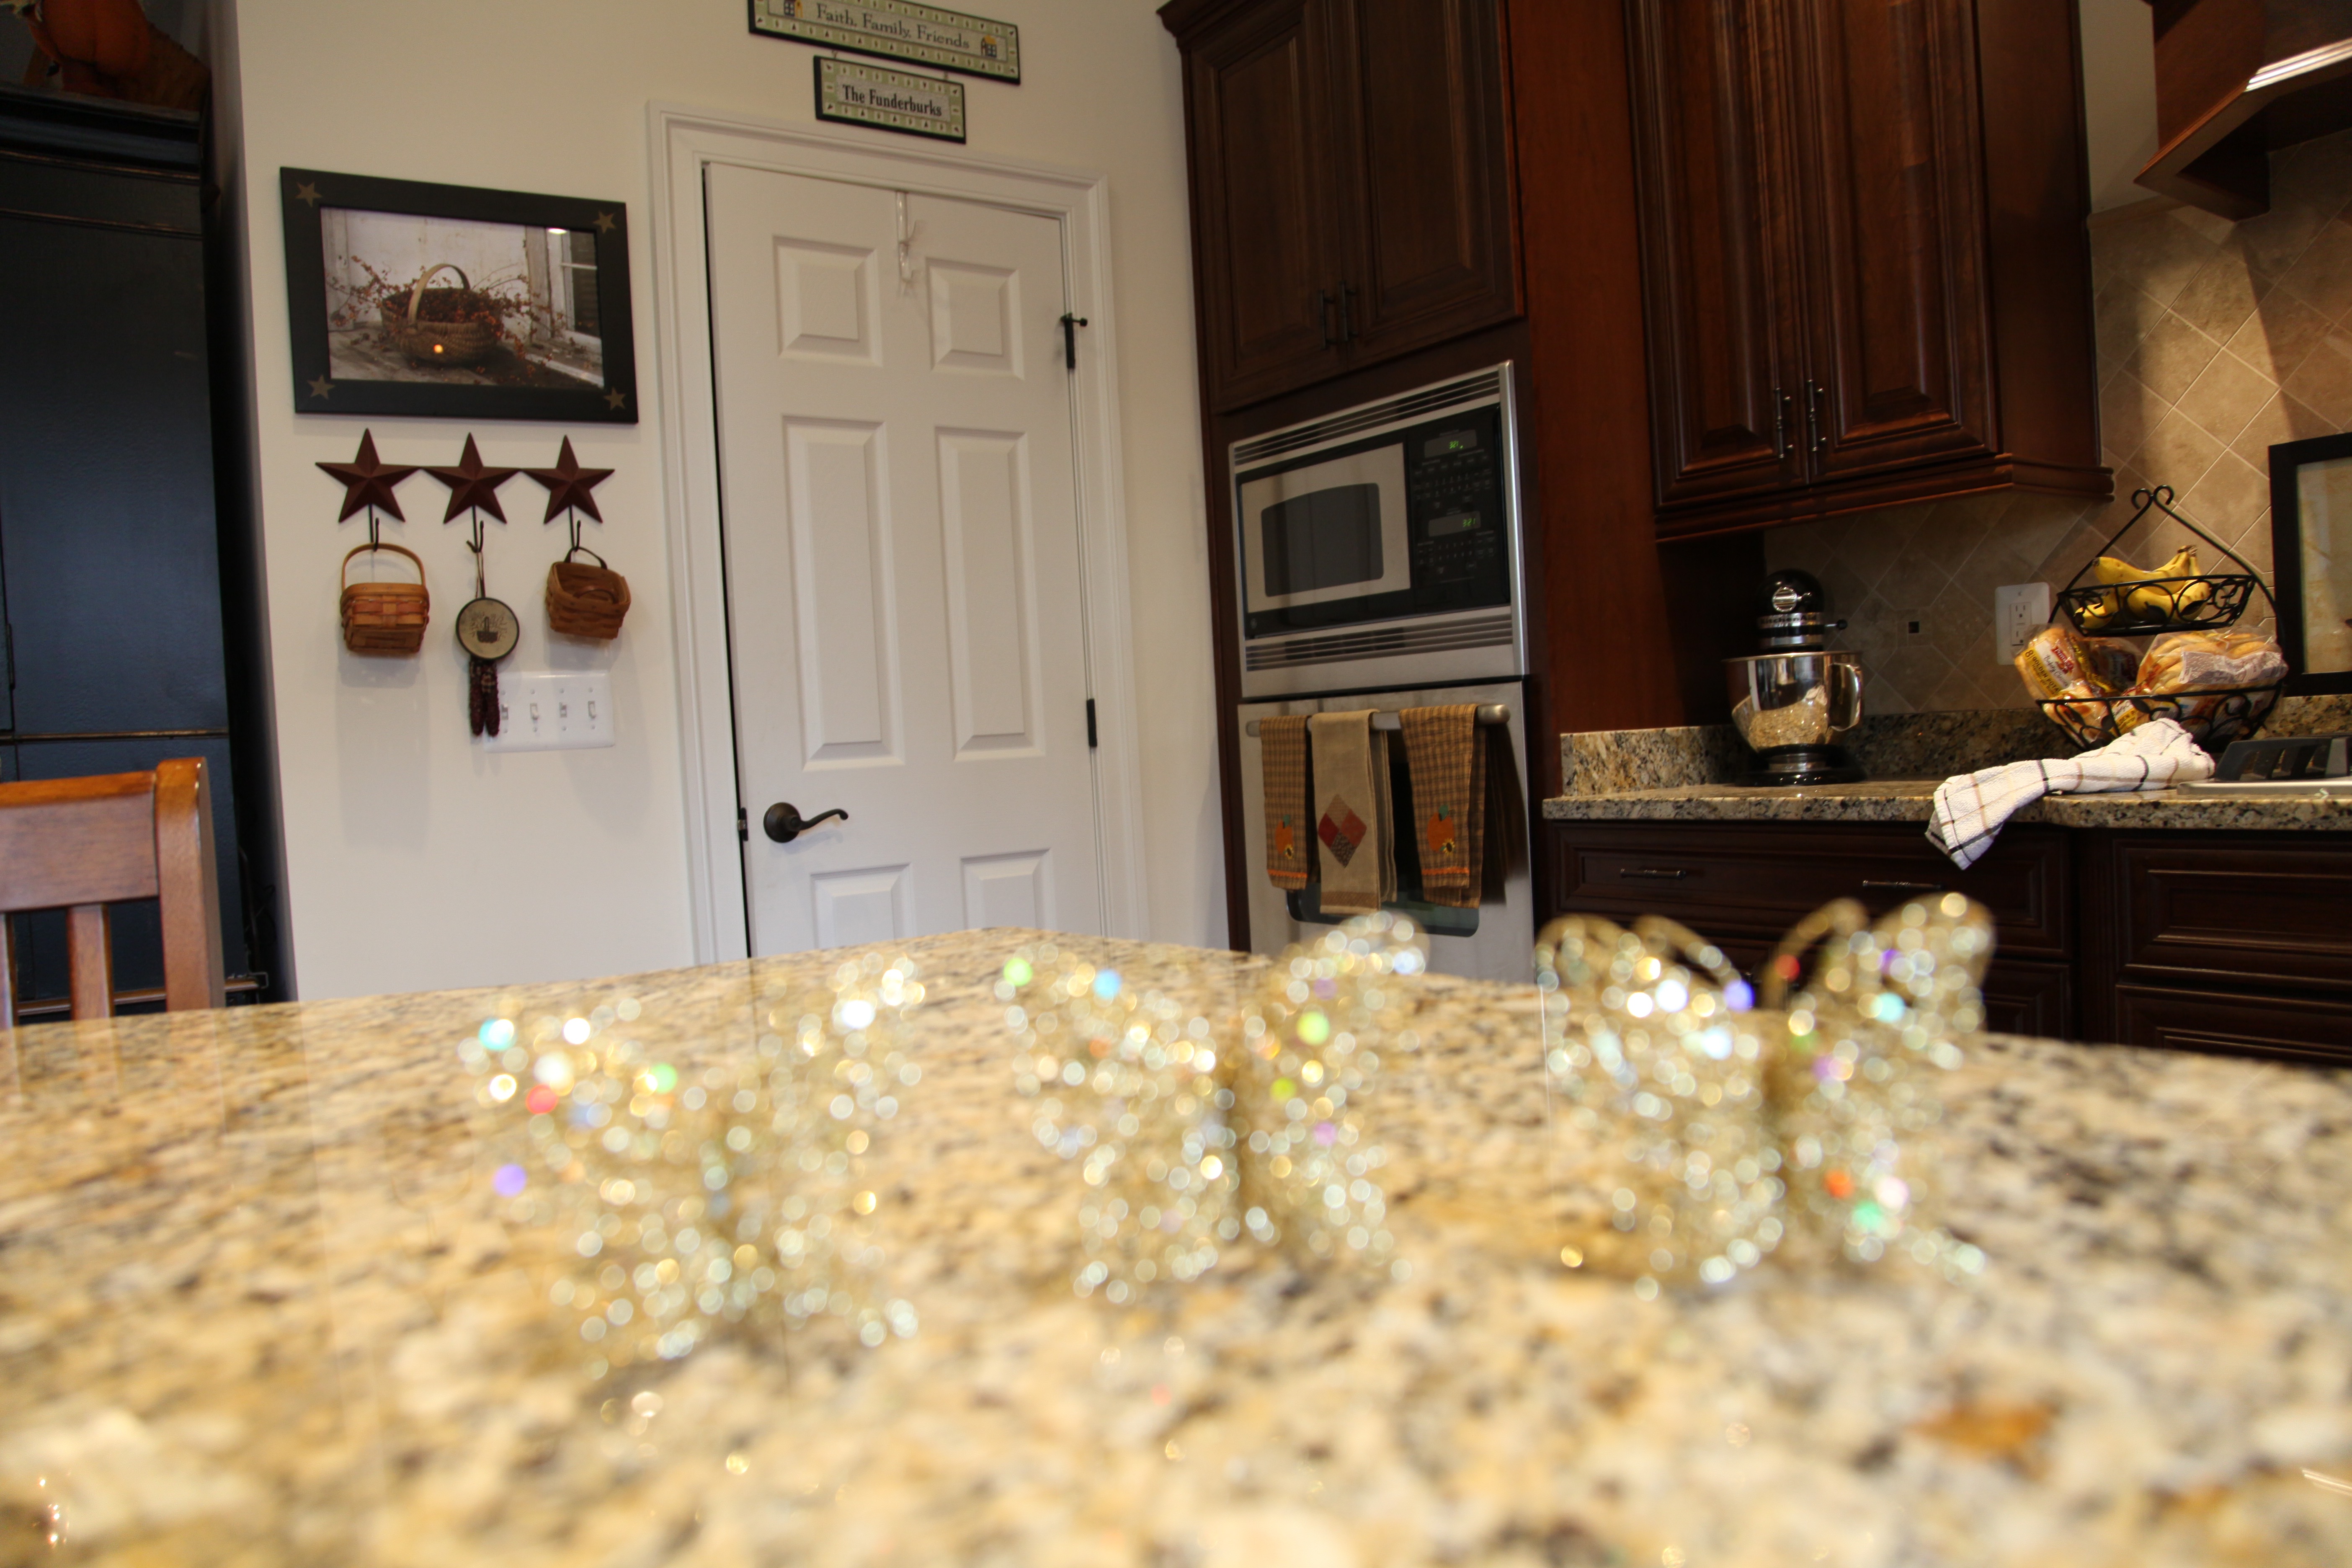
She also loves butterflies, so we grabbed up some of these glittery ones in teal and gold…
We picked up that gold “C” and some gold berries and we were ready to go…


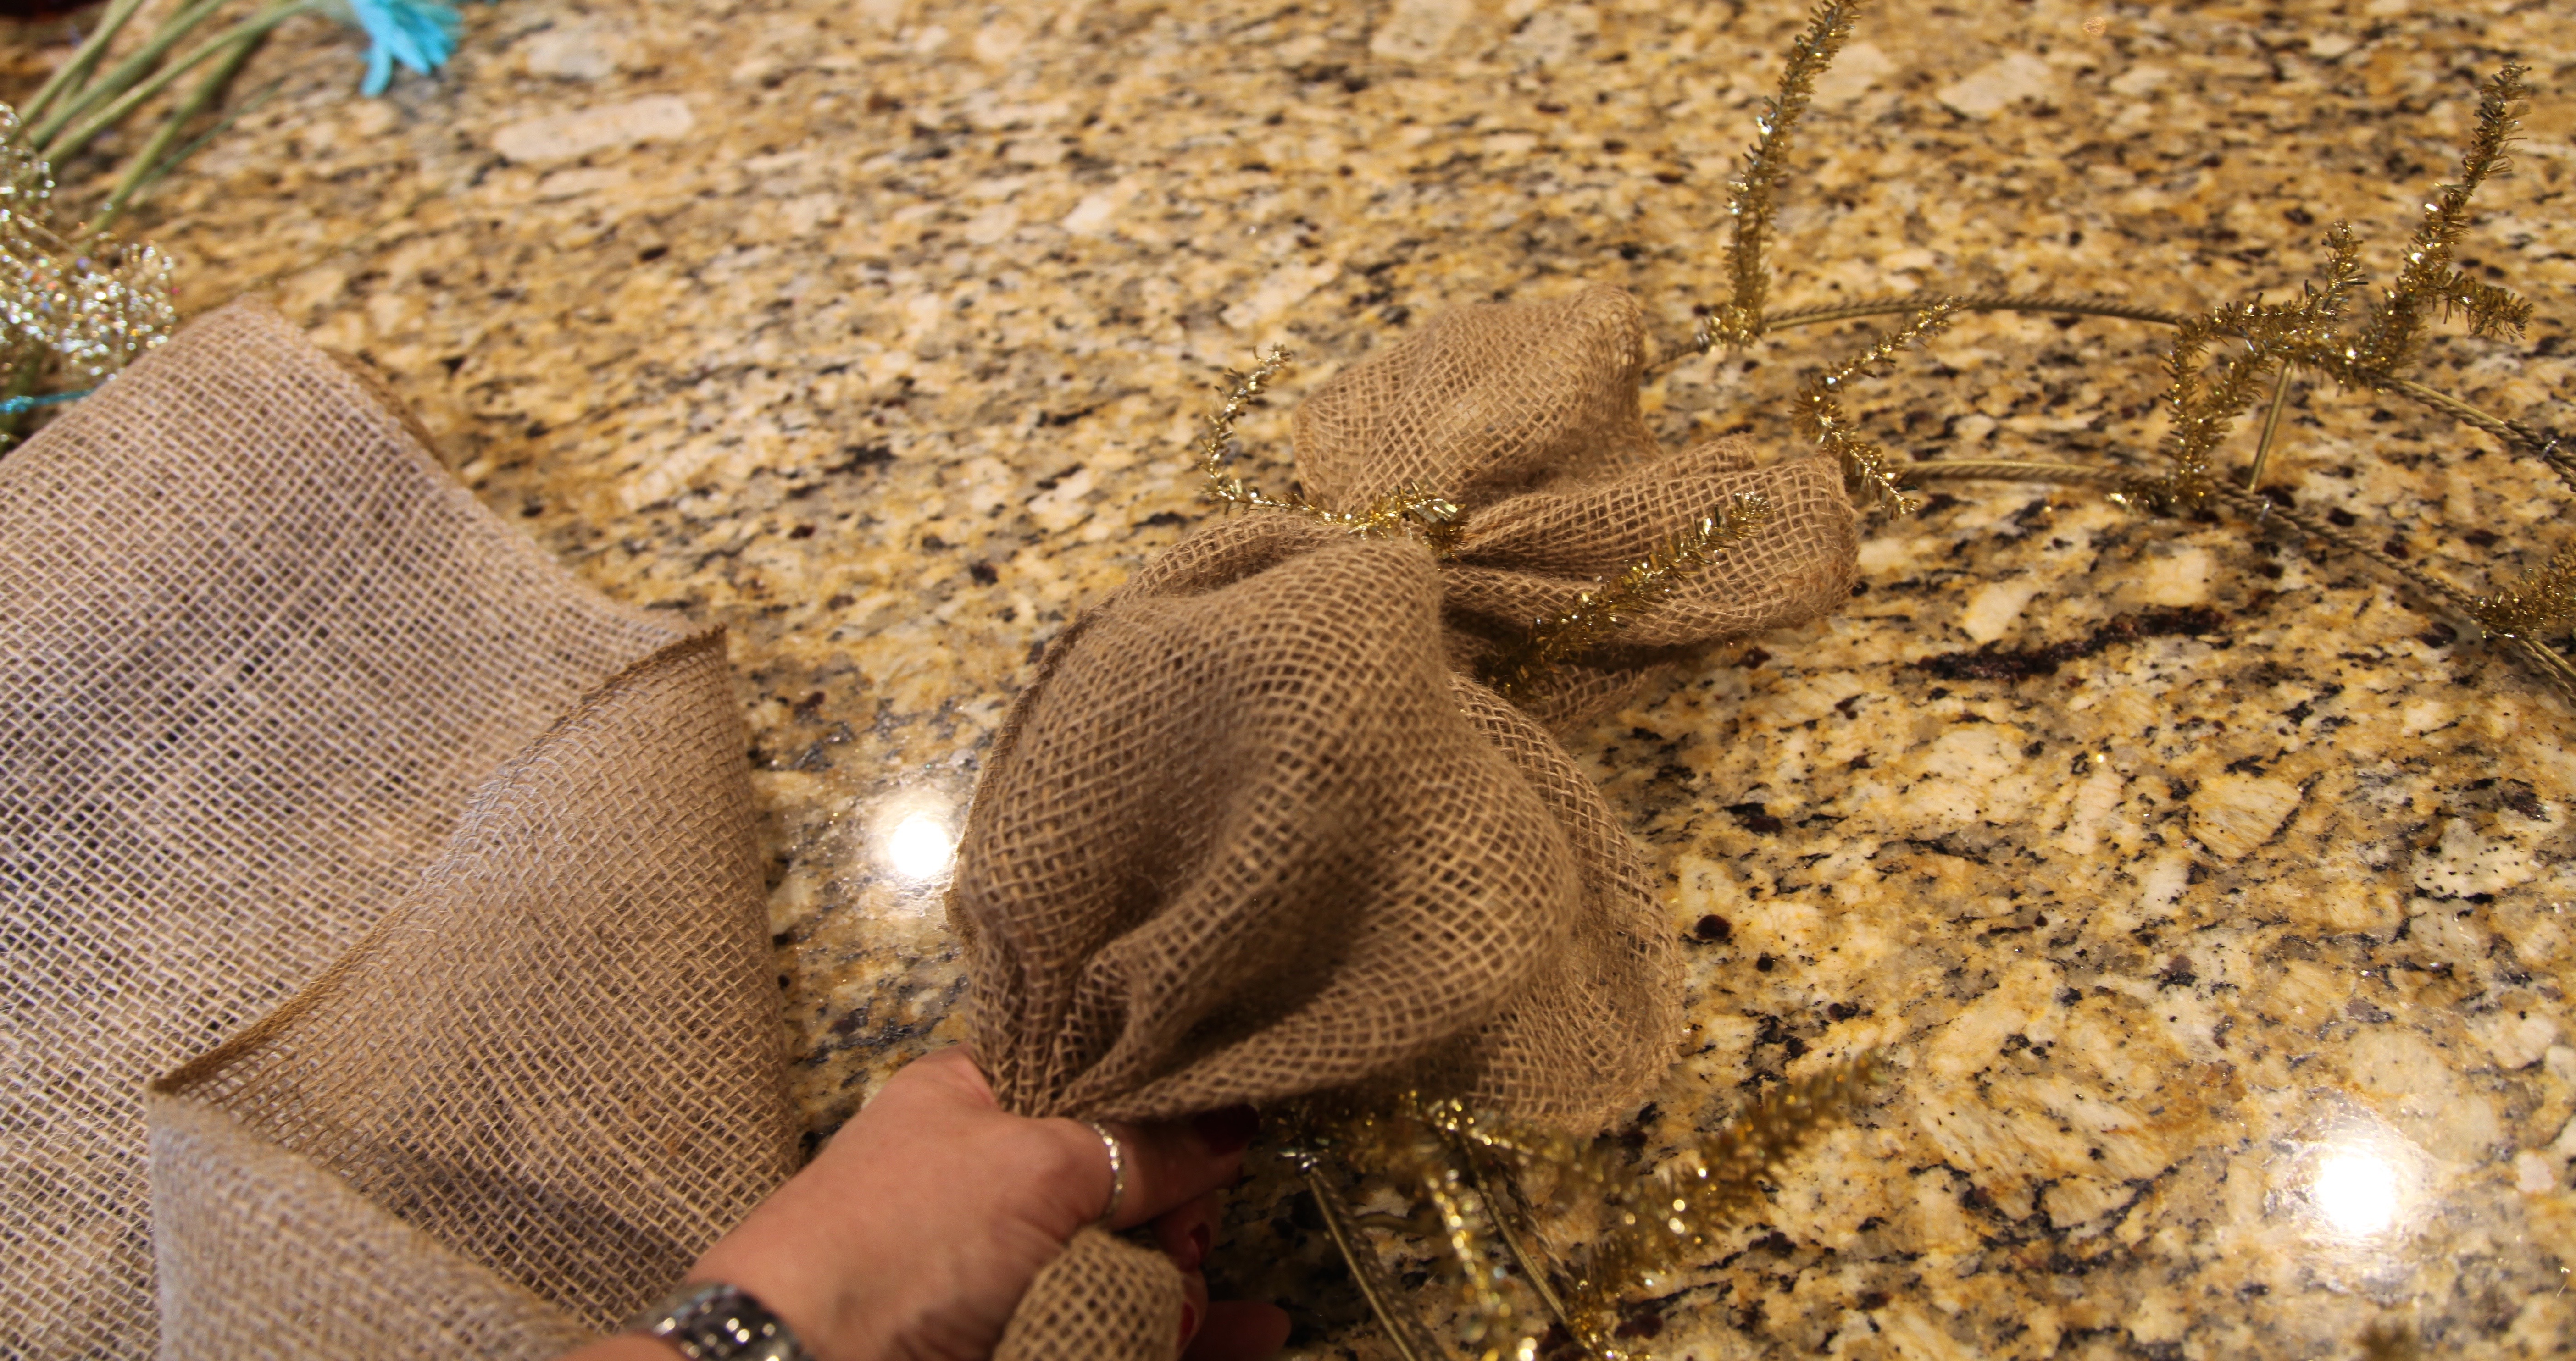
The first thing I did was make a bow…

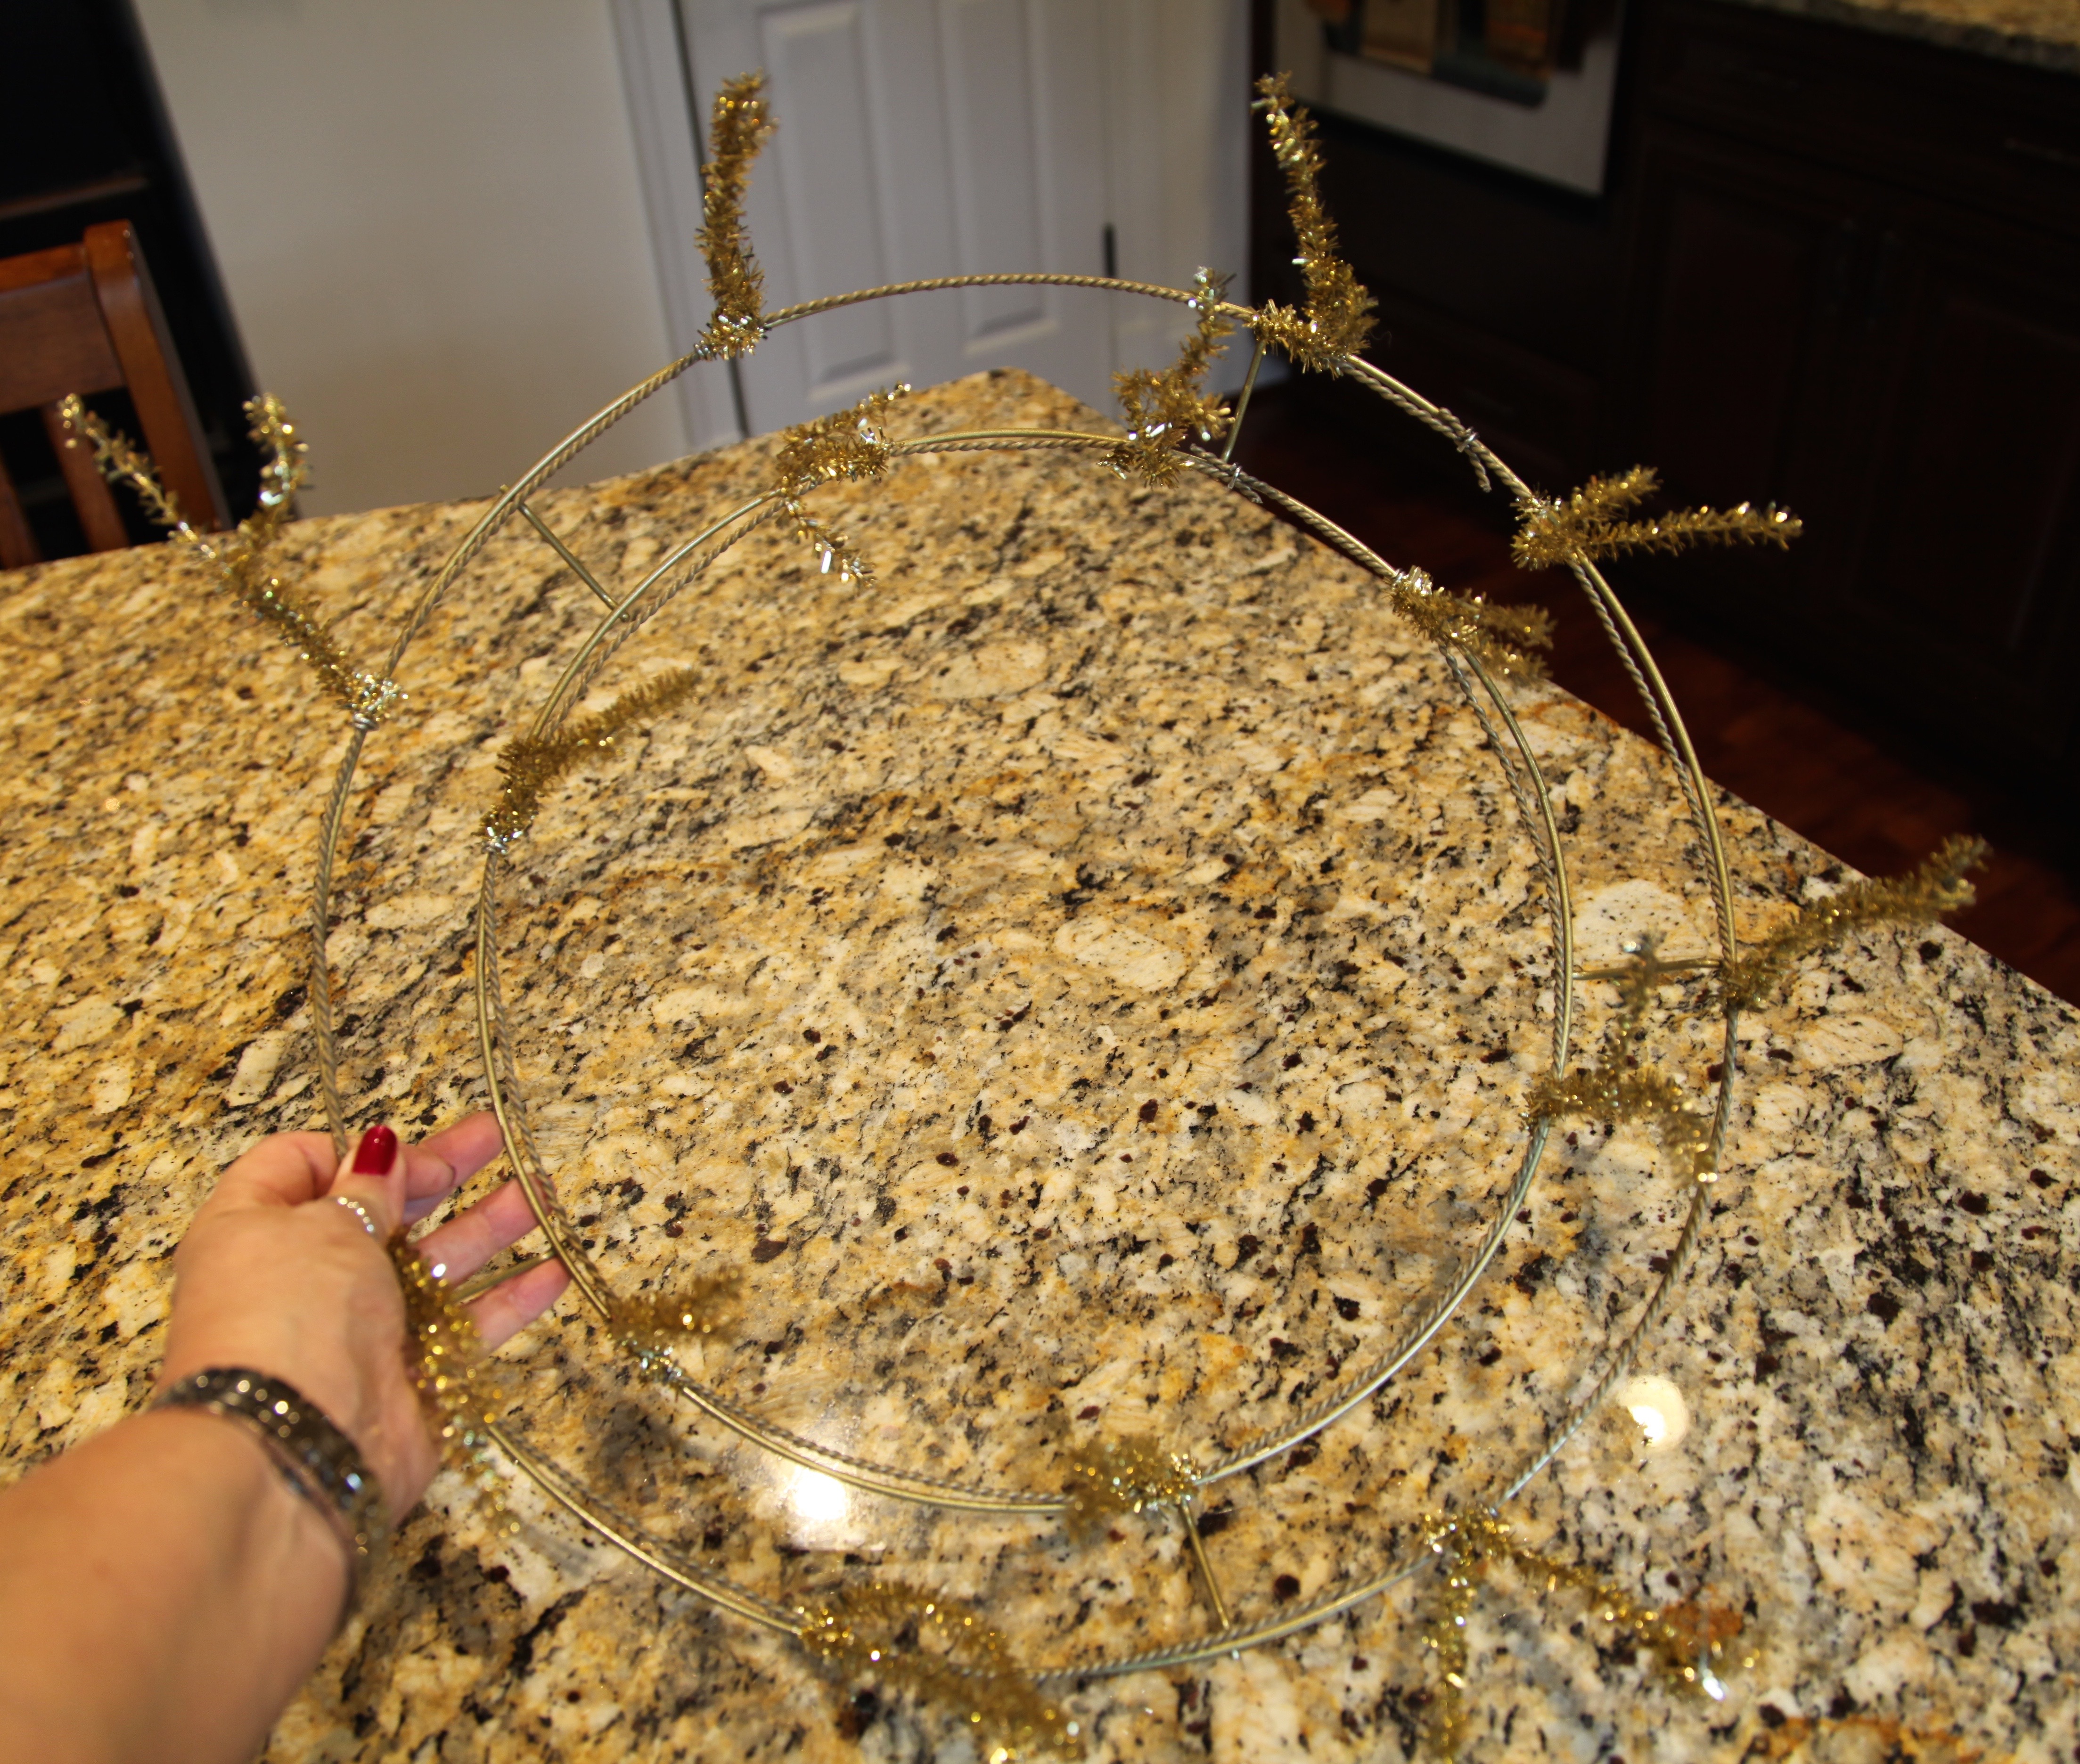
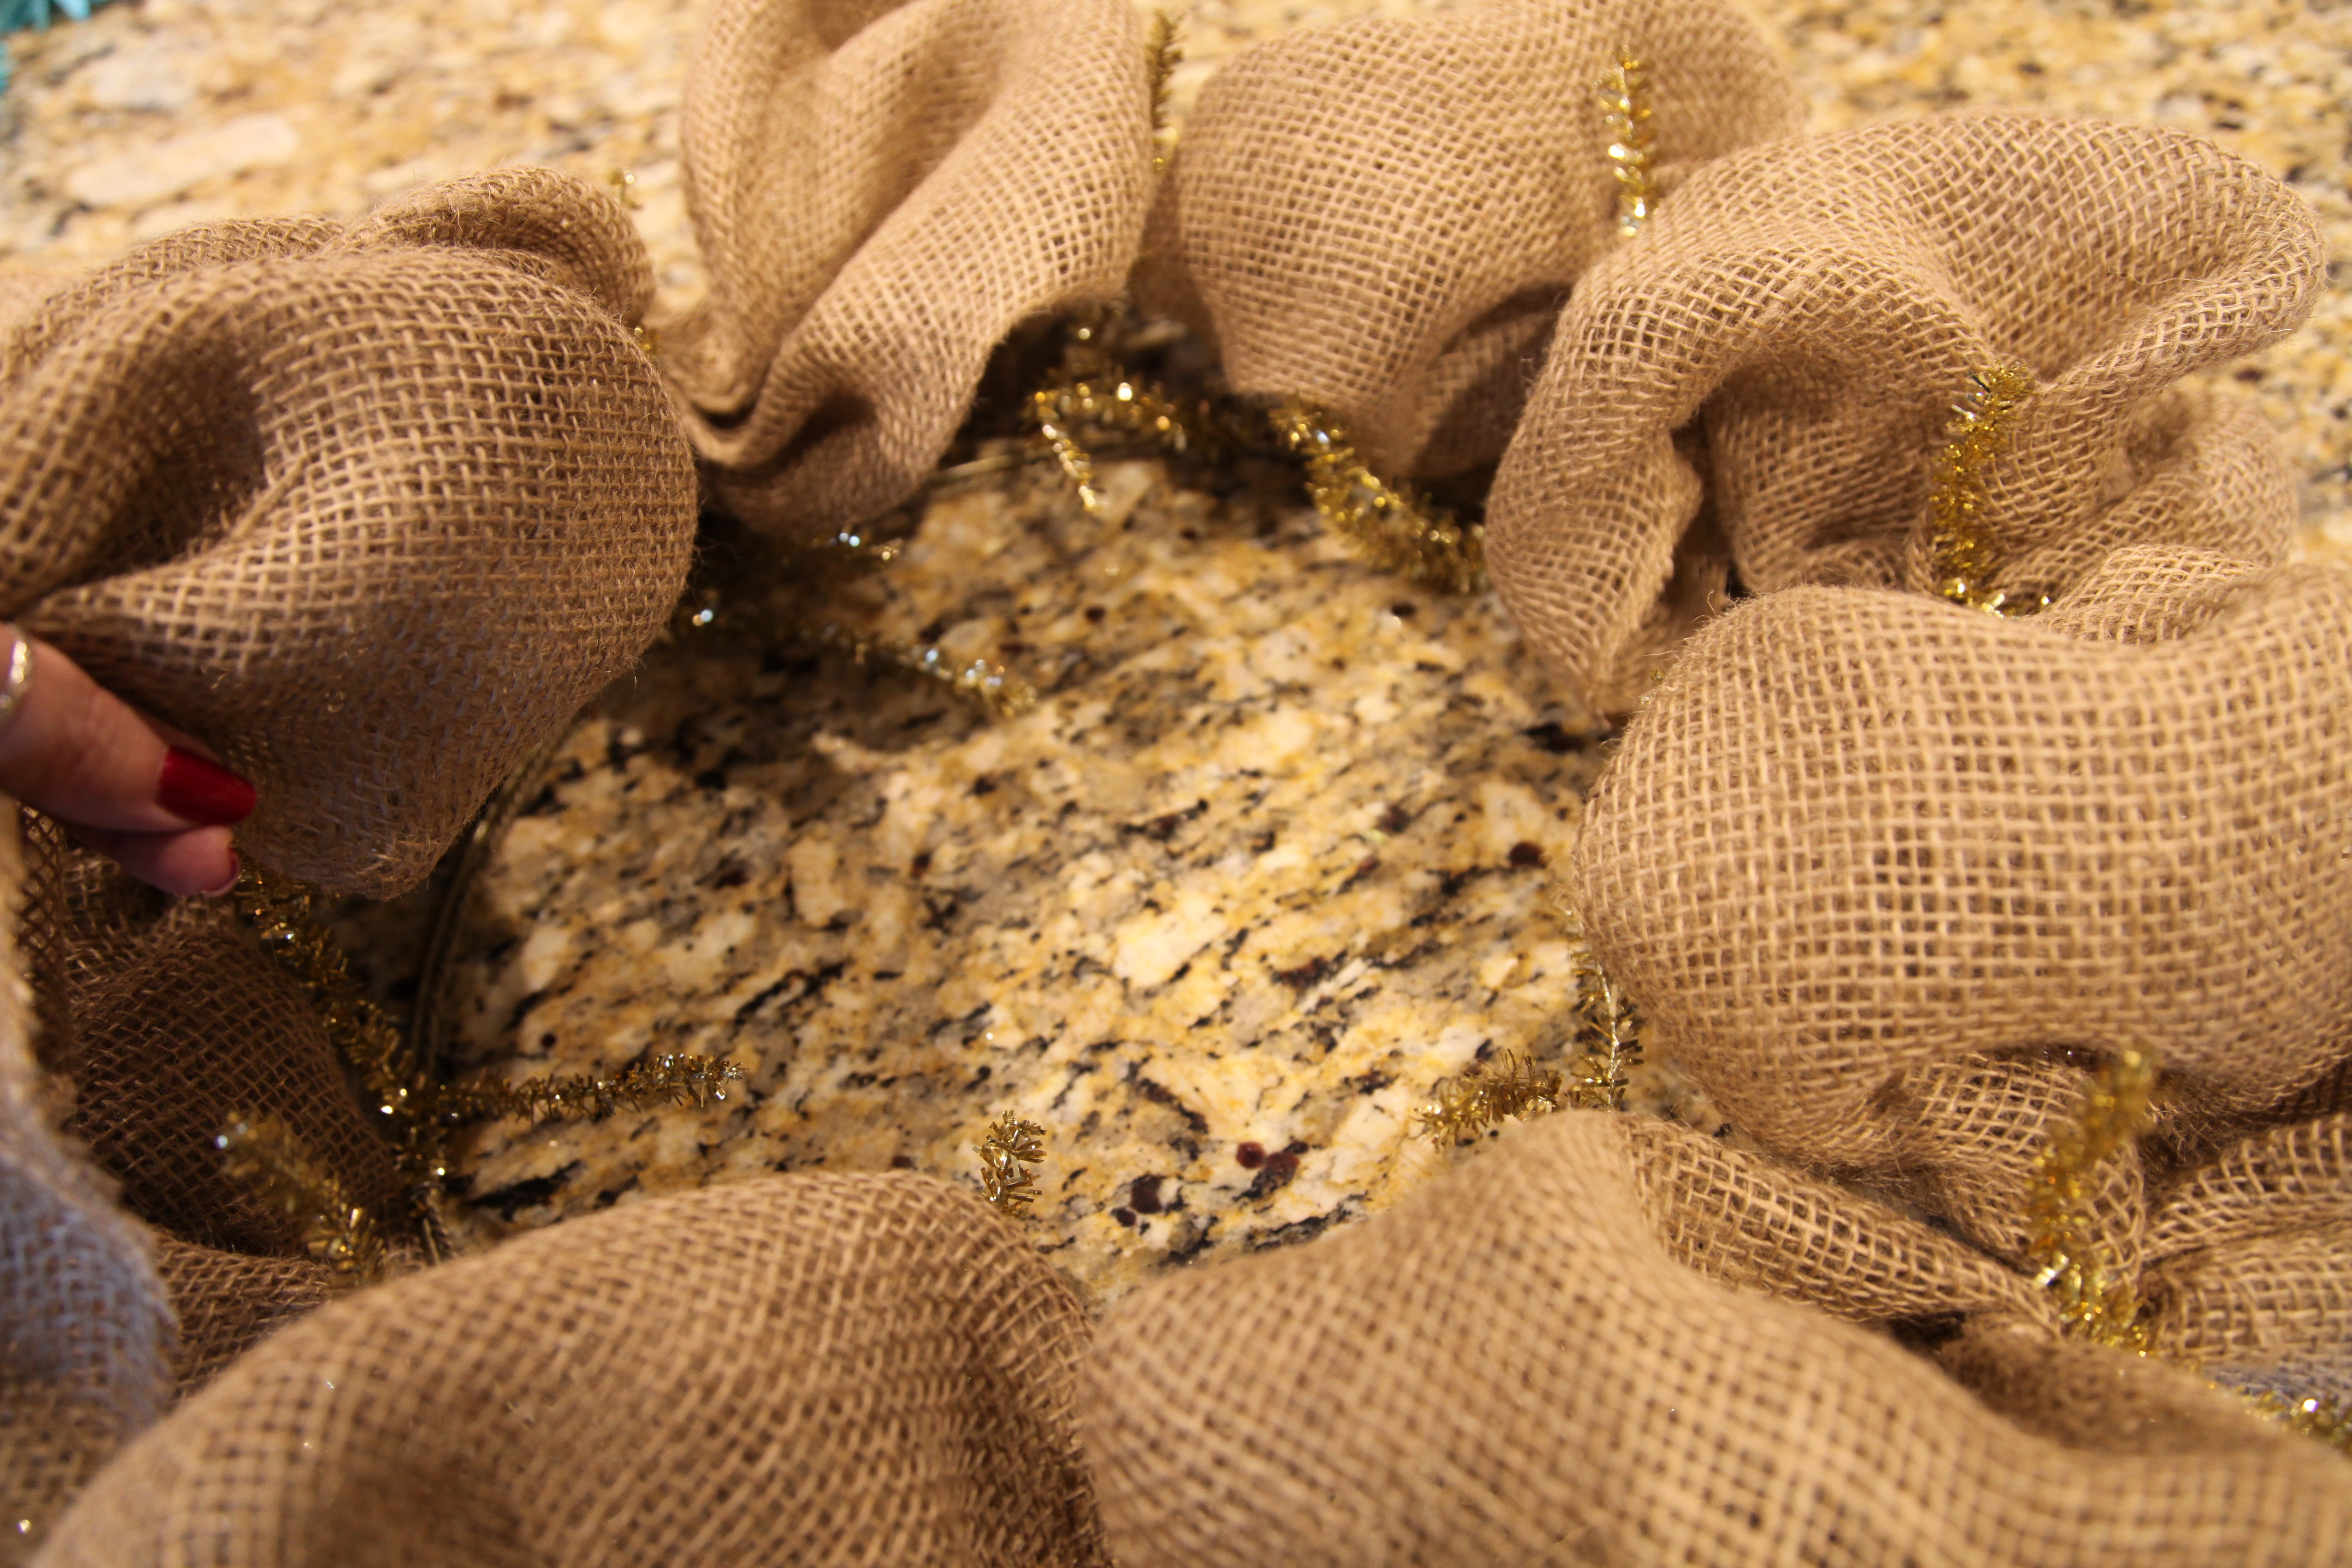
Next, I gathered up a 16″ work wreath (which only means that the chenille twist ties came already attached to the wreath form)…We had picked this up on our shopping spree as well. It was on sale in the Christmas department for 40% off…
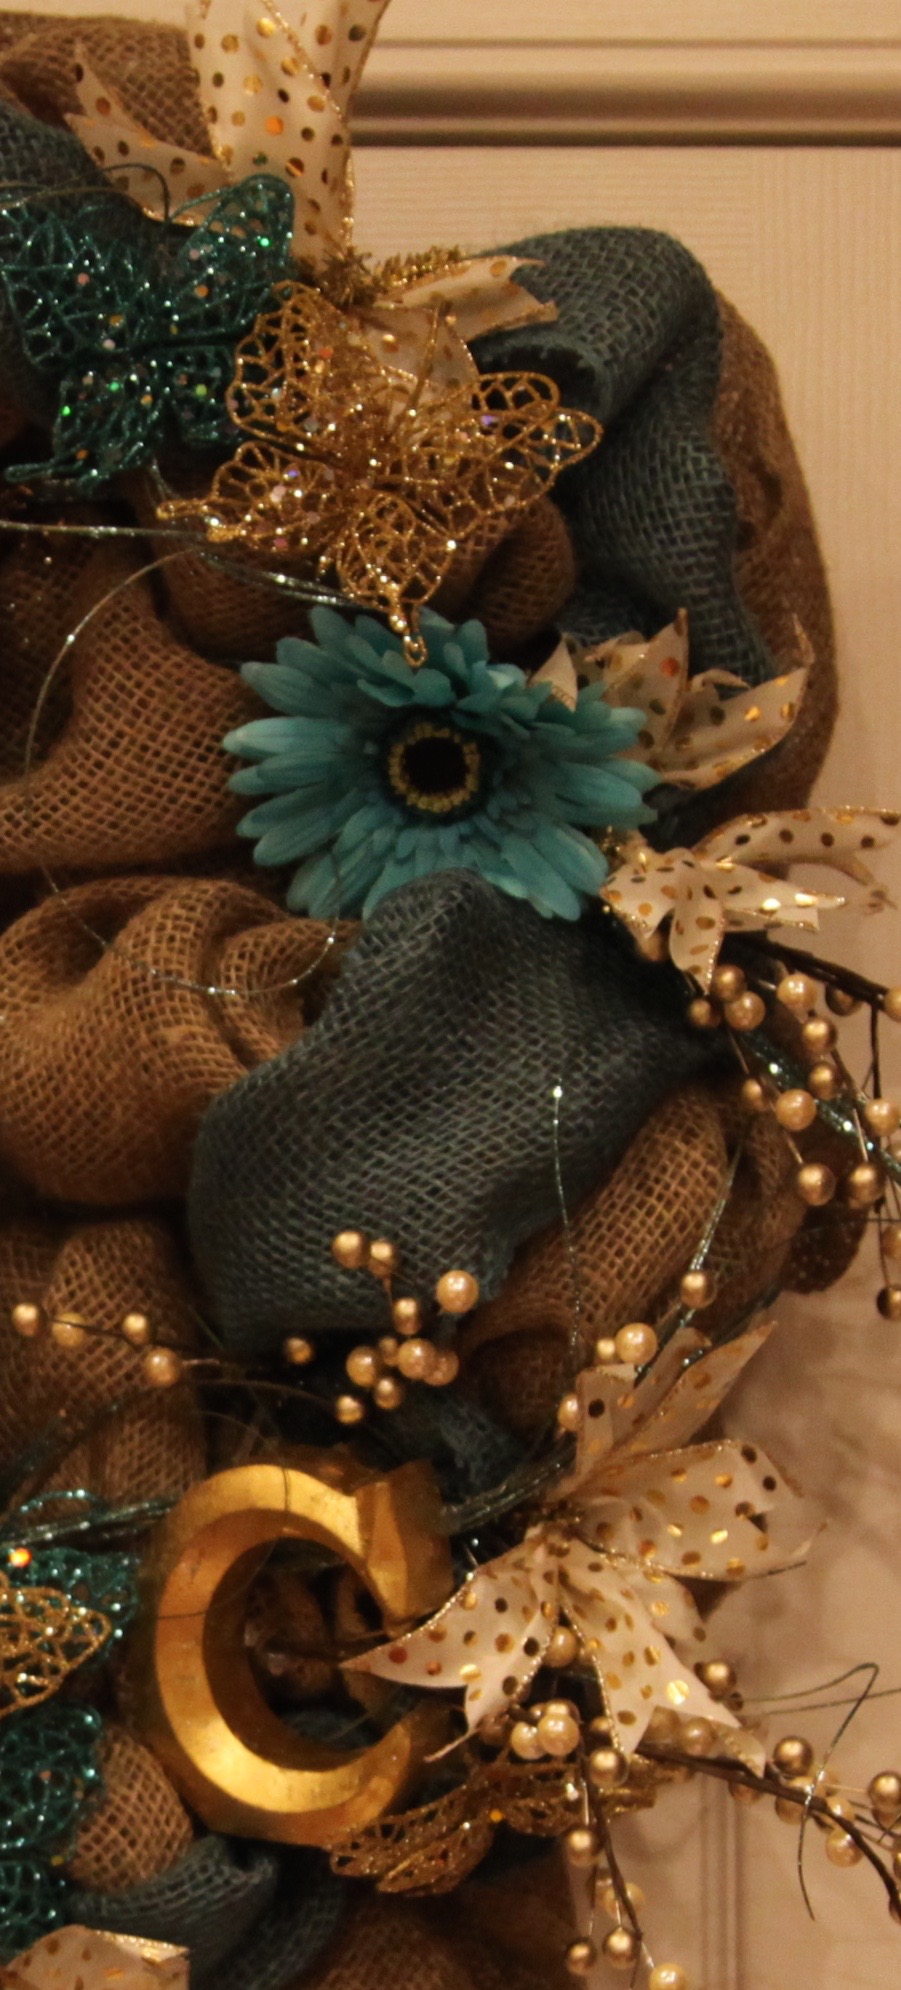
So here we go, I attached the burlap into the twist ties on the outer ring of the wreath form, making loops of about 10″ and working my way around. I then transitioned onto the inner ring and worked my way all around in the same manner making loops about the same size (I used one entire bolt of burlap and a little bit of another one)…
Then I attached the teal colored burlap to every-other twist tie moving from the inner to the outer ring as I worked my way around the wreath…

As I have done before, I hot glued pipe cleaners to the back of the wooden picture and to the back of the letter “C” so that I could securely attach both pieces to the wreath (only hot gluing them would not hold them on top of the burlap–they’d slip and slide around too much without being tied on). I neglected to take pictures of me doing that this time…I’m so sorry…:/ If you want to see how I did that to other pieces, you can check out my Burlap “Woodlands” Wreath blog post. Anyway, those were the first two things that I attached to the wreath, and then I started arranging the rest of the accent pieces, moving them around and tweaking until I liked how it looked. I then hot glued everything into place.
After all of the accents were attached, it needed a little something more, so I took whatever ribbon I had left and made several tufts made up of three 8″ pieces of ribbon; I cut the ends in a ‘V’ shape and attached each tuft to every twist tie on the outer ring…

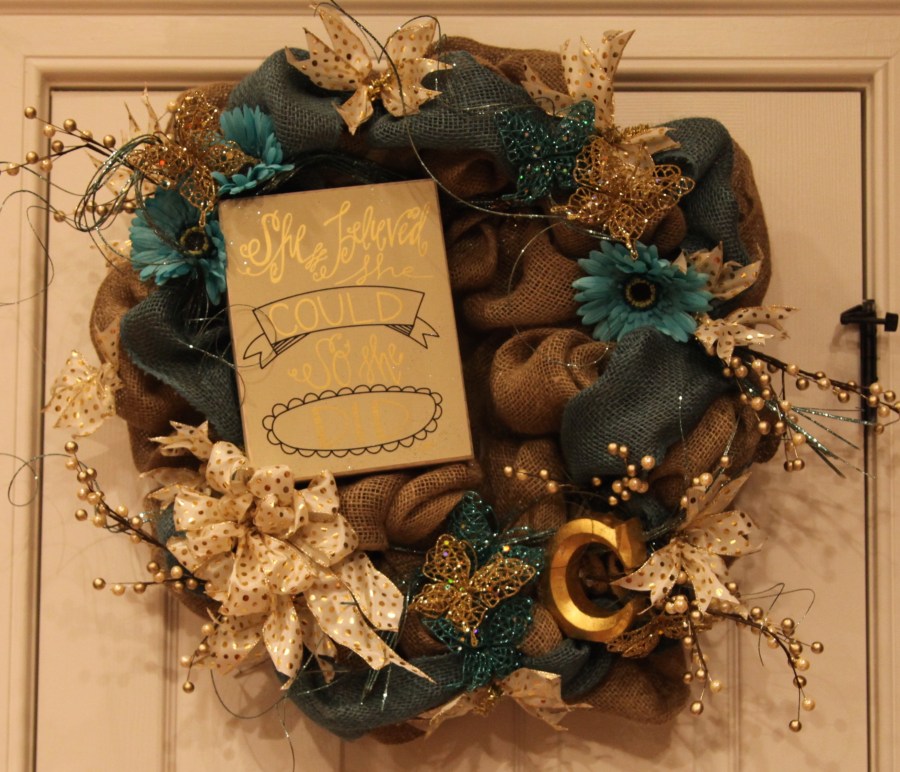
Here is the finished wreath…
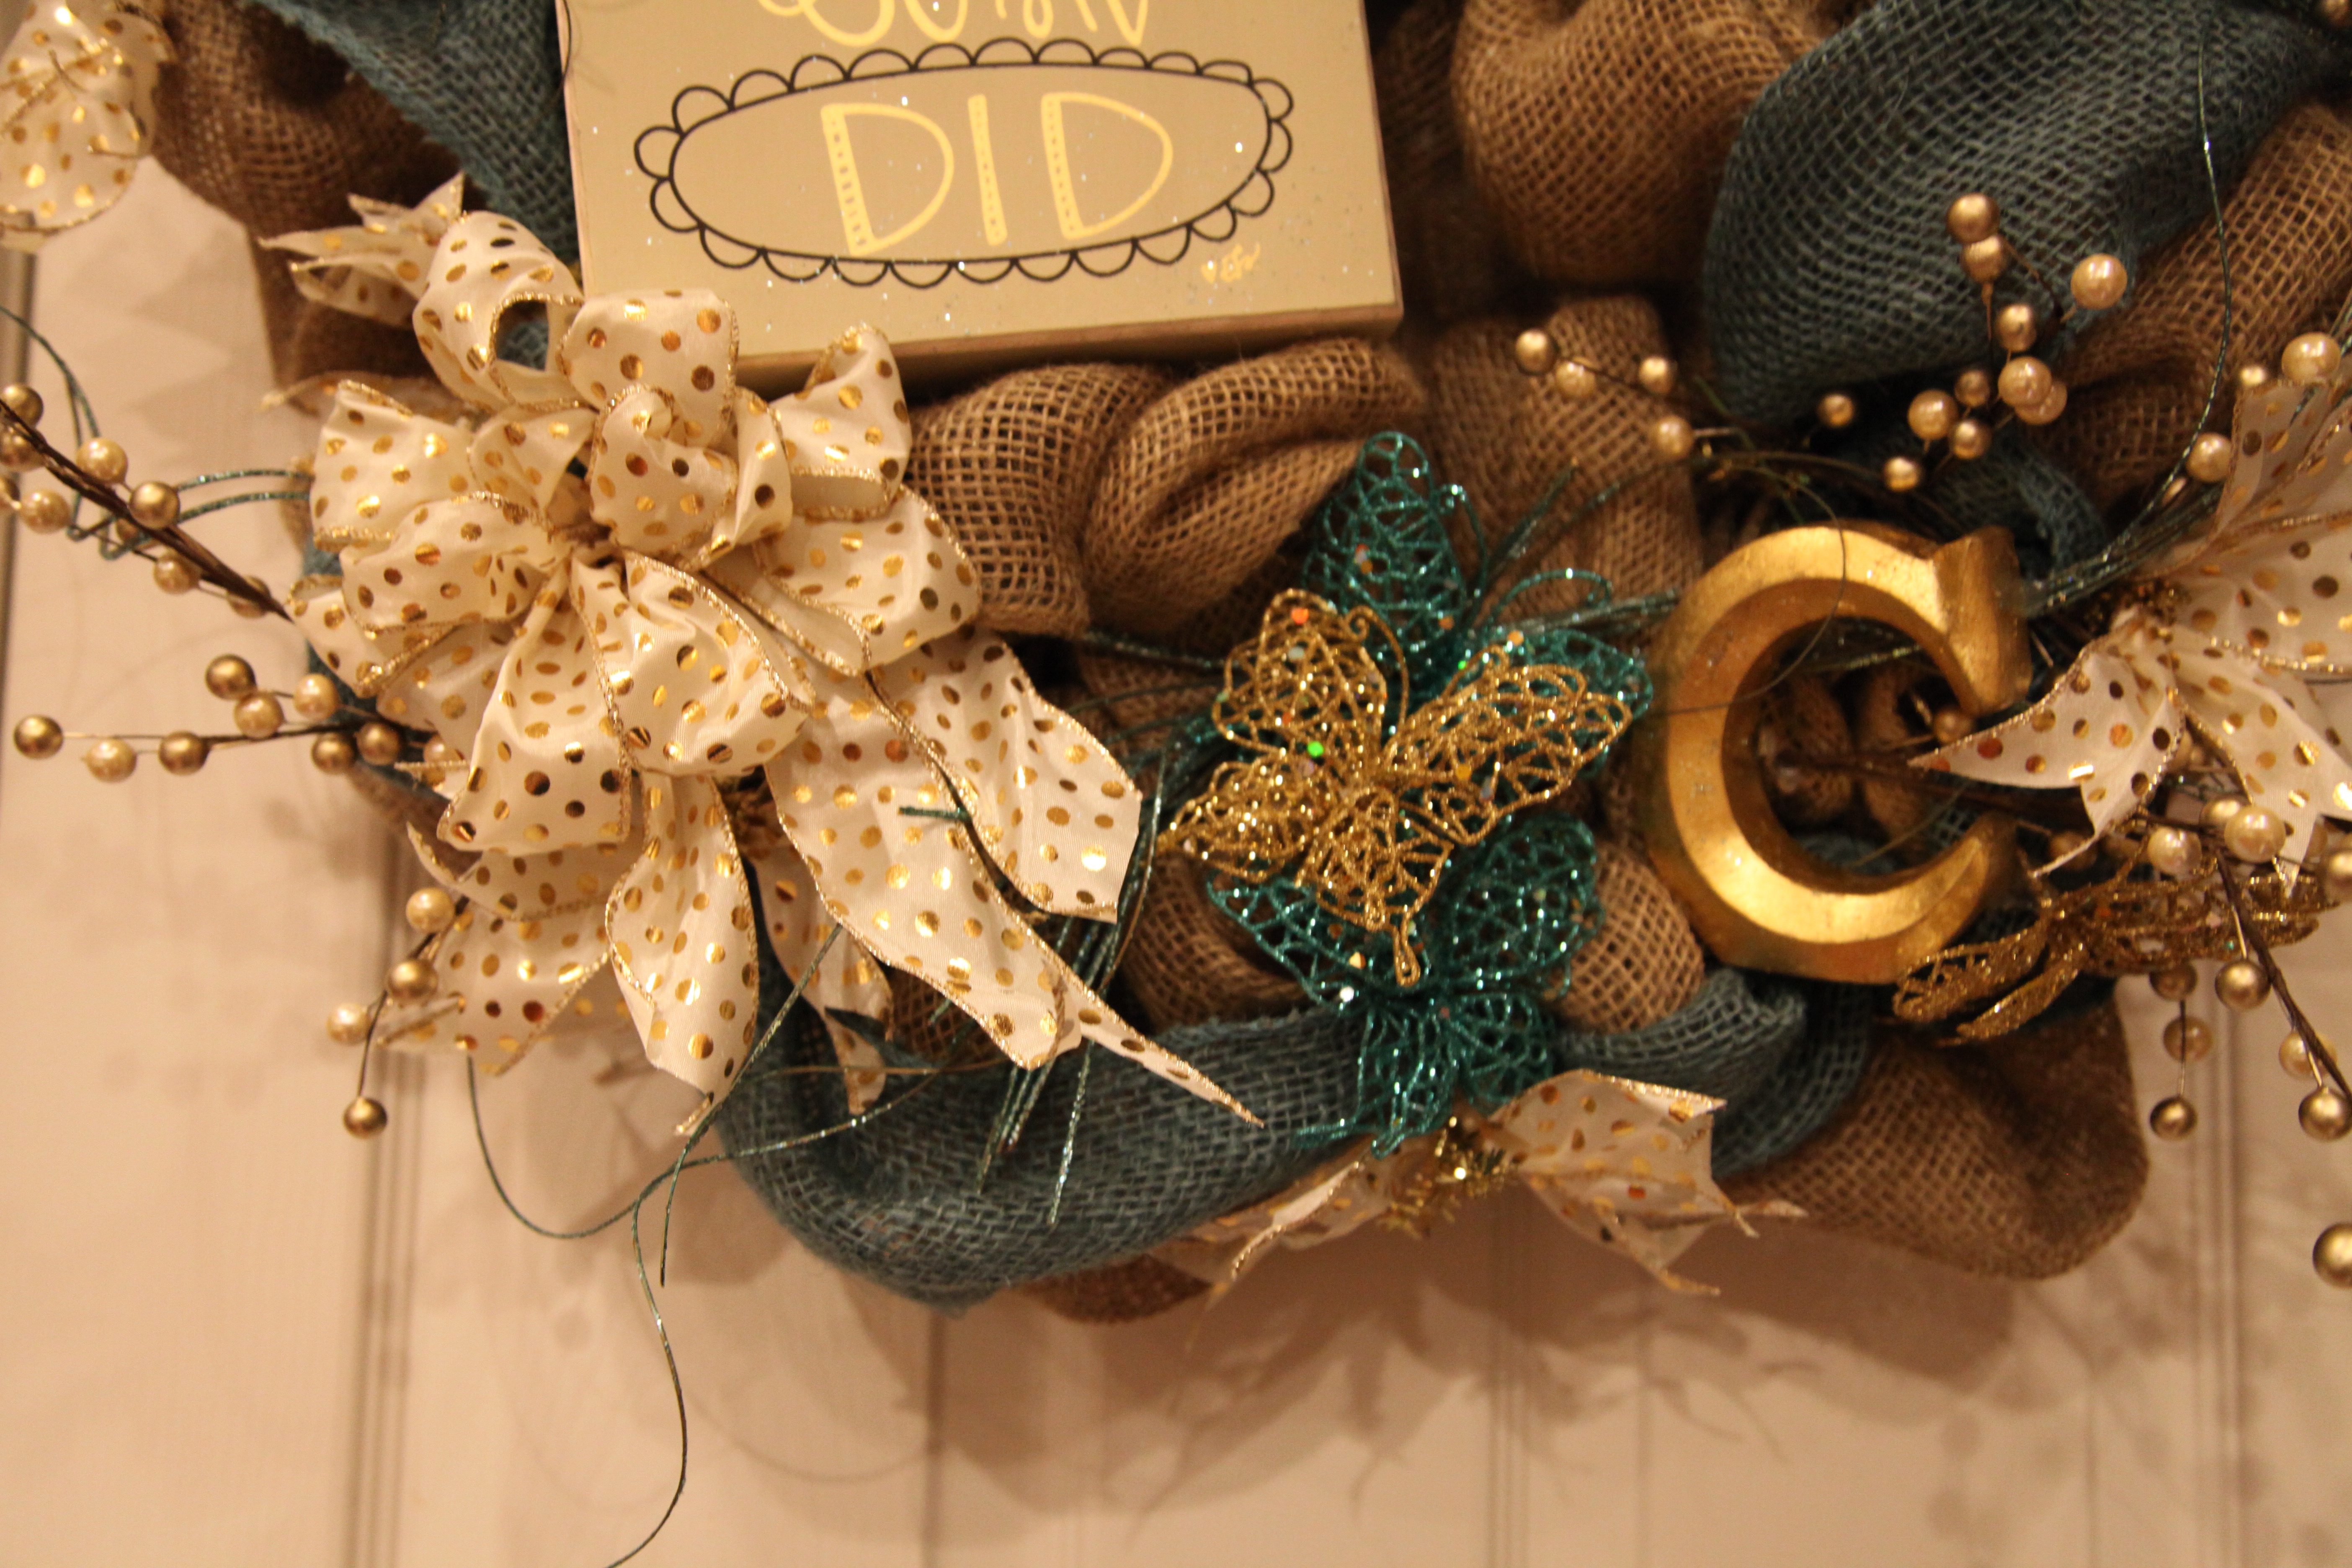
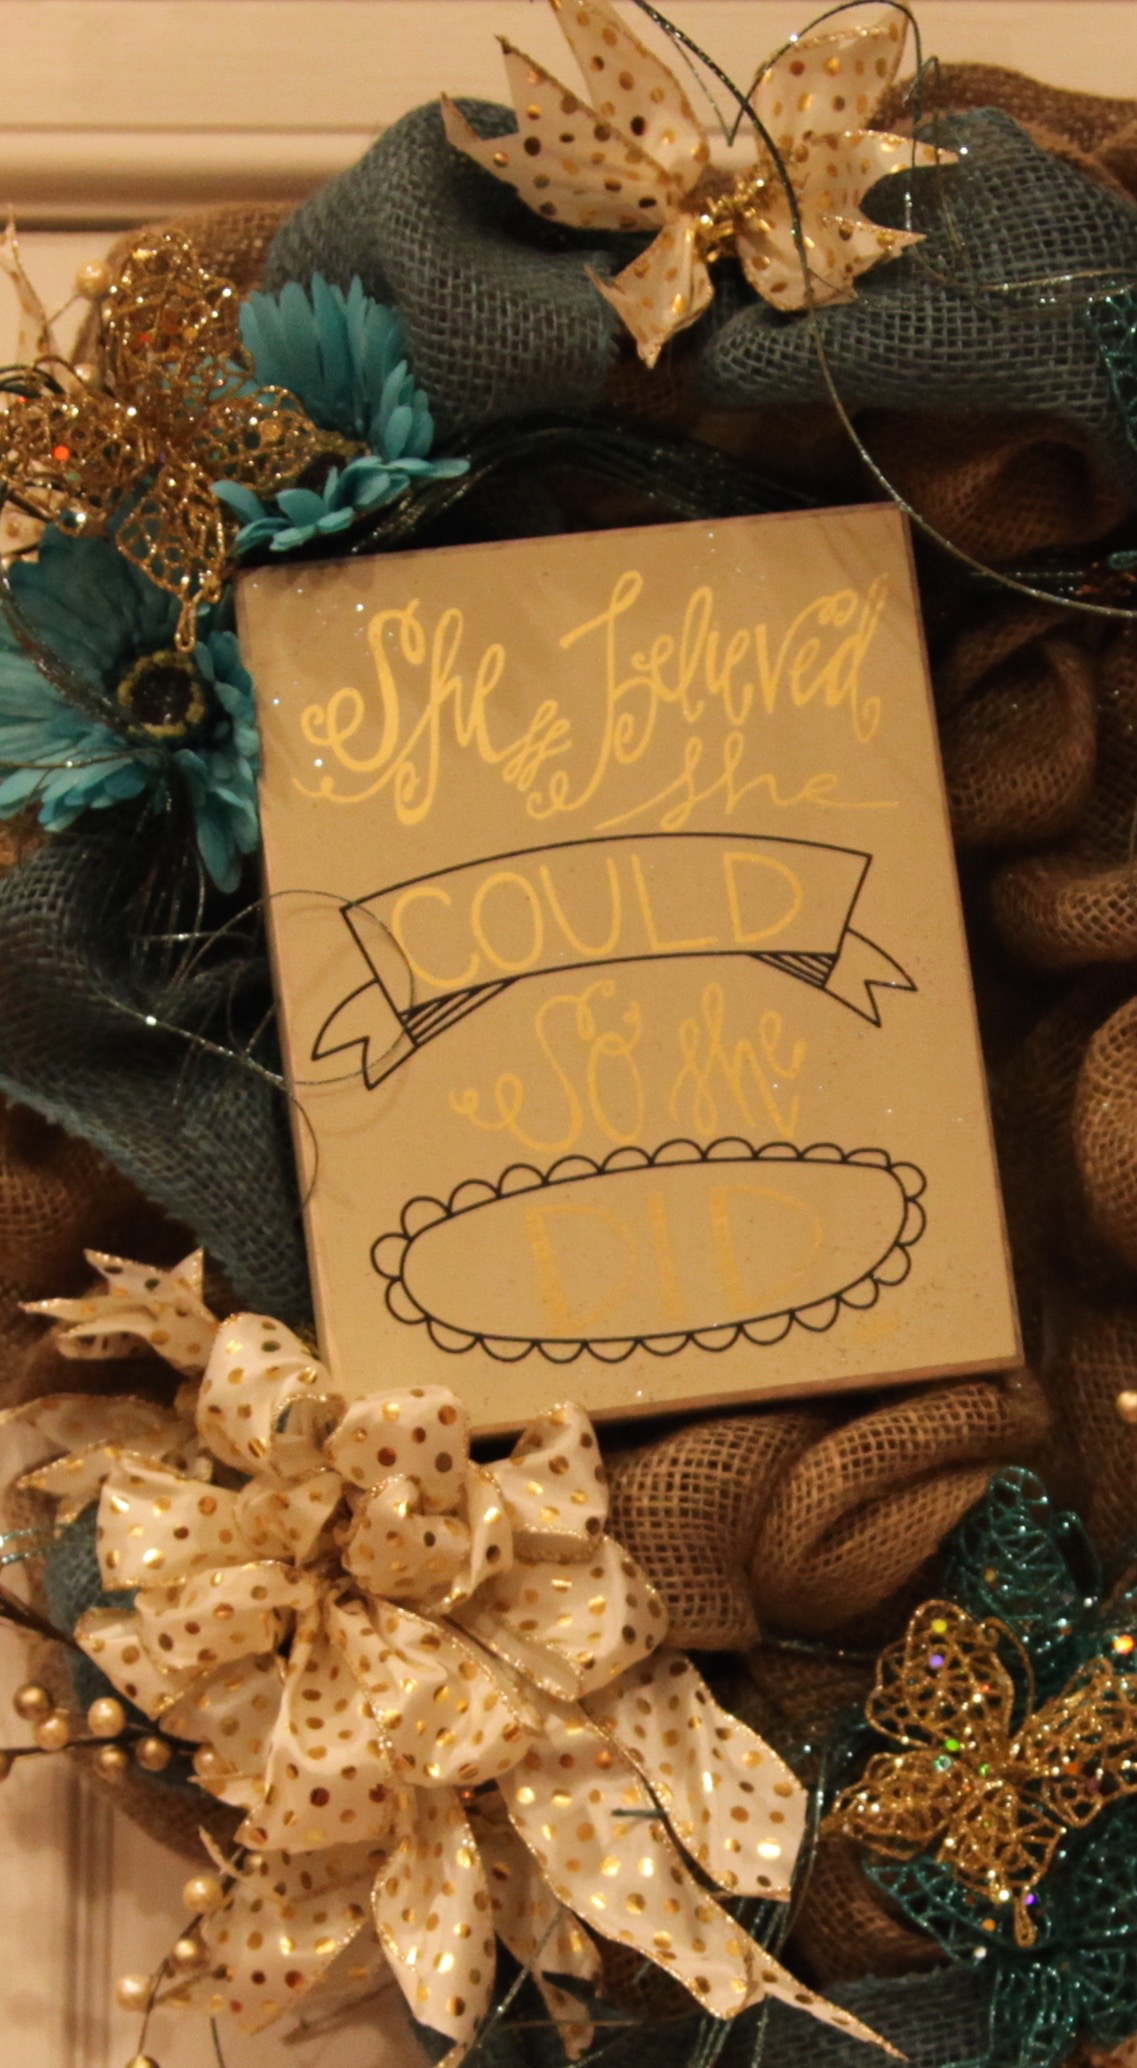

Christin seems quite happy with the finished product and so am I, it turned out to be a pretty, whimsical, fun wreath. 🙂 I’m sure she will find a lovely place to hang it in her home. I love making things for folks; people keep telling me that I should open an Etsy shop and sell my wreaths…I tell them that I have no desire to do that, making things in bulk does nothing but stifle my creative juices and I know in the end, I’d come to hate making wreaths, I definitely don’t want to get to that point, so I will continue to create them for myself and whatever family members or friends might desire one.
Until next time, y’all take good care!! ❤
**In crafting there are no mistakes just unique creations**

Pingback: Quaint Deco Mesh Wreath In Teal And White | Country Craft Corner
Pingback: Home Goods Haul: It’s All About the Green’ish’ Color – Country Craft Corner