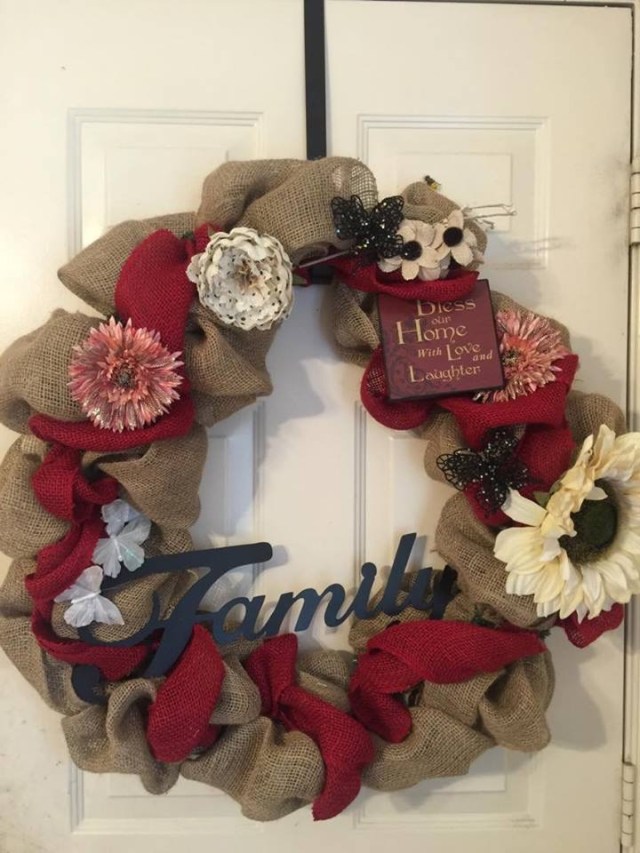
I admit it, I am not a quilter! I can do pretty much any other craft, and yes, I can sew and have sewn many things in the past, but, quilting, well, I’ve just never had the patience to sit and learn how to do it correctly. I envy those that have the talent, the expertise, and yes, the patience to create something that evokes such a warm, very special feeling. One of my dear friends *Billie* is a wonderful quilter, so when she asked me for some instructions as to how to make a burlap wreath, I was touched and humbled that she liked my stuff so much that she might like to make something like what I create. I was thrilled to give her a little extra help and I provided her with a shopping list and some basic instructions and pointed her to my Front Door Burlap Wreaths Blog post in hopes that it might help her put her wreath together. She was making it for her Mom for Christmas, and she ended up doing a fabulous job!!! Here is a picture of her finished wreath, this is the first burlap wreath that she has ever made and I think she nailed it perfectly!!
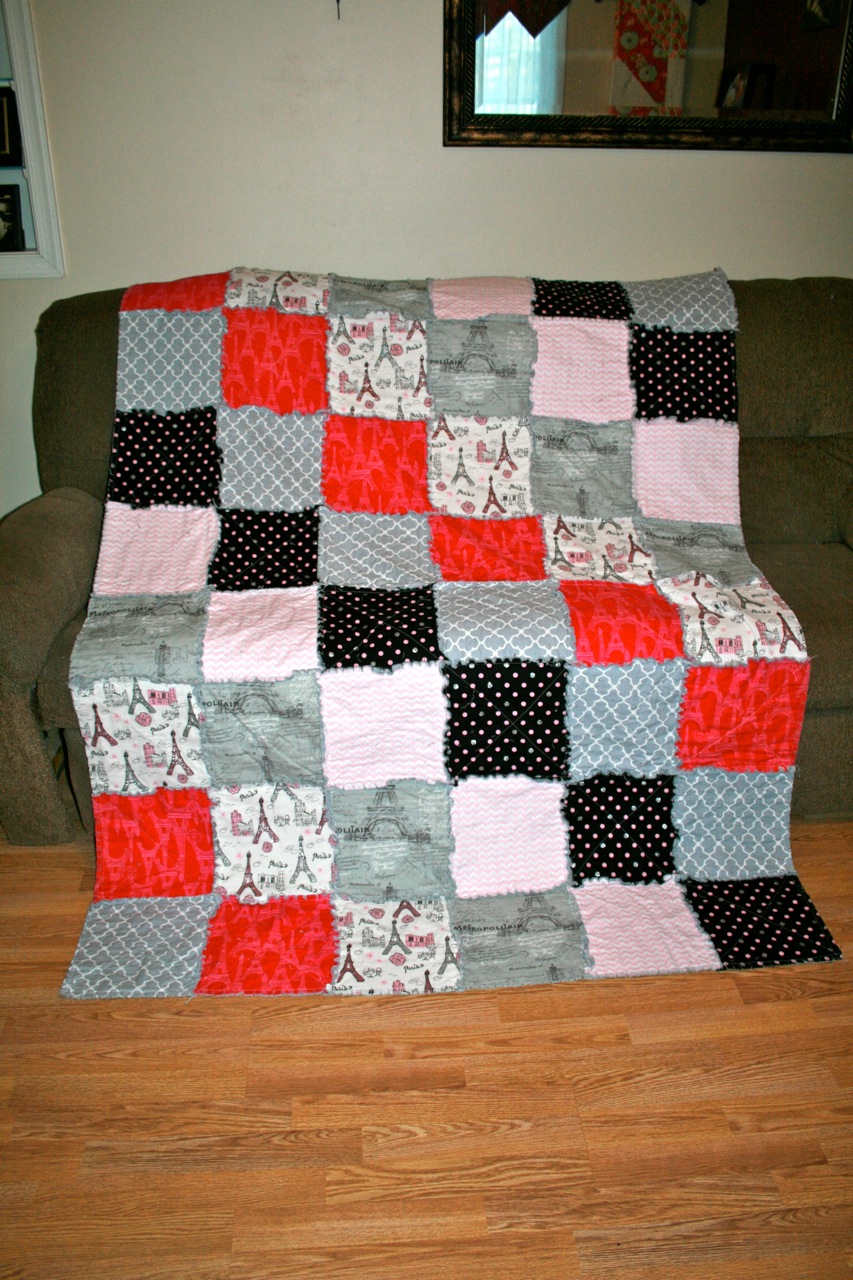
Billie has been kind enough lend her quilt making expertise to my little ole Blog here; she has sent me instructions and some accompanying pictures that might serve to help one of y’all out there to make a Rag Lap Quilt. First though, let me show you some of the other quilts that Billie has created over the years, she does gorgeous work! **AND don’t miss Billie’s little pup Penny who obviously loves her Mama’s work too…LOL…She is so stinkin’ cute in these pictures!! ❤

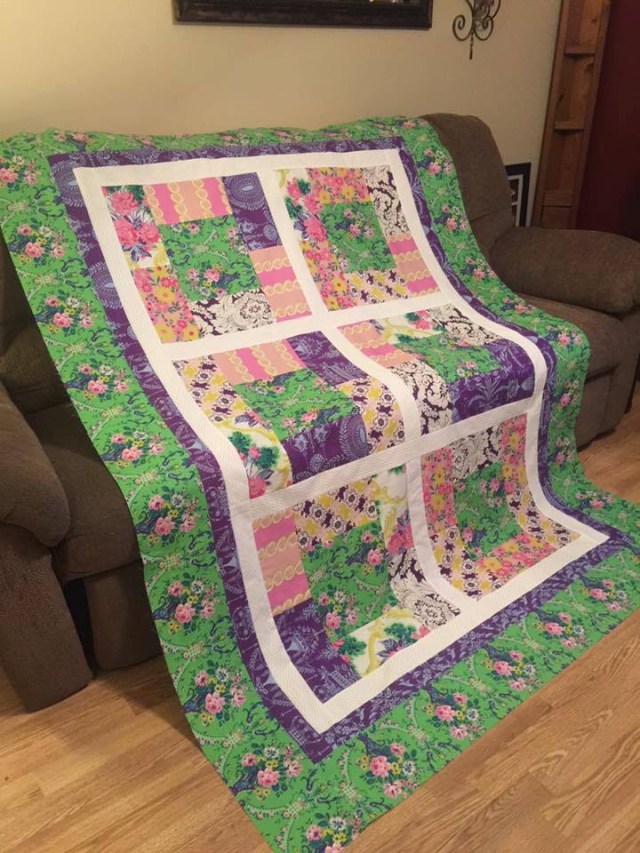

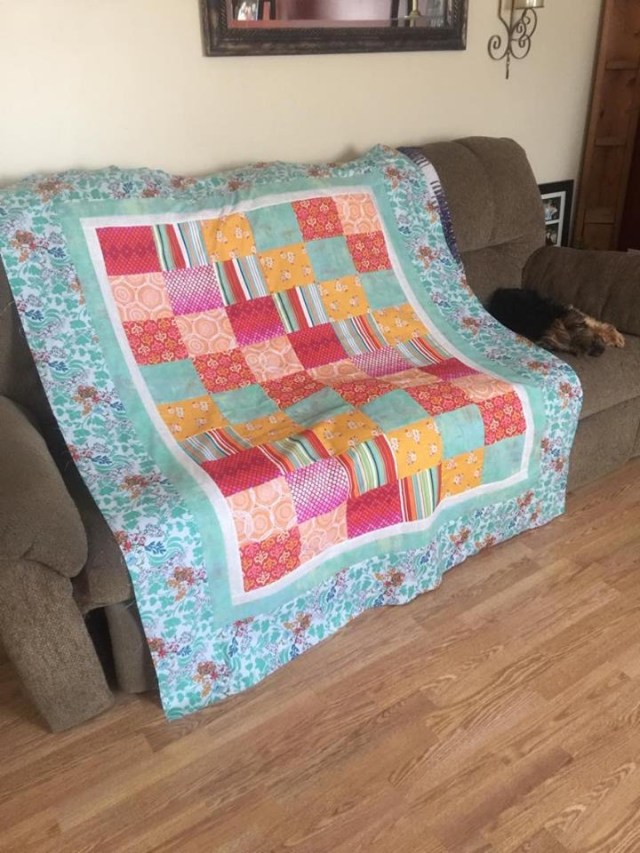

My gosh, aren’t those quilts just the prettiest things you’ve ever seen?!! I can’t choose a favorite…I honestly can’t! I know without a doubt that I could find a special place for each and every one of them in my home…what a TALENT!!!!! Wow, wow, WOW!!!
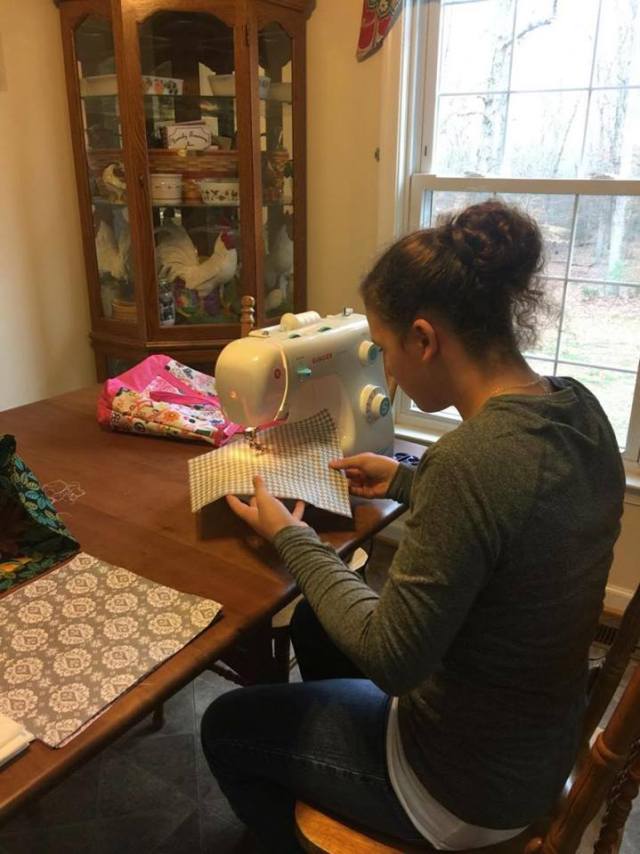
So, here are some instructions that Billie sent me and she has graciously given me permission to pass on to y’all as to how to make a Rag Lap Quilt. Before we get started, she wanted me to assure y’all that this project is a great project for beginners and advanced sewers, any imperfections in cutting and sewing are forgiven when all is said and done, beginners can enjoy sewing without having to worry about making mistakes and advanced sewers can sew without being perfectionists. Here is Billie’s friend Alexis who is only 11 years old sewing for the very first time ever making herself a fun, fast and easy rag quilt. It’s just a wonderful and adorable project for all levels!
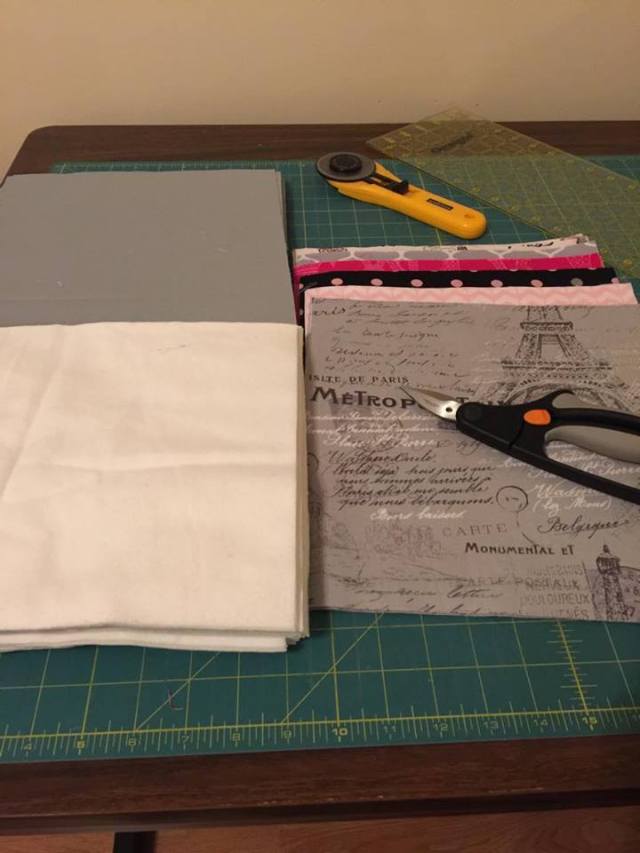
Fabric requirements for this project include:
- 2/3 of a yard of 6 different coordinating cotton fabrics for front of quilt
- or 4 yards of any fabric of your choosing 4 yards of coordinating fabrics for back of quilt
- 4 yards of flannel for inside of quilt
- Rotary cutter
- cutting mat
- acrylic ruler
- rag quilt snip scissors
- and of course a sewing machine 😉
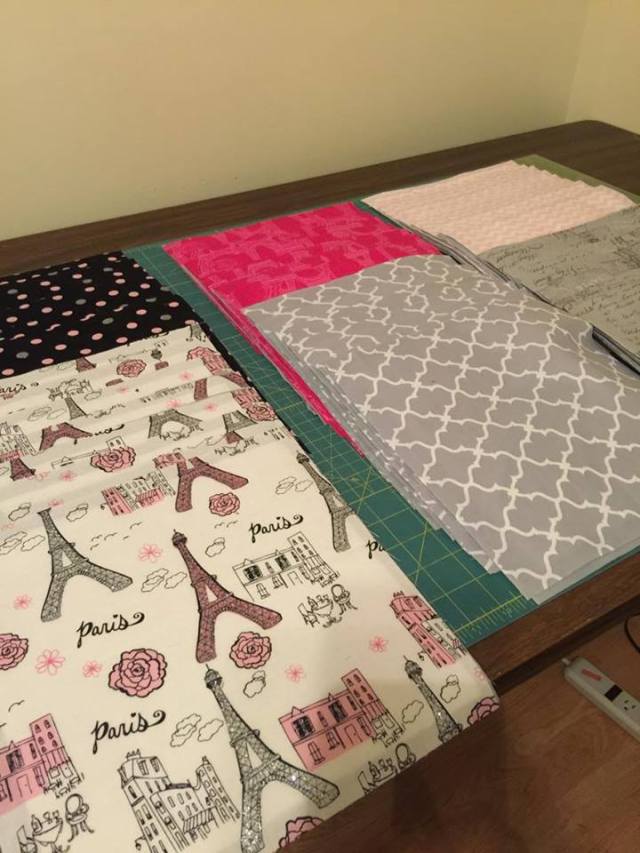
Cut all the fabric for the front and the back of the fabrics using your rotary cutter into 10 1/2 inch strips by WOF (width of fabric) and then sub cut these strips into 10 1/2 inch blocks. You will have 8 blocks for each coordinating fabric you chose for the front of this quilt and 48 blocks from the fabric for the back of your quilt. Cut your flannel fabric into 9 1/2 inch strips by WOF and then sub cut into 9 1/2 inch blocks. This project is one of those that you just can’t go wrong, the accuracy on cutting and sewing doesn’t show, which makes it that much more fun.
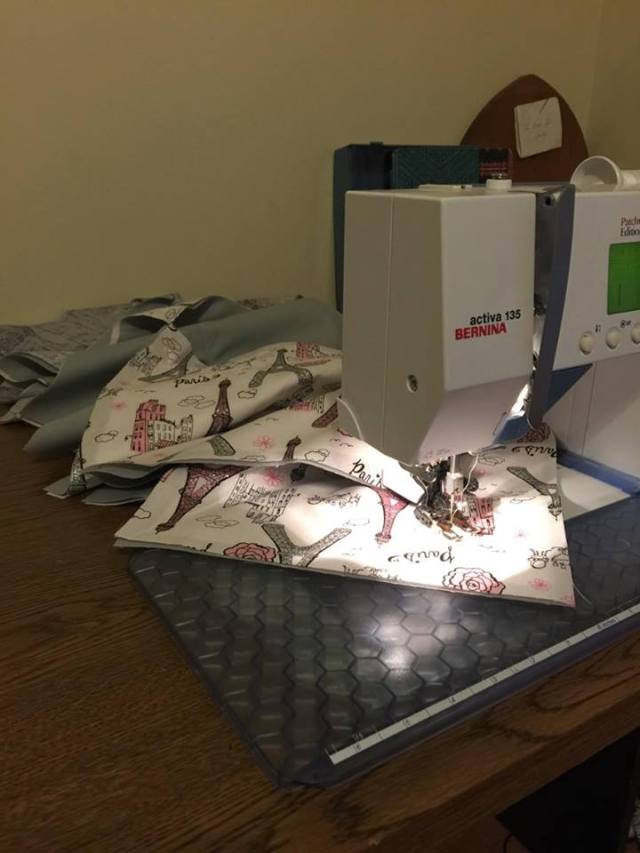
Take your flannel square and sandwich it between your fabric squares for the front and back of your quilt, you should have 48 of these…
Sew a diagonal line from each corner to create an X on each one of these sandwiches…

This project is great for chain piecing just keep feeding one sandwich after another into the machine (also a walking foot on your sewing machine during this project is nice you don’t have to have one, but it does make it easier to feed the fabric through the machine)

After finishing all 48 blocks lay out your blocks 6 across and 6 down this is where you can create a pattern with the different fabrics I did a diagonal line with matching blocks in mine.

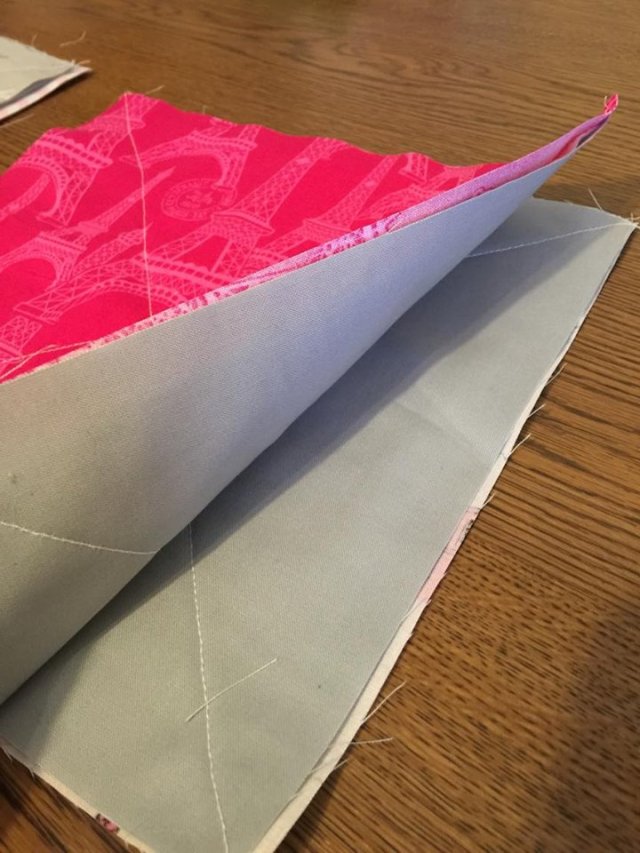
Now you’re ready too begin sewing your blocks together with 2/3 inch seam, place one block on top of another with the fabric for the back of the quilt facing each other so that the seam allowance will face the top of your quilt; this is key because this is where the rag comes in on the rag quilt. You will sew 6 blocks together to complete a row.
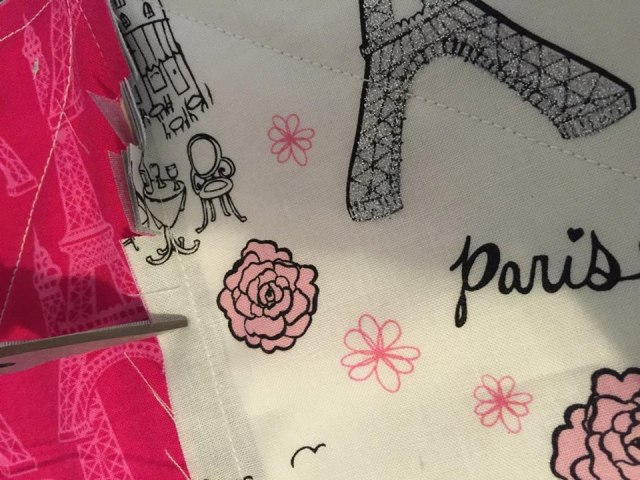
Now that a row is finished you can take your rag scissors and clip towards your seams be CAREFUL not to cut your seam, you want your cuts to be about 1/2 inch – 1 inch apart, if you do this as you go it’s less tedious to do after your finished putting everything together.
Make 8 rows and then sew your rows together the same way you sewed your blocks, again with the fabric for the back of your quilt facing each other so that your seams are facing the front of your quilt and clipping as you go. You’re almost finished, you’re going to need to place a 2/3 inch seam all the way around the edges of your quilt this closes up the blocks on the top, bottom and sides of your quilt, clip those seams and now it’s time to wash and dry your beautiful creation so that all those clipped seams rag up and make your quilt absolutely adorable!

OH my gosh, that really is completely and totally adorable!!! I LOVE IT!!! Thank you so very much for showing us how to create this fast and easy rag lap quilt Billie!!!! You are a-m-a-z-i-n-g!!! I might even give something like this a try!! 🙂
Until next time, y’all take good care! ❤
~Arlynn ❤

I needed these instructions about twelve years ago when I “tried” to make baby doll quilts for my two granddaughters..they did not turn out like I had imagined…
Wonder IF Billie has been to the quilt show here in Paducah? Love her quilts..
LikeLike
Thank you Carole !! I have never been to the quilt show in Paducah I bet it’s one to see though!
LikeLike