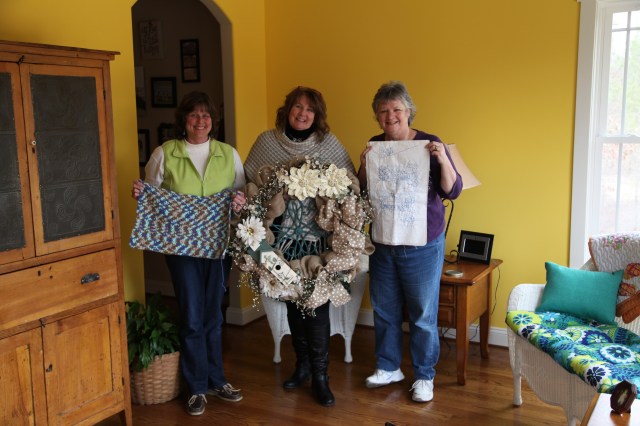
Lady friends <~~~ I am one very lucky and blessed lady to have these 2 lady friends in my life. We’ve been friends for a long, long time now; all of our kids went through high school marching band together and we three along with many other wonderful volunteers worked diligently and tirelessly for the Band Parents Association. Oh the memories that those years evoke…<sigh>… Let me introduce these two lovelies to you; Karen is on the left of this picture and she was our hostess for this craft day, and Katrina (Trina for short) is on the right, and I’m in the middle.
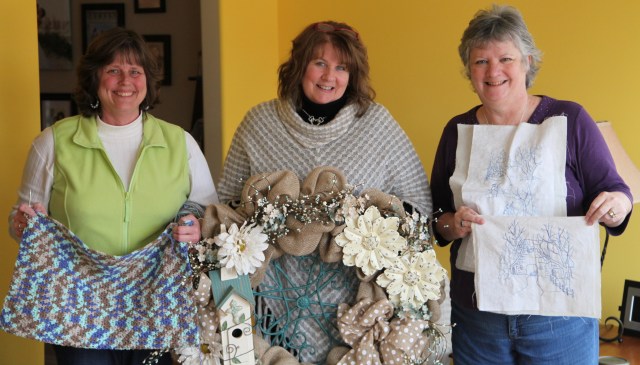 The one thing about time is that it marches on, all of our kids are now out in this big world of ours and they are all thriving and doing well. The three of us try our best to get together and continue on with a tradition that we started years ago called “Craft Day”. We all *used* to be avid Scrapbookers, and in years past that is usually what we did for our “craft” on Craft Day, but, we’ve kind of moved away from Scrapbooking and are honing our skills in other craft forms. These two ladies are very talented and can craft in many different arenas–and dare I say, I might be able to do so as well. 😉 Regardless, when we get together now-a-days, we bring with us whatever craft we’re working on at that moment in time. For yesterday’s Craft Day, Karen was crocheting, Trina was embroidering, and I made a large wreath for the inside of my front door.
The first thing one must do before one begins crafting is of course EAT lunch. 😉 And as the sweet Southern women that we are, Trina and I brought something to share. Karen provided the YUMMY chicken wraps…my gosh they were good. This is what she did to prepare them. She cooked up a few boneless, skinless chicken breasts and a couple of bay leaves in her crock pot. After a couple of hours, she shredded up the chicken and mixed in this luscious caesar salad dressing…
 …and set out shredded lettuce, shredded cheese, and wraps for us to create our own tasty wrap. 🙂
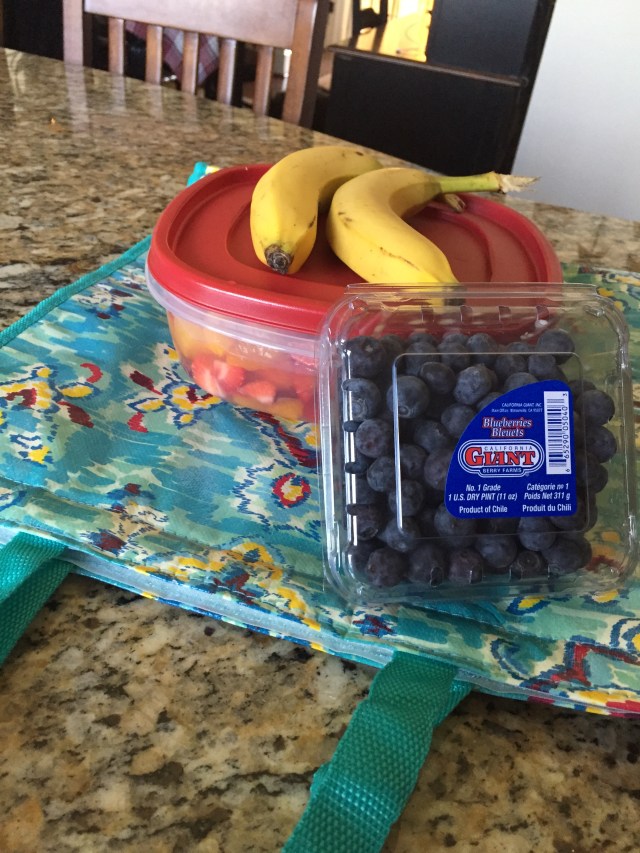
I had brought my Fruit Salad to pair with the wraps…I did want to let you know that I added some grapes to the recipe that you’ll find in that link (need to update that actually).

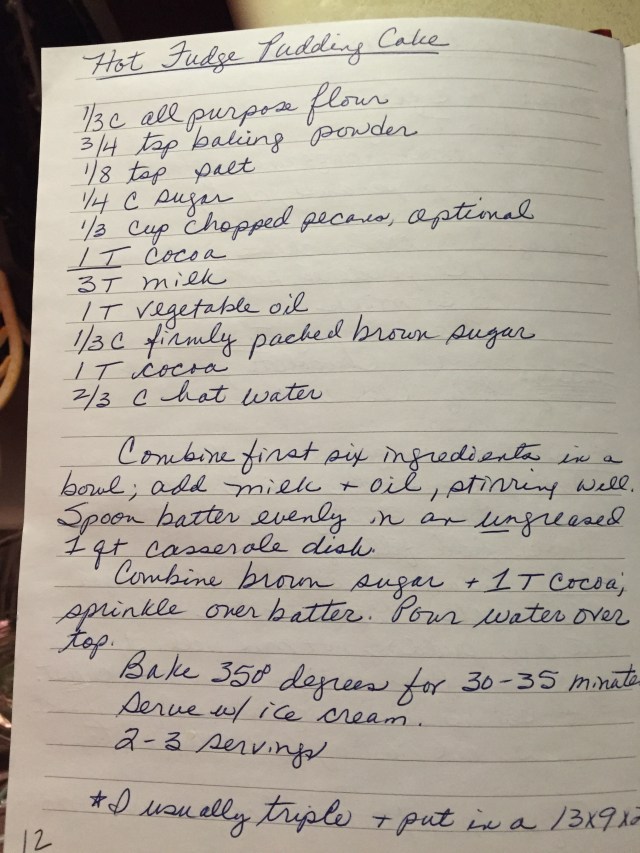
And Trina brought all of the ingredients and made us dessert…Boy oh boy was it ever tasty!! NOT so wonderful for our diets, BUT, who doesn’t splurge once in a while…I know I sure do! 🙂 Here is what Trina made:

Okay, so now that our bellies were full, let me show you what we were working on as we wiled away the afternoon hours chatting and enjoying each other’s company…
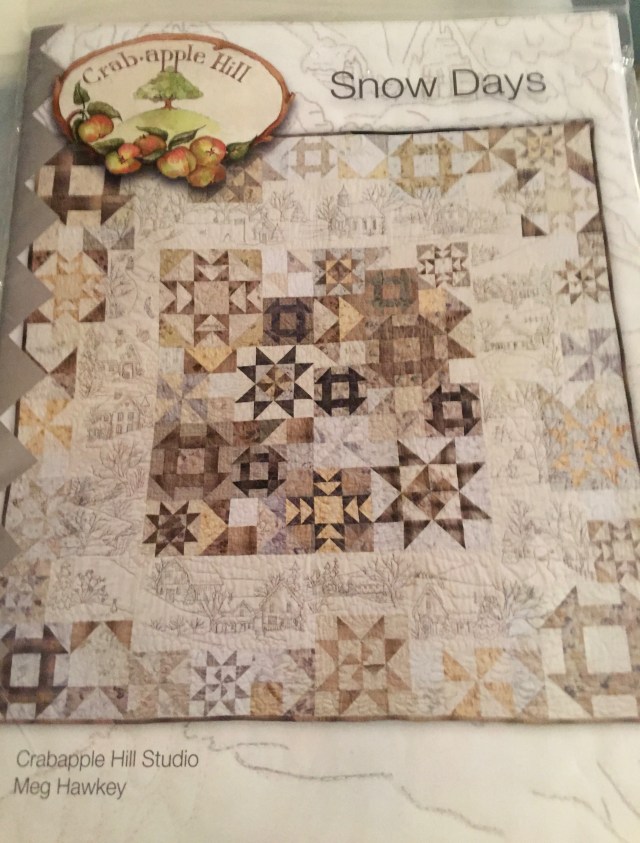
Trina was embroidering, she is in the process of working on about 13 different ‘squares’ that will all be combined into a quilt that she is creating…wow, wow, wow!! She called it “Redwork” that can be stitched in any color. She told me that she is using a variegated blue DMC floss and doing a backstitch. You should see this lady work her magic! She is a-m-a-z-i-n-g!!! This talented lady has made some of the most gorgeous quilts that I’ve ever seen, she has a gift that is unsurpassed!
That is going to be one awesome quilt!

Here is an example of what the final quilt will eventually look like:
Karen was crocheting, let me tell you a little bit about what Karen does for others, she has such a giving heart and works diligently to improve others lives, she is a very special spirit! She crochets for two different groups, one is her church group and it is called the “Prayer Shawl Ministry”. Here is an example of some of the things that she makes for them…some things include blankets and little hats for premature babies at local hospitals…well, let me show you what she showed me that she works on for this wonderful ministry:


Here are a couple of things that she is working on right now…A little washcloth (or this can also be used for a preemie’s blanket…bless their little hearts… ❤ (It was about a 8″ square…)

And here is a lovely blanket that she has started as well (she has one of the prettiest crocheting stitches that I’ve ever seen):

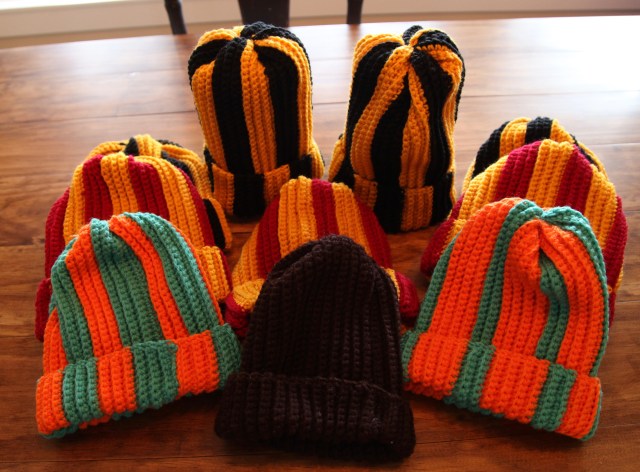
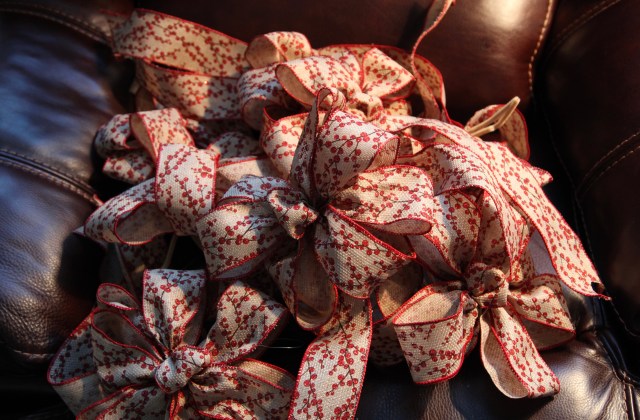
Karen also helps with the “Hand’s Up” ministry, here is a link to their Facebook page if you are interested in seeing what wonderful things they do for the community. Karen has been making winter toboggan hats for the homeless–in sports team colors. Here is an example of all of the hats that she has finished…this is her second batch, I believe she told me that she has already made 20 and they’ve all been given out already. 🙂
OH so many wonderful things that this lady does for her community!! Such a loving, giving, heart…WTG Karen, you are touching so many lives!
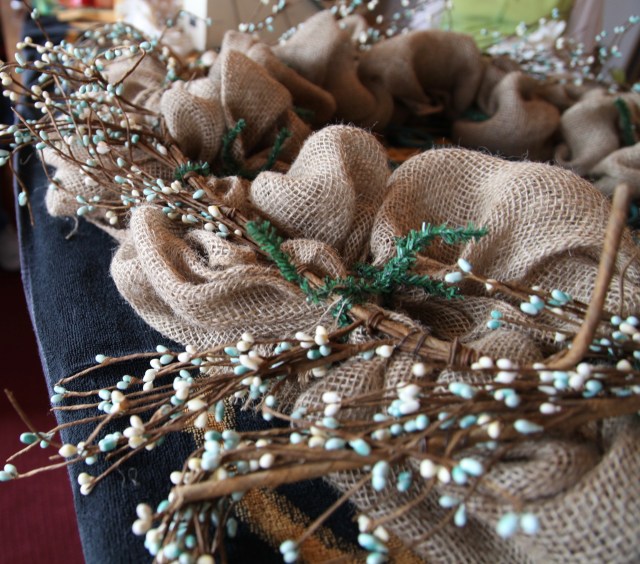
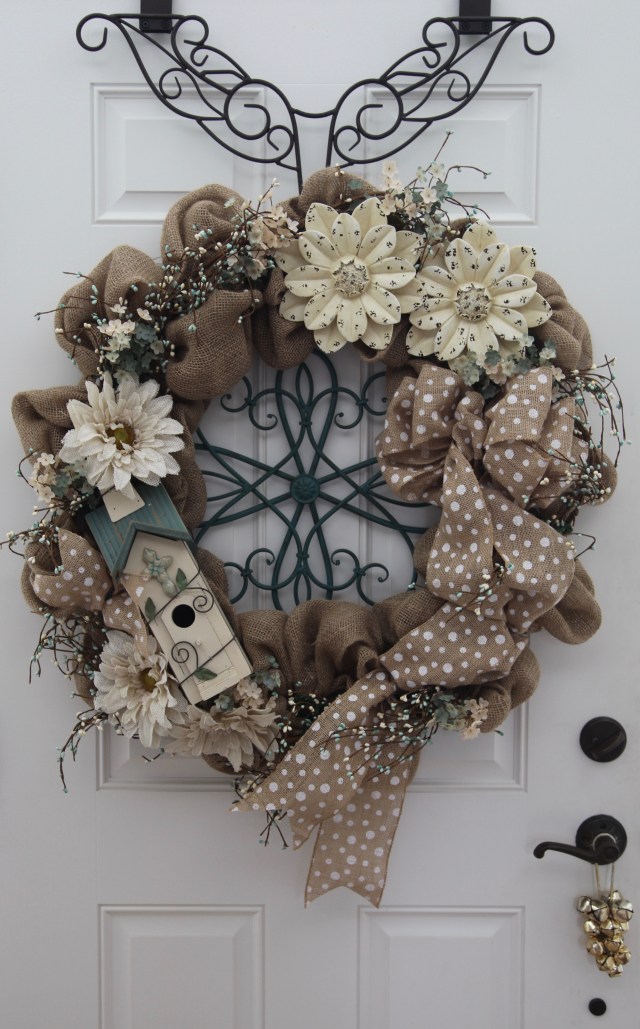
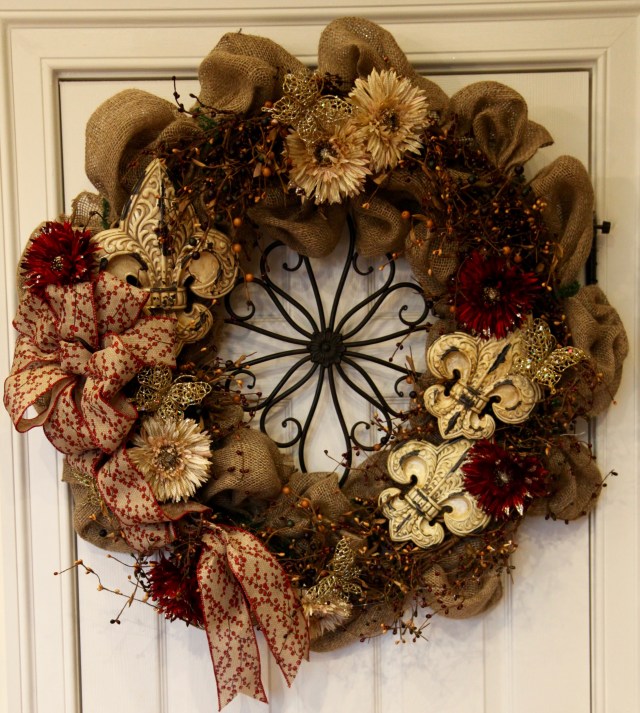
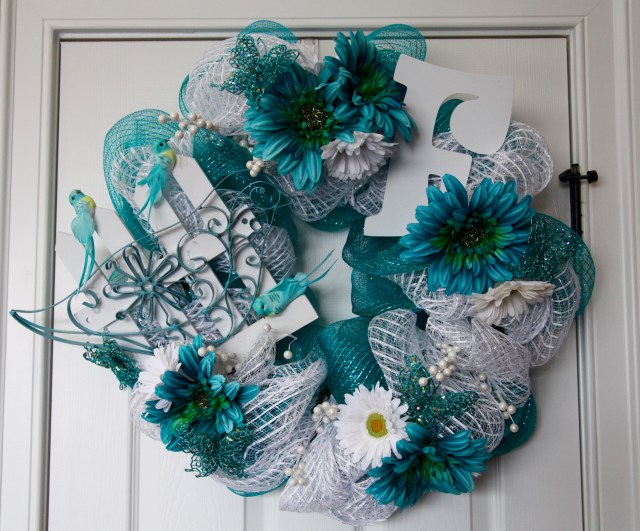
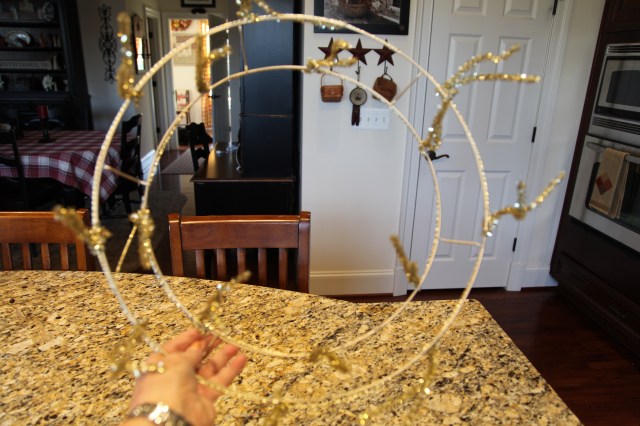
As for me, well, I created a wreath for the inside of my front door. I will not bore you with every detail here in this post, but, if you’d like to see how I create this type of burlap wreath (with a rod-iron scrolly piece and pip berry garlands), here is a link describing the process…
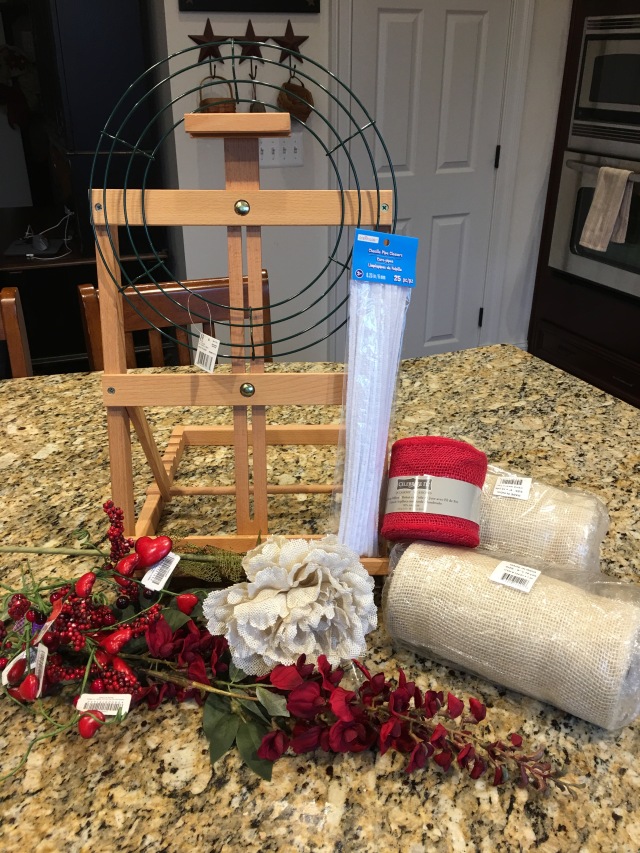
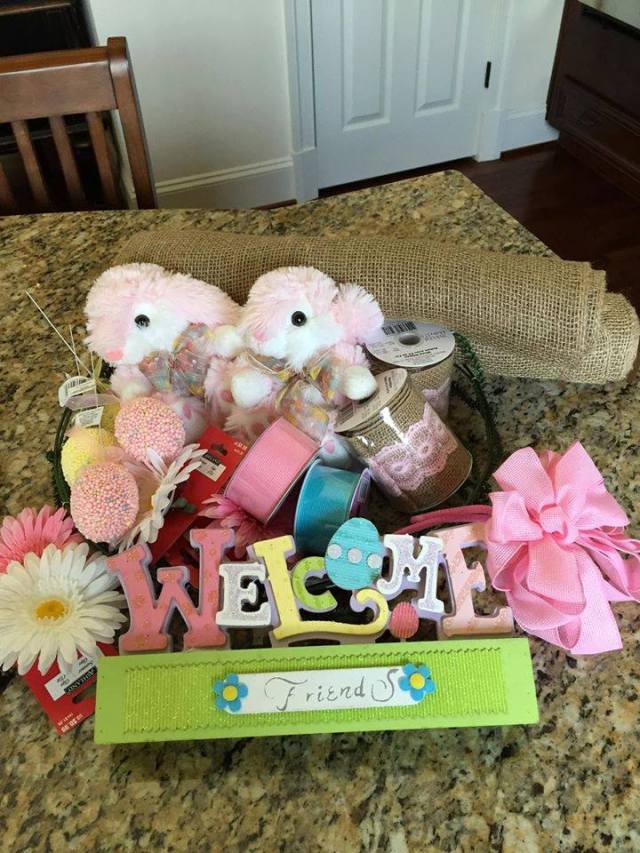
Here is a list of the supplies that I gathered for this wreath:
- 24″ Work Wreath
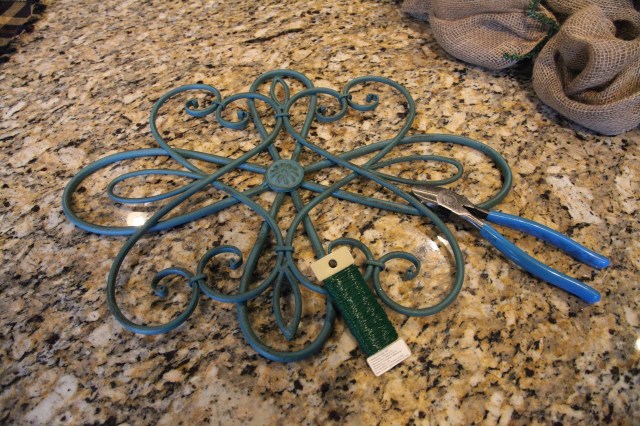
- One Wrought-Iron circular piece
- 1-1/2 Rolls Burlap Runner
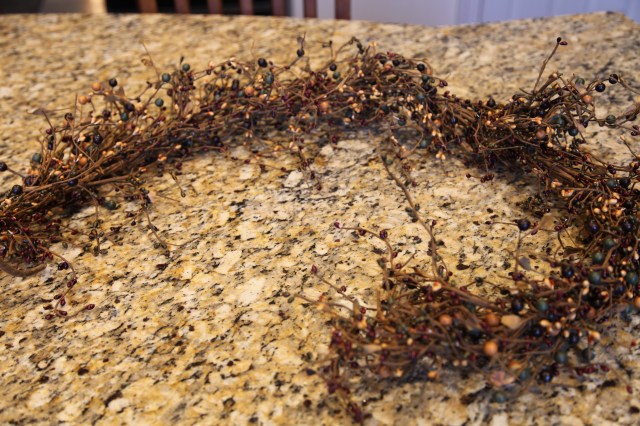
- 2 Pip Berry Garlands (purchased from the Pip Berry Barn)
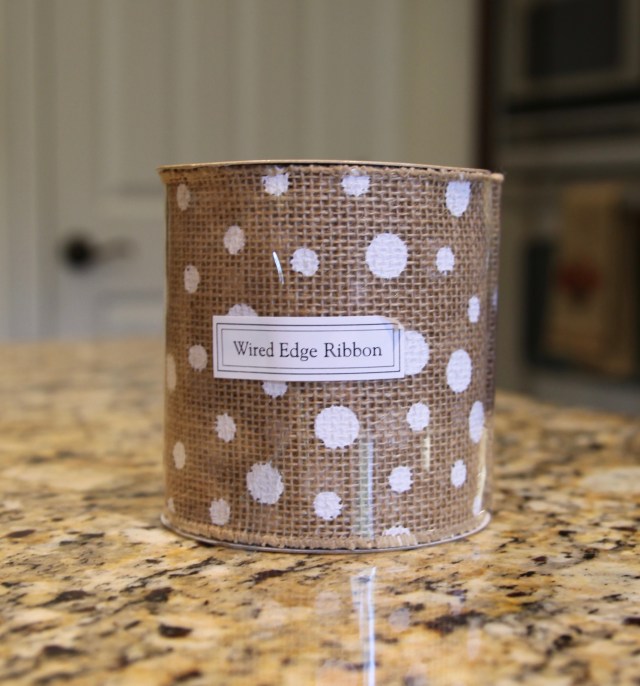
- 1 Bolt of Burlap and White Polka-Dotted Ribbon
- A Wooden Birdhouse
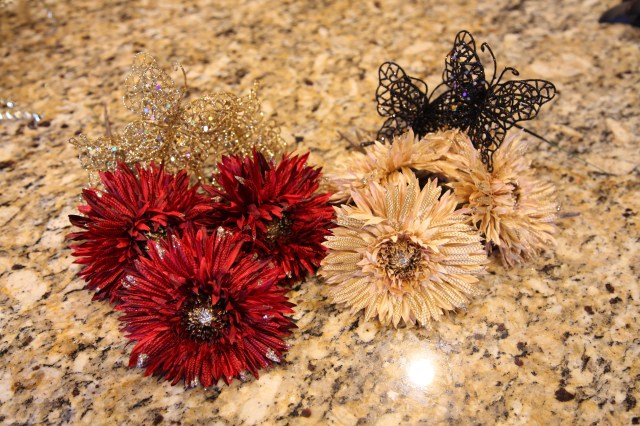
- 3 Wooden Daisies
- 3 Cream Burlap Daisies
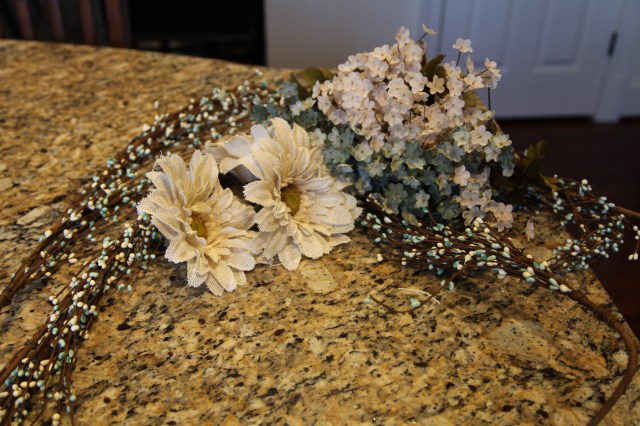
- Small bunches of green and cream silky flowers
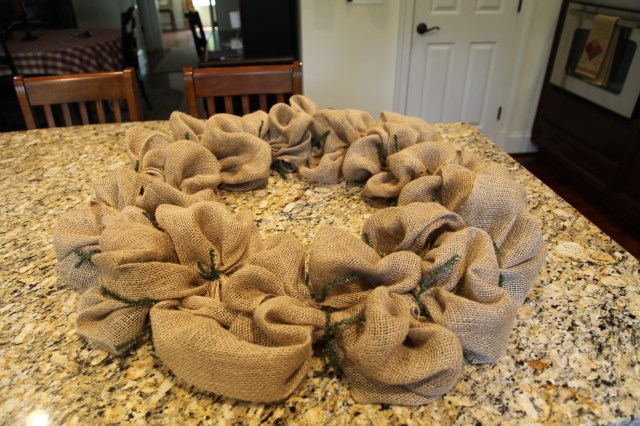
I did a little preparing before I left to go to Karen’s house as this process can take a little while–not to mention a little bit of concentration…here is what I completed and then put into my trunk to take with me to her house:
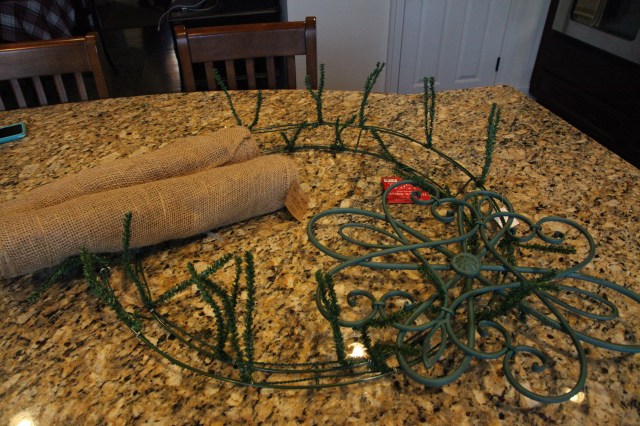
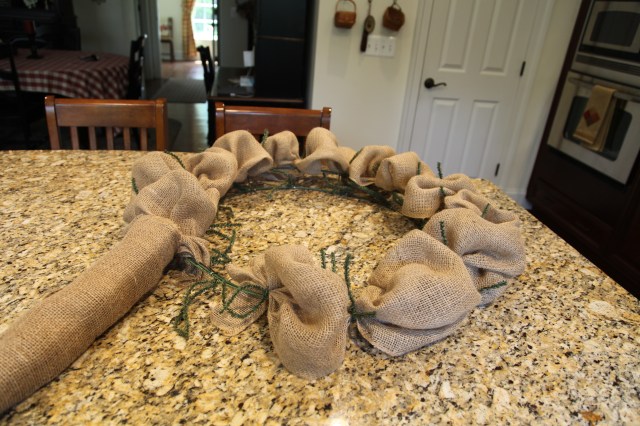
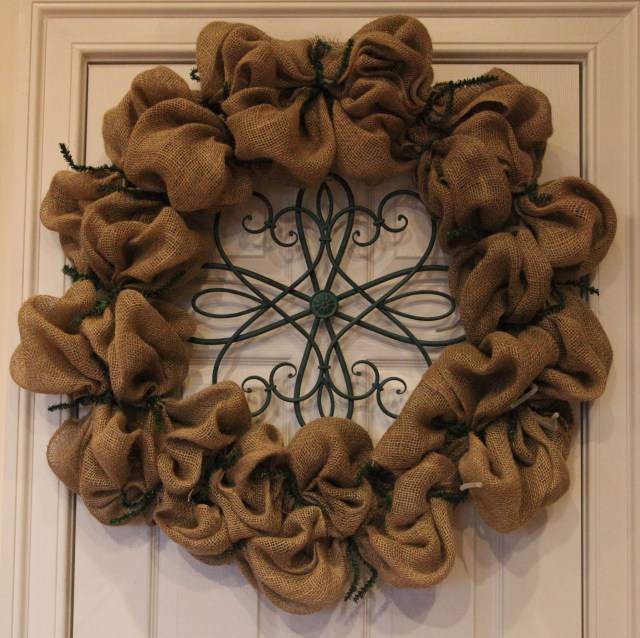
The first thing I did was to attach the burlap to the wreath form…
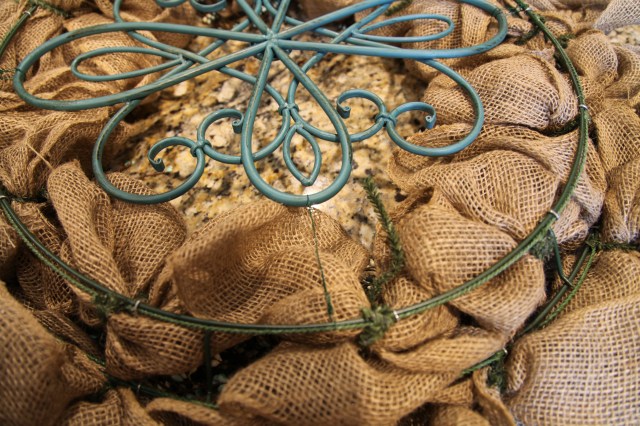
 Then I used floral wire and attached the wrought-iron scrolly piece to the form being careful to center it…(on the back side of the form)…
 This is what I had completed and carried with me to Karen’s house…
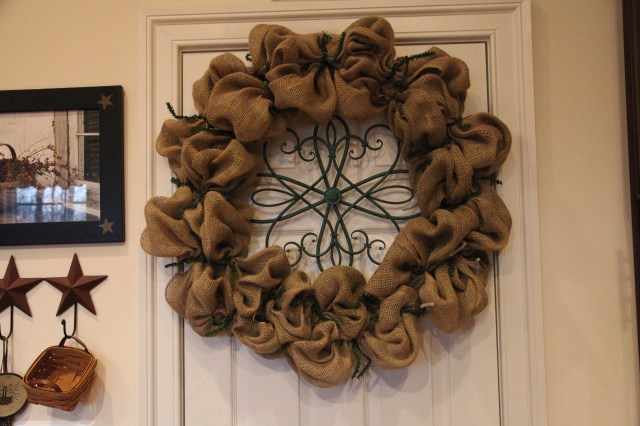 I gathered up the rest of my supplies…
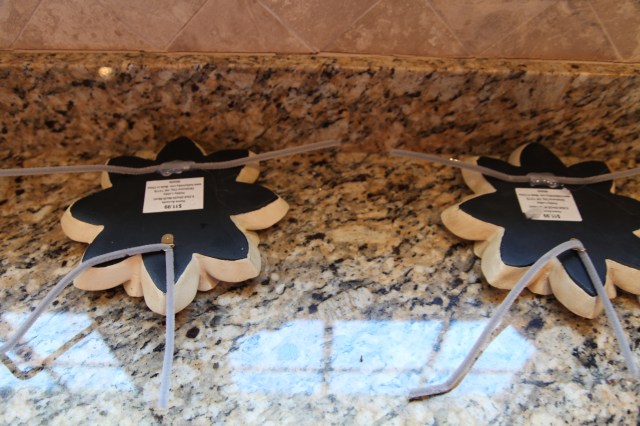
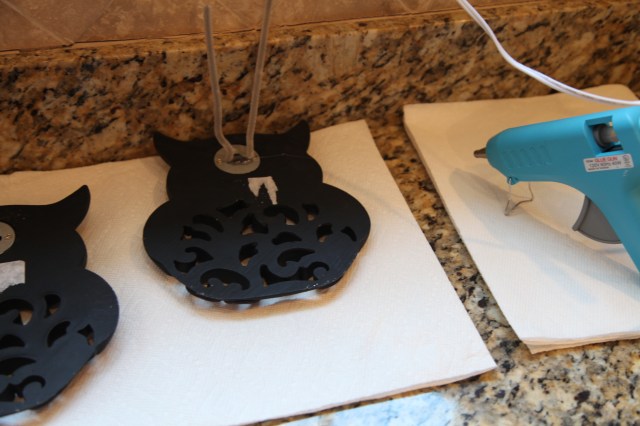
 In addition, I hot glued pipe cleaners to the backs of the bird house and wooden daisies…
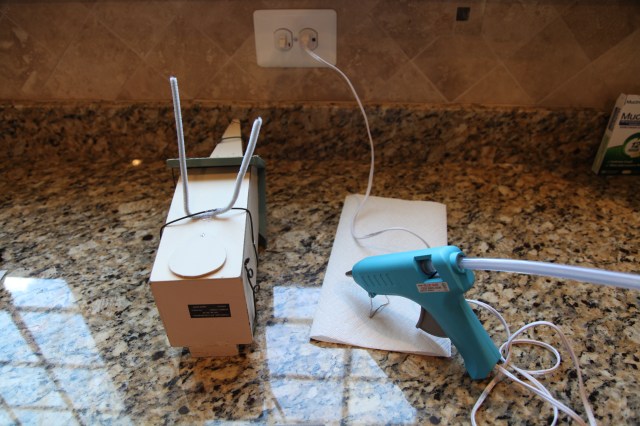

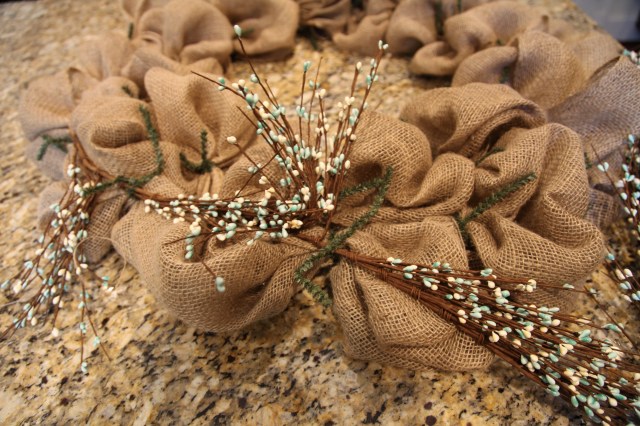
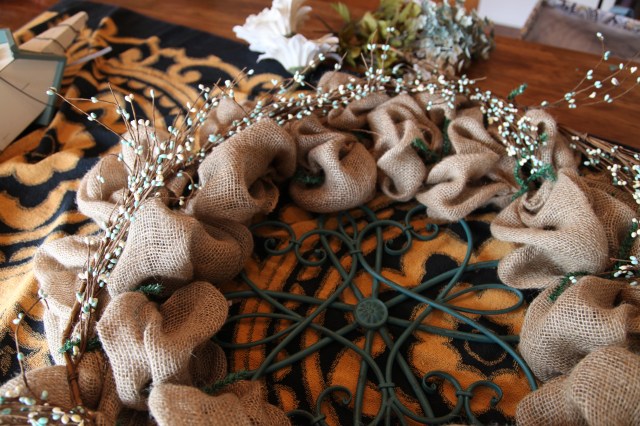
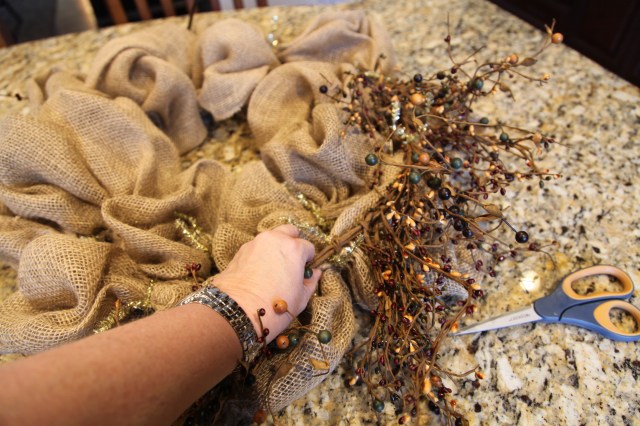
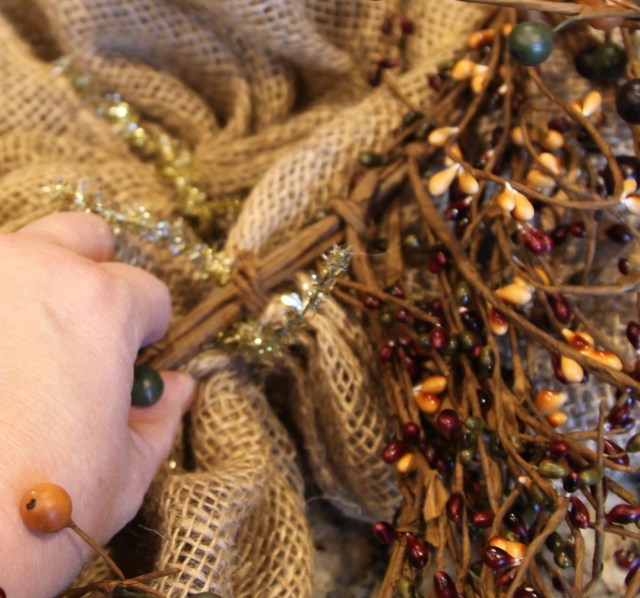
Then I packed all of that stuff up readying for transport. I finished putting the wreath together at Karen’s house starting with attaching the pip berry garland to the outer ring’s pipe cleaners–I added the garland right on top of the burlap
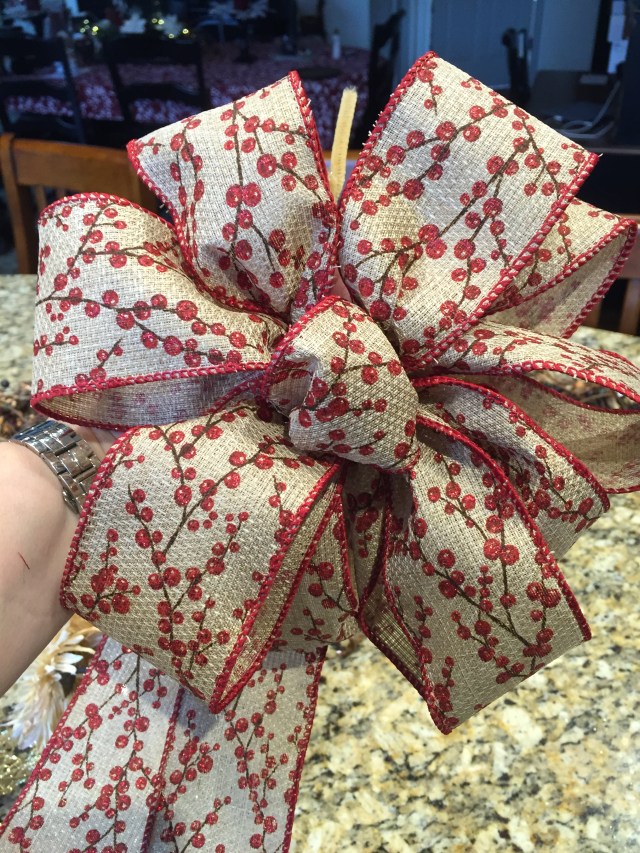
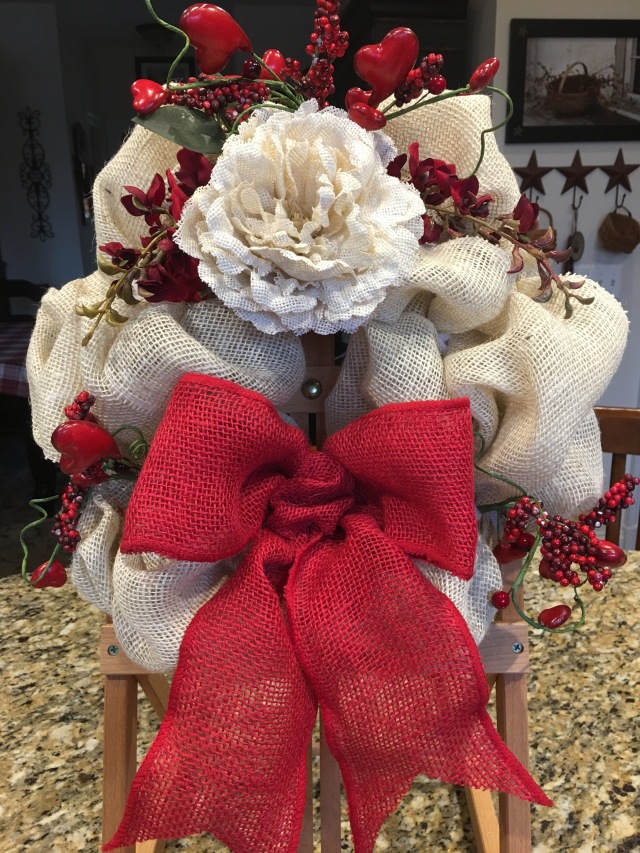
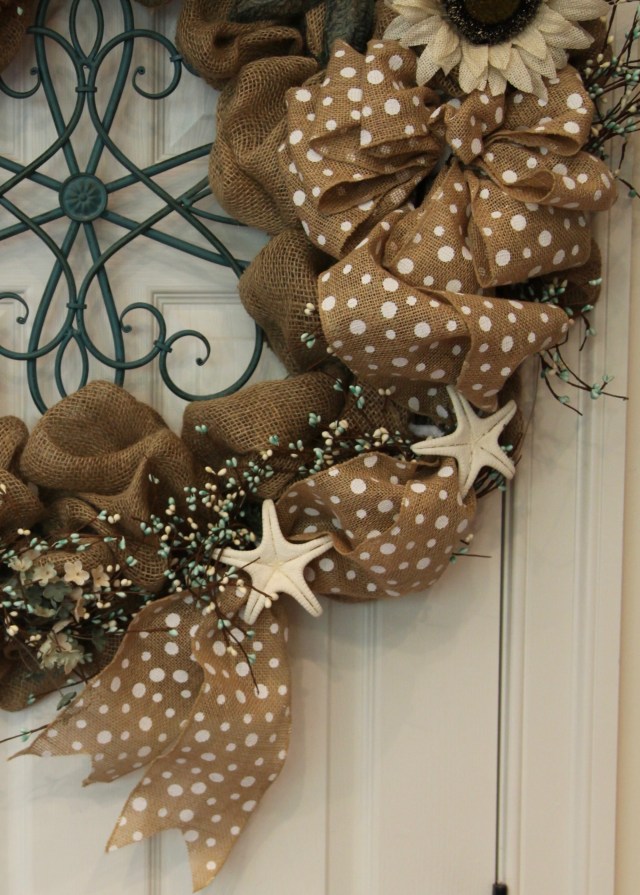
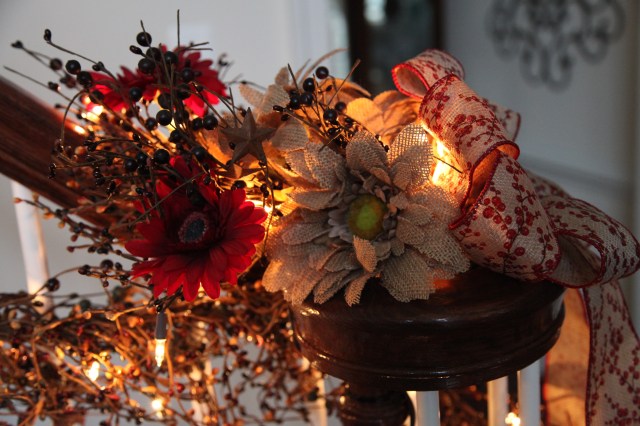
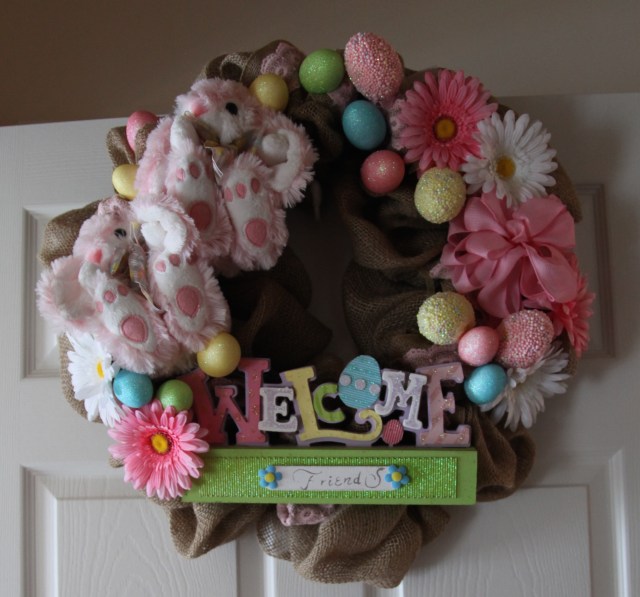
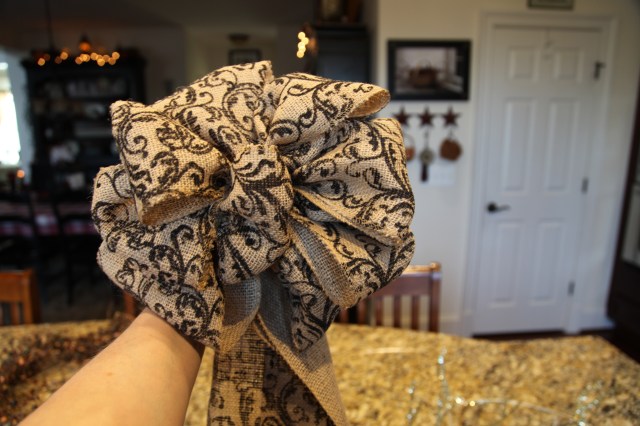
 Then I made a bow and attached all of the rest of the decorative pieces where I thought they looked nice:
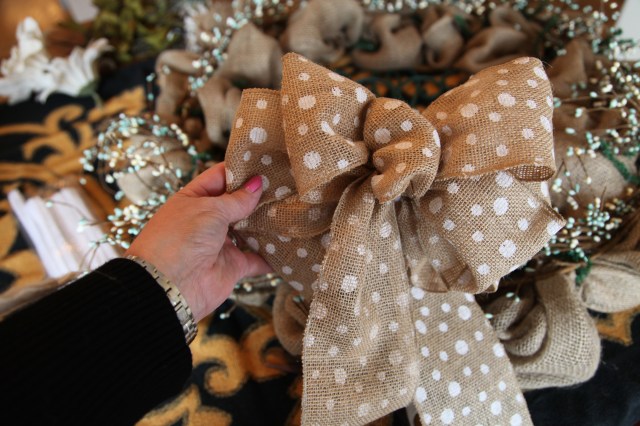
Here are the three of us holding our crafts for the day:

Here I am holding Karen’s precious little Gretchen…What a sweetie pie she is!!!

We felt like we had a pretty productive day! It was getting late in the afternoon and Trina and I knew that we had to head on out to our own homes (quite a distance away), so HUGS were given all around, and we talked about setting a date for us to get together with our spouses in the coming weeks–all 6 of us will go out to dinner very soon….What a wonderful day we had!!!
***THANK you Karen for opening your home and welcoming us with your sweet outstretched arms!!! ❤ ***
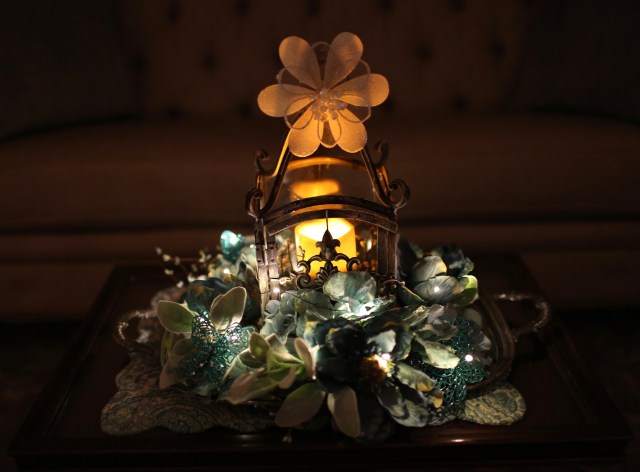
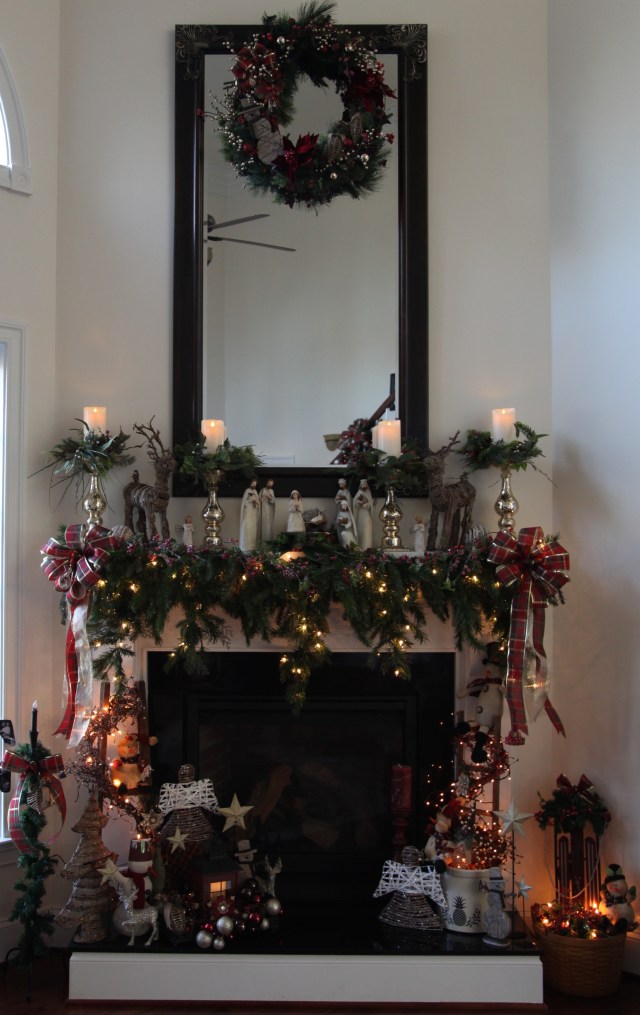
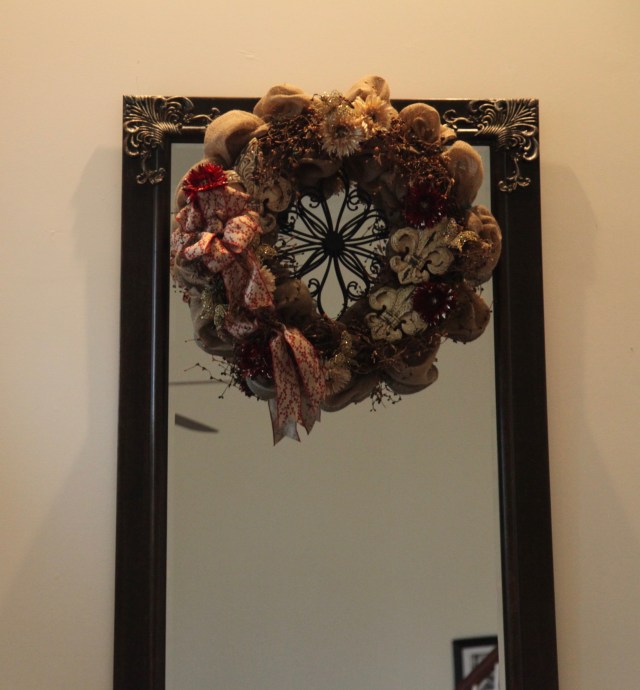
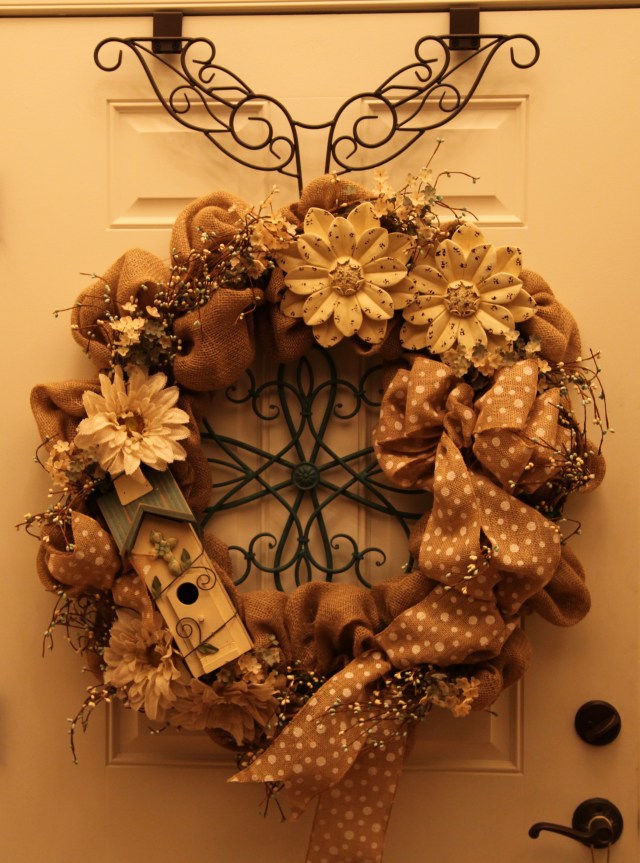
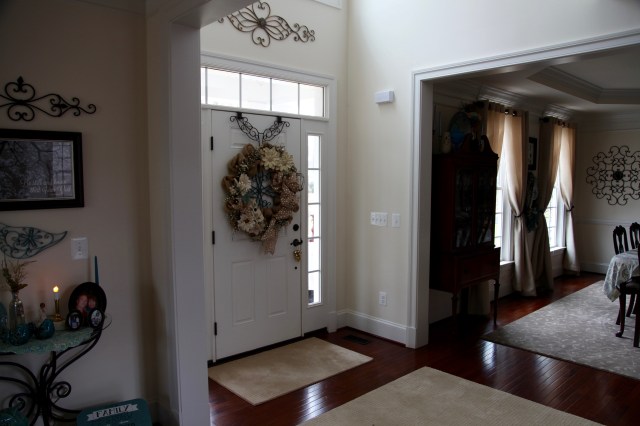
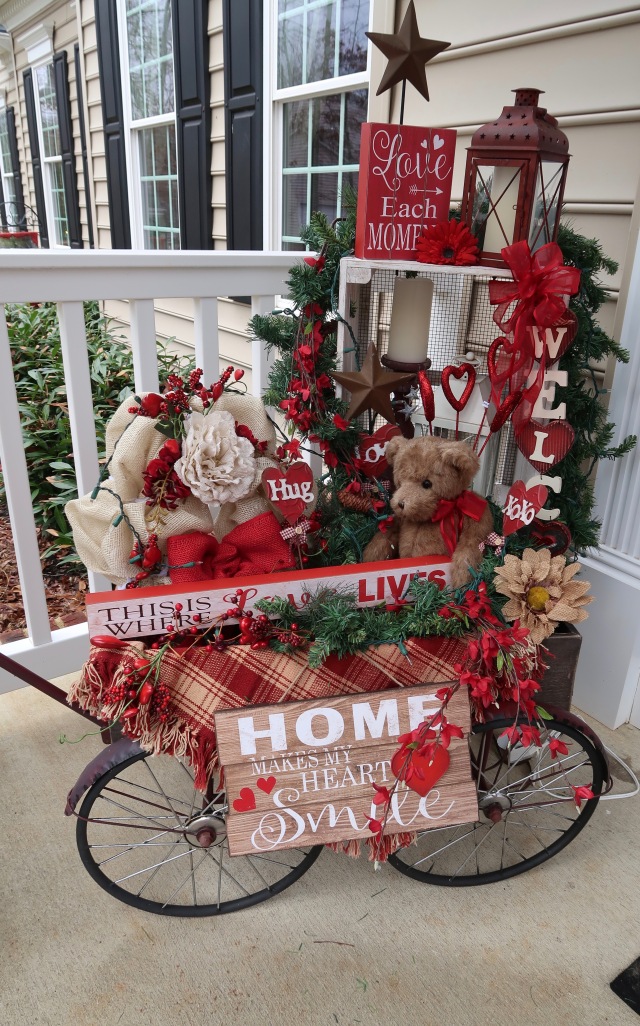
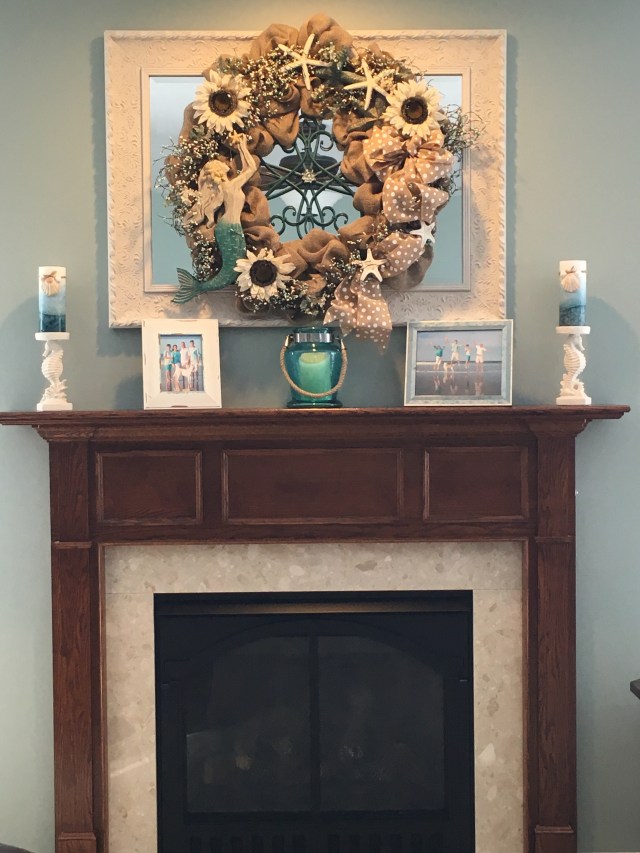
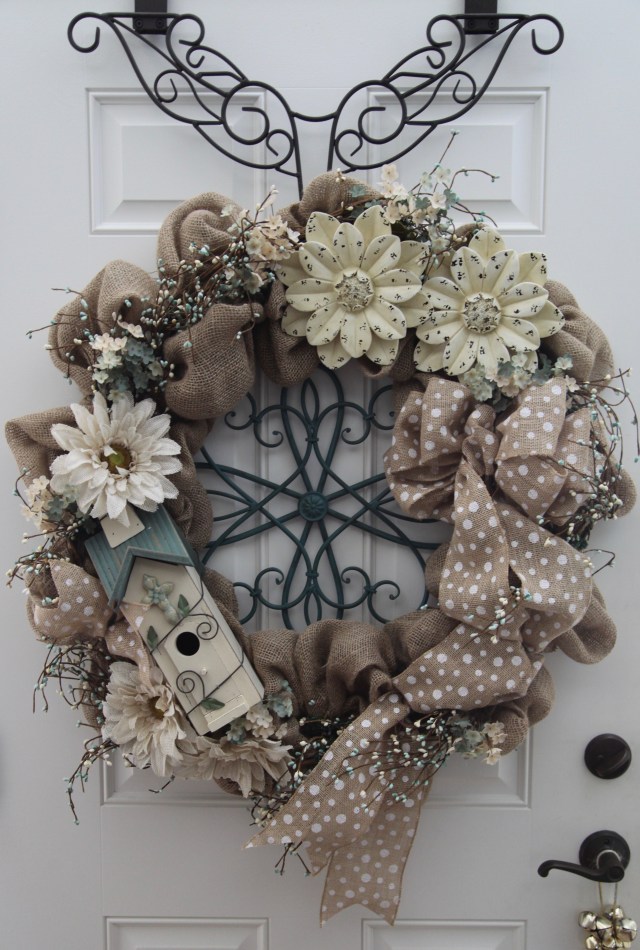
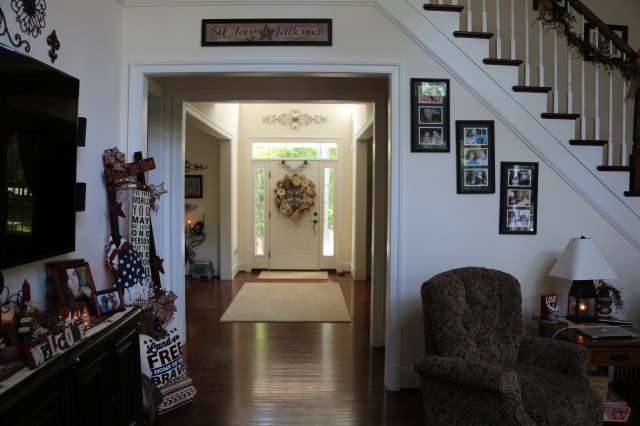
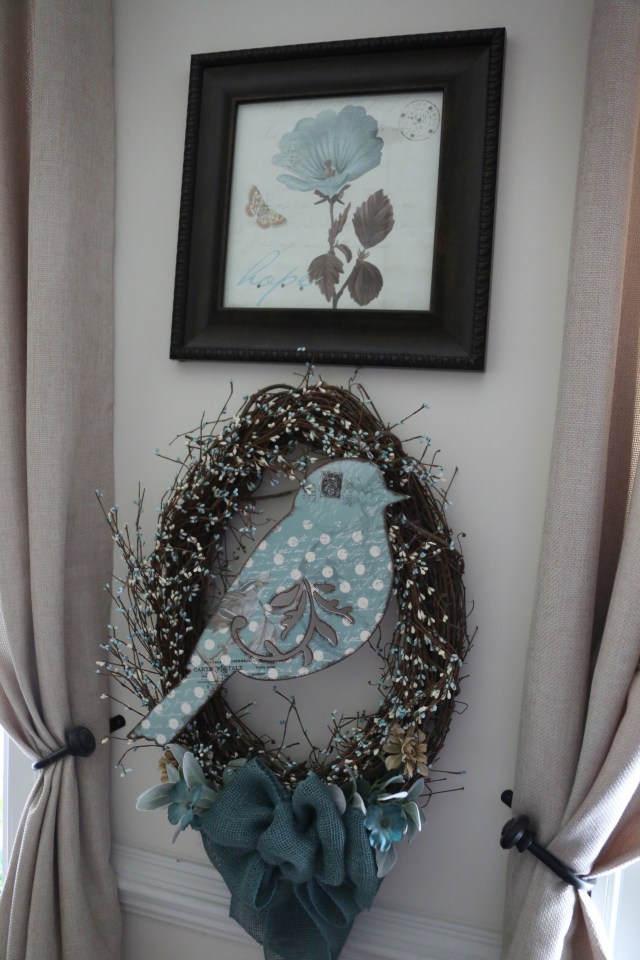
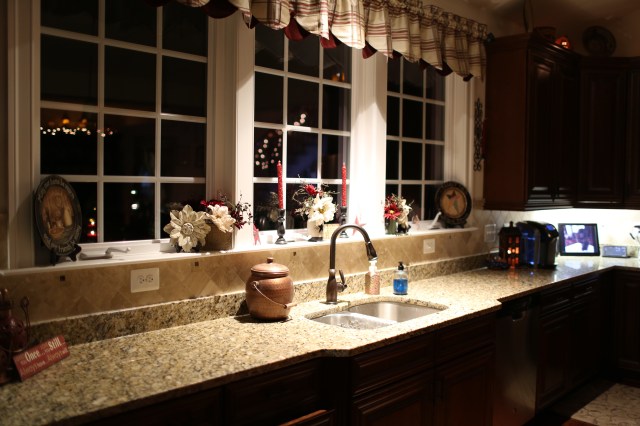
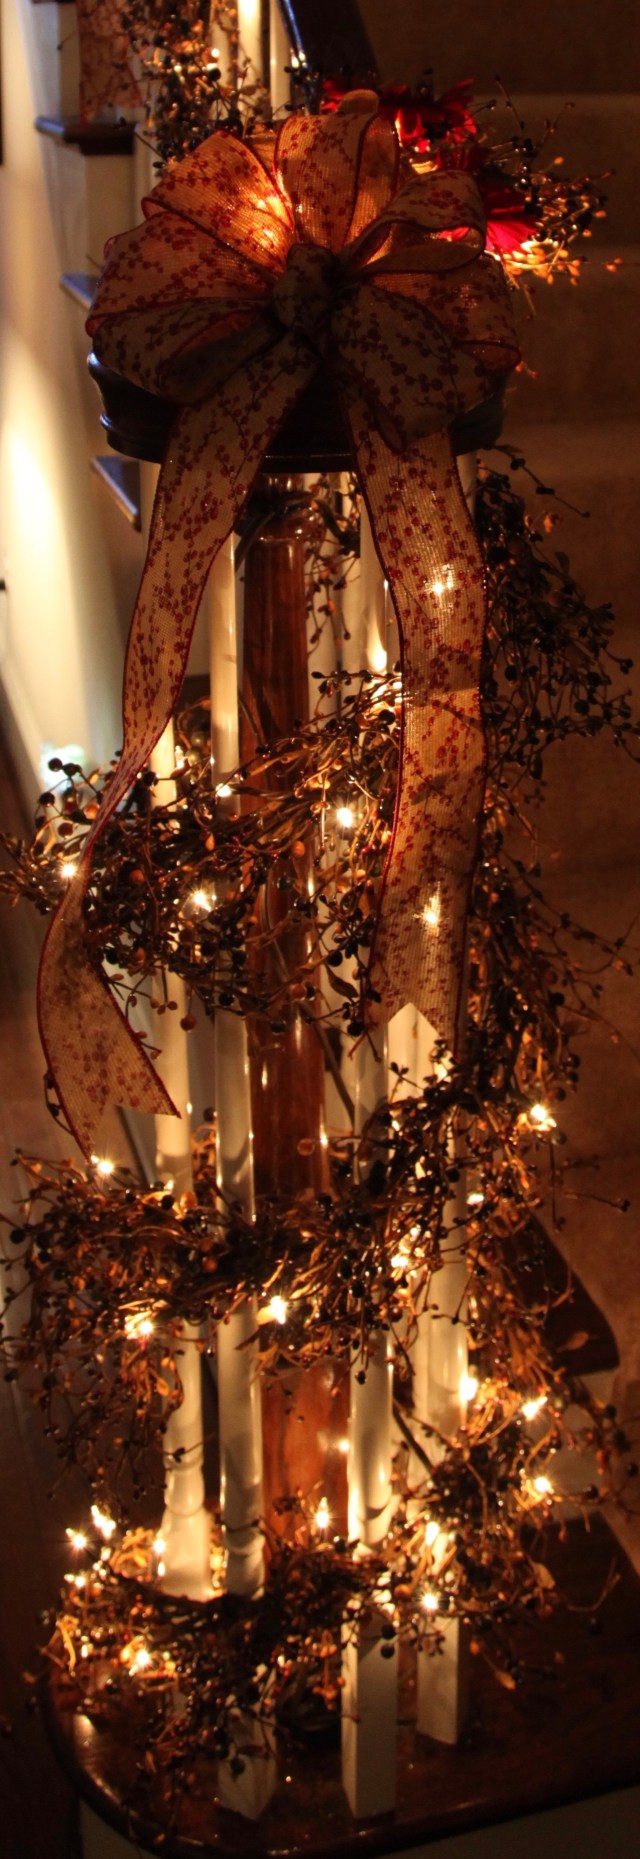
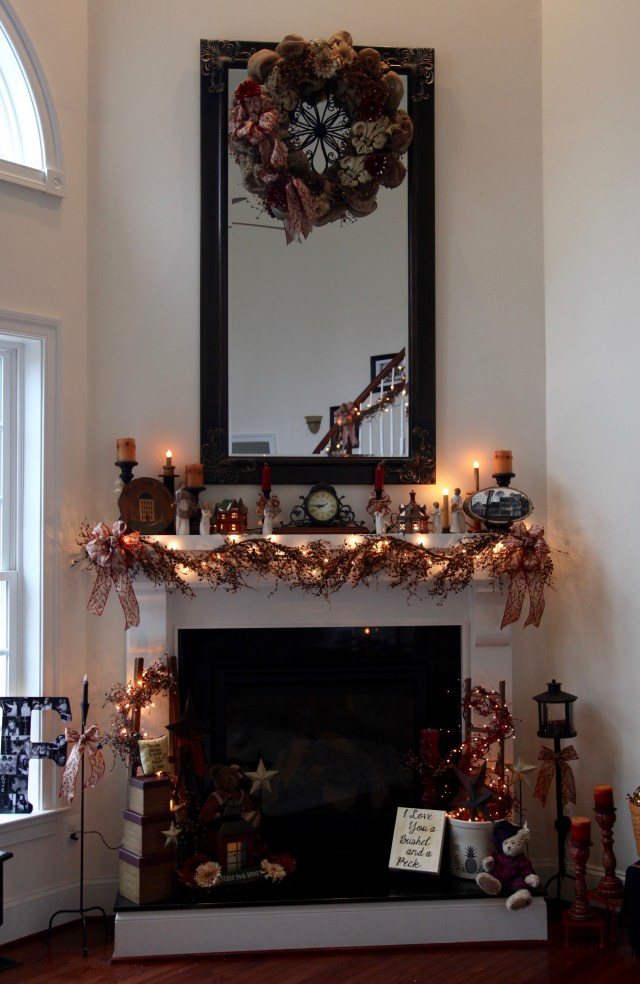
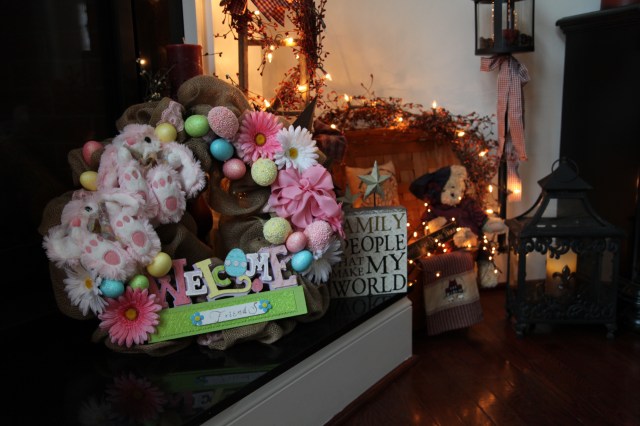
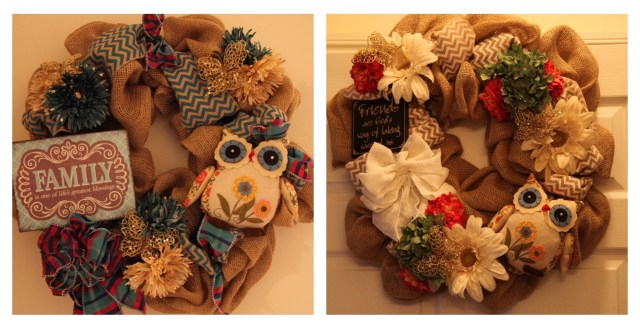
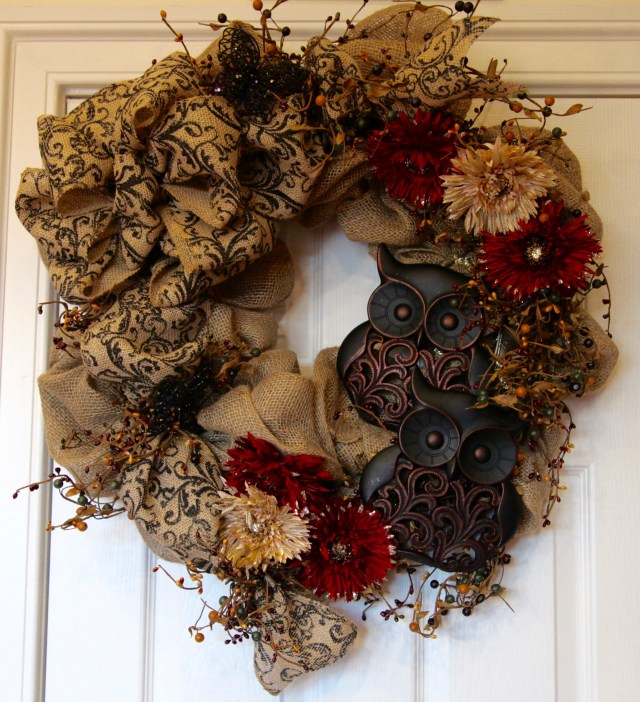
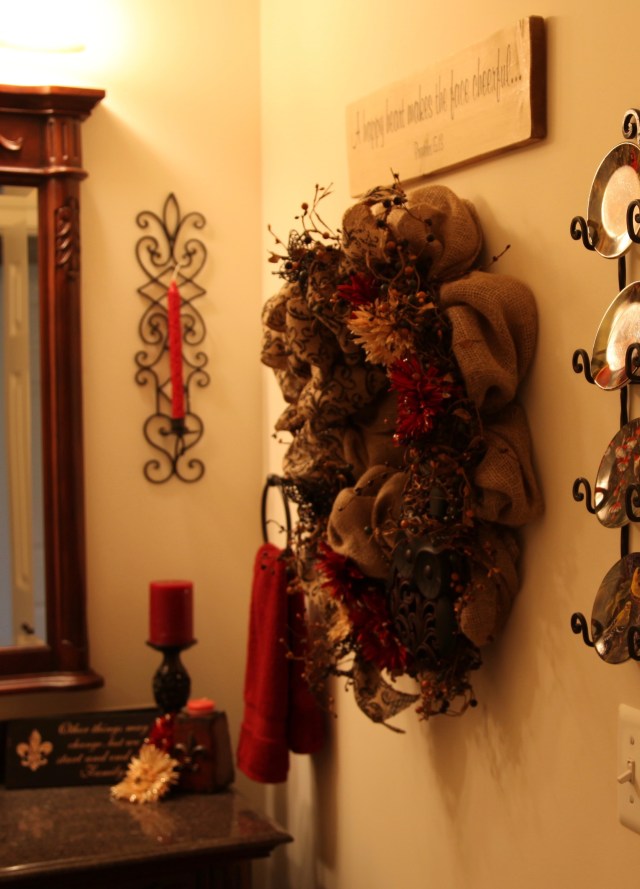
After I got home, I carried in my wreath (which ended up to be quite heavy by the way…haha) and hung it on the back of my front door…Here it is in place:
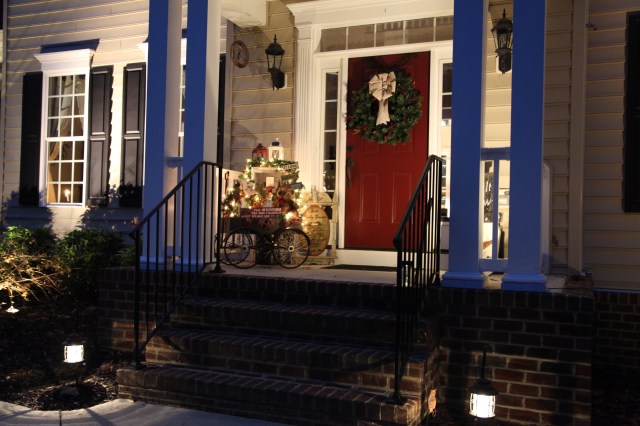
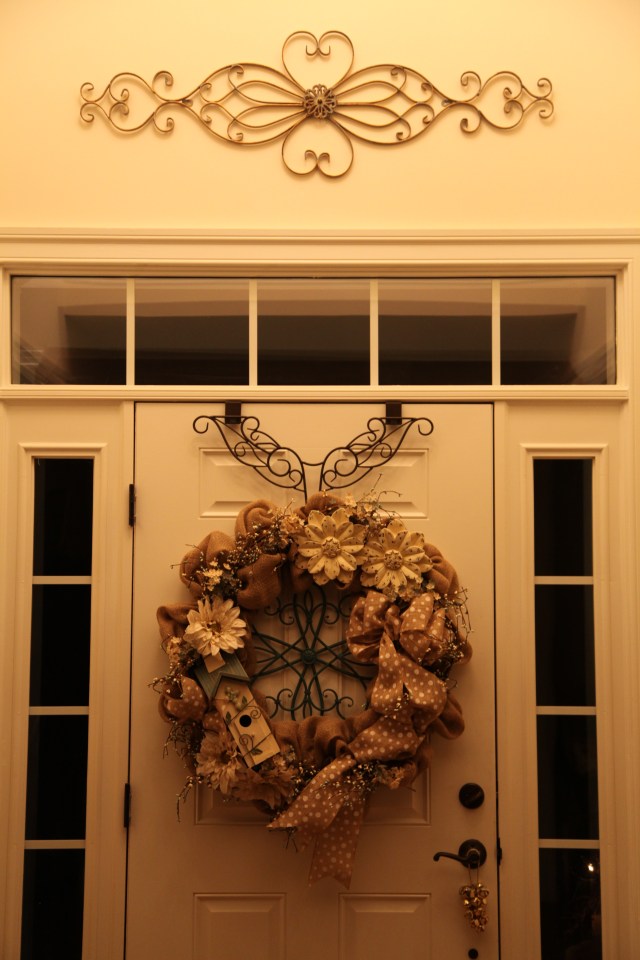 And here it how it looks in the light of day…
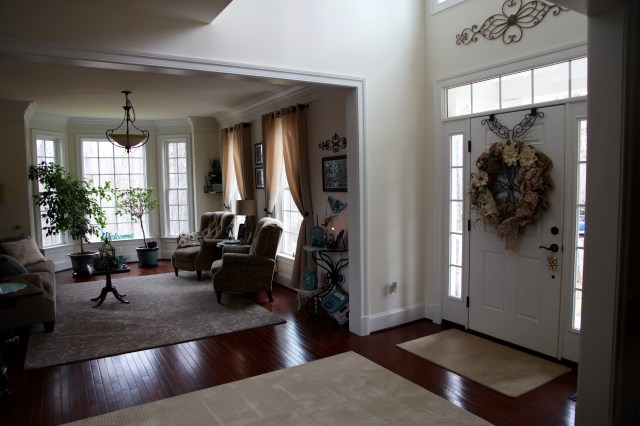
I must say one more time how very blessed I feel to have these two lovely ladies in my life…still after all of these years. Lasting and endearing friendships are the very best kind and they should always be nurtured and well cared for. There is one lady that used to join us for our Craft Days but has moved away now; we miss her terribly! Kathy if you’re reading this…MWAH ❤ . I so wish that she still lived around here so that she could join us once again…<sigh>, maybe one day. ❤
Anyway, I will close for now–Not sure what I’ll be posting next as we are fixin’ to go on an Hawaiian cruise at the beginning of April so I’m deep into “planning mode” for that trip…haha. 😉 I plan on blogging that trip though for my “Vacation” category (AND I’m so grateful to our daughter who will be house/pup sitting while we’re away…)…***Thank you Christin!!!***
Until next time, y’all take good care! ❤
**In crafting there are no mistakes, just unique creations**
~Arlynn


 As seen in the picture above, I have found that adding Rod-Iron


")


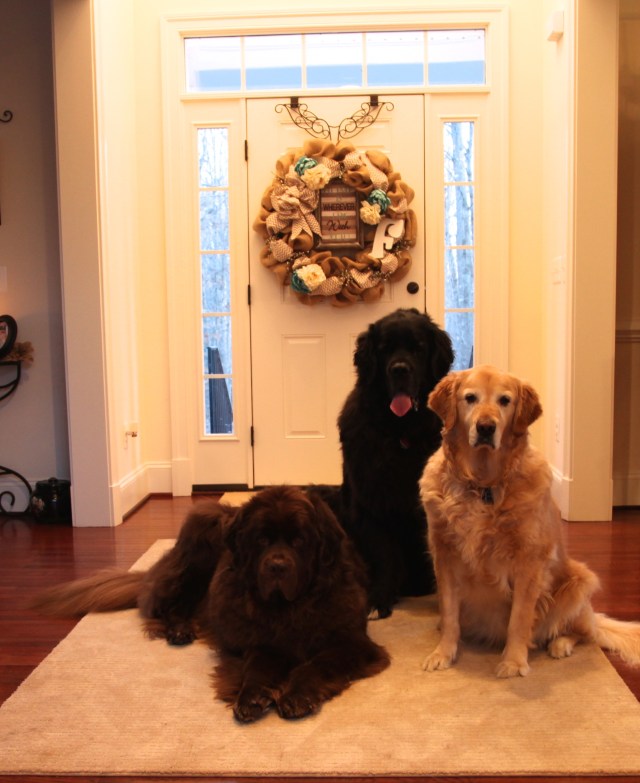
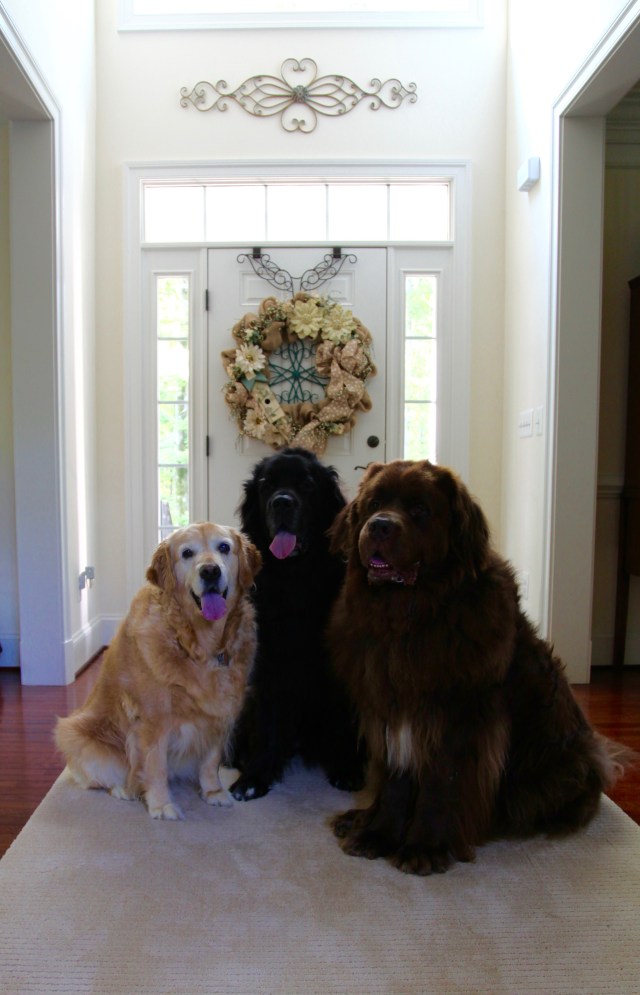
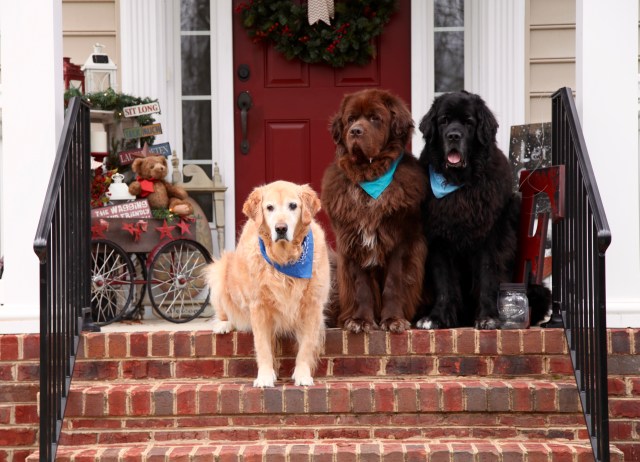
 Here is my ever vigilant helper Samson the Newfoundland, this boy is never too far from my side, he is great company and I just adore this fella!!