My daughter Christin came to visit us yesterday and she and I went to my local Home Goods store to do a little (a lot!!) of shopping. She had a new idea of how she wanted to redecorate her bedroom and bathroom a bit. She and I share a love for this very pretty green’ish’ color that you see everywhere now-a-days and that is the color that she wanted to utilize in her space. I have decorated both my dining and living rooms using this green’ish’ color as my accent color.
There are three stores that I regularly frequent when I go to do a bit of tweaking to my decor, Home Goods is definitely one of my favorites…Hobby Lobby and Michaels are my other “goto” stores for crafts and accent pieces. Christin really loves T.J. Maxx and Home Goods carries a lot of the same things that T.J. Maxx sells. We were happy campers as we walked around with *that* green color in mind.
**I will admit, that when I get a color into my mind, I am very good at finding it in all sorts of different accent pieces.**
The first thing that she picked out was a new comforter set…
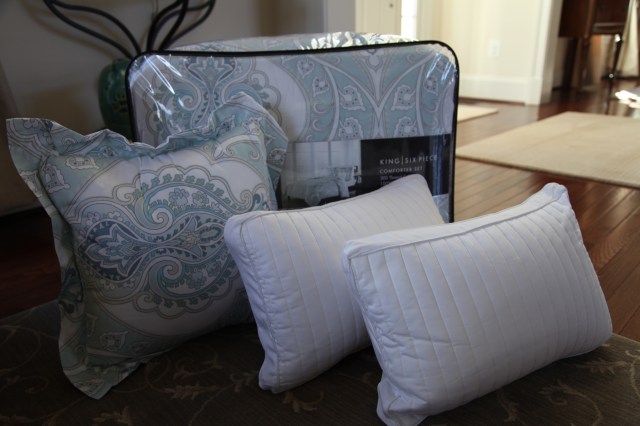
It came with a king sized comforter, 2 king size pillow shams, and 3 throw pillows.
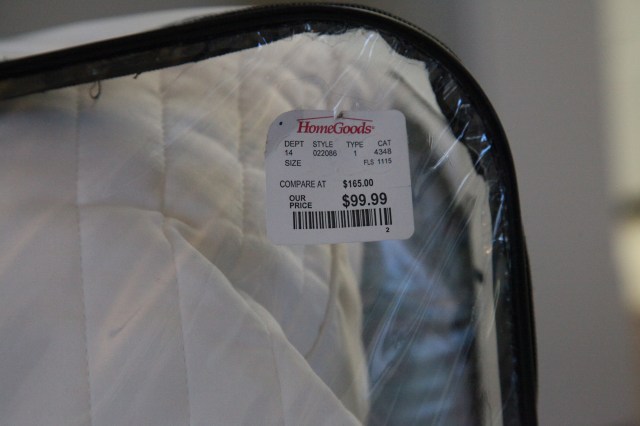
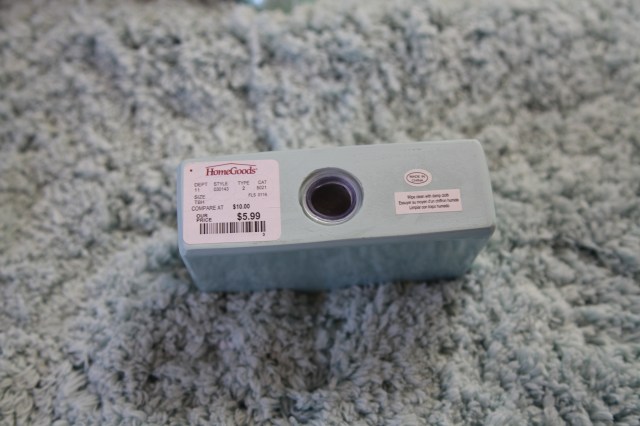
It cost $100 but, it is made from a really nice quality material and shoot, those 3 throw pillows would have cost $30 – $40 by themselves if she had to purchase them separately.
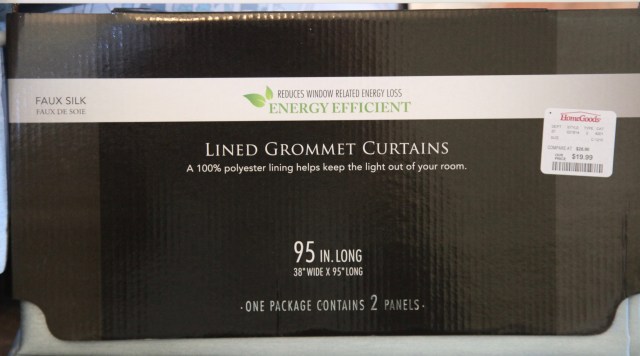
Once she picked that out, we were off and running, we built the rest of the decor around that comforter set. 🙂 The next thing that we picked out were curtains; we ended up buying 2 sets of these panels; she has a large window in her bedroom. They matched the comforter set to a tee. 🙂

We found this chevron rug runner to go in front of her bed…


Christin also found these sweet shelves…


Her plan is to print off some inspirational quotes and some pictures to go in those clips…such a cute idea!! 🙂
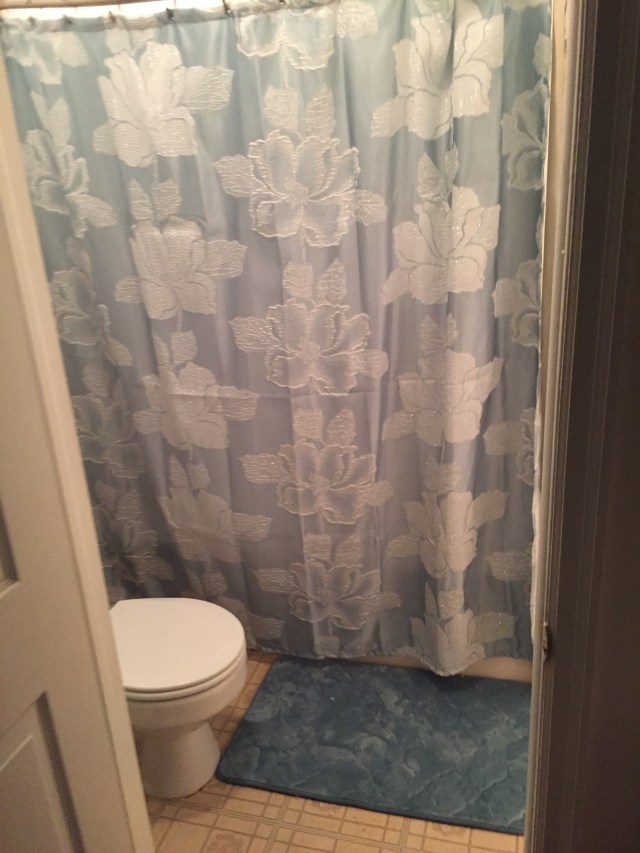
I was sauntering down the bathroom aisle and practically ran to this shower curtain when I saw it. If Christin hadn’t of liked it, I would have purchased it for myself and redone one of my little upstairs guest bathrooms using that as my inspiration. OH I do love this curtain…and…well…Christin did too, so we picked it up to go into her bathroom. 🙂
We also picked up a curtain liner, great quality at a great price!!

Then we found this spiffy memory foam rug to go on the floor beside her tub…
 While we were in the rug aisle, we both gravitated to and picked up this very fluffy round rug…Oh my goodness gracious, it is so soft!!

We also found that little toothbrush holder to match; you can see in the picture above to the left of the round rug….
Once we had all of this stuff piled into out cart, we thought we’d better head to the checkout counter. 😉
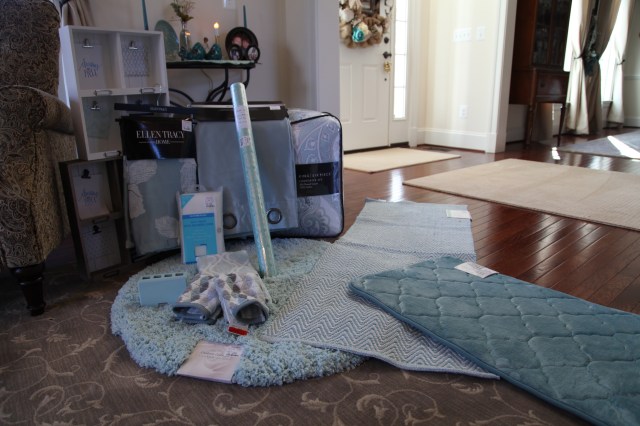
Notice the roll of wrapping paper that Christin grabbed up on our way to the register…haha…She does love this green color (I do too, I cannot tell a lie). 😉
As I was setting all of this stuff up so that I could take pictures of everything, guess who showed up to “help”…LOL…These pups are always afraid that they are going to miss something…;)


ANYway, Christin gathered everything up and headed out to her own place, she lives in a neighboring County about 40 minutes away. She started placing her new stuff once she got home. Her bedroom and bathroom look so pretty now, this green color is so soft and welcoming, it just warms up a room so nicely. (It pairs beautifully with either gray or khaki or a combination of the two…it is so versatile!)
Here are some pictures of everything in place…

She wants to get a few “Euro” pillows to add to this look…
Here is a closer look at those pretty pillows. I love the ones with the inspirational quotes on them…
**I must take a moment to say that Christin is one of the most giving, sweet spirited people I know. Yes, I know that she is my daughter, but, she honestly doesn’t have a mean bone in her body and she would do ANYthing for ANYone! She is a phenomenal teacher too and was awarded “Teacher of the Year” for her entire County in her 5th year of teaching! A-m-a-z-i-n-g!! She is an awesome individual that I am honored and blessed to call my daughter. Those pillows on her bed speak volumes about how she approaches life on a daily basis.**
~~~LOVE you to the moon and back Christin Dani!!!~~~

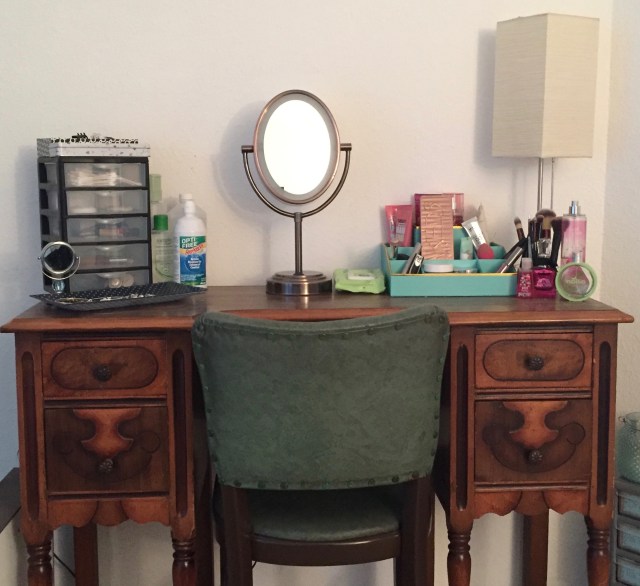
There is a view looking into the vanity that then leads into the bathroom…
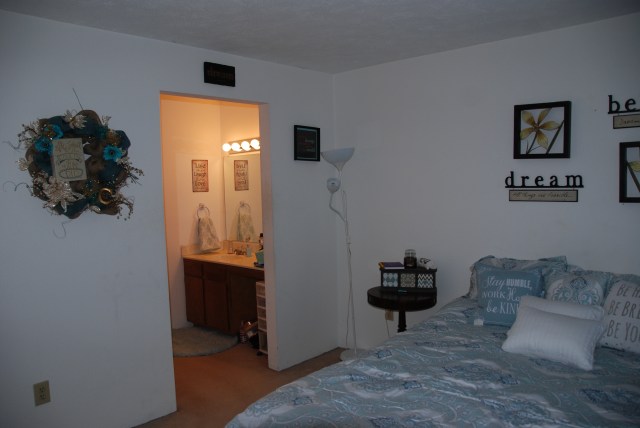
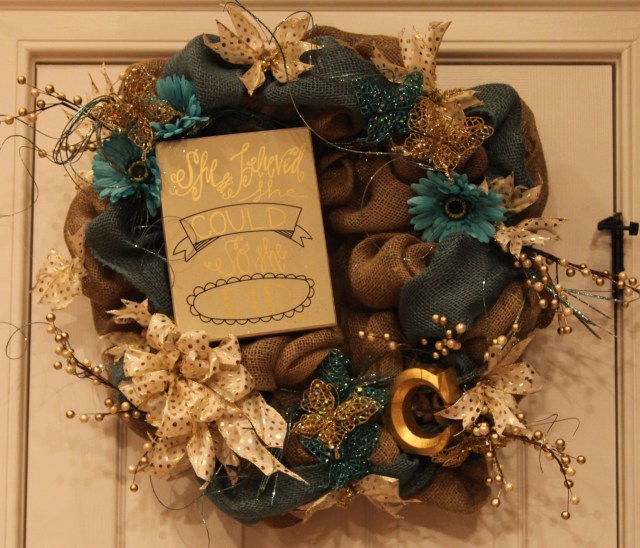
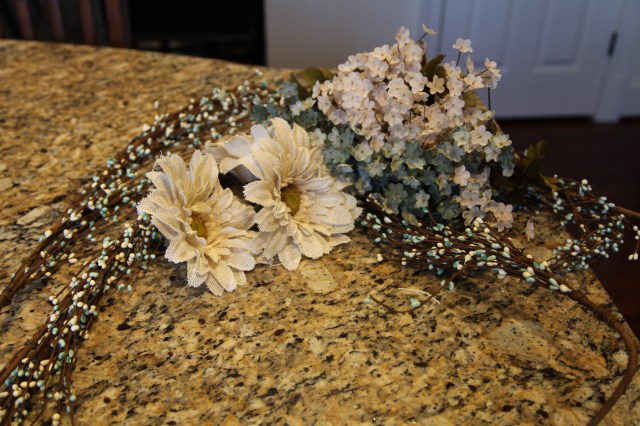
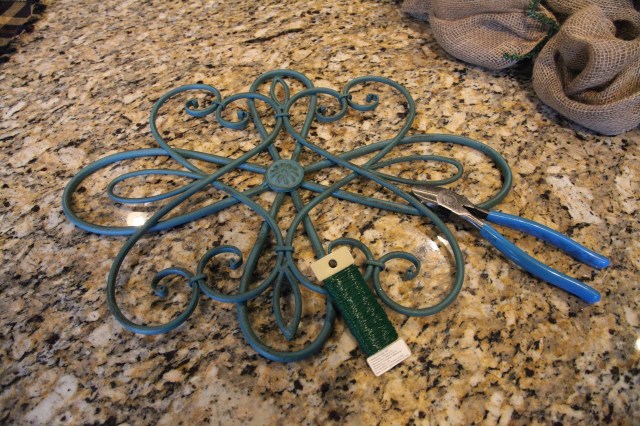
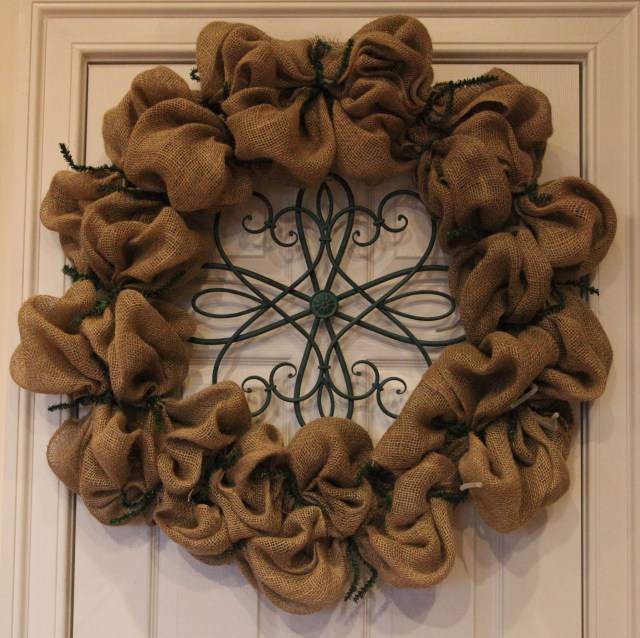
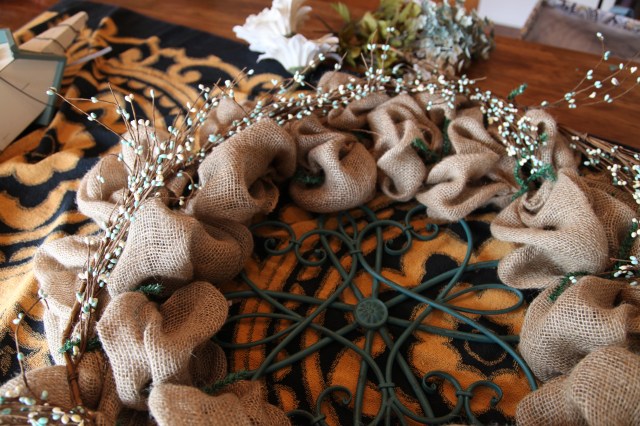
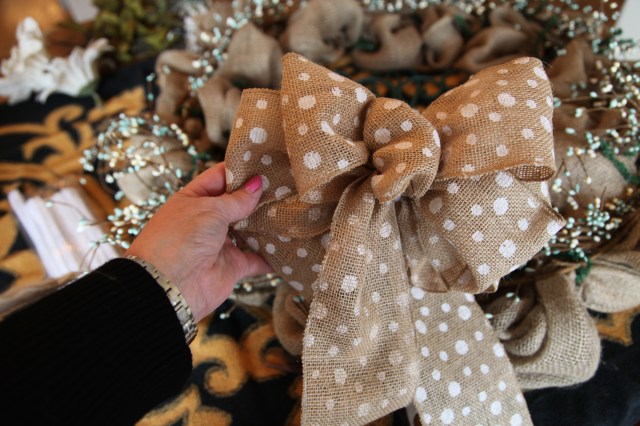
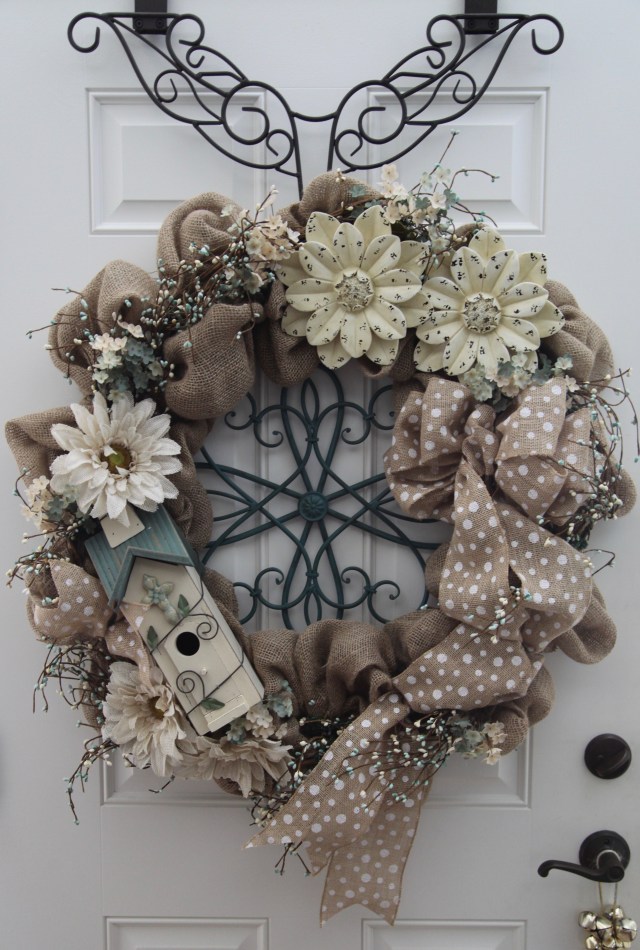
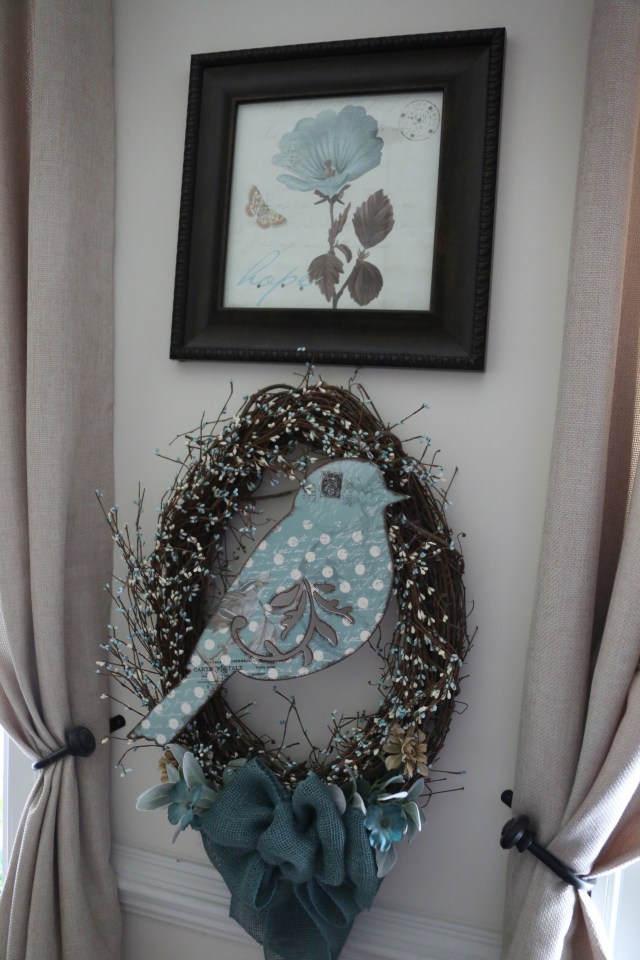
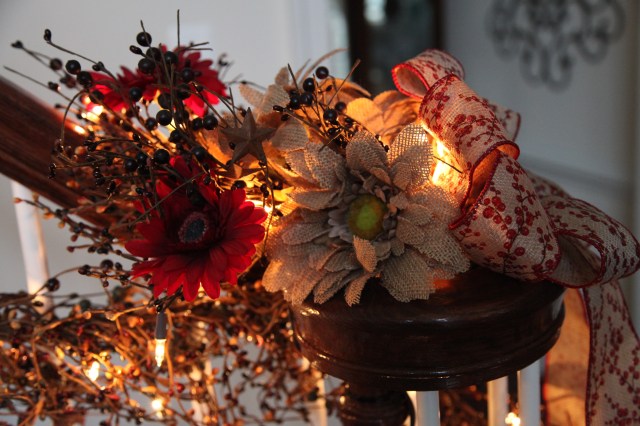
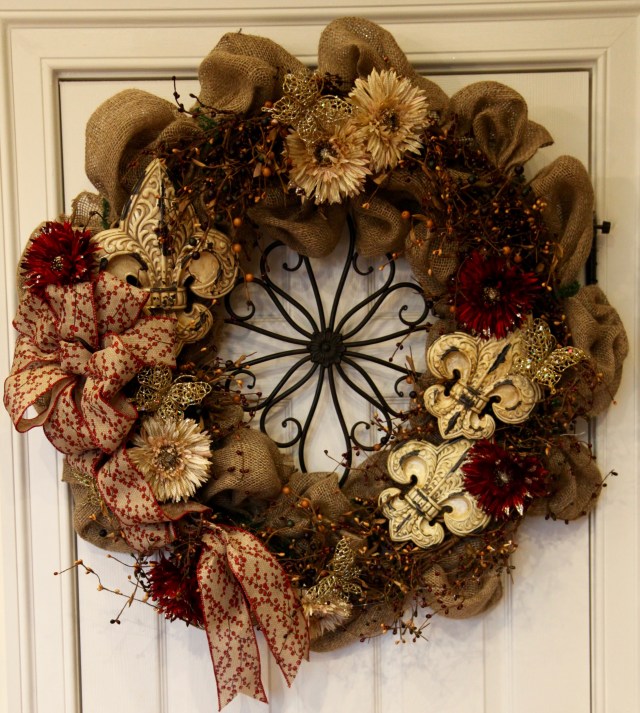
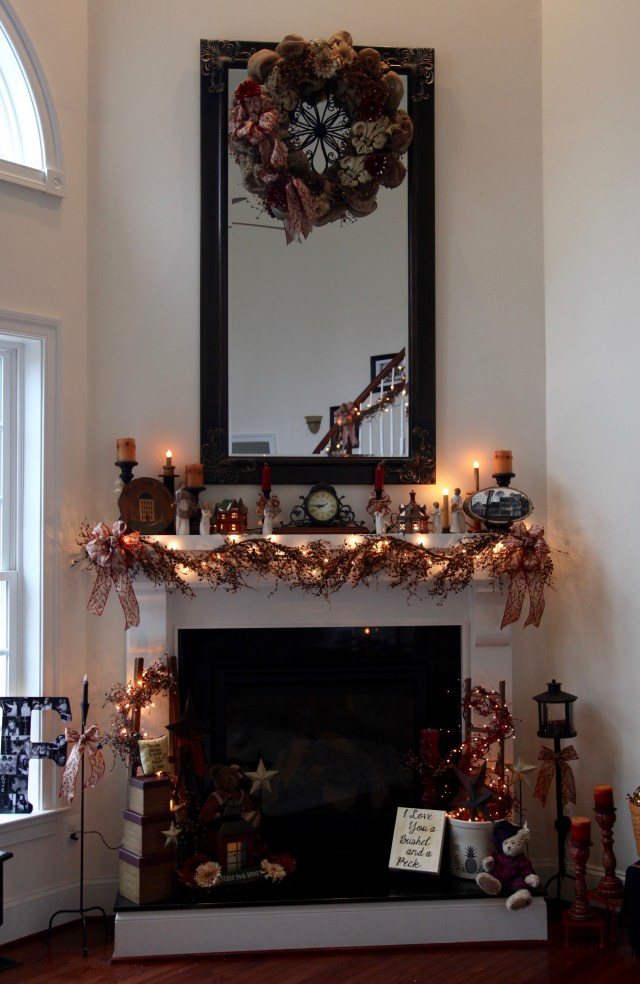
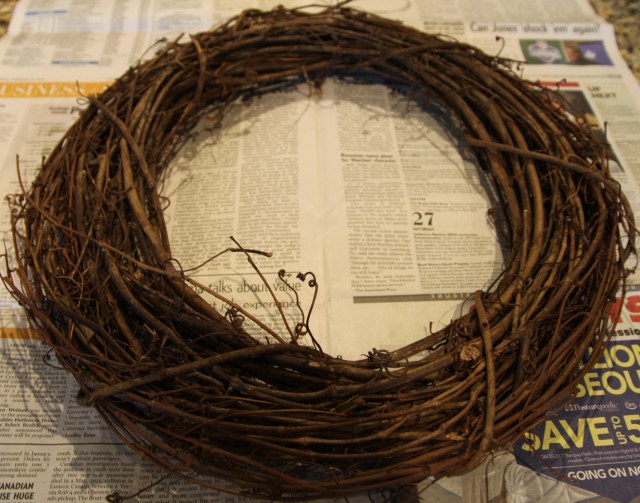
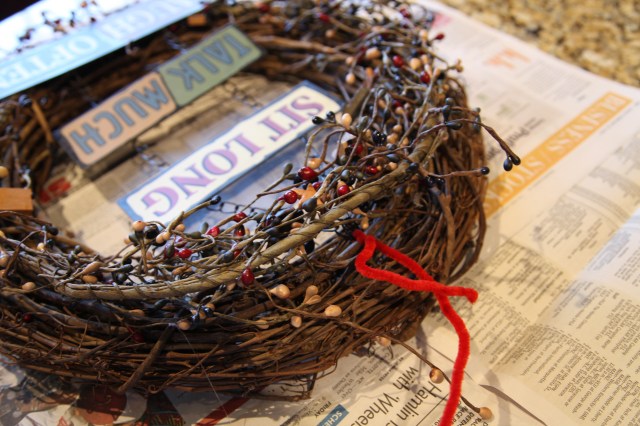
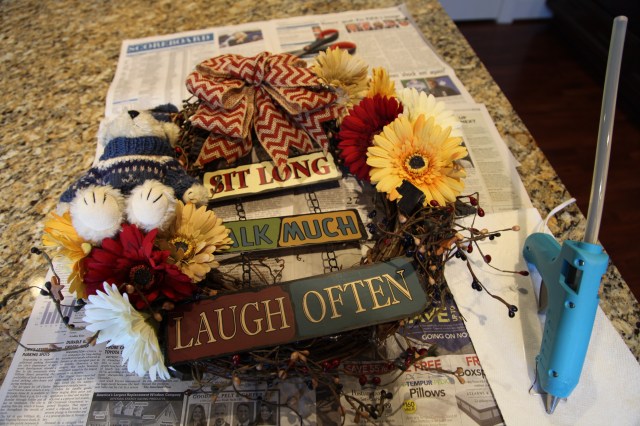
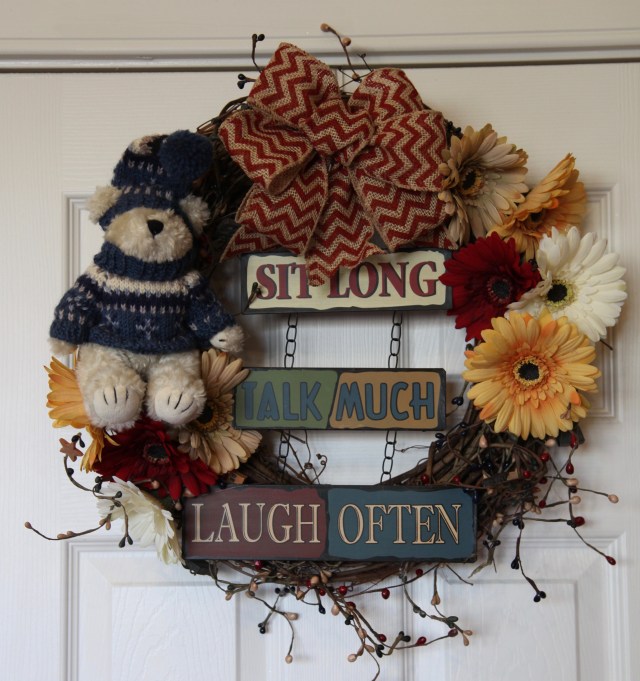
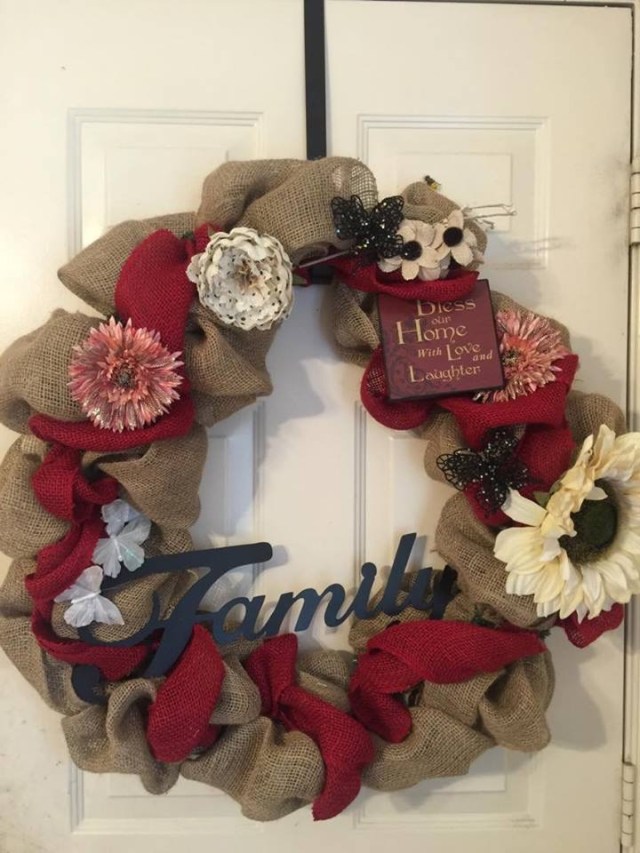
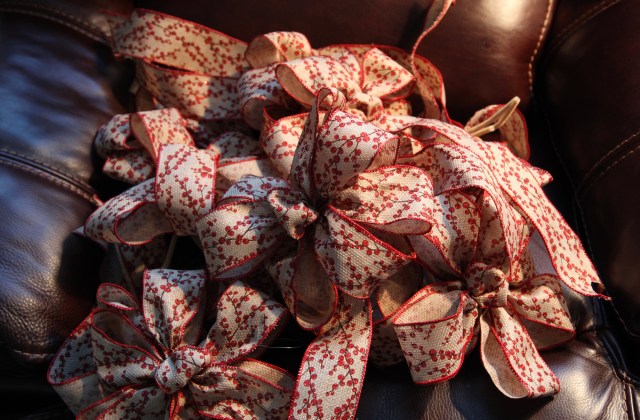
I made her that wreath on the wall there, if you’d like to see how I did that, check out my post entitled Whimsical Burlap Wreath. Here is what it looks like up close:
And here is the bathroom…Wait, first, there is where she placed that fluffy round rug…:)

Now, on into the bathroom…

Isn’t that shower curtain pretty! It adds just a touch of sparkle…
Everything looks so pretty and I think Christin feels a bit better that she has included her favorite color in so many different ways into her space. I think she has a lovely theme that she can build upon as she continues to tweak her decor.
I’m not sure where she will place those two shelves with the clips, but, they will really add interest wherever she hangs them. 🙂
One more thing, here is a shot of her vanity…It used to be my Mom’s and it fits beautifully into Christin’s bedroom…It is so nice to see something that my Mom used all those many years ago still being utilized. It just touches my heart. ❤
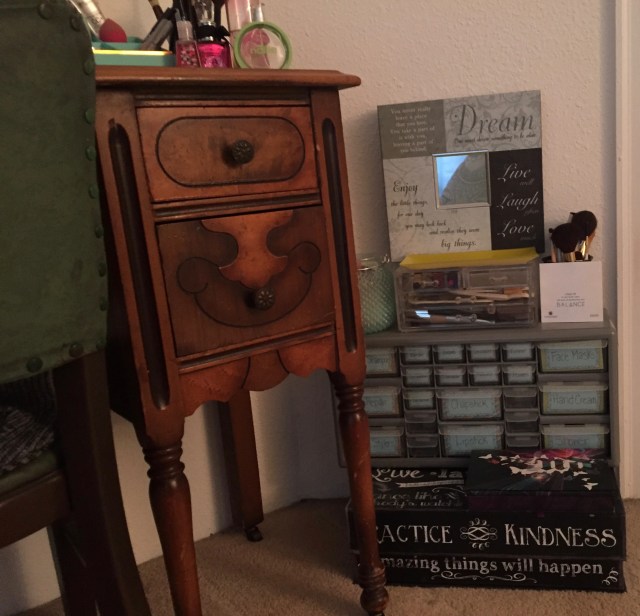
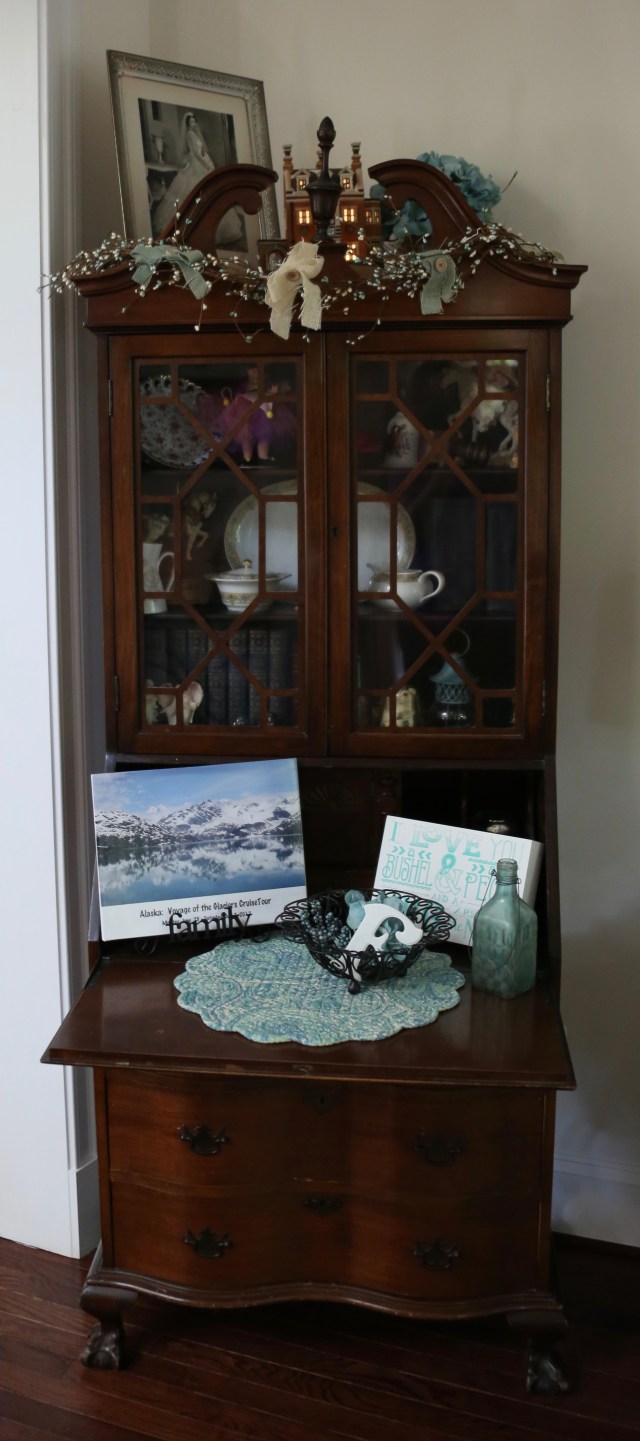
And Christin has great organizational skills like my Mom did too, check out these couple of pictures and the way in which she creatively displays her belongings…

Well, that does it for our Home Goods Haul. 🙂 I had a great time helping Christin pick and choose such pretty pieces with which to decorate her sweet home. I was definitely in my ‘wheelhouse’ and enjoyed every second of our time together.
Until next time, y’all take good care! ❤
**In crafting there are no mistakes just unique creations**
~Arlynn ❤


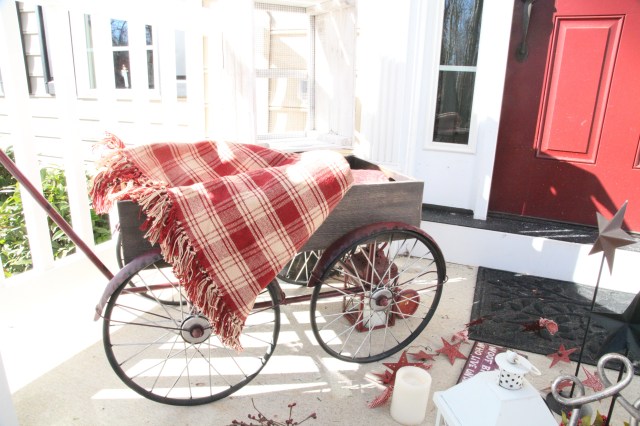
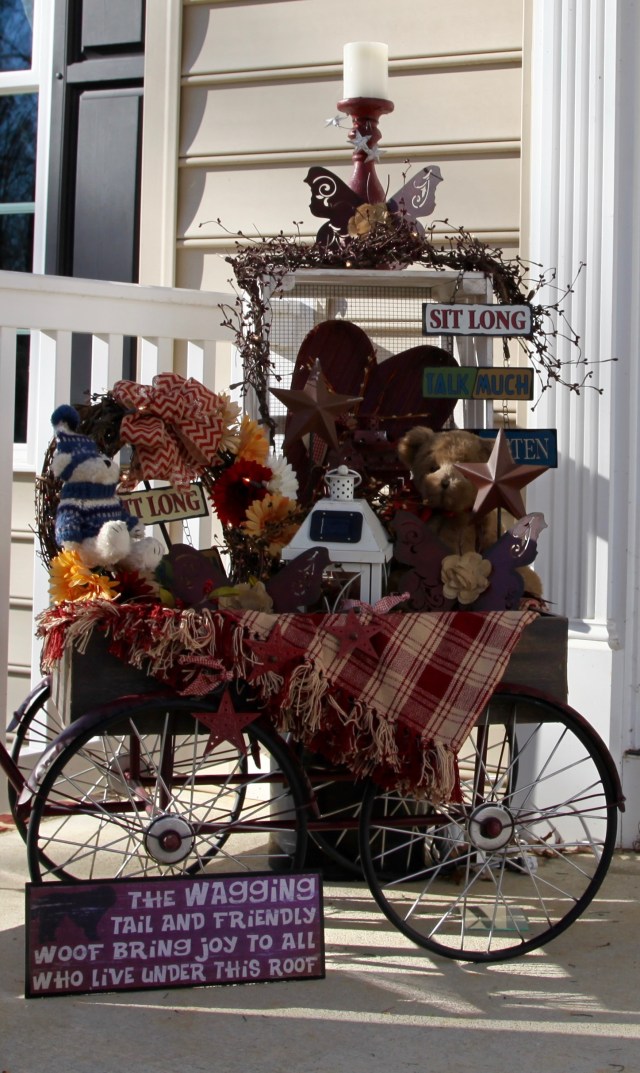
 As seen in the picture above, I have found that adding Rod-Iron


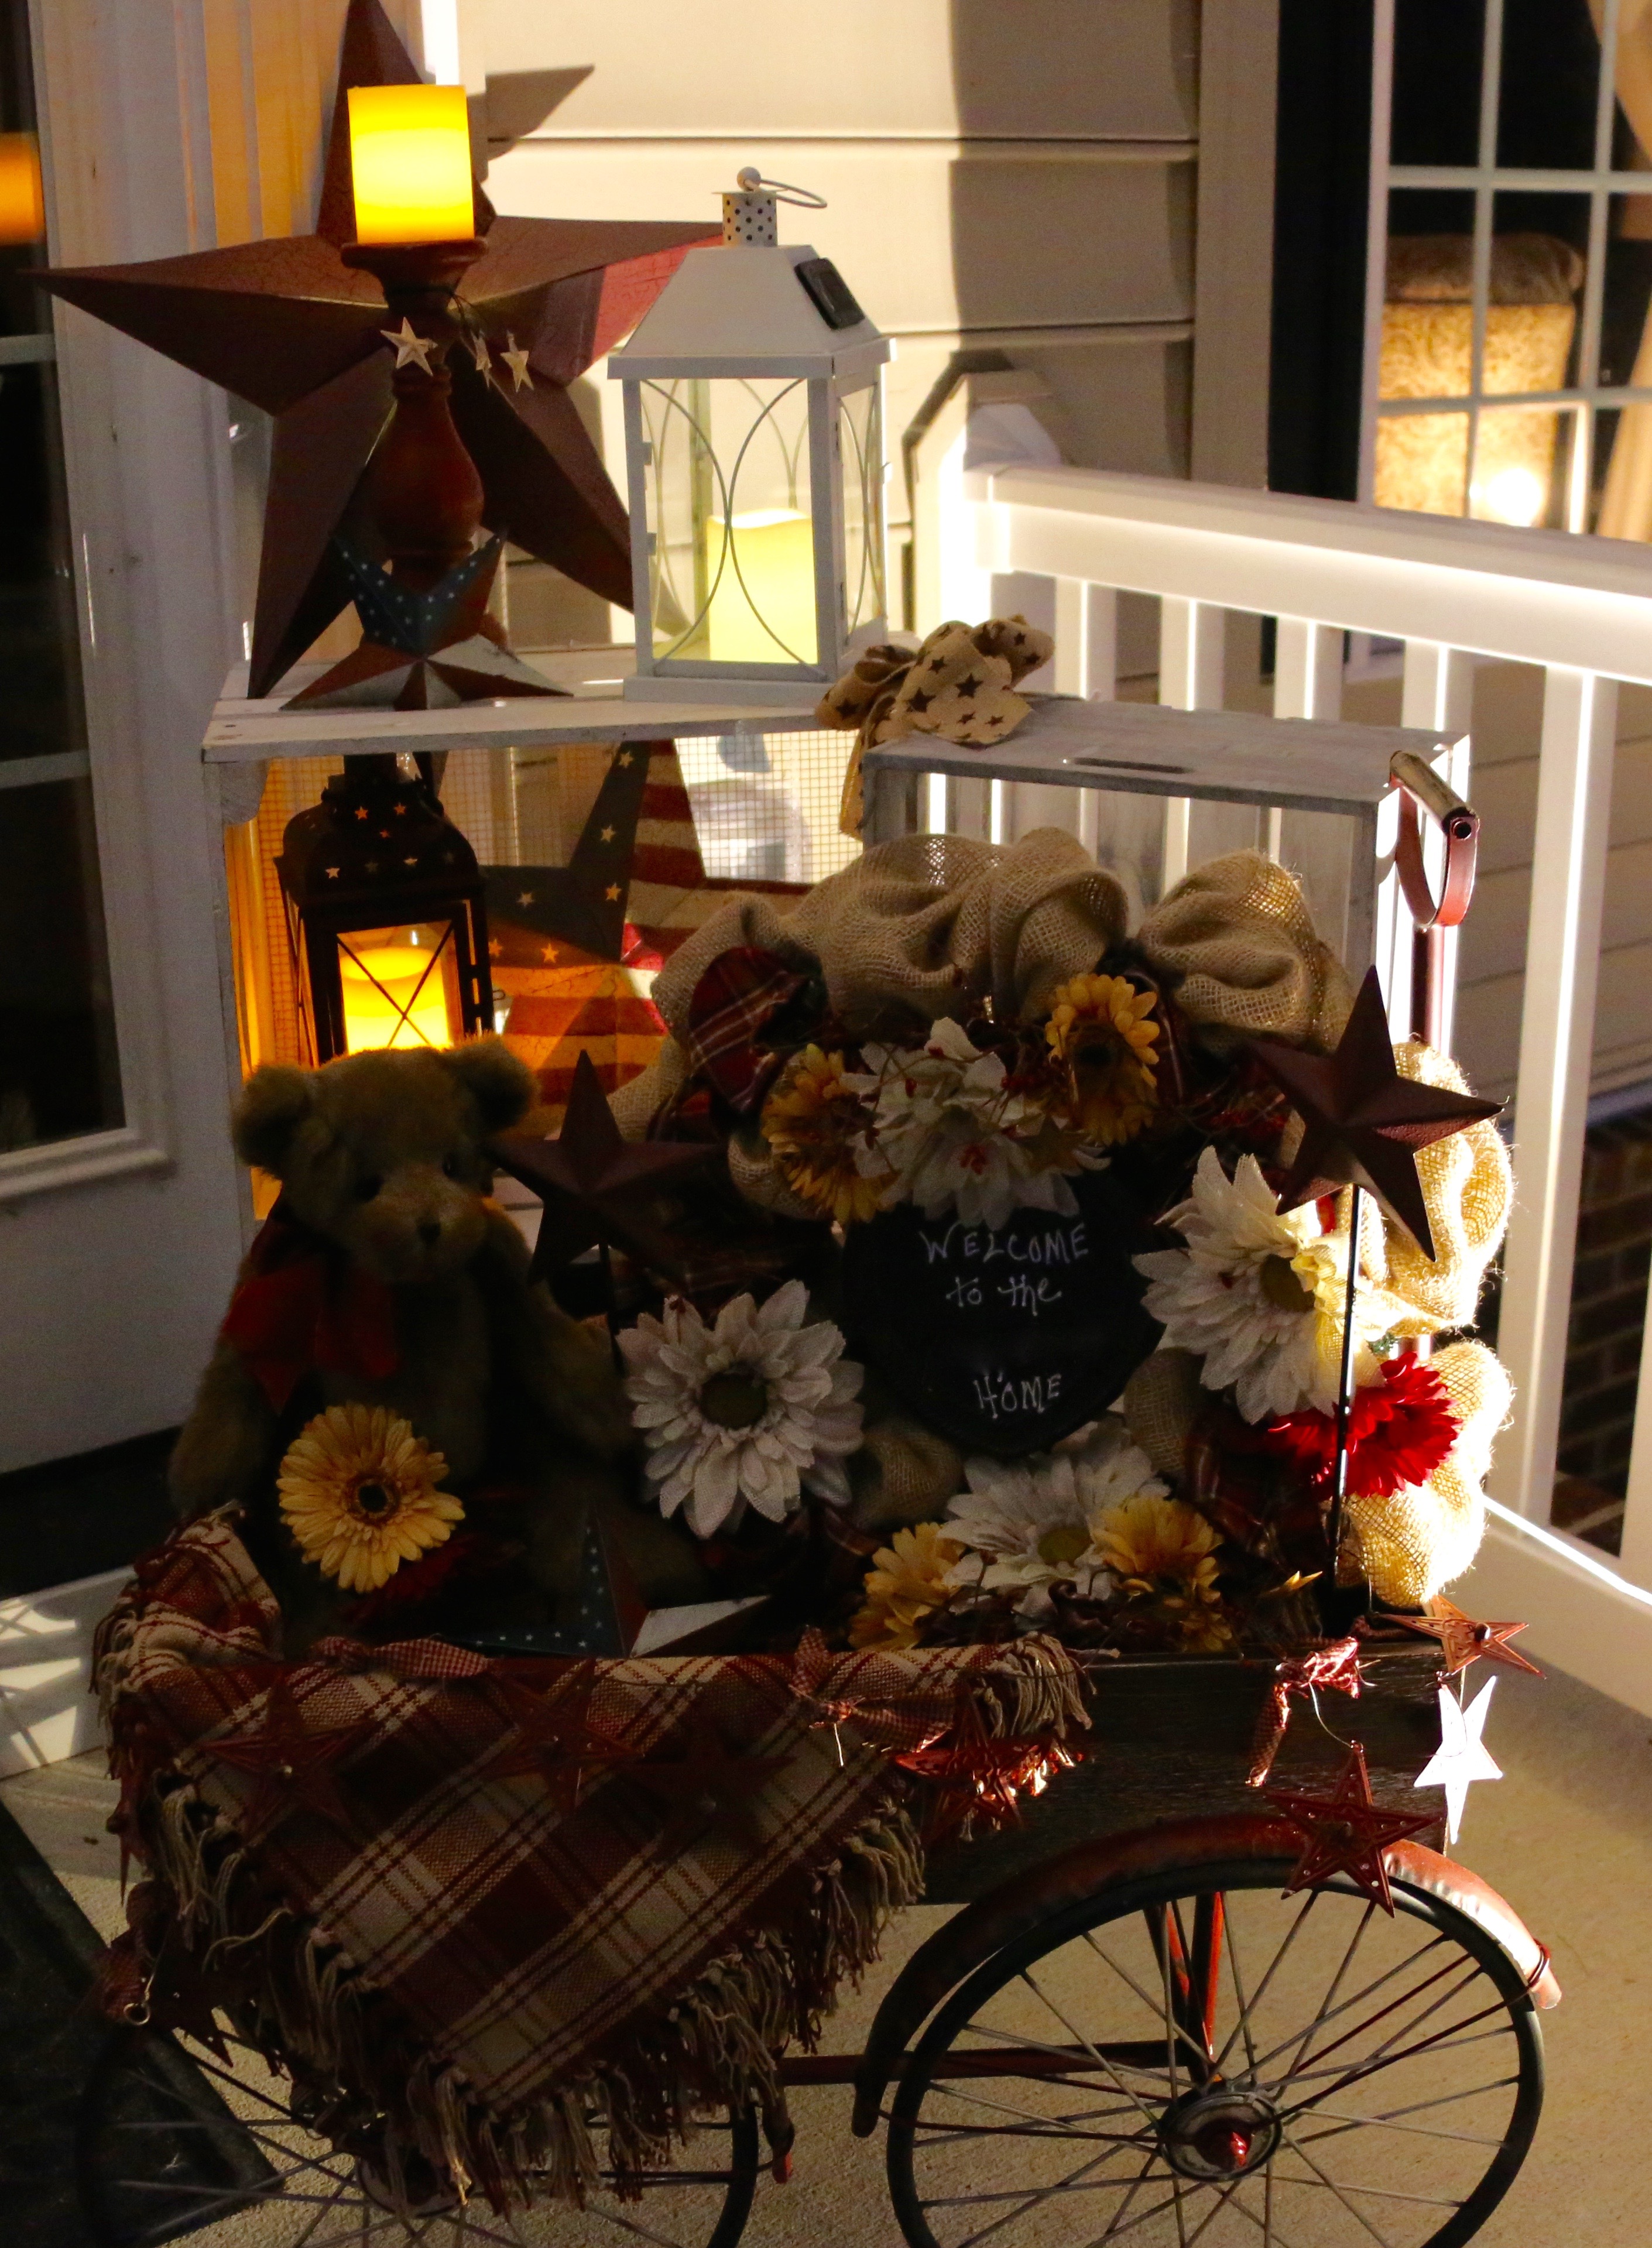

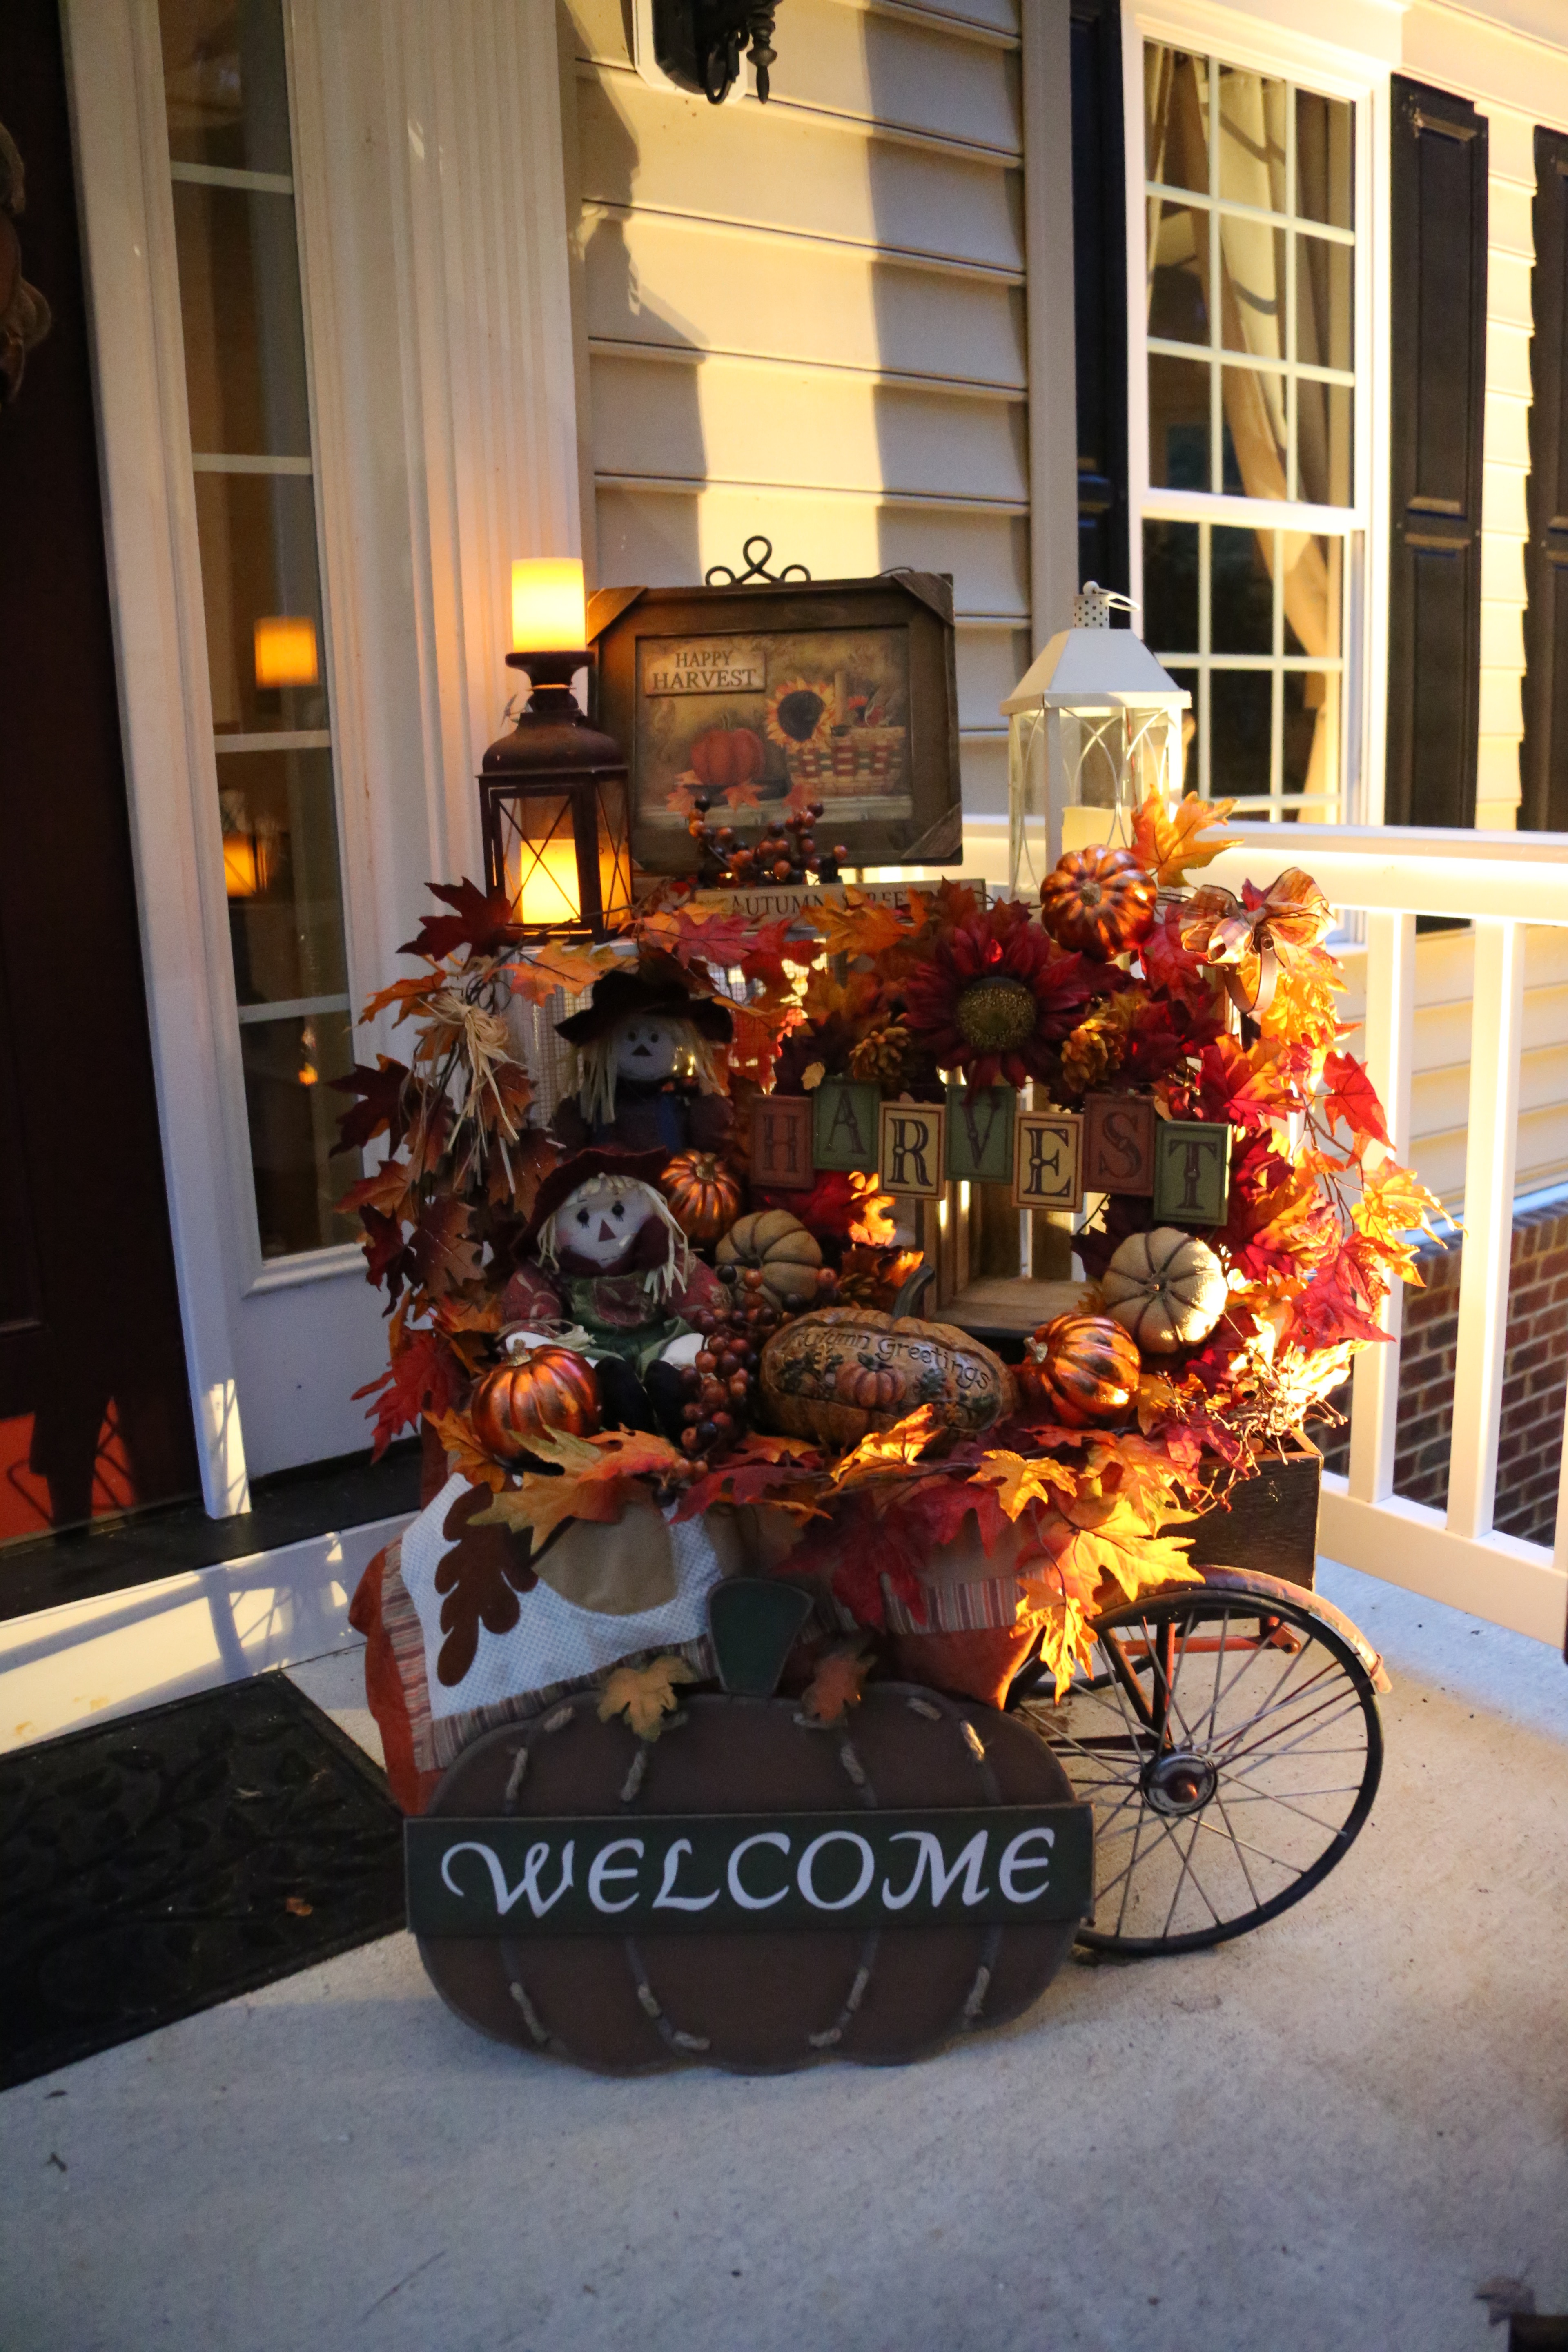
 As far as the grouping inside and around the wagon goes, I truly just gathered a bunch of stuff out of bins that hold all of my extra generic
  country decorating items, hauled them all out to the wagon and started placing them in the wagon and on and in the crates. I placed the red and white plaid throw blanket first, then the wreath and bear which is sitting on a little red stool, and then I added the other items. A couple of lanterns (one of which is solar and I have a battery operated candle in the other one) rounded out this grouping. Oh, one more thing, there is a battery operated candle sitting on the large burgundy candle stick that is sitting on the crate and in front of the big star.


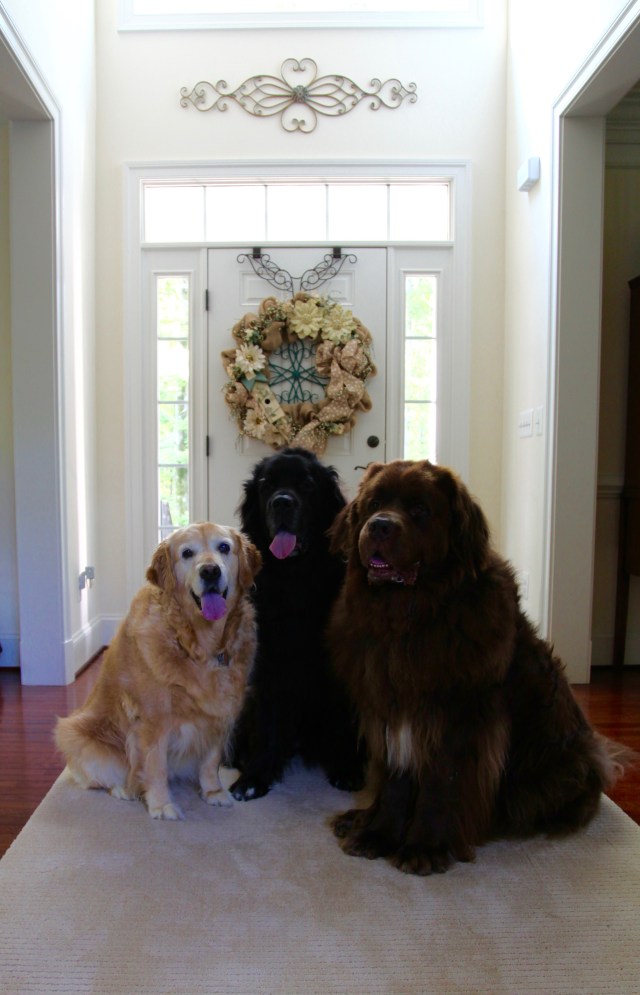
 I think I should let y’all know that I am forever taking pictures of my pups and this day was no exception. I brought all three of them out front and clicked off a few pictures of them in front of the decorated porch. They were so good, and they actually obeyed me when I told them to “stay”! Yippee skippee!! 😉 Here is just one of the photos I clicked off of Sophie, Samson, & Gracie. ❤ ~~~>
 To finish the off the front porch, we added a patriotic bunting to the porch overhang. Notice I said “we” ^^^, I should have said “my hubby” as I do not climb up very tall ladders no matter how badly I want something placed somewhere..haha. Thank goodness, my hubby is willing to take care of such precarious tasks. 😉


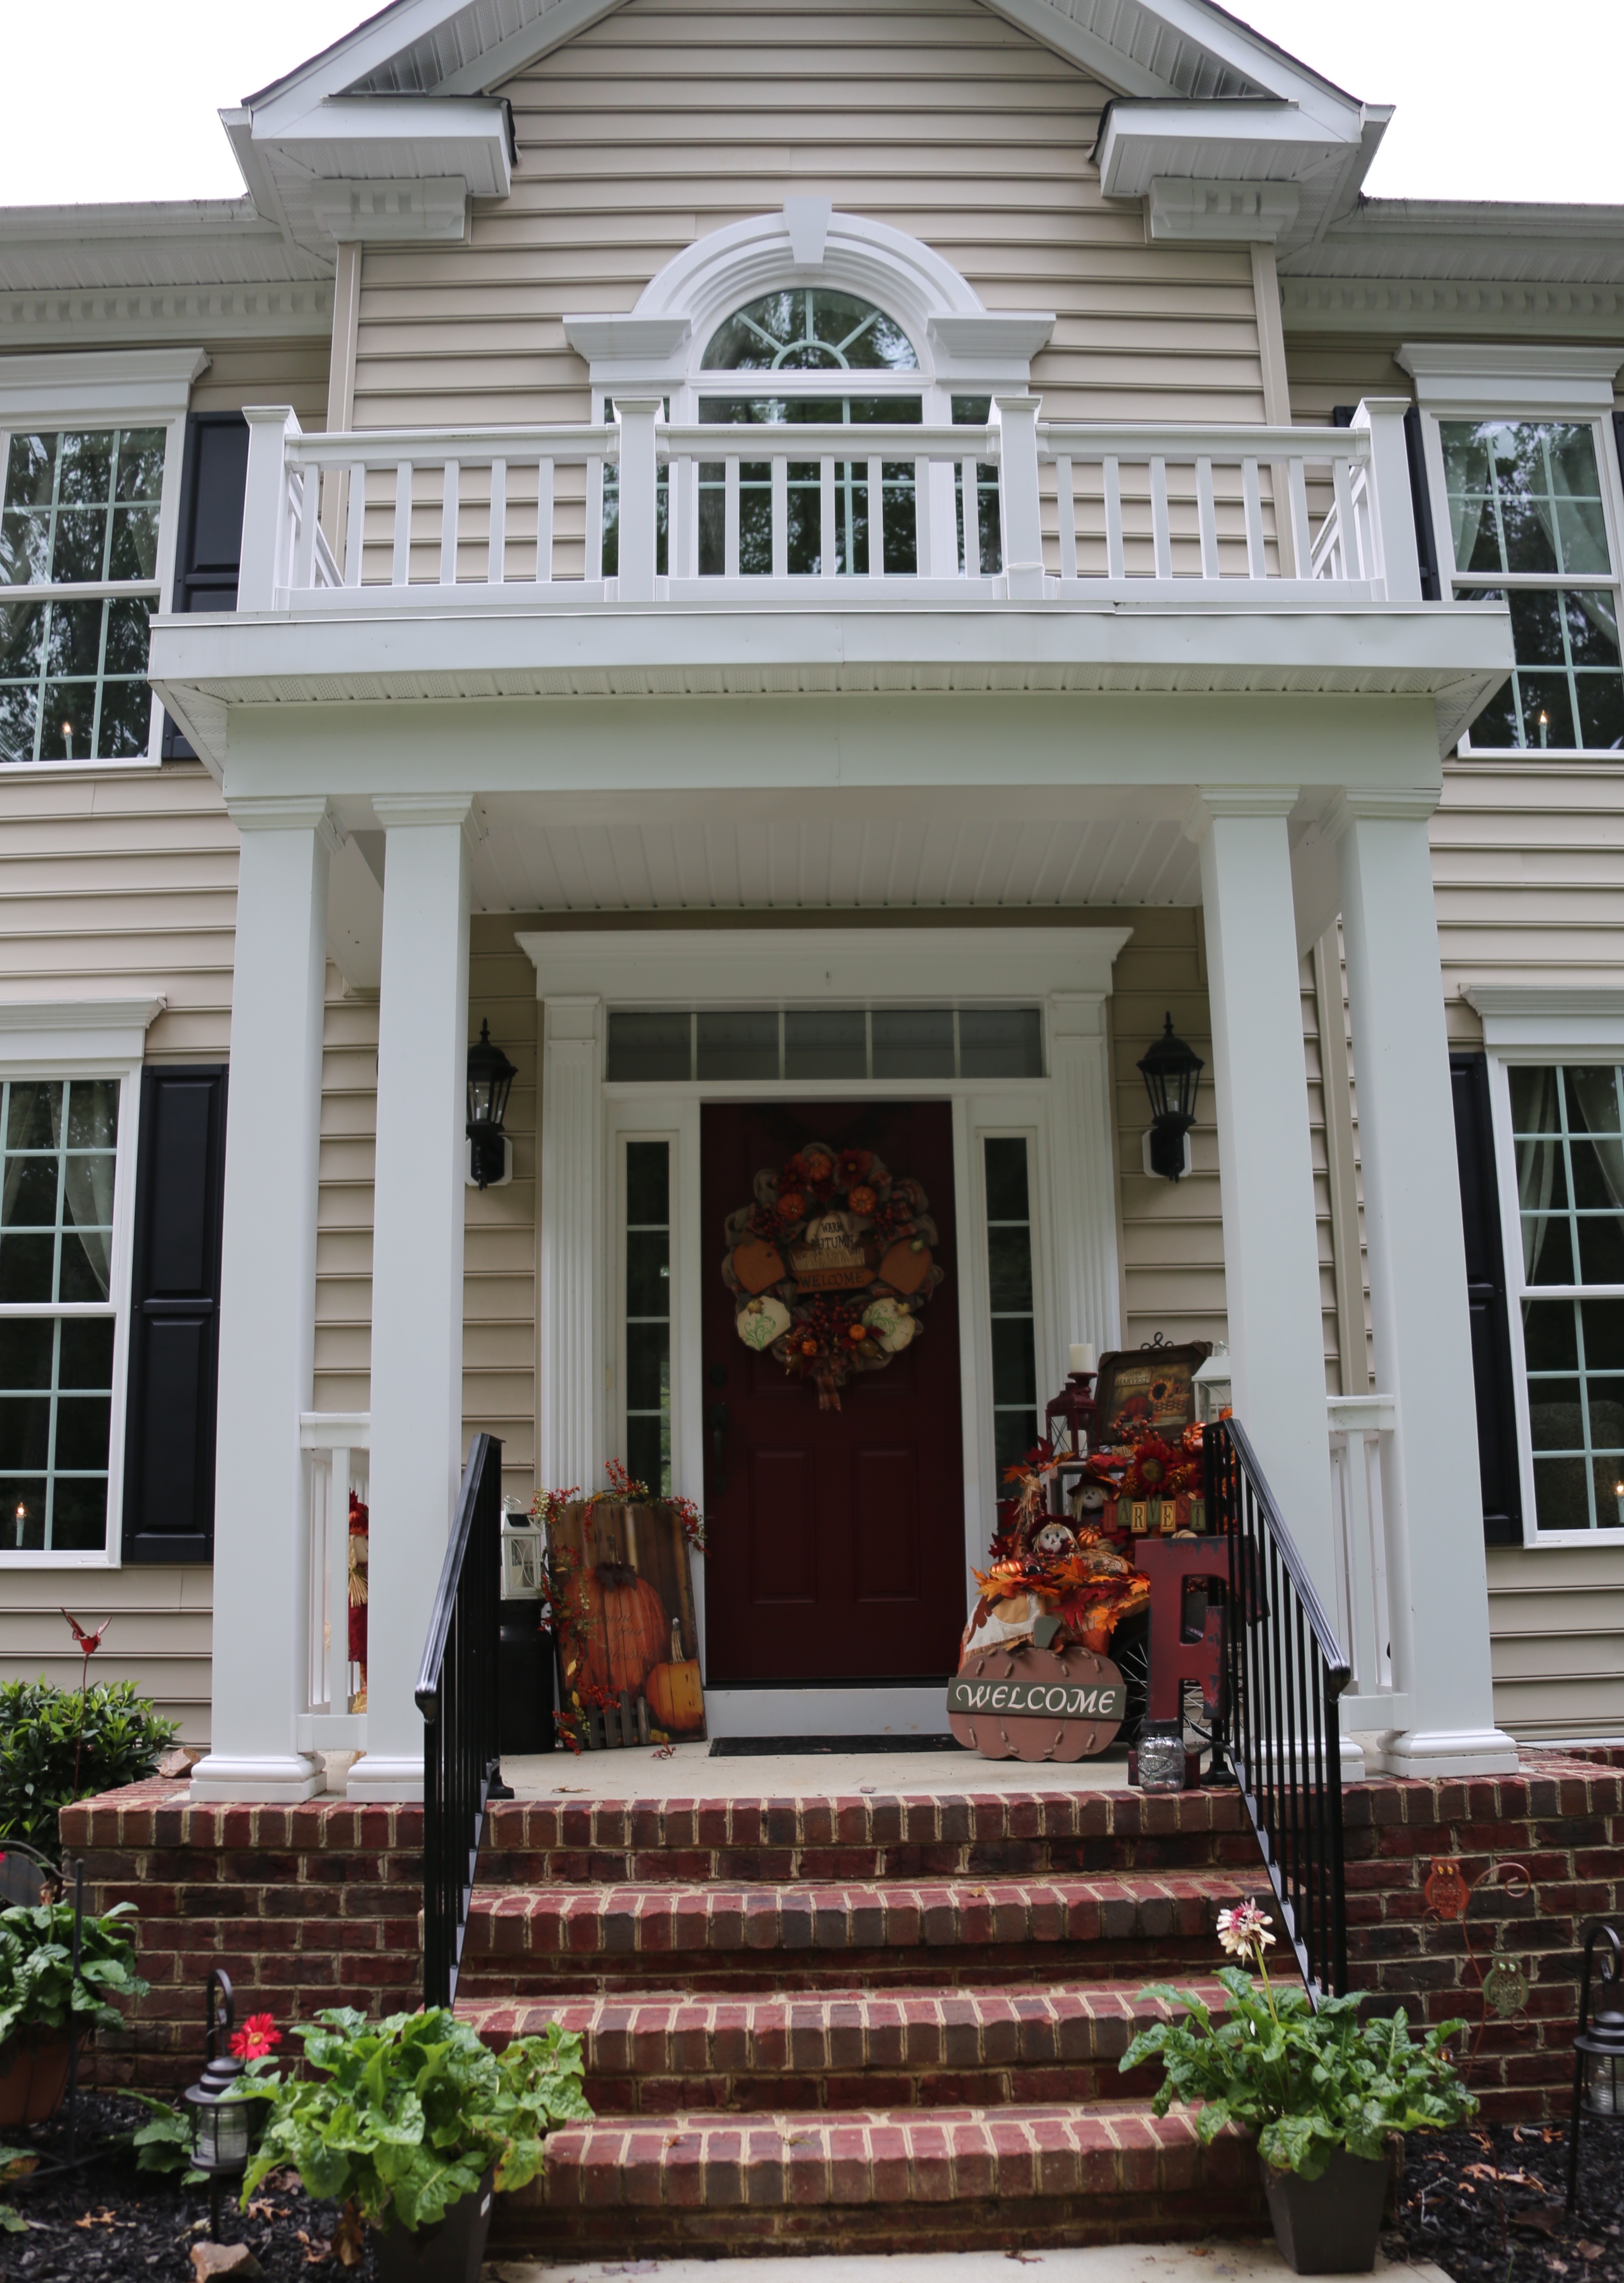
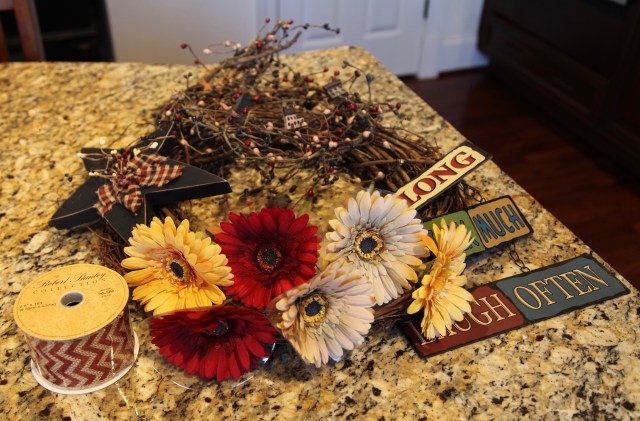
 I found that large “Count Your Blessings” fence plaque (sitting on the left of the front door) in Hobby Lobby for 40% off. I made a new burlap wreath to finish everything off and it all came together quite nicely.