Fresh Apple Cake

Here is another one of my very old tried and true recipes, my MIL (Mother-in-Law) passed this one onto me over 3 decades ago.  She made it for us to enjoy one Christmas and I asked her for the recipe, she didn’t have anything to write on so she improvised and tore off a box top and wrote this out for me:

IMG_3132

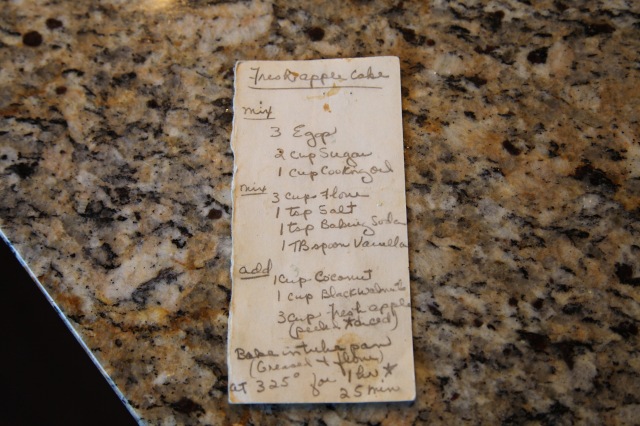
Here is the recipe just in case you have troubles seeing what she wrote:

Mix:

  • 3 eggs
  • 2 cups sugar
  • 1 cup cooking oil

Mix:

  • 3 cups flour
  • 1 tsp salt
  • 1 tsp baking soda
  • 1 tablespoon vanilla

Add:

  • 1 cup coconut
  • 1 cup black walnuts (chopped small)
  • 3 cups diced apples (peeled and diced)

Bake:

  • 325 degree oven
  • greased and floured tube pan
  • 1 hour 25 minutes

I believe she told me that her Mom used to make this for her and her siblings when they were small; I would venture to guess that this recipe is 60+ years old.

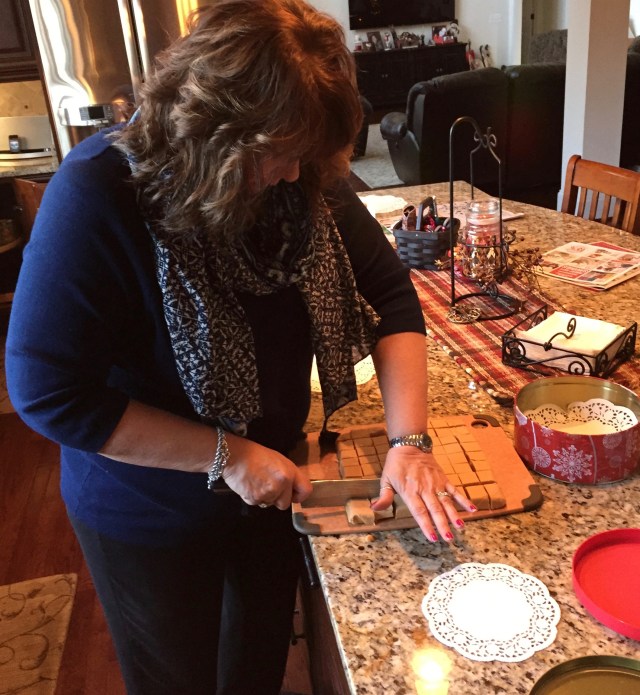
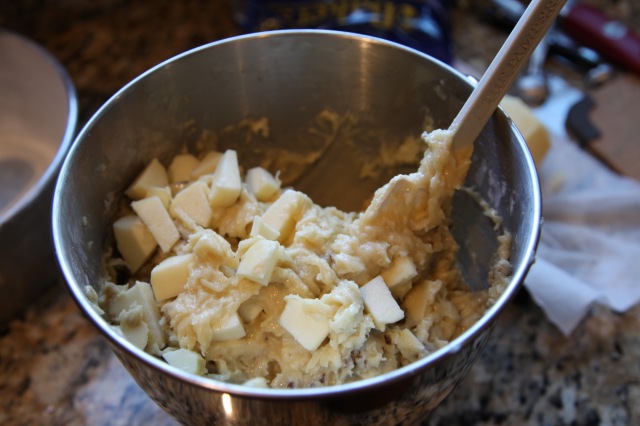
We gathered all of the ingredients together and then my hubby who is a *great* cook started to build the batter, and by building, I mean that almost literally because when all of the ingredients are combined it is quite thick and difficult to stir…

IMG_3122

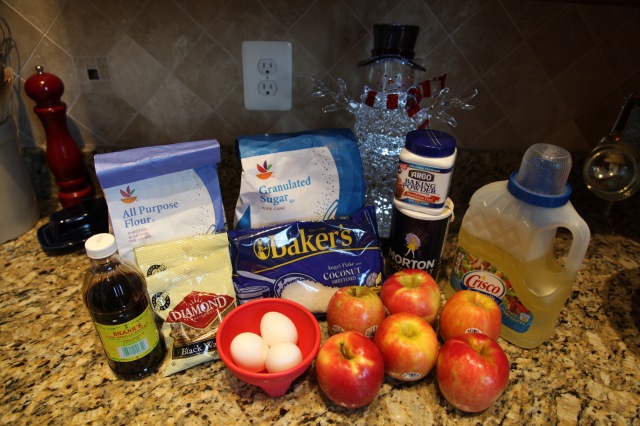
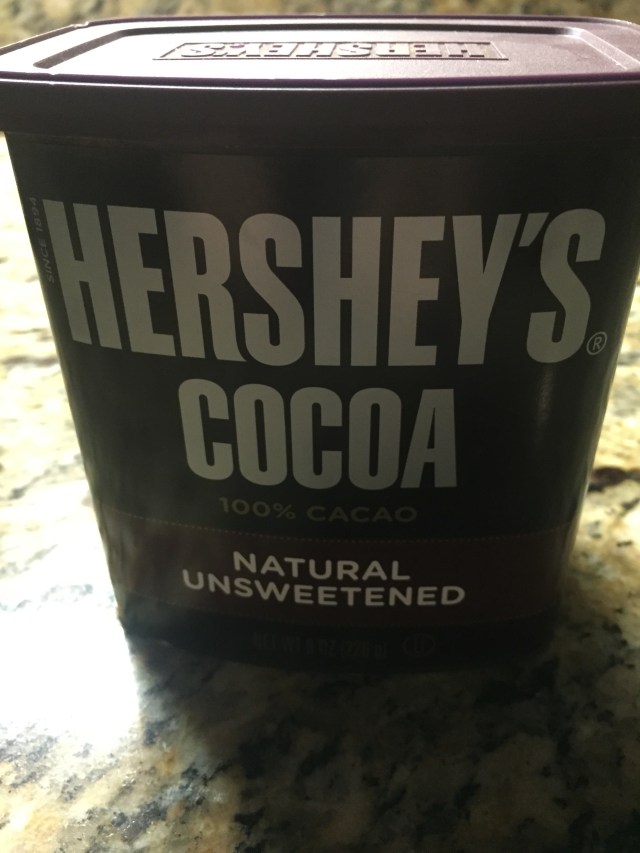
One side note: We didn’t realize that we were completely out of baking *soda* (who runs out of baking soda? ME! <shaking my head>).  So we substituted baking powder, I went to my best friend Google and inquired about what to do if baking soda wasn’t available but baking powder was…Google told me not to fear, that the answer was to triple the baking soda measurement when using baking powder only (we didn’t quite do that though, we only used 2 teaspoons of baking powder and it didn’t affect the way the cake turned out at all…it worked great).   Also, we used 4 apples as opposed to the 6 pictured.  Regarding what kind of apple you use…that is totally up to you, we used “Pink Lady–Pink Cripps” and they taste yummy–according to the hubby.  (I can’t eat this cake because I am a migraine sufferer and black walnuts are a big trigger for me…)

The hubby started by combining all dry ingredients in one bowl, and all wet ingredients in another bowl:

IMG_3123

And I prepared the tube pan:

IMG_3124

Combine all the ingredients except for the nuts and apples with a mixer, then fold the apples and nuts in by hand.

IMG_3126 The hubby literally spooned the batter into the greased and floured 10″ tube pan.

IMG_3128
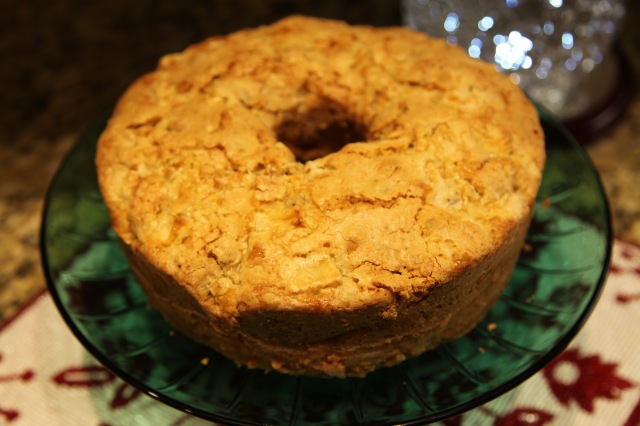
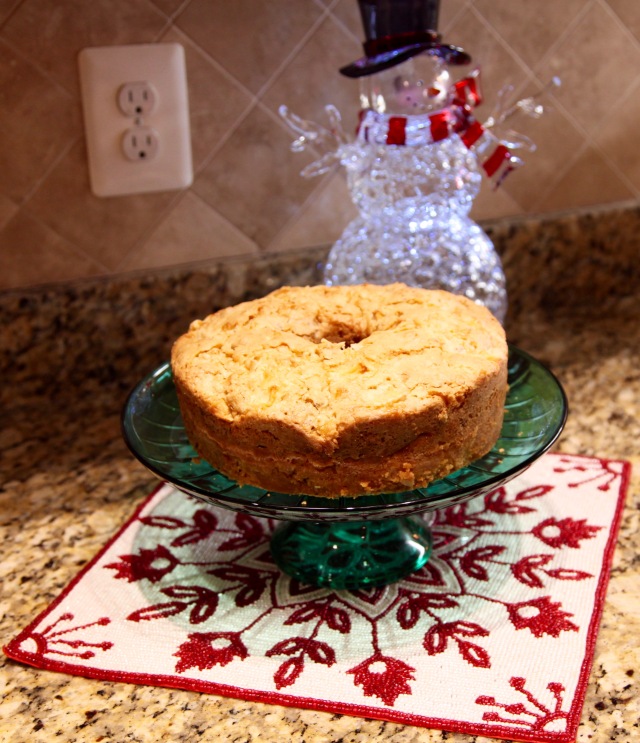
We put it in the pre-heated 325 degree oven for 1 hour 25 minutes.  It came out perfect, in fact, now that I think about it, it always comes out perfect. 🙂

The hubby has already had a piece of this cake this evening and he says it tastes great!! I’m hoping it will still be around  on Christmas Eve so I can set some out for my visiting family members to enjoy. Something tells me that that might not be the case though. 😉

IMG_3135

IMG_3137

My hubby isn’t an icing lover, so he didn’t want to put icing on this cake, but, my MIL always puts caramel icing on it when she makes it and I’ve heard many family members rave about the cake with that icing, so I would encourage you to have a can on hand so that you can try it with and without the icing. 🙂  My MIL only uses Pillsbury Creamy Supreme Caramel icing…like this:

IMG_9815


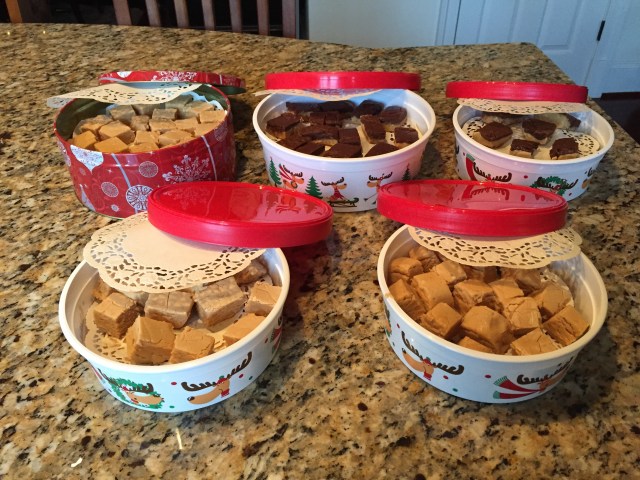
Well, there we go, another tried and true recipe from my recipe basket. Stay tuned, I will be posting more yummy recipes as I prepare for our Christmas celebration.  Tomorrow is fudge day for me, I did already post my two best Peanut Butter Fudge recipes that I will be making.

Until next time…May your days be “Merry and Bright!! ❤

~Arlynn ❤


Reese’s Cup Christmas Trees

My dear friend Karen and I have always loved to get together and do crafts, so when she posted a little YouTube video on her Facebook of these sweet little Reese’s Cup Christmas Trees, we decided that we’d try our hand at making some.  A little back story about my friendship with Karen.  She and I met when our daughters (2 mine and 2 hers) were in the high school’s marching band.  Karen and I were very involved in the Band Parents Association and we got very close during that time; going on a plethora of trips with many talented teenagers will bring friends closer together.  Also, I was the Band Parents Association’s President and she took that job over from me after my youngest graduated which ended my tenure.  All of our girls are out on their own and thriving now-a-days and Karen and I have continued our friendship…I feel very blessed to have her in my life and I cherish our times together. 🙂

Here we are standing in front of our Christmas Tree…I’m in the red sweater. 🙂

IMG_3105

Let me first start by giving you a little list of what you’ll need to make each of these sweet little Reese’s Christmas trees:

  • 1 regular sized Reese’s Cup
  • 2 miniature sized Reese’s cups
  • 1- Hershey’s Kiss
  • 1  tub of pre-made chocolate icing
  • 1 tub of pre-made vanilla icing (we had green colored vanilla icing)
  • Christmas themed sprinkles
  • Piping bags
  • Piping tips (I’m thinking you could also use a zip-lock bag and snip one of the bottom corners if you don’t have piping bags and tips)

The first thing that we did was take some time to unwrap all Reese Cups and Hershey kisses.  Then we filled a piping bag up with some of the chocolate icing…

IMG_3079

Karen owns these cute piping tips and we chose to use #7

IMG_3083

The icing would be the “glue” that would hold all parts of this little spiffy Christmas tree together. Then we just simply piped a dollop of icing on the Reese’s cups and started building the tree in this order…1 small cup, the large cup, 1 small cup, & top it off with the Kiss.

And the constructing began…

IMG_3084

IMG_3078

IMG_3077IMG_3085

Aren’t they cute?! 🙂  Next, it was time to add the ‘garland’ (icing)…Karen loaded some green icing into another piping bag and away we went…

IMG_3081

IMG_3085

Next came the ‘ornaments’ (sprinkles)…I was so involved in creating that I neglected to take a picture of one completely finished Christmas tree…yeah, go me eh?!!

IMG_3093

I decided to make up little favors (to give to my family on Christmas Eve) with my trees. I had purchased these little buckets, clear gift bags, and gift ribbon from Hobby Lobby…

IMG_9724

I had decorated up one of the little trees with icing and sprinkles and then I tried to place it down into that bucket…ummm…that did not work well, I had icing everywhere and well, I had to come up with another plan of action.  So here’s is what I did…

First, I placed the bucket inside the bag and snugged the bag down so that I had access to the inside of the bucket.

IMG_3086

IMG_3087

IMG_3088IMG_3089

Then I decorated the tree while it sat inside the bucket…that took a little manipulating and a bit of patience, but I managed to get them done…

IMG_3091

IMG_3092

IMG_3096IMG_3098

Then I pulled the bag back up and gathered it together and tied it shut with the gift trim…

IMG_3099

IMG_3100IMG_3101

I placed all of my favors into a pretty Christmas box and actually put them into my freezer for safe keeping until Christmas Eve…I’ll take them out that morning and they should be perfect to transport home with their new owners. 🙂

IMG_3102 (1)

So, when all was said and done, Karen and I had a very productive day creating a fun new little treat and making many fun memories to cherish. YaY!!!

Merry Christmas to all and to all a good night! ❤

Until next time, y’all take good care!! ❤

~Arlynn


Peanut Butter Fudge (2 kinds) & Peanut Butter Pie

To say that my family loves peanut butter is an understatement.  Well everyone *except* my hubby…what?! lol Now that Christmas is approaching I’ve entered into my usual fudge making frenzy stage because it seems that everyone loves my peanut butter fudge.  I will be sharing 2 different peanut butter fudge recipes with you; I cannot take credit for either one of these recipes though as they were both passed on to me years and years ago by dear lady friends. On second thought, I guess I can kind of call them my own now as I’ve probably made hundreds (literally) of batches of these two fudges.  Also, I’ll be highlighting that wonderful ingredient *peanut butter*, in the form of a pie.  I stumbled upon the very best peanut butter pie recipe *ever*…honestly, it is awesome! I cannot remember where I collected it from, but I found it in my recipe basket a couple of years ago and now I am sweetly *expected* to provide it for family get-togethers because my extended family completely LOVES peanut butter…yes, indeed they do. 😉 🙂  I love to be *expected* to provide any recipe…makes a girl feel loved and appreciated ya know? 😉 🙂

So here we go, these 3 decadent recipes are ones that I make every Christmas without fail, and I usually make them in bulk…well at least I make both kinds of the fudge in bulk. (I will share my secret for cutting perfect fudge squares after the recipes)

The first recipe I’ll be highlighting is:

Creamy Peanut Butter Fudge

Ingredients:

2 cups sugar

½ cup milk

7oz. jar marshmallow crème (fluff)

Small jar peanut butter (or just under 2 cups)

Directions:

Combine sugar and milk in a saucepan and bring to a boil on medium heat; boil for 3 minutes.  Remove from heat and add marshmallow crème and peanut butter and stir vigorously until completely combined. 

Pour into a buttered 9” x 9” dish (I line the dish with foil and butter the foil, that way, when it is cool, you can just lift the foil and fudge right out…makes it easier to cut in even squares) Enjoy!! 🙂

One note…I cannot find the “Jet-Puffed” creme this year, so I got this and it tastes and works out exactly the same…I’ve already made two batches…IMG_9764


Next:

Double Decker Fudge (Tastes like a Reese’s Cup!)

Ingredients:

2 cups (12 oz. package) Reese’s Peanut Butter Chips, divided

IMG_9765 (1)


1/2 cup cocoa

IMG_9767

1/4 cup butter, melted

1 tsp. vanilla extract

______________________

4 1/2 cups sugar

1 jar (7 oz. ) Marshmallow  Creme

IMG_9764

1 1/2 cups (12 oz. can) evaporated milk

1/4 cup butter

Directions:

Line 13x 9 inch pan with aluminum foil. Place 1 cup of peanut butter chips in medium bowl; set aside. In second medium bowl stir together cocoa, melted butter and vanilla until mixture is smooth; add remaining 1 cup chips. Set aside. In heavy 4qt saucepan stir together sugar, marshmallow creme, evaporated milk and ¼ cup butter. Cook over medium heat, stirring constantly, until mixture comes to a rolling boil (this is what takes so long); boil and stir 5 minutes (time this). Remove from heat. Immediately add half of hot mixture to bowl with peanut butter chips only. Pour remainder into cocoa mixture; stir to blend. Beat peanut butter mixture until chips are completely melted; spread evenly in prepared pan. Beat cocoa mixture until chips are melted and mixture thickens. Spread evenly over top of peanut butter layer. Cool until firm. Remove from pan; peel off foil. Cut into squares. Store in airtight container in cool, dry place (I actually store this in the refrigerator). Enjoy! Makes 6-8 dz. squares.

IMG_5333

Now my cutting secret…not the it is that much of a secret, but I have found that it is pretty full-proof.  I lift the fudge out of the pan with the aluminum foil and place it on a cutting board.  I peel the aluminum foil off and I take a large knife and I eye-ball what I feel the center is, I cut all the way through, then I half each half, then I half each half of each half.  I then turn the fudge and do the same thing going the other direction.  It works out every single time. 🙂  Then I place the squares in air-tight containers and I separate the layers with paper doilies–makes for a prettier presentation and it also prevents the fudge sticking together.

IMG_5342

IMG_5344

Last but not least, I’ll give you my Peanut Butter Pie recipe, trust me, it is really, really, *really* tasty!!  Here goes:

Ingredients:

1 1/2 cups heavy whipping cream

1/4 cup sugar

8 ounces cream cheese

1 cup creamy peanut butter

1 cup confectioners’ sugar

1 graham cracker crust, store-bought or pre-made

(I always make my own using this)

IMG_9766

 Directions:

Whip cream with 1/4 cup sugar. Mix all other ingredients until smooth and fold in whipped cream until well blended. Pour mixture into a graham cracker crust and chill for several hours before serving.

Easy peezy and SO so good!!! 🙂

IMG_9605

Life is just better with peanut butter don’t ya think? 😉

Until next time, y’all take good care! ❤

~Arlynn