Christmas 2015: Mantel & Hearth

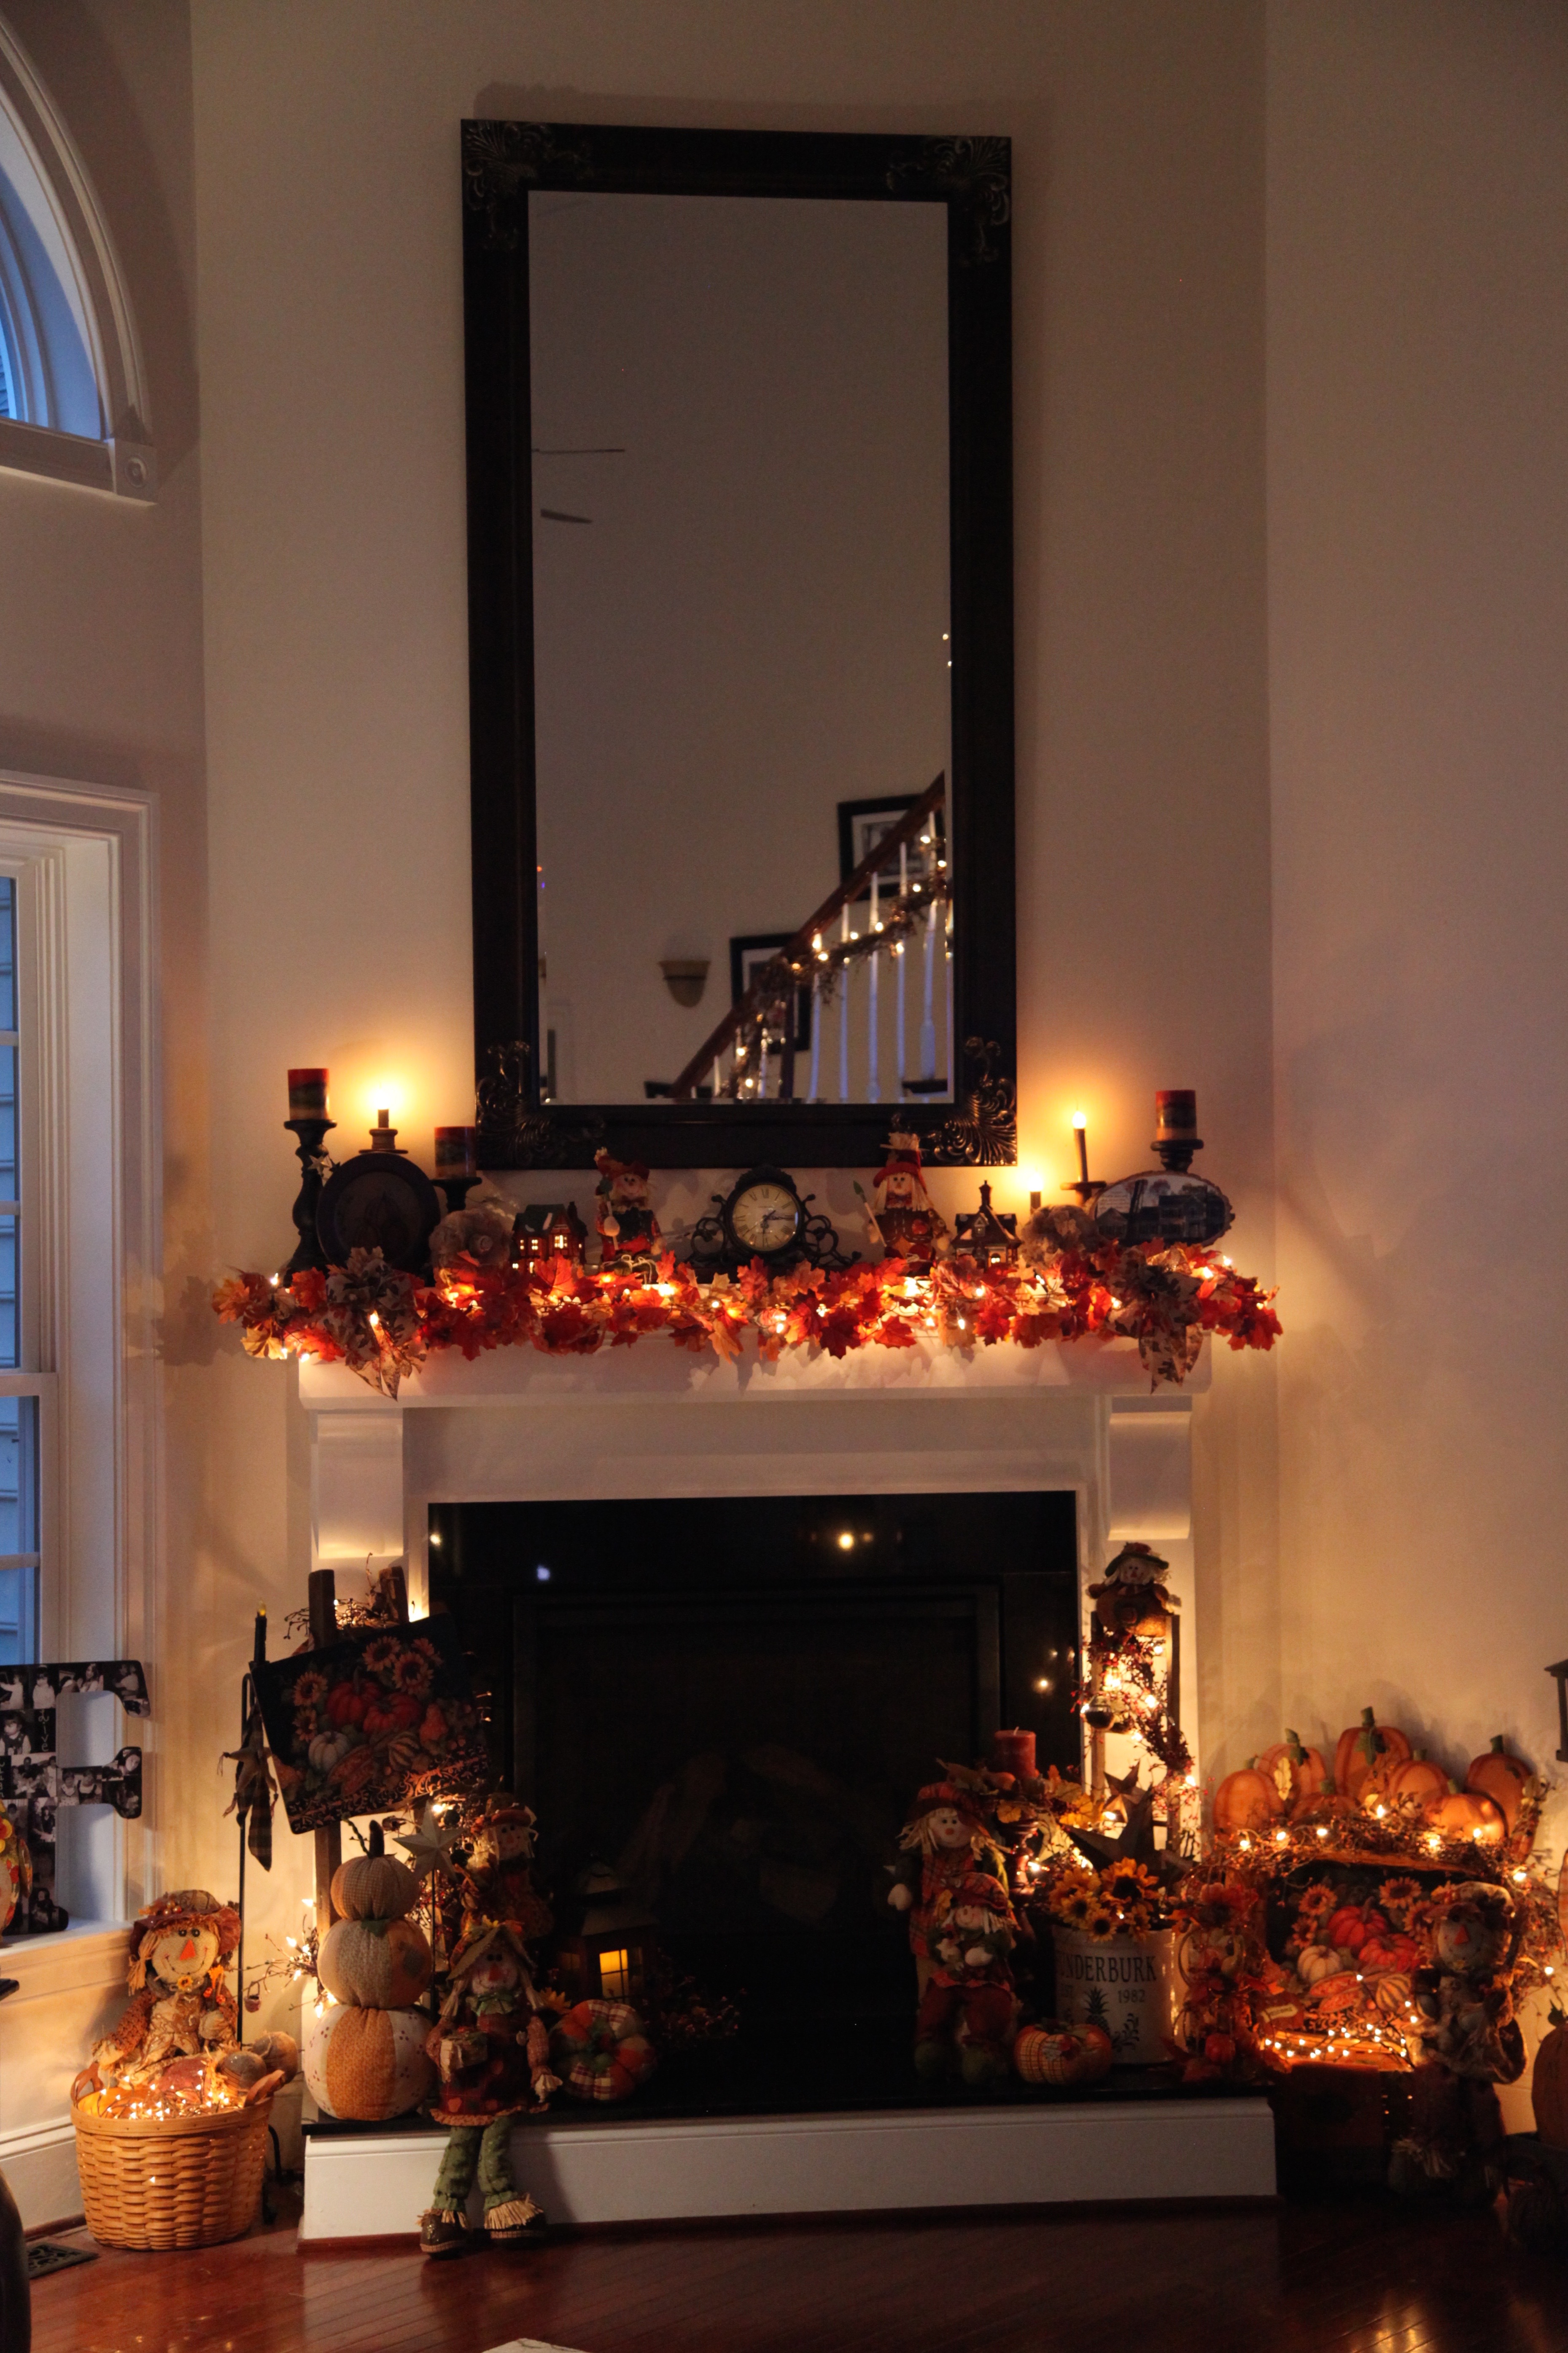
The “Tis The Season” attitude is still in full swing around this Southern home. 😉  Yes, I know, it is *still* way early to be doing Christmas decorating, but, considering how long it took me to pull this mantel and hearth together, it’s a good thing I started early. 😉  I’m only half kidding, in years past, I’ve decorated with snowmen and only snowmen, and well, this year, in this new house, I wanted to do a little something different. I’ll still have snowmen scattered about here and there throughout the rest of my decorations because I’m not going to be recreating the entire wheel this year…which is what I had to do to the fireplace’s decor.

Every single thing you see on the mantel was newly purchased this year…

IMG_2407 (1)

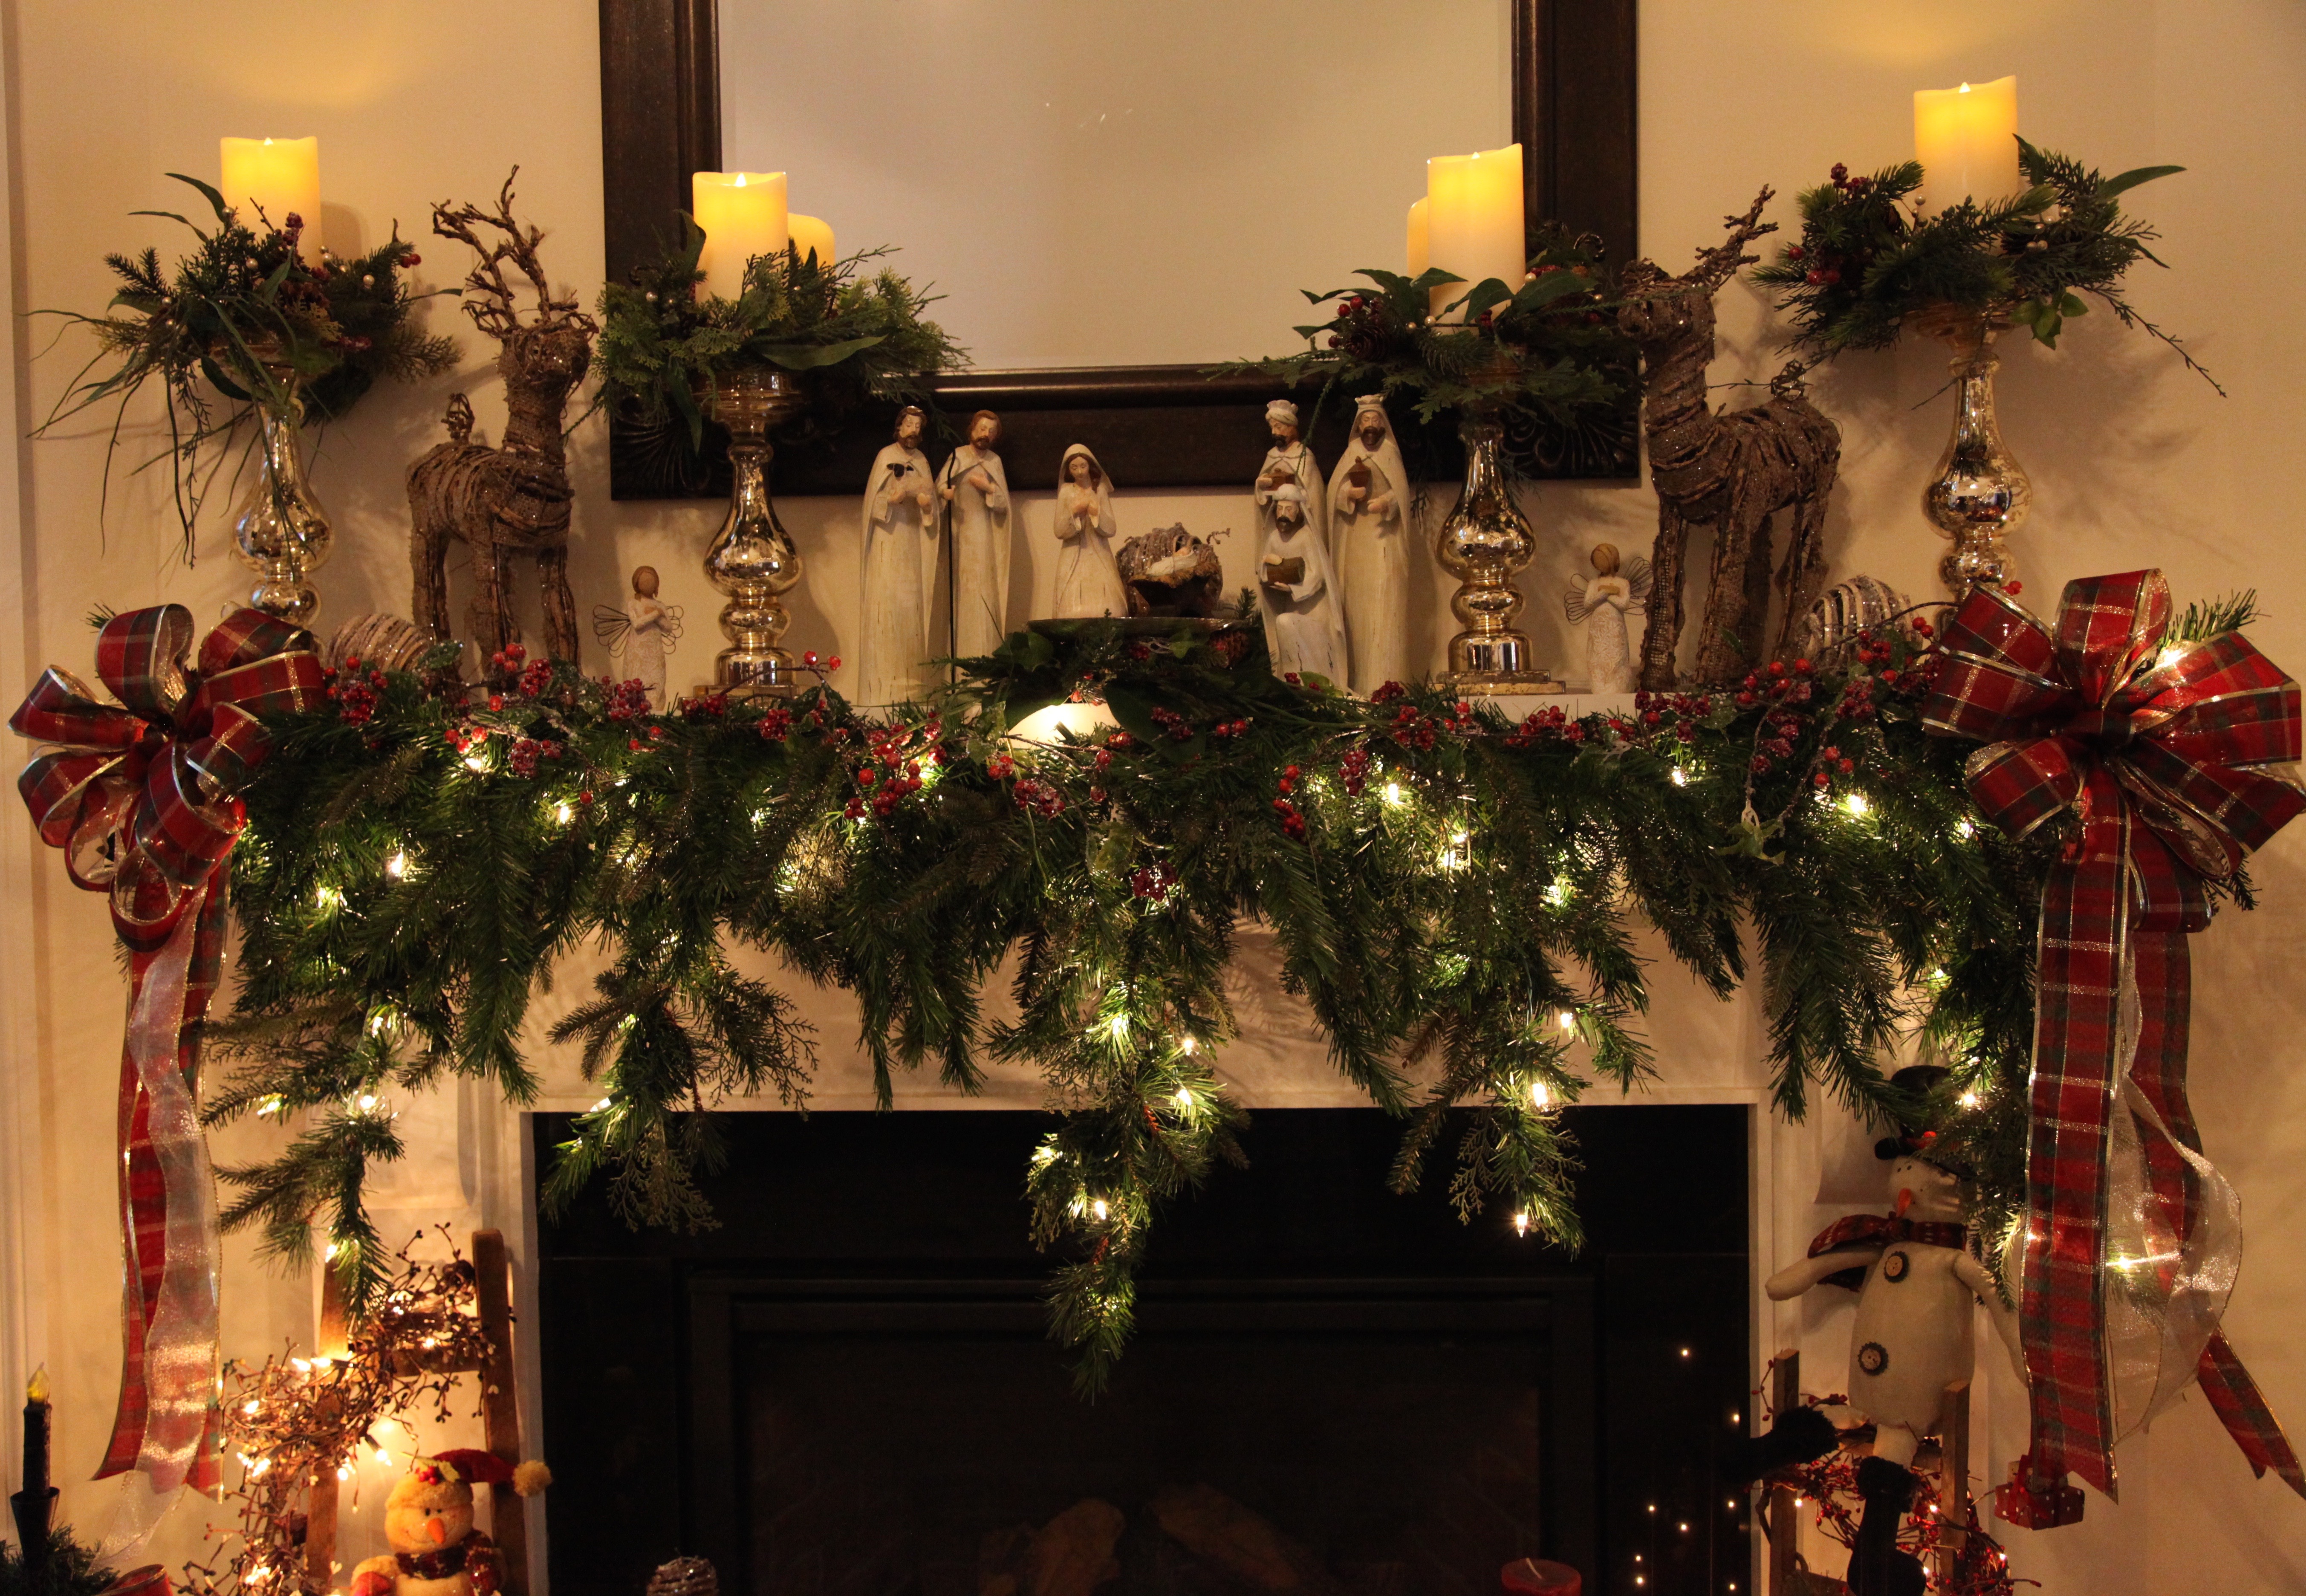
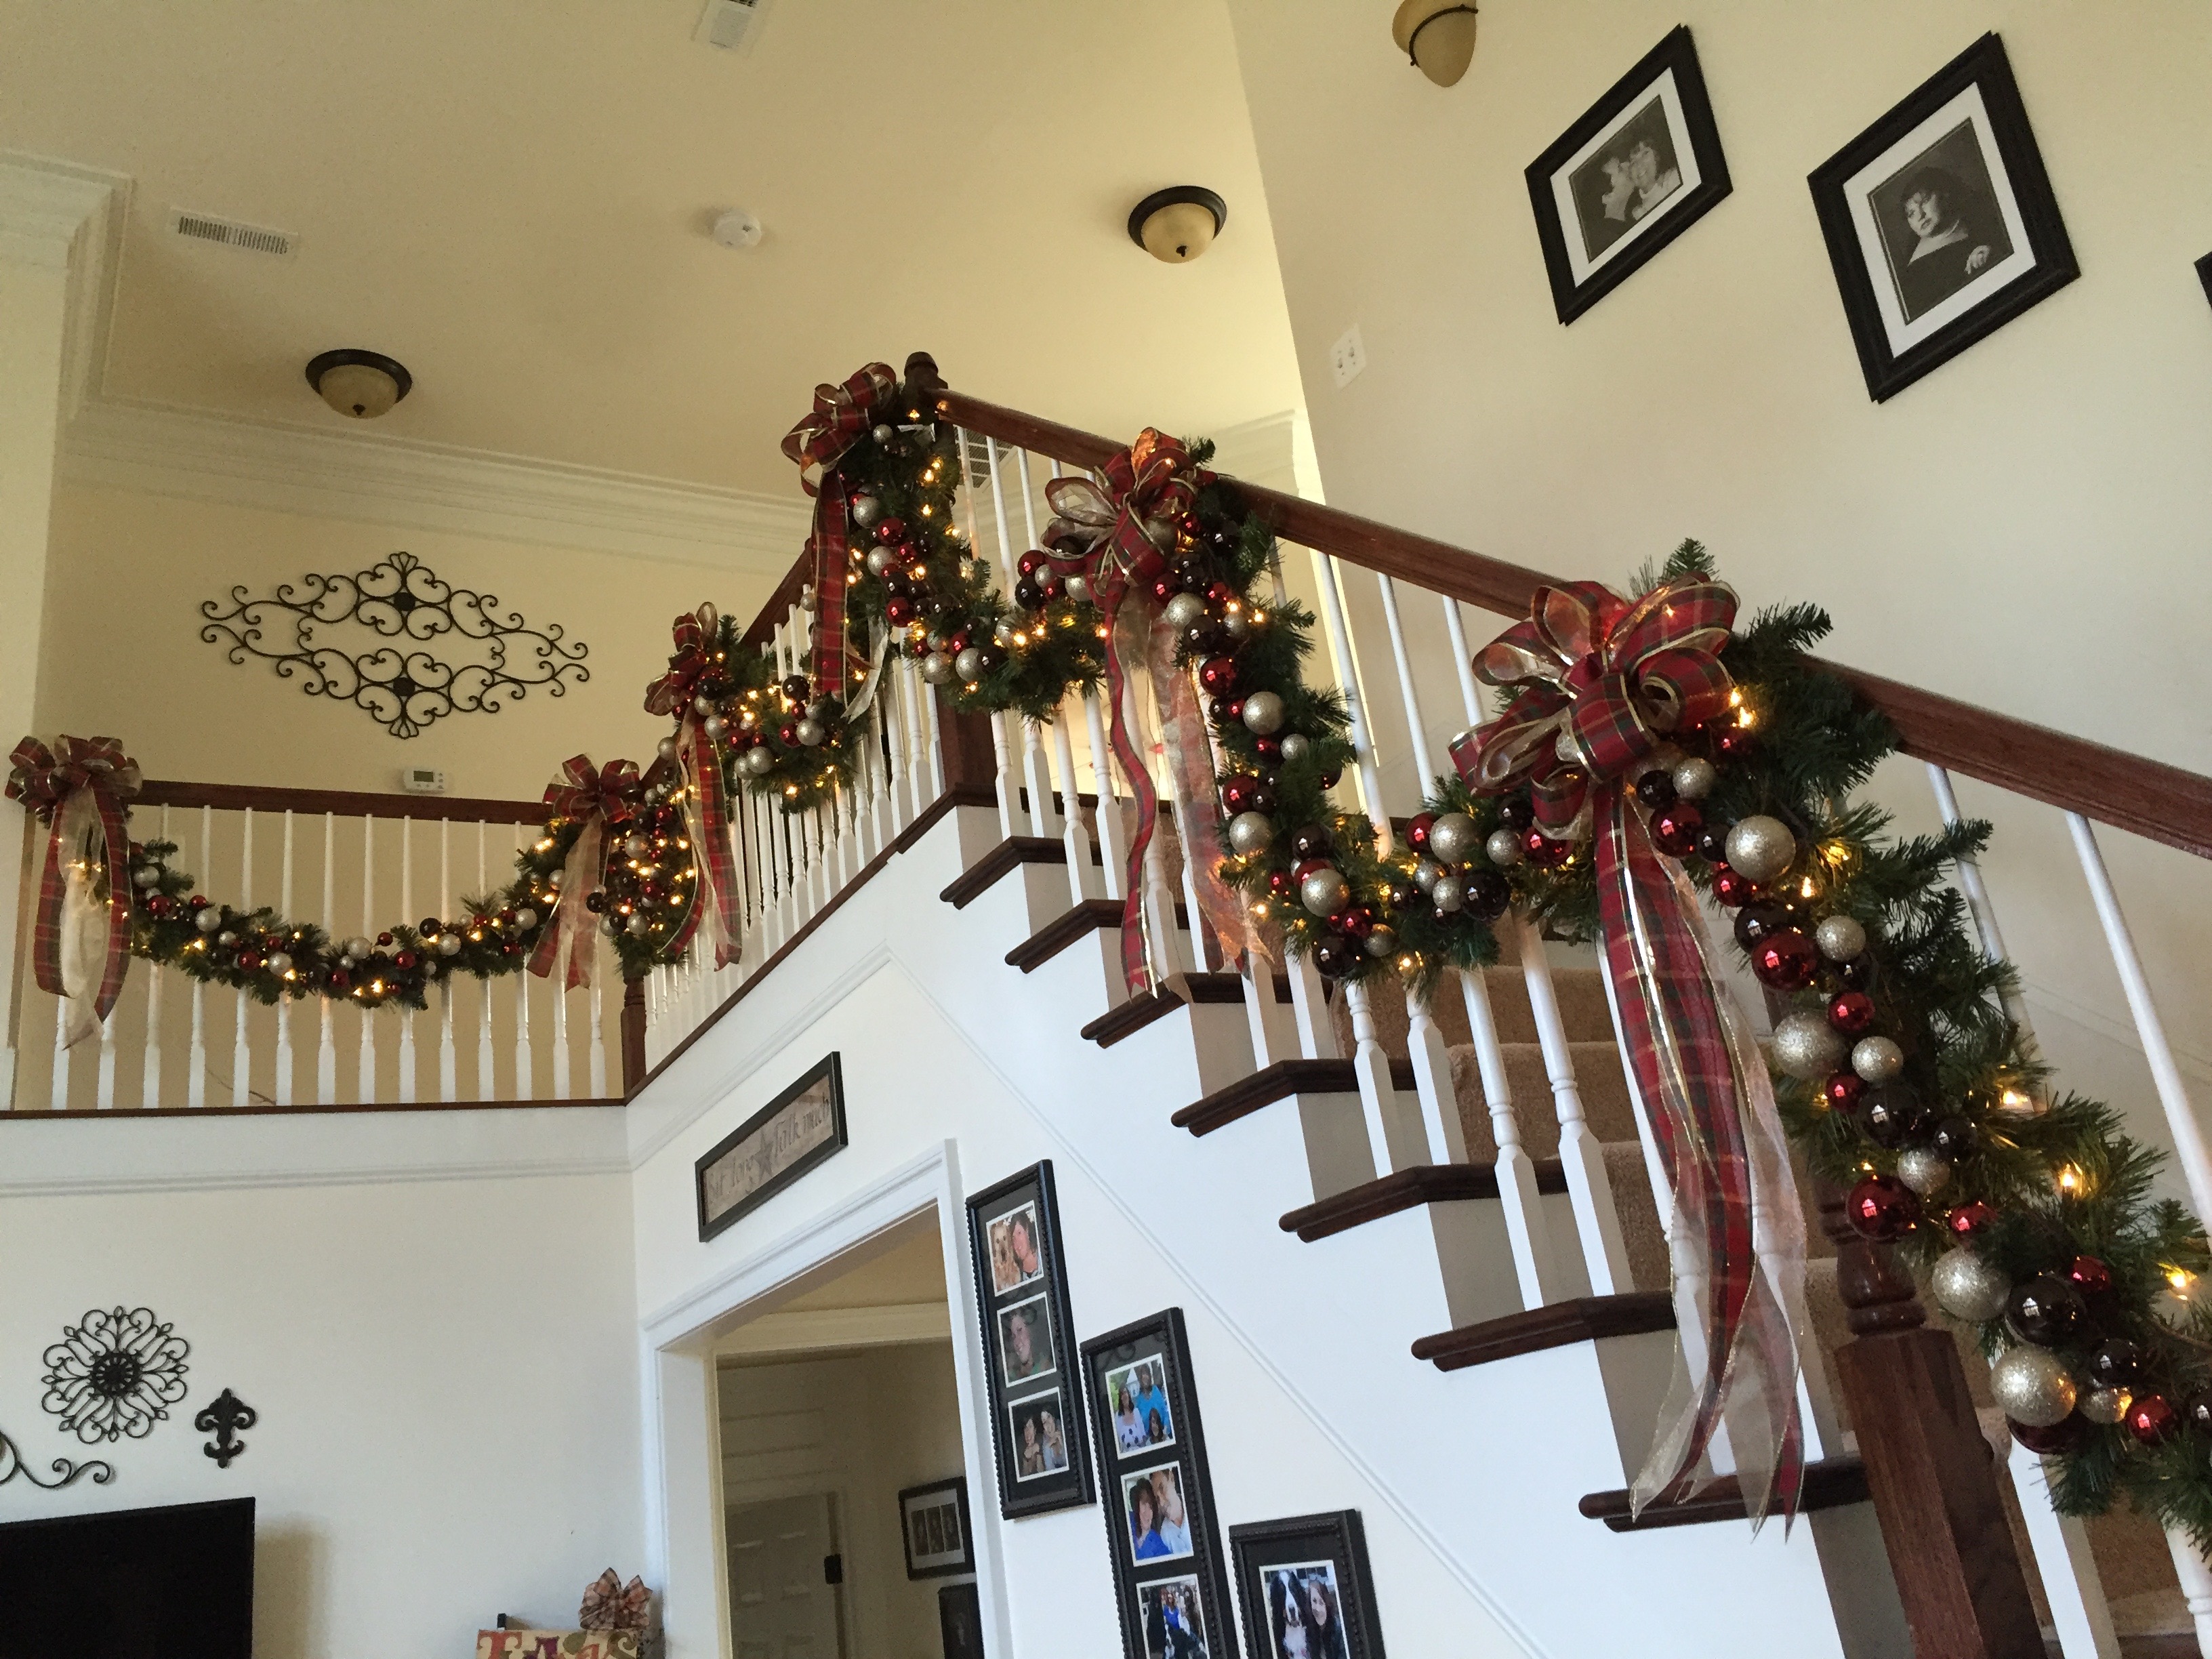
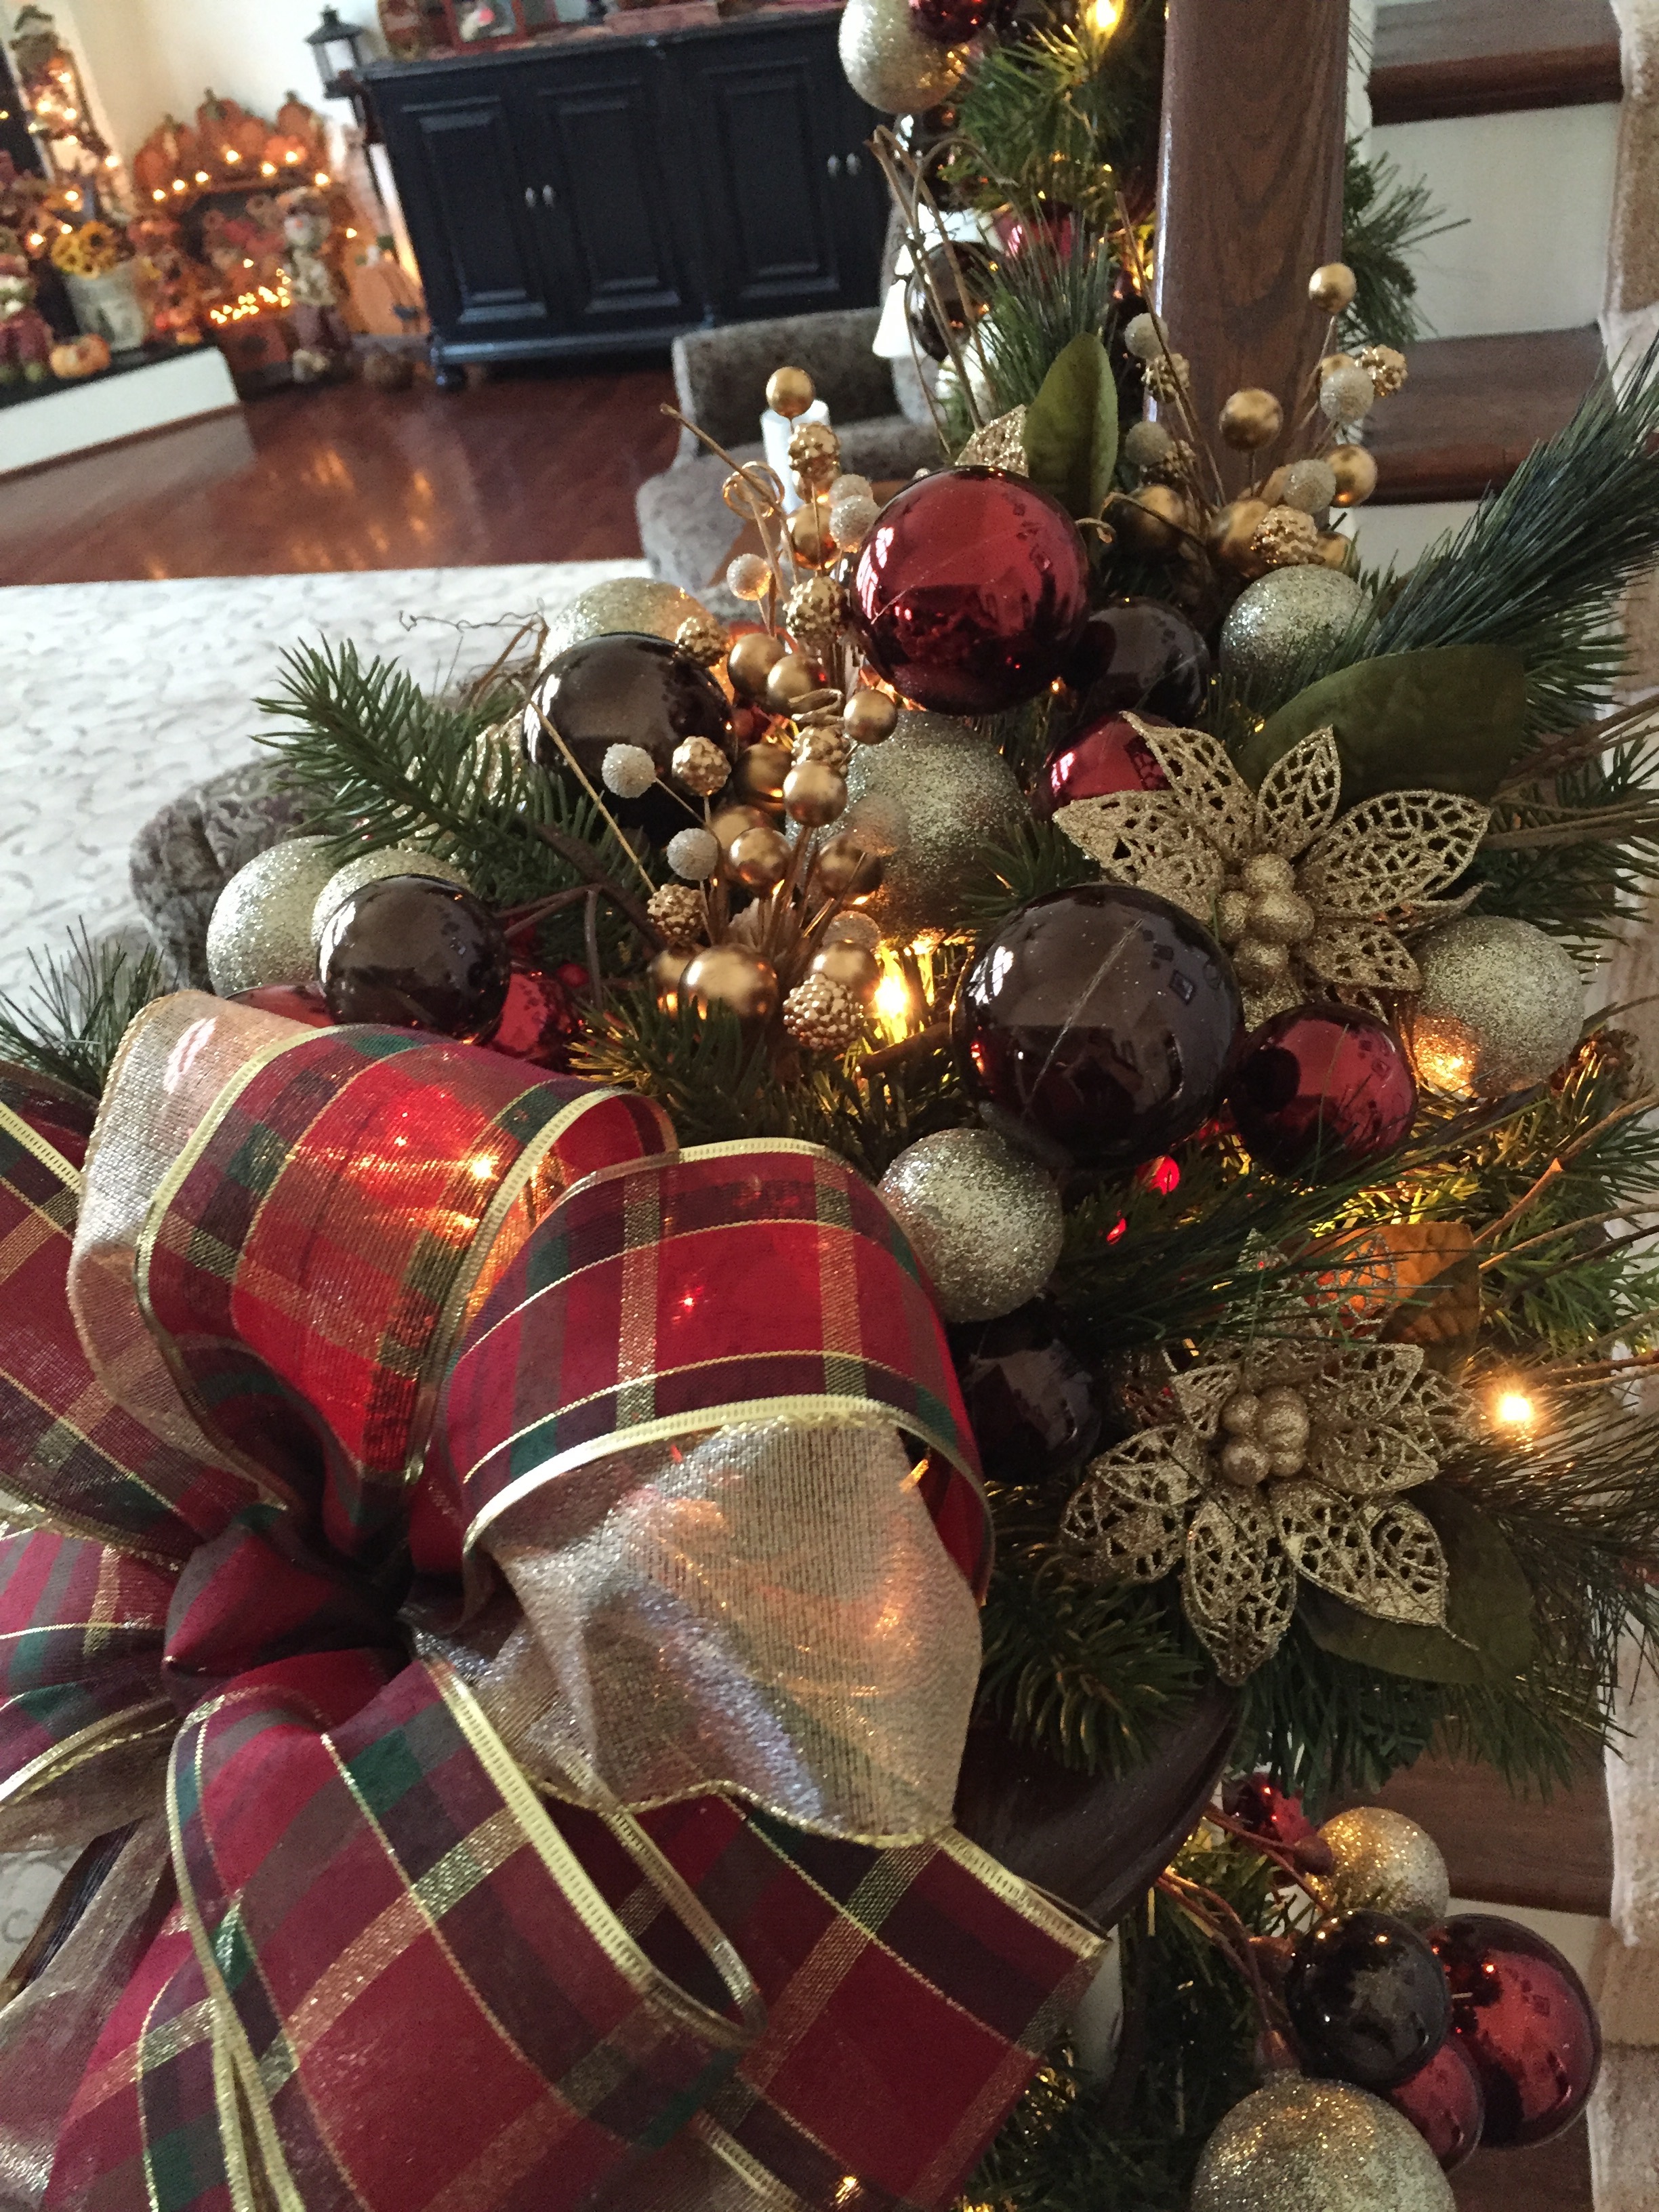
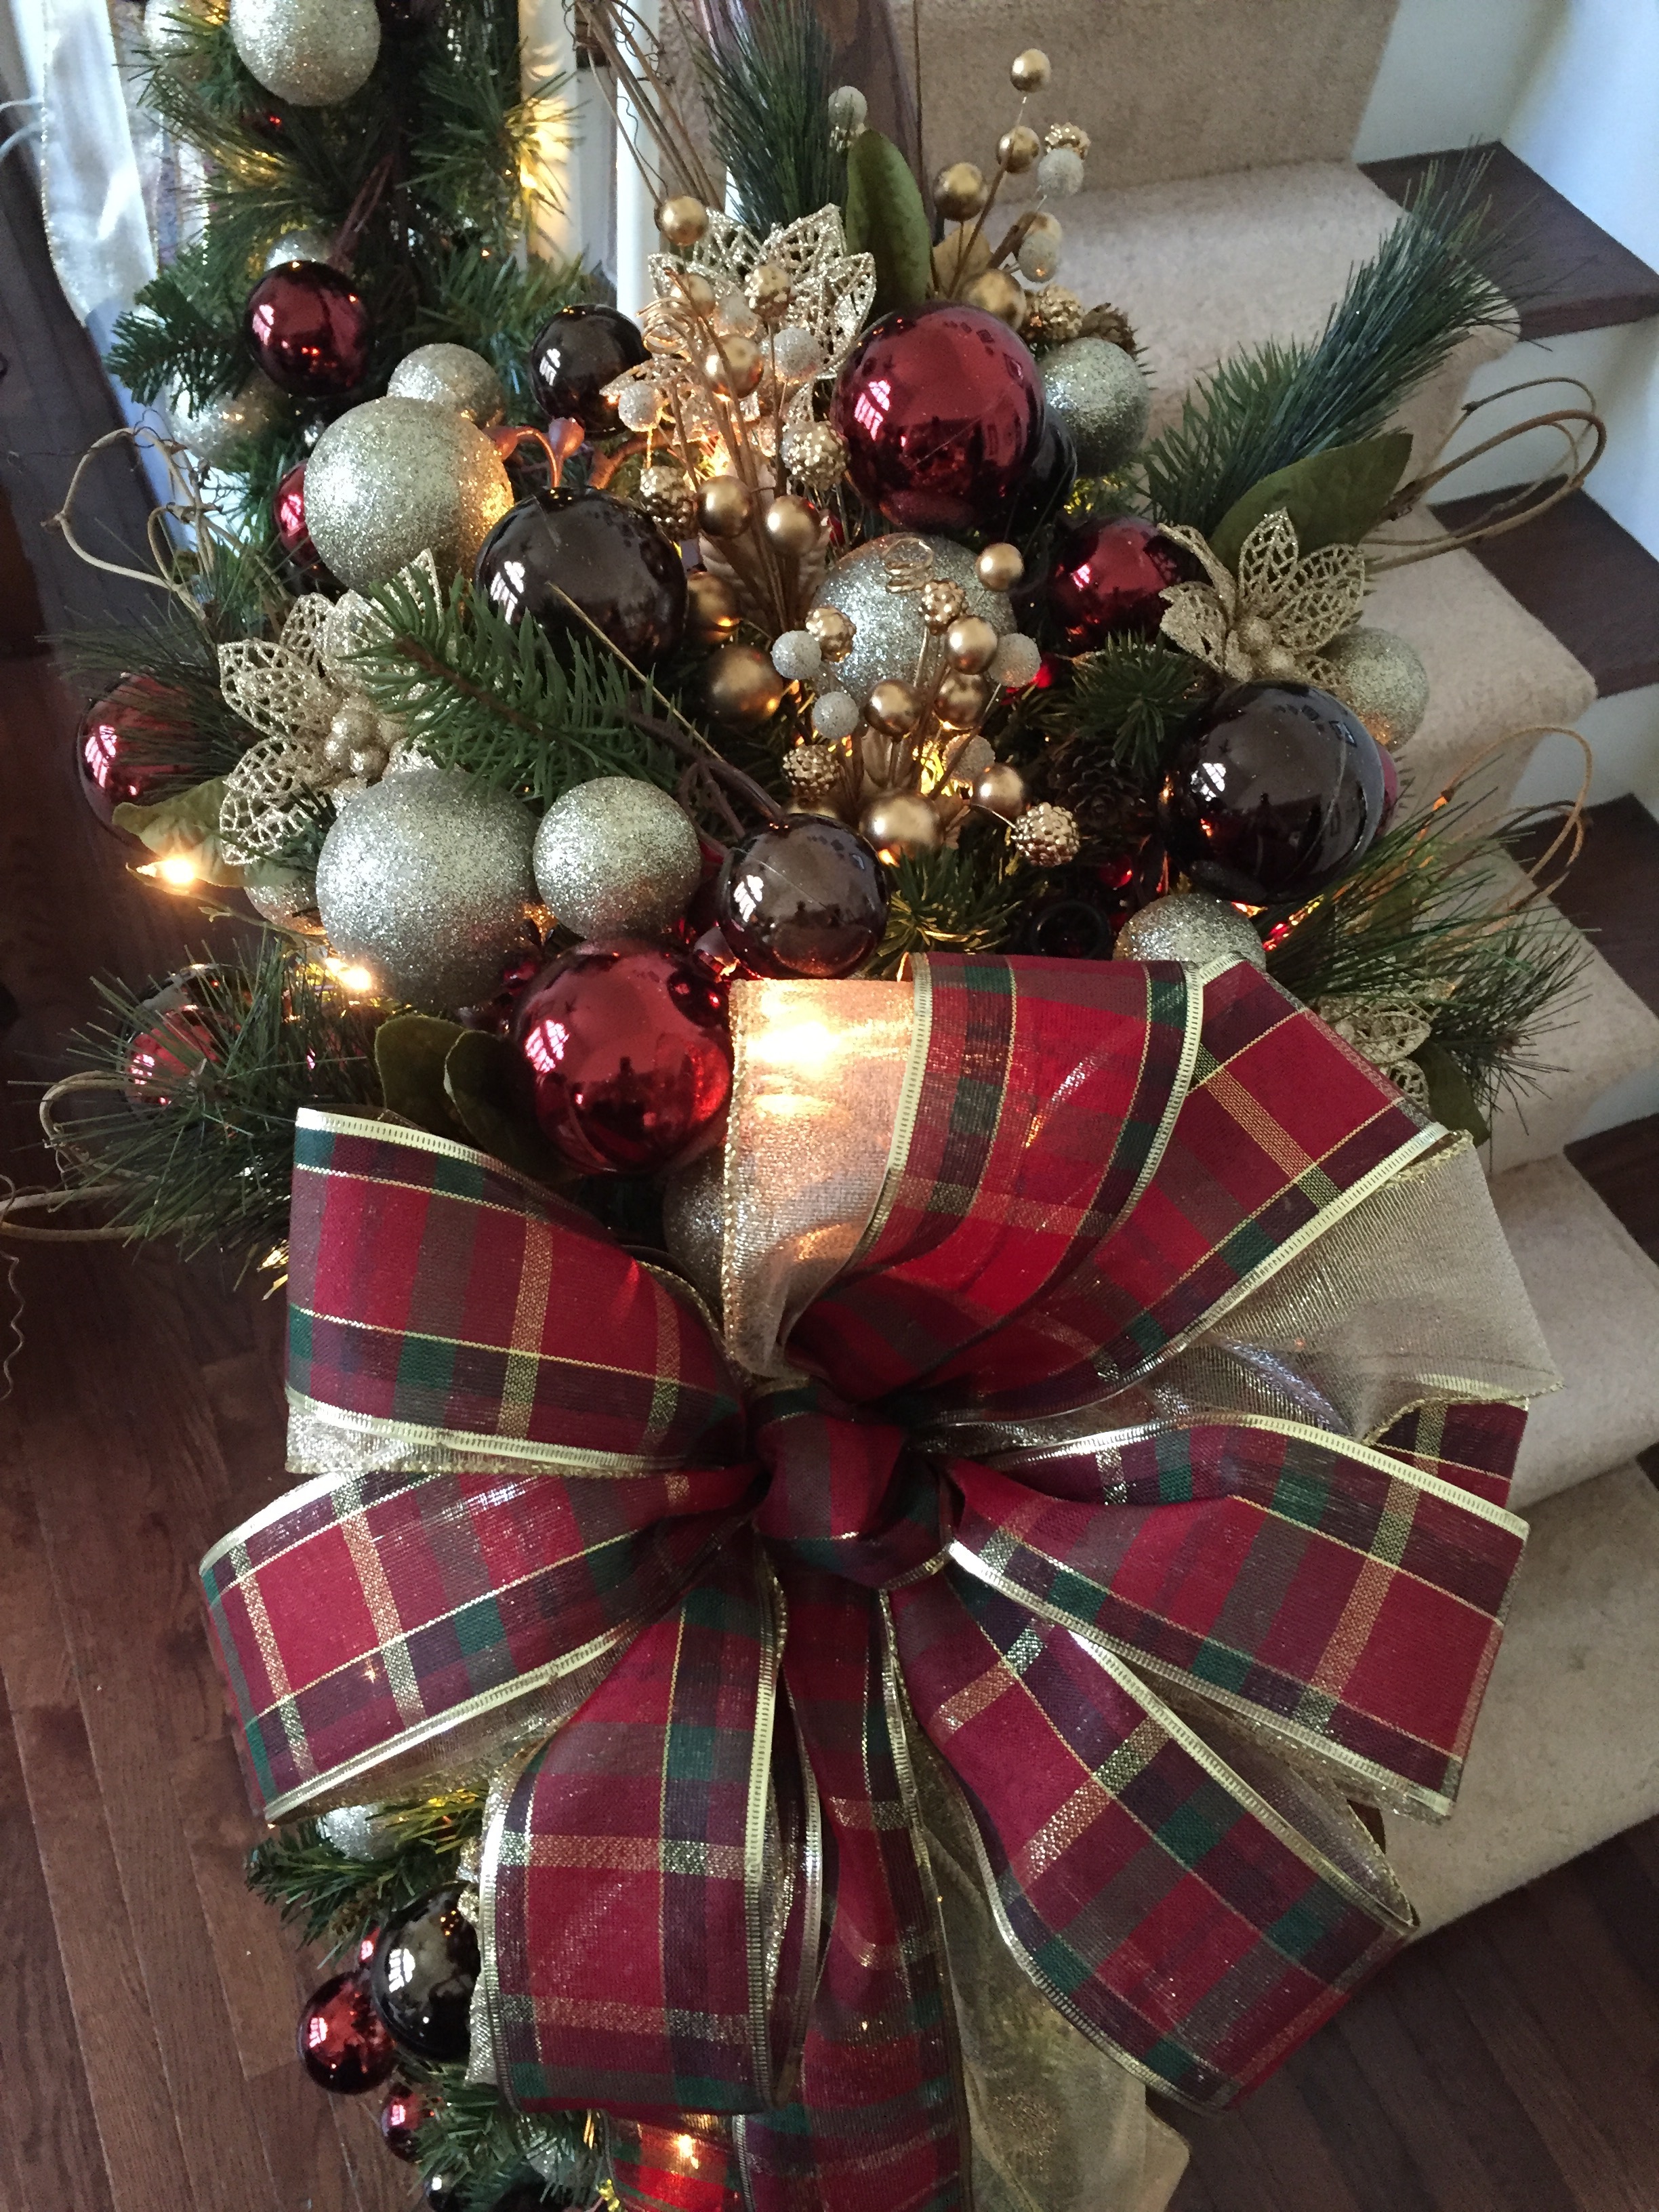
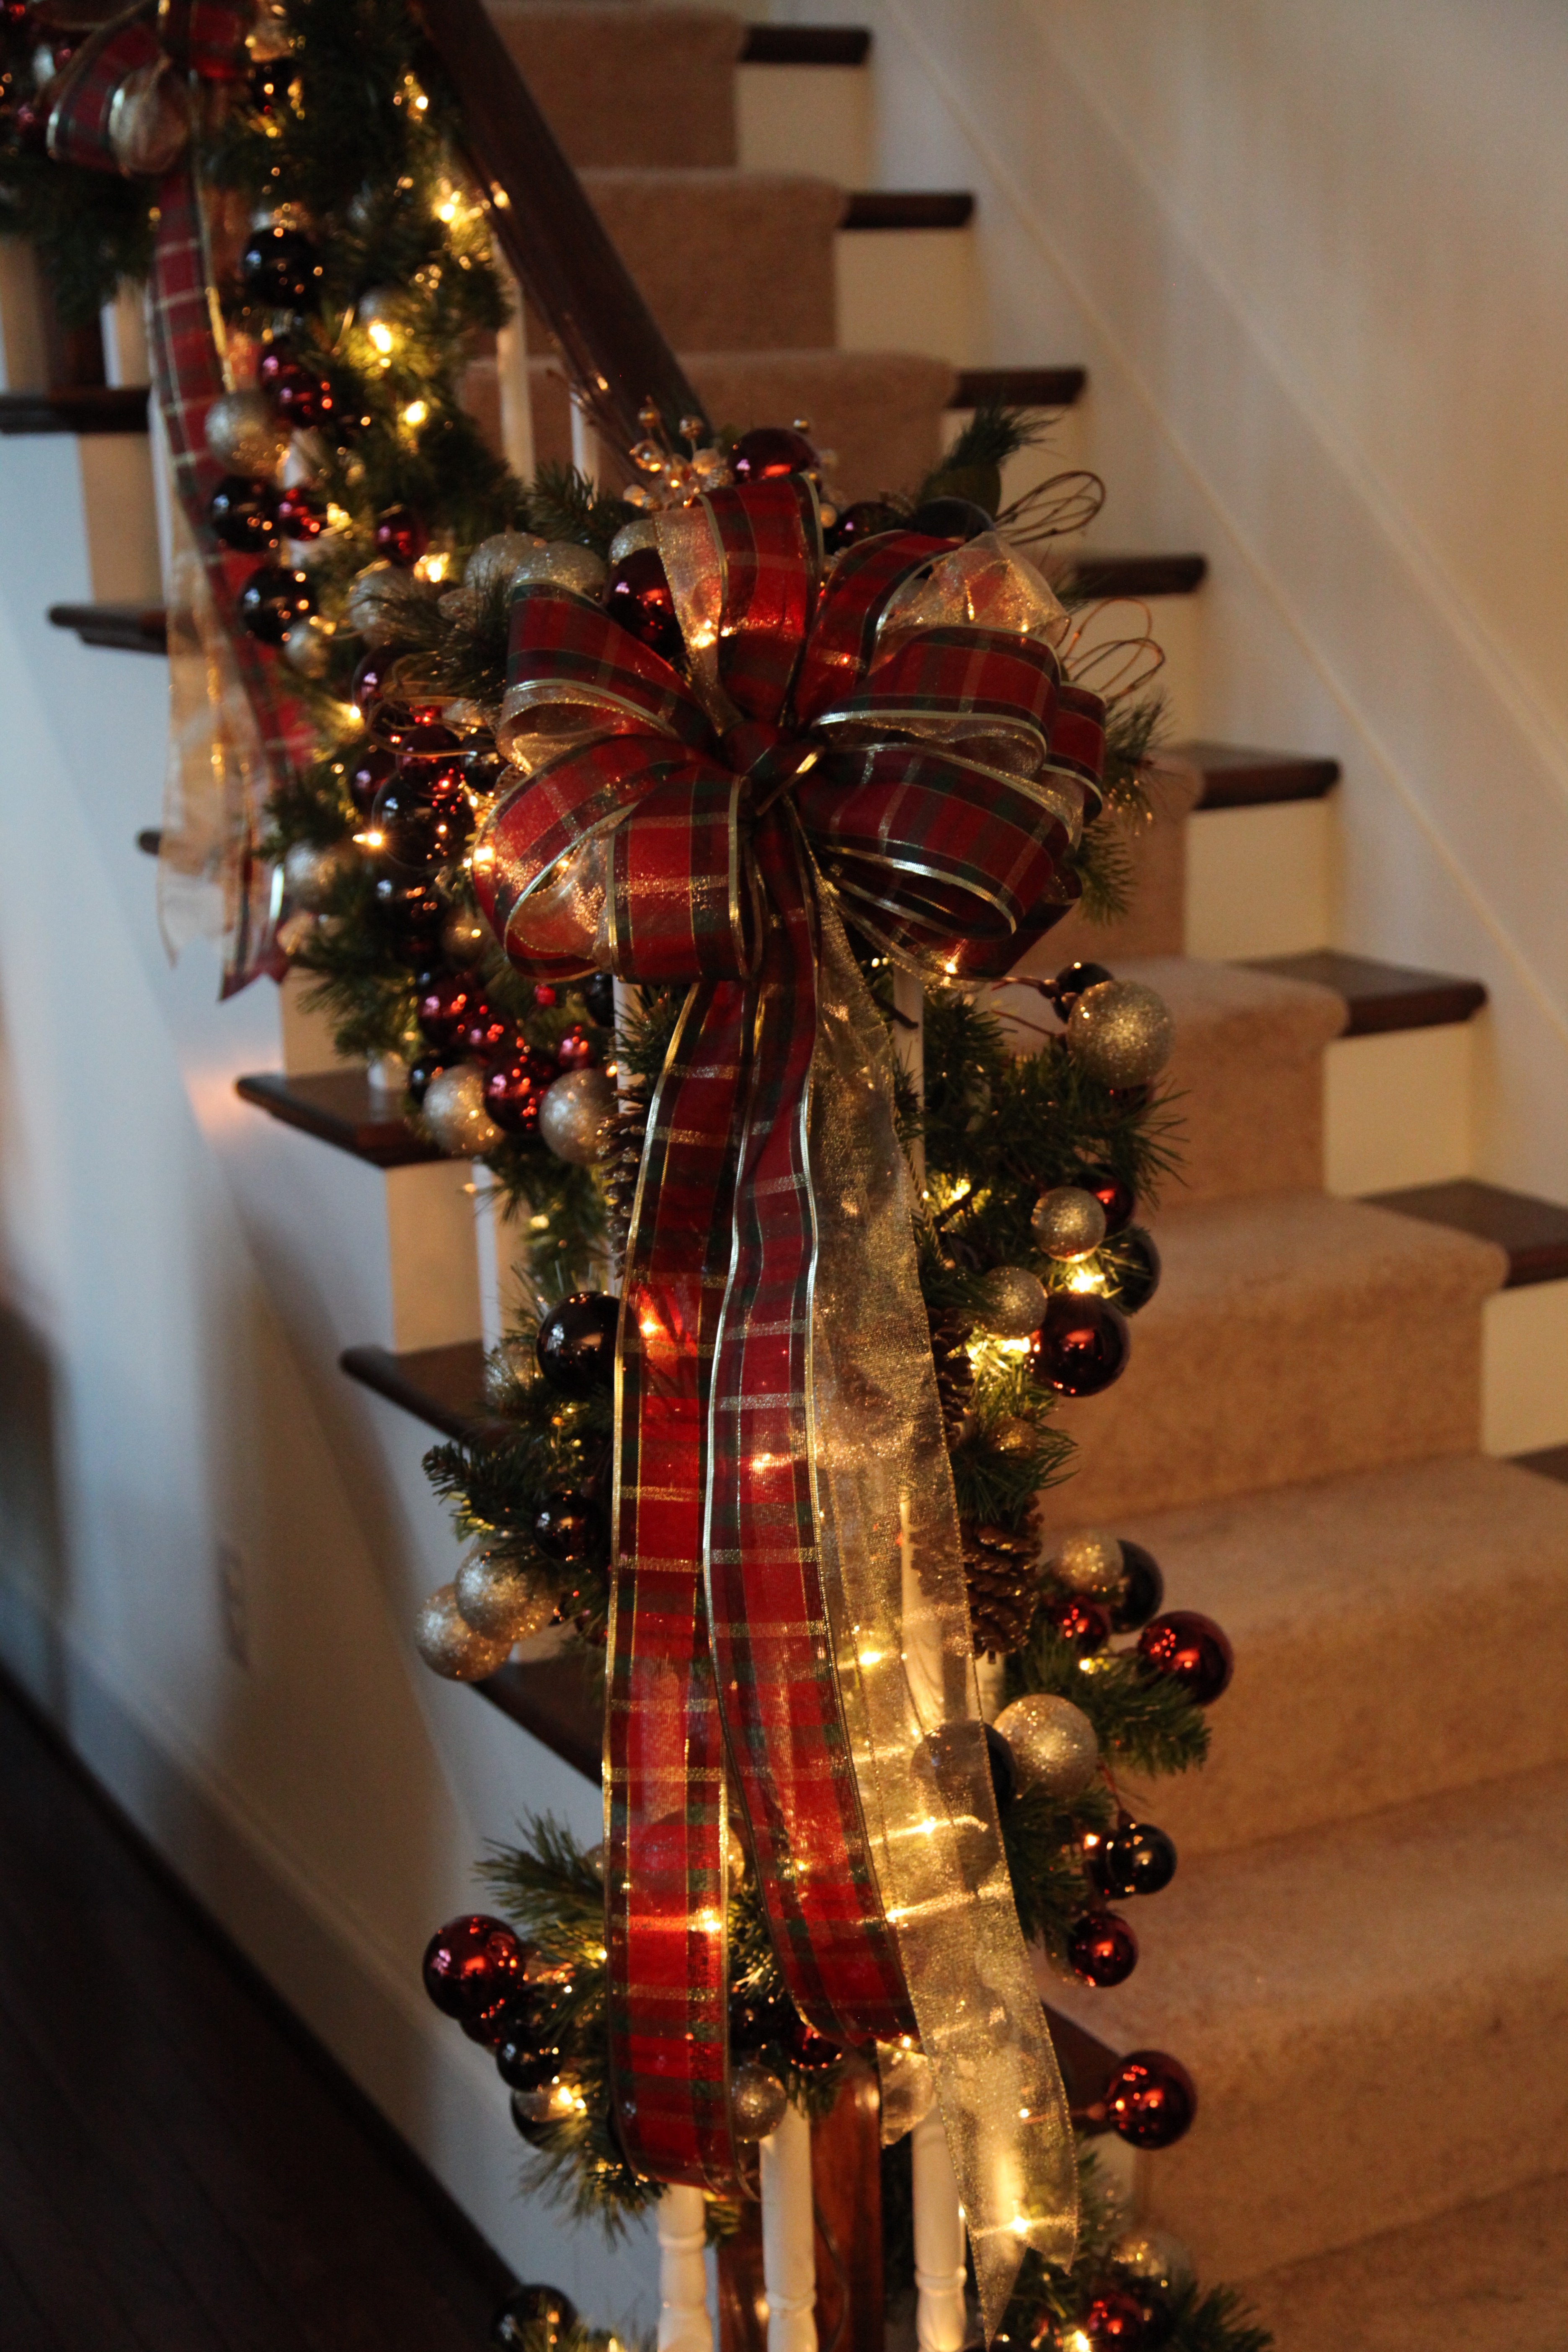
That gorgeous lit garland and those candle rings came from Grandin Road and yes, they were a bit pricey, but I had a coupon and free shipping, so in the end, they weren’t all that expensive.

IMG_2405 (1) IMG_2407 (2)

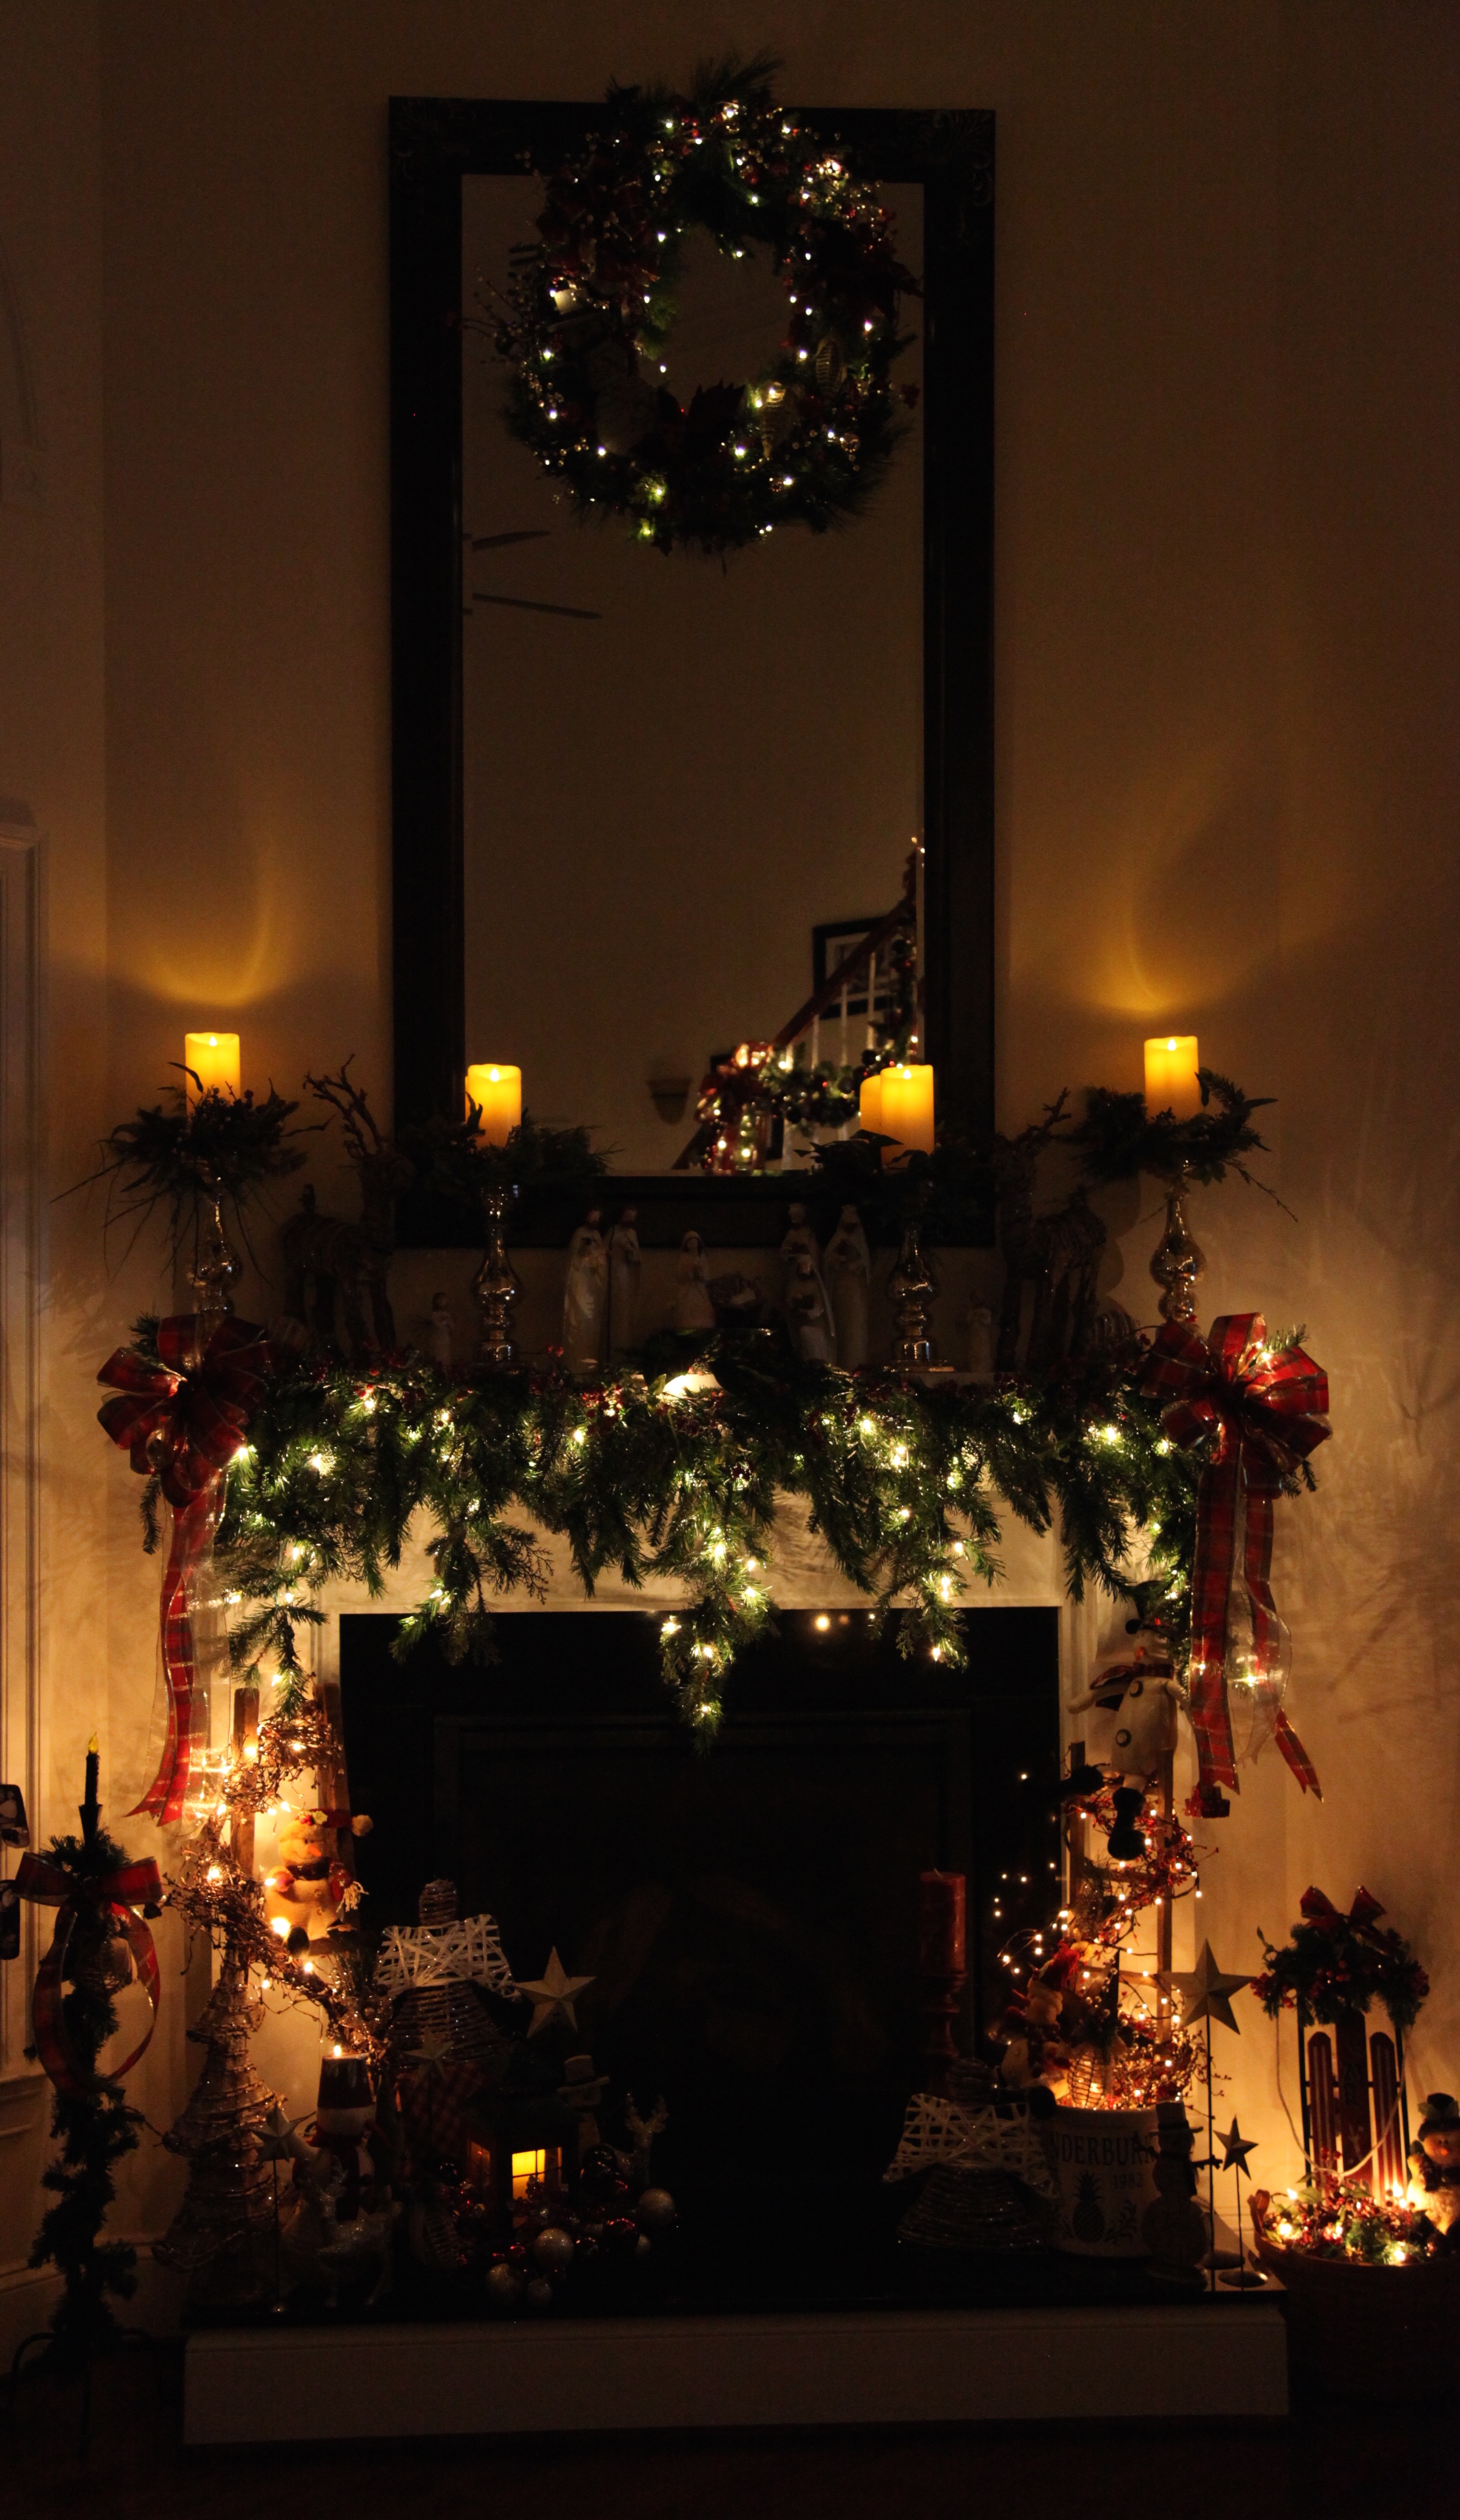
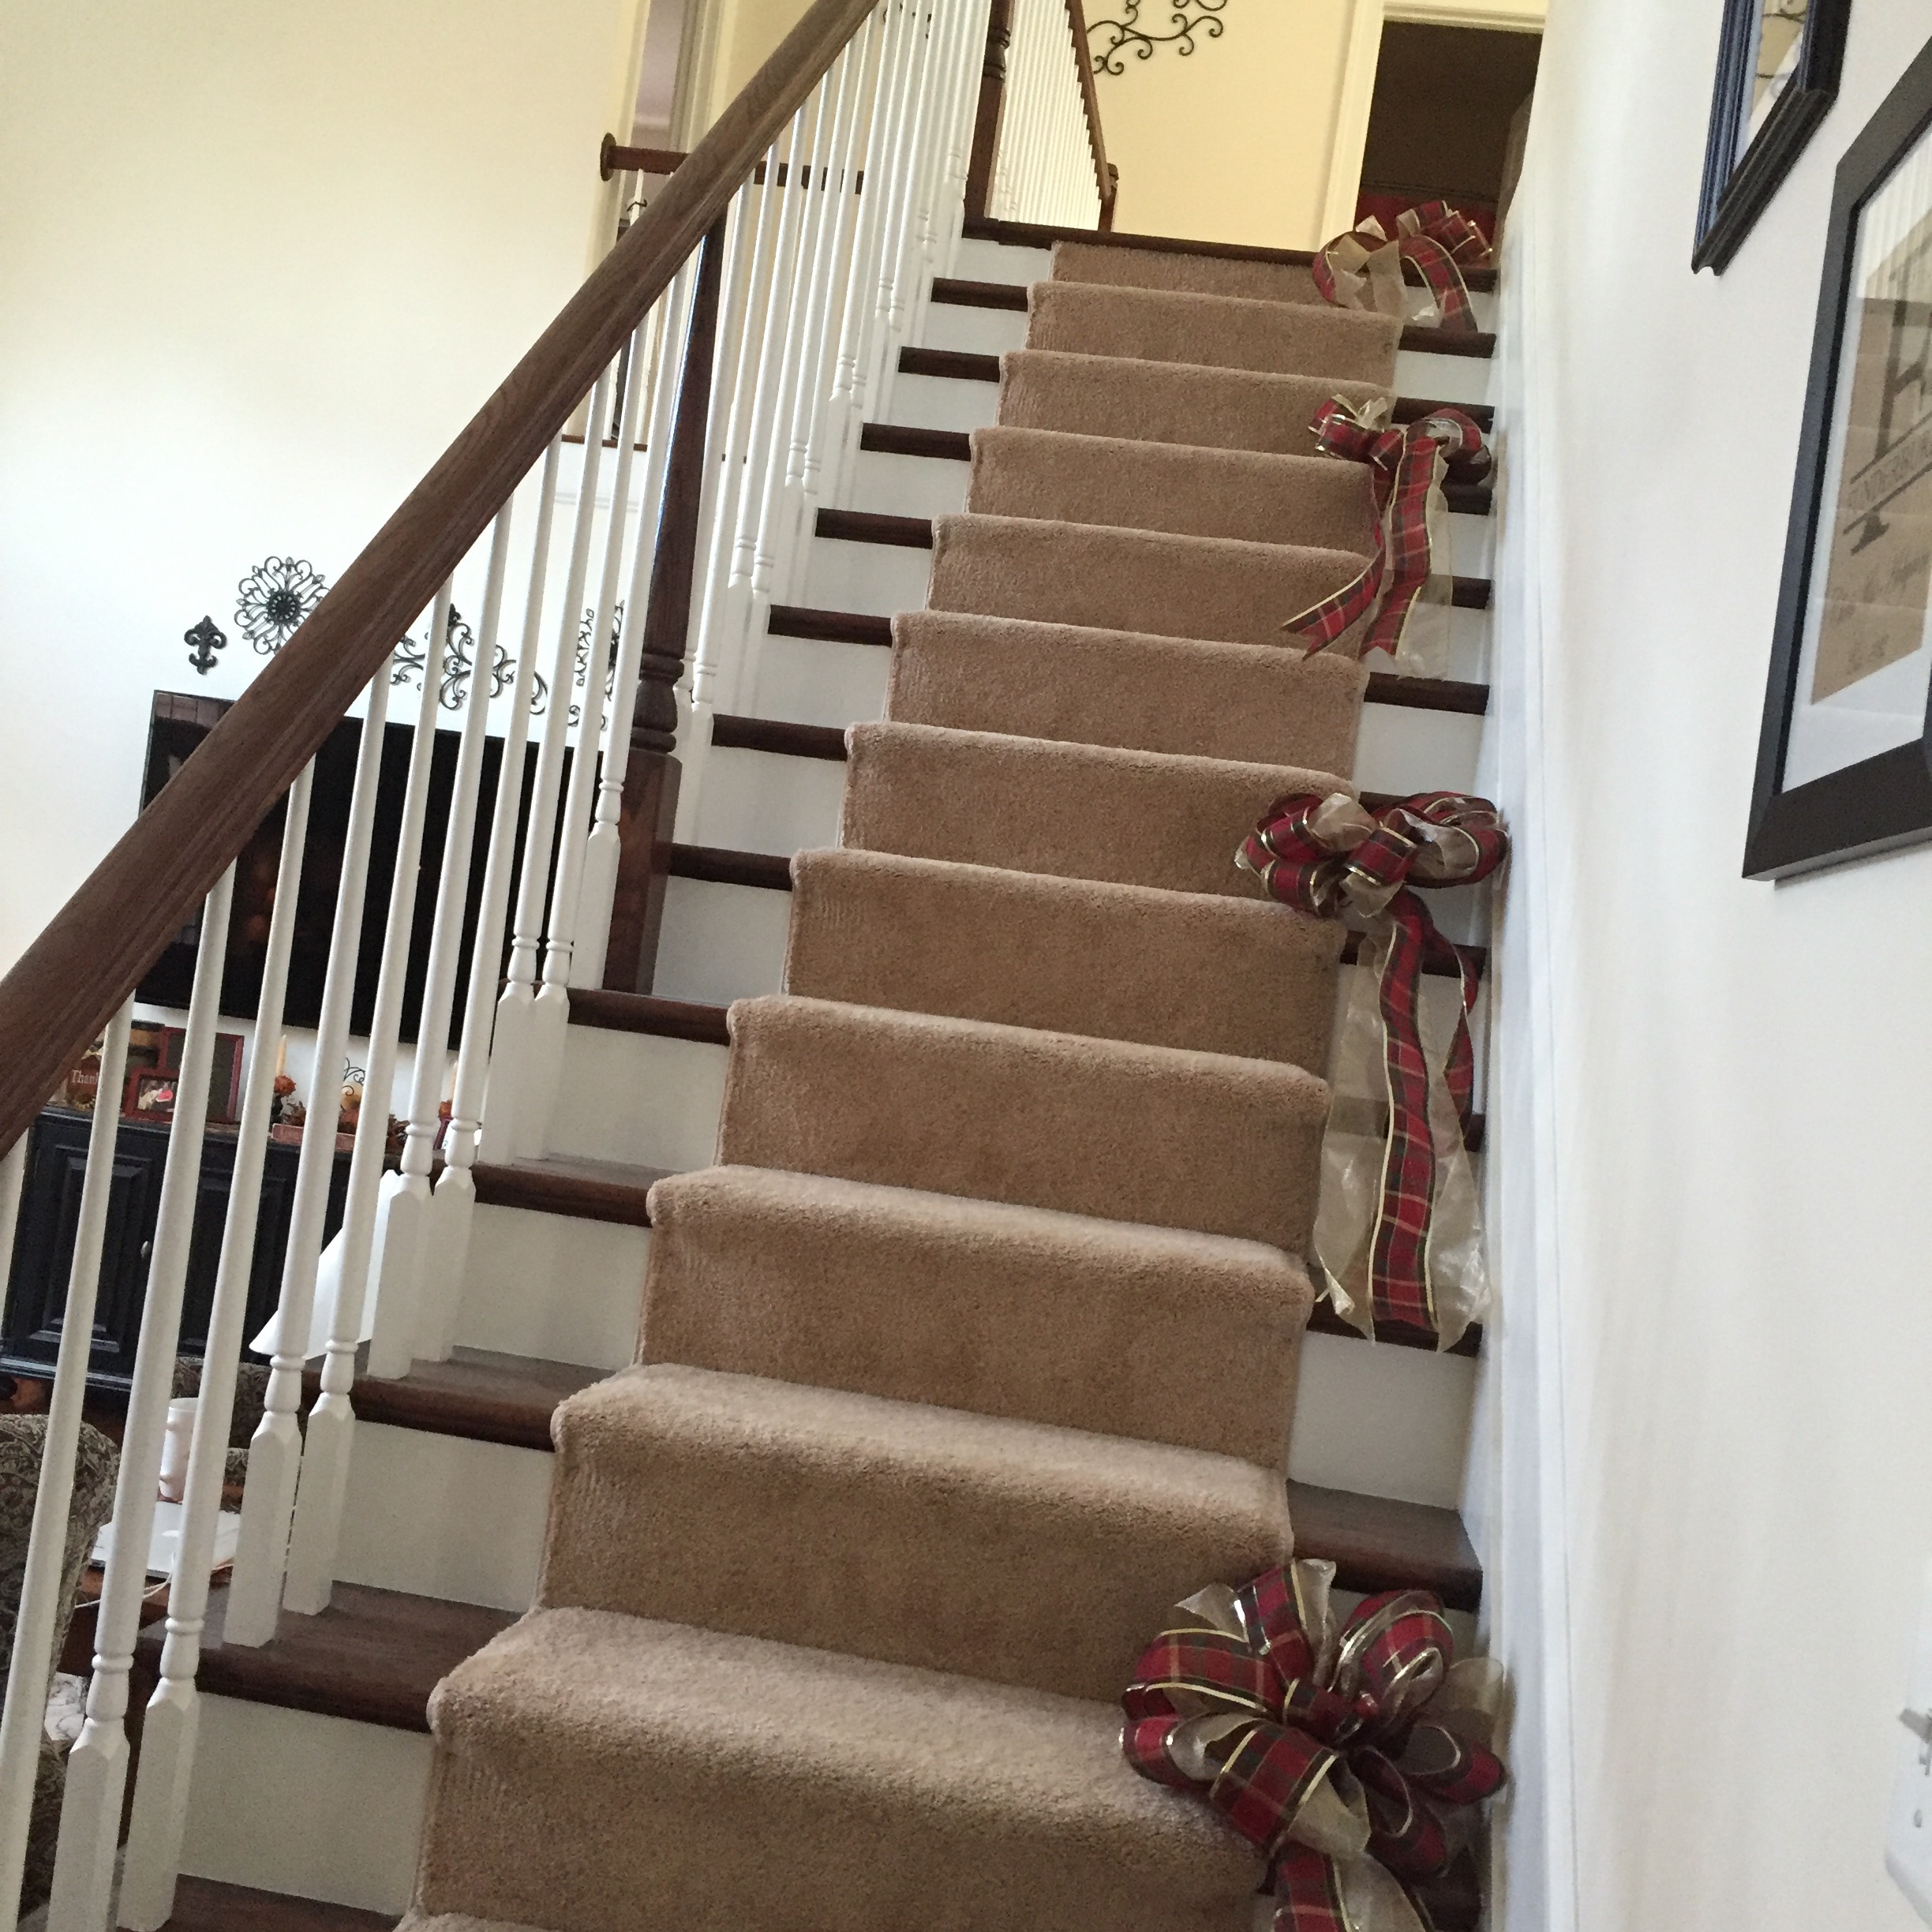
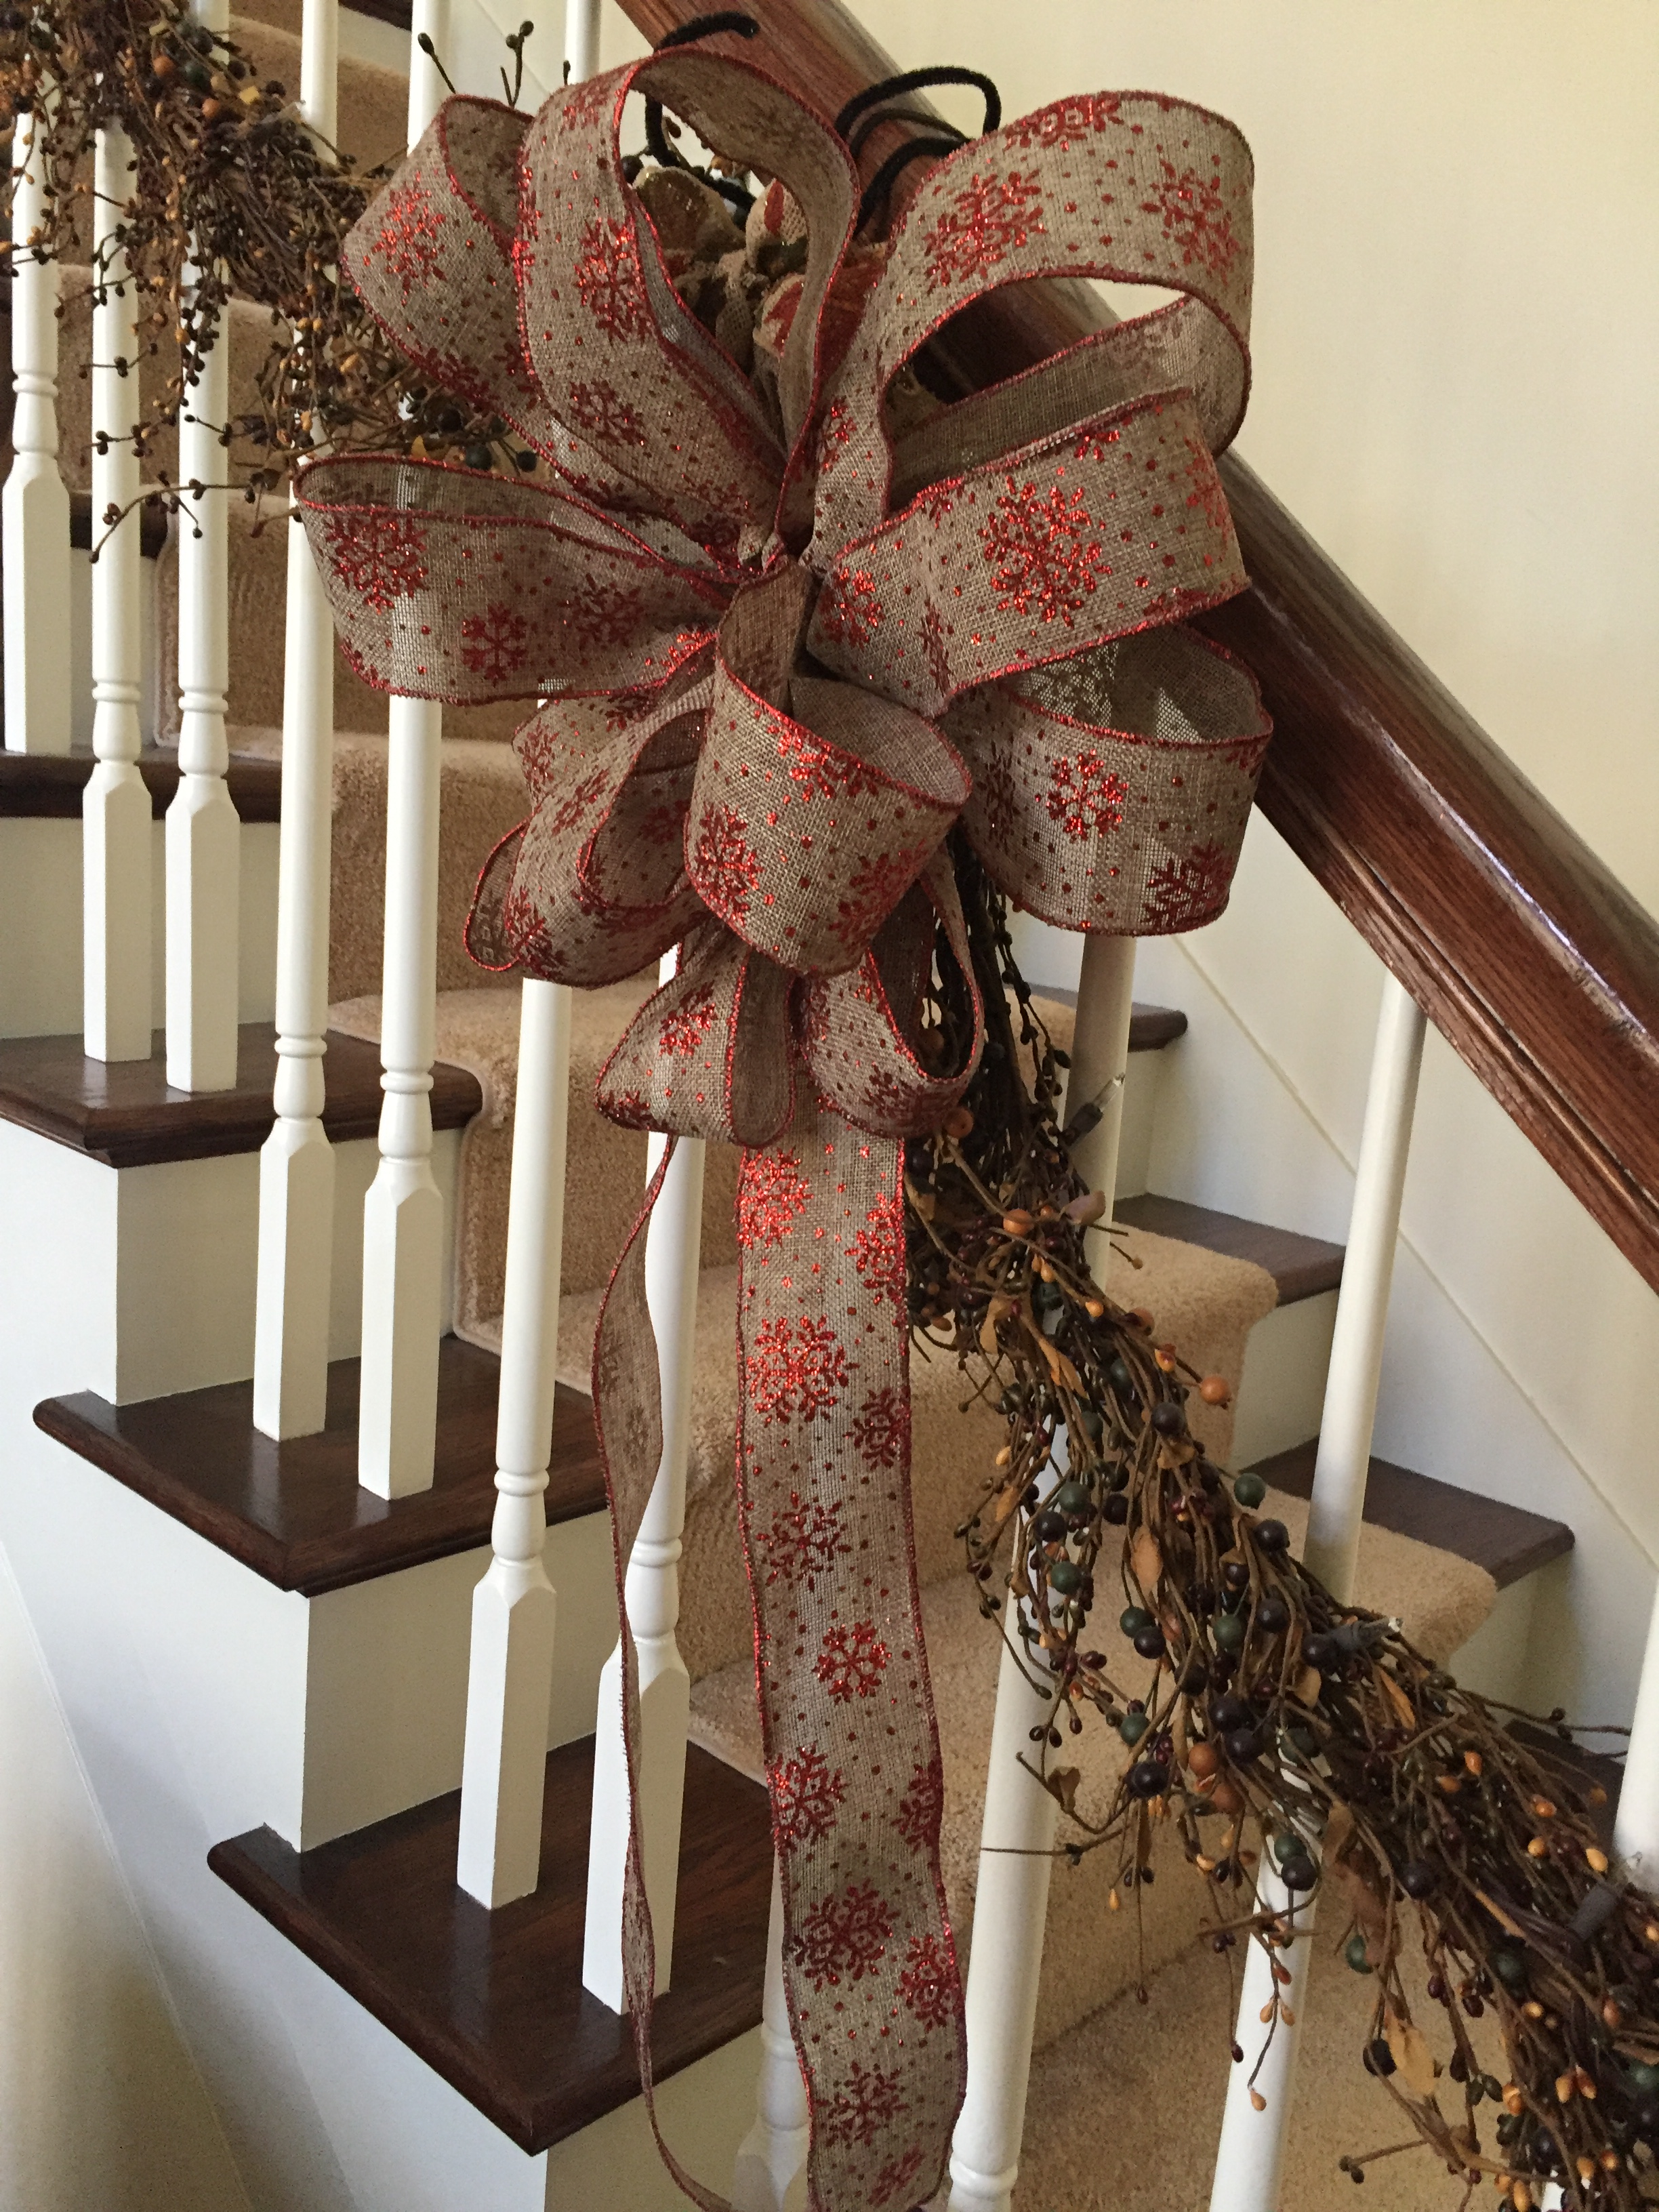
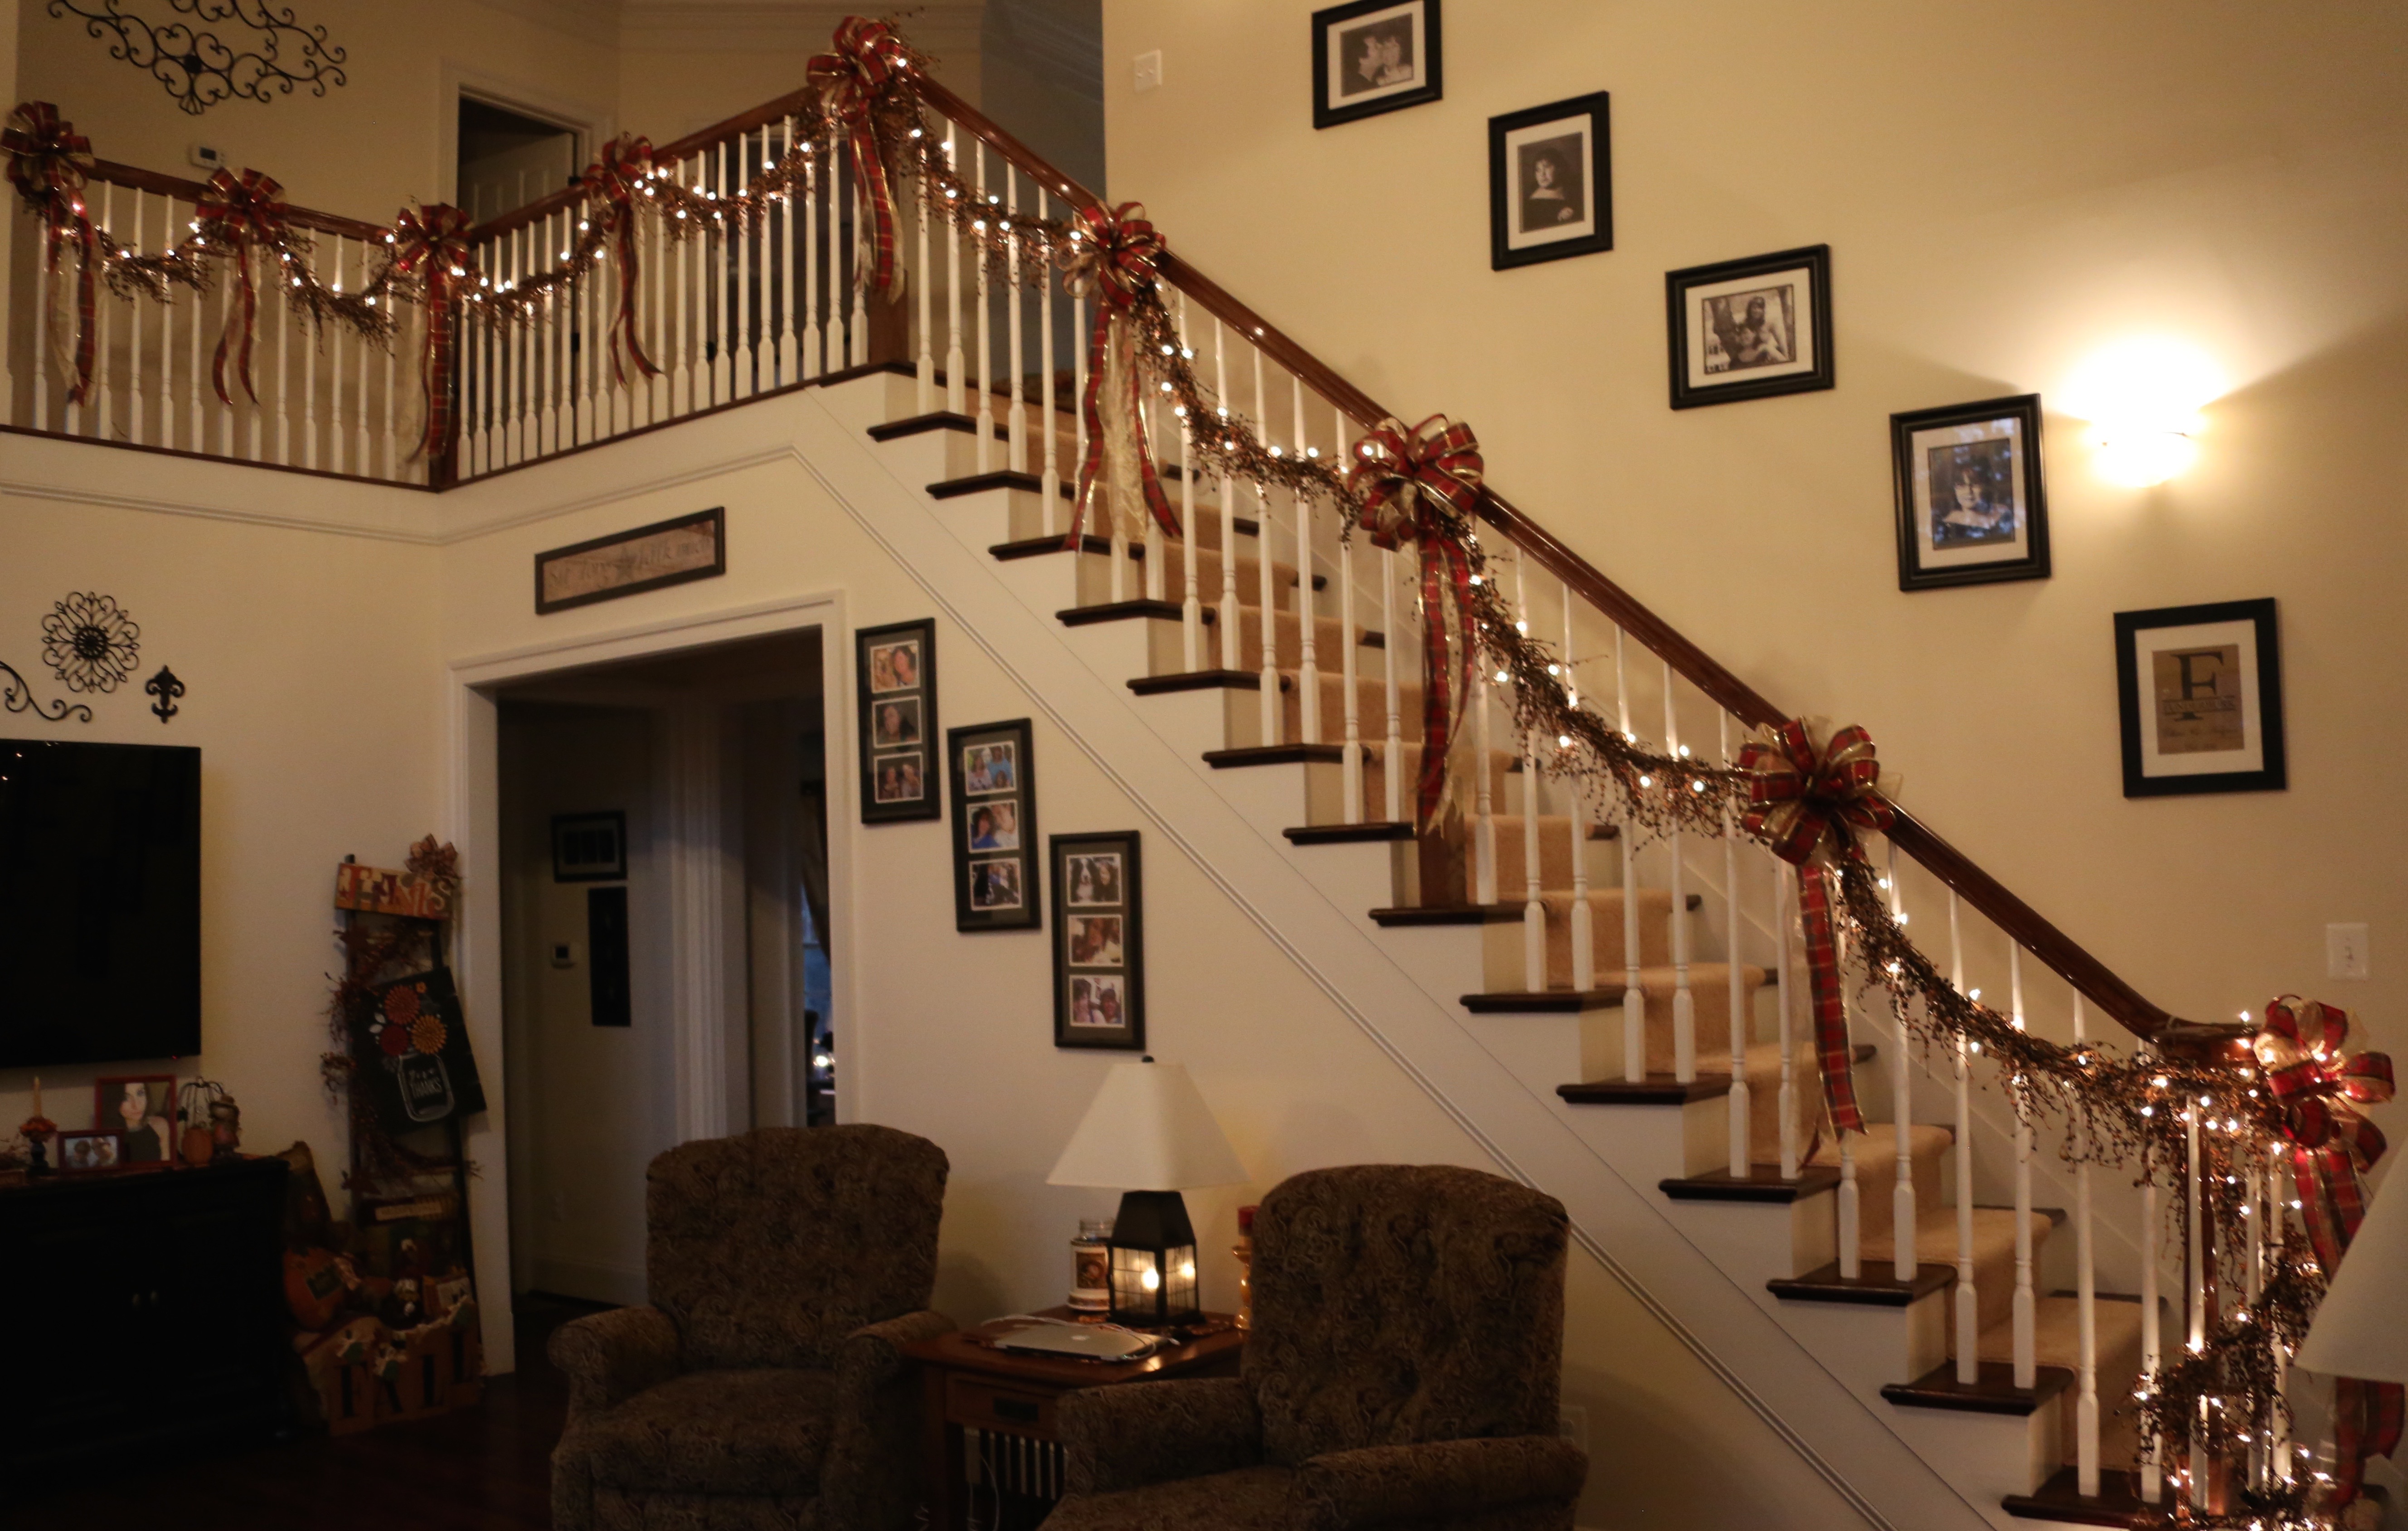
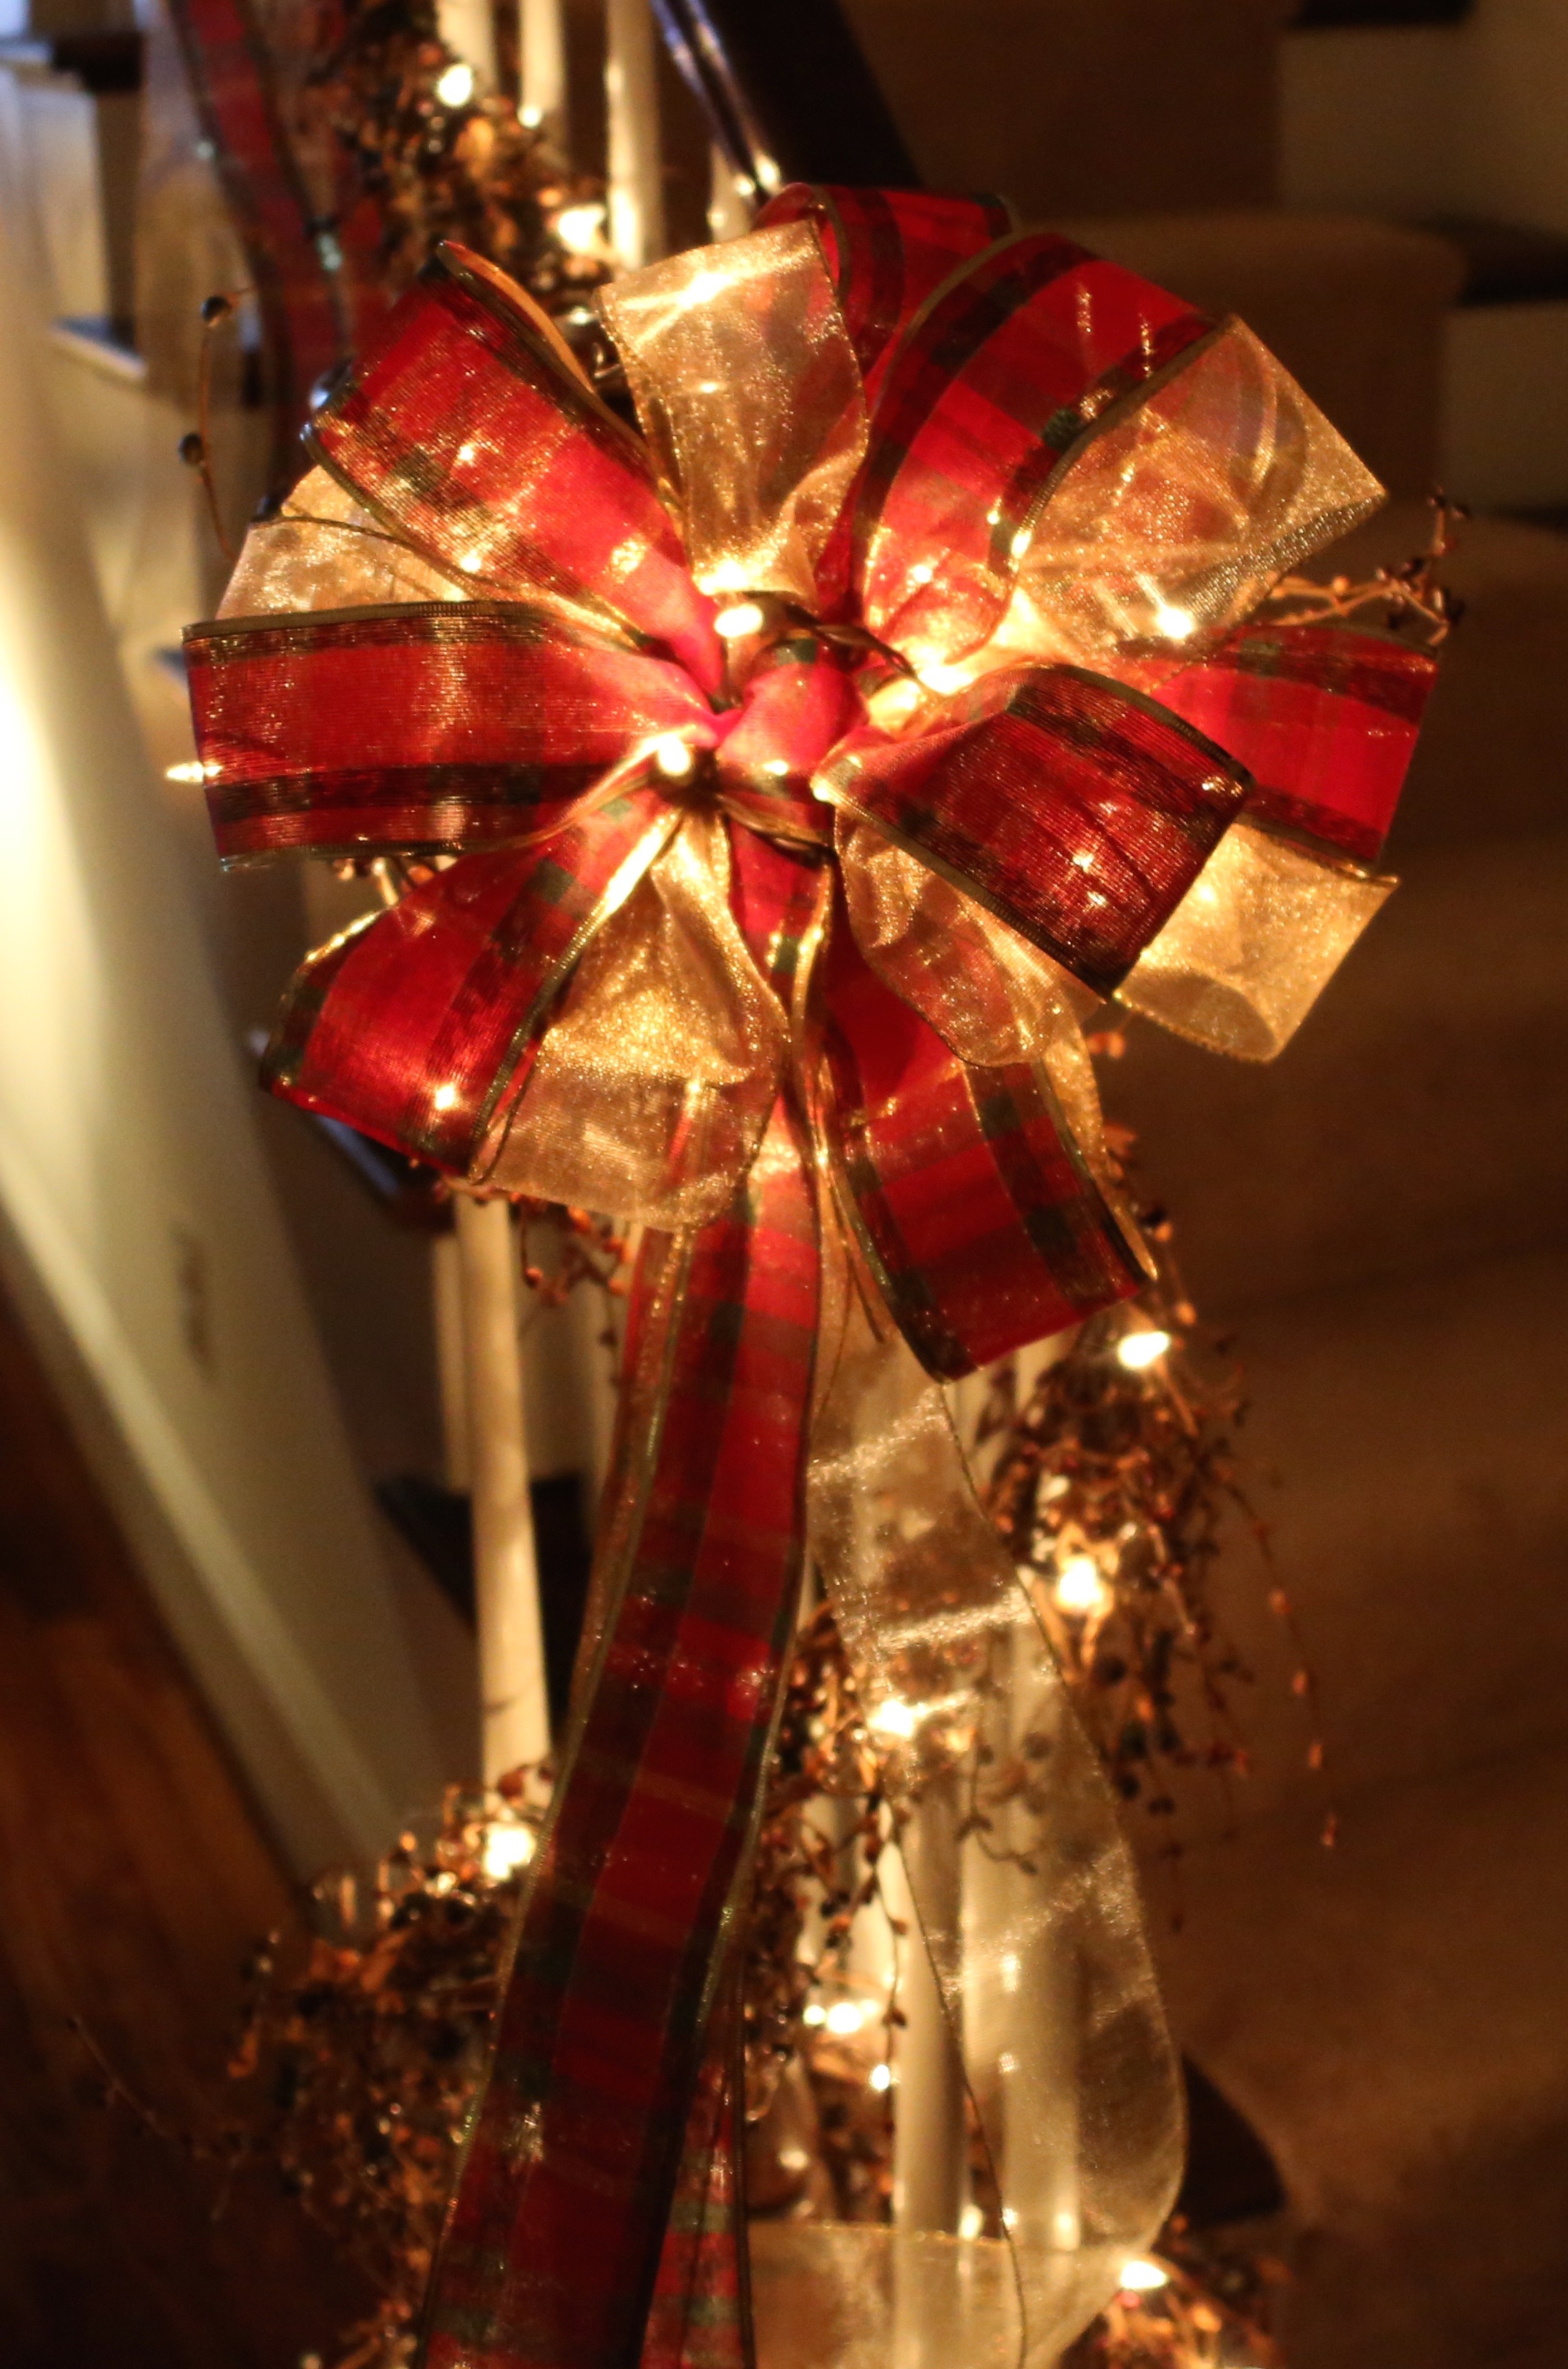
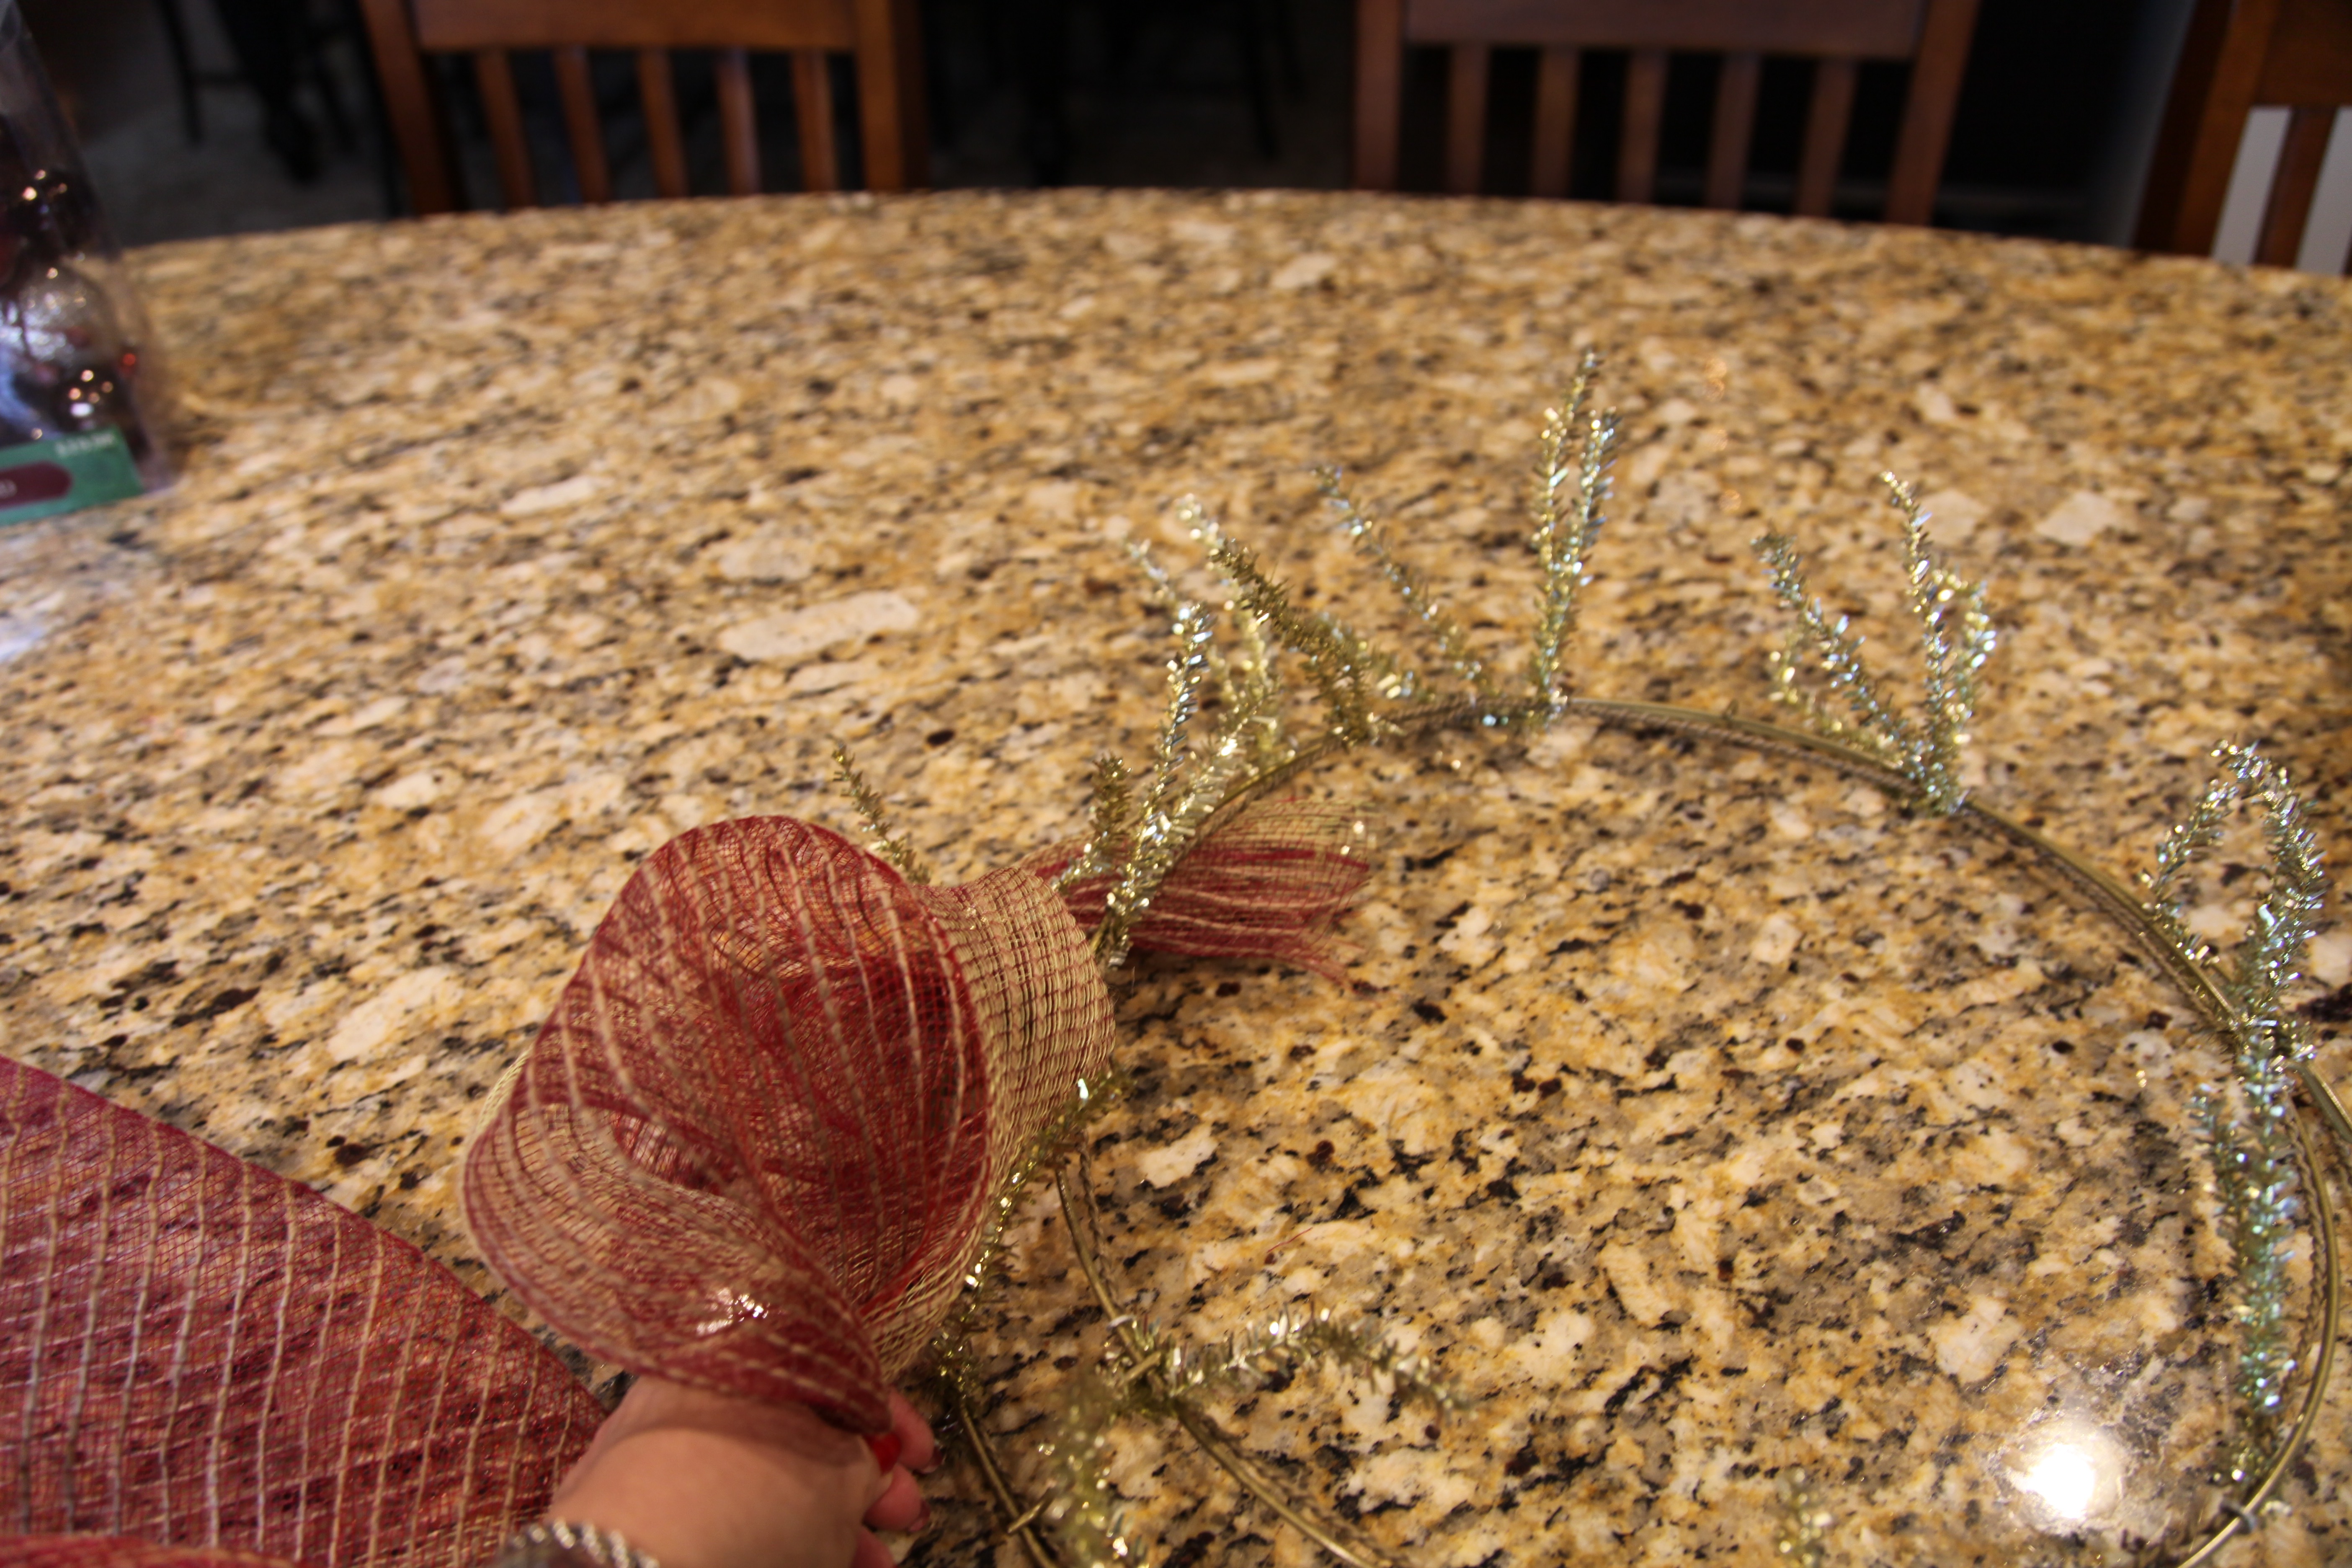
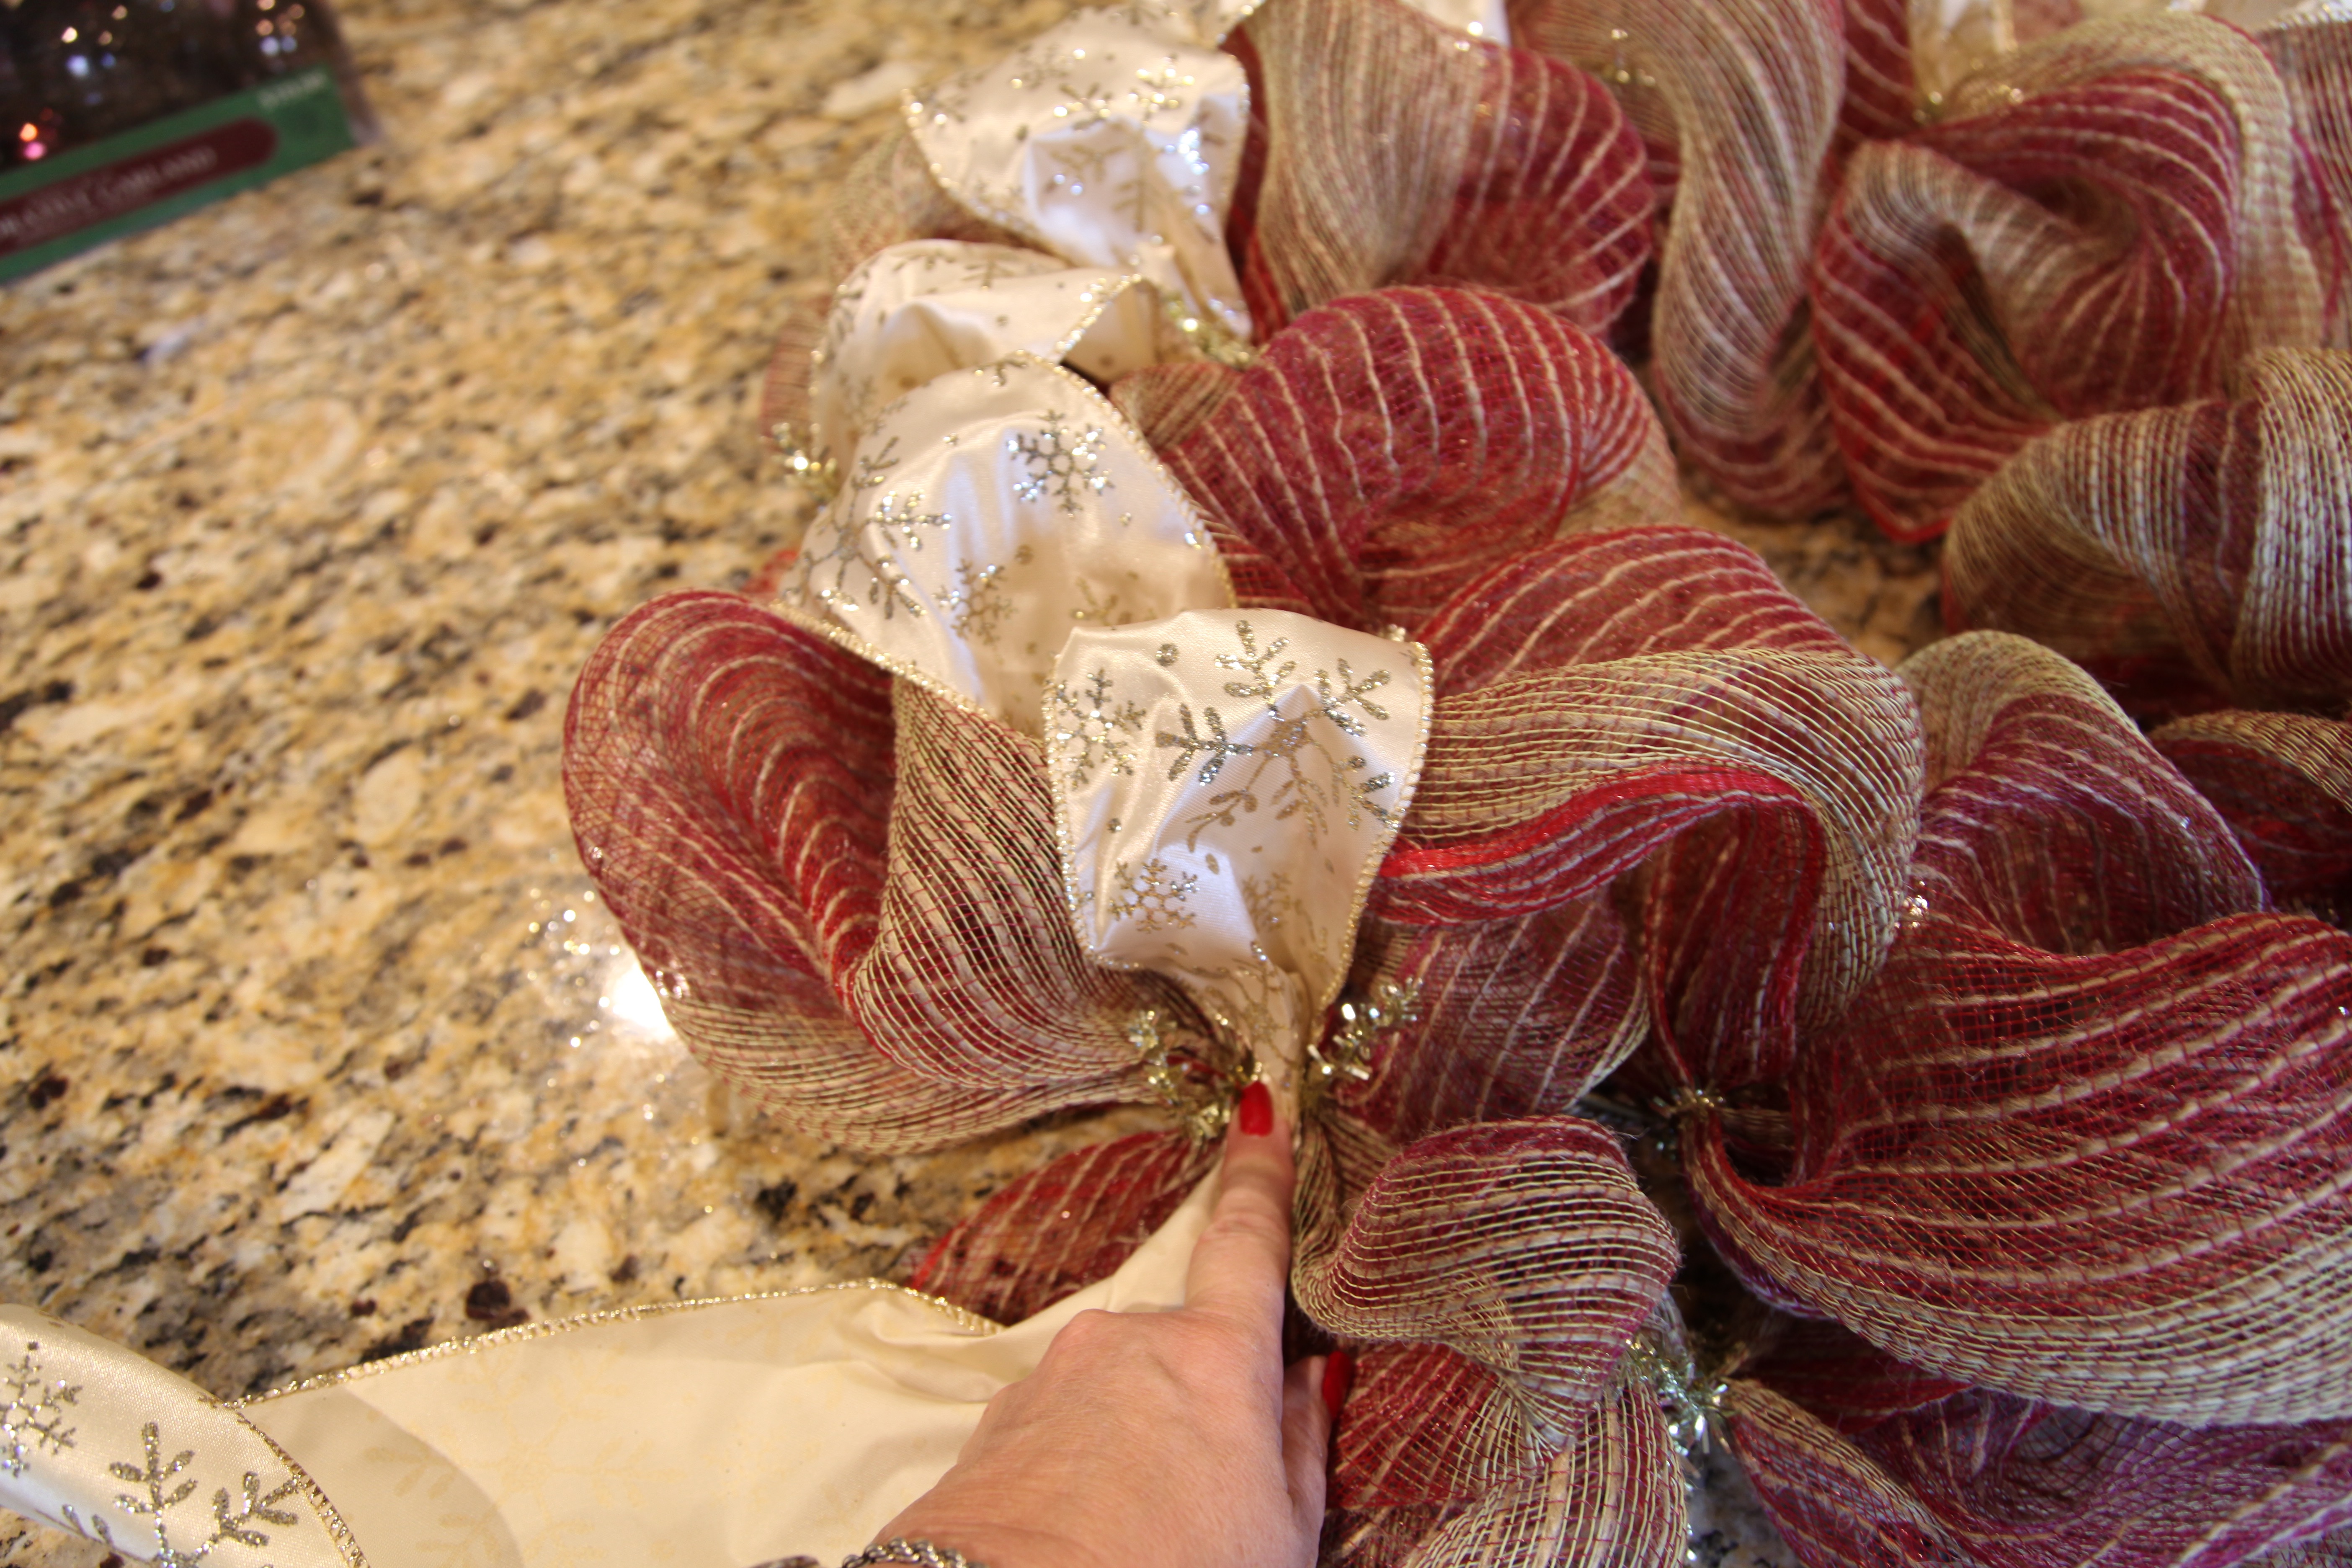
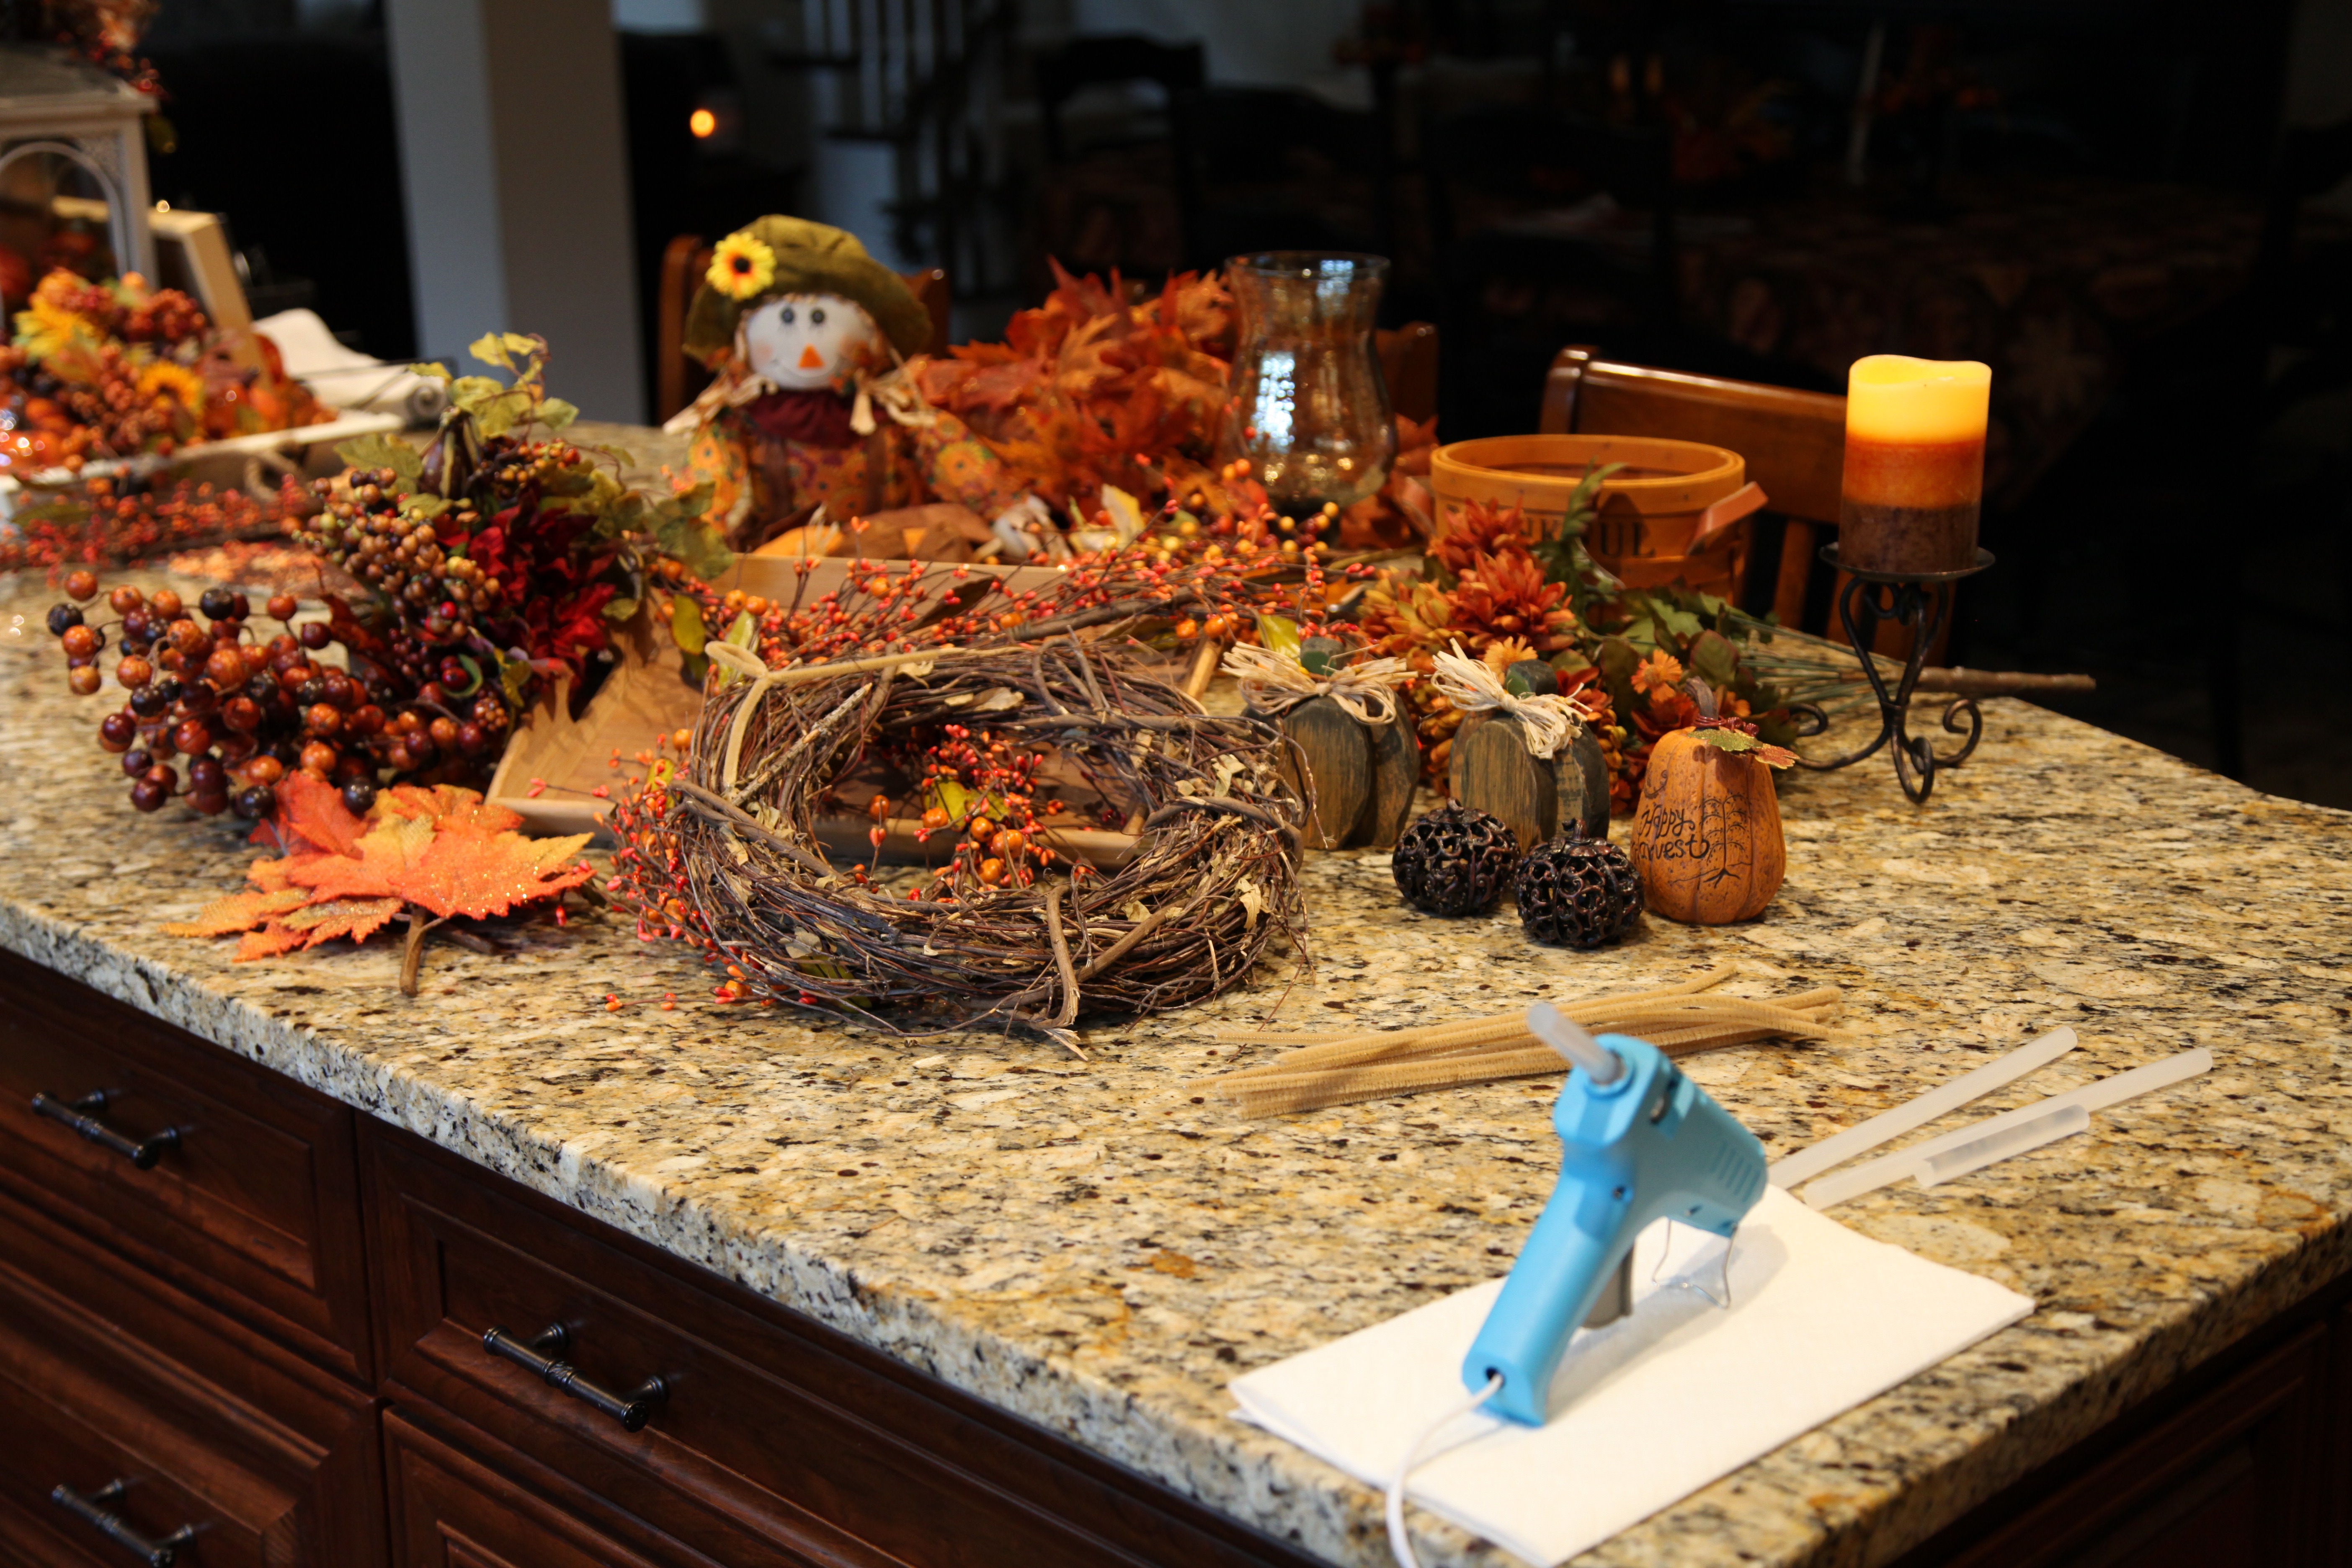
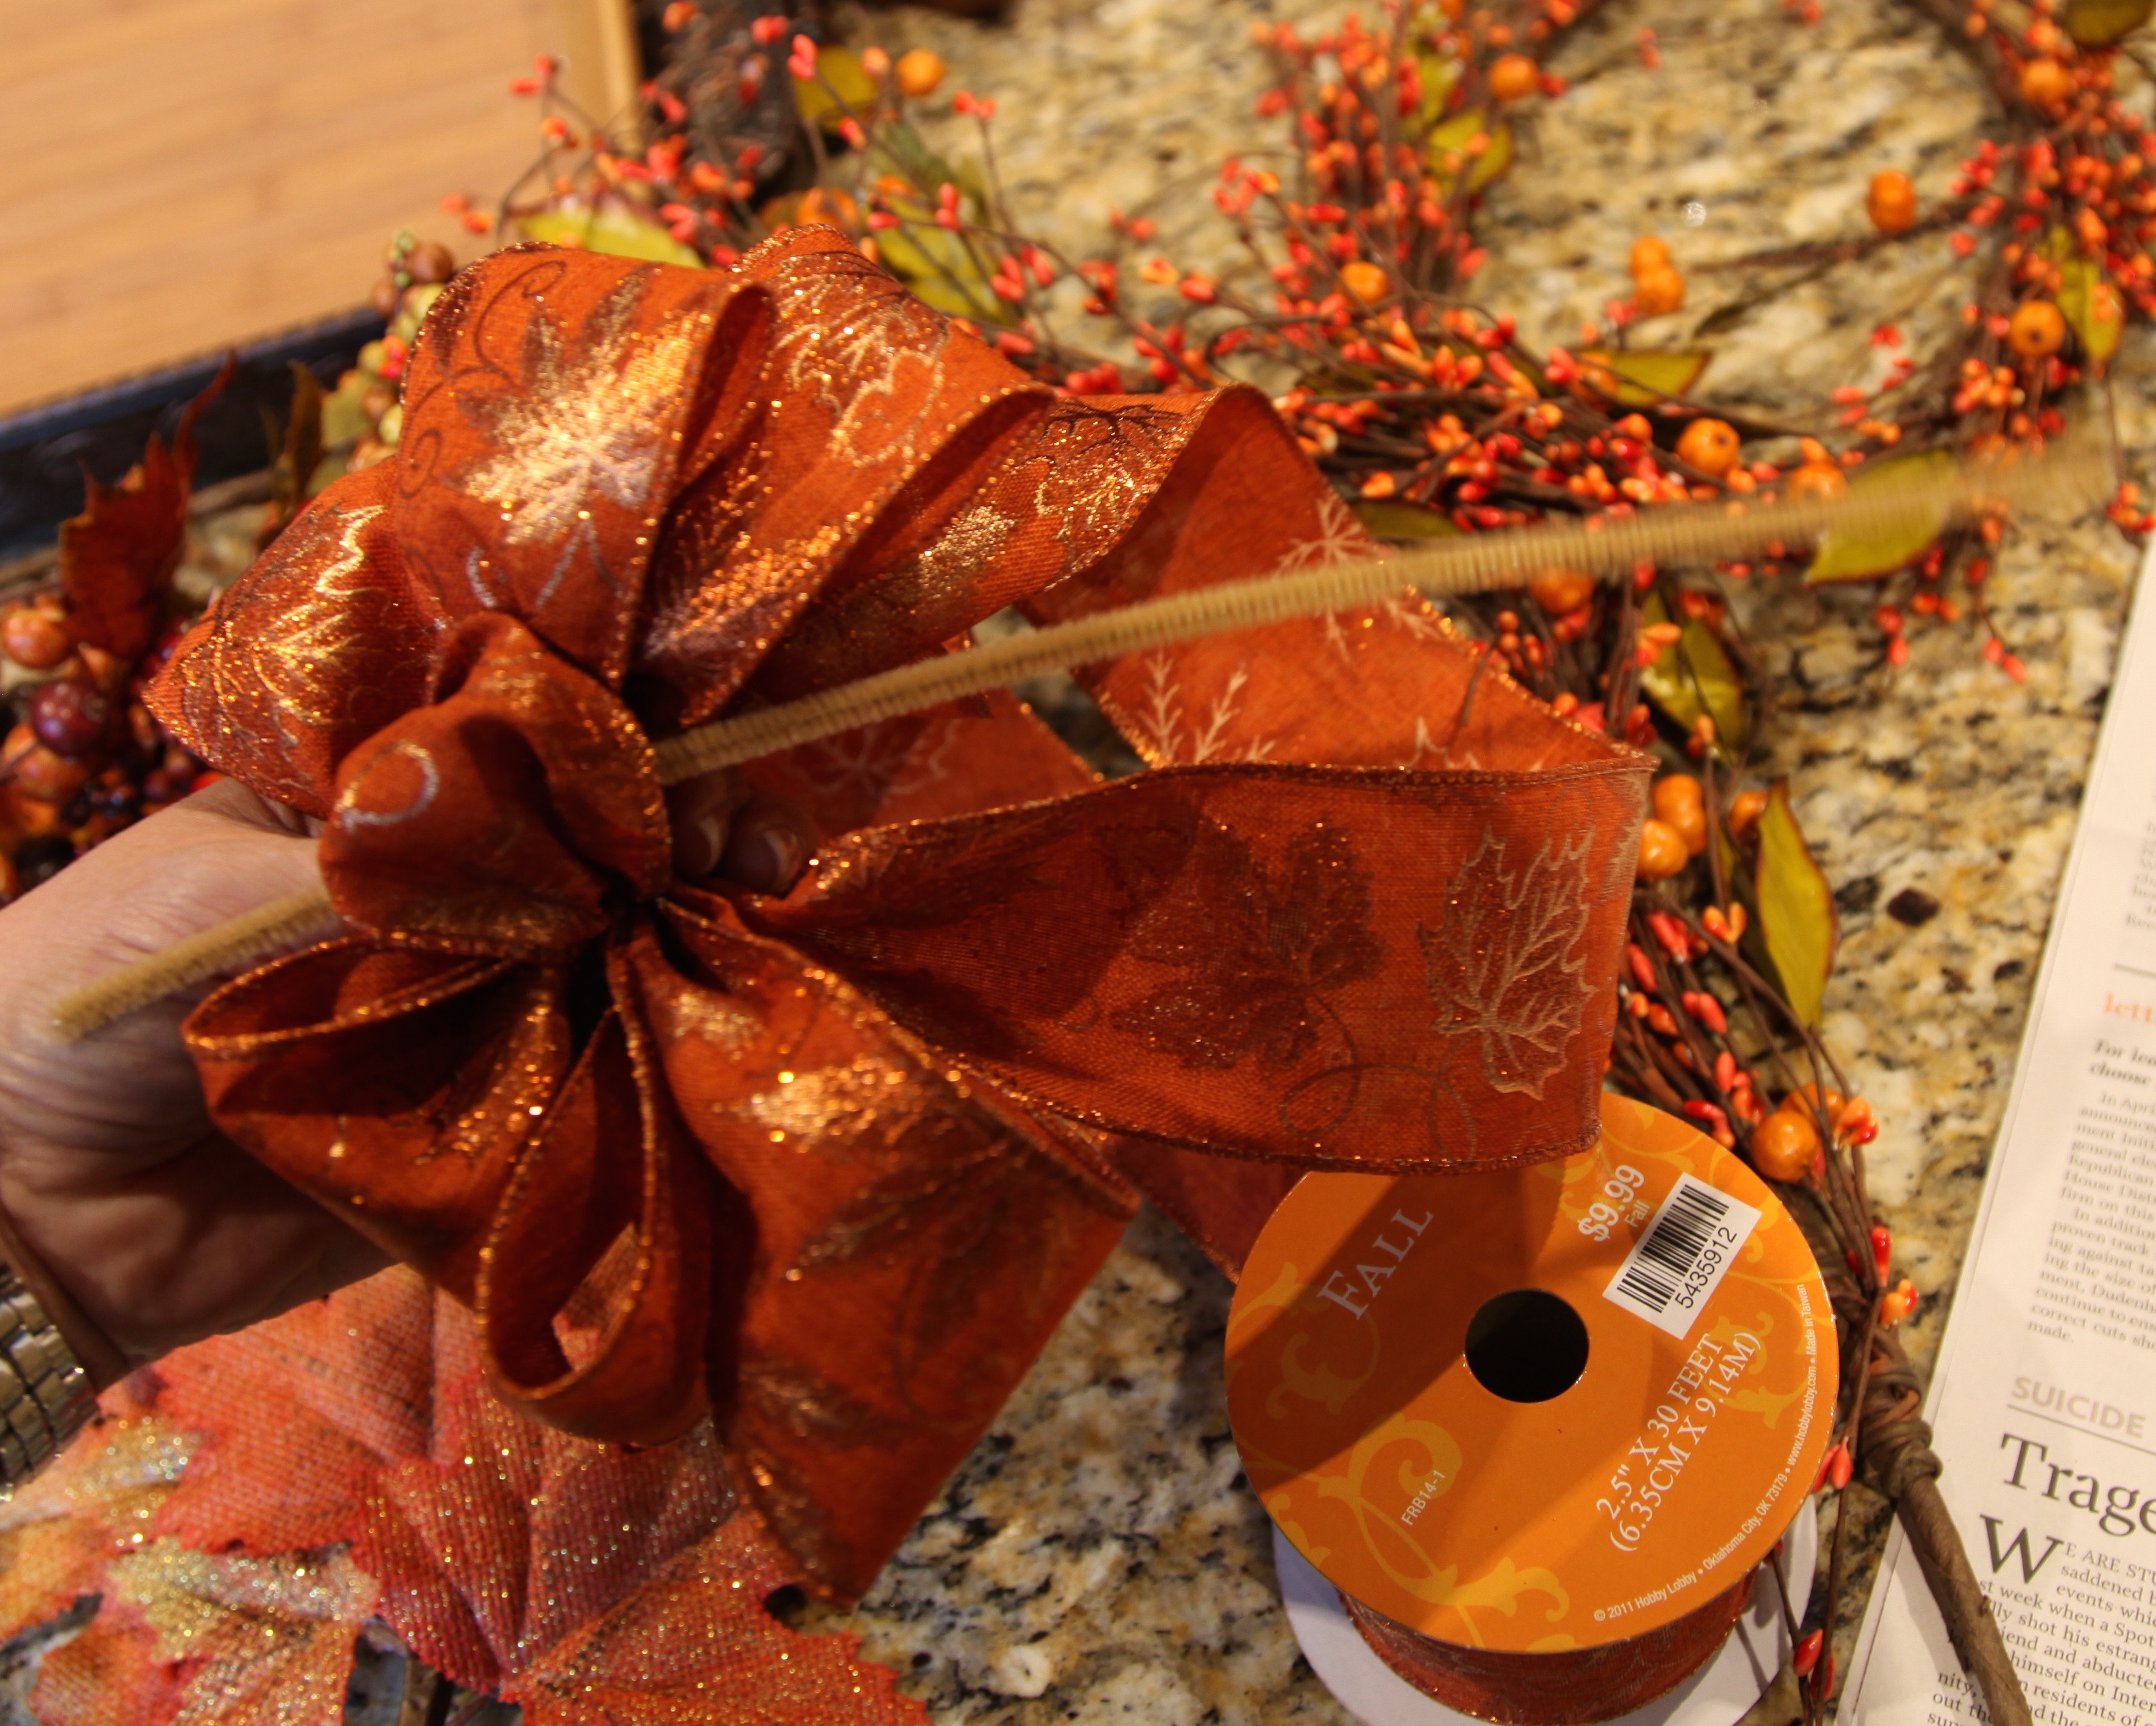
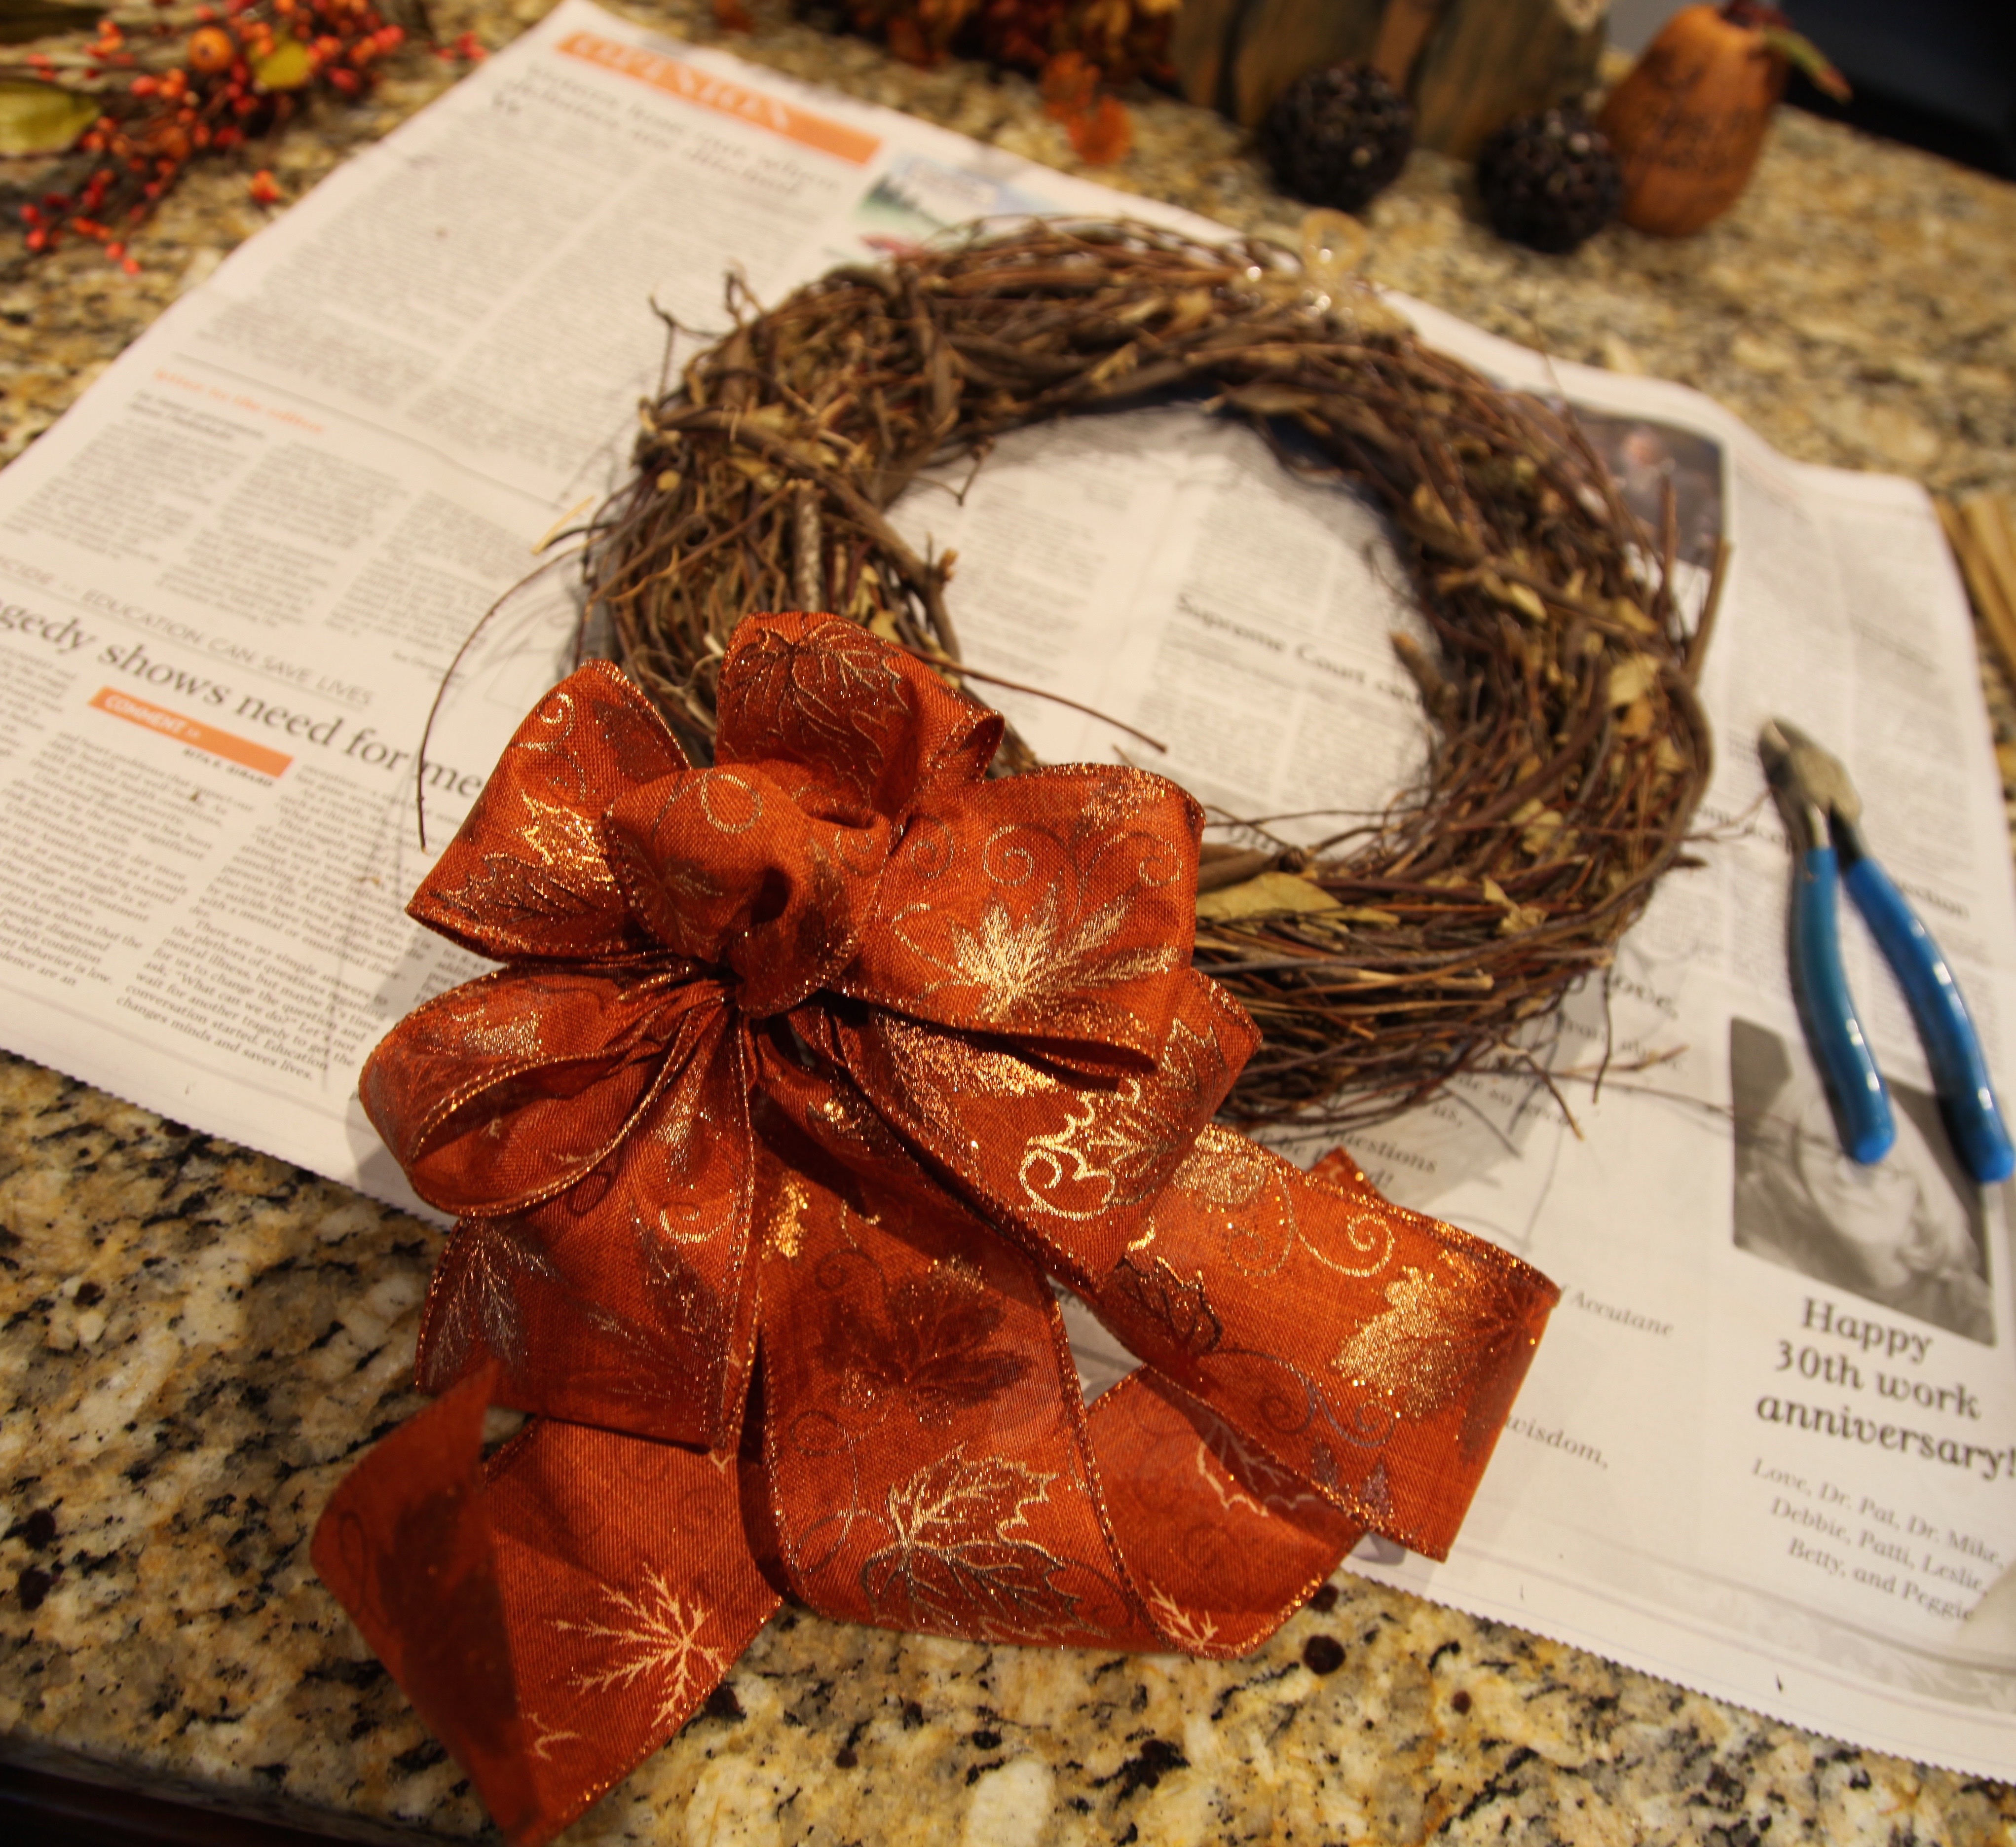
I purchased the gold mercury glass candle ‘sticks’ (they are quite tall and very sturdy– one is 14.5″ and the other is 13.5″) at Hobby Lobby for half off and the candles are Luminara, they are 3-1/2″ x 9″, and yes, they were rather pricey too although we got them off of Amazon.com for a better price than the Luminara site offers.  It is worth a search around the Internet for the best price, they are amazing! I turn them on and off with a remote that came with them, if I chose to, I could set them to come on for 5 hours in the evenings as well and they’d automatically turn off. Those grapevine reindeer also came from Hobby Lobby for 50% off–they have fantastic sales on their Seasonal stuff.  I made two bows out of burgundy plaid wired ribbon, they match the staircase decor.

IMG_2406 (1)

I purchased this Nativity scene at Hobby Lobby (of course) for half off $80, I love it so much because let’s face it, Jesus *is* the reason for the Season.  I also love it because it mimics my Willow Tree angels and it completes the ‘feel’ that I was trying to accomplish on the mantel.

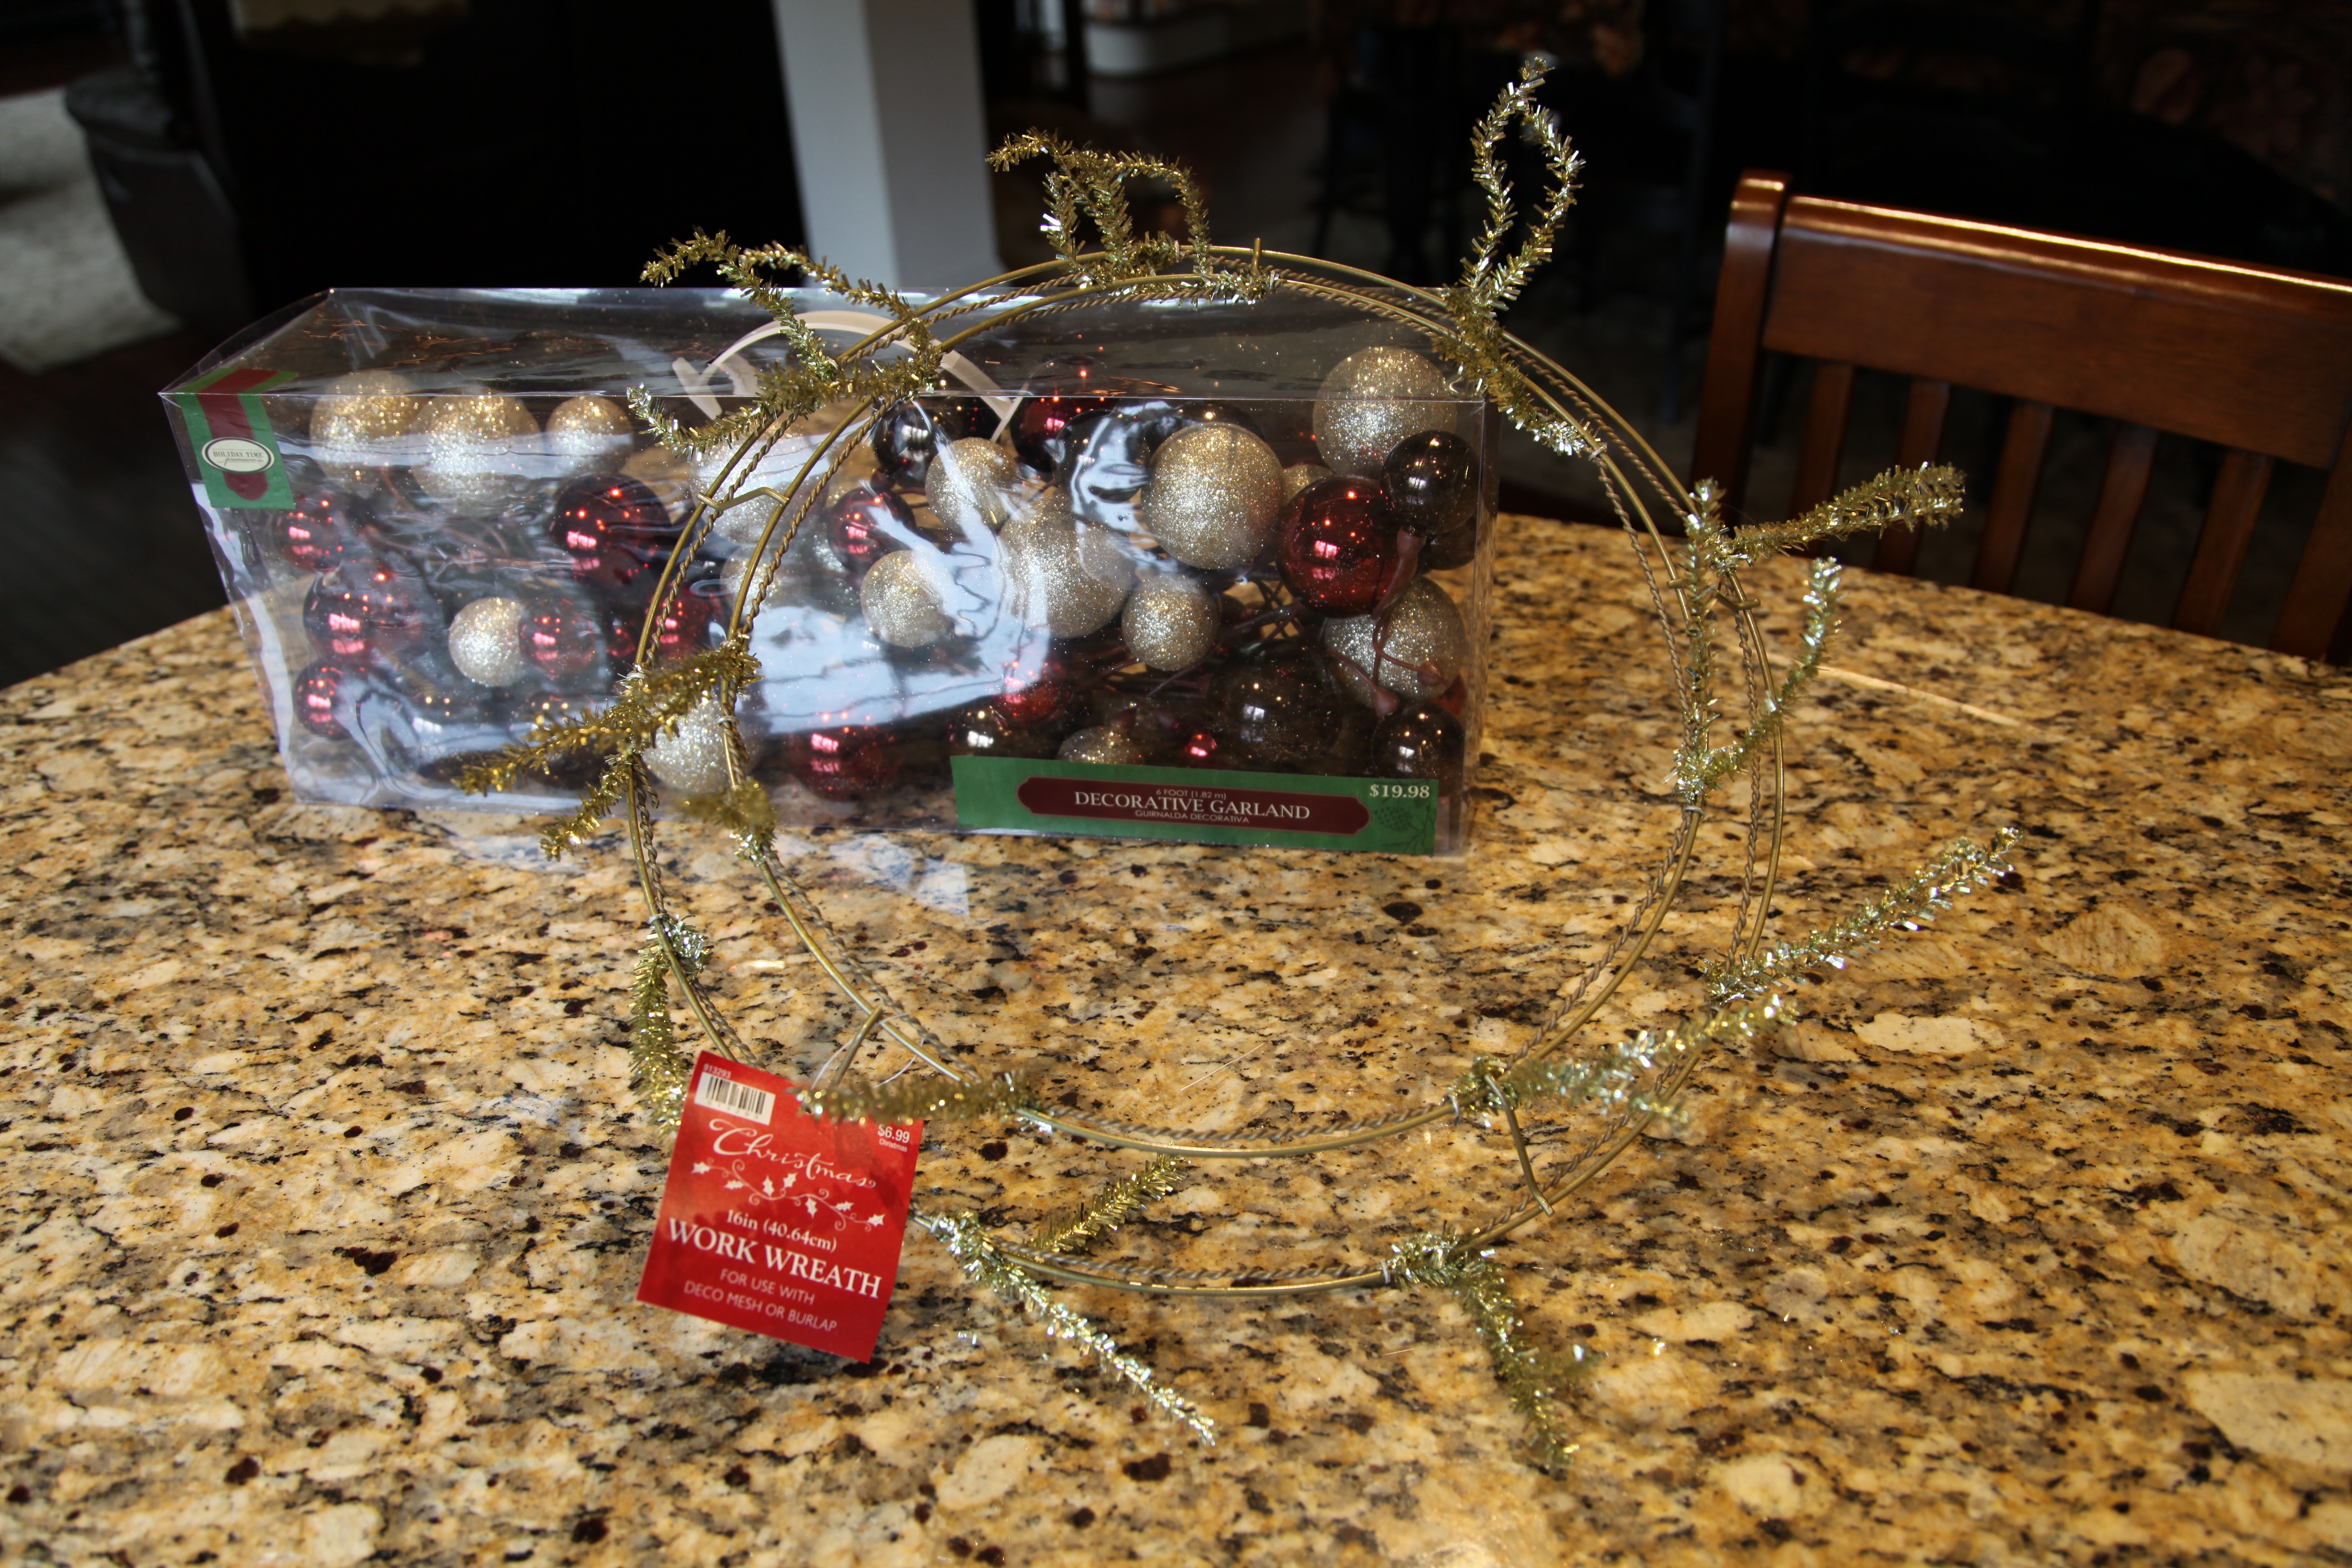
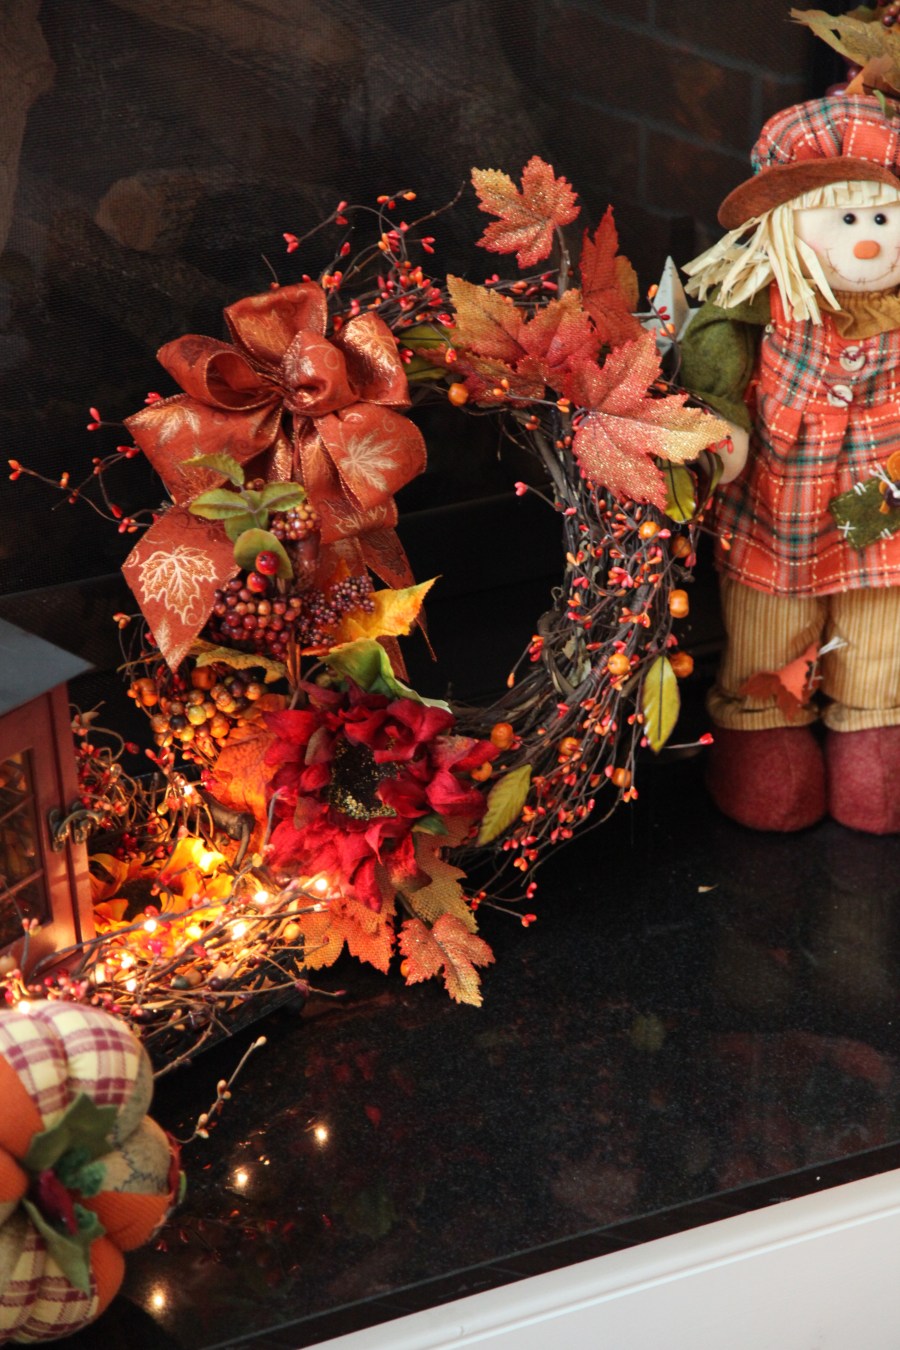
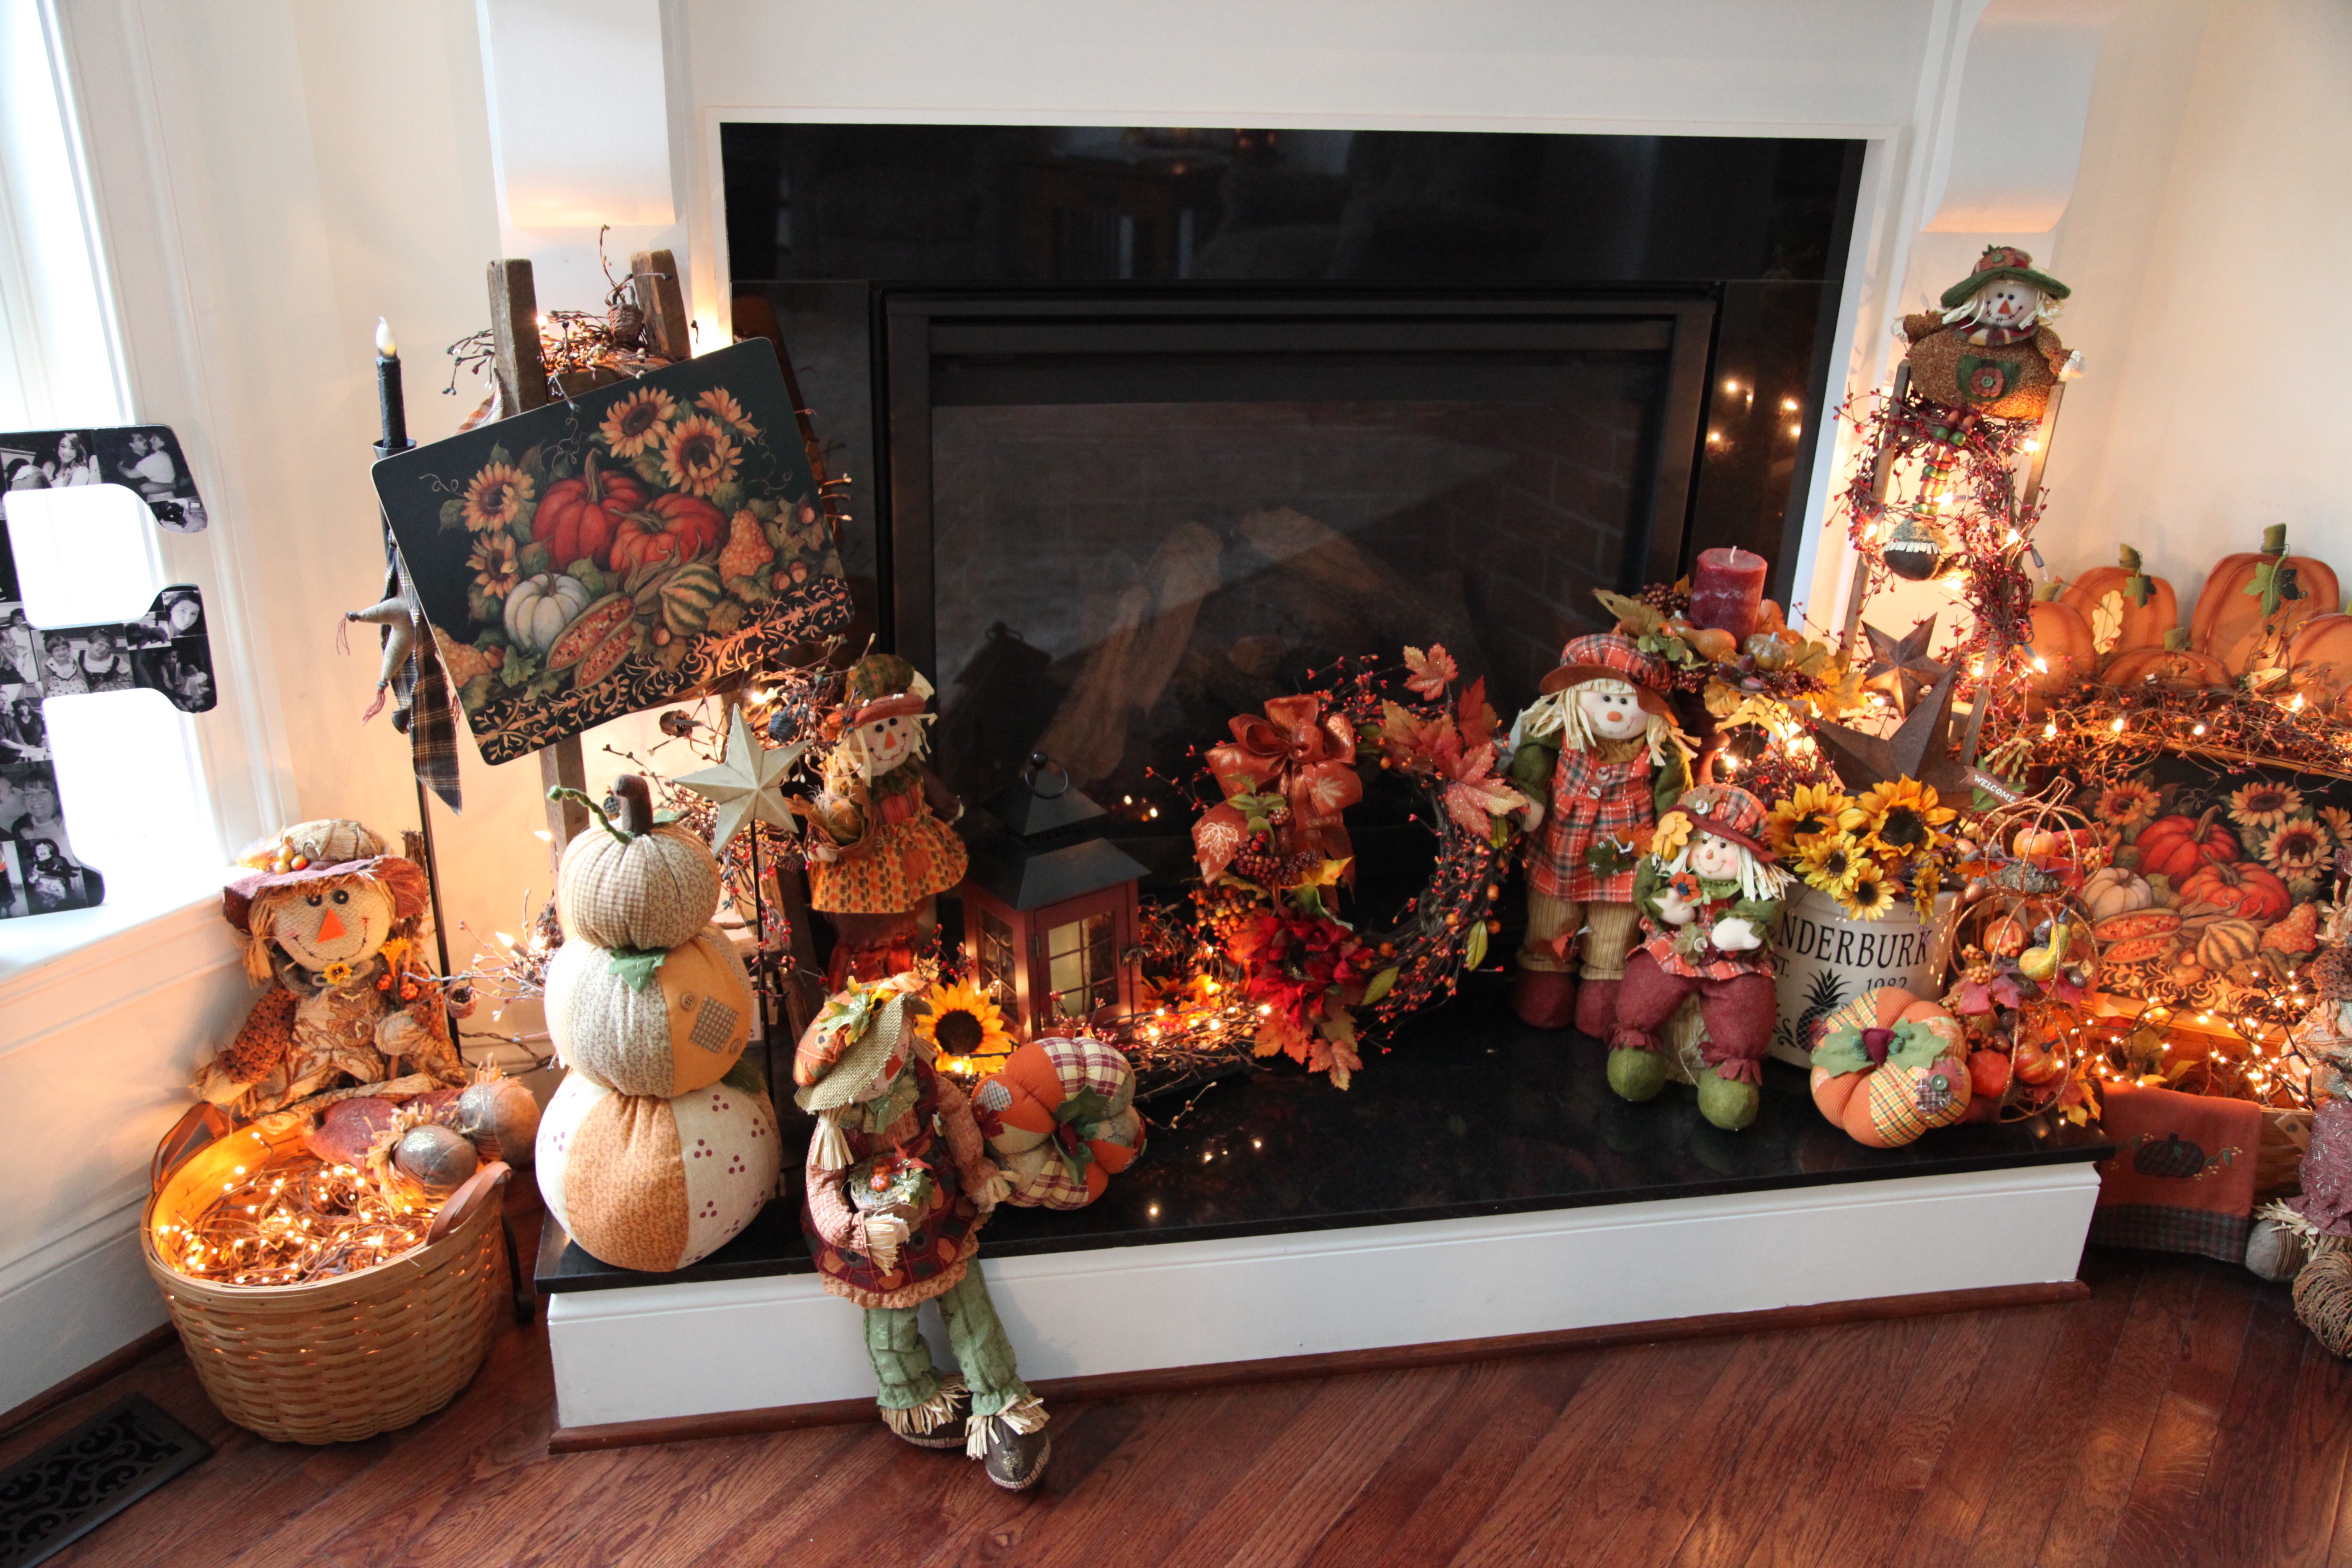
Now, the hearth, well that really presented me with another challenge because as I mentioned above, I didn’t want to recreate the entire wheel this year and my past years decorations were ALL snowmen.  SO, I did purchase a few things.

IMG_2409

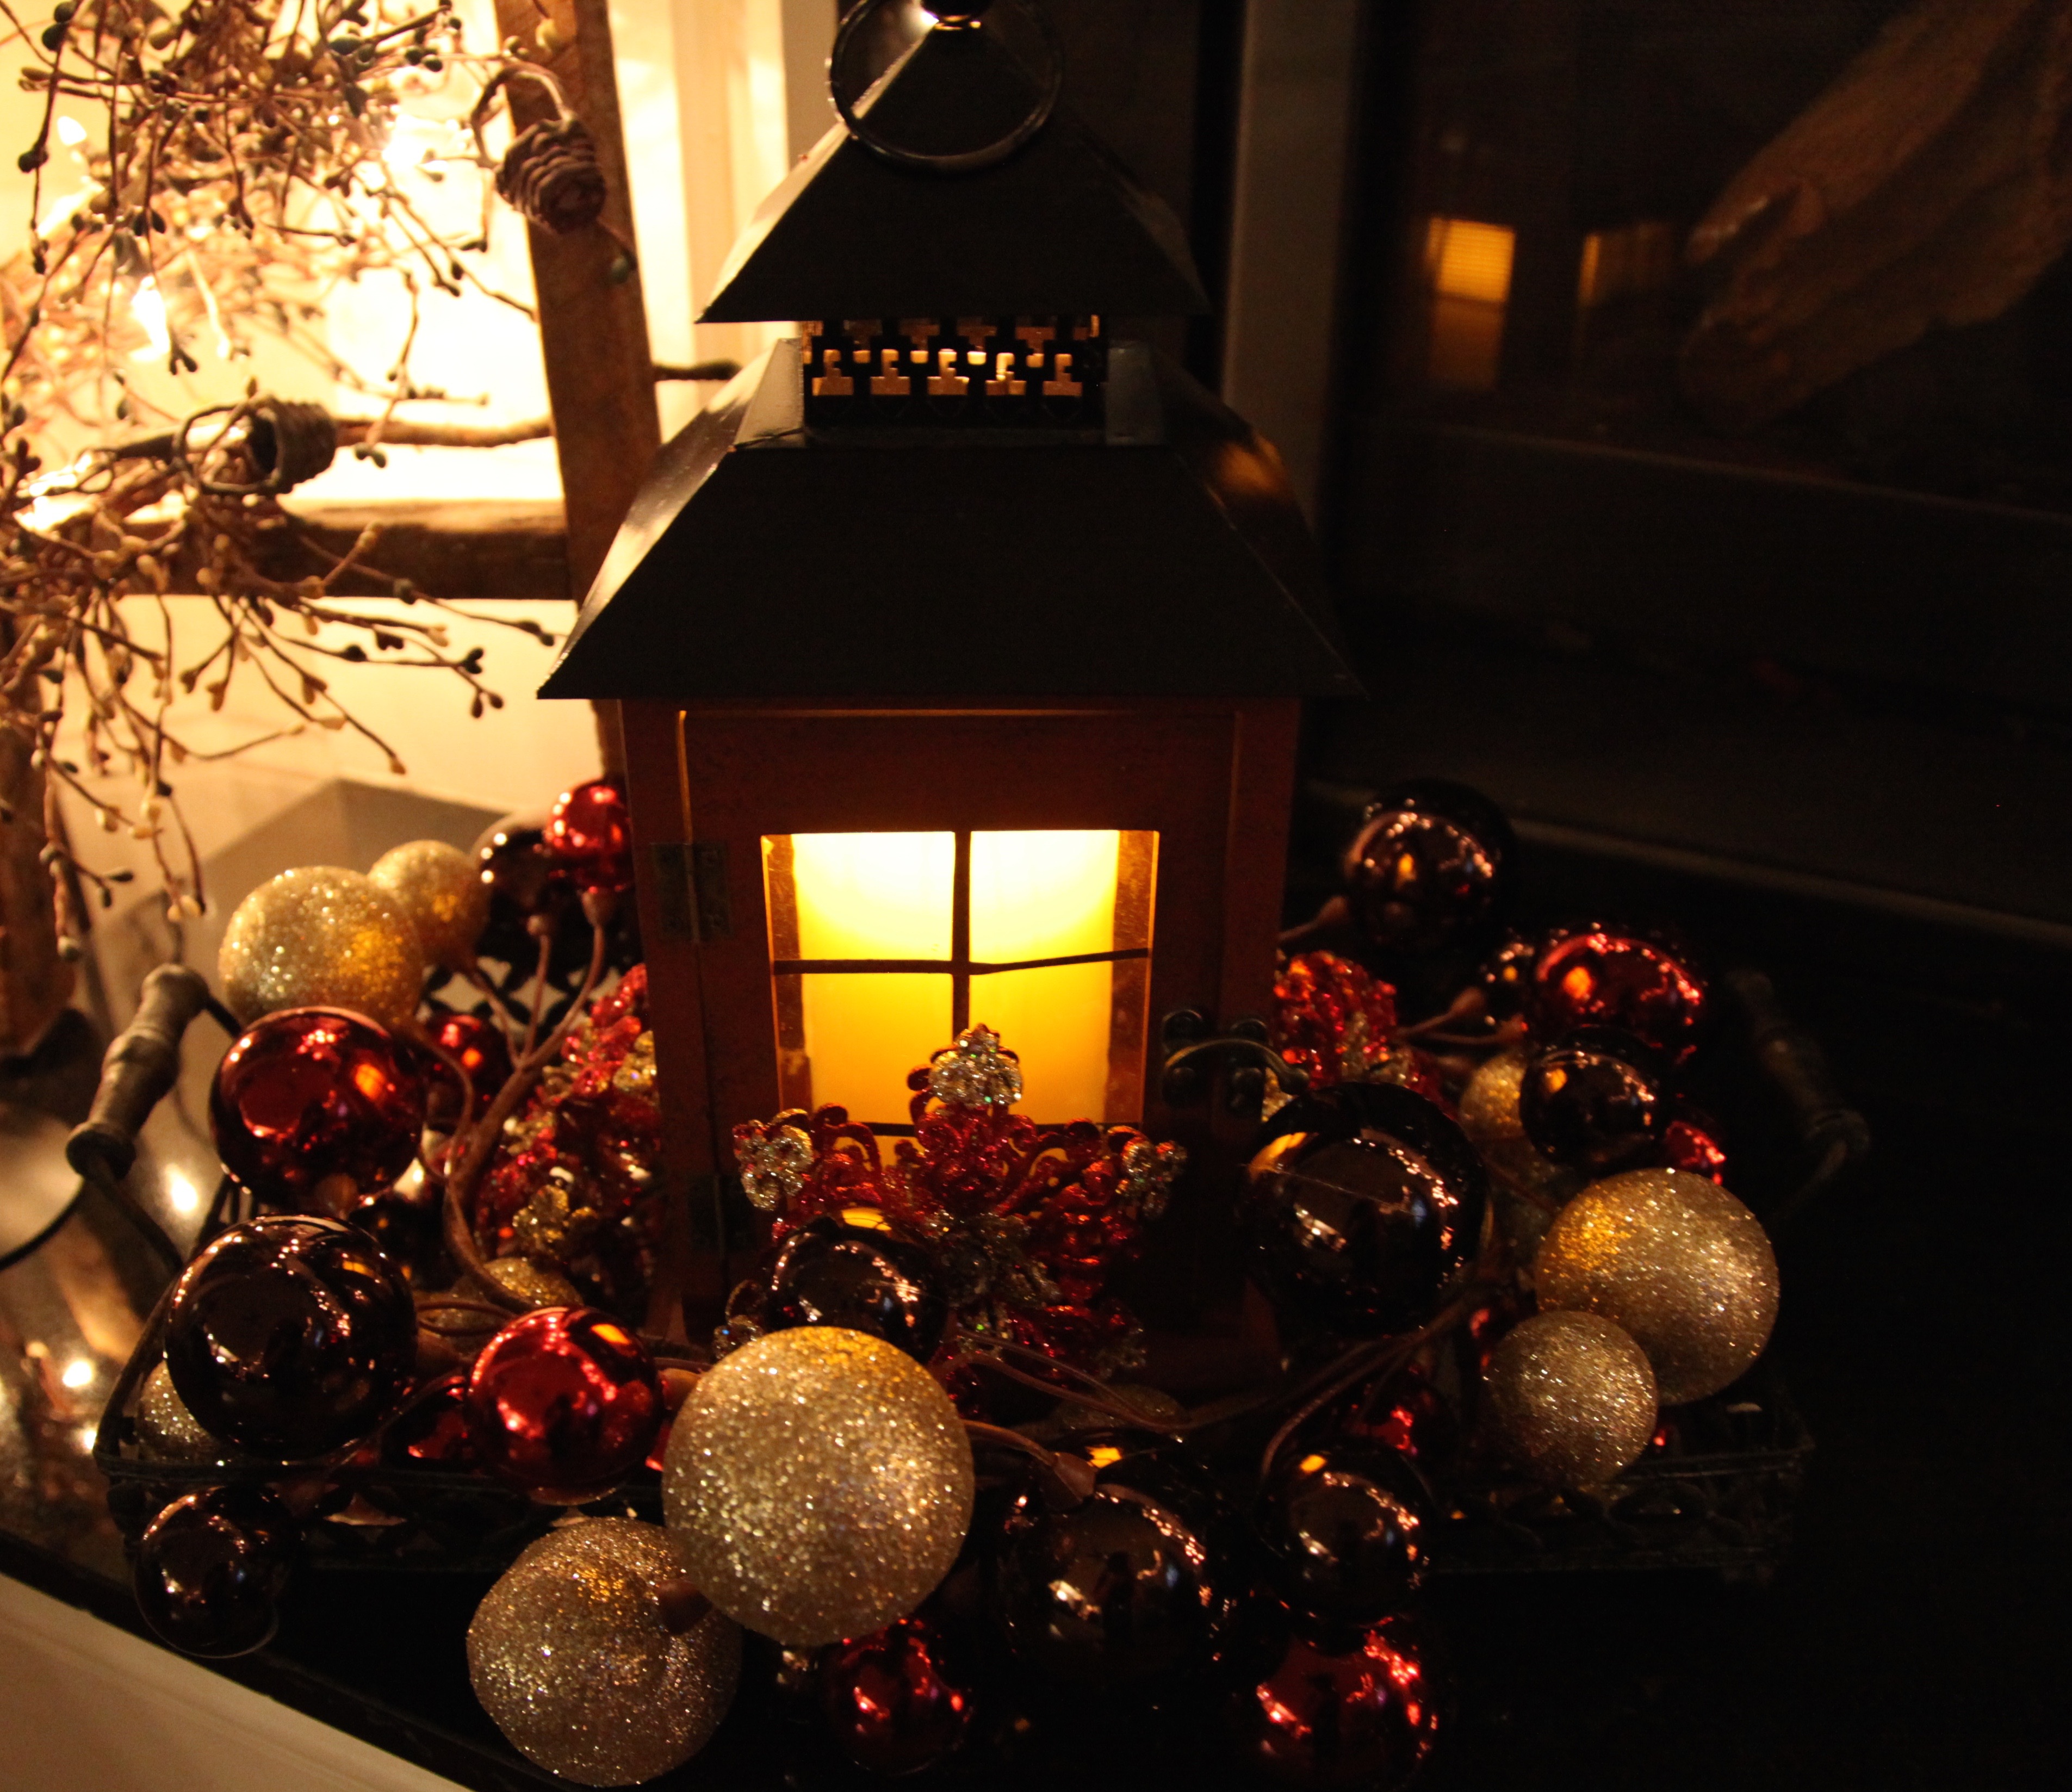
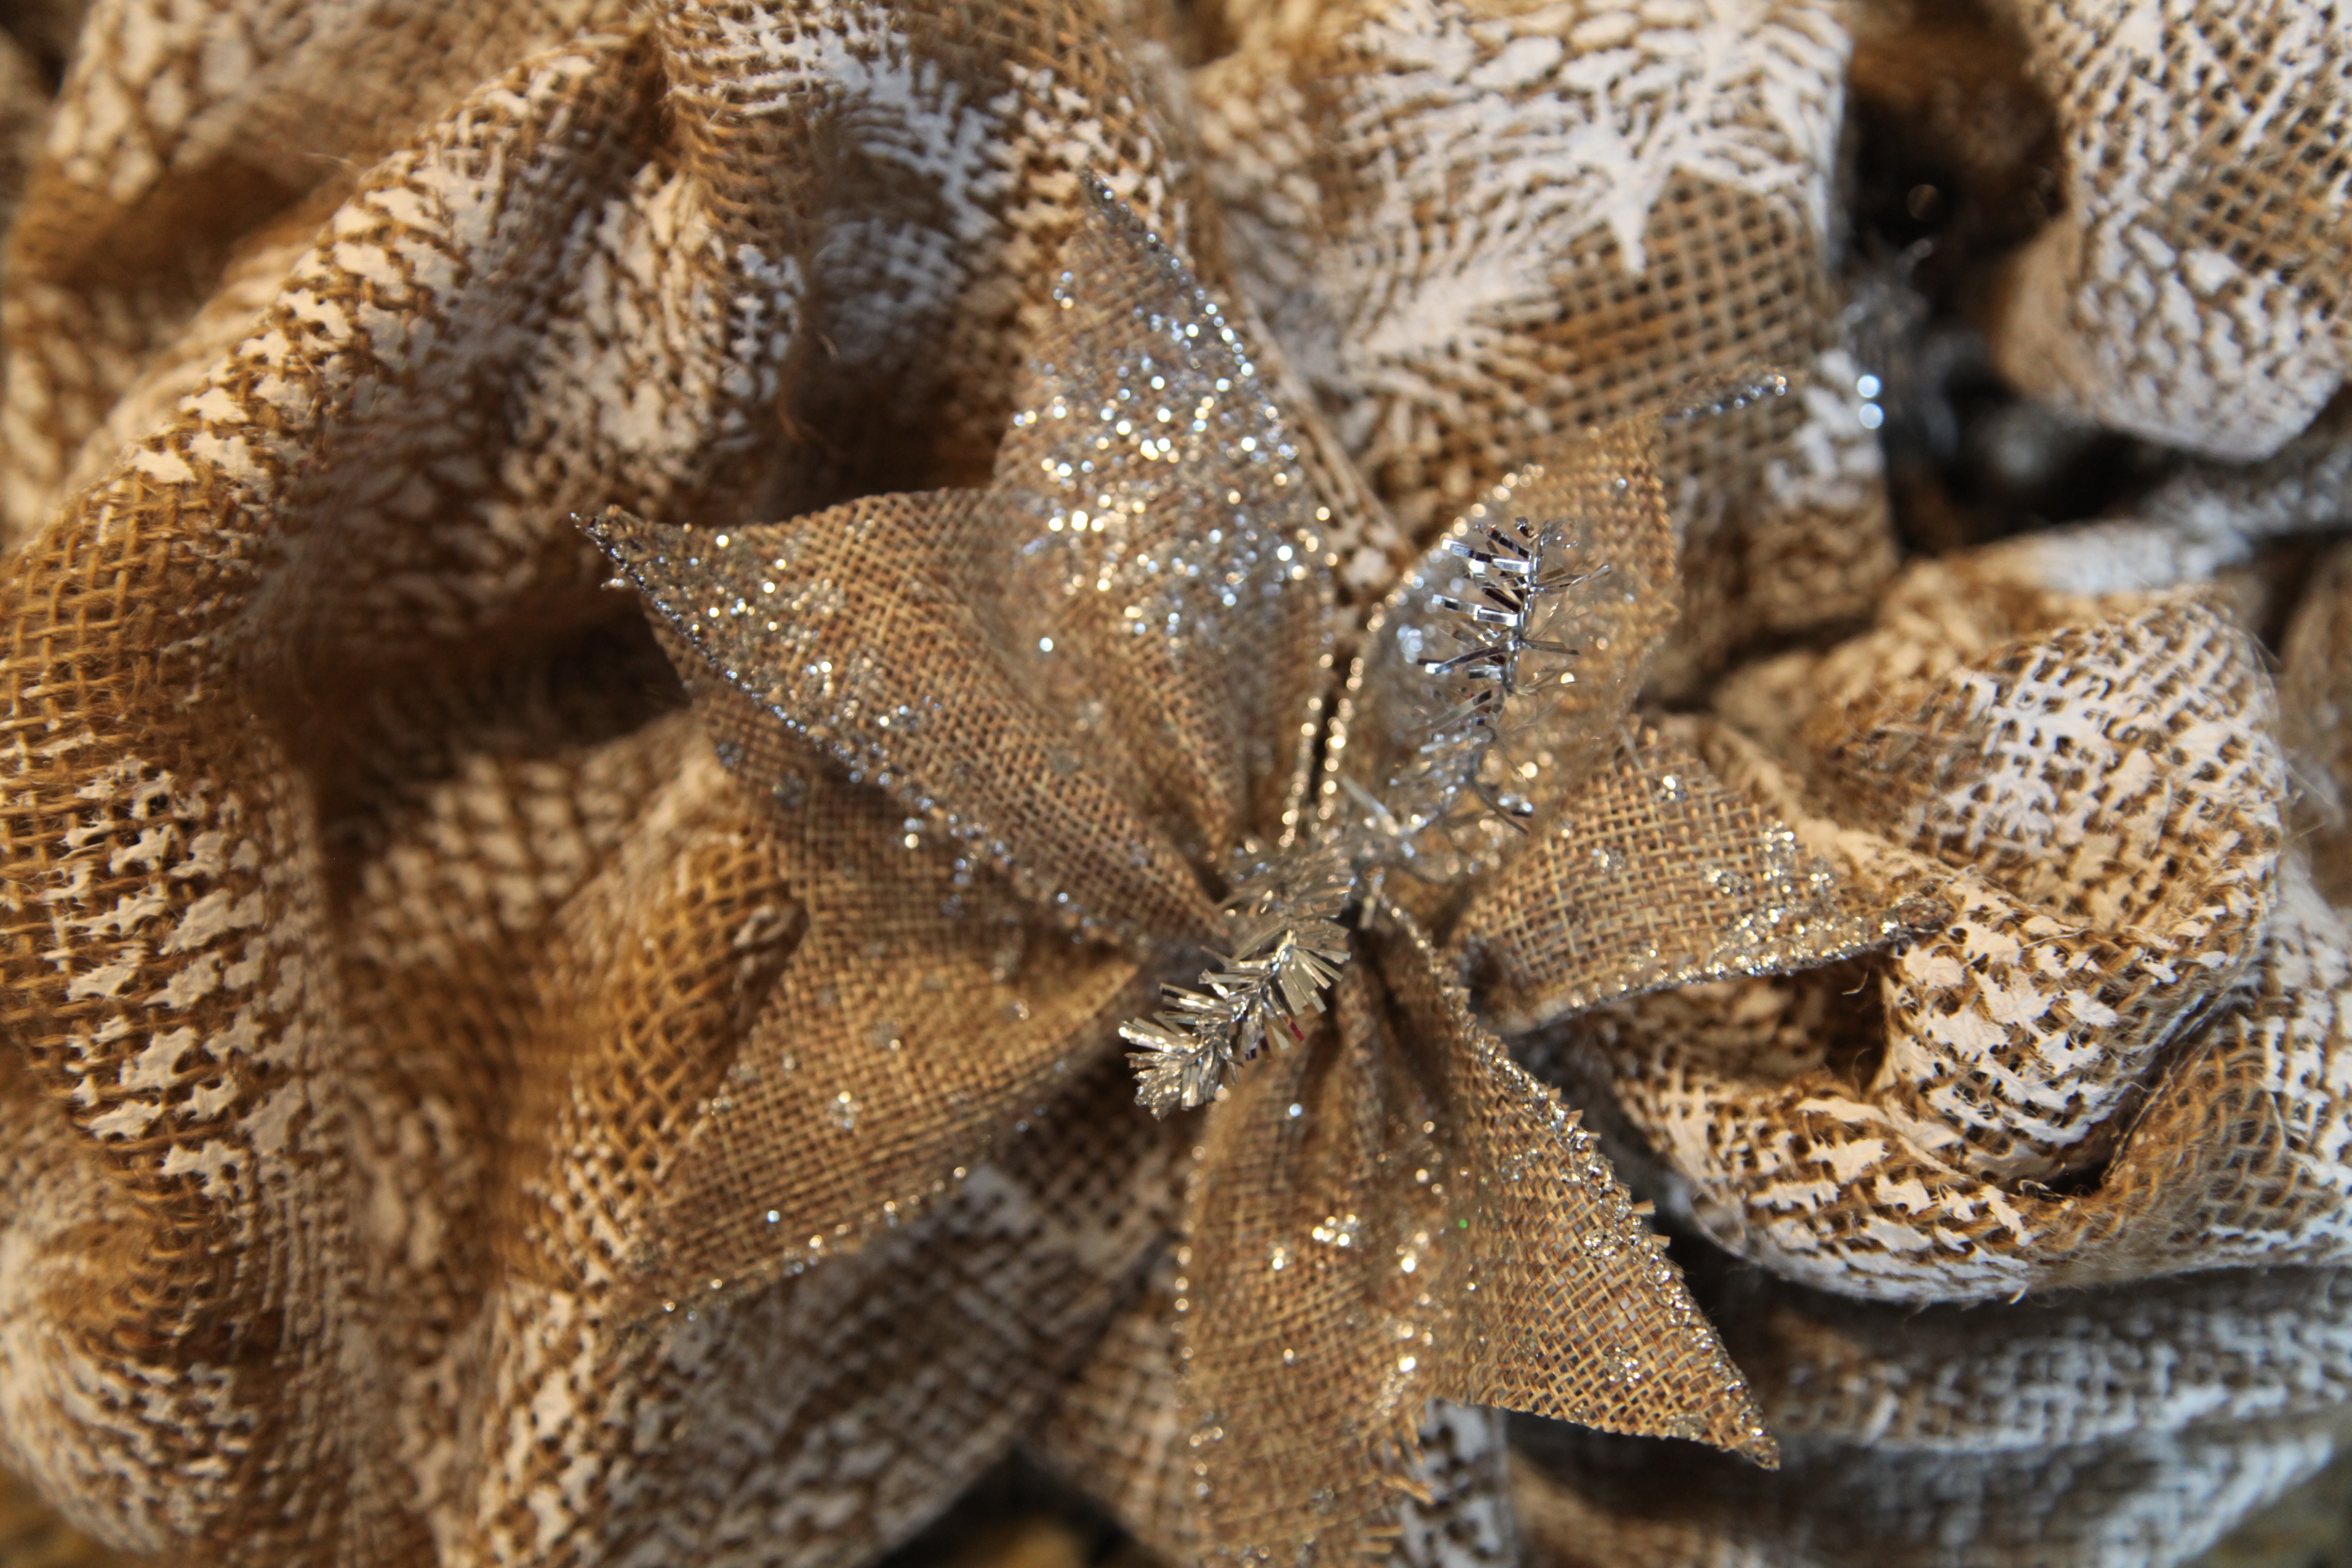
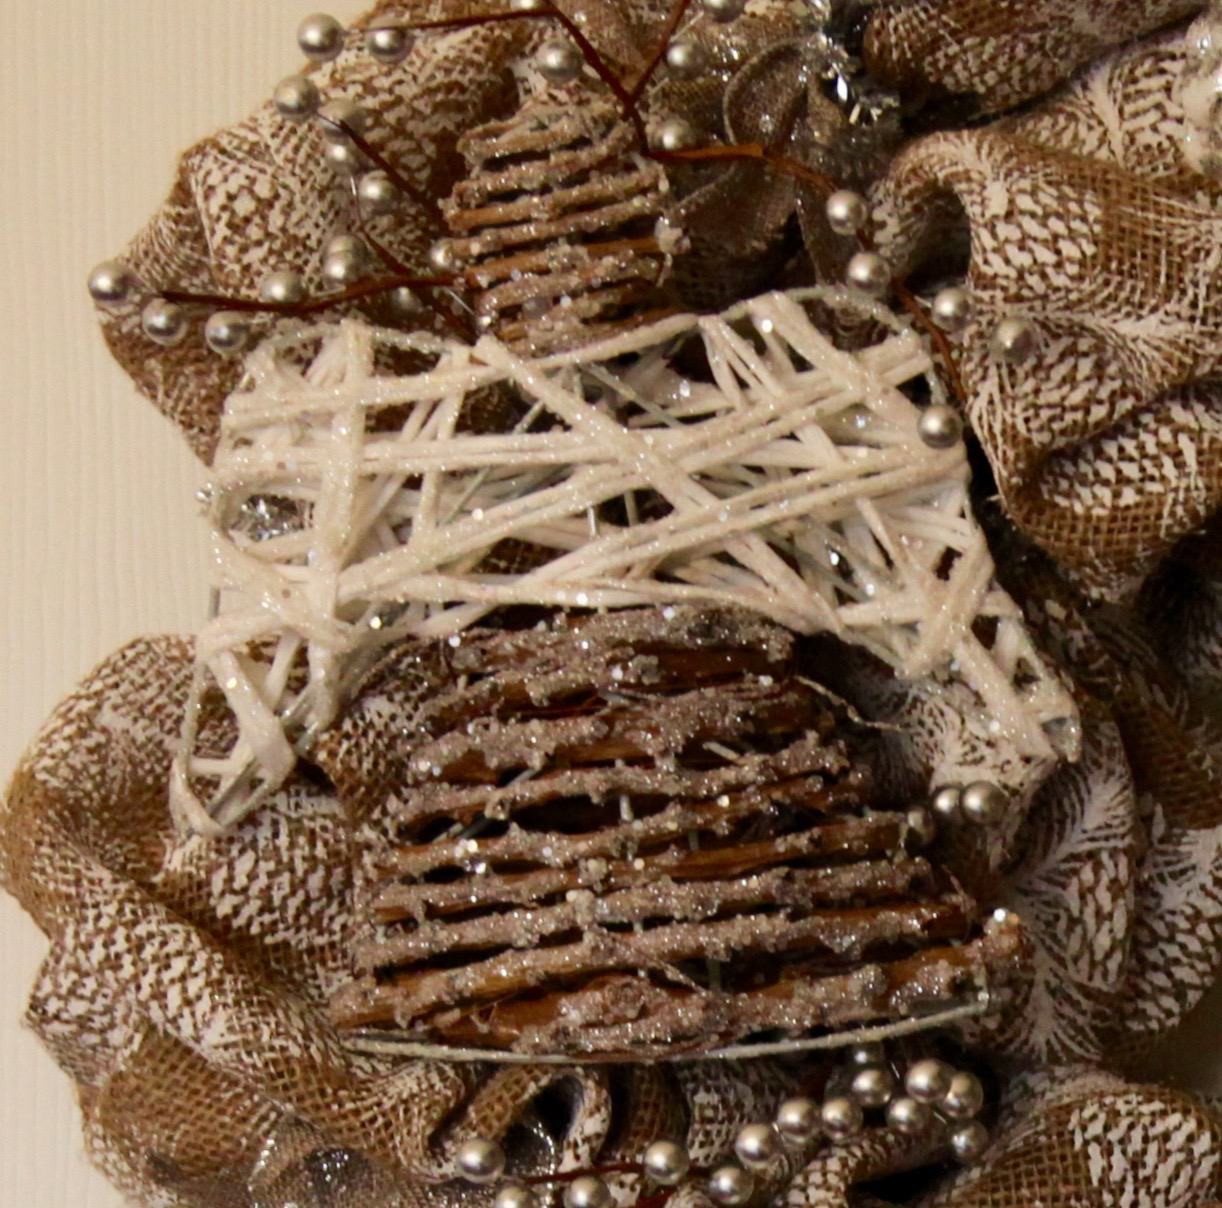
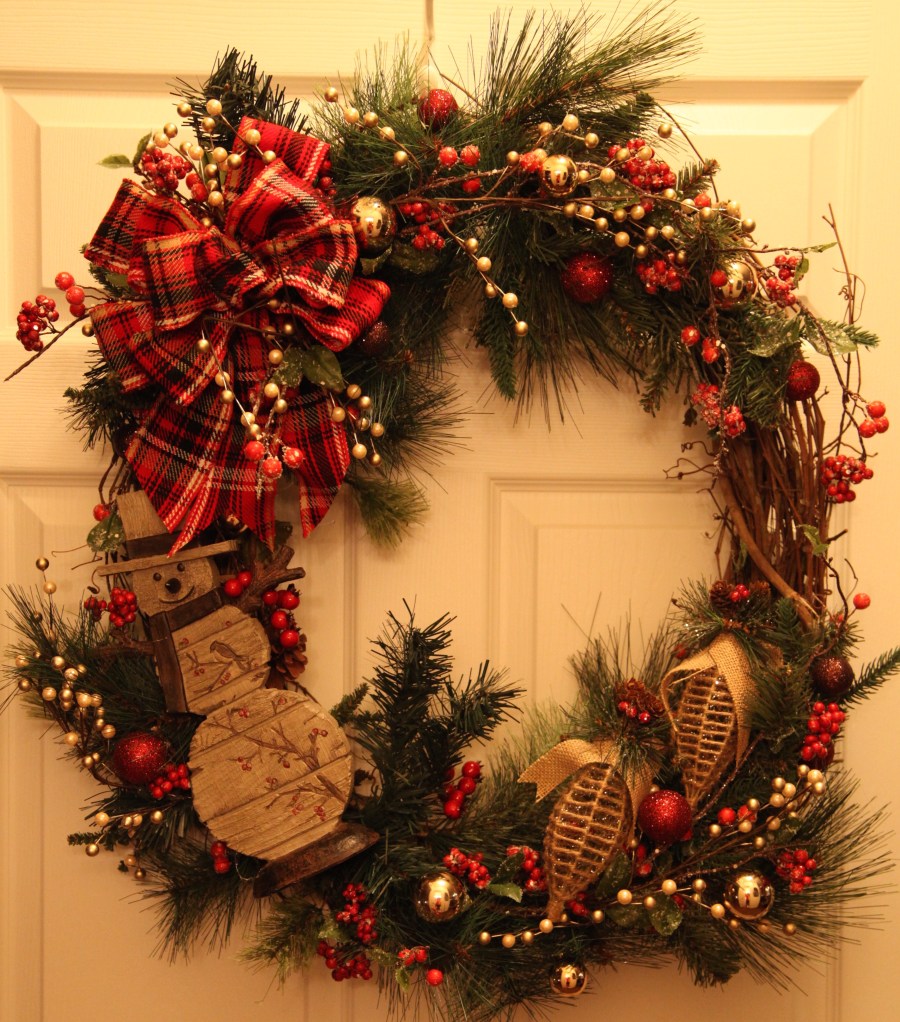
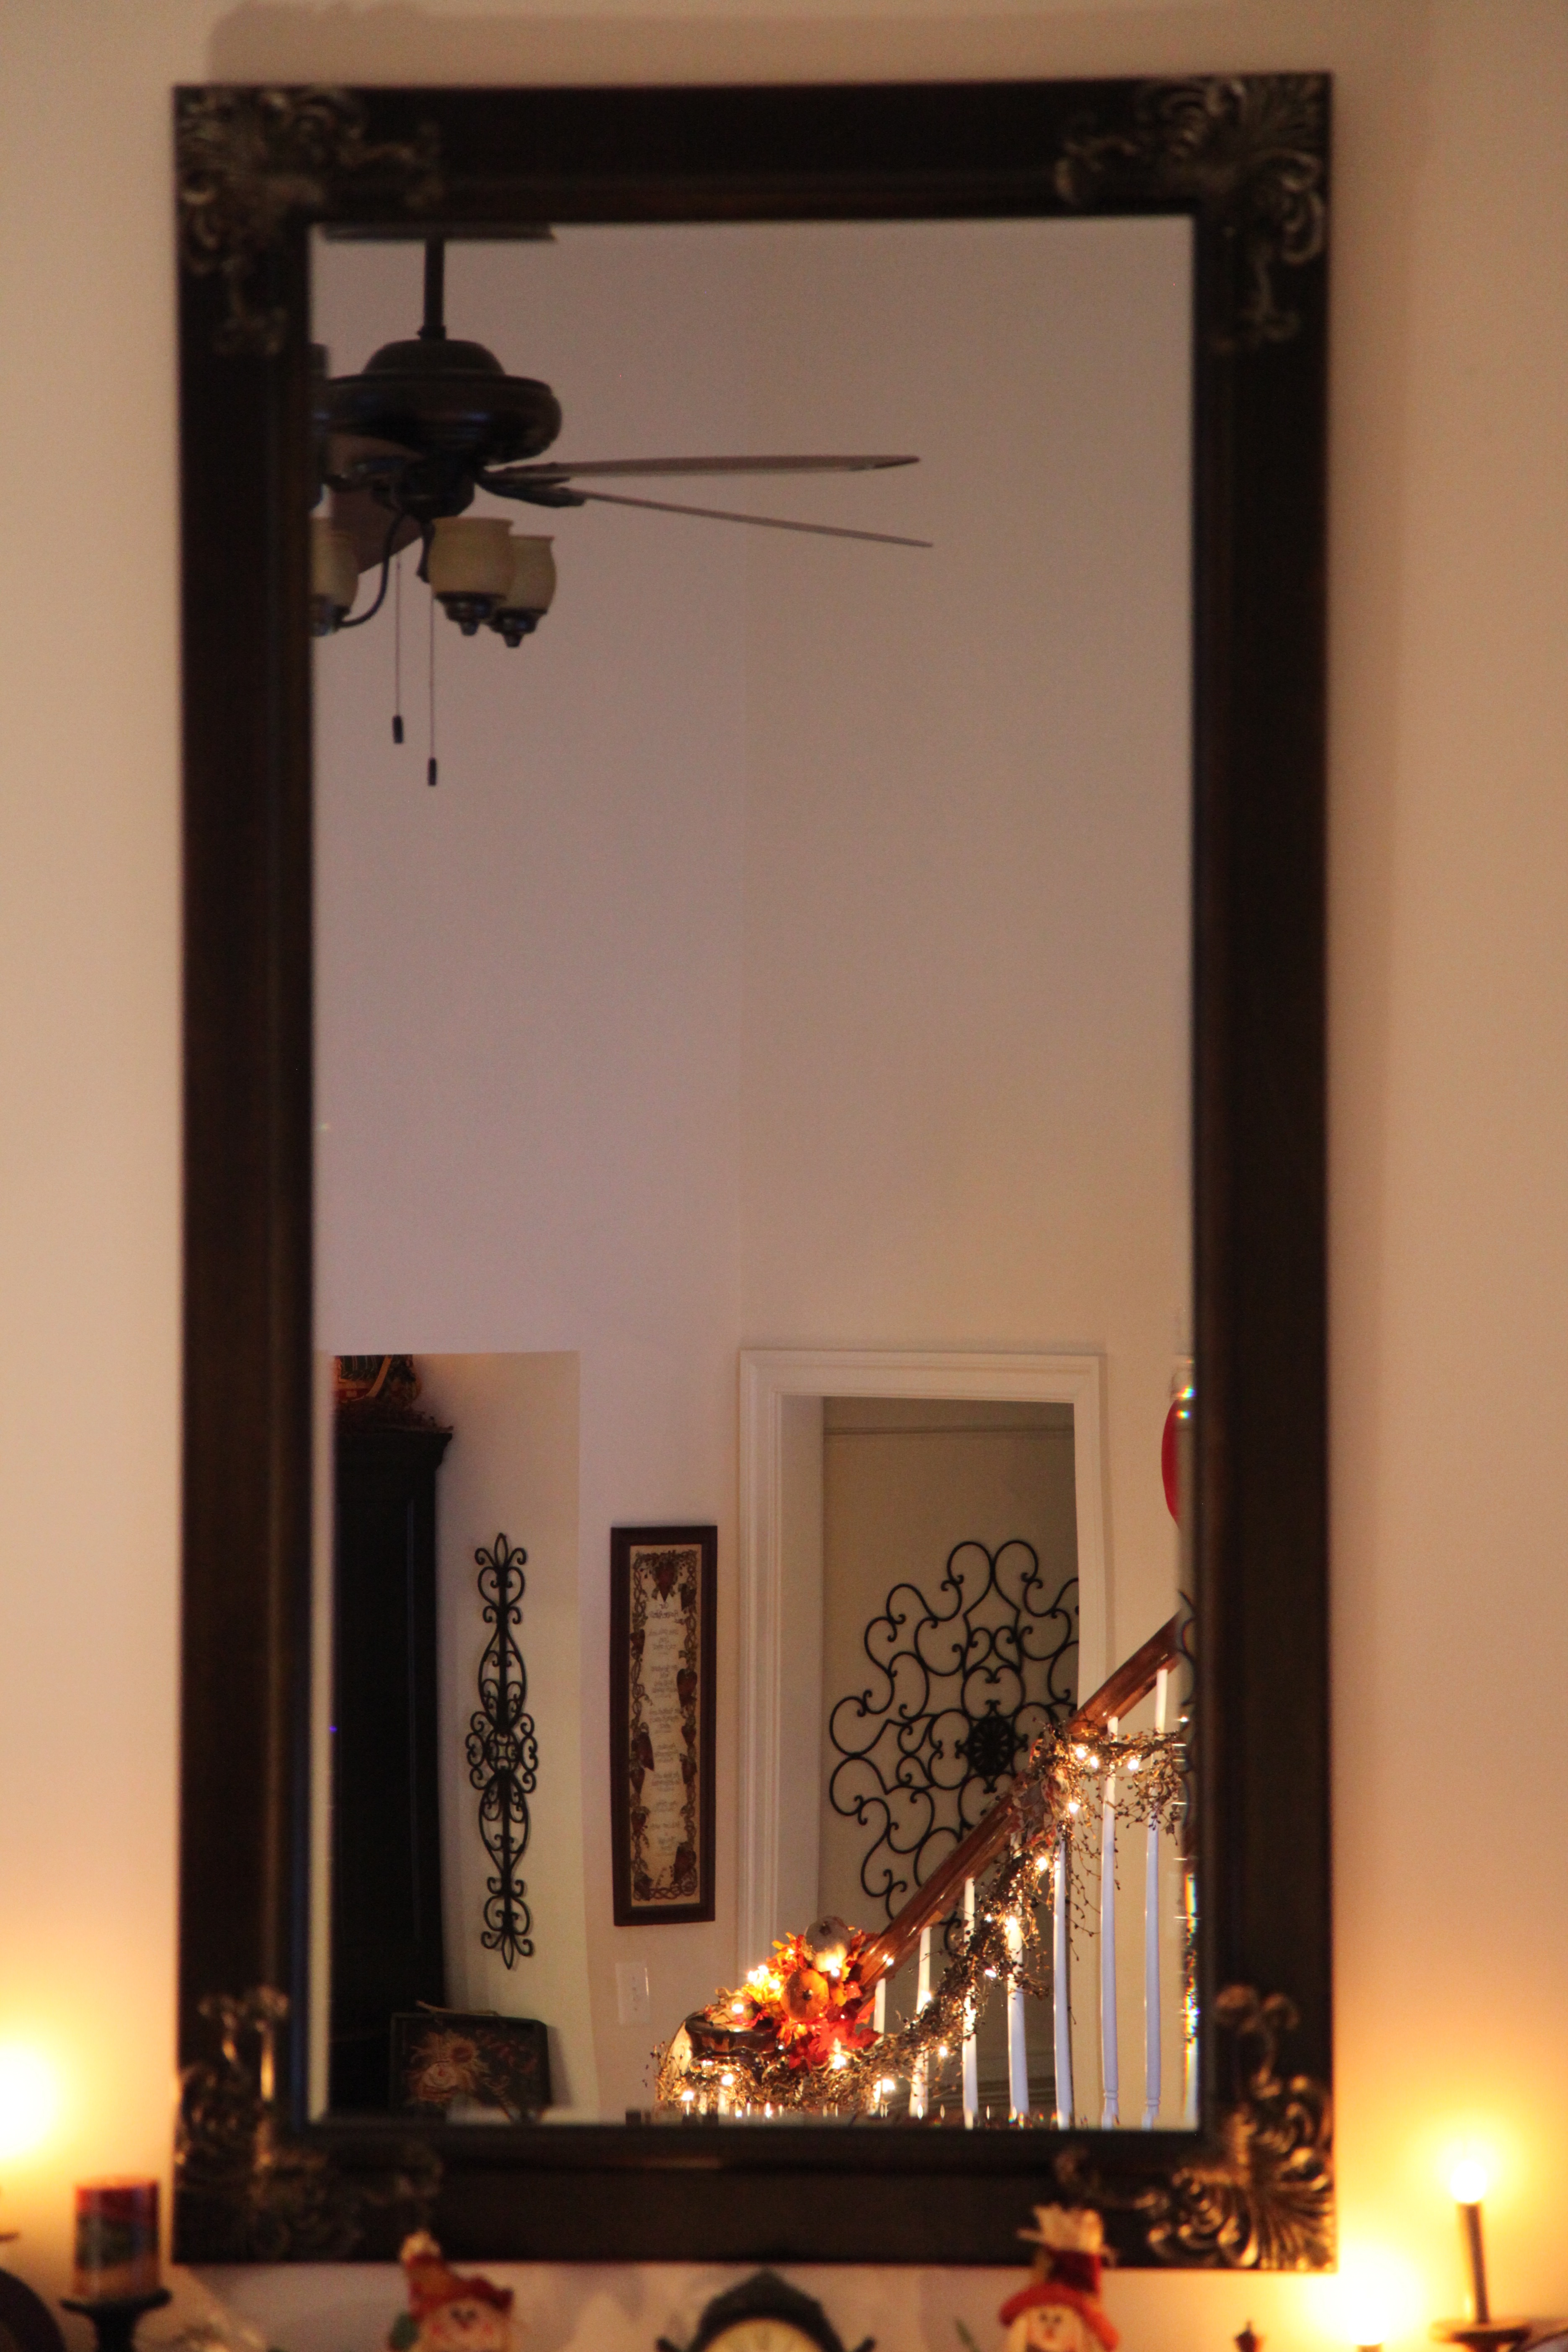
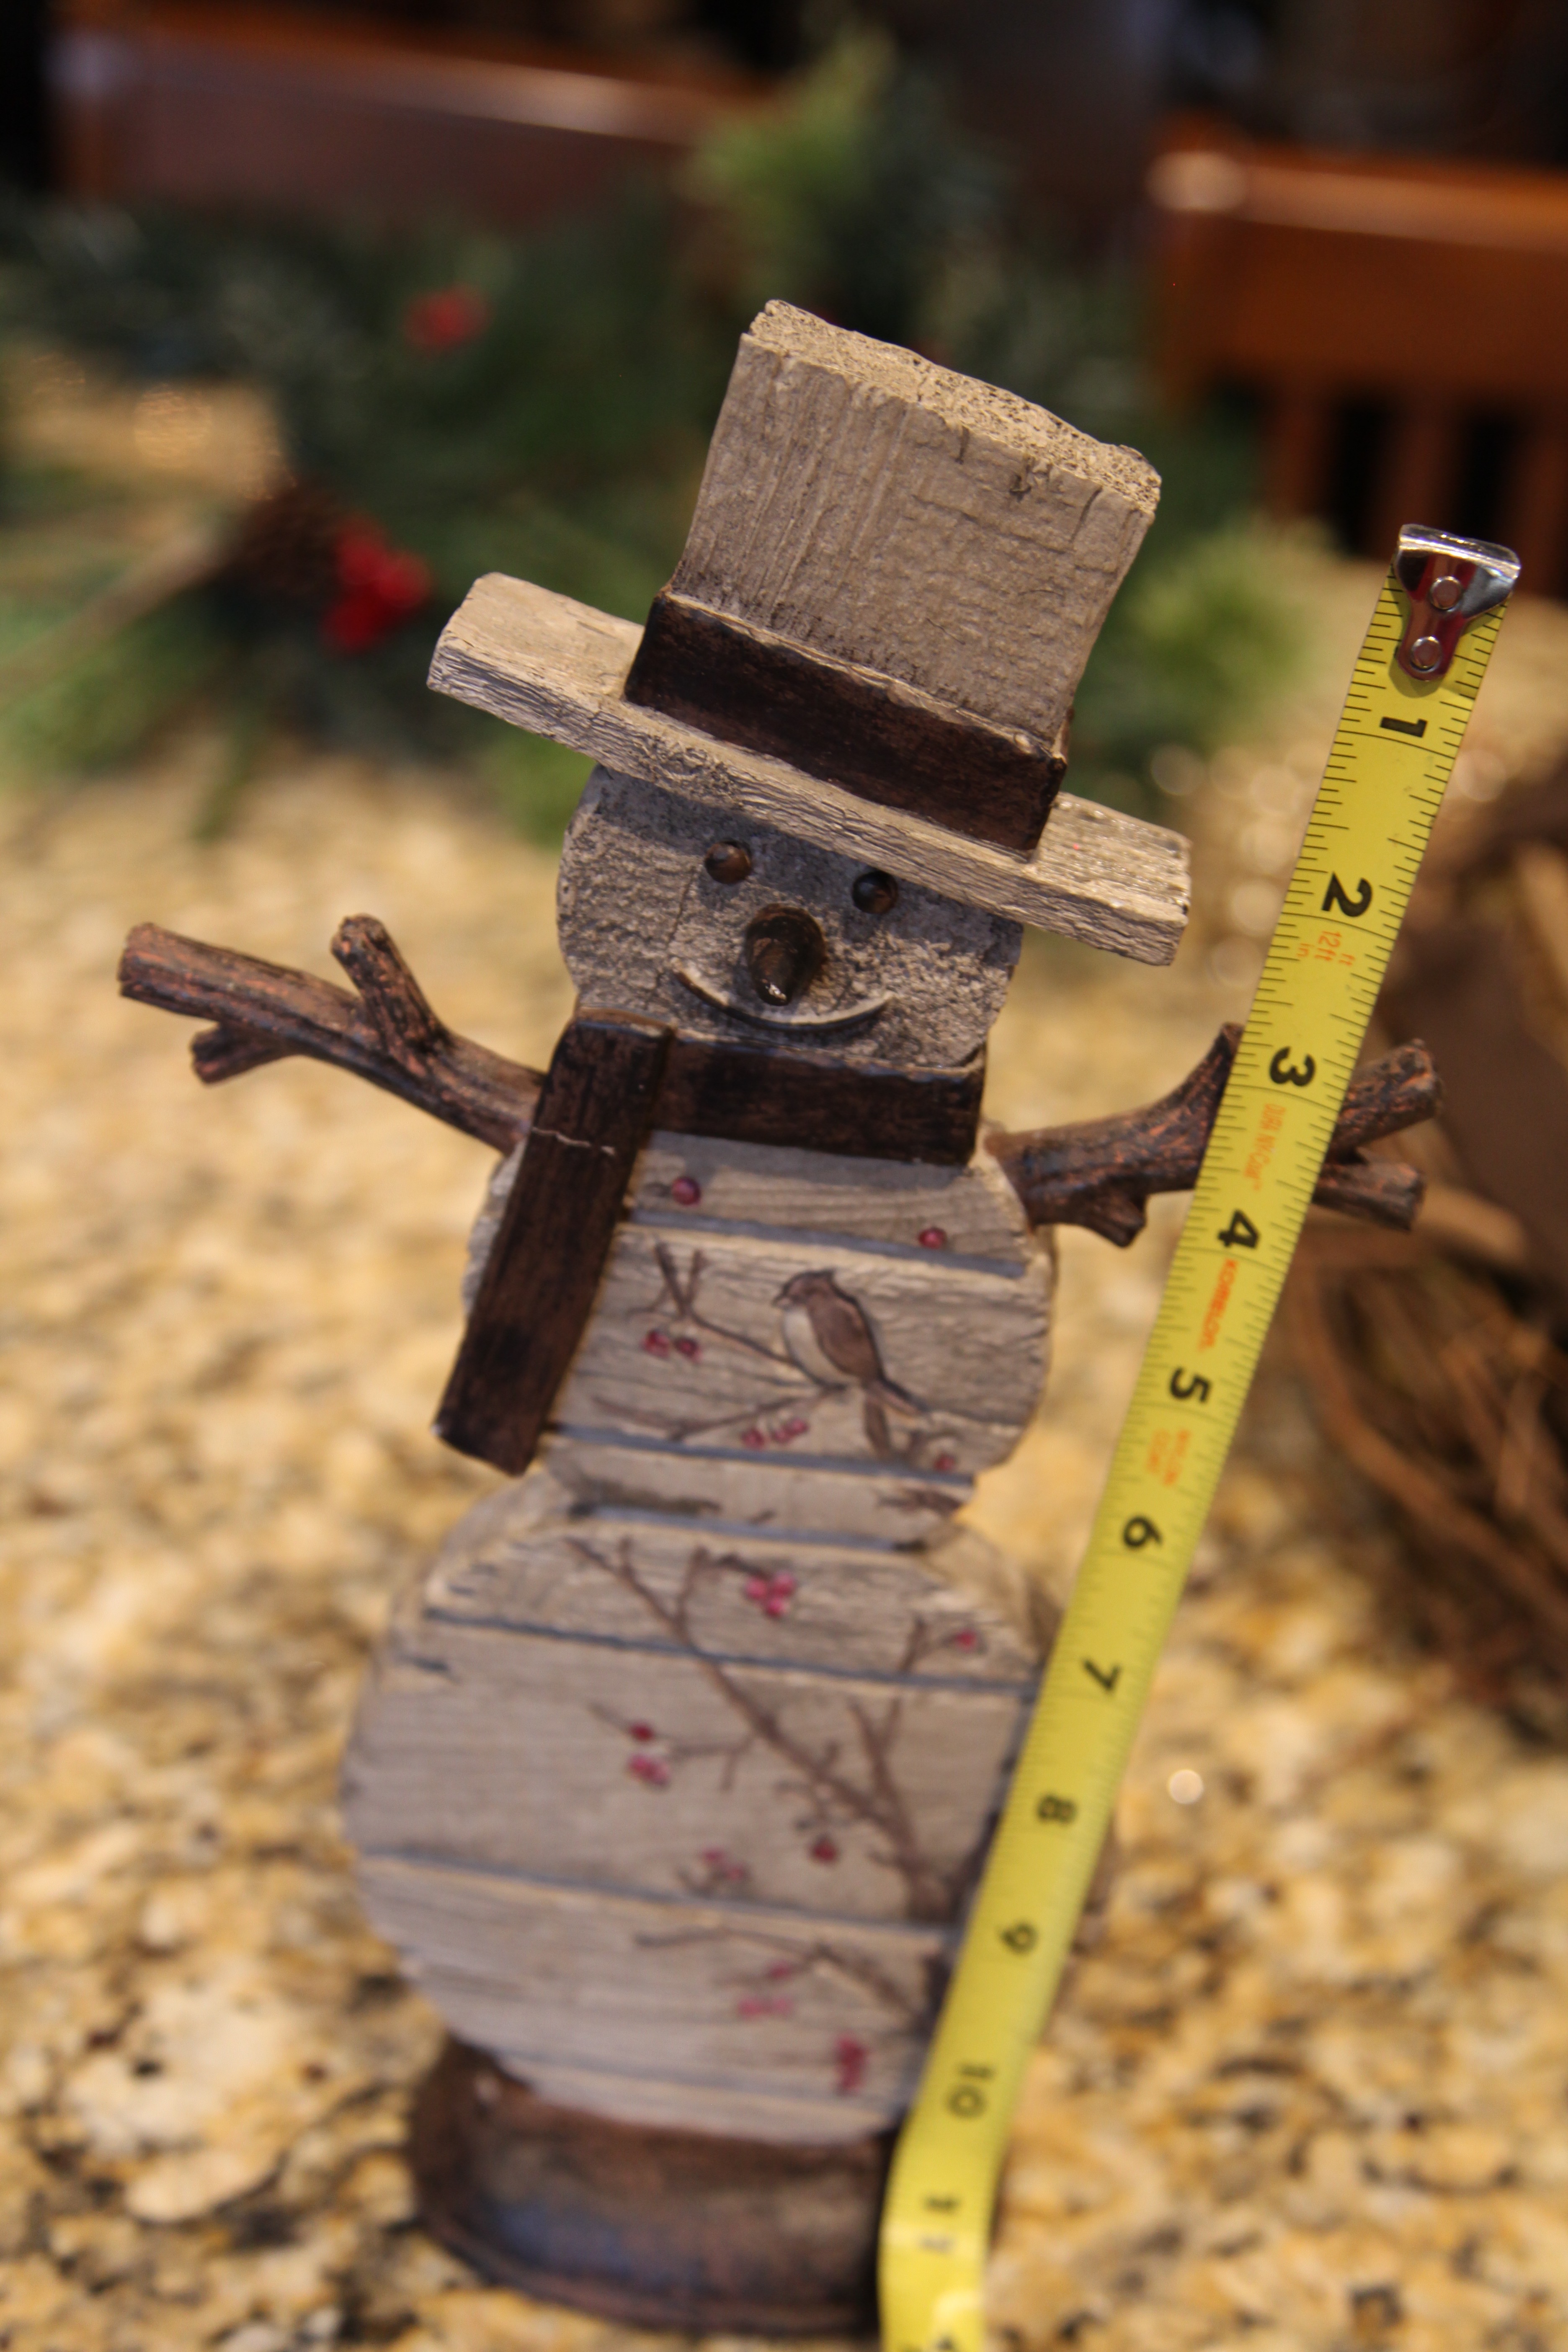
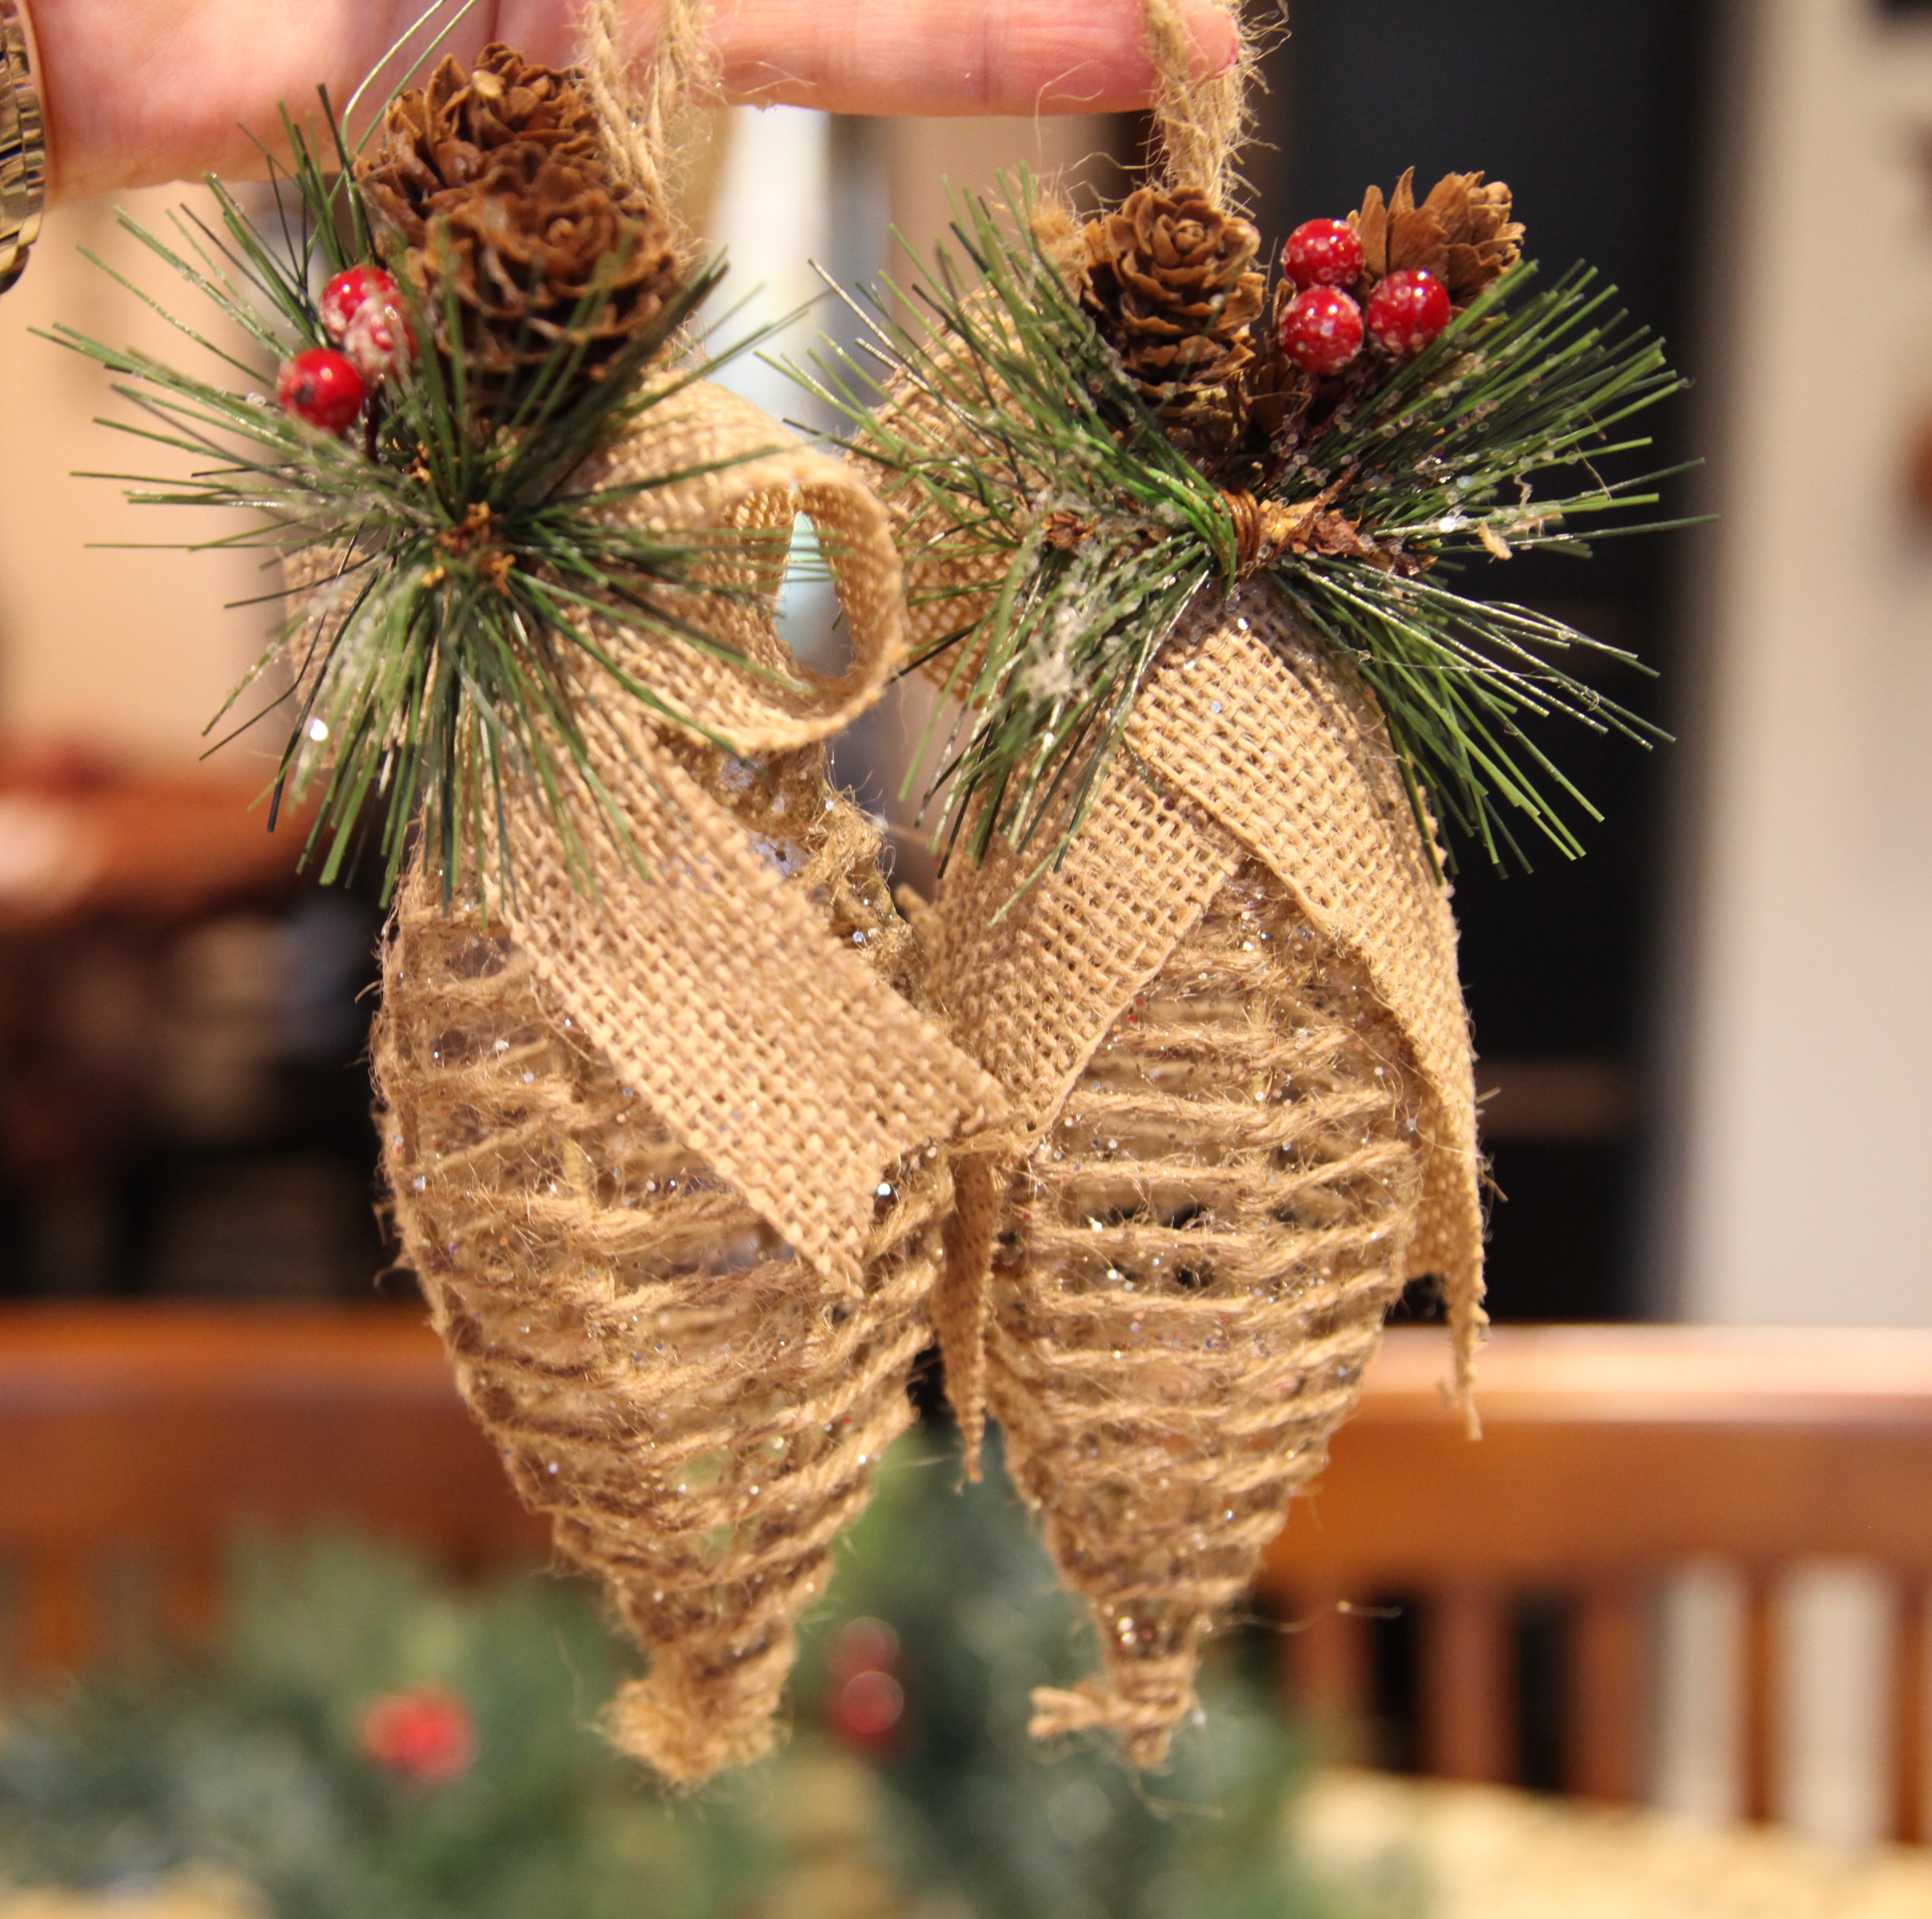
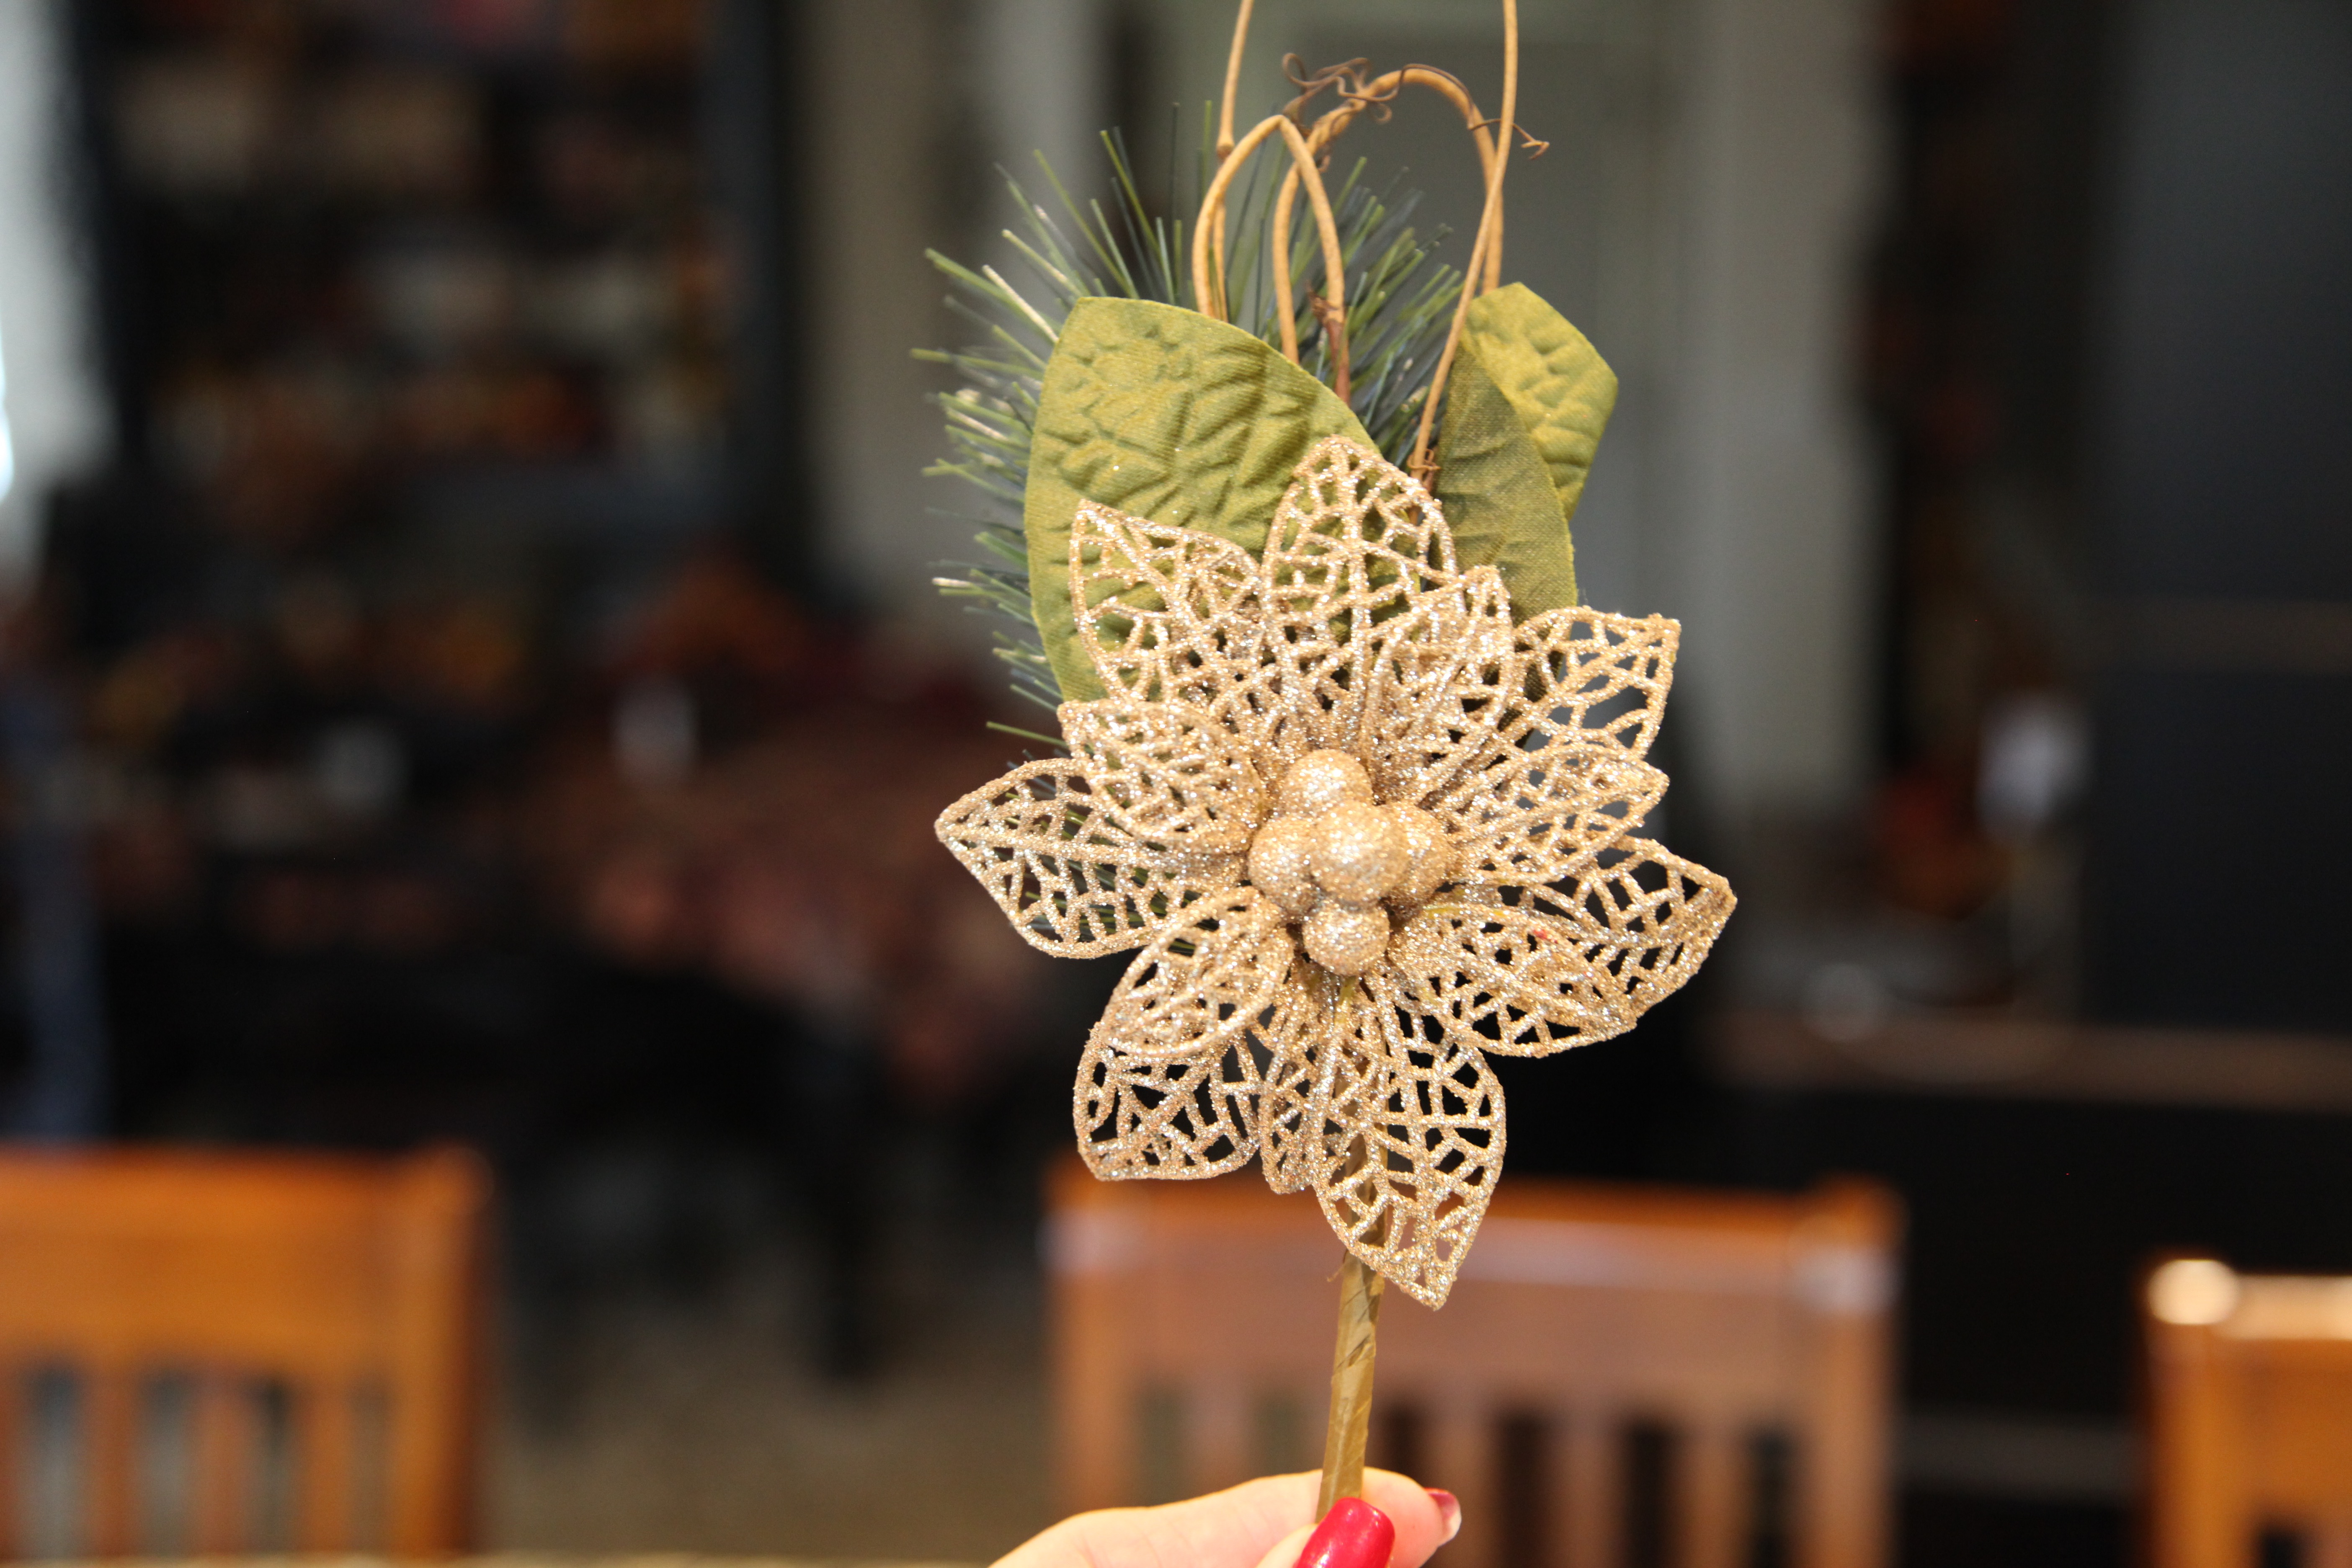
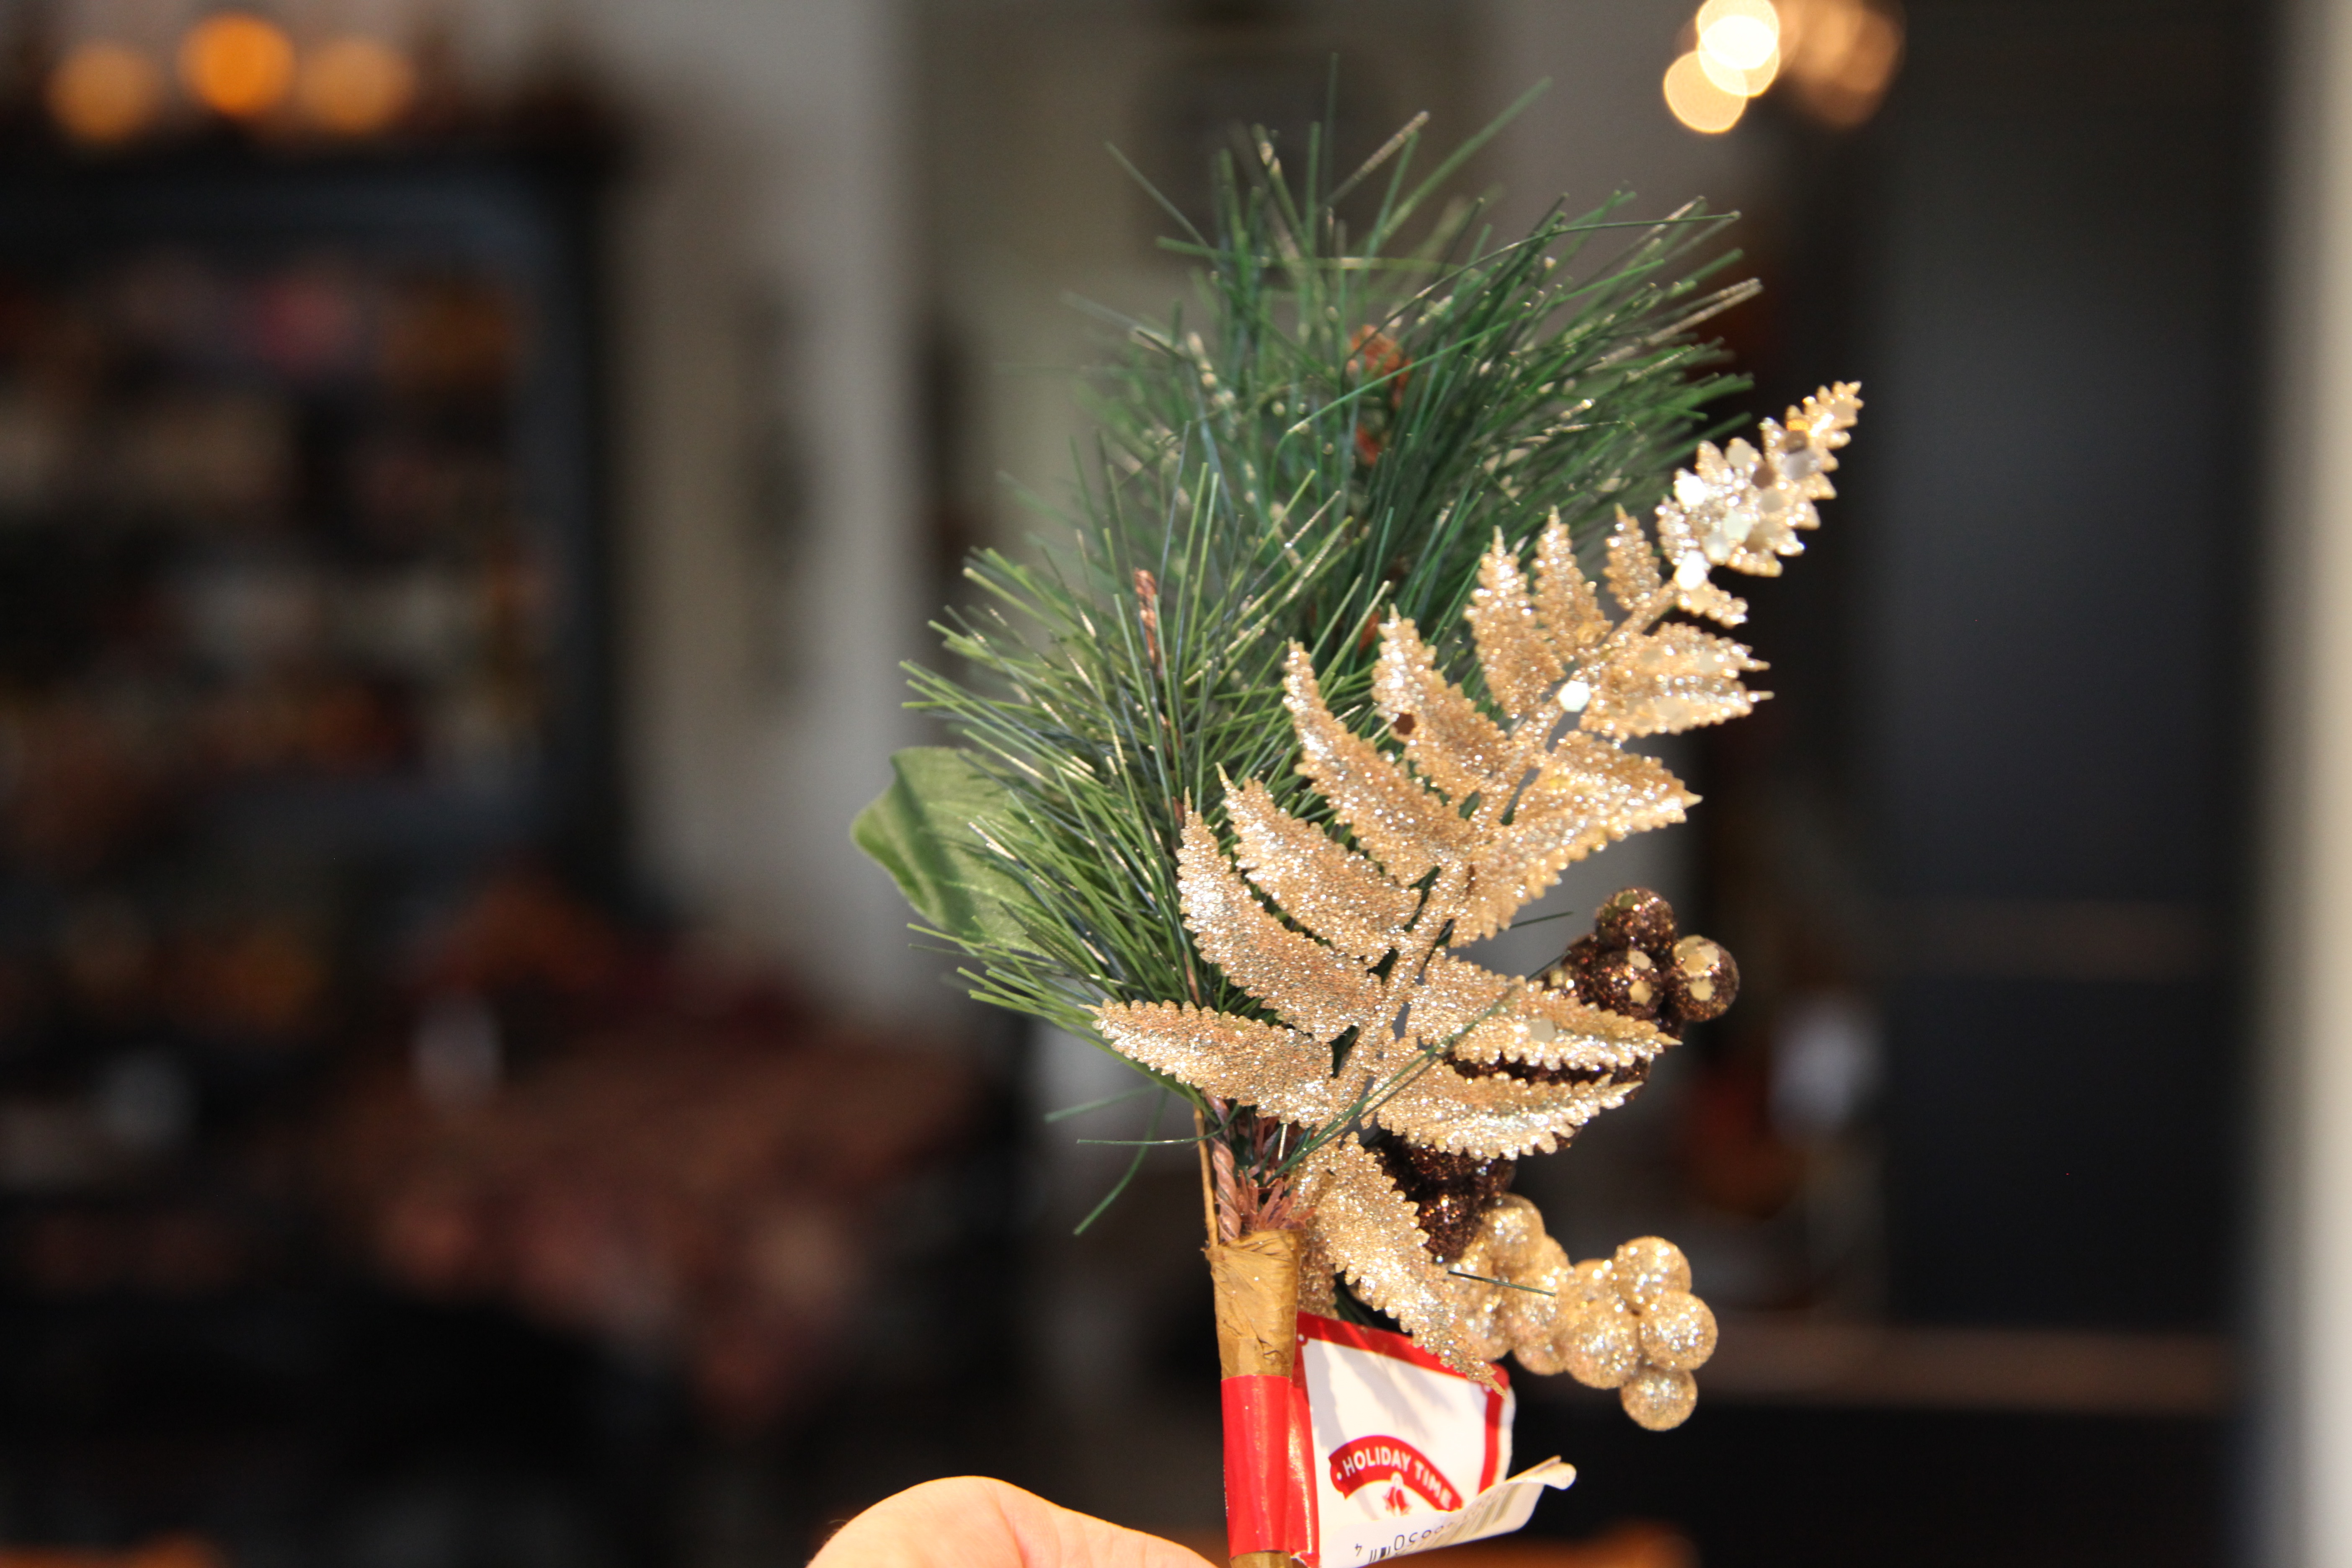
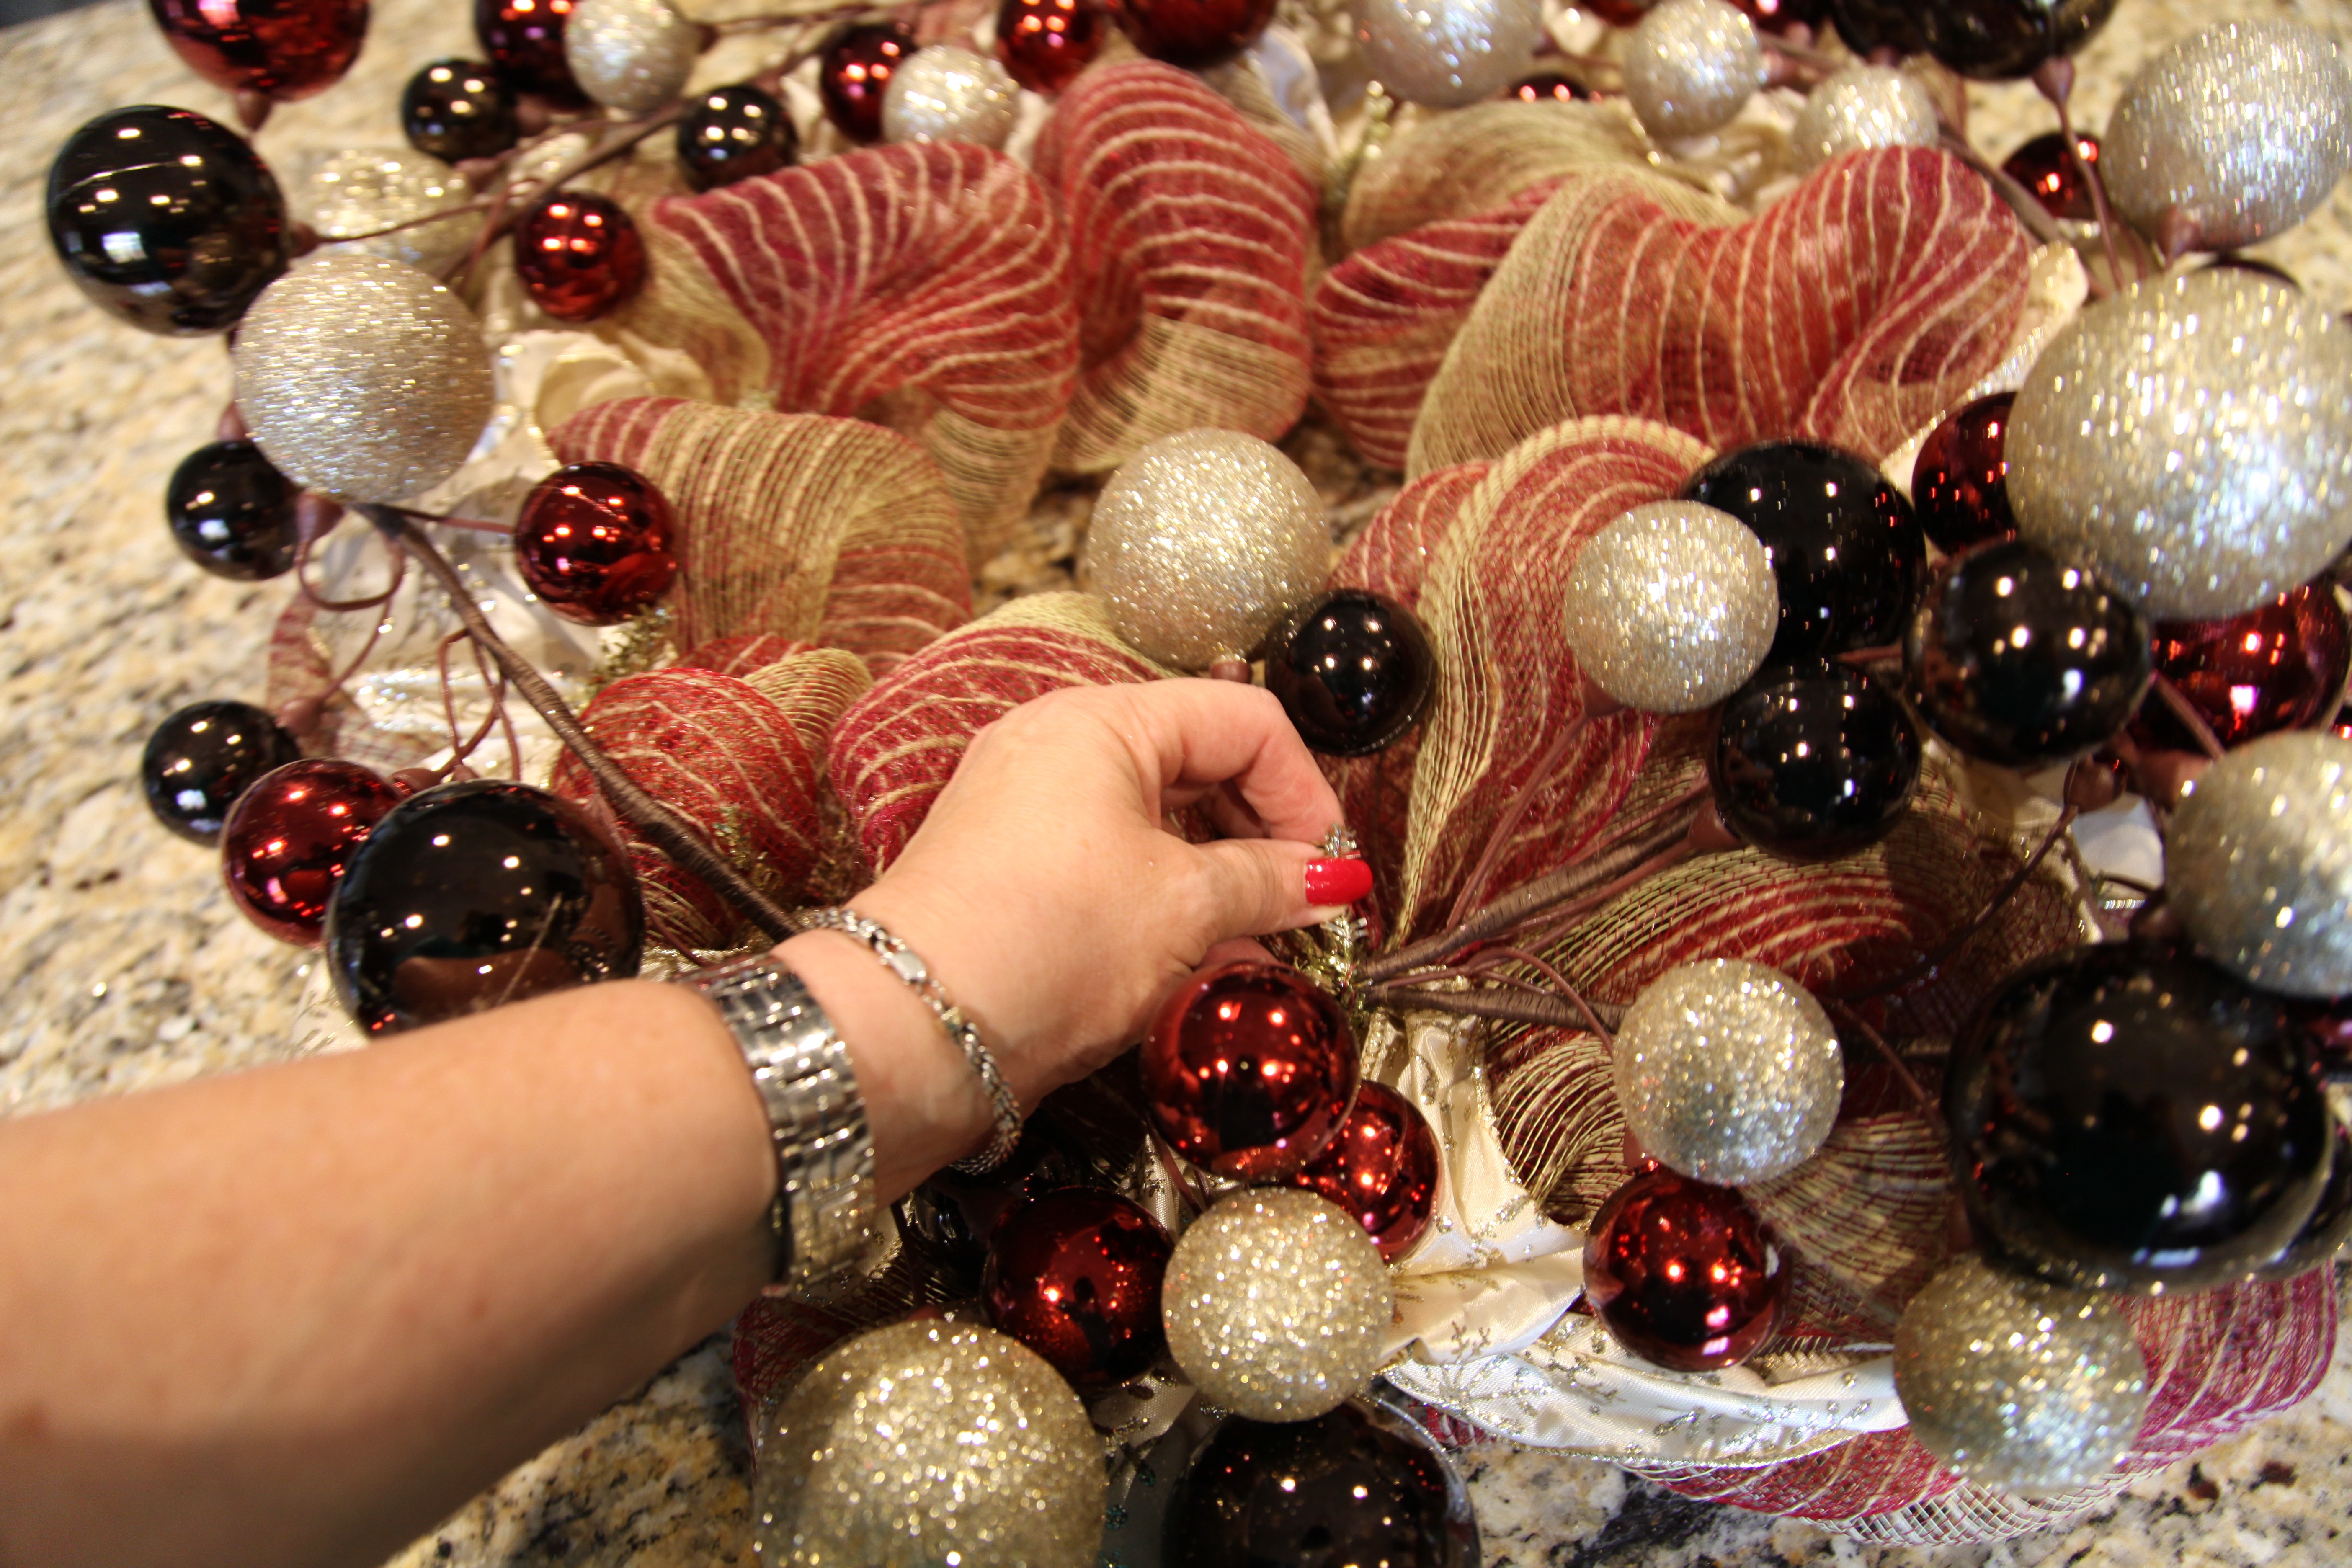
Working from back to front, which by the way is the way I create all my groupings, I wrapped that little rustic ladder with a small pip berry garland (I wrapped said garland with a 15 light strand).  I sat a little stuffed snowman on one of the rungs of the ladder, and sat that burlap tree in front of and beside the ladder.  See that grapevine angel in the back, well, I wanted her to stand up higher in the back to add interest, so I used a burgundy and cream colored country napkin and covered a box for her to stand upon. I made the lantern decor utilizing the ornament garland that I had left over from doing the Staircase & Ornament Garland and adding a few Christmas ornaments for interest.  I added a couple of snowmen, one burlap fella on the left and a wooden one that is just like the one that is up on the wreath on the mirror, and a couple of glittering reindeer.

IMG_2414

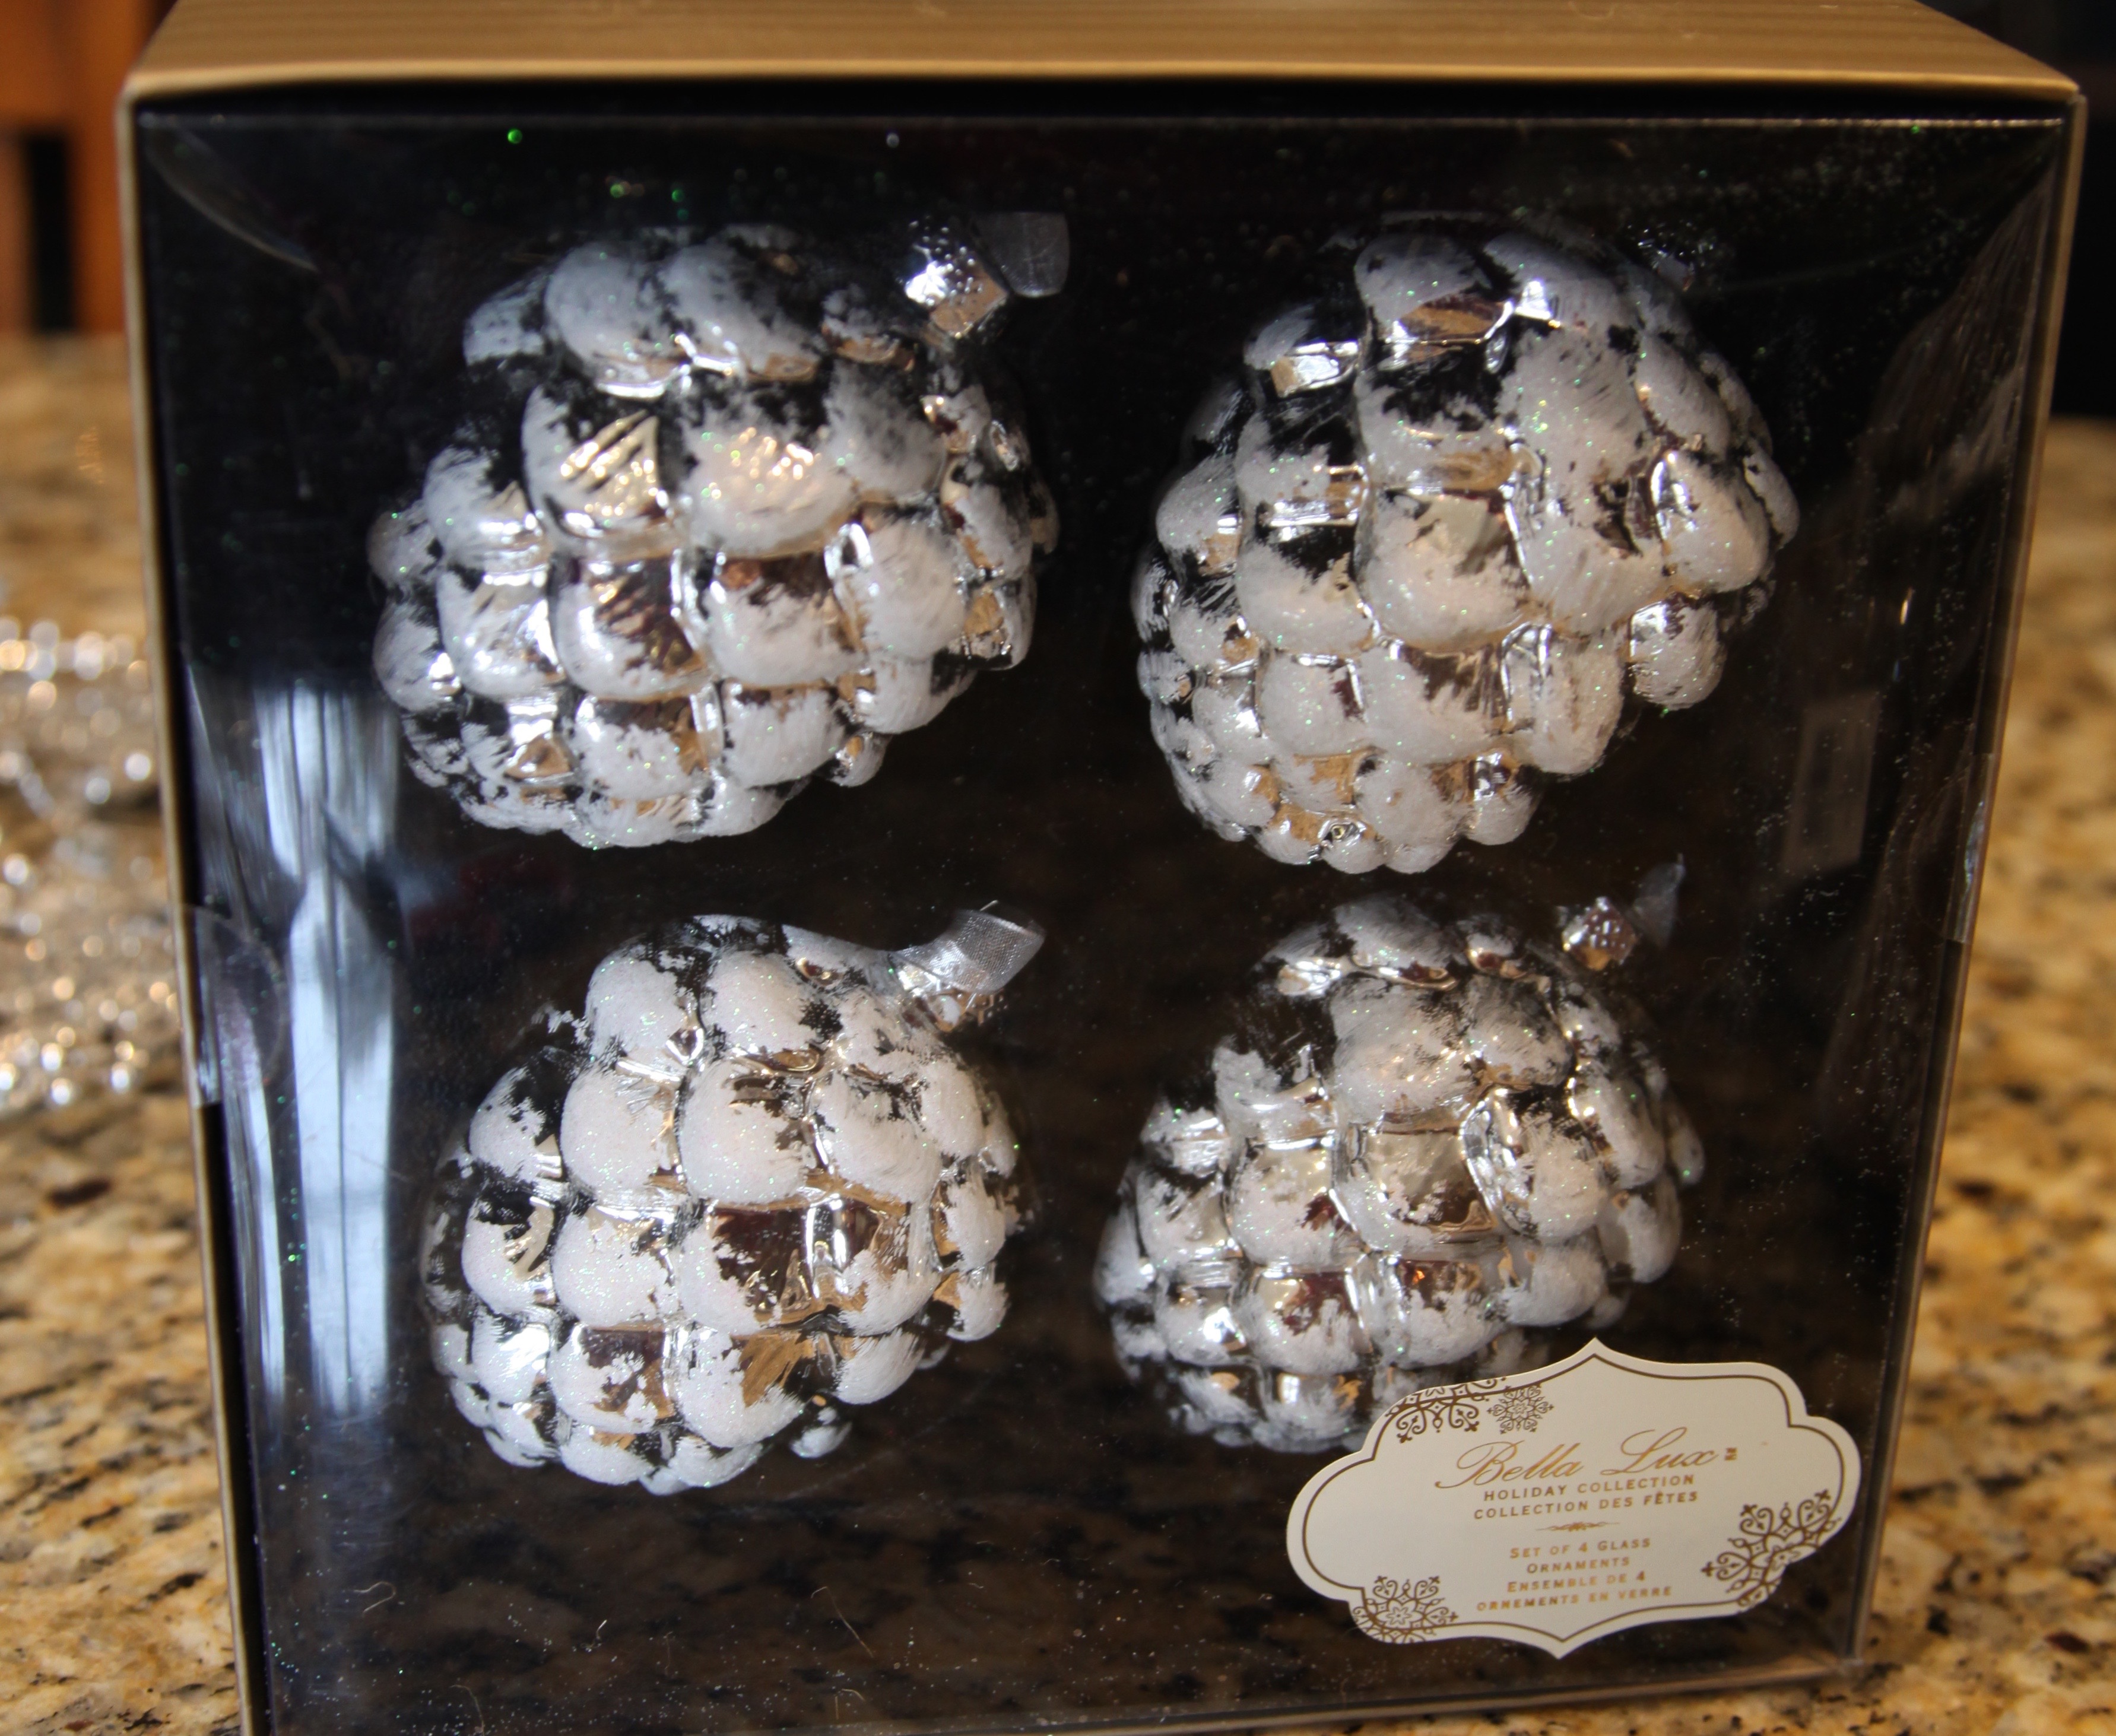
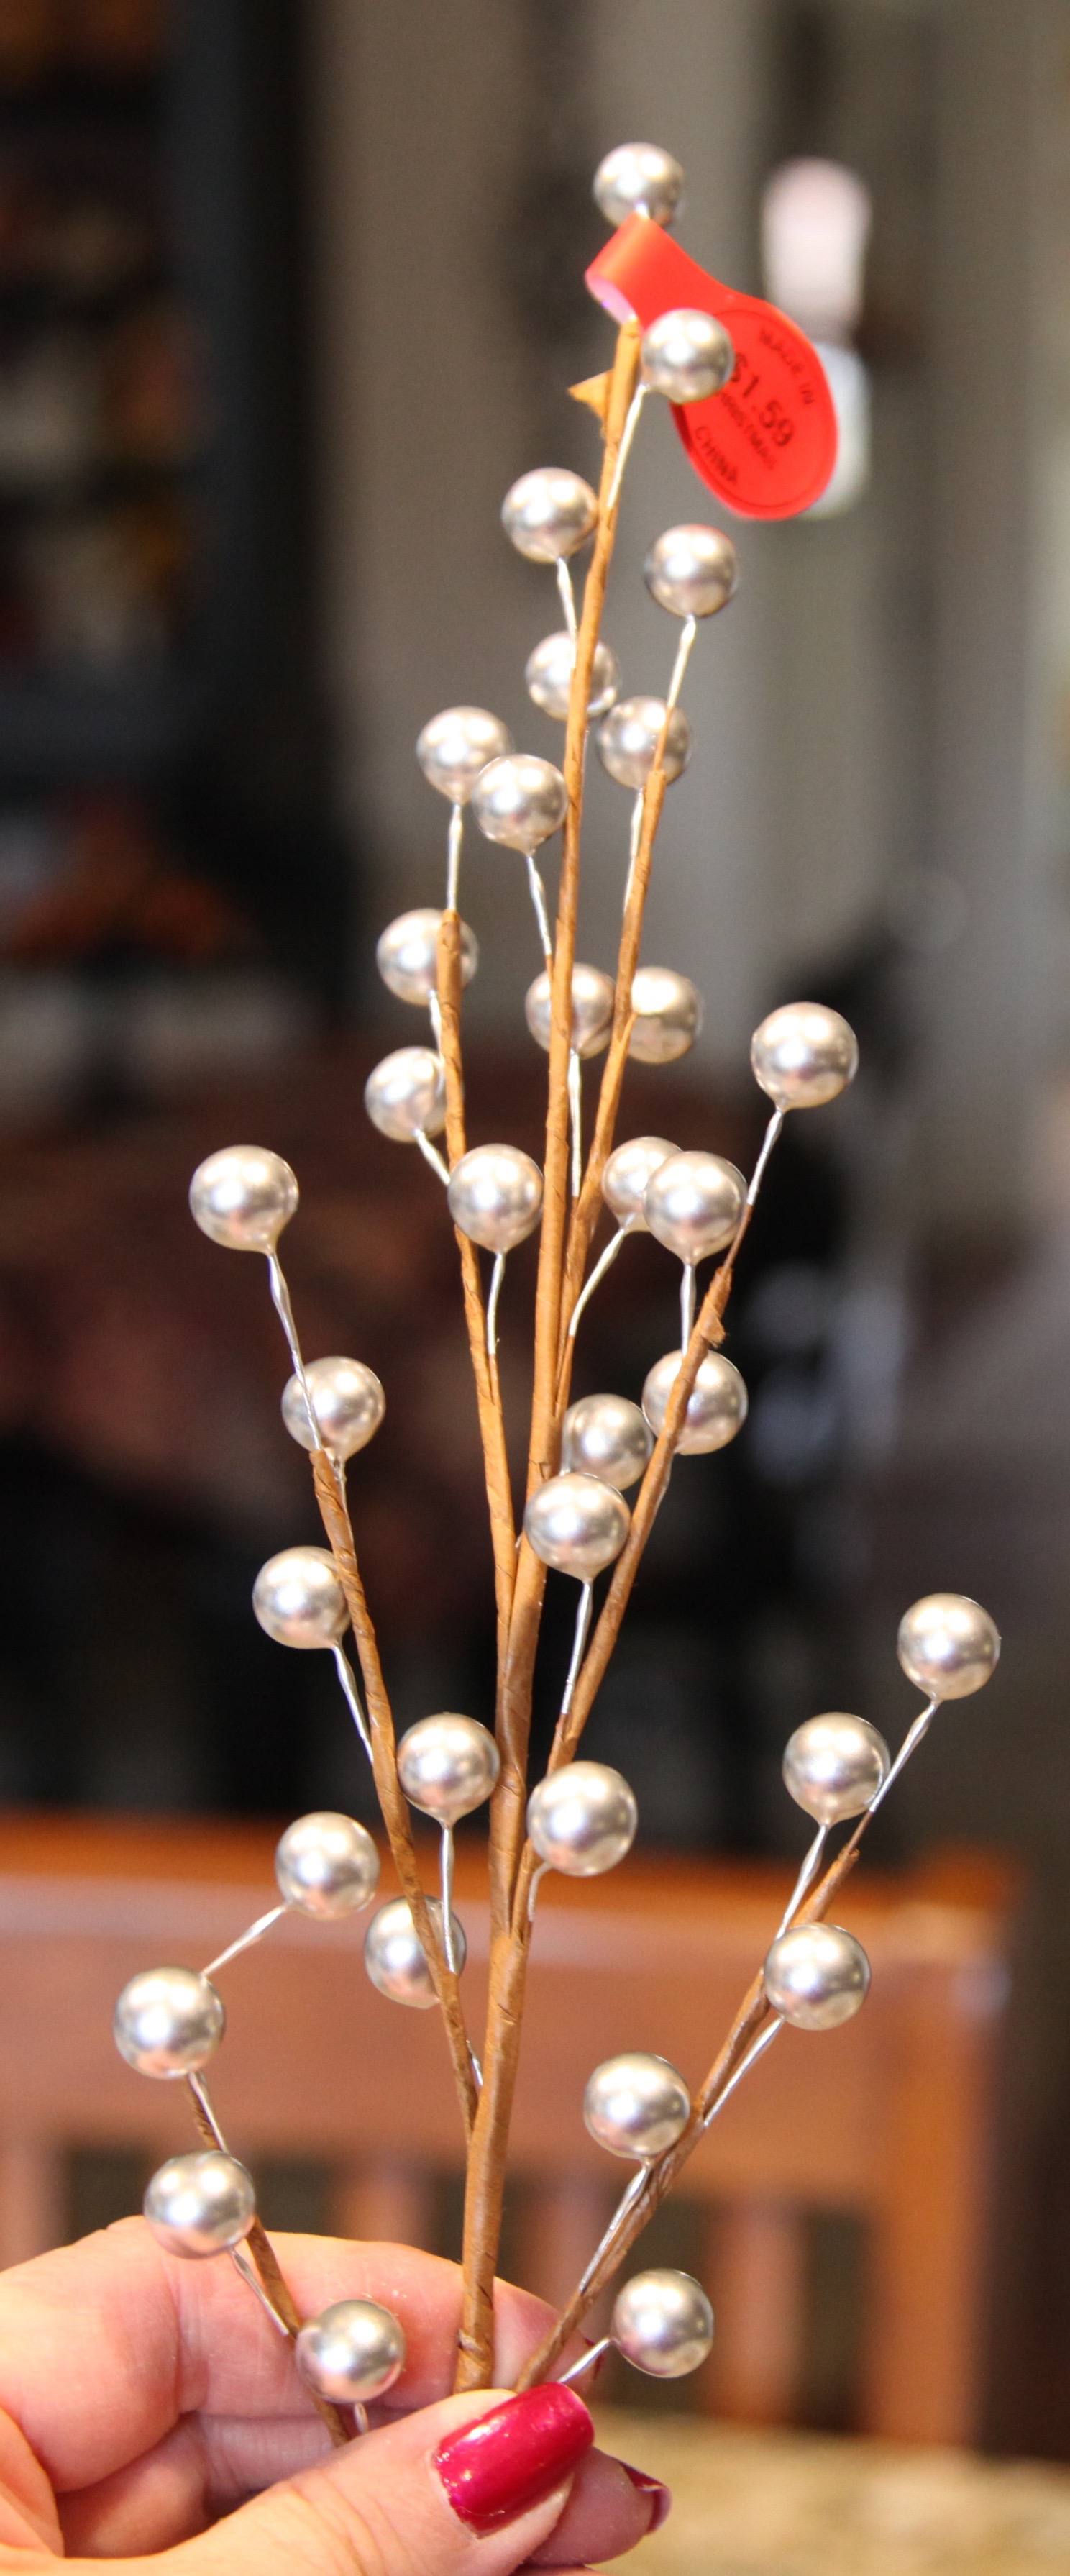
Here is the right hand side of the hearth, I made the crock decor simply by filling it up with “filler” <~~~whatever I can find that will take up room like an old towel, then I  added a pip berry garland wrapped up in a bunch and stuck that on top. I took another pip berry garland and wrapped it around another rustic ladder.  I then added Willow Twig Garland mini lights around the ladder garland, and then placed the remaining lights into the top of the crock on top of the pip berry garland. I stuck a big metal star in at an angle, added some gold berry beads and a snowman on the crock and another up on the ladder and called it done. 🙂 Again, I built the rest of the grouping from the back to the front, tallest to shortest adding the burgundy candle stick and candle, angel, another wooden snowman that matches the one in the wreath on the mirror. I scattered cream colored metal stars around the entire hearth to help to pull everything together.

I am in love with the finished project and am quite pleased that it all came together so nicely.  I have to give some credit to my sweet cousin Stacey who was right there via text helping me choose accent pieces for the mantel while I was wandering around Hobby Lobby.  She has a great eye and she was very patient with me; I wanted to mix the fancy gold mercury glass candle holders with more woodland type accents and trust me, several options were picked up and put in my cart and then taken back out and replaced with other accents.  Eventually, this design came to fruition and I’m quite satisfied and happy with the result. 🙂

Daytime View:

IMG_2443 (1) IMG_2444

Nighttime View:IMG_2442 IMG_2441

And now, I continue on around the family room with my Christmas decorating…stay tuned…;) 🙂

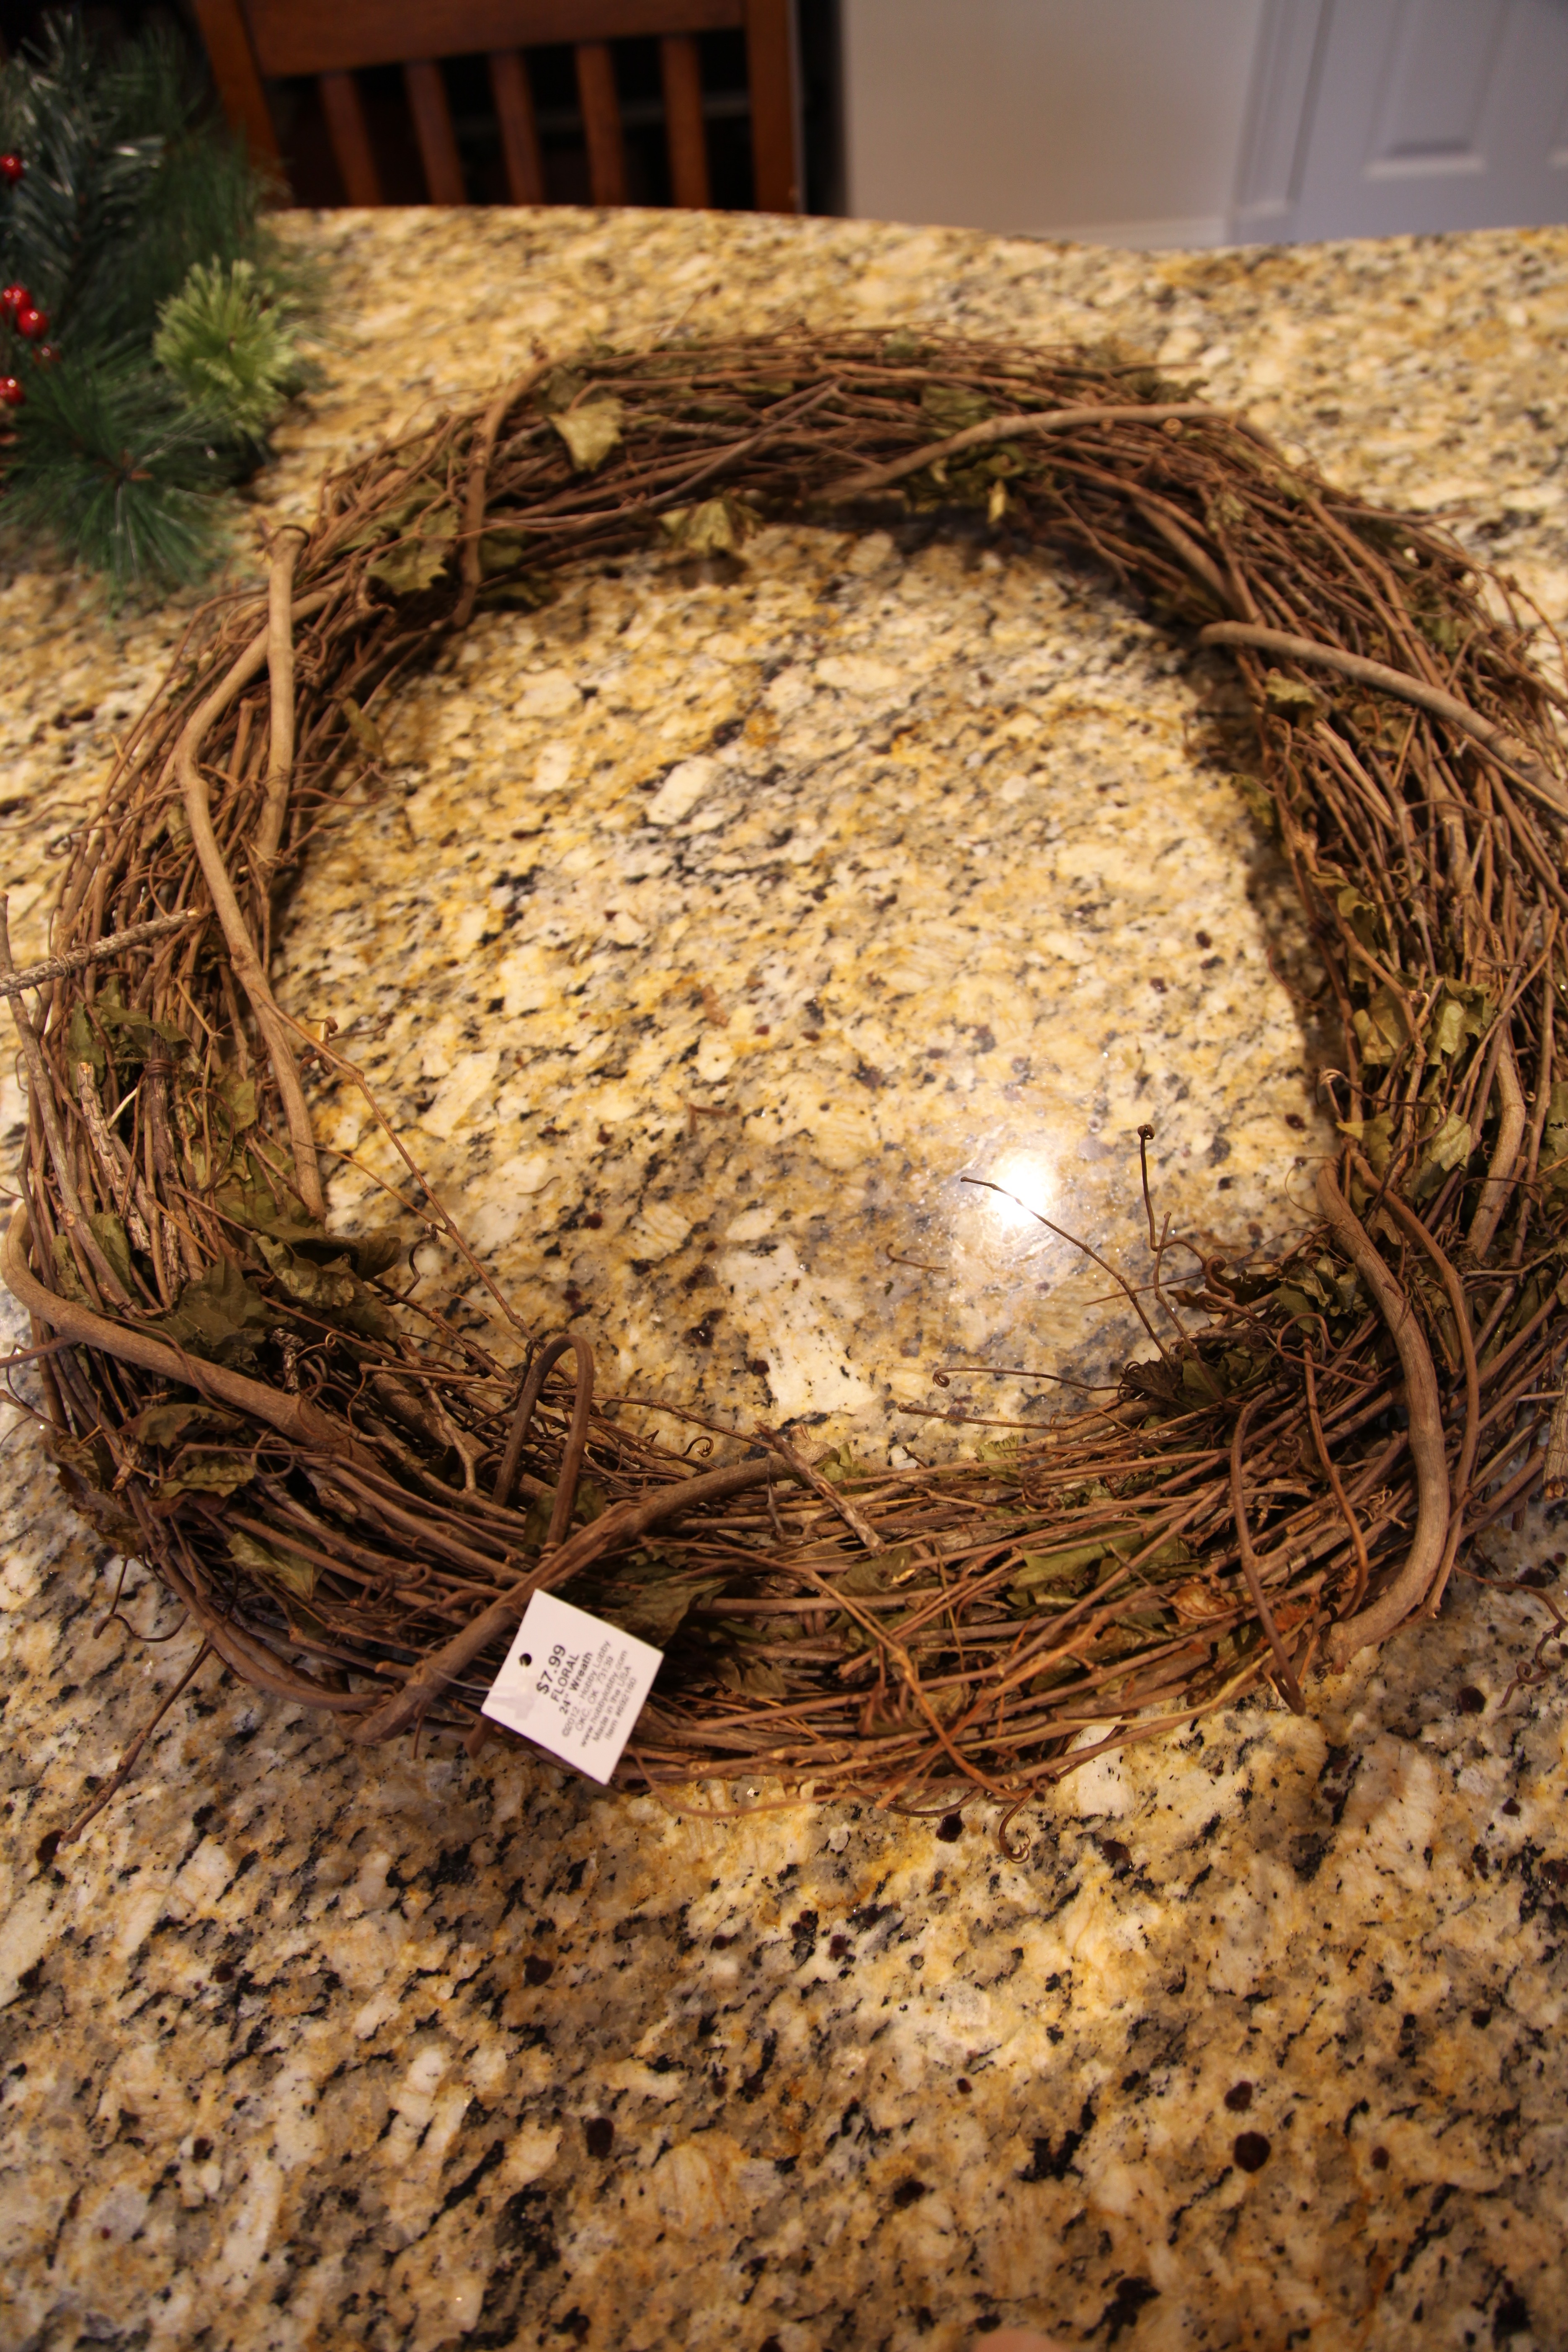
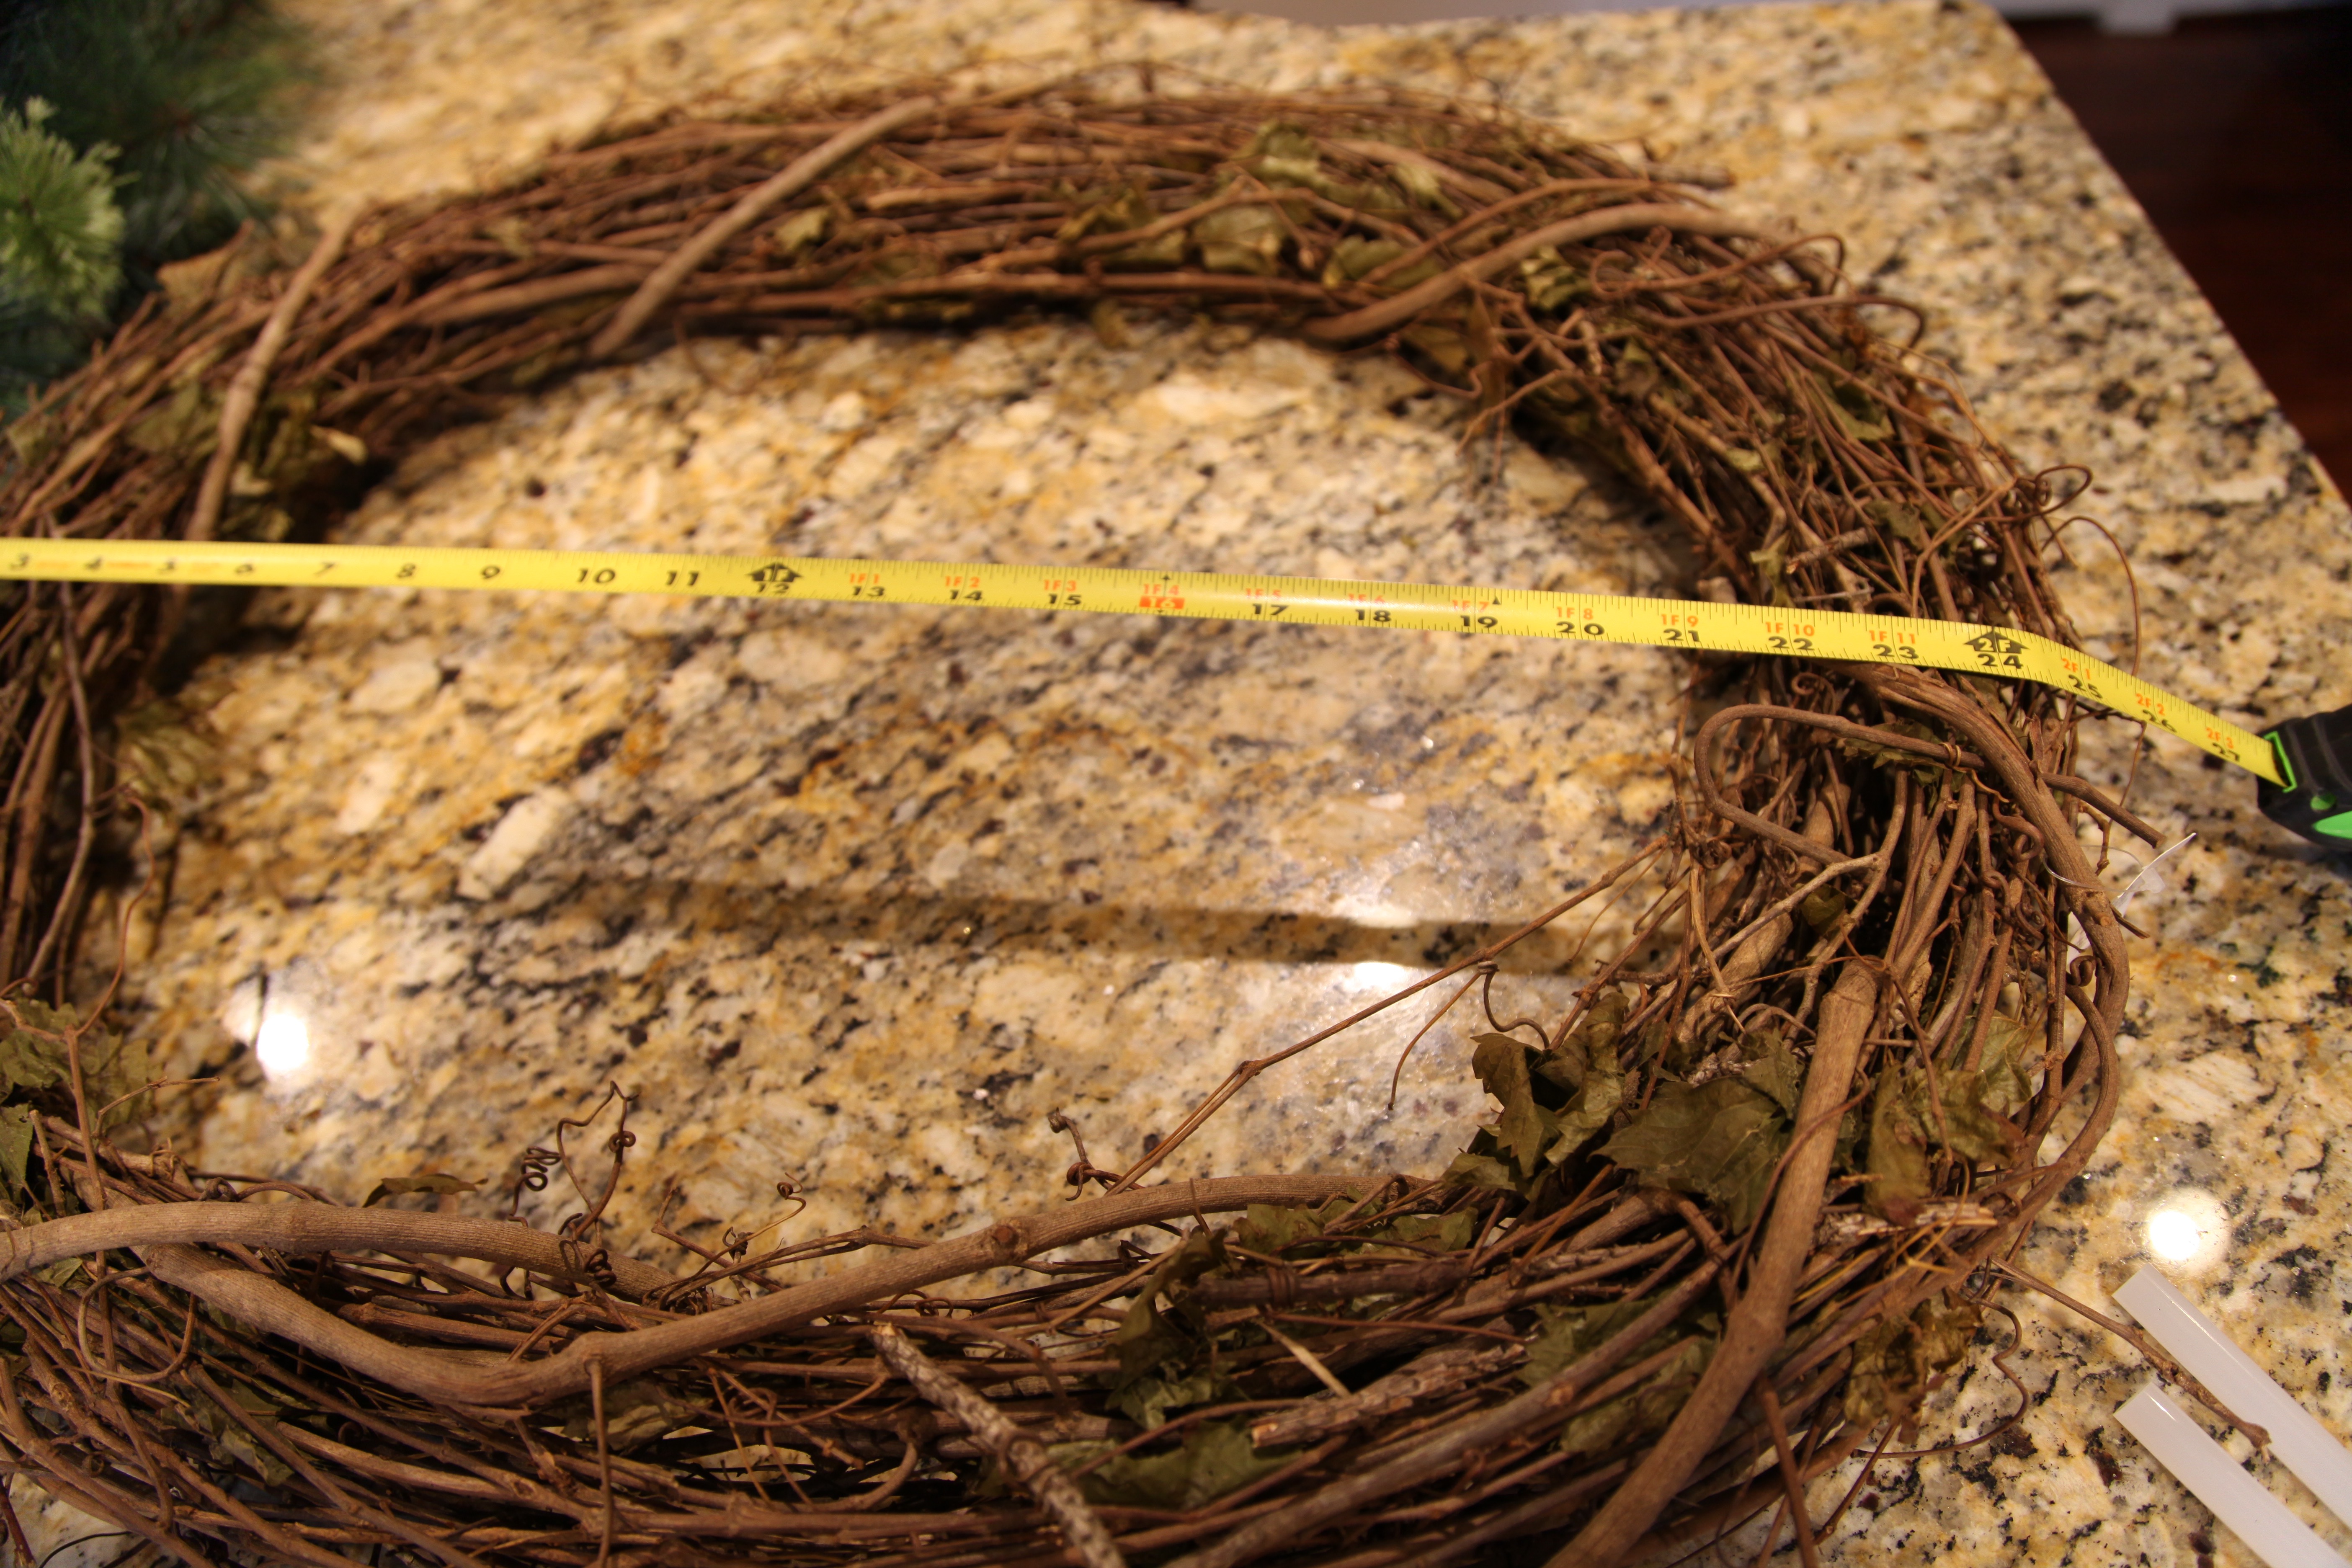
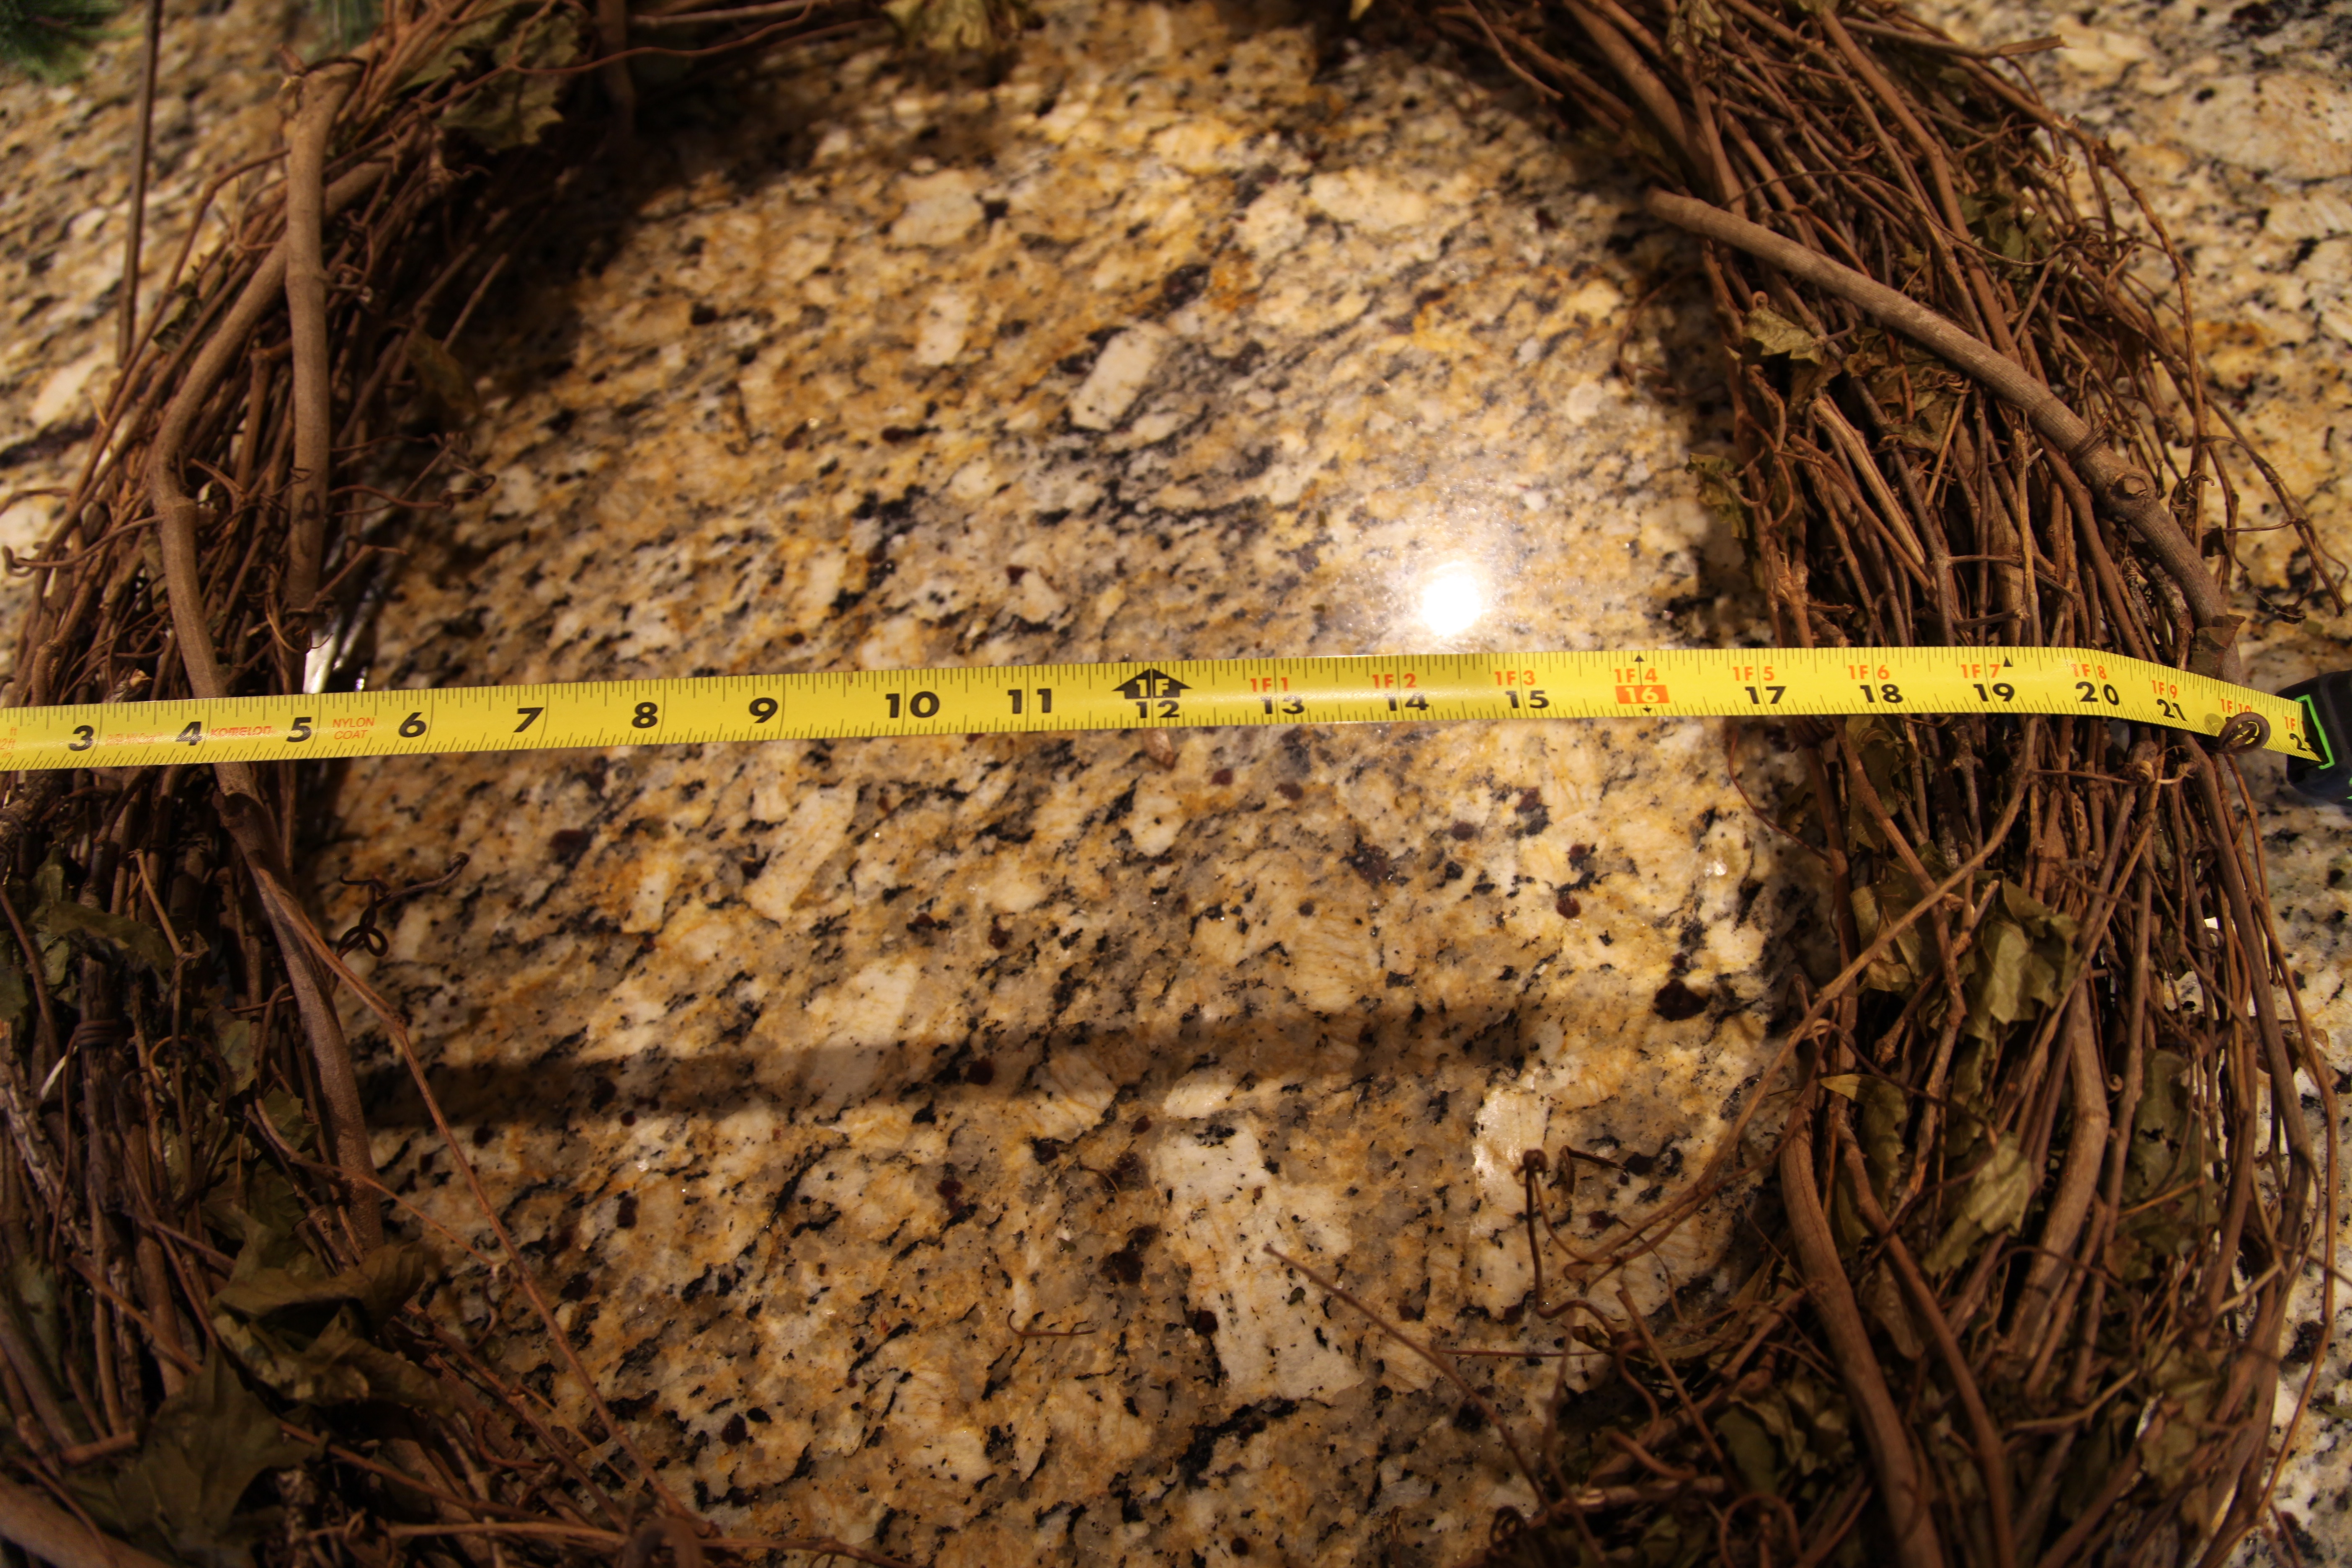
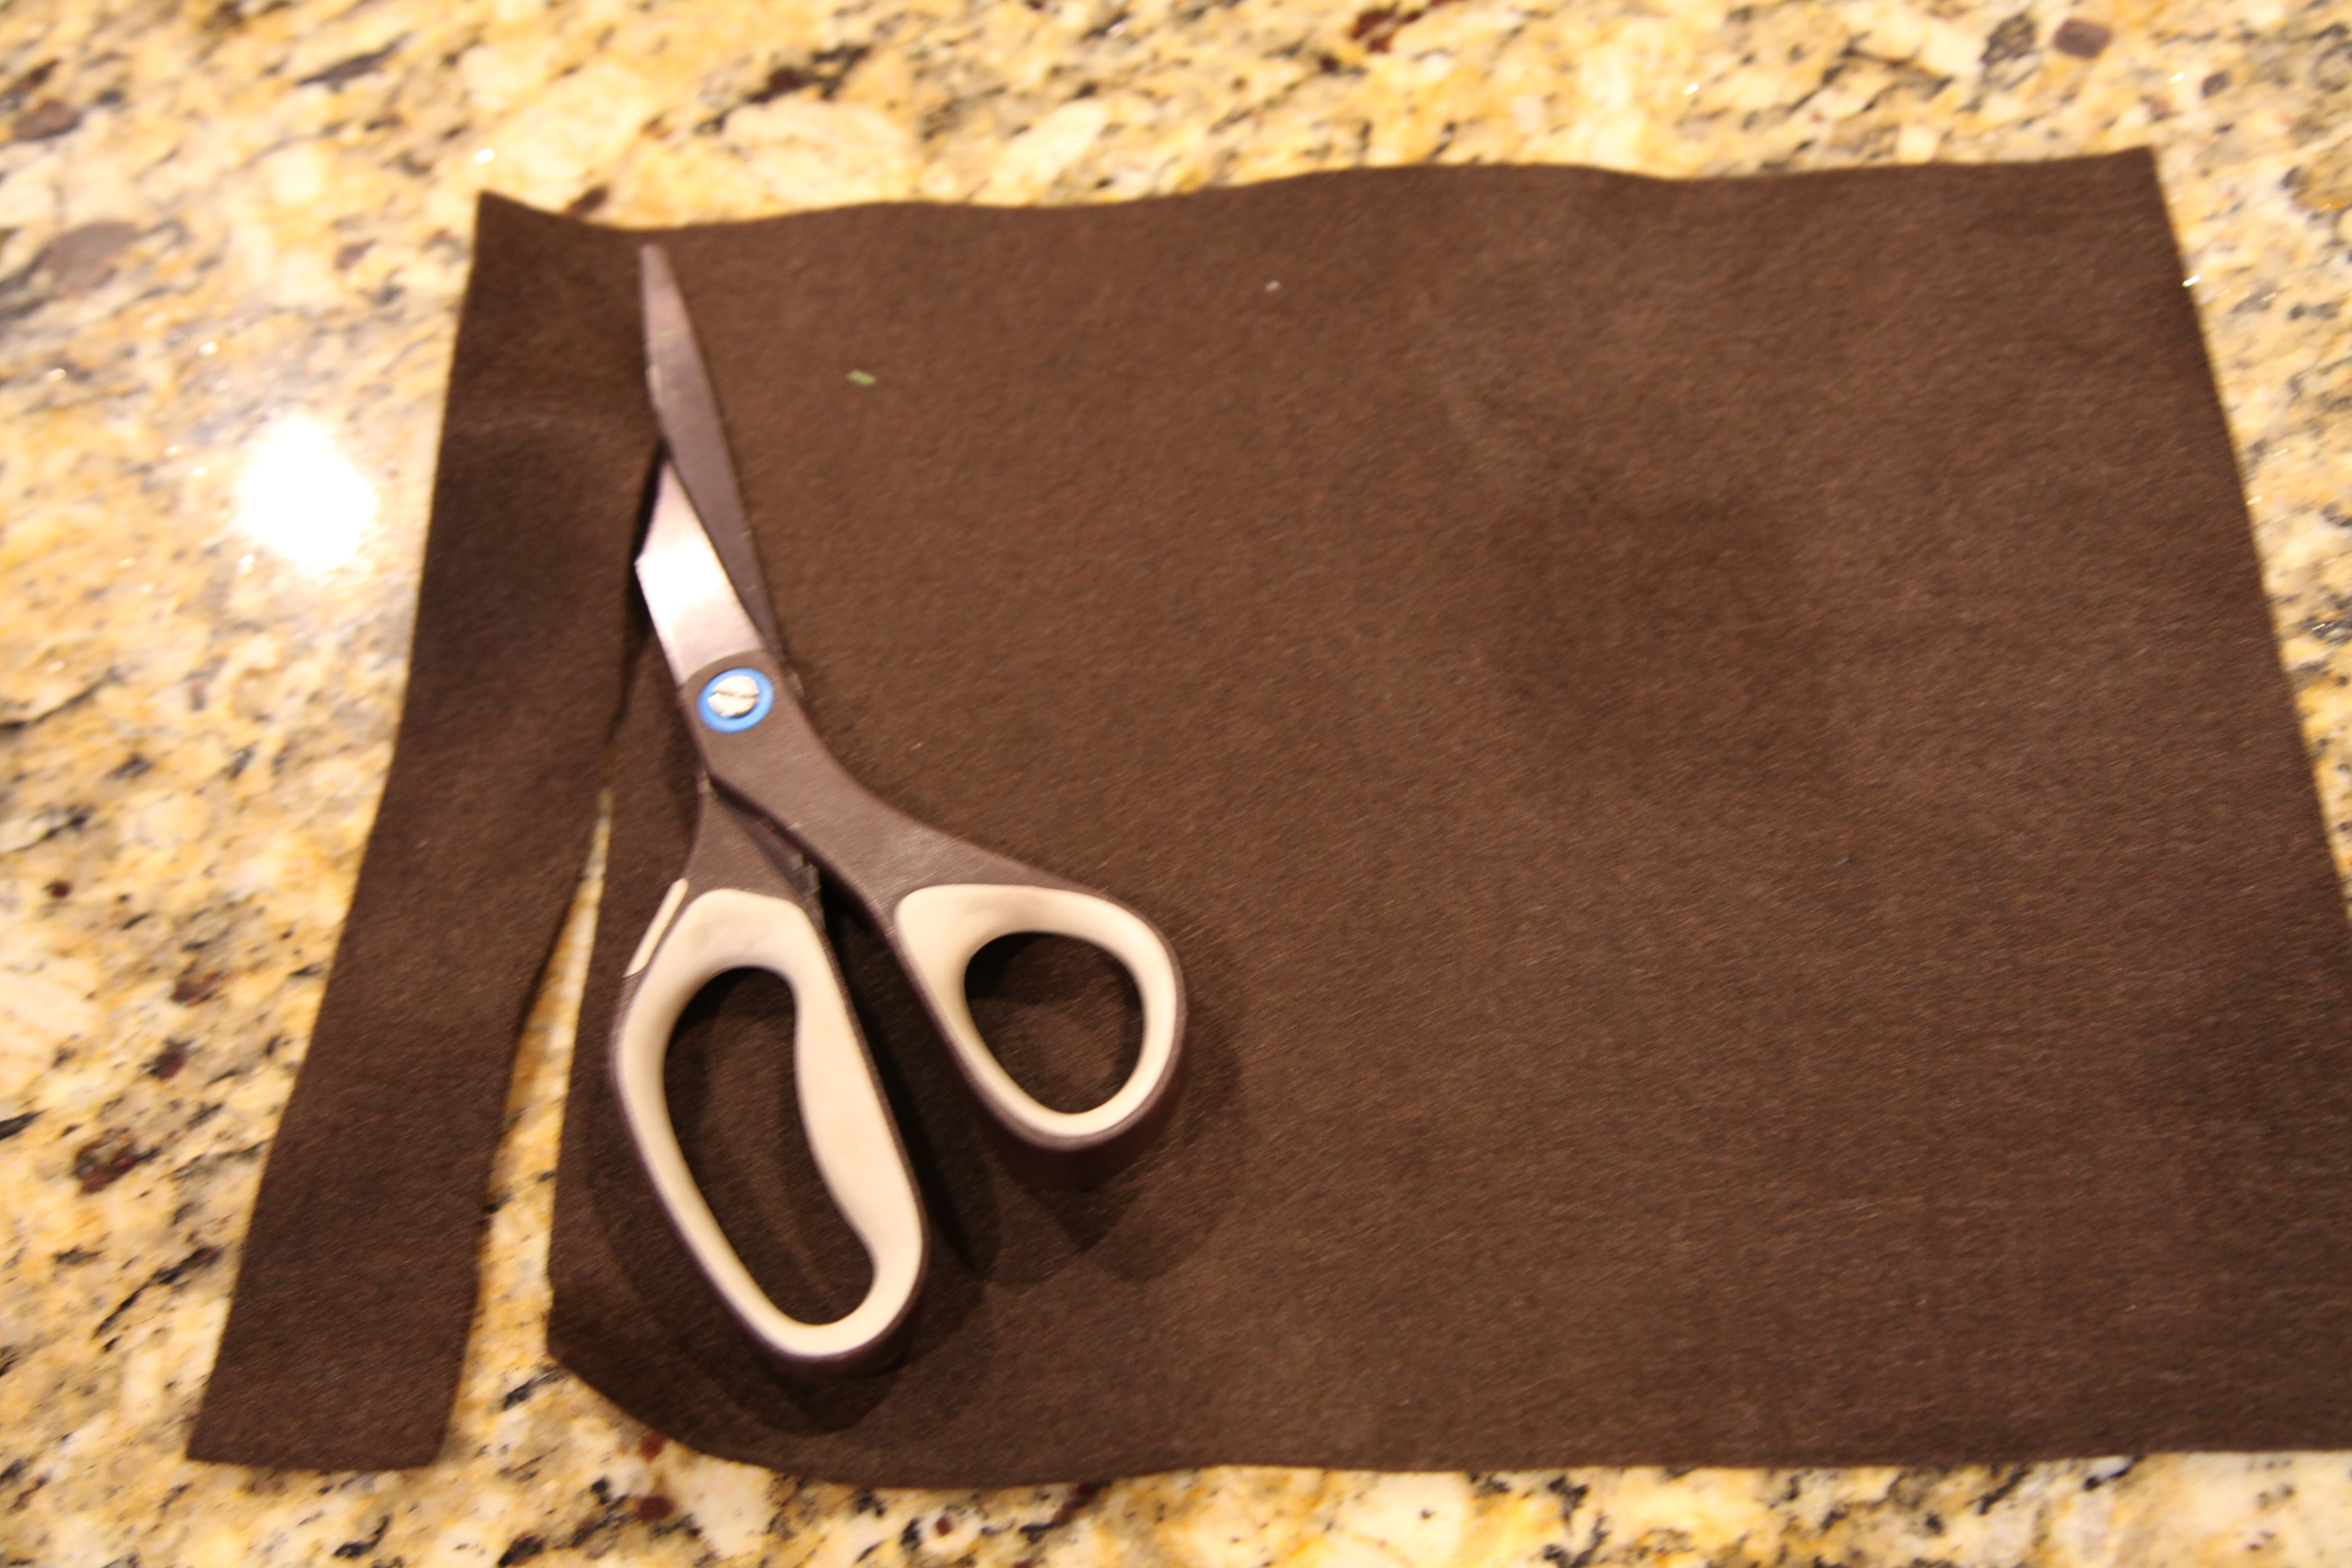
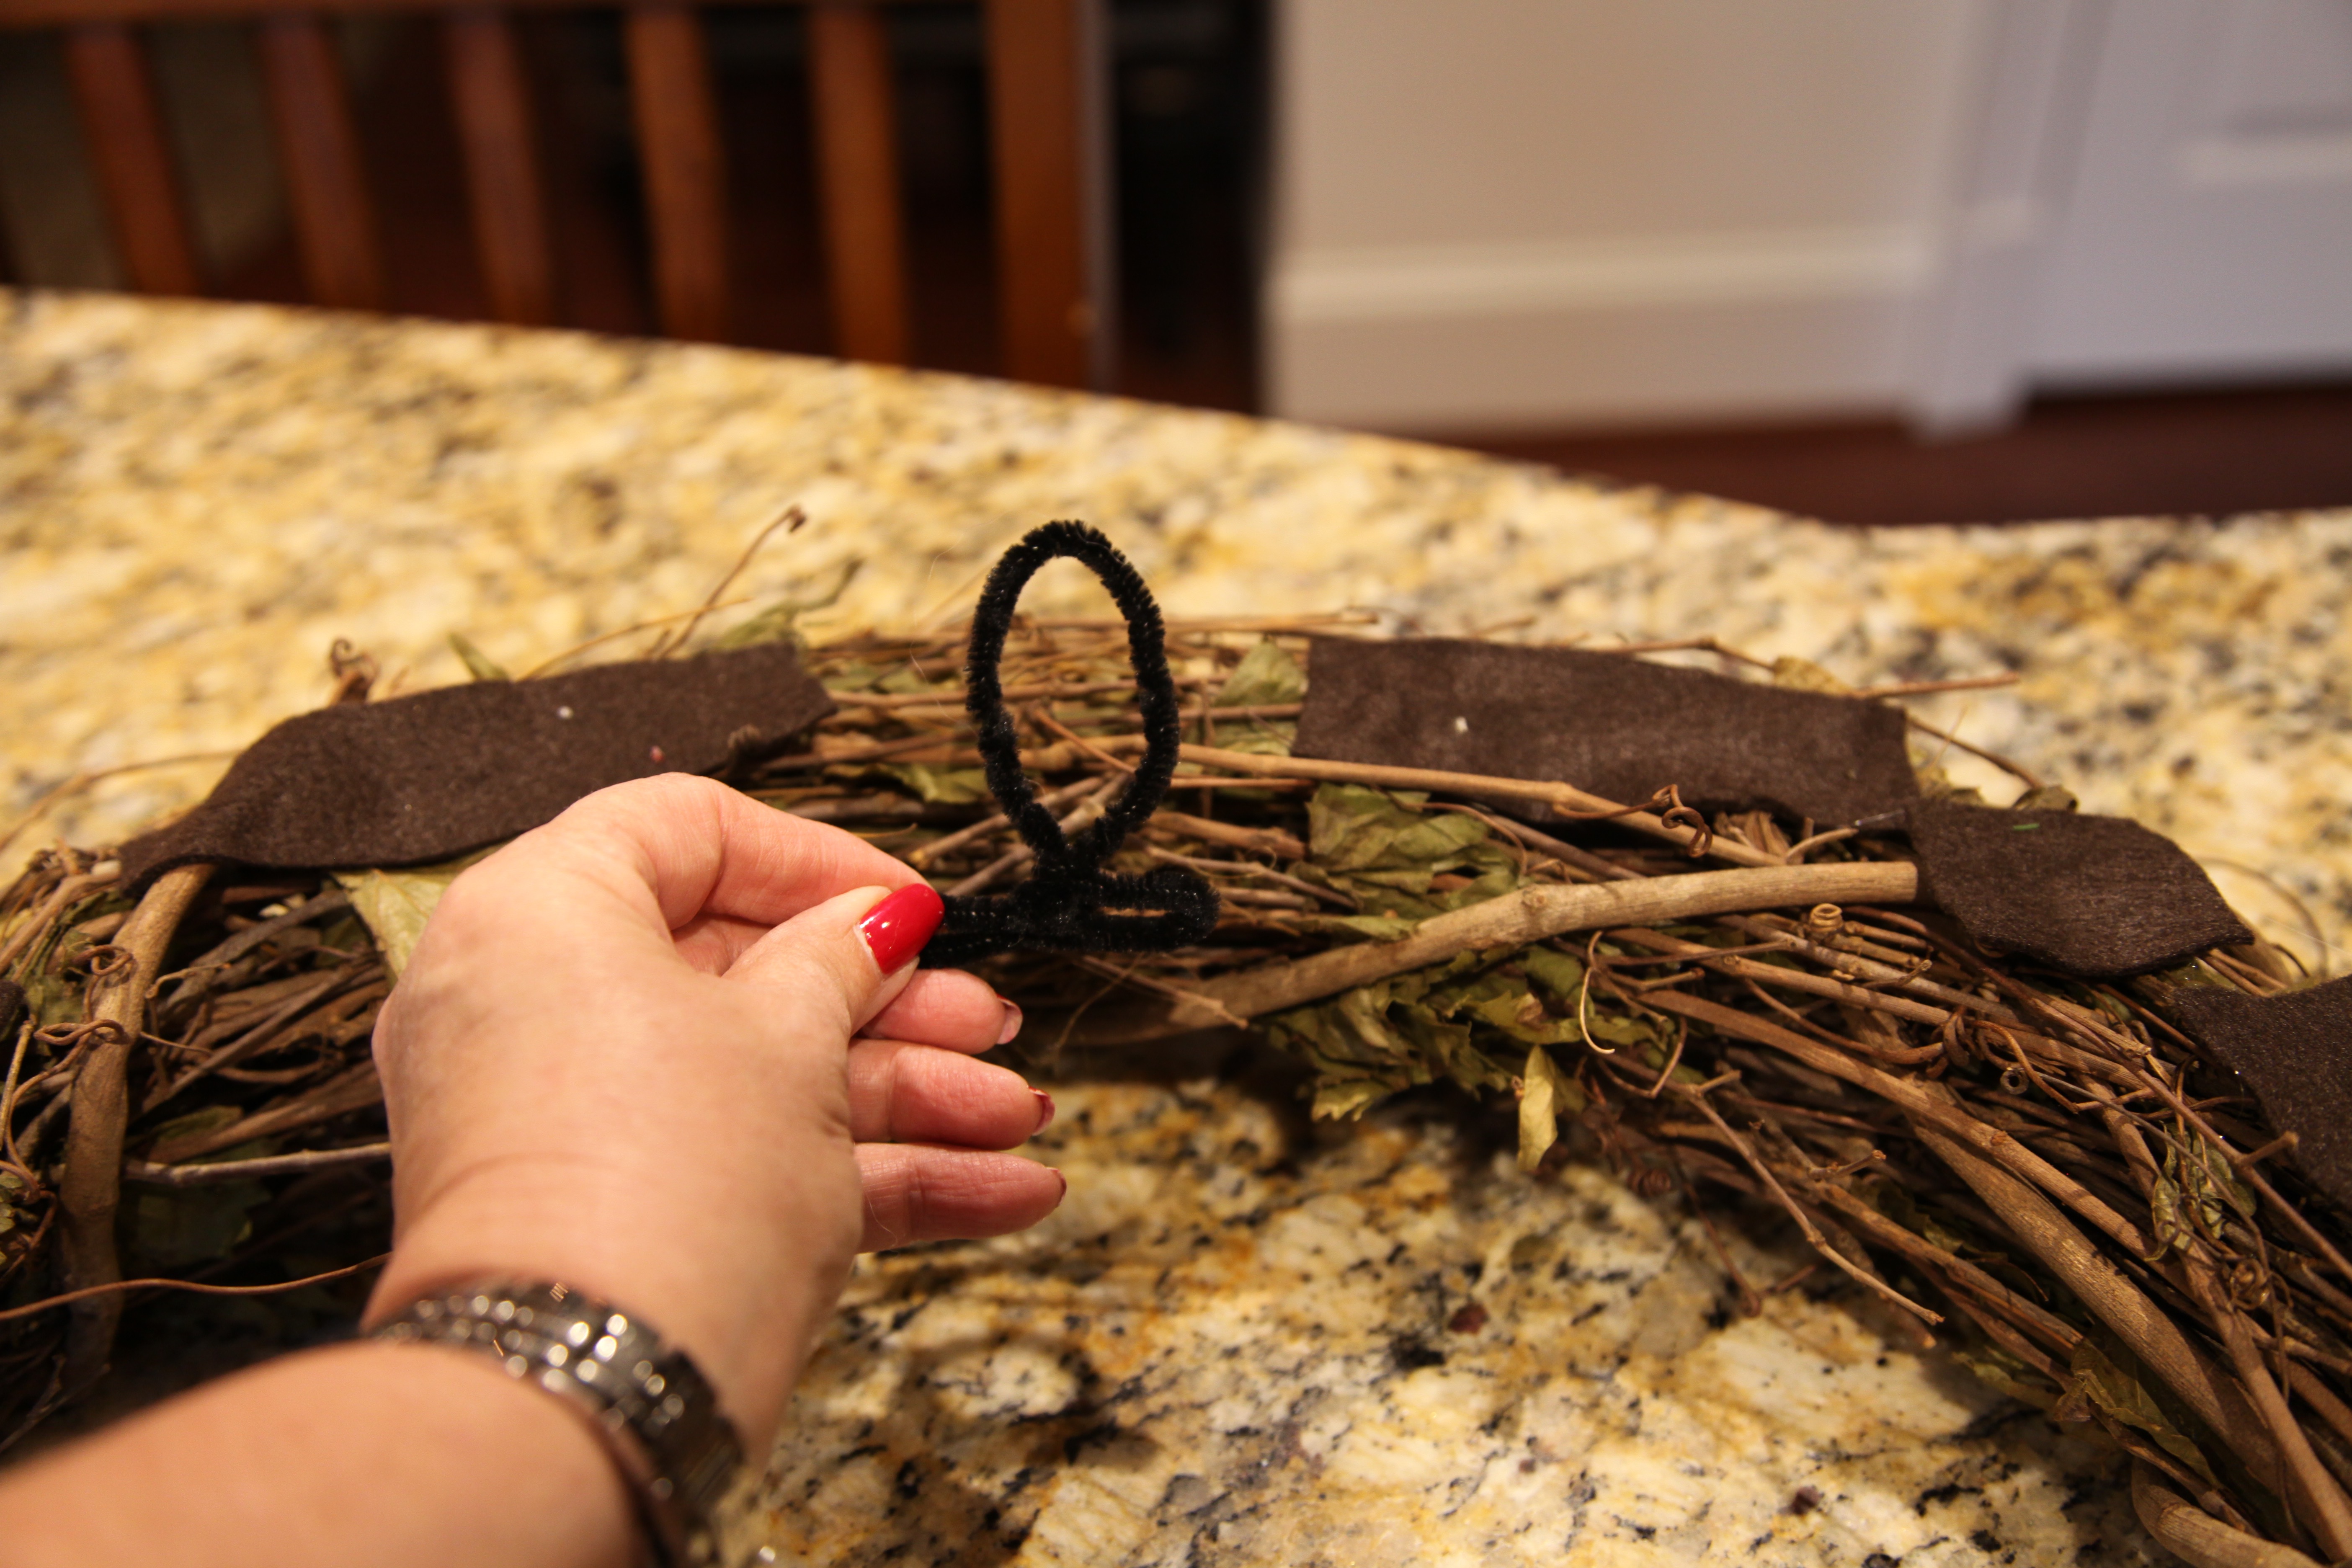
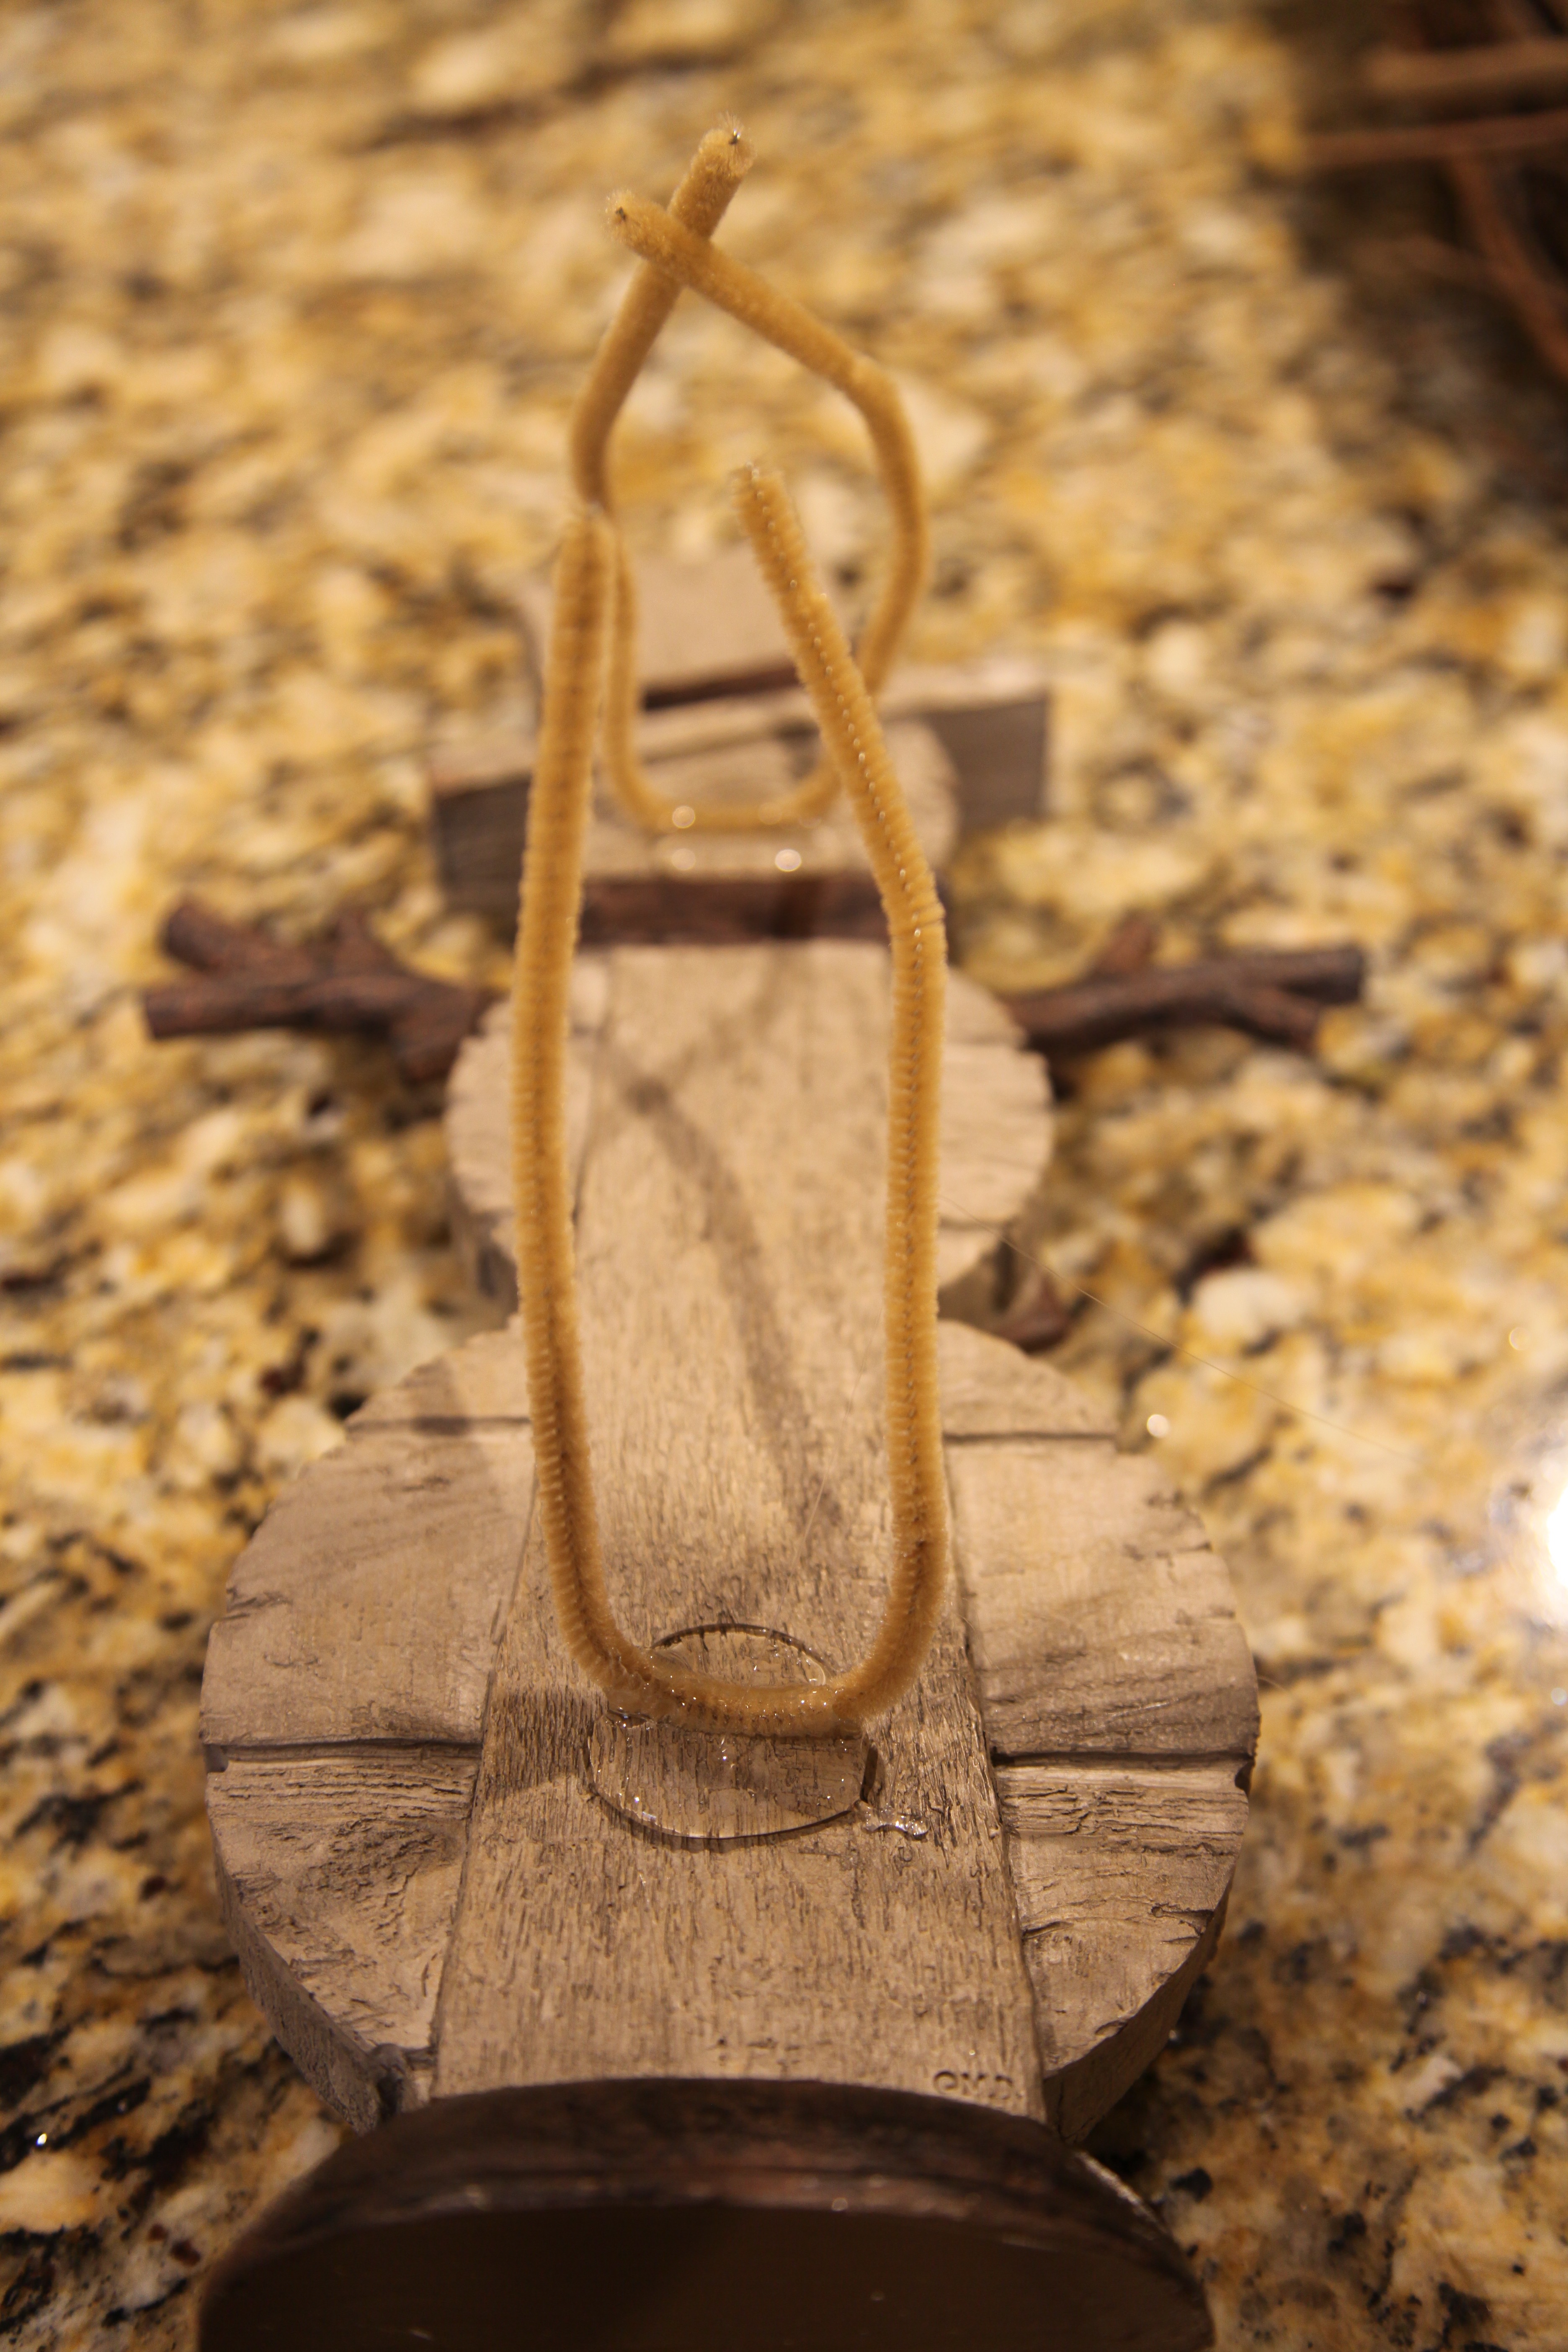
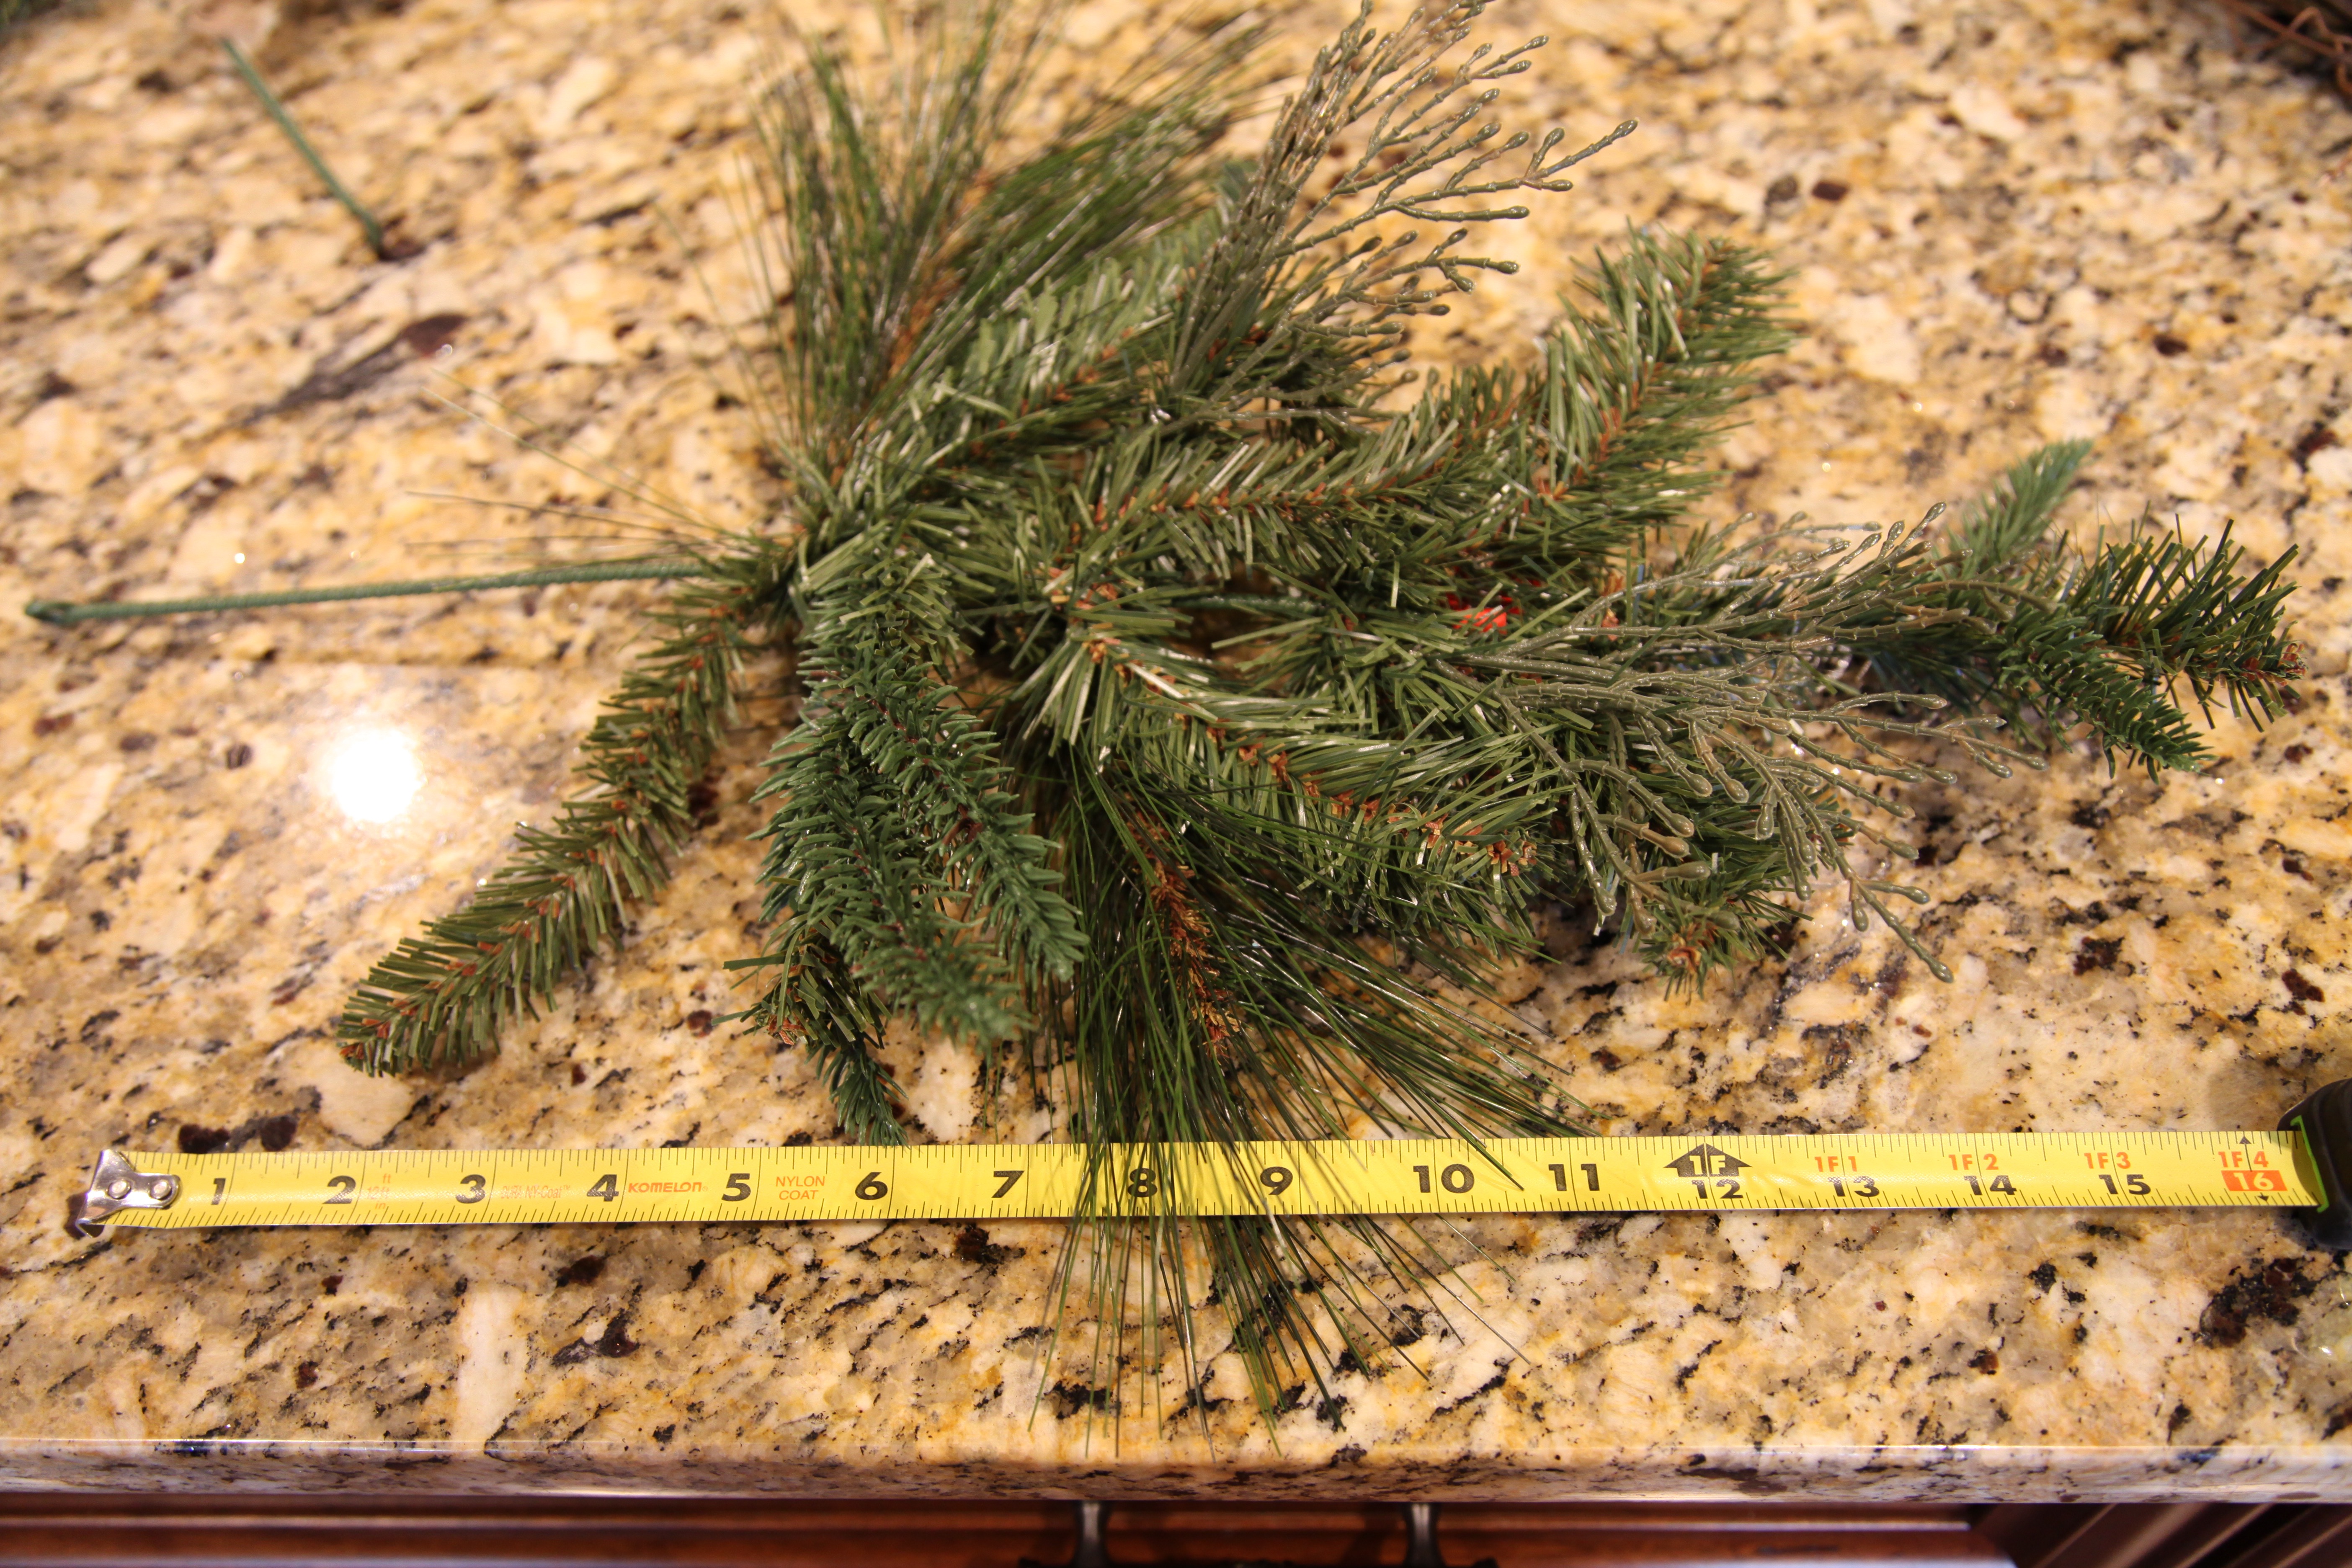
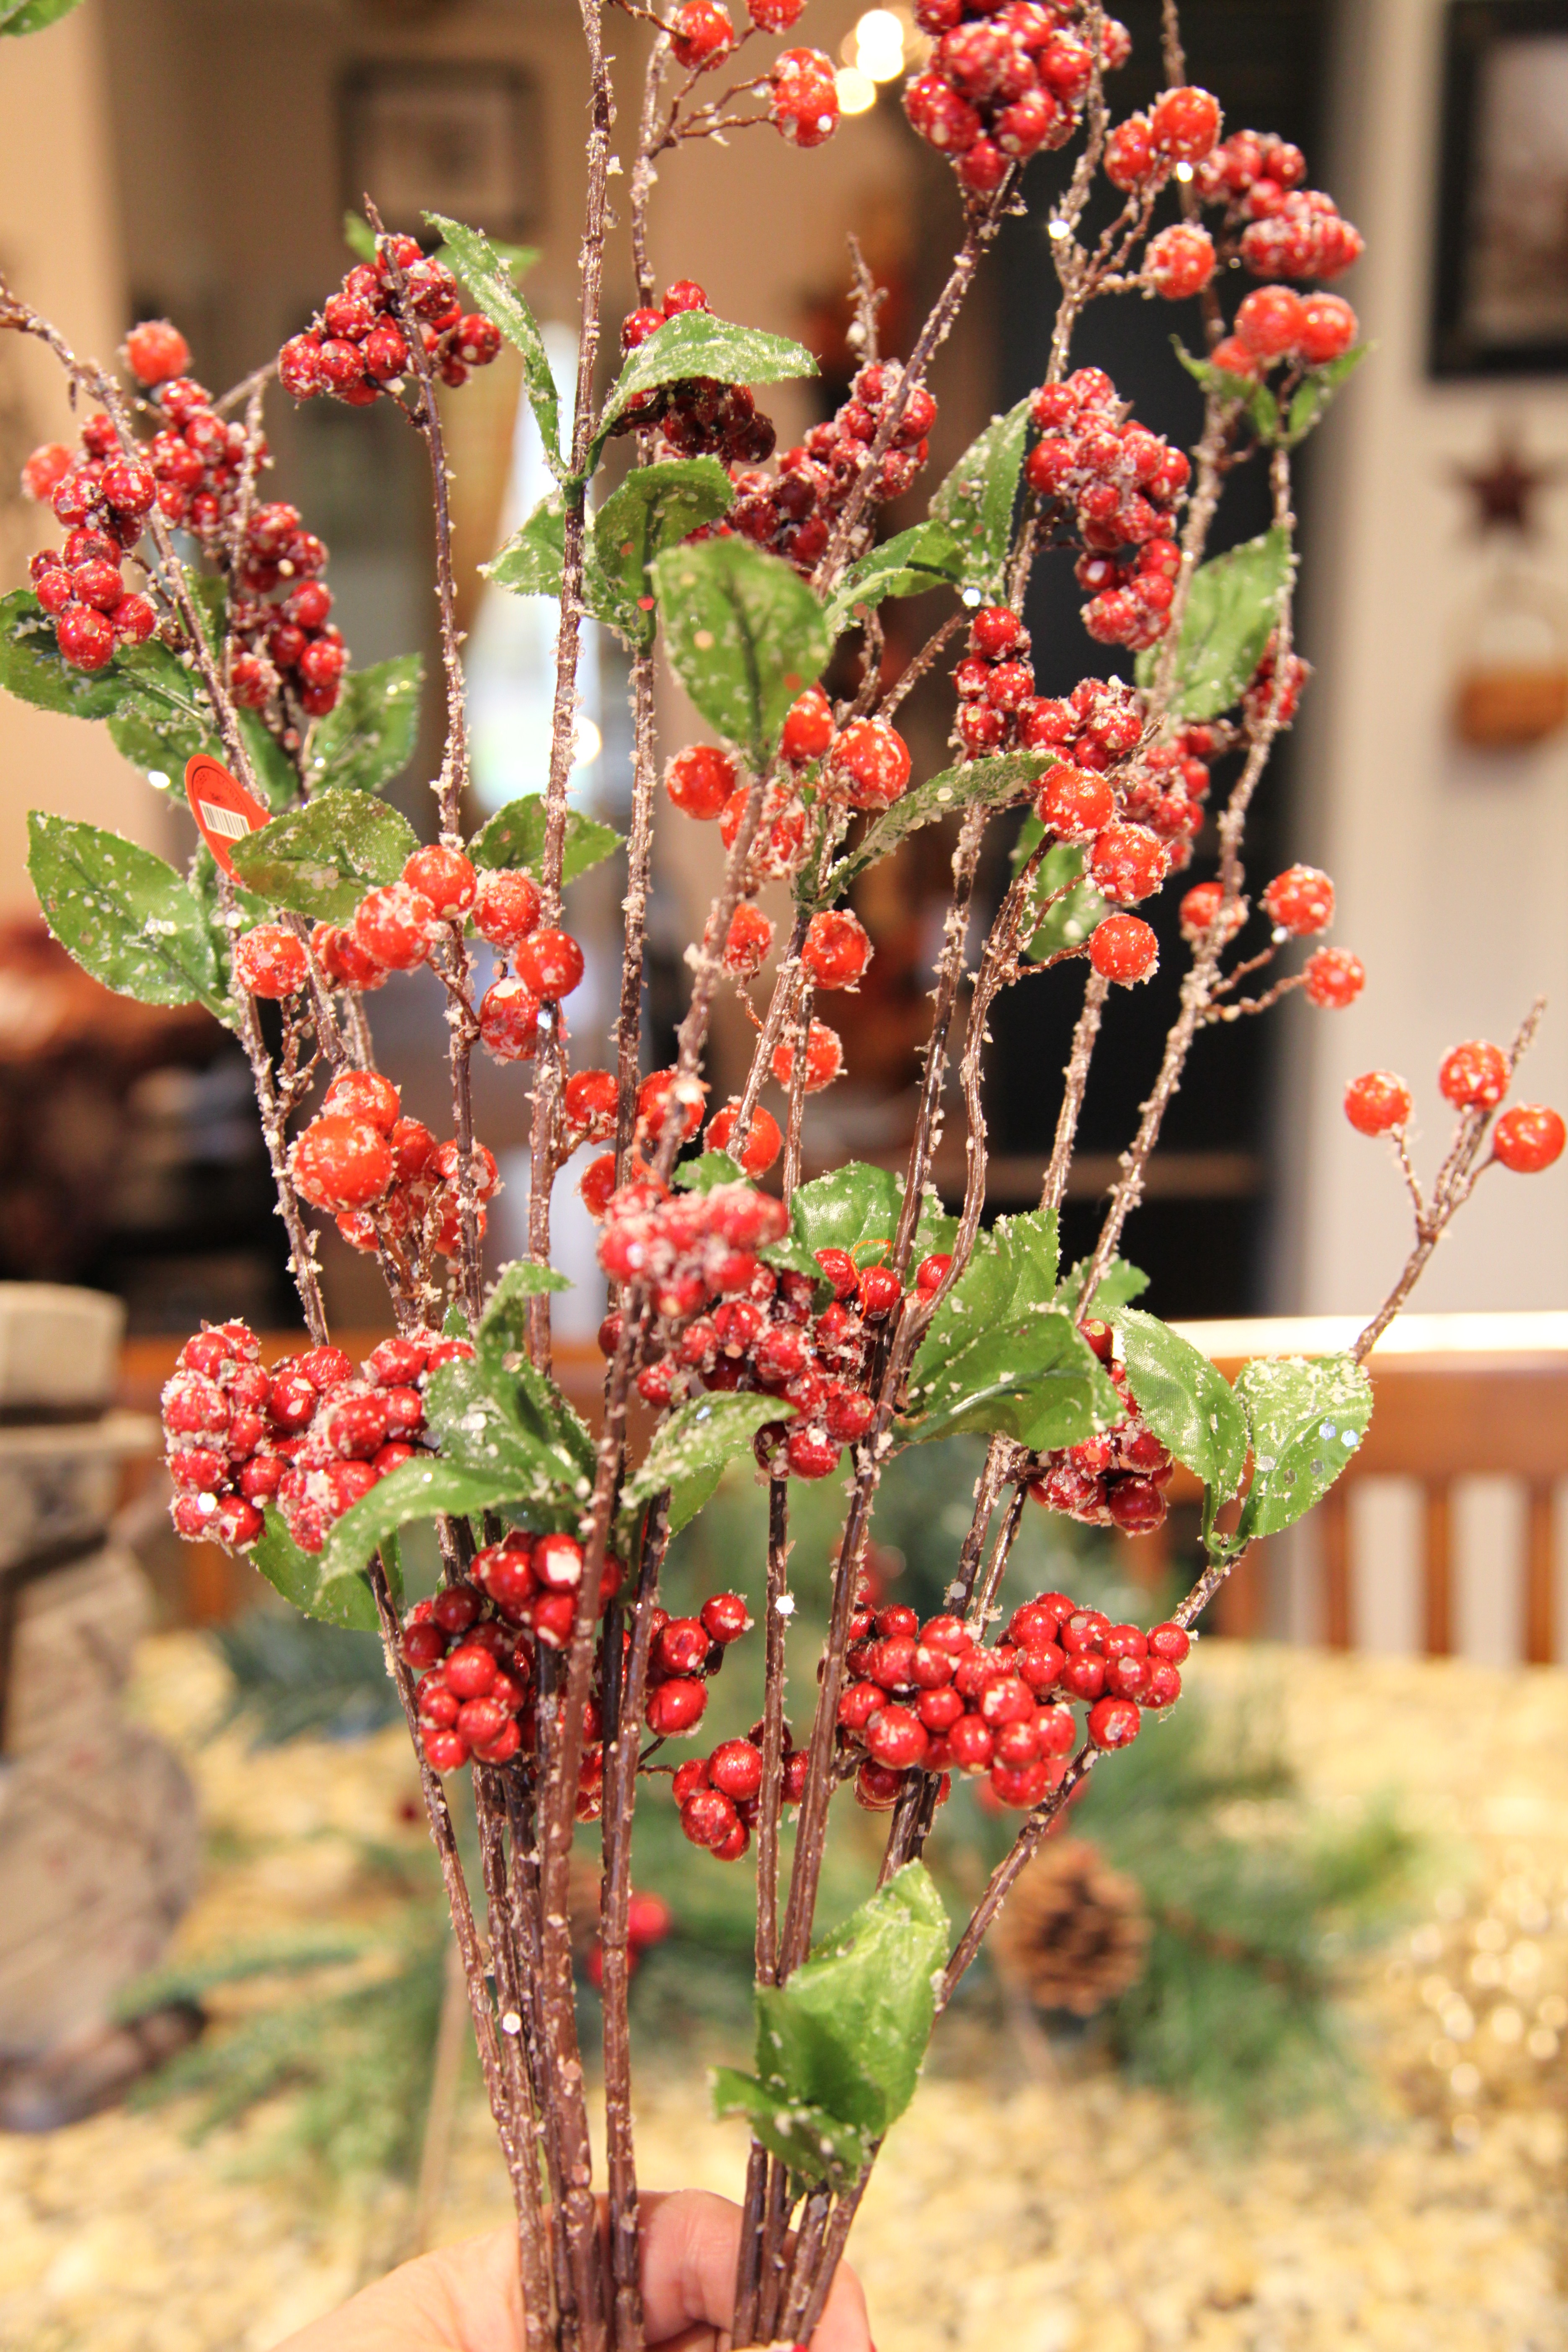
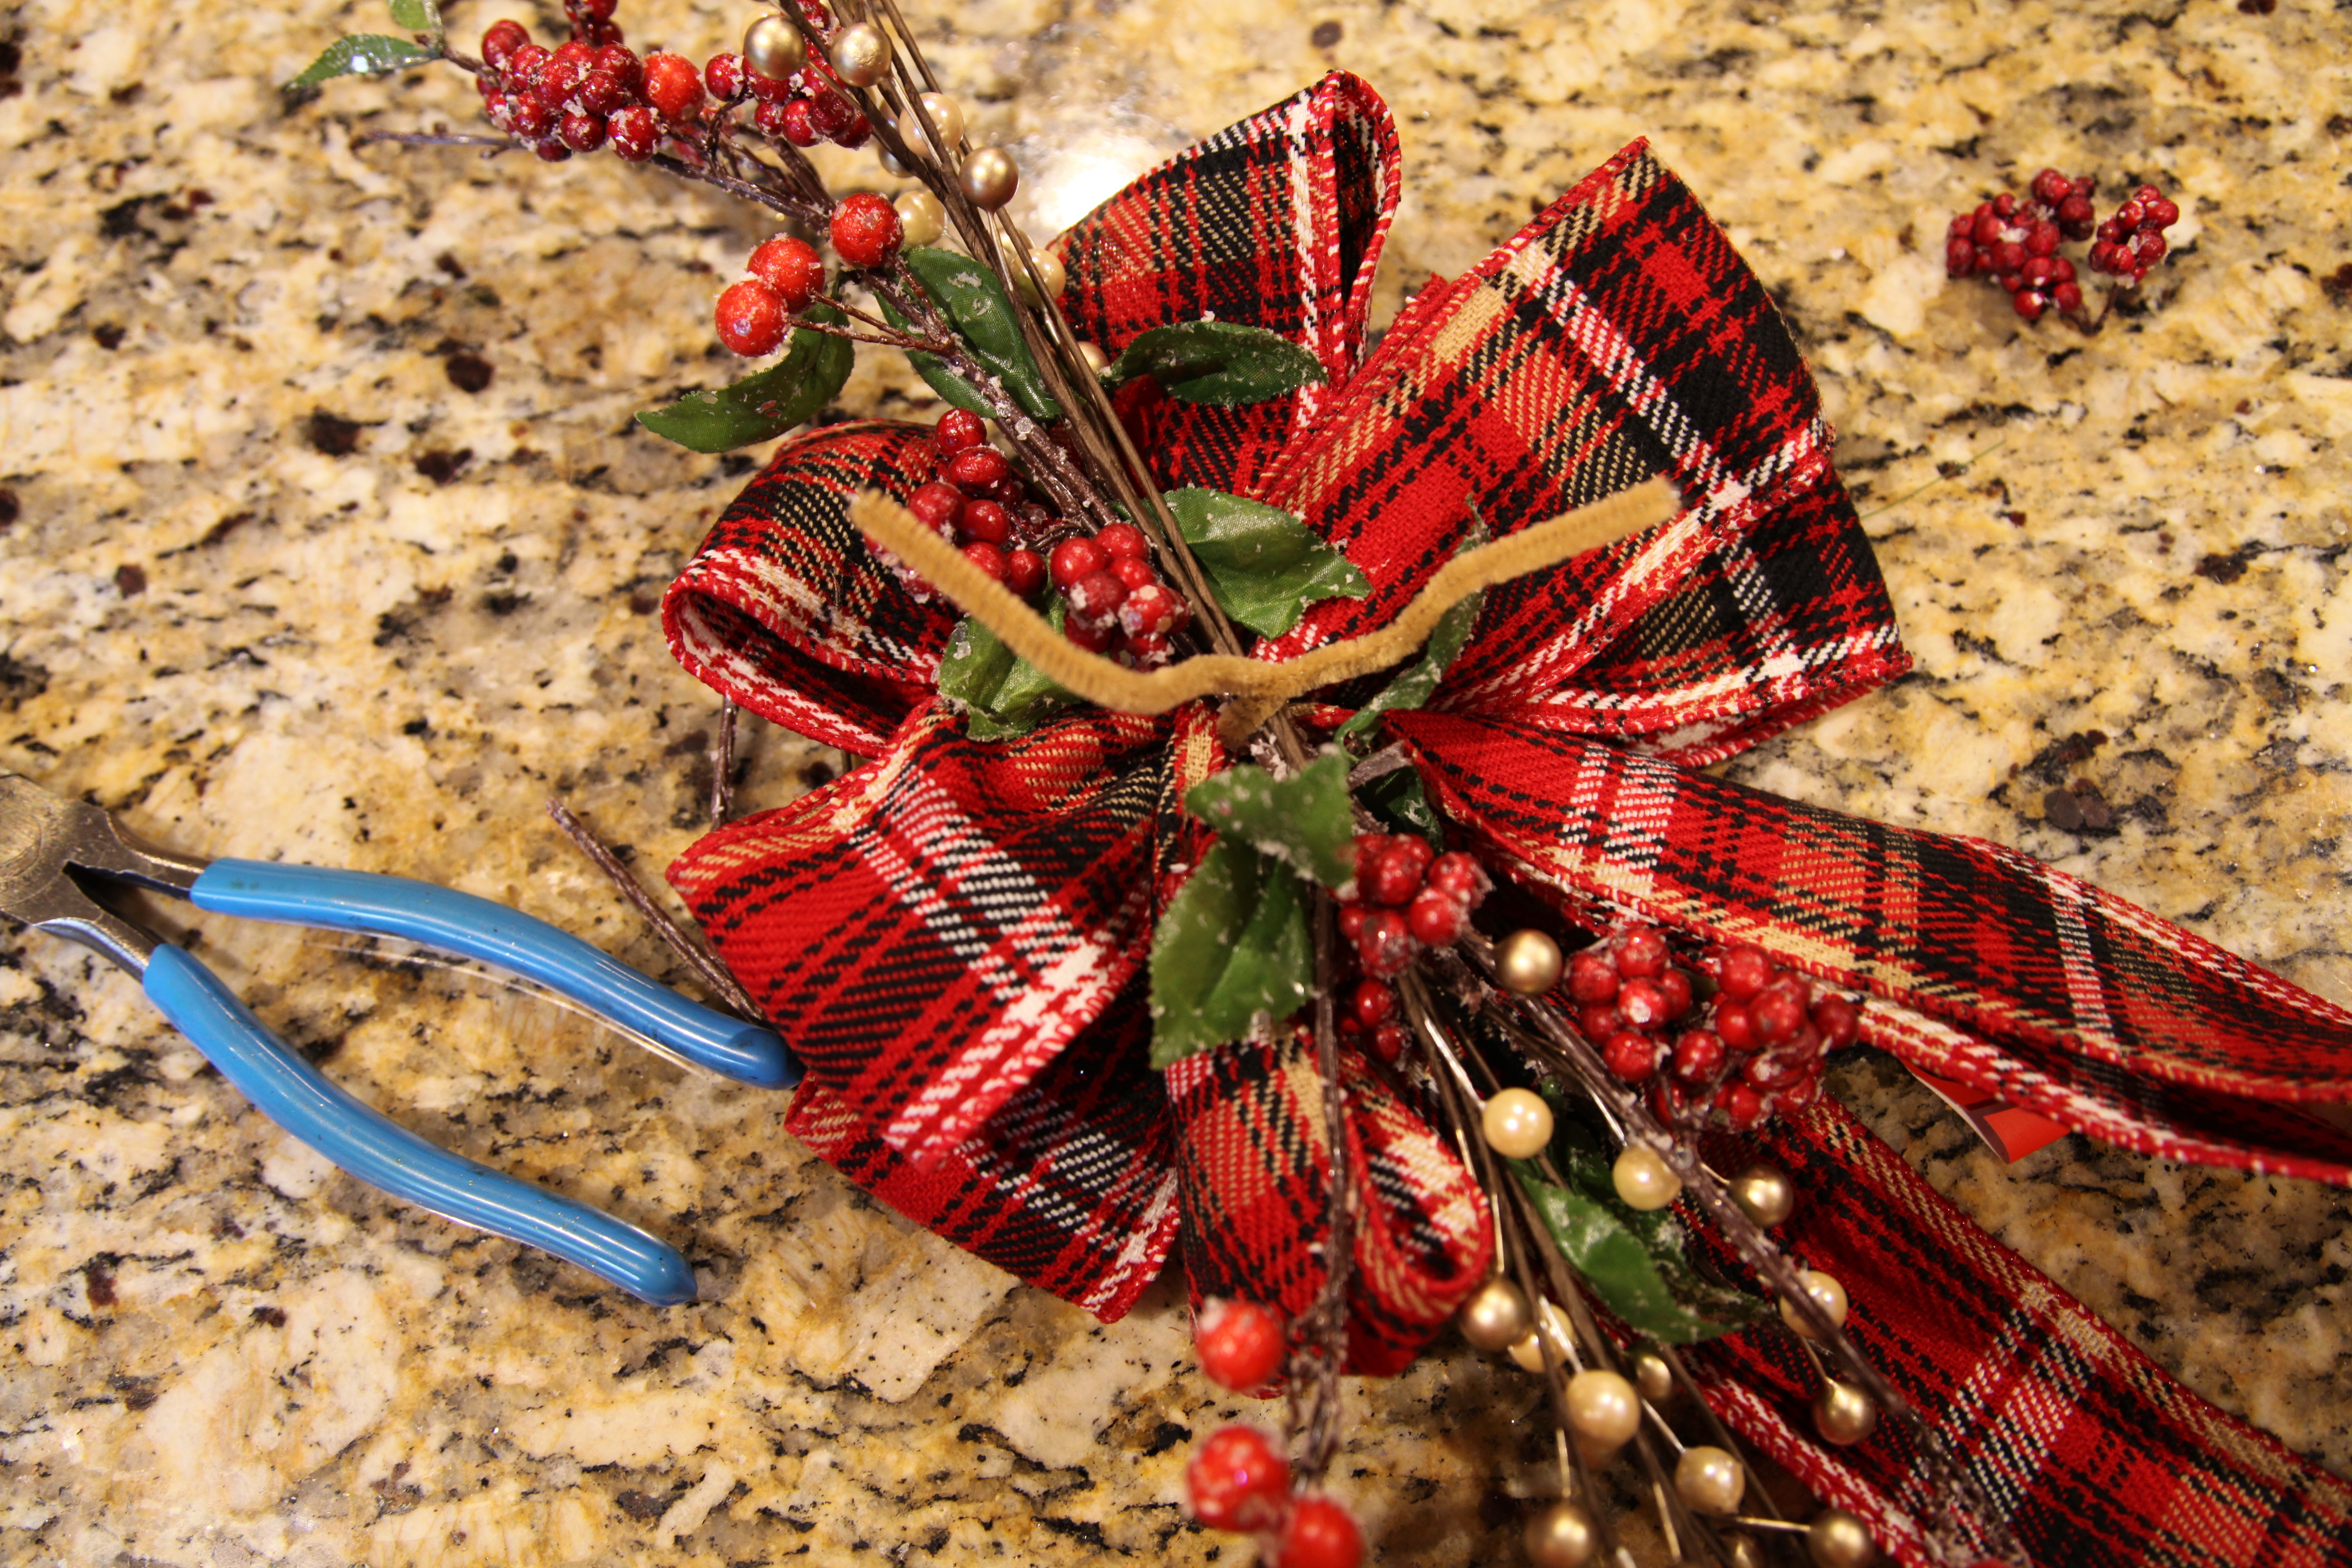
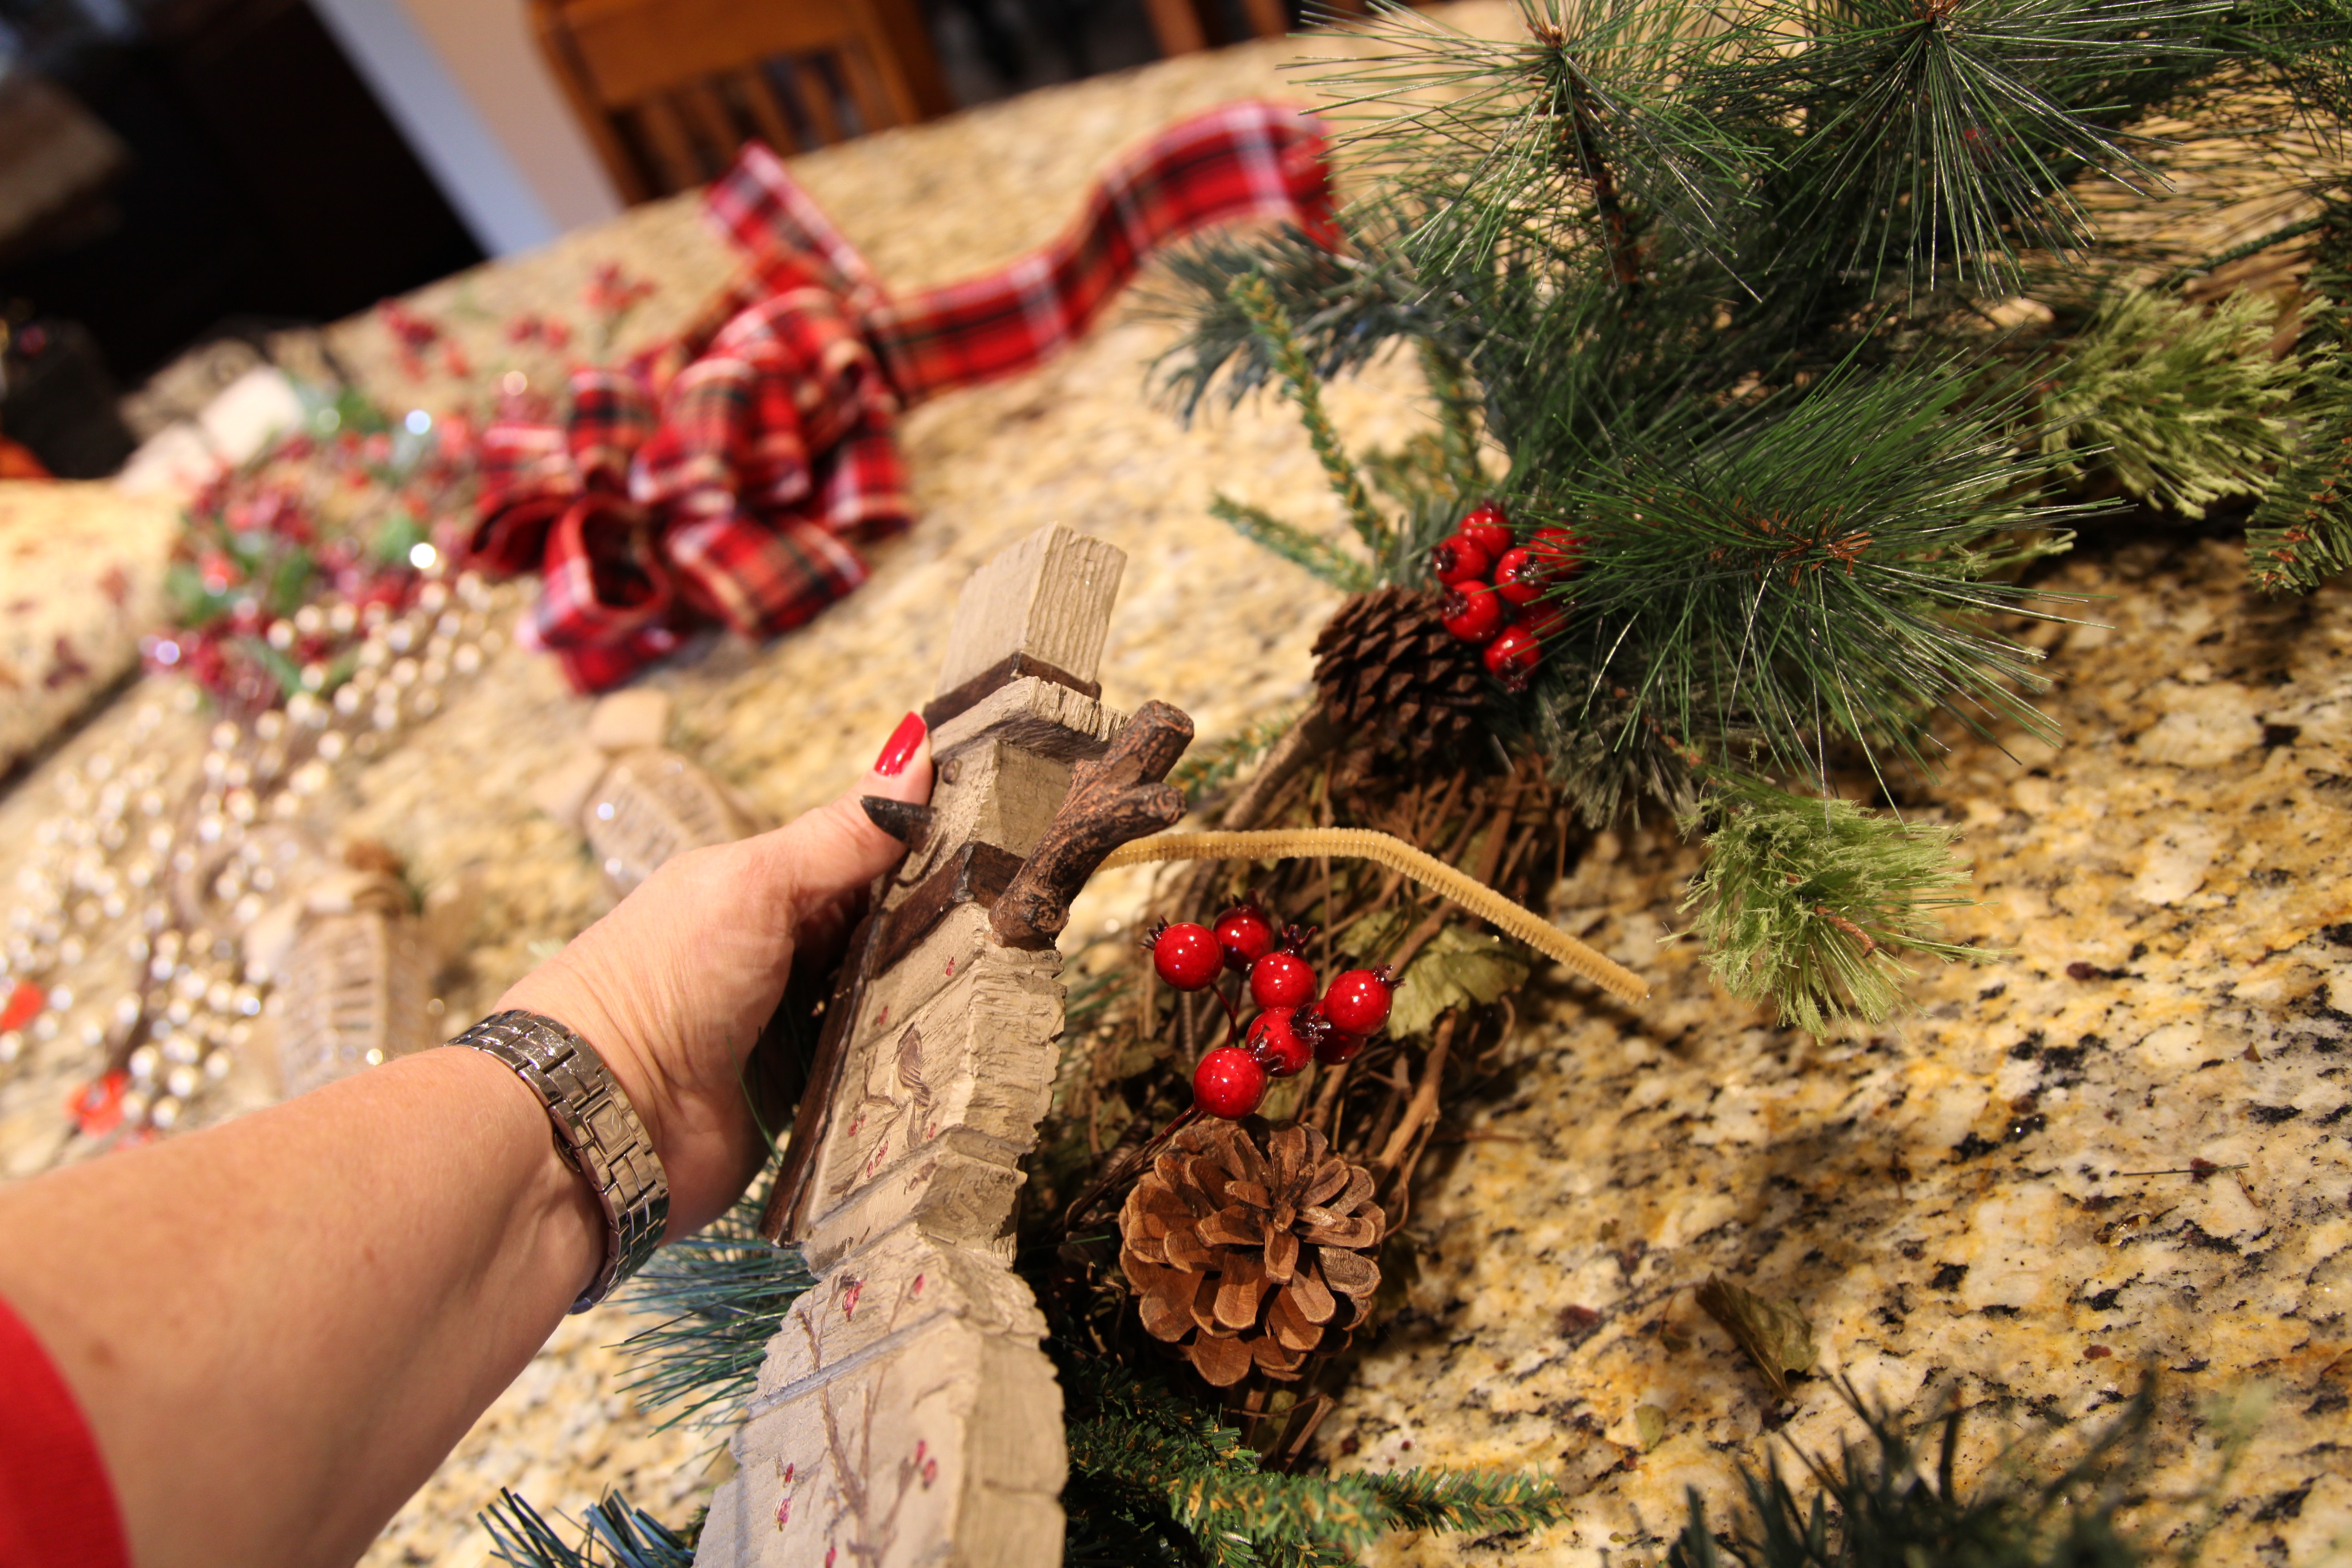
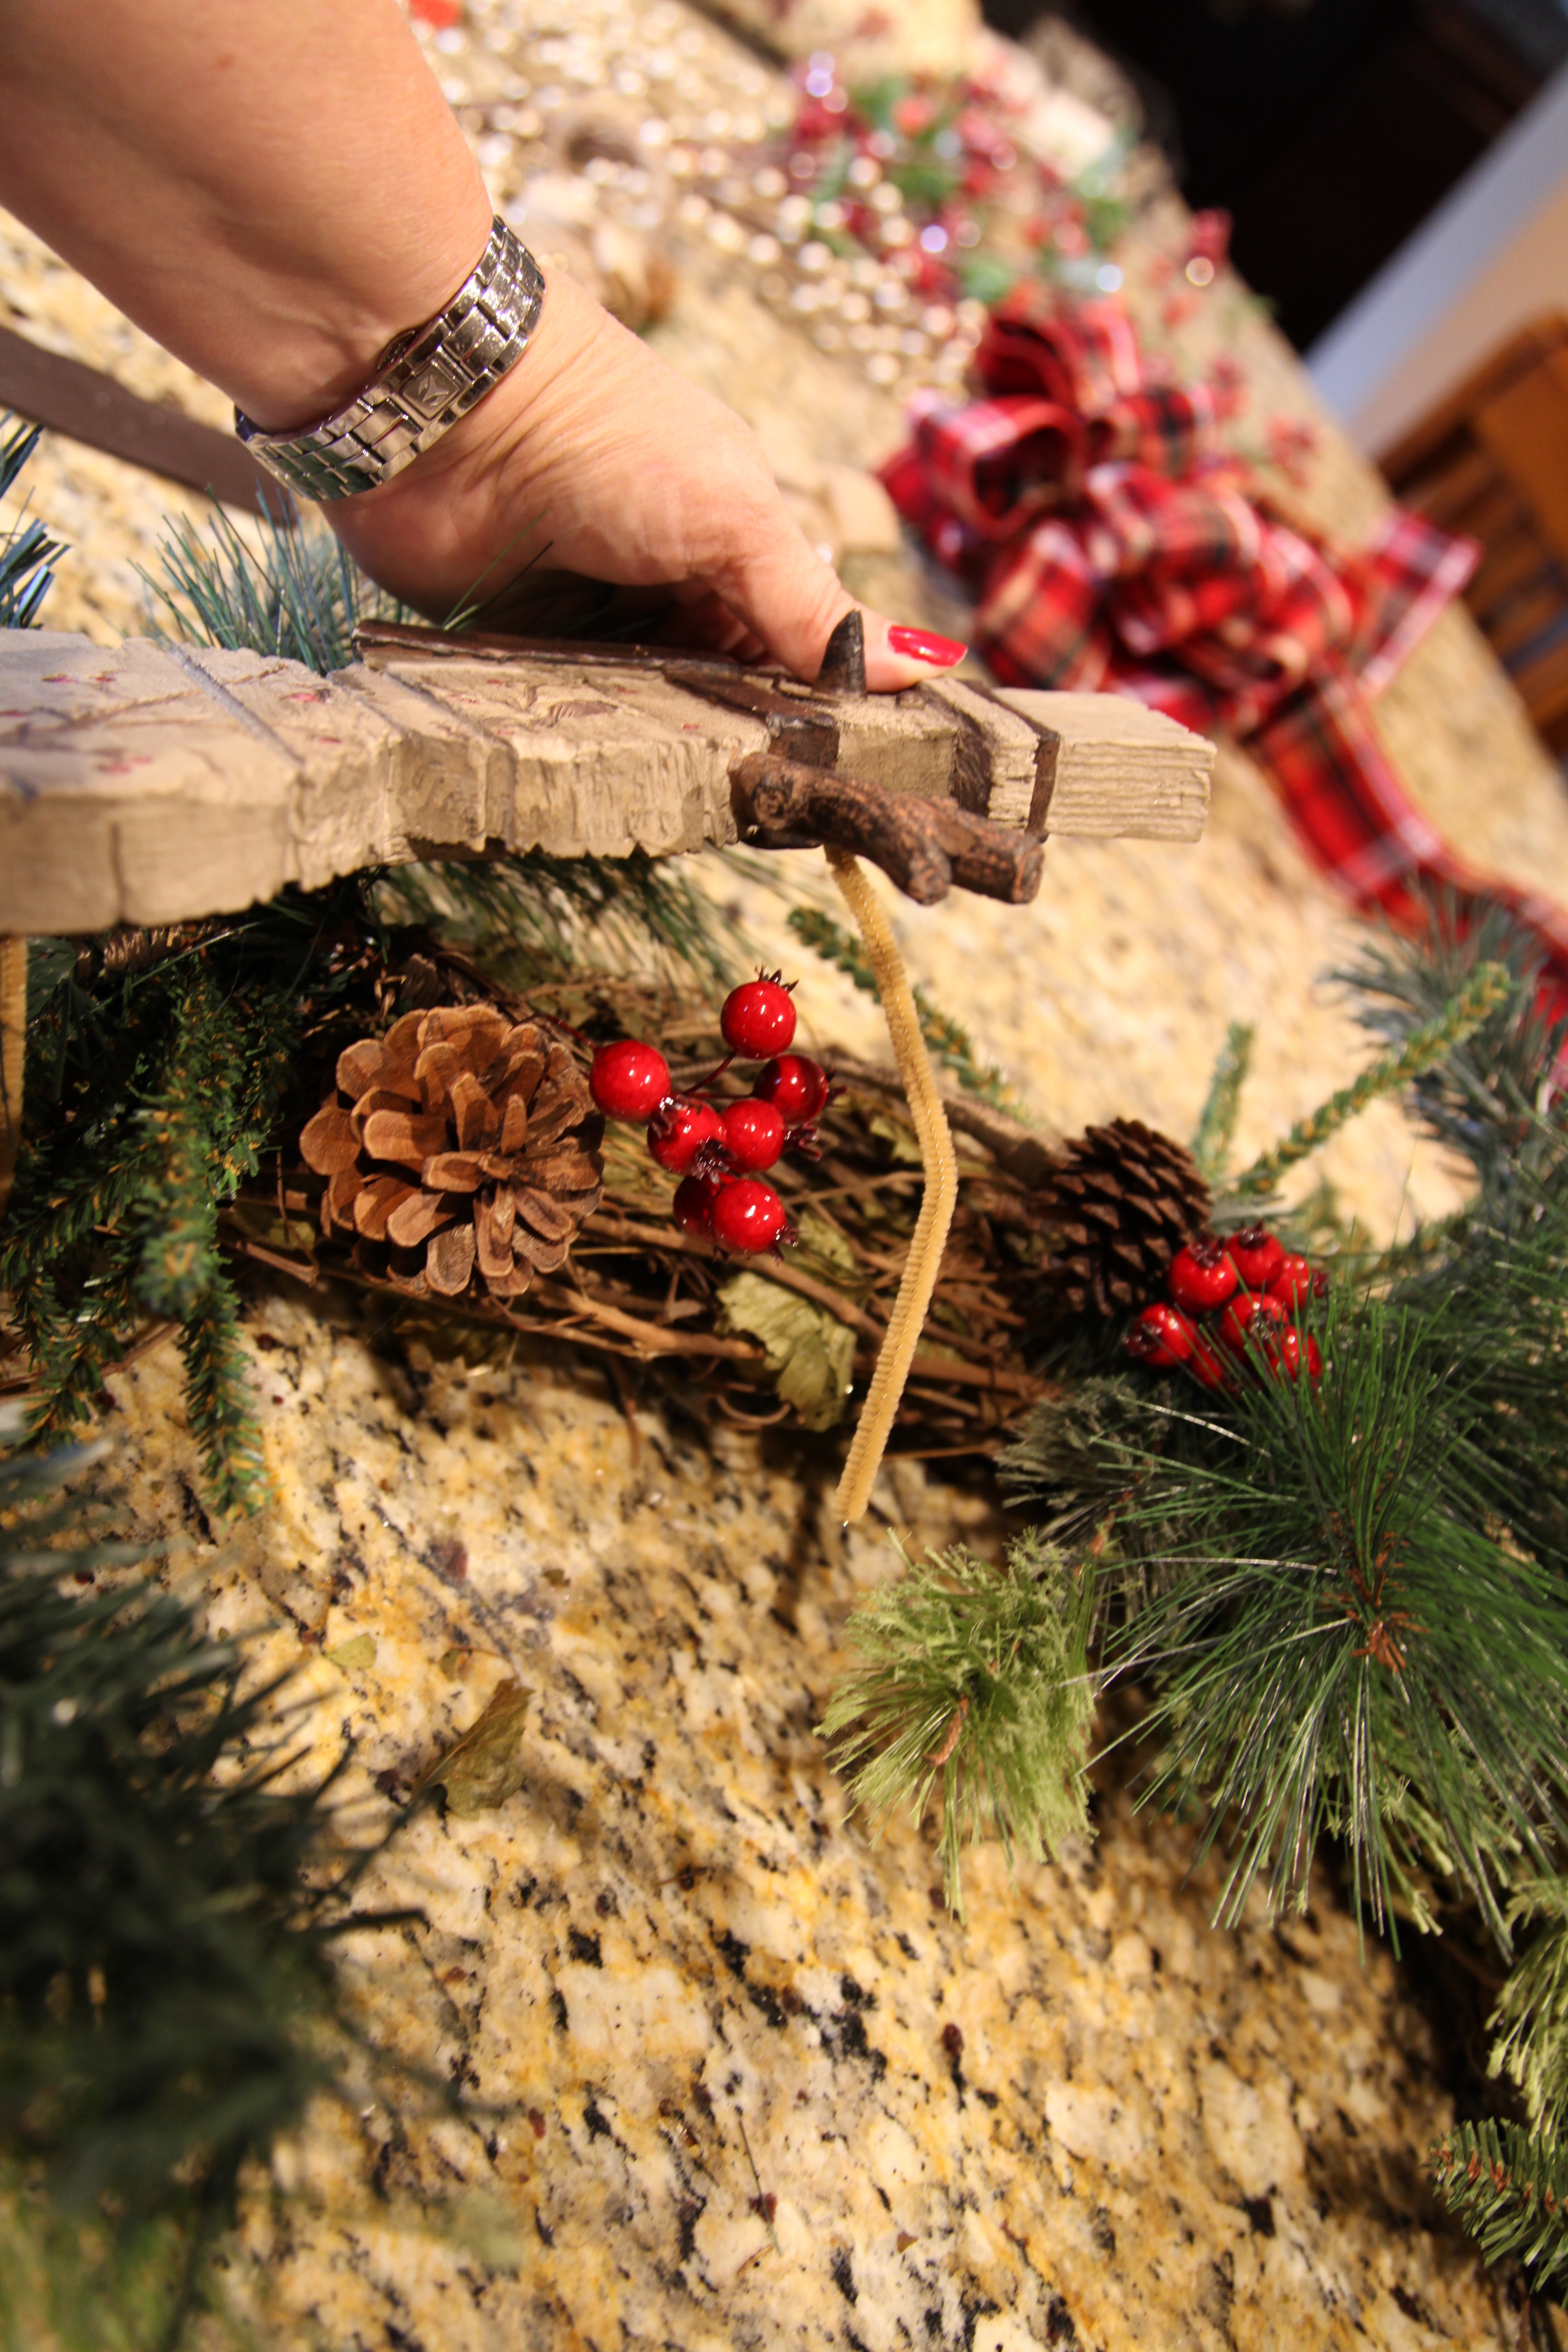
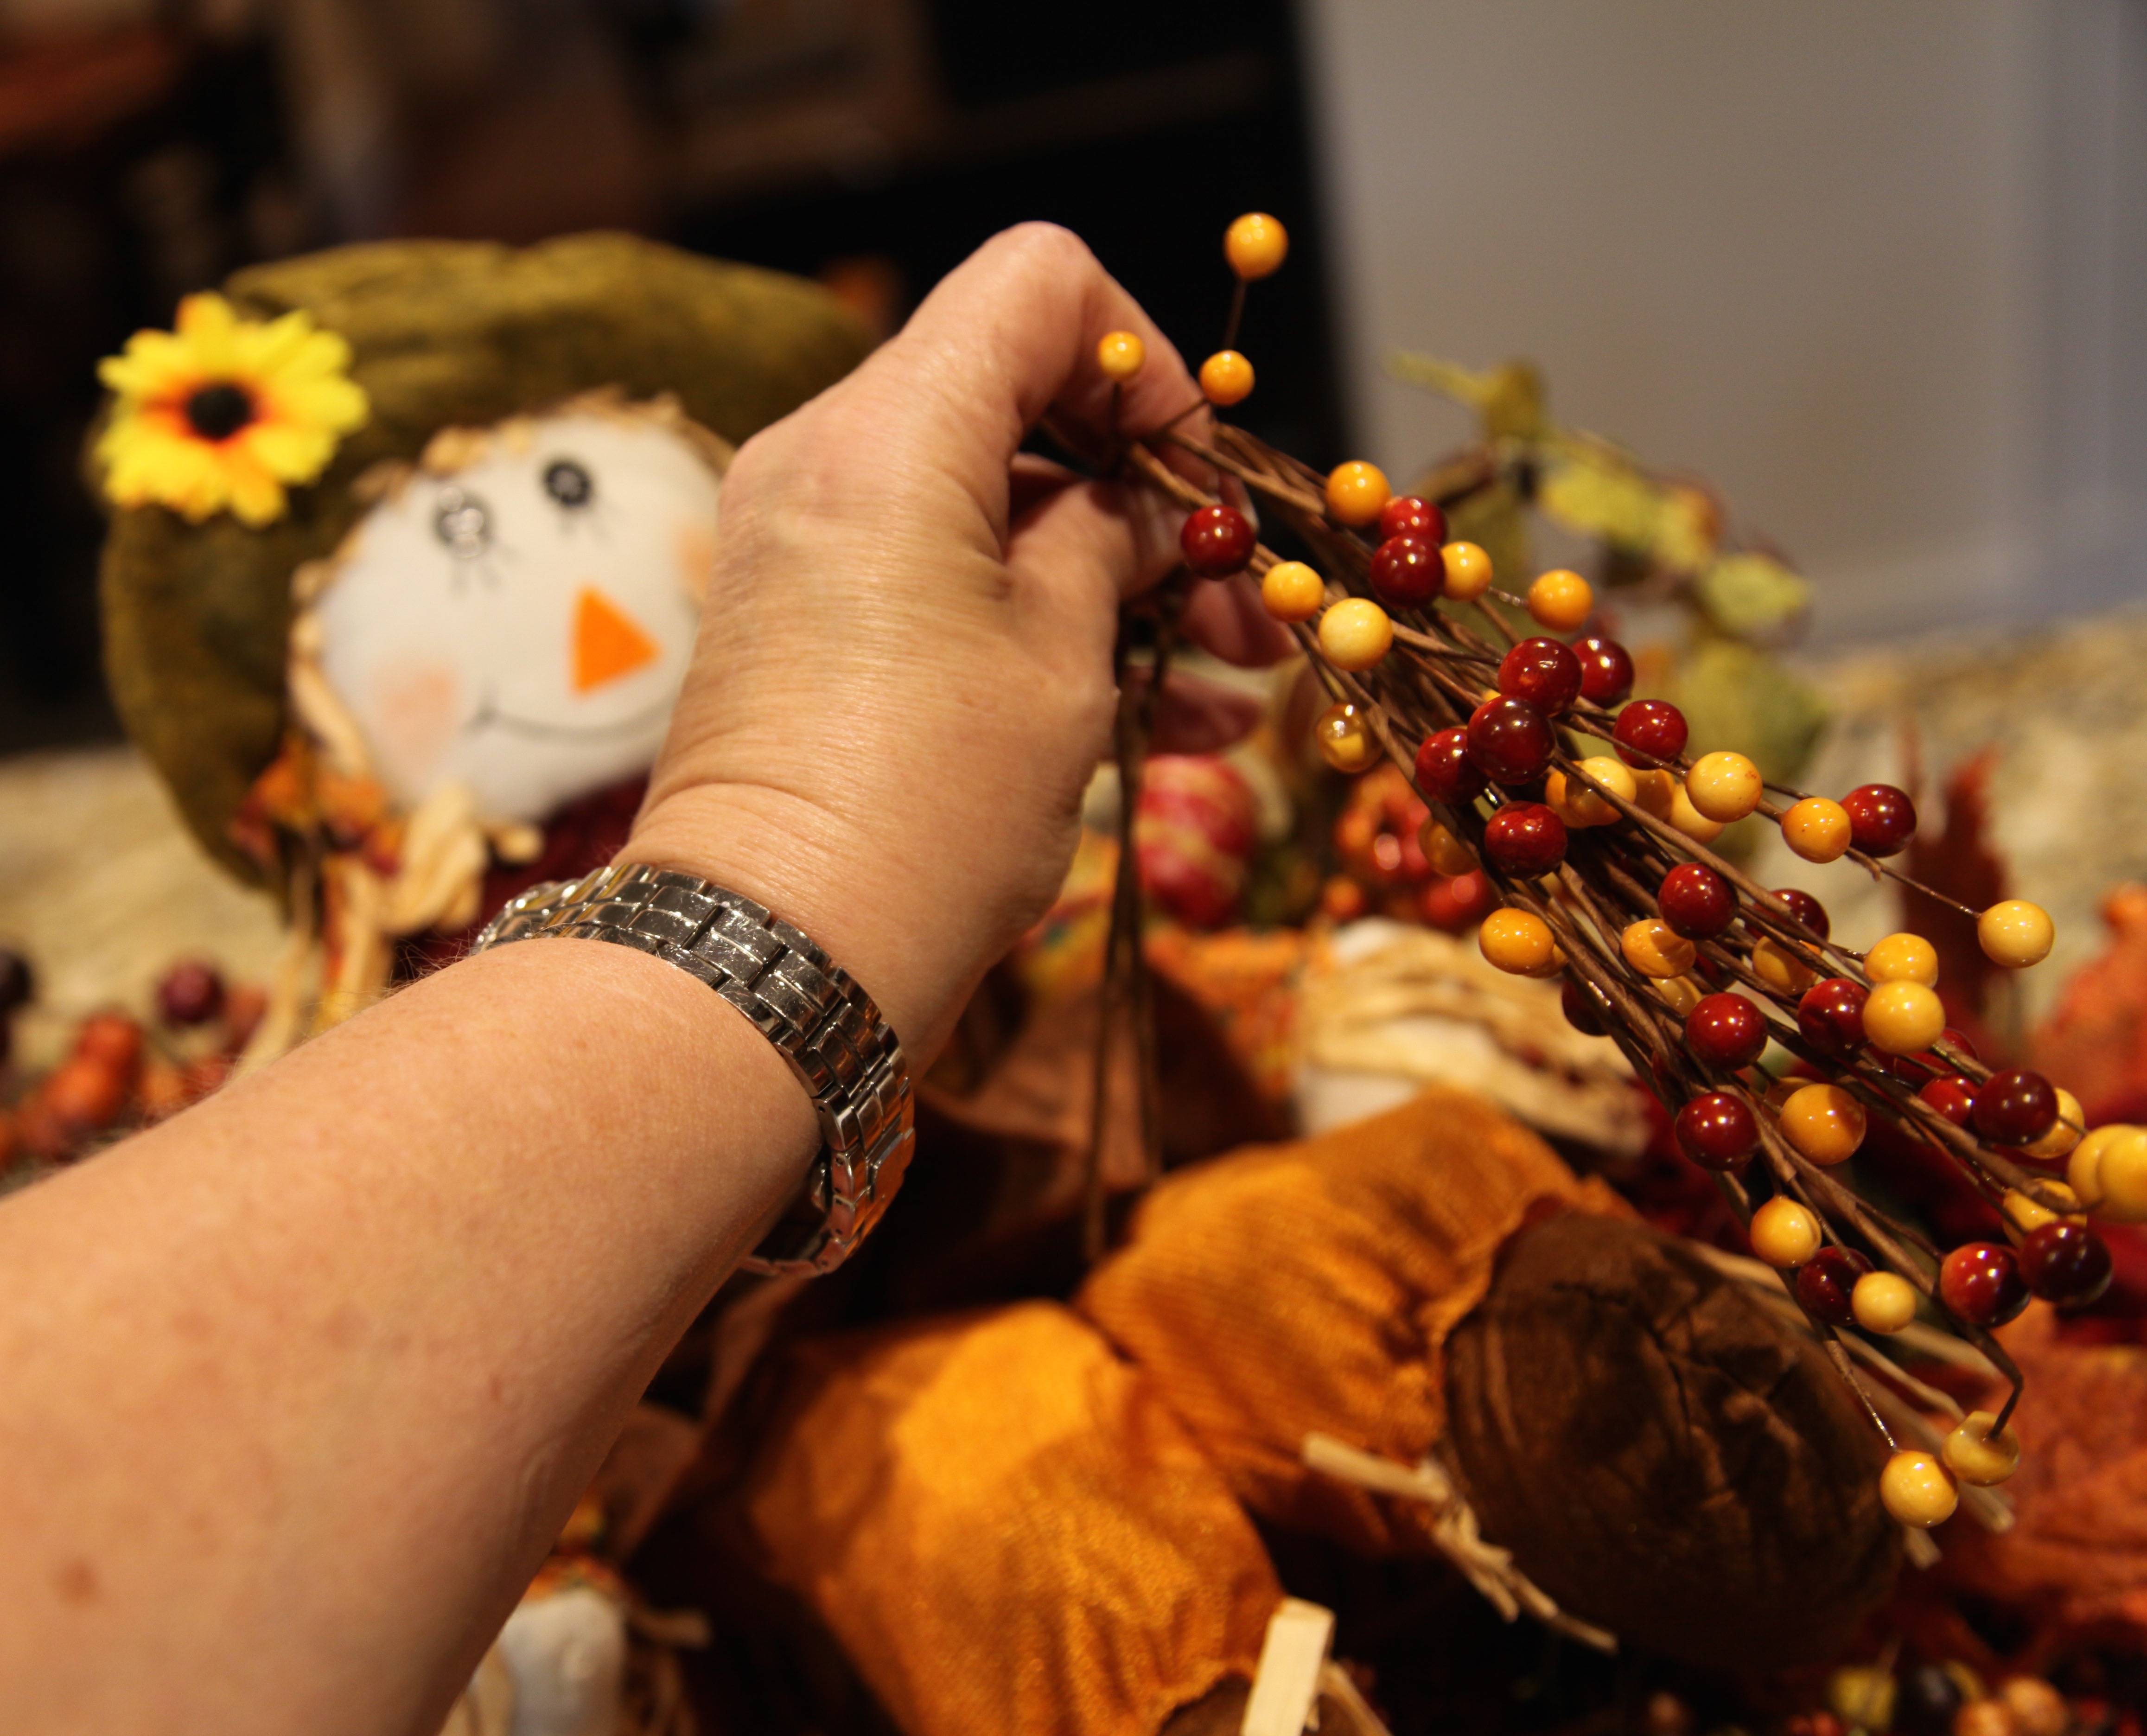
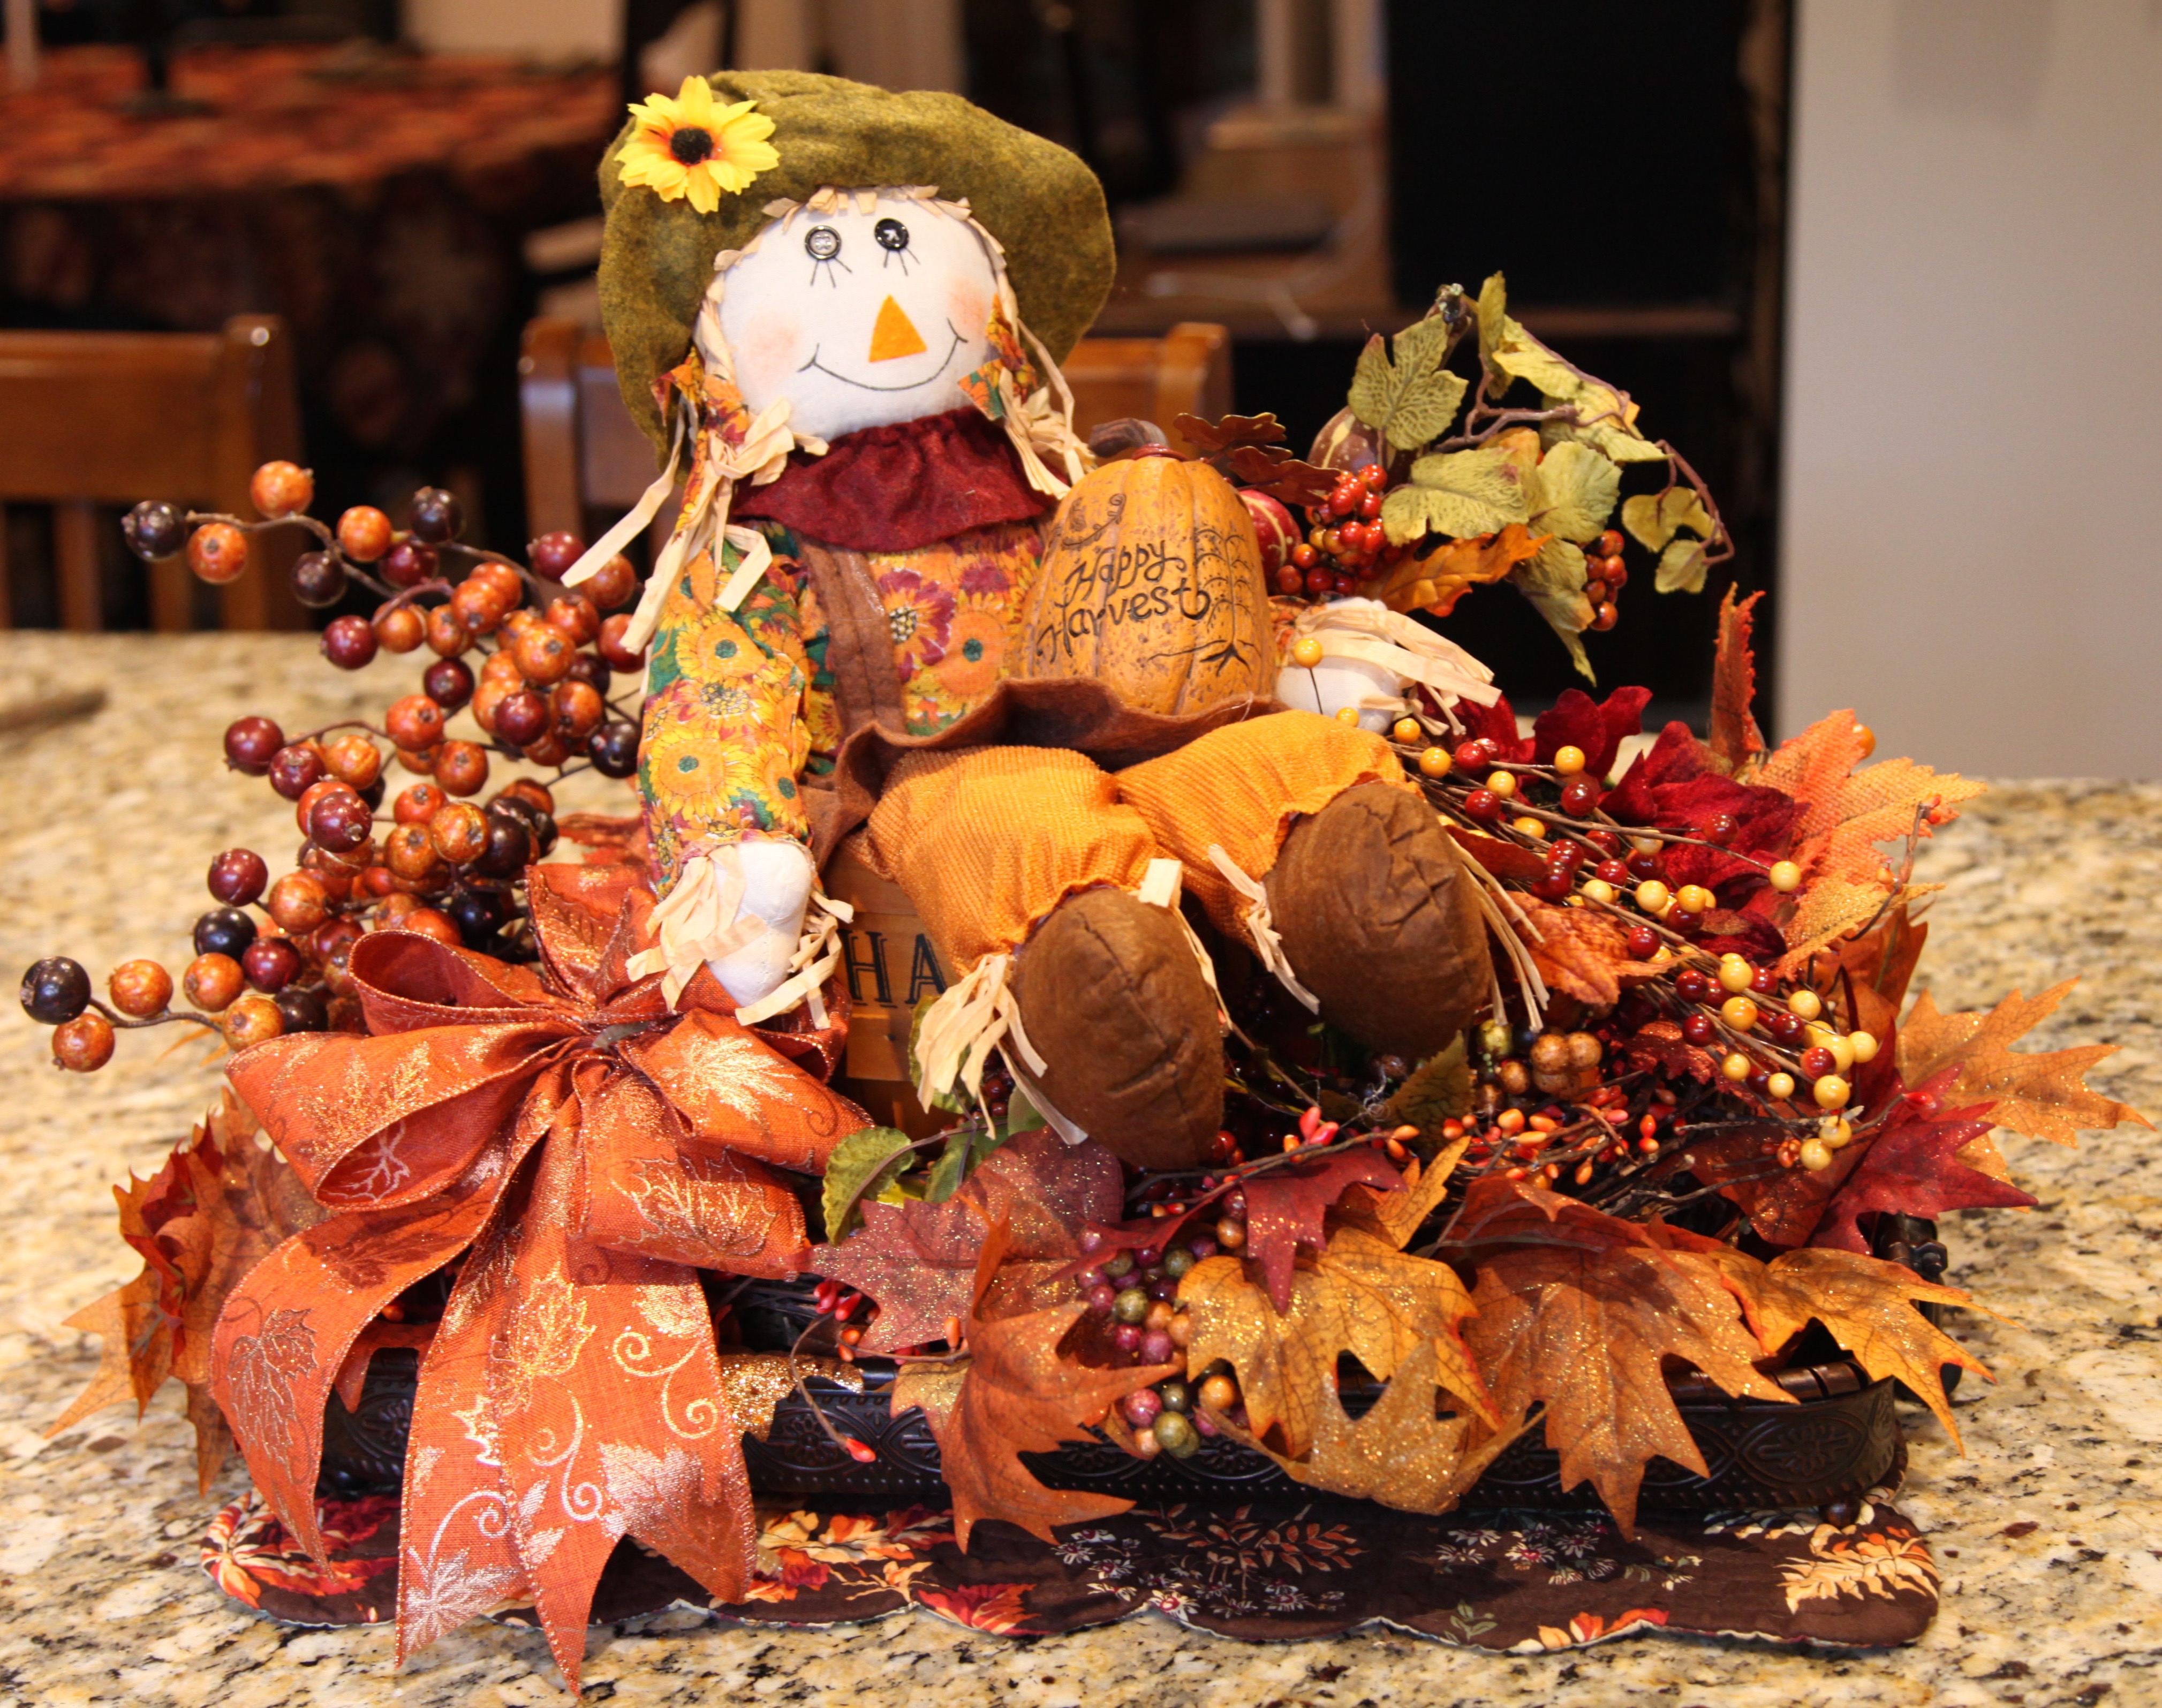
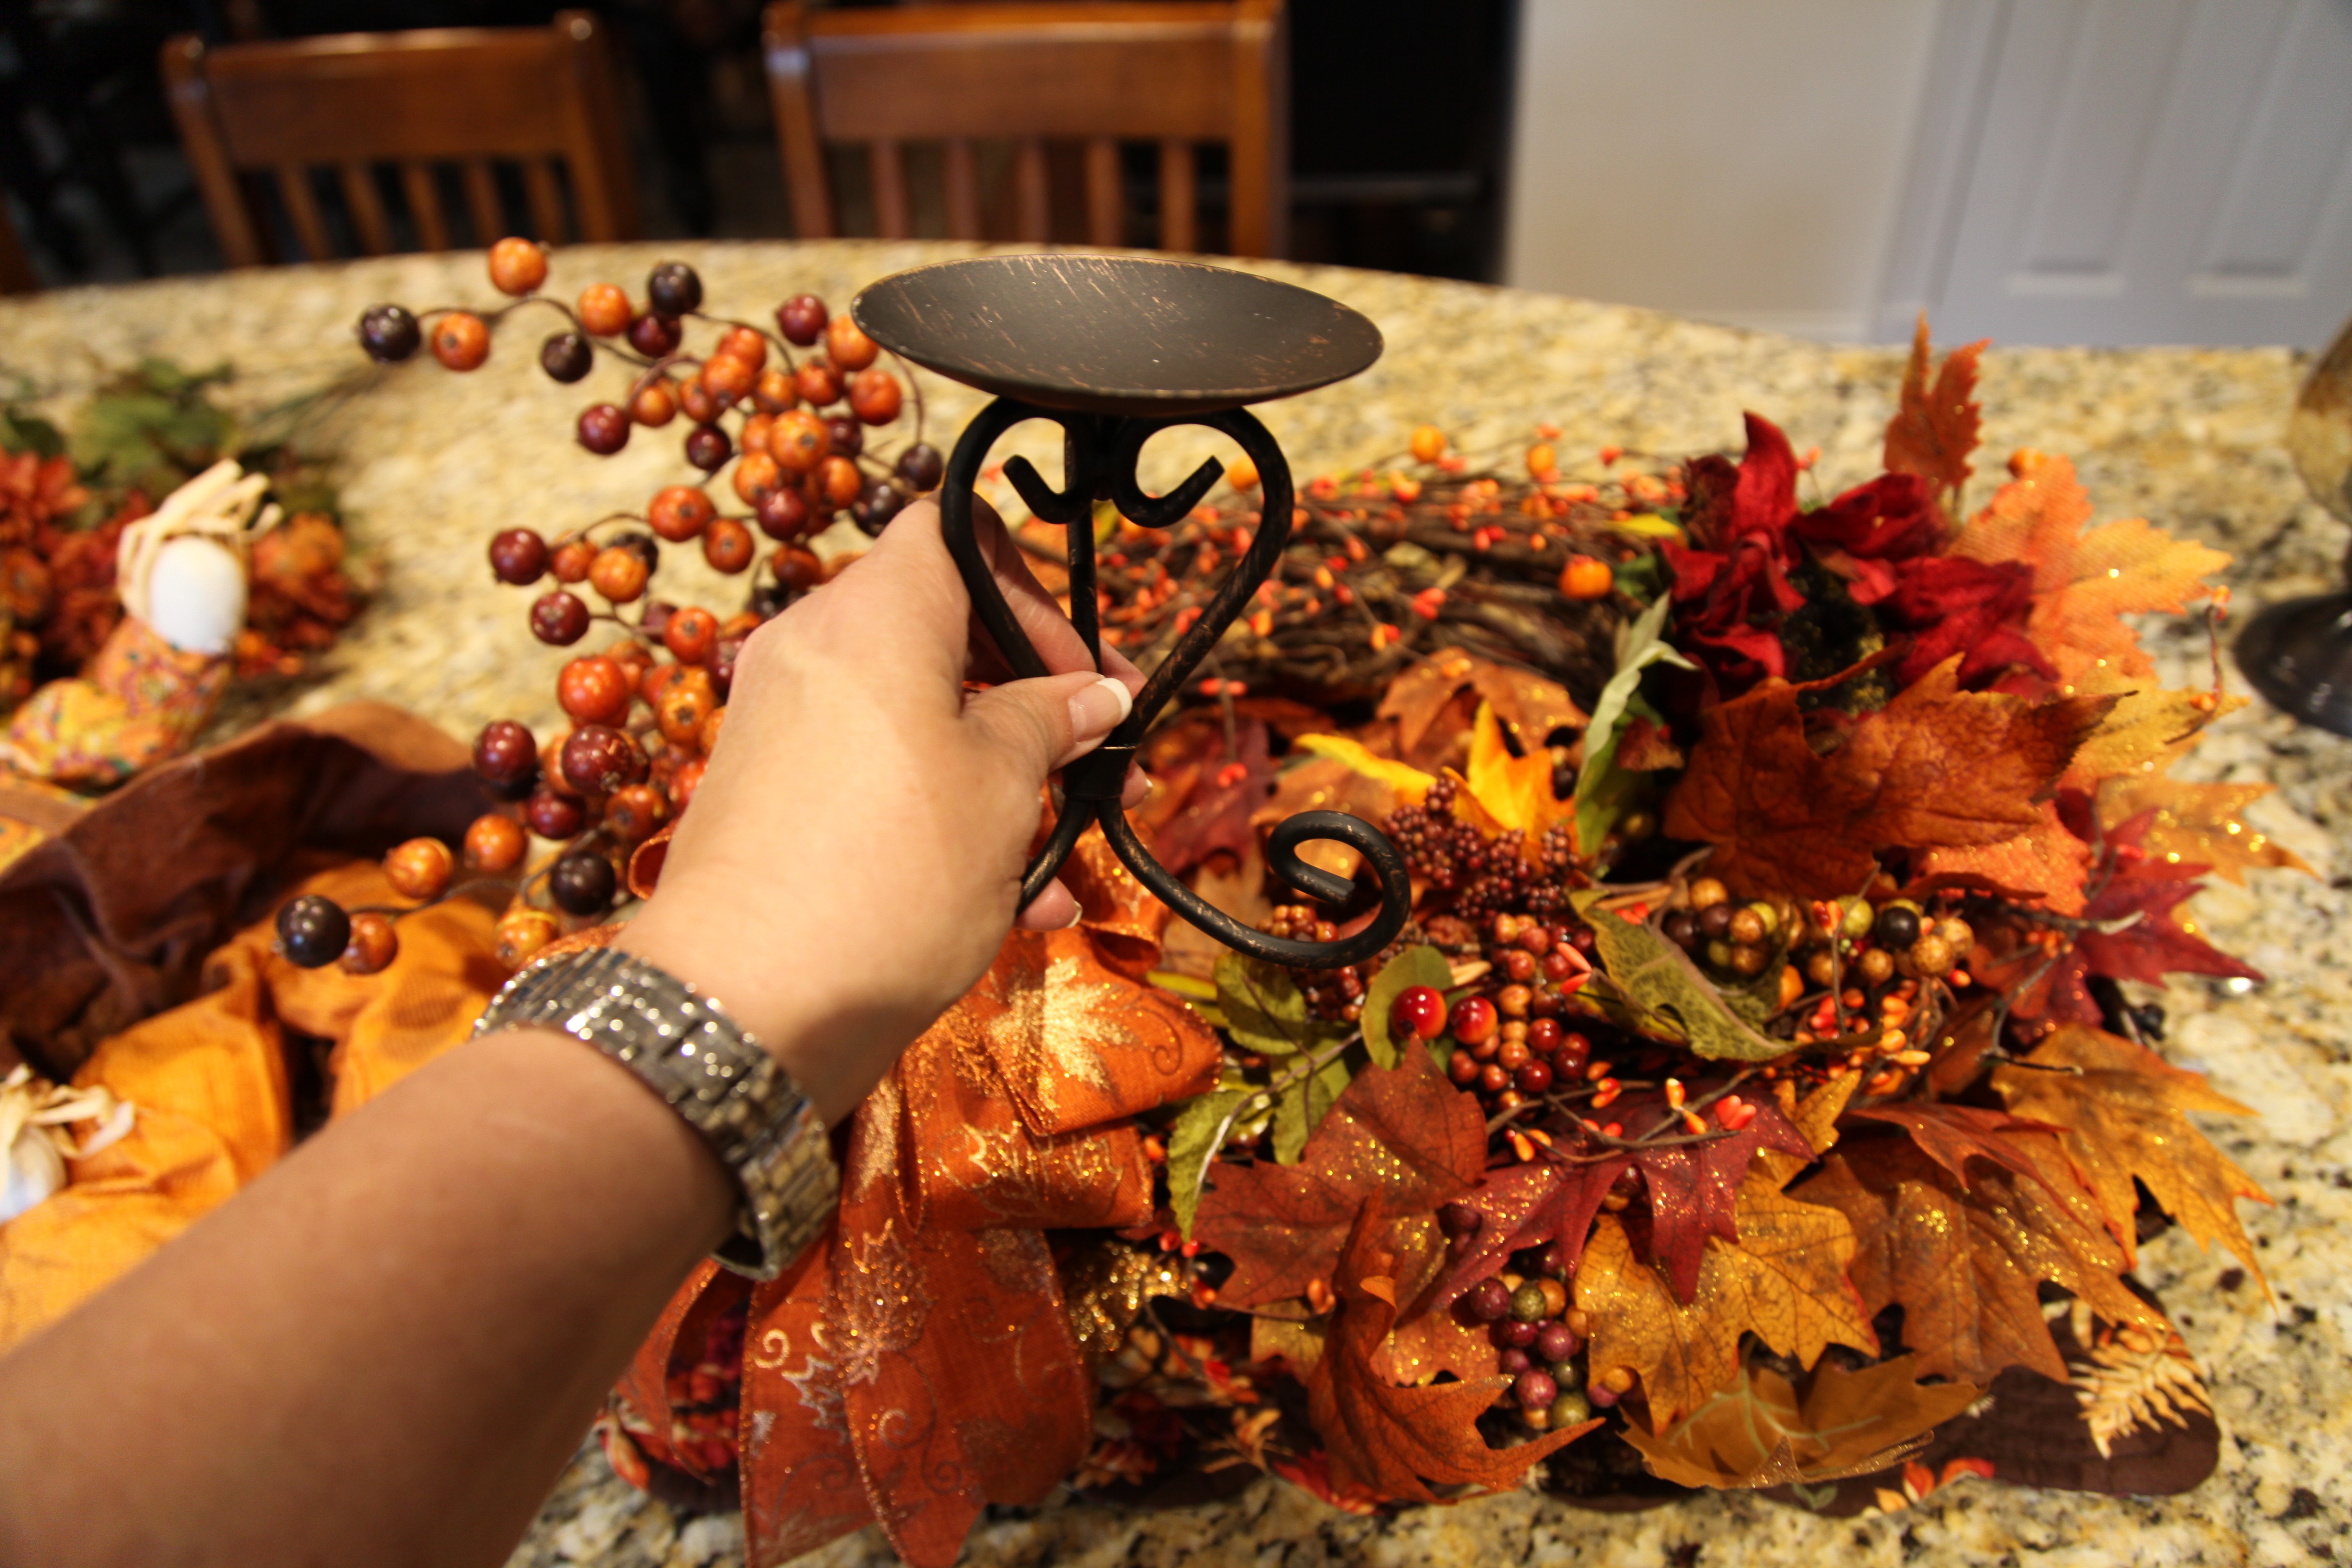
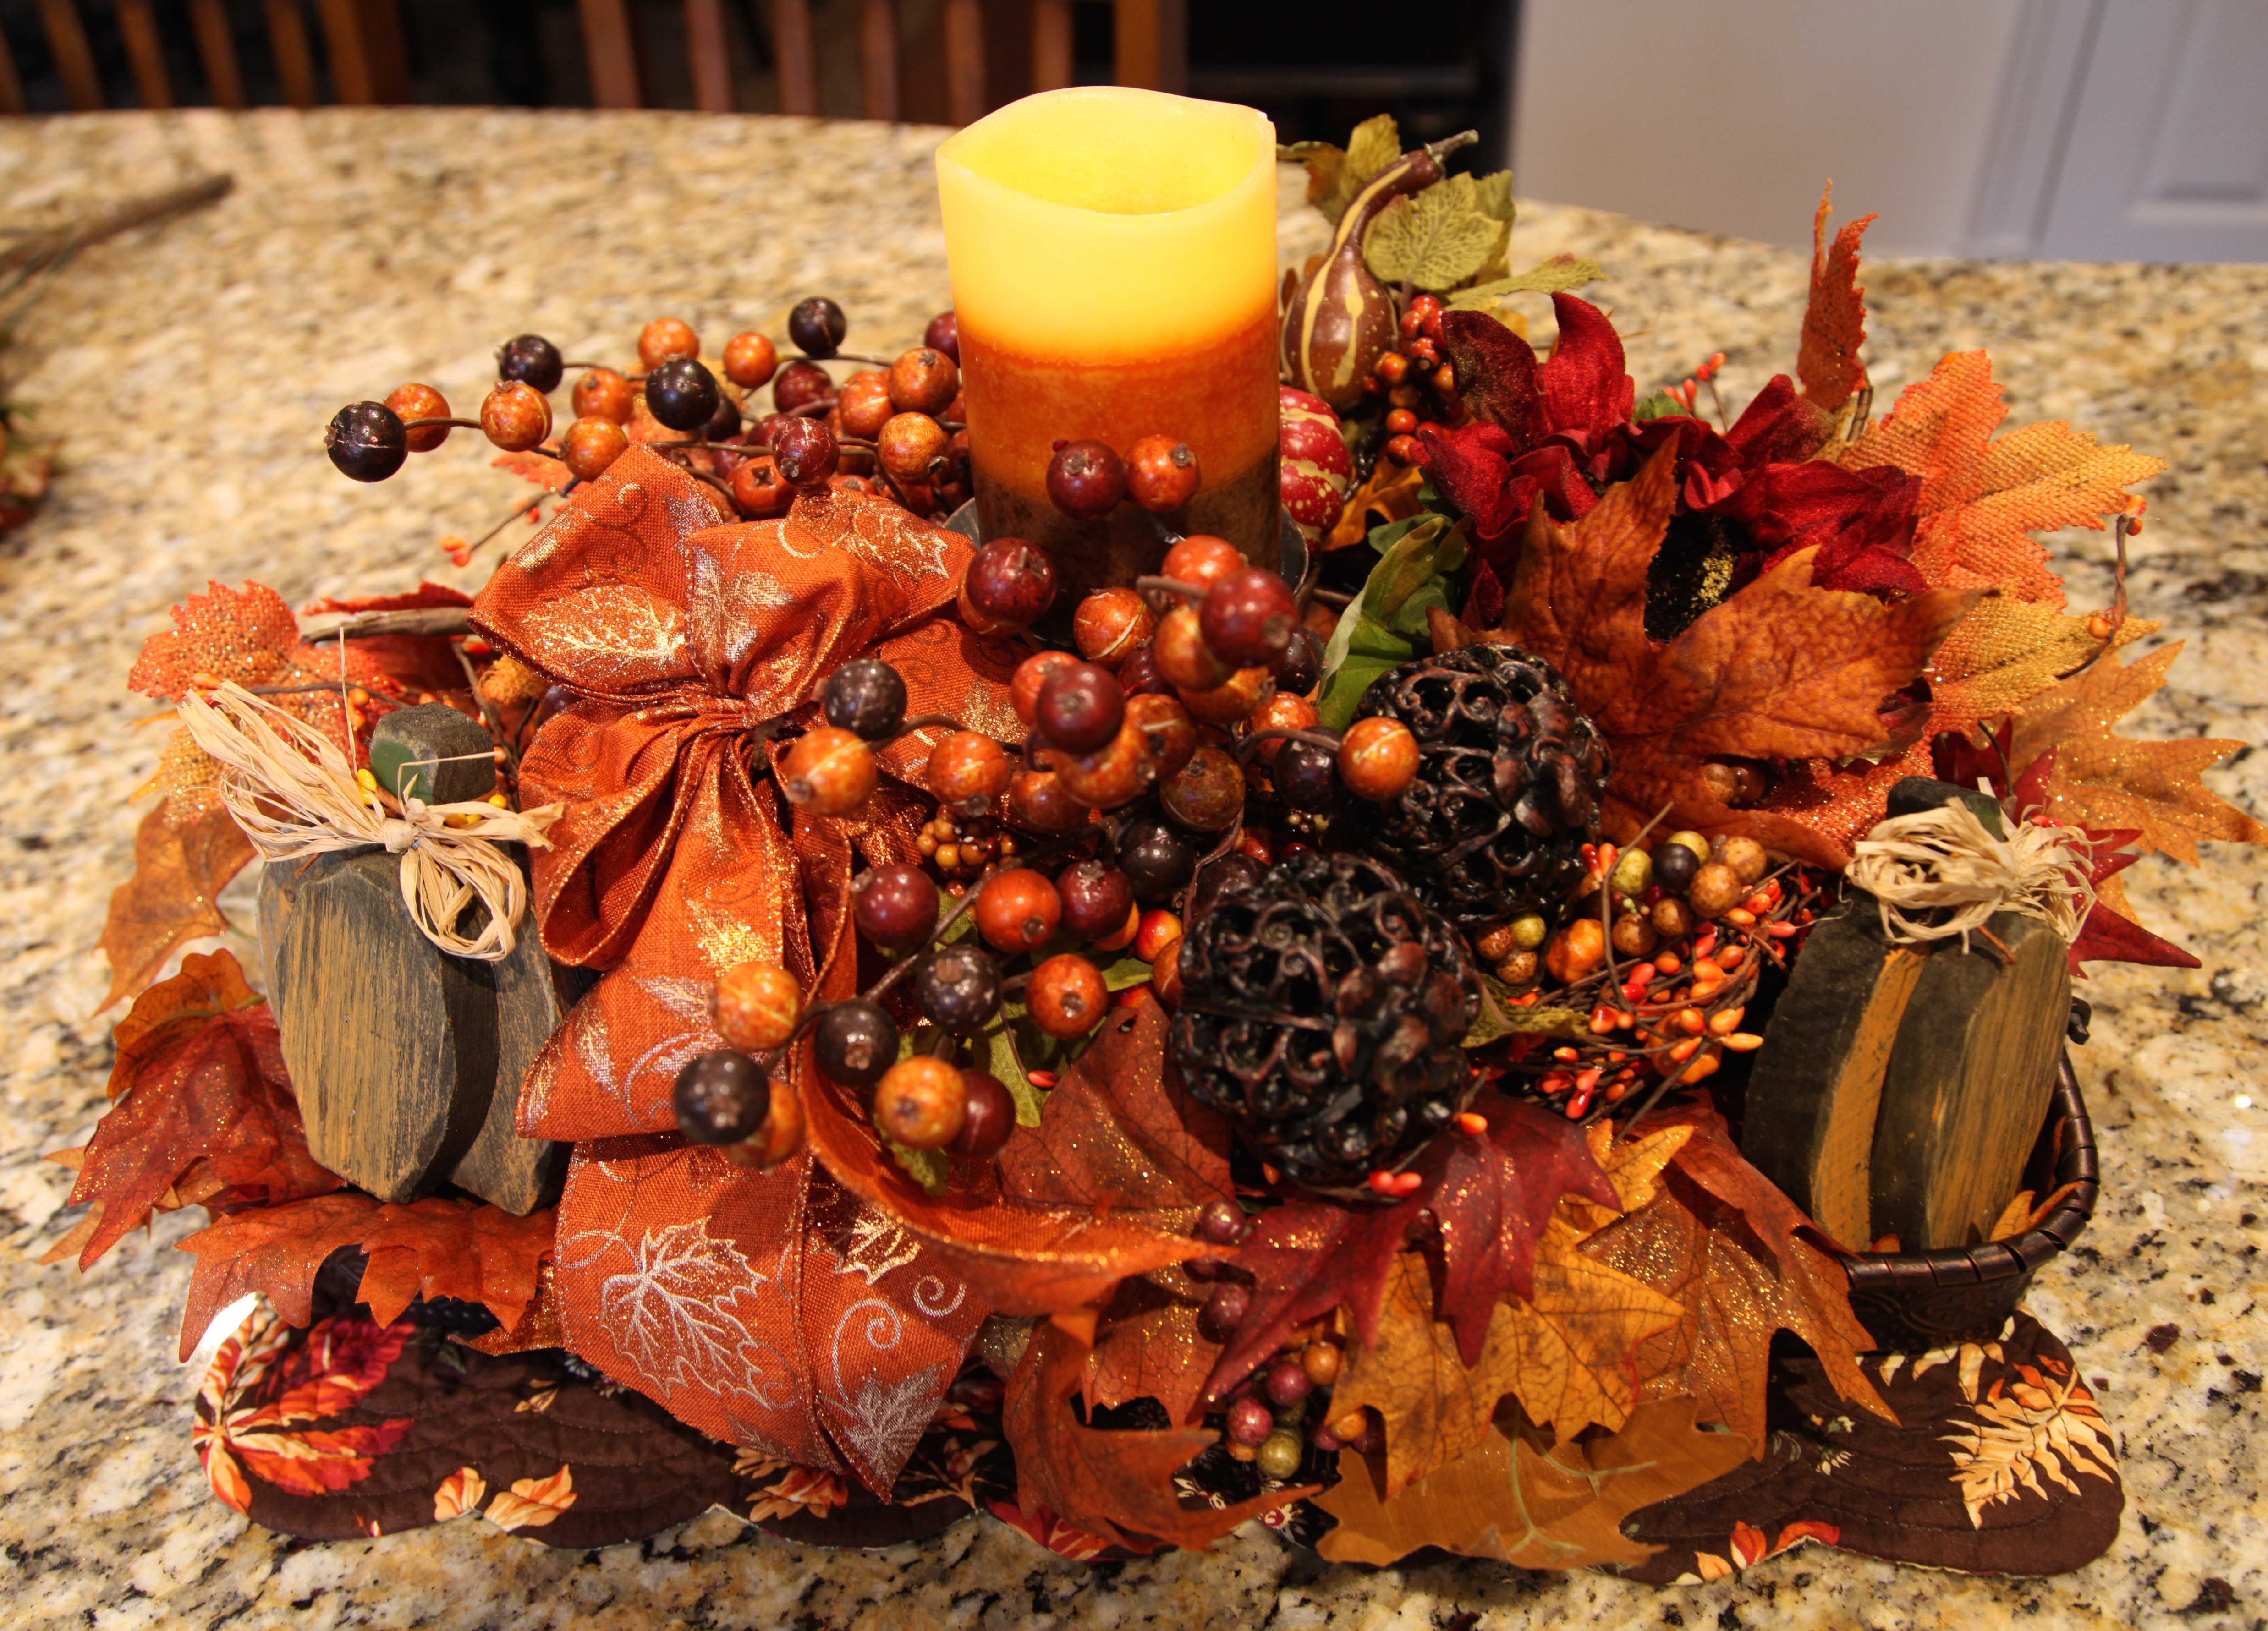
For one thing, I’ll explain how I made this cute little sled & basket decoration:

IMG_2436

Until next time, y’all take good care! ❤

**In crafting there are no mistakes just unique creations**

Christmas: Staircase Pine and Ornament Garland

Tis the Season right?! Welllllllll, maybe not quite for most. 😉  But, for me, I am starting my Christmas decorating way earlier than I usually do, yes, I’d say November 8th is pretty early.  There are several reasons for this change in my normally very strict and scheduled regimen which in the past has included such things as pulling all of the Fall decor down and starting on the Christmas decorating the very next day after Thanksgiving.  Have I mentioned that I’m a very organized, anal retentive person who must stick to a schedule at all times?  I drive myself and I’m sure those around me crazy with my structured ways. So, I’m trying to lighten up a bit and break away from that ridiculous regime that I have always set up from myself; as I age, that type of thing just stresses me out more than it helps me.  I no longer am juggling kids and volunteering and crafting and any number of other things that I was involved in earlier in my life, now, it’s just the pups and me rattling around in this big house, so I’ve got the luxury of taking my time and spreading my decorating out over a couple of weeks as opposed to the mad dash to get Fall put away and Christmas set up the day after Thanksgiving.  Let’s not forget that I pretty much redecorate the main level of our home for both ‘Seasons’ and if I waited till Thanksgiving Day to deconstruct Fall and reconstruct Christmas, well, I’d be working up until Christmas…add in there Christmas shopping and wrapping <~~~~my biggest “pet peeve”, well, I’d be a blithering idiot! lol 😉

So yesterday I started to deconstruct Fall, BUT, since my hubby was home and he had graciously agreed to help me do a few things in the Christmas decorating realm that I might not be able to handle myself while he’s at work, I also started my Christmas decorating.  That’s right, I lightened up my schedule and then I straddled myself with a ton of work to get done in one day—Well, I’m a work in progress in and of myself obviously. lol 😉  The first thing that happened was that I went to the basement and delineated which “FALL” bins I needed to be carried upstairs <~~~hubby’s job, stairs are not my friend…bad knees.  While the hubby was doing the grunt work, I was starting to grab all things Fall, i.e. scarecrows, leaves, sunflowers…well you get the picture.  I sat myself down with gallon sized ziplock bags and a sharpie to be used to pack away (in an organized fashion of course) and label certain centerpiece accents and such.  This monumental task took quite a while…I will admit that I did not enjoy this part of my day…;)

IMG_9470

In the midst of me doing all of this, after he had finished carrying all of my “Fall” bins upstairs, my hubby had retrieved the Christmas staircase pine garland from the basement, yes, that place that holds all things Holiday and much, much more. 😉  (He had already removed the pip berry garland from the railing; I hadn’t seen that railing nekkid in a long, long time. Didn’t like it much!)

IMG_9449

We purchased these strands of pre-lit pine garland from the Pottery in Williamsburg, VA last year and I believe they are 9′ in length.  I *think* we used 3 lengths for the staircase…might have been 4, I honestly can’t rightly remember…blah to me huh?!

IMG_9452  IMG_9450

So the task of attaching the garland to the railing commenced…hubby’s job…and sometimes not all that easy of a task to complete considering that we are both crazy picky and the swag points have to be the same length…ugh…y’all get the picture.  That said though, my hubby has a great eye and he hardly had to tweak one swag point after he was finished. YaY!!

Next, I had found this “Ornament Garland” at Walmart a couple of weeks ago:

IMG_9457

I used a strand of it to make this wreath…(Here is the link if you’d like to know how I put this wreath together):

IMG_2196

And I had the bright idea that I wanted to add it to the staircase garland because I was not interested in making my own ornament garland which I know would probably send me over the edge. lol  SO, first thing we needed to do was to locate a bunch of boxes of these Ornament Garlands…took us trips to 2 different Walmarts.  I cleaned both Walmarts out and I purchased 8 boxes at $20 a pop, yes, a bit pricey, but, the end result was well worth the cost, not to mention the ease with which they attached; worth their weight in gold in my humble opinion.

This stuff is so nice! And the bulbs are shatter-free bulbs which is a great bonus for us considering that we have clumsy people (me) and long swishy tails (the dogs) running around this house. Each strand is 6′ long and the bulbs are attached to a plastic ‘feeling’, very pliable cording type stuff…I used 7-1/2 strands on the staircase garland…

IMG_9453 IMG_9455

To attach the ornament garland, we simply made a trough in the pine garland, snugged the ornament garland down into the trough and used the pine sprigs like twist ties and simply tied it in.  We did do a tiny bit of mixing of the ornaments into the pine garland, but honestly, it somehow came together beautifully! I was jumping for joy and doing the happy dance when I stood back and took a look at our work.  Wow!! 🙂

IMG_9460

Next, I attached all of those big Christmas bows –Here is a link to tell you about those Big, Beautiful Christmas Bows.

The next thing I did was to create a pine ‘spray’ to go on the bullnose at the bottom of the stairs.  I took some pine ‘pics’ that I found at Hobby Lobby and tied them all together with a pipe cleaner, I stuck the tied end down into the bullnose and then I added a strand of 15 white lights, a few gold lacy flowered pics, a few gold berry bead pics, and I cut the 8th and last strand of ornament garland in half and used it to wrap in and around the spray. Then I attached the last big bow…

IMG_9459 IMG_9462 IMG_9464IMG_2391

In years past, I’ve never been able to wrap my brain around or muster the strength to figure out how to make a pine ornament garland, but, I have to say that this pre-made ornament garland from Walmart made it so easy to bring this project to fruition.  It looks amazing and I couldn’t be happier with how it turned out! 🙂

Onward I go with my decorating…Stay tuned, I’m sure I’ll be posting blogs about my projects, cozy corners, table top decor, mantel and hearth decor…etc..etc…

Until next time, y’all take good care! ❤

**In crafting there are no mistakes just unique creations**

OH wait, I had cut the last strand of Ornament Garland in half, I only needed half of it to go on the bullnose spray.  I used the other half to create this little lantern decor–easy peezy little task.  I took a tray, sat the lantern down on the tray, wrapped the rest of the ornament garland around the lantern and added just a few snowflake ornaments. 🙂

IMG_2393

Big, Beautiful Christmas Bows (A New Kind For Me)!

Well, what do you know?!  This lady still has the capacity to learn how to do a new craft! YaY!! Go me! 😉  Seriously, I have been searching YouTube tutorials for a couple of weeks because I’ve been wanting to learn how to make a much bigger bow than the tiered bows that I’ve been making for literally decades.  For one thing, thanks to a couple of friends suggestions, I might want to make a bow tree topper for my Christmas tree and my little tiered bow wasn’t going to work in that capacity in any way, shape, or form. I was so happy that  I *finally* found the tutorial that helped the dim “I don’t know how to make a big, beautiful bow” bulb in my brain go off like a strobe light. 😉  I found a YouTube channel hosted by Nancy Alexander and here is a link to one of her bow tutorials.  She has a little trick where her first two loops form a “bow tie”, and then the next four loops form an “x”, and so on.  Those might seem like really simple explanations, but, I am not kidding when I say that I literally whooped out loud when I was successful at making a big, beautiful bow! 🙂

So, now that the “how to make a big, beautiful bow” light had come on, I had to do a little bit of practicing…Here are a couple of my trial run bows…IMG_9426 IMG_9433

Okay, they didn’t look bad, so I felt like I could try my hand at making the Christmas bows that would go on the staircase (because neither of those bows would match my planned burgundy and gold Christmas color scheme). I bet I find somewhere else to place them though. 🙂

I made 8 bows today out of this burgundy plaid and gold ribbon.  Both ribbons are wired ribbon (a must in my opinion) and I piled one on top of the other and created the bows; I fluffed the loops out when I finished. I got exactly 5 bows out of one (well one burgundy and one gold) bolt. I tied them together with chenille twist ties.  I didn’t use the ornament pictured, I thought I would glue it to the center of the bow, but, when I tried it I didn’t care for the look, so I will use the ornament elsewhere in the Christmas decor.

IMG_9434

Here is one finished bow and me doing the “Happy Dance” behind the camera!!

IMG_9441

After I saw that I could create exactly what I wanted, I went ahead and made 7 more big, beautiful bows and tied them onto my pip berry garland.  I will most likely replace the pip berry garland with the more traditional pine garland when I get to my Christmas decorating, but, for now, they sure look pretty hanging on that pip berry garland. 🙂

As I sit here and look at my creations for the day, I am patting myself on the back for taking the initiative to research and to learn a new craft! What a feeling of accomplishment such a thing can produce. 🙂

Here is how my stair railing looks this evening:

IMG_2334 1V4A3128 1V4A3130 1V4A3132

Until next time, y’all take good care! ❤

**In crafting there are no mistakes just unique creations**

Burlap Christmas/Winter Wreath with White and Silver Accents

I am still itching to start decorating for Christmas and since I practically recreate the wheel when I decorate, I have decided to decorate my powder room with a more neutral woodsy feel, I am going to try to use accent pieces that will transition nicely from Christmas to Winter; I’d like to keep it in place until Spring. This wreath was my first and will of course be my largest contribution to said powder room decor. 🙂

I found the burlap that I used at Walmart, it is h-e-a-v-y duty stuff, and trust me, will definitely hold its shape beautifully.  The burlap has white ‘flocking’ in the shape of pinecones stamped all over it which makes it quite stiff and honestly, I did struggle with it a bit, I just *might* have said a choice word or two to myself while struggling; but, the struggle was worth it in the end. I gathered all of the accent pieces to compliment that burlap.  I chose a coordinating burlap ribbon with silver snowflakes, a grapevine & white angel, silver and white pinecone ornaments, and silver and white berry beads.

Here is how I put it all together:

I started with a 16″ work wreath with silver chenille twist ties already attached…

IMG_2282

I used every single bit of both rolls of this burlap…

IMG_2284Version 2

I made this bow out of coordinating burlap ribbon:

IMG_2283

And then I started to put it all together; if you’d like to see how I put my burlap or deco mesh wreaths together, here are a couple of links:  Burlap Woodlands Wreath and Christmas Deco Mesh Wreath…If you have any questions at all, don’t hesitate to leave them in the comments below, I’d be glad to try and help anyone who might need a little assistance. 🙂

IMG_2286 IMG_2287 IMG_2288

I cut strips of the coordinating burlap ribbon into 8″ strips, cut the ends into points and attached a tuft of two to every-other twist tie on the outer ring of the form…IMG_2290 IMG_2294 IMG_2296

Then I spread them out to kind of look like a snowflake…

IMG_2297

Next, I hot glued pipe cleaners to the back of this angel (purchased at Hobby Lobby for 50% off) and I tied her onto the wreath form.  I knew she’d be too heavy and using hot glue alone would cause the burlap to sag; adding the pipe cleaners helped to secure her into place…

IMG_2300

Then I hot glued these pinecone ornaments into place
IMG_2299

Next, I attached the bow and accented it with the berry beads by weaving it through the bow loops…
IMG_2302

IMG_2308 (1)

I placed berry beads around the angel as well and called it done…

IMG_2308 (2)

Here is the finished wreath, it cost me in the neighborhood of $35 to make, only because the box of those pinecone ornaments cost $10.  I purchased them at our local Home Goods store and that store hardly ever has ‘clearance’ items or offers a percentage off, but I loved the look of them and they were perfect for this wreath, so I cringed and purchased:

IMG_2315

It will replace this wreath…

IMG_2314IMG_2313

Now I will start to collect a few other accent pieces with which to decorate the rest of the room. I’m going to try to stick with whites and silvers only…I might throw a touch of burgundy in there in a few places…not sure exactly what I’ll come up with quite yet. I *love* the creative process though. 🙂

Until next time, y’all take good care! ❤

**In crafting there are no mistakes just unique creations**

Christmas Grapevine Wreath

Another bright idea popped into my head as I was piddling around my house yesterday morning; how about if I make a Christmas wreath to attach to the 6′ mirror that hangs above our mantel?!  Well, the first thing I needed to do was check with the hubby to see if it was even a doable task *for him* as I am not as agile way up on a ladder as I’d like to be. 😉 He assured me that he would be more than able and definitely willing to hang whatever wreath I created way up there on that mirror.

OH let me tell you a quick story about that pretty, *large*, *heavy* mirror (6′ tall x 45″ wide). My hubby actually was the one that found that on LightingDirect.com <~~~ That link is for a similar mirror, I can’t find our specific mirror at this time.  Anyway, it was delivered via 18-wheeler (freight) because it was *that* heavy.  Putting that thing up was quite the task, my hubby attached a piece of wood the width of the mirror to the back of the mirror and one of the same size to the wall, he had cut angles on the edges of the wood pieces so that the piece on the back of the mirror would snug down into the piece of wood on the wall thus anchoring it nicely and securely.  It took my daughter, my hubby (while up on a ladder), and myself to lift and muscle it into place, whew!!  Trust me, it isn’t coming back down…probably ever…haha.

IMG_2231 IMG_2235

So back to my bright idea, I decided to make a grapevine wreath for this location because I wanted to stick with my planned color and rather rustic theme.  I’ll be using a pine pre-lit garland on the mantel…I bit the bullet this year and went ahead and purchased it new from Grandin Road…here is a link… Christmas Garland. Yes, it was a bit pricey, but I had a 20% off your entire purchase coupon, so I went for it.  While I was at it, I purchased a set of 5 Candle Rings; I will be adding some of the same red and gold berries to them that I used for this wreath (subject for another blog).  Those candle rings will be placed on these gold mercury glass candle stick holders that will be on the mantel…

IMG_9373

Okay, I know all of the components that I’m mentioning for my fireplace decor sound like quite the hodgepodge, but I *think* when I pull it all together that it will look lovely…I hope anyway. 😉

Now, I wanted to make a pretty large wreath to place on the mirror, so I purchased a 24″ grapevine oval wreath (the shape wasn’t as oval as I wanted it to be though, but it’ll do)…

IMG_2202 IMG_2203 IMG_2204

The first thing I did was to cut strips of felt and I hot glued them onto the back of the wreath so that it won’t scratch the mirror or anywhere else that I might want to hang it in the future…

IMG_2205 IMG_2206

I also made a ‘hanger’ out of a pipe cleaner and I hot glued it on to where I deemed would be the top center of the wreath…

 IMG_2207

I had purchased this little wooden snowman to add to the wreath and I knew that it’d be too heavy to glue on, so I hot glued pipe cleaners to the back of it so that I could tie him onto the wreath…

IMG_2211 IMG_2212IMG_2213 IMG_2214

Here are the other accents that I chose…

Some pine greenery:

IMG_2198 IMG_2199

IMG_2200 IMG_2201

Red sparkly berries:

IMG_2208

Gold berries and small Christmas ornaments…

IMG_2228IMG_2224

I made a rather large bow and attached some of the red and gold berries into the pipe cleaner that I used to tie the bow shut.  I pulled them around to the front and through the bow loops to add a little interest…

IMG_2221 IMG_2223 IMG_2228 (1)

I also found these cute burlap ornaments that I thought would help the wreath feel a bit more rustic…

IMG_2209

Okay, so it was time to assemble the wreath…Here we go…

The first thing I attached (hot glued) was the greenery, one large piece and one smaller piece starting on the upper left bending it and circling around the top and half way down the right side of the wreath form.   I did the same thing around the bottom portion of the wreath leaving myself a bit of a space on the left side so that I could place the snowman…

IMG_2217 IMG_2216 IMG_2219 IMG_2218

After that, I added the bow, red berries, the gold berries and the little ornaments.  I then placed the larger burlap ornaments and called it done. 🙂 Here is the finished wreath…

IMG_2230

I really wanted to have this wreath lit for at least a few of the evening hours so I went on the search of a battery operated light strand with a timer an I found one at Walmart! There are 3 timing options and the one I chose was to have the lights come on at a certain time each evening, they will stay on for 6 hours and automatically turn off.  The perfect solution! 🙂 AND **Bonus**  they were only $6.88!

IMG_9384IMG_9385FullSizeRender   IMG_9386 IMG_9388

I do think it will look really pretty on the mirror above the mantel…I sat it up on the mantel this morning to see if the size was going work okay, and I do think that it will. I had to do a little visualizing because I will not even attempt to hang that puppy up there by myself. 😉

IMG_9380

Wow, I do think that it will make a nice bold statement on that mirror and it will help to pull all aspects of the fireplace decor together. Yippee!!

I’m really itching to redecorate my house for Christmas; my Dad will be coming to join us for Thanksgiving and he enjoys Christmas decorations so much, I might just decorate a little earlier this year so that he can enjoy it when he comes for our feast. 🙂


~~~Well, it is a week later and I’m amending this post just a bit, just as I’ve amended this wreath…haha.  My color pallet for my family room is going to be burgundy and gold.  Then why (you might ask) did I put that bright red plaid bow on a wreath that would be an integral part of that room’s decor? Because I lost my mind for a moment? Because I *thought* it would blend in? 😉 😉   Shoot, I was losing sleep over this little issue, so I couldn’t stand it any longer.  I made a new bow out of 2 different ribbons (burgundy and gold) because I couldn’t find any ribbon that I liked enough. I added a couple of poinsettias, some more gold berry beads, and a couple more ornaments.  I feel much better now and I’m sure I will sleep much better tonight. 😉

Here is a before and after comparison:

Image (1)

And this is the wreath that will hang on the mirror…I loved that red plaid ribbon, but not enough to completely throw off my entire plan for the room. 🙂

IMG_2325

Until next time, y’all take good care! ❤

**In crafting there are no mistakes just unique creations**

Christmas Wreath: Ornament & Burlap Mesh (Burgundy & Gold)

Hi All,

I took a trip to Walmart with the intention of purchasing Christmas ornaments to be used to try and create one of those beautiful wreaths made completely out of Christmas ball ornaments.  I have never made one of those wreaths and I thought that I might like to give it a try, so I started perusing around looking for just the right color combination of ornaments.  Walmart does have very large containers of Christmas balls in a dizzying array of color combinations…just not the combination for which I was specifically looking.  I am going to be decorating my family room and surrounding rooms with burgundy and a light gold this year and all of the large containers of the gold ornaments were too dark in color and I was getting frustrated.  ANYway, my cousin Stacey had told me about some new and different burlap/meshy rolls that they have at Walmart  (y’all have met Stacey when she was my guest blogger and she told you about her Deco Mesh Halloween Wreath and her matching Deco Mesh Garland that she created when we got together for a craft weekend).  As I was wandering around continuing to search for what had become a very elusive color of gold ornament, I found the rolls that she was speaking about and gathered several and put them in my cart. I then looked to my left AND right across the aisle my eyes locked on an “ornament garland” in the *exact* colors that I’ve been tossing around as my theme colors for this Christmas!  My wheels started turning as I grabbed up that box of ornament garland–even though it was $20…yikes. Regardless, I was a happy girl because I had found burlap mesh *and* my envisioned color combination of ornaments; I was creating the wreath in my mind as I went around and gathered the other accents that I’d eventually add to the wreath.  This wreath cost me around $50 to make (a bit more than others that I’ve made because of the cost of the ornament garland)…

Here is what I came up with:

Here is the ornament garland:

IMG_2164

I chose to use a 16″ work wreath with the gold metallic chenille twist ties already attached (picked that up at Hobby Lobby in the Christmas section for 40% off):

IMG_2165

I used almost two entire rolls of that meshy burlap and most of the roll of the gold and cream accent ribbon:

IMG_2177

I picked up some gold and pine decorative picks and a few little owls to add as my accent pieces:

IMG_2171 IMG_2170 IMG_2173

Here is how I put it all together:

I started with the meshy burlap…I attached it to the work wreath starting on the outer ring.  I made large loops between each twist tie (probably about 10″ long) and worked my way around the entire ring finishing by adding the last gathered tuft into the same twist tie that I started with. Then, I transitioned to the inner ring and did the same thing around the entire ring.

IMG_2179IMG_2180

I then started to add the gold and cream ribbon. I started at one of the twist ties on the inner ring, attaching into the twist tie and right on top of the meshy burlap.  I continued around the entire wreath working from the inner to the outer twist ties.  I put the ribbon in every twist tie…

IMG_2182 IMG_2184

I wasn’t quite sure how I was going to manipulate that ornament garland into place, but, it was much easier to accomplish than I feared. All I did was get it out of the box, spread it out, and then laid it around the wreath. The ornaments were attached to a rather sturdy, wrapped stem sort of stuff that I could bend and manipulate any way I chose.  I used all of the inner twist ties to secure it onto the wreath.

IMG_2185 (1)IMG_2185

Next, I made a bow (here is my Bow Tutorial video), chose a place to put it on the wreath and tied it on using the pipe cleaner that I had used to tie the bow shut:

IMG_2187

IMG_2195

The garland did overlap in one spot–to the right of the bow, but it filled out that part of the wreath nicely and actually worked out perfectly in the end. 🙂

I then started to place the gold and pine picks and the owls, being a symmetrical person, I admit that I did fiddle around with them a good bit before I got them where they looked good to my eye.  I did hot glue them into place, and I also hot glued some of the ornaments together, they were flipping and flopping around a little too much.  This wreath will be hanging on our family room door that heads out to the backyard, so it is constantly in use, I wanted to make sure everything would be nice and secure.

I tried it out on the door for a few minutes, and I think it is going to work out beautifully there in the family room…

IMG_2196 IMG_2194 IMG_2191

I’m so excited to decorate for Christmas this year because I’m going to be tweaking my decor a bit.  I have gotten a bit tired of the same decorations year in and year out.  Some traditional things will remain the same, like the family room Christmas tree will not be changed a whole lot because it holds all of our special, sentimental ornaments, and I have a few ceramic Christmas trees that my Grandma made for me, they will definitely still be incorporated into the mix. OH yeah, I have a plethora of snowmen as well, I’m sure they will be scattered about. But, I will be changing up my mantel and hearth and most likely I’ll make a spray that will go on my bullnose of my staircase– all three of those places will mimic this wreath…somewhat. 🙂  (I rushed back to Walmart today to gather a couple more boxes of that ornament garland to incorporate in the places that I just mentioned). 🙂  So, I am going to be trying to recreate the old wheel so to speak this year…wish me luck! And stay tuned, after Thanksgiving, the decorating frenzy will begin…haha. 😉

Until next time, y’all take good care! ❤

**In crafting there are no mistakes just unique creations**

Deco Mesh Christmas Wreath (Red & White Striped & Snowman)

Deco mesh has become one of my favorite things with which to make my outdoor wreaths.  It holds its shape and handles rainy or snowy days beautifully. 🙂  I have been making wreaths for my front light post as the seasons pass since last winter, so I decided to go ahead and get my Christmas wreath made today.  Honest to goodness, I wish I could find my “off switch” sometimes, I truly am like the energizer bunny and I am rarely idle. I shouldn’t complain huh? I should be very grateful that I can still put my feet on the floor in the morning and go through my day with an exorbitant amount of energy. 😉 🙂

So, here we go…I used a 16″ “work wreath” which only means that it is a metal form with chenille twist ties already attached.  I actually was able to find one with red twist ties on sale at Hobby Lobby in the Christmas department.

IMG_2135

I was able to do this entire wreath with one roll of deco mesh:

IMG_2137

I started this wreath by unrolling a good bit of the deco mesh and start attaching it to the outer ring of the work wreath.  I then started to make loops using about 10″ of mesh for each loop.  I followed that pattern all the way around the outer ring and then transferred to the inner ring and did the same thing until I had filled all of the twist ties…

IMG_2140IMG_2141

IMG_2142

Now to add a few extra adornments to the wreath, I took some 5″ deco mesh ribbon in the same pattern that I used for the wreath and I cut 4- 12″ strips, and I did the same thing with some red and white striped wired ribbon.

IMG_2149 IMG_2146 IMG_2147 IMG_2148

Then I made a little pile consisting of one piece of the cut deco mesh, one piece of the red and white ribbon, and I added a white “snowflake” pick and bundled them all together and placed them into one of the twist ties on the wreath.  I did that 3 more times strategically placing the 4 tufts around the wreath.

IMG_2150

A bow was next, I made it out of the same 5″ deco mesh and red and white ribbon that I had used for the little tufts.  Here is a link to my “How to make a bow tutorial” (video)…

IMG_2151 IMG_2152

I found a “Merry Christmas” worded sign with glittery white lettering, I was able to tie that into the twist ties; I did glue it in a couple of places as well…

IMG_2138

Next, it was time to place a few snowmen and candy Christmas ornaments; I hot glued them into place and called it done.

IMG_2136

When it is time to decorate for Christmas, this wreath will replace my Fall wreath on the light post…

IMG_2160

Or possibly, it will replace the spray on the wagon wheels…

IMG_2163

IMG_2154 (1)

I’m extremely happy with how this wreath turned out and *bonus* it only took me 45 minutes to make from start to finish; I hope that this will inspire someone out there to try one for themselves.  You can do it!

Until next time, y’all take good care! ❤

**In crafting there are no mistakes just unique creations**

A Fall “Spray” For The Wagon Wheels

Hi All,

I woke up this morning thinking about making a mailbox spray, that said, I’ve never made a mailbox spray, so I thought I would go to the craft store and buy some materials and try my hand at making one for myself.  So, off to my happy place I ventured (Hobby Lobby), and I started to search for something that might work; I was definitely winging it and really didn’t have a clue what I might come up with.

Okay, I’m driving home, and as I’m pulling into my driveway, I looked at my mailbox and decided that I was quite happy with how I had decorated it already and I decided that it didn’t need a Spray…

1V4A2753

So I decided that instead of a Mailbox Spray, I’d make a spray and hang it on our wagon wheels (that hide our well pipe/head).  Of course, again, I really had no idea what I’d come up with, but here are the materials that I purchased (all on sale for 40% off) and that I would be working with:

This ‘wreath’/’mailbox’ form:

IMG_9236

One roll of deco mesh and one roll of Fall ribbon:

IMG_9237IMG_9237 (1)

IMG_9242

Leaf, Berry and Leaf, and Pumpkin picks:

IMG_9240 IMG_9241 IMG_9243

I also went and collected some pipe cleaners from my craft supplies and I dove right into this project.  The first thing I did was twist pipe cleaners around each crossbar of the ‘mailbox’ form..Like this:

IMG_9238

Once all of the pipe cleaners were in place, I started to attach the deco mesh in each pipe cleaner…making pretty large loops as I worked my way down one row…

IMG_9244IMG_9245

IMG_9246

Then working my way to the next row until I completed all three rows…If you try this, don’t be afraid to make your loops large, the bigger the better in my opinion…it gives you more to work with and manipulate.

Okay, so that worked out well, I was ready to start adding a bit of the coordinating ribbon.  The first thing that I did was cut 12-12″ strips:

IMG_9248

Then I cut points into the ends of each side of the ribbon strips…

IMG_9255 IMG_9256

I then put them in 4 piles of 3 and tied a pile into each corner’s pipe cleaner–spreading them out once they were attached.

IMG_9257

I then made a bow (see my Bow Tutorial Video) and attached it to the center of the spray by using the pipe cleaner that I used to close the bow…

IMG_9258

Now it was time to add in the Fall picks, I quickly realized that I was going to need to hot glue them into place, it was way too poofy for me to add them into the existing pipe cleaners (which is what I sometimes do on my Deco Mesh Wreaths).

IMG_9259

There was no rhyme or reason to how I arranged the picks, I just stuck them where I thought they looked nice and then I put glue on the stems and that held them in place very nicely.

IMG_9260

And this is what I came up with, I was pretty happy with myself… 😉

IMG_9262

I used tie wraps to attach the Spray to the wagon wheels:

IMG_9264

And here it is on the wagon wheels:

IMG_9266 IMG_9268

Considering that I had never made what I’m dubbing a “Spray”, I was pretty pleased with my accomplishment.  It just goes to show you, if you just give it a try, you might surprise yourself as to what you come up with in the end. 🙂 Please don’t hesitate to leave me any questions that you might have in the comments below. 🙂

IMG_9265

Until next time, y’all take good care! ❤

**In crafting there are no mistakes just unique creations**

Not Just Fall A Grapevine Wreath

Hi All,

There are days when I wish my “off” switch was more easily found, lol, my brain is always going a million miles an hour and it is hard to harness its energy and focus on tasks that need to be or that I want to get accomplished. 😉  Of course I’m teasing–well mostly. 😉  My brain really has been working overtime since yesterday afternoon though after I found a rather small, oval shaped grapevine wreath when I was wandering aimlessly around Hobby Lobby.

Here it is along with a bunch of other Fall accent pieces that I will be using to show you how to make a small oval wreath and then use the *same* wreath to make 3 different centerpieces. I’m all about using the same basic staple pieces and building and layering on different decor to change the feeling, for instance, from casual to more formal or from one Season to another.

IMG_2043

Some of the accent pieces that I gathered include a oil-rubbed bronze metal tray, various wooden pumpkins, Fall floral picks, a Fall themed pip berry garland, Fall ribbon, a scarecrow, a leaf garland, a wooden basket, a couple of candle holders, and a battery operated candle.

IMG_2046

So the very first thing that I did was to make a pipe cleaner ‘hanger’ and I glued that to the back of the grapevine wreath; it is not hard to do, just make a loop and hot glue the heck out of it.

Next, I made a bow–I really am going to make a bow tutorial for y’all one of these days…honestly, I promise!

IMG_2049 IMG_2051 IMG_2054

After the bow was made, I grabbed up the pip berries garland and started to lay it onto and around the wreath form measuring how much I needed.

IMG_2055

Then I trimmed off the excess garland and proceeded to hot glue it into place on the wreath.

IMG_2056 IMG_2057

The only other things that I glued into place on the wreath were these two Fall leaves picks, one at the top and one on the bottom.

IMG_2058

After that, I attached the bow simply by wrapping the pipe cleaner that I used to tie the bow shut around the wreath and twisted it closed to hold it on the wreath (I did not use hot glue), and I added a Fall sunflower pick that had some larger pip berries and leafy accents on it; I didn’t glue it on either, instead, I stuck the pick in between some of the twigs of the grapevine wreath.  That is *all* I put on the wreath and I called it done.

I carried it around my family room and kitchen trying to figure out where I wanted to hang it, *if* I decided to use it as a wreath–I’ll explain that statement after I show you the different places the wreath landed.

The first place I tried it was on this corner shelf …hmm, yeah, it looked okay there, but, nah, let’s see where else I could put it… IMG_2059 IMG_2060

How about on my hearth, hmmm, nope, it’s busy enough on that hearth as it is…It looked cute there though, but, I tried one more place…

IMG_2062 IMG_2063

IMG_2065

The last place I hung it was on that lamp…yep, looked really cute there, but I was already admitting to myself that I did *not* need yet *another* wreath hanging anywhere…so…I decided to do something different with it…

Here are three different centerpieces made with this wreath and a oil-rubbed bronze metal tray.

First, I took the leaf garland and wrapped it around the inside edge of the tray. Then I placed the wreath into the tray sideways (I removed the bow and that sunflower pick). After that, I placed the hurricane lamp candle holder into the center and started to surround it with Fall picks, then I placed the bow where I thought it looked pretty and added a little resin pumpkin…too cute!

IMG_2068 IMG_2069 IMG_2070 IMG_2071

Okay, I really liked that one, but I thought I might try to make something a bit more casual, so here is what I tried second.  I removed the hurricane lamp, bow, pumpkin, and picks. I then snugged a wooden basket into the center, placed that sweet scarecrow into the basket, placed the bow, and then filled in and around the basket with additional Fall picks. Then I sat the resin pumpkin on the scarecrow’s lap:

IMG_2073 IMG_2074 IMG_2075 IMG_2076

And here is that finished centerpiece, more casual, but cute as can be. 🙂

IMG_2077

I liked that one just fine, but I thought since I had gone to the trouble of digging out that black candle holder that I might as well try to do something with that as well.  So,  I once again went into “deconstruction mode” and reconstructed the third centerpiece like this:

IMG_2079 IMG_2081

Honestly, that was my least favorite design ^^^^

This is what I ended up creating and where I chose to place it:

IMG_2087 IMG_2085

I placed it on our desk that sits in the kitchen eating area, it is going to look pretty in the evenings with that candle glowing in that hurricane lamp.

IMG_2086

So, for now, my brain is at rest, goodness knows what I’ll come up with next! I hope that this little post has shown you that if you have an old wreath laying around or if you find a neat form to use to create a wreath, that there are other things that you can do with it instead of hanging it on a wall.

Until next time, y’all take good care! ❤

~Arlynn

**In crafting there are no mistakes just unique creations**

Cousins Craft Weekend – Part 3 – Deco Mesh Garland with Guest Blogger (my) Cousin Stacey

Hi Everyone!

It’s time for Part 3 of our Cousins Craft Weekend series; I’m excited to let Stacey take the proverbial wheel and explain how she brought this beauty to fruition!

IMG_2014

Click this link to Part 1 Deco Mesh Halloween Wreath  to see how Stacey describes how she made that wonderful Halloween wreath that matches this garland. 🙂

Take it away Stacey!

“Yes!! You have now made a pretty sweet wreath! You NEED a garland to match!

You will first need to measure your doorframe and decide how long you want your garland.  Once that’s decided, you will also need two large rolls of deco mesh (21” x 30’) and one roll of the small. (5.5” x 45’) You will need pipe cleaners to attach everything and all the decorations and ribbons to finish it off and jazz it up. (Again, I cannot stress enough.  Stick with your theme!!)

I didn’t want to go back out to buy a pre made form or wire to create my own.  So, down to my honey pot (the basement storage) to see what I could re-purpose.

AH HA!! I found some old pre lit Christmas garland that would do nicely!!  I used two 9’ lengths of garland.  If you don’t have any old garland lying around, it can be found in any mega store.  This is just the plain old indoor/outdoor kind.  I think the garland with the long twisty branches would be awesome as well.  Then you could use the branches themselves as the twist ties and save needing pipe cleaners!

First thing I did was lay my garland out and plug it in.  Man, how mad would I have been to finish this thing and the lights not work! Grrrr!! Thankfully, everything was in working order and I could get down to business!

12047286_10206380285979820_1930083196_n

I got out my trusty tape measure again, and laid it down beside the garland.

Every foot or so, I would lay a pipe cleaner under the garland. These are the points at which I will attach my deco mesh.

I then went back and gave each one a little twist so that they would stay attached to the garland and not lose their spacing.

12047327_10206380286899843_198353081_n 12048814_10206380286299828_6395095_n

12064069_10206380287179850_1151806391_n

I found the easiest way to attach the deco mesh was to unroll it and leave a bit at the end to make a little tail. This helped me to see just how much mesh I had to play with.  I used the entire roll.  My mind is a strange place, so I started in the middle and worked out from there.  Once I had one color attached, I moved onto the next color. 12033823_10206380287659862_1272208342_n

Messages Image(811433779)

My sweet lab Piper is a crafter as well.  She was checking to see if I had enough volume in my “Poofs” and that they were secured properly.

Messages Image(716481391)

Piper seemed satisfied that I was doing a good job. She suggested I use a back and forth pattern with the two colors. I agreed!! Good idea pup!

12048838_10206380287899868_1457561932_n

Here it is with both colors attached with the back and forth pattern and then below, you see it all stretched out!

12029064_10206380288099873_1094222603_n

12041756_10206380289419906_571152707_n

Lastly, I took the small roll of orange deco mesh and went straight down the middle.  Making poofs and attaching where I felt it looked best.  I had just a smidge of the orange left, so I made a little bow and found the center of my garland and attached it there.

Here is the garland with all three colors and ready for ribbons and eye balls!!

12032338_10206380289619911_115940883_n

And here is the garland all lit up, wow!

12030691_10206380294580035_37713269_n
I decided on Monster Eye Balls as  a theme.  I had found some sweet little eyeball ornaments for the wreath I made. Unfortunately, they were not going to be large enough for the garland.  I purchased some plain white Styrofoam balls and painted them like giant eyes! I used my red Sharpie marker to make the creepy veining.

12053376_10206380289739914_830654323_n

12041792_10206380290139924_1754555849_n

12030767_10206380290339929_378126768_n

12064064_10206380289859917_860391847_n

Now it was time to take the finished garland out to the front porch and figure out how to hang it up, I decided to use command strip hooks, very large ones.  But, first I laid it down in the yard to find the center point. As I mentioned above, that is how my brain works, I find the center and work out in either direction from there. As you can see, Piper arrived to assist me in my endeavors…she is quite the helper! 😉
Once the center was found, it was time to get it hung up and ready to receive those monster eyes and other ribbon accents.

IMG_1977IMG_1970IMG_1969

Okay, once that garland was sturdily in place, the first accent pieces that I added were those spooky eyeballs. To attach the eyes I just folded over and twisted the pipe cleaner (at every other swag point where I caught the deco mesh) to make it sturdier and then just poked the eye ball onto to them.

IMG_2010IMG_1993

12064514_10206380291579960_126380108_n

After all of the eyeballs were attached Arlynn filled in the rest of the swag points with a ribbon cluster. She just took whatever ribbon I had leftover from making the wreath and cut pretty edges on them, piled them up, cinched them together with her fingers and then attached them to the garland using the pipe cleaners. Then she wrapped the ends of the pipe cleaner around a pencil to finish off the look. 🙂

IMG_1991

IMG_2006

IMG_2007

Once all was said and done and I had it hung in place, we all stood back and admired our work! What a fun project this turned out to be! And my front porch looks so festive and we’re all ready to receive the little Trick or Treaters!!  I can’t wait!”

Arlynn here again, I cannot express to you what a wonderful time I had with these two ladies! (Left to right, Donita, Stacey, and me).

12027822_10206379917330604_8485612119921766505_n (1)

Spending time with family is something that we never take for granted;  working on these crafty creations just added to the excitement of our visit. We are happy to share our final products with all of you and if any of you have any questions please don’t hesitate to leave them in the comments section below and I (or Stacey) will try and answer any and all queries. 🙂 

As I was leaving Stacey’s house, I was sure to take a picture of her awesome wreath and garland.  Her porch looks amazing and will be so very welcoming as the weather cools and the leaves start to fall.  Here is the last thing I saw as I was driving away (in tears because I missed my sweet cousins so very much already). ❤

IMG_2041

Let me take a moment to thank Stacey for adding her amazing talents to my Blog, I’m sure she’ll be my guest many more times in the future as she has a plethora of creations to share. **Love you Stacey!!**

Until next time, y’all take good care! ❤

**In crafting there are no mistakes just unique creations**