Happy Fall Y’all 2017!

Hi Everyone!!  It has been such a busy time around our home as of late! As most of you know, Chris and I just returned from our back to back Voyage of the Glaciers cruises in Alaska with Princess.  I’ve been diligently working on my blog series for that trip, sharing with you a time that I have already tucked safely away in my heart and mind, I’ll be able to conjure up those memories any time I need to be transported to one of the most gorgeous places on the planet.  If you haven’t happened to see my blog posts about our trip up to this point, here is a link that holds all of the links to the blogs that I’ve written so far (check back often, I have a long way to go to finish that series):

Back to Back Voyage of the Glacier Cruises Blog Series

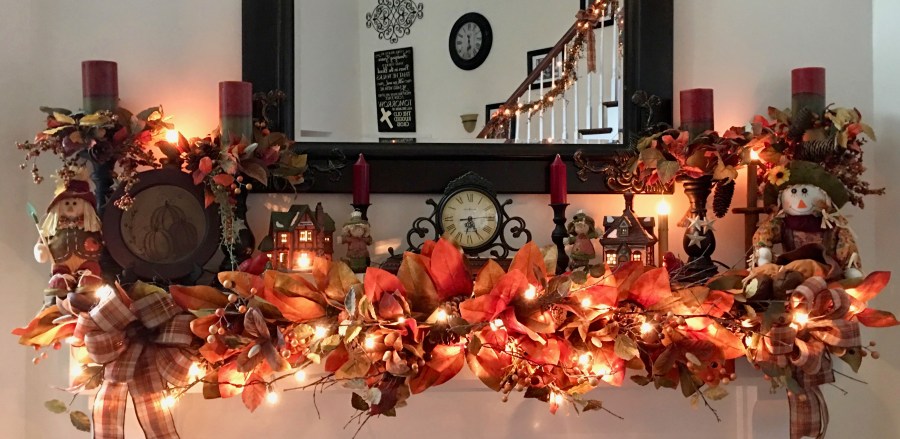
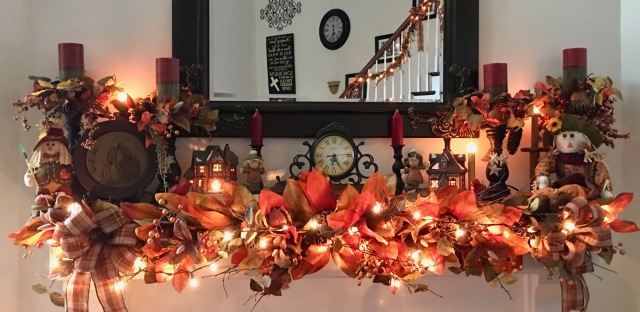
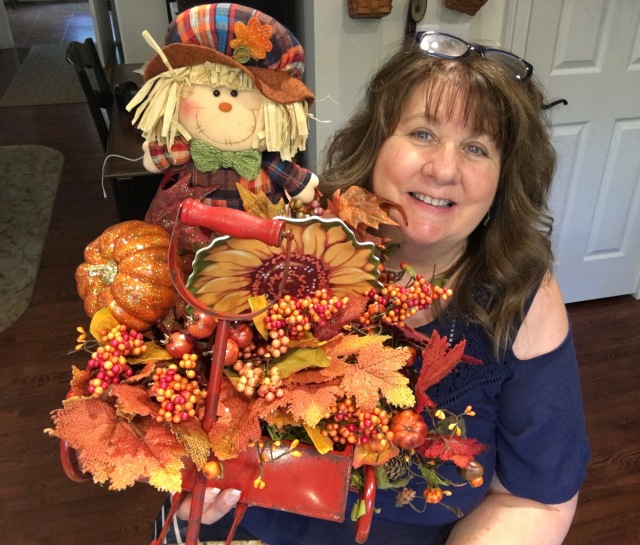
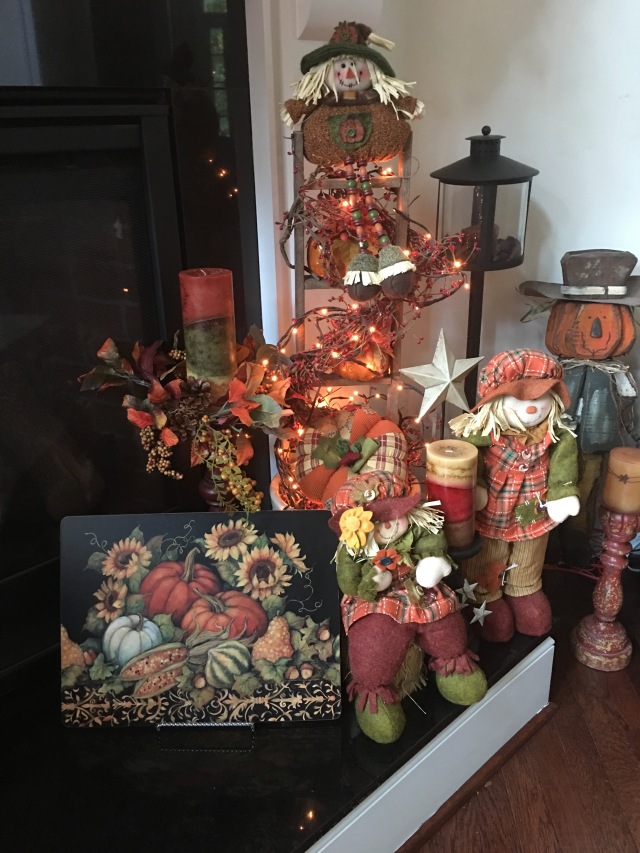
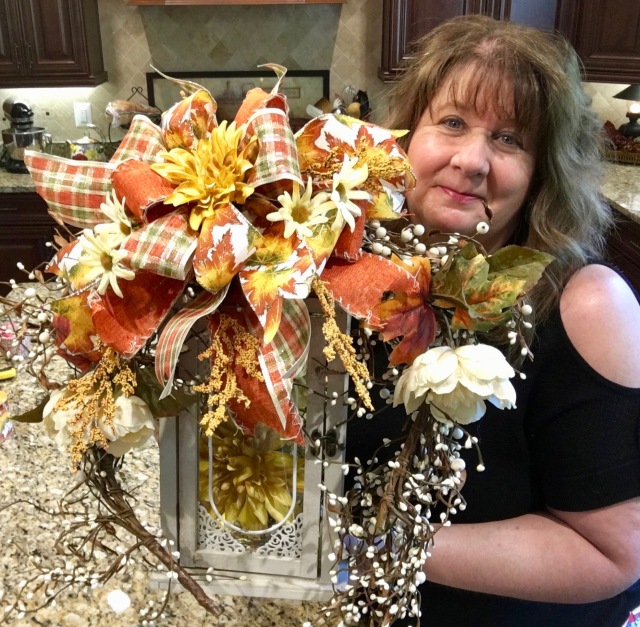
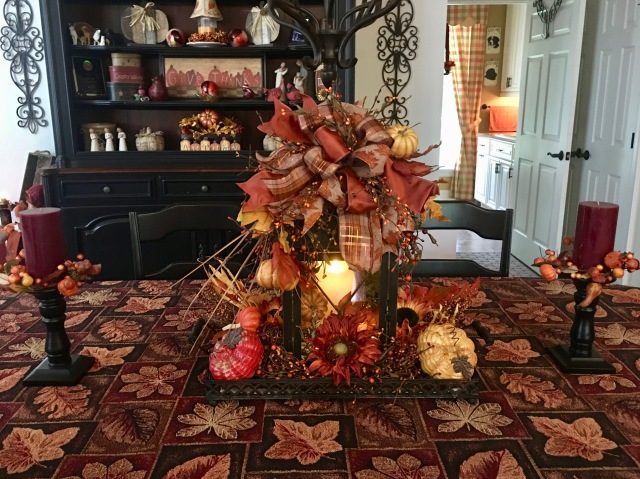
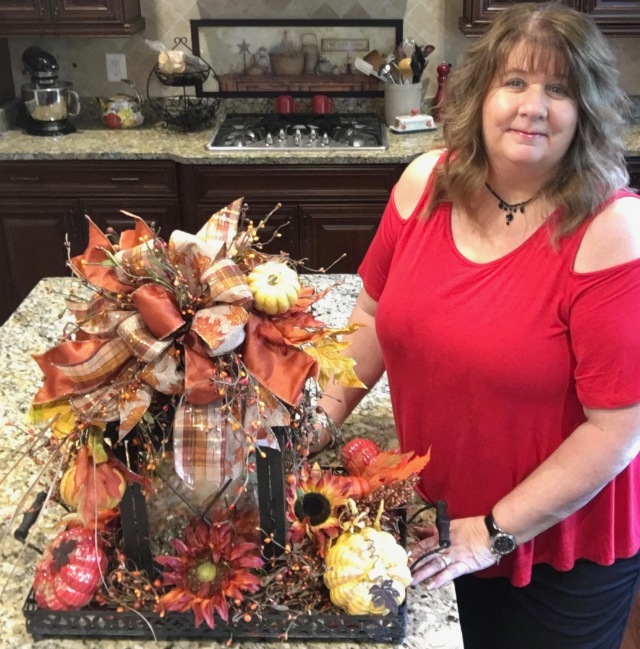
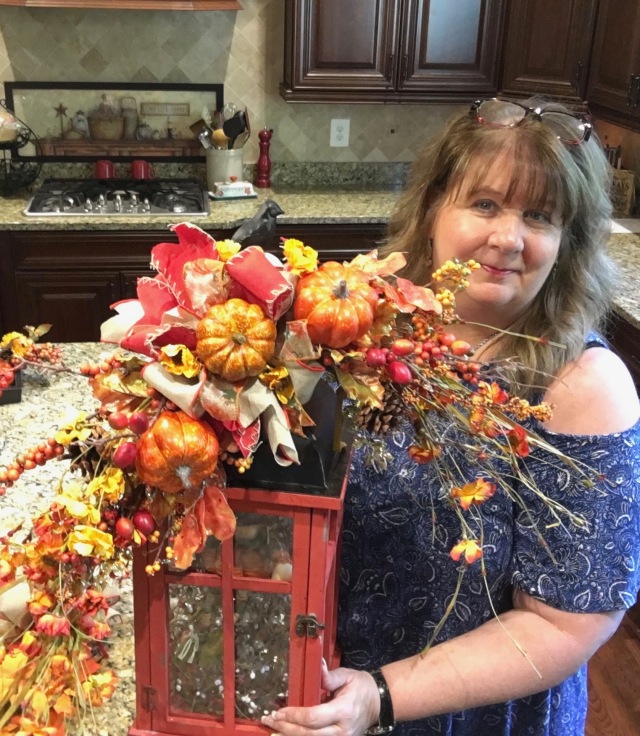
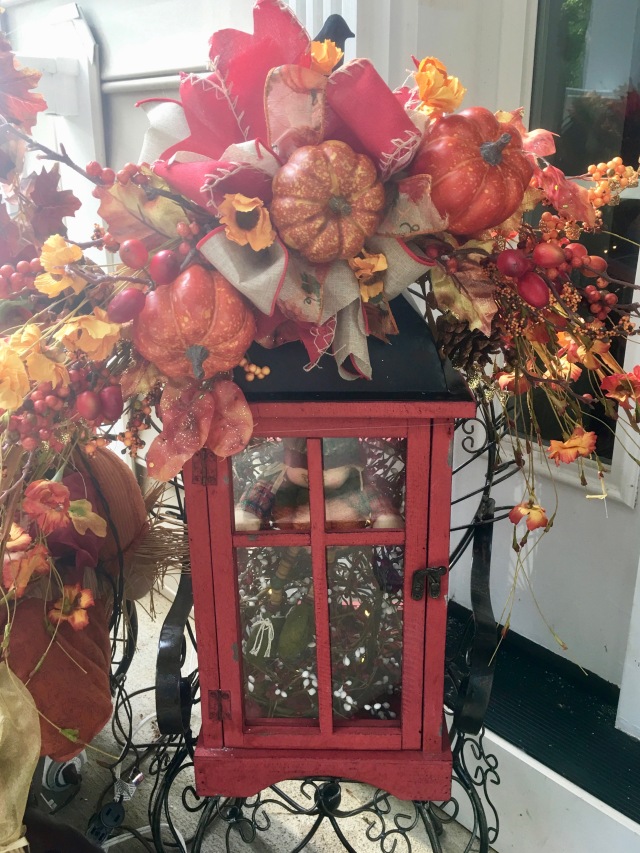
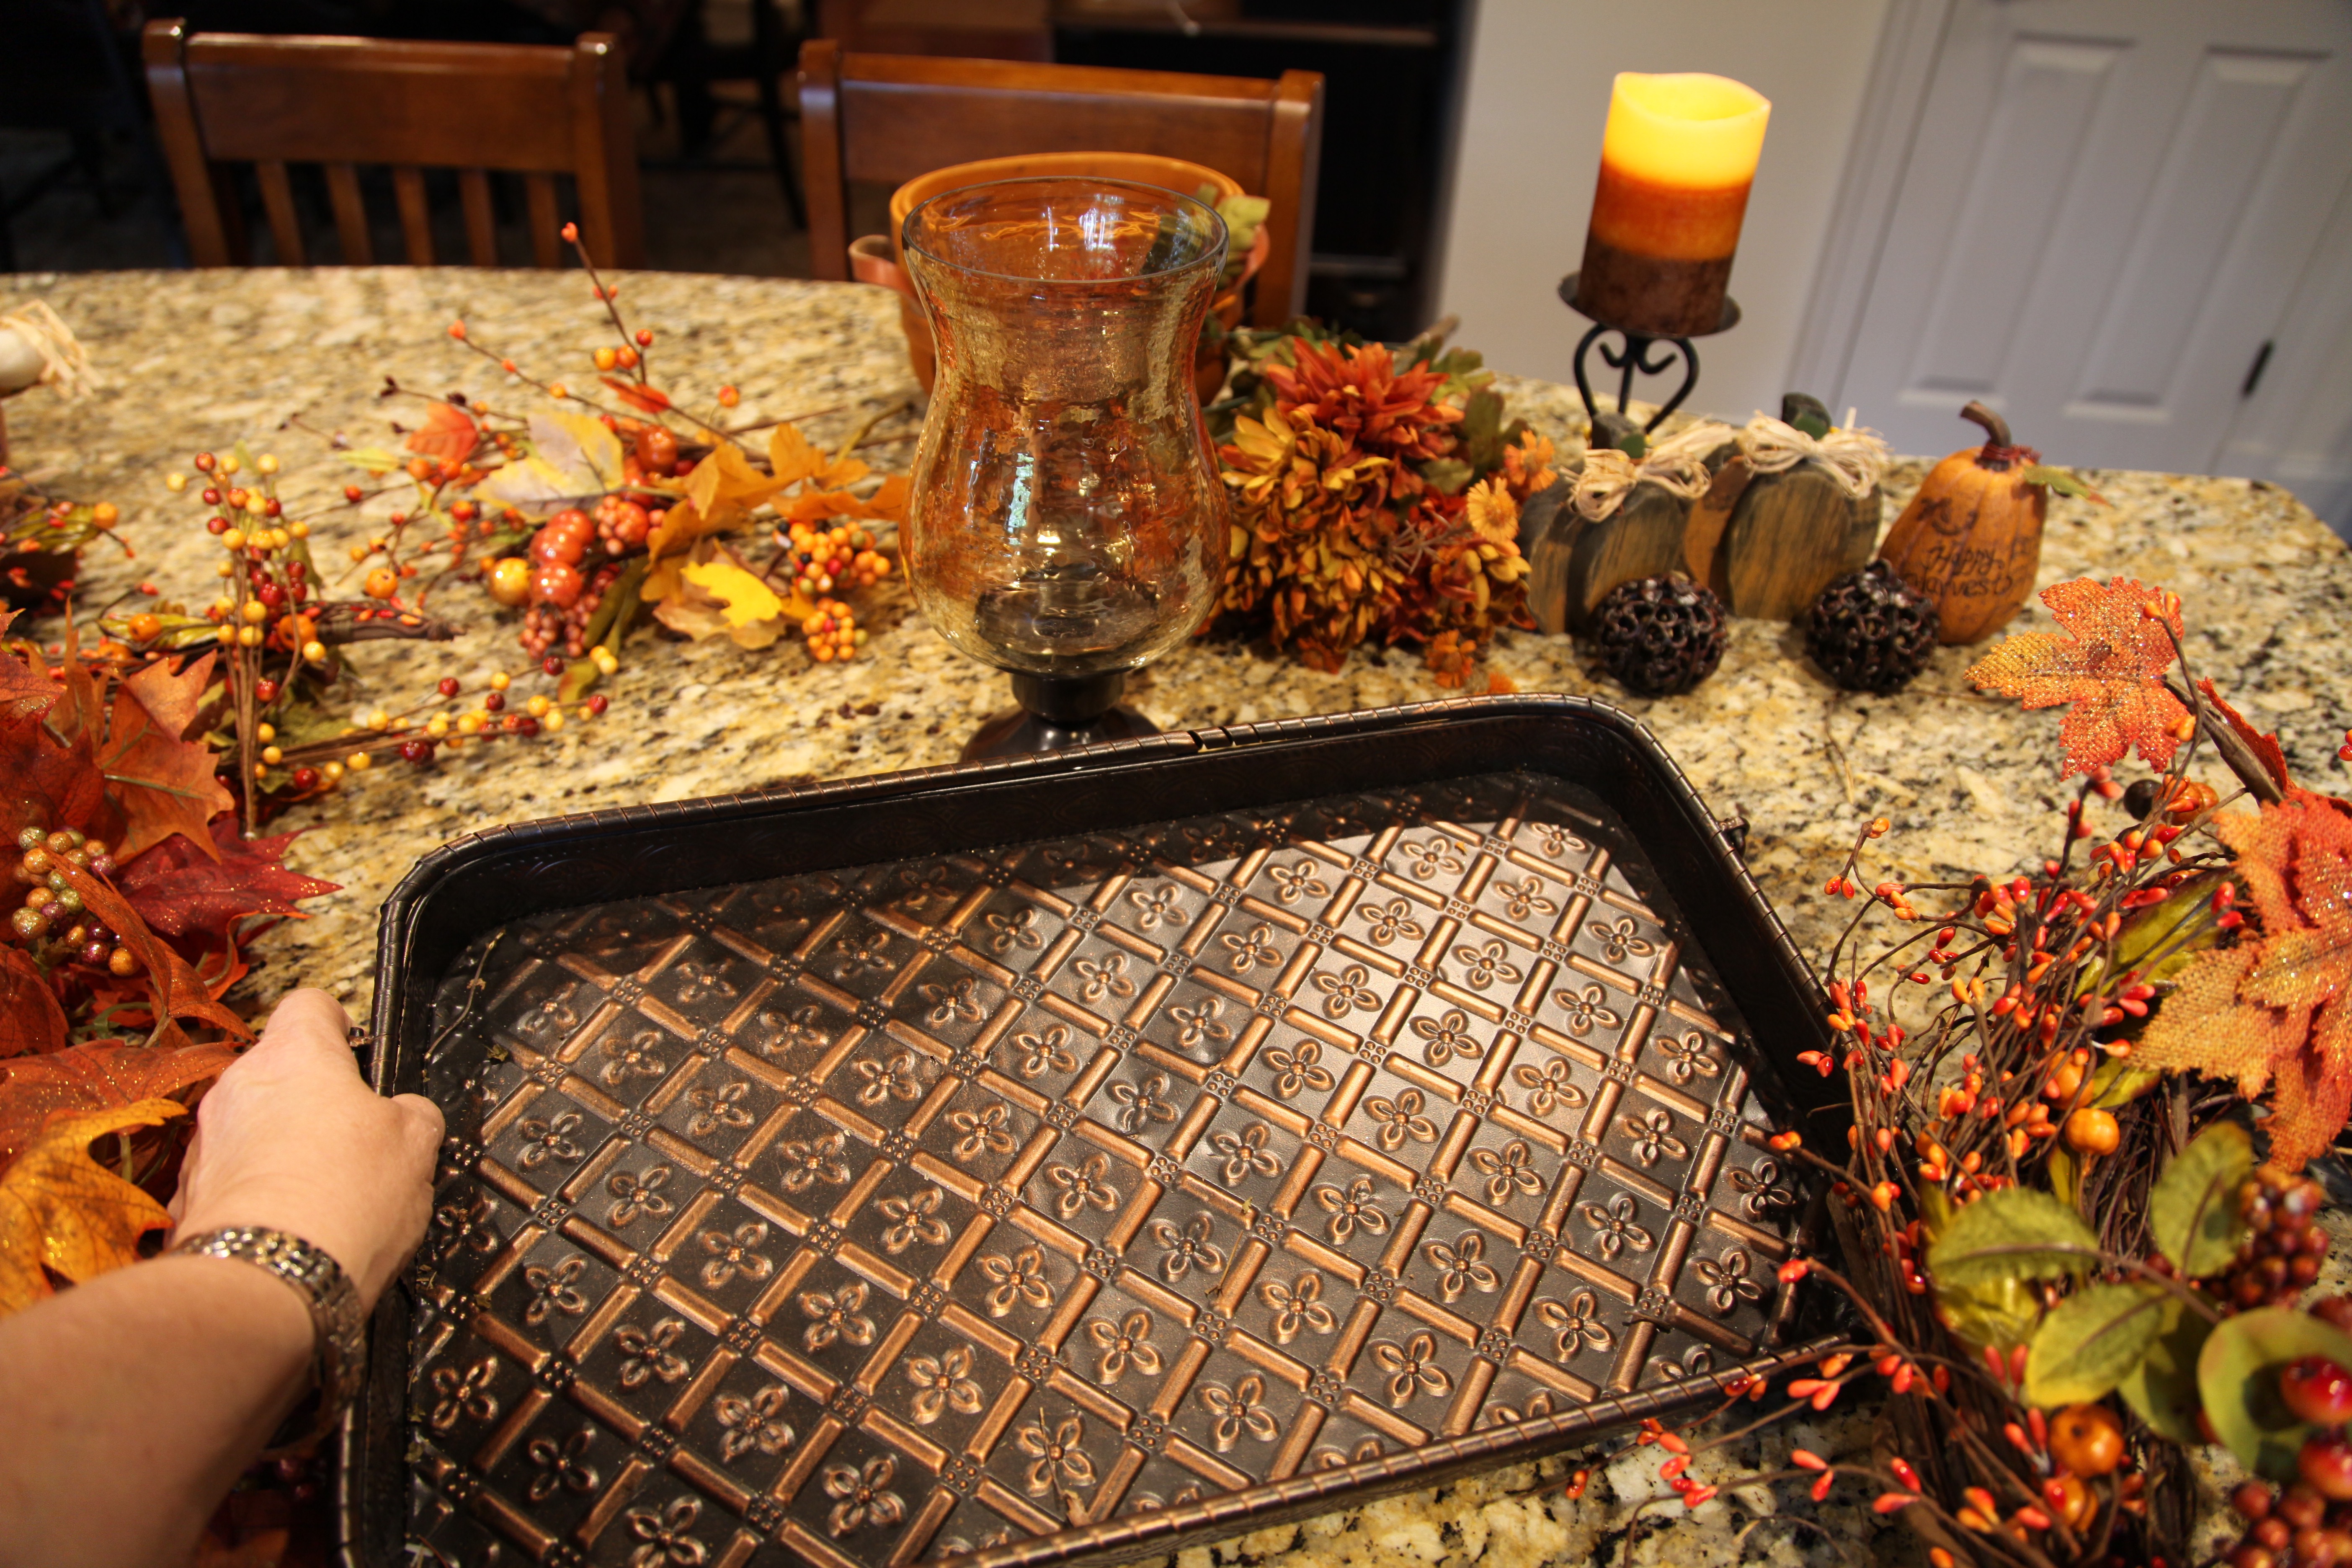
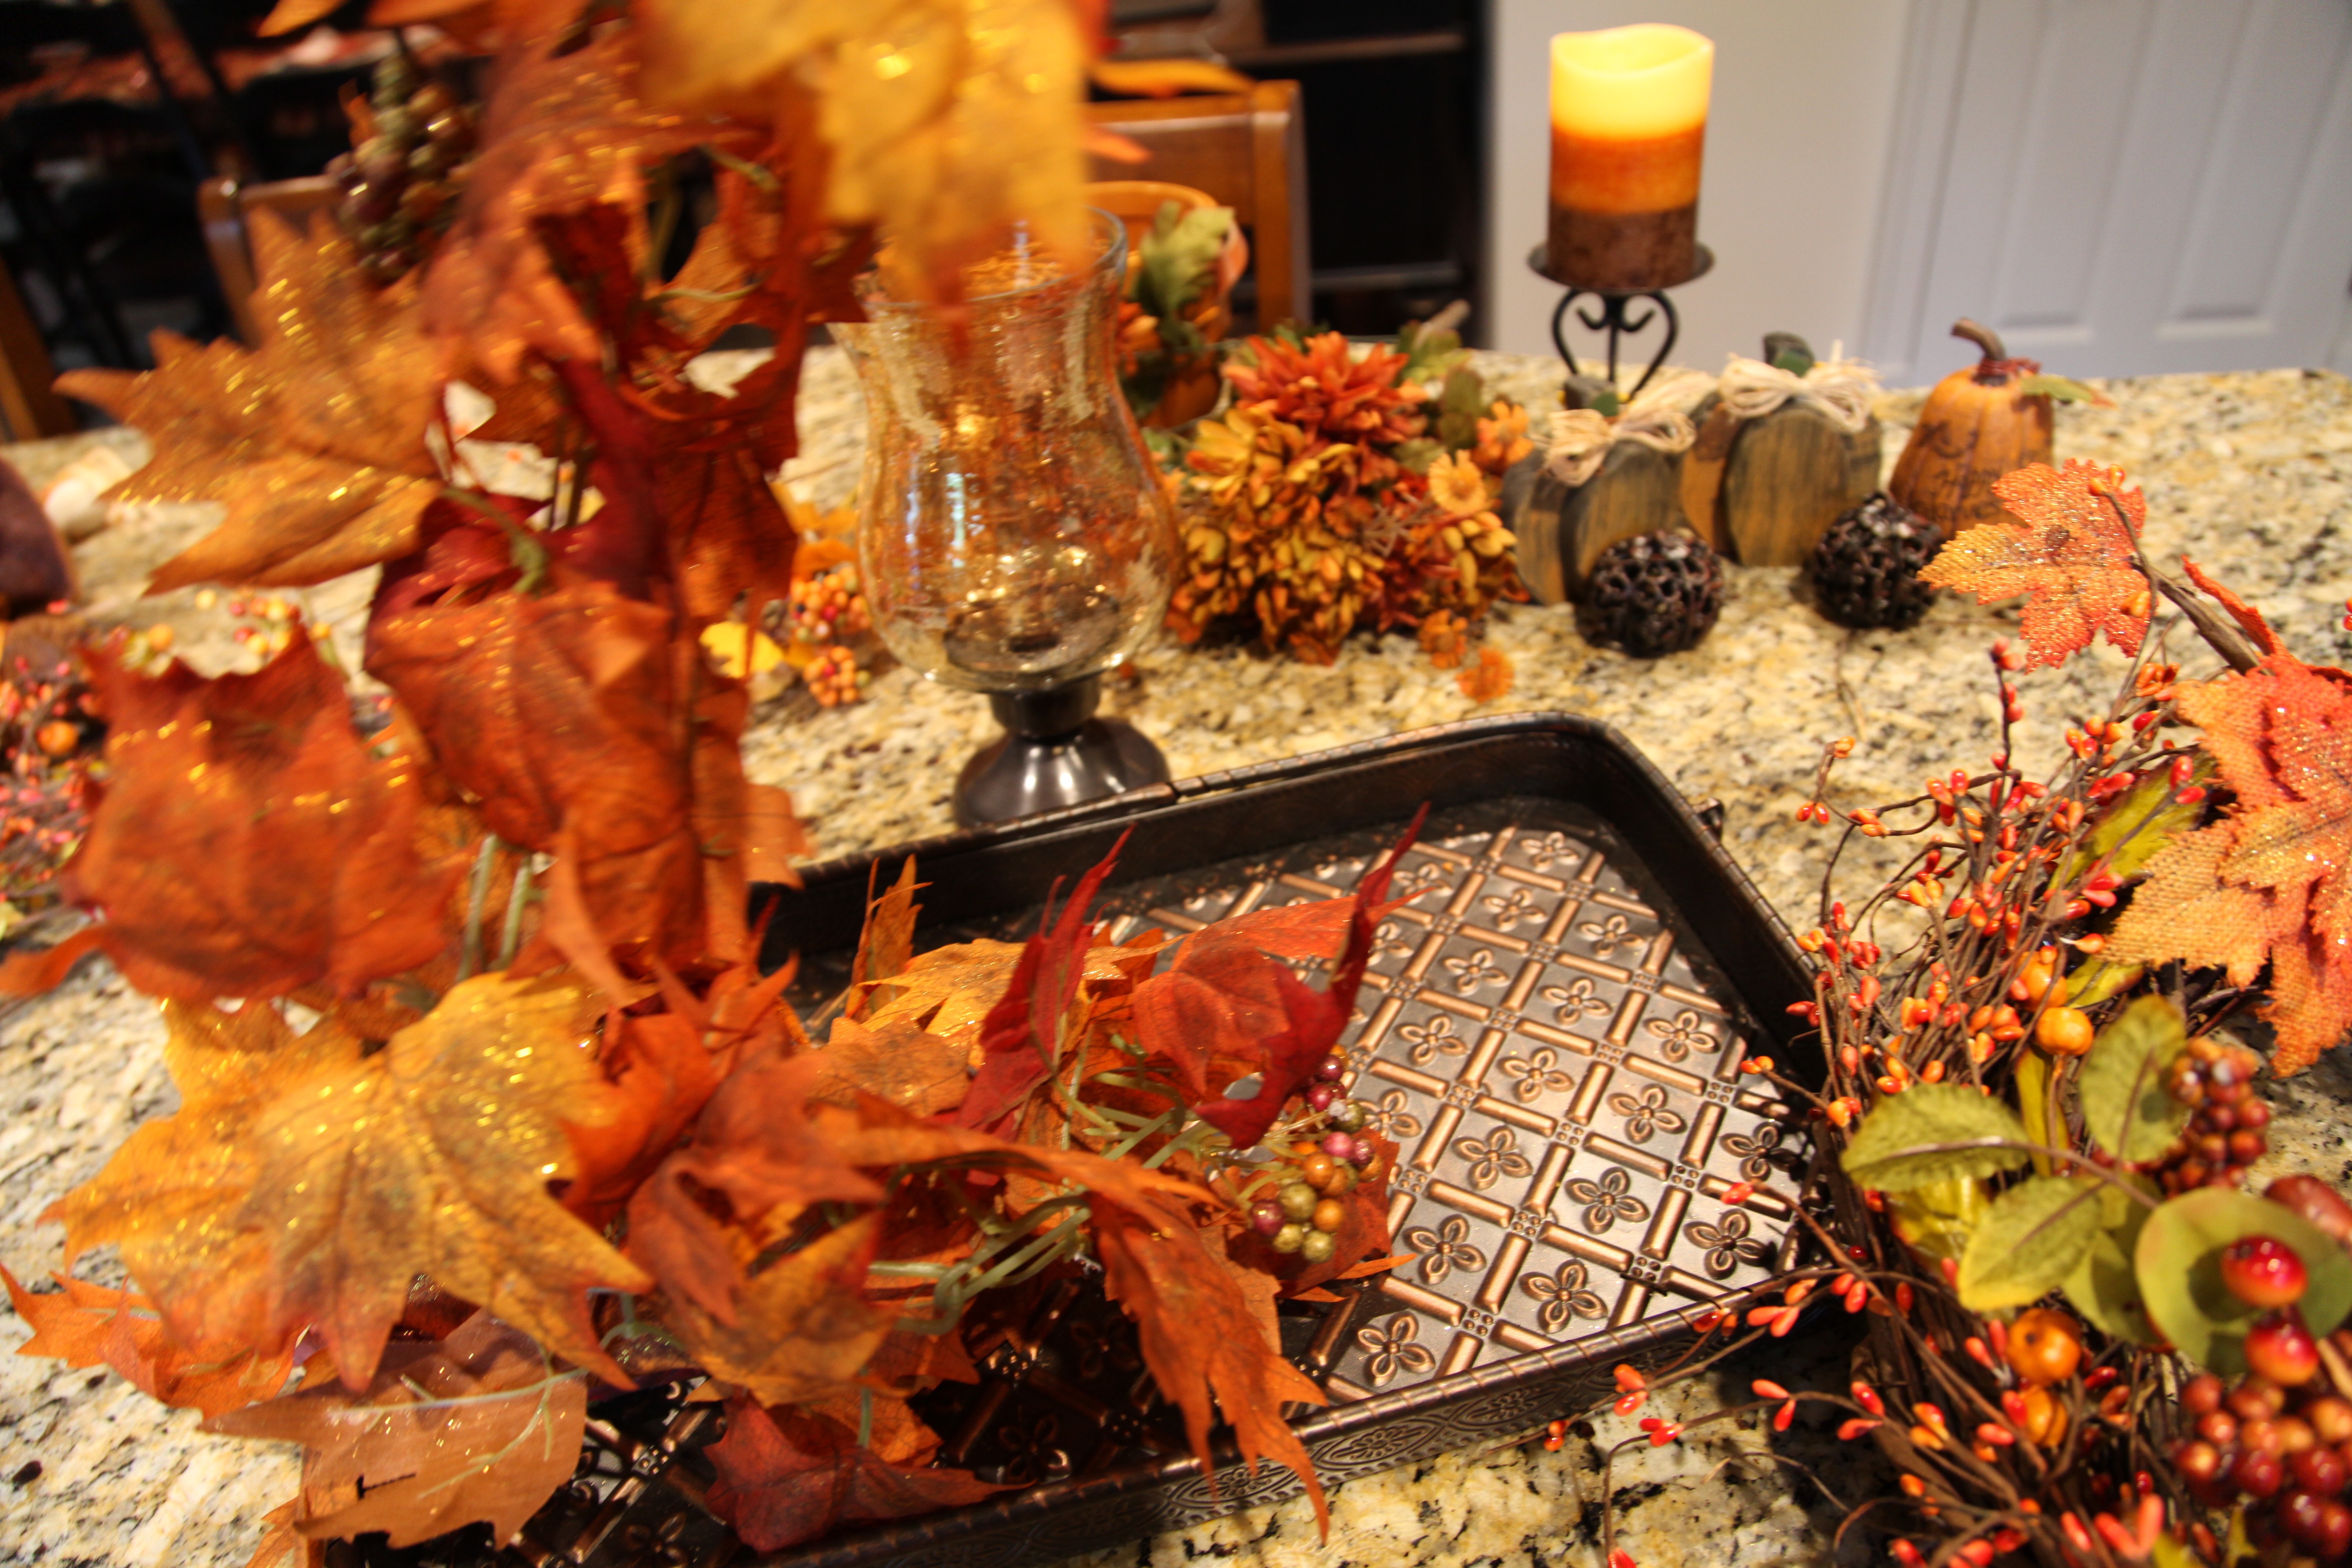
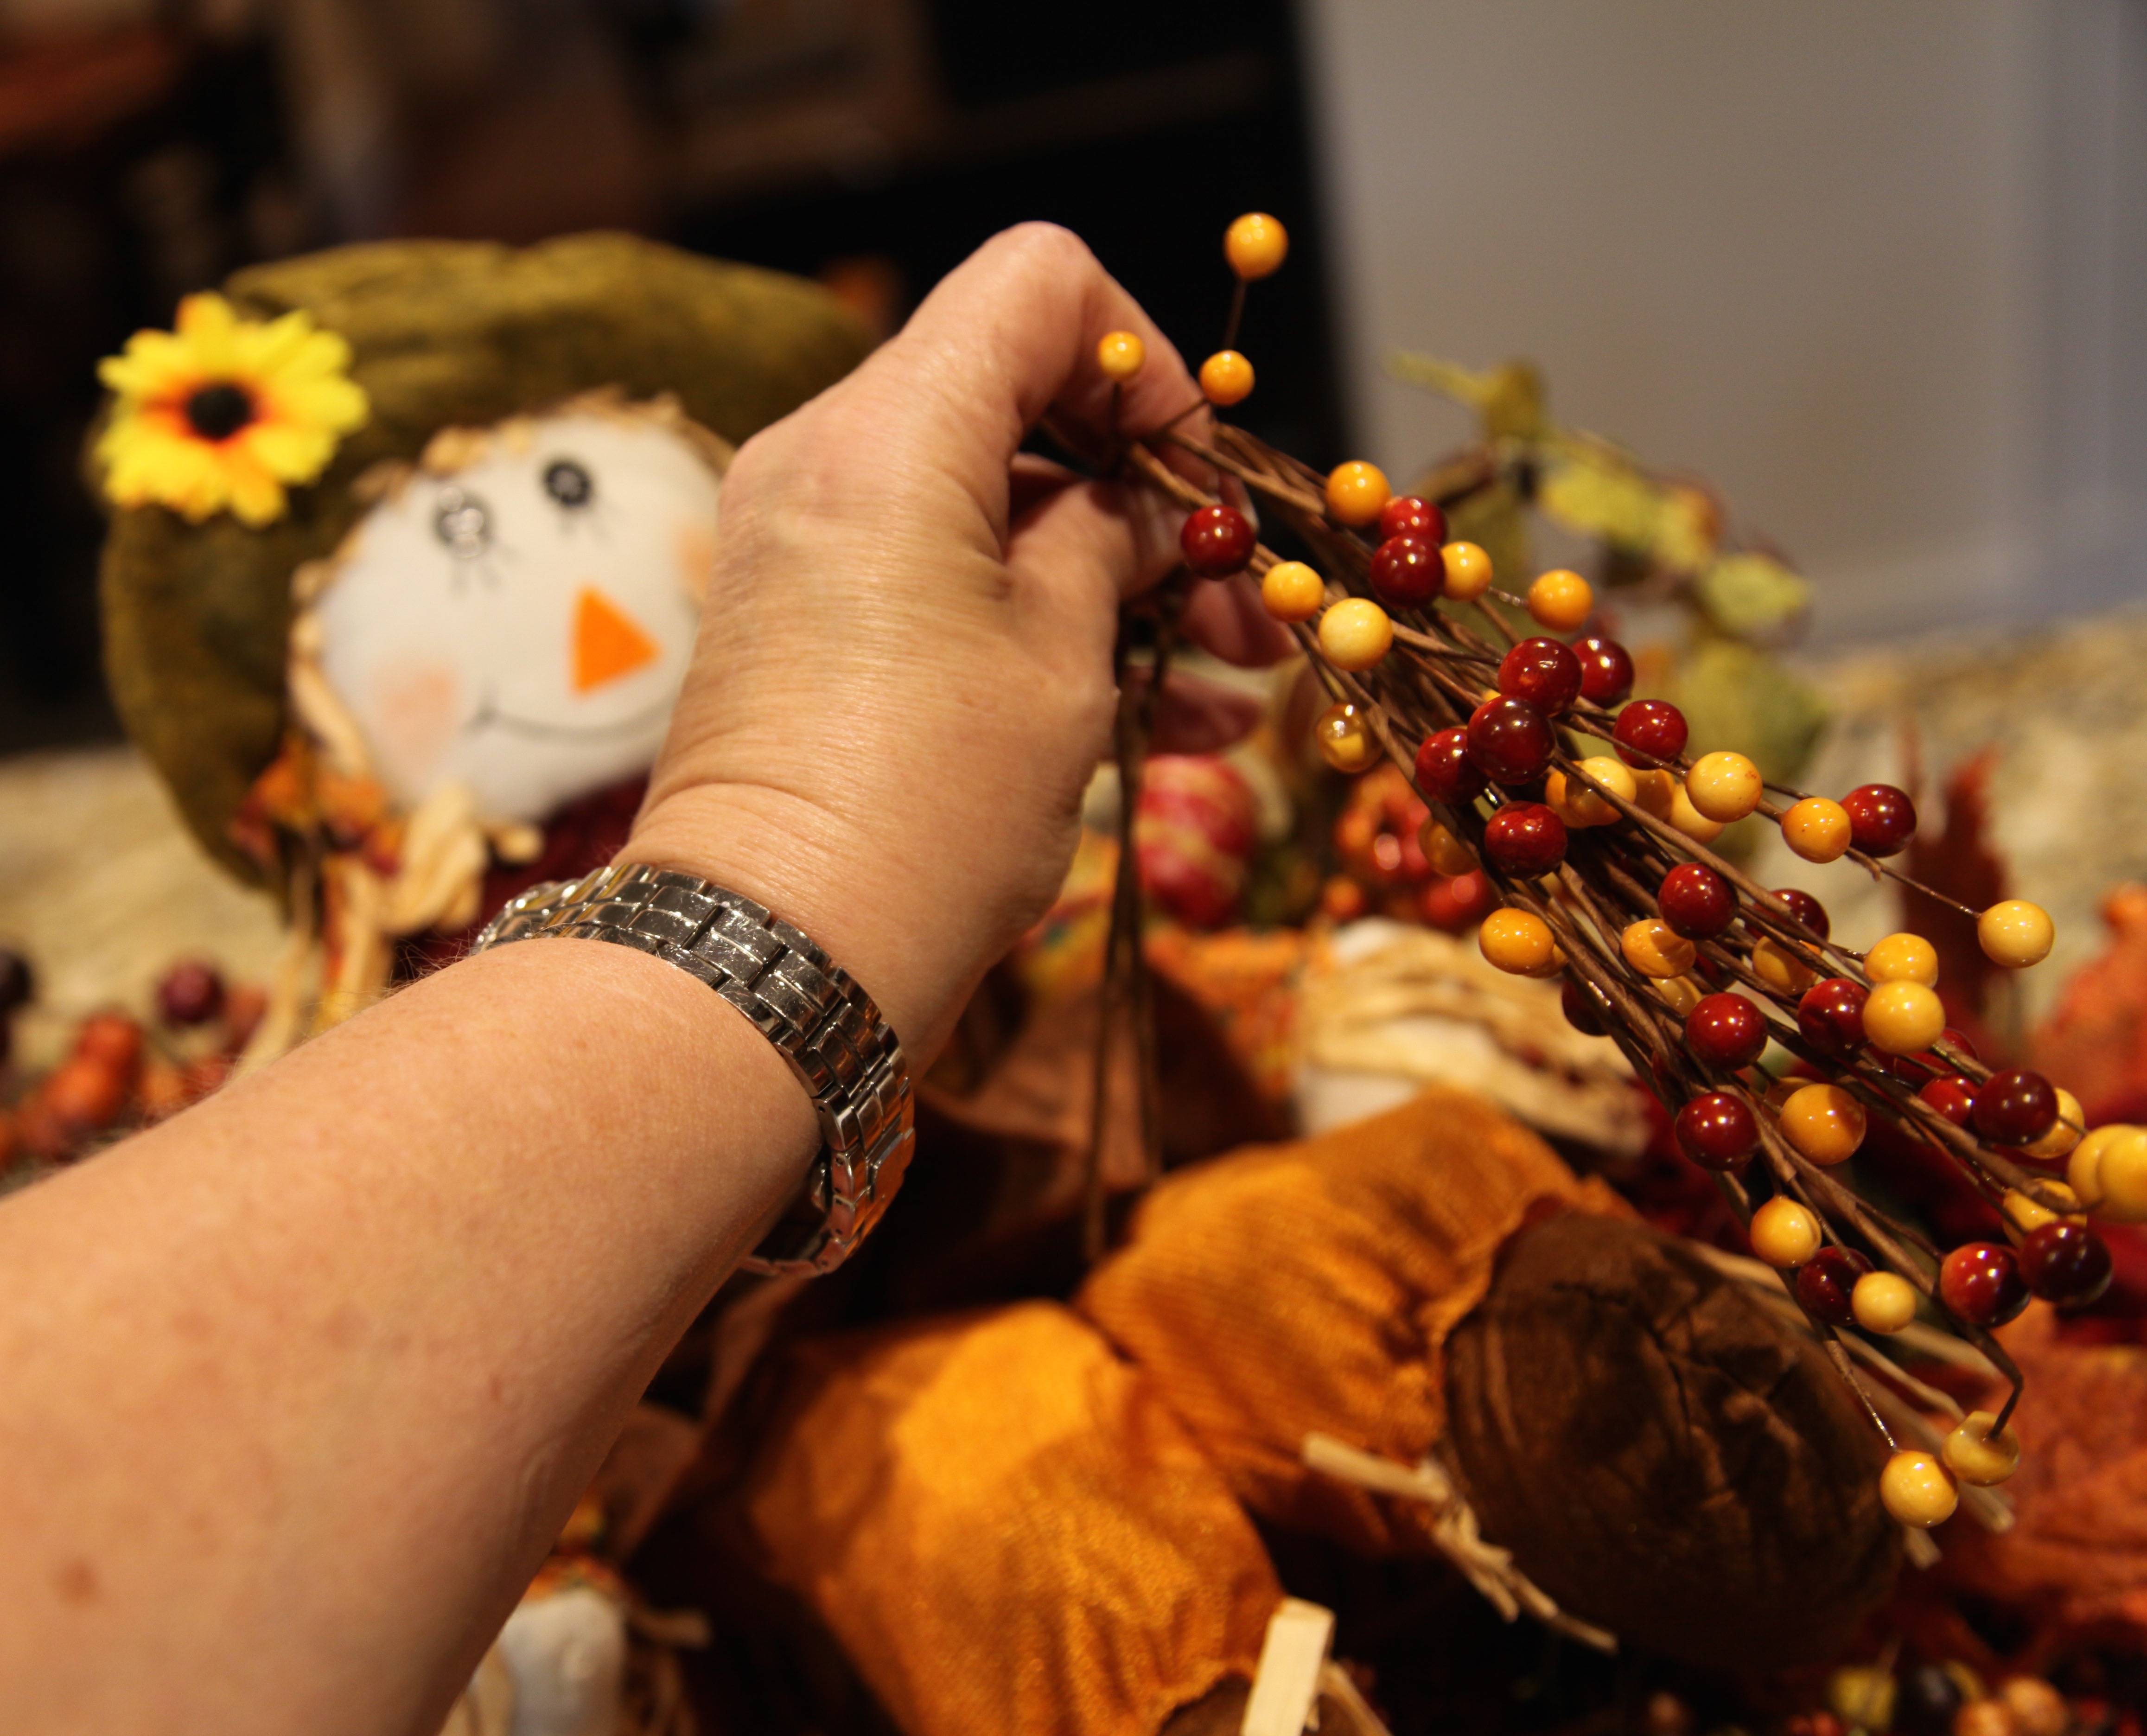
Before we departed for our trip, I was diligently working on getting my Fall Decor up and in place; I worked very hard for the couple of weeks before we left.  And I was successful…whew…I managed to get all of the indoor spaces completely finished!  That said, I not only got my decor into place, I also created YouTube Videos of every craft and space that I created. First, let me share some pictures with you of our home decorated up for Fall, then, I will give you a link to my YouTube Channel’s “Arlynn’s Country Craft Corner” 2017 Fall Home Tour Playlist that holds 20, yes, count them *20* videos of me bringing my creations to life such as Cozy Corners, wreaths, lantern centerpieces, lantern swags, etc…To say I worked hard, well, that is an understatement…haha. 😉 BUT, of course I thrive on my crafting and decorating, so it was definitely a labor of love!! 🙂 So here we go with some pictures:

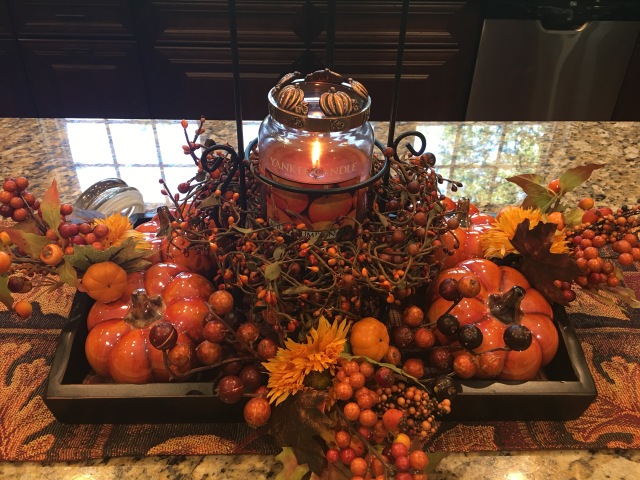
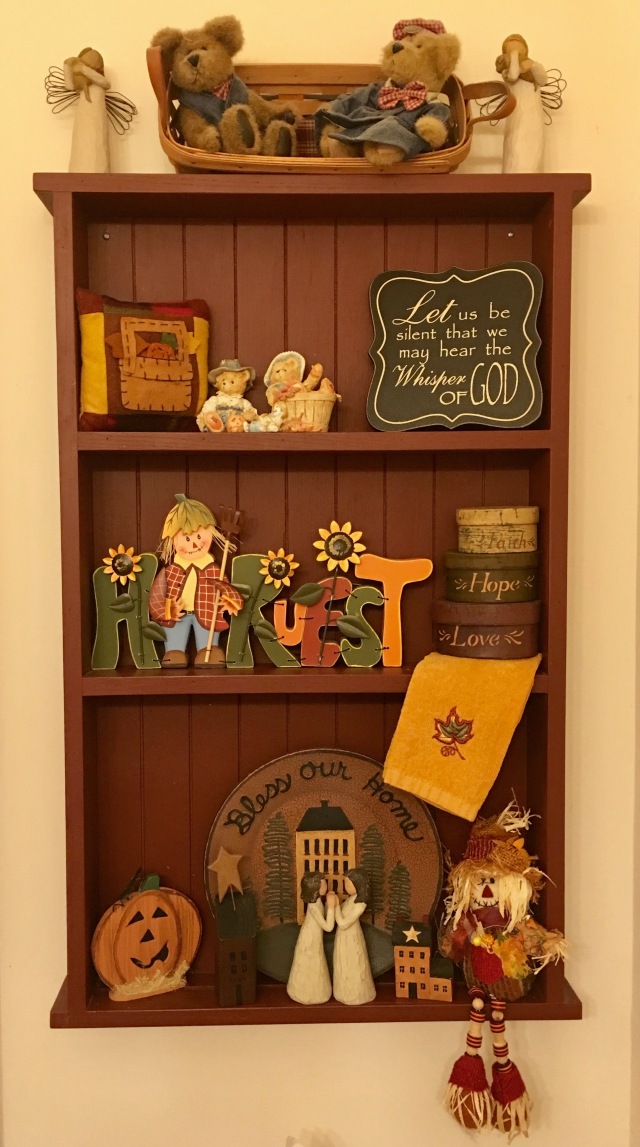
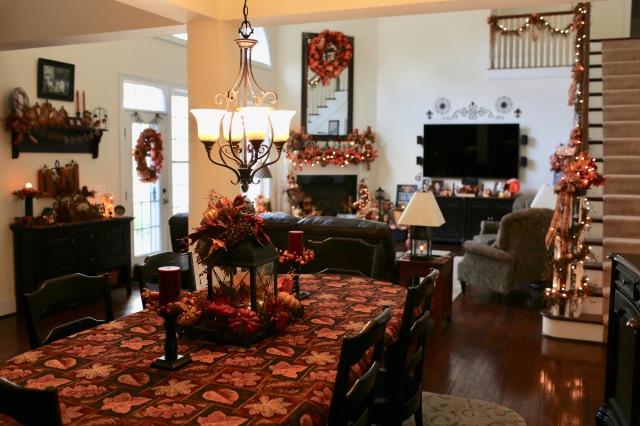
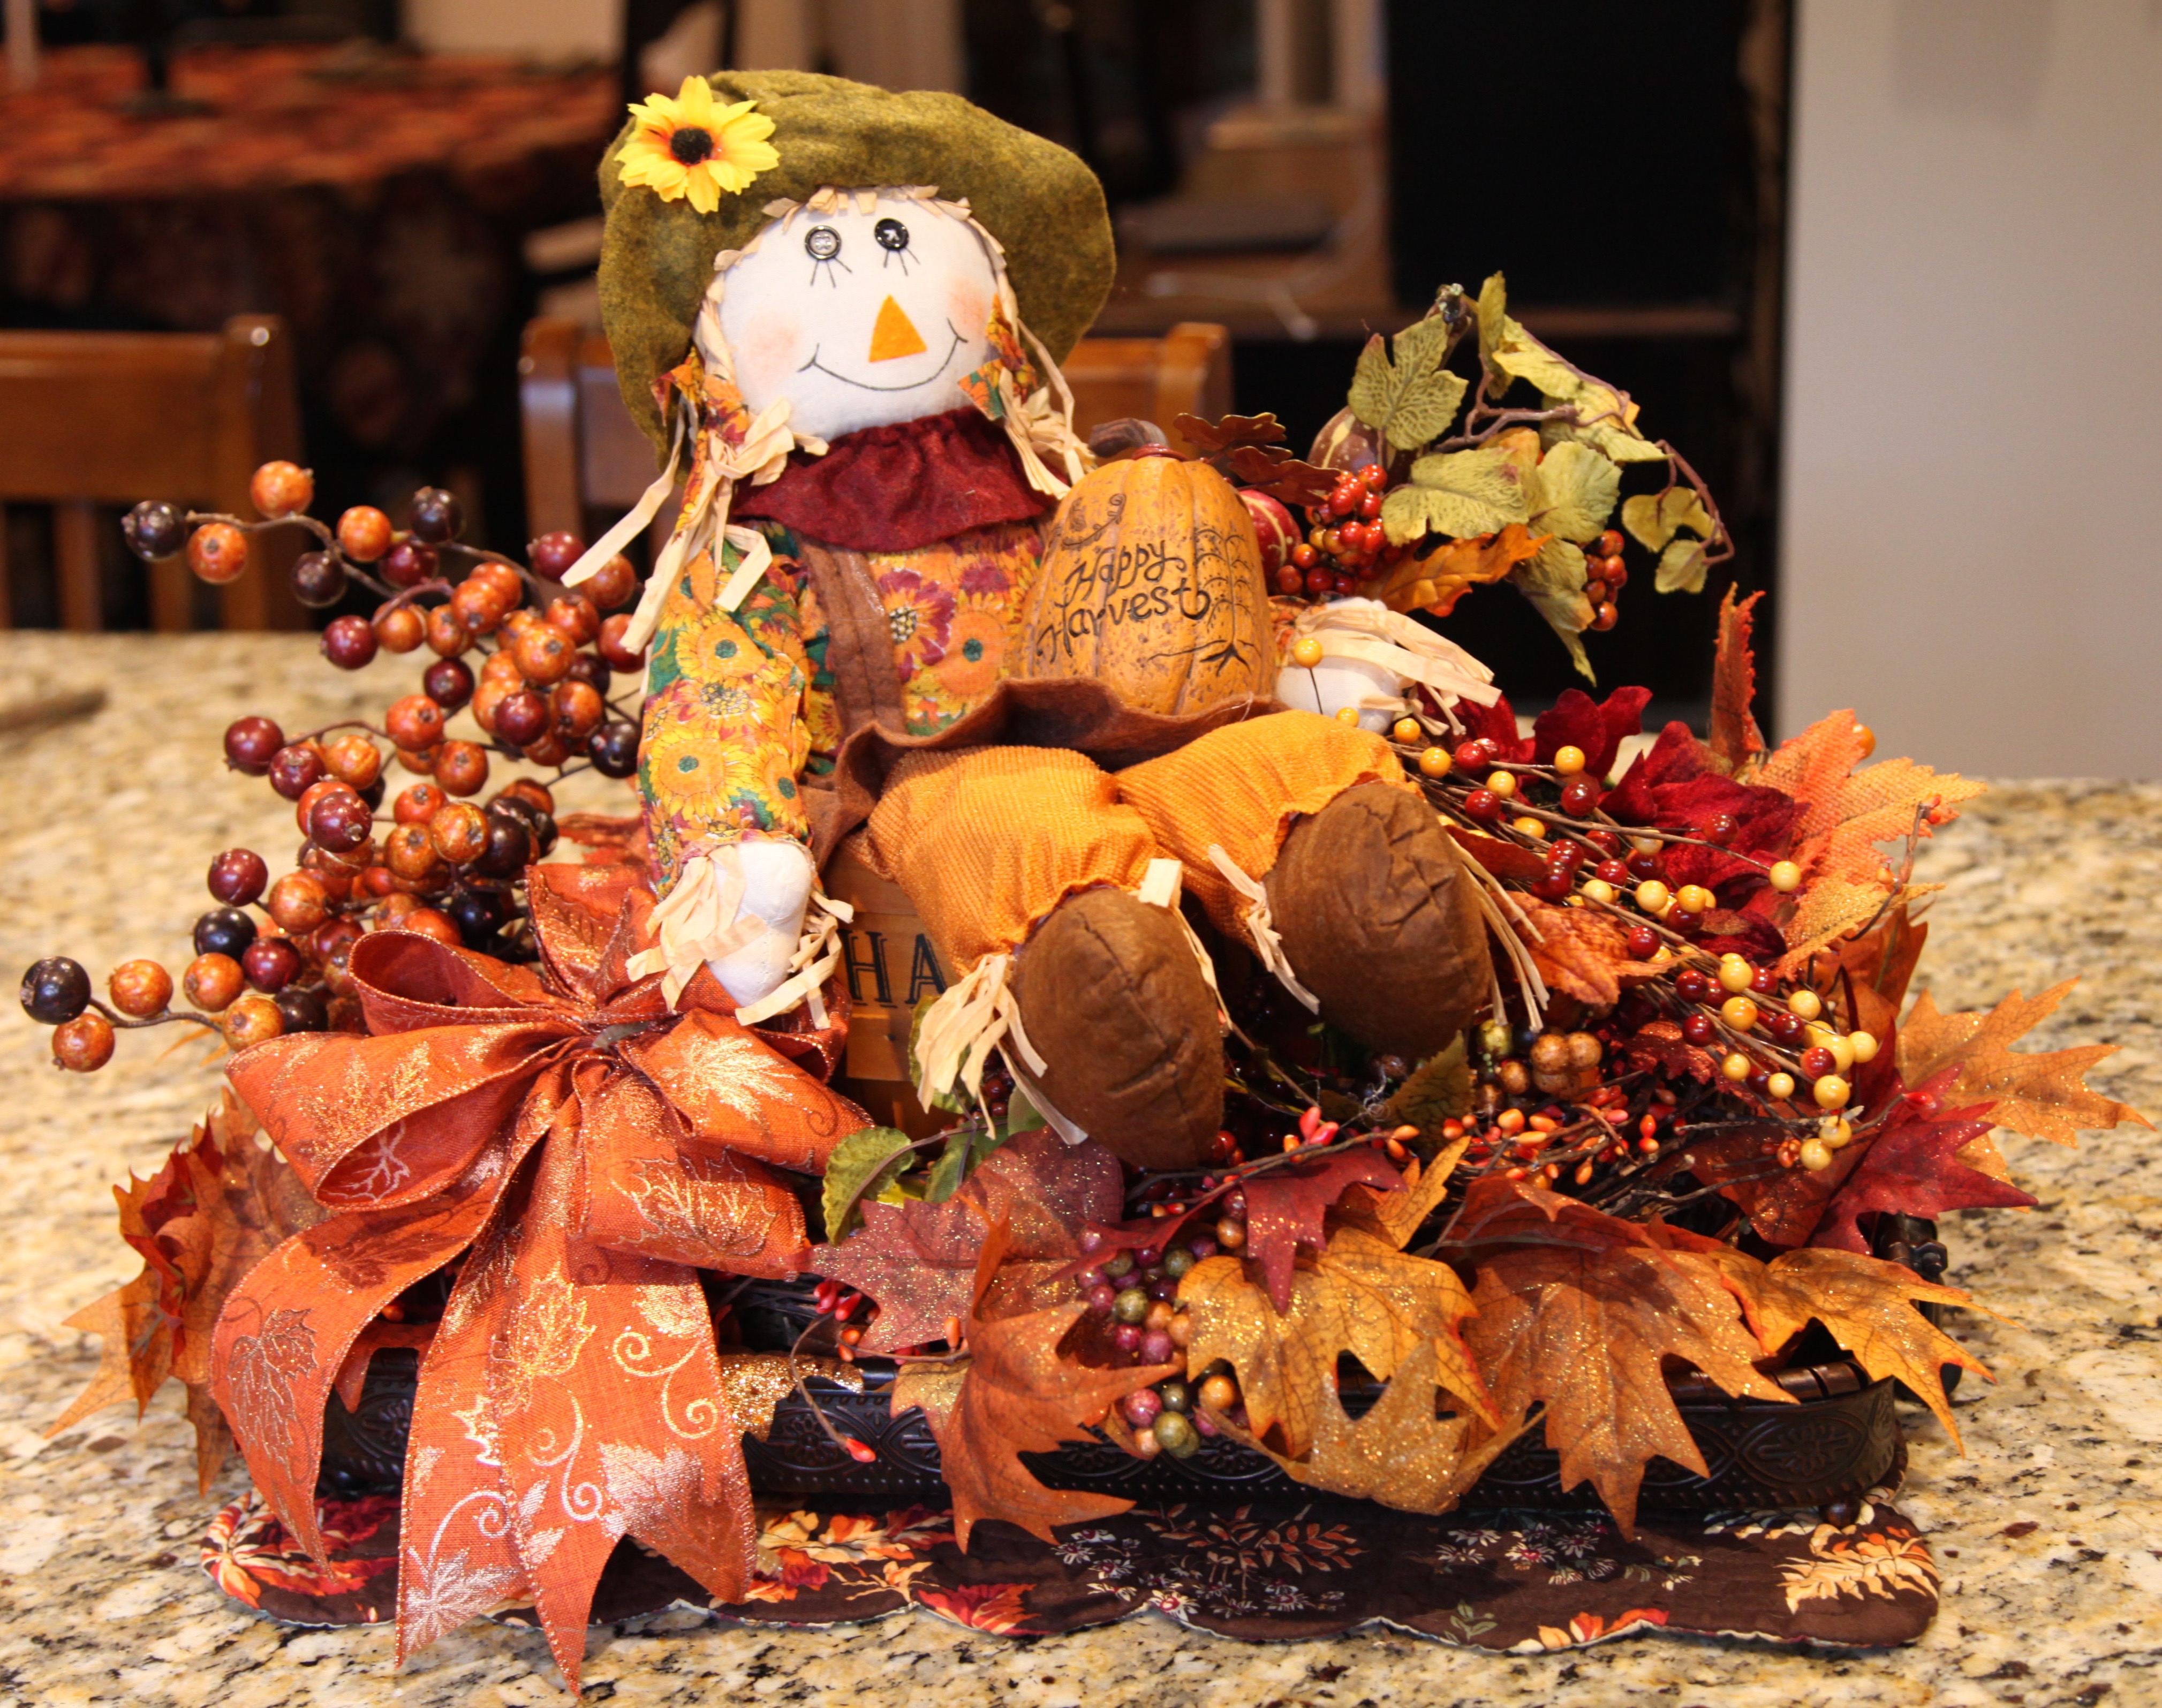
Okie dokie, here are some pictures of the Family Room…IMG_7558IMG_7559IMG_7551IMG_7552IMG_7554IMG_7585IMG_7601IMG_7621IMG_7618IMG_7610

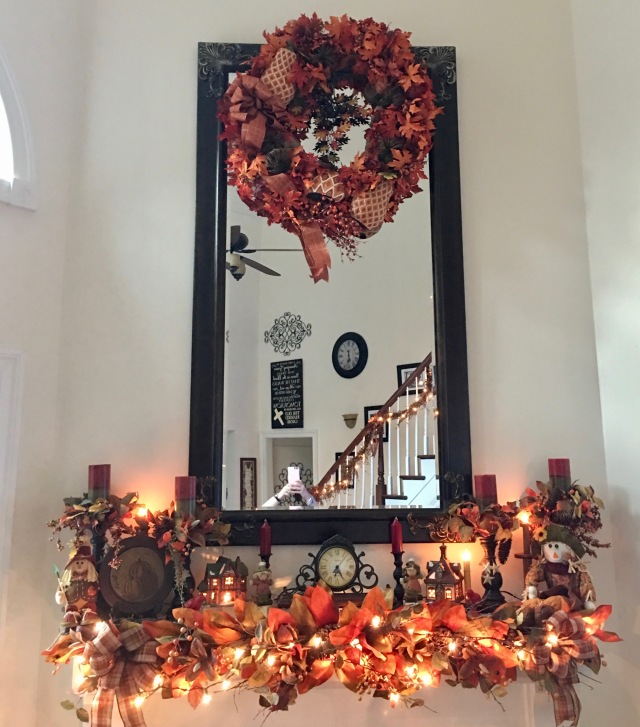
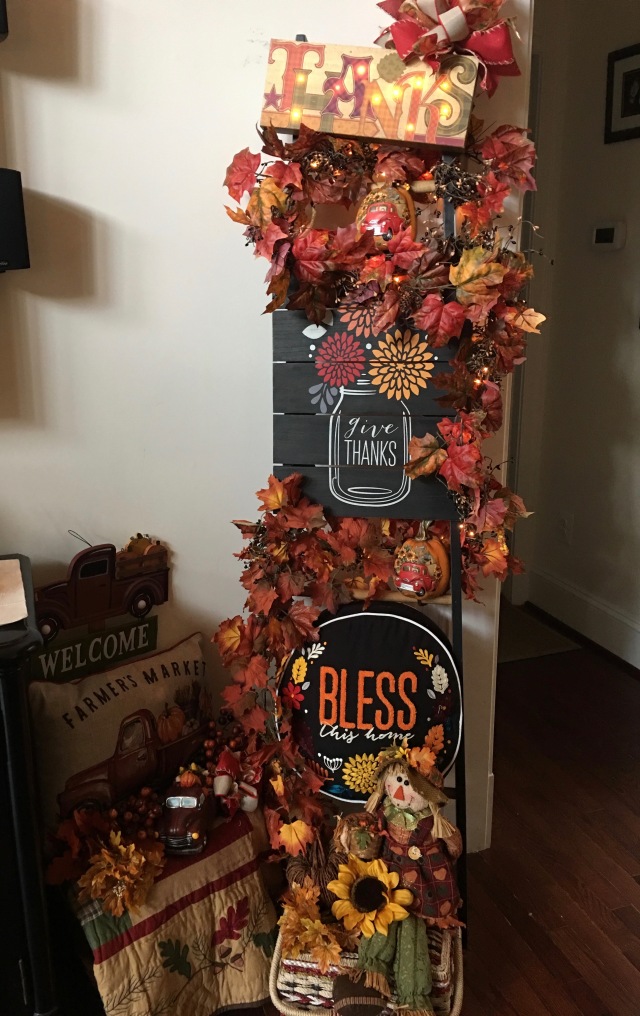
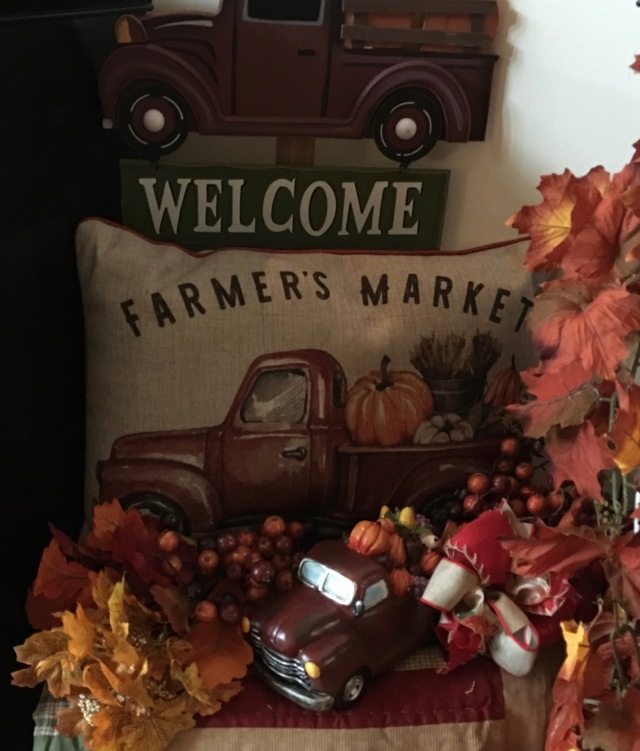
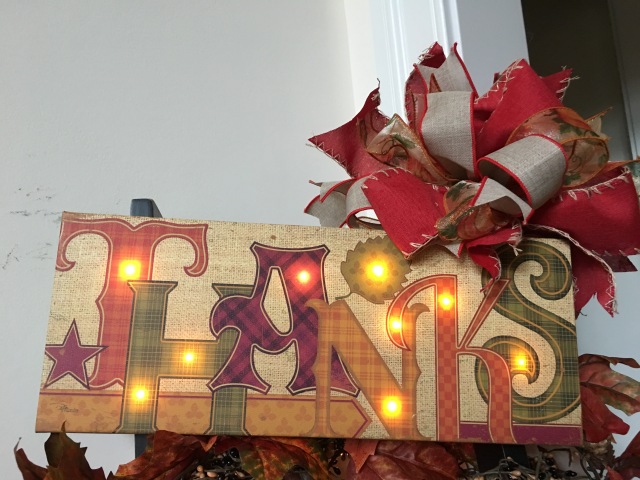
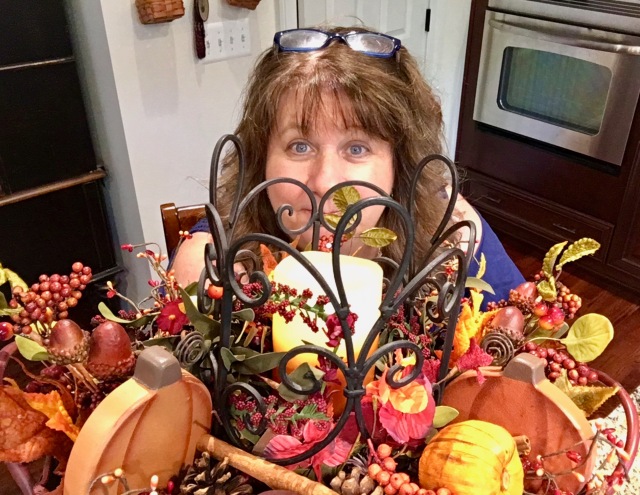
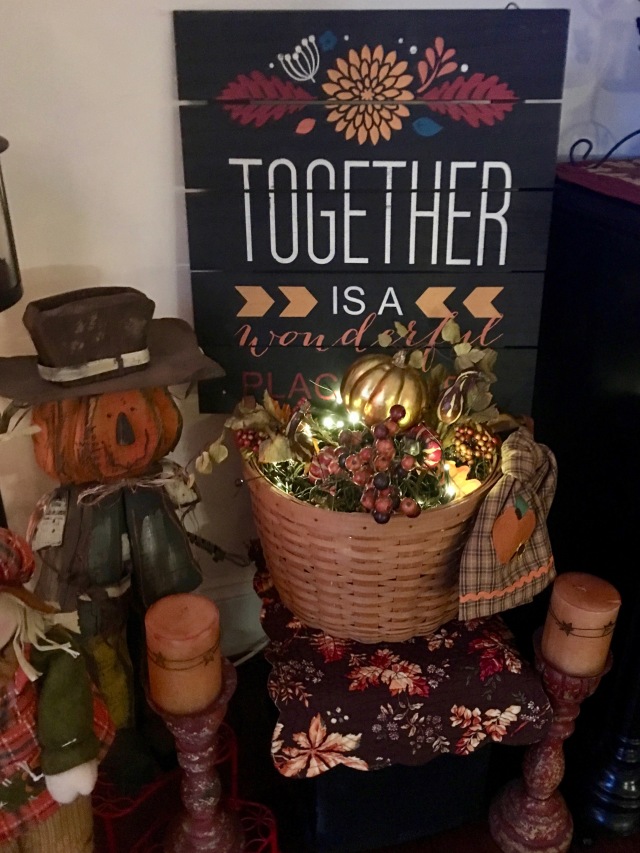
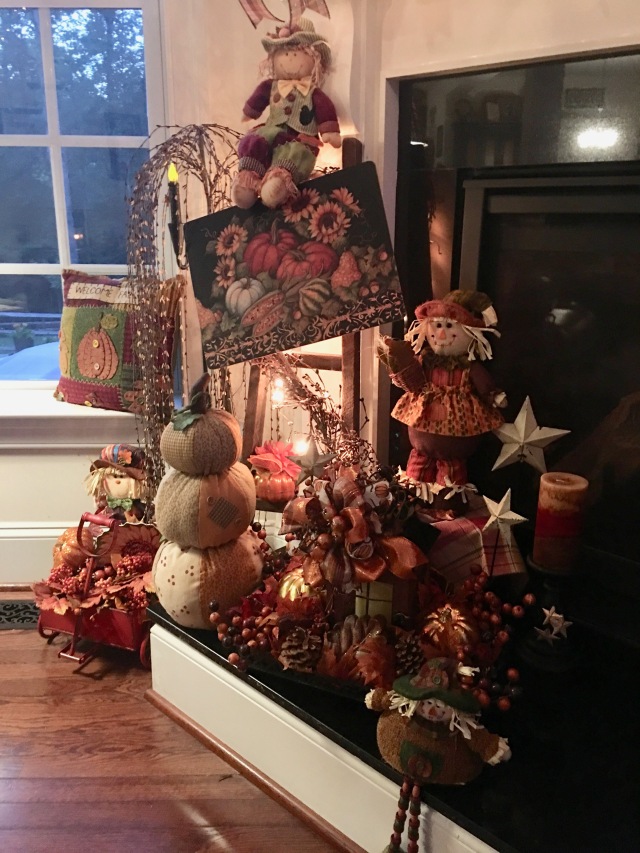
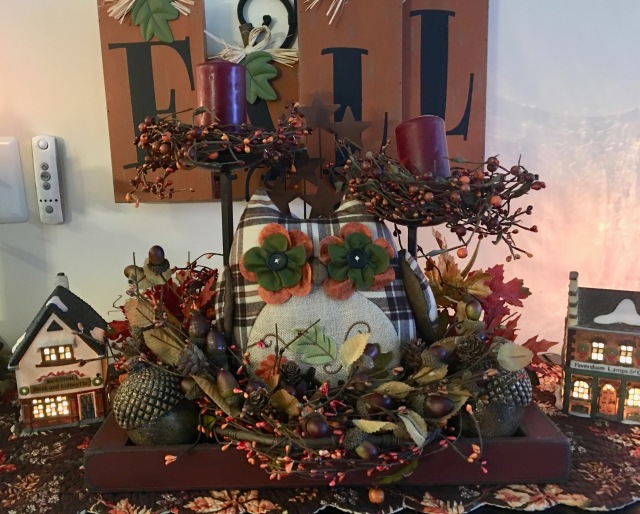
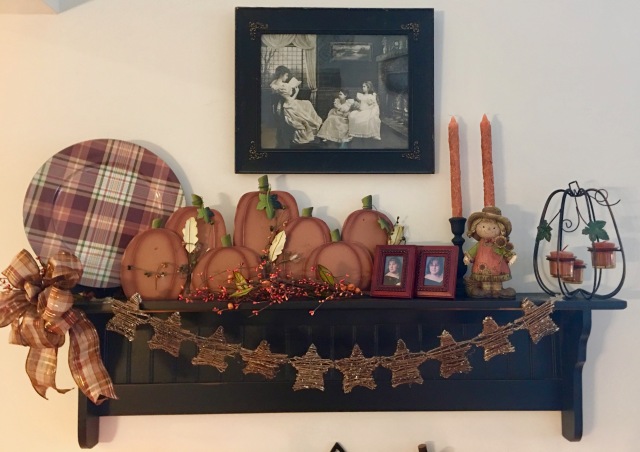
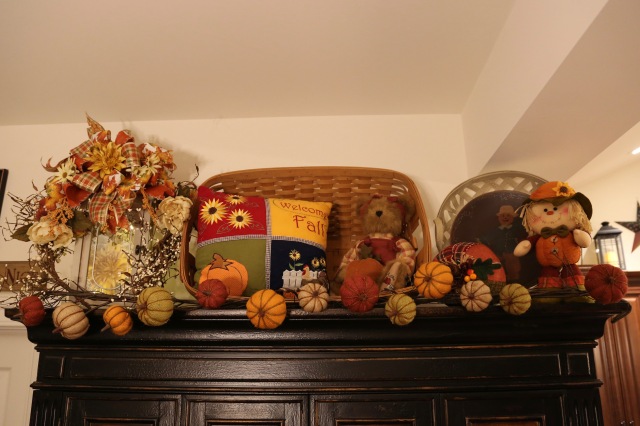
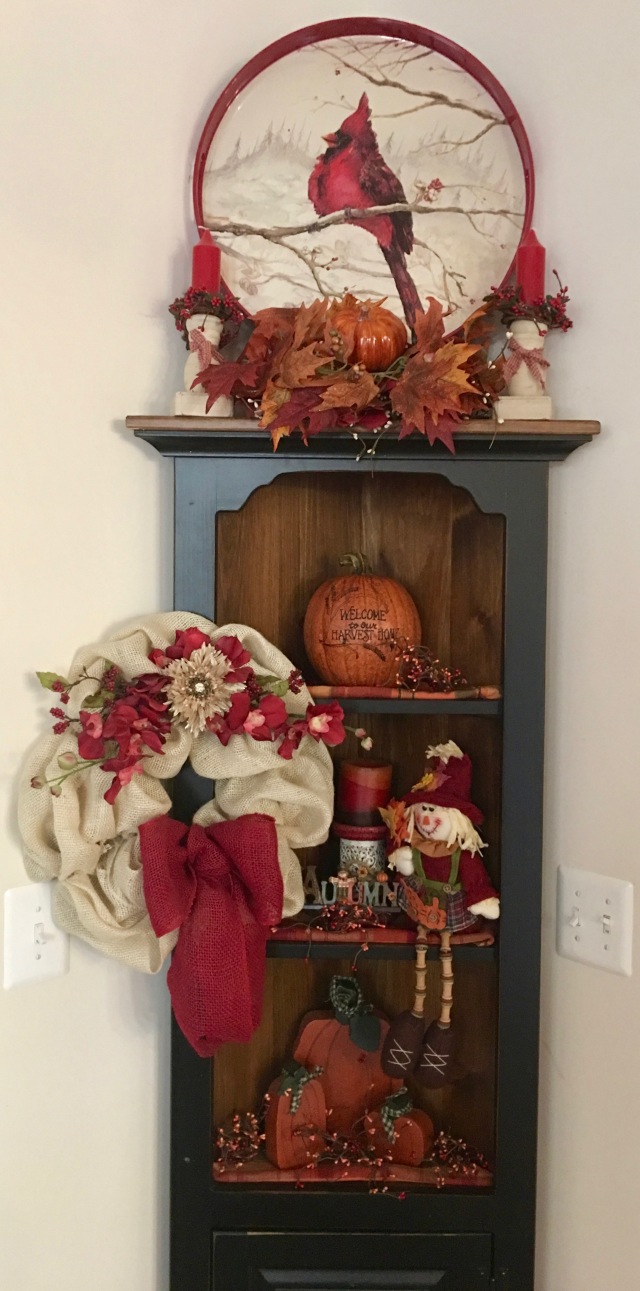
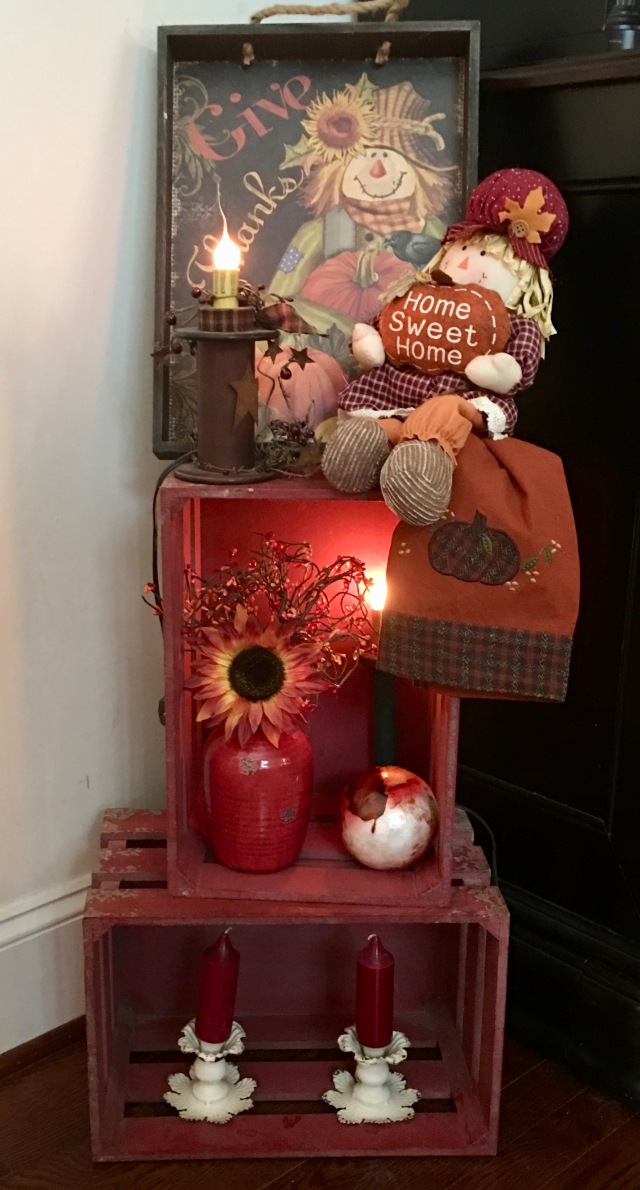
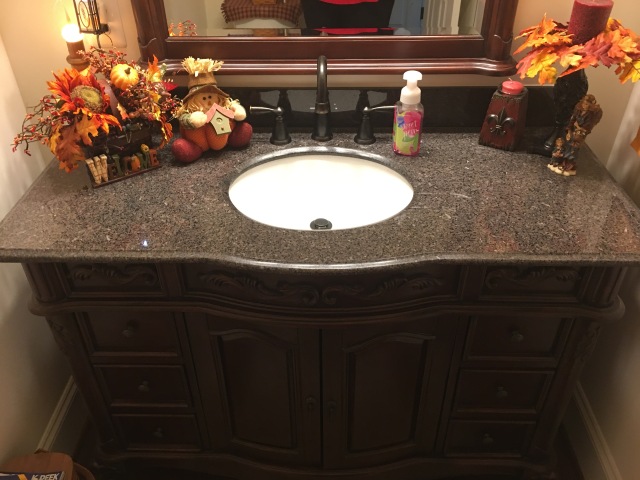
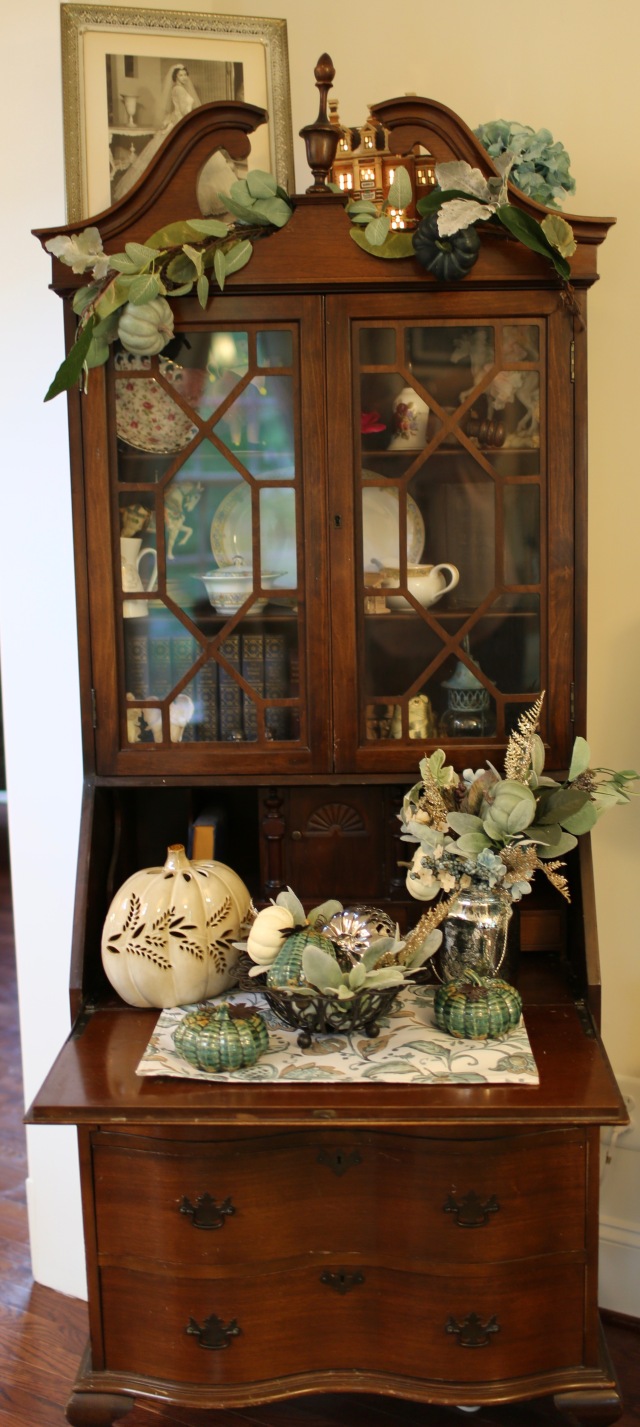
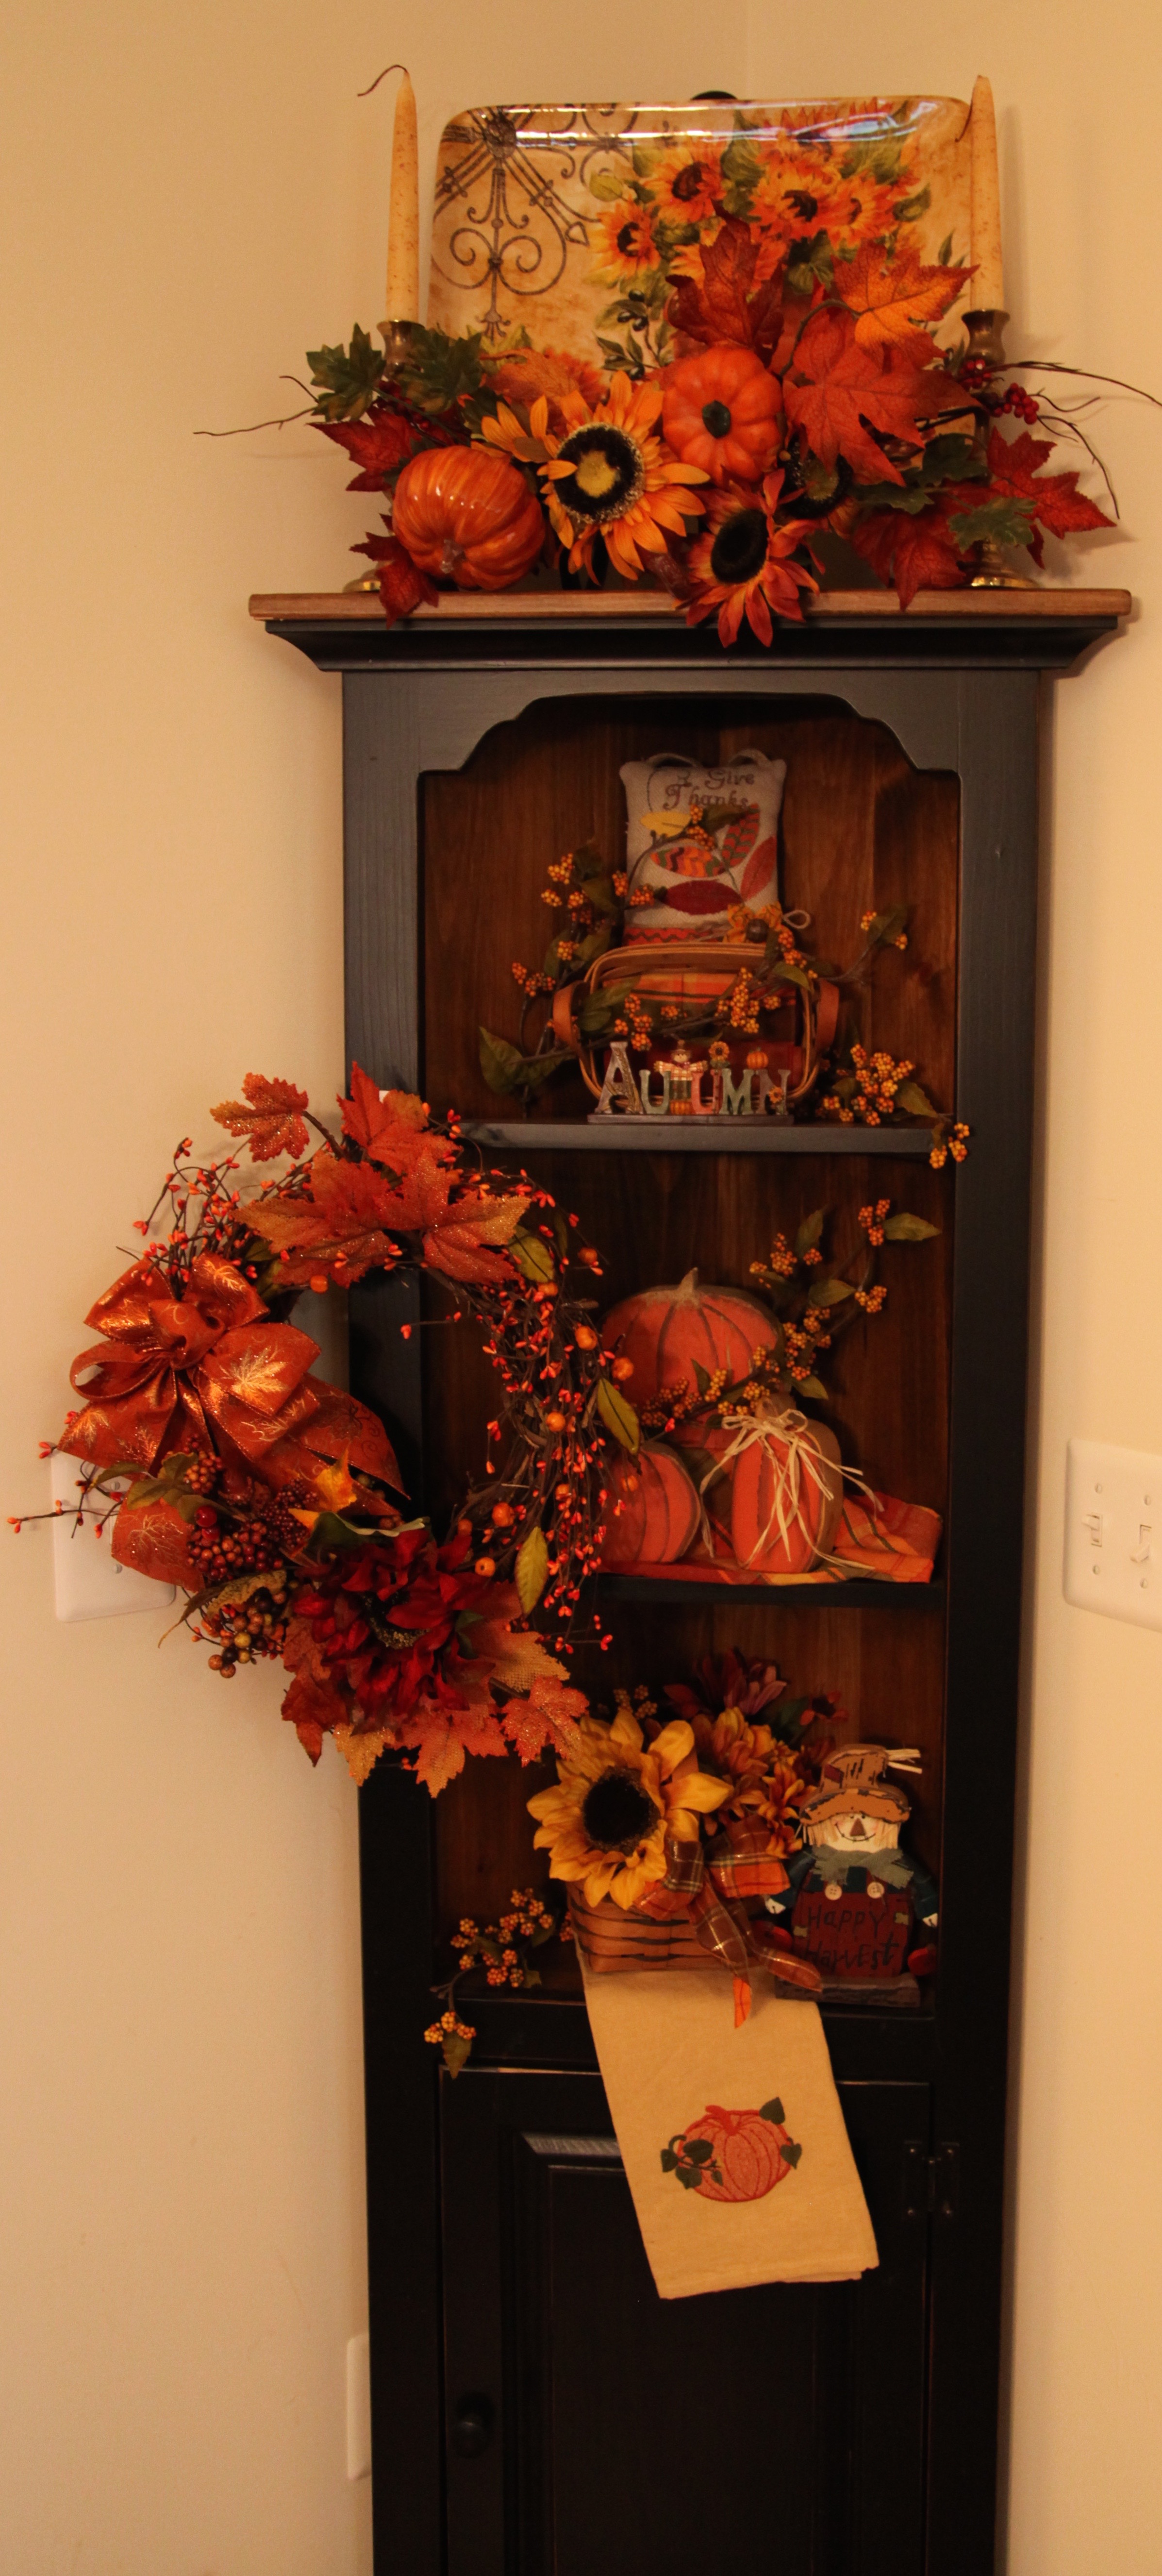
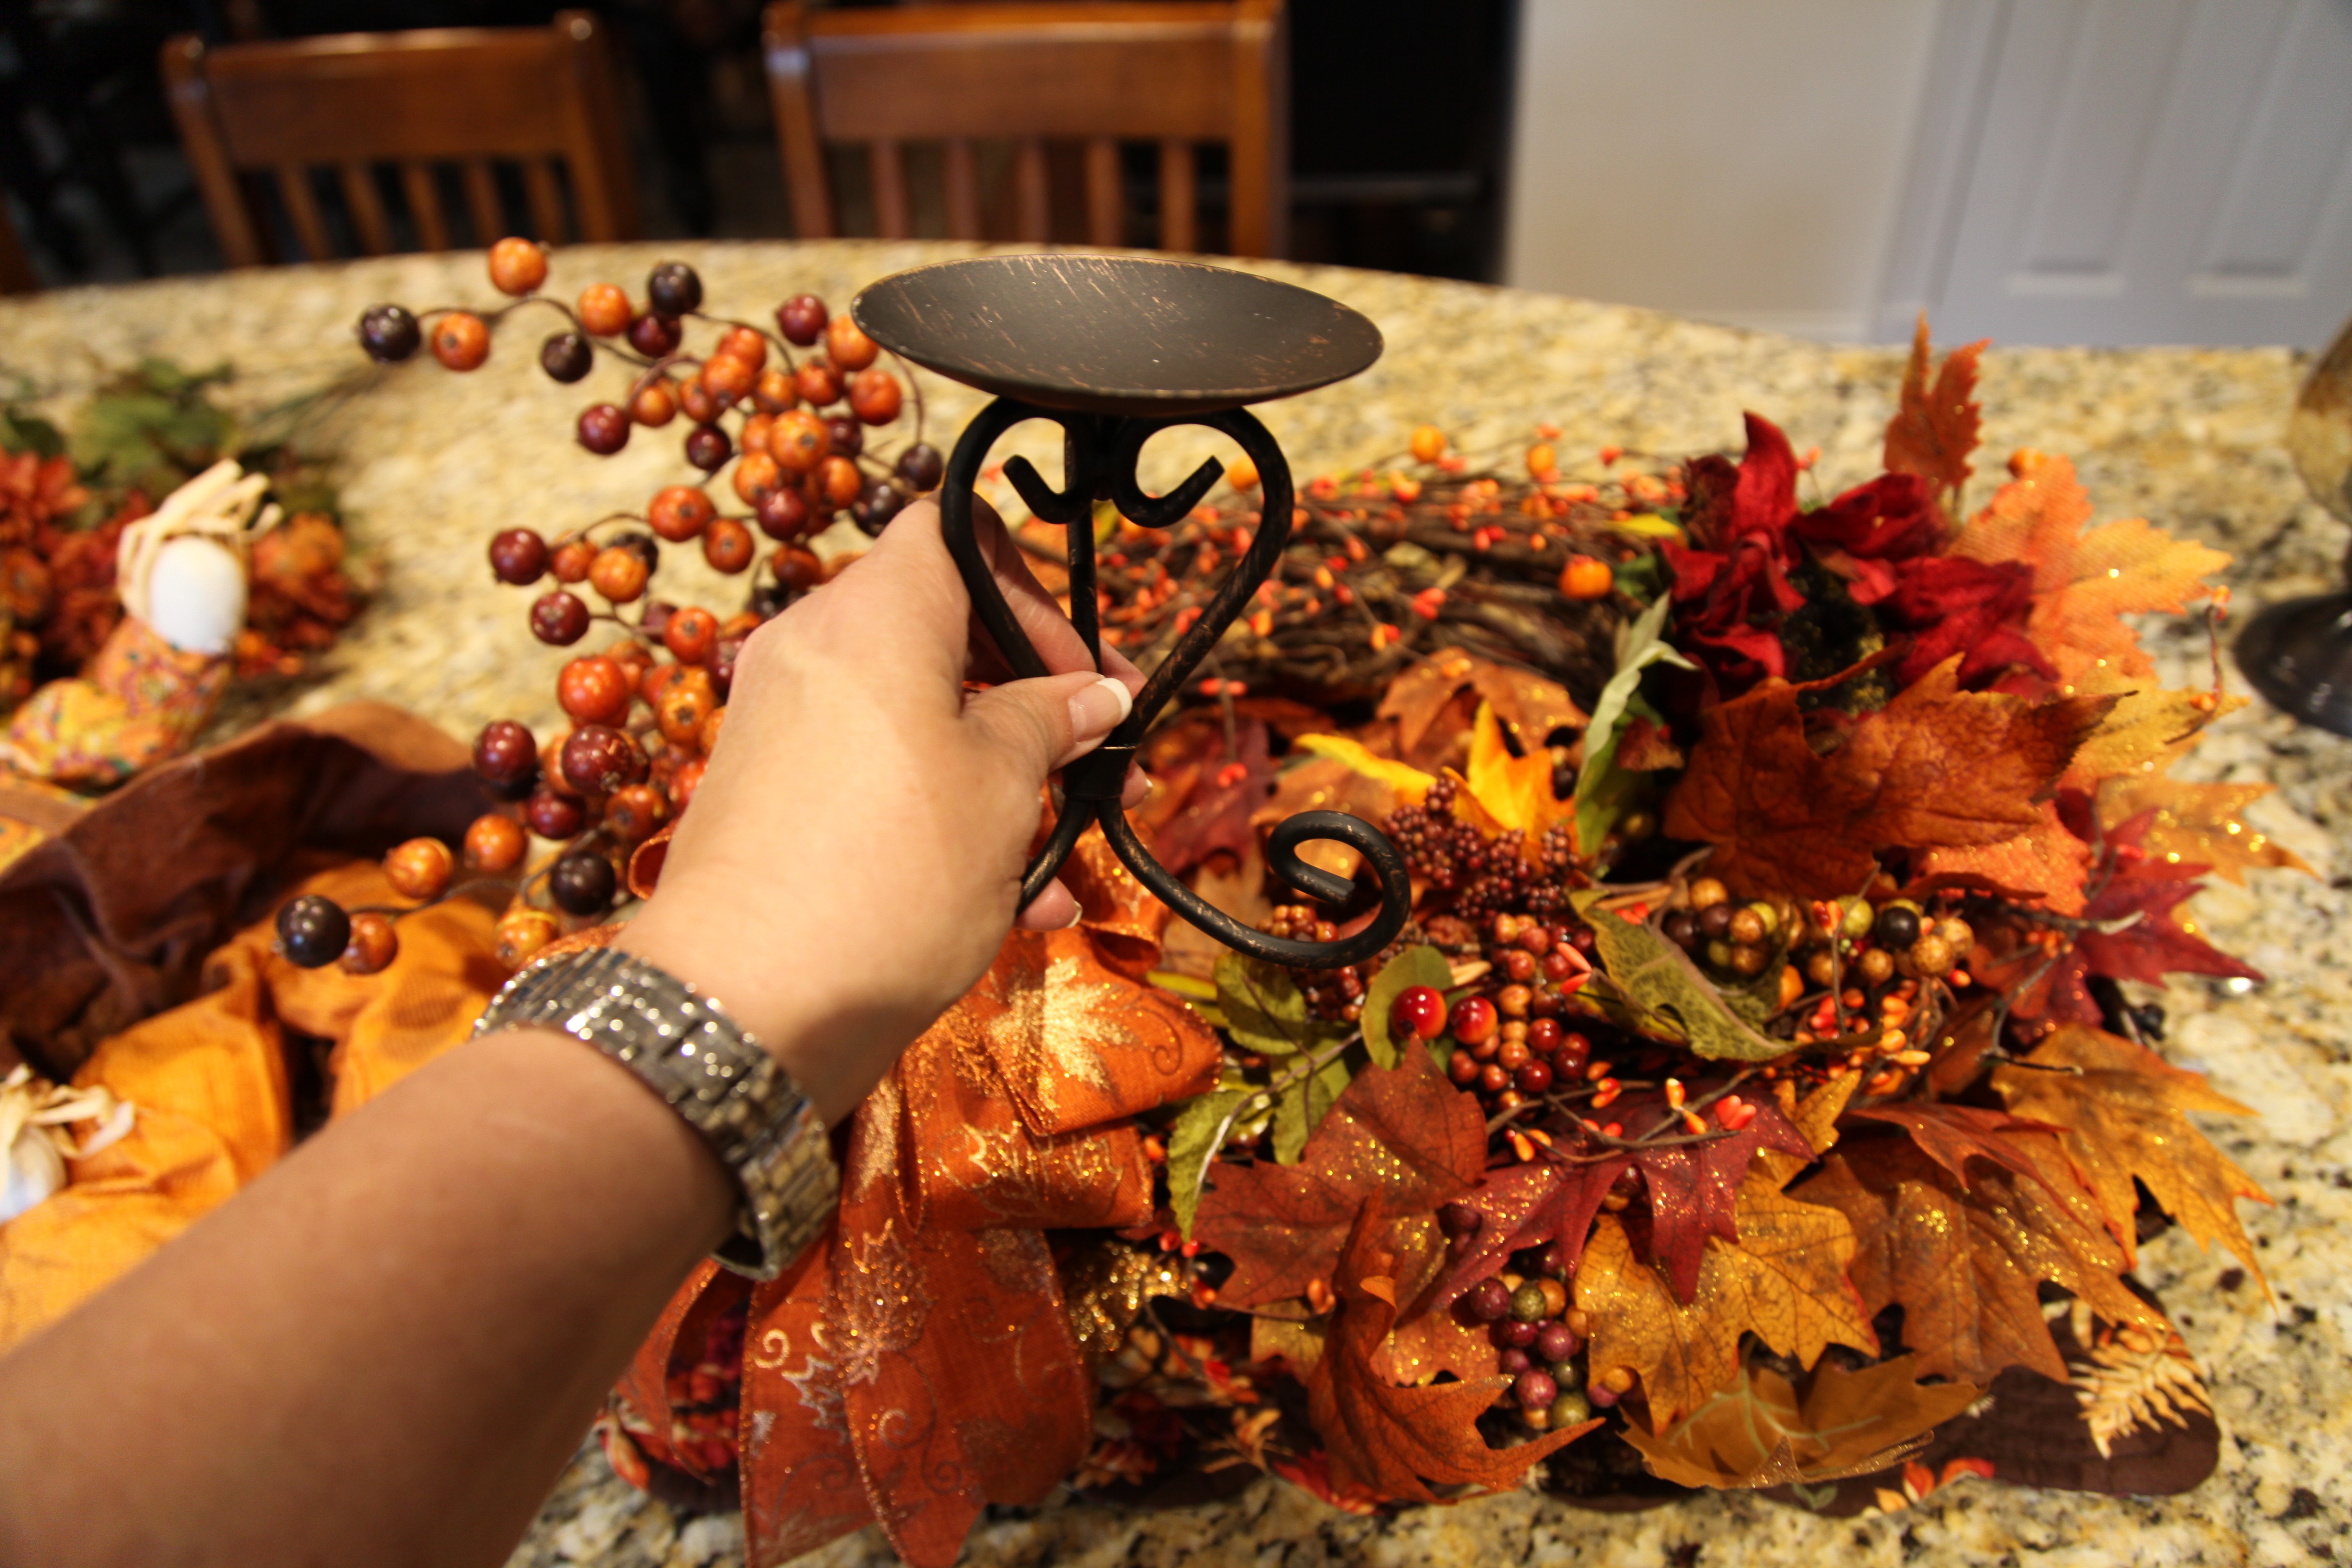
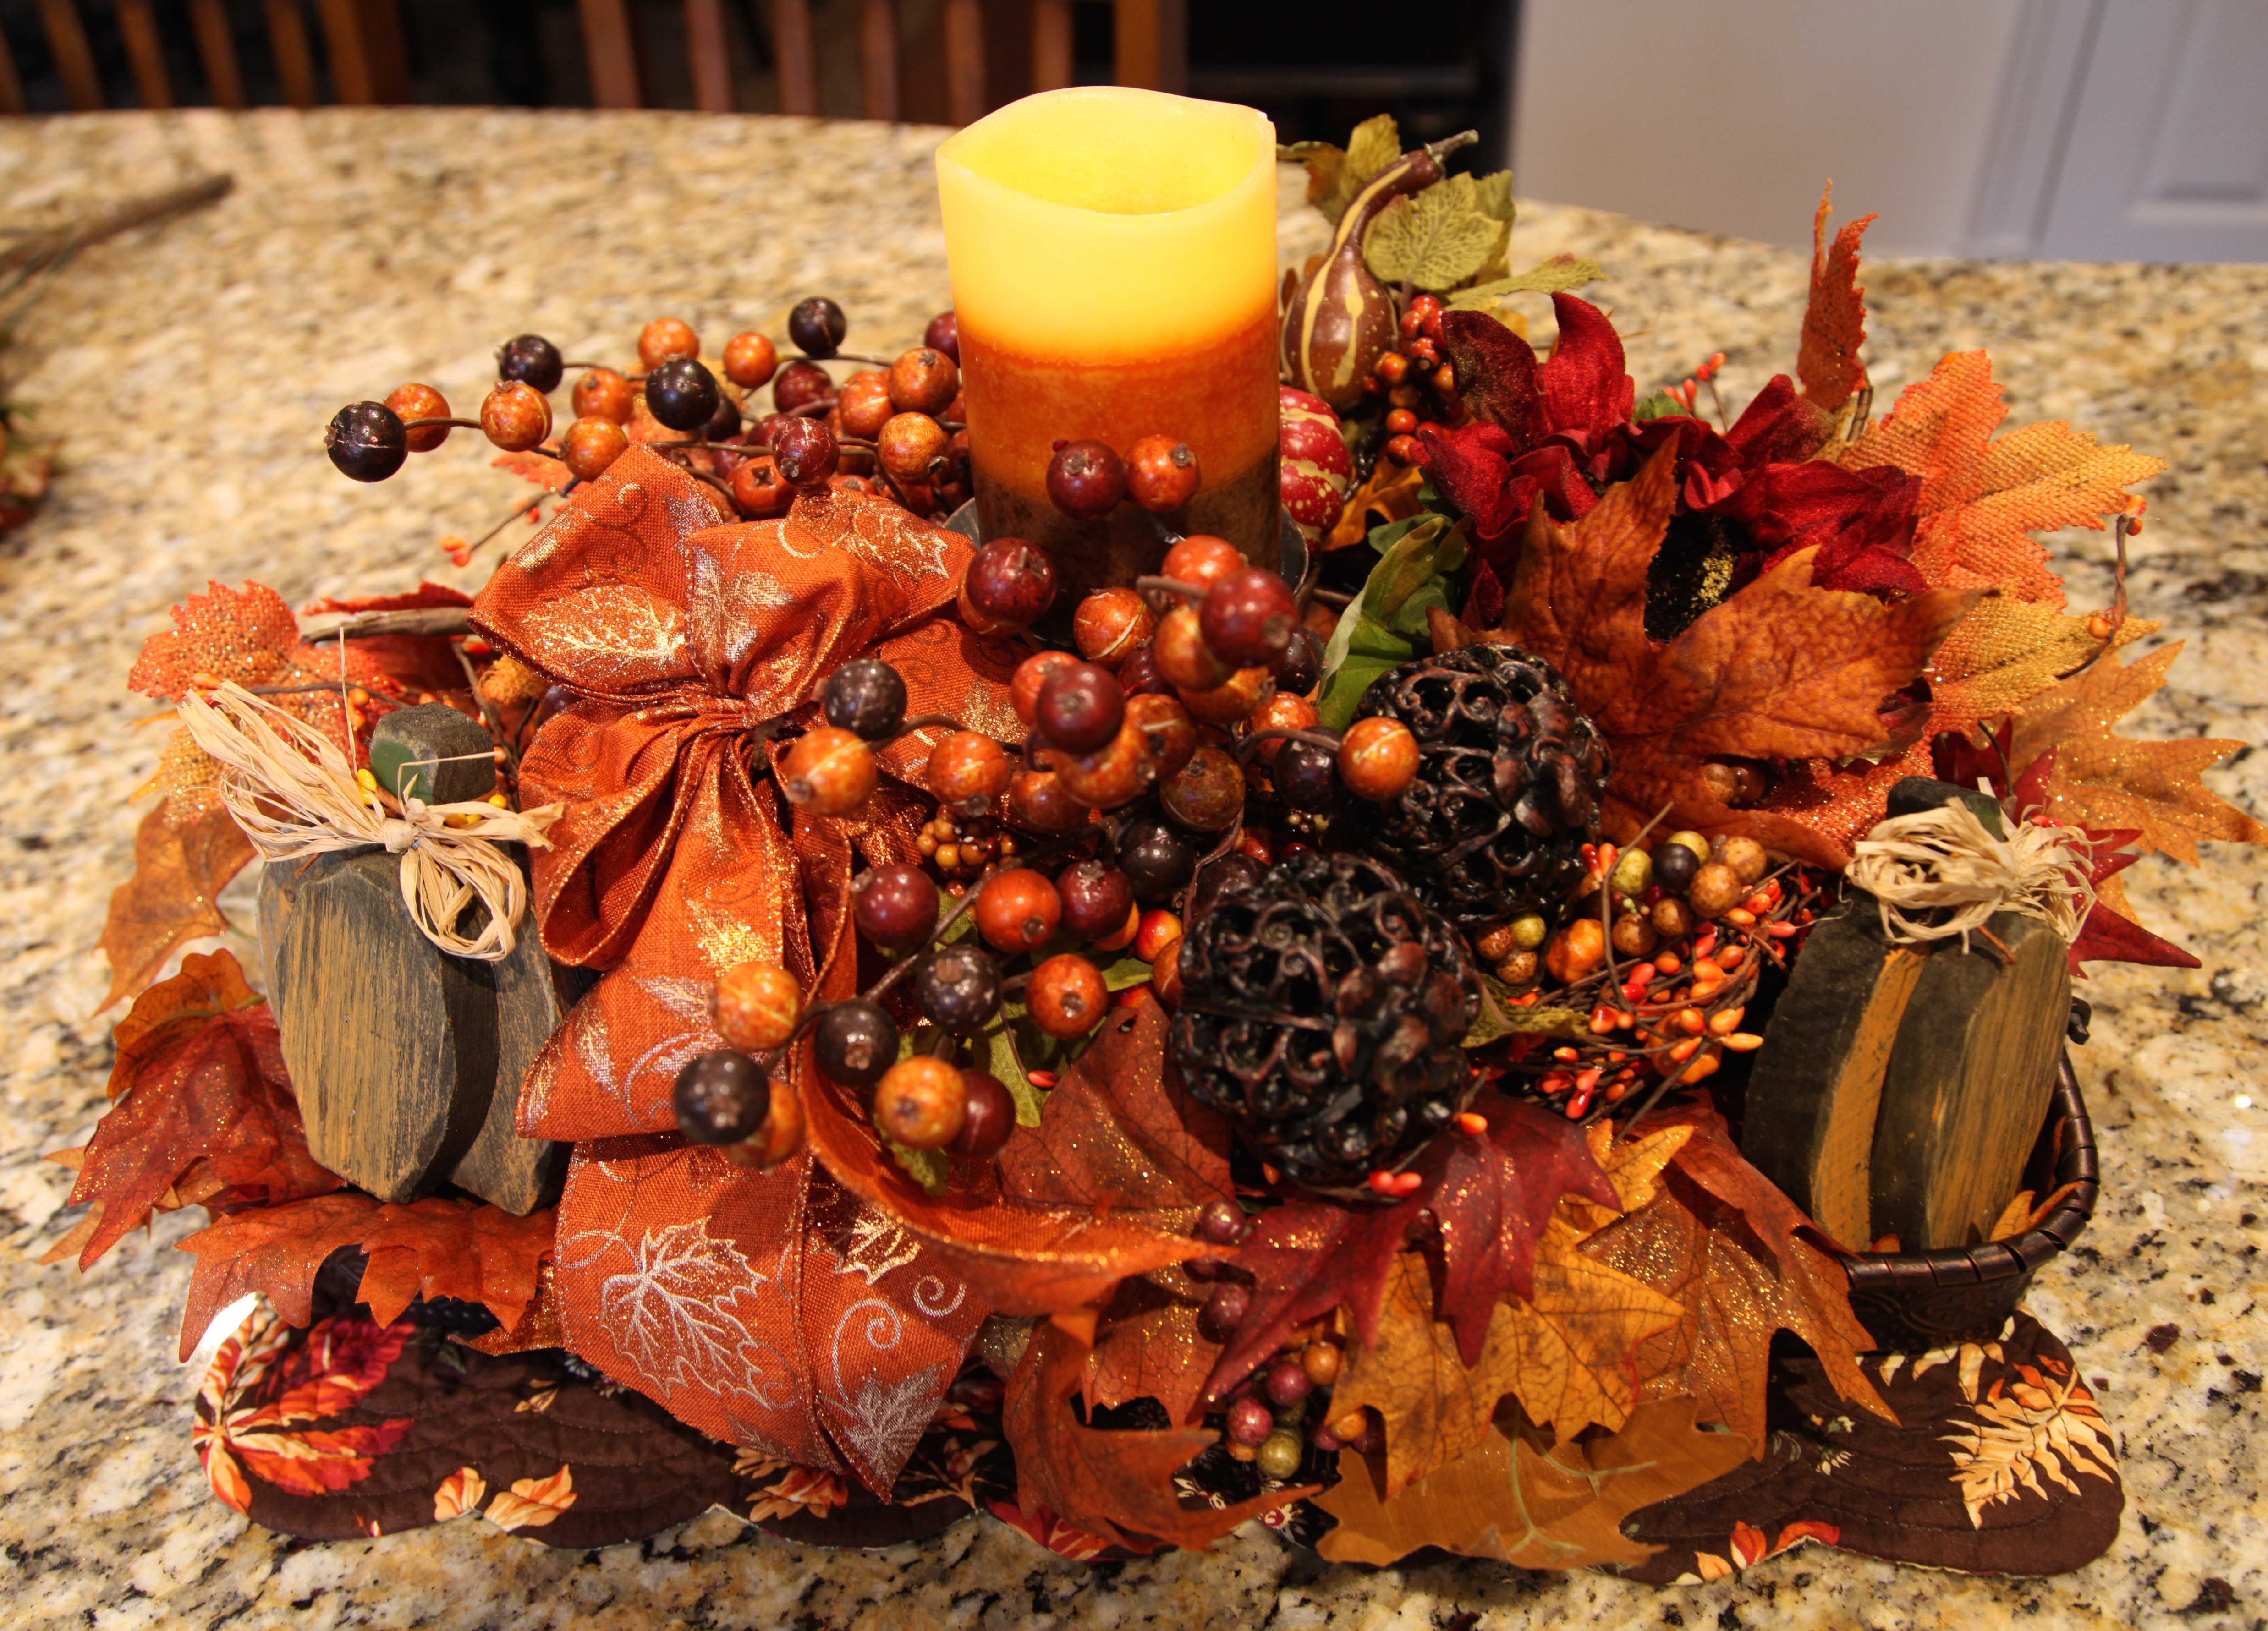
And here are some more shots of how I decorated up the rest of the back side of the house, moving through the family room, into the kitchen, over to the kitchen eating area, the kitchen hutch and desk, and the powder room.

IMG_7670IMG_7672IMG_7669.jpg

IMG_7631

IMG_03571V4A94941V4A9493IMG_76521V4A9526.jpg

1V4A9499IMG_7700IMG_7698IMG_7682IMG_7702IMG_77011V4A95361V4A9538IMG_7704IMG_7703

1V4A9414

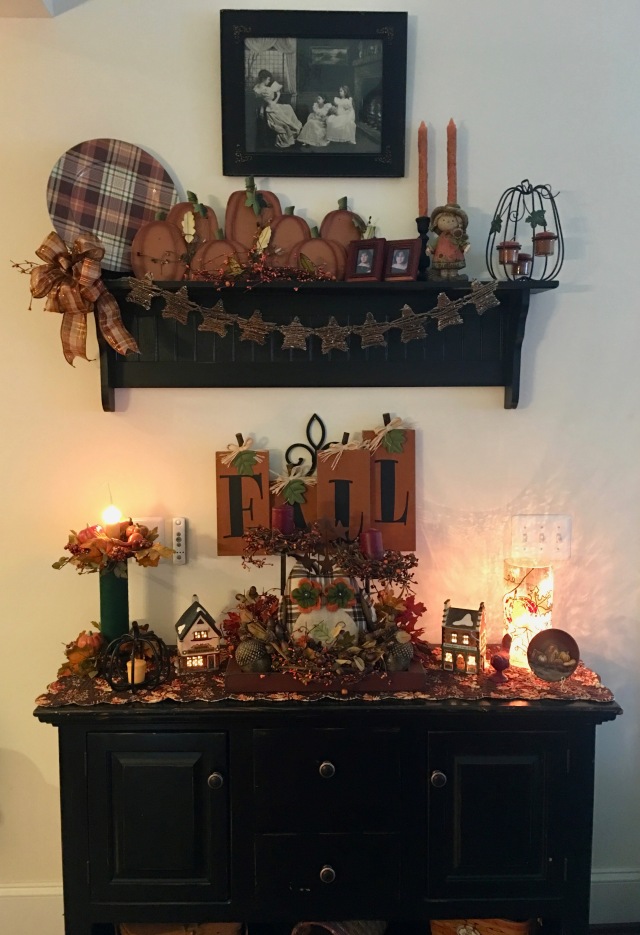
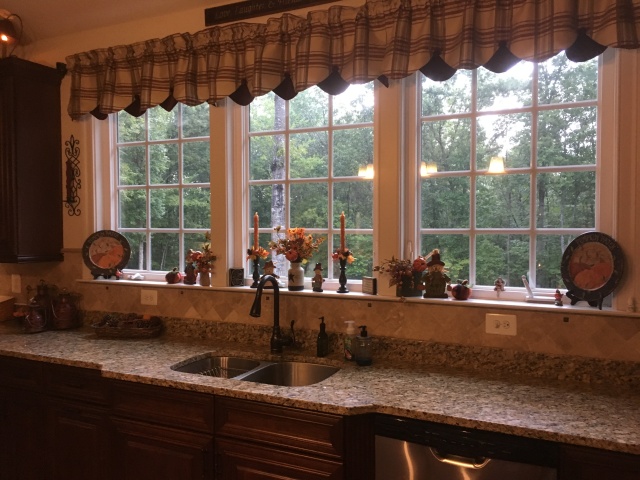
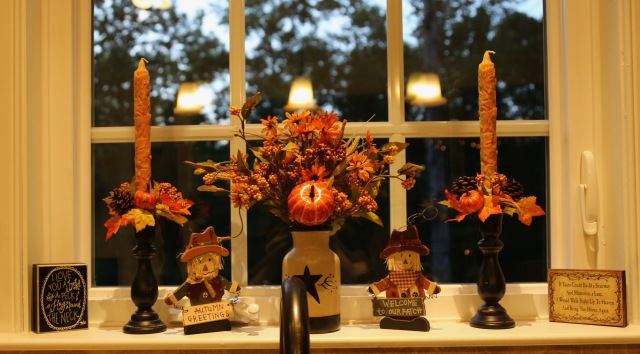
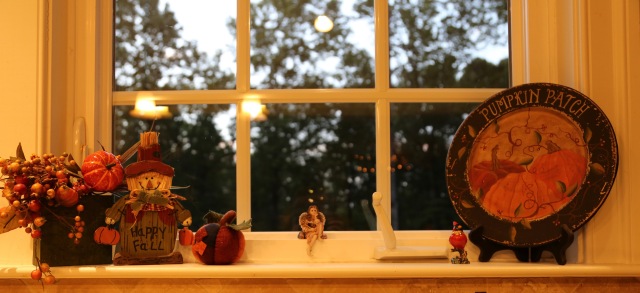
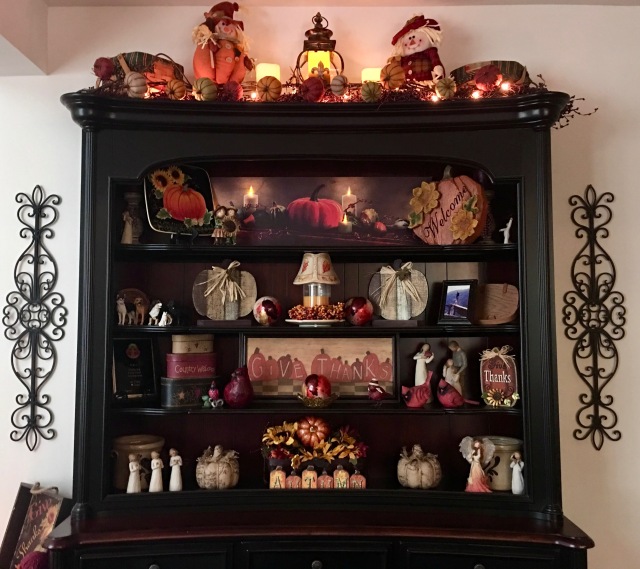
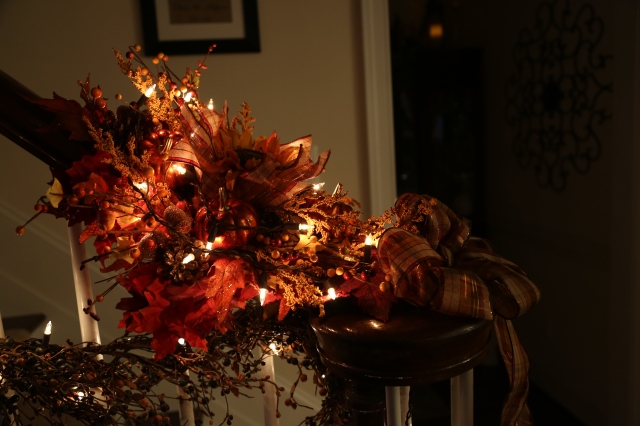
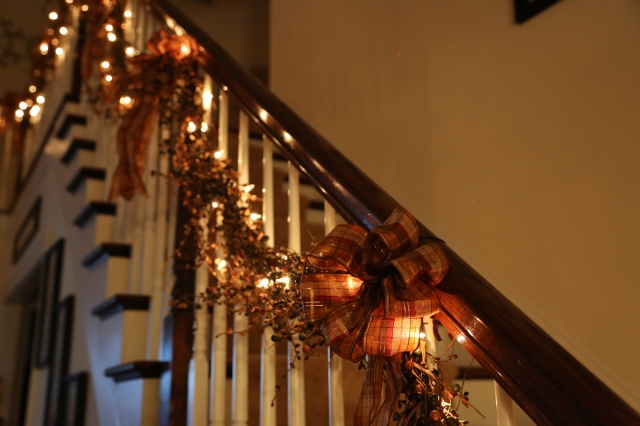
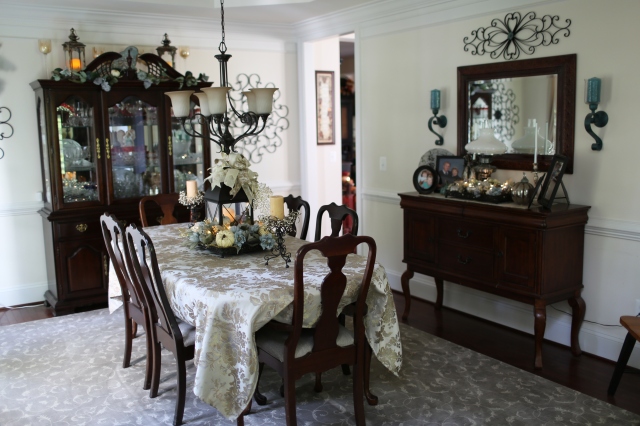
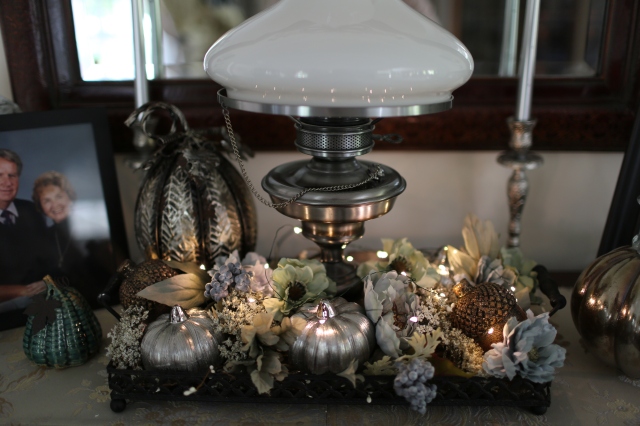
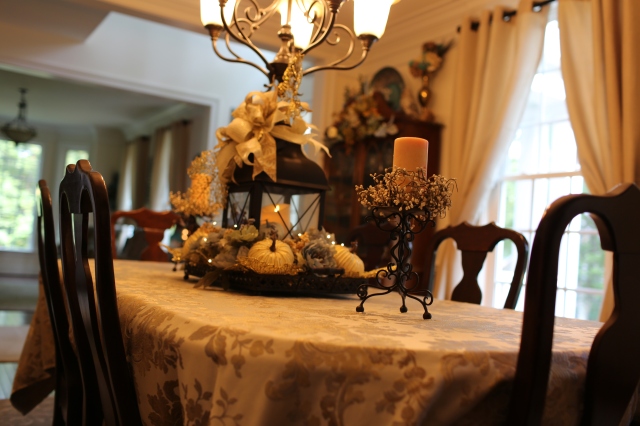
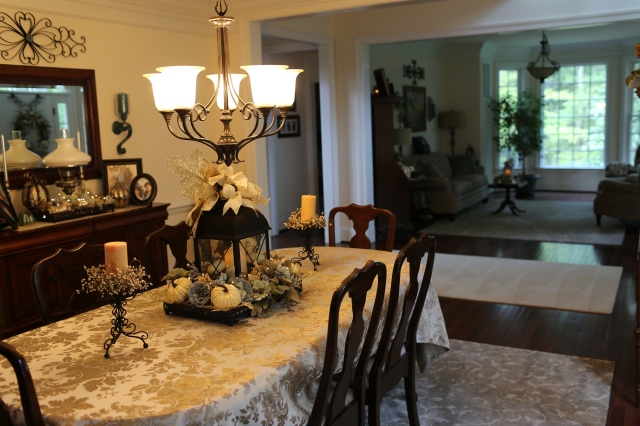
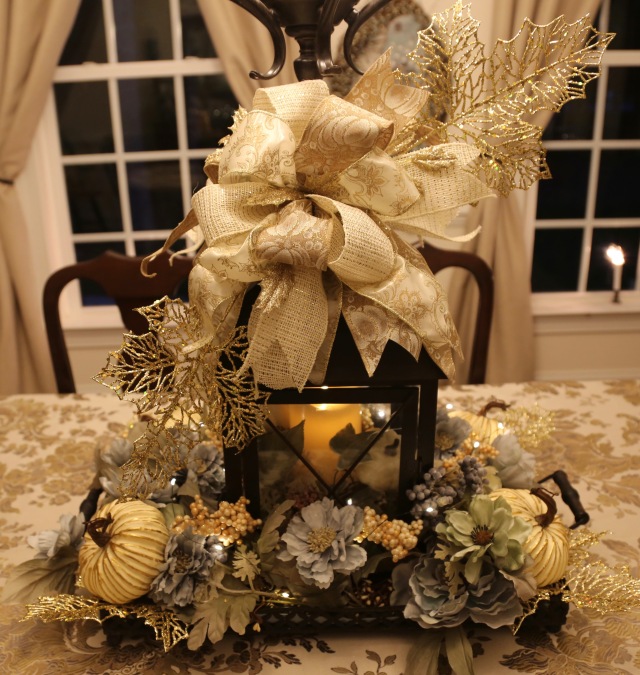
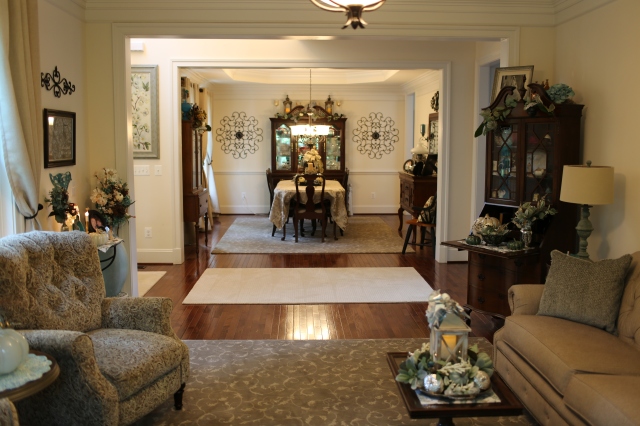
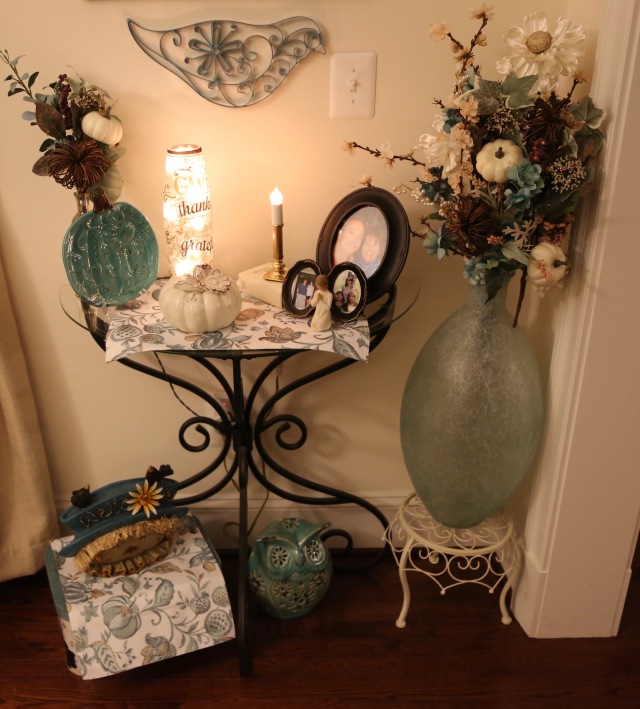
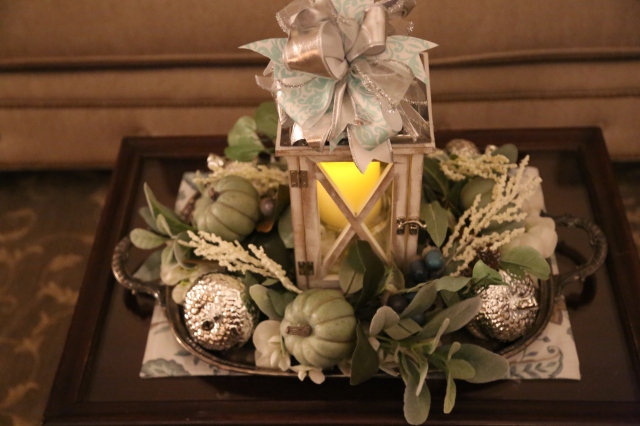
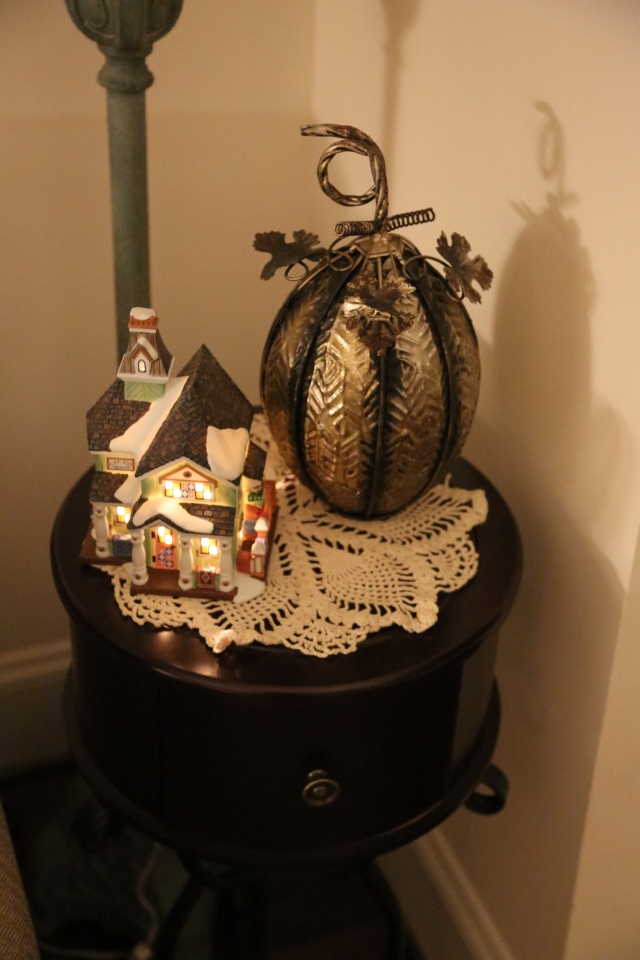
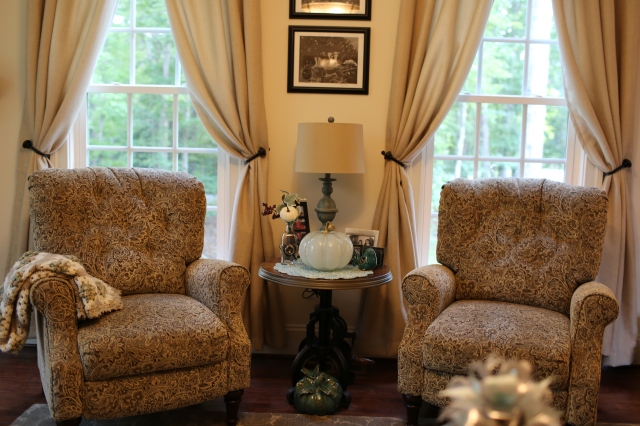
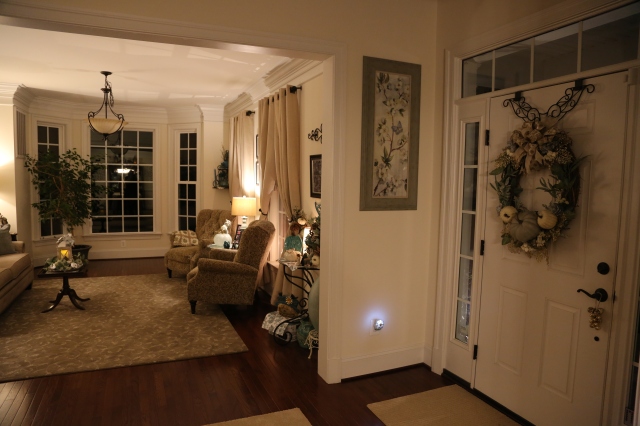
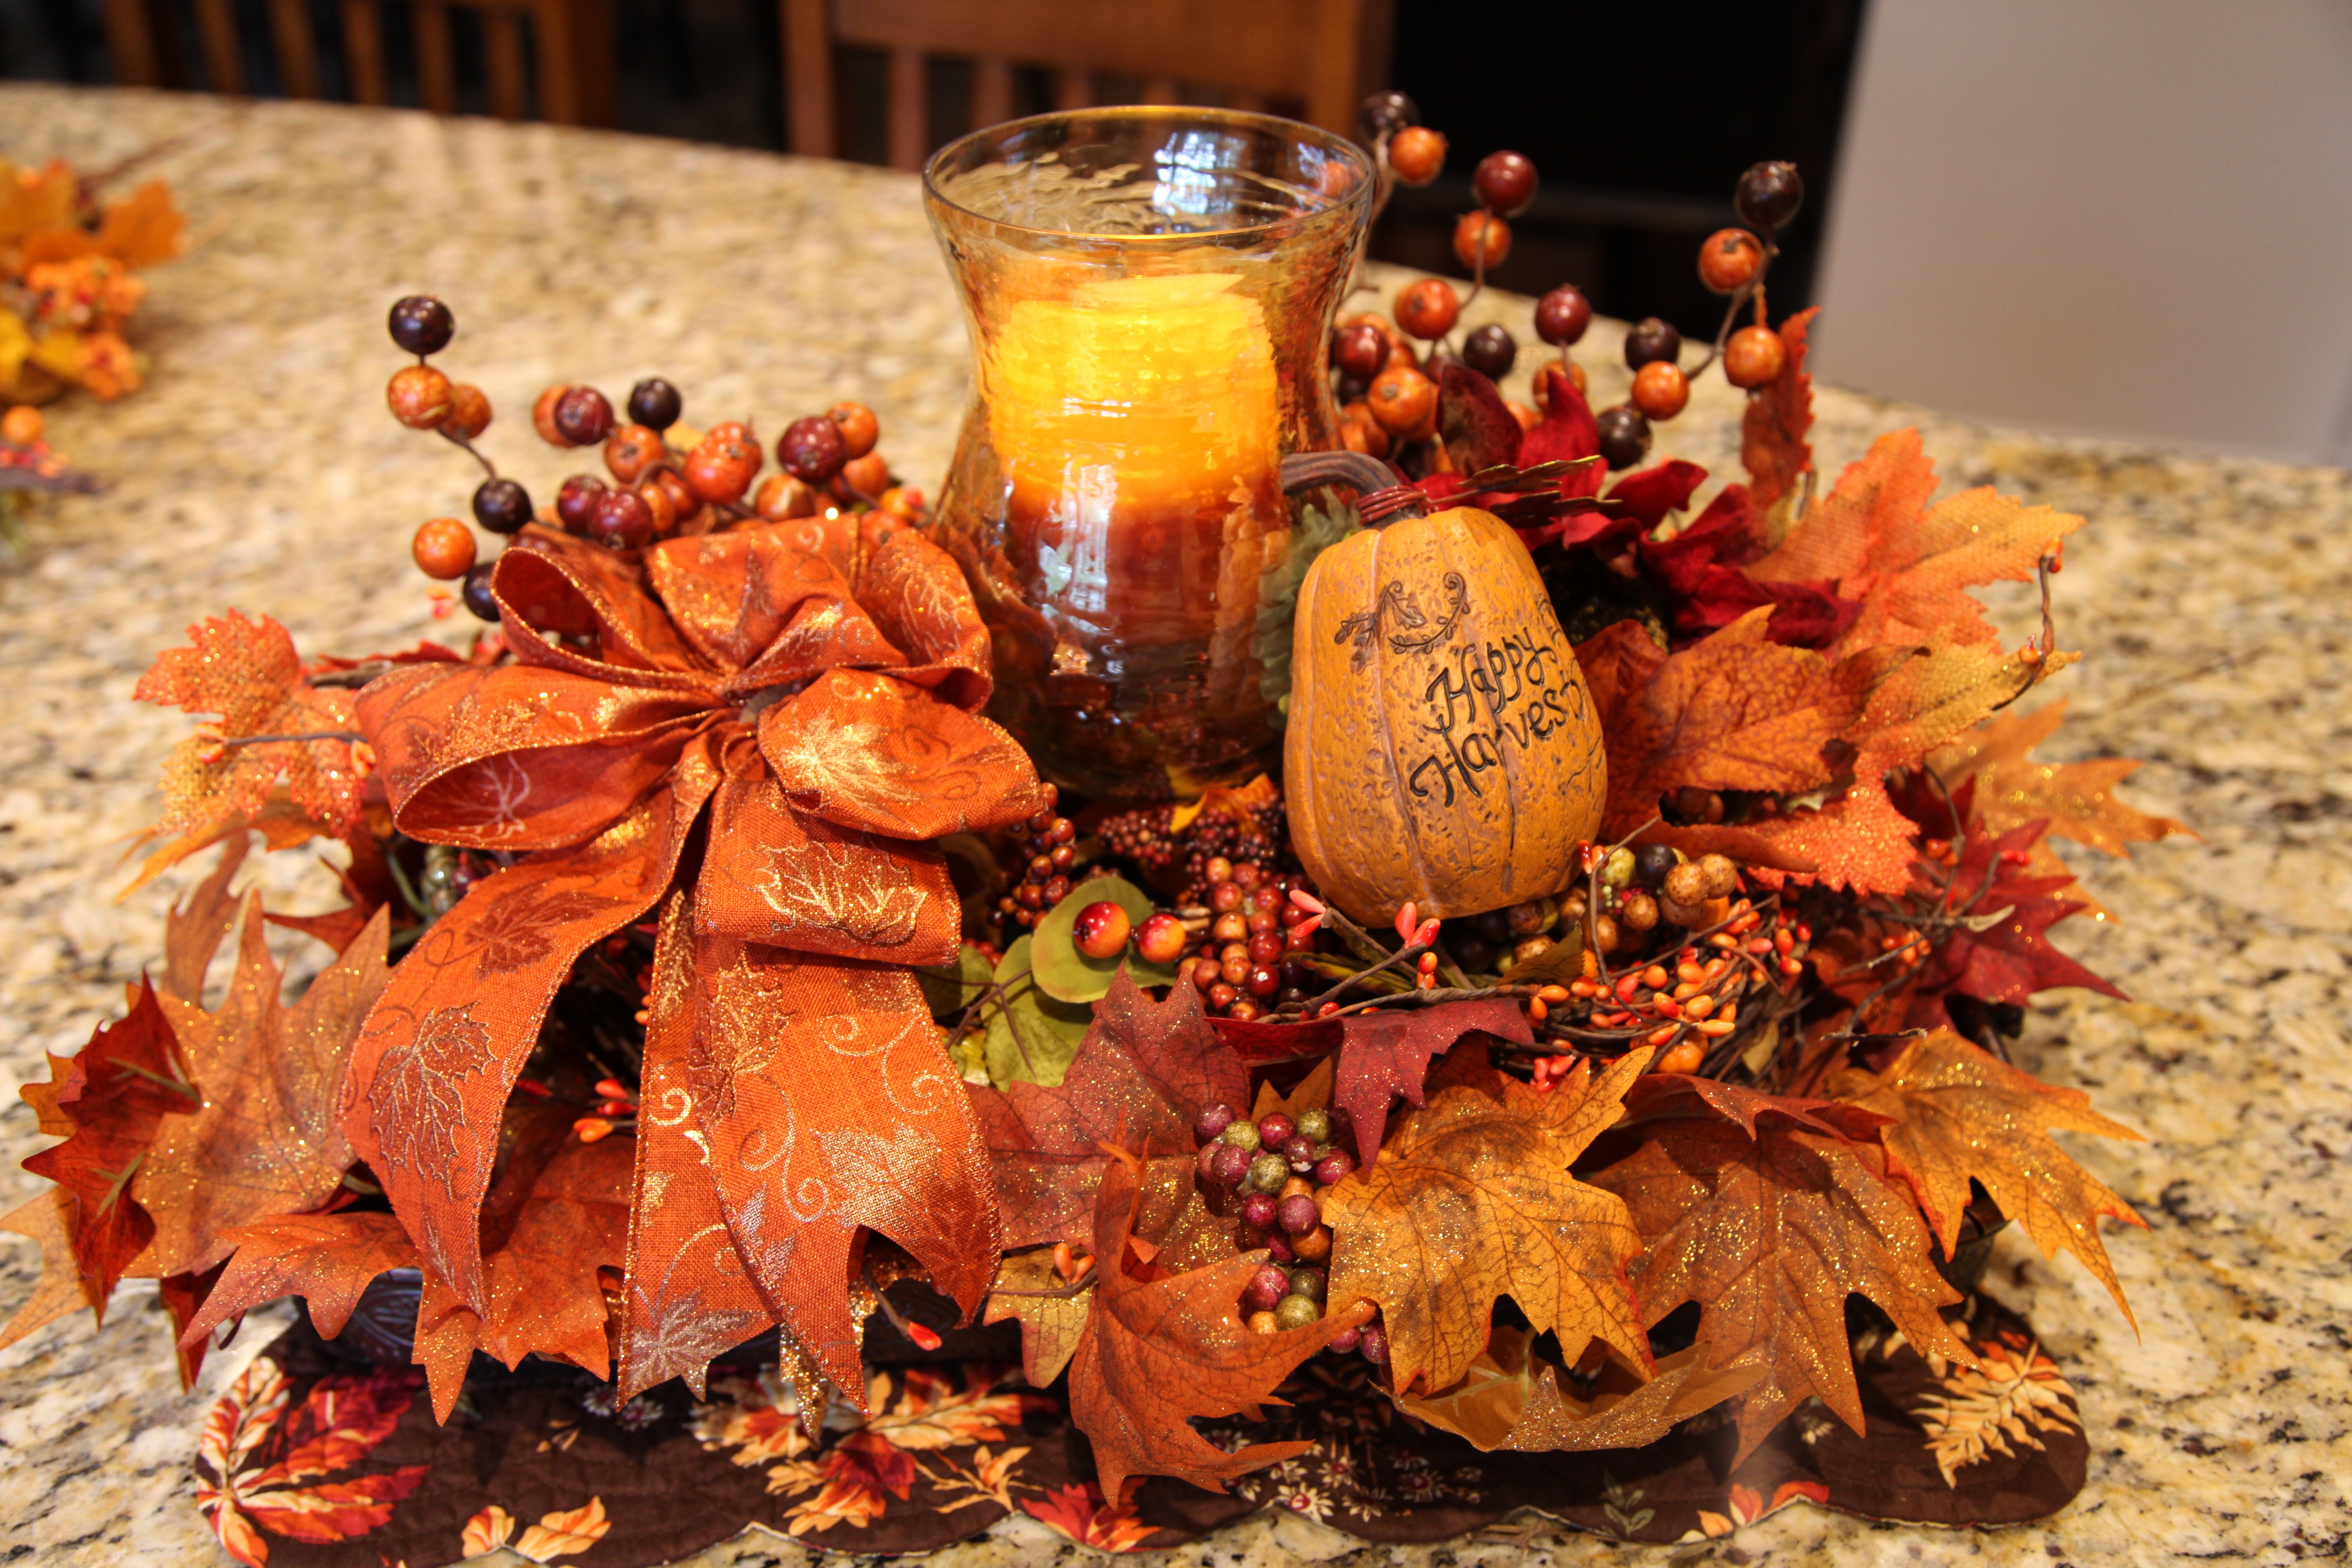
Okie dokie…That did it for the back of the house. I was very happy with how everything turned out!! I utilized a lot of my old decor and mixed it in with some of the new things that I had purchased and crafted.  I had a huge feeling of accomplishment, but, I wasn’t done yet! It was time to soldier on and move into the rooms that sit on the front of our home and in which I prefer a lighter, softer, and calmer color palette.  Instead of utilizing the the more traditional, bolder, oranges, reds, greens, and yellows like what we’ve just seen, I’d be utilizing soft silvers, creams, grays, blues, & khakis in the living and dining room as well as in the foyer that sits between the two rooms.  Let me show you some pictures:

1V4A94531V4A94541V4A94551V4A94661V4A94671V4A95491V4A94851V4A95941V4A95821V4A95811V4A94841V4A94761V4A9485

1V4A9600.JPG1V4A9576
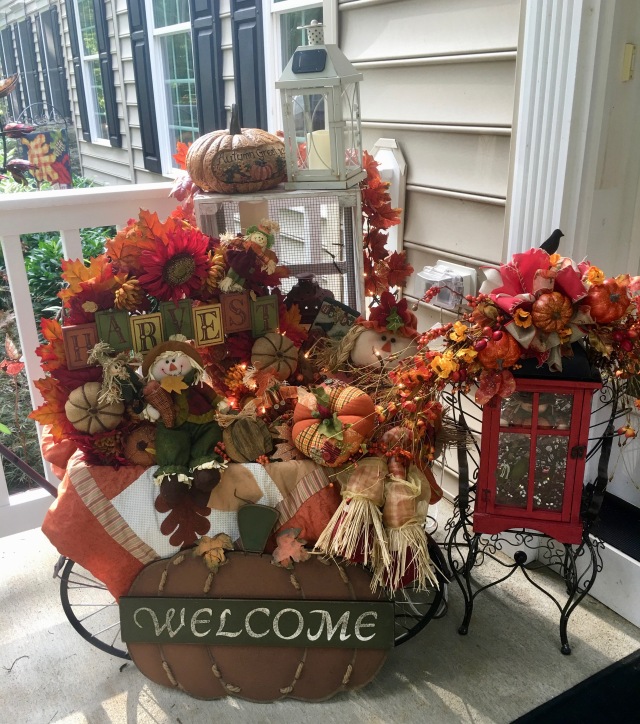
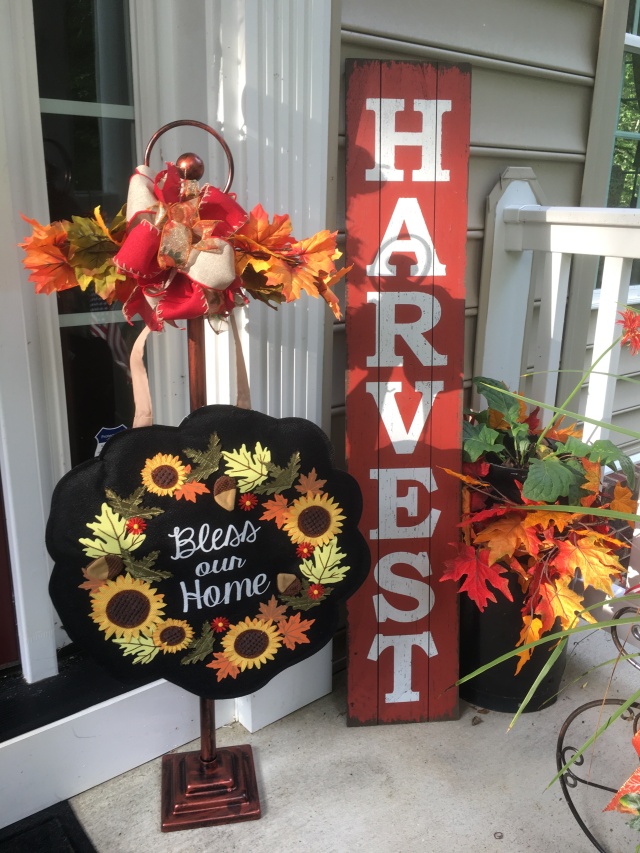
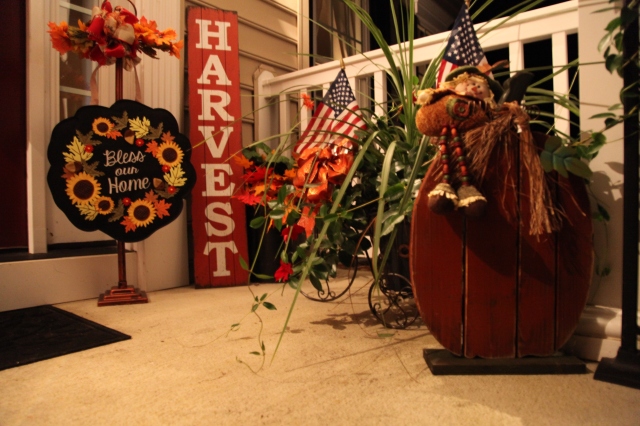
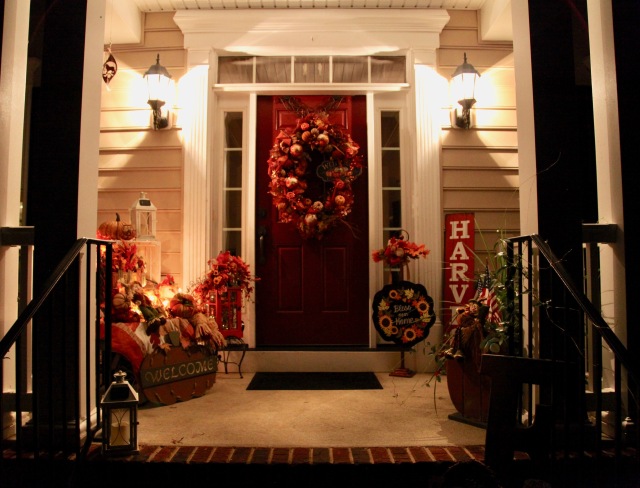
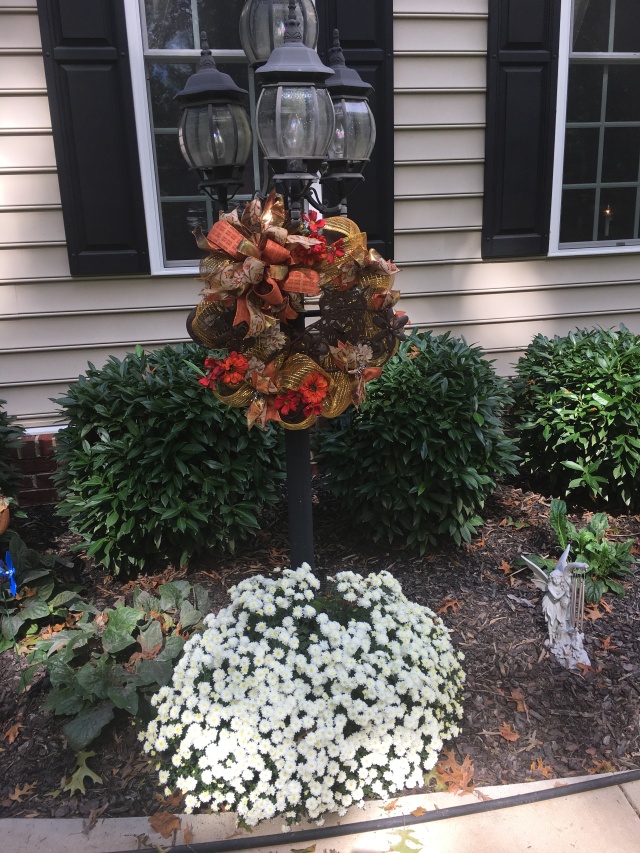
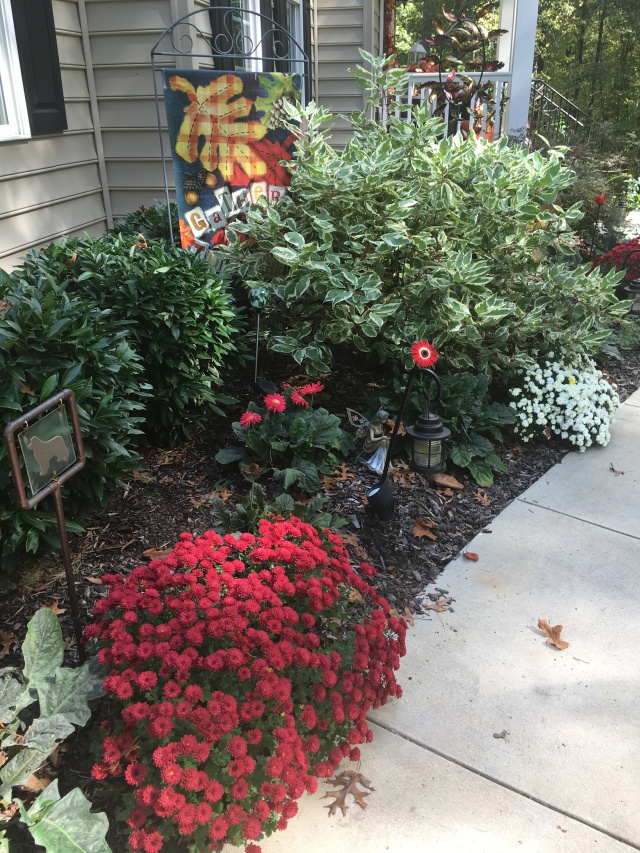
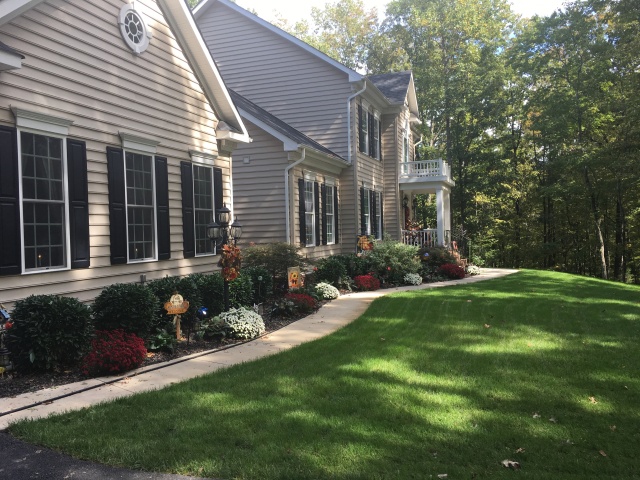
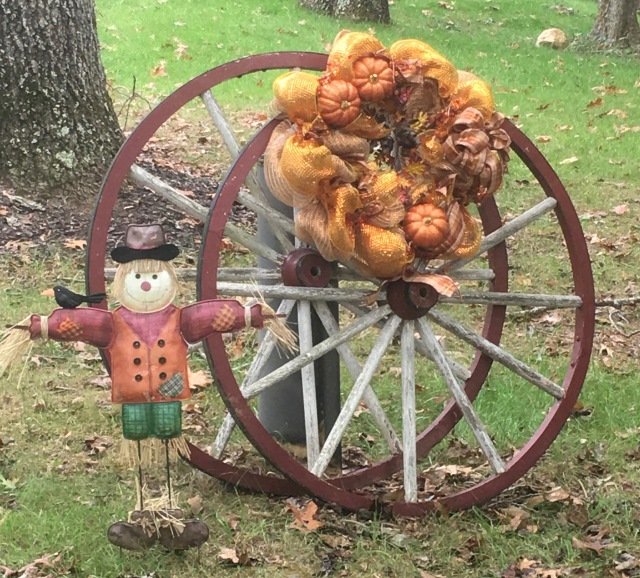
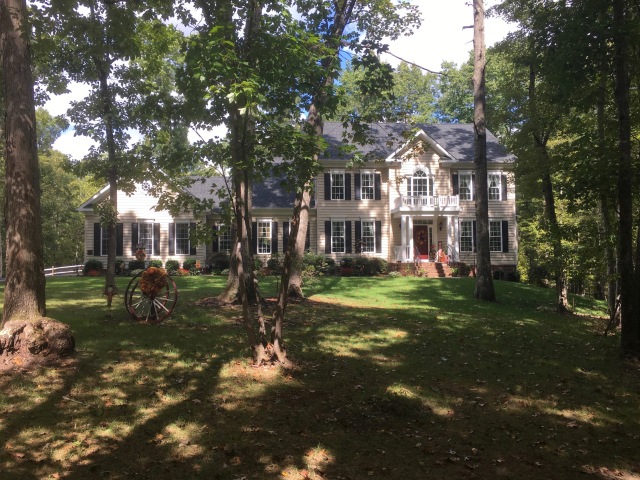
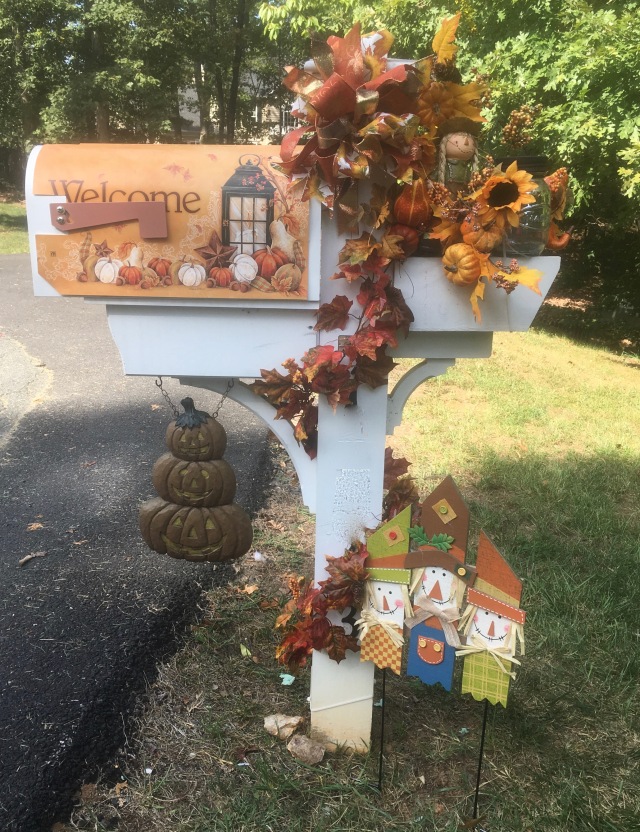
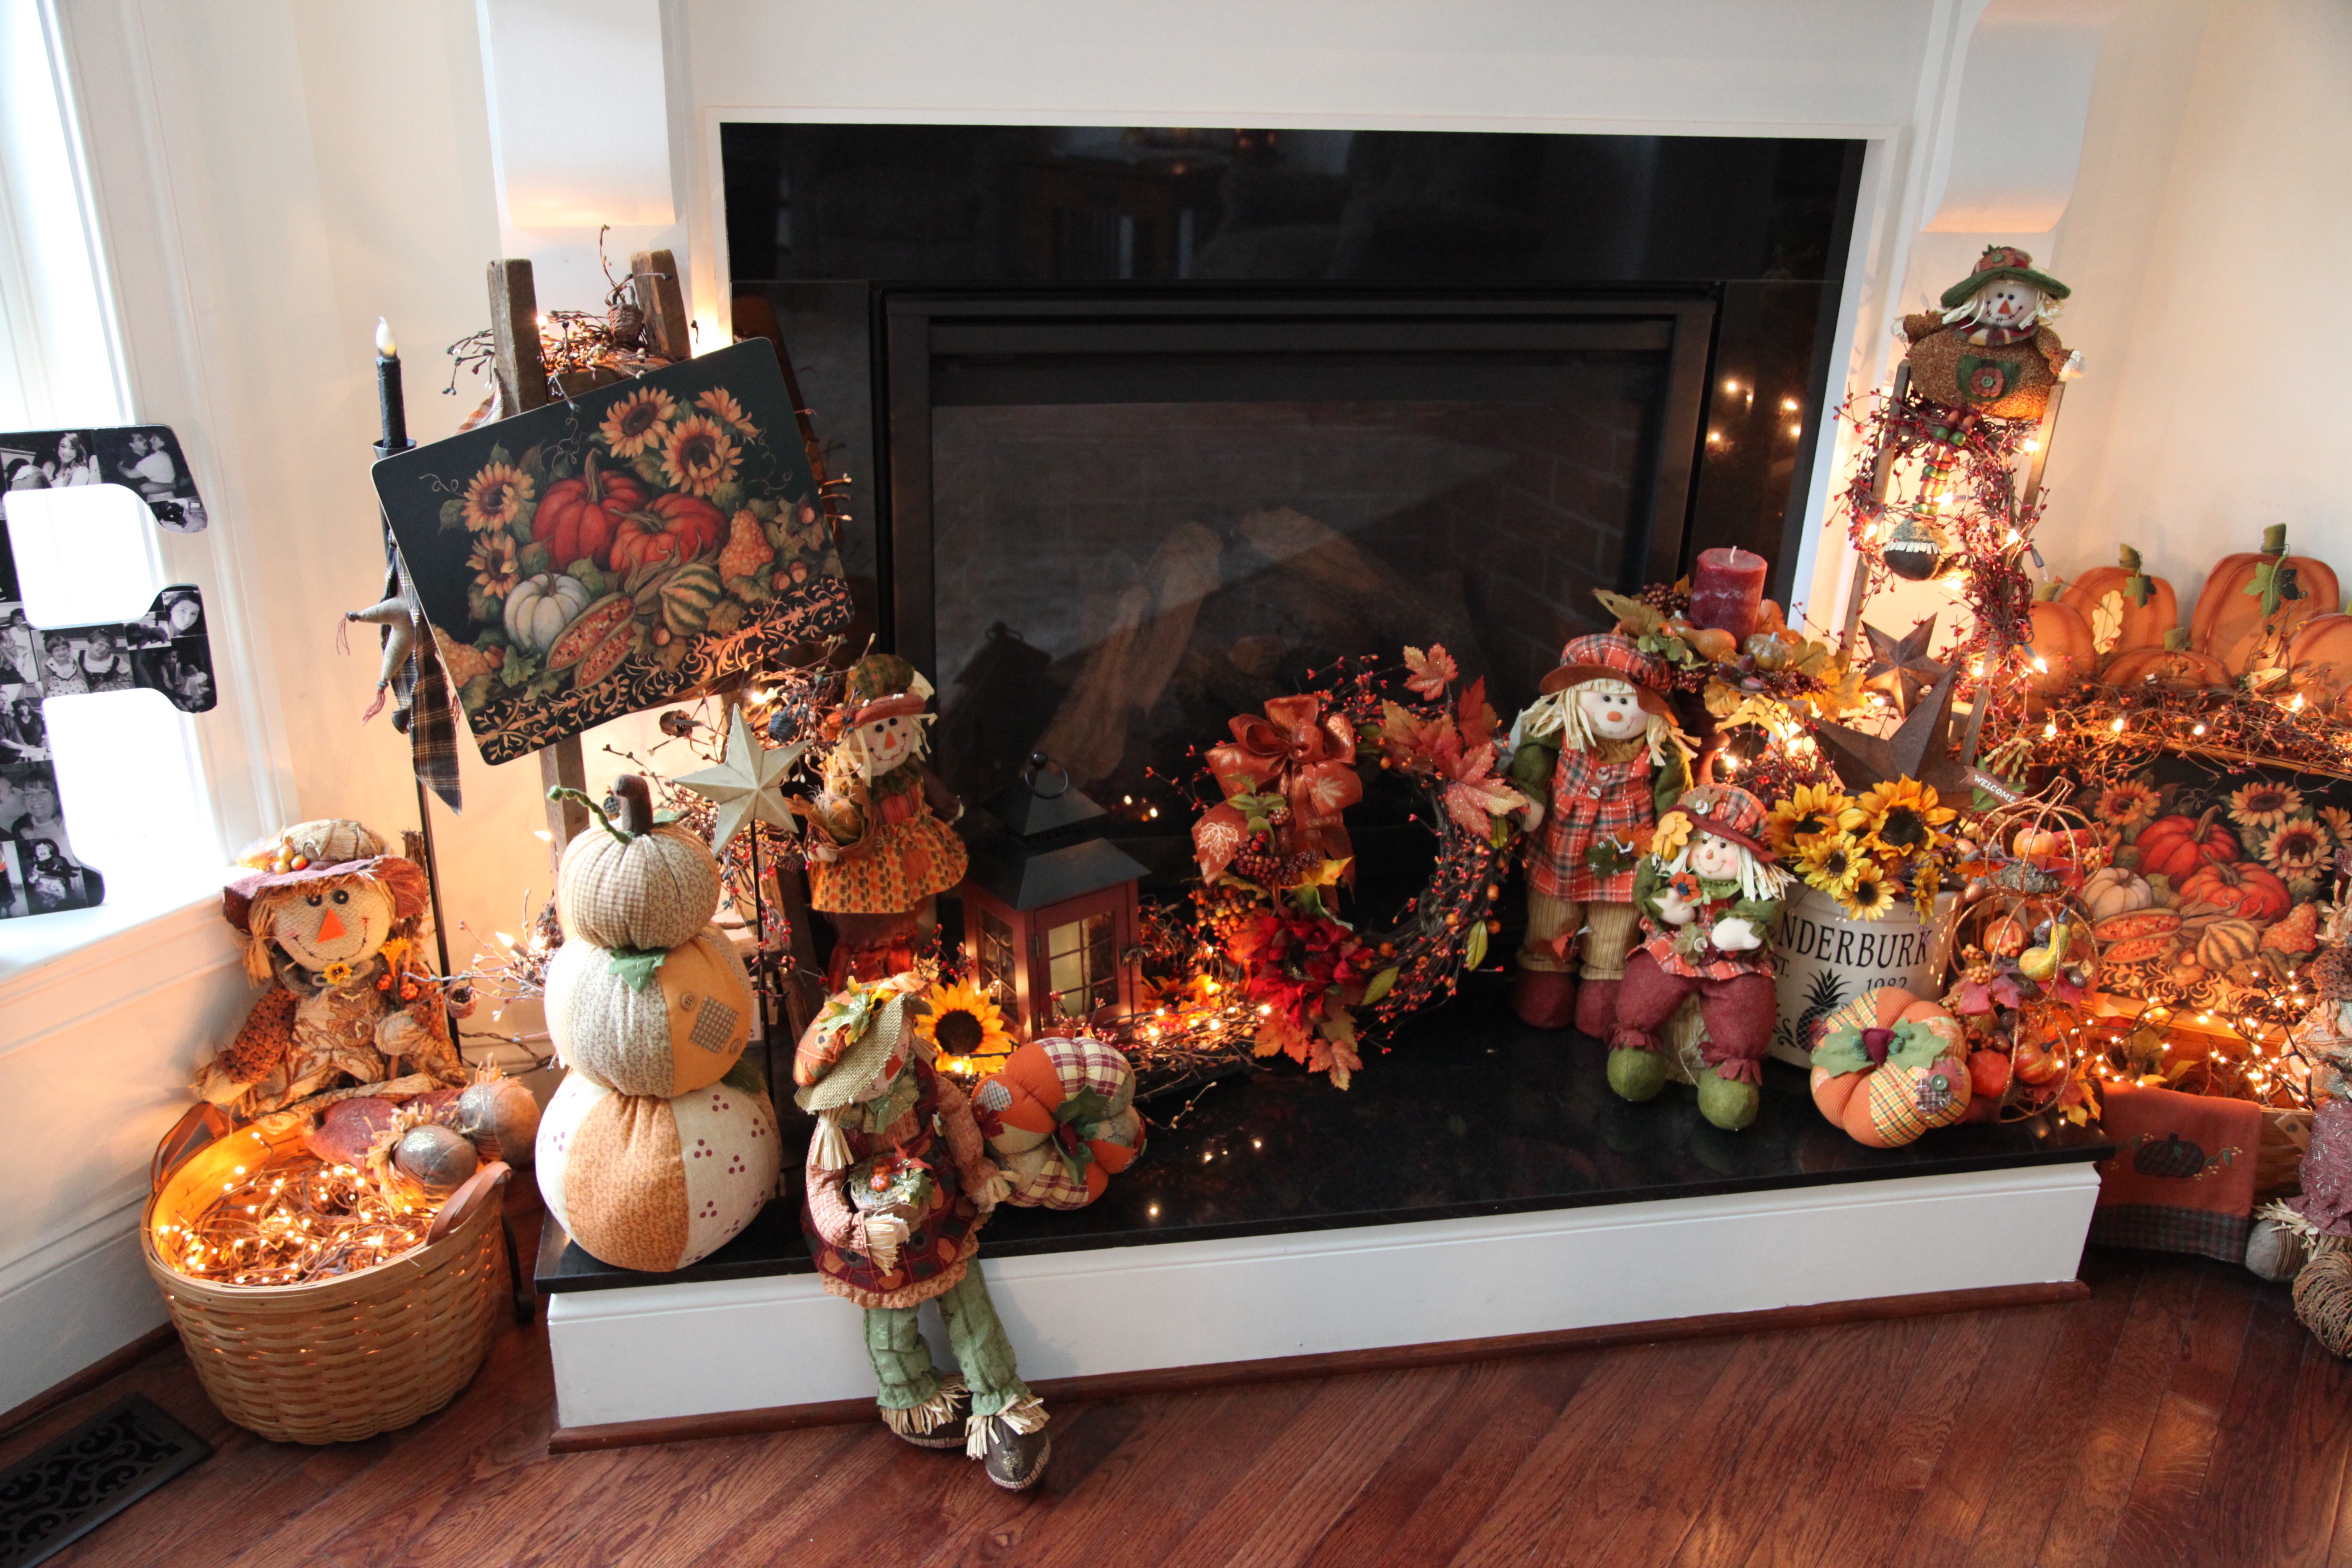
As I mentioned above, I did all of the decorating that you see in these pictures prior to leaving for our cruise, and when we returned home, I went ahead and finished the outdoor spaces.  Here is was I completed just last week:

IMG_8555IMG_8546IMG_8556IMG_8558IMG_8558 2IMG_7247IMG_7240IMG_7248IMG_8746IMG_8748IMG_8745IMG_8530IMG_8563IMG_8527

And that finished up my Fall decorating for 2017!  I am so happy that I took that 2 weeks before we left on our cruise to get the entire inside of the house finished.  I had forgotten just how much work it is to switch everything out and recreate the wheel for the next Season. BUT, that said, I’m super happy with how everything looks now and I’m even happier that I was able to create an entire Playlist of me showing y’all *in person* how I brought it all to fruition.  Actually, do y’all know what? It was Chris’ idea for me to start at the very beginning of my process, my first video begins with me in our basement showing where and how I store all of the Seasonal decor.  I literally take you through my entire process in that Playlist of videos…so, without further adieu, here is a link that will take you through my process, as I said, it is 20 videos strong:

2017 Arlynn’s Country Craft Corner YouTube Fall Decor Series


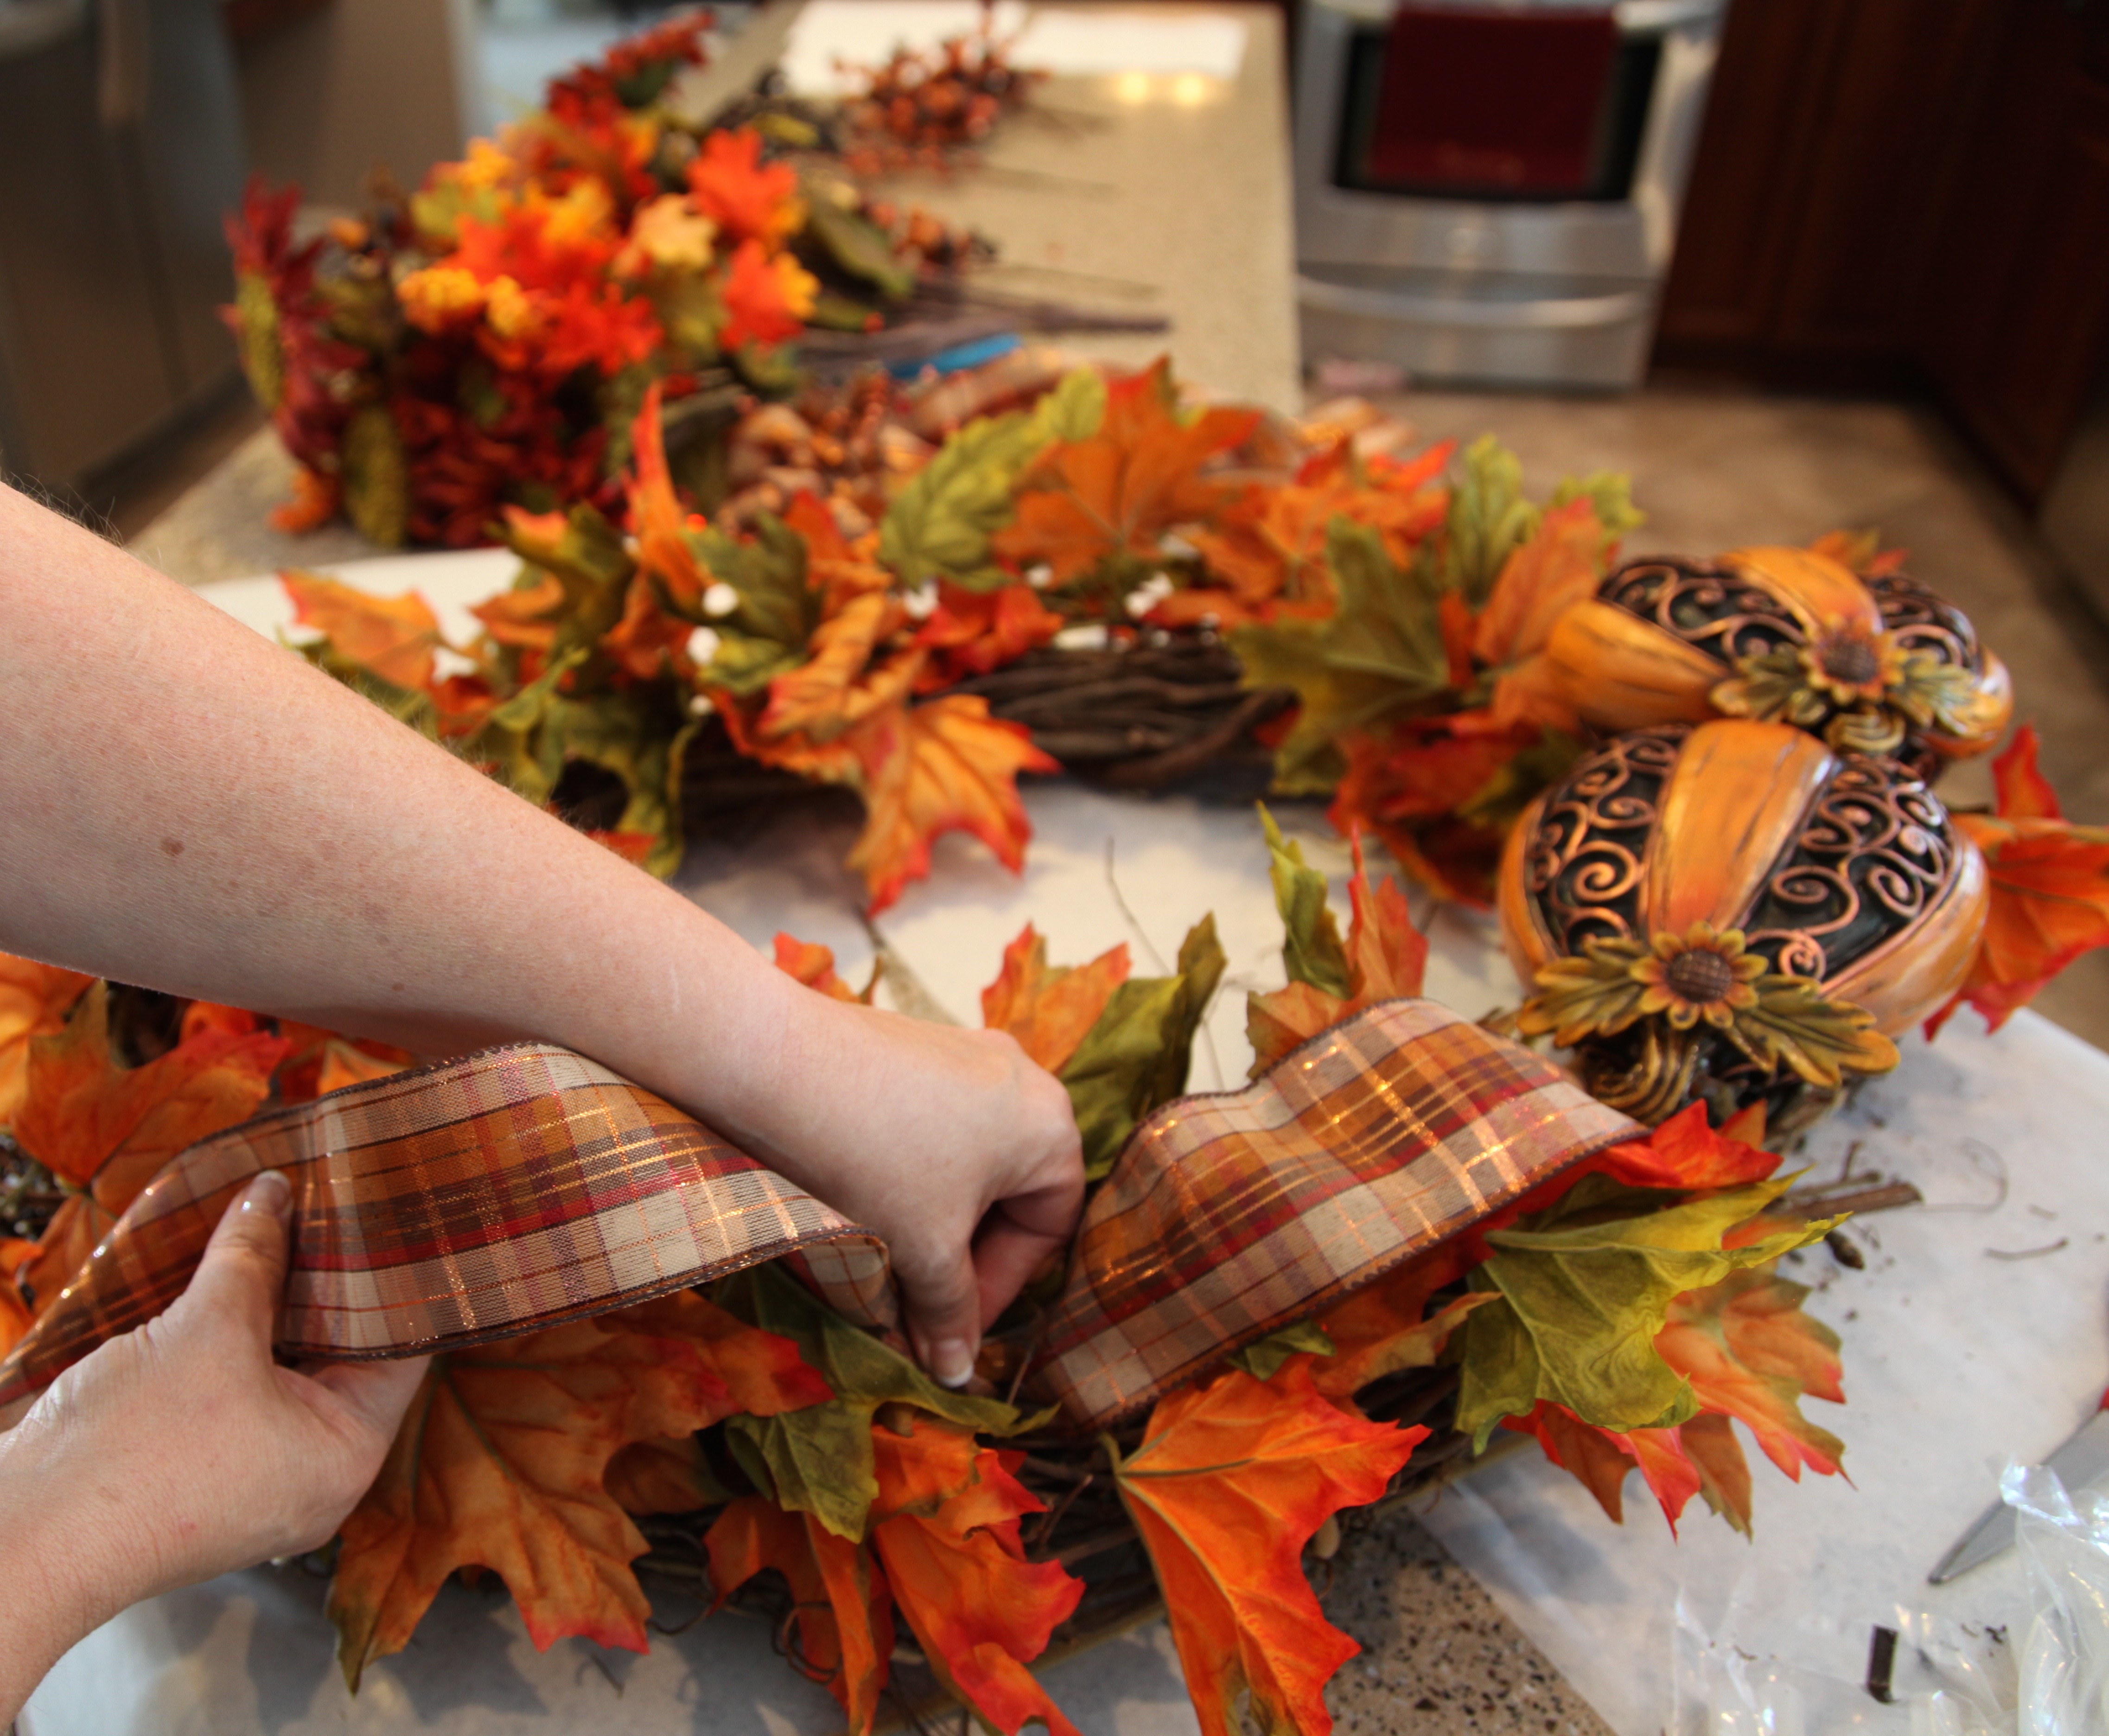
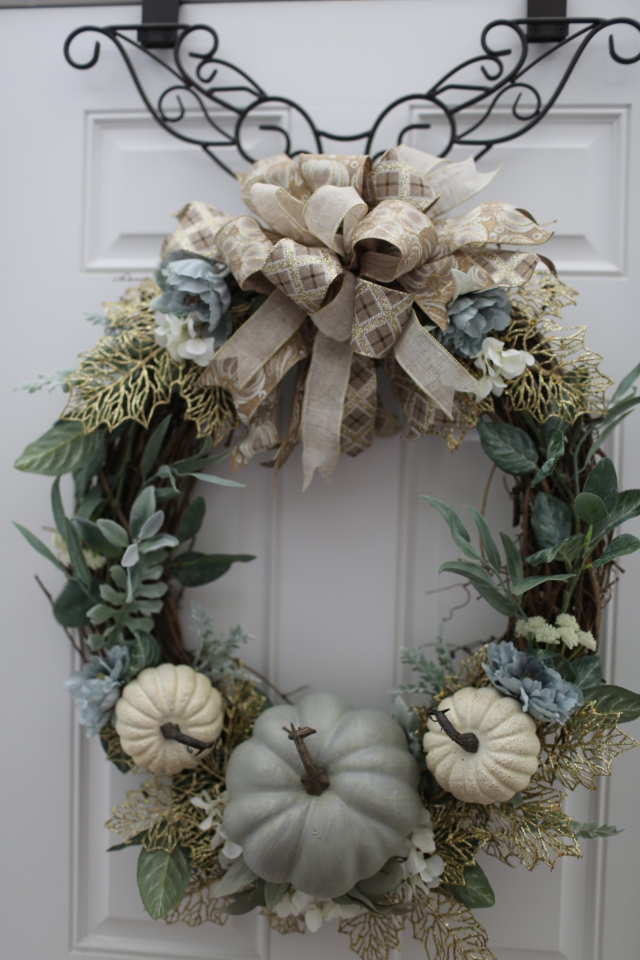
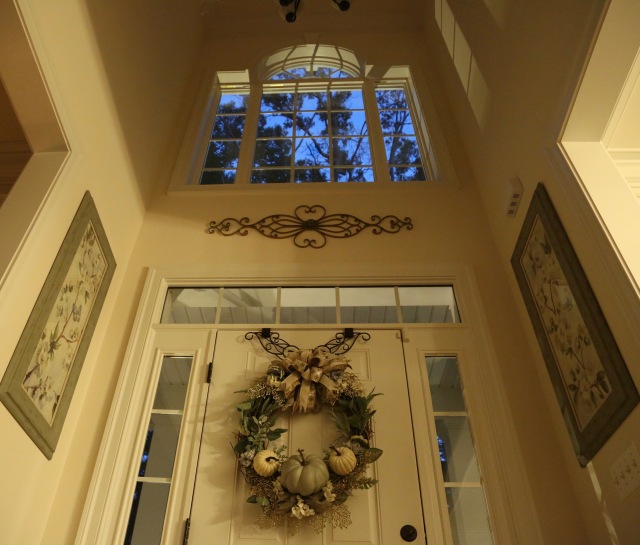
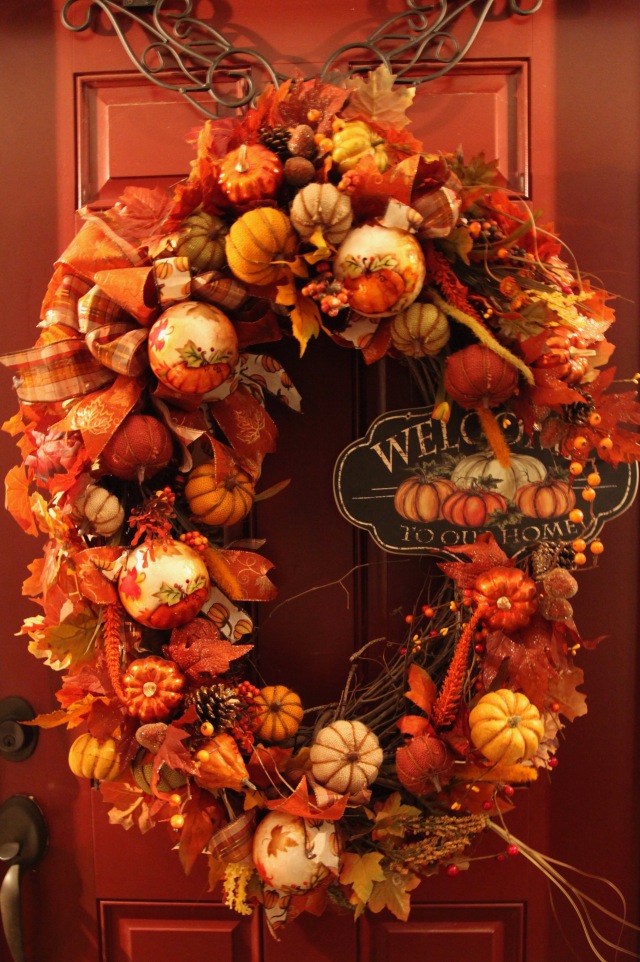
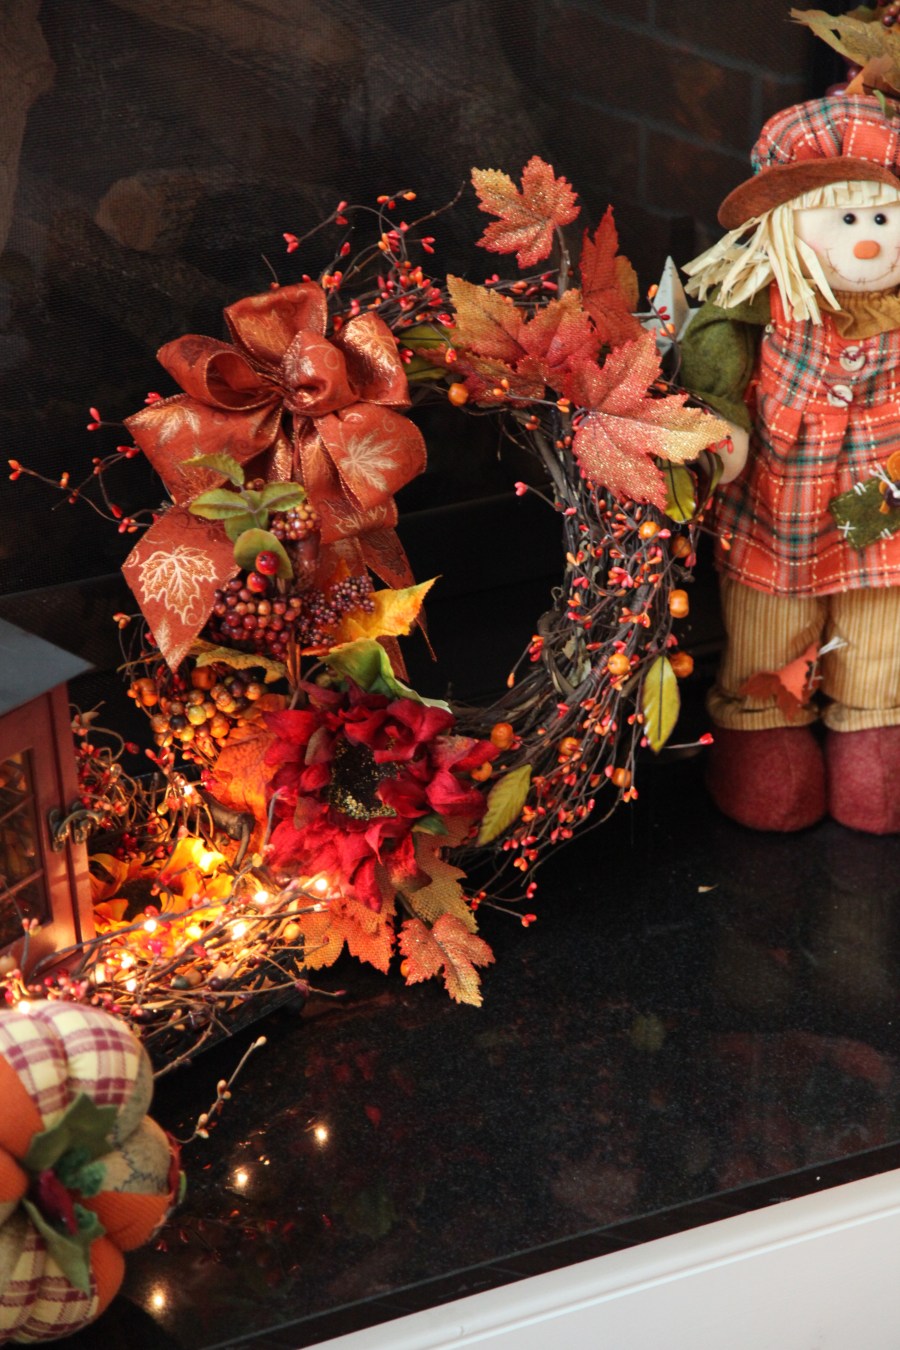
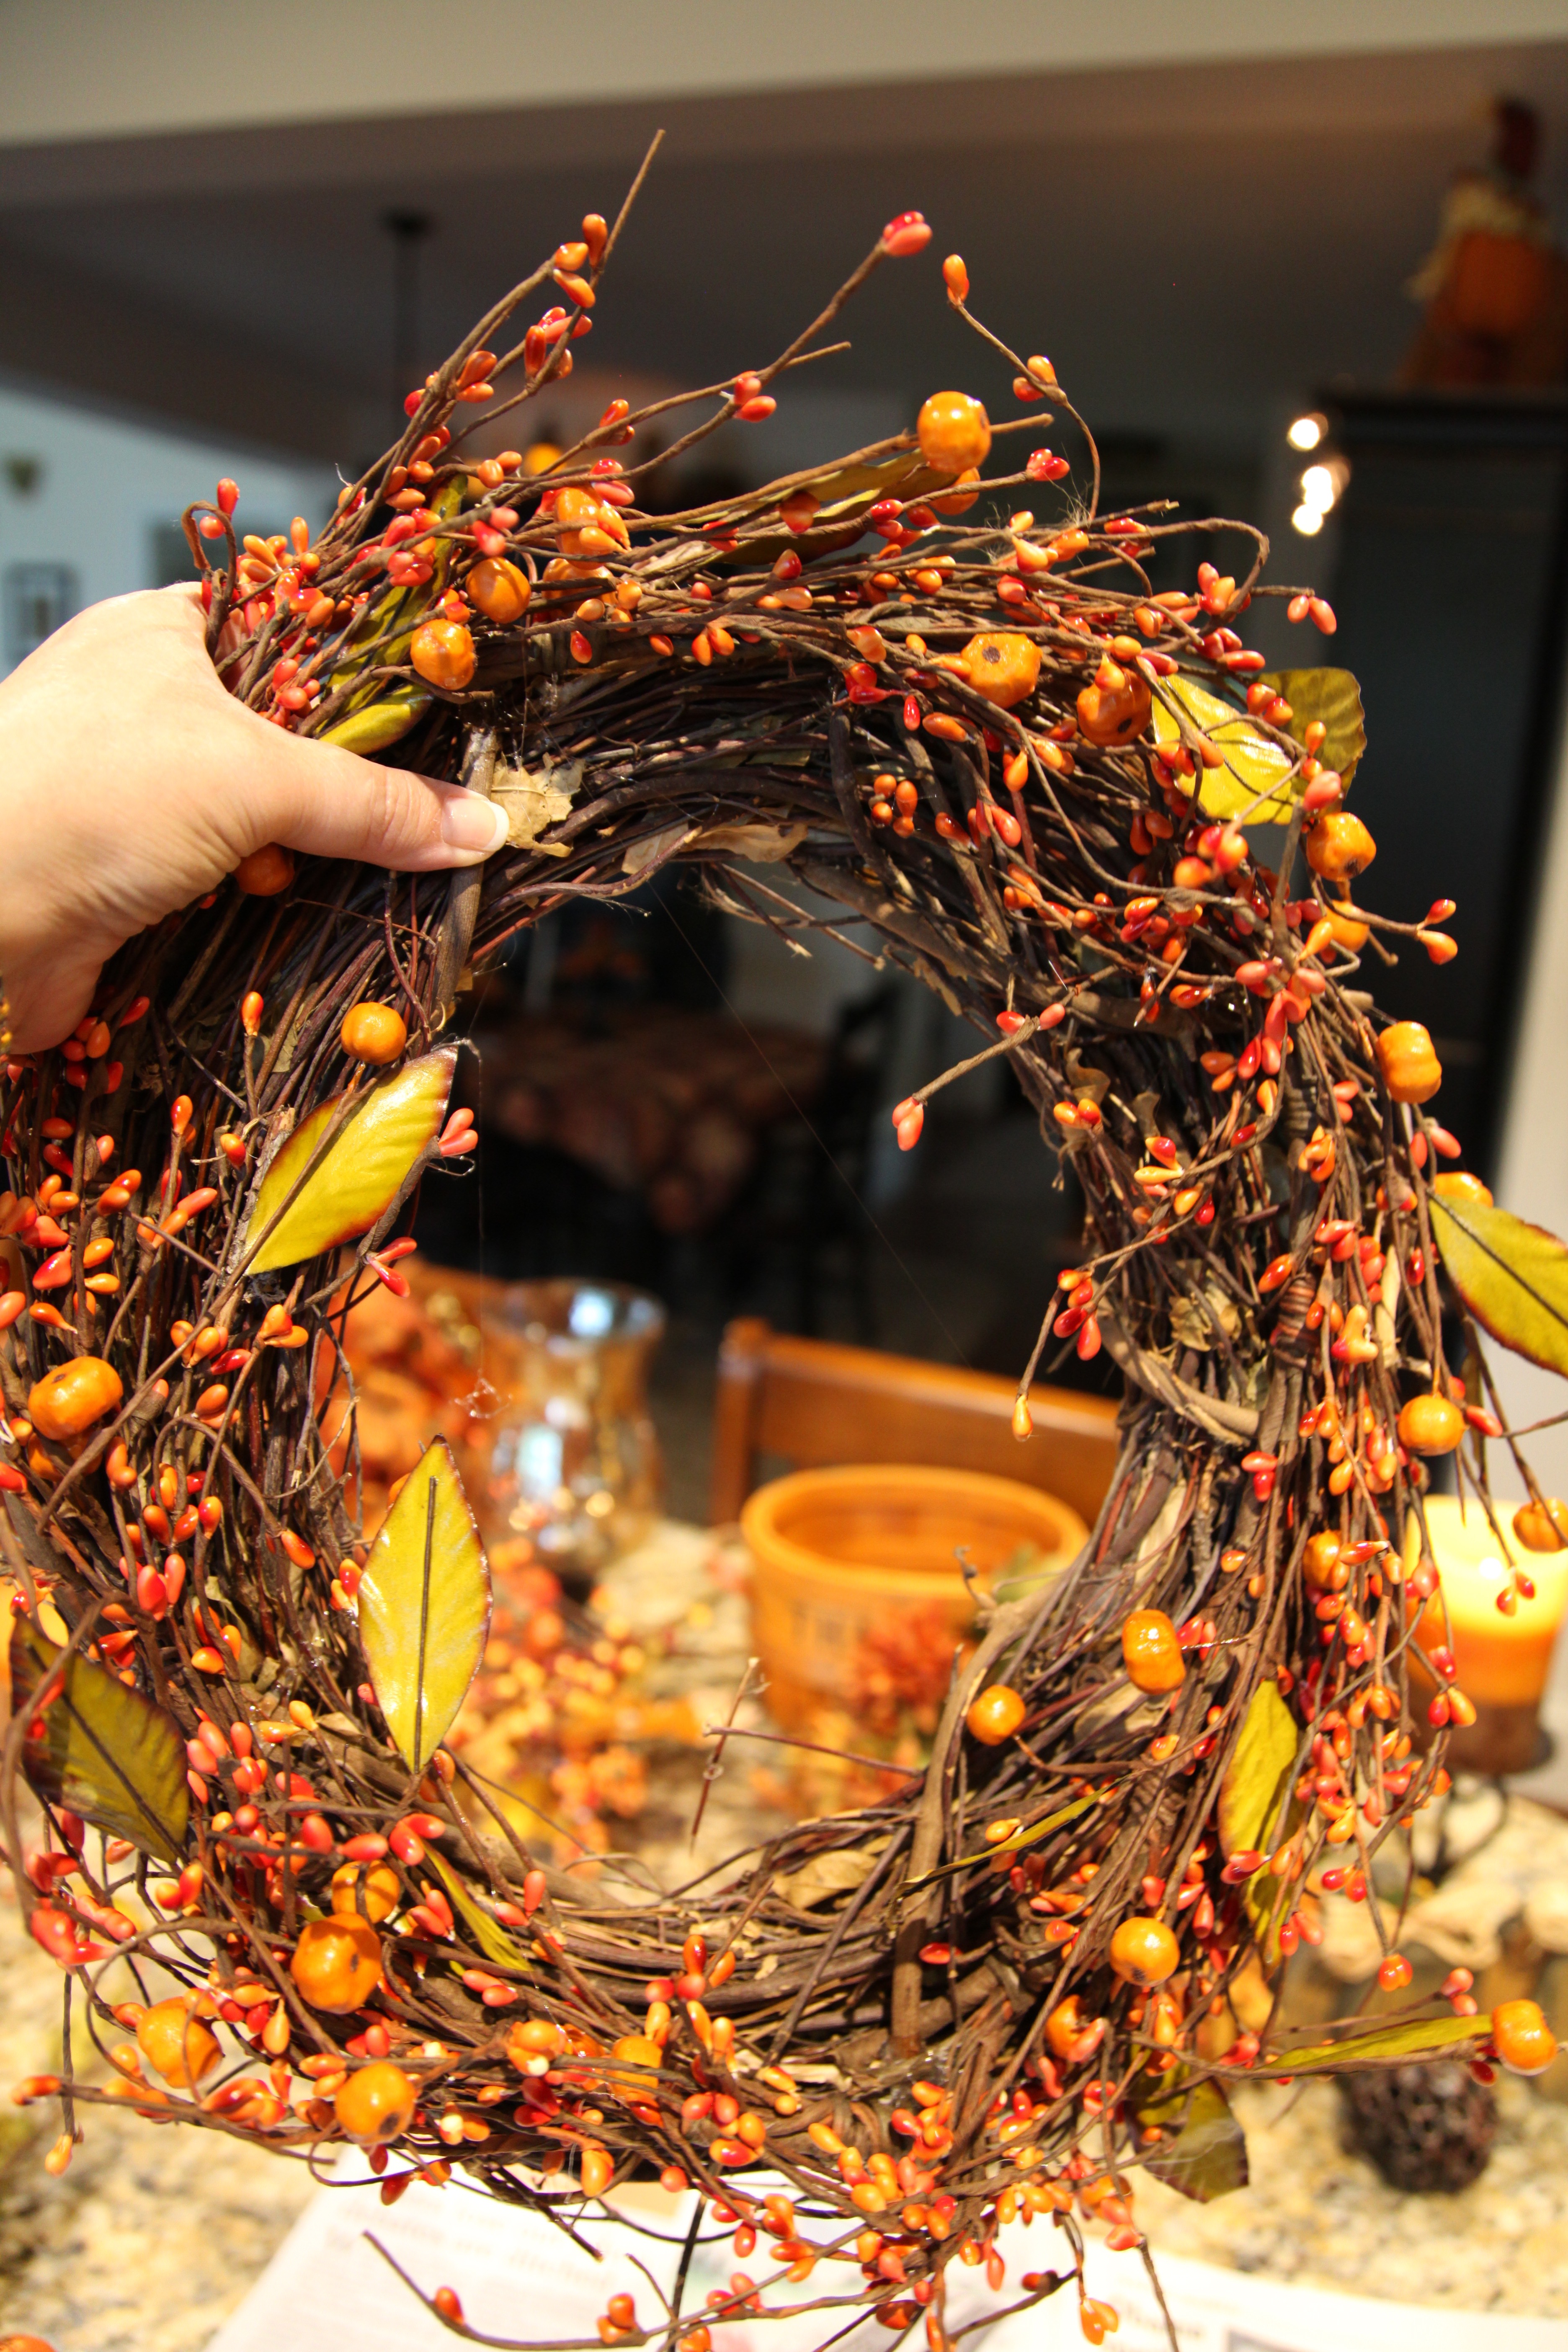
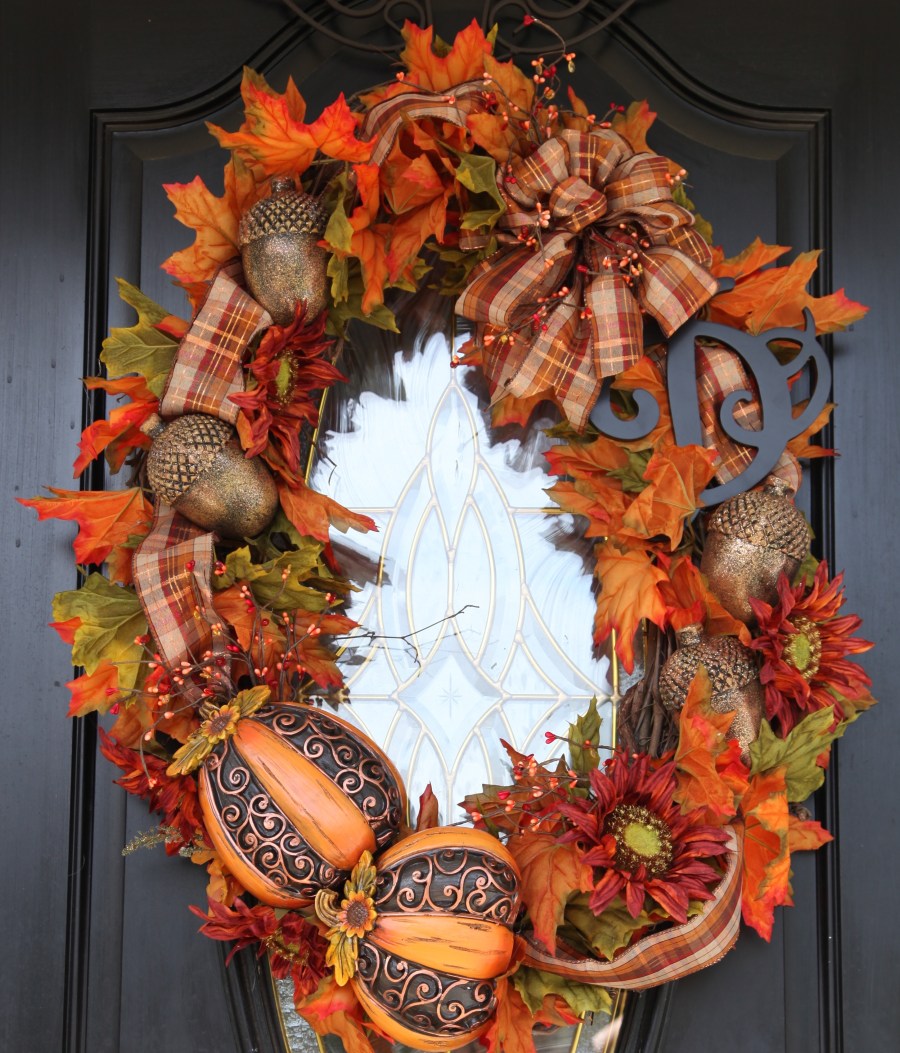
And did you see that massively HUGE wreath on my front door? This one:

IMG_7248

I actually made this one before I started to decorate in earnest, here is a link that will show you how I put it together:

Big Bold Fall Wreath

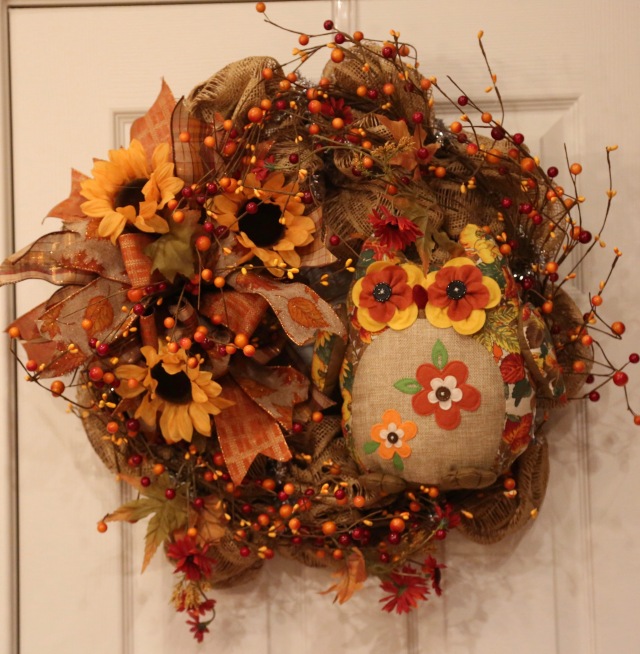
OH wait, there is one more wreath that I pictured above that is not included in the Fall Playlist, this one:

1V4A9499

Here is a link to this my…

Fall Fabric Mesh & Owl Wreath

OHHHHHH wait!!! There is ONE more wreath that I created that is not included in that Fall Playlist, this one (as I said, I’ve been b-u-s-y over here…lol):

IMG_8746

Here is a link to my :

Fall Deco Mesh & Owl Wreath


And that my friends is, as they say, *that*. 🙂 U-n-t-i-l I start decorating for Christmas in a few weeks….ahhhhhhhh….HELP! LOL 😉 JUST Kidding, y’all know I will love doing it once I get started!!  So for now, because I worked so hard before we left for Alaska, I will be able to sit back and write my Alaska Cruise Blog Series until it is time to switch everything out for the most wonderful time of the year *Christmas*!!

**In crafting there are no mistakes, only unique creations**

~Until next time, y’all take good care! ❤

~Arlynn ❤


Not Just Fall A Grapevine Wreath

Hi All,

There are days when I wish my “off” switch was more easily found, lol, my brain is always going a million miles an hour and it is hard to harness its energy and focus on tasks that need to be or that I want to get accomplished. 😉  Of course I’m teasing–well mostly. 😉  My brain really has been working overtime since yesterday afternoon though after I found a rather small, oval shaped grapevine wreath when I was wandering aimlessly around Hobby Lobby.

Here it is along with a bunch of other Fall accent pieces that I will be using to show you how to make a small oval wreath and then use the *same* wreath to make 3 different centerpieces. I’m all about using the same basic staple pieces and building and layering on different decor to change the feeling, for instance, from casual to more formal or from one Season to another.

IMG_2043

Some of the accent pieces that I gathered include a oil-rubbed bronze metal tray, various wooden pumpkins, Fall floral picks, a Fall themed pip berry garland, Fall ribbon, a scarecrow, a leaf garland, a wooden basket, a couple of candle holders, and a battery operated candle.

IMG_2046

So the very first thing that I did was to make a pipe cleaner ‘hanger’ and I glued that to the back of the grapevine wreath; it is not hard to do, just make a loop and hot glue the heck out of it.

Next, I made a bow–I really am going to make a bow tutorial for y’all one of these days…honestly, I promise!

IMG_2049 IMG_2051 IMG_2054

After the bow was made, I grabbed up the pip berries garland and started to lay it onto and around the wreath form measuring how much I needed.

IMG_2055

Then I trimmed off the excess garland and proceeded to hot glue it into place on the wreath.

IMG_2056 IMG_2057

The only other things that I glued into place on the wreath were these two Fall leaves picks, one at the top and one on the bottom.

IMG_2058

After that, I attached the bow simply by wrapping the pipe cleaner that I used to tie the bow shut around the wreath and twisted it closed to hold it on the wreath (I did not use hot glue), and I added a Fall sunflower pick that had some larger pip berries and leafy accents on it; I didn’t glue it on either, instead, I stuck the pick in between some of the twigs of the grapevine wreath.  That is *all* I put on the wreath and I called it done.

I carried it around my family room and kitchen trying to figure out where I wanted to hang it, *if* I decided to use it as a wreath–I’ll explain that statement after I show you the different places the wreath landed.

The first place I tried it was on this corner shelf …hmm, yeah, it looked okay there, but, nah, let’s see where else I could put it… IMG_2059 IMG_2060

How about on my hearth, hmmm, nope, it’s busy enough on that hearth as it is…It looked cute there though, but, I tried one more place…

IMG_2062 IMG_2063

IMG_2065

The last place I hung it was on that lamp…yep, looked really cute there, but I was already admitting to myself that I did *not* need yet *another* wreath hanging anywhere…so…I decided to do something different with it…

Here are three different centerpieces made with this wreath and a oil-rubbed bronze metal tray.

First, I took the leaf garland and wrapped it around the inside edge of the tray. Then I placed the wreath into the tray sideways (I removed the bow and that sunflower pick). After that, I placed the hurricane lamp candle holder into the center and started to surround it with Fall picks, then I placed the bow where I thought it looked pretty and added a little resin pumpkin…too cute!

IMG_2068 IMG_2069 IMG_2070 IMG_2071

Okay, I really liked that one, but I thought I might try to make something a bit more casual, so here is what I tried second.  I removed the hurricane lamp, bow, pumpkin, and picks. I then snugged a wooden basket into the center, placed that sweet scarecrow into the basket, placed the bow, and then filled in and around the basket with additional Fall picks. Then I sat the resin pumpkin on the scarecrow’s lap:

IMG_2073 IMG_2074 IMG_2075 IMG_2076

And here is that finished centerpiece, more casual, but cute as can be. 🙂

IMG_2077

I liked that one just fine, but I thought since I had gone to the trouble of digging out that black candle holder that I might as well try to do something with that as well.  So,  I once again went into “deconstruction mode” and reconstructed the third centerpiece like this:

IMG_2079 IMG_2081

Honestly, that was my least favorite design ^^^^

This is what I ended up creating and where I chose to place it:

IMG_2087 IMG_2085

I placed it on our desk that sits in the kitchen eating area, it is going to look pretty in the evenings with that candle glowing in that hurricane lamp.

IMG_2086

So, for now, my brain is at rest, goodness knows what I’ll come up with next! I hope that this little post has shown you that if you have an old wreath laying around or if you find a neat form to use to create a wreath, that there are other things that you can do with it instead of hanging it on a wall.

Until next time, y’all take good care! ❤

~Arlynn

**In crafting there are no mistakes just unique creations**

Cousins Craft Weekend – Part 2 – Grapevine Fall Wreath

Hi Everyone!

As I mentioned in Part 1 of this little “Cousins Craft Weekend” series of posts, I was able to spend a few fun-filled and very productive days with a couple of my sweet cousins.  Here is a picture of all three of us at Stacey’s house (left to right – Donita, Stacey, and me (Arlynn):

12011279_10206378790982446_1568453601999785254_n

Stacey composed Part 1 of this series and explained how she created a deco mesh ruffle Halloween wreath and she will be composing Part 3 in which she will be describing how she created a deco mesh lighted garland to pair with her wreath. I can’t wait for y’all to see how she created that beauty; here is a sneak peak at just a piece the finished garland (that is Stacey’s gorgeous lab Piper sitting and posing so prettily):

IMG_2018

I will be handling this “Part 2” entry and I will be describing how I made Donita a Fall wreath for her to hang in her home.

I started out with an oval shaped grapevine wreath; I was so happy that I found the oval shaped wreath at Hobby Lobby, it really made for a pretty finished product. All of the Fall decor craft items were on sale for 40% off so I was able to pick up all of the components that I used for the wreath for a great price.

IMG_1924 (1)

Here is my haul, admittedly, I purchased a few extra items that I didn’t end up using, but Stacey was able to use a couple of things in her home and the rest, well, I will always be able to incorporate them into my other Fall decor:
IMG_1922

IMG_1921The very first thing that I did was to make a “wreath hanger” out of a pipe cleaner.  I try to always hot glue one of these to the back of all grapevine wreaths as most wreath hangers aren’t large enough to accommodate a grapevine wreath. Then I made a bow…IMG_1923

Next I took a leaf garland and laid it on top of the wreath and started to glue it into place…this process took a while because waiting for that glue to dry was frustrating.  This probably wouldn’t be an issue for y’all but, my hot glue gun is like a weapon and the hot glue that comes out of it practically melts things instead of glues things…haha.  I really should invest in one that isn’t quite as dangerous! 😉

IMG_1925
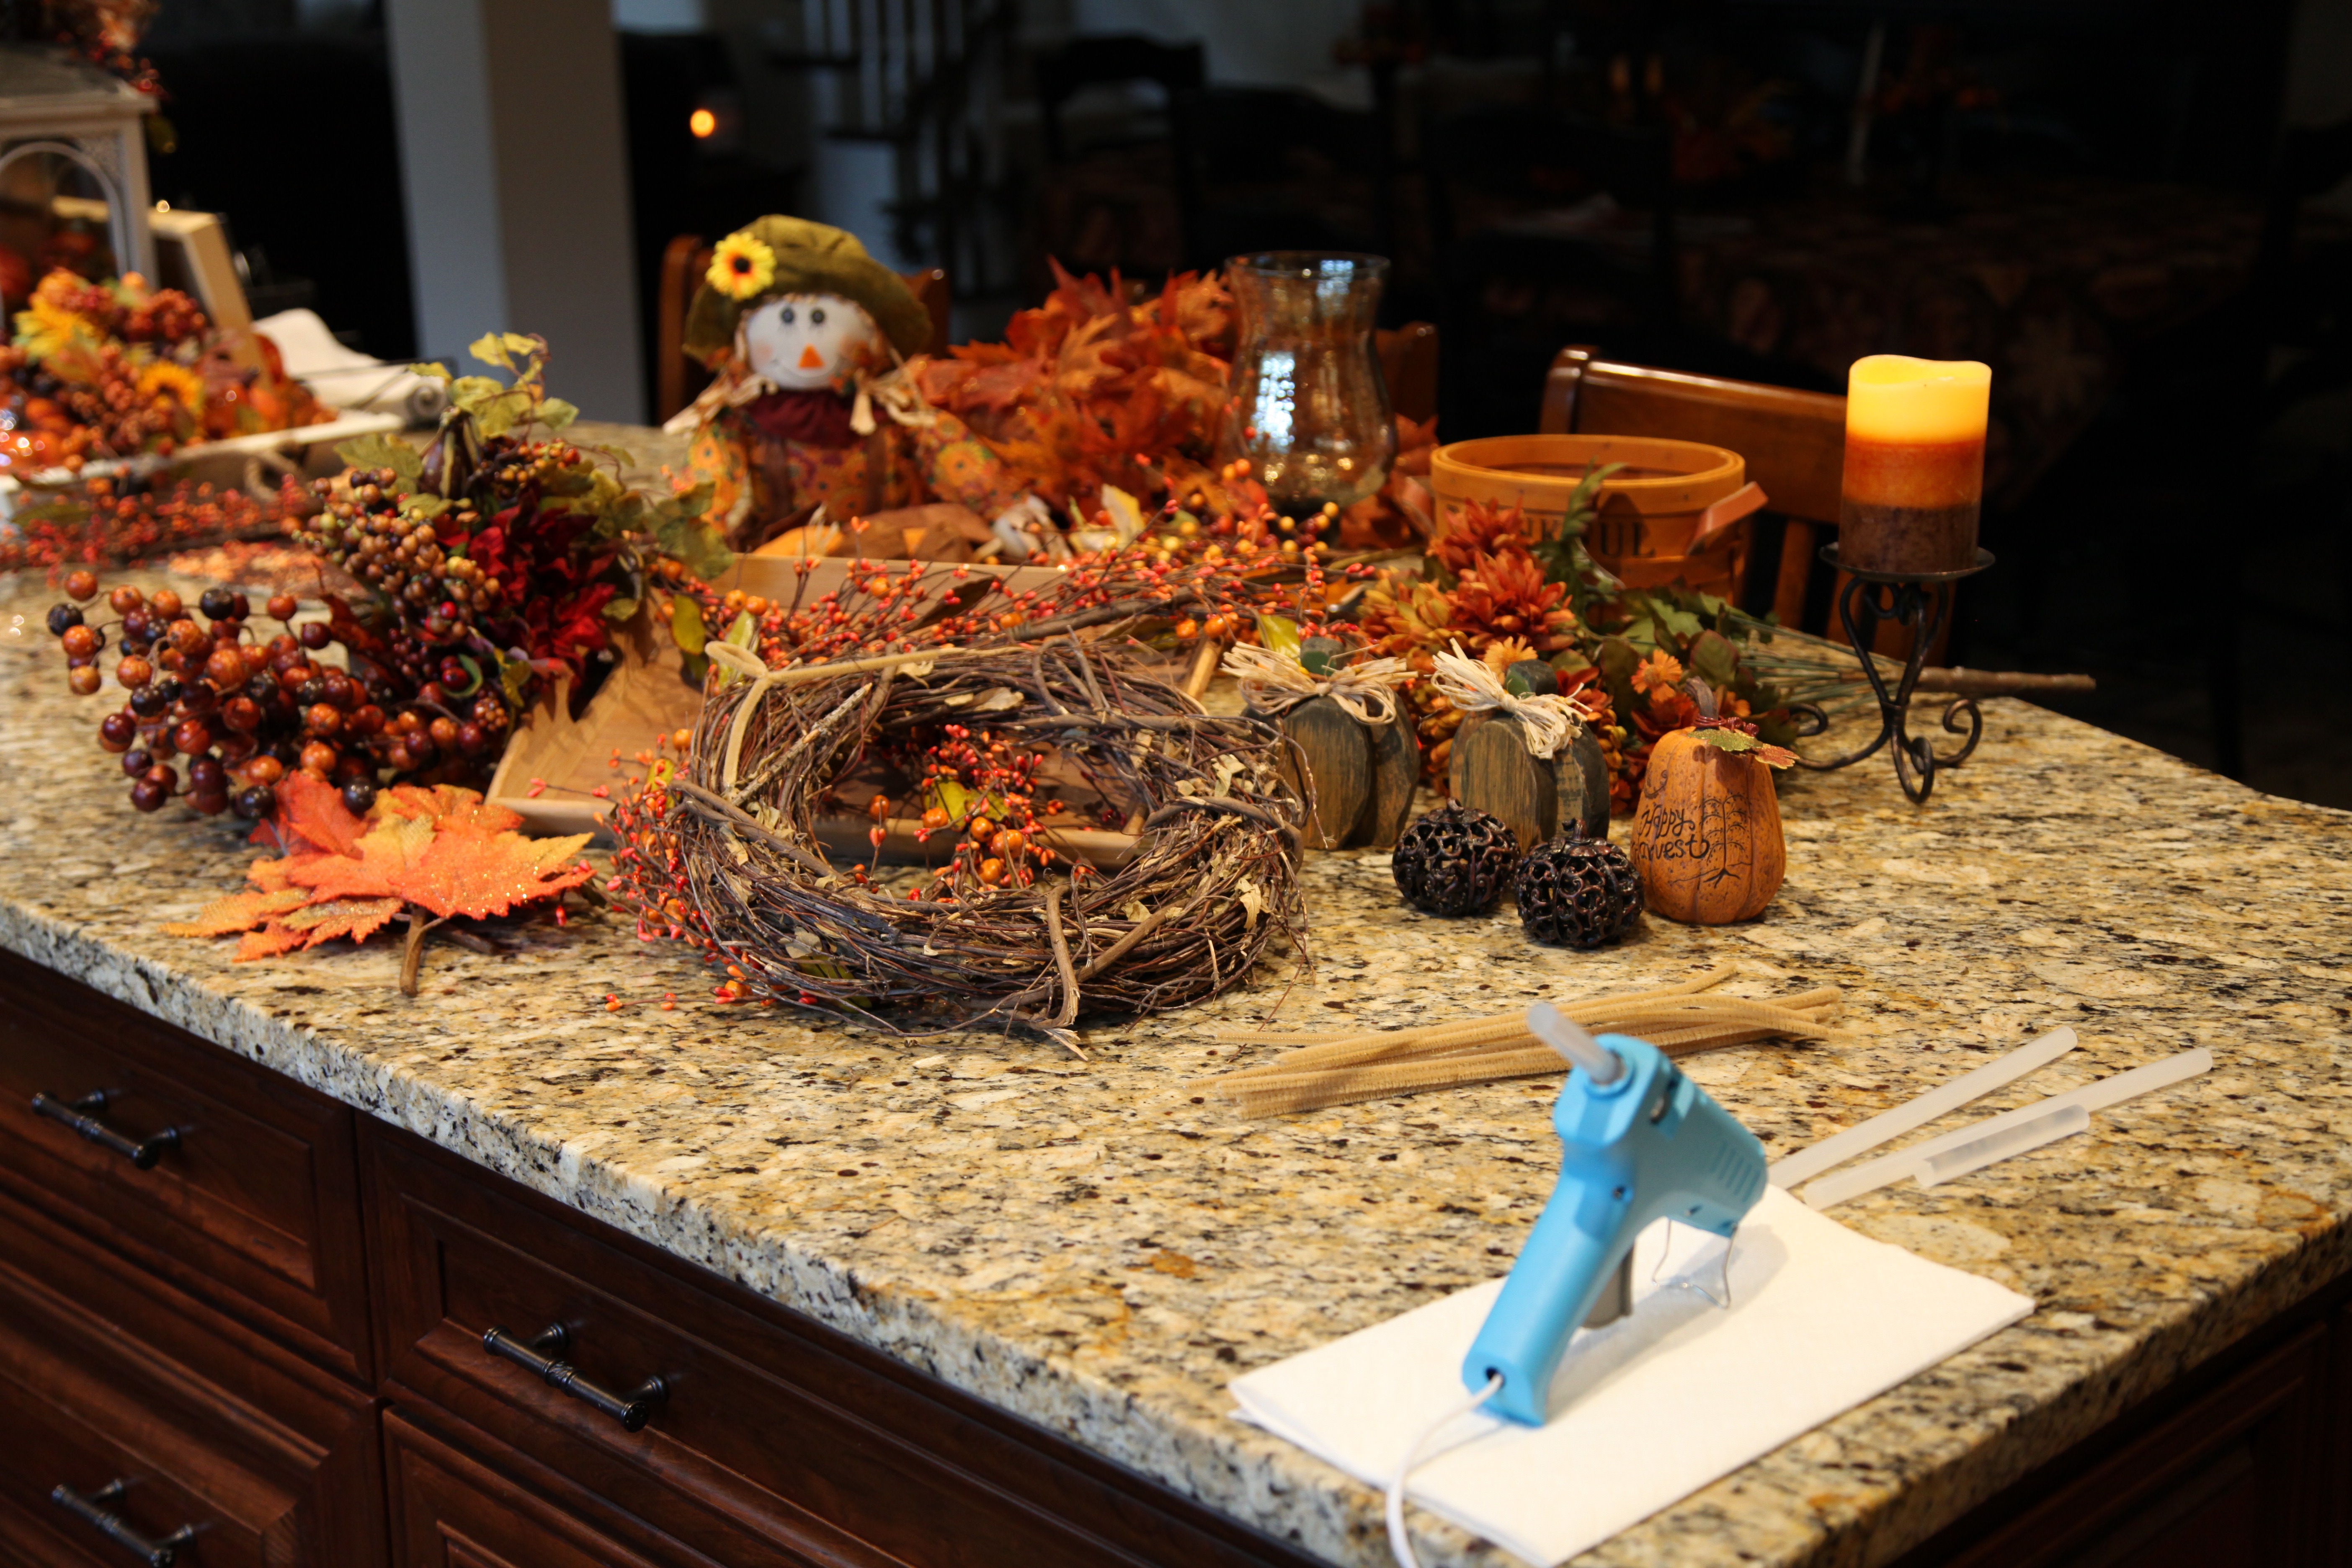
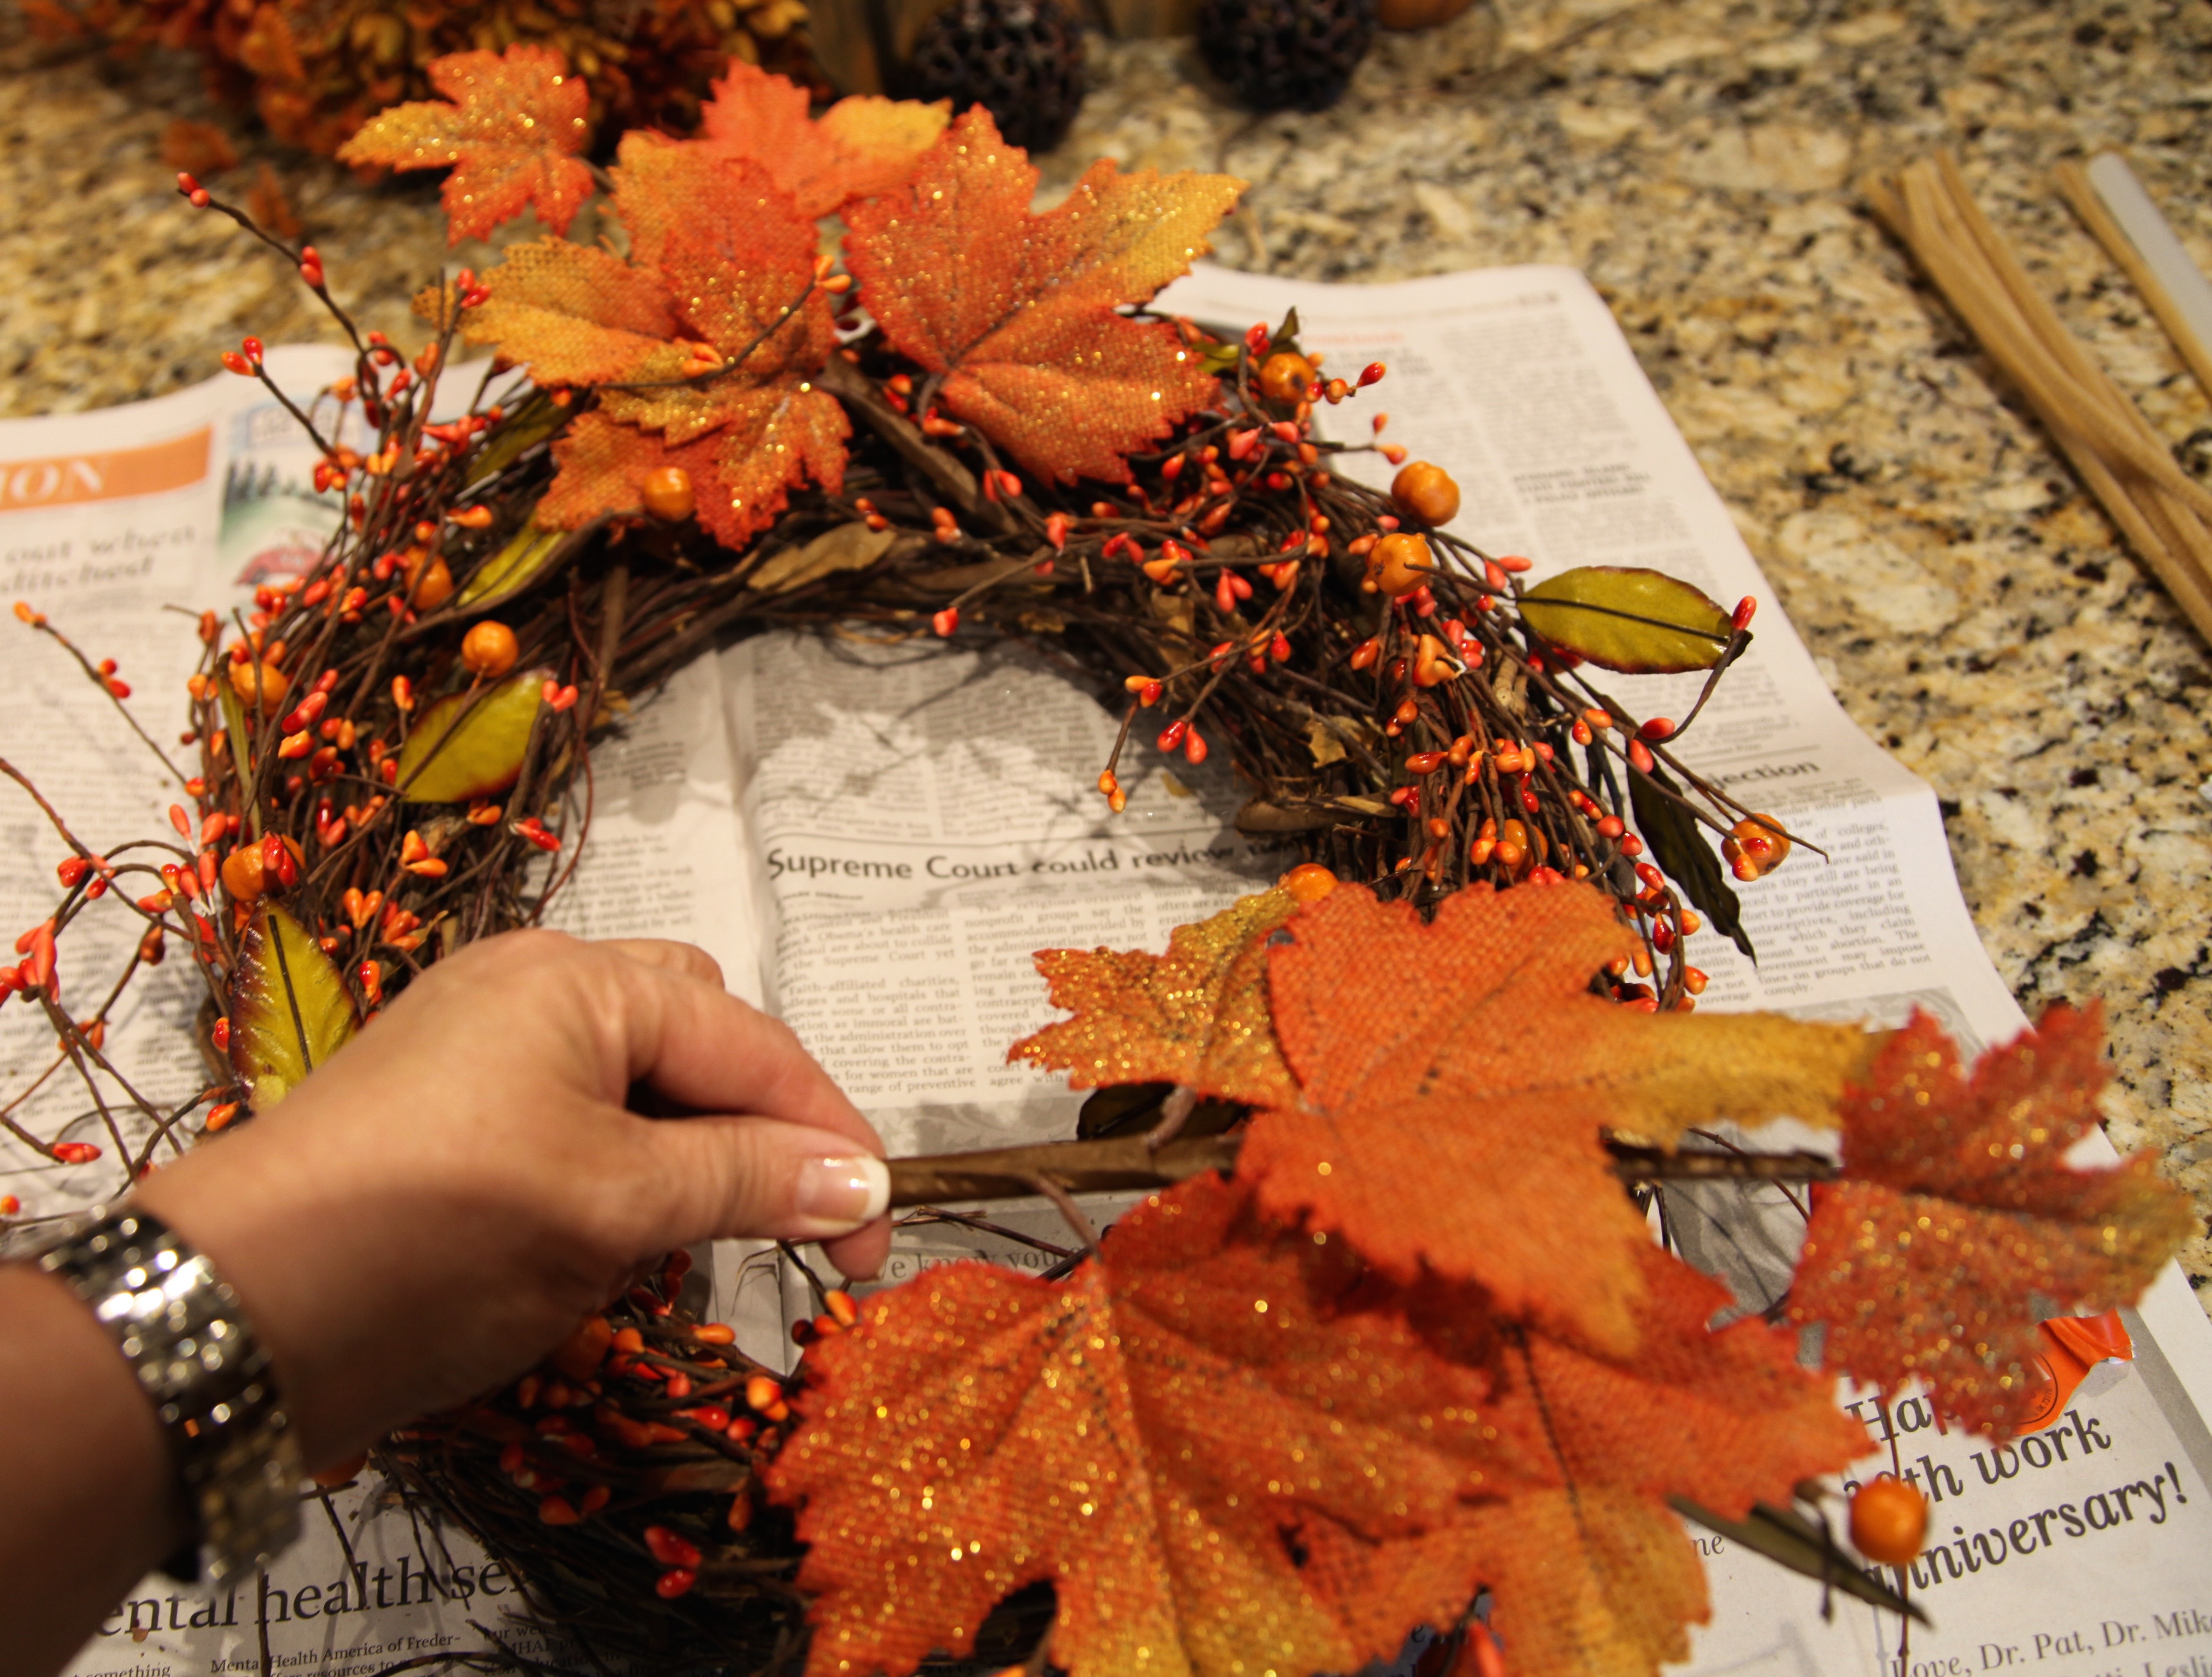
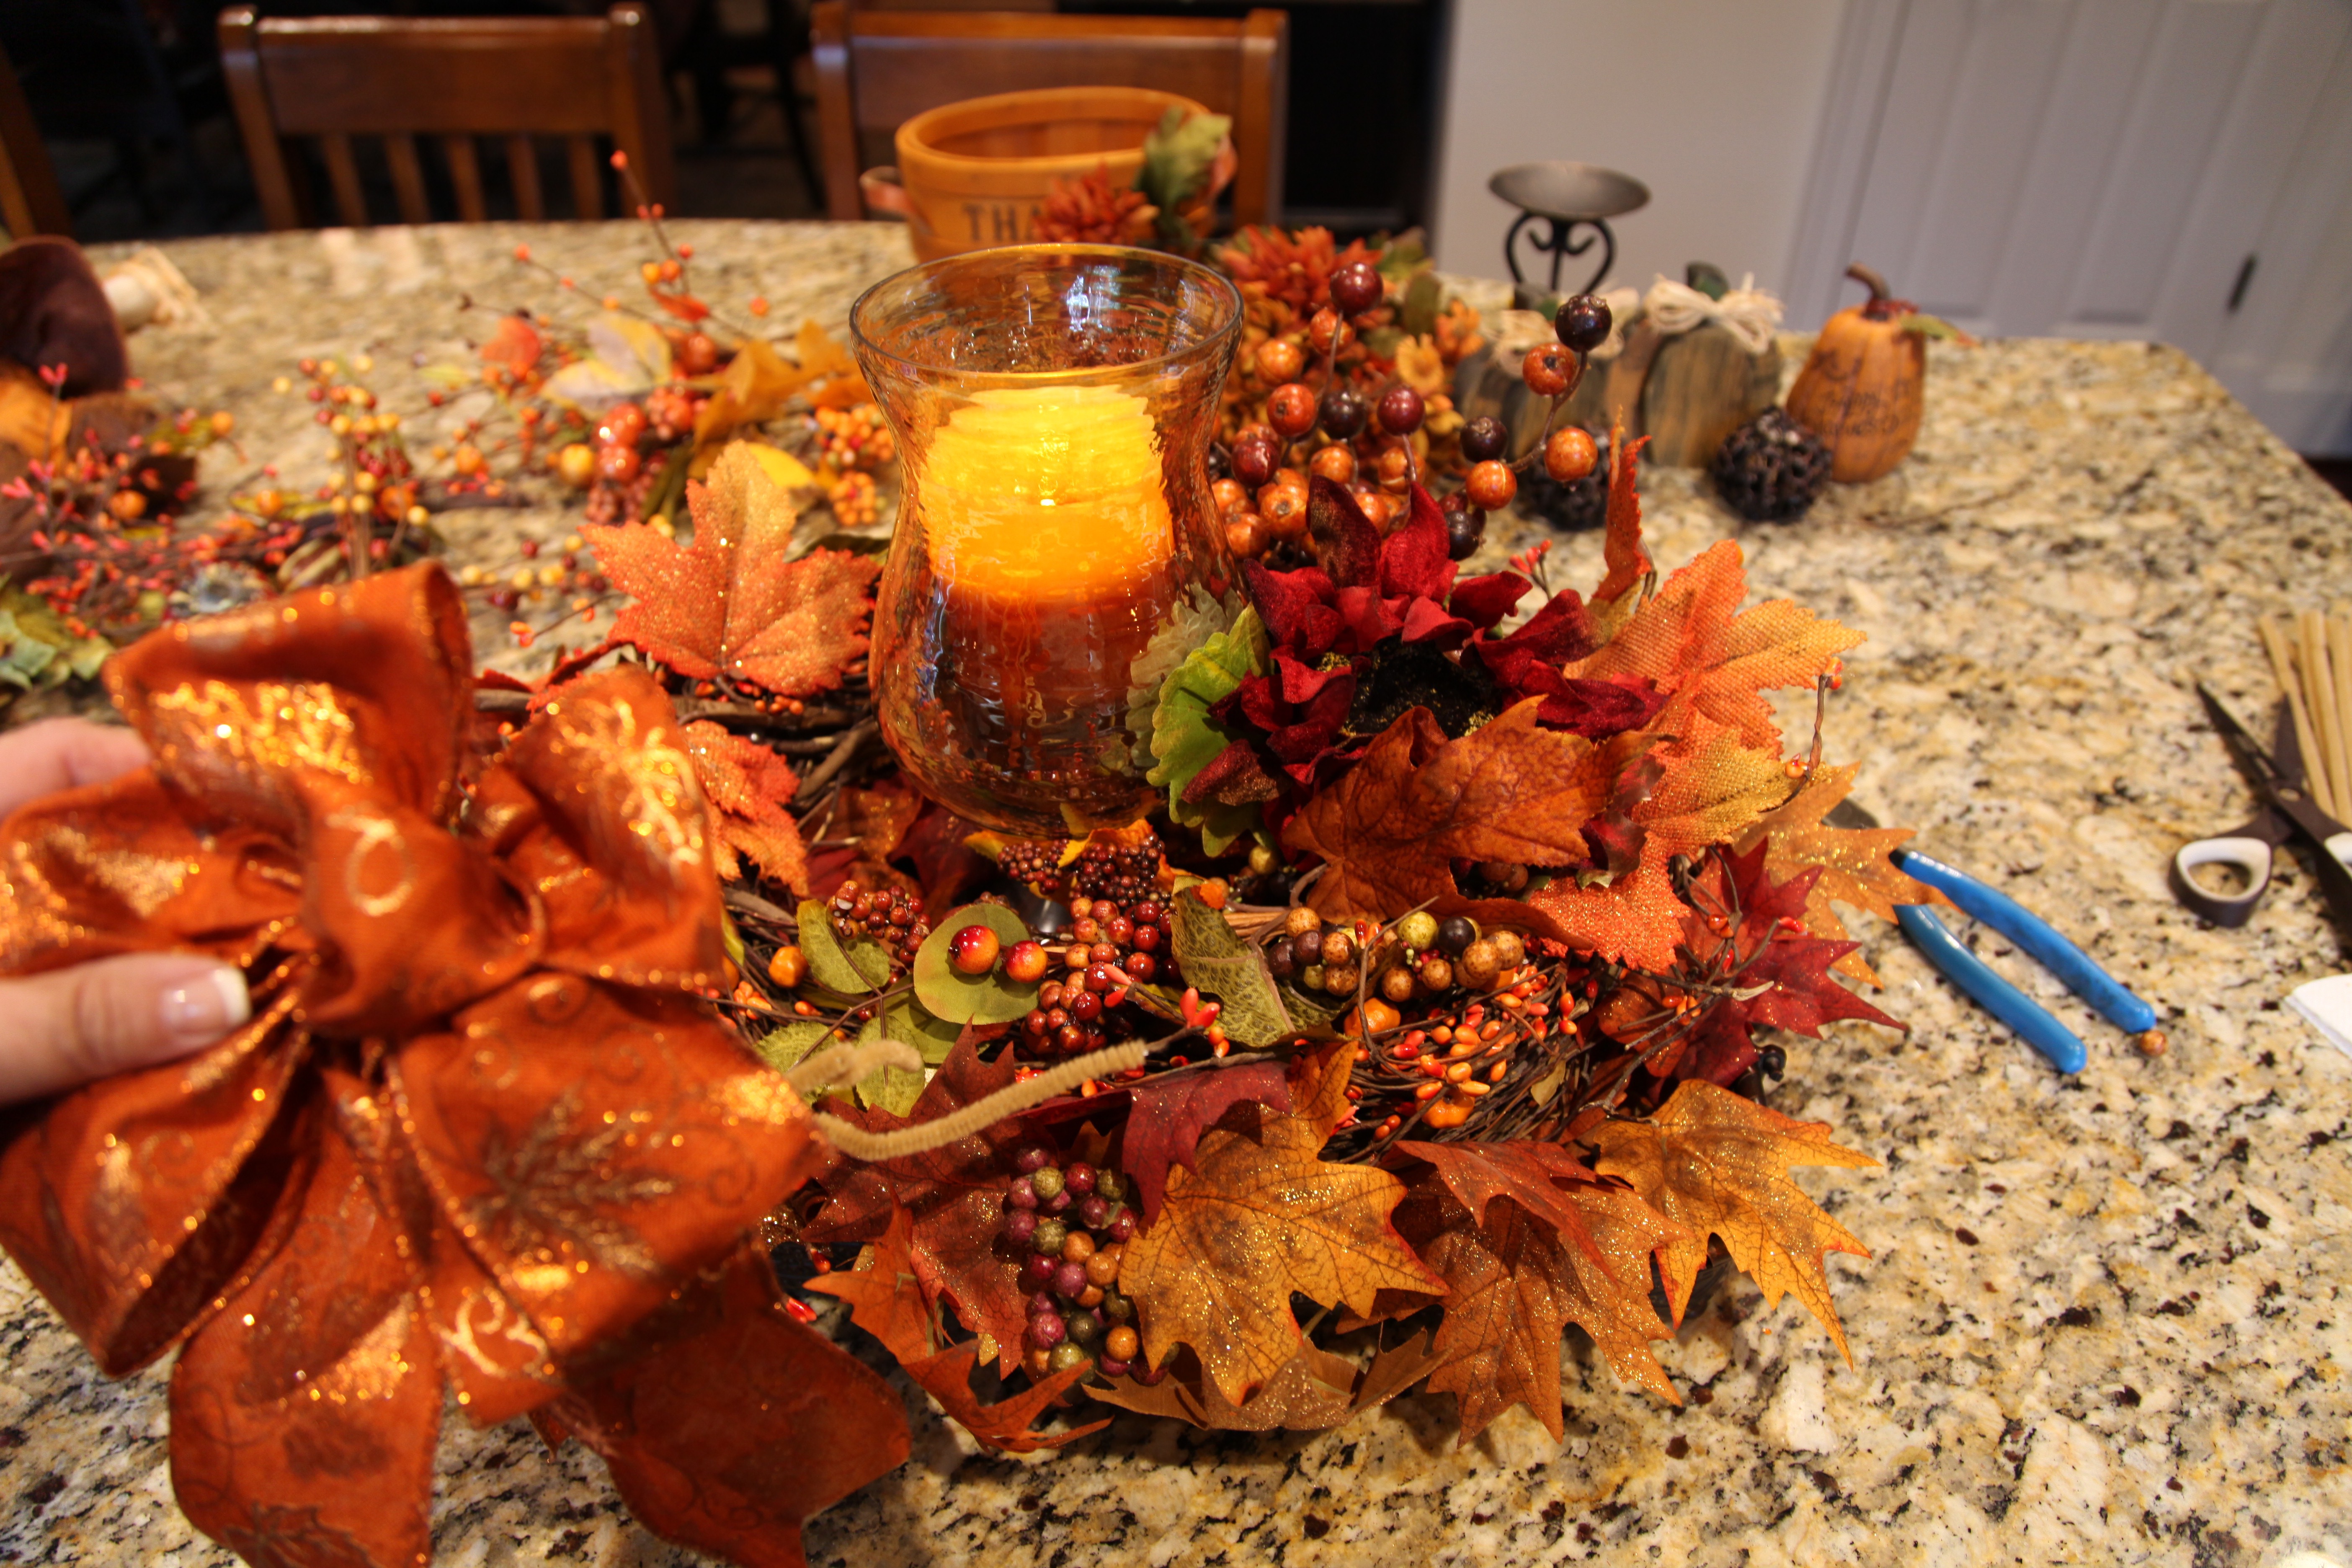
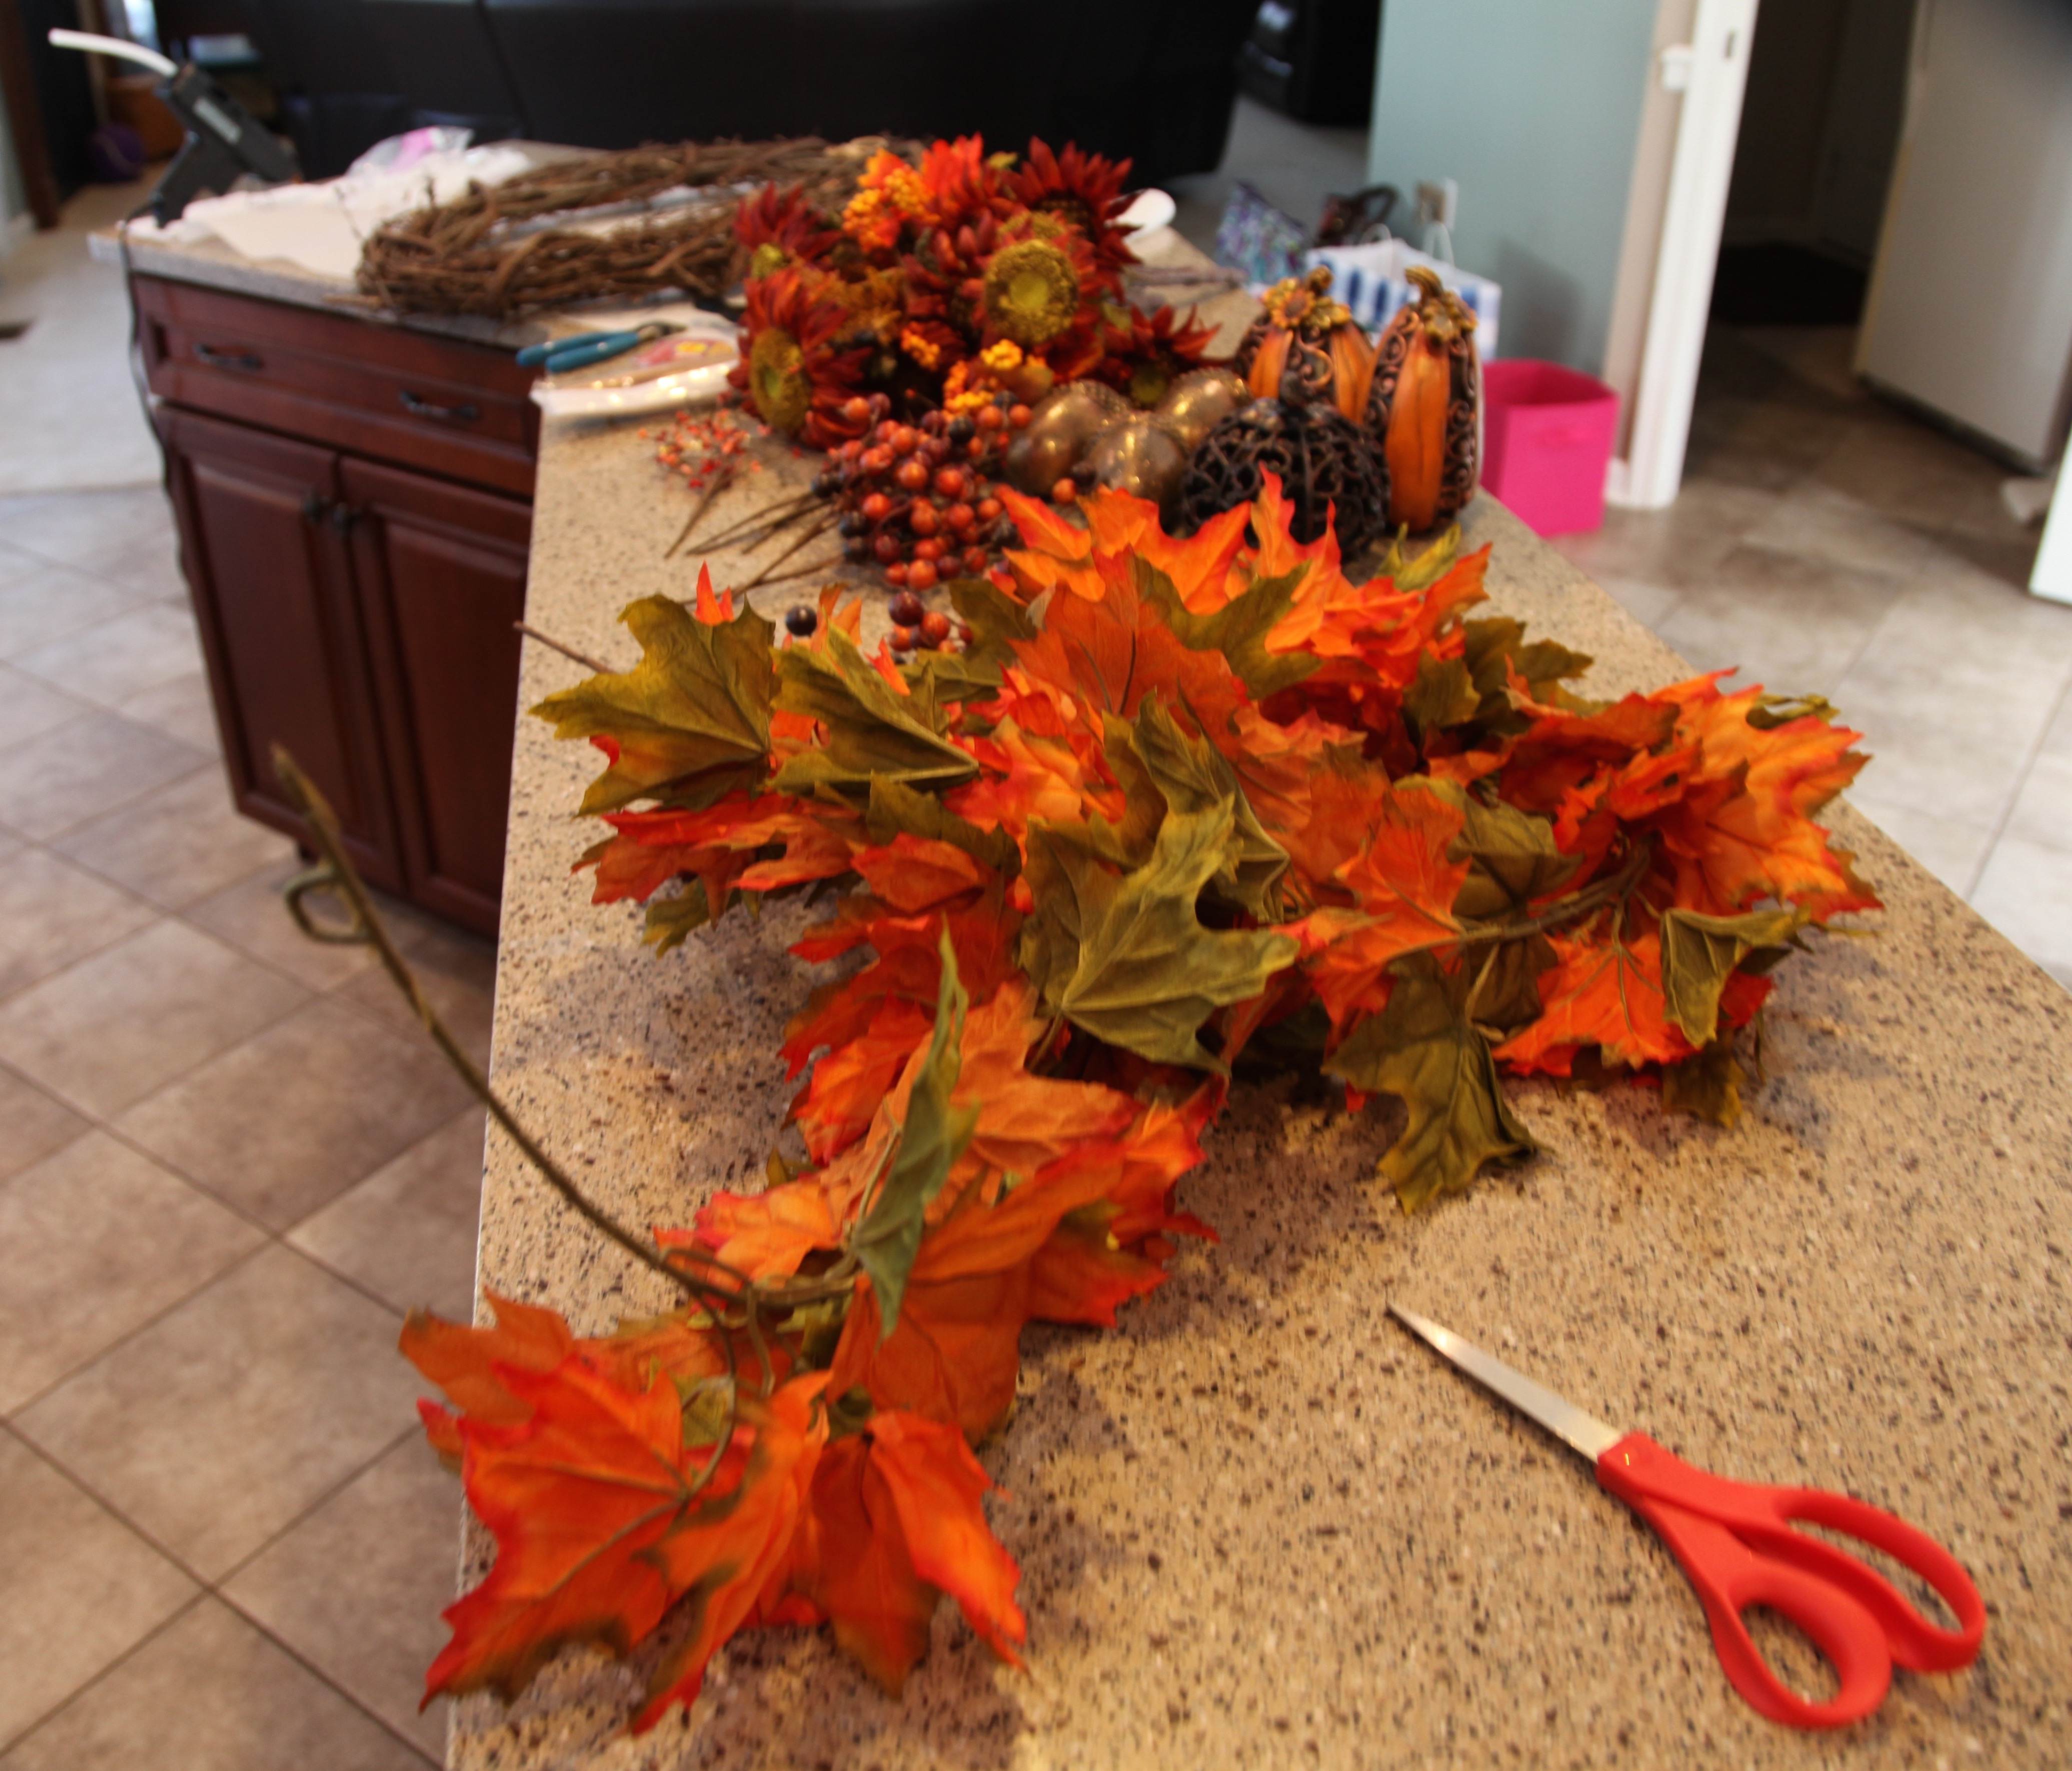
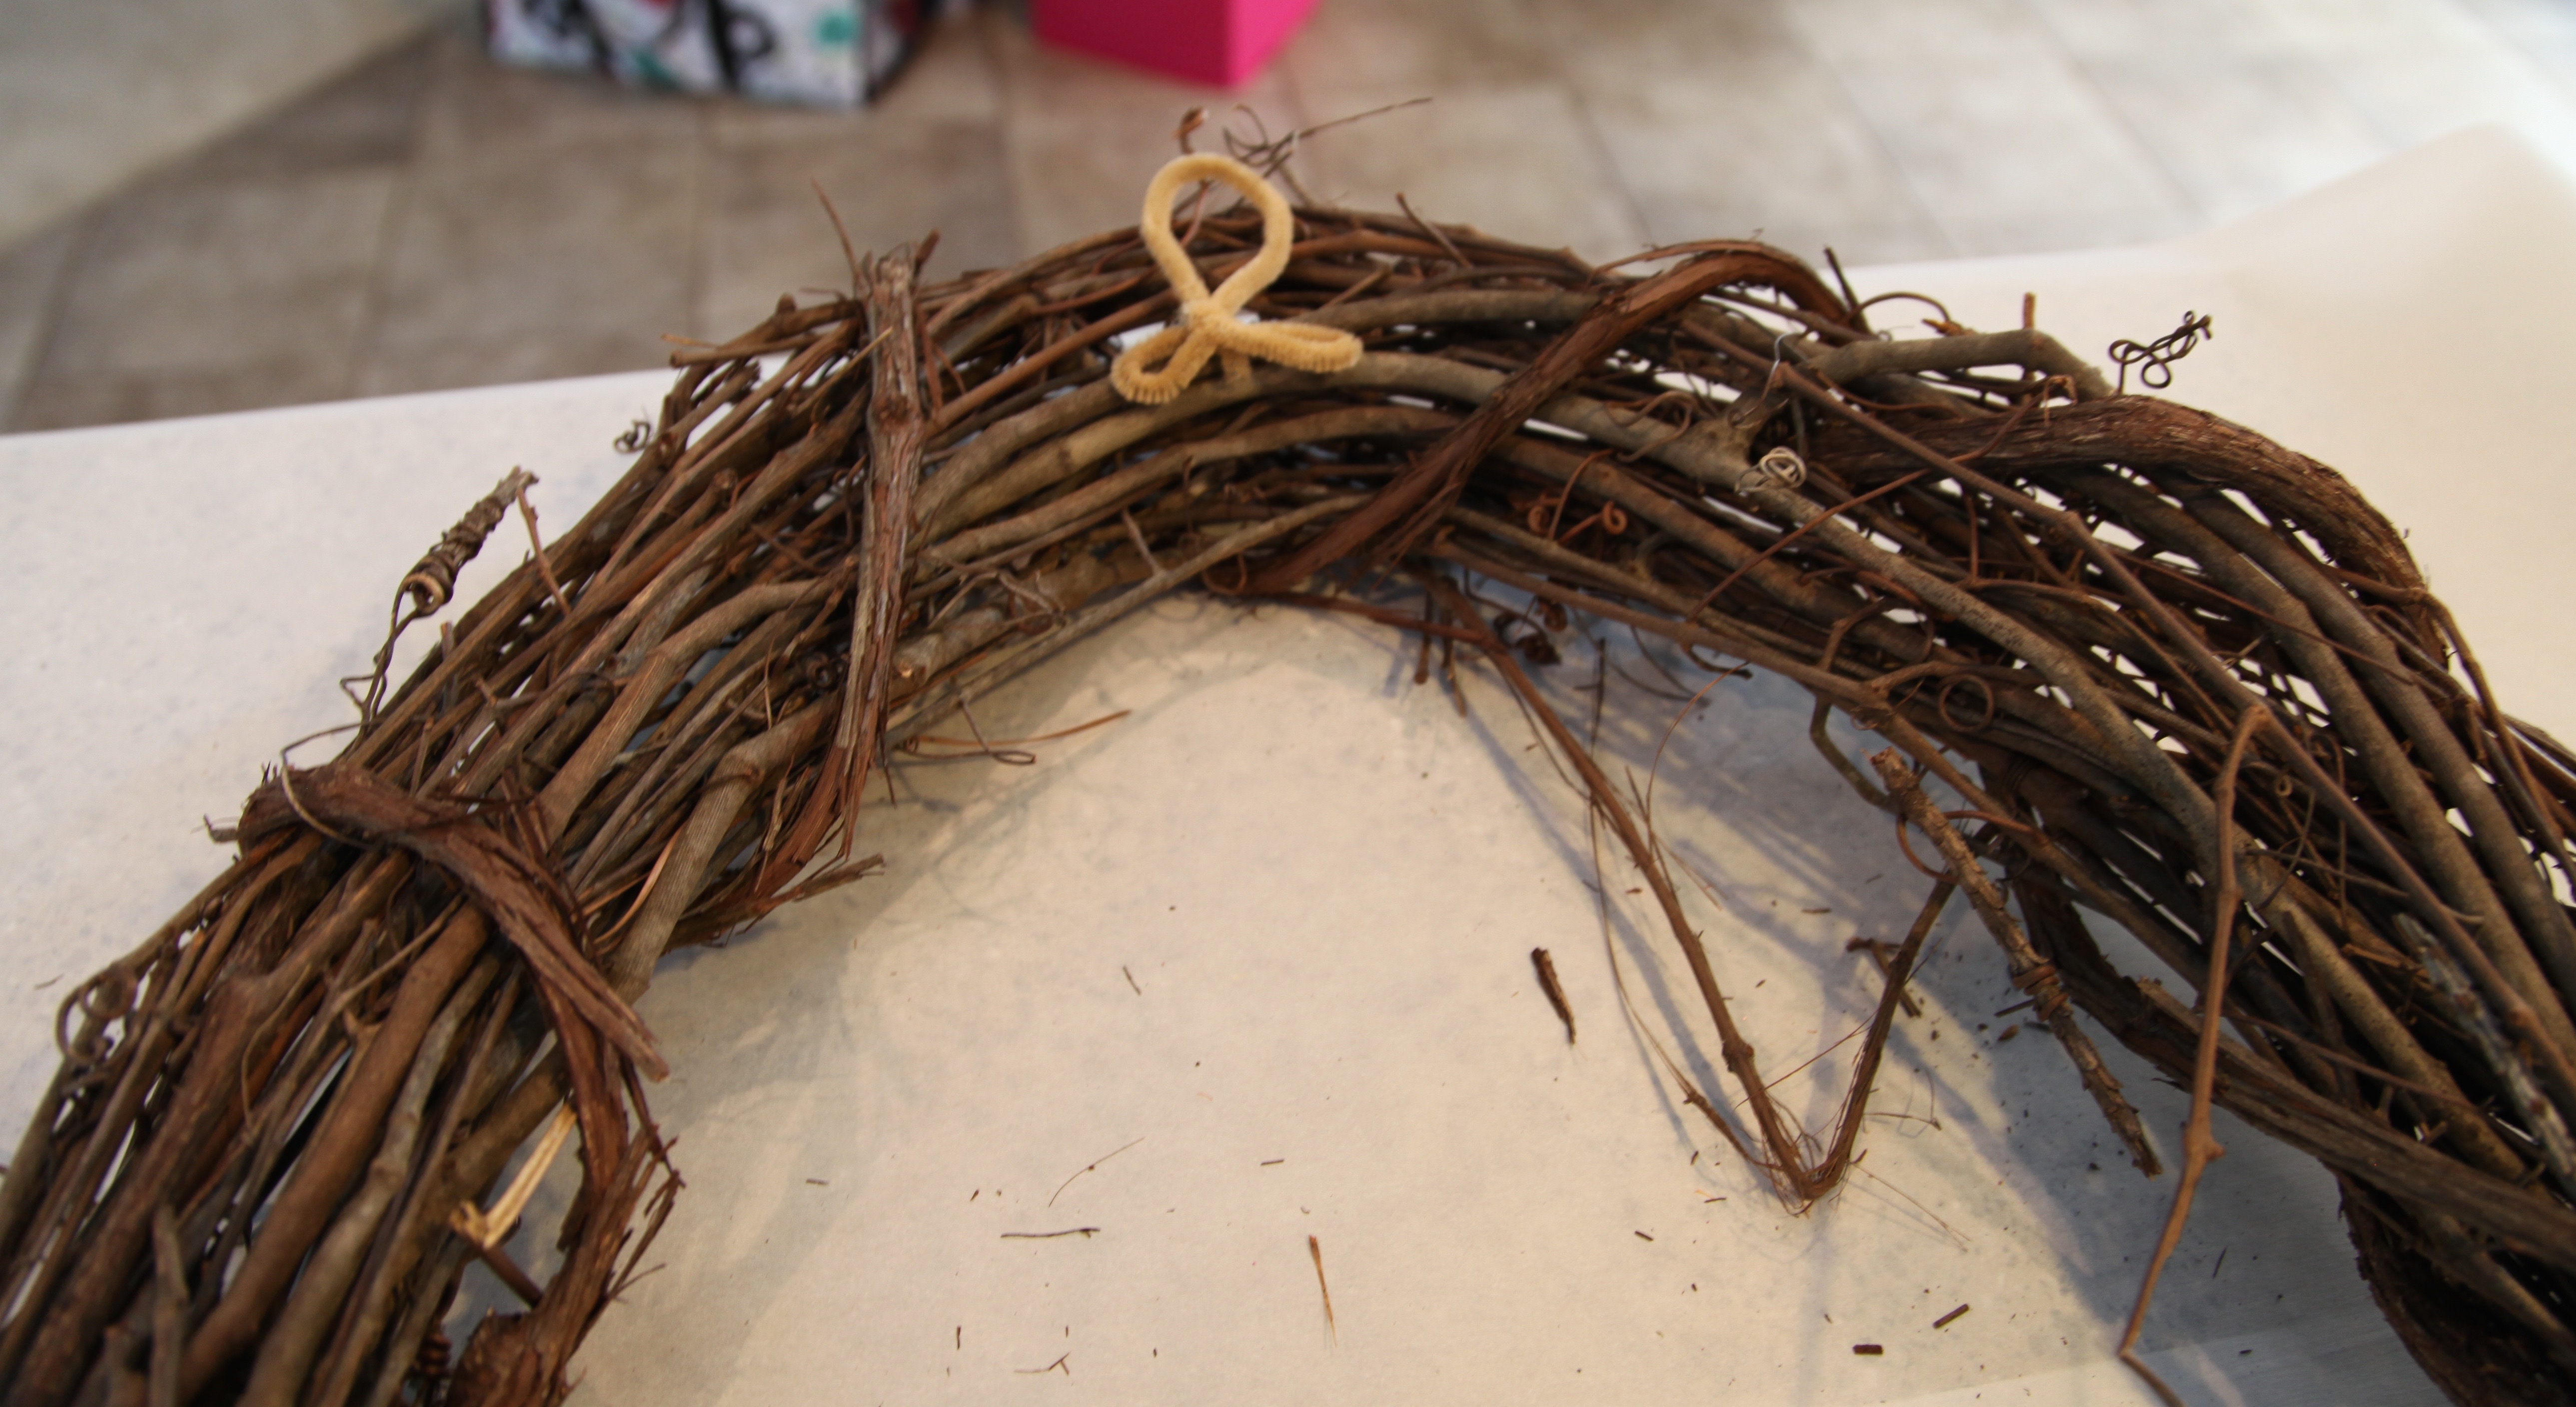
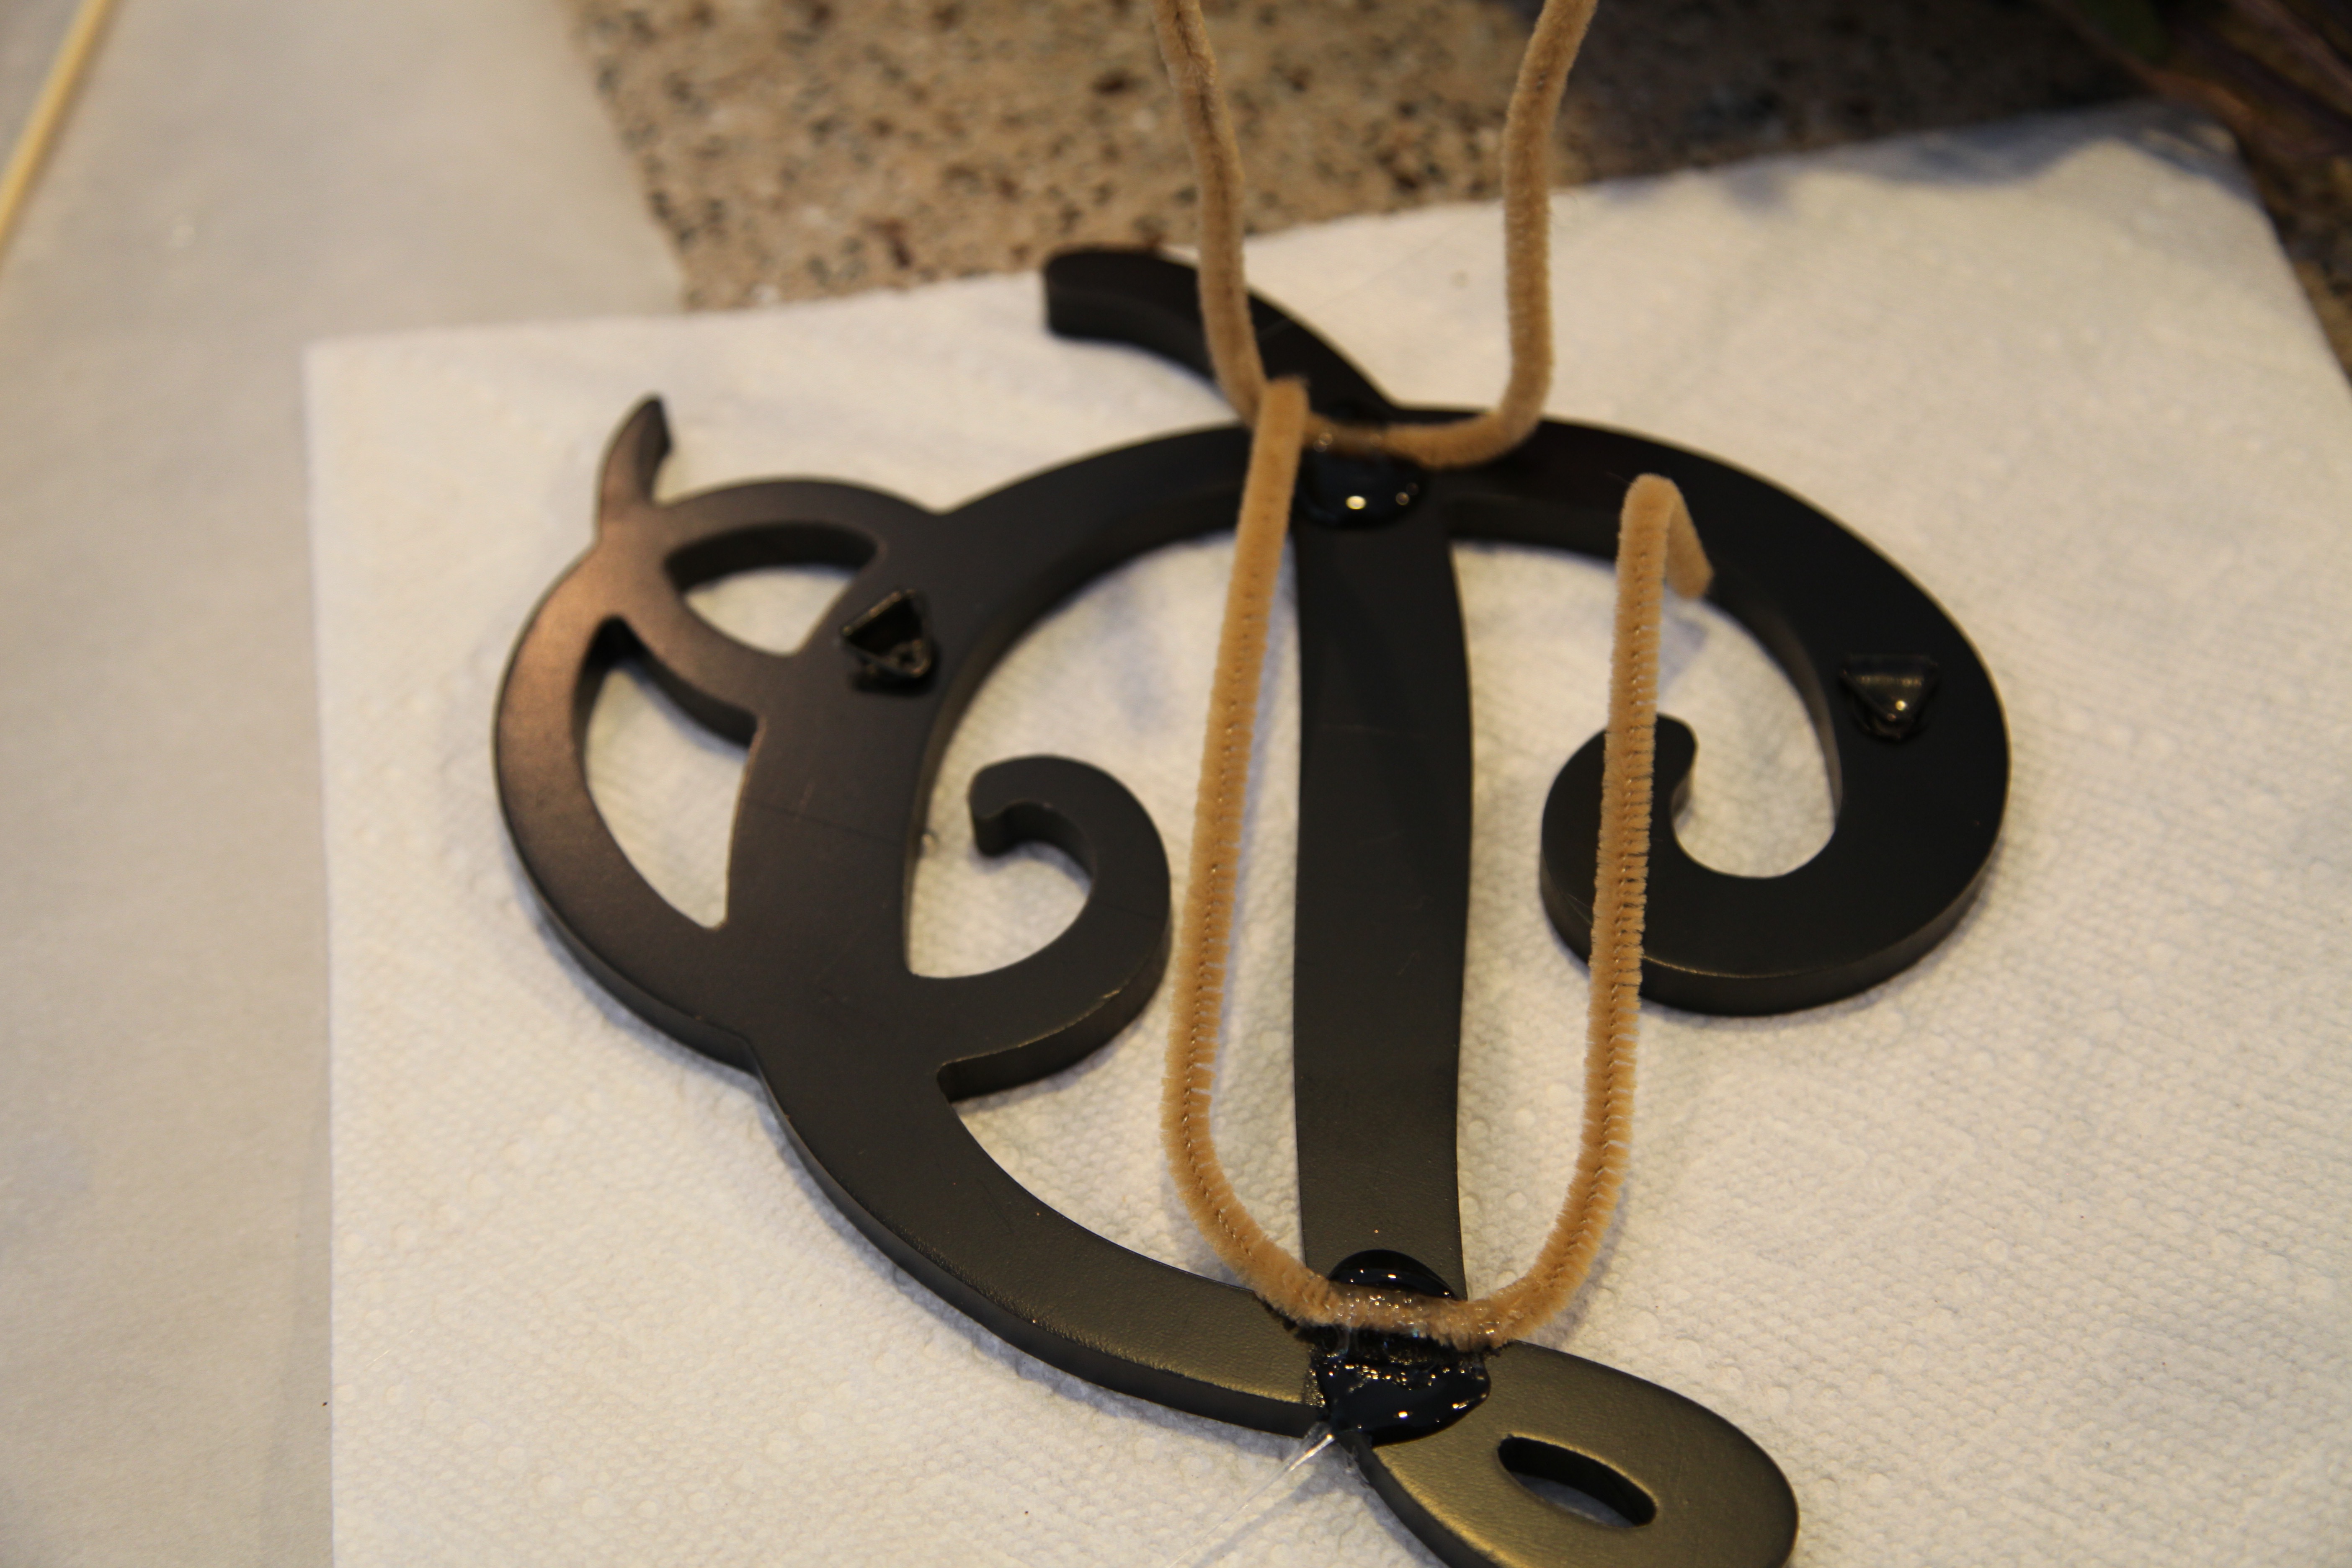
While the glue was drying on the wreath and garland, I took the opportunity to glue pipe cleaners to the backs of those pumpkins, they were pretty heavy and I knew that hot glue–even my industrial strength glue wasn’t going to hold them in place on the wreath.

IMG_1927

Since I/we had such a lovely time <rolling eyes and oozing sarcasm> trying to get the leaf garland to stay put (Stacey and Donita took their turns at holding said leaf garland in place along with me), I decided to add to the fun by looping some of the bow ribbon around the wreath and over the garland.  It sure looked pretty so I was determined to get it to work but that stupid glue was giving me issues again; to say that  I was ecstatic is an understatement when Stacey provided me with a wooden skewer to be used to hold the ribbon in place while the HOT glue dried!  Goodness gracious, what a little task, but we were laughing and joking all the way through the process which made it a bit easier.

Next, I glued pipe cleaners to the back of an initial and while that was drying, I started to place some other accents into place on the wreath.  I used acorns, pip berry picks, a few Fall colored sunflowers and added the bow;  it all came together beautifully.

IMG_1930IMG_1929

Here is the finished wreath all ready to travel home with my cousin Donita and to take it’s rightful place in her home. 🙂  She absolutely loves it which of course warms my heart! I would much rather give than receive any day of the week!! ❤

IMG_1934

And that completes Part 2 of our little “Cousins Craft Weekend” series.  Stay tuned for Part 3!  I can’t wait for y’all to see how Stacey put together her lighted deco mesh garland; trust me, it turned out so nice!!

Until next time, y’all take good care! ❤

**In crafting there are no mistakes just unique creations**