Christmas 2015: Lantern Centerpiece & More (Traditional Christmas Colors)

Continuing on with showing y’all how I am decorating our home for Christmas; I’ve been working for almost a solid week on the rooms that span the back of our home (family room, kitchen, kitchen eating area, and the staircase–all of which are completely open to one another). In this entry, I will be highlighting a couple of centerpieces that I made, one, a lantern centerpiece for the kitchen table, and two a centerpiece for the kitchen’s island.  Also, I’ll be showing you how I decorated my kitchen window sills–I change the decor on the sills with every season.

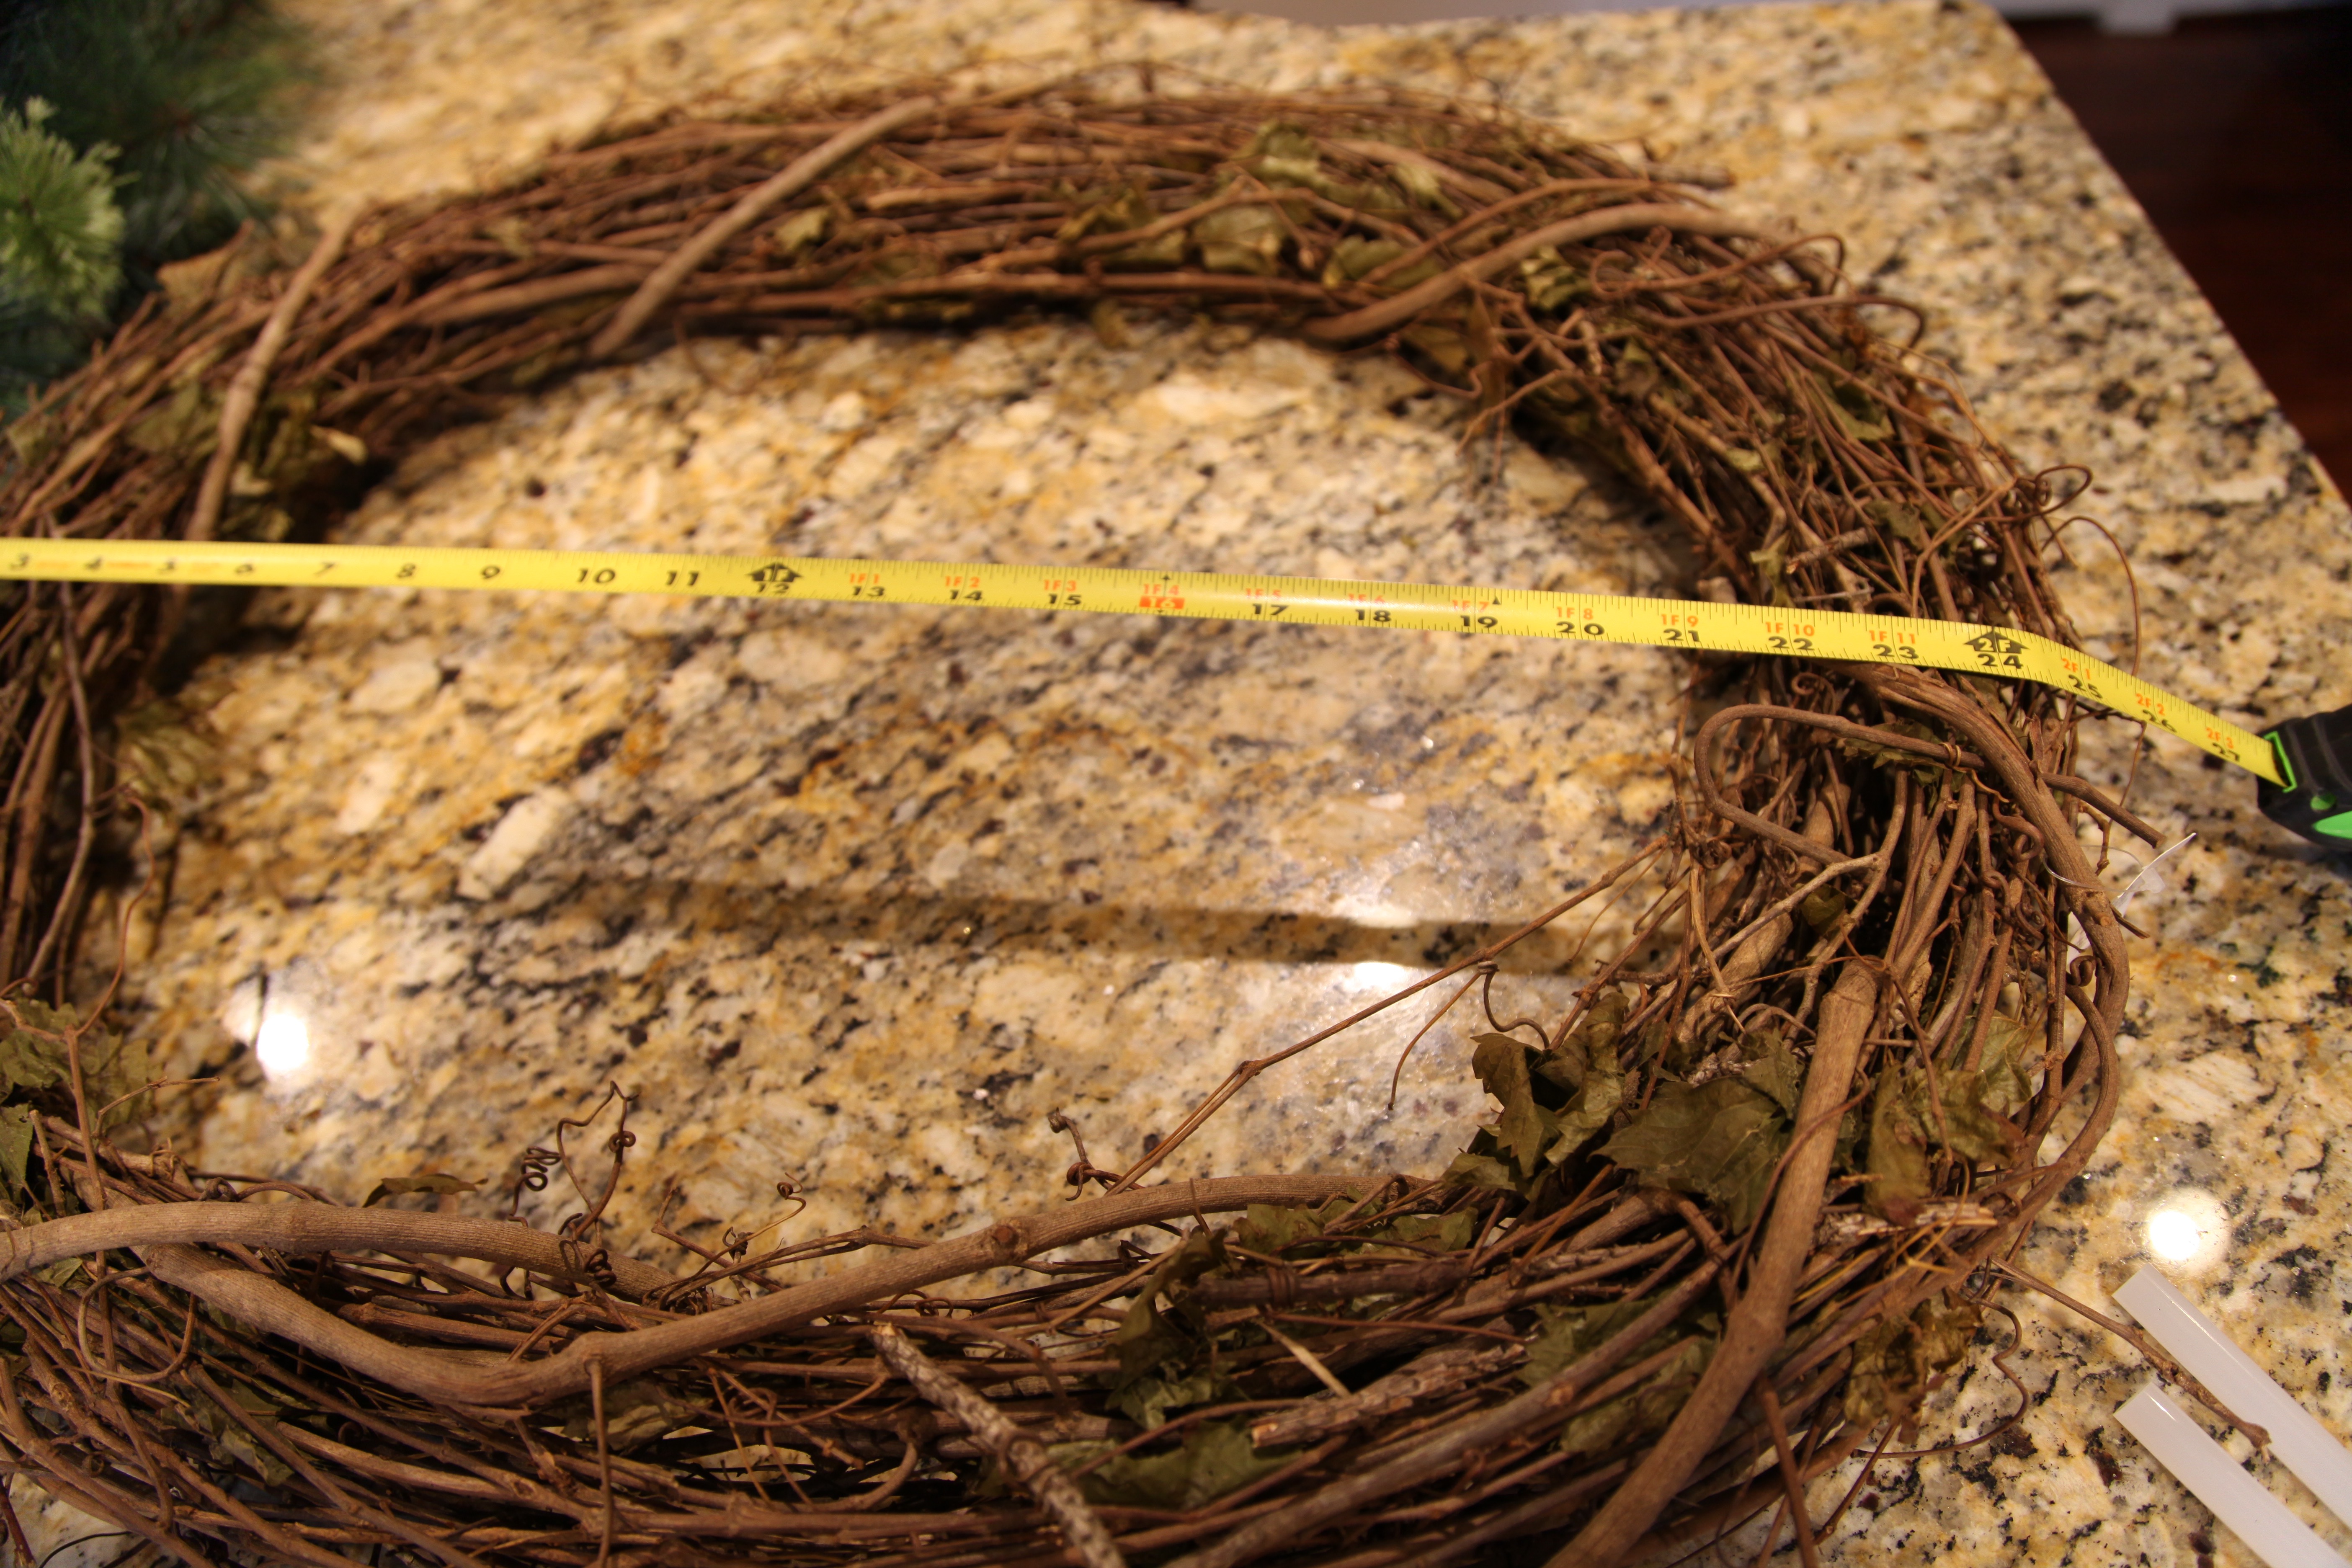
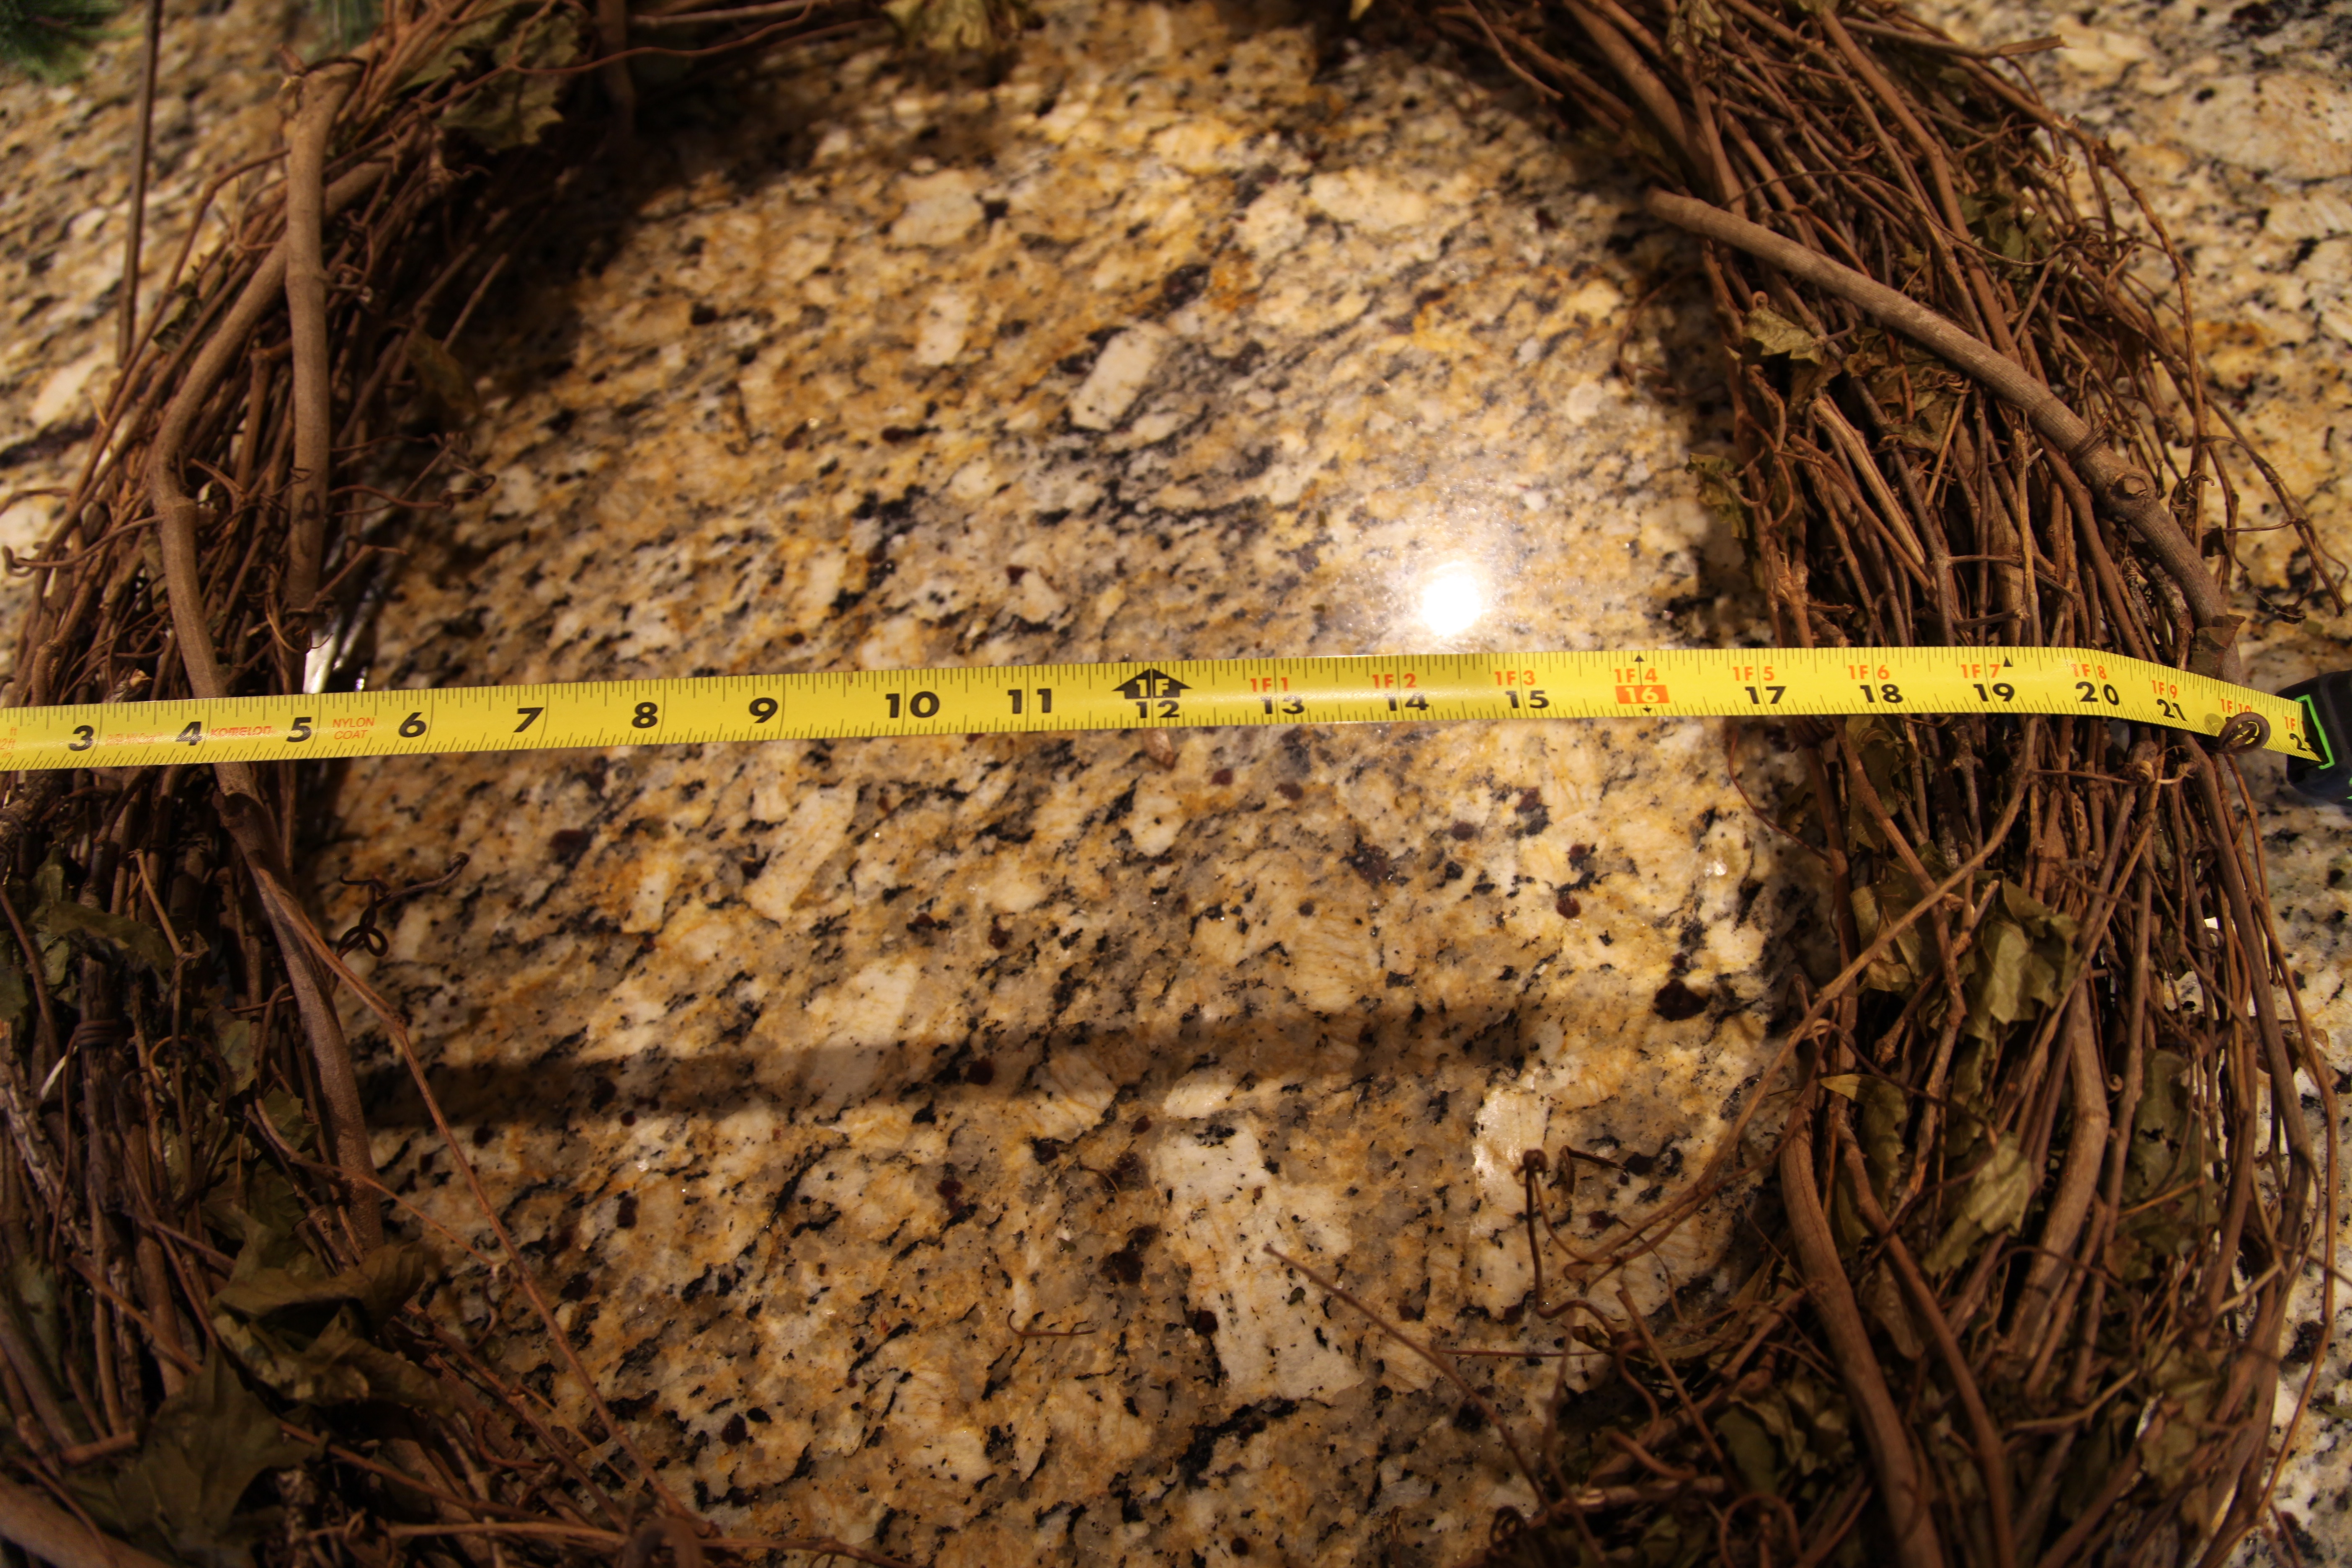
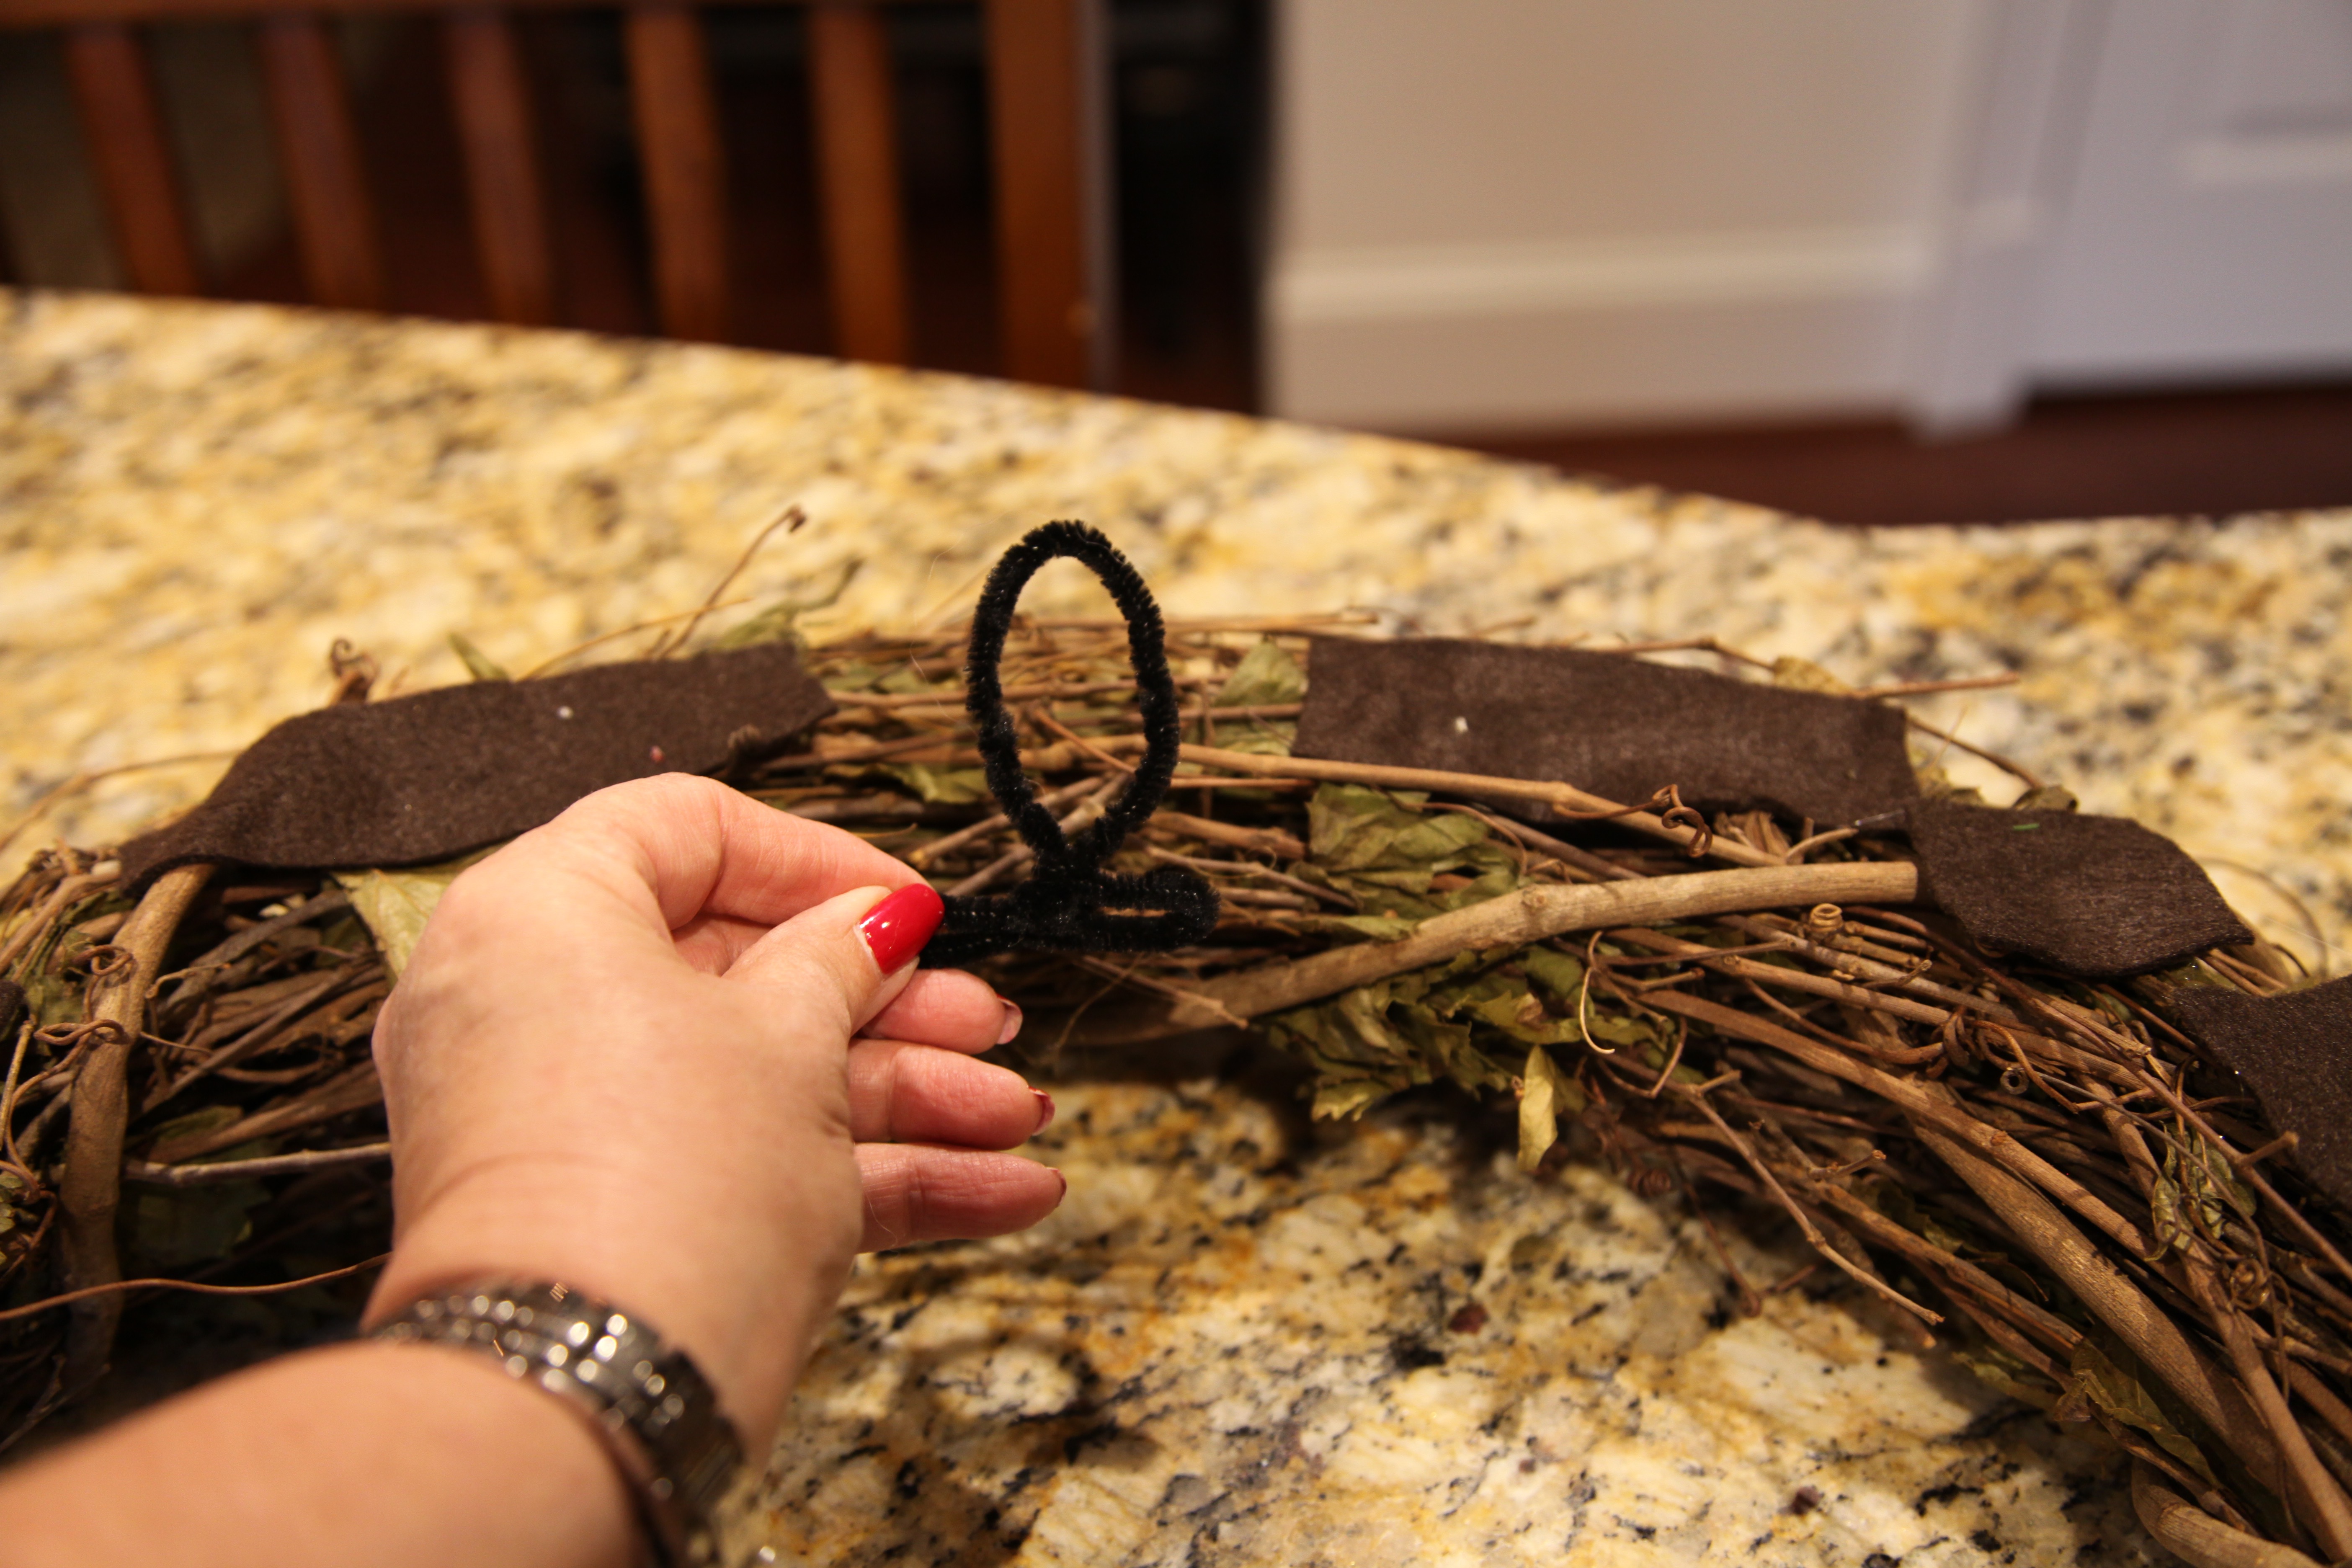
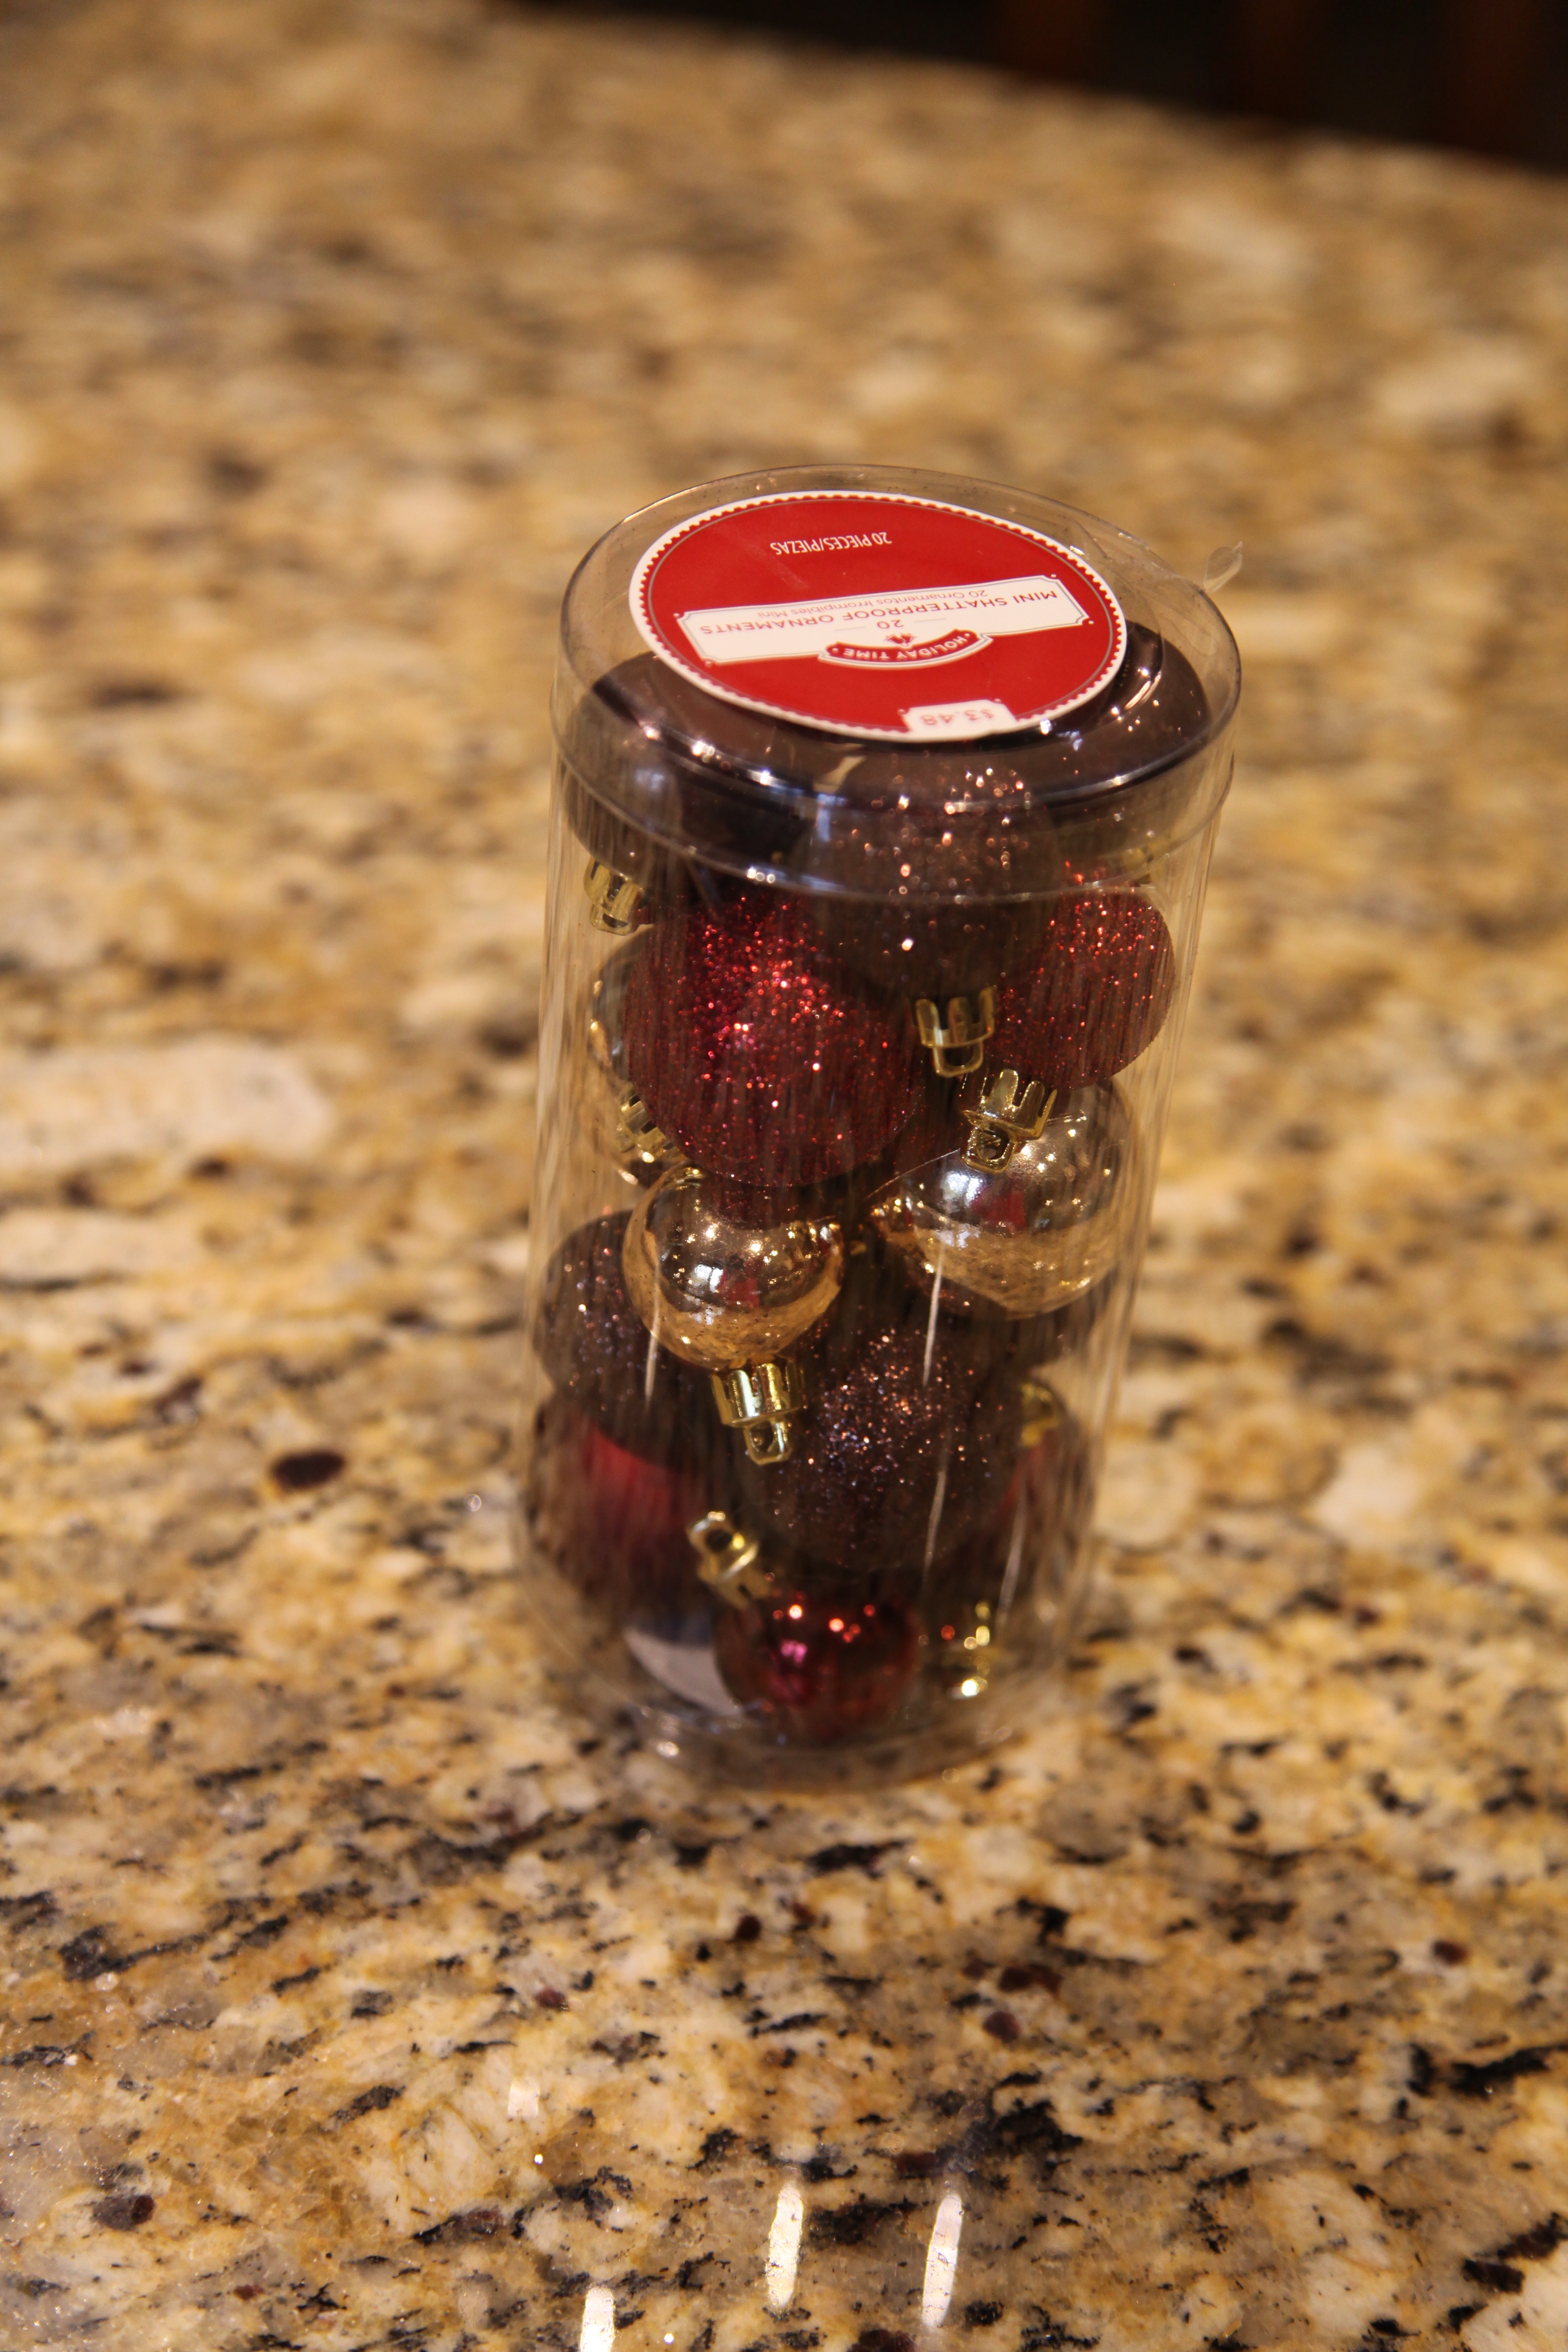
So let’s start with the kitchen island arrangement.  The first thing I do when I go to make anything like this is to gather all of the materials I *think* I might use.

IMG_2472 IMG_2475 IMG_2477 IMG_2480 IMG_2483 IMG_2484 IMG_2491

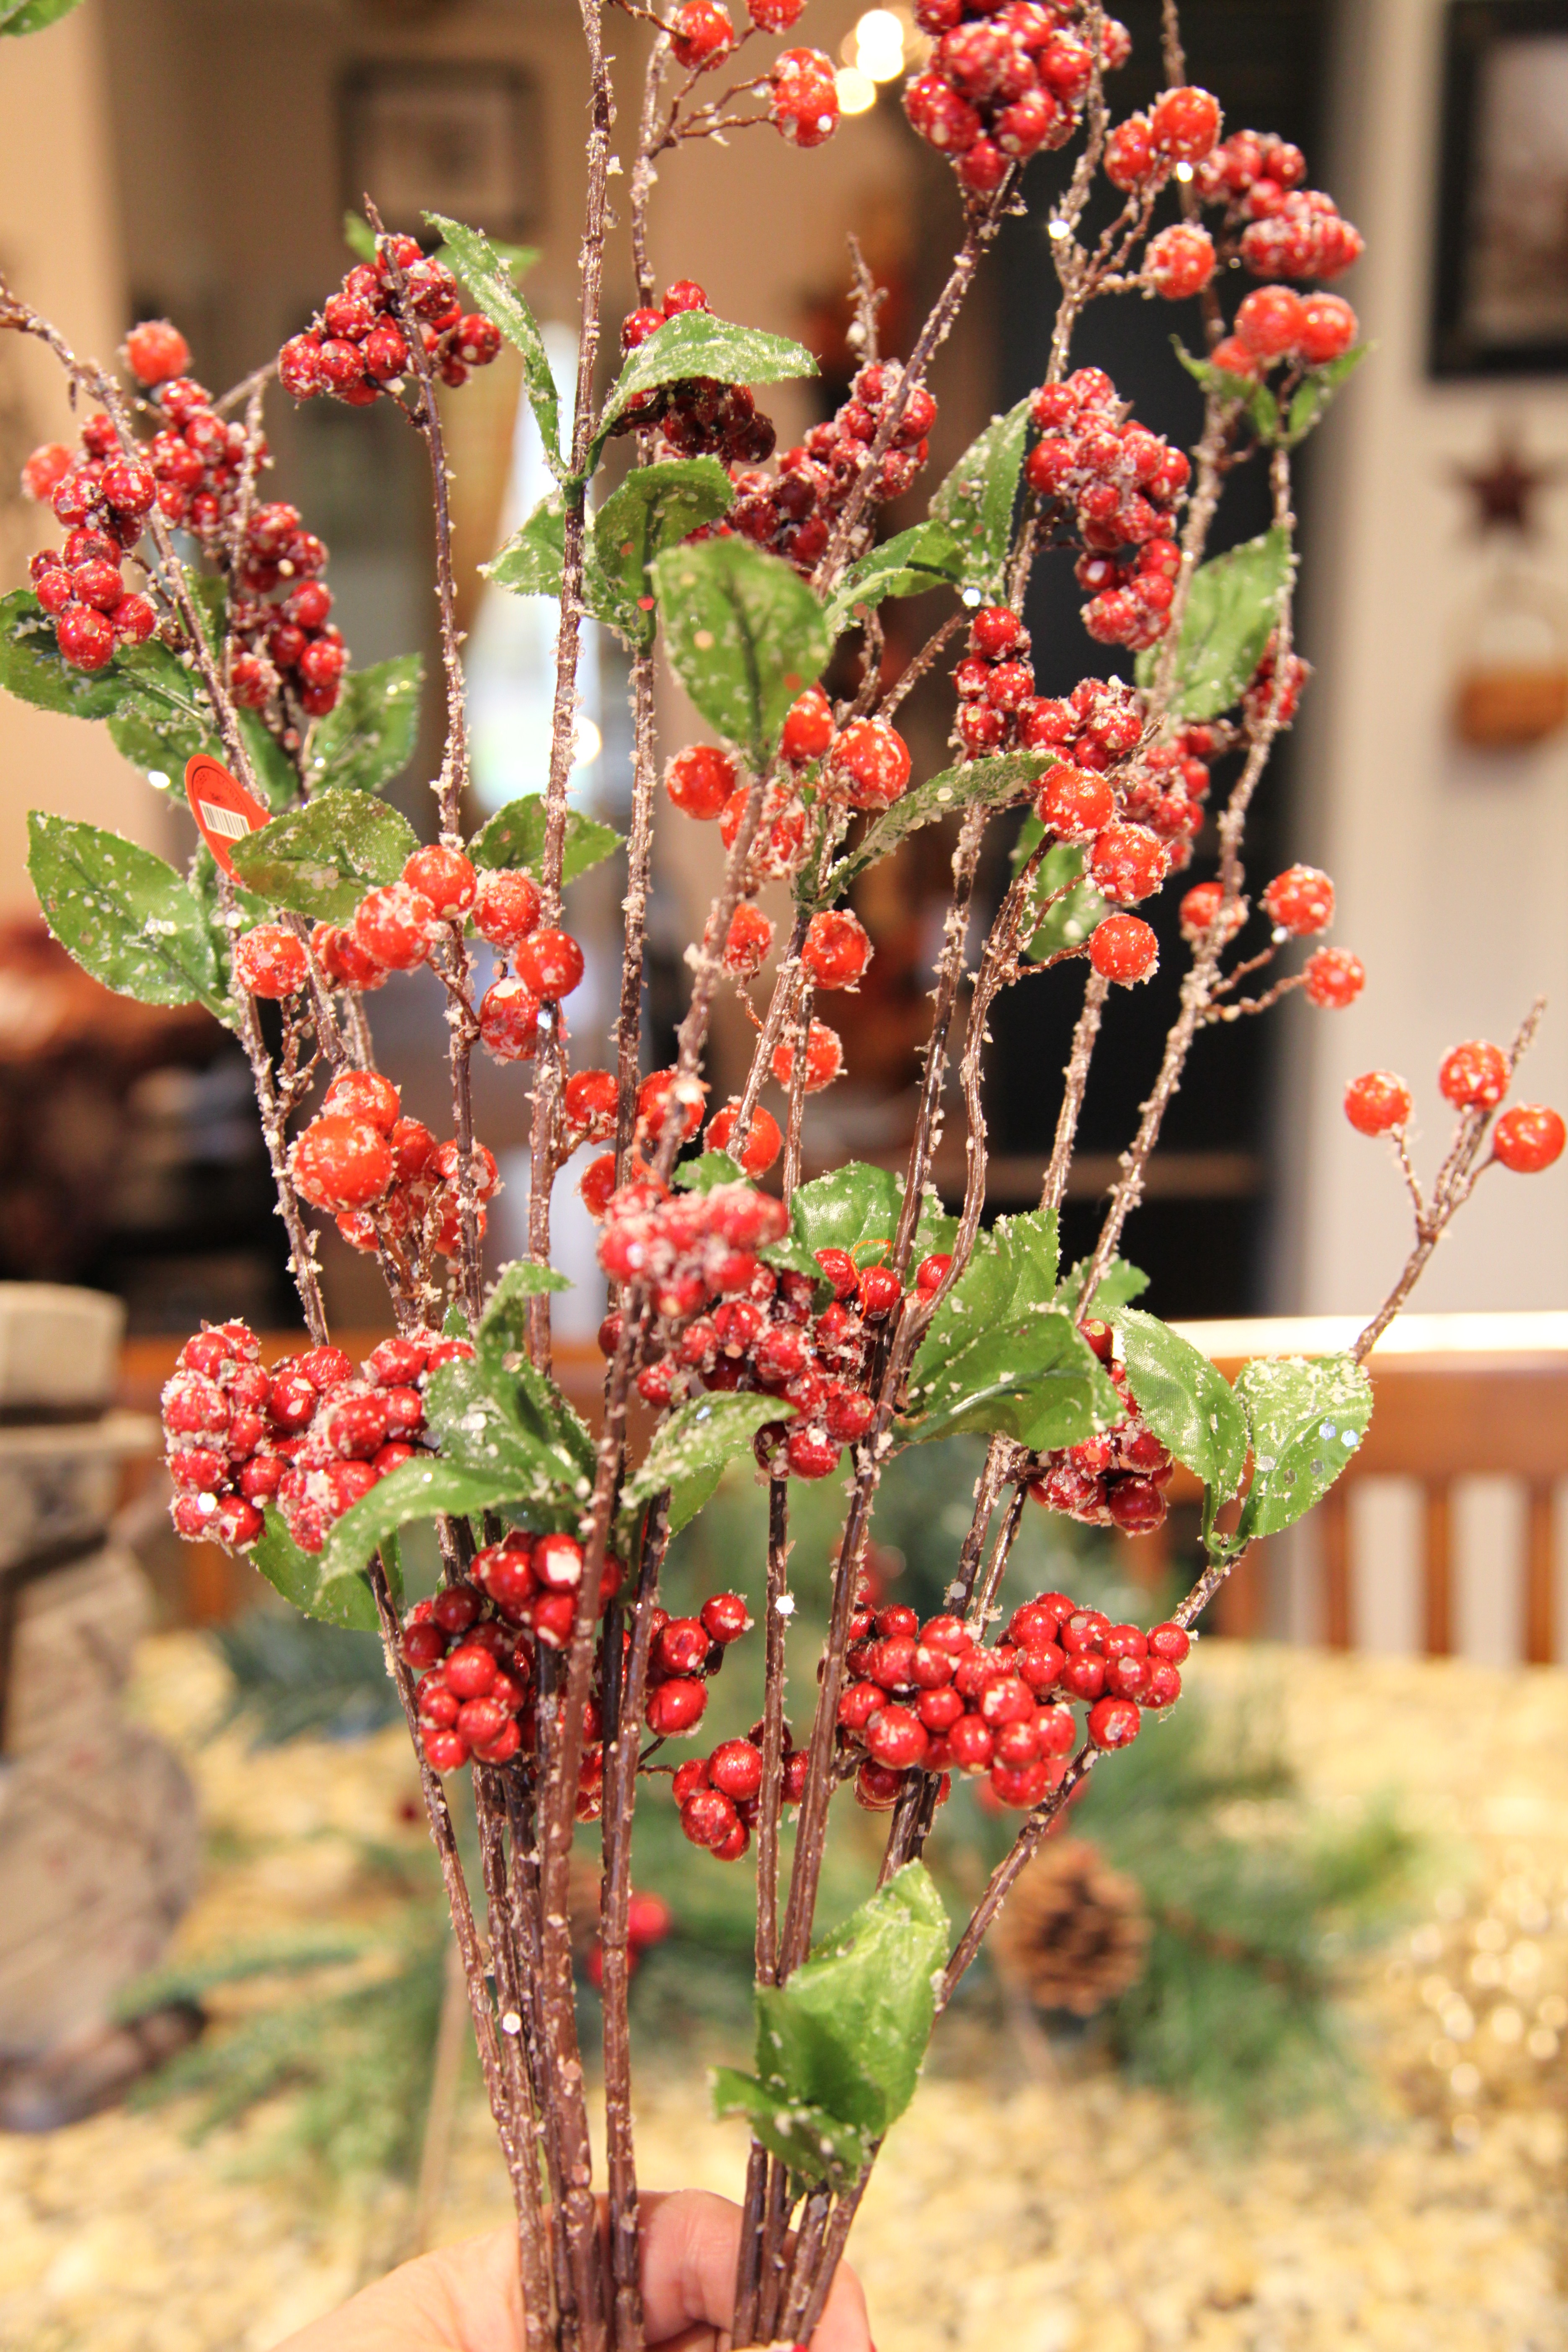
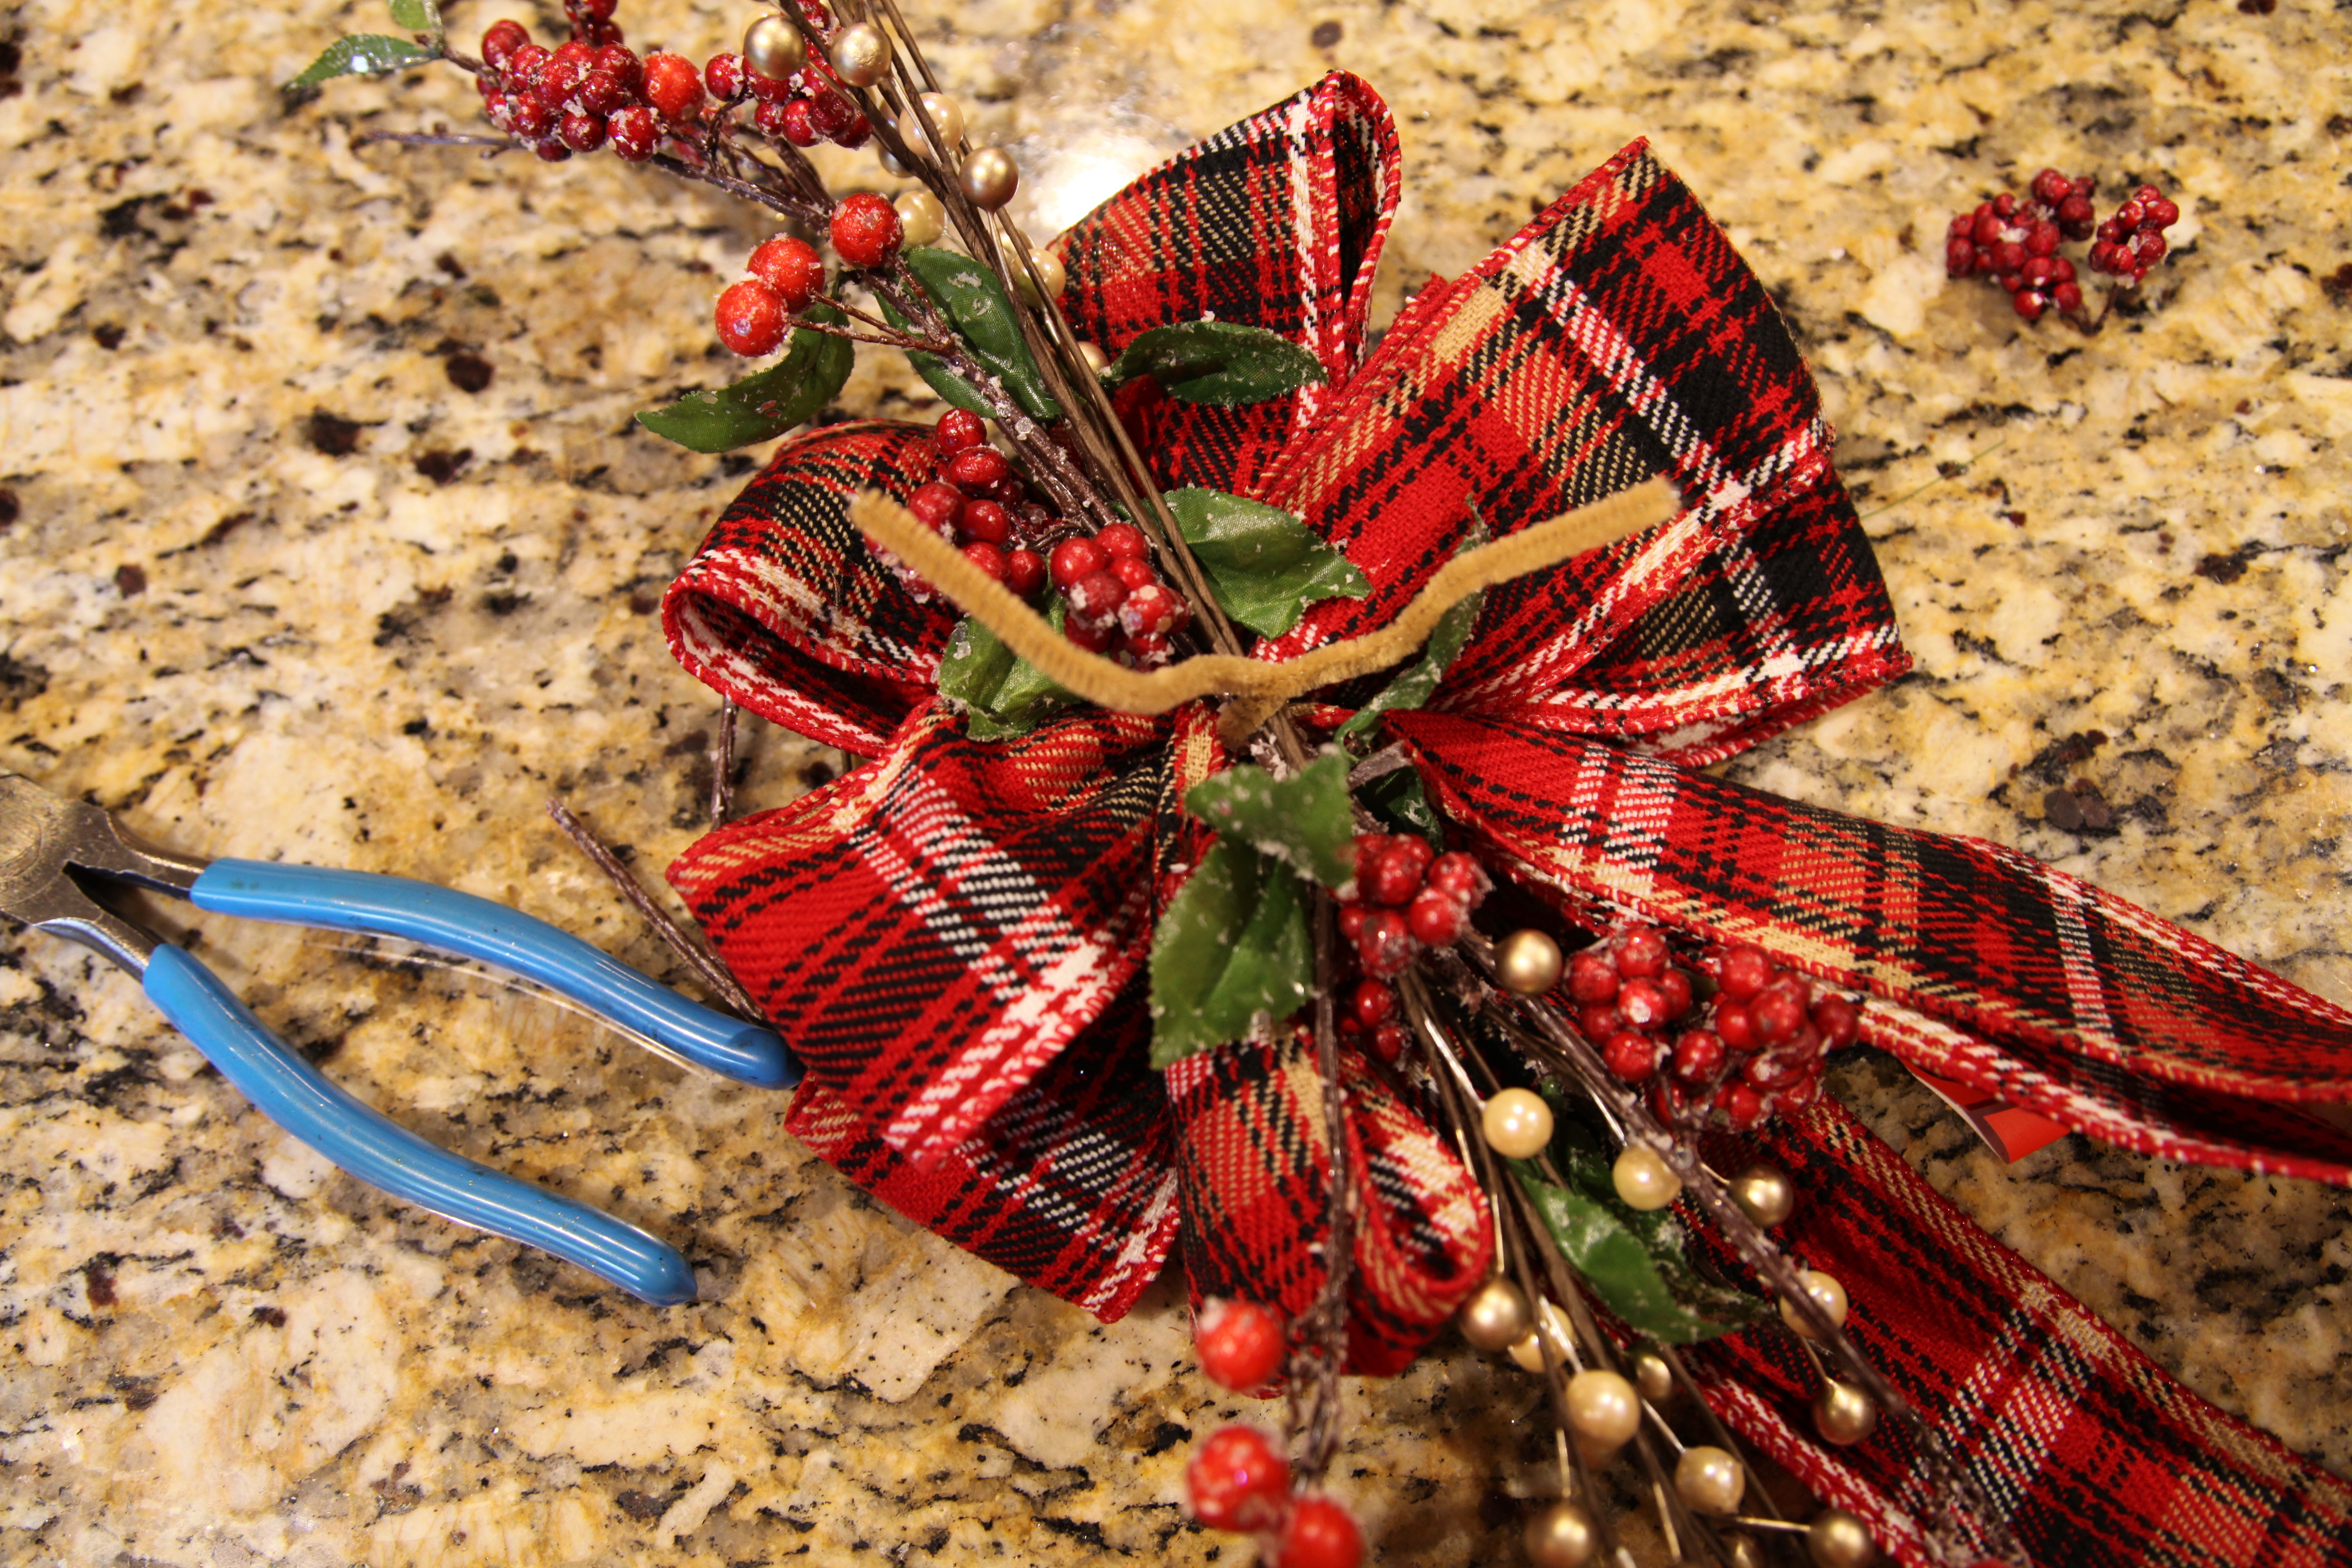
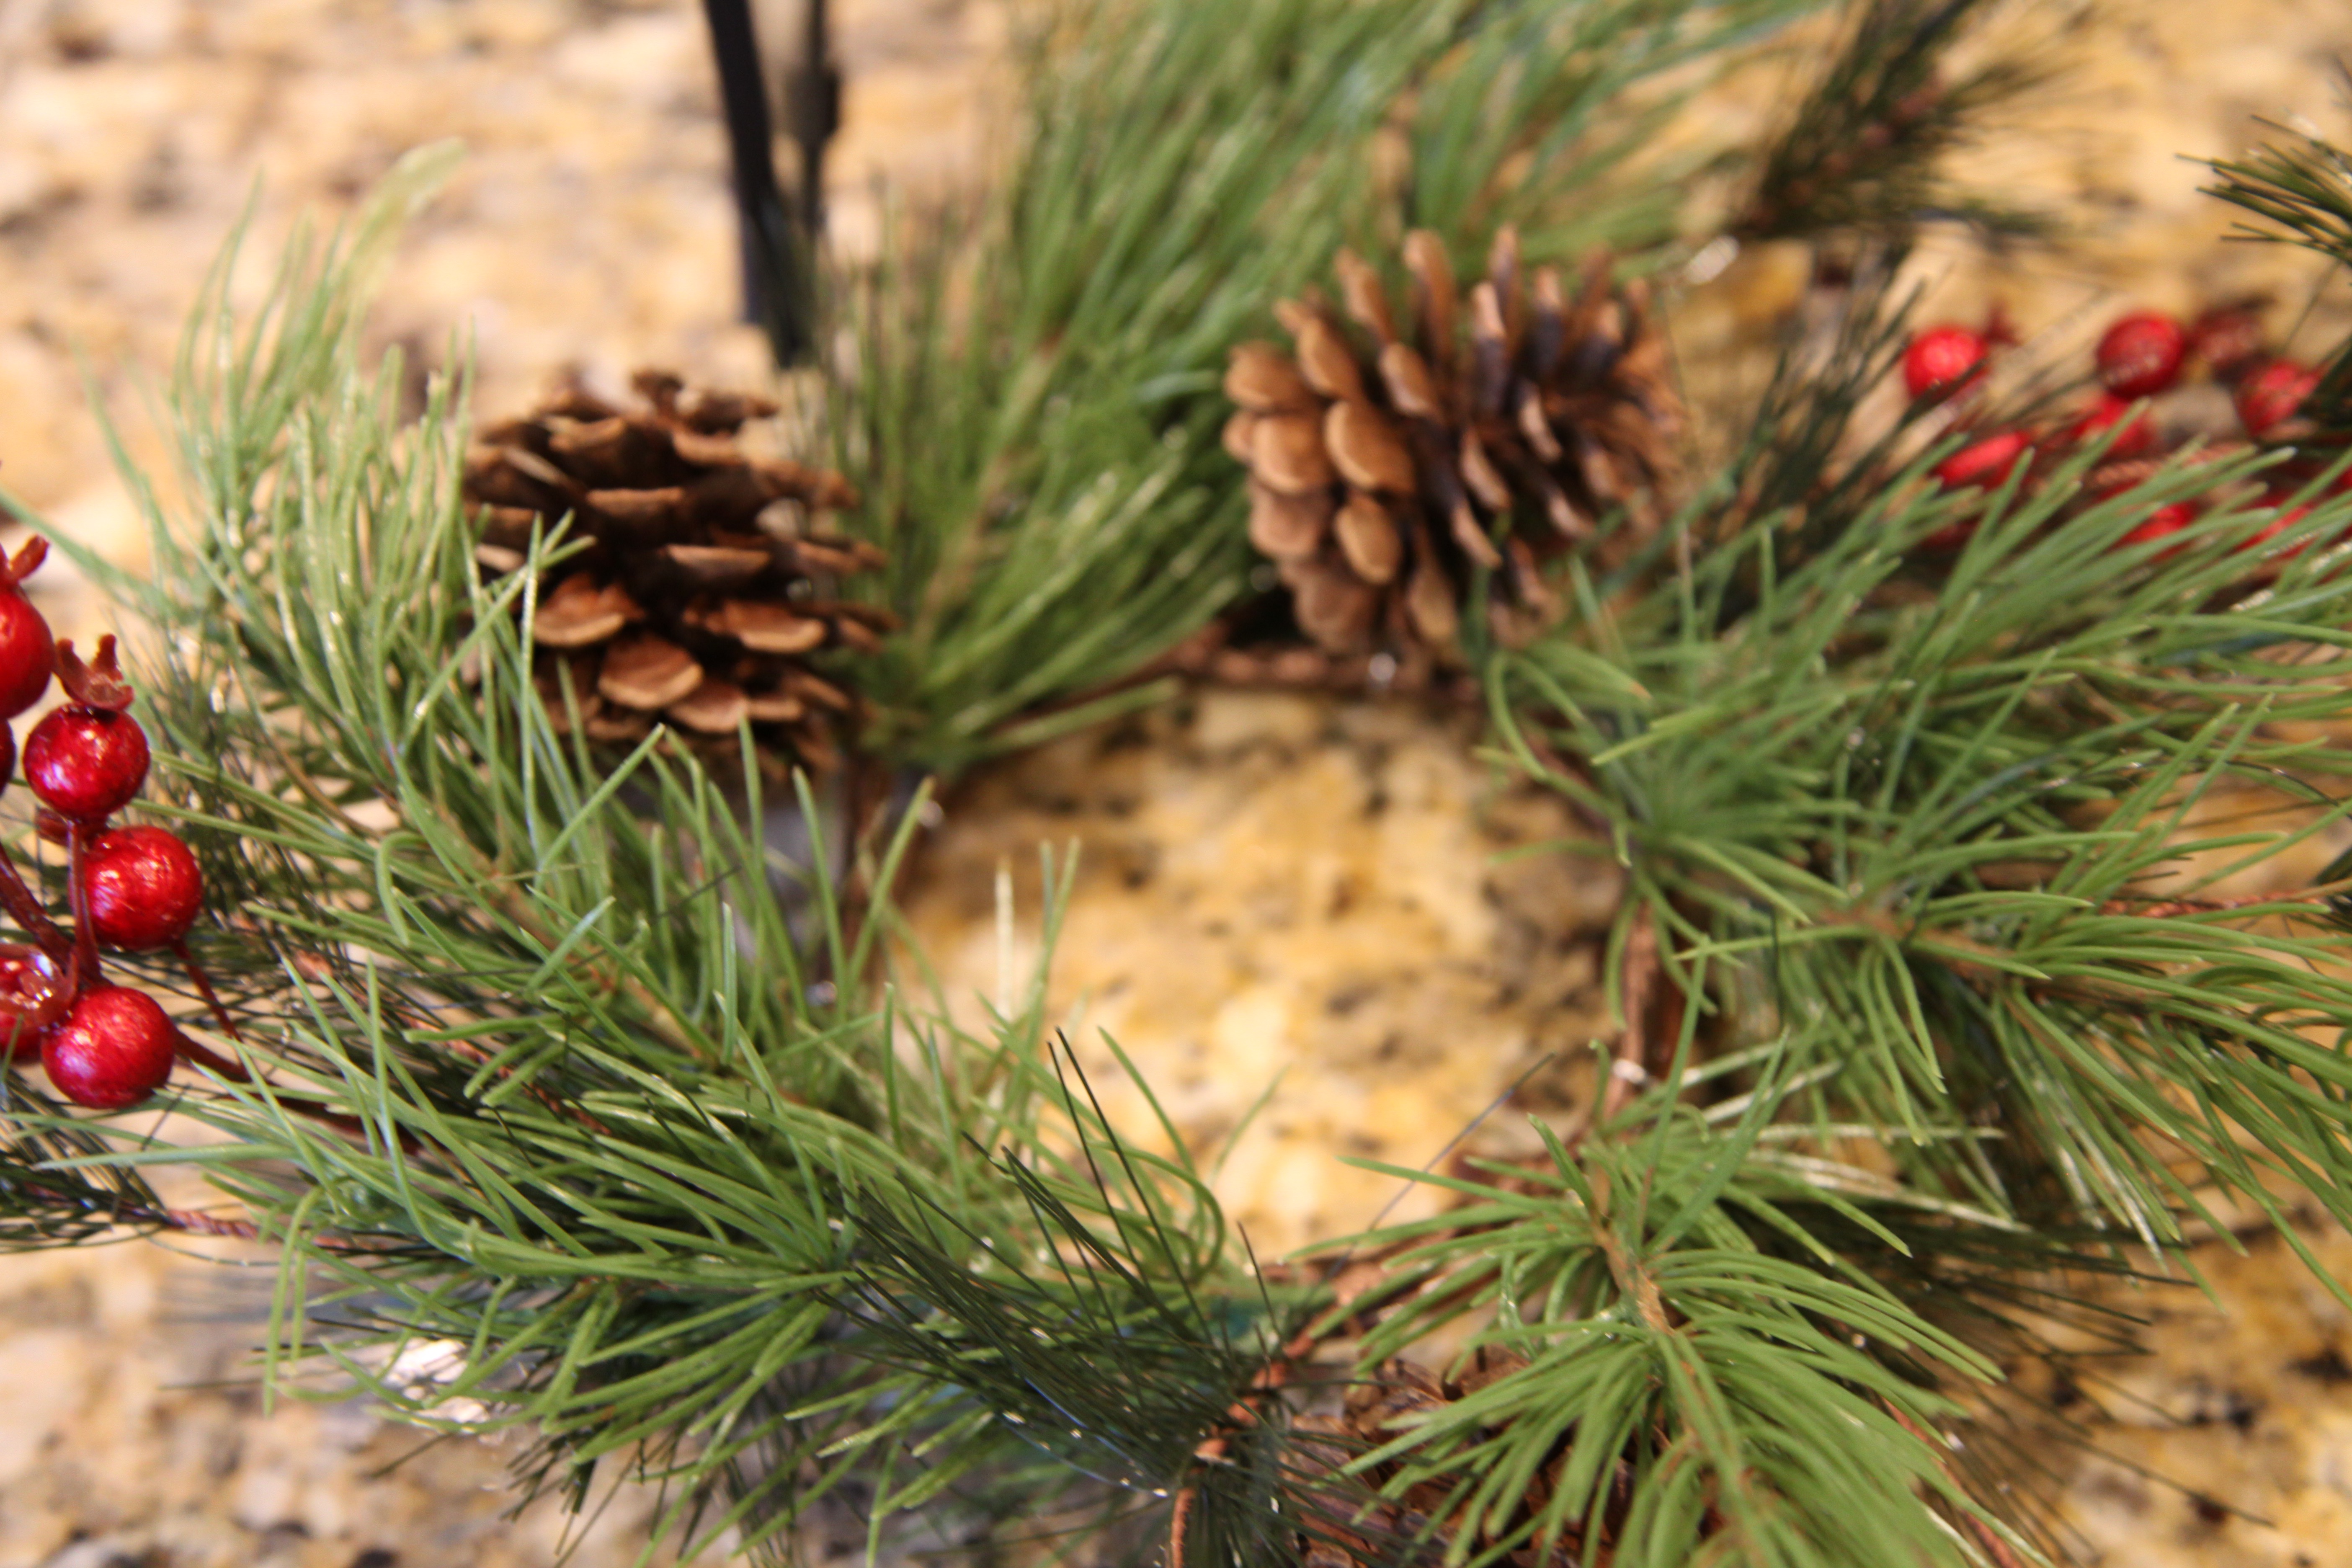
I decided to made a candle ring to go around the candle first.  I cut off some stems for the big bunch of red berries and used floral wire to hold it closed.
IMG_2481

IMG_2482

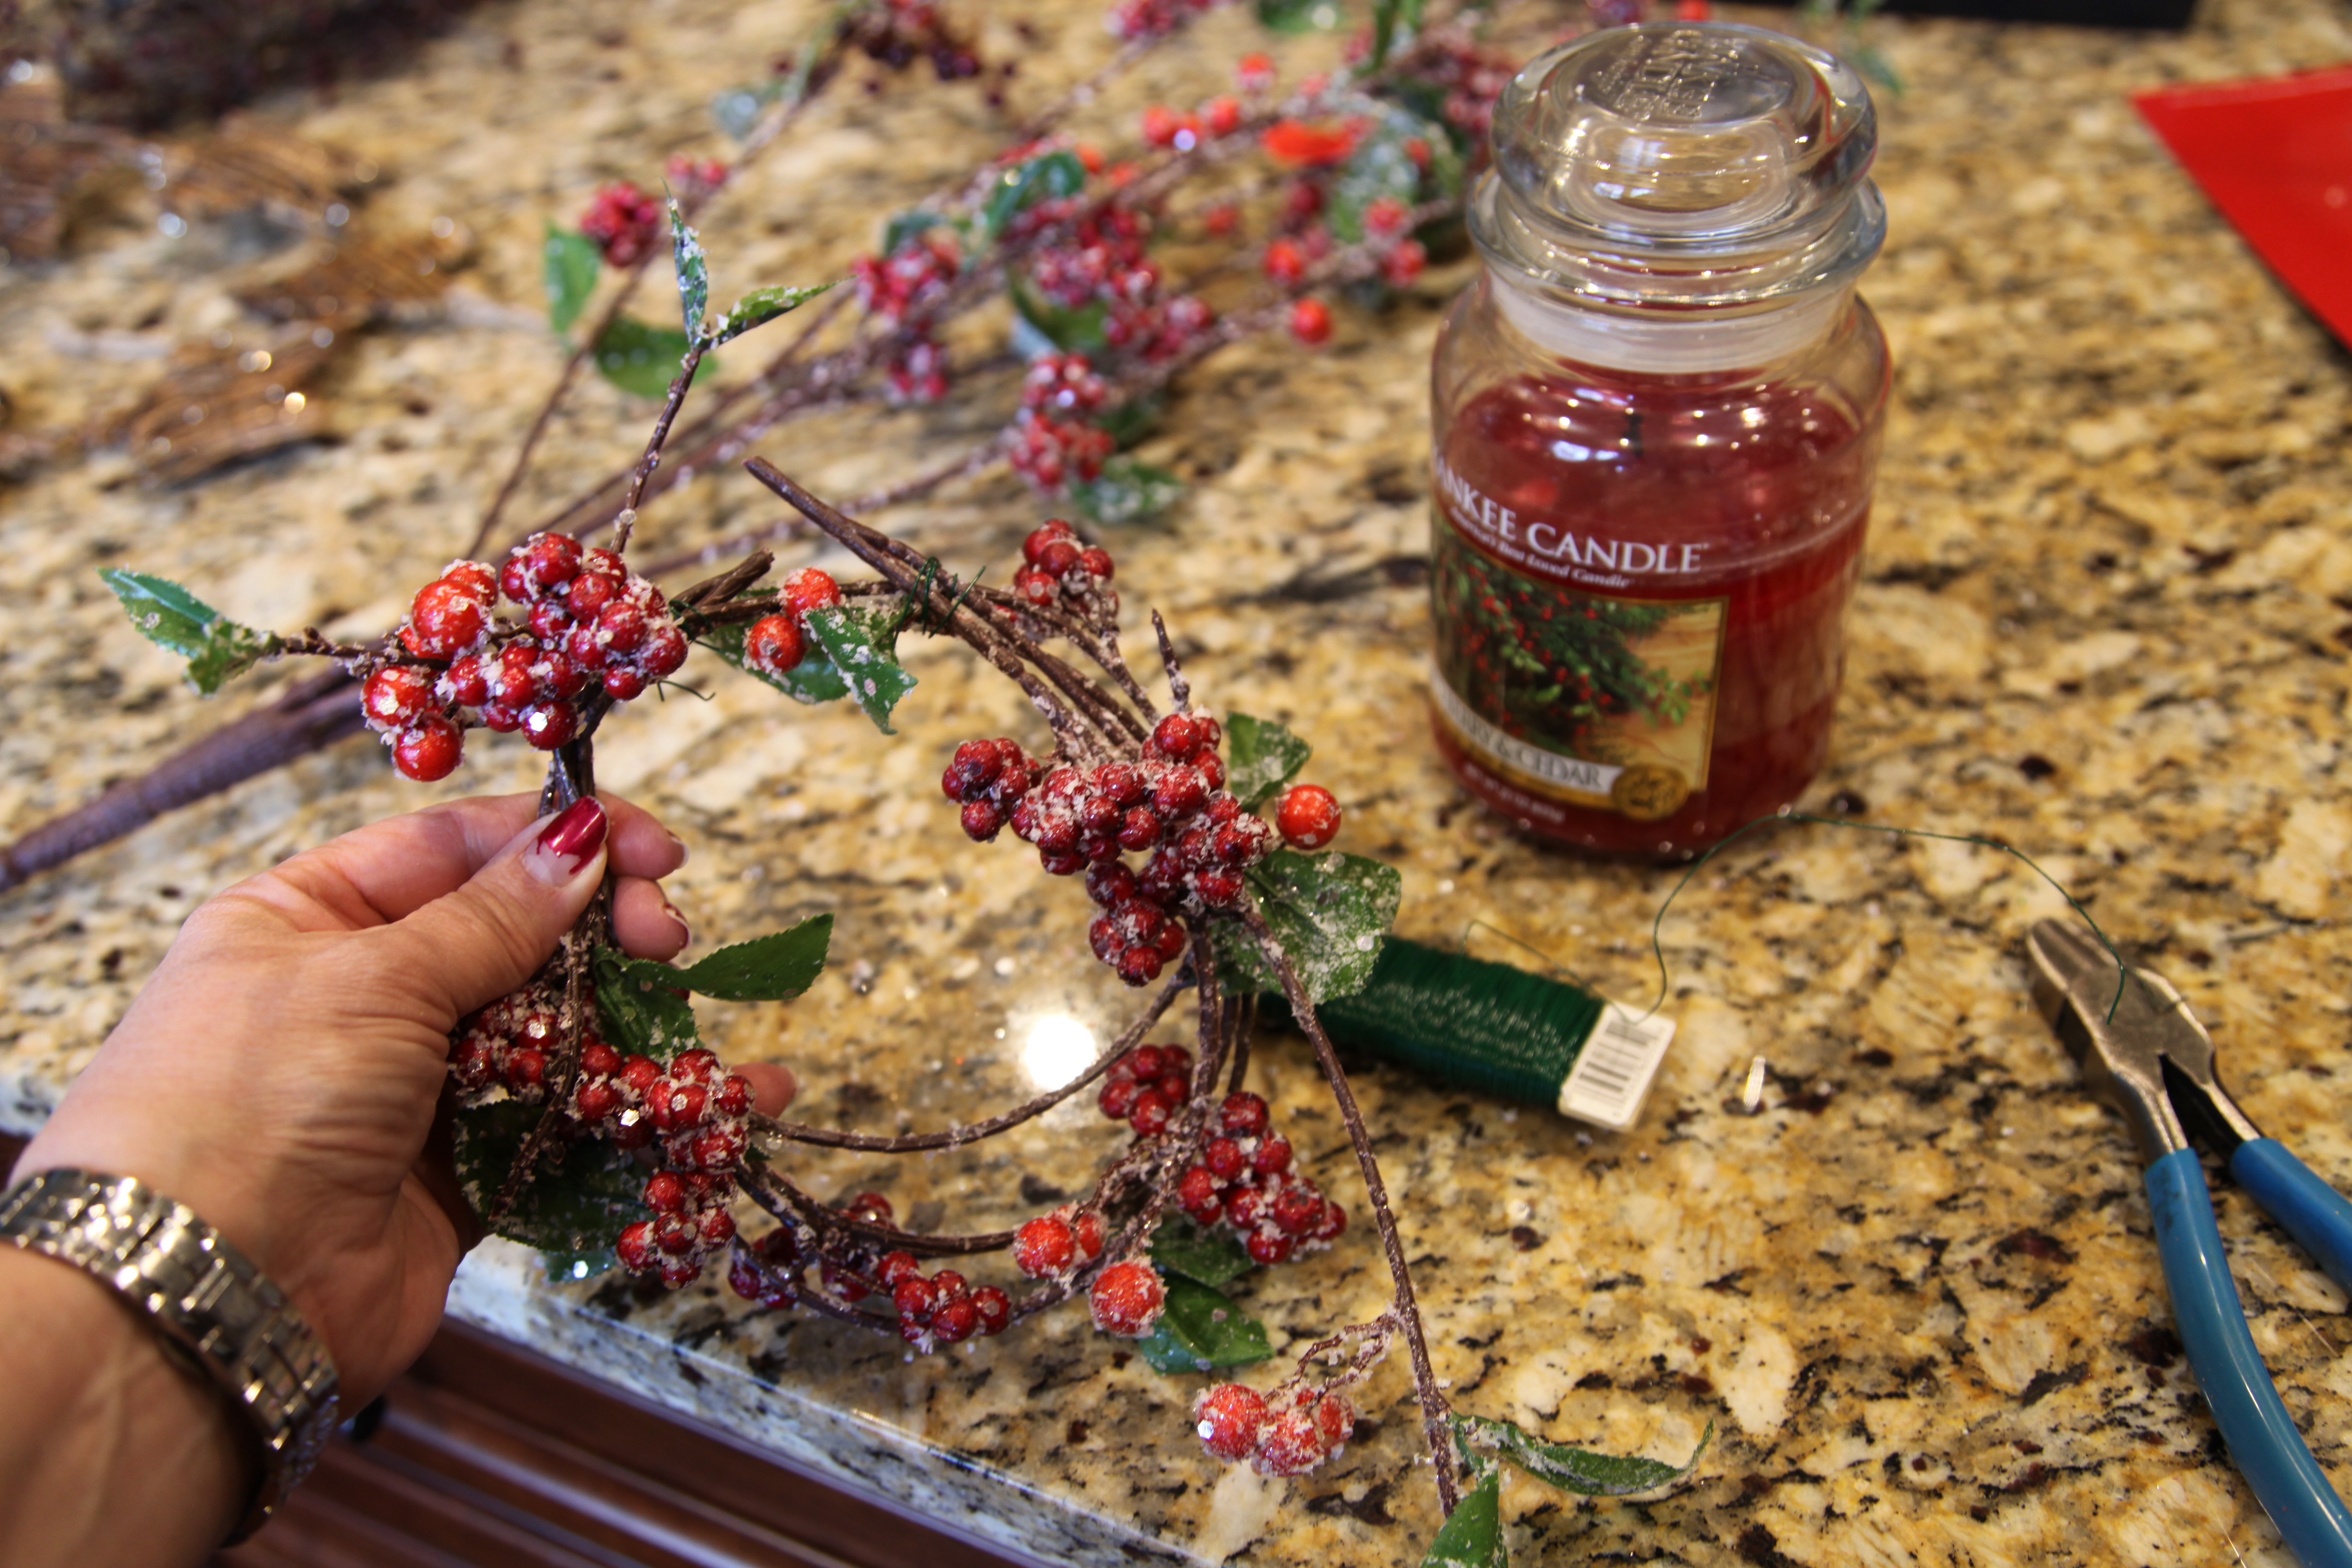
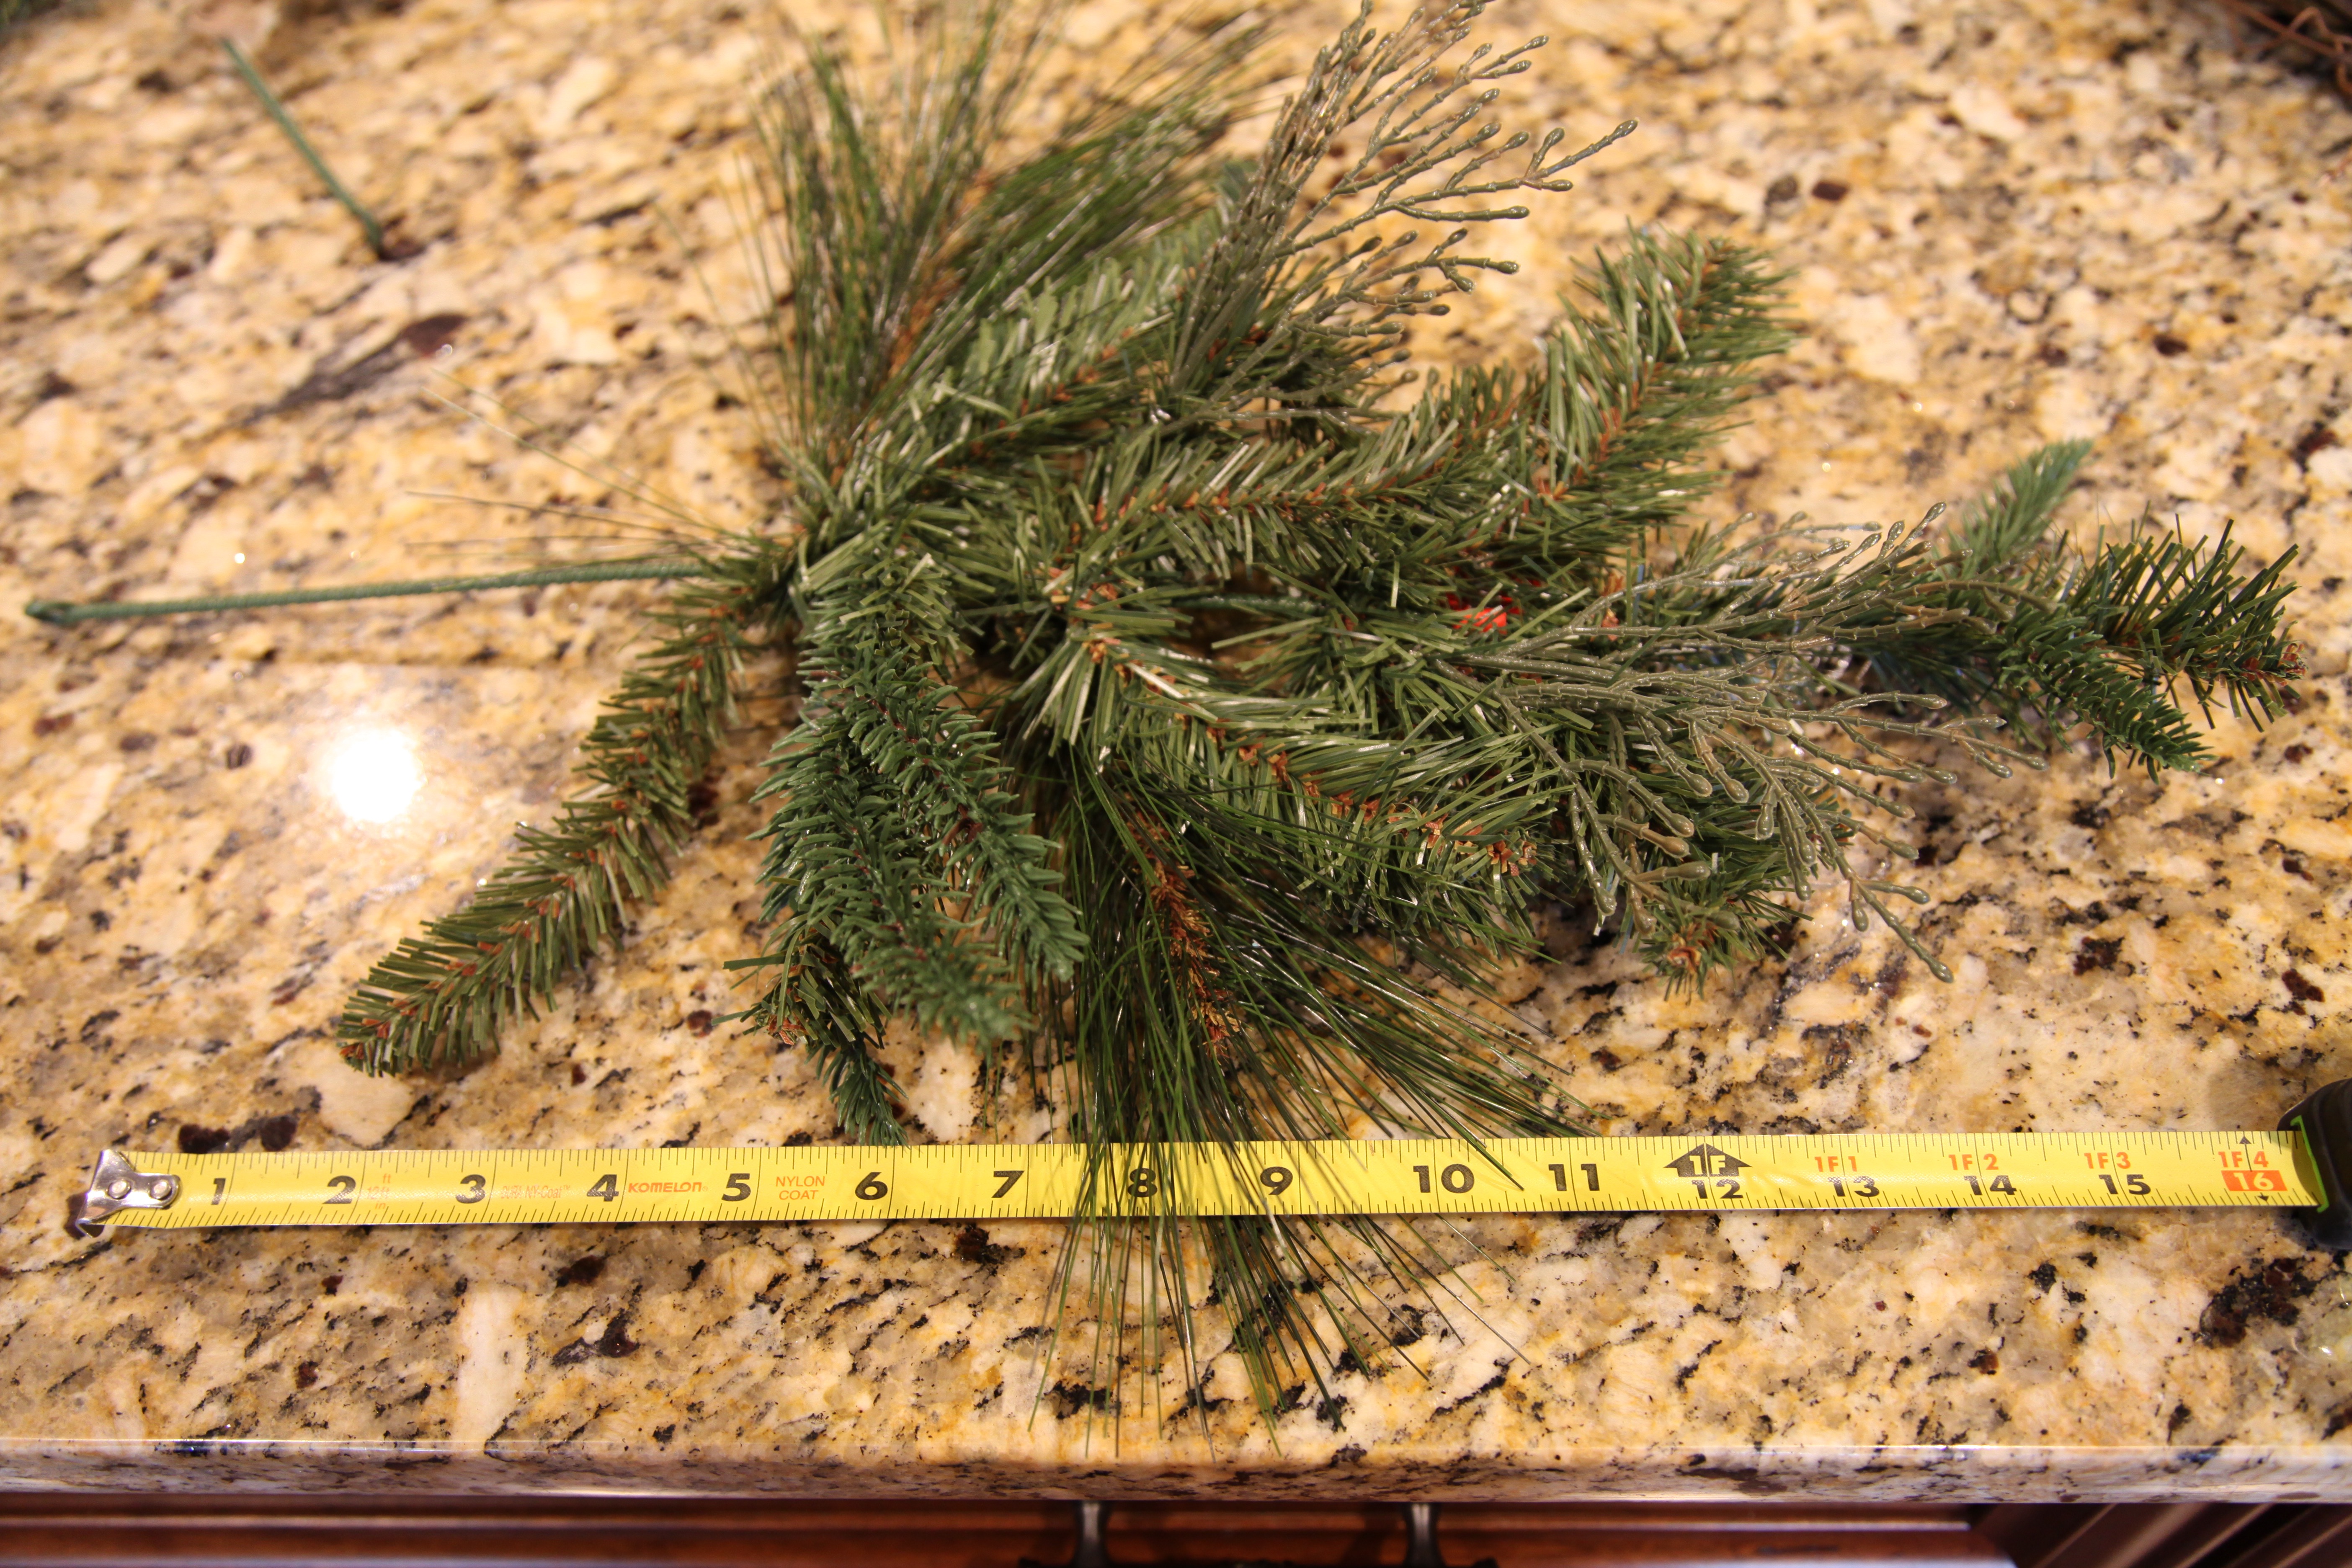
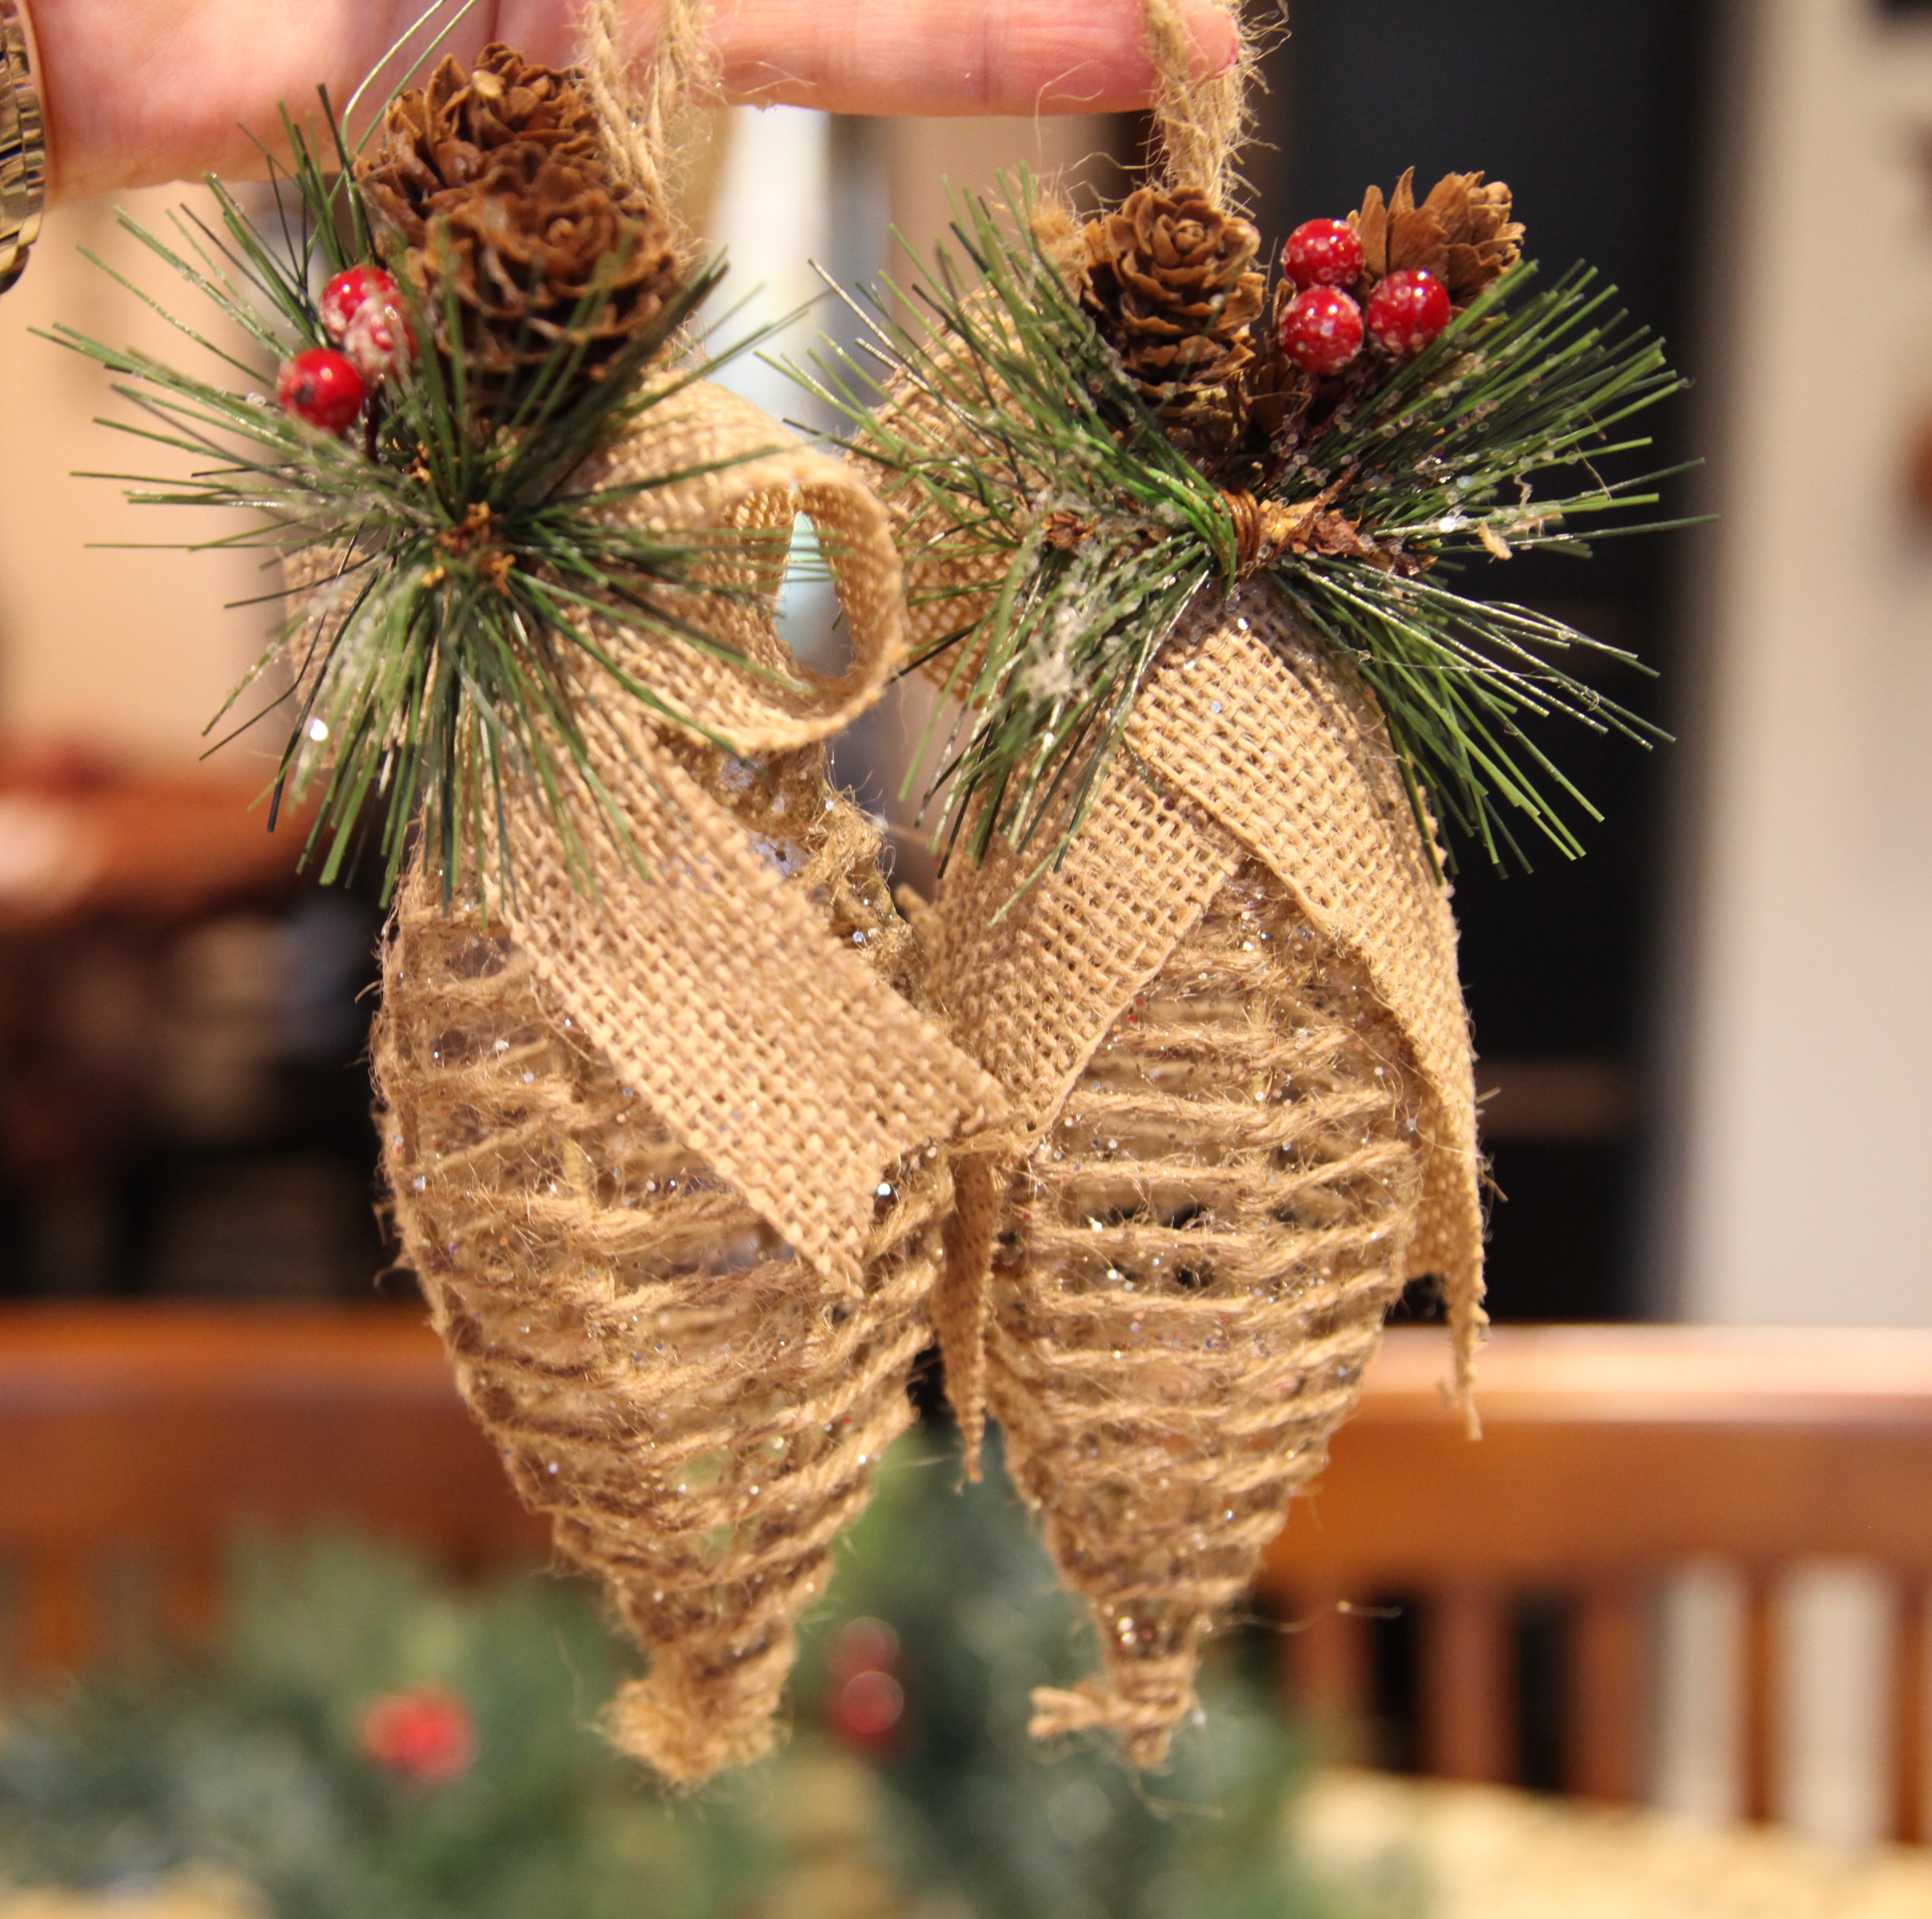
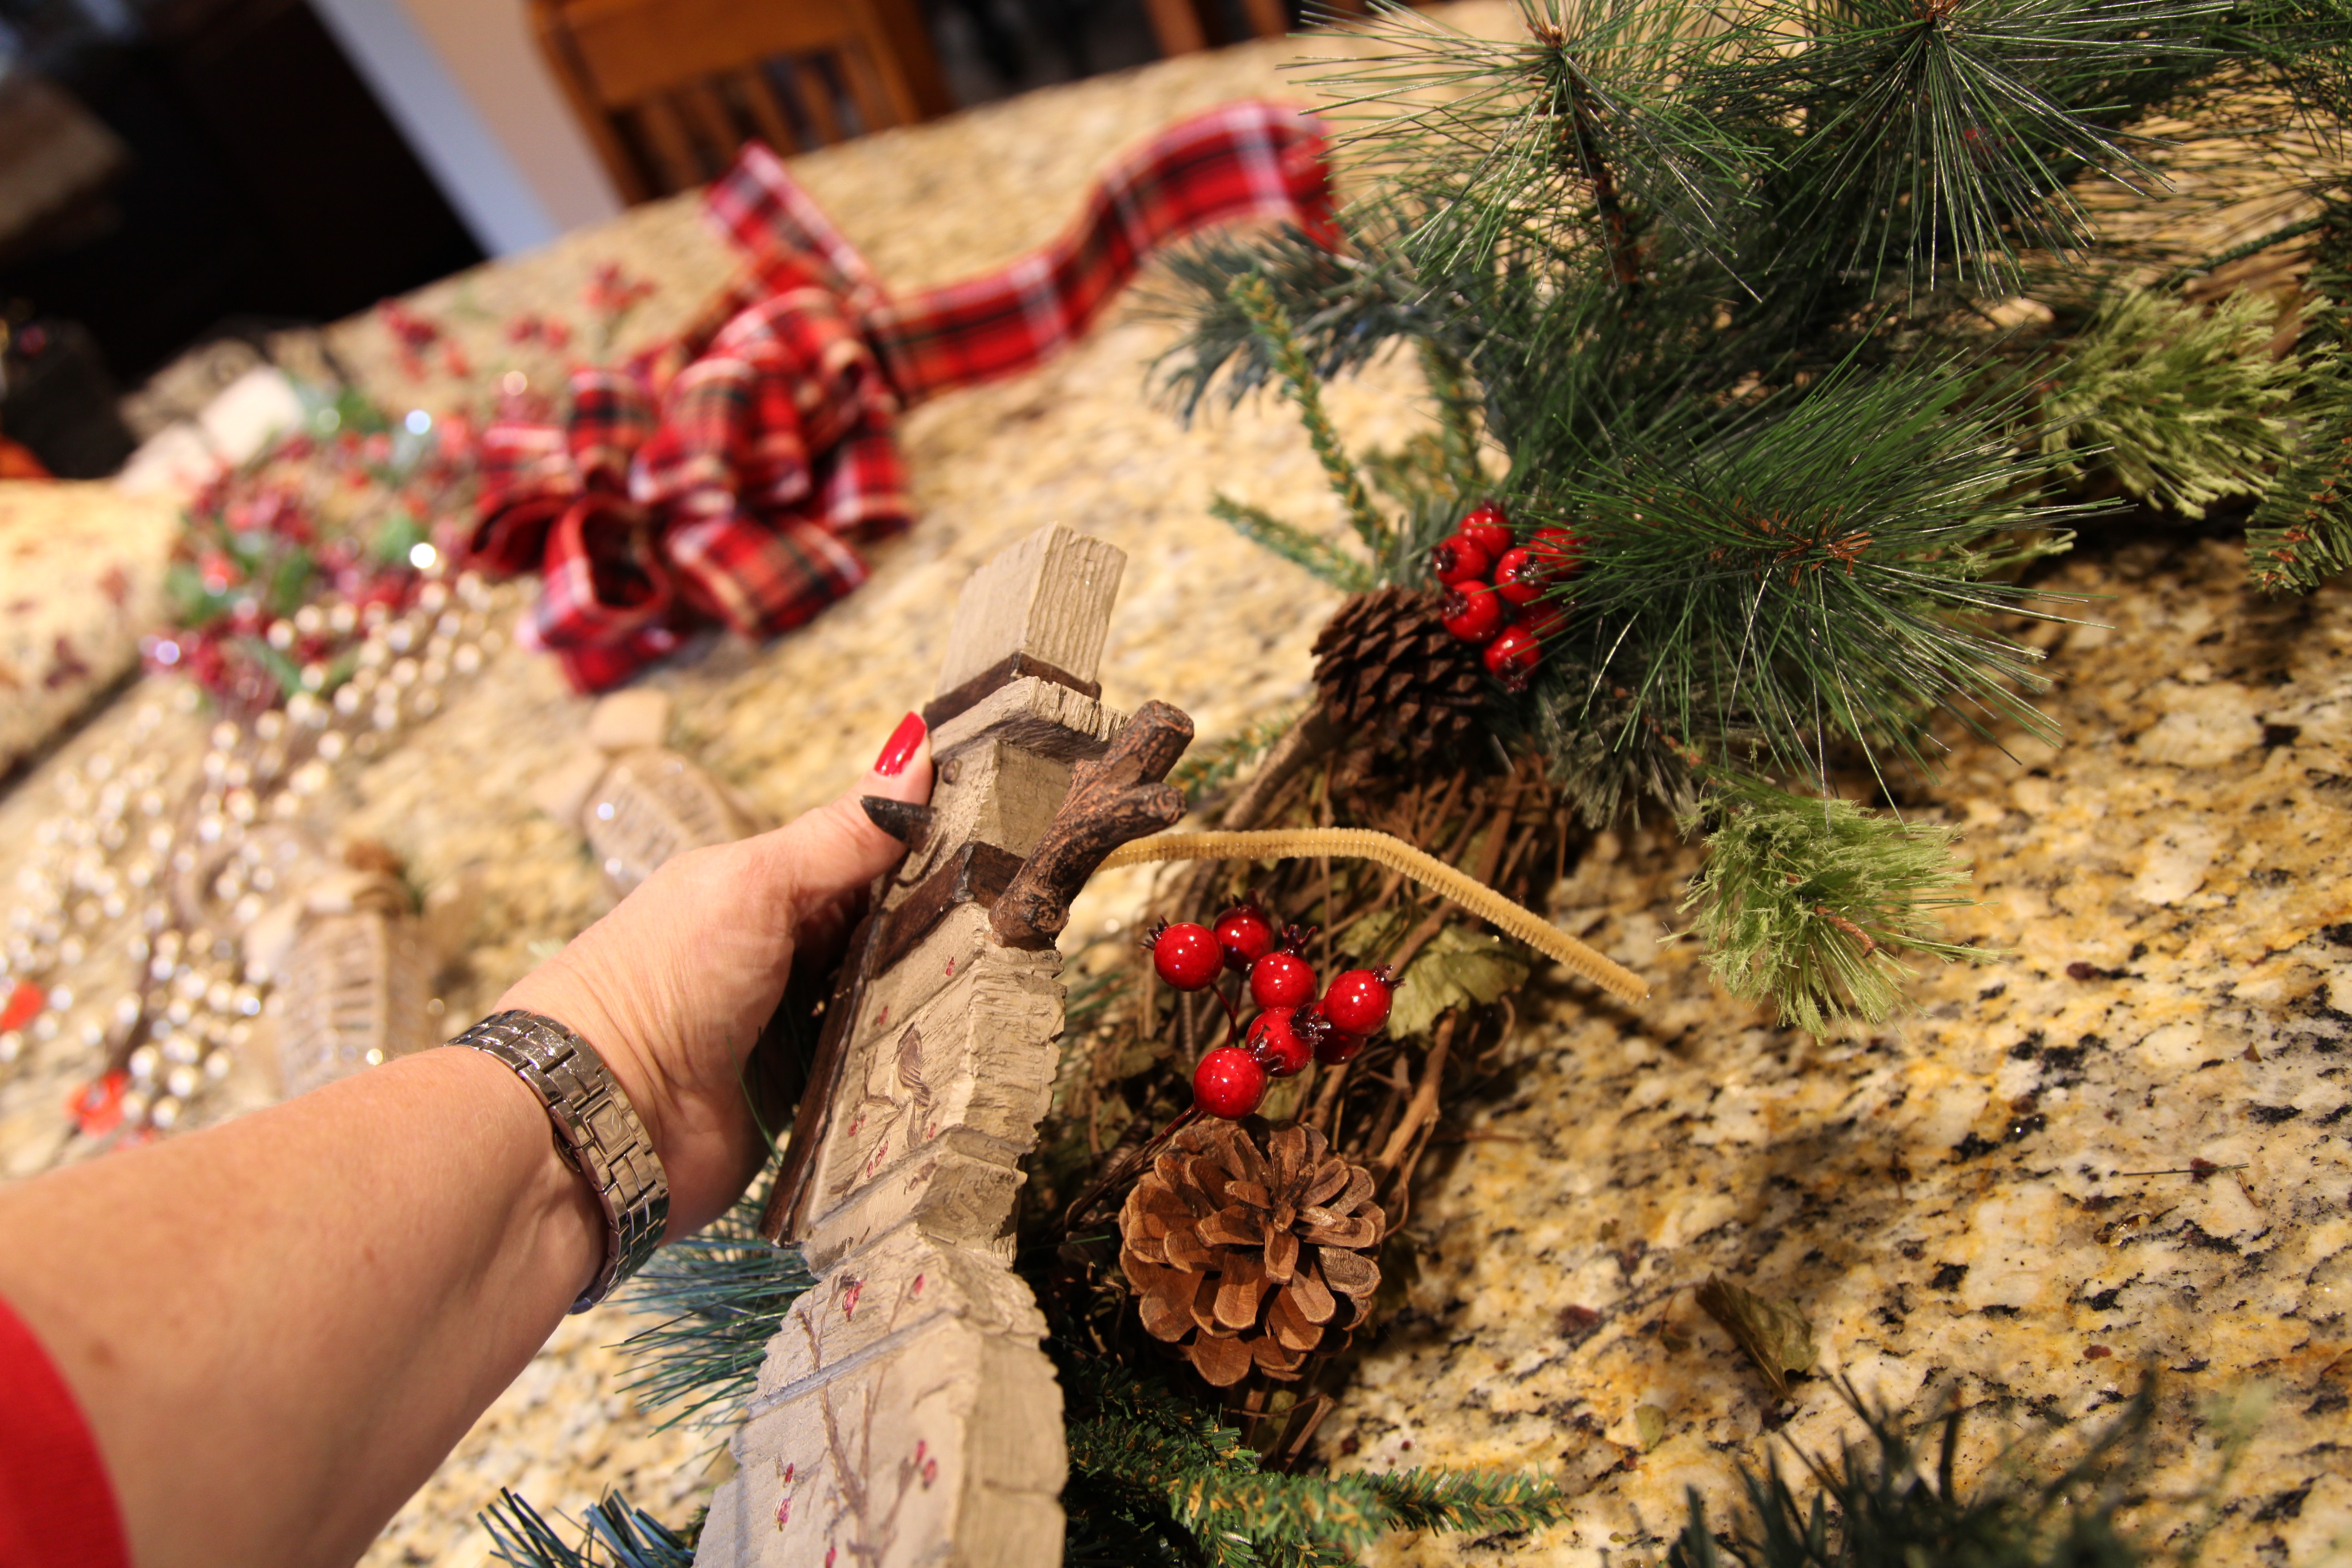
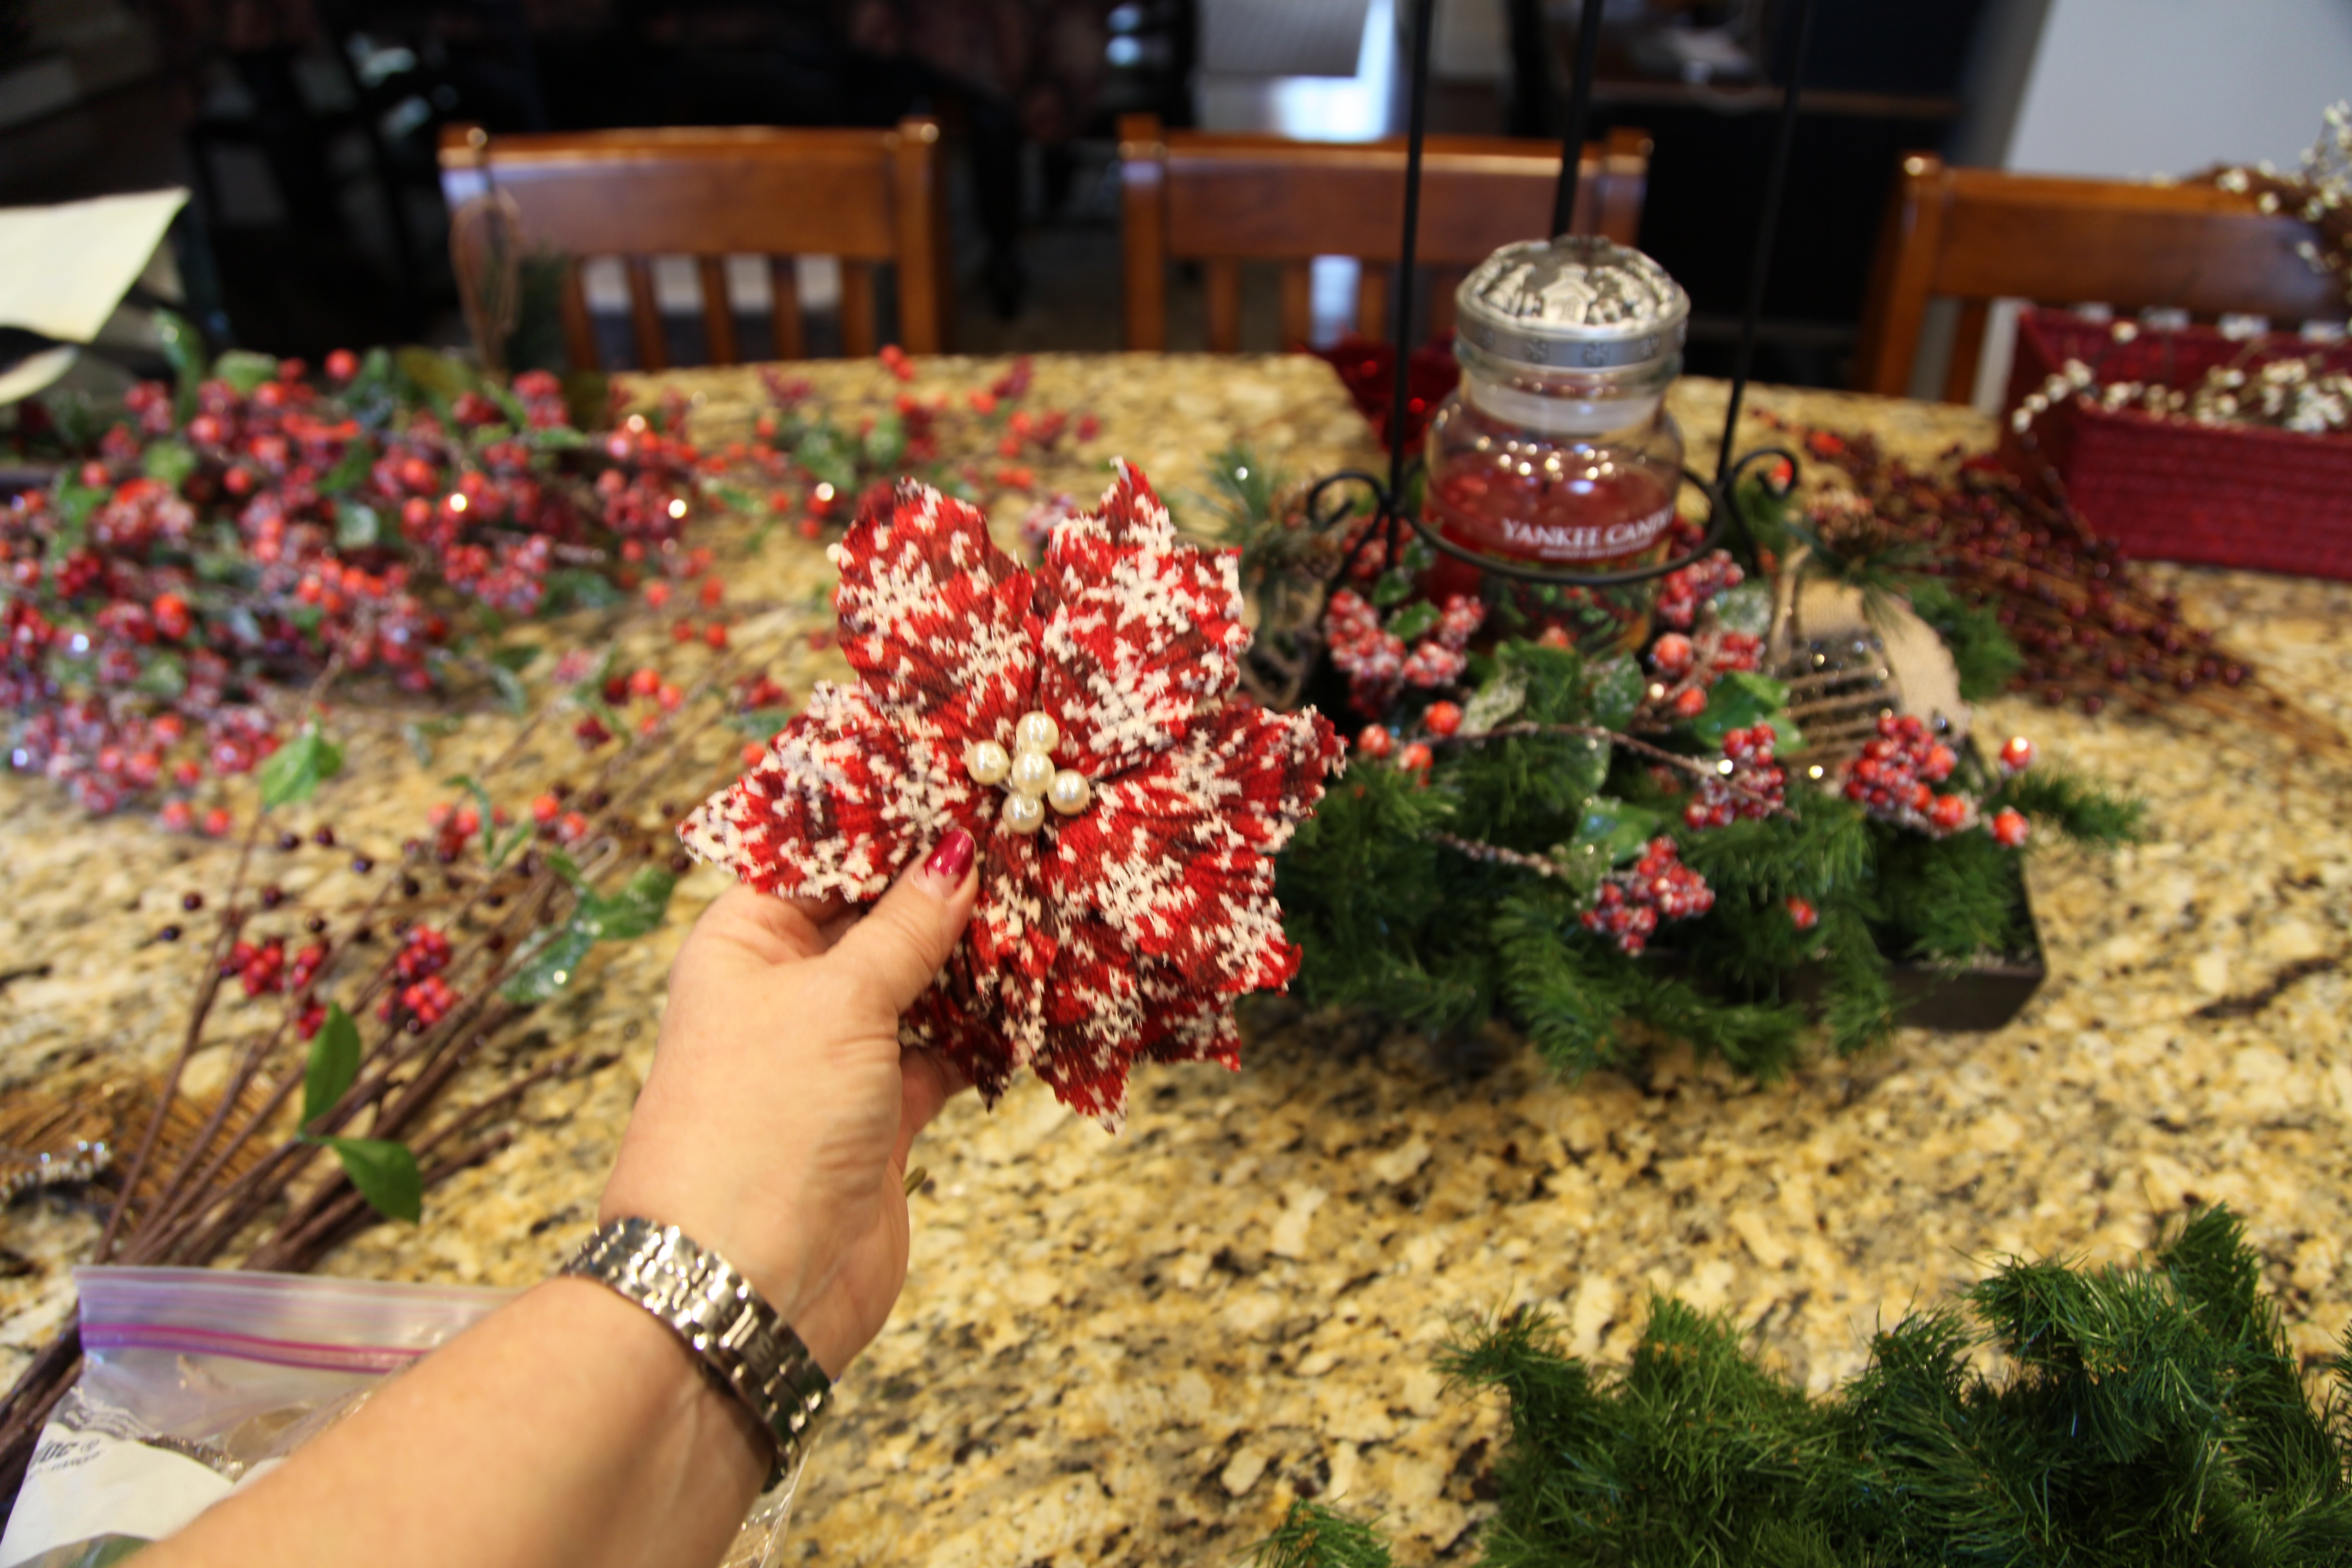
Then I started to add all of the accent pieces starting with a piece of pine garland, cutting apart the red berries bunch and sticking it in here and there and finishing off with burlap poinsettia flowers (they had a clip on the back, so I clipped them to the pine garland at each corner).  It turned out to be a fun little piece one that can easily be picked up and moved out of the way when necessary.

IMG_2516 IMG_2524

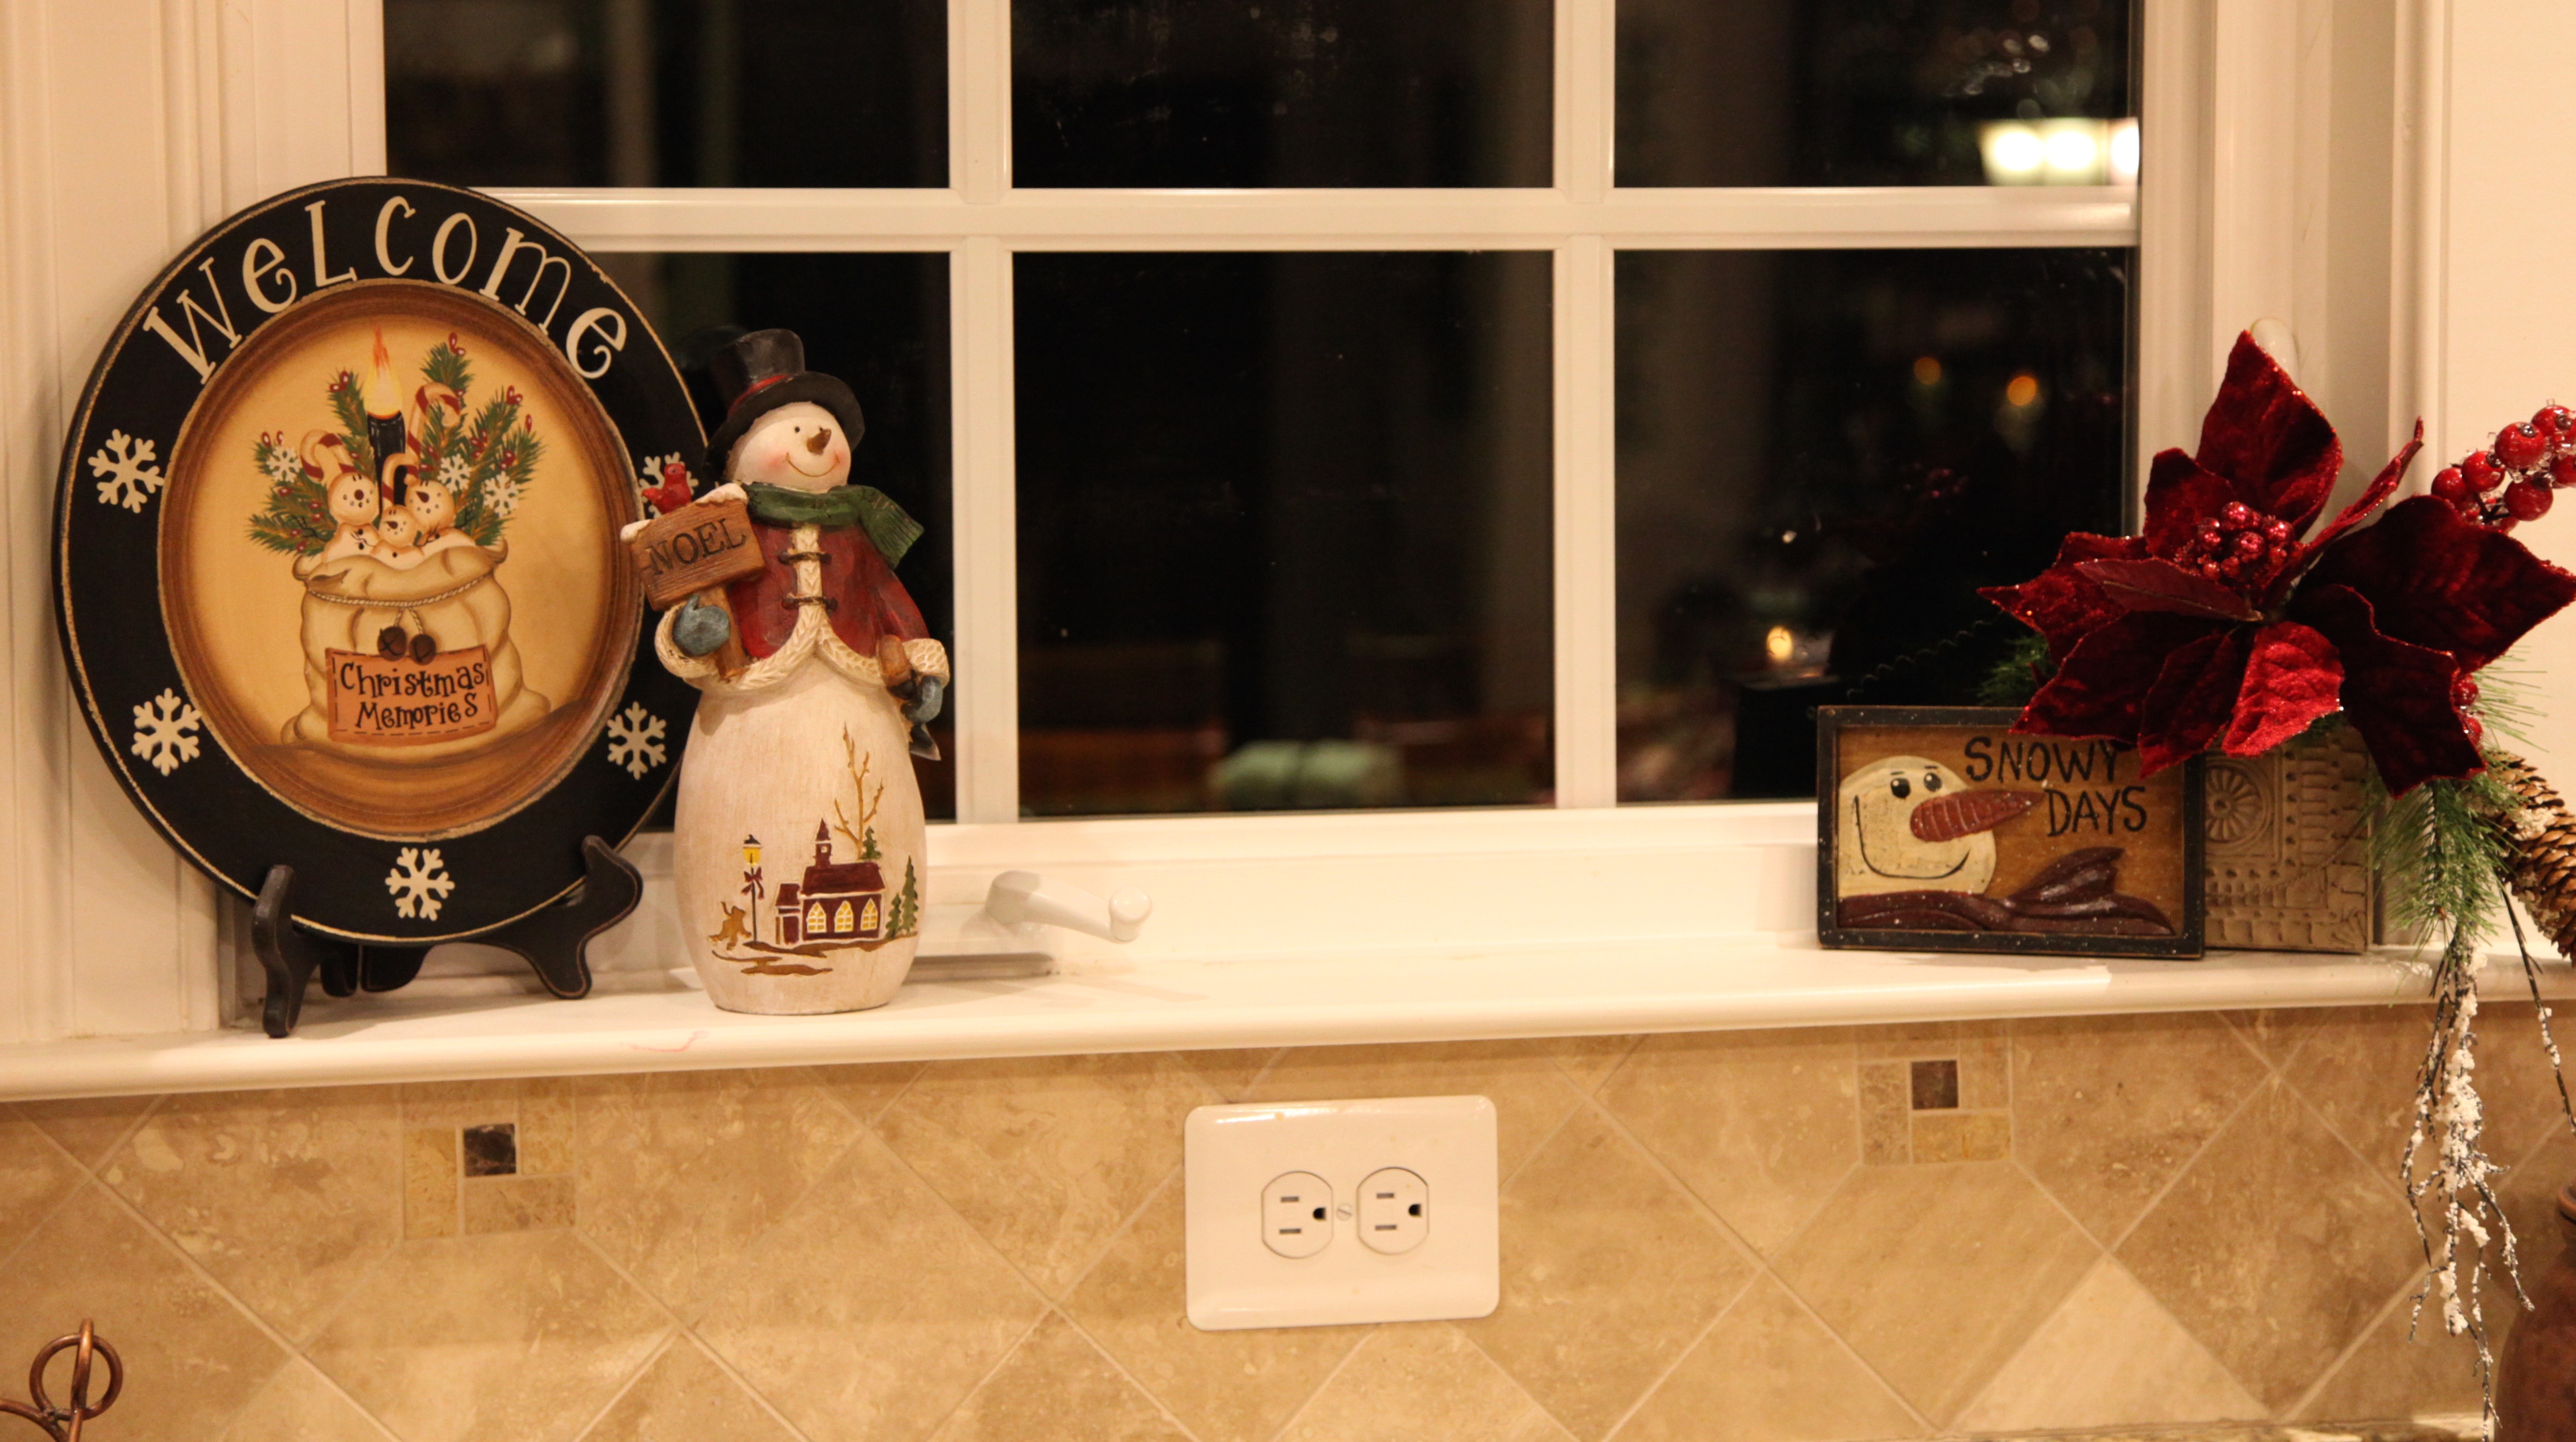
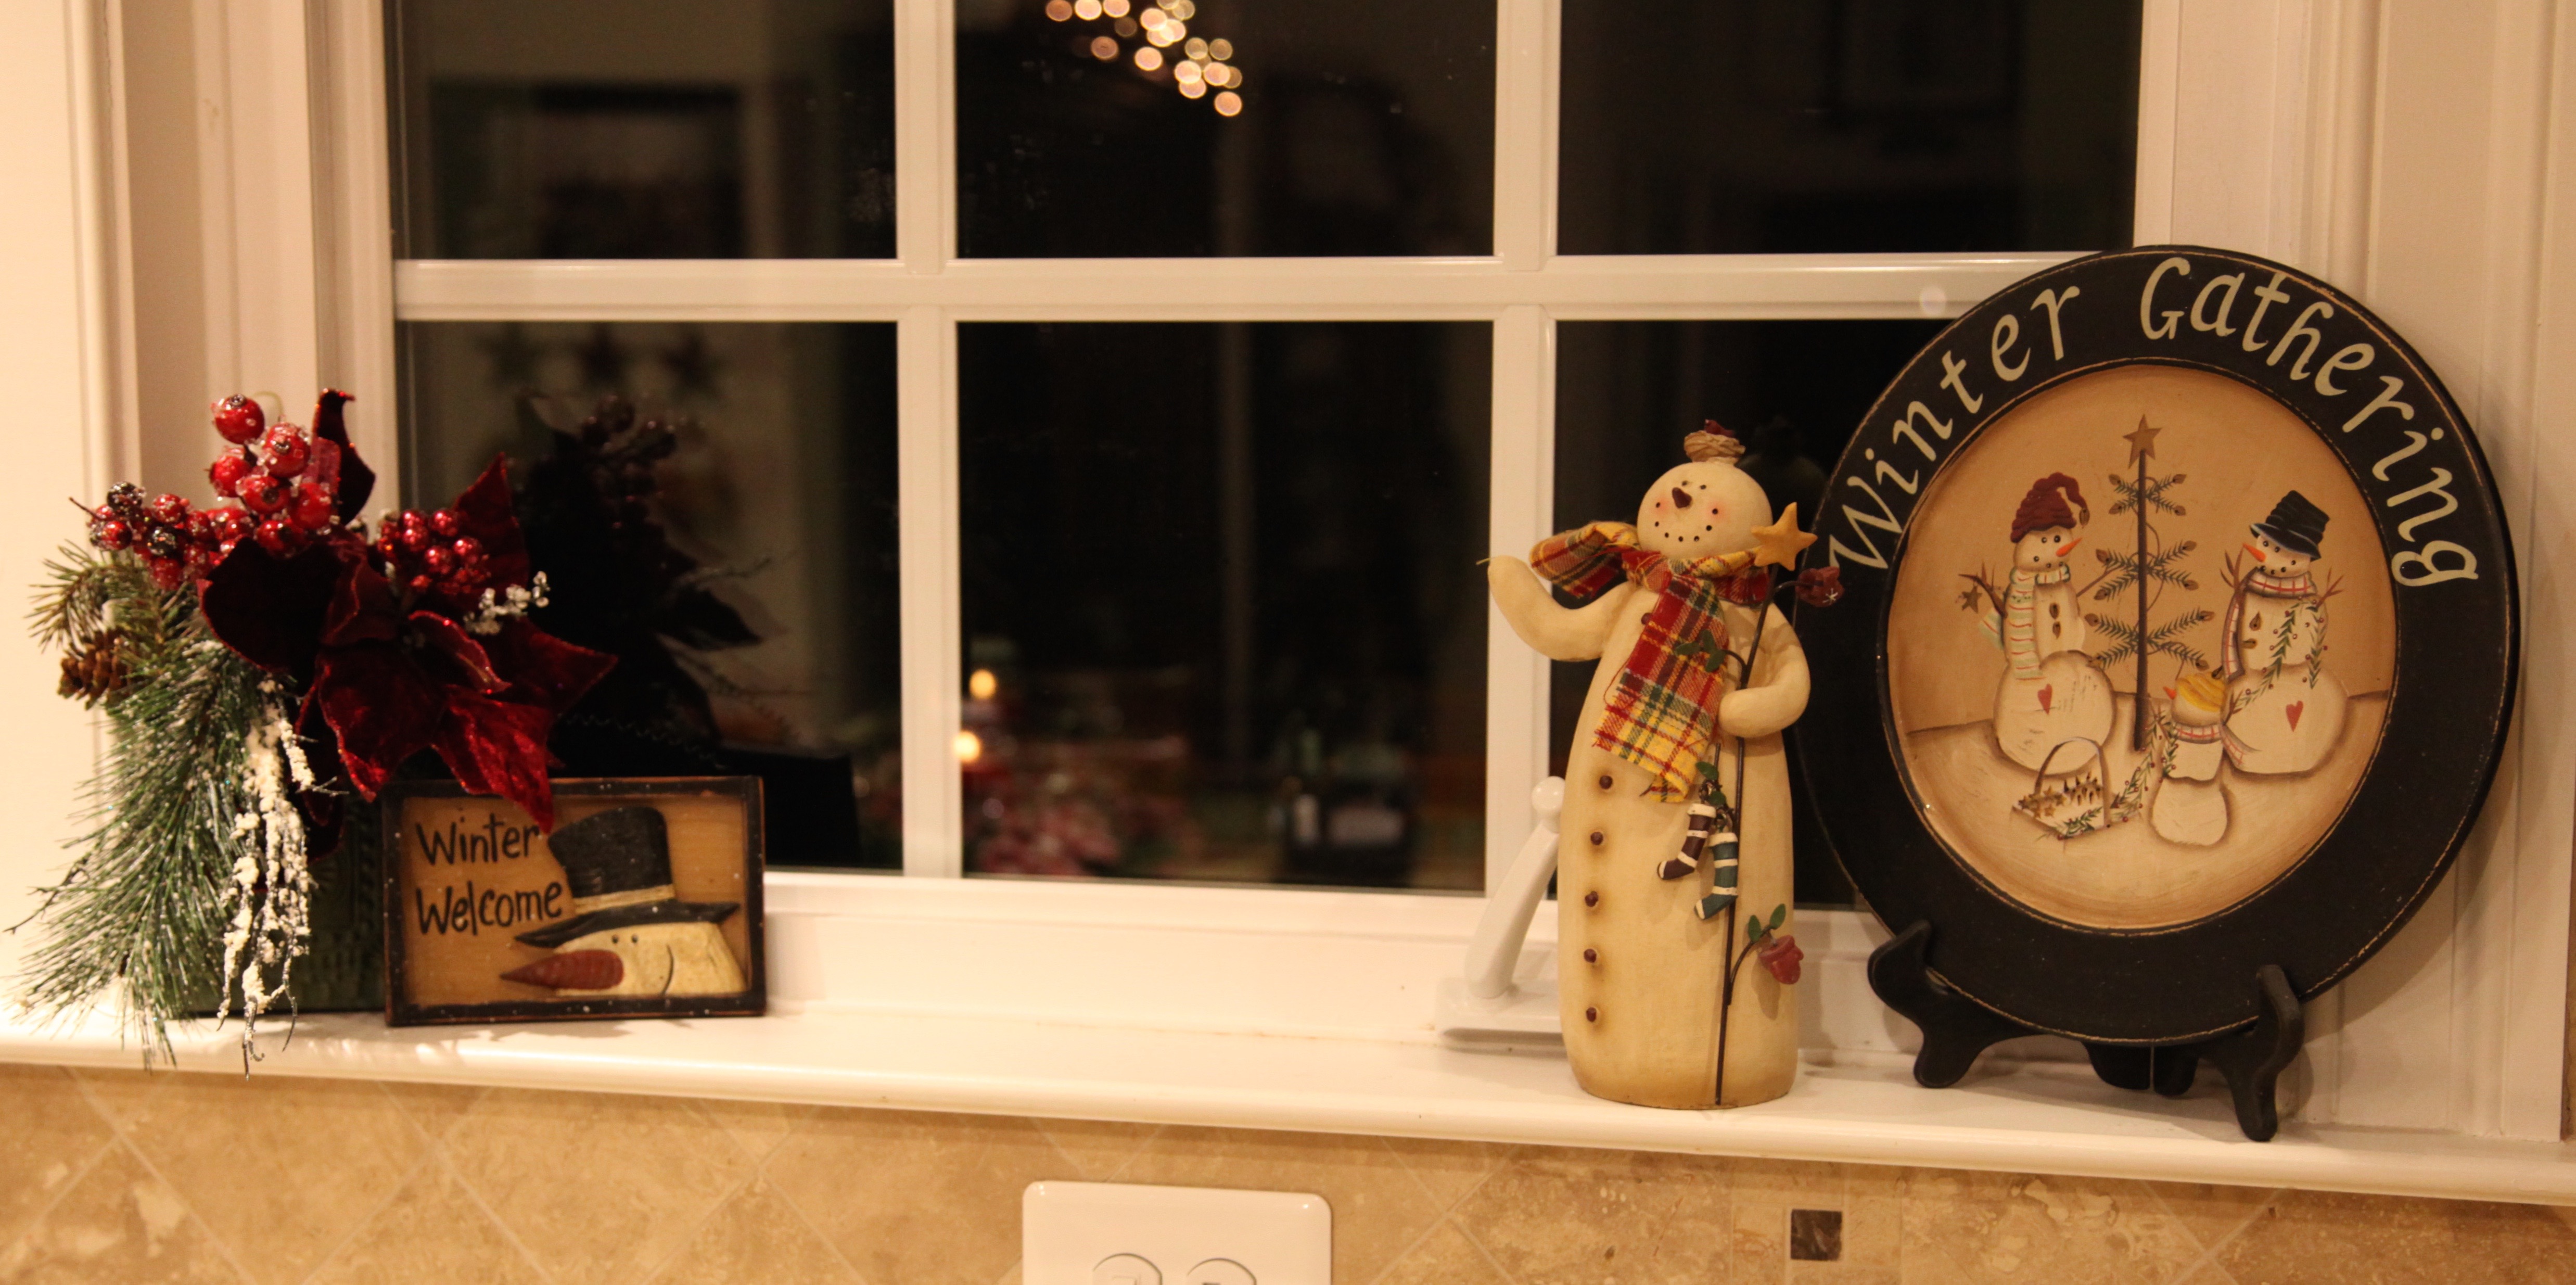
Next, I’ll show you how I decorated the window sills; we have large windows that crank open and the sills are really wide, so I’ve had fun changing up the decor on them; here is a link to my Ever Changing Window Decor blog post so you can see what else I’ve done in the past.

IMG_2525

IMG_2518 IMG_2520 IMG_2522

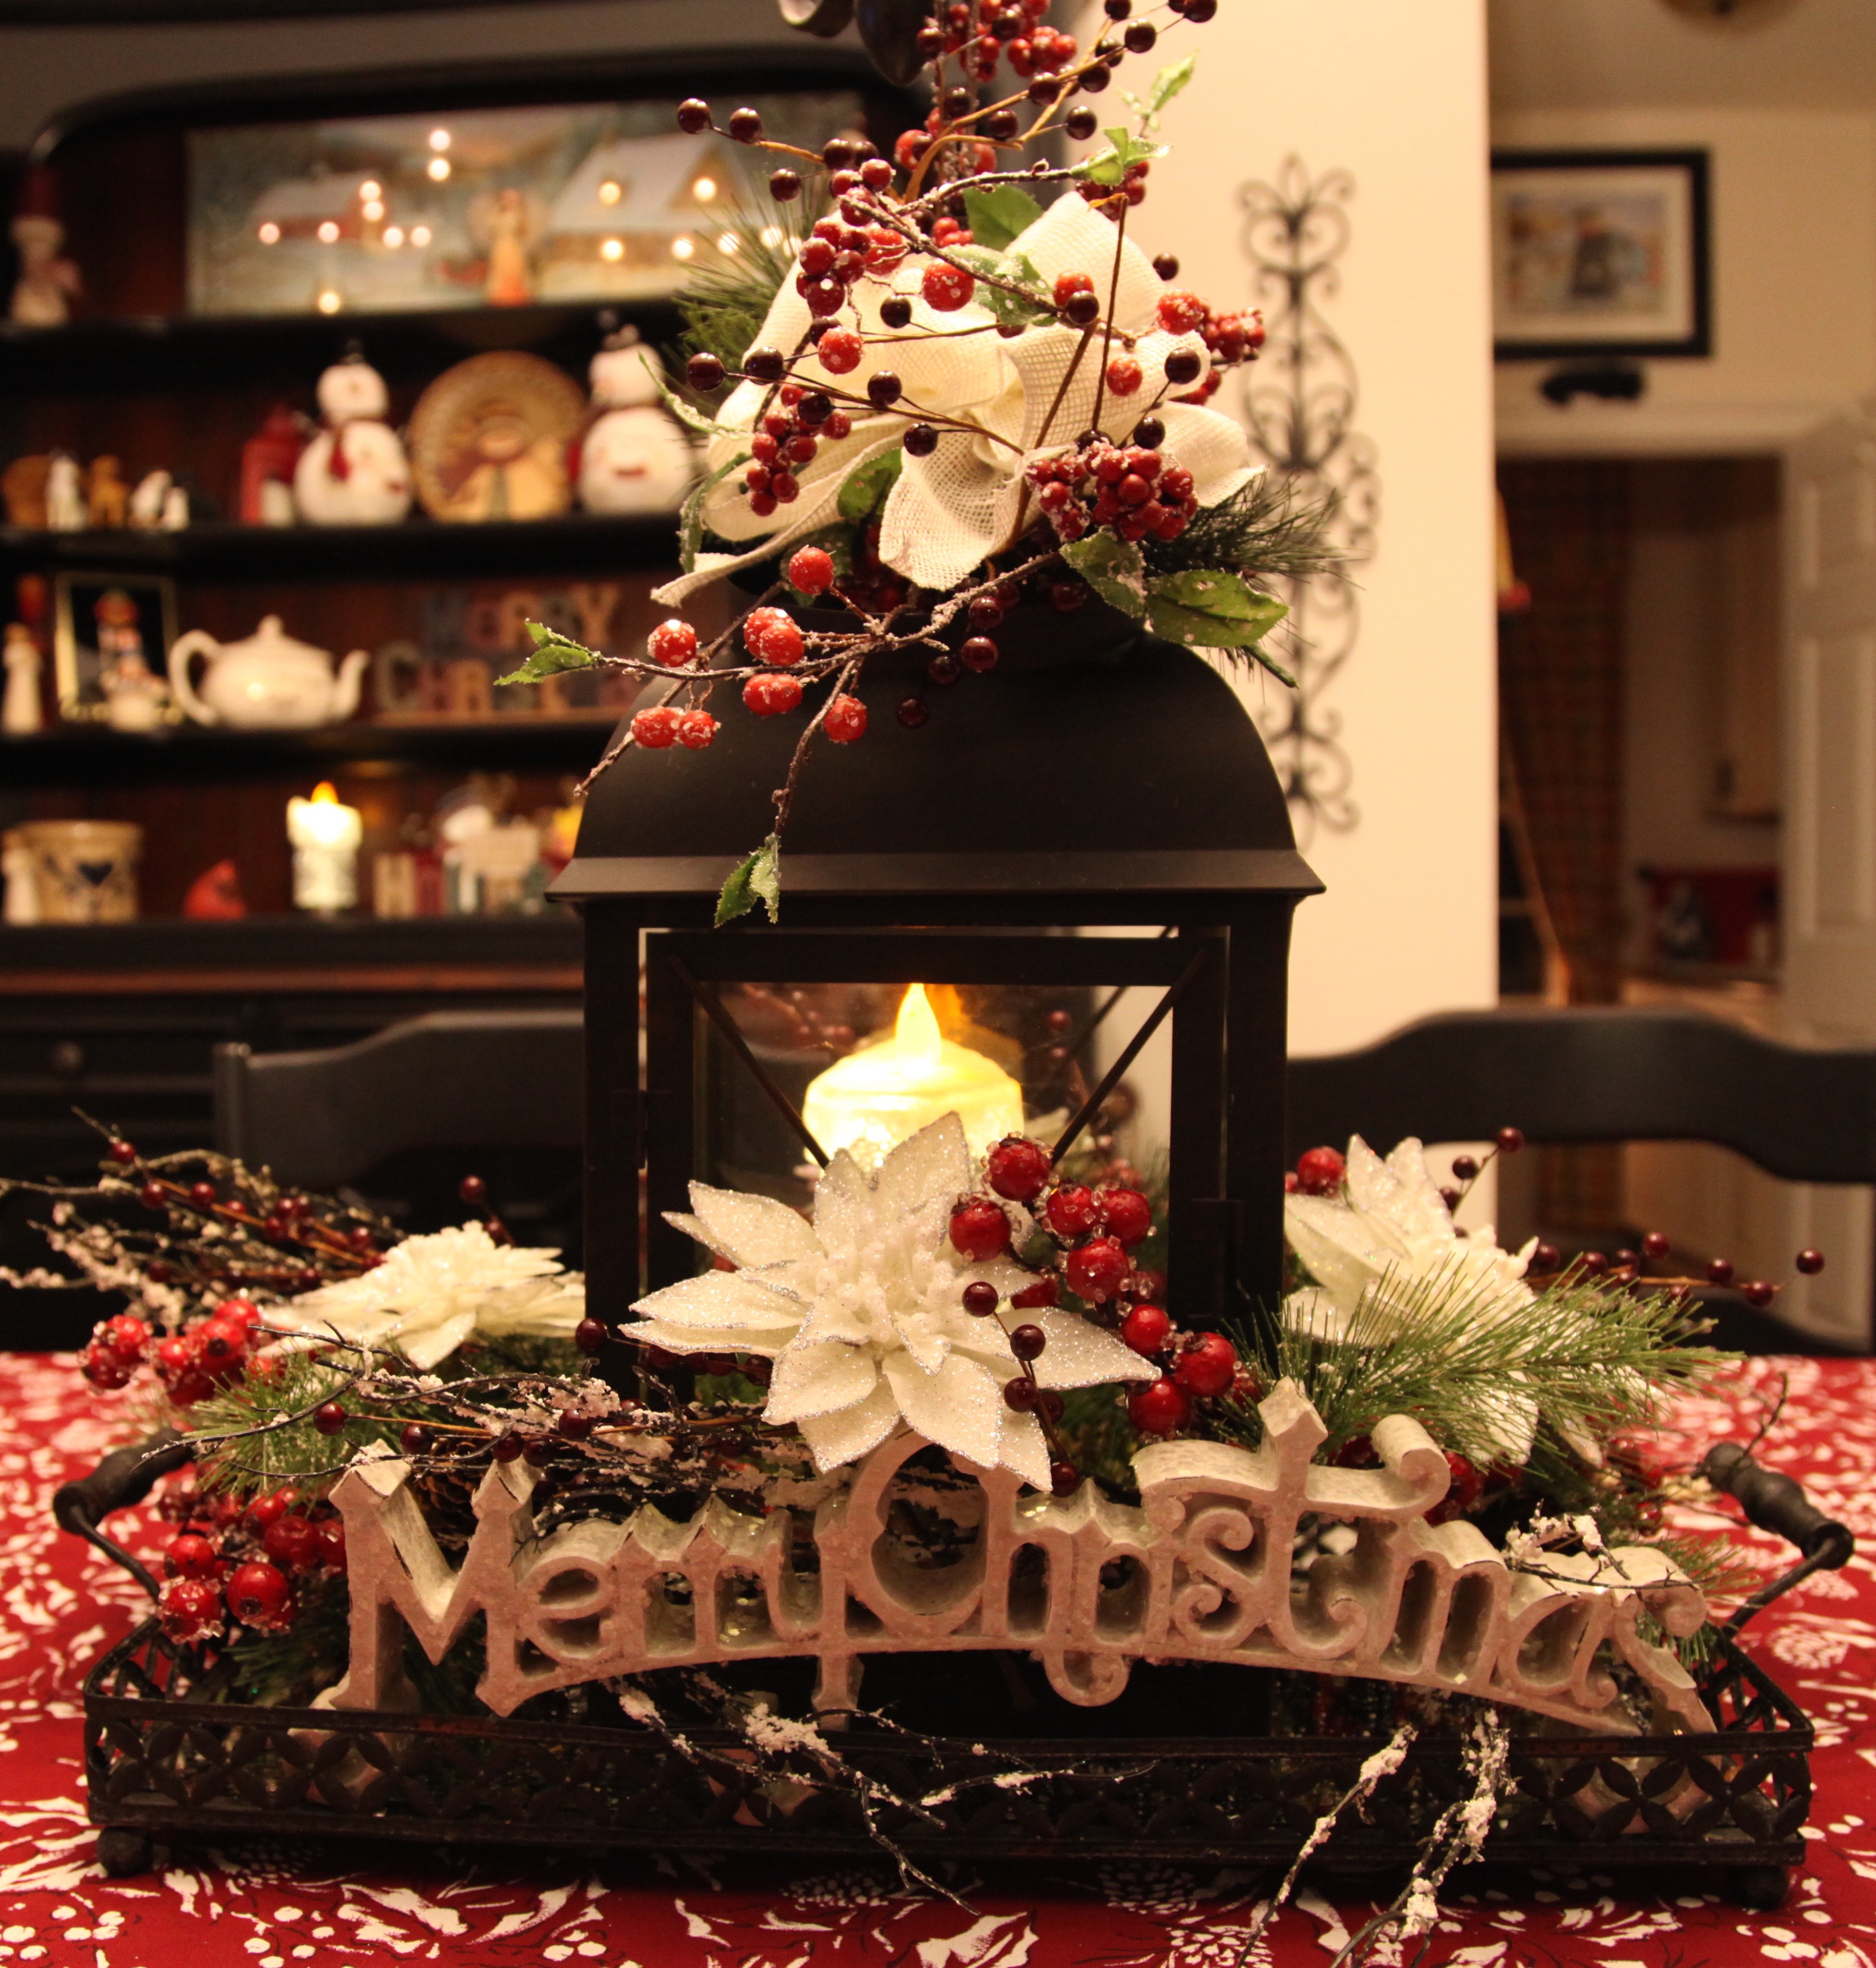
I was really looking forward to creating a centerpiece for the kitchen table using a pretty lantern that I purchased last winter.  This would be my first attempt at creating a Christmassy arrangement. In anticipation of how I wanted this centerpiece to look, I purchased a new Christmas tablecloth and built my design around that; burgundy and white would be my accent colors.  Again, the first thing I did was to gather all of the accents that I thought I might use.  I planned on reusing the big metal and mirrored tray that I’ve used to make every other centerpiece utilizing the lantern.  Here is a link to my A Lantern Centerpiece For All Seasons blog post just in case you’d like to take a look at what else I’ve created in the past year. Anyway, back to this piece, here we go…

I purchased this candle at Lowe’s and it is so pretty!
IMG_2494IMG_2496
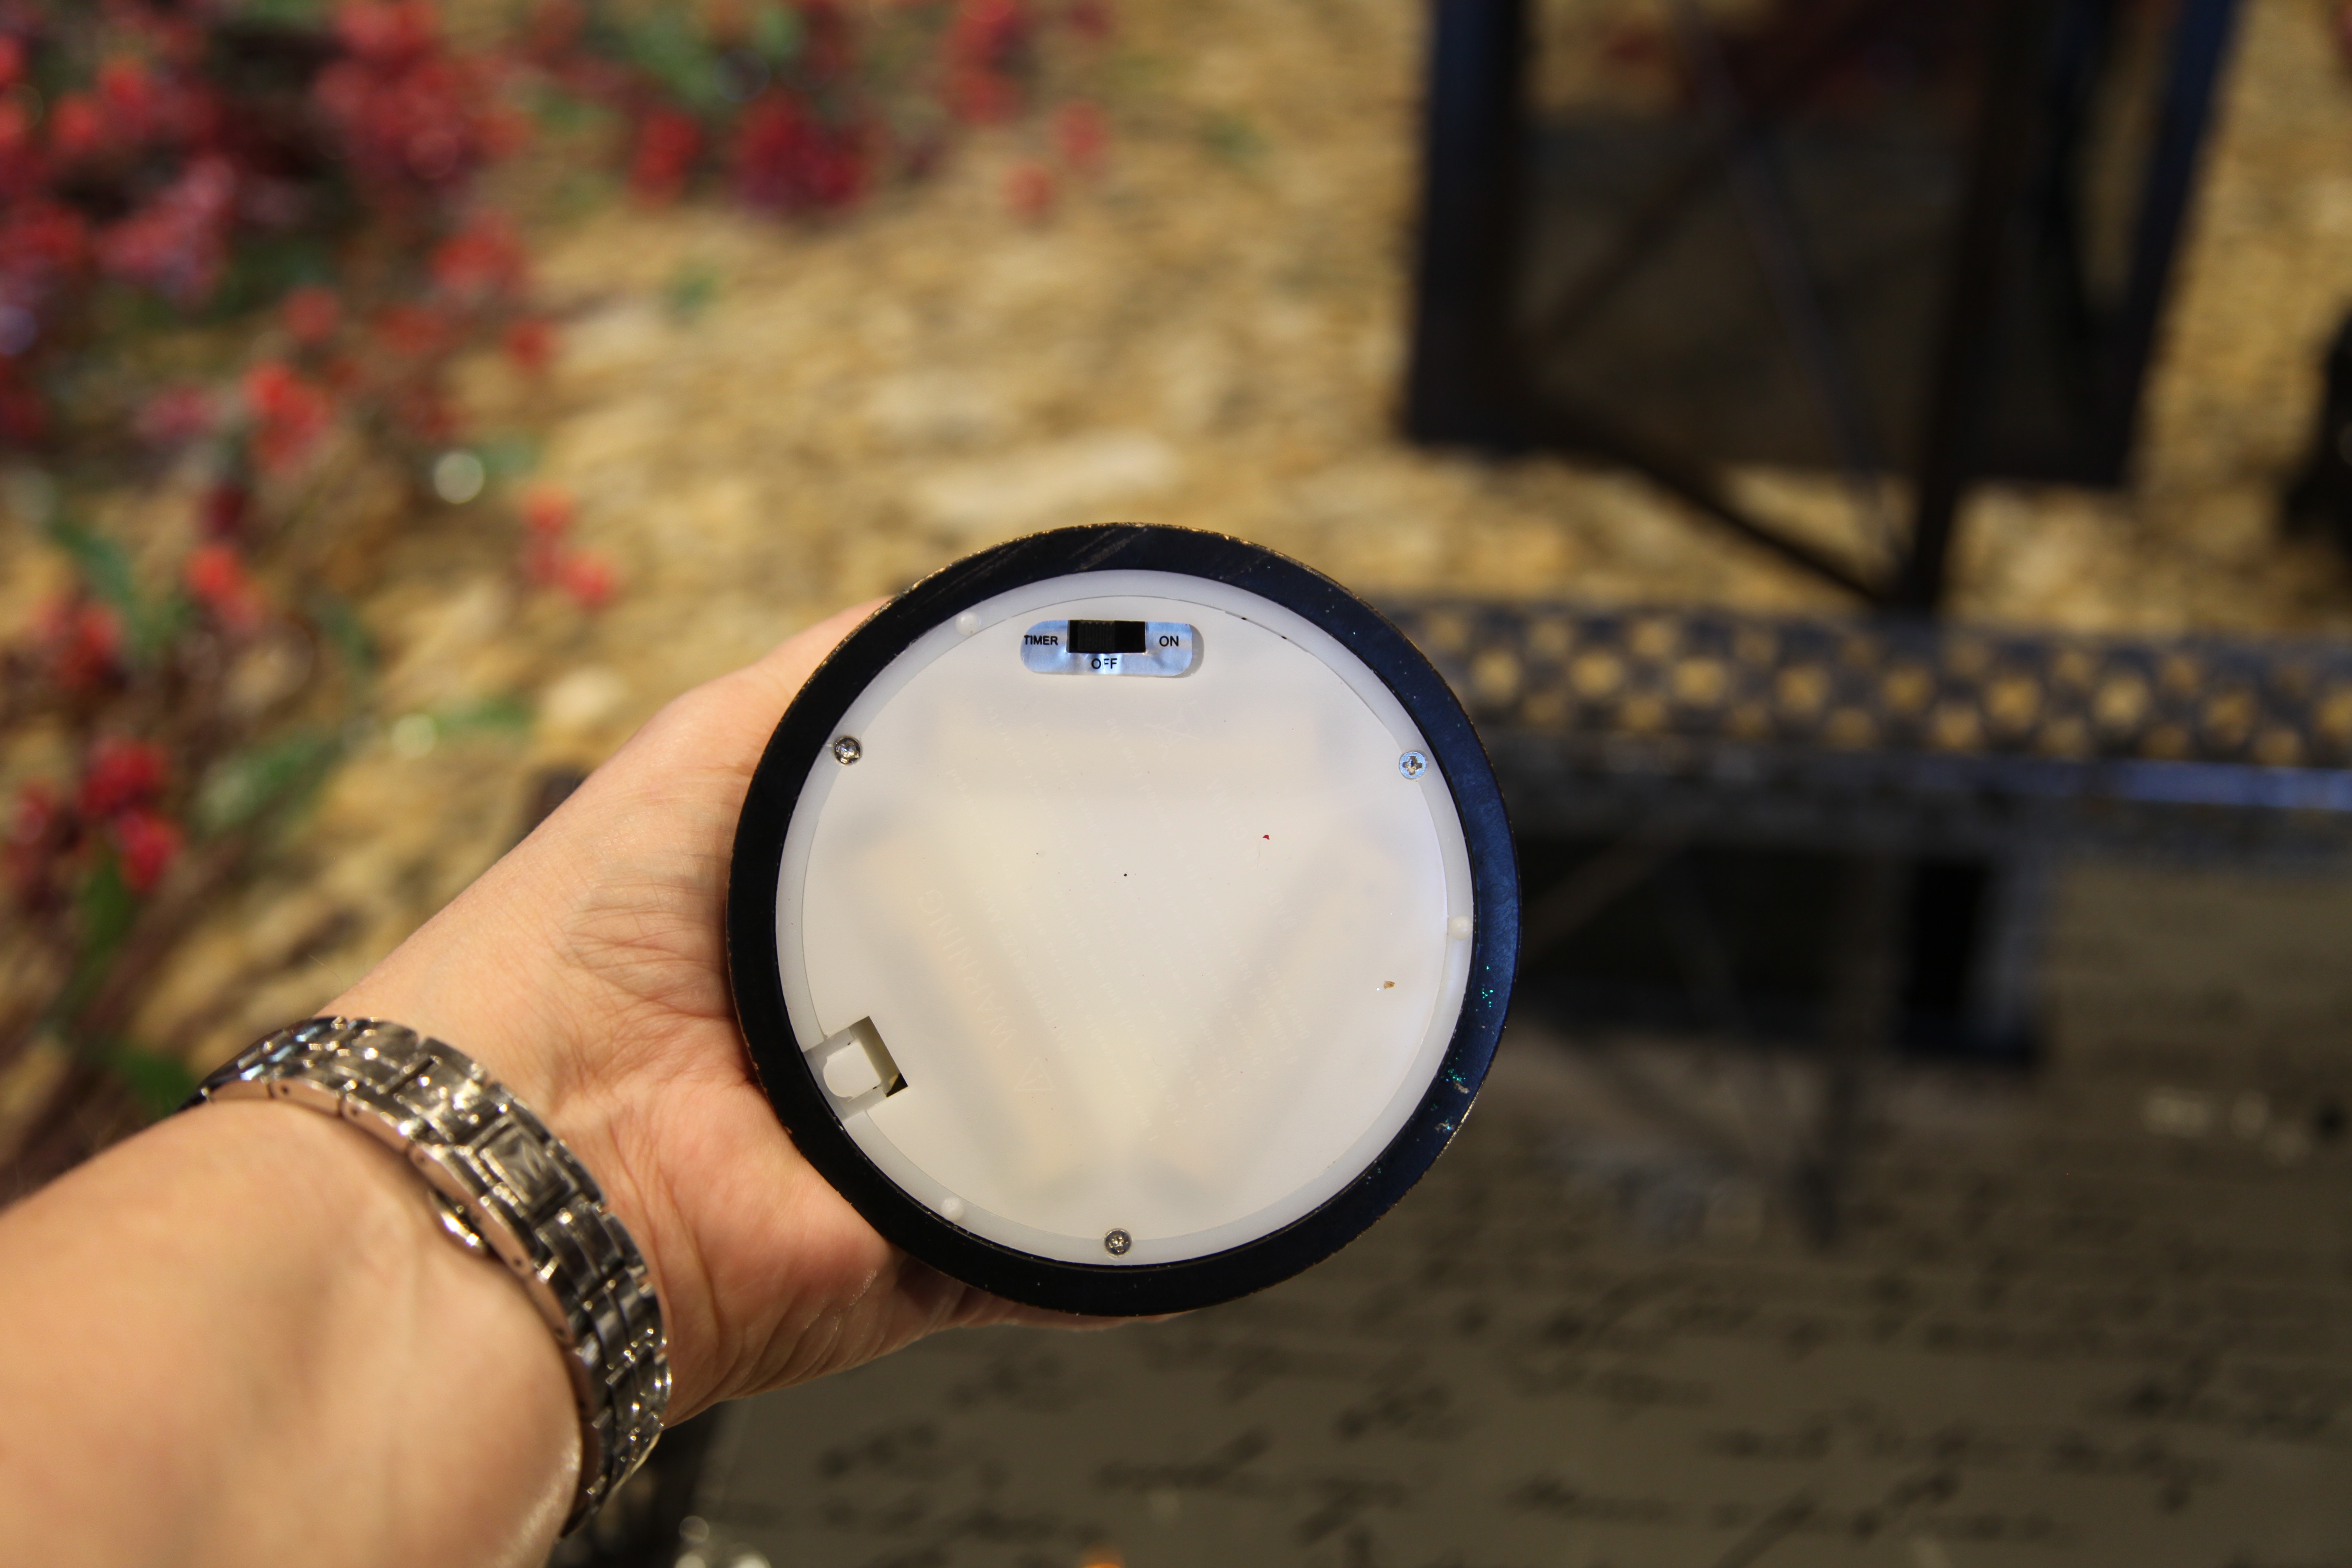
I’ve chosen to have it turn on in the evenings and go off 5 hours later…It looks like a snow globe when it is turned on.

Now, this may seems silly, but there are times that I definitely improvise.  I needed to elevate the candle just a smidge inside the lantern, but I didn’t have a candle holder big enough (in circumference) to fit the candle, so I used this little ramekin turned upside-down. 🙂 I knew that it’d be hidden by a pine candle ring, so it worked like a charm…The candle base snugged down over the ramekin nicely.

IMG_2501 IMG_2502

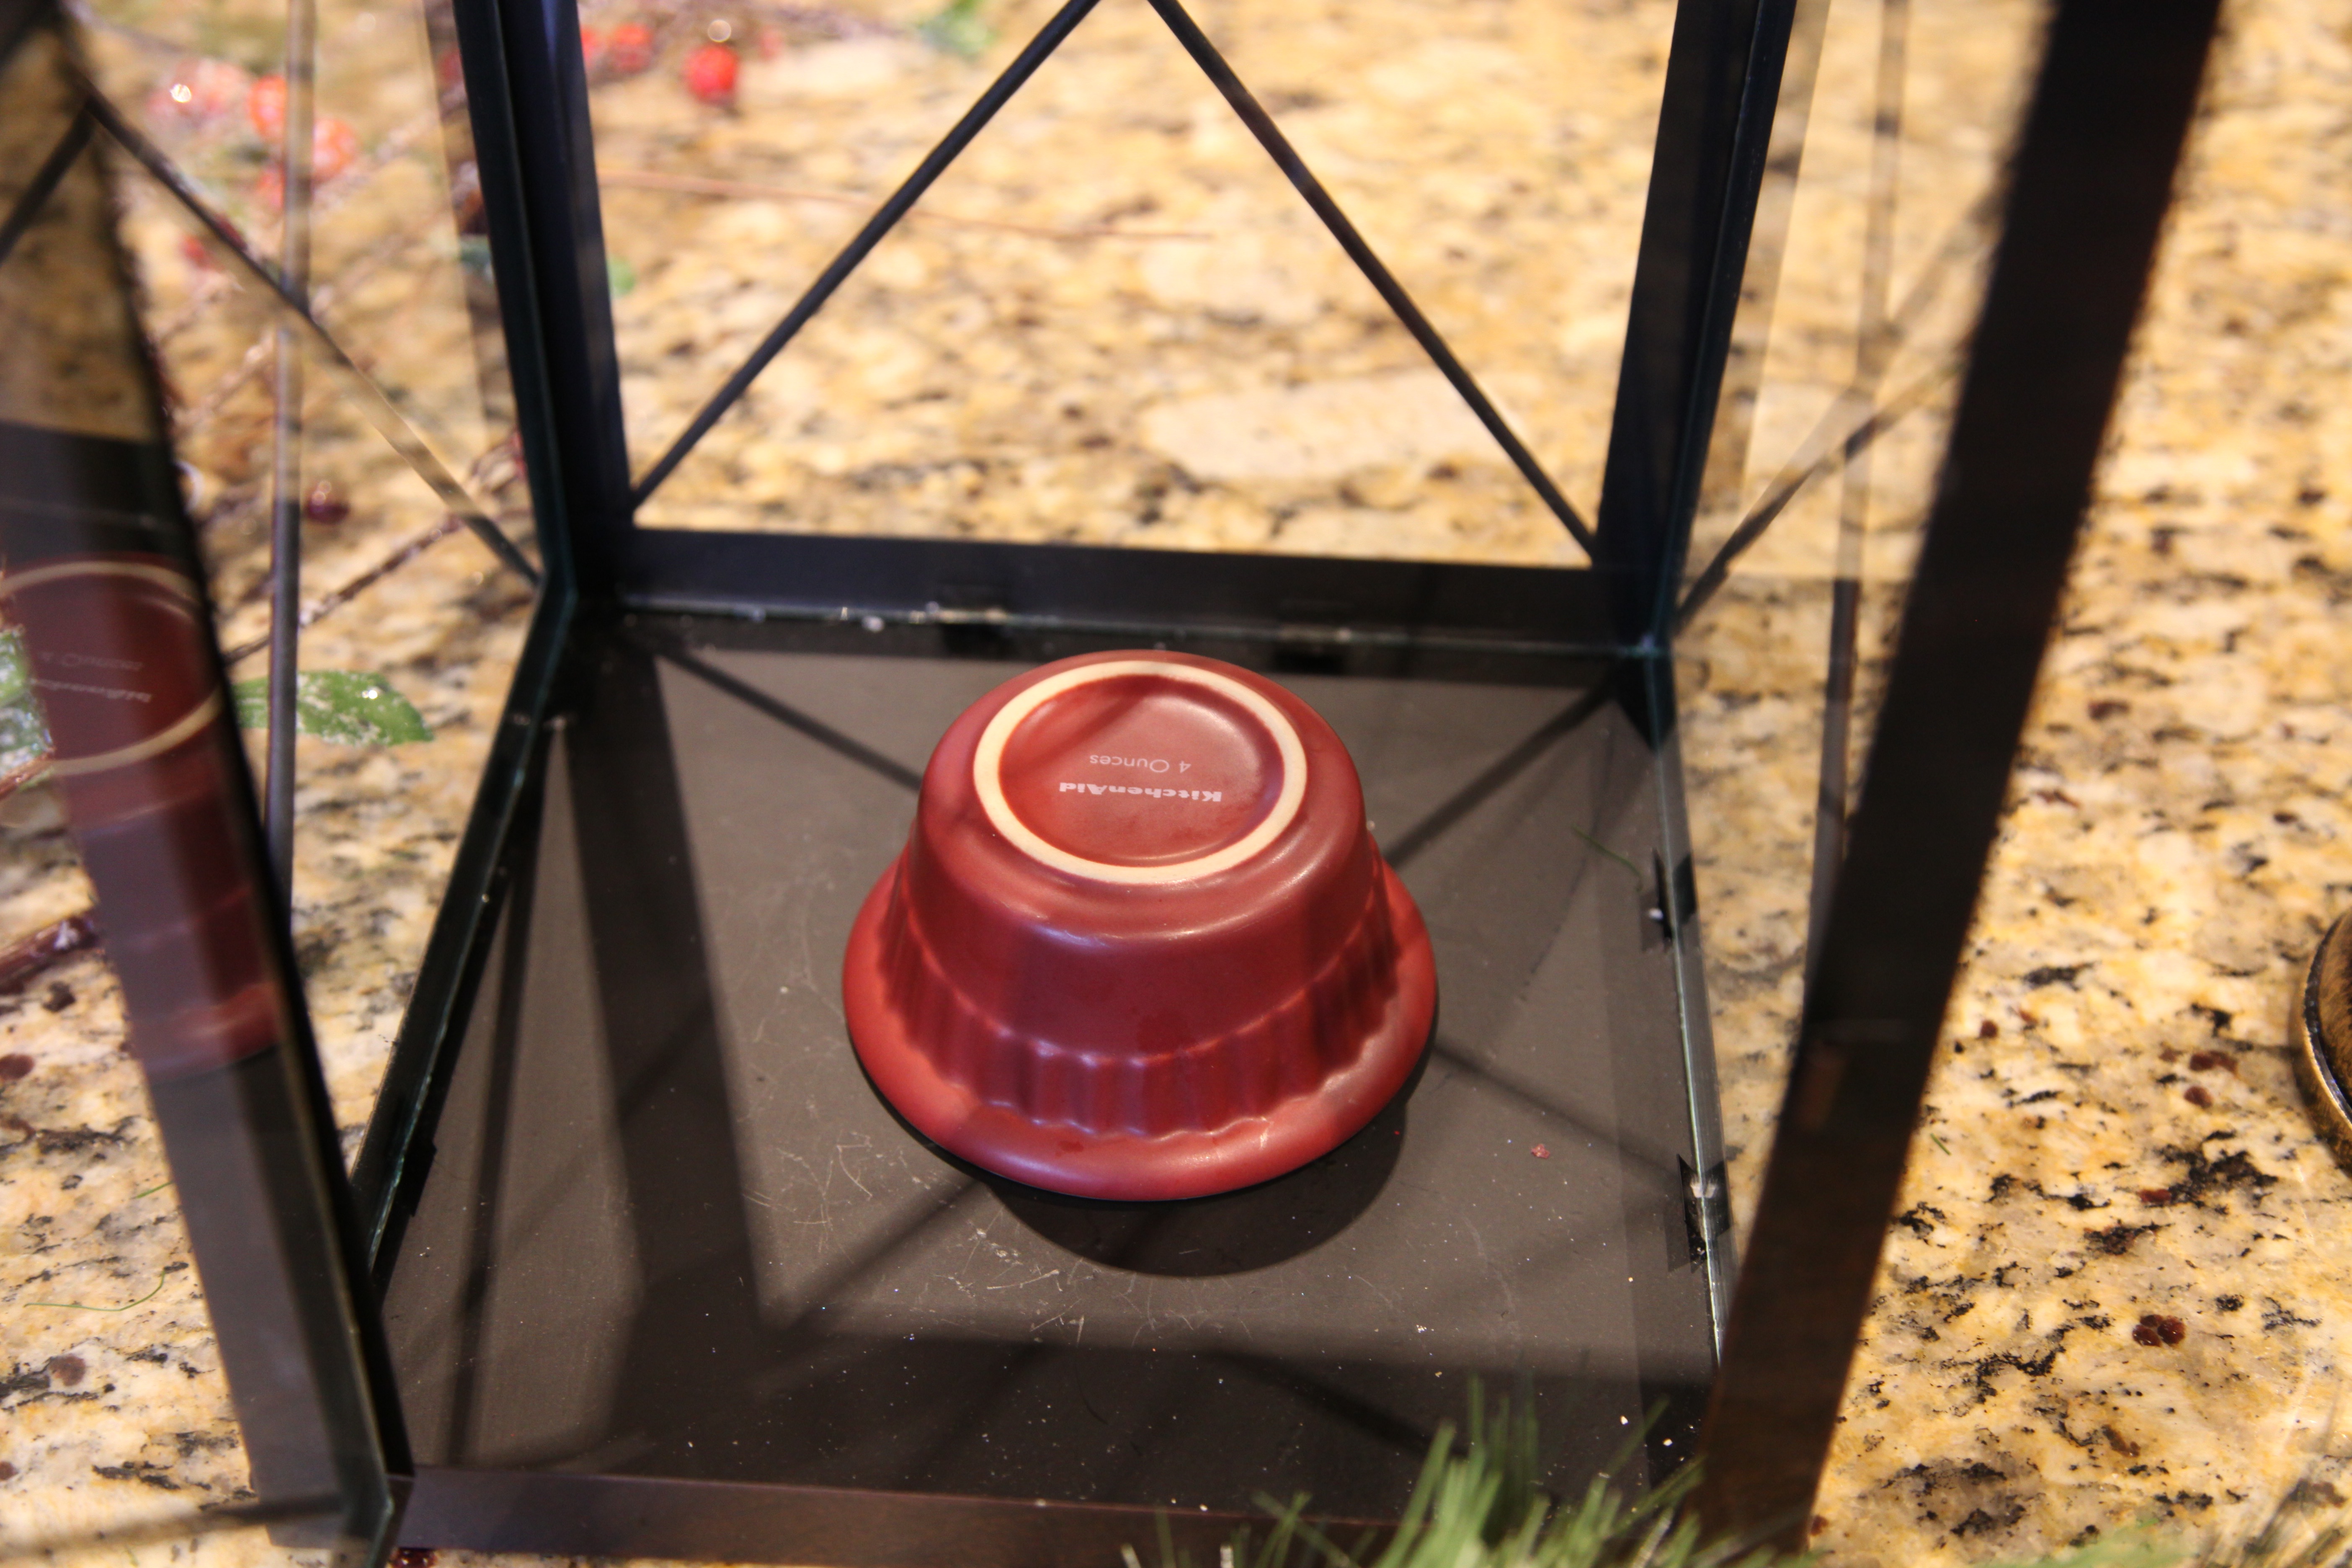
I used an old pine candle ring that I had in my stash to go around the candle inside of the lantern…

IMG_2503 IMG_2505

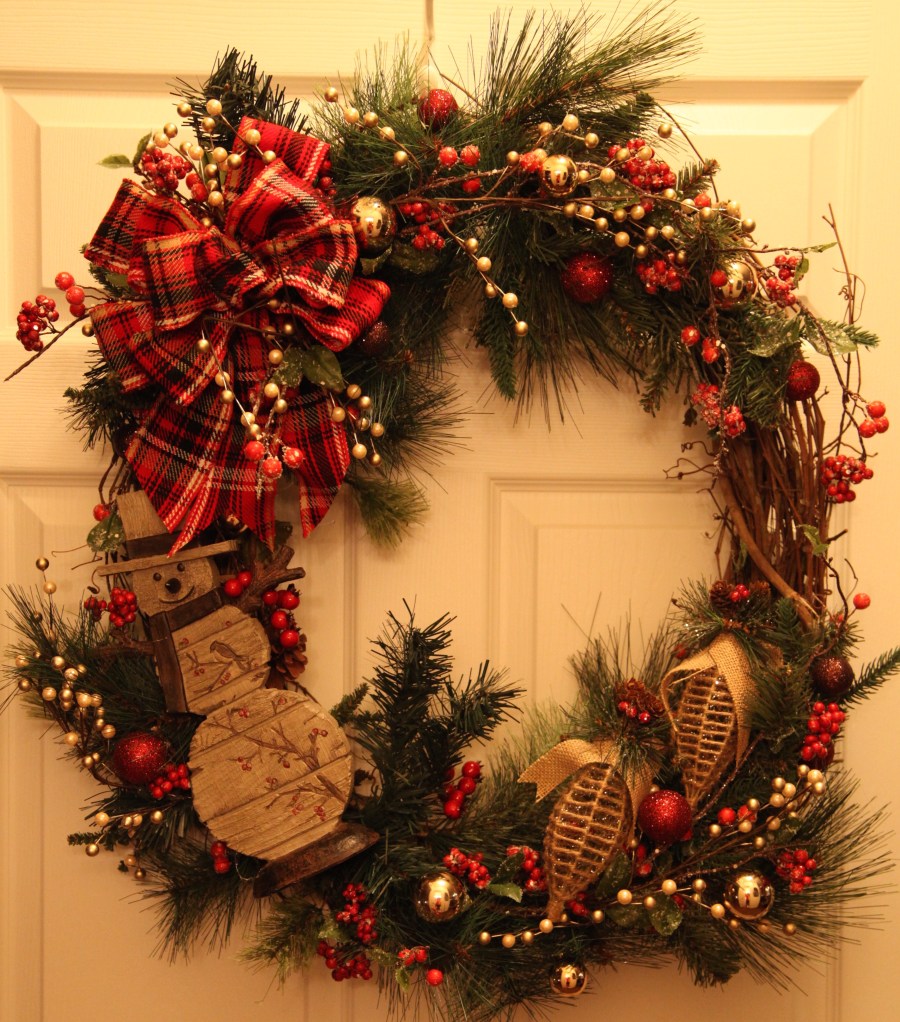
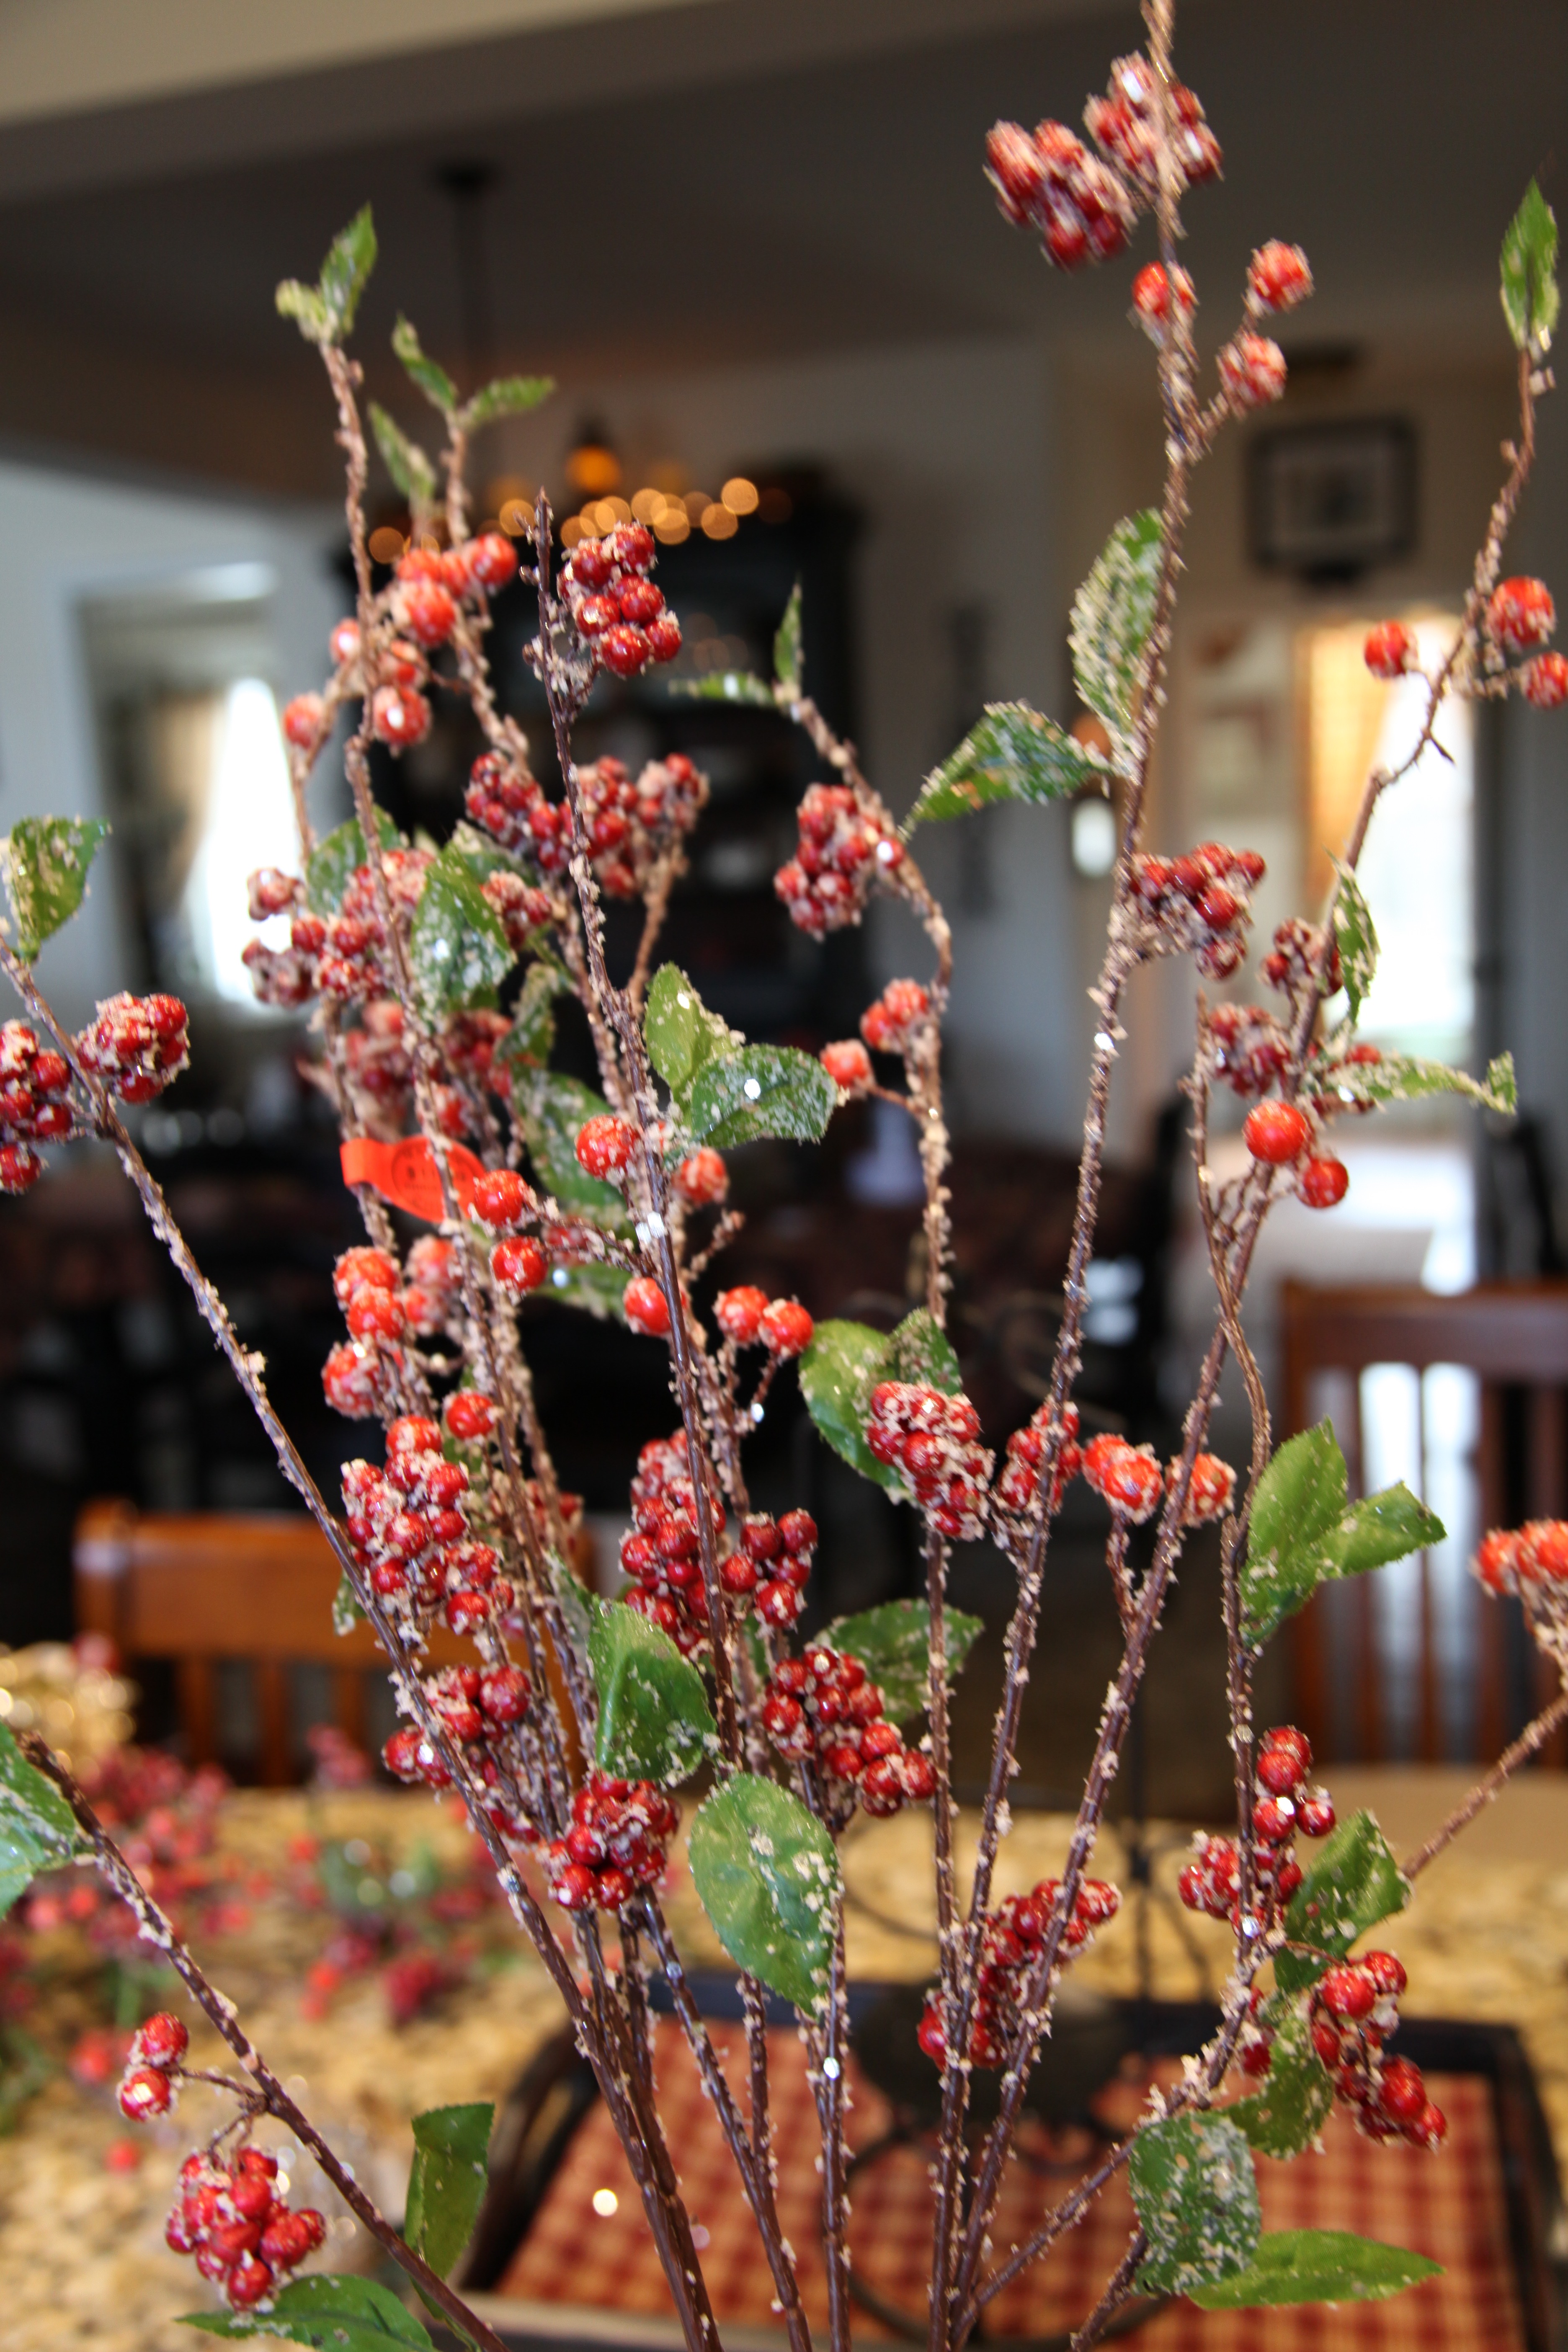
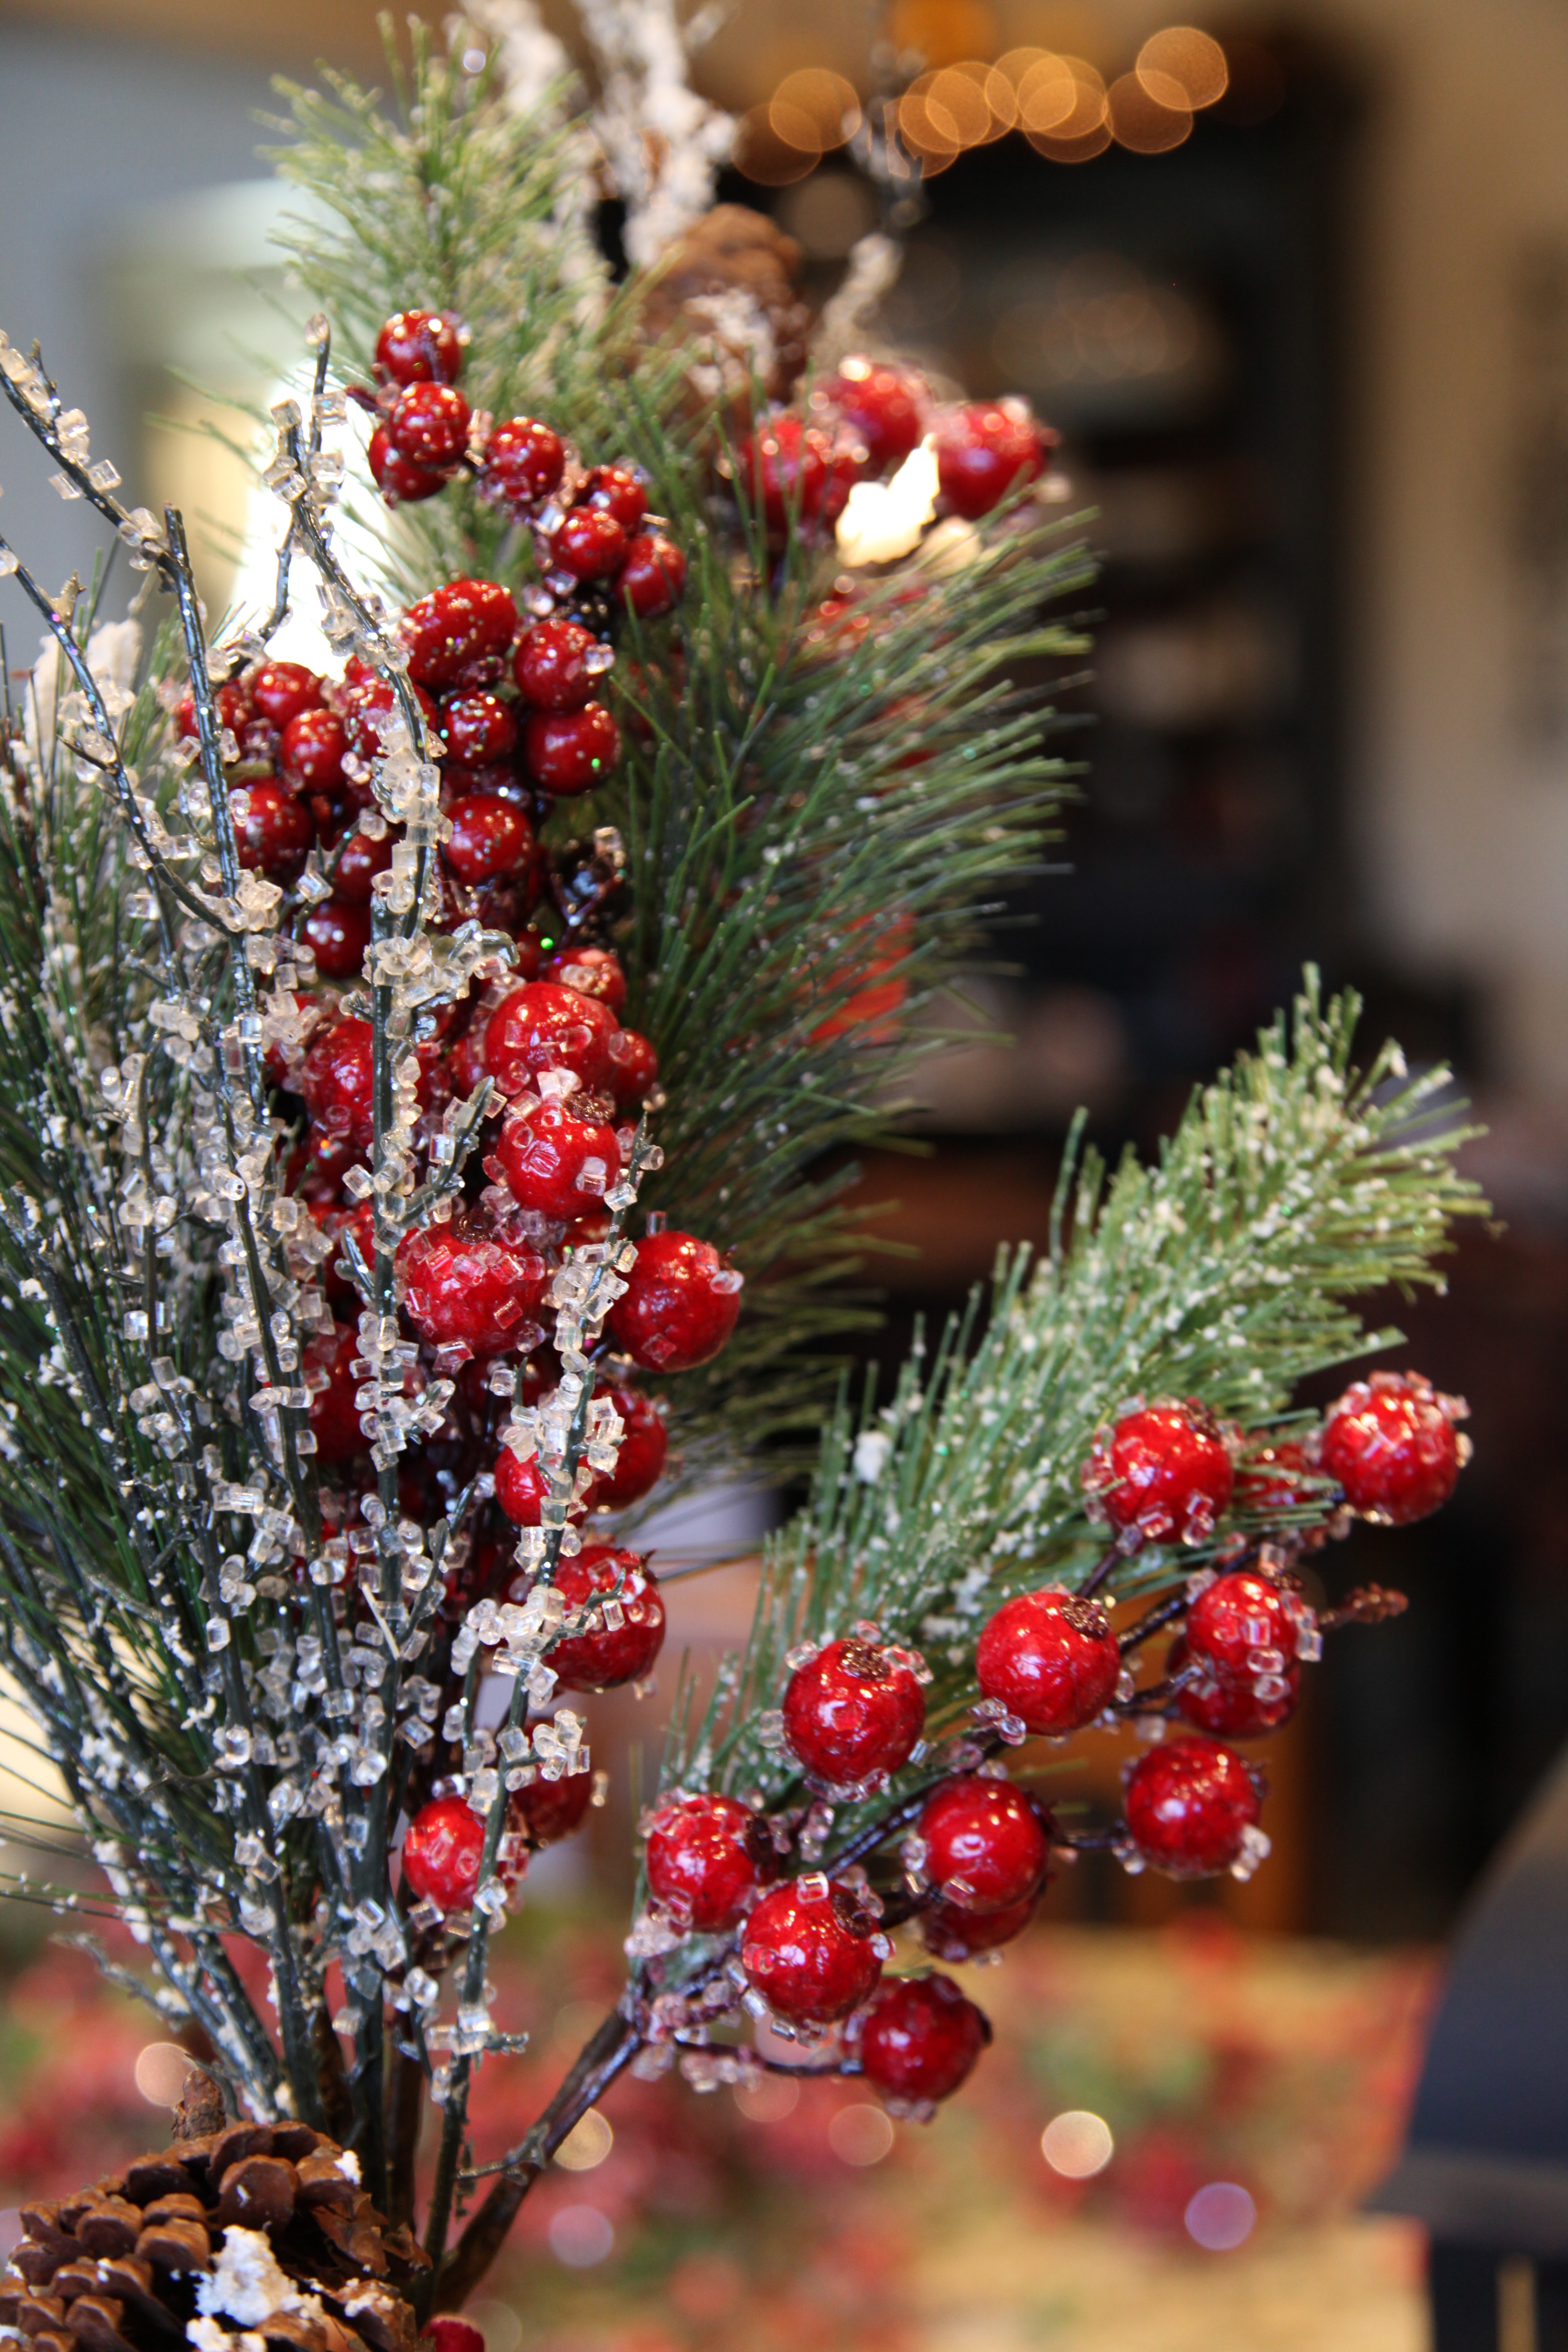
My only other accent pieces were these big bunches of red sparkly berries and pine, a Merry Christmas sign, sparkly poinsettias and white burlap wired ribbon…

IMG_2507 IMG_2508 IMG_2509

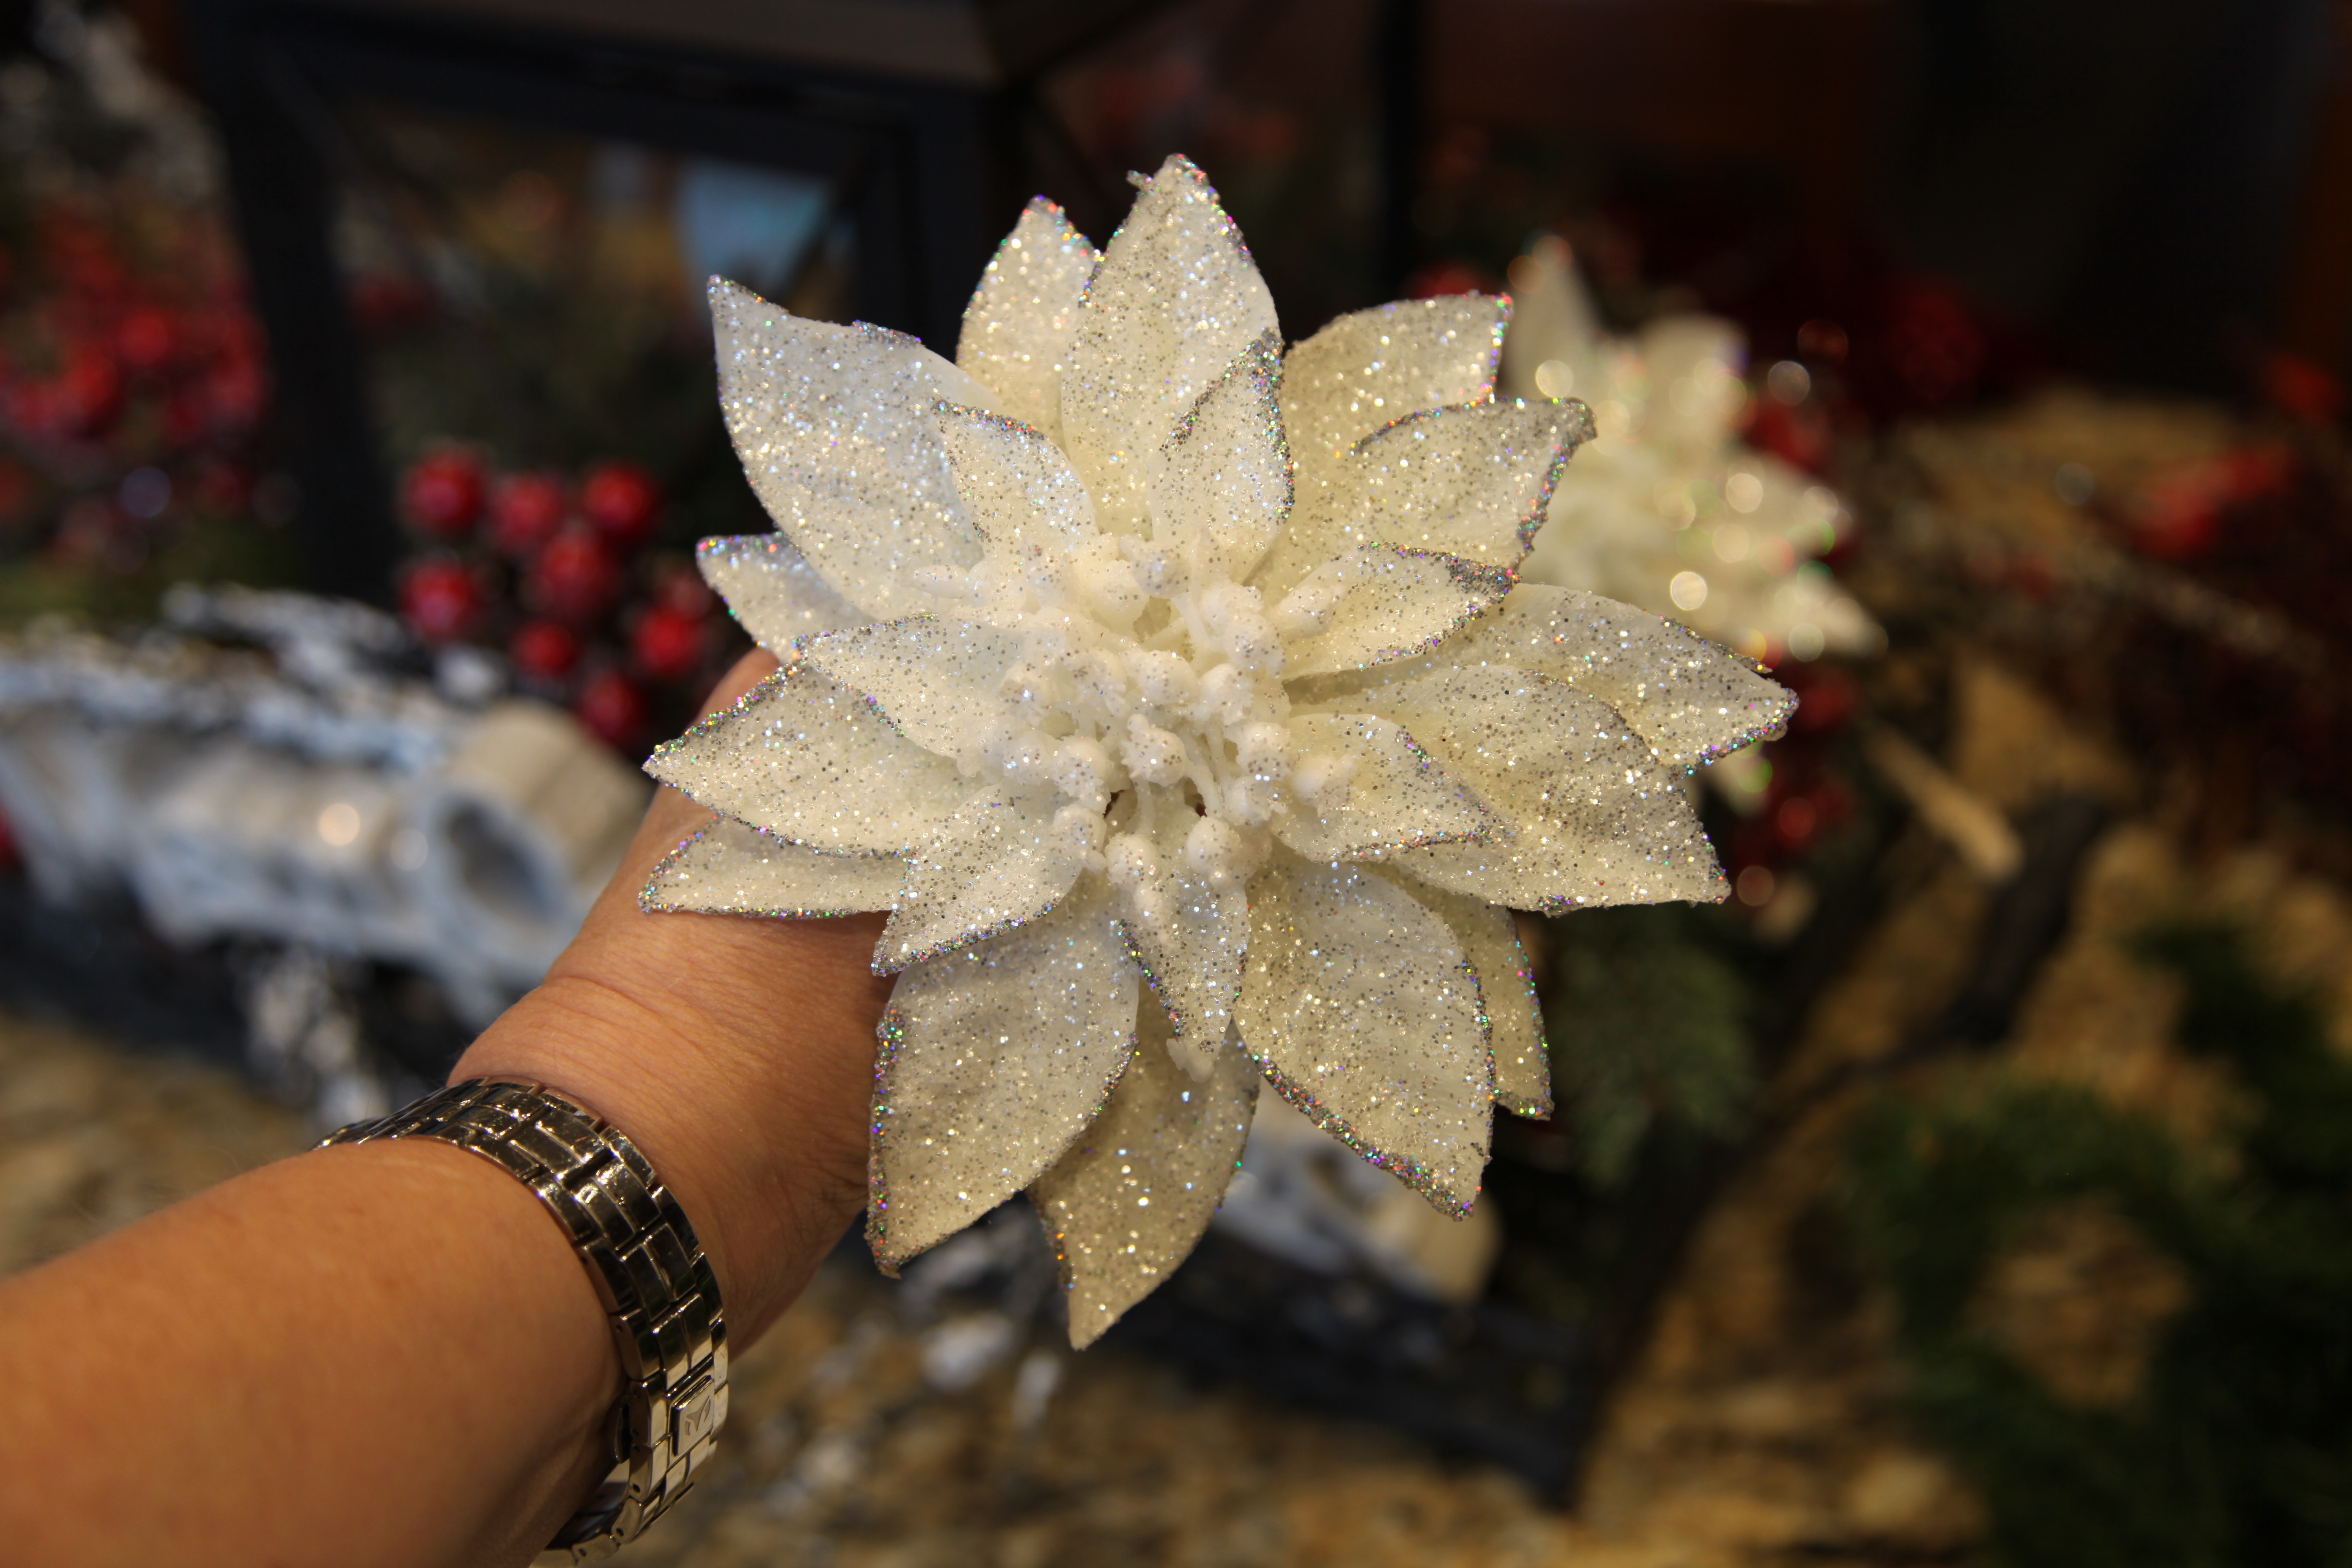
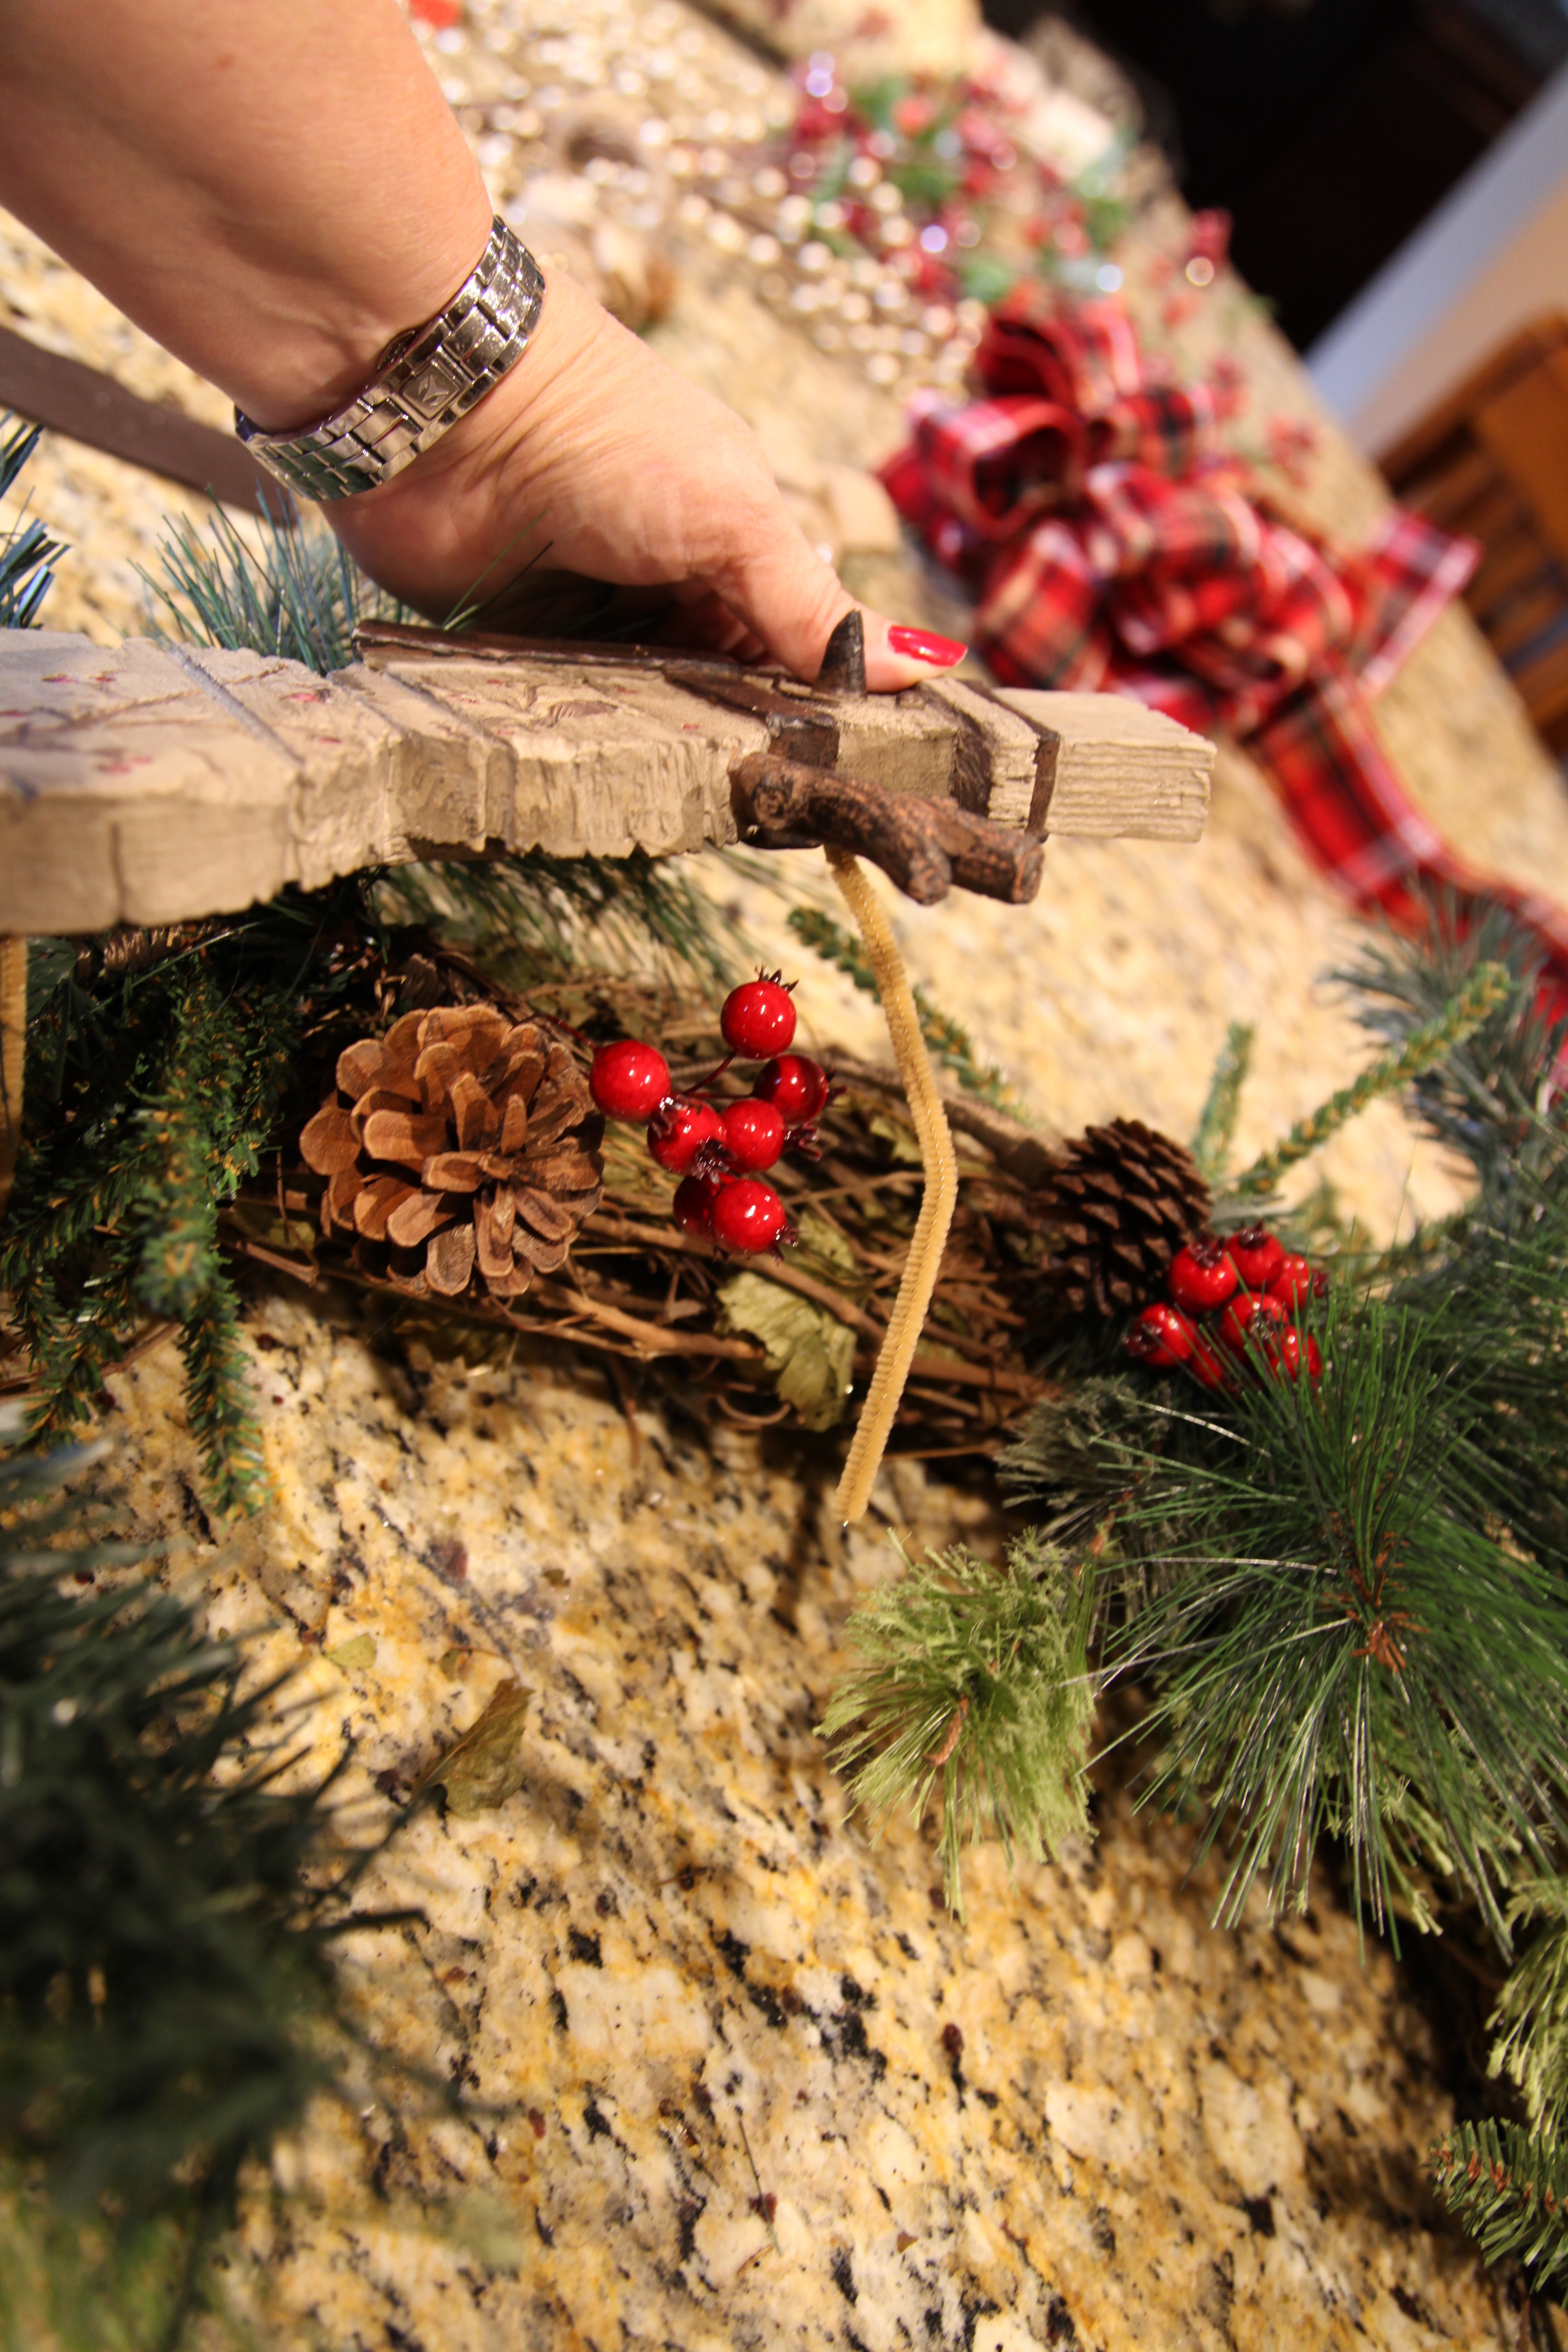
This was honestly so easy to put together, I just placed a red berries bunch on three sides and placed the Merry Christmas sign on the front and cut apart another berries bunch and arranged it behind and over the sign.  I used 4 of the sparkly poinsettias, one one each side…

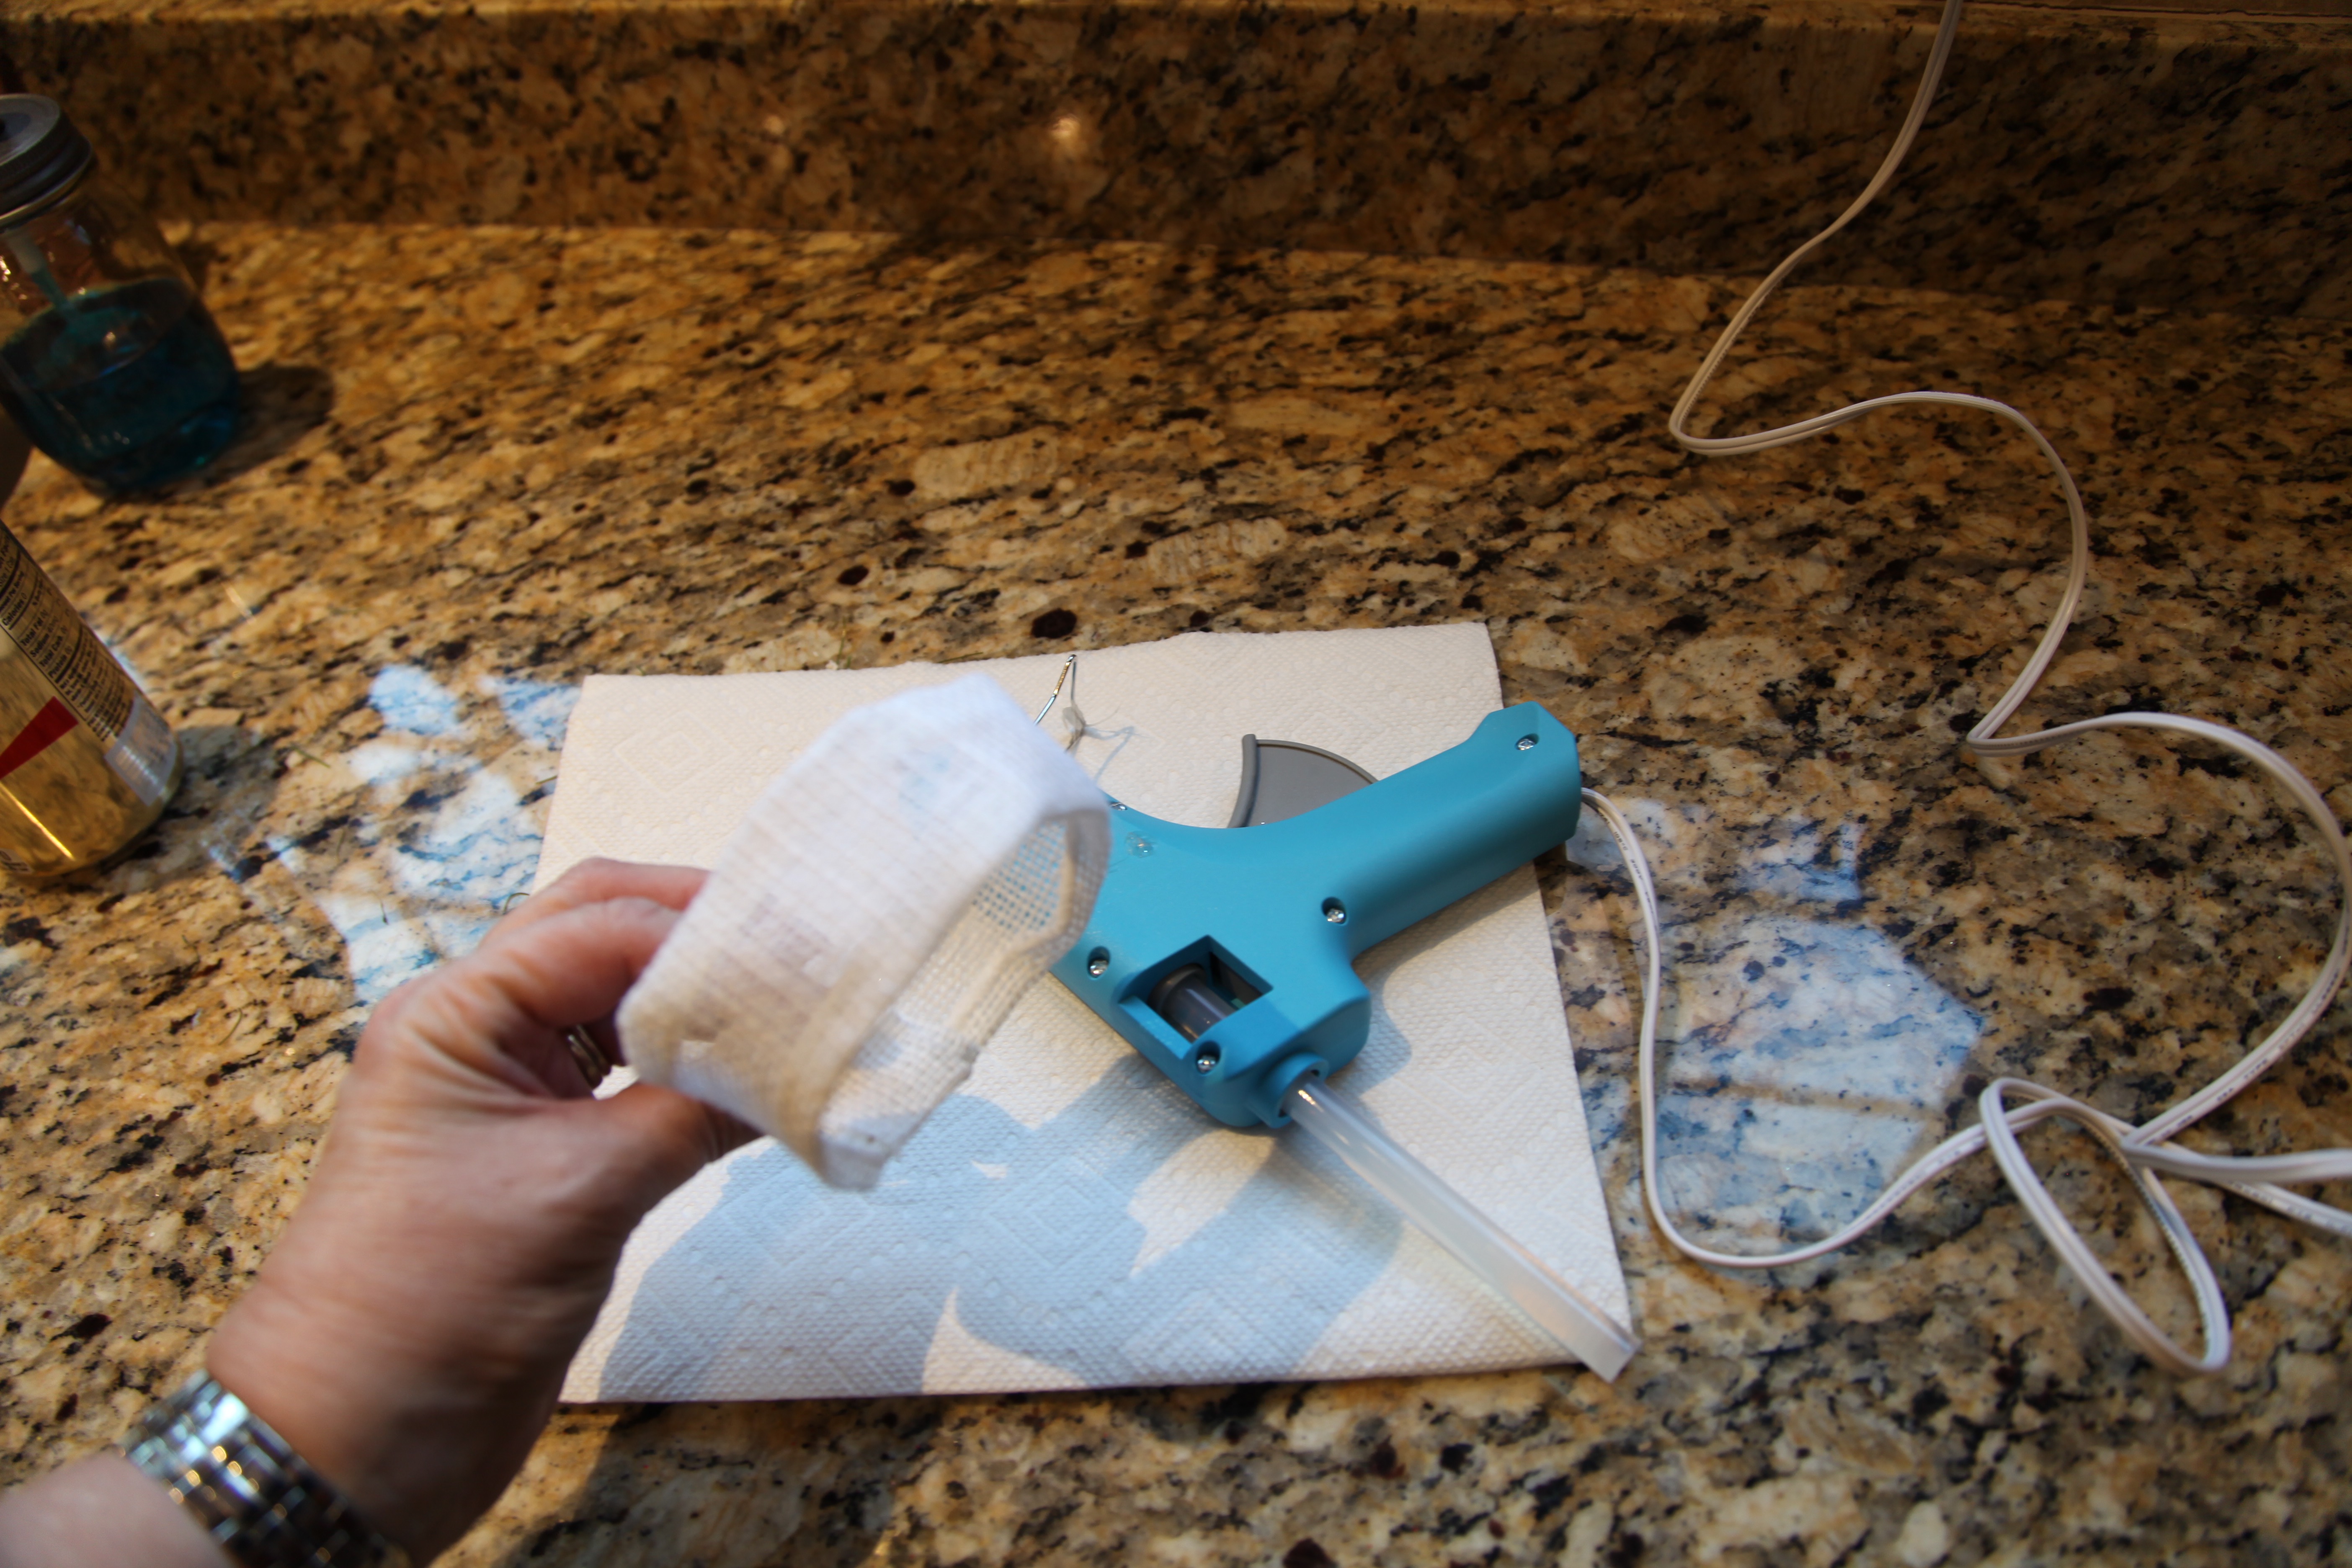
I made a bow, here is a link to my How To Make A Bow Tutorial (Video) if you want to know how to make one of these bow.  In addition, I made a little ‘handle’ for lack of a better word, and tied it and some red berries to the bow.  I slid that handle over the top piece on the lantern and completed the project.

IMG_2510 IMG_2512

When my hubby got home from work that evening, he took a look at this centerpiece and said “Wow, that looks beautiful!!!”, I took that as a huge compliment considering he sees everything that I create on a daily basis…haha. 🙂

IMG_2532  IMG_2536 IMG_2534

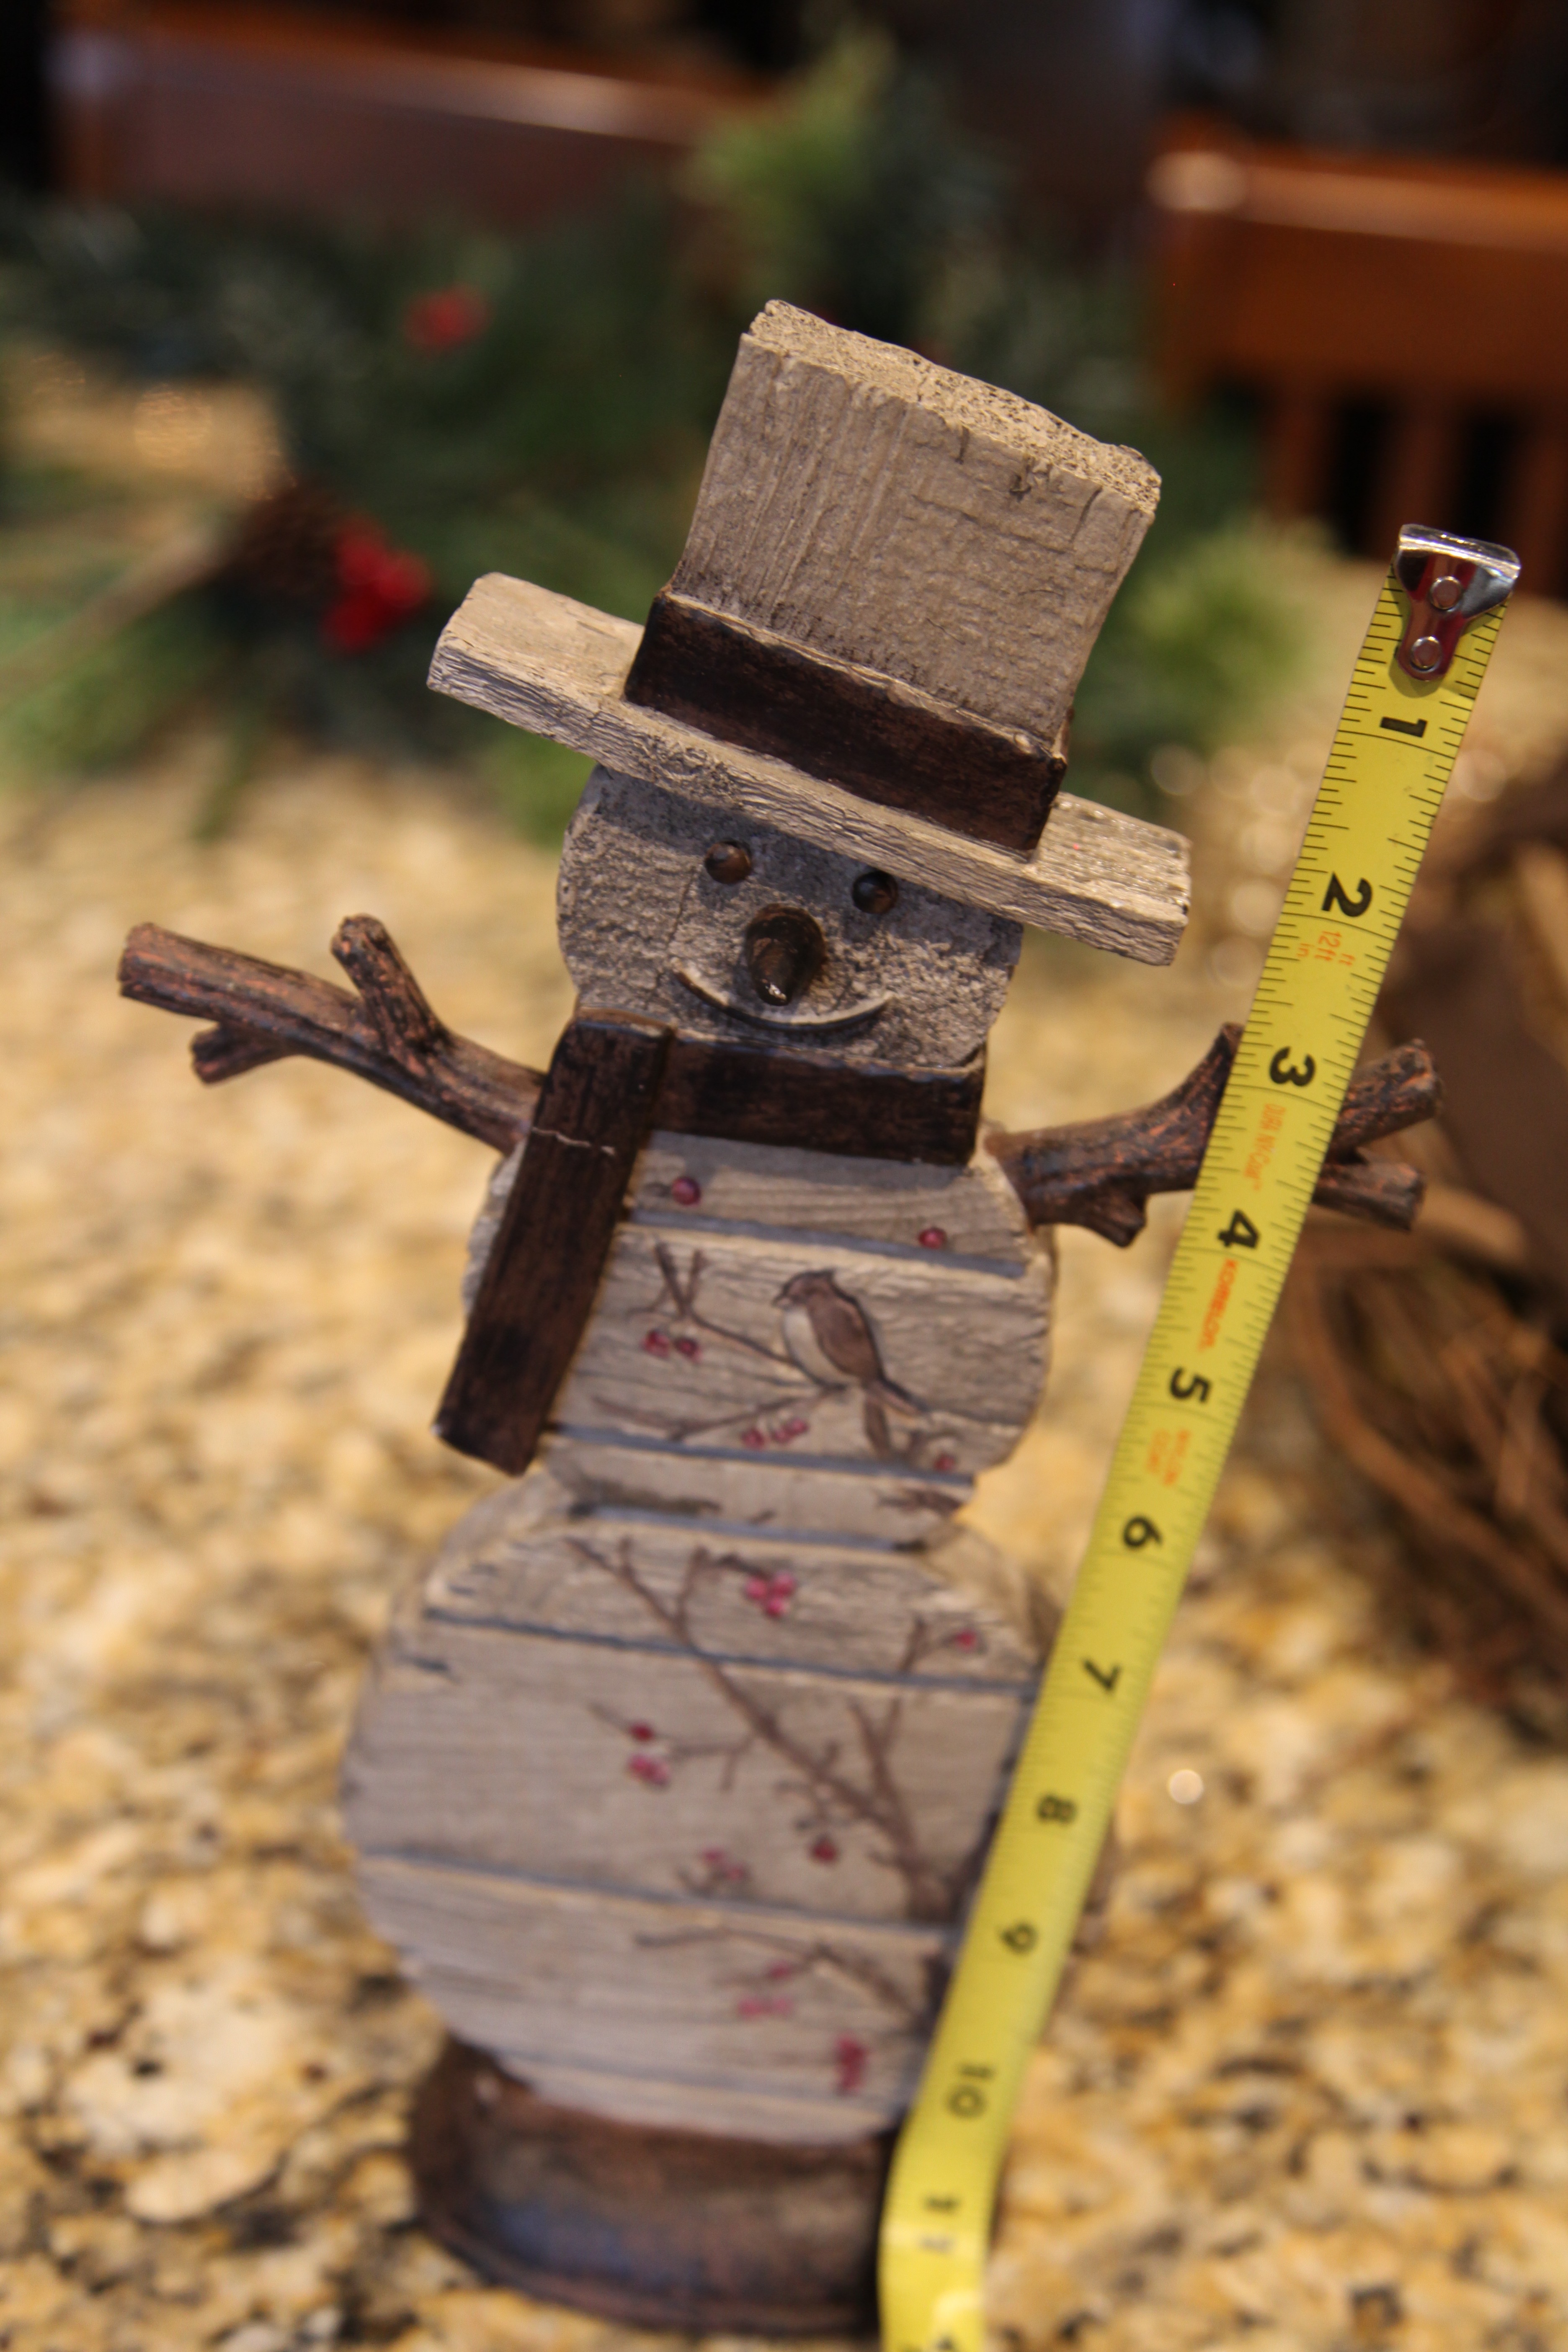
I’m almost finished decorating this part of the house, in my next post, I’ll highlight a couple other little centerpieces, a couple of cozy corners, and the powder room.

Sneak Peek:

IMG_2550

Until next time, y’all take good care! ❤

**In crafting there are no mistakes just unique creations**

Christmas Grapevine Wreath

Another bright idea popped into my head as I was piddling around my house yesterday morning; how about if I make a Christmas wreath to attach to the 6′ mirror that hangs above our mantel?!  Well, the first thing I needed to do was check with the hubby to see if it was even a doable task *for him* as I am not as agile way up on a ladder as I’d like to be. 😉 He assured me that he would be more than able and definitely willing to hang whatever wreath I created way up there on that mirror.

OH let me tell you a quick story about that pretty, *large*, *heavy* mirror (6′ tall x 45″ wide). My hubby actually was the one that found that on LightingDirect.com <~~~ That link is for a similar mirror, I can’t find our specific mirror at this time.  Anyway, it was delivered via 18-wheeler (freight) because it was *that* heavy.  Putting that thing up was quite the task, my hubby attached a piece of wood the width of the mirror to the back of the mirror and one of the same size to the wall, he had cut angles on the edges of the wood pieces so that the piece on the back of the mirror would snug down into the piece of wood on the wall thus anchoring it nicely and securely.  It took my daughter, my hubby (while up on a ladder), and myself to lift and muscle it into place, whew!!  Trust me, it isn’t coming back down…probably ever…haha.

IMG_2231 IMG_2235

So back to my bright idea, I decided to make a grapevine wreath for this location because I wanted to stick with my planned color and rather rustic theme.  I’ll be using a pine pre-lit garland on the mantel…I bit the bullet this year and went ahead and purchased it new from Grandin Road…here is a link… Christmas Garland. Yes, it was a bit pricey, but I had a 20% off your entire purchase coupon, so I went for it.  While I was at it, I purchased a set of 5 Candle Rings; I will be adding some of the same red and gold berries to them that I used for this wreath (subject for another blog).  Those candle rings will be placed on these gold mercury glass candle stick holders that will be on the mantel…

IMG_9373

Okay, I know all of the components that I’m mentioning for my fireplace decor sound like quite the hodgepodge, but I *think* when I pull it all together that it will look lovely…I hope anyway. 😉

Now, I wanted to make a pretty large wreath to place on the mirror, so I purchased a 24″ grapevine oval wreath (the shape wasn’t as oval as I wanted it to be though, but it’ll do)…

IMG_2202 IMG_2203 IMG_2204

The first thing I did was to cut strips of felt and I hot glued them onto the back of the wreath so that it won’t scratch the mirror or anywhere else that I might want to hang it in the future…

IMG_2205 IMG_2206

I also made a ‘hanger’ out of a pipe cleaner and I hot glued it on to where I deemed would be the top center of the wreath…

 IMG_2207

I had purchased this little wooden snowman to add to the wreath and I knew that it’d be too heavy to glue on, so I hot glued pipe cleaners to the back of it so that I could tie him onto the wreath…

IMG_2211 IMG_2212IMG_2213 IMG_2214

Here are the other accents that I chose…

Some pine greenery:

IMG_2198 IMG_2199

IMG_2200 IMG_2201

Red sparkly berries:

IMG_2208

Gold berries and small Christmas ornaments…

IMG_2228IMG_2224

I made a rather large bow and attached some of the red and gold berries into the pipe cleaner that I used to tie the bow shut.  I pulled them around to the front and through the bow loops to add a little interest…

IMG_2221 IMG_2223 IMG_2228 (1)

I also found these cute burlap ornaments that I thought would help the wreath feel a bit more rustic…

IMG_2209

Okay, so it was time to assemble the wreath…Here we go…

The first thing I attached (hot glued) was the greenery, one large piece and one smaller piece starting on the upper left bending it and circling around the top and half way down the right side of the wreath form.   I did the same thing around the bottom portion of the wreath leaving myself a bit of a space on the left side so that I could place the snowman…

IMG_2217 IMG_2216 IMG_2219 IMG_2218

After that, I added the bow, red berries, the gold berries and the little ornaments.  I then placed the larger burlap ornaments and called it done. 🙂 Here is the finished wreath…

IMG_2230

I really wanted to have this wreath lit for at least a few of the evening hours so I went on the search of a battery operated light strand with a timer an I found one at Walmart! There are 3 timing options and the one I chose was to have the lights come on at a certain time each evening, they will stay on for 6 hours and automatically turn off.  The perfect solution! 🙂 AND **Bonus**  they were only $6.88!

IMG_9384IMG_9385FullSizeRender   IMG_9386 IMG_9388

I do think it will look really pretty on the mirror above the mantel…I sat it up on the mantel this morning to see if the size was going work okay, and I do think that it will. I had to do a little visualizing because I will not even attempt to hang that puppy up there by myself. 😉

IMG_9380

Wow, I do think that it will make a nice bold statement on that mirror and it will help to pull all aspects of the fireplace decor together. Yippee!!

I’m really itching to redecorate my house for Christmas; my Dad will be coming to join us for Thanksgiving and he enjoys Christmas decorations so much, I might just decorate a little earlier this year so that he can enjoy it when he comes for our feast. 🙂


~~~Well, it is a week later and I’m amending this post just a bit, just as I’ve amended this wreath…haha.  My color pallet for my family room is going to be burgundy and gold.  Then why (you might ask) did I put that bright red plaid bow on a wreath that would be an integral part of that room’s decor? Because I lost my mind for a moment? Because I *thought* it would blend in? 😉 😉   Shoot, I was losing sleep over this little issue, so I couldn’t stand it any longer.  I made a new bow out of 2 different ribbons (burgundy and gold) because I couldn’t find any ribbon that I liked enough. I added a couple of poinsettias, some more gold berry beads, and a couple more ornaments.  I feel much better now and I’m sure I will sleep much better tonight. 😉

Here is a before and after comparison:

Image (1)

And this is the wreath that will hang on the mirror…I loved that red plaid ribbon, but not enough to completely throw off my entire plan for the room. 🙂

IMG_2325

Until next time, y’all take good care! ❤

**In crafting there are no mistakes just unique creations**