Good Afternoon!
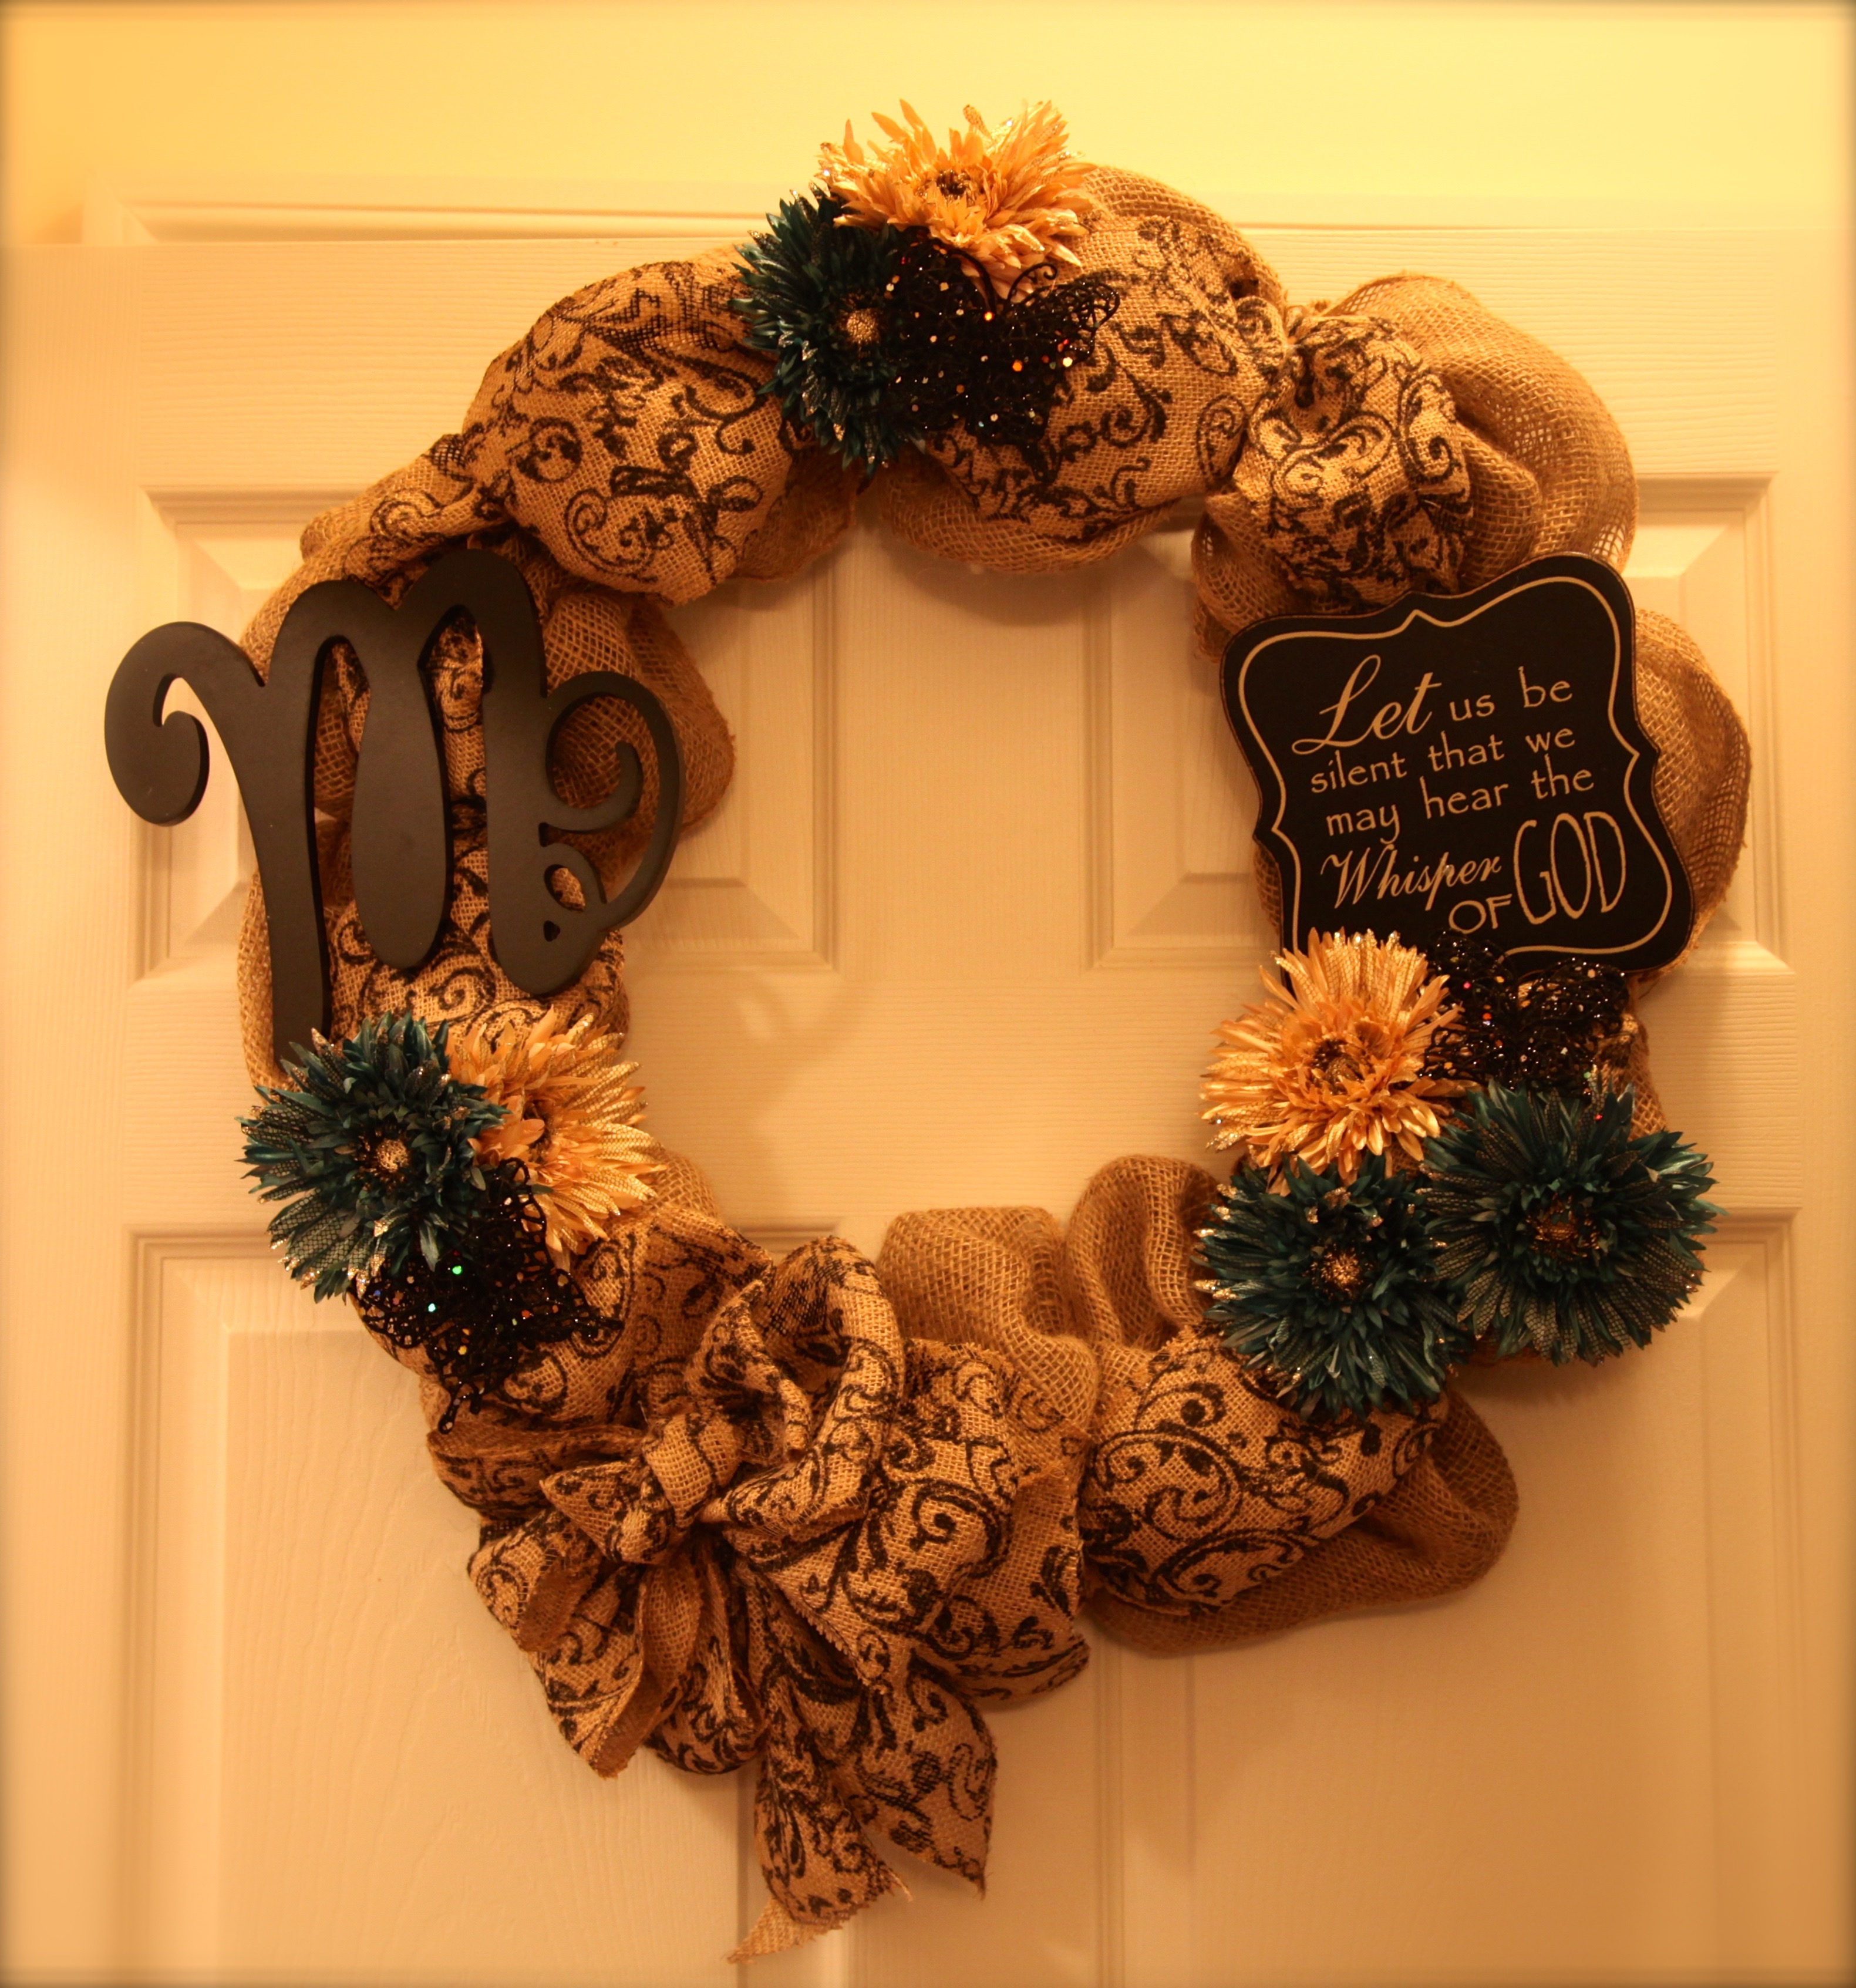
As is typical of me, I woke up one morning with the idea in my head that I wanted to make something. What I chose to do on that particular day was to make my aunt a burlap wreath for her front door. The only problem with that was that I had never tried to make a burlap wreath and I had no idea where to start. So, I took to google search (one of my best friends…lol) and I started reading and watching tutorials; this gave me the basic idea of how to, at the very least, *start* to make my wreath. I will admit that I spent a bit too much time searching “how-to” blogs and videos and not enough time trusting my own abilities to accomplish my goal on my own. So, I put my computer down, got in my car, and headed to my local go-to craft store Hobby Lobby. We also have a Michaels and an AC Moore here in our town, but I am usually successful at finding exactly what I need to bring a project to fruition at Hobby Lobby. So, anyway, I started walking through the store collecting my needed supplies. When all was said and done, I was successful at making my aunt a wreath and then I made my cousin one too; I gave them to them for Christmas last year. But, I wasn’t exactly satisfied with those two wreaths even though my aunt and cousin loved them and were so sweet with their compliments regarding just how much they loved them. Here are pictures of those two wreaths:

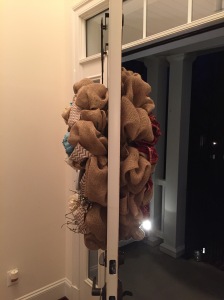
I decided I would try again (I am nothing if not determined to try and try again until I’m satisfied with the end result) and so I set myself to the task of making a burlap wreath for our front door, I wanted it to be quite large because our home sits pretty far back from the road and I wanted to be able to see the wreath on the front door from our cul-de-sac. So off to Hobby Lobby I went yet again and I began to gather my supplies. The first thing I picked up was a 24″ metal wreath form with the twist ties already attached. I then collected all of the other things that I thought I might need to make my wreath. I will try my best to put into bulleted form how I constructed not one but 2 burlap wreaths for my front door…yes, I said 2…lol…I made one for the inside of the door too. We found a wreath hanger that we could manipulate over the door that provided a hook on either side of the door. I was very happy with what I ended up with and I have made many other burlap wreaths since, so many that my hubby has made me a wreath hanging station in our basement. In another blog, I will post a bunch of pictures of the burlap wreaths that I’ve made, some for my own use, a few for gifts, and one or two for friends who sweetly asked me to create one for them.
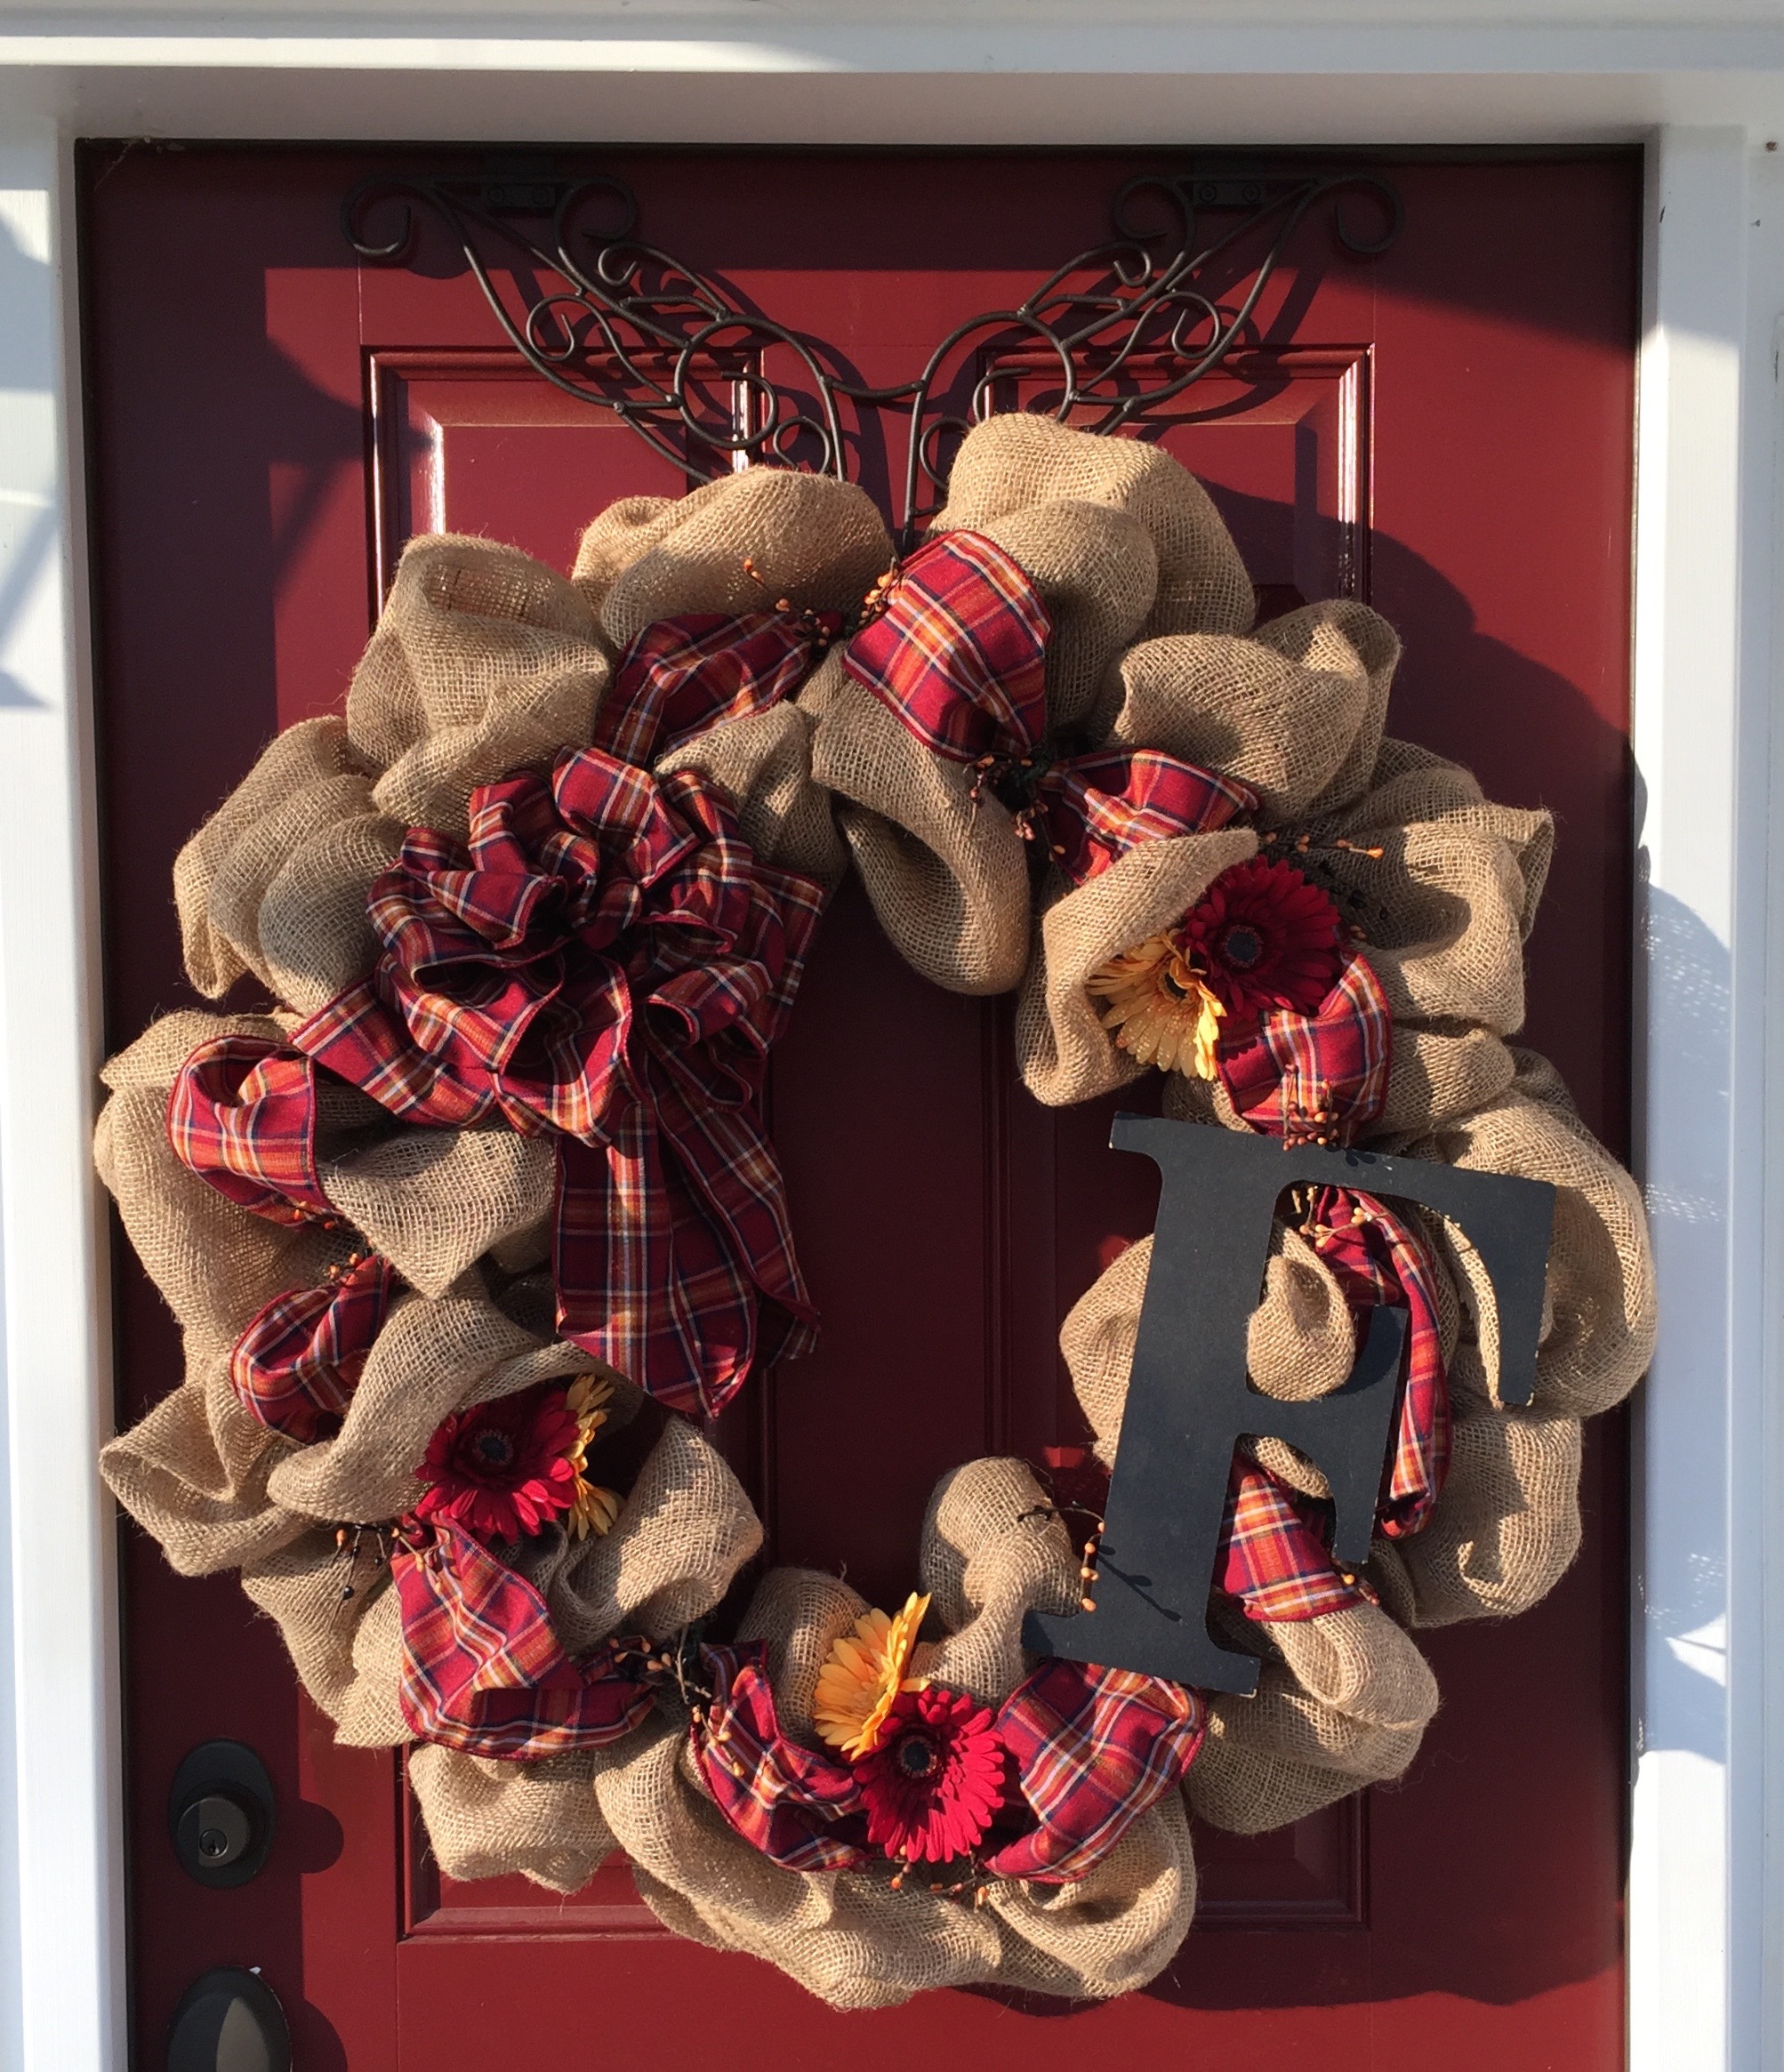
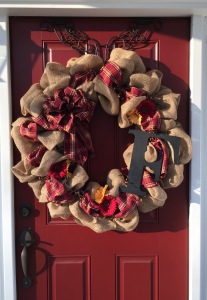
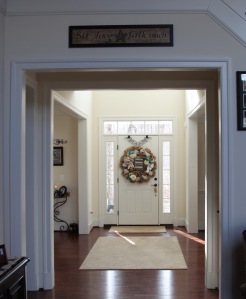
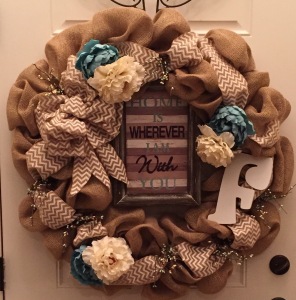
The two specific wreaths featured in this blog are wreaths that hang on my front door at times of the year when we are not celebrating a Holiday or for times when I am not using a specific seasonal decor…in other words, these are my “everyday” wreaths. I switch out the outside front door wreath A LOT… 🙂 Here are pictures of the finished wreaths:

Here is how I put all online tutorials out of my head and created my own version of a burlap wreath:
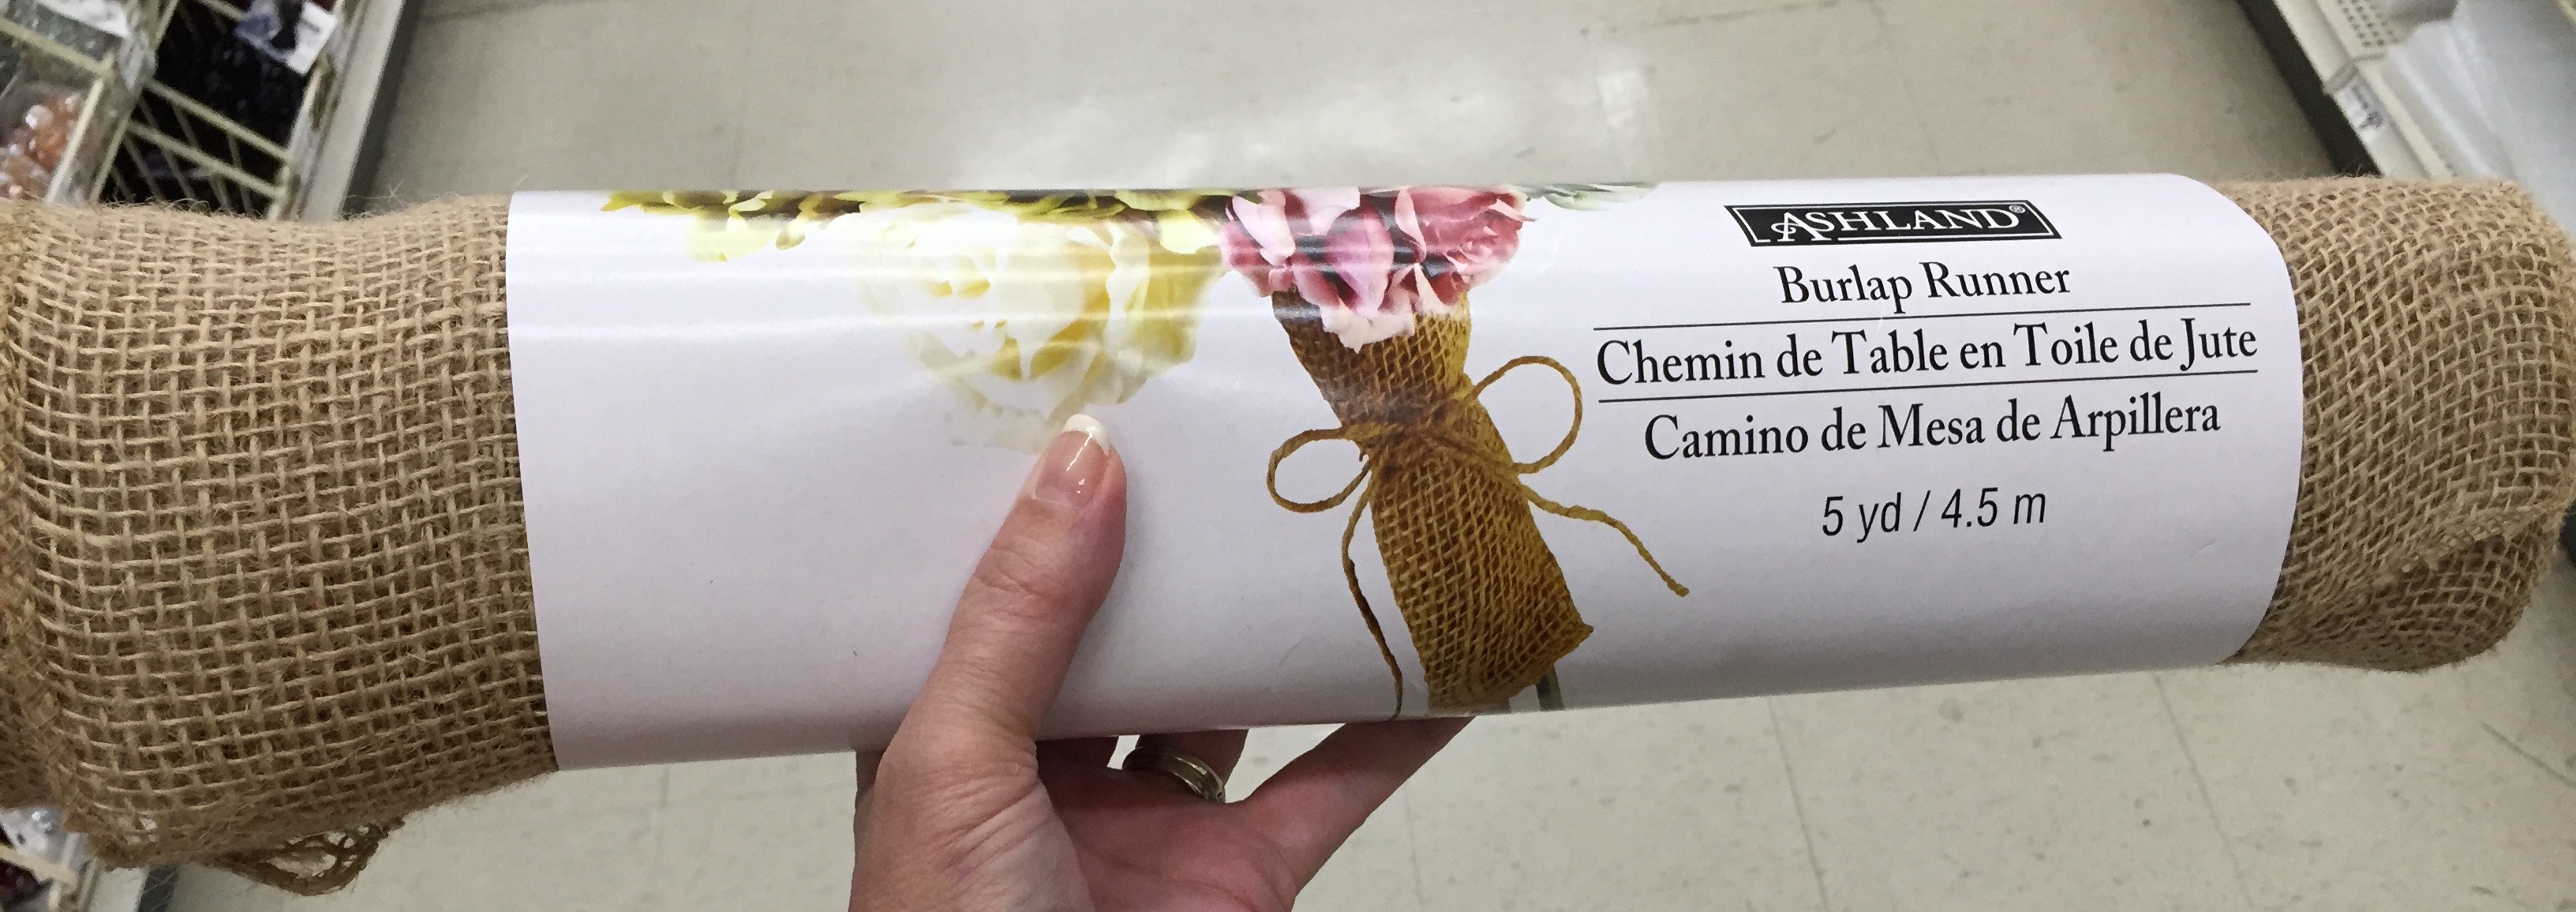
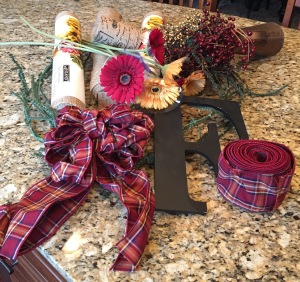
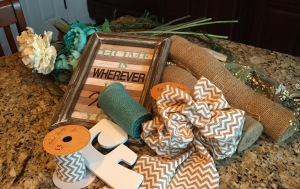
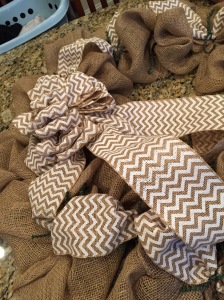
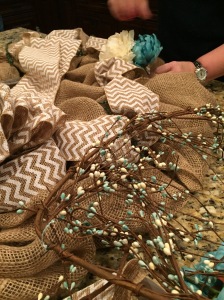
*Supplies needed for a very large burlap wreath: 24″ wreath form with the twist ties or pipe cleaners already attached, or you can attach your own pipe cleaners at regular intervals around the form–not hard, 2 rolls of burlap–for these extra large wreaths, I used burlap “runner” rolls, a coordinating colored burlap or ribbon, any accents that you might like to add such as pip berries, silk or dry flowers, wooden words, wooden or metal ‘pictures’, wooden or metal initials, seasonal decor, and so on…Let your imagination run wild

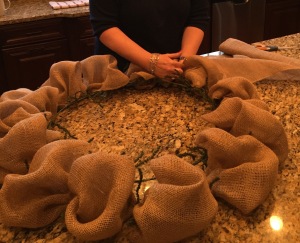
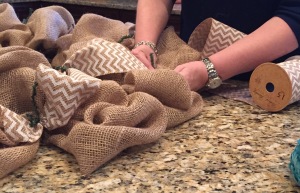
*Find a large surface with which to work and lay out all of your supplies
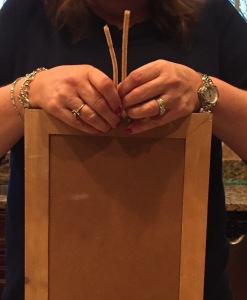
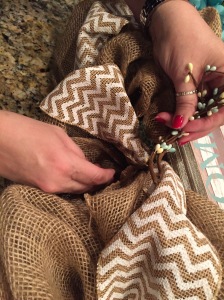
*Plug in your hot glue gun–I try not to use too much glue on these types of wreaths, but I do glue pipe cleaners to the backs of pictures and/or other accents (wooden initials, pictures, etc…) so that I can tie them onto the wreath frame. And when necessary, I do glue certain things into place if they just won’t stay by attaching them with the pipe cleaners
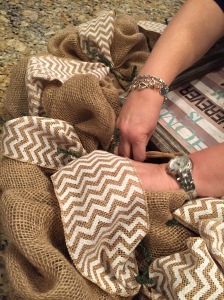
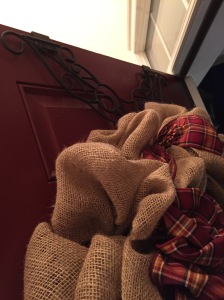
*Work your way around the wreath form starting on the outside ring gathering and catching burlap into each pipe cleaner and then moving to the inside ring and doing the same thing. I’ve seen some people online who measure the length of burlap that they put between each pipe cleaner, I do not do that, I just eyeball it and go for it. So once you have your outer and inner rows of burlap attached to the form, add your coordinating colored burlap or ribbon catching it into one of the outside pipe cleaners (by untwisting the pipe cleaner and adding it to the burlap that you already caught) and working to the next inside pipe cleaner, then back to the outside and so on all the way around the wreath.

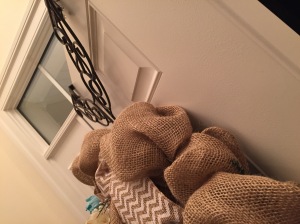
*Take a moment to glue pipe cleaners to the back of anything you might want to attach to the wreath form as you see me doing in the picture below.
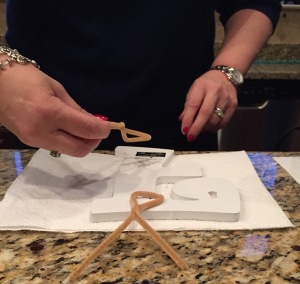
Instead of gluing, I just threaded a pipe cleaner through the metal clasp on the back of the picture
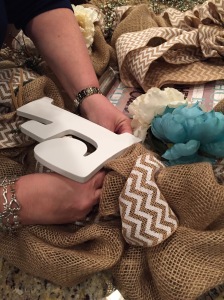
*Then start attaching anything else that you’d like to put on your wreath either via the pipe cleaners that you attached, or directly into some of the pipe cleaners (you’ll see what I mean in the pictures below–SO hard to explain). I chose slightly different things for each wreath, I chose to put our last name initial on both wreaths as well as a bow (that I made…I’ll need to do another blog about how to make a bow huh?) on both. Then I chose other specific items for each wreath consisting of pip berries, gerber daisies for the outdoor wreath to match our red door and the coordinating ribbon, other silk flowers and a wooden framed picture for the indoor wreath to match my room decor.

Here is a link for the Wreath Hanger that we used
So there you go, I was finally successful at making burlap wreaths that met with my own approval…haha. Give a burlap wreath a try! Nothing is perfect in the crafting world, that’s what makes it so much fun and unique to just you! 🙂


**In crafting there are no mistakes just unique creations**