My dear friend Karen and I have always loved to get together and do crafts, so when she posted a little YouTube video on her Facebook of these sweet little Reese’s Cup Christmas Trees, we decided that we’d try our hand at making some. A little back story about my friendship with Karen. She and I met when our daughters (2 mine and 2 hers) were in the high school’s marching band. Karen and I were very involved in the Band Parents Association and we got very close during that time; going on a plethora of trips with many talented teenagers will bring friends closer together. Also, I was the Band Parents Association’s President and she took that job over from me after my youngest graduated which ended my tenure. All of our girls are out on their own and thriving now-a-days and Karen and I have continued our friendship…I feel very blessed to have her in my life and I cherish our times together. 🙂
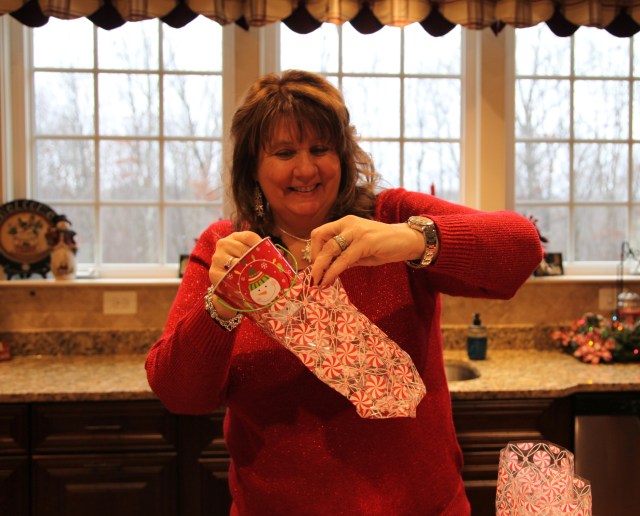
Here we are standing in front of our Christmas Tree…I’m in the red sweater. 🙂

Let me first start by giving you a little list of what you’ll need to make each of these sweet little Reese’s Christmas trees:
- 1 regular sized Reese’s Cup
- 2 miniature sized Reese’s cups
- 1- Hershey’s Kiss
- 1 tub of pre-made chocolate icing
- 1 tub of pre-made vanilla icing (we had green colored vanilla icing)
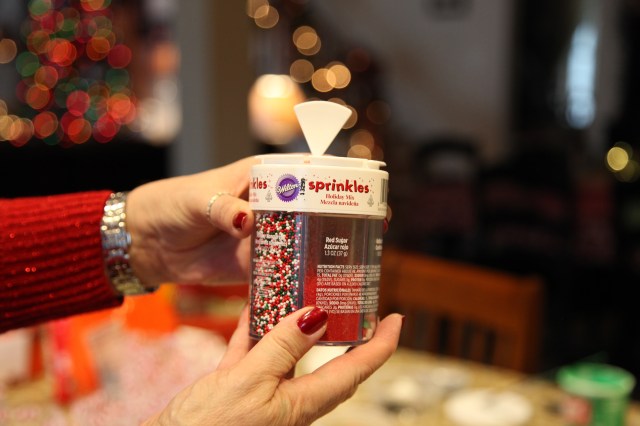
- Christmas themed sprinkles
- Piping bags
- Piping tips (I’m thinking you could also use a zip-lock bag and snip one of the bottom corners if you don’t have piping bags and tips)
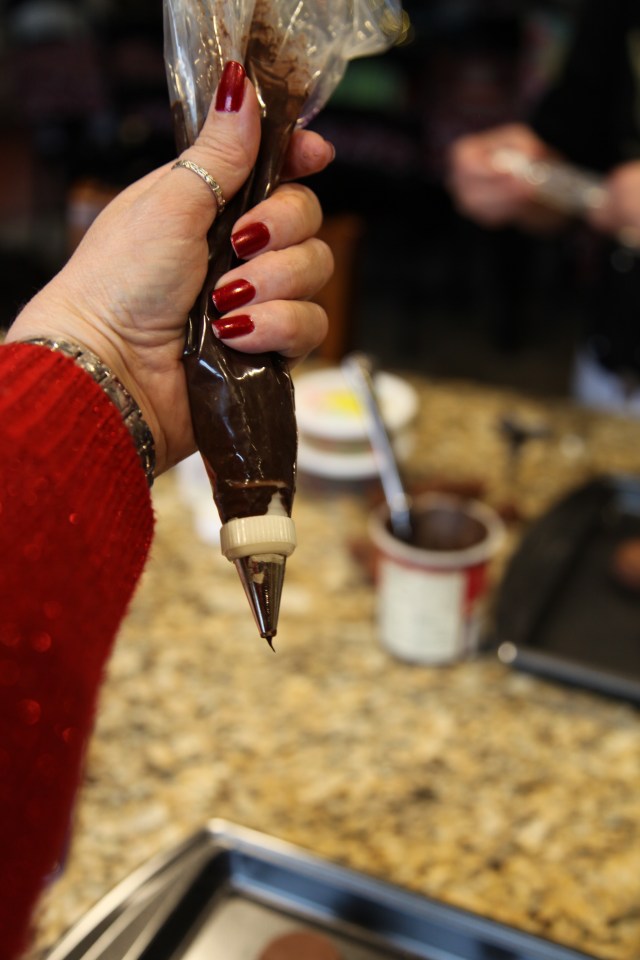
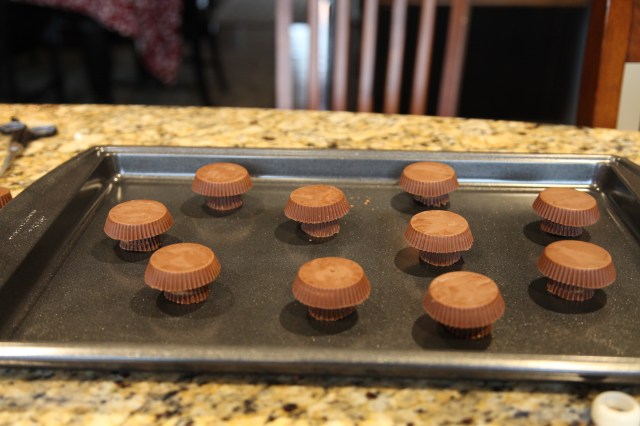
The first thing that we did was take some time to unwrap all Reese Cups and Hershey kisses. Then we filled a piping bag up with some of the chocolate icing…
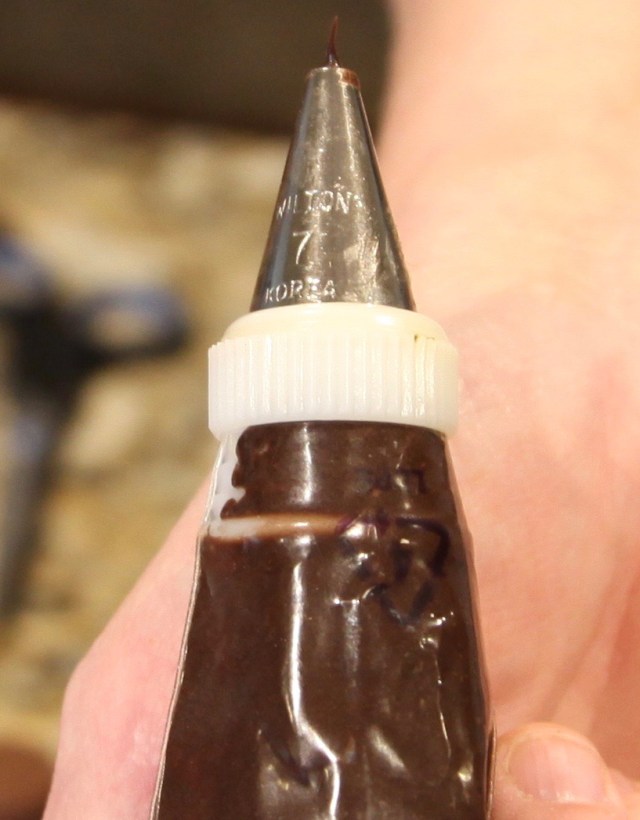
Karen owns these cute piping tips and we chose to use #7
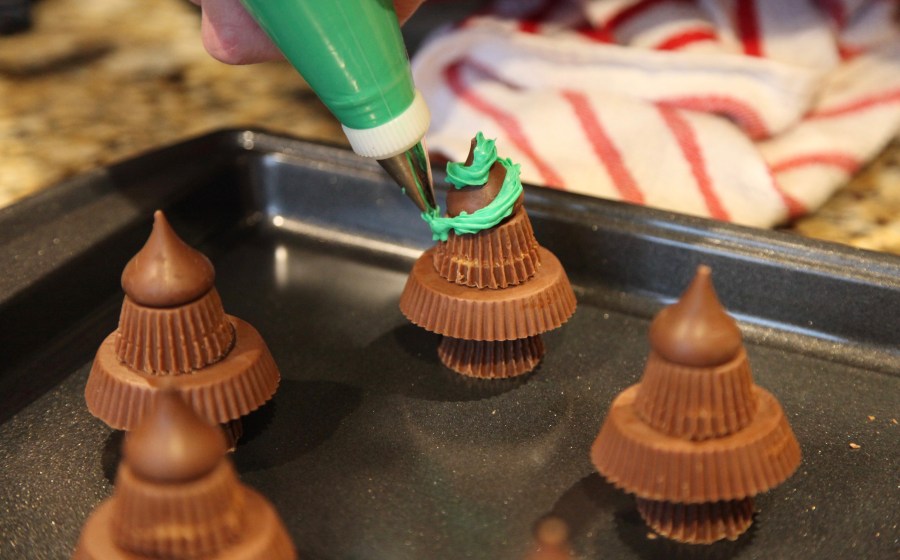
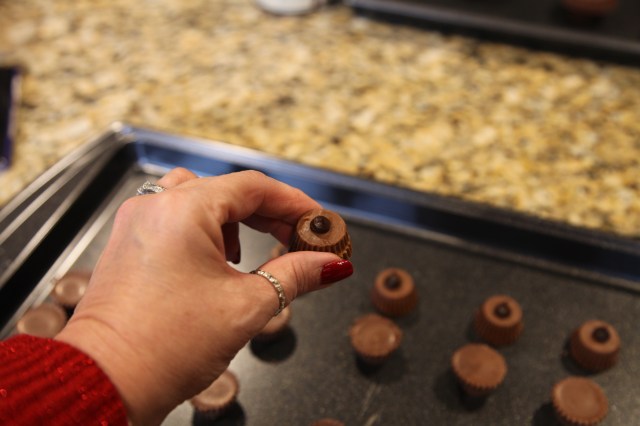
The icing would be the “glue” that would hold all parts of this little spiffy Christmas tree together. Then we just simply piped a dollop of icing on the Reese’s cups and started building the tree in this order…1 small cup, the large cup, 1 small cup, & top it off with the Kiss.
And the constructing began…


Aren’t they cute?! 🙂 Next, it was time to add the ‘garland’ (icing)…Karen loaded some green icing into another piping bag and away we went…


Next came the ‘ornaments’ (sprinkles)…I was so involved in creating that I neglected to take a picture of one completely finished Christmas tree…yeah, go me eh?!!
I decided to make up little favors (to give to my family on Christmas Eve) with my trees. I had purchased these little buckets, clear gift bags, and gift ribbon from Hobby Lobby…

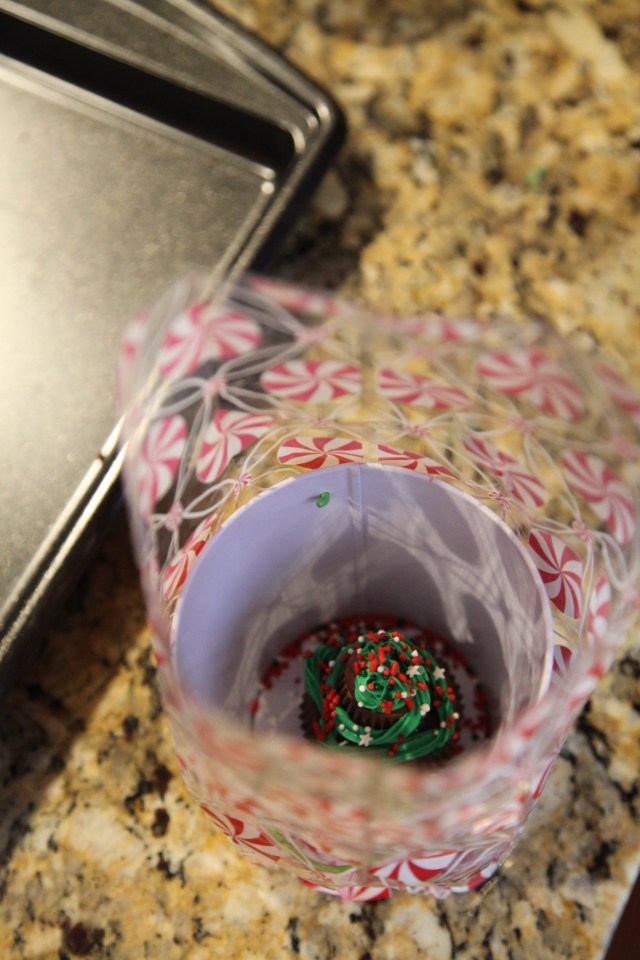
I had decorated up one of the little trees with icing and sprinkles and then I tried to place it down into that bucket…ummm…that did not work well, I had icing everywhere and well, I had to come up with another plan of action. So here’s is what I did…
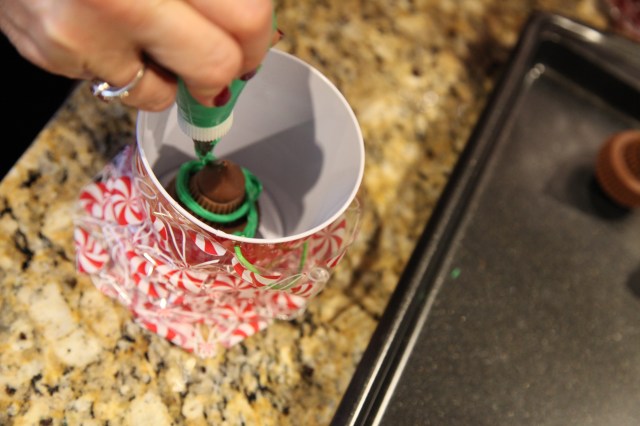
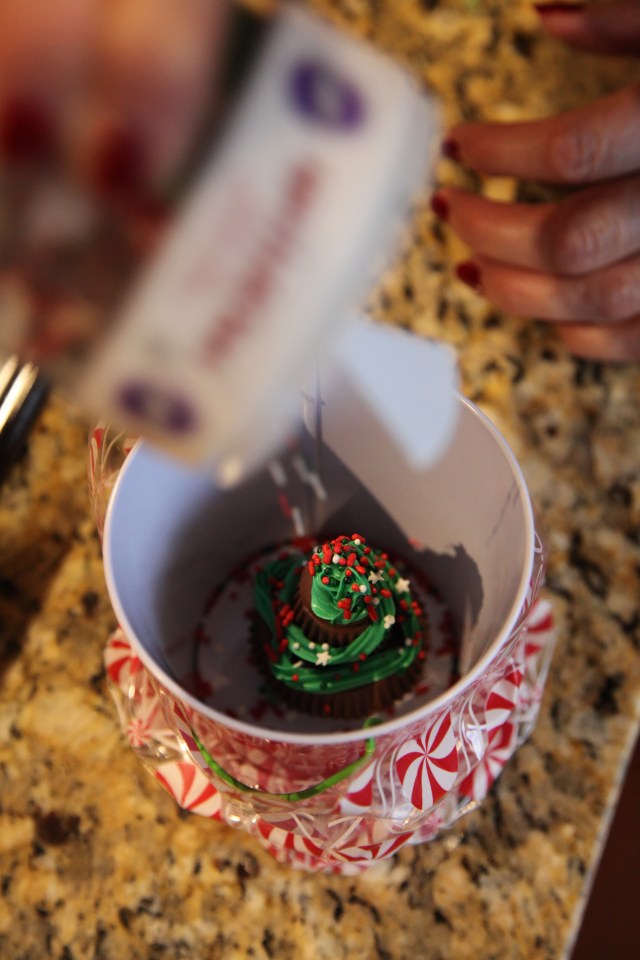
First, I placed the bucket inside the bag and snugged the bag down so that I had access to the inside of the bucket.


Then I decorated the tree while it sat inside the bucket…that took a little manipulating and a bit of patience, but I managed to get them done…

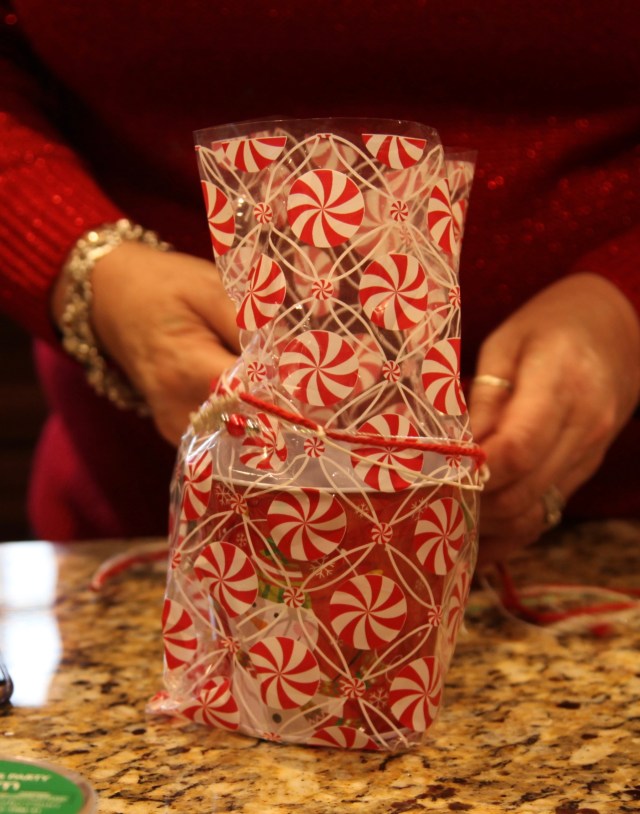
Then I pulled the bag back up and gathered it together and tied it shut with the gift trim…


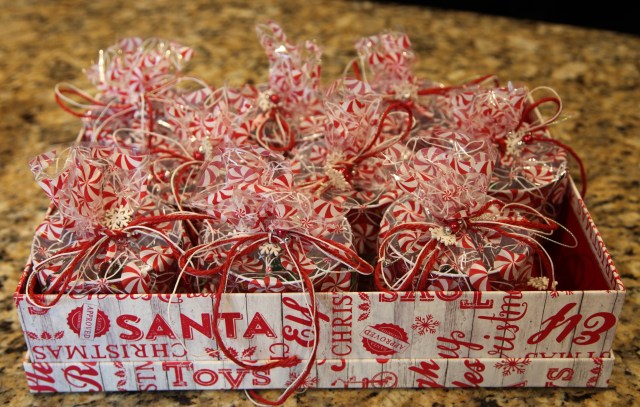
I placed all of my favors into a pretty Christmas box and actually put them into my freezer for safe keeping until Christmas Eve…I’ll take them out that morning and they should be perfect to transport home with their new owners. 🙂
So, when all was said and done, Karen and I had a very productive day creating a fun new little treat and making many fun memories to cherish. YaY!!!
Merry Christmas to all and to all a good night! ❤
Until next time, y’all take good care!! ❤
~Arlynn

Thank you Arlynn great idea to do with my grandkids
LikeLike
Thanks so much Roseanna! This definitely would be a fun and easy little project to do with your grandkids. 🙂
LikeLike
Okay ..I have never seen these created before and we love some Reese’s! Very cool!
LikeLiked by 1 person
Thanks a bunch!! They were so cute and easy to make. 🙂
LikeLiked by 1 person