I have tried something new this year, can y’all believe that I’ve really never decorated many spaces for St. Patrick’s Day?! What? Sheesh, incredibly unbelievable…haha. Well, that is not a completely true statement, I did make this deco mesh wreath for our front light post last winter.

I just did a voice over YouTube tutorial for this wreath, here is a link if you’d like to take a look at how I brought this little beauty together:
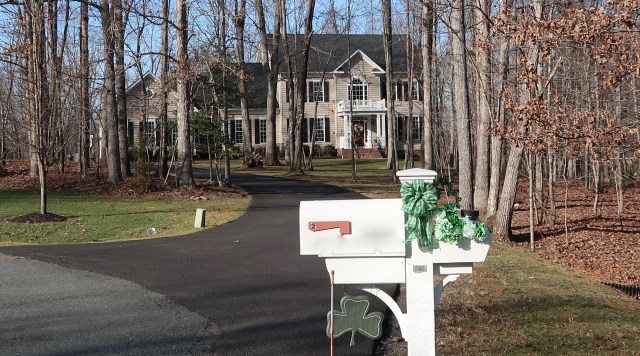
Other than that one thing, the only other thing that I did last year was to hang one of my little decorative accent signs on our mailbox and tie a green plaid bow around it. This year, I did add some green and white flowers and a shamrock decoration to the mix. Here is a picture of what it looks like this year:

Okay, so those two spaces were completed, and I knew that I didn’t really want to decorate up the inside of the house—I’m waiting for Eastertime to do a tiny bit of redecorating for that lovely Holiday, not wishing my life away again, but, I’m looking forward to the bright and pretty colors that comes with some Eastery decor.
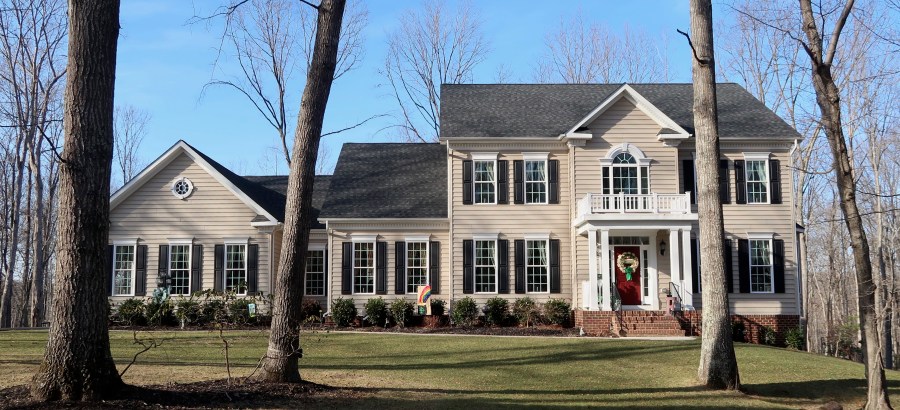
Okay, so now that that decision to not decorate inside was made, I set to the task of doing a little something more with the outdoor spaces. The first thing that I did was to make a cream and green burlap wreath for the front door.
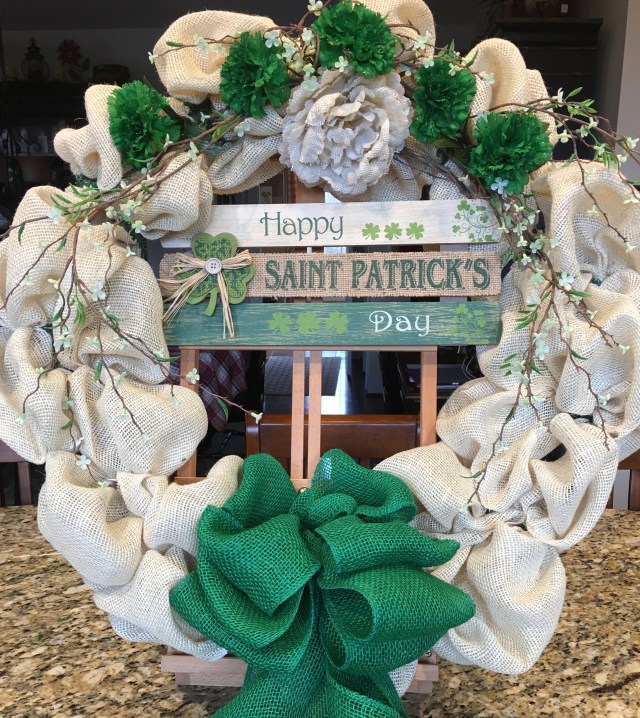
And get this, I came up with a spiffy idea regarding this wreath. I decided I didn’t want to use any glue on it because my plan is to remove the green/St. Patty’s day accent pieces leaving the cream burlap in place and then adding Eastery accent pieces making it so I get two wreaths out of one so to speak. Here is a little video I made for my YouTube channel in which I describe and show you what I mean:
And here is a video tutorial (including a craft bow tutorial) of me making that St. Patrick’s Day cream and green wreath:

And here is the supply list for that wreath:
- 24″ Metal Work Wreath with the chenille ties already attached
- 1 Skein of Cream (or Off-White) Burlap
- 1 Roll of Green Burlap Ribbon
- 1 Large Cream Burlap Flower
- Green Wispy Flowers
- Green Carnations
- Tooth Picks (wait till you see what I used those for…;) )
- Floral Wire, Wire Cutters, Scissors, & One Pipe Cleaner
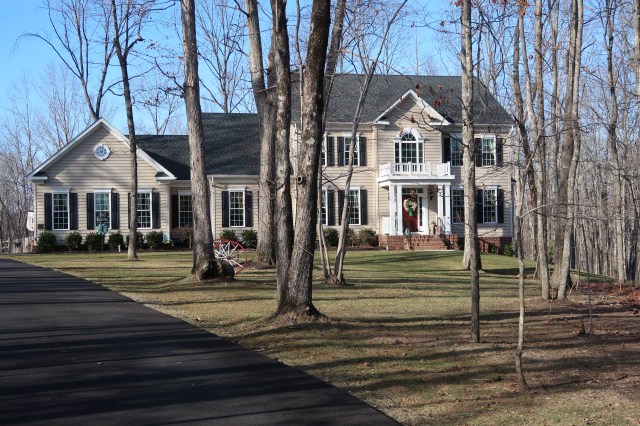
All righty, now that I had my front door wreath taken care of, I turned my attention to the other accent pieces that I wanted to add to the outdoor spaces. So I went to our “And That” store to purchase some things that I would use in my little ‘red’ wagon that sits on the front porch.

And here it is in the evening:

And here is my video tutorial showing you me shopping for all of the outdoor decorations and then explaining my haul:
And finally, here is my video of me getting all of my decorations in place. 🙂
Here are some close up pictures of the finished product. I am completely thrilled with how everything turned out–even that plastic tablecloth that I got to go into the wagon, it worked out perfectly. 🙂


Next up, I’ll be waiting patiently until it is time to decorate for Easter–I didn’t get to do that last year because we were on our Hawaiian cruise…so I’m looking forward to doing it this year.
Always remember:
**In crafting there are no mistakes, only unique creations**
Until next time, y’all take good care! ❤
~Arlynn ❤
