I cannot express to y’all just how much I love lanterns; they provide a wonderful basic piece with which to create so many pretty groupings. I use them to accent my decor inside and outside as well. I felt so fortunate when I stumbled upon the lantern that I will be highlighting in this post; actually I own two of the exact same lanterns and I purchased them in two different local craft stores, unfortunately, I cannot find these lanterns anywhere online or I’d leave y’all a link…my sincere apologies… <sigh>. I buy my share of lanterns in places like Hobby Lobby, Home Goods, and Michaels, all three stores usually have a wonderful selection and I can almost always find one on sale. I use them in several different ways; some for centerpieces, some for accents in groupings, and some for side or accent tabletop decor. For the purposes of this post, I am going to focus on this one type of lantern and show you how I use it to create my kitchen table centerpieces.
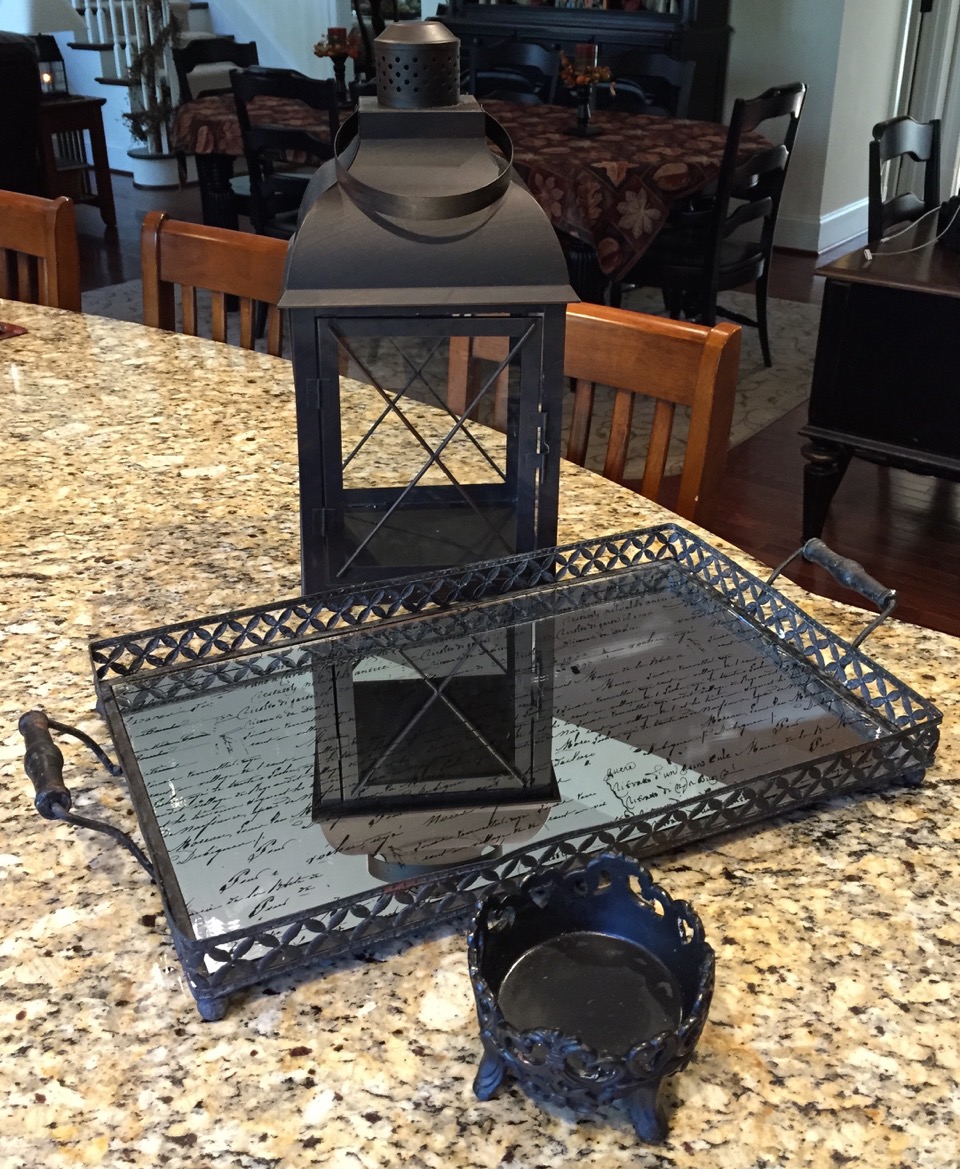
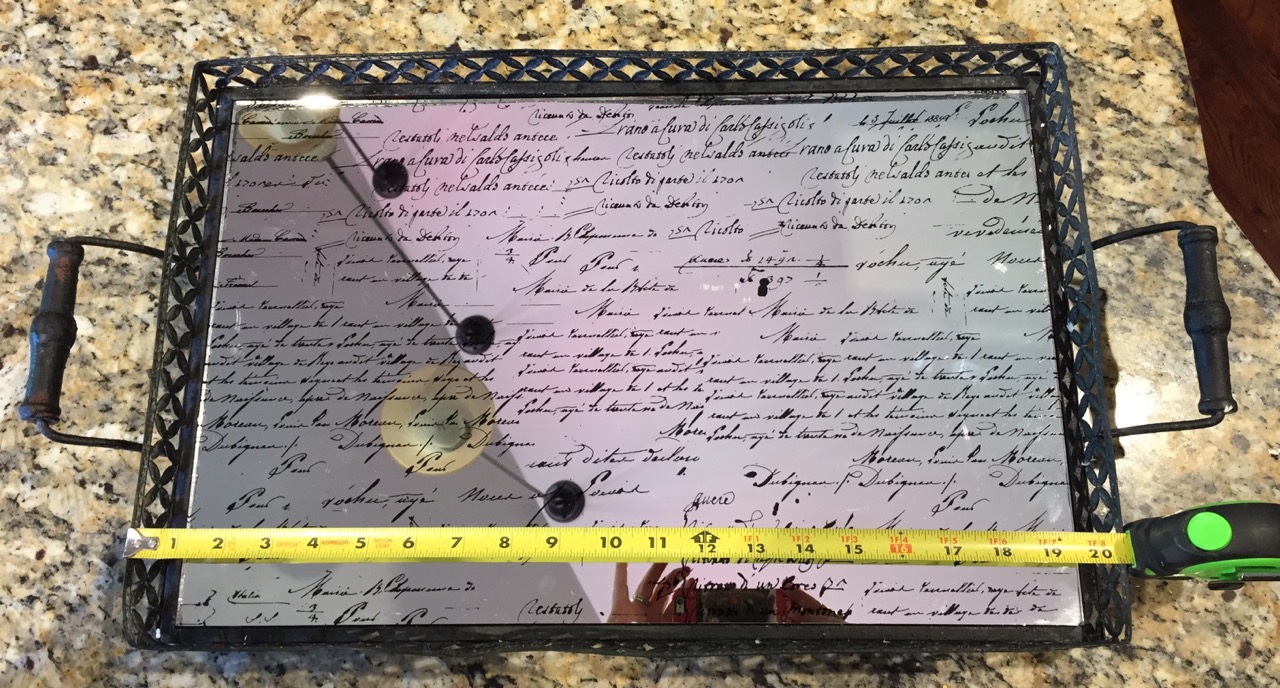
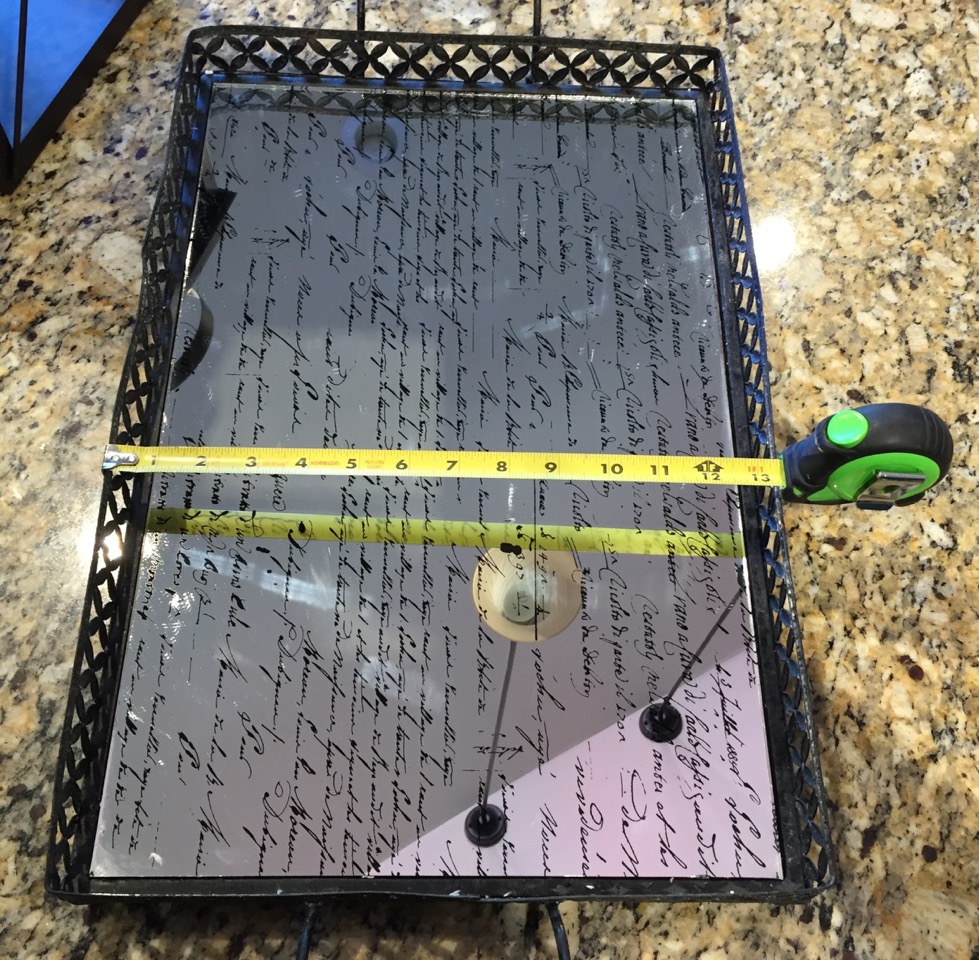
I will start with the very first lantern centerpiece that I created; last January. In addition to the lantern, I’ve used a metal mirrored tray, and a black candle holder as the anchors of every one of the centerpieces. Here is the lantern, (it is metal btw), I’ve measured it for you so that you can see that it is quite large, I love to have a big centerpiece on my kitchen table, I’ve also measured the tray for you:


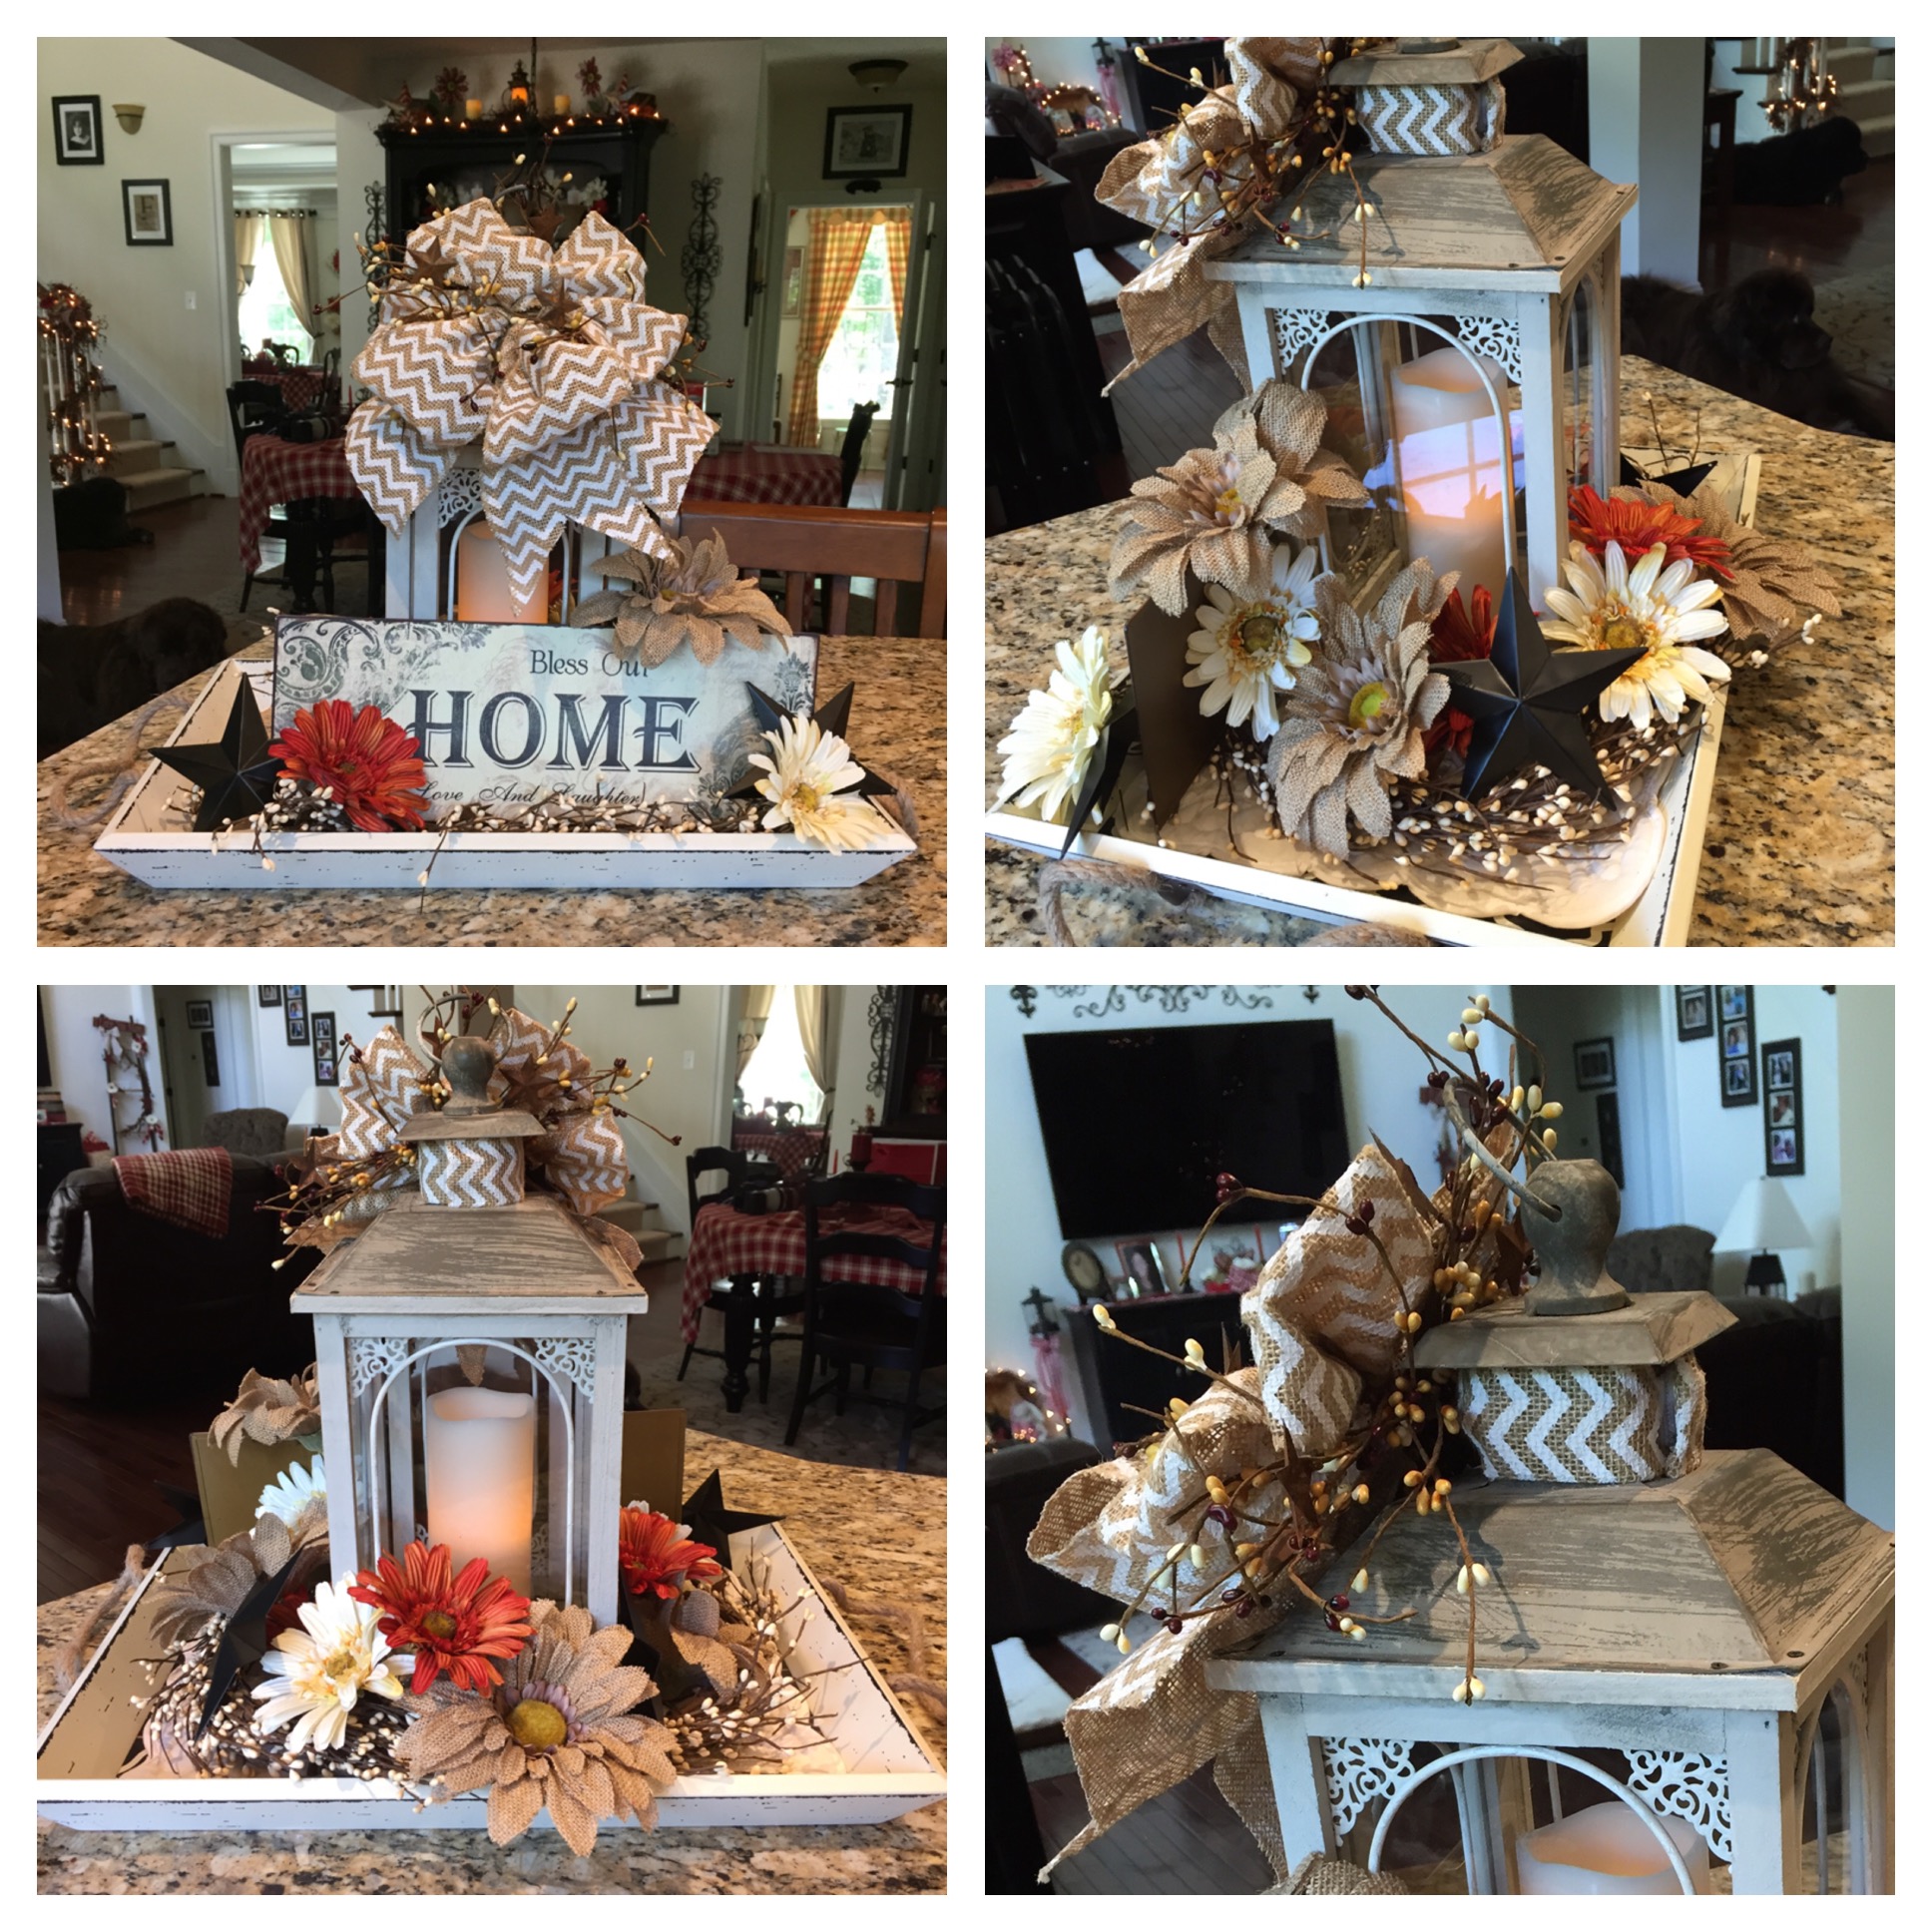
The first thing that I did was to place the candle holder and a battery operated candle inside of the lantern, then I started to build the surrounding decor. I realize that gerber daisies are more of a Spring flower, but I love them so much and I found some made out of burlap, so I went ahead and used them along with a few burgundy and gold ones, and I added a resin cream colored daisy at each corner as well. I nestled all of the accent pieces in a bed of pip berries–I used a pip berries garland that matches my stair decor highlighted in my Staircase Railing Ideas blog post. OH, btw, I did cut a section of pip berries off of the garland and I wrapped it around the candle holder inside of the lantern before I started to create the surrounding decor. (I plan to give you a basic step by step “how-to” below):


That centerpiece stayed up through the winter months until it was time to switch out the centerpiece accents to match my Easter decorations. Here is what I came up with:


As you can see, I used the very same lantern, tray, and candle holder…and I actually did use the same pip berries garland as well. I changed out the battery operated candle and the flowers. I purchased the tablecloth, the plates, and napkins at our local Home Goods store. I made the little napkin rings as well, I chose a pretty ribbon and tied a bow around the napkin and then hot glued little flowers to the tips of the bow…easy peezy. 🙂
A close up of the Easter lantern:

After Easter, I simply removed the “Happy Easter” words, but I did leave the rest of it alone until it was time to switch things out for the family reunion/summer centerpiece:

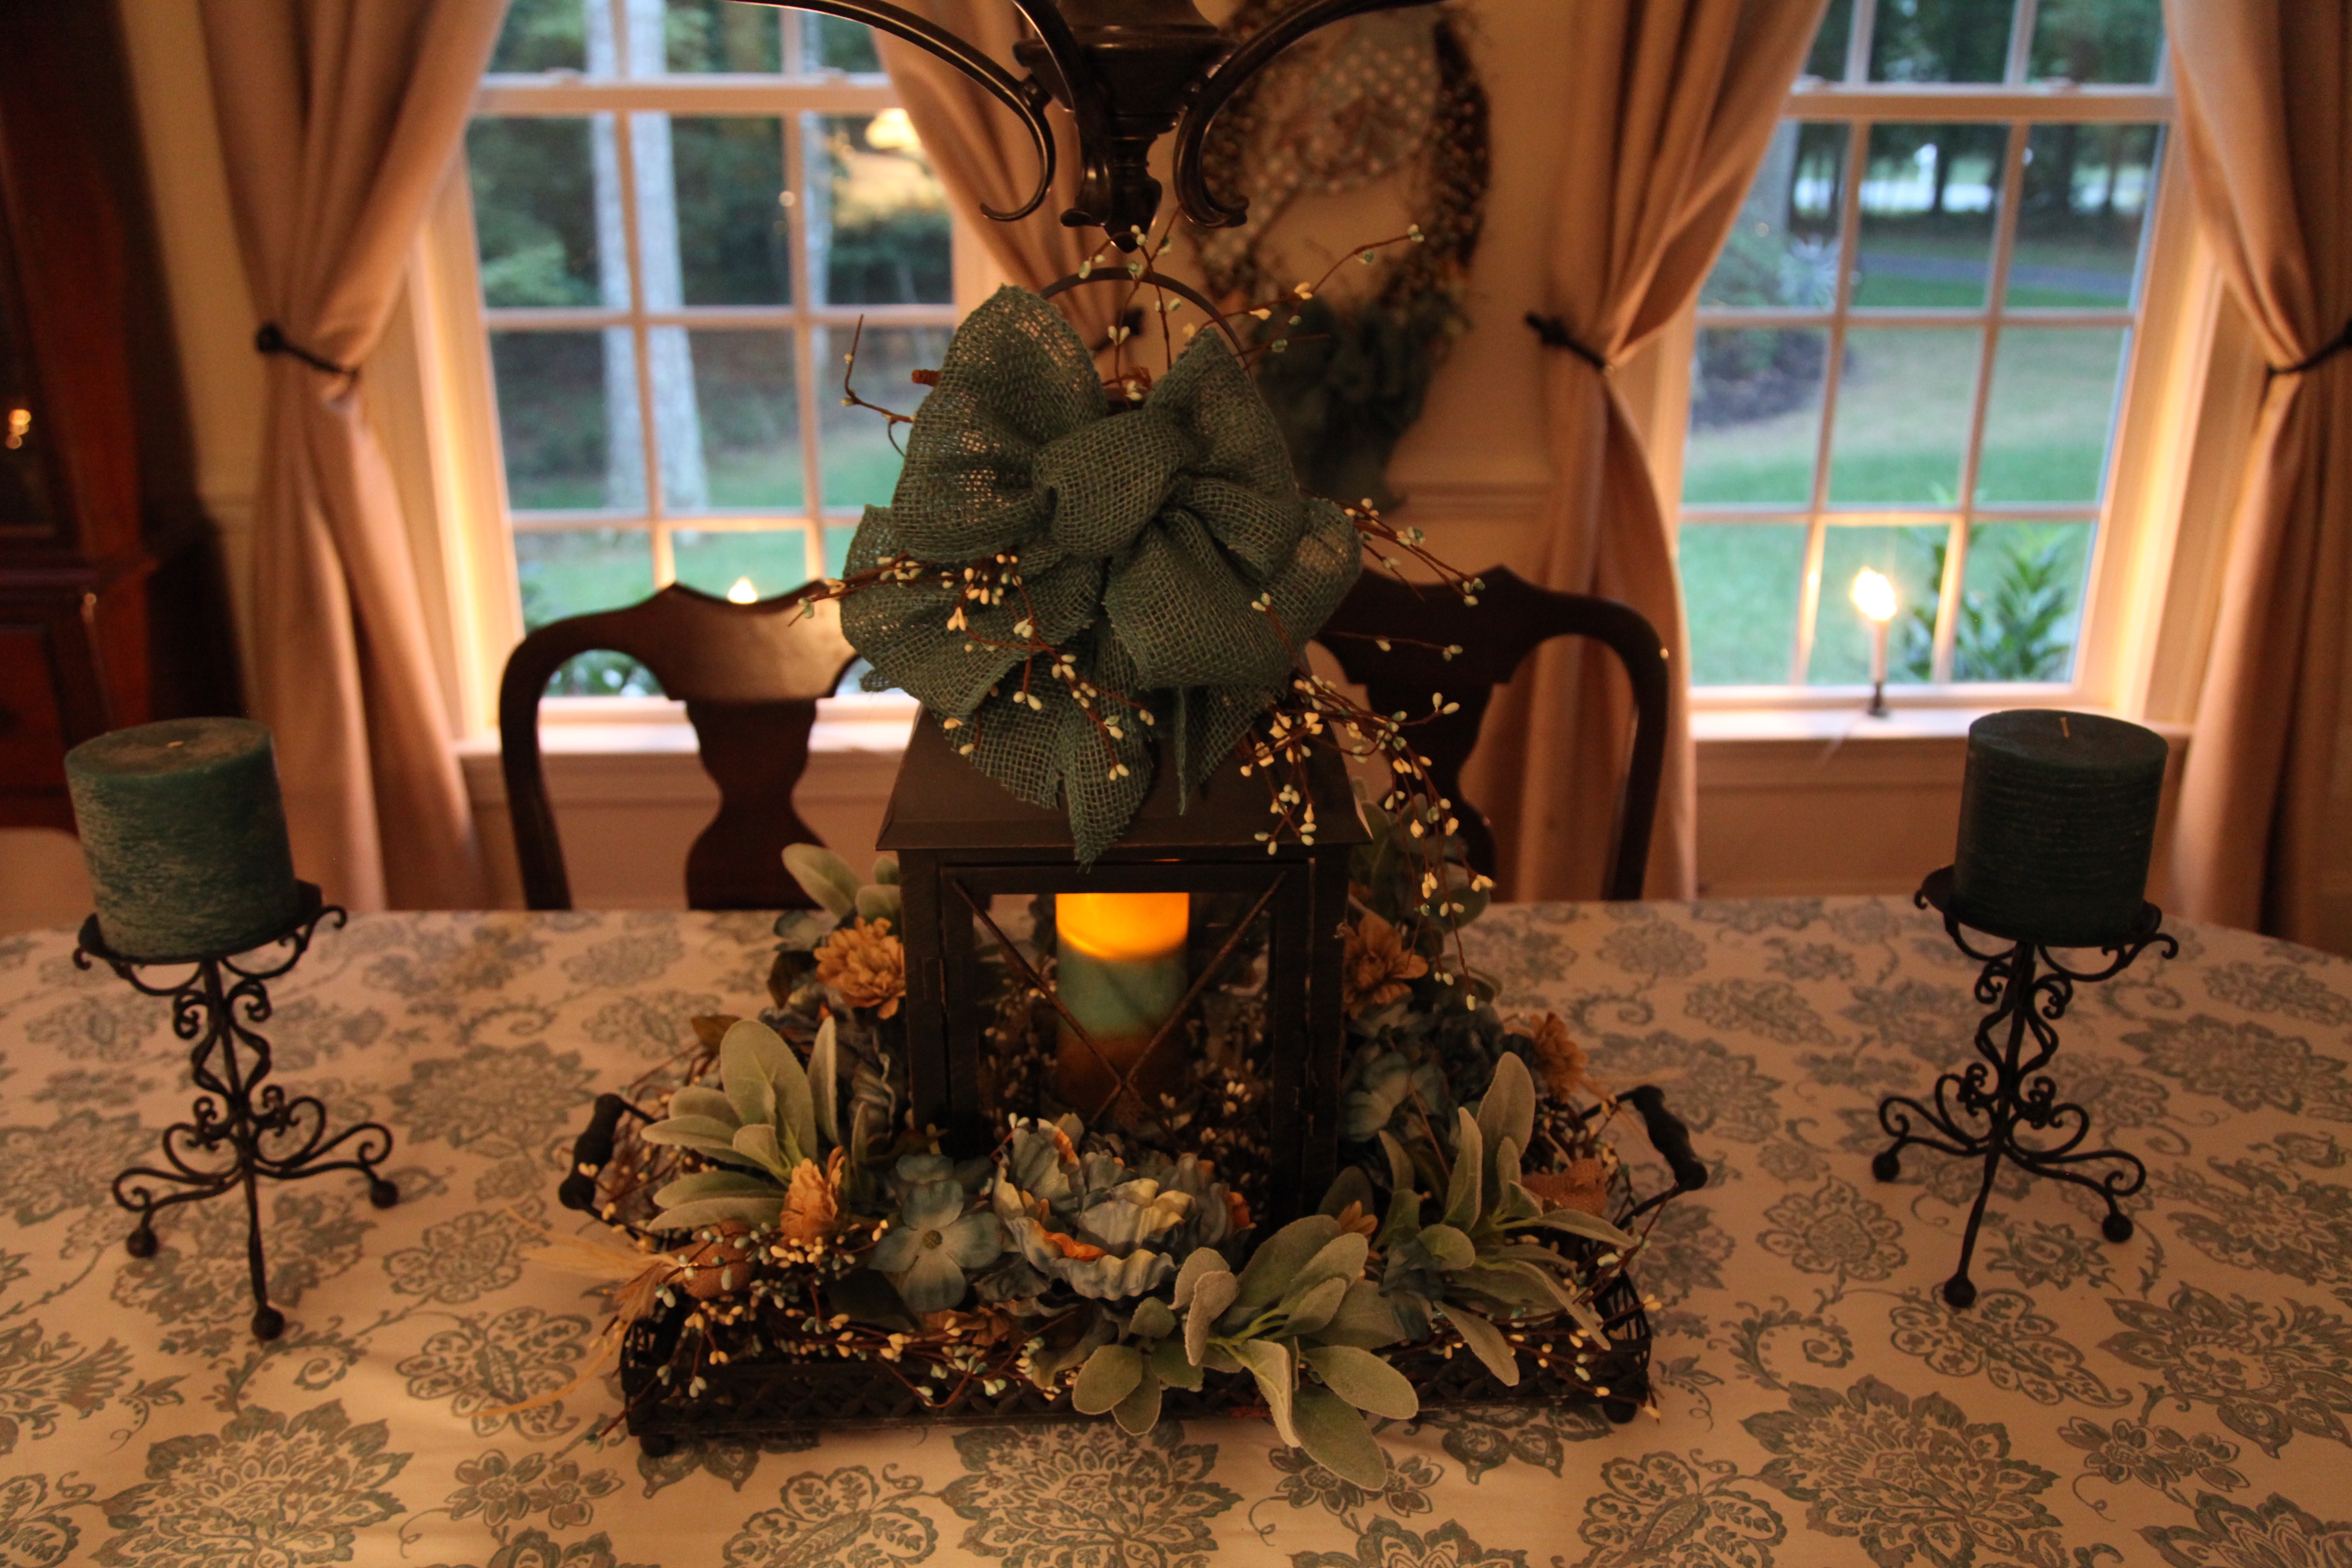
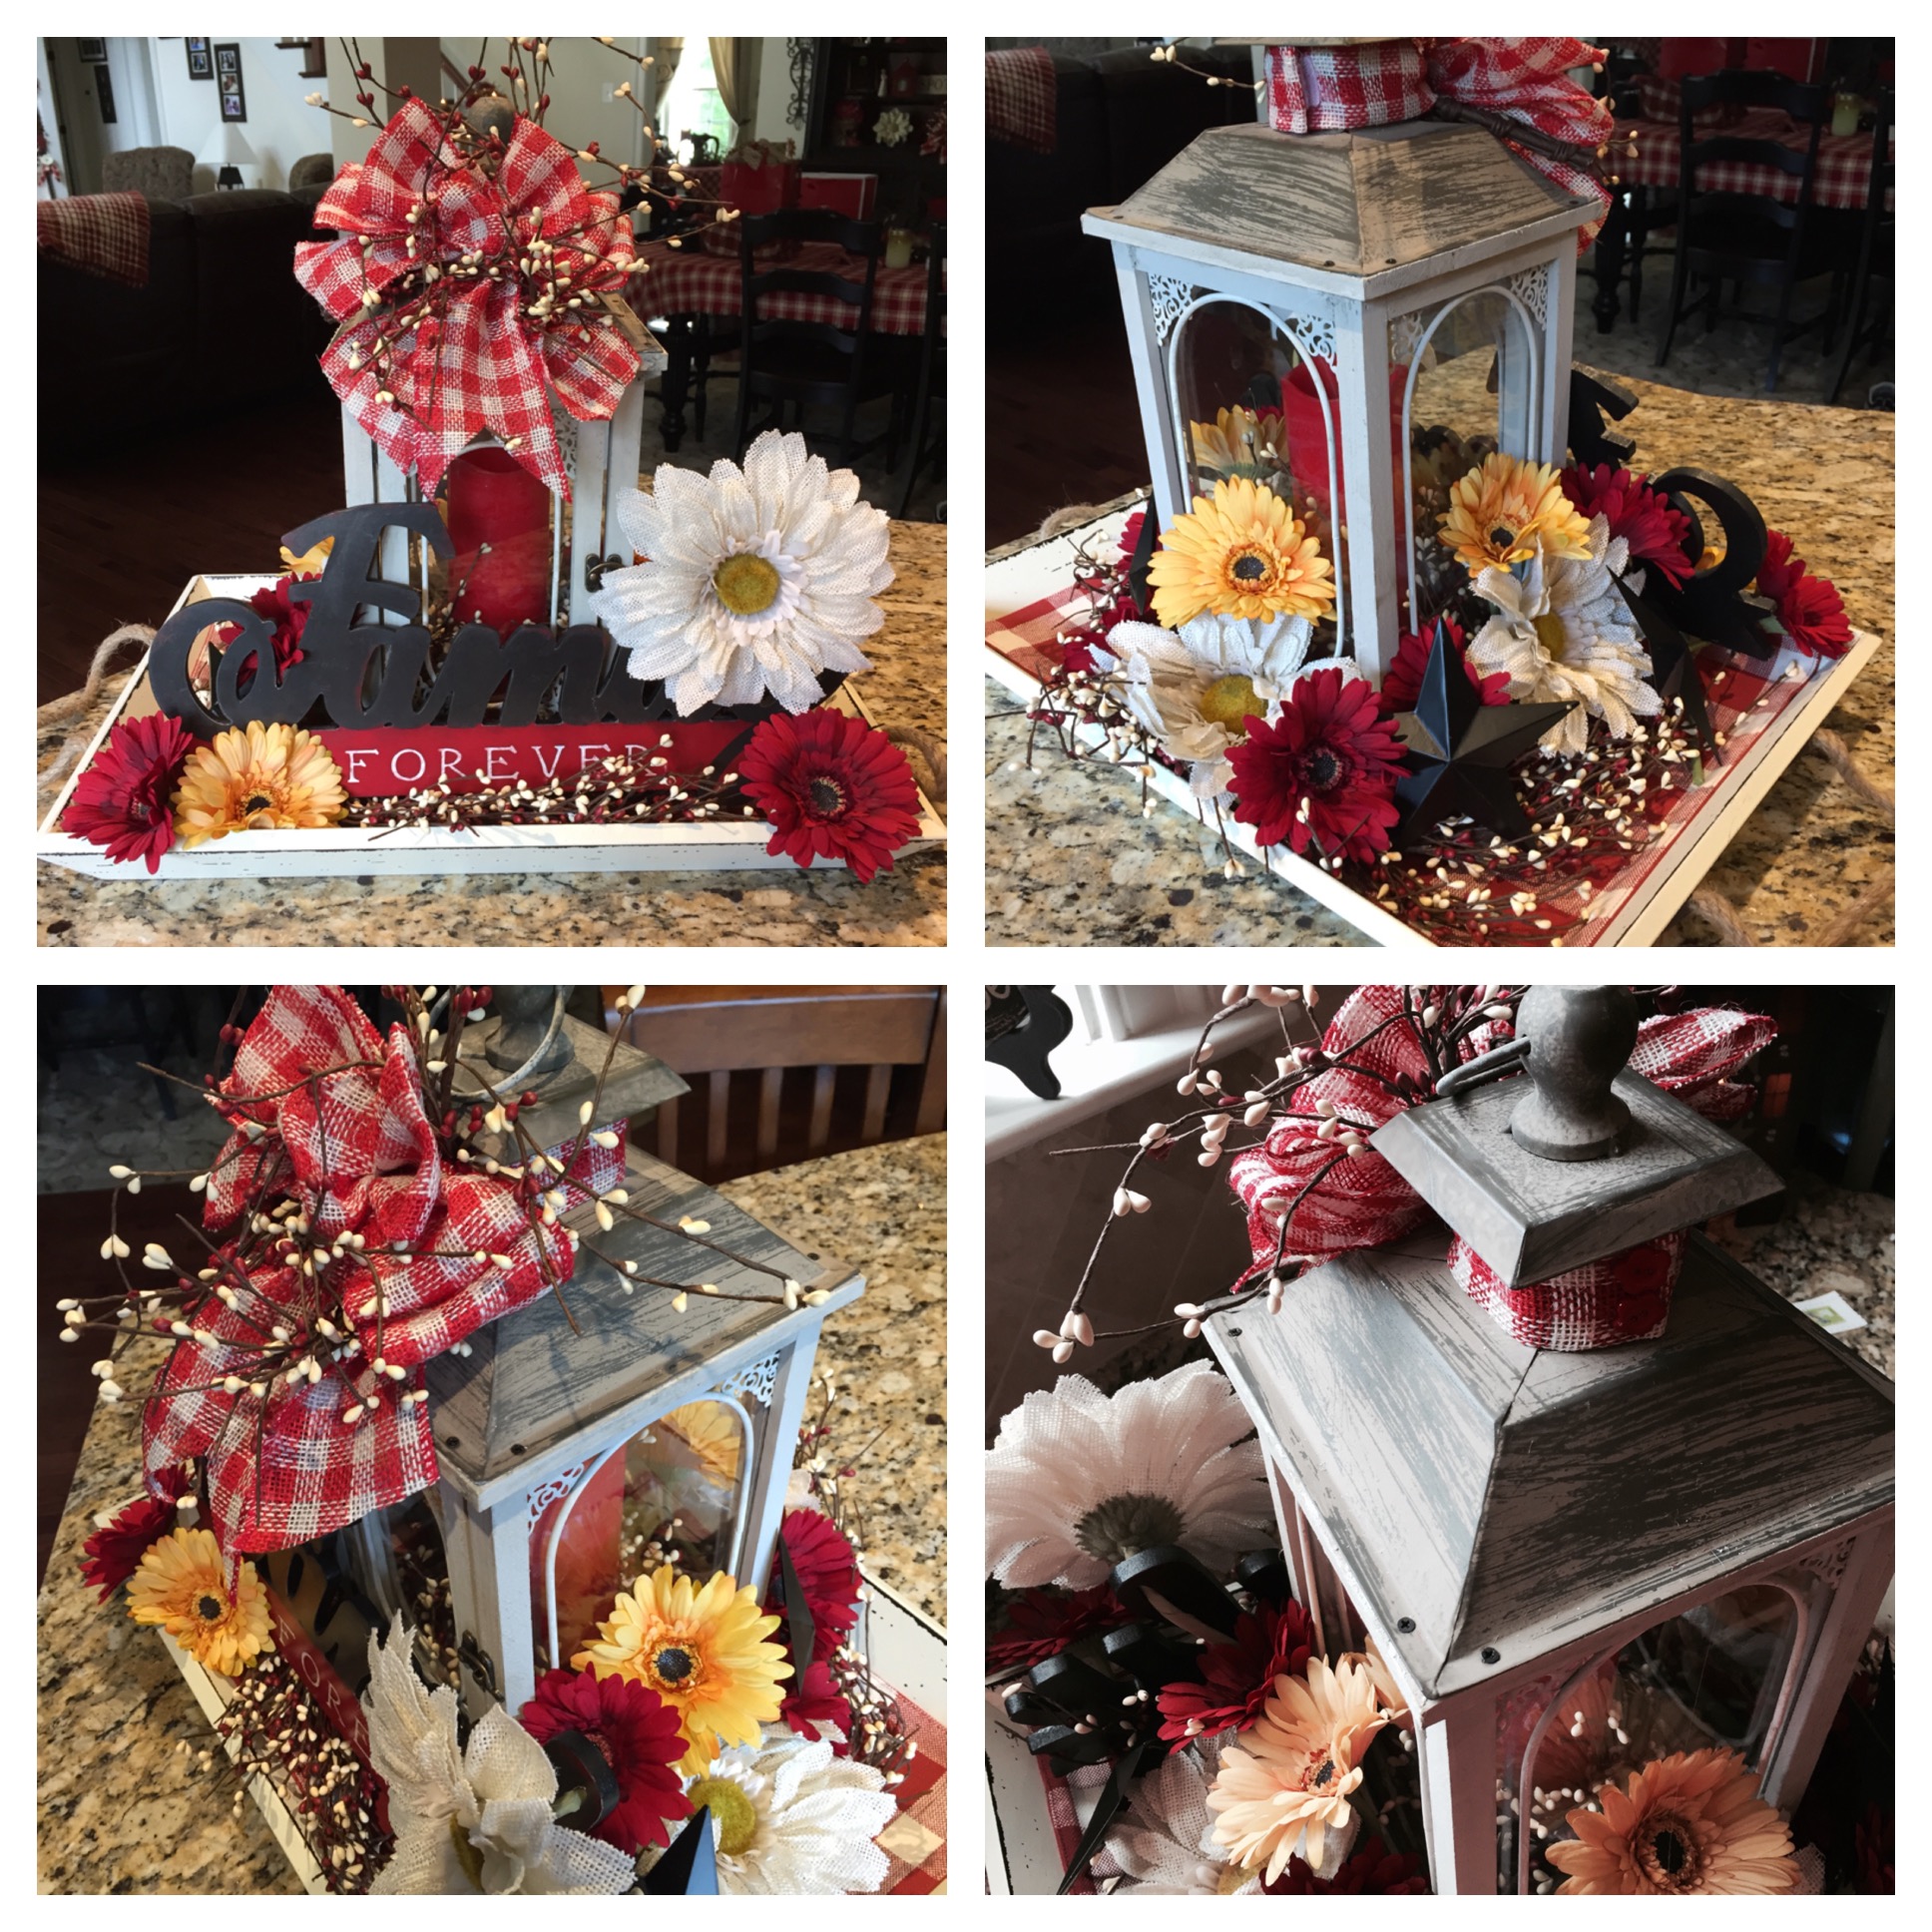
I changed out all of the decor accent pieces for this centerpiece and I created and added a top bow/pip berries piece which I’ve found that I love now. I feel as if it pulls it all together. I used a red and white pip berries garland (trimming a section off to go inside the lantern and another small piece that I added to the bow topper), gerber daisies, a “Family” wooden word sign, and I threw in a couple of burlap birds for something a little different.

That centerpiece stayed in place until it was time to decorate for Fall. Now, I will walk you through how I created that Fall centerpiece…Here goes:
Here is the lantern, tray, and candle holder. I used a new pip berries garland for this arrangement and again, I trimmed off a section so that I could wrap it around the candle ring inside of the lantern and another small section to be used on the bow topper:


Next, I wrapped the rest of the pip berries garland around the lantern:

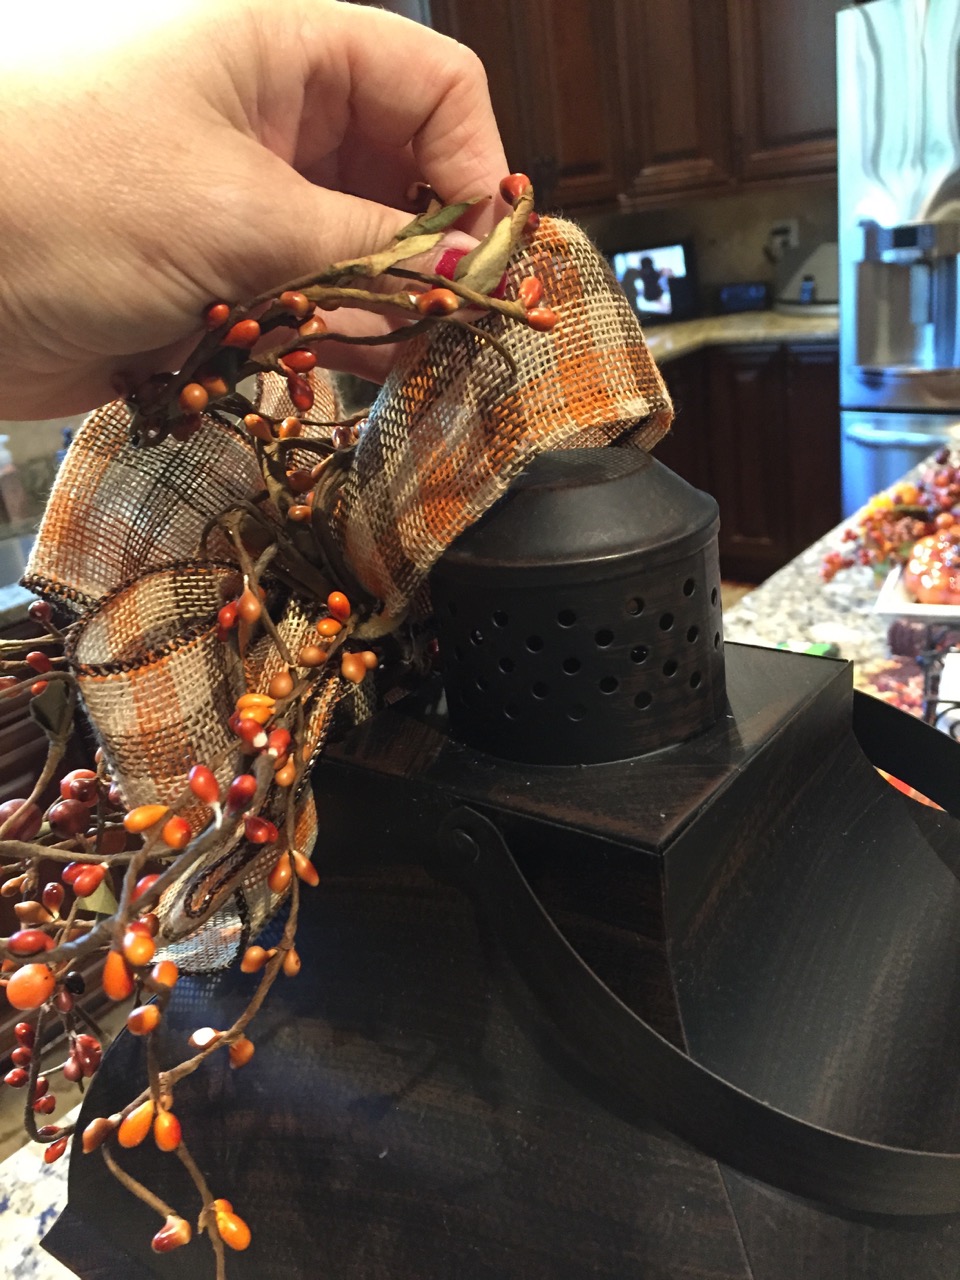
Then I created the bow topper and pip berries design:

I made the bow and simply attached the small section of pip berries into the pipe cleaner that I used to hold the bow together (behind the bow). Then I took a piece of the same ribbon and attached it to the back of the bow with the pip berries. I kind of held it up to the lantern and figured out how big of a “loop” I wanted and then hot glued it shut to that size. I then slid the entire bow topper onto the top piece of the lantern. You can see what I’m talking about here:


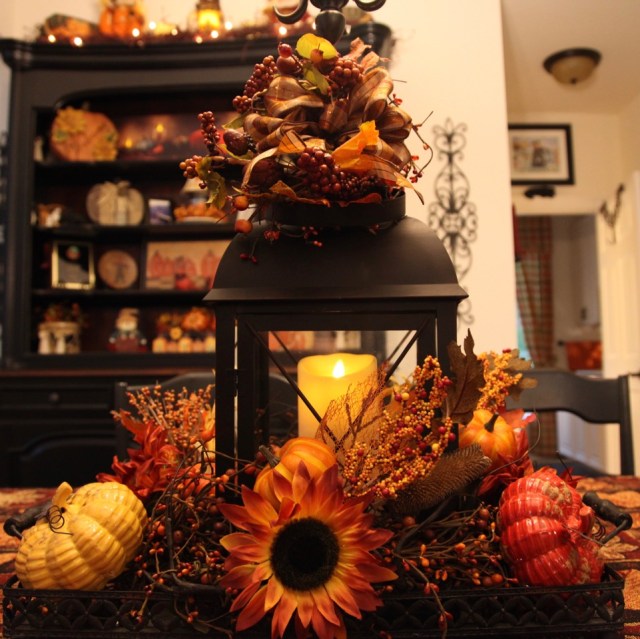
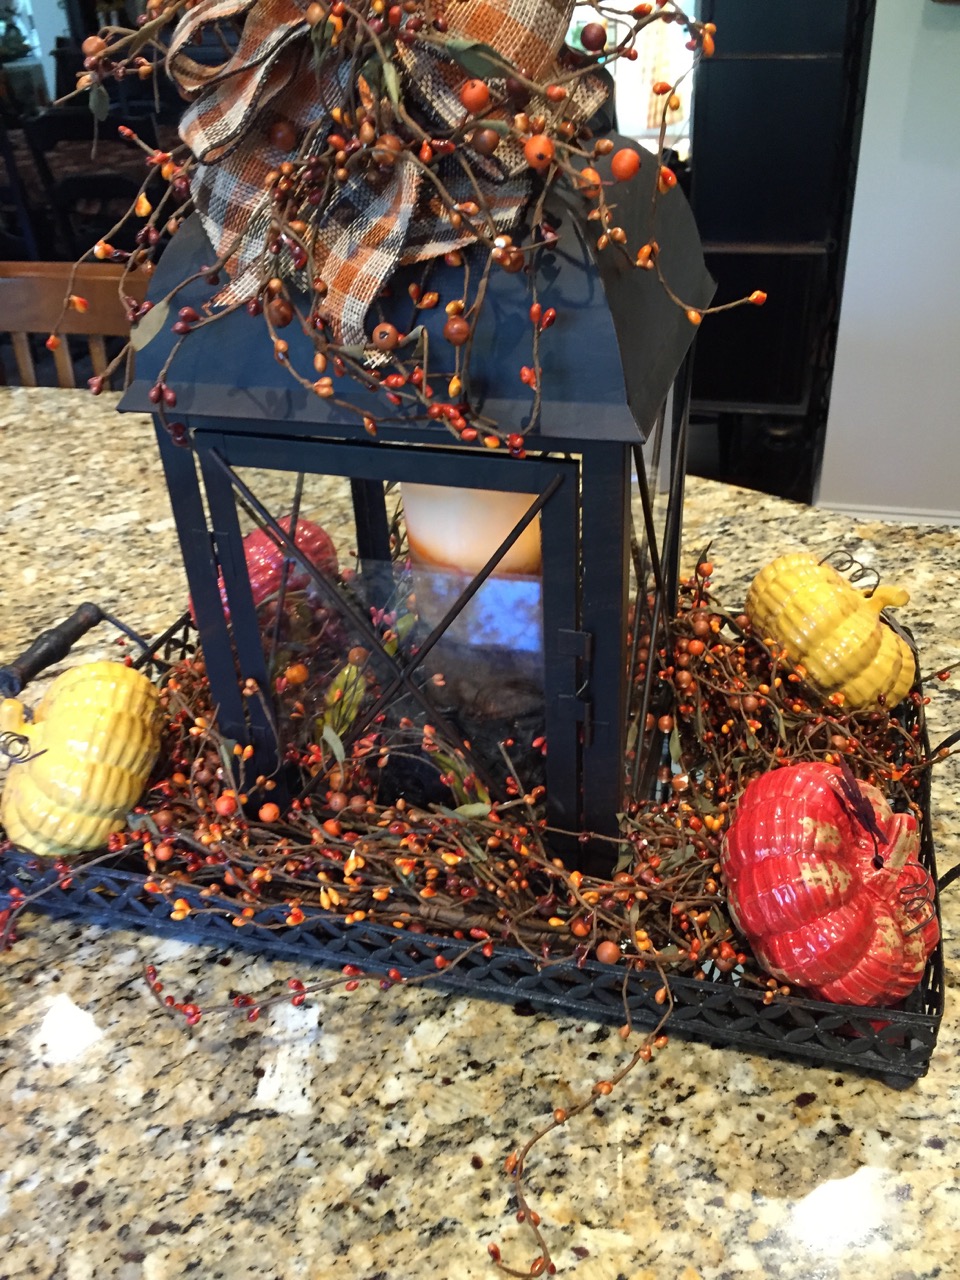
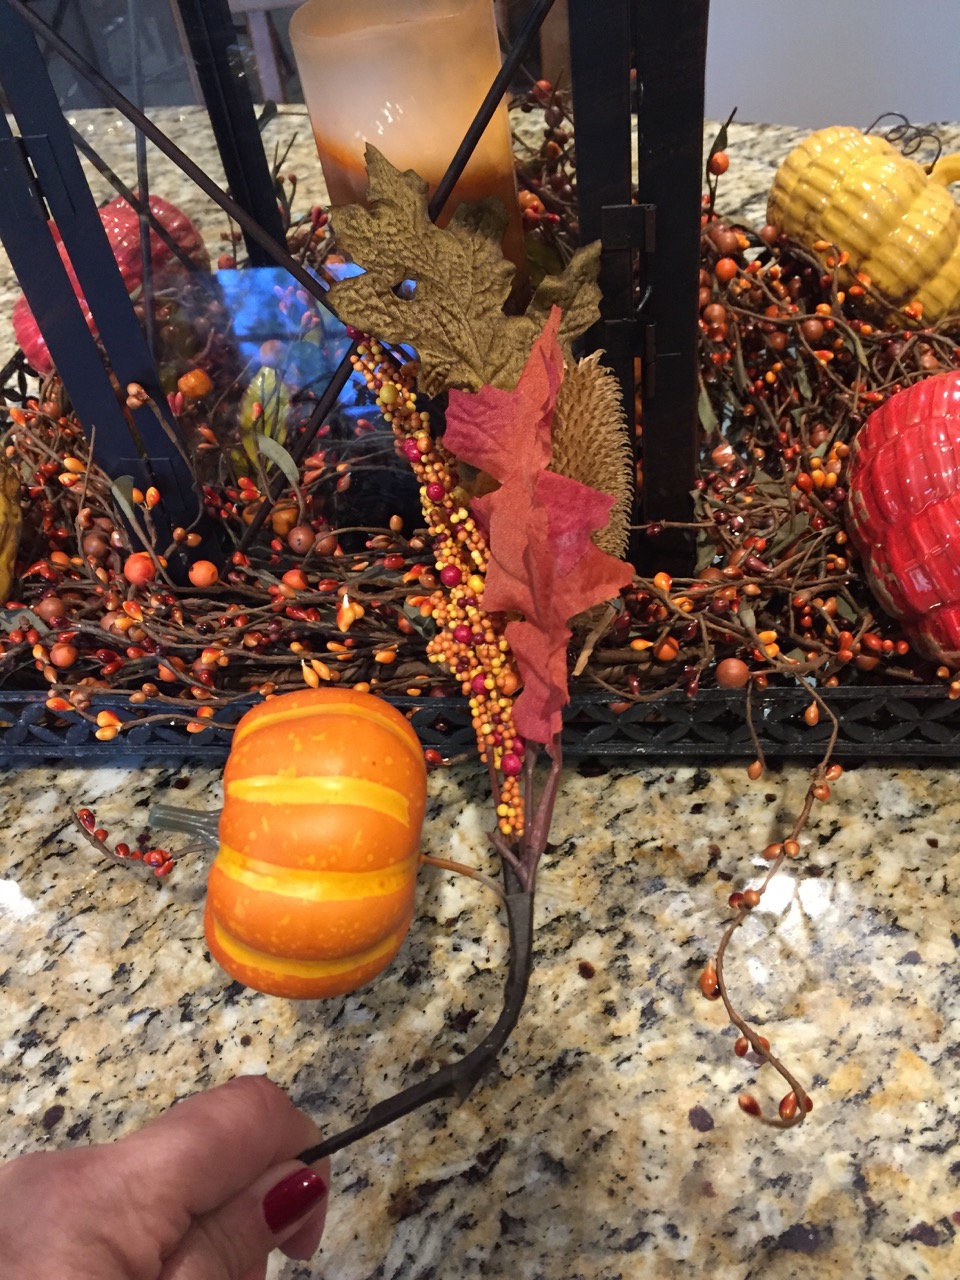
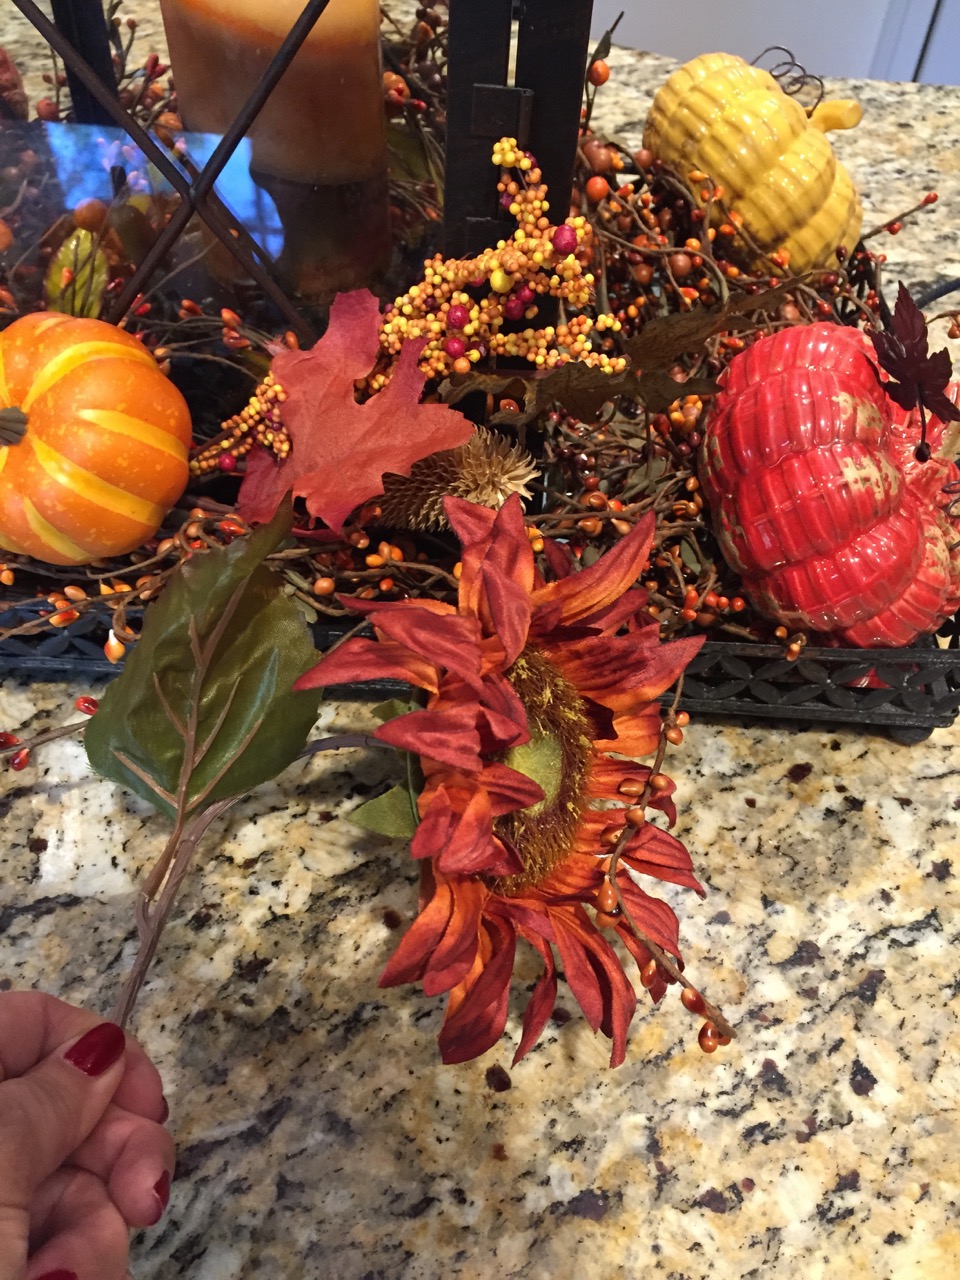
Then I arranged some glass pumpkins at each corner and filled in the spaces in front, back, and on either side with Fall floral picks and a few Fall colored sunflowers:


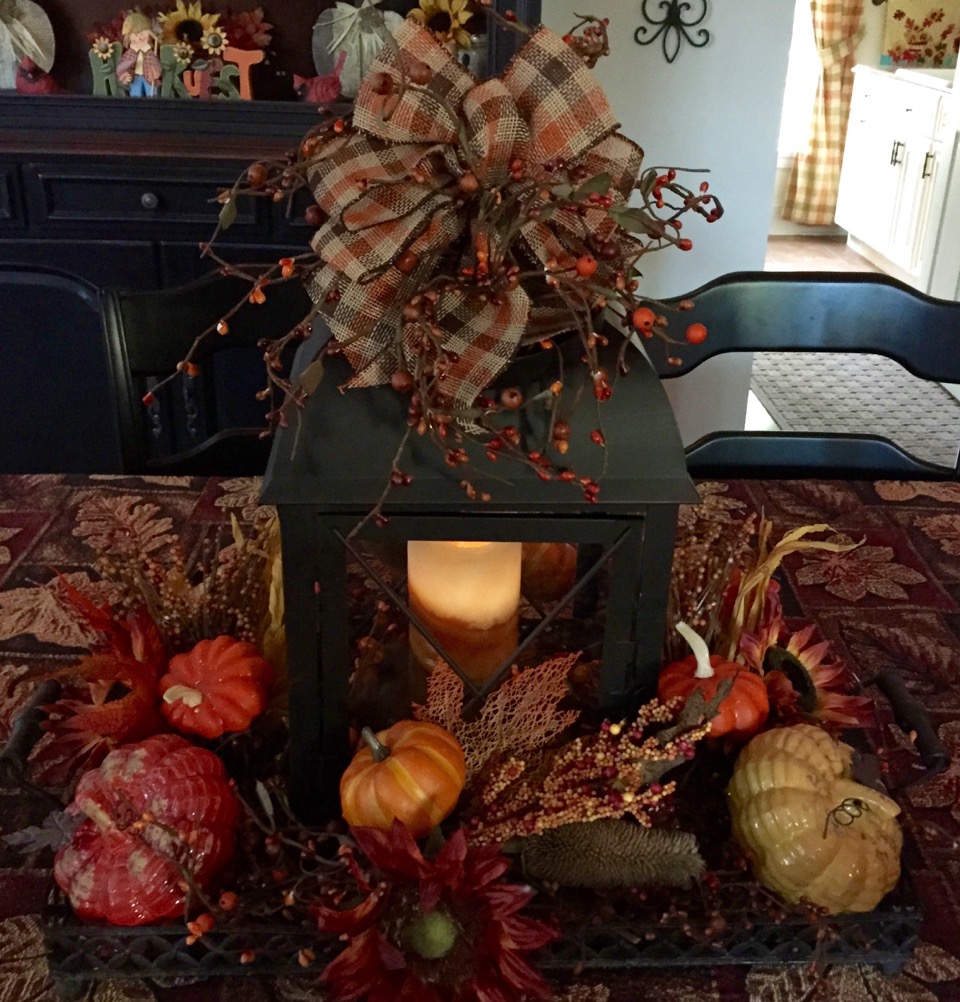
And here is the finished centerpiece:


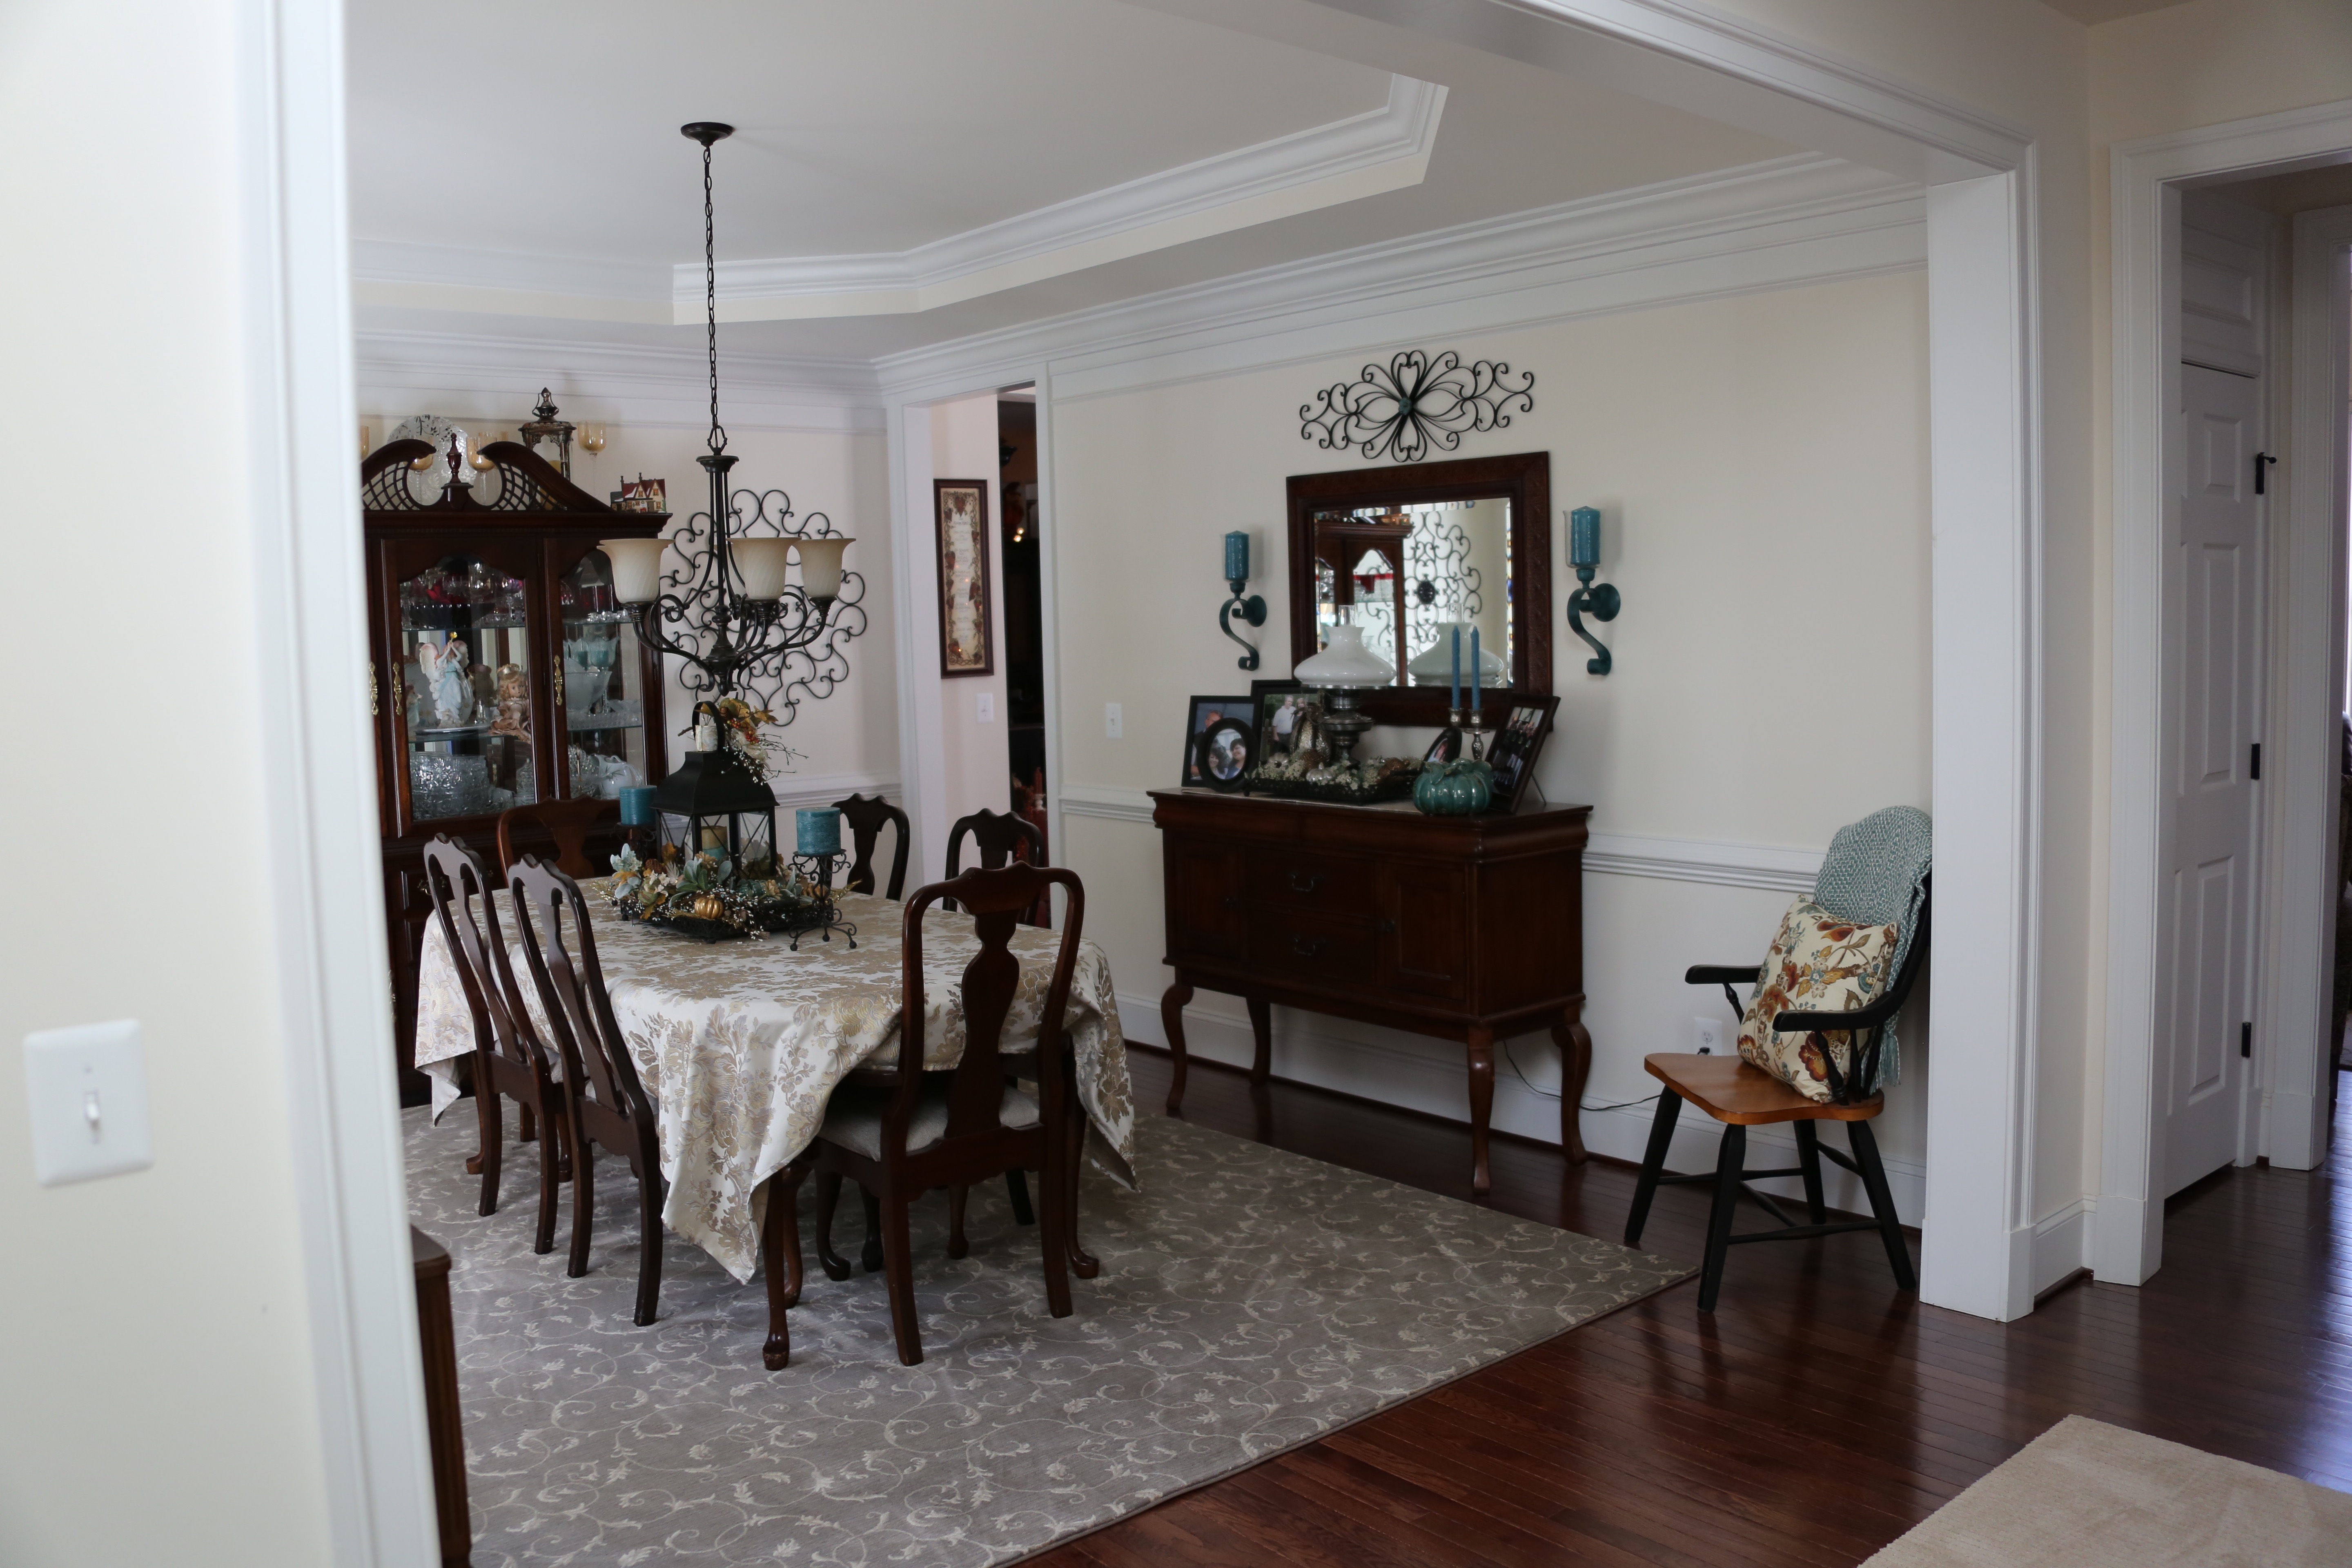
I have really enjoyed creating a new centerpiece as each Season has passed while utilizing the same basic designs and design pieces. I will admit that I spent a good chunk of change on this particular lantern (and I use one just like it on my dining room table, but, it was so worth the cost. I’ll write another post showing you all of the different Seasonal centerpieces I’ve created for the dining room table). I was able to get the tray for 1/2 off at Hobby Lobby, and I’ve been able to get each Season’s accent pieces for a discounted price. It hardly costs me anything to change out the decor and of course from now on, it won’t cost me a penny because I will reuse the same accent pieces in the coming years. That said, I know myself and I’m sure I will be adding or changing some things out for new things, but, I’ll already have all of the basics that I need. 🙂
Fast forward 3 months and I have now completed a lantern centerpiece for Christmas utilizing the basic pieces that I’ve used for all of the other centerpieces. Here is a link to my new Blog post describing how I created the Christmas Lantern Centerpiece. Here is a picture of the finished product:
I hope upon hope that one of these ideas inspires y’all to try something like this for your home. They are not hard to create and all you need to do is to trust yourself to choose accents pieces that look pretty to you and hence would look amazing in your home. I’m always here if anyone has any questions, feel free to leave them in the comment section. 🙂
Let me take a moment to thank every one of you who has stopped by to take a peek at this blog, feel free to look around at my other posts; I have found that I am really enjoying sharing my creations with you and if one person is inspired to try their hand at creating something similar to what they’ve seen here…well, that would just touch my heart of hearts!!
Until next time, y’all take good care! ❤
**In crafting there are no mistakes just unique creations**