Christmas: Staircase Pine and Ornament Garland

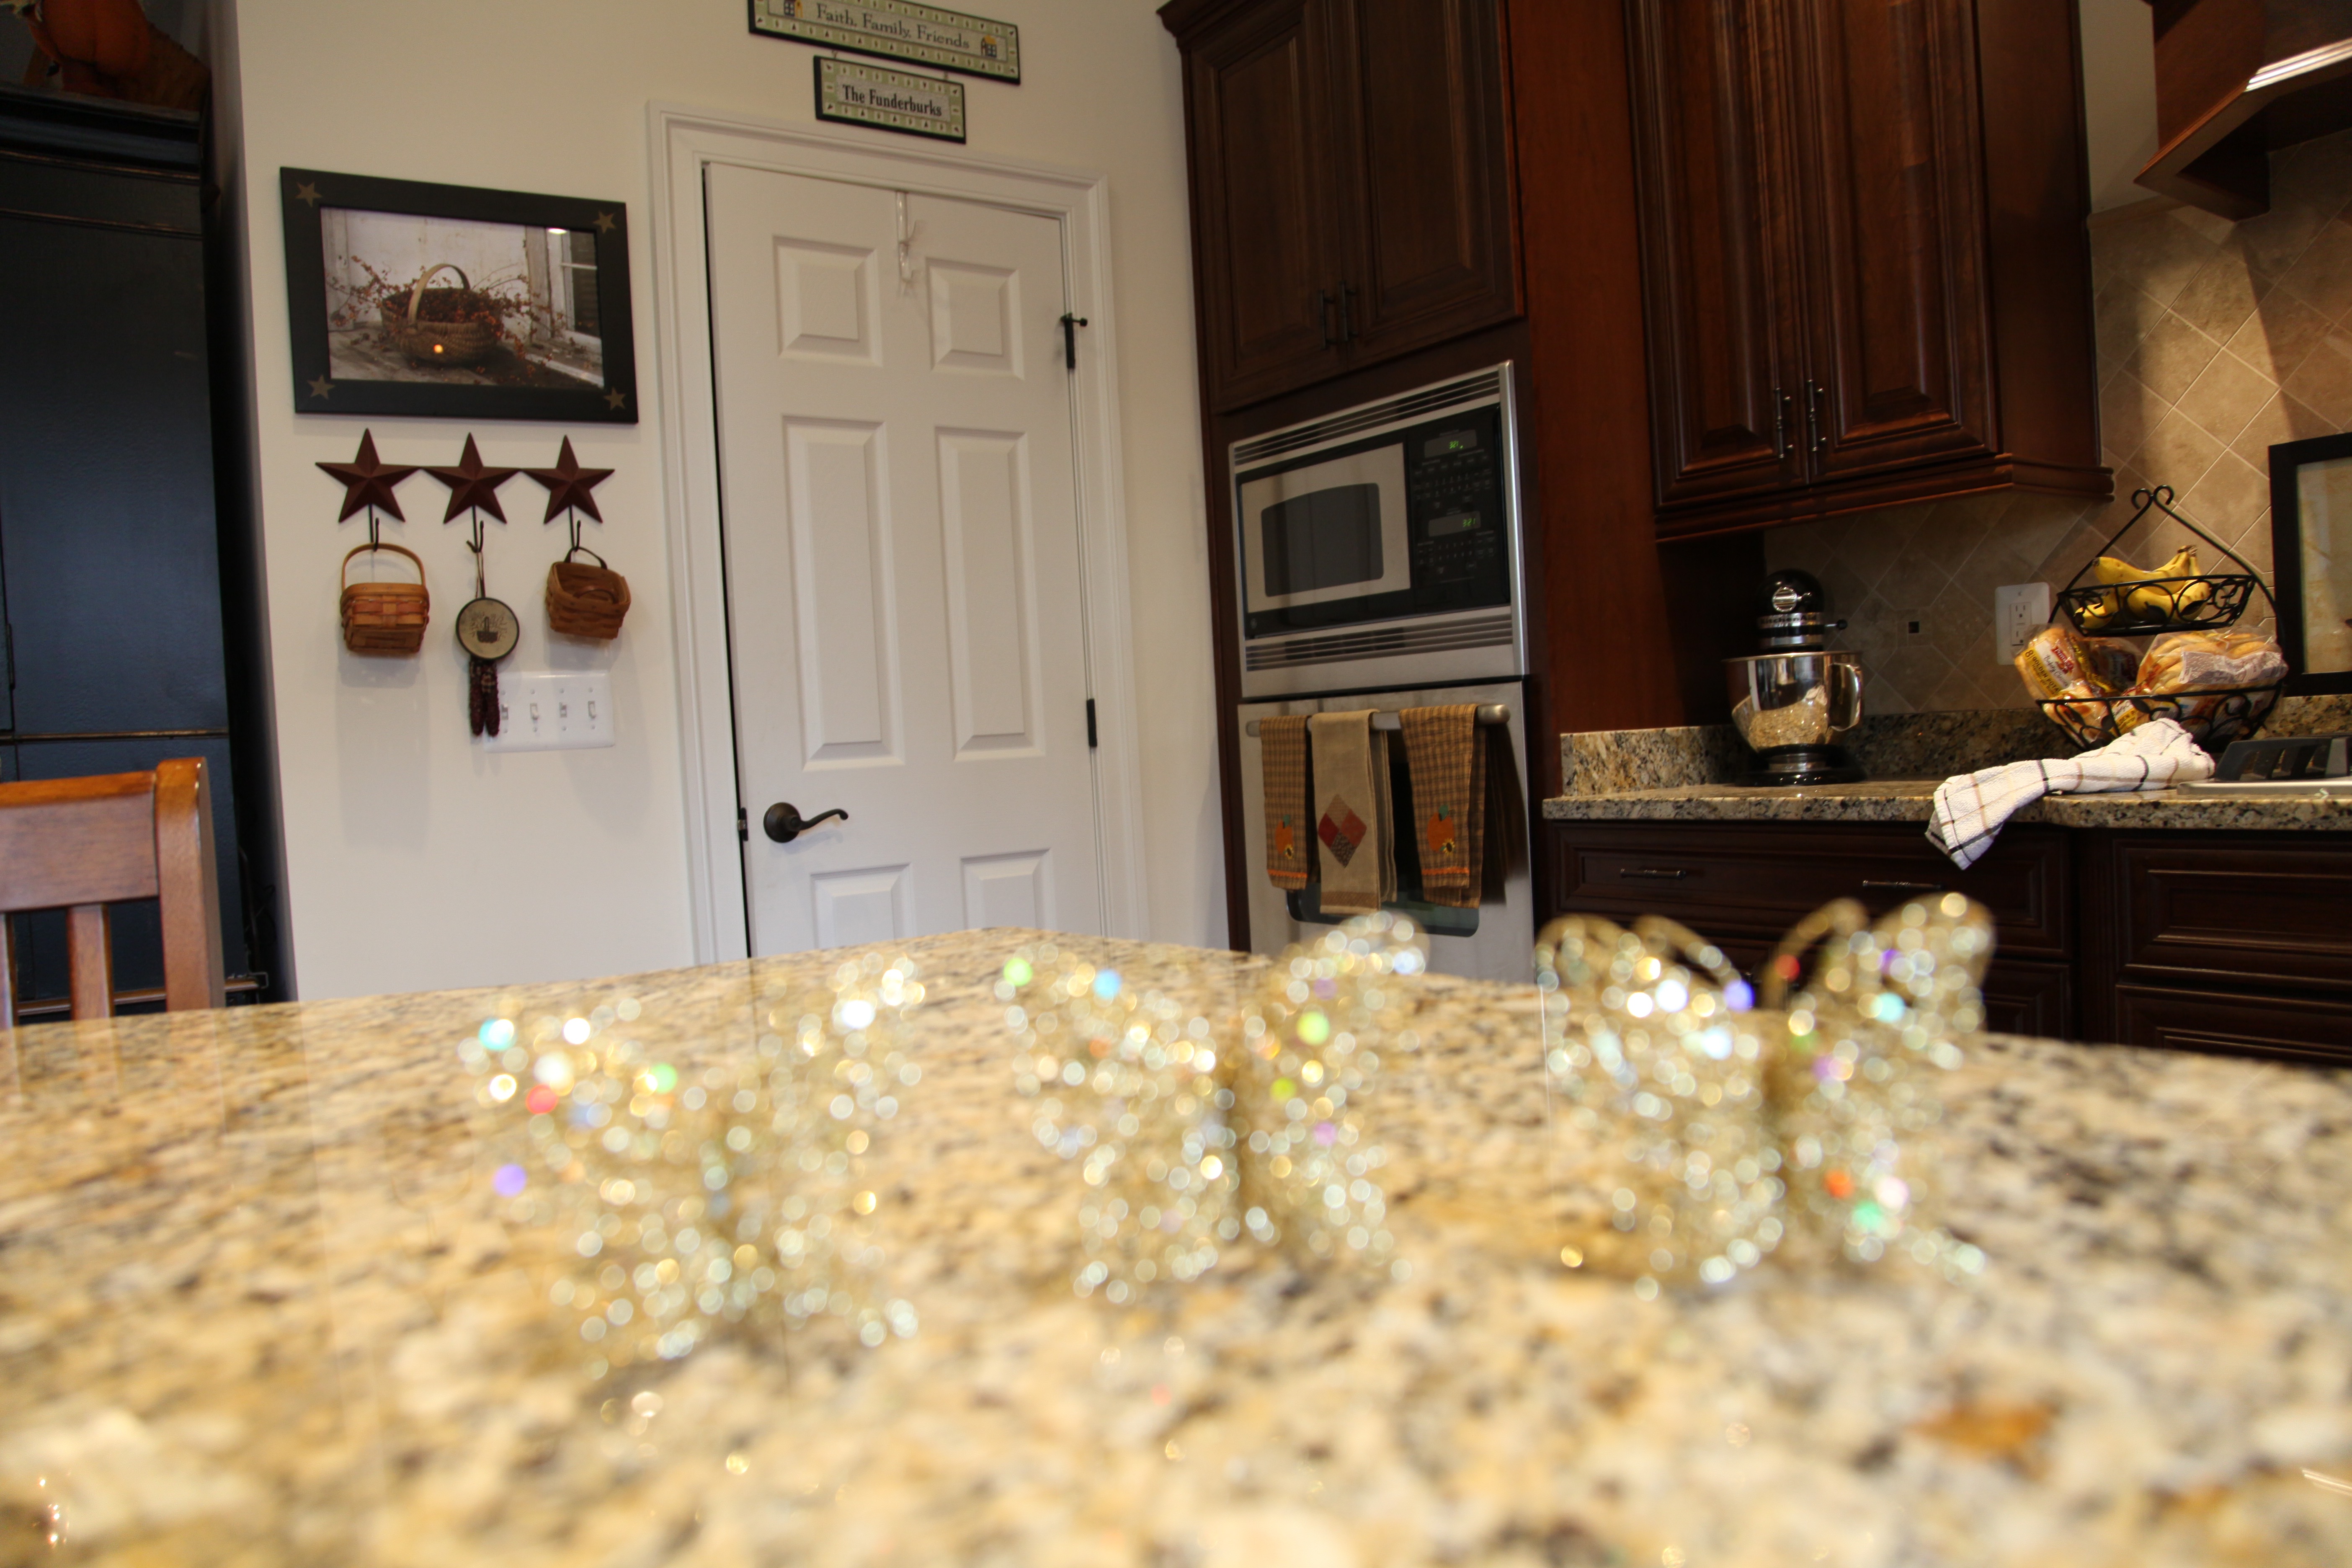
Tis the Season right?! Welllllllll, maybe not quite for most. 😉  But, for me, I am starting my Christmas decorating way earlier than I usually do, yes, I’d say November 8th is pretty early.  There are several reasons for this change in my normally very strict and scheduled regimen which in the past has included such things as pulling all of the Fall decor down and starting on the Christmas decorating the very next day after Thanksgiving.  Have I mentioned that I’m a very organized, anal retentive person who must stick to a schedule at all times?  I drive myself and I’m sure those around me crazy with my structured ways. So, I’m trying to lighten up a bit and break away from that ridiculous regime that I have always set up from myself; as I age, that type of thing just stresses me out more than it helps me.  I no longer am juggling kids and volunteering and crafting and any number of other things that I was involved in earlier in my life, now, it’s just the pups and me rattling around in this big house, so I’ve got the luxury of taking my time and spreading my decorating out over a couple of weeks as opposed to the mad dash to get Fall put away and Christmas set up the day after Thanksgiving.  Let’s not forget that I pretty much redecorate the main level of our home for both ‘Seasons’ and if I waited till Thanksgiving Day to deconstruct Fall and reconstruct Christmas, well, I’d be working up until Christmas…add in there Christmas shopping and wrapping <~~~~my biggest “pet peeve”, well, I’d be a blithering idiot! lol 😉

So yesterday I started to deconstruct Fall, BUT, since my hubby was home and he had graciously agreed to help me do a few things in the Christmas decorating realm that I might not be able to handle myself while he’s at work, I also started my Christmas decorating.  That’s right, I lightened up my schedule and then I straddled myself with a ton of work to get done in one day—Well, I’m a work in progress in and of myself obviously. lol 😉  The first thing that happened was that I went to the basement and delineated which “FALL” bins I needed to be carried upstairs <~~~hubby’s job, stairs are not my friend…bad knees.  While the hubby was doing the grunt work, I was starting to grab all things Fall, i.e. scarecrows, leaves, sunflowers…well you get the picture.  I sat myself down with gallon sized ziplock bags and a sharpie to be used to pack away (in an organized fashion of course) and label certain centerpiece accents and such.  This monumental task took quite a while…I will admit that I did not enjoy this part of my day…;)

IMG_9470

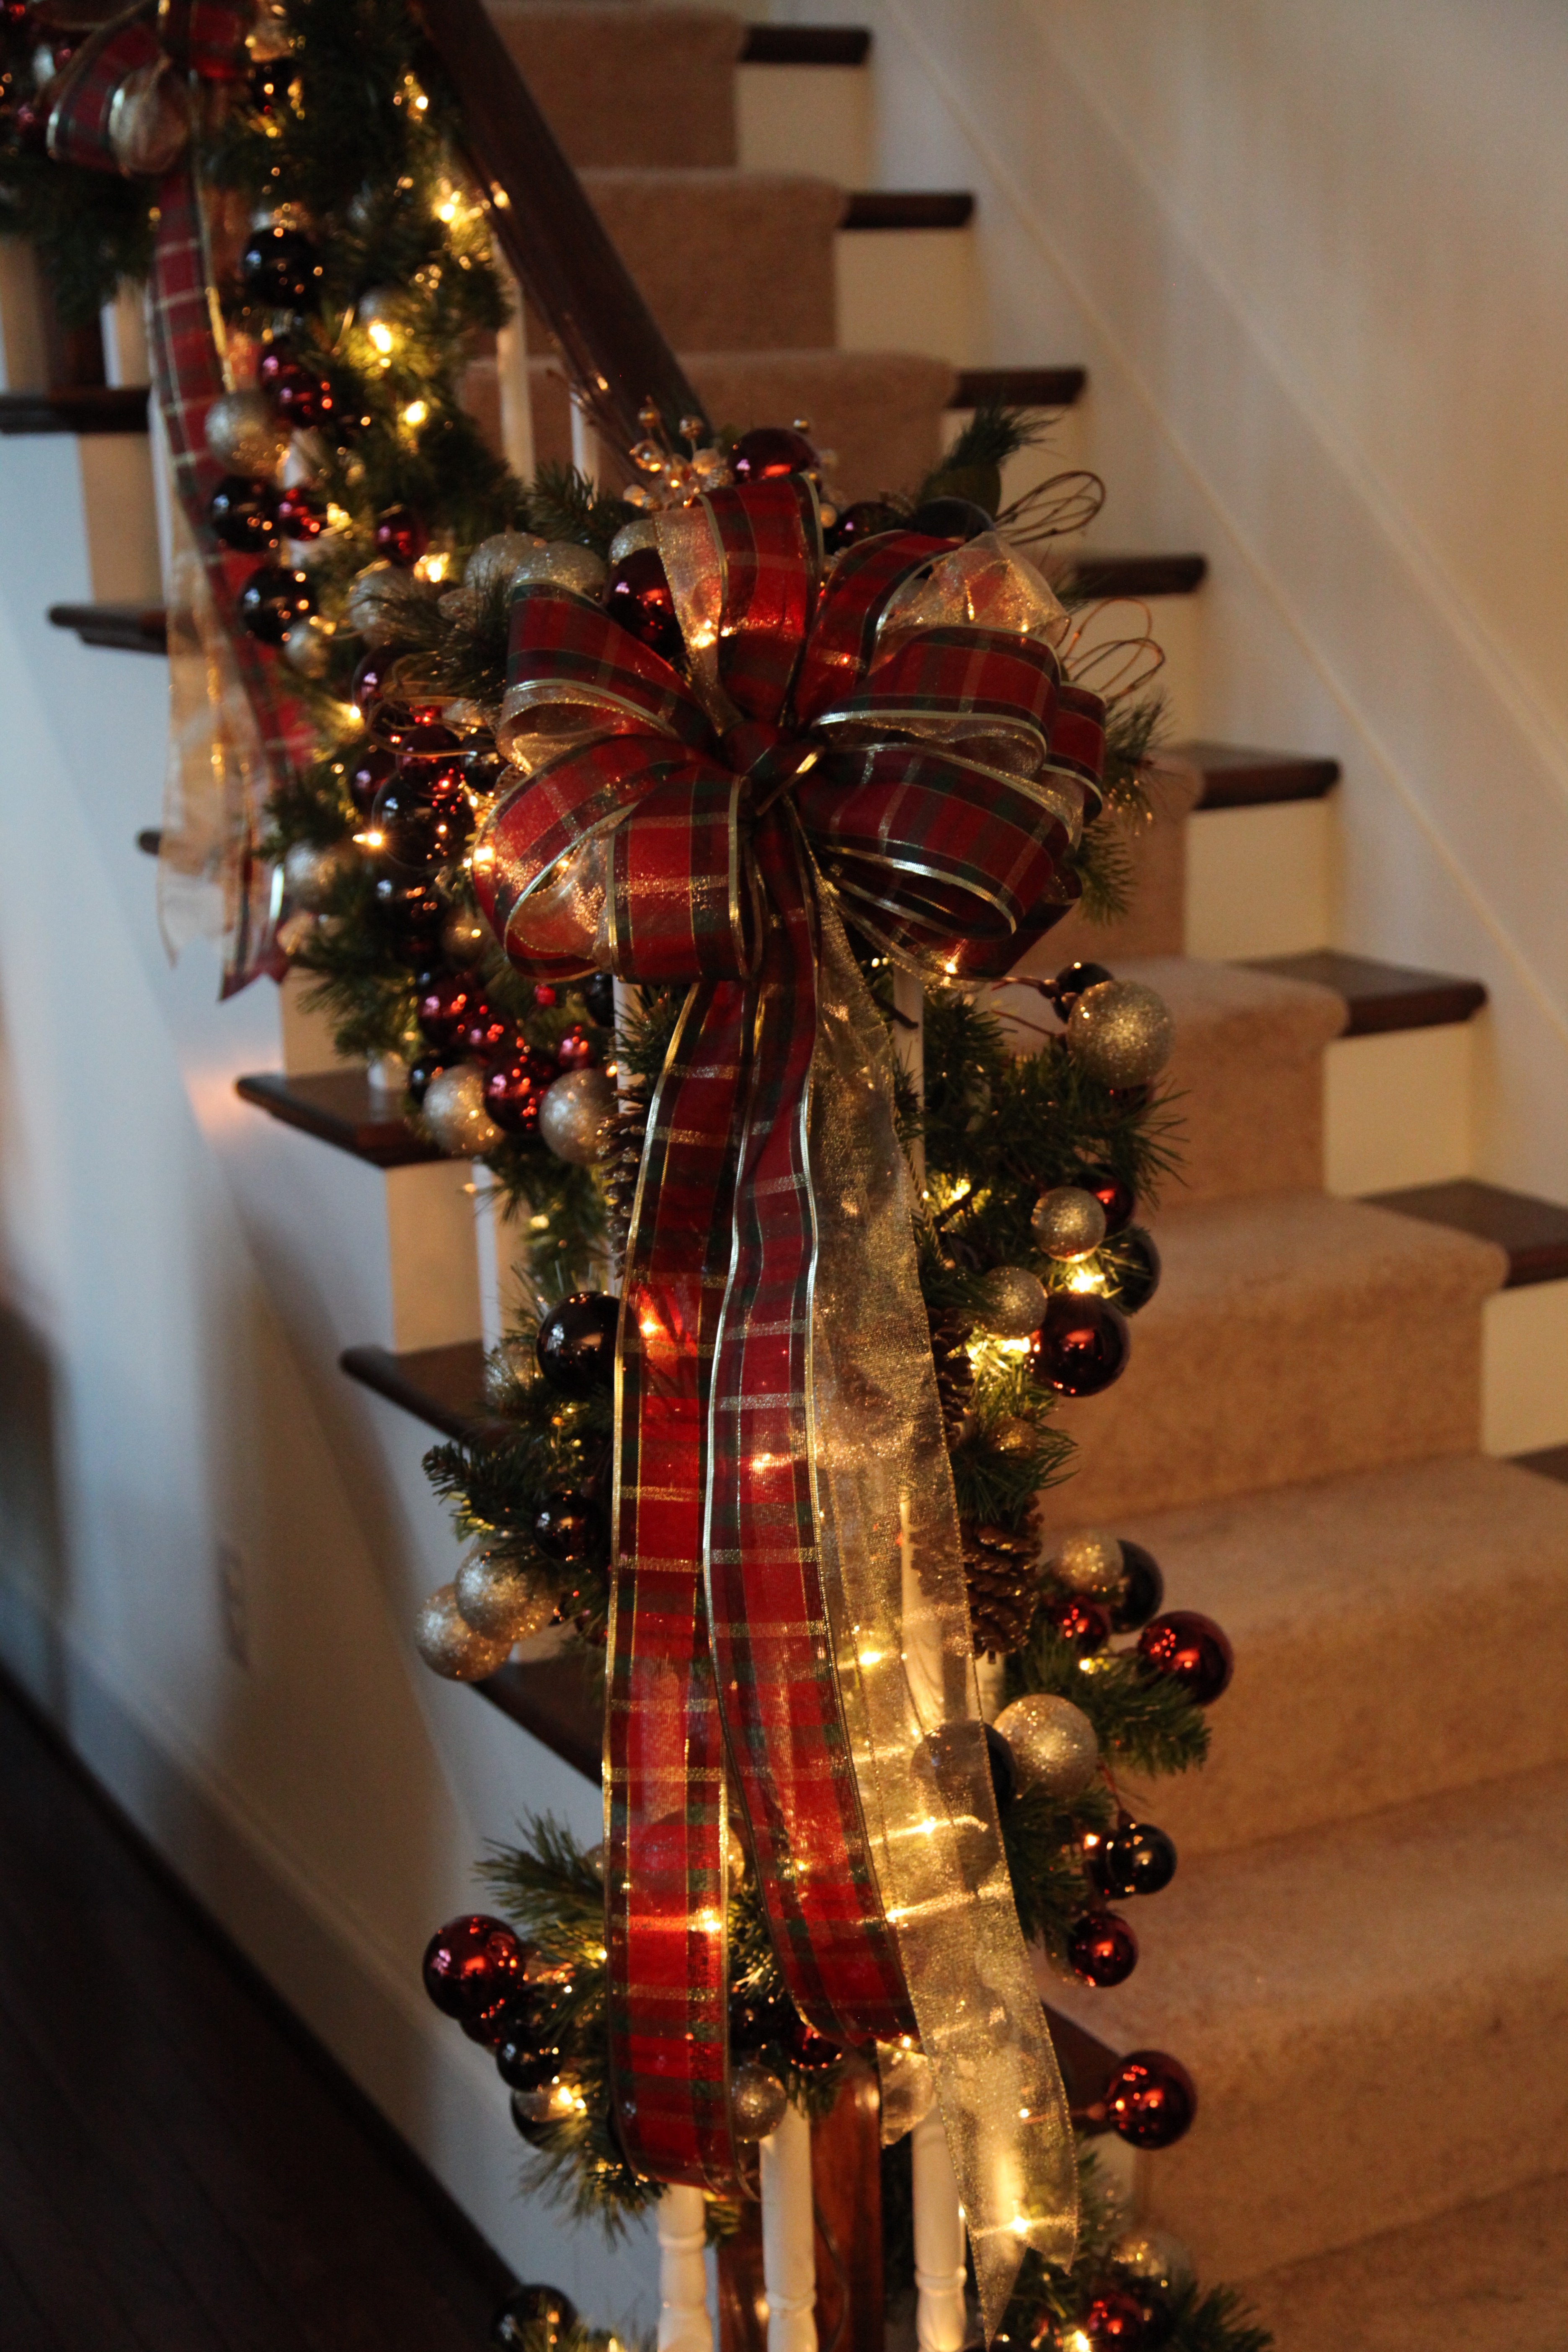
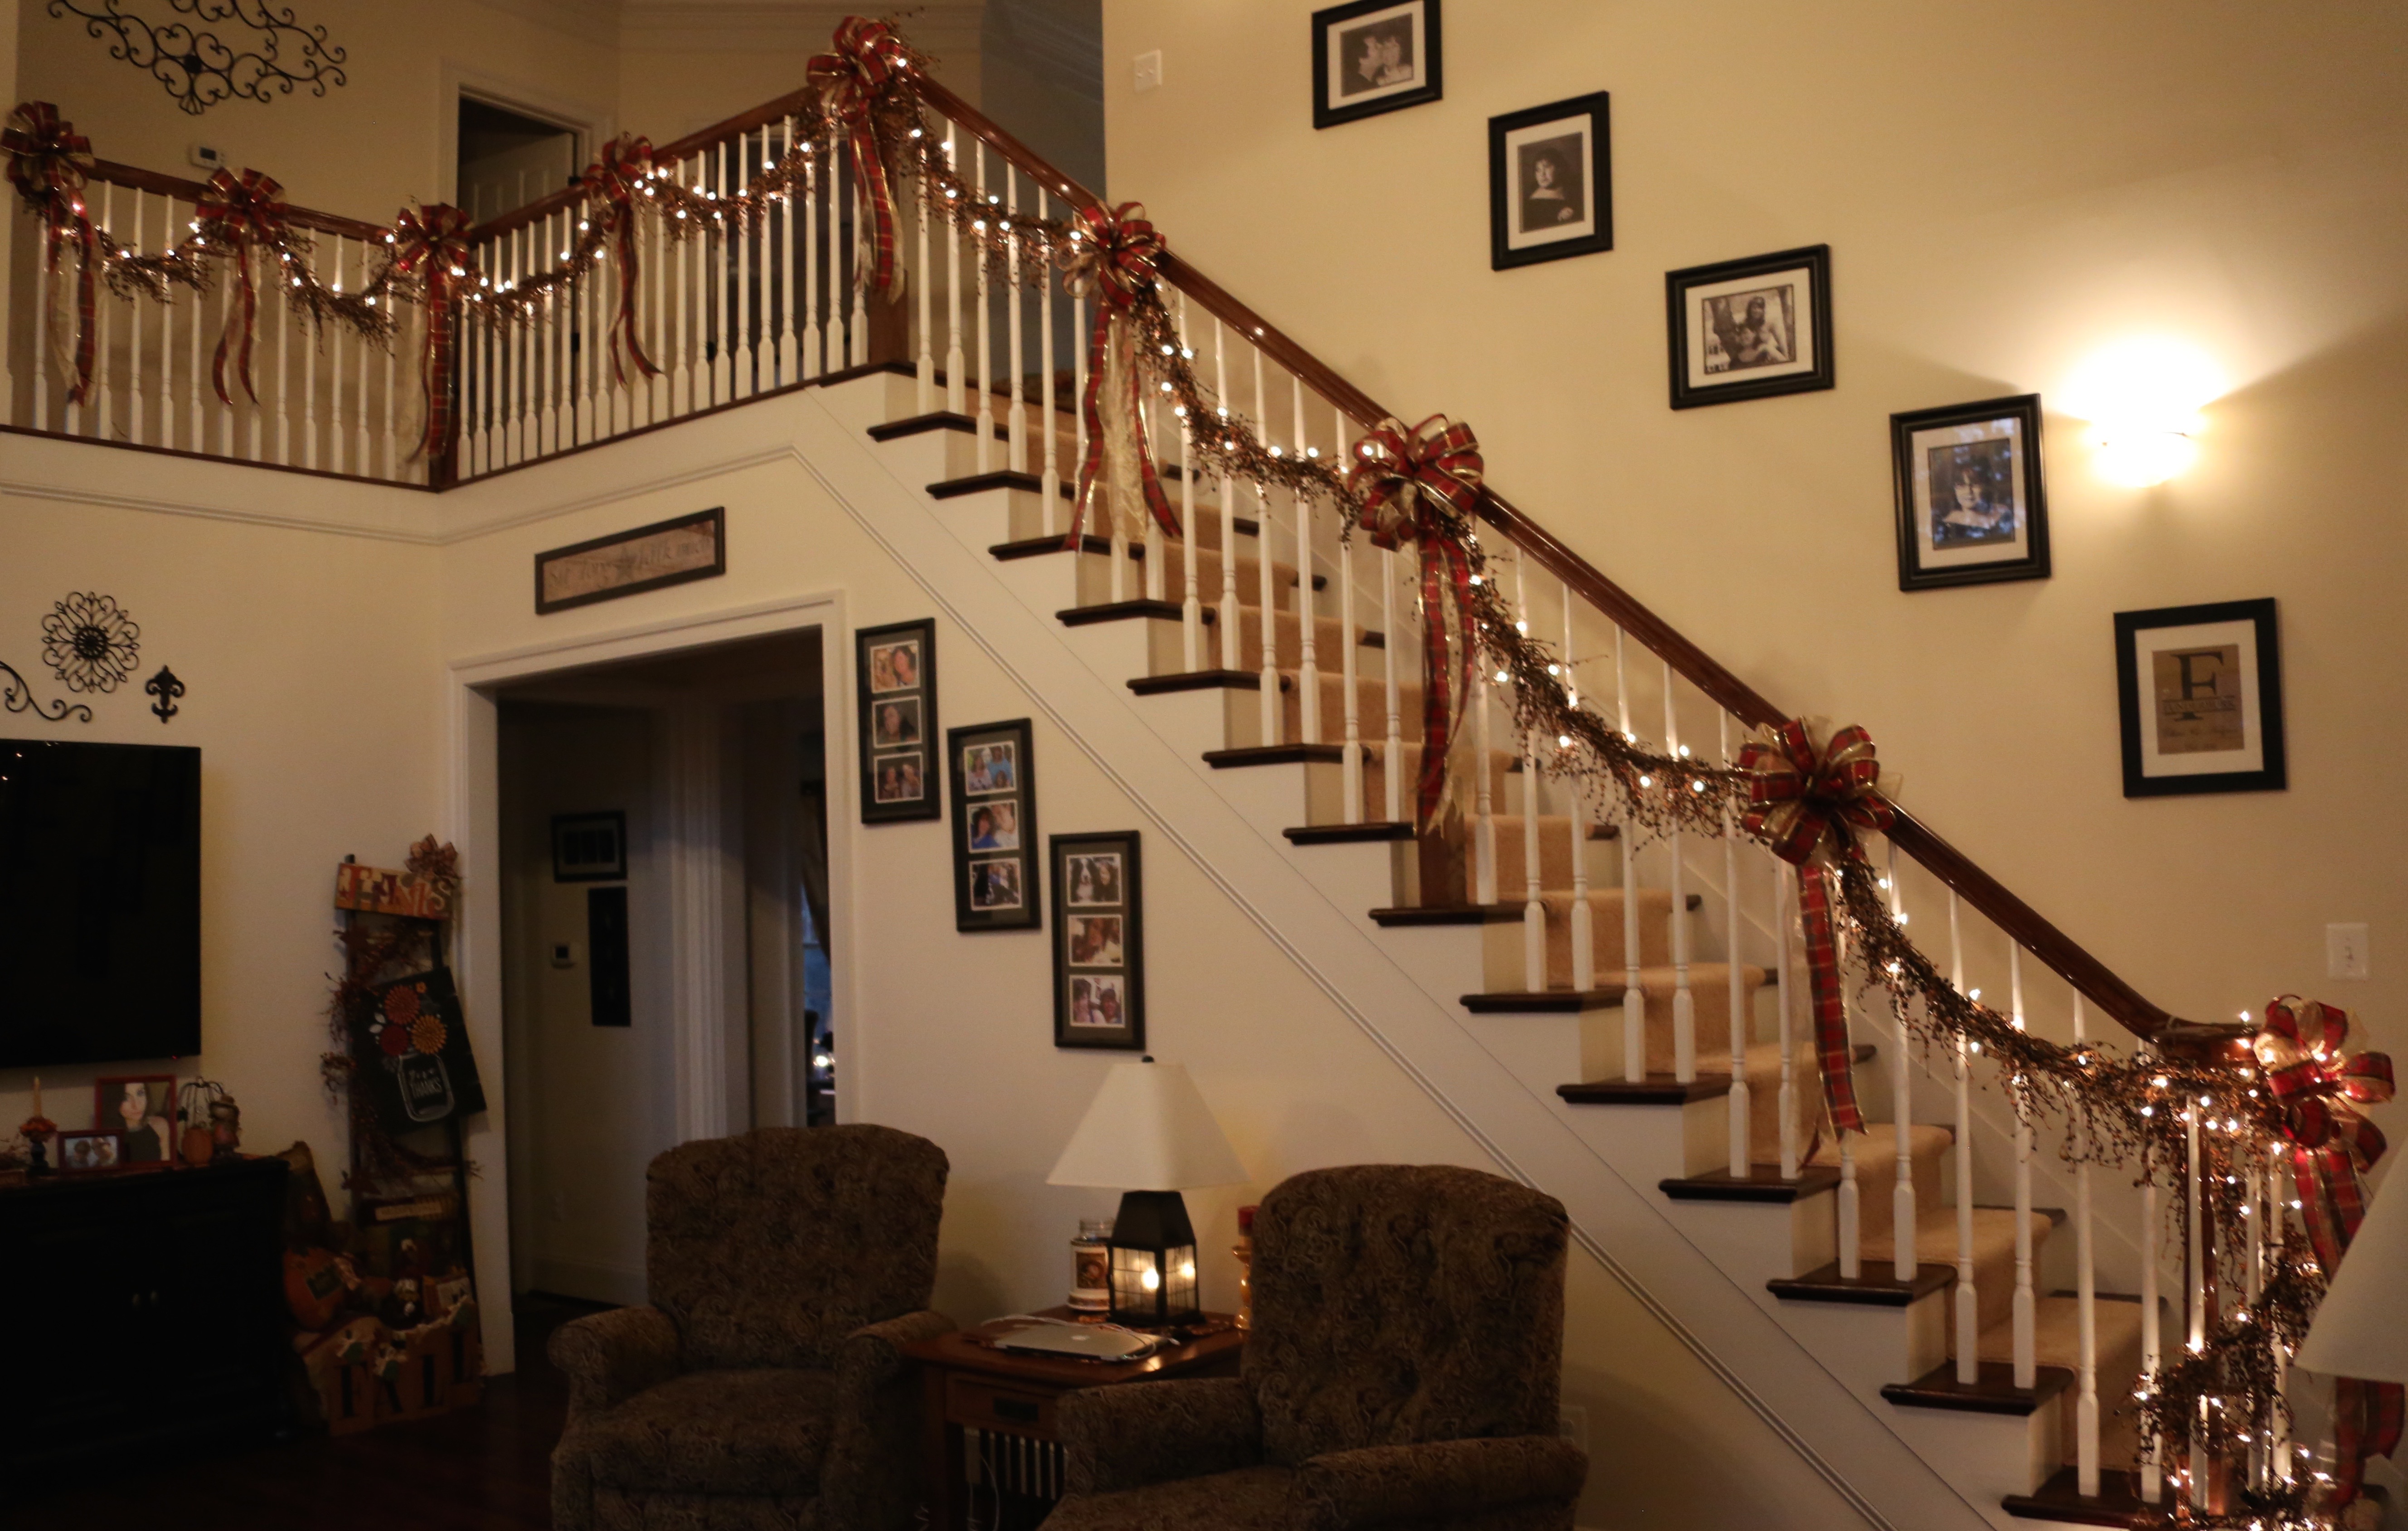
In the midst of me doing all of this, after he had finished carrying all of my “Fall” bins upstairs, my hubby had retrieved the Christmas staircase pine garland from the basement, yes, that place that holds all things Holiday and much, much more. 😉  (He had already removed the pip berry garland from the railing; I hadn’t seen that railing nekkid in a long, long time. Didn’t like it much!)

IMG_9449

We purchased these strands of pre-lit pine garland from the Pottery in Williamsburg, VA last year and I believe they are 9′ in length.  I *think* we used 3 lengths for the staircase…might have been 4, I honestly can’t rightly remember…blah to me huh?!

IMG_9452  IMG_9450

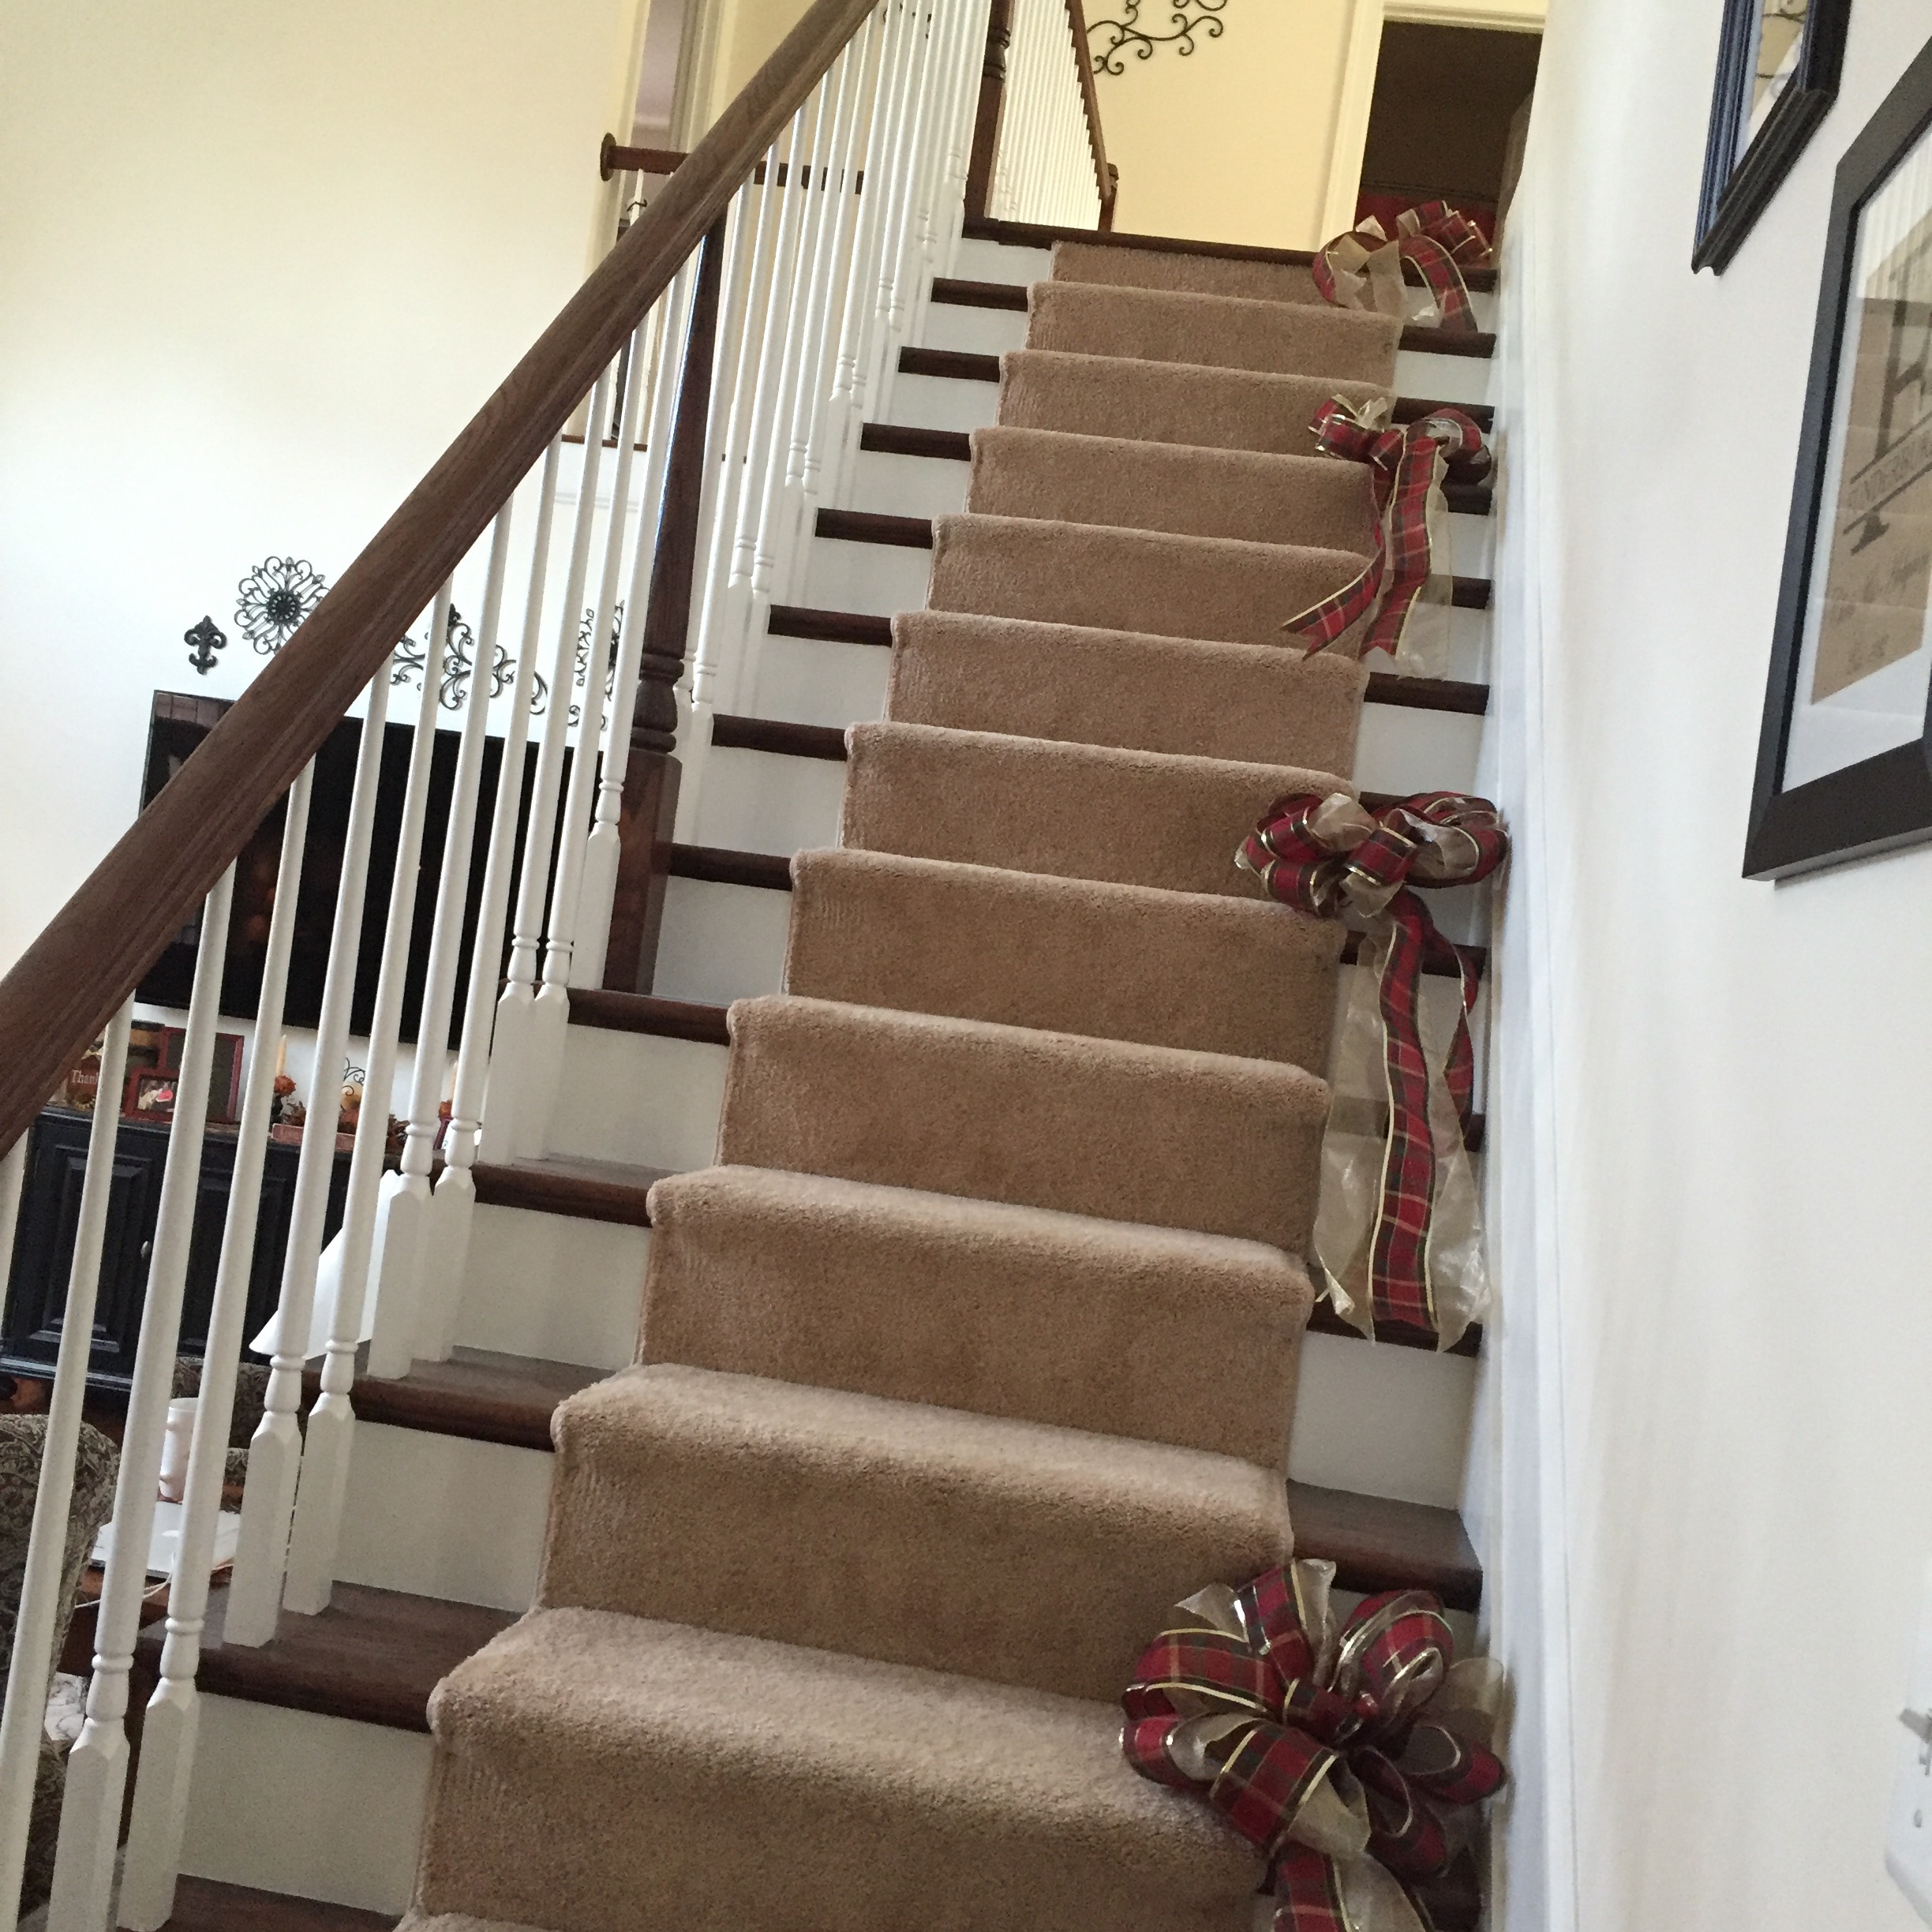
So the task of attaching the garland to the railing commenced…hubby’s job…and sometimes not all that easy of a task to complete considering that we are both crazy picky and the swag points have to be the same length…ugh…y’all get the picture.  That said though, my hubby has a great eye and he hardly had to tweak one swag point after he was finished. YaY!!

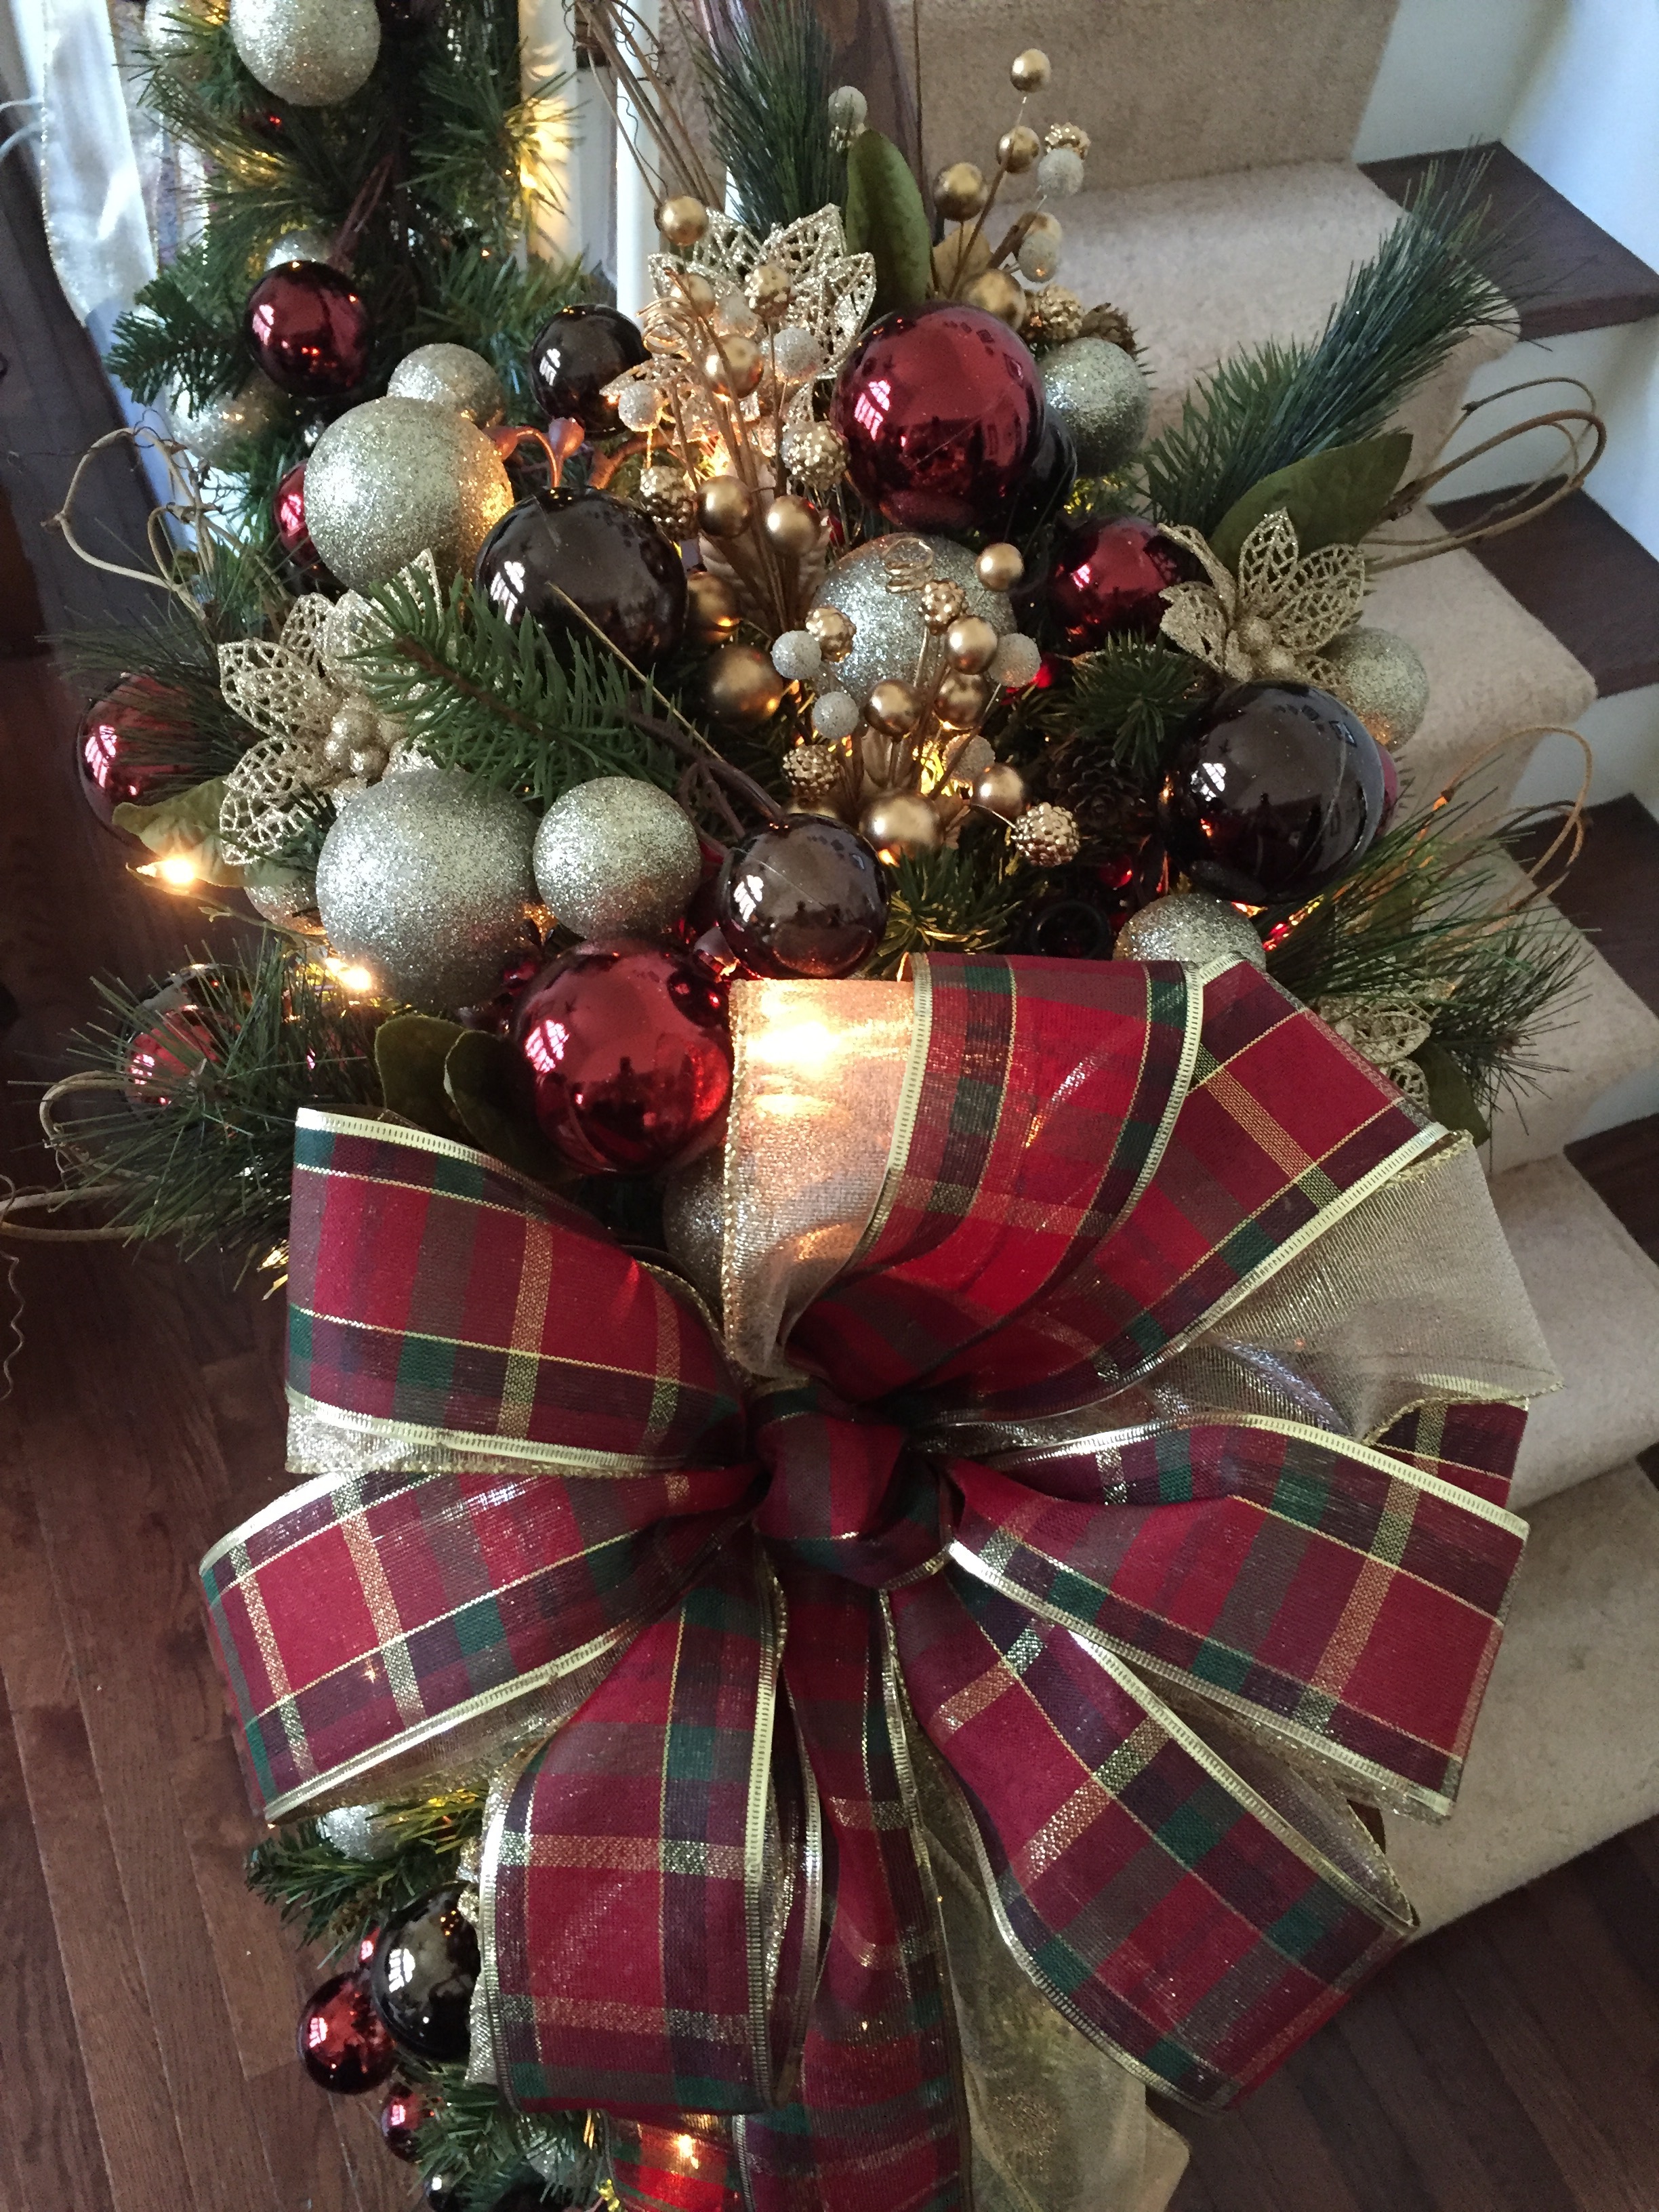
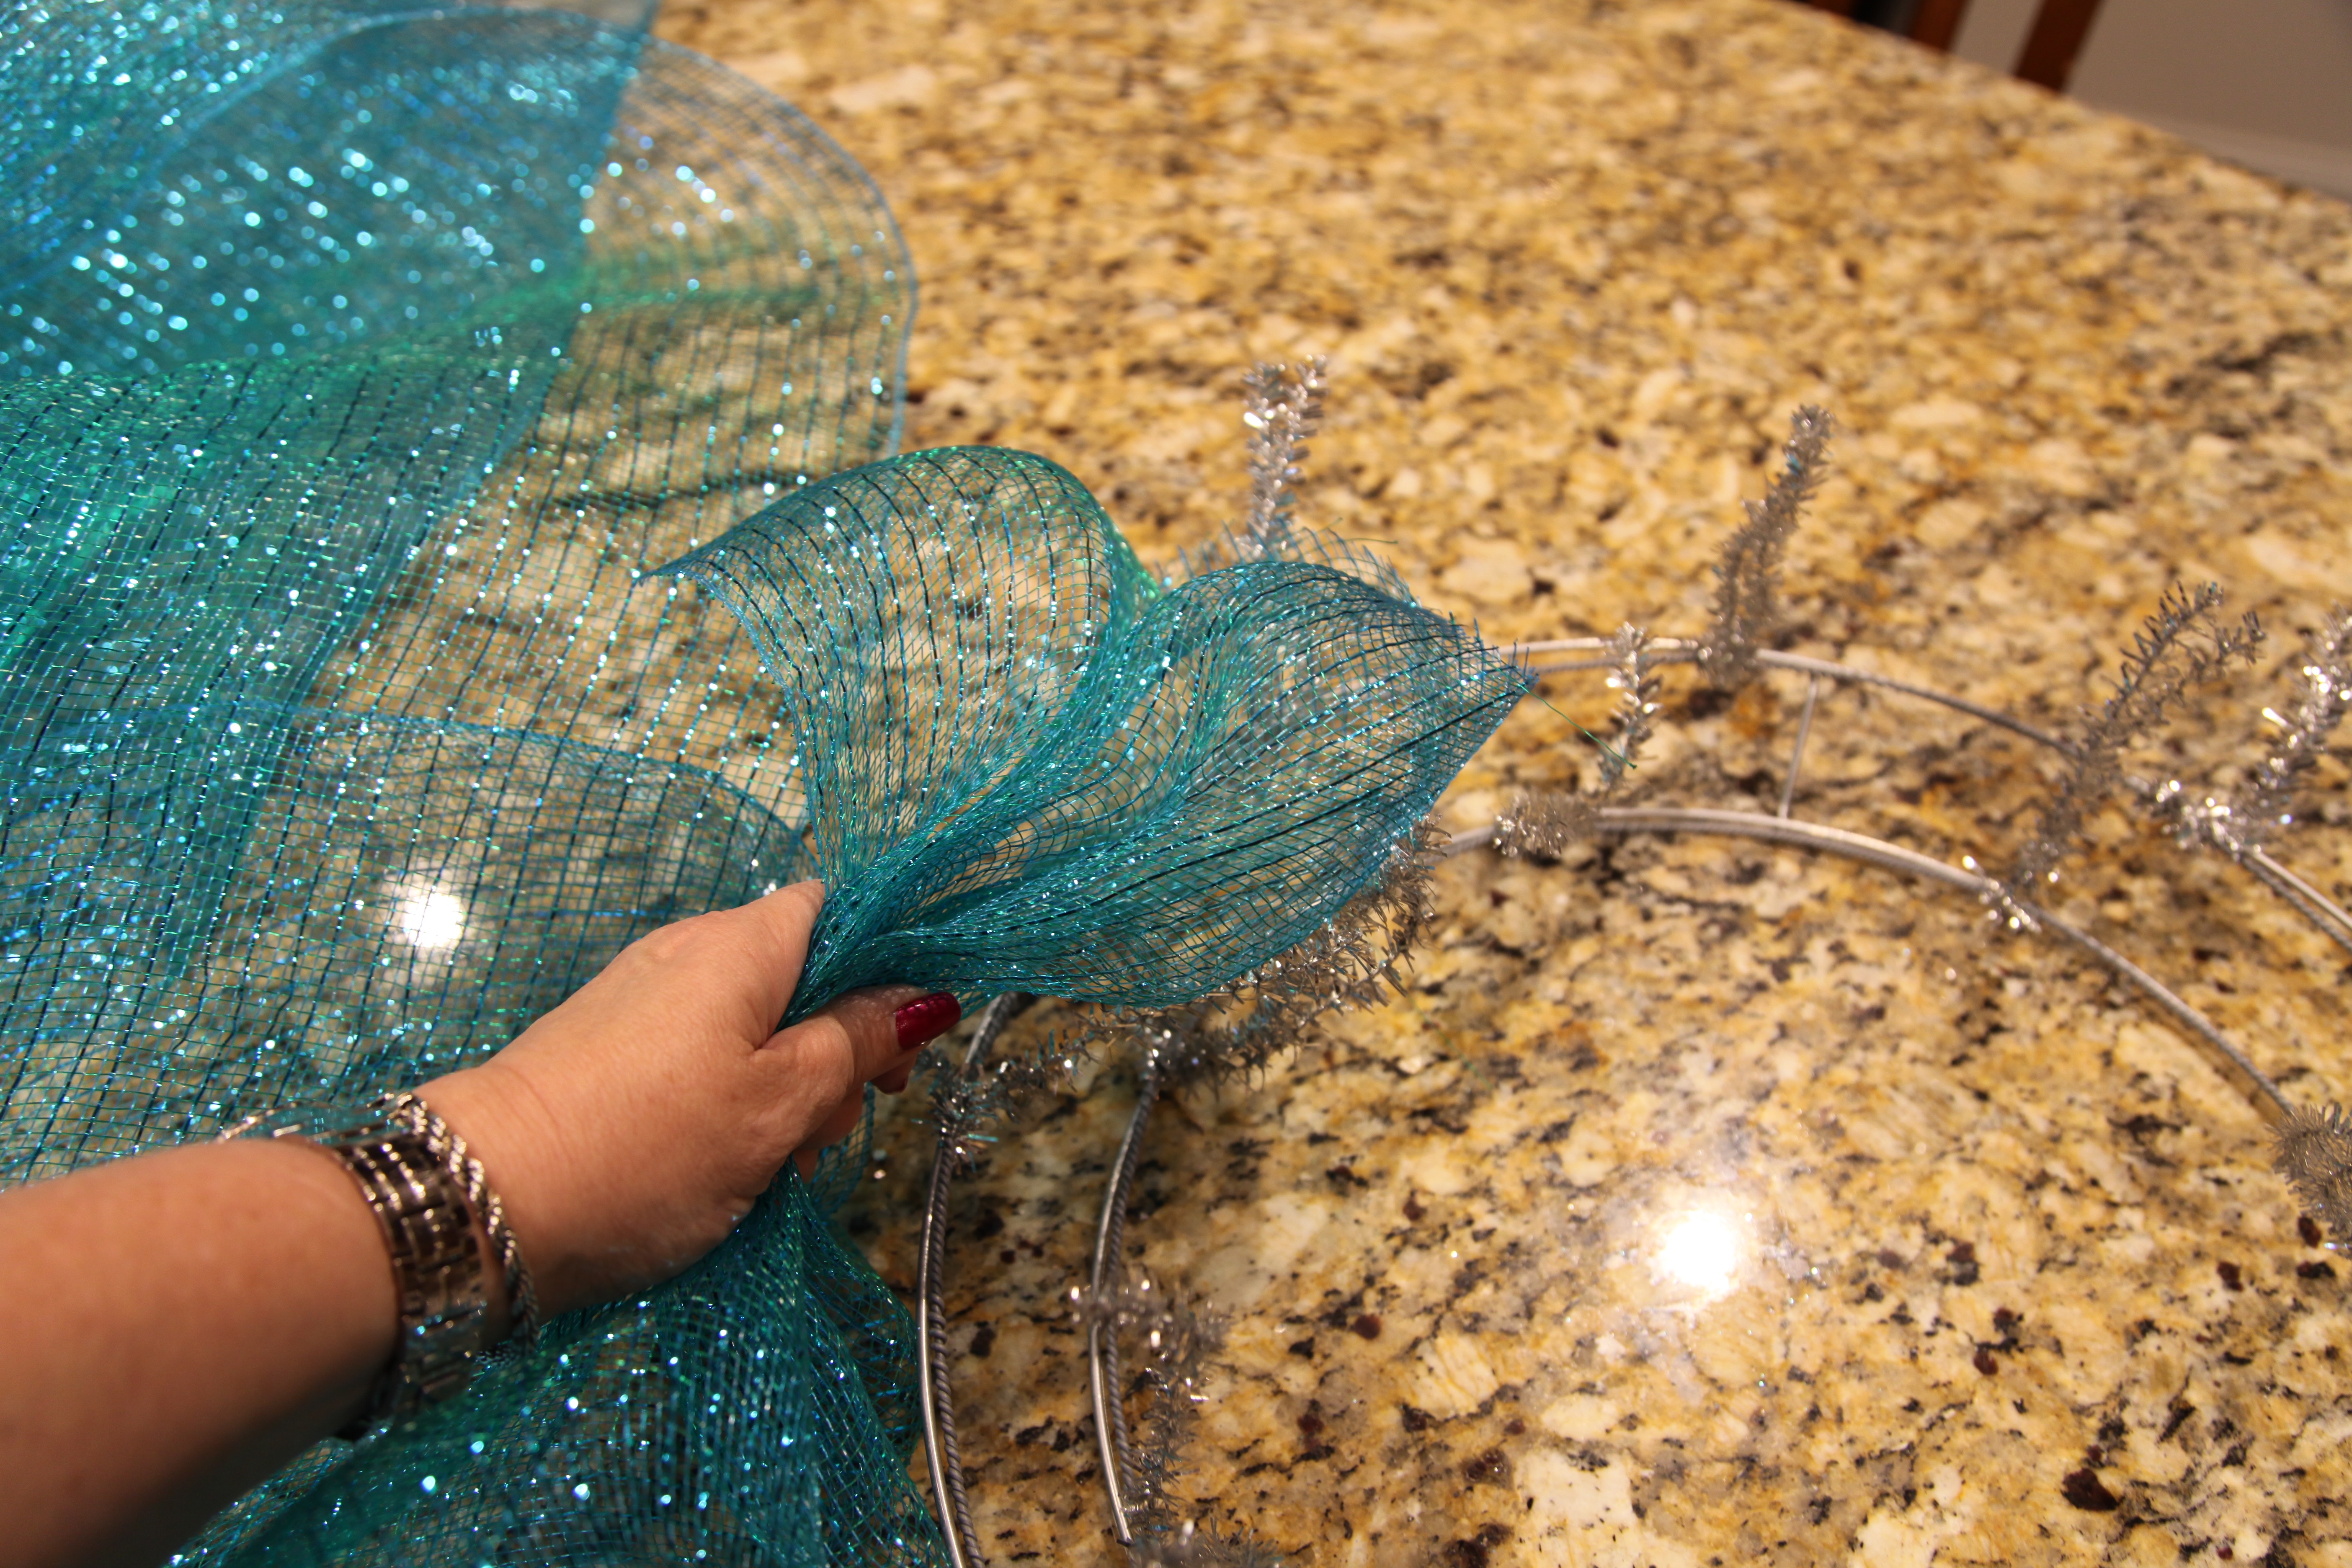
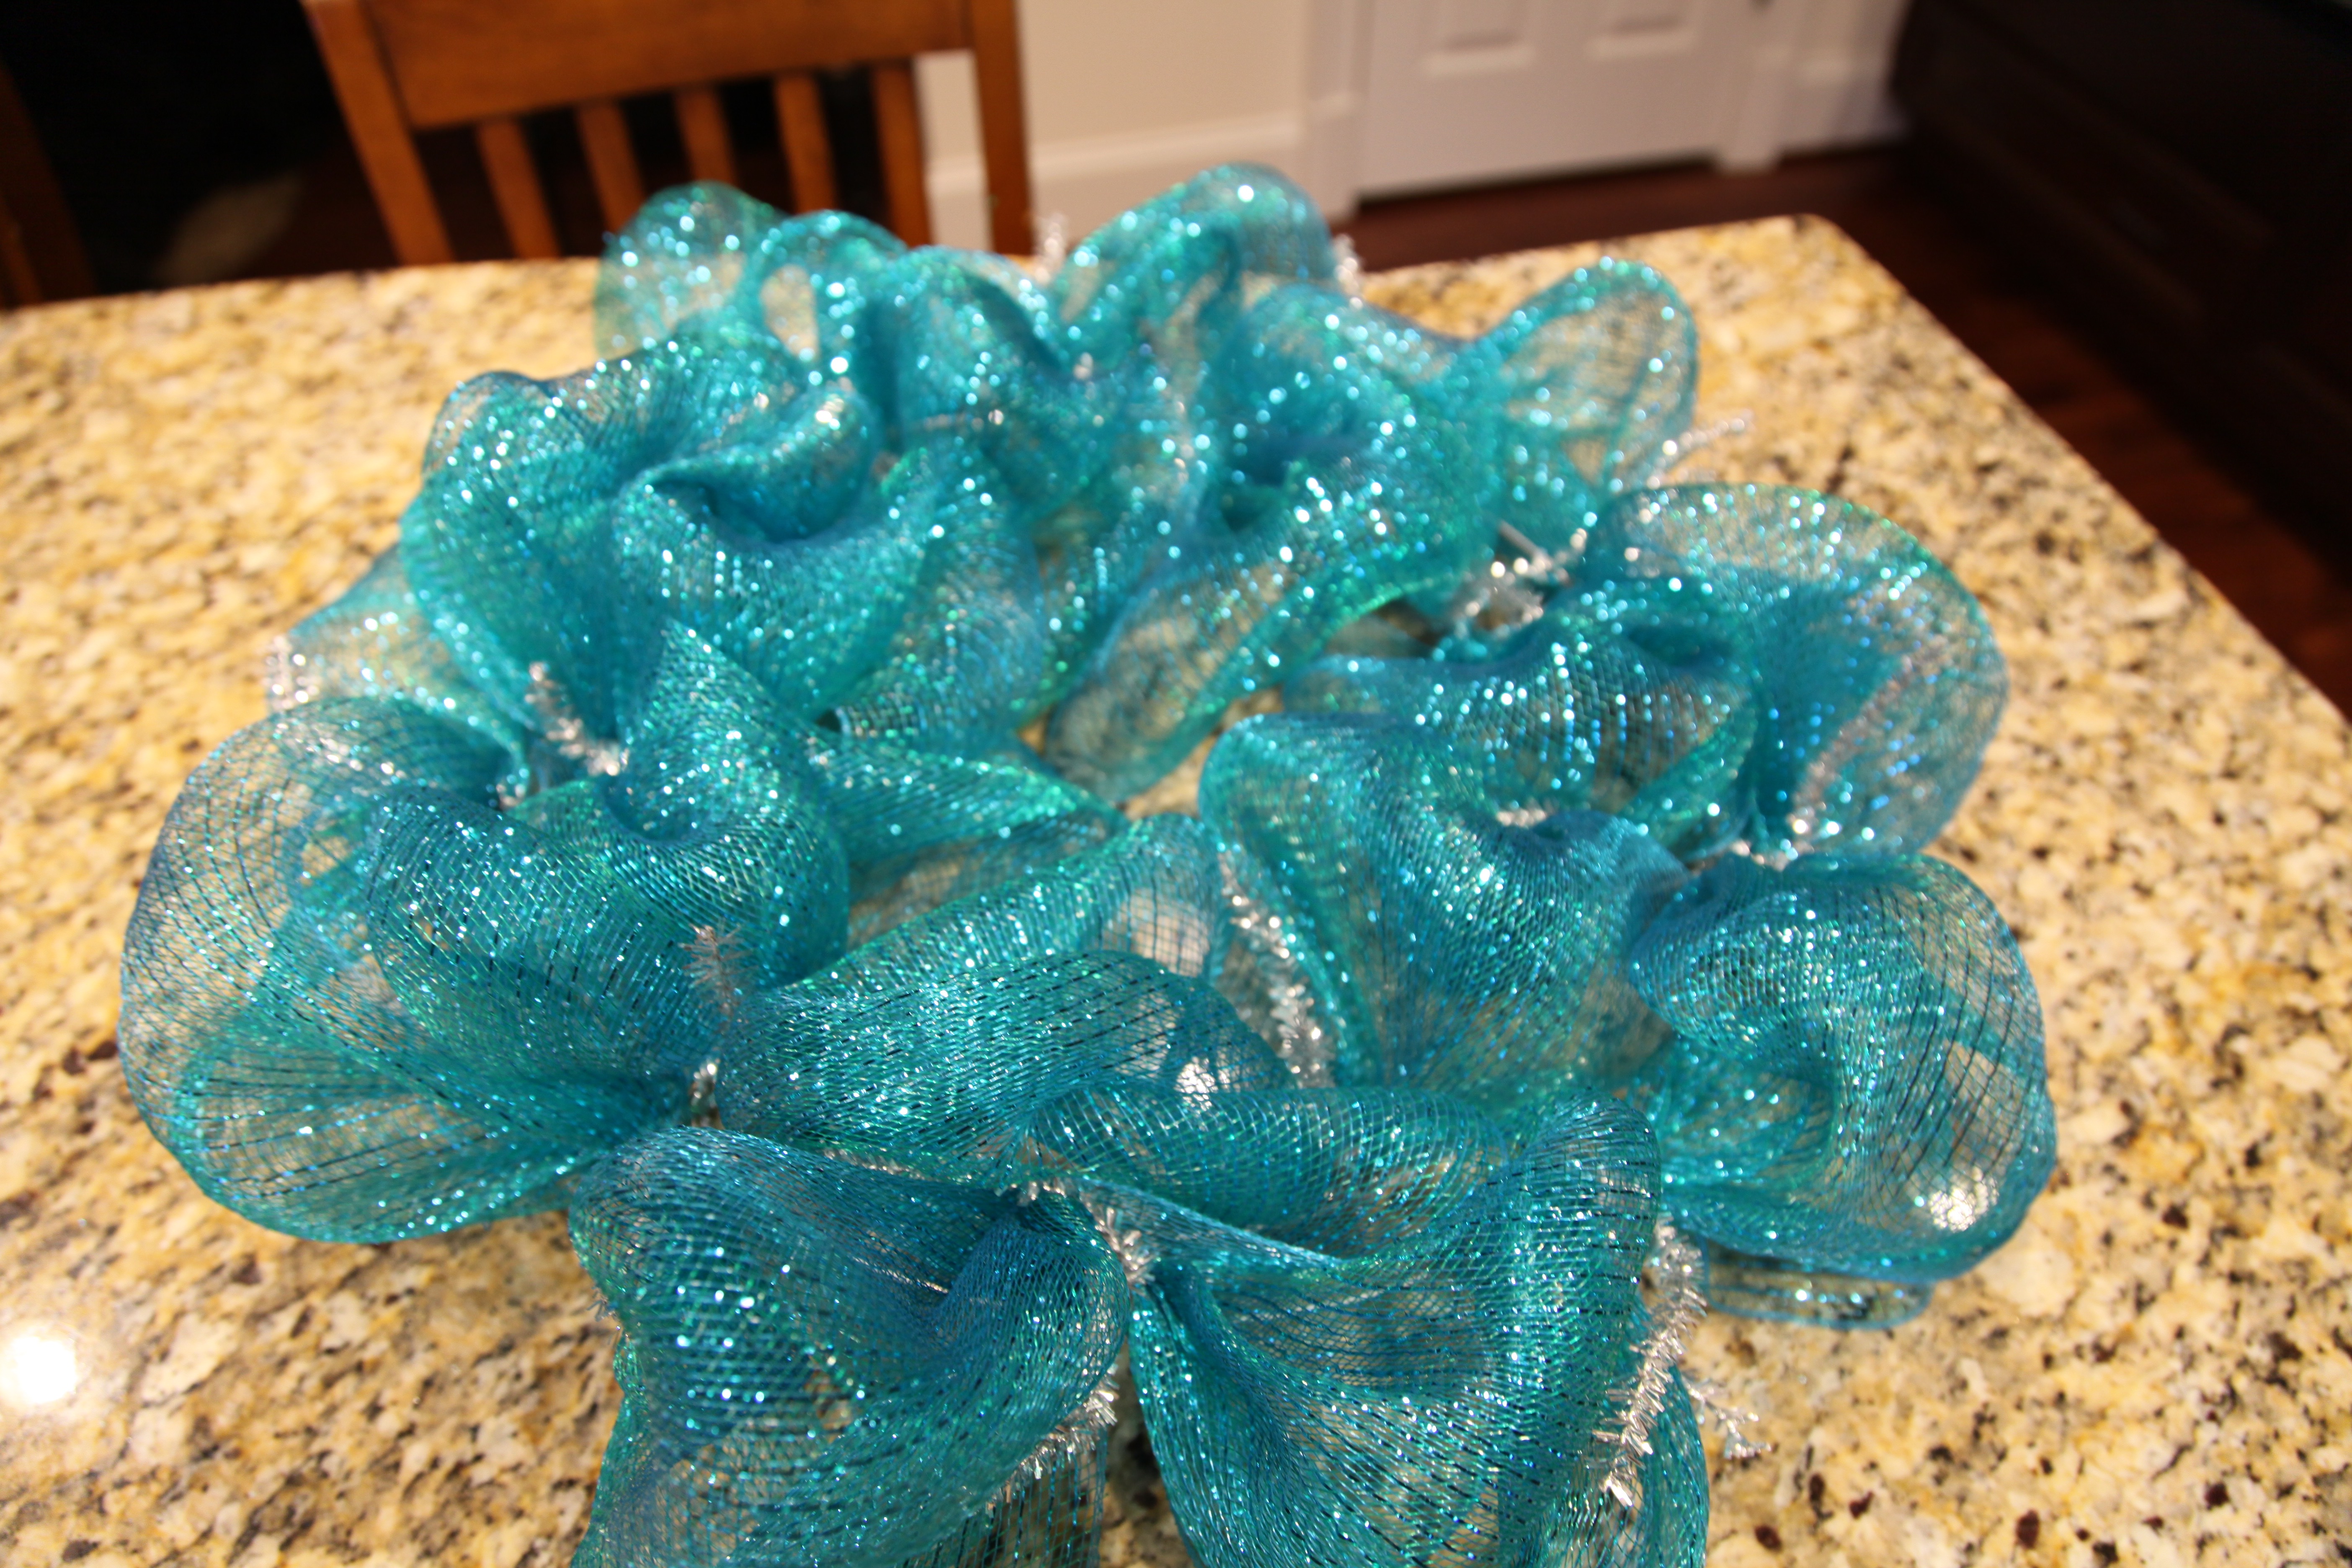
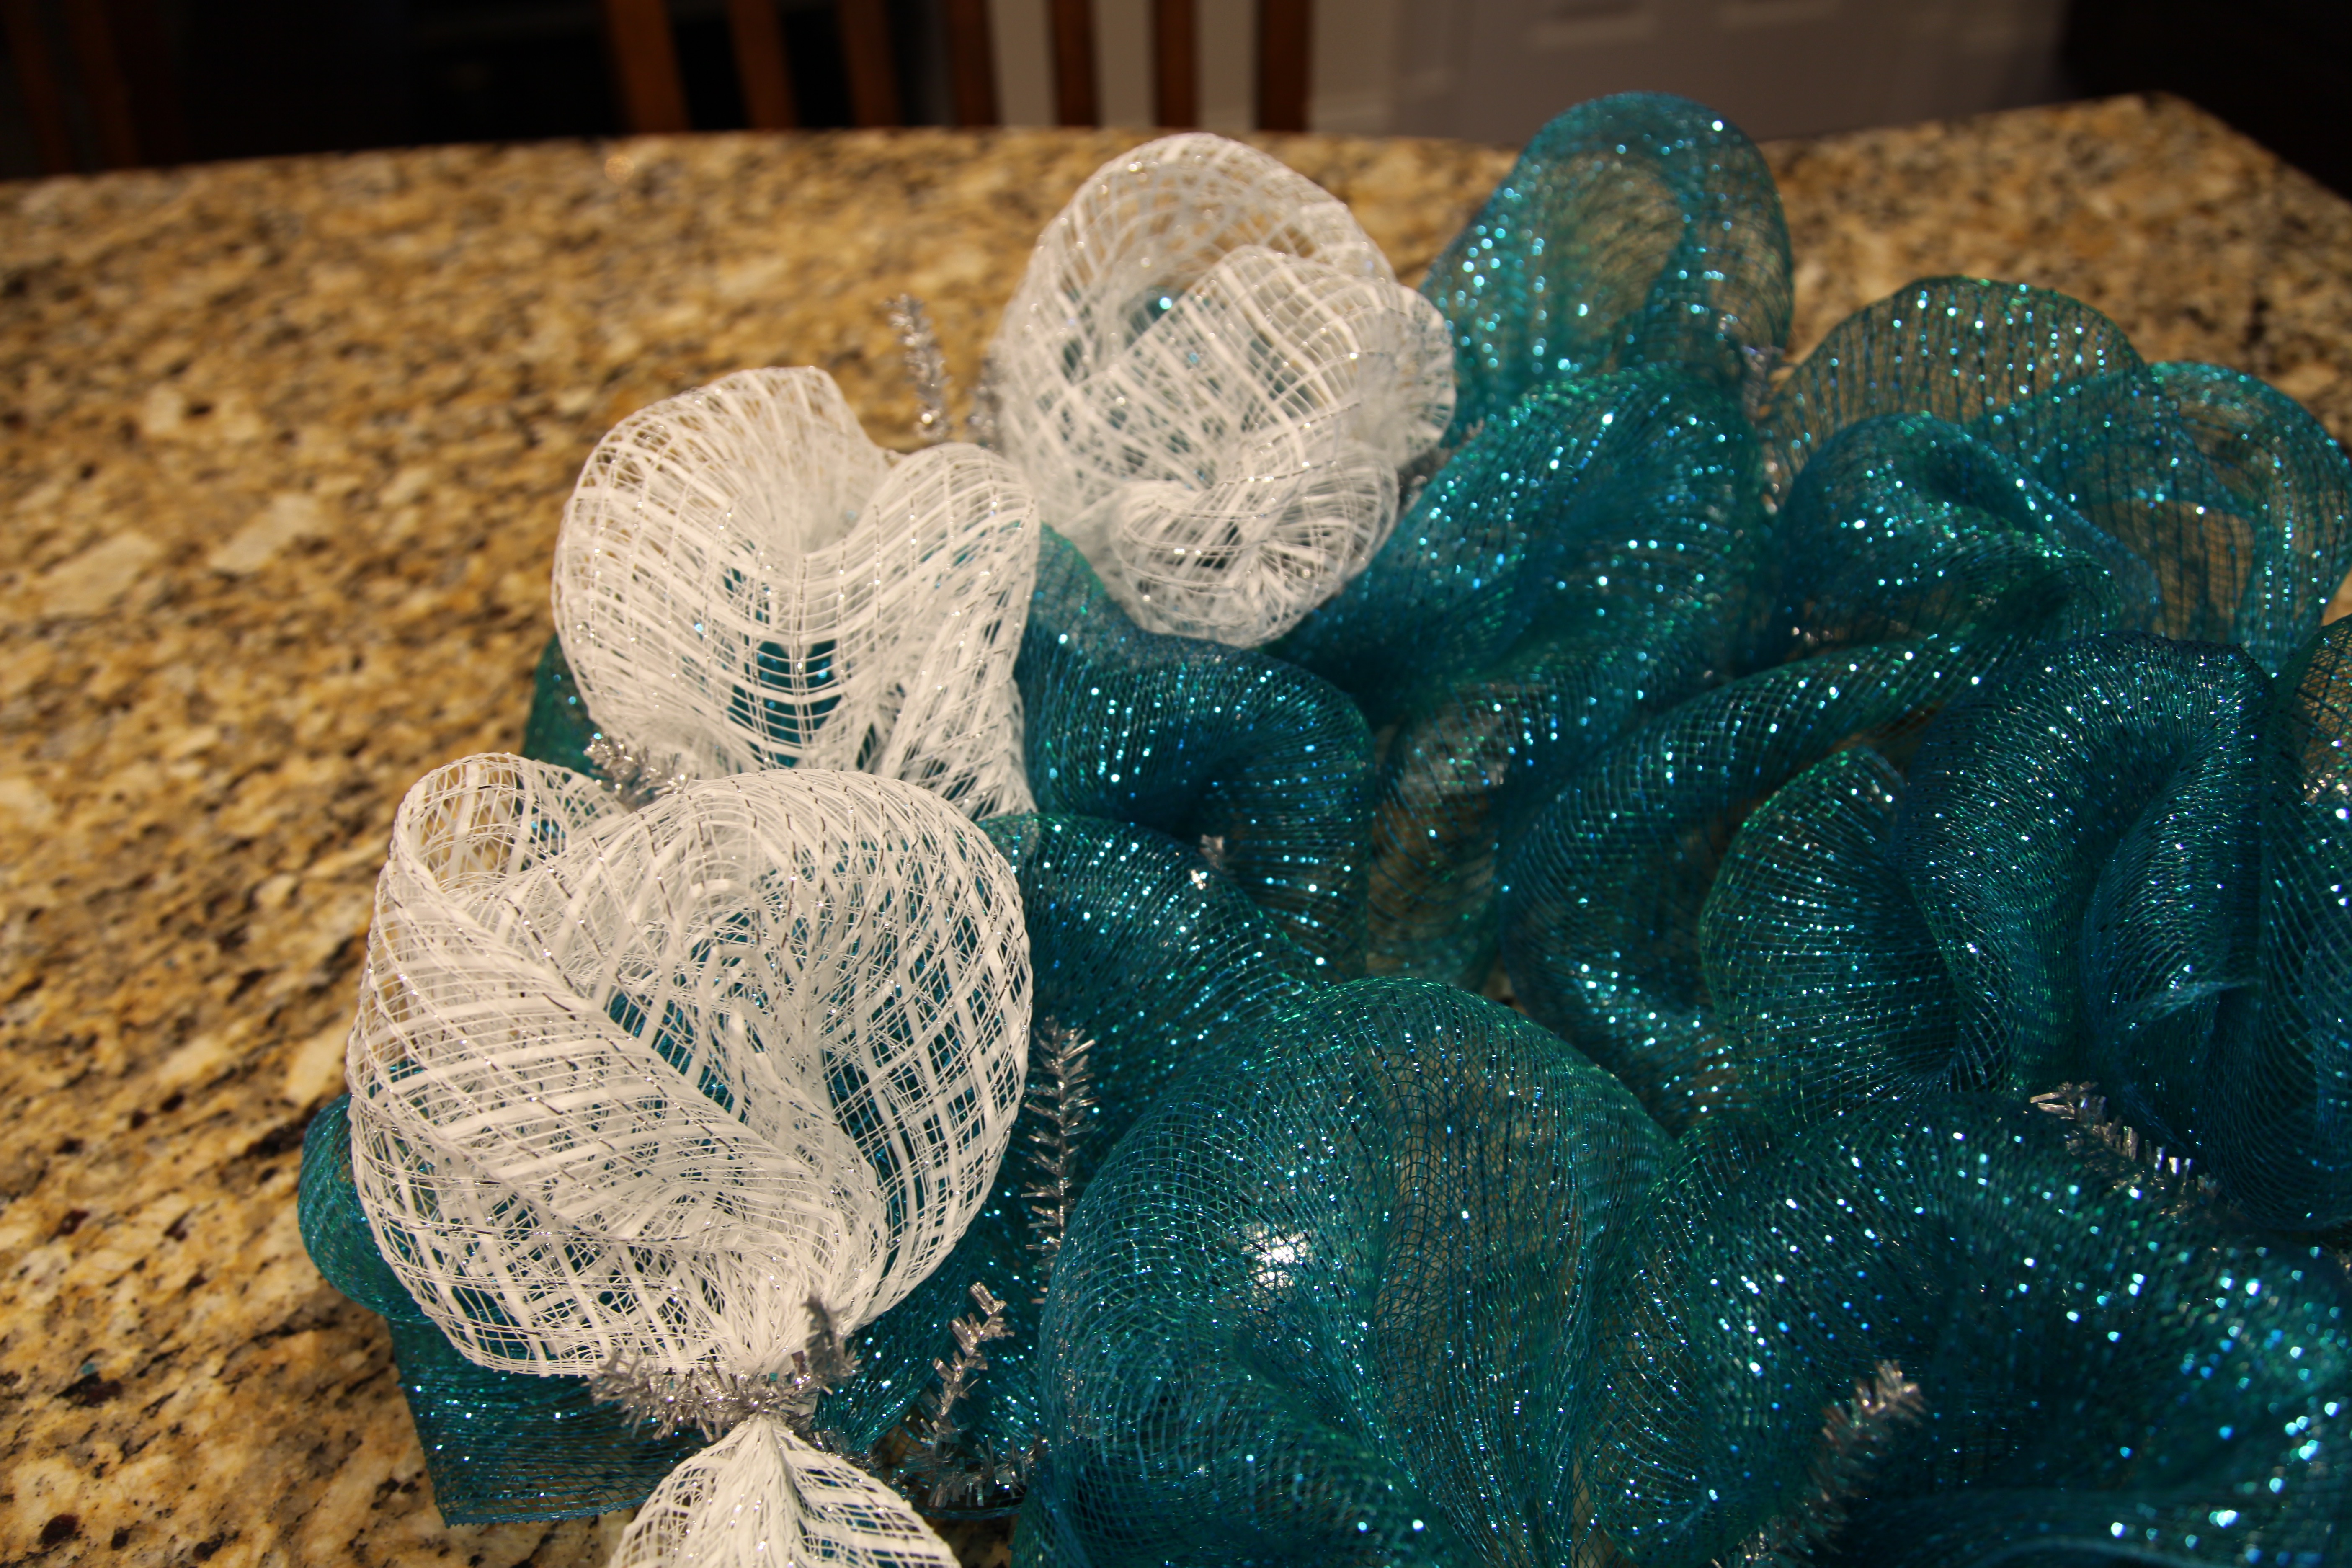
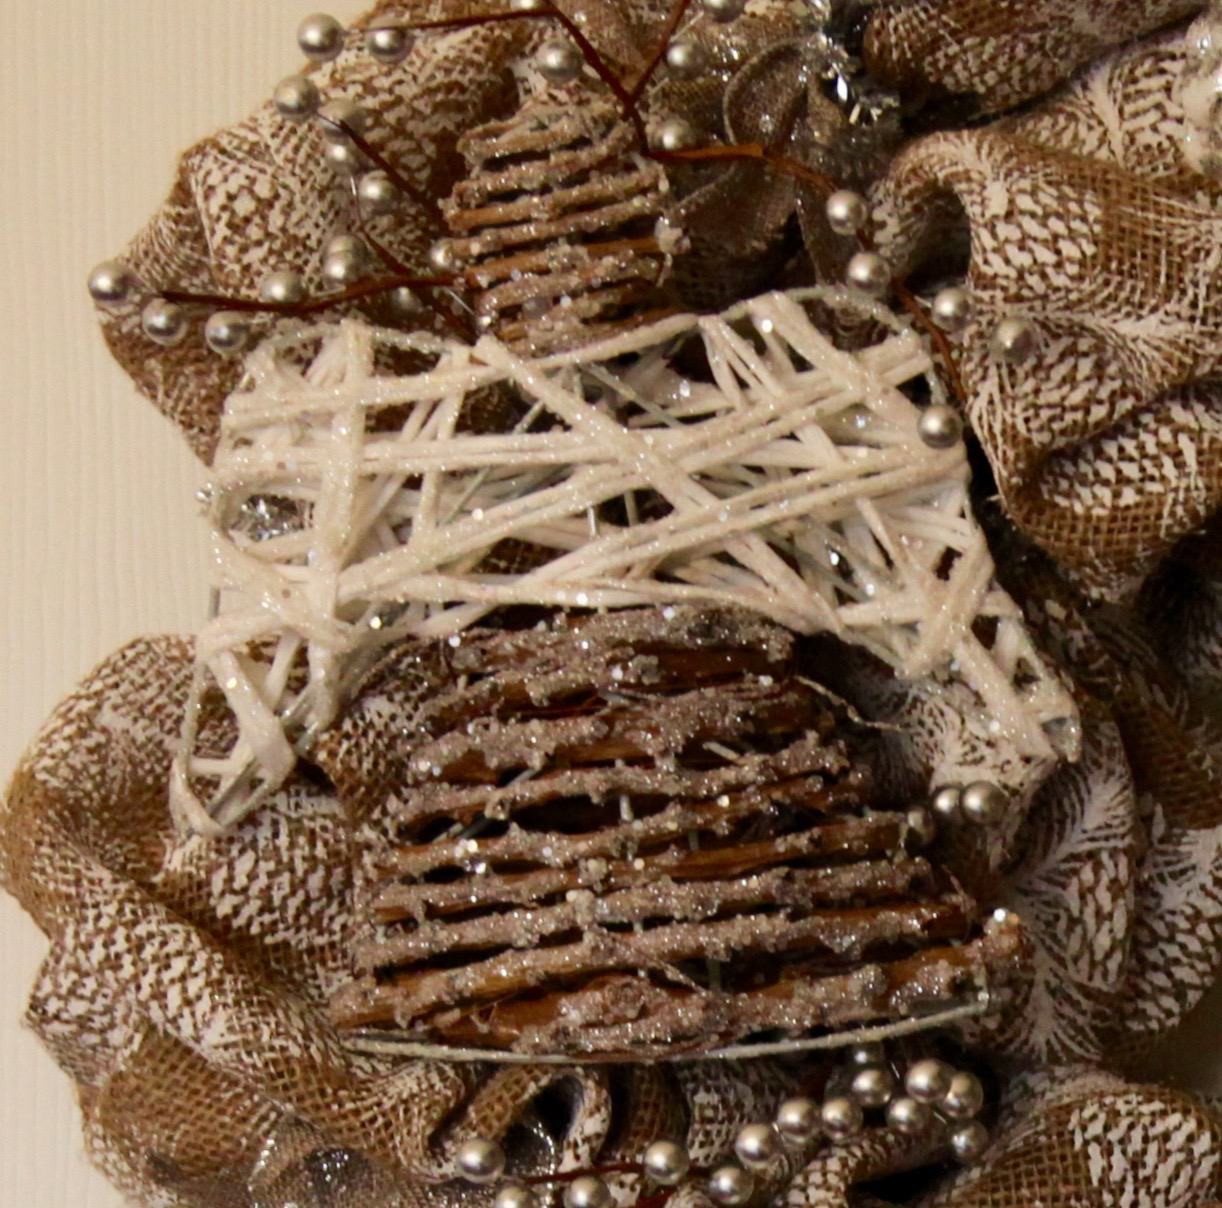
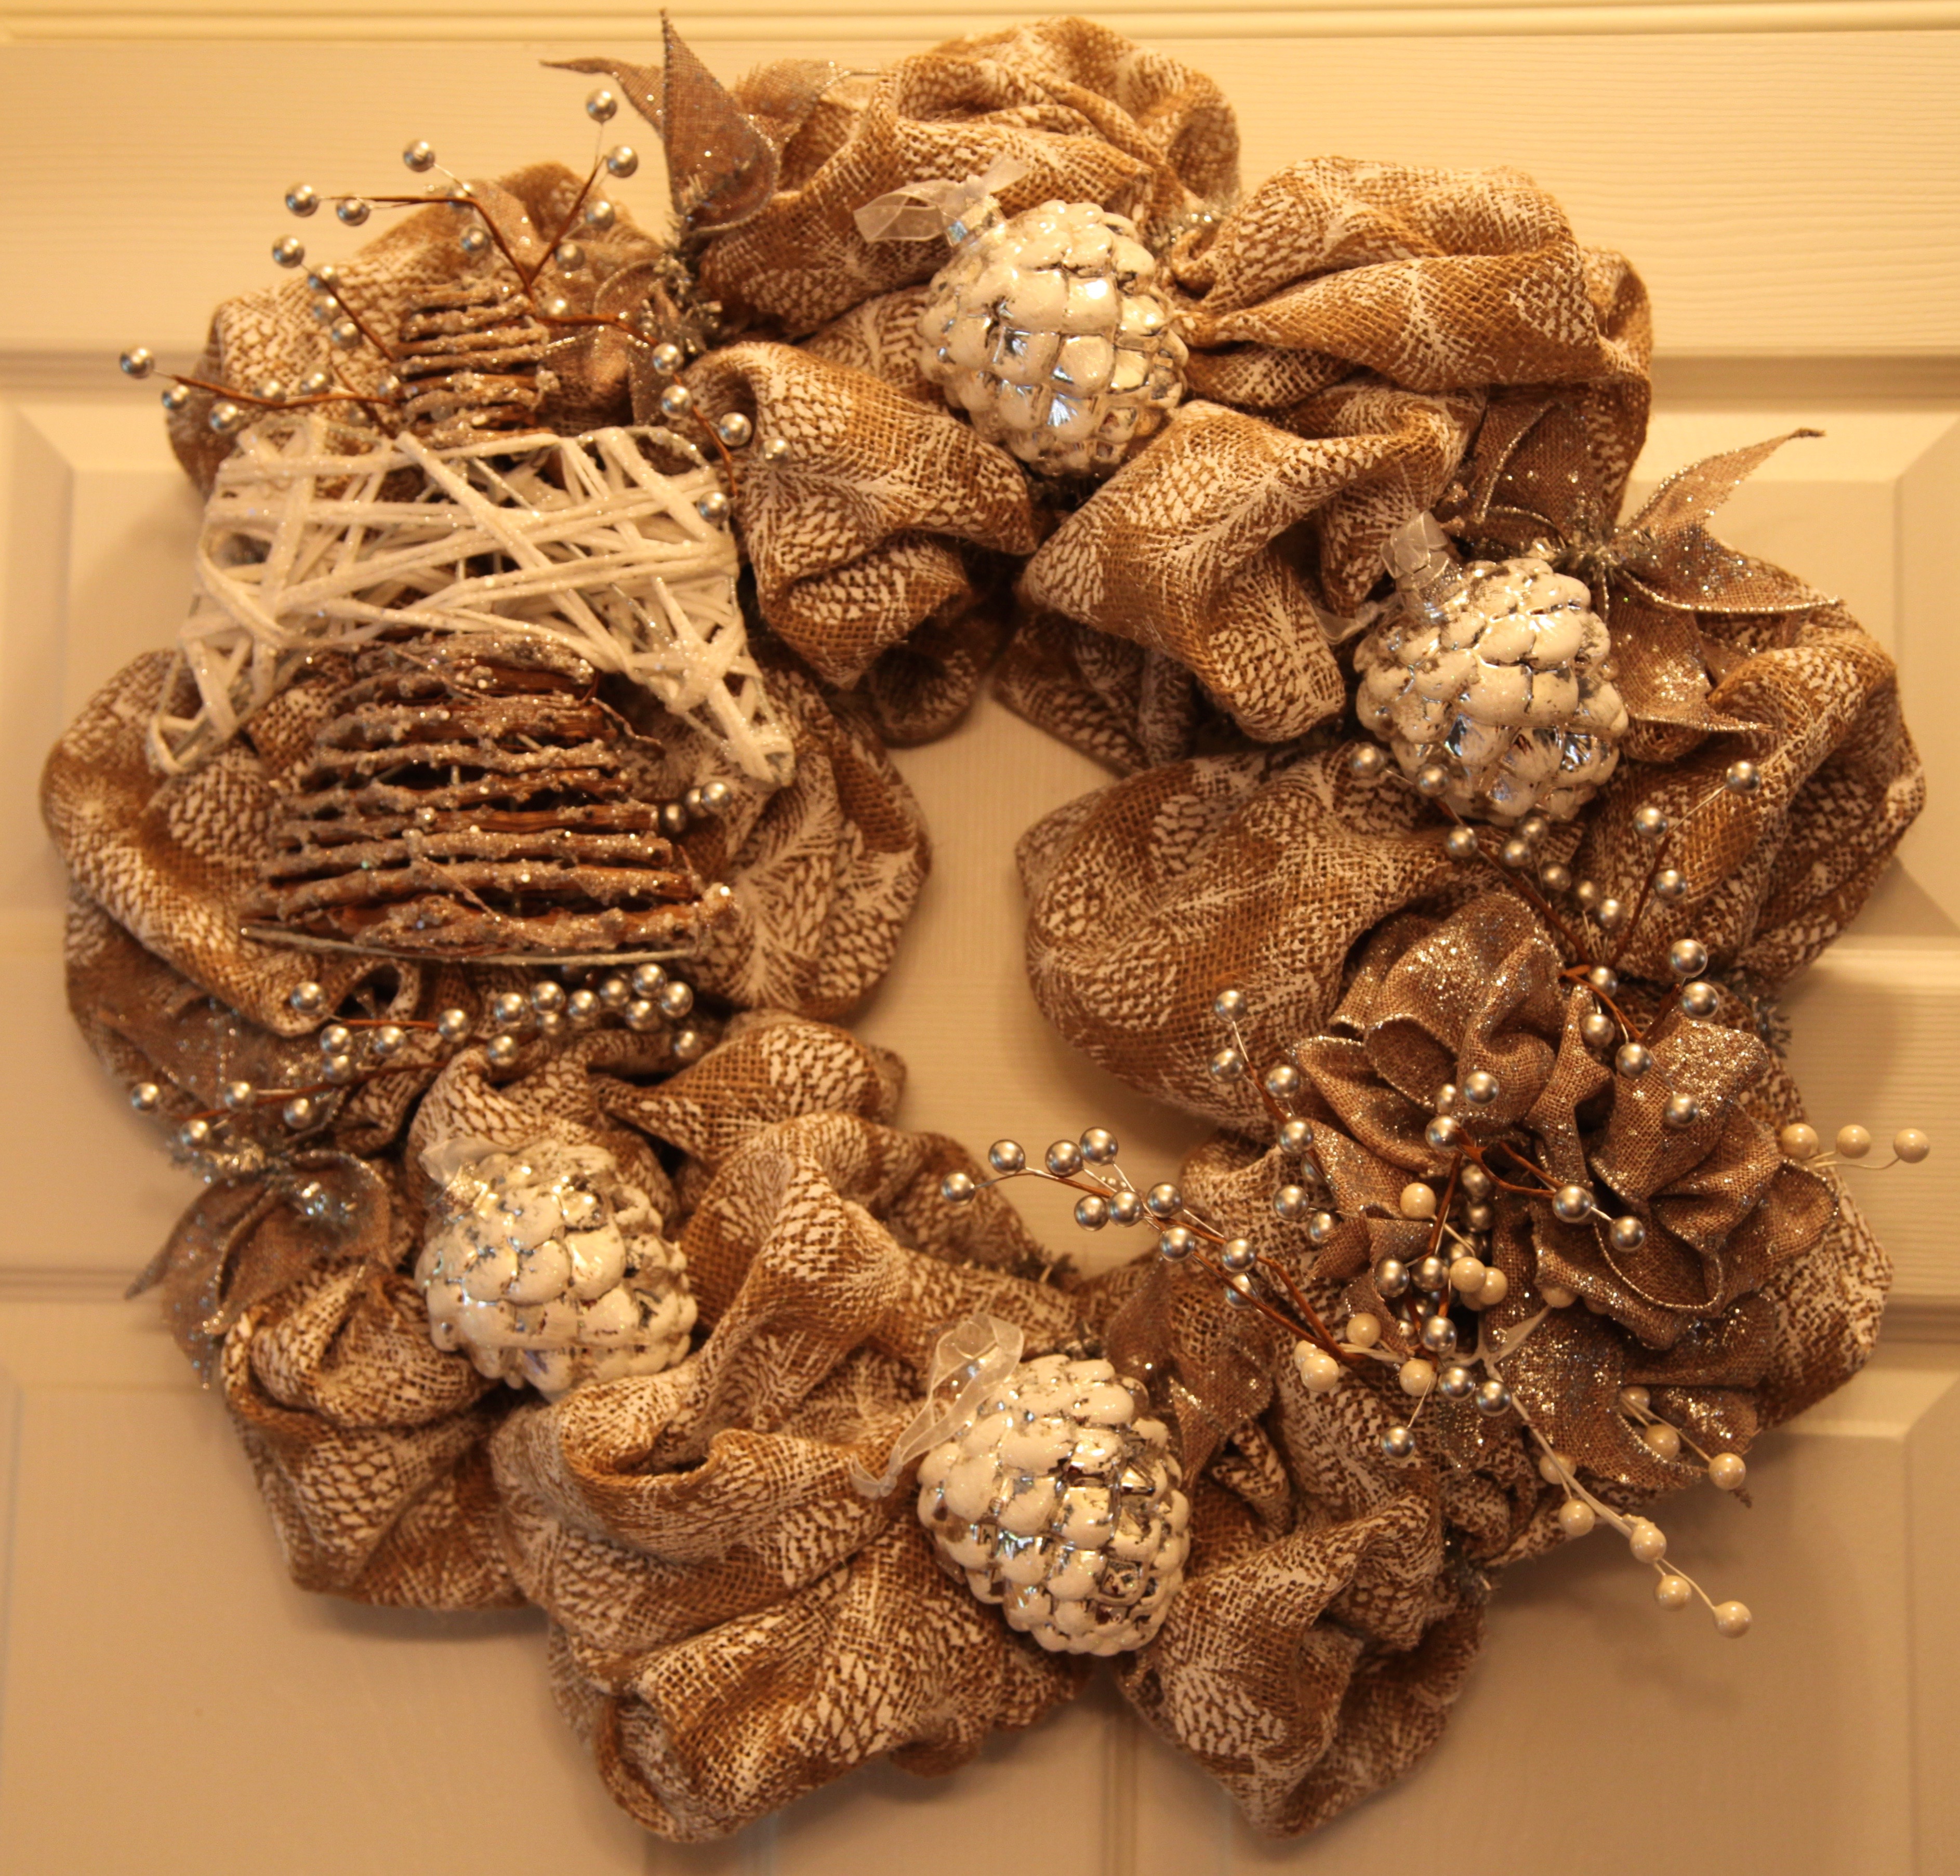
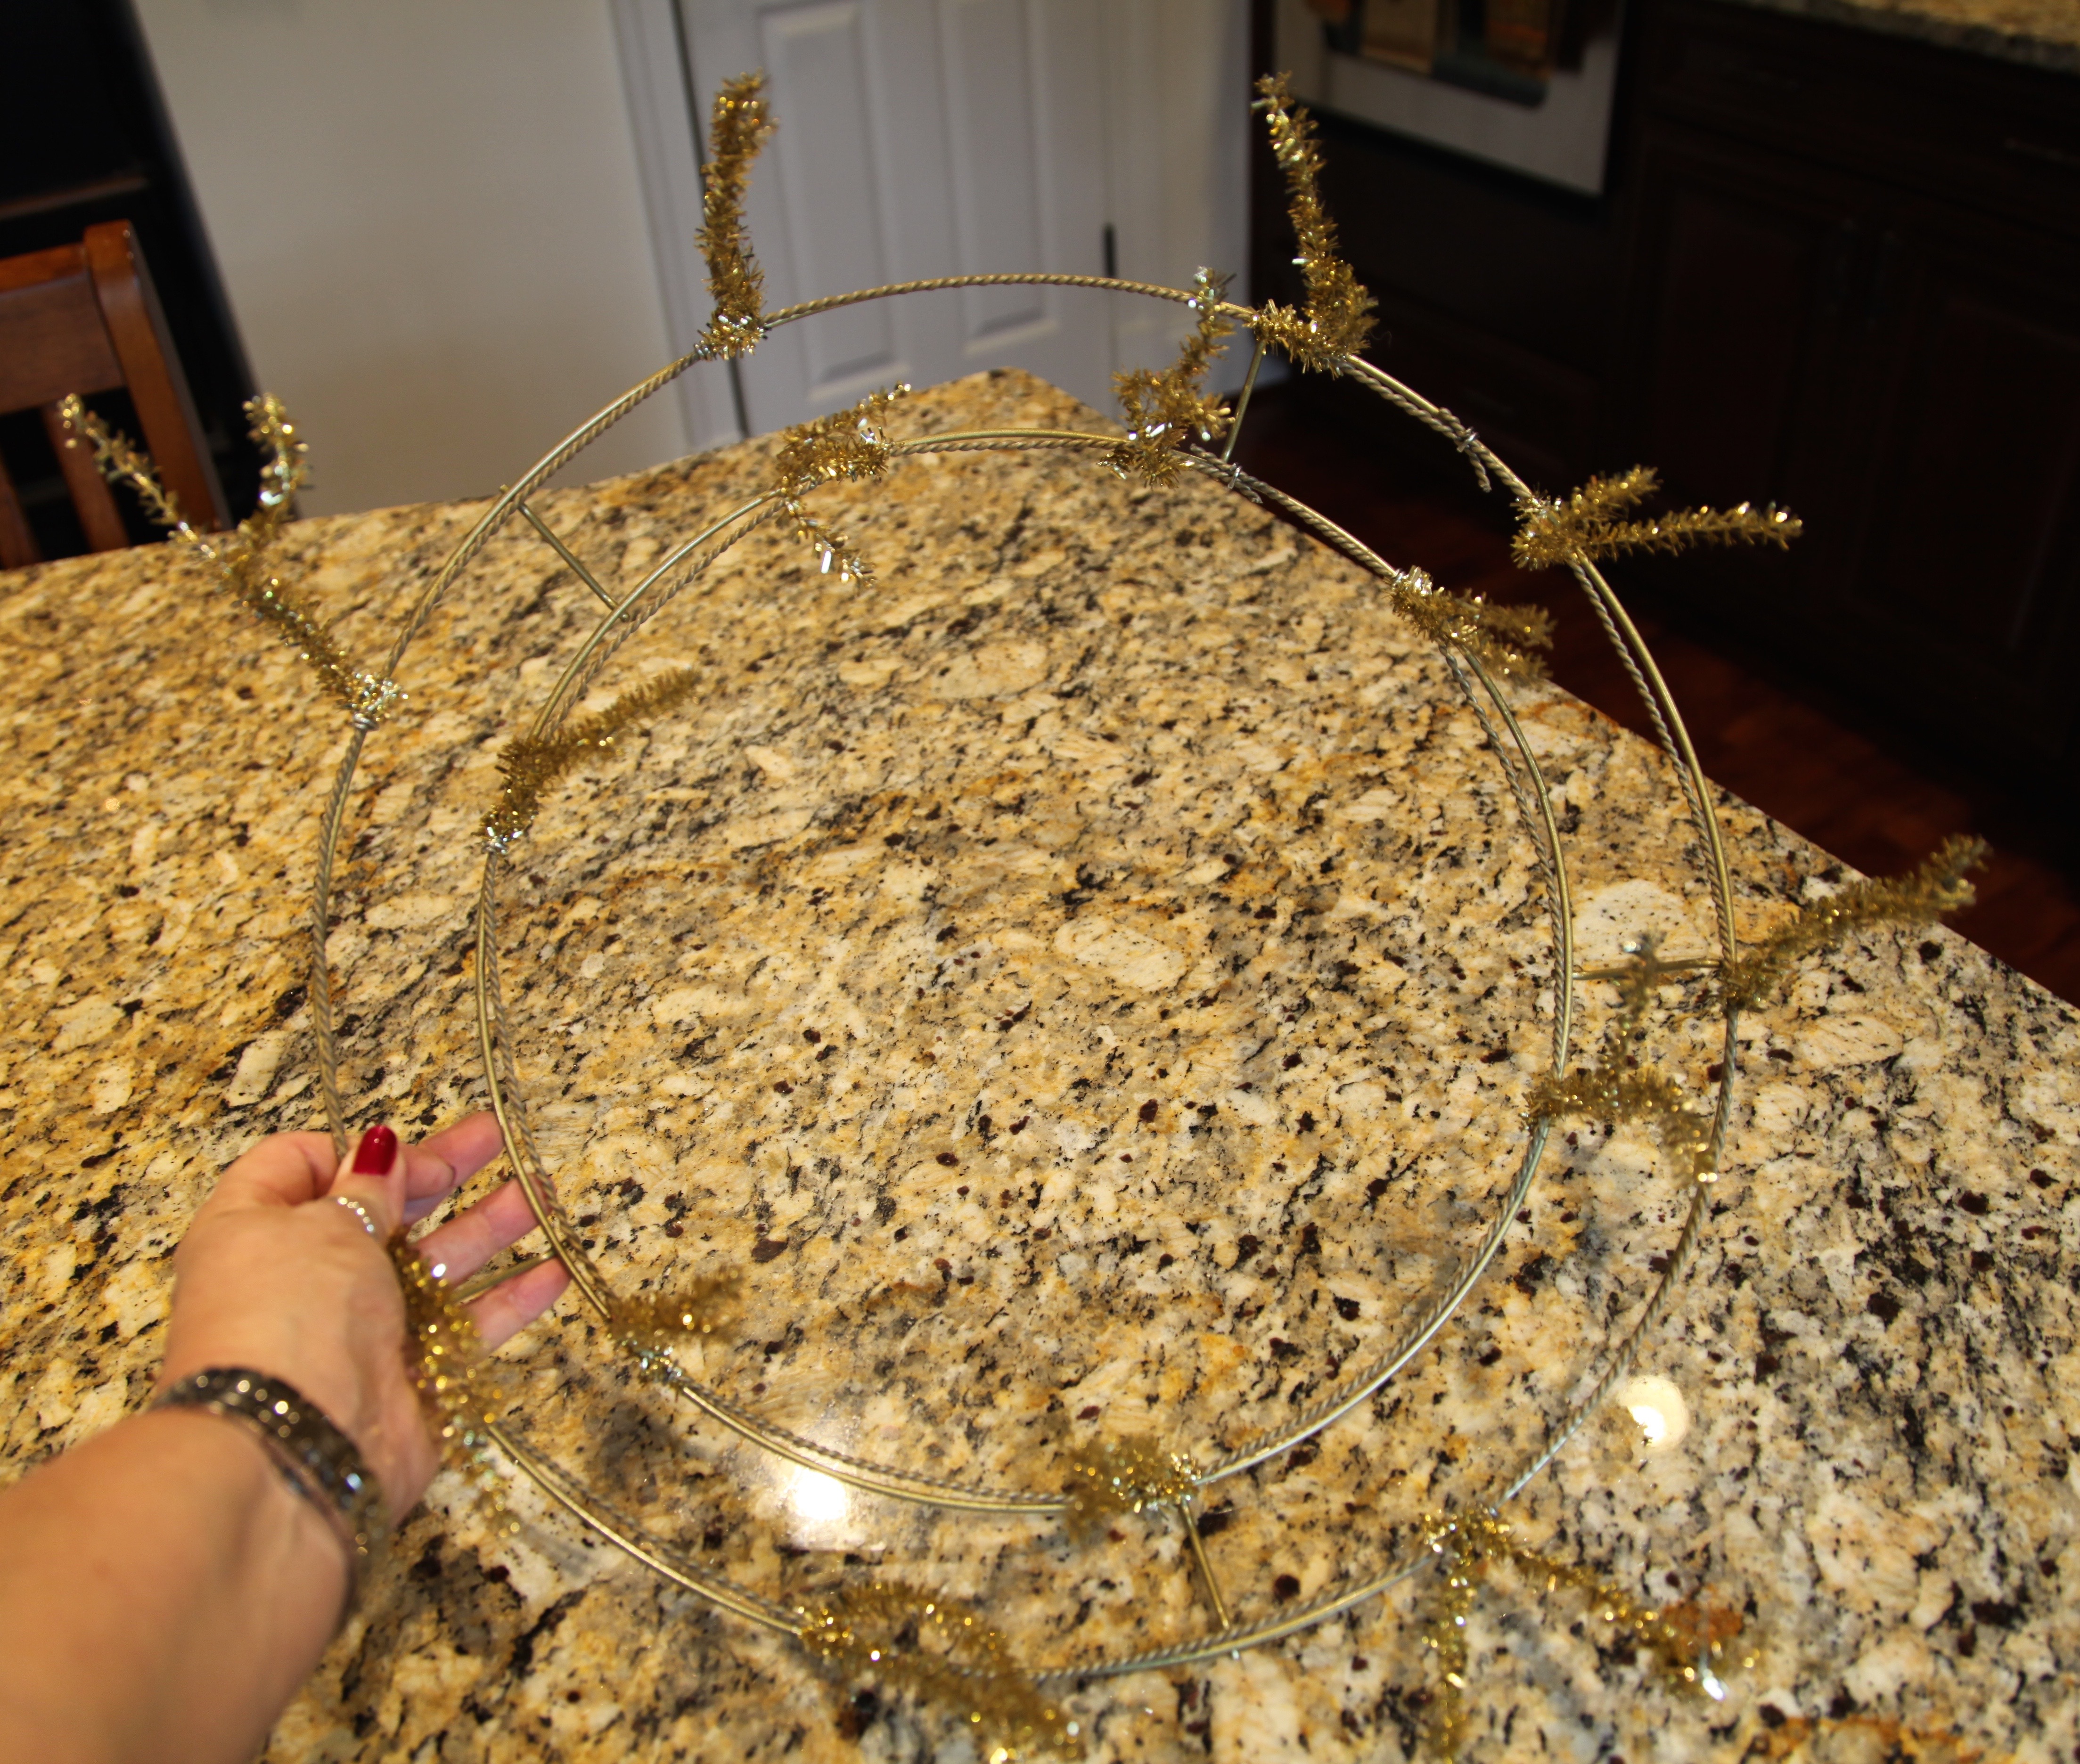
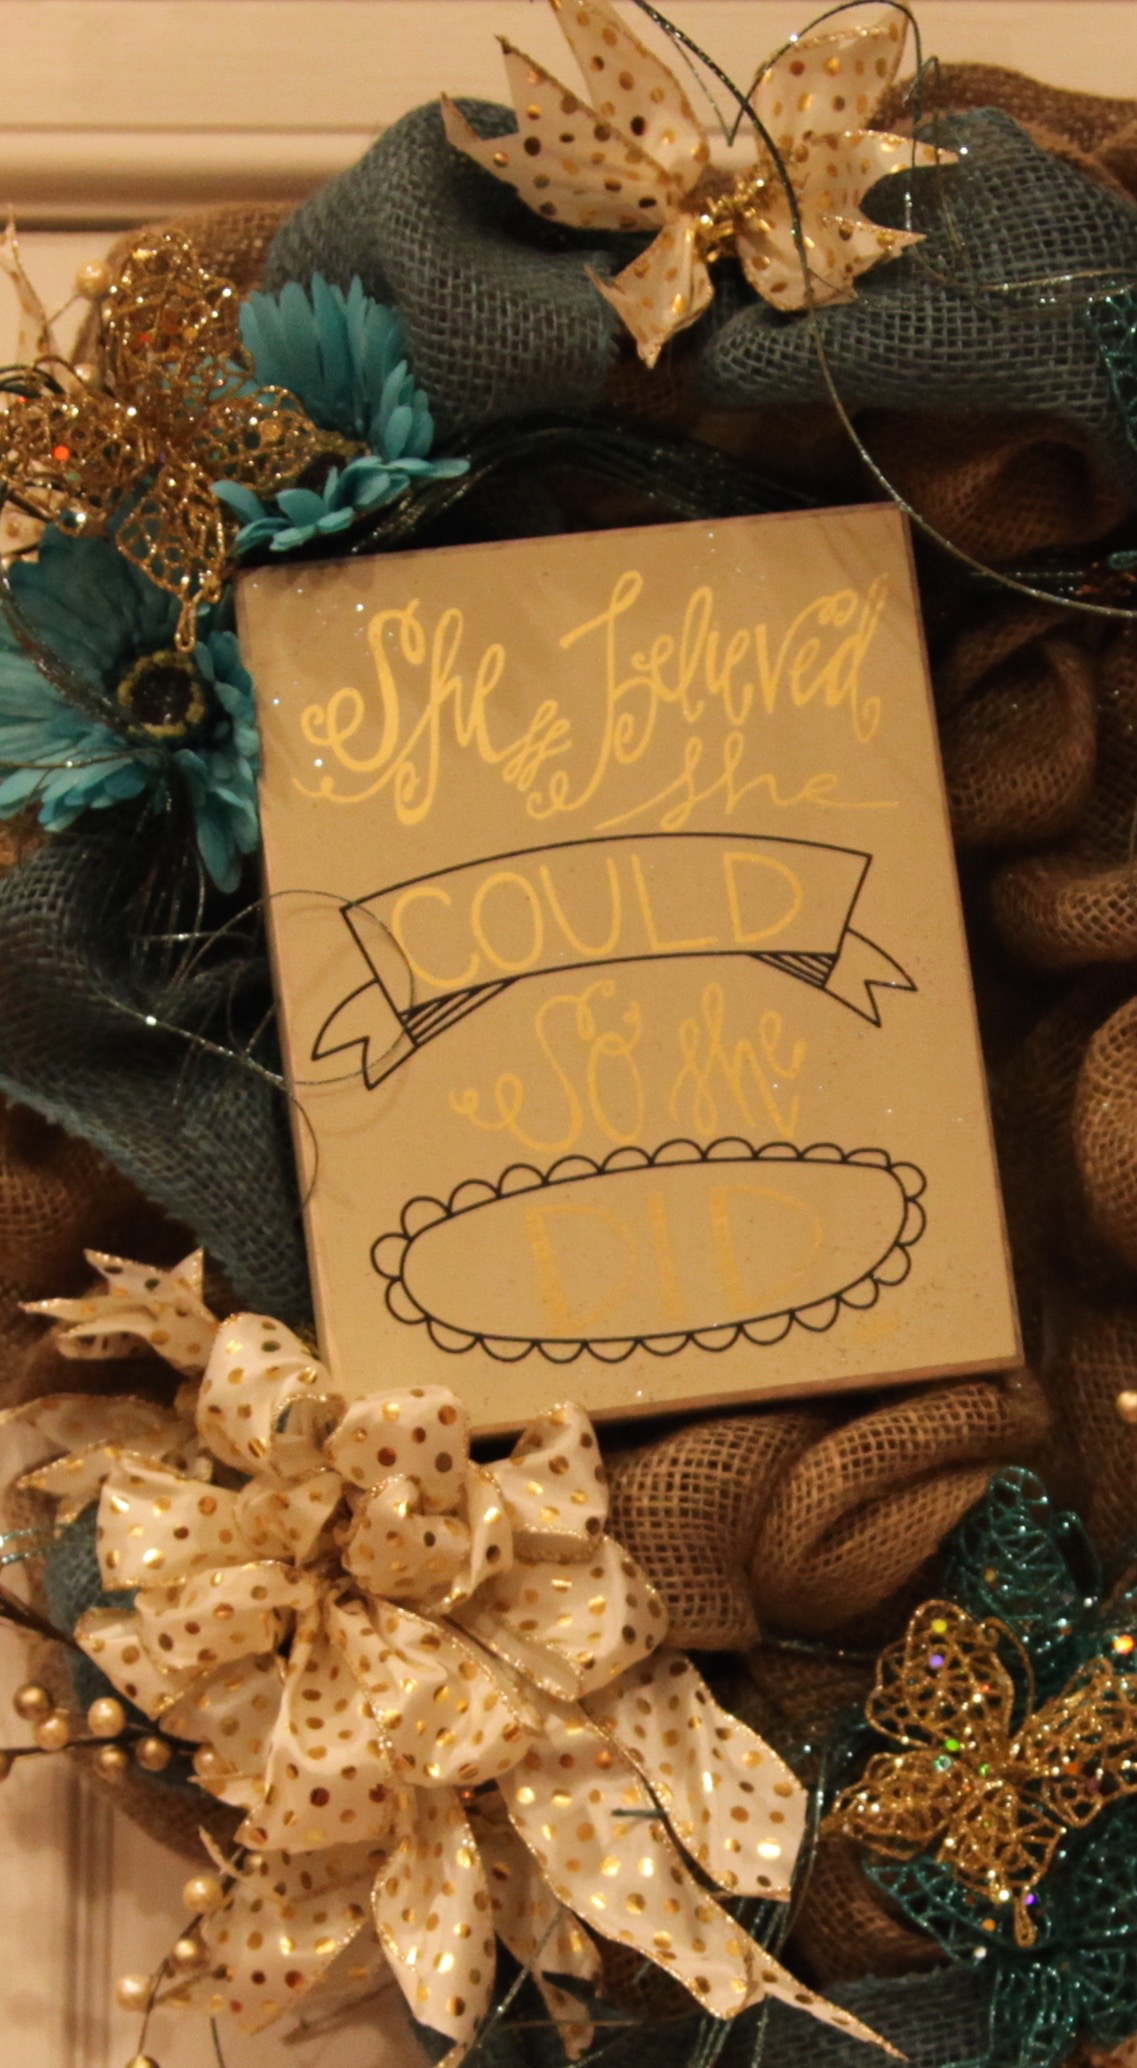
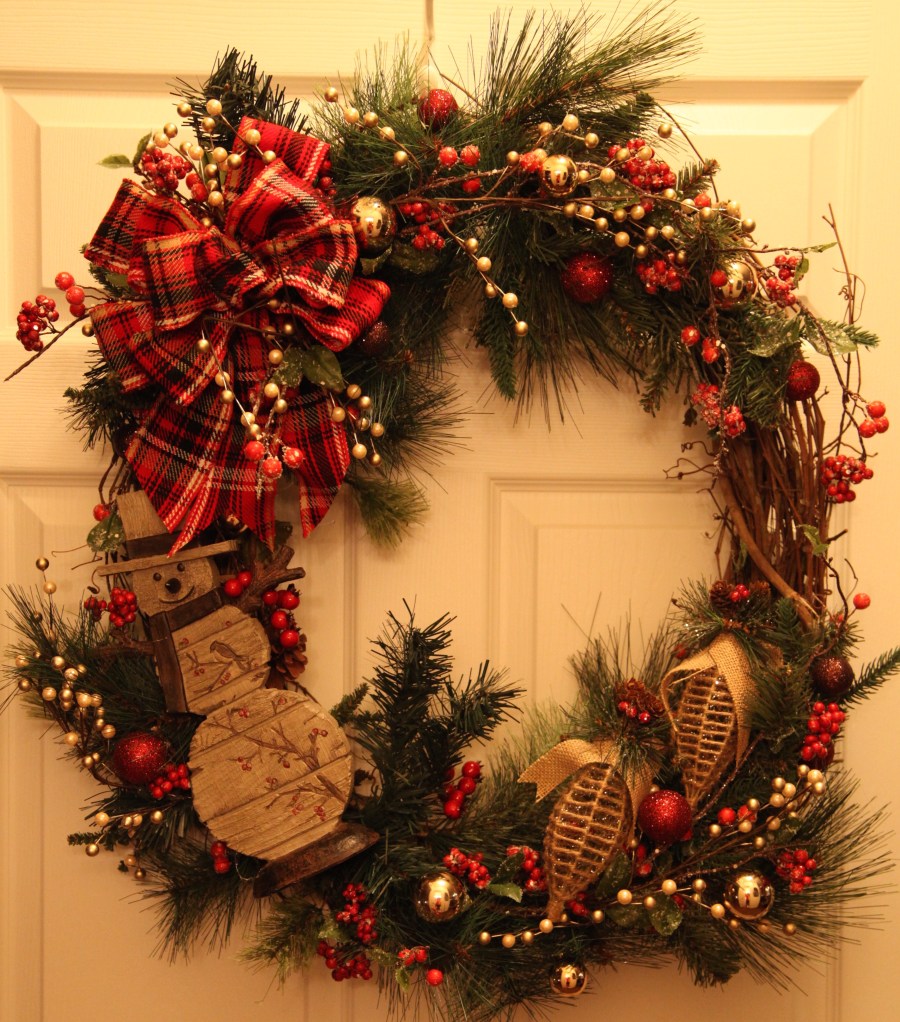
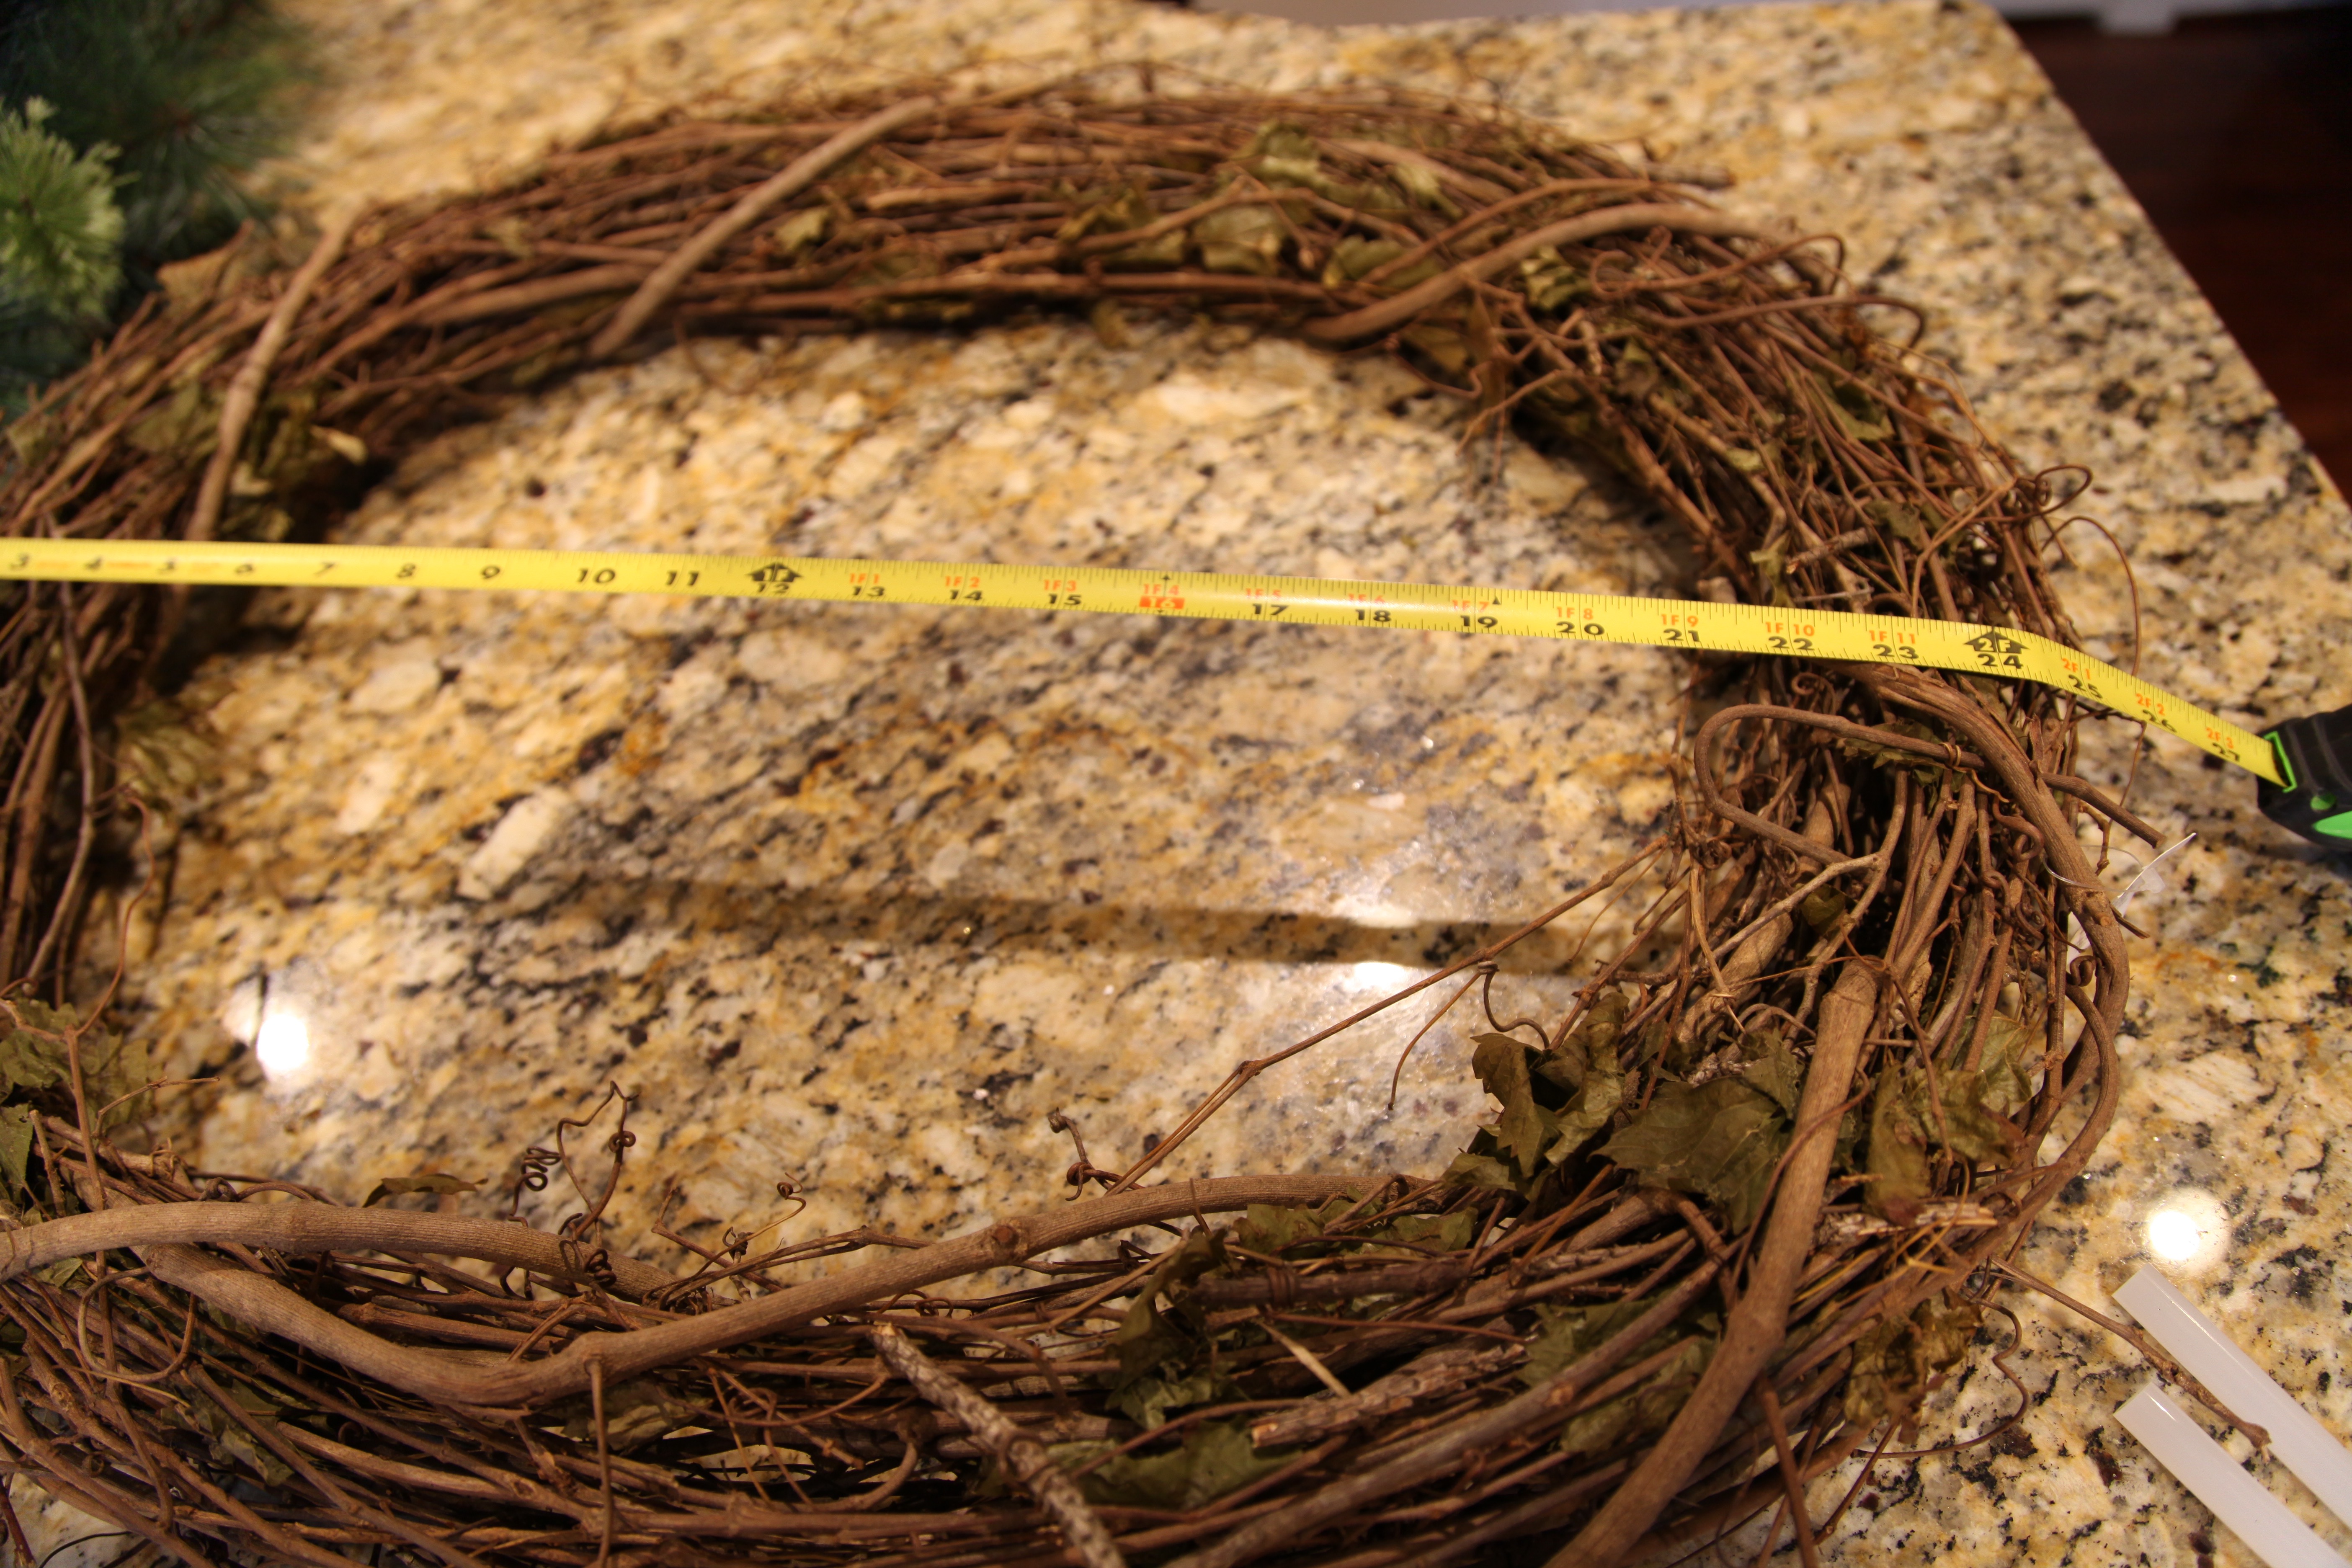
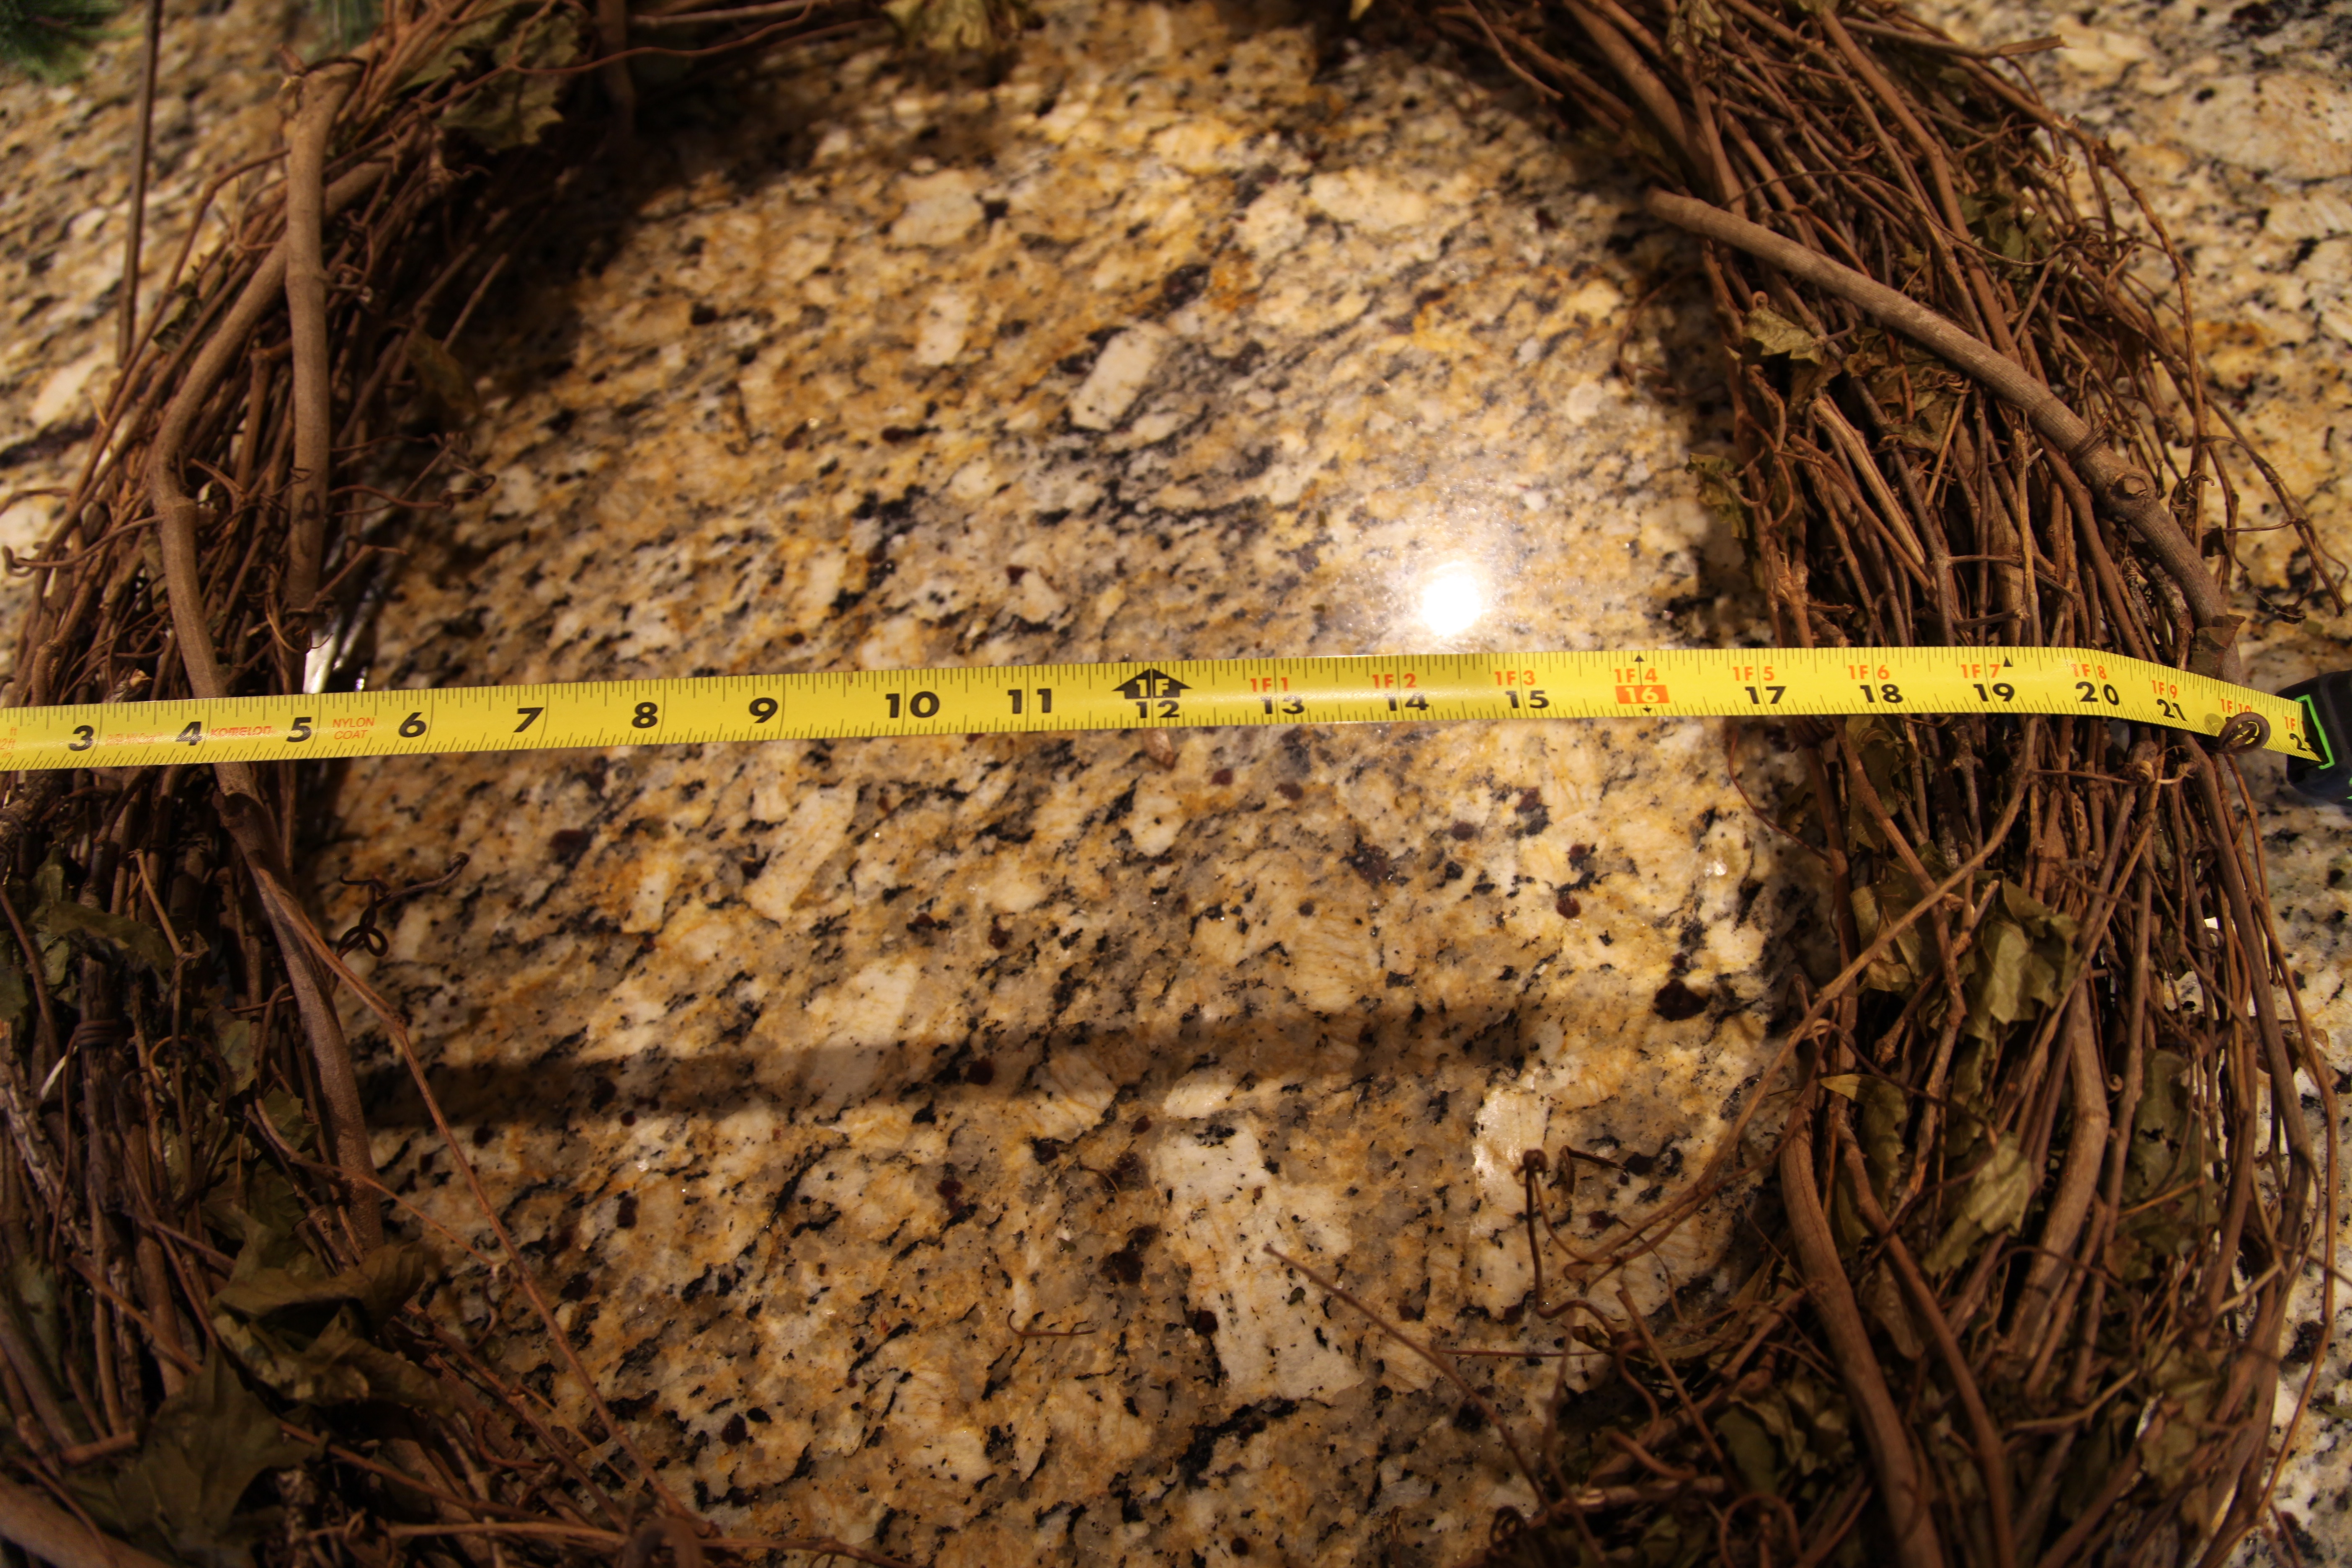
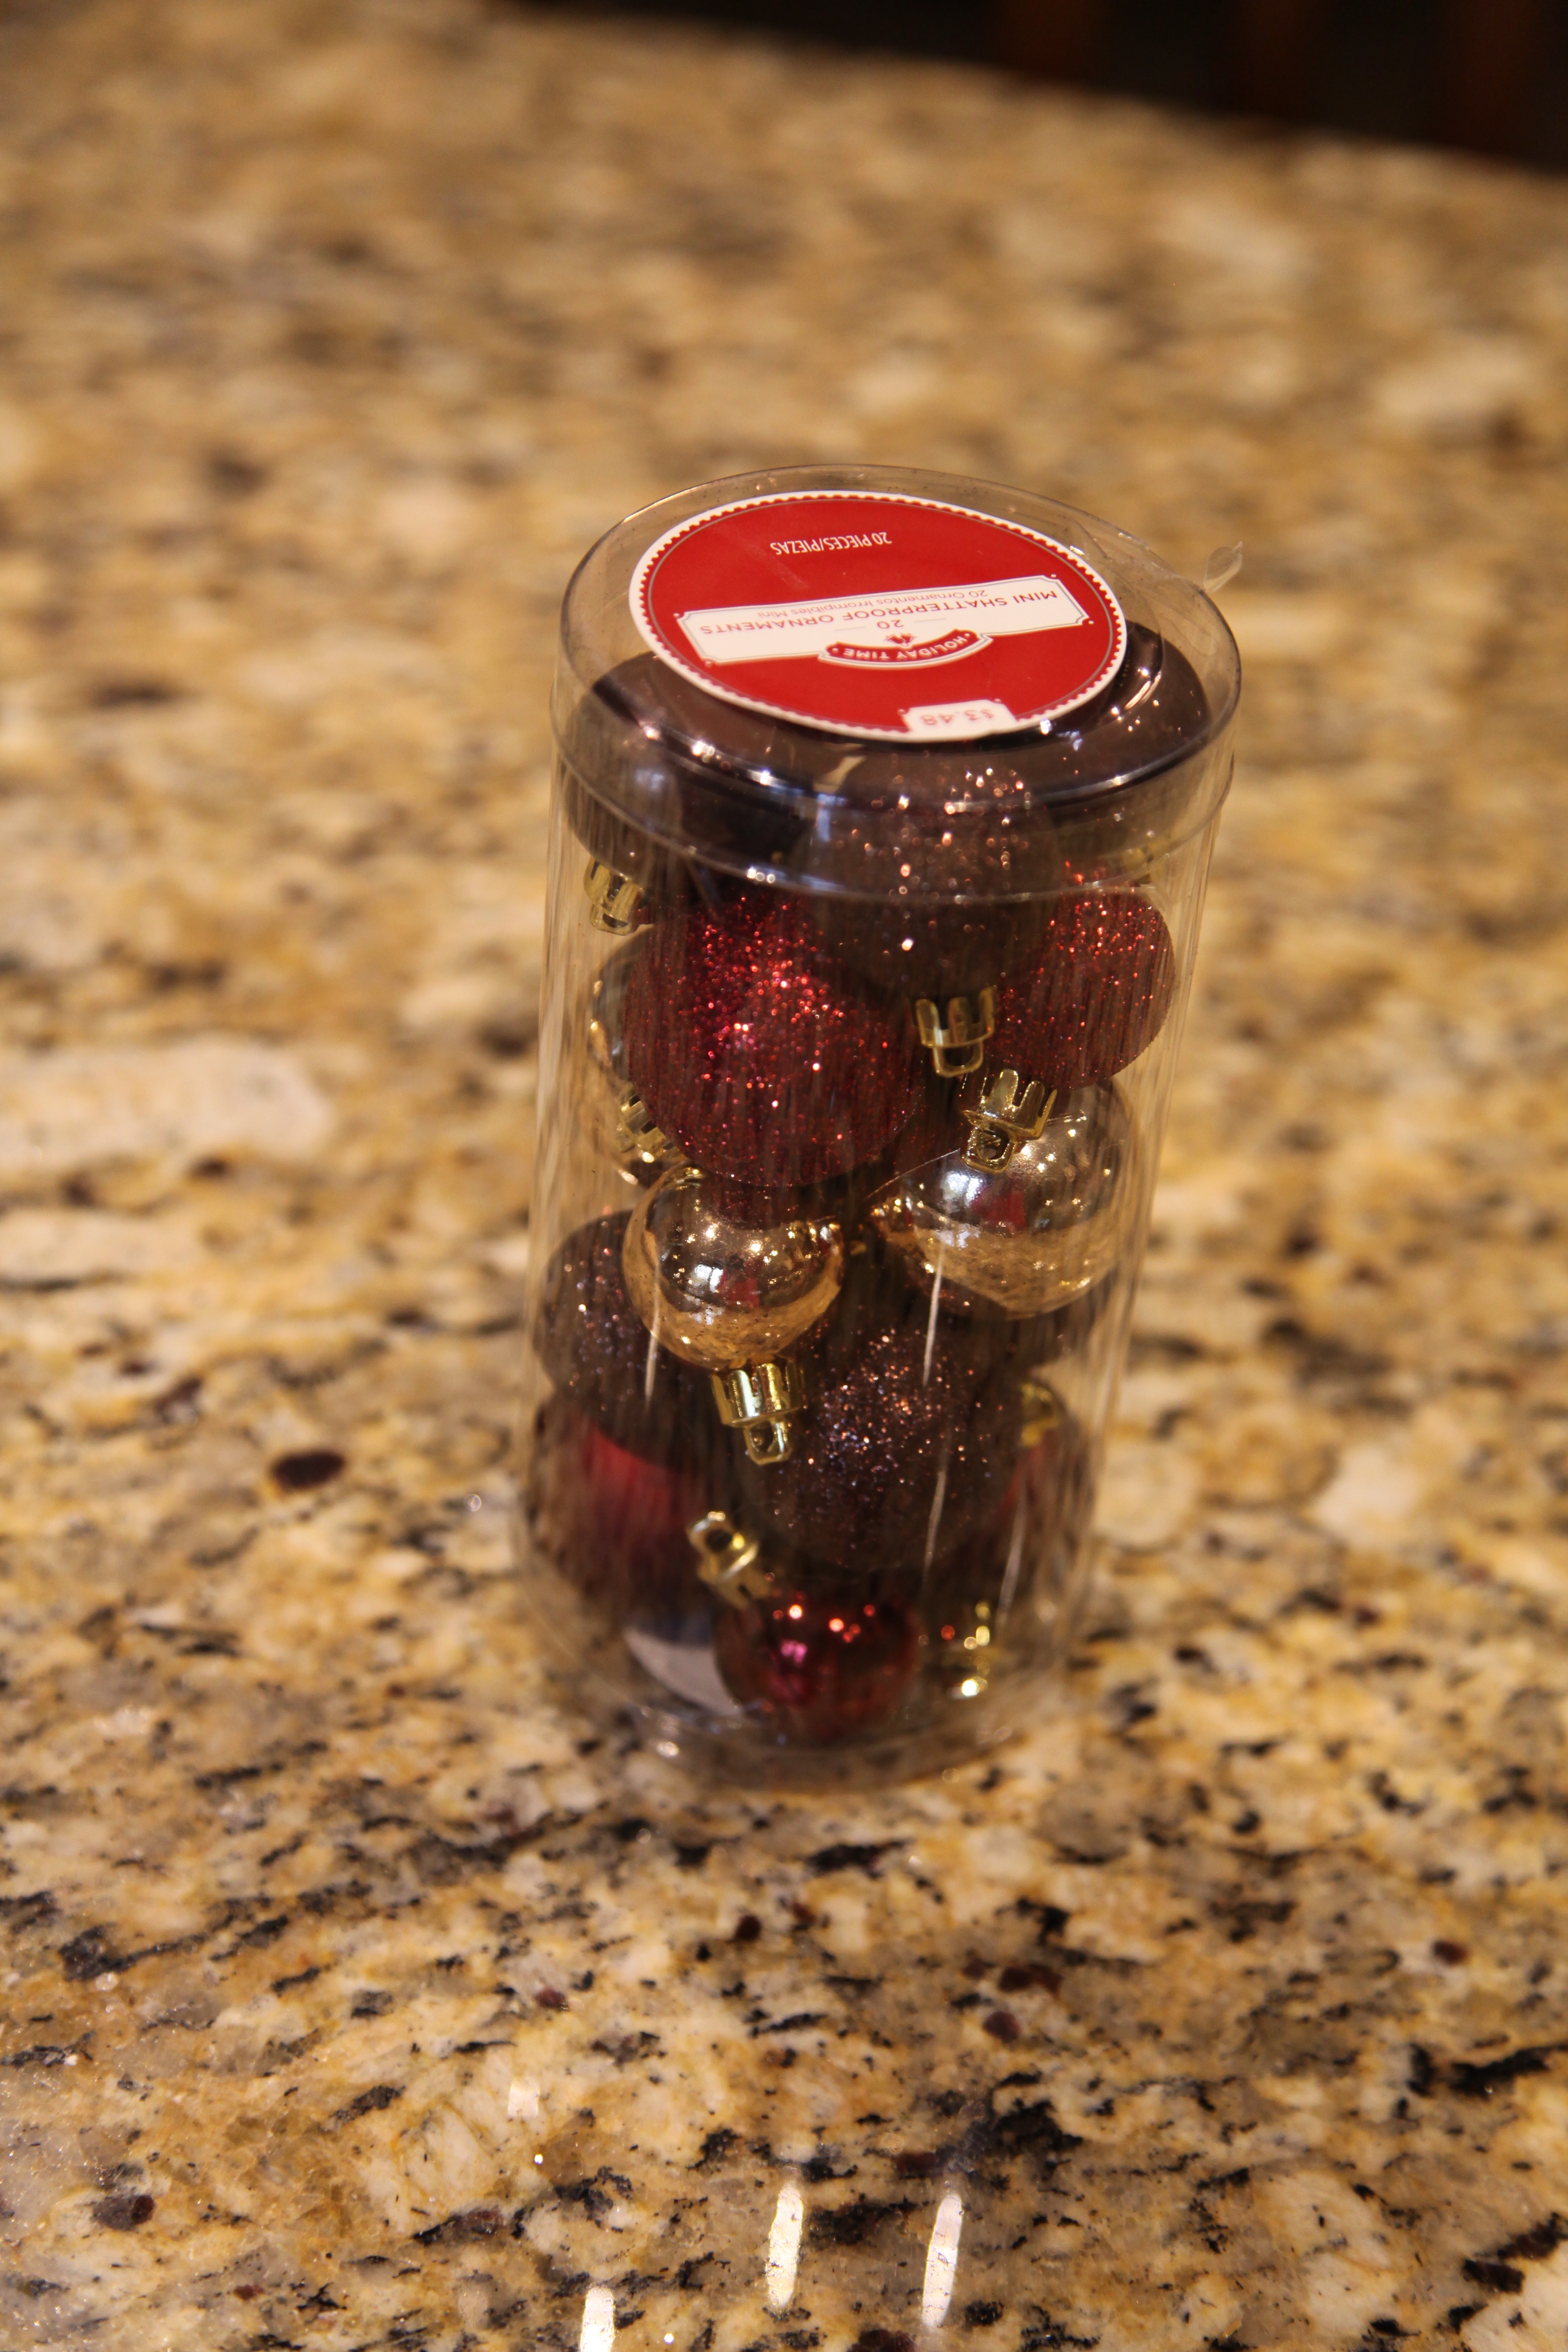
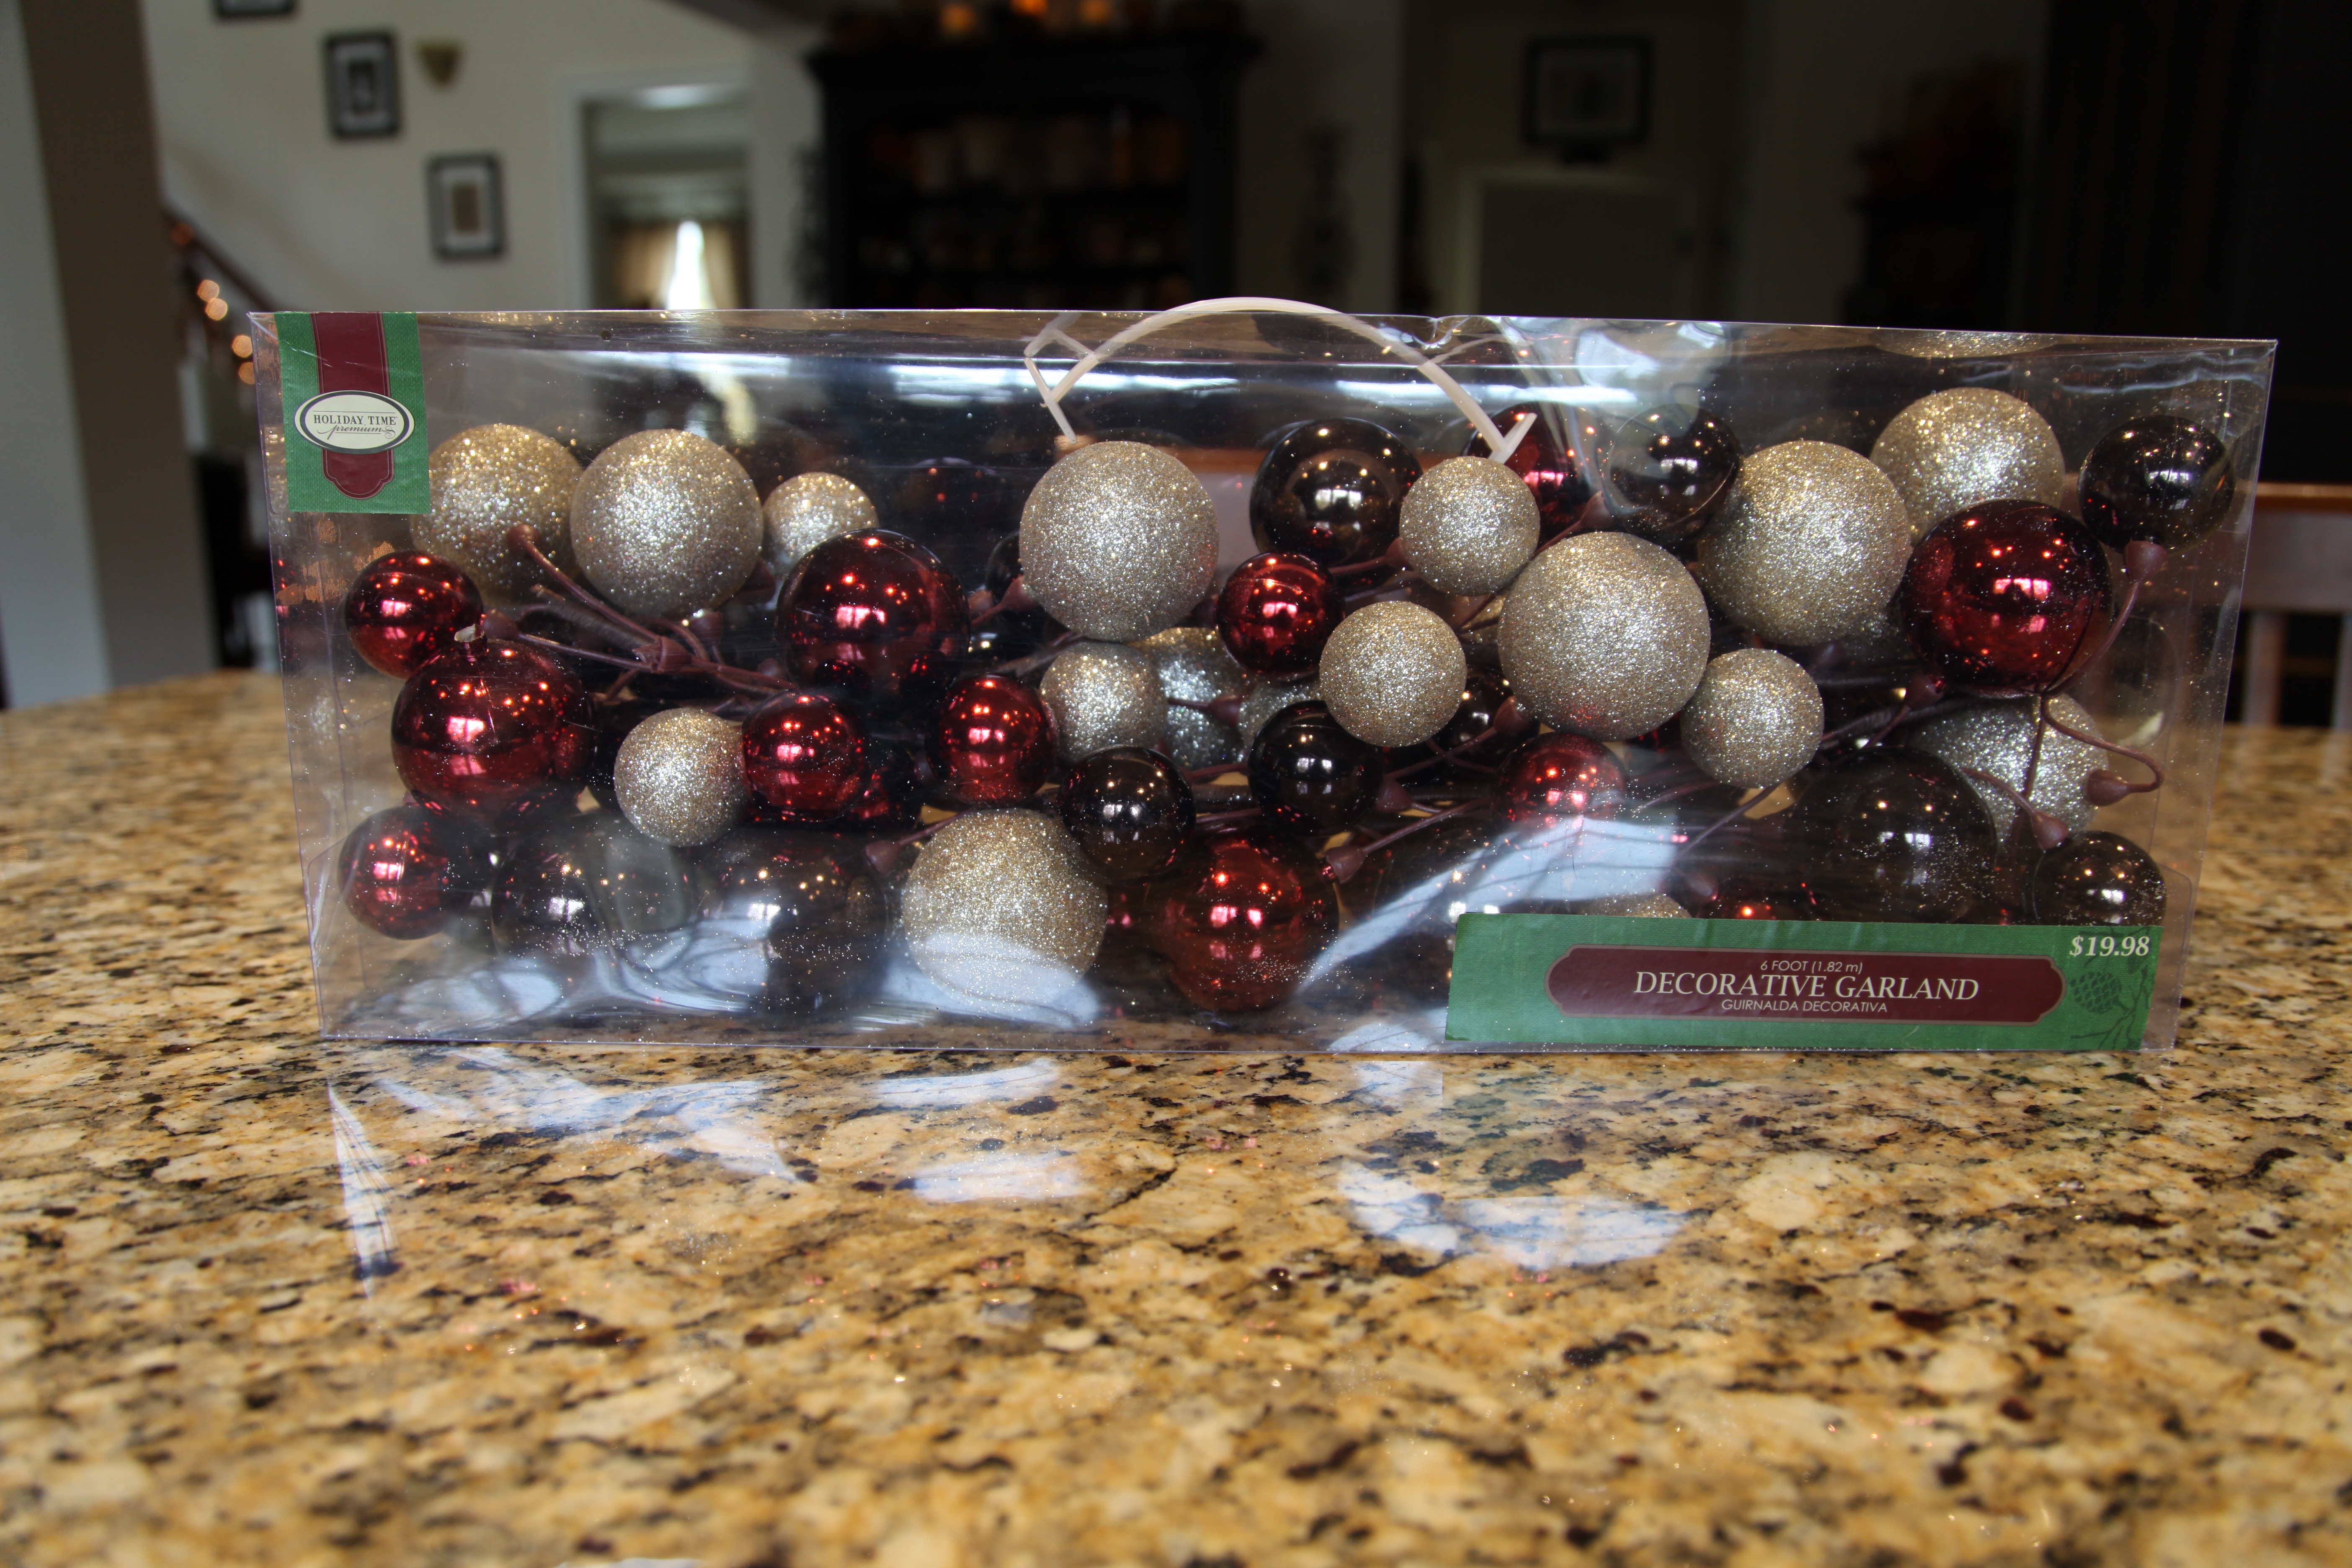
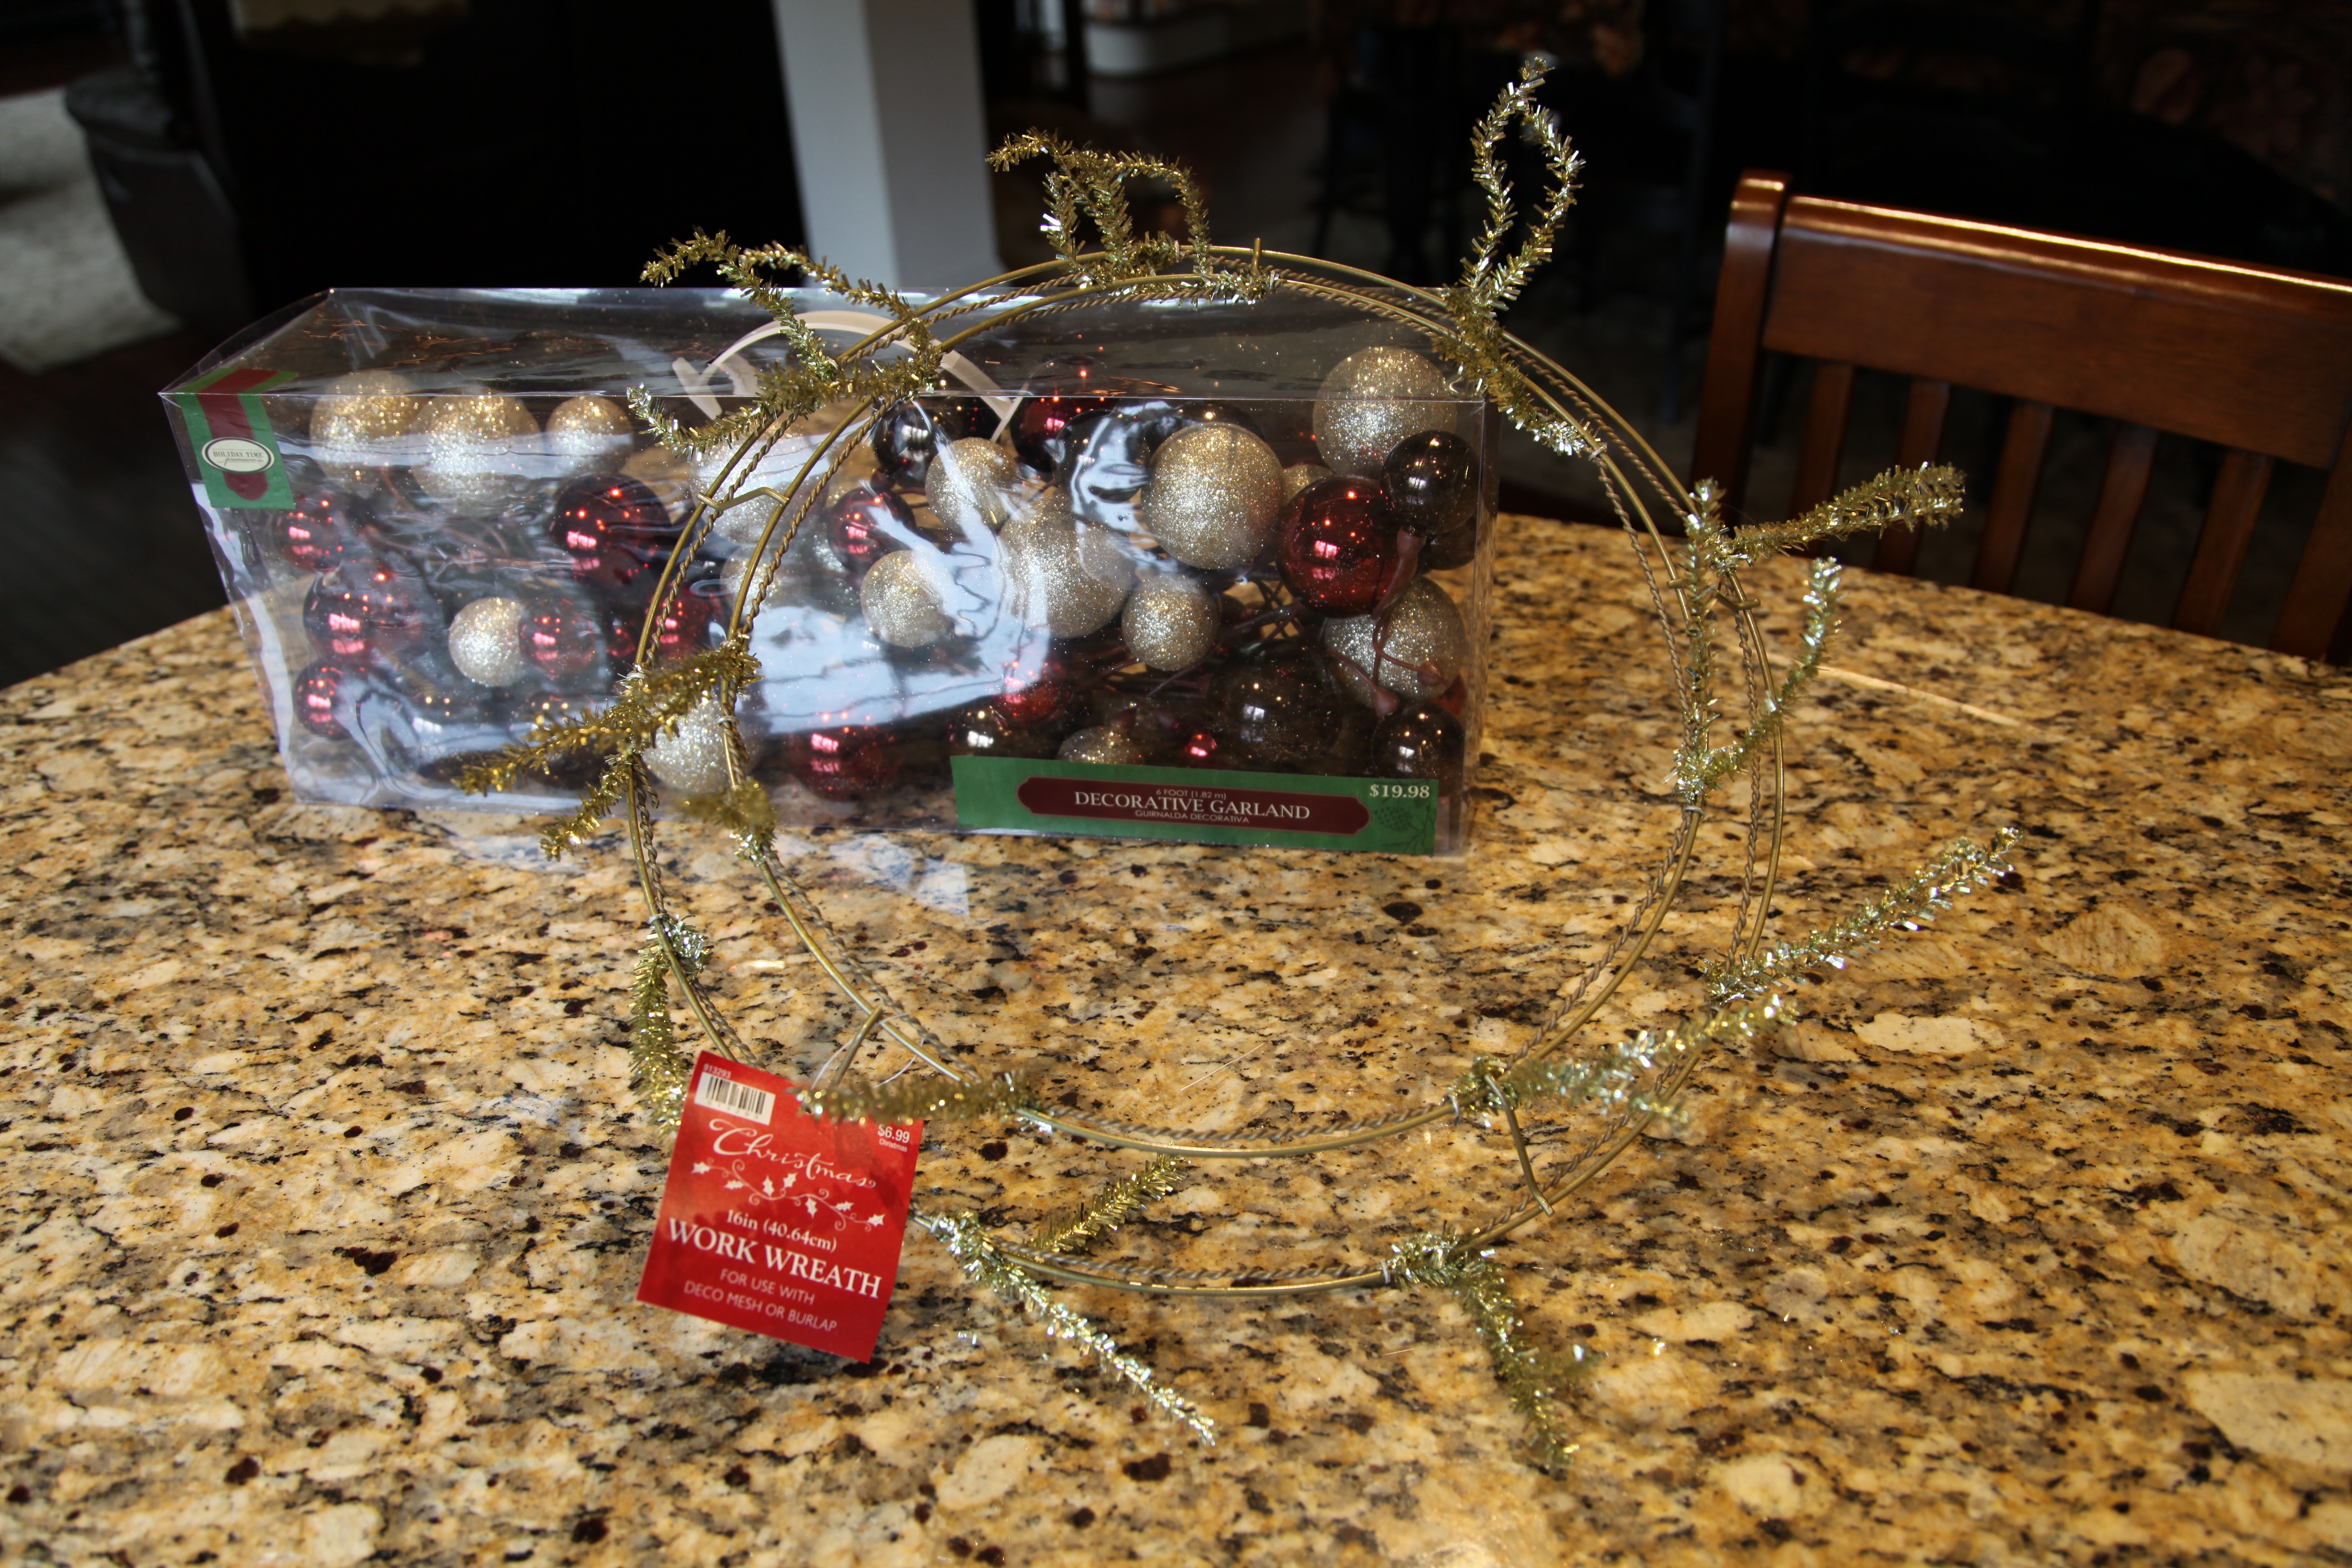
Next, I had found this “Ornament Garland” at Walmart a couple of weeks ago:

IMG_9457

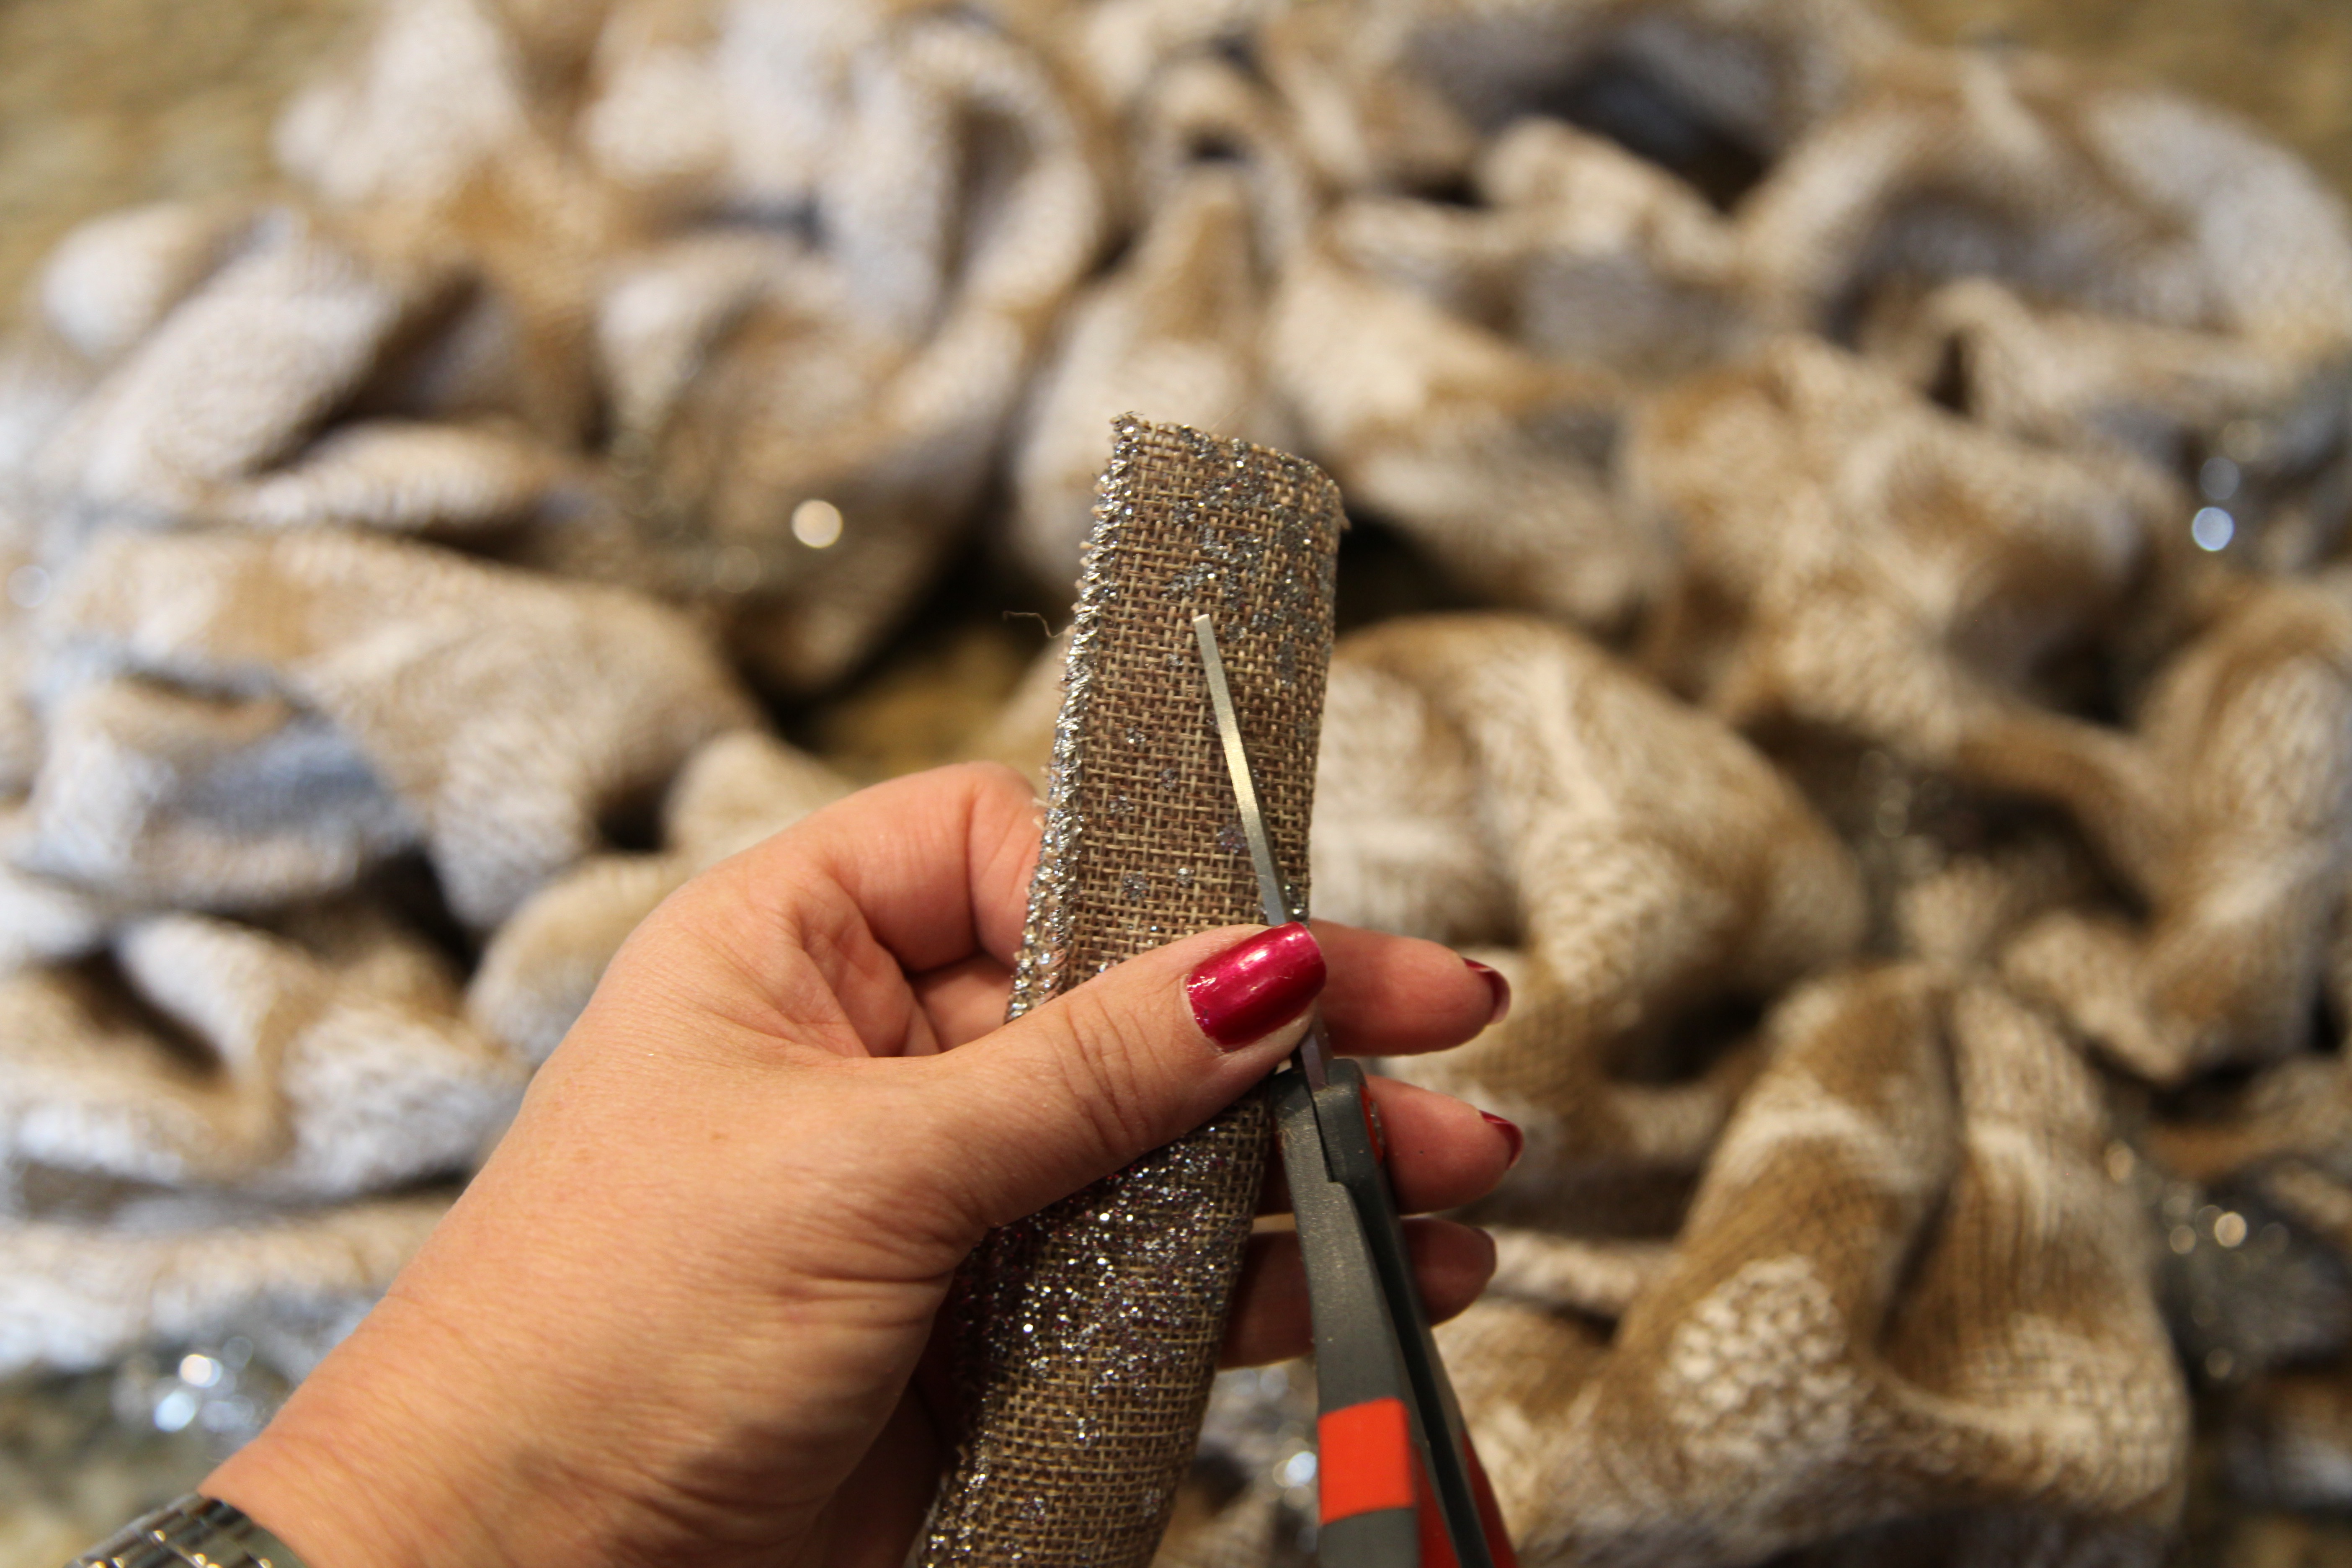
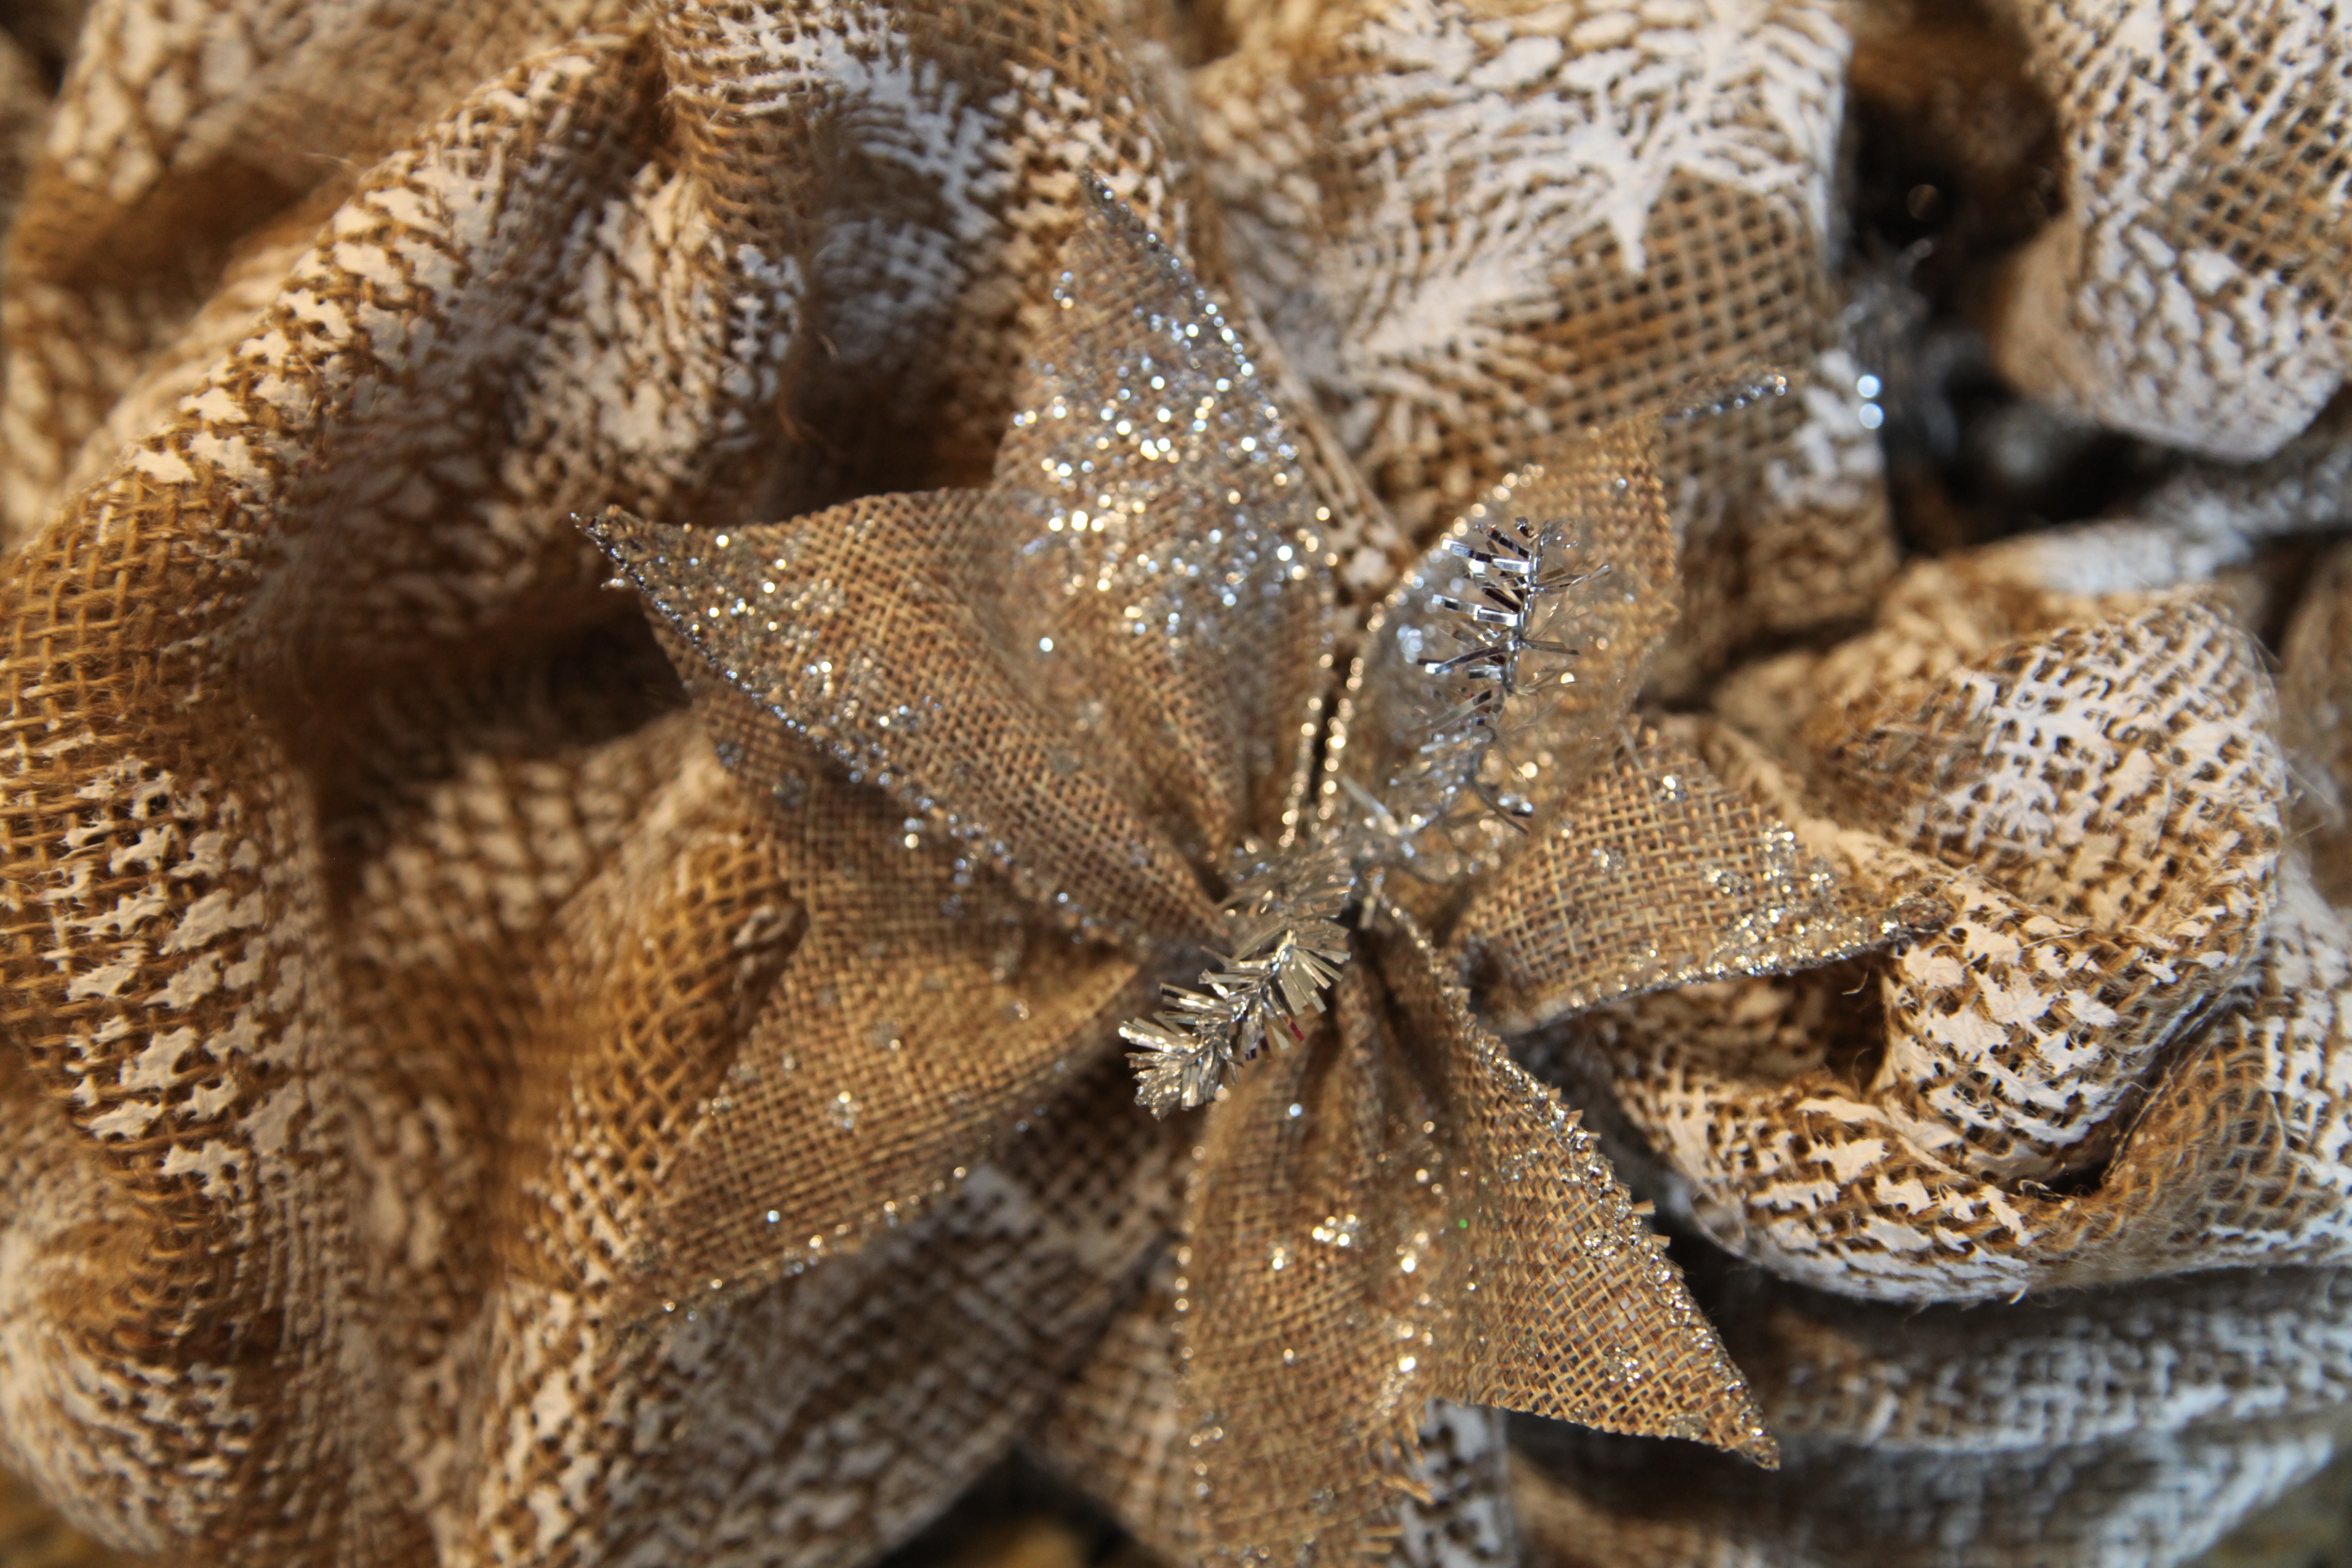
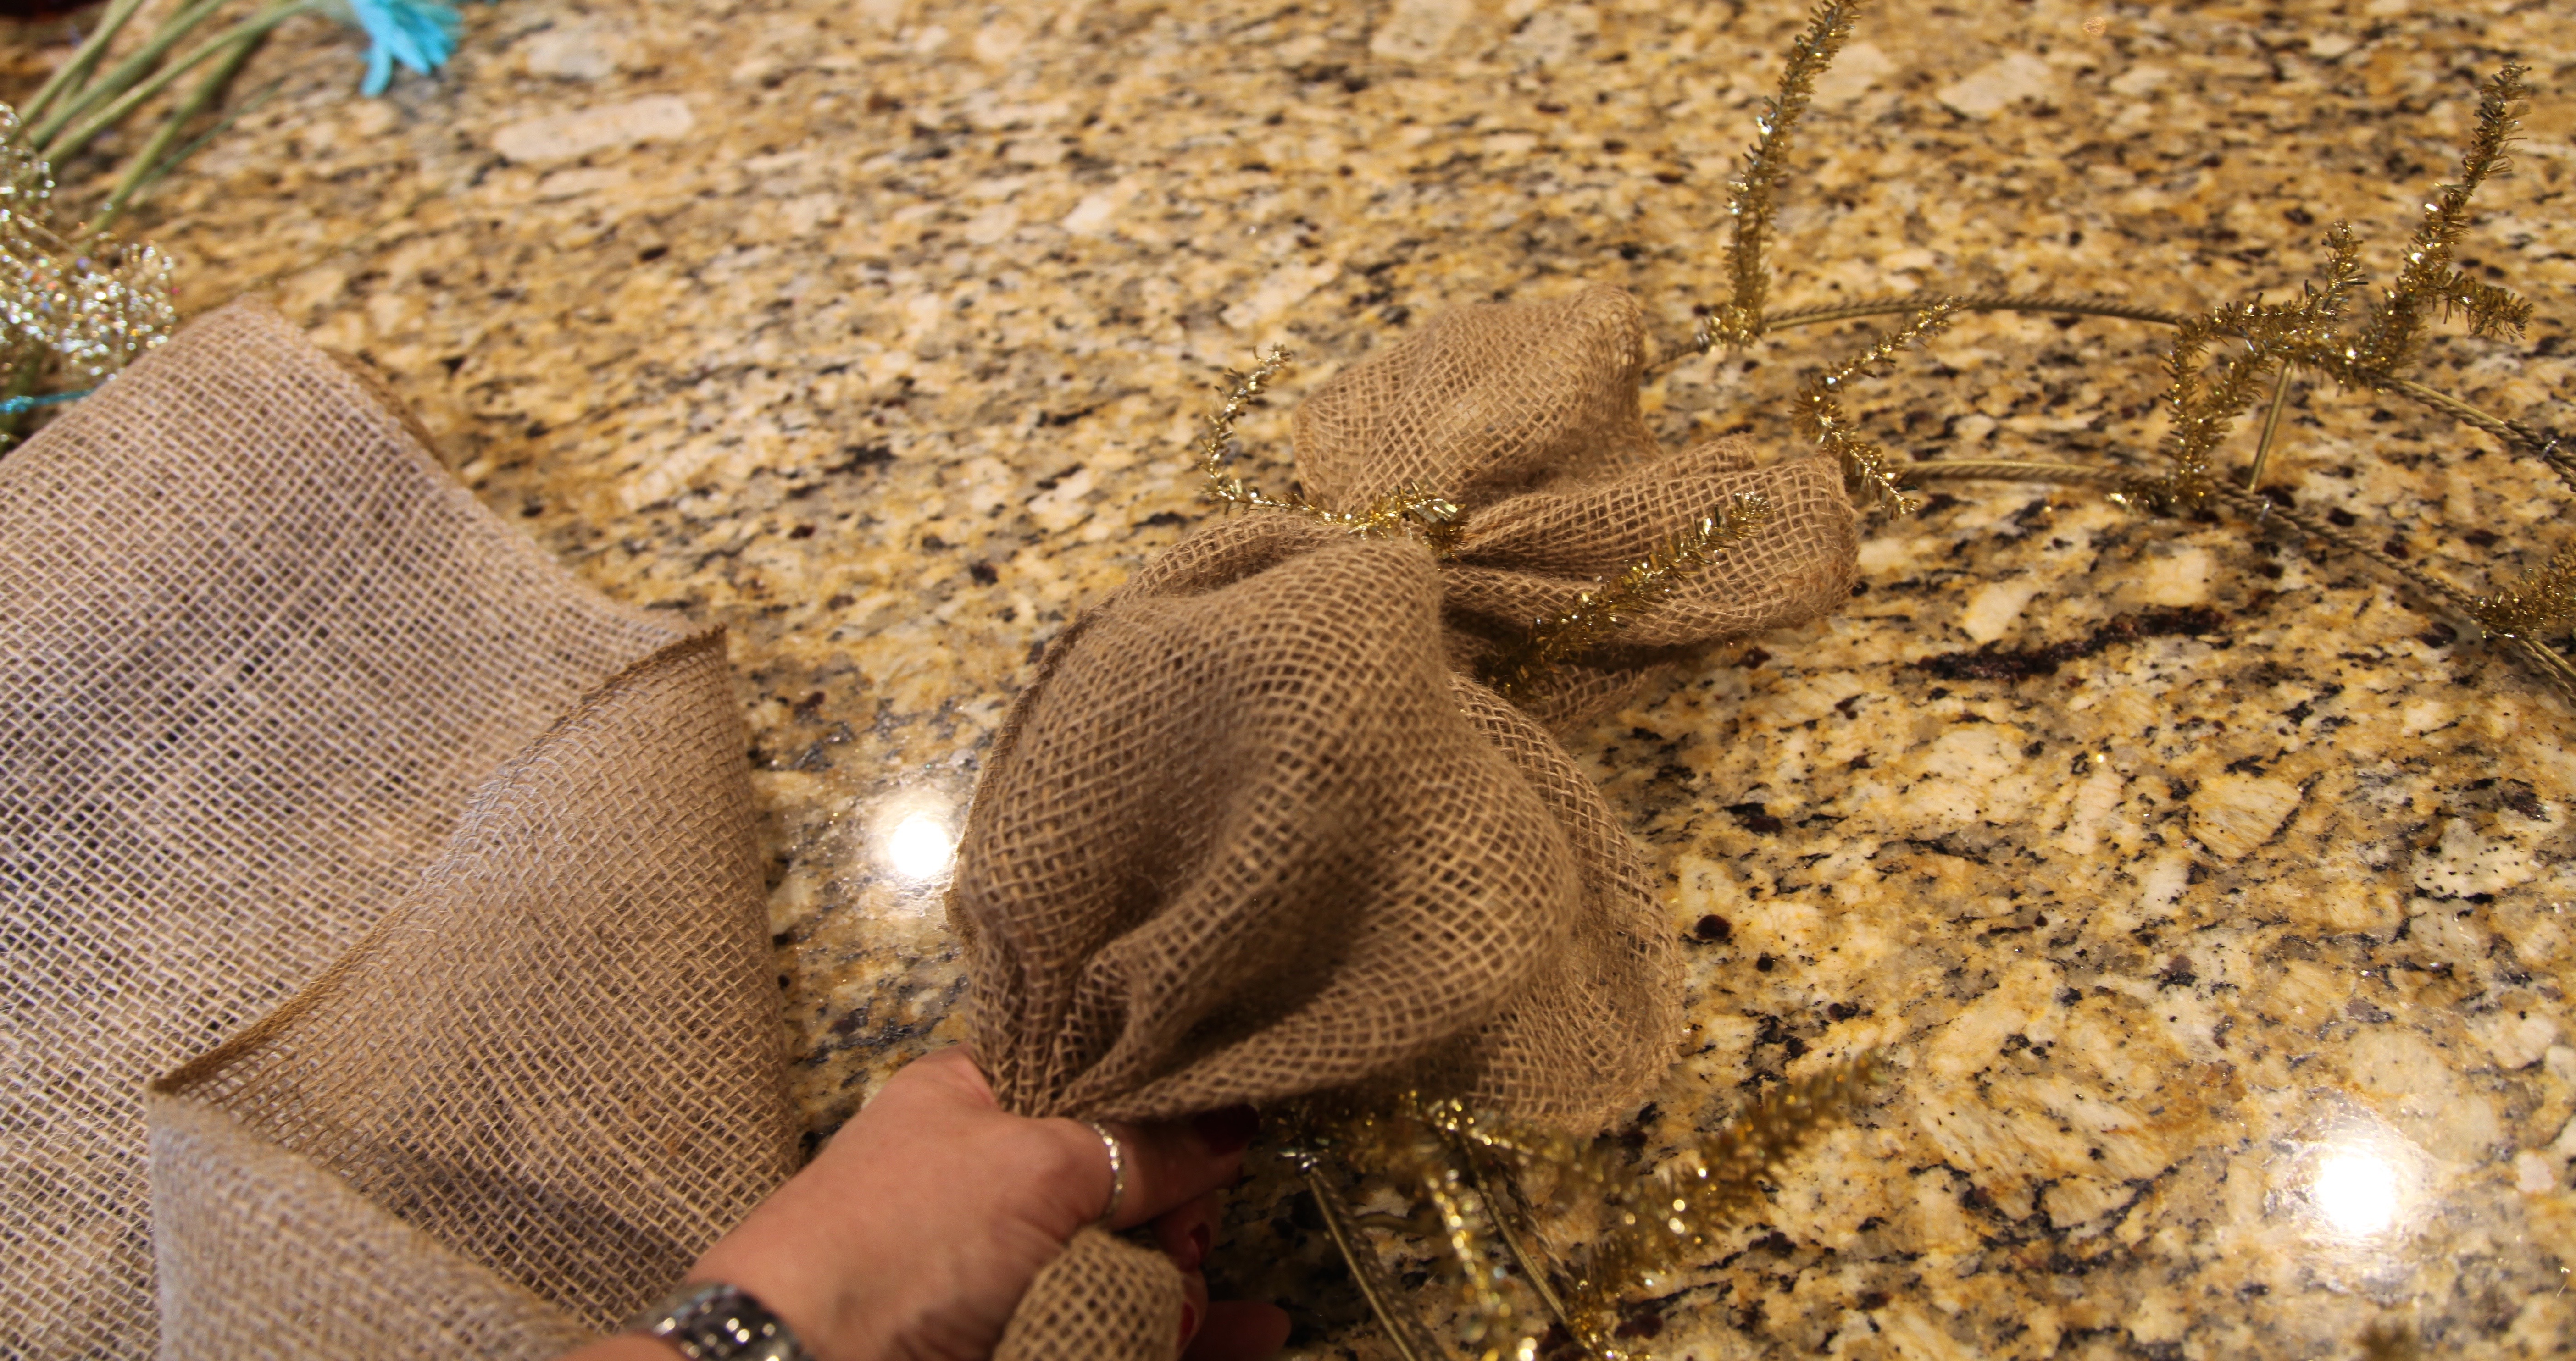
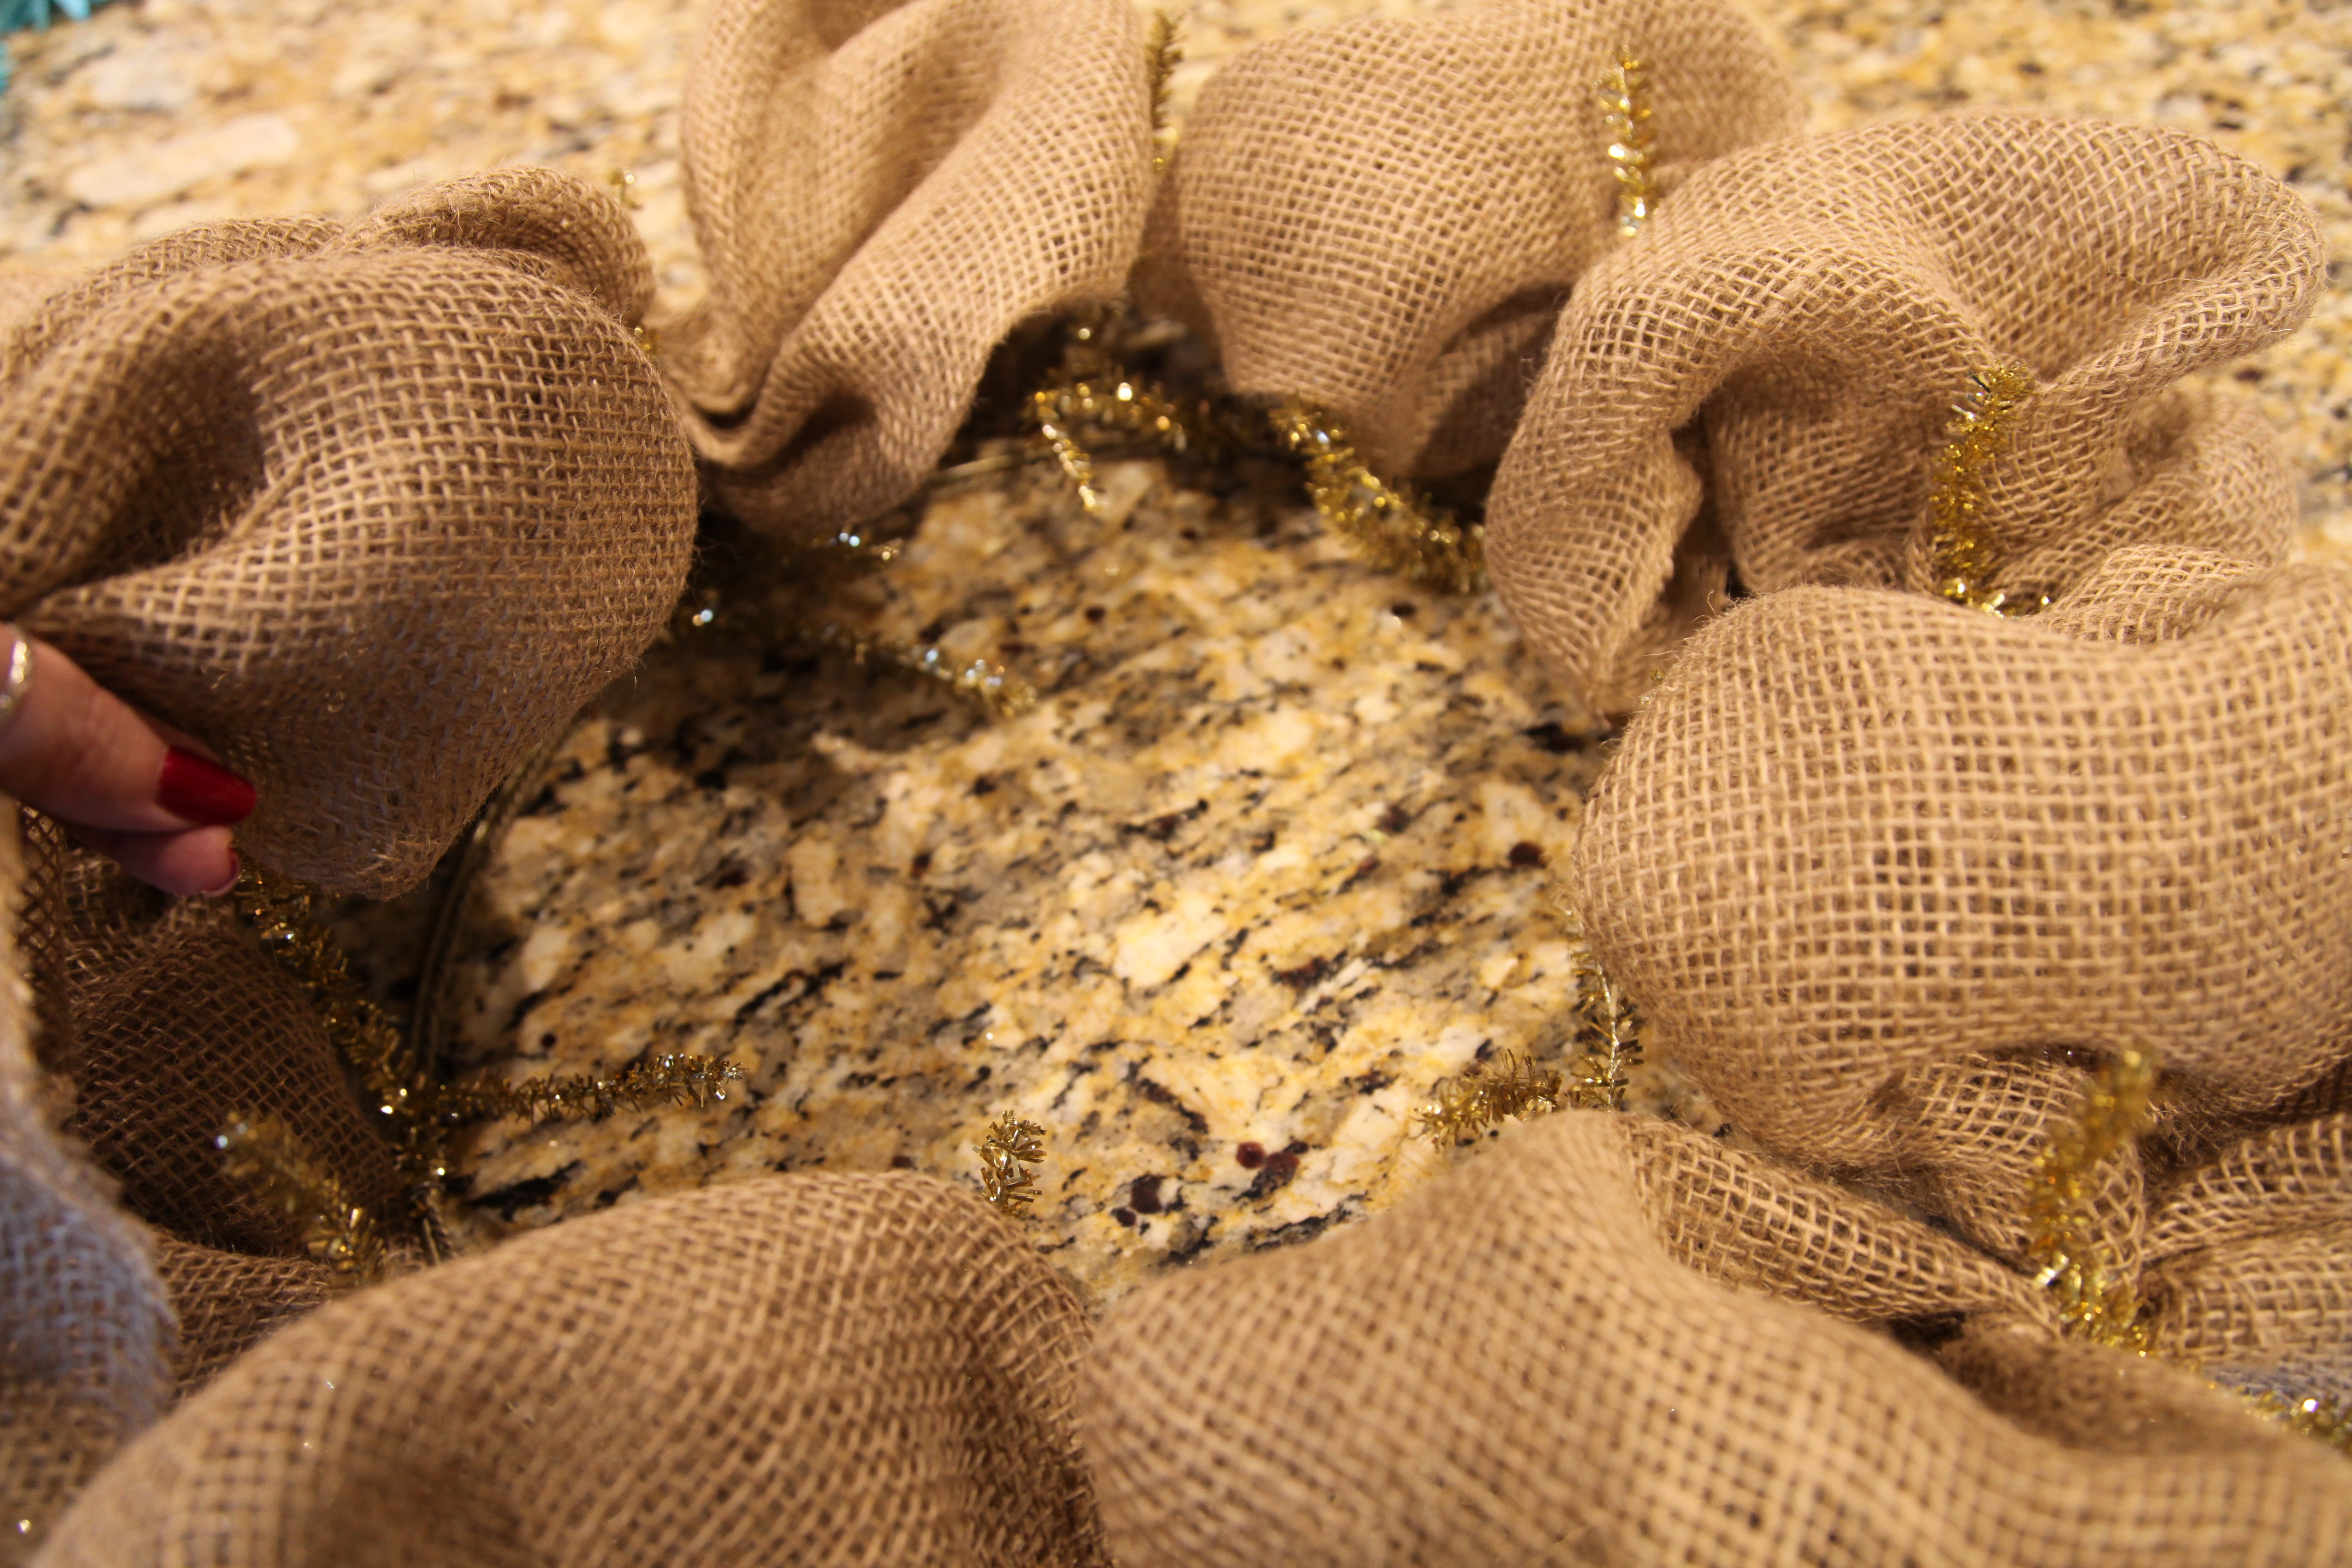
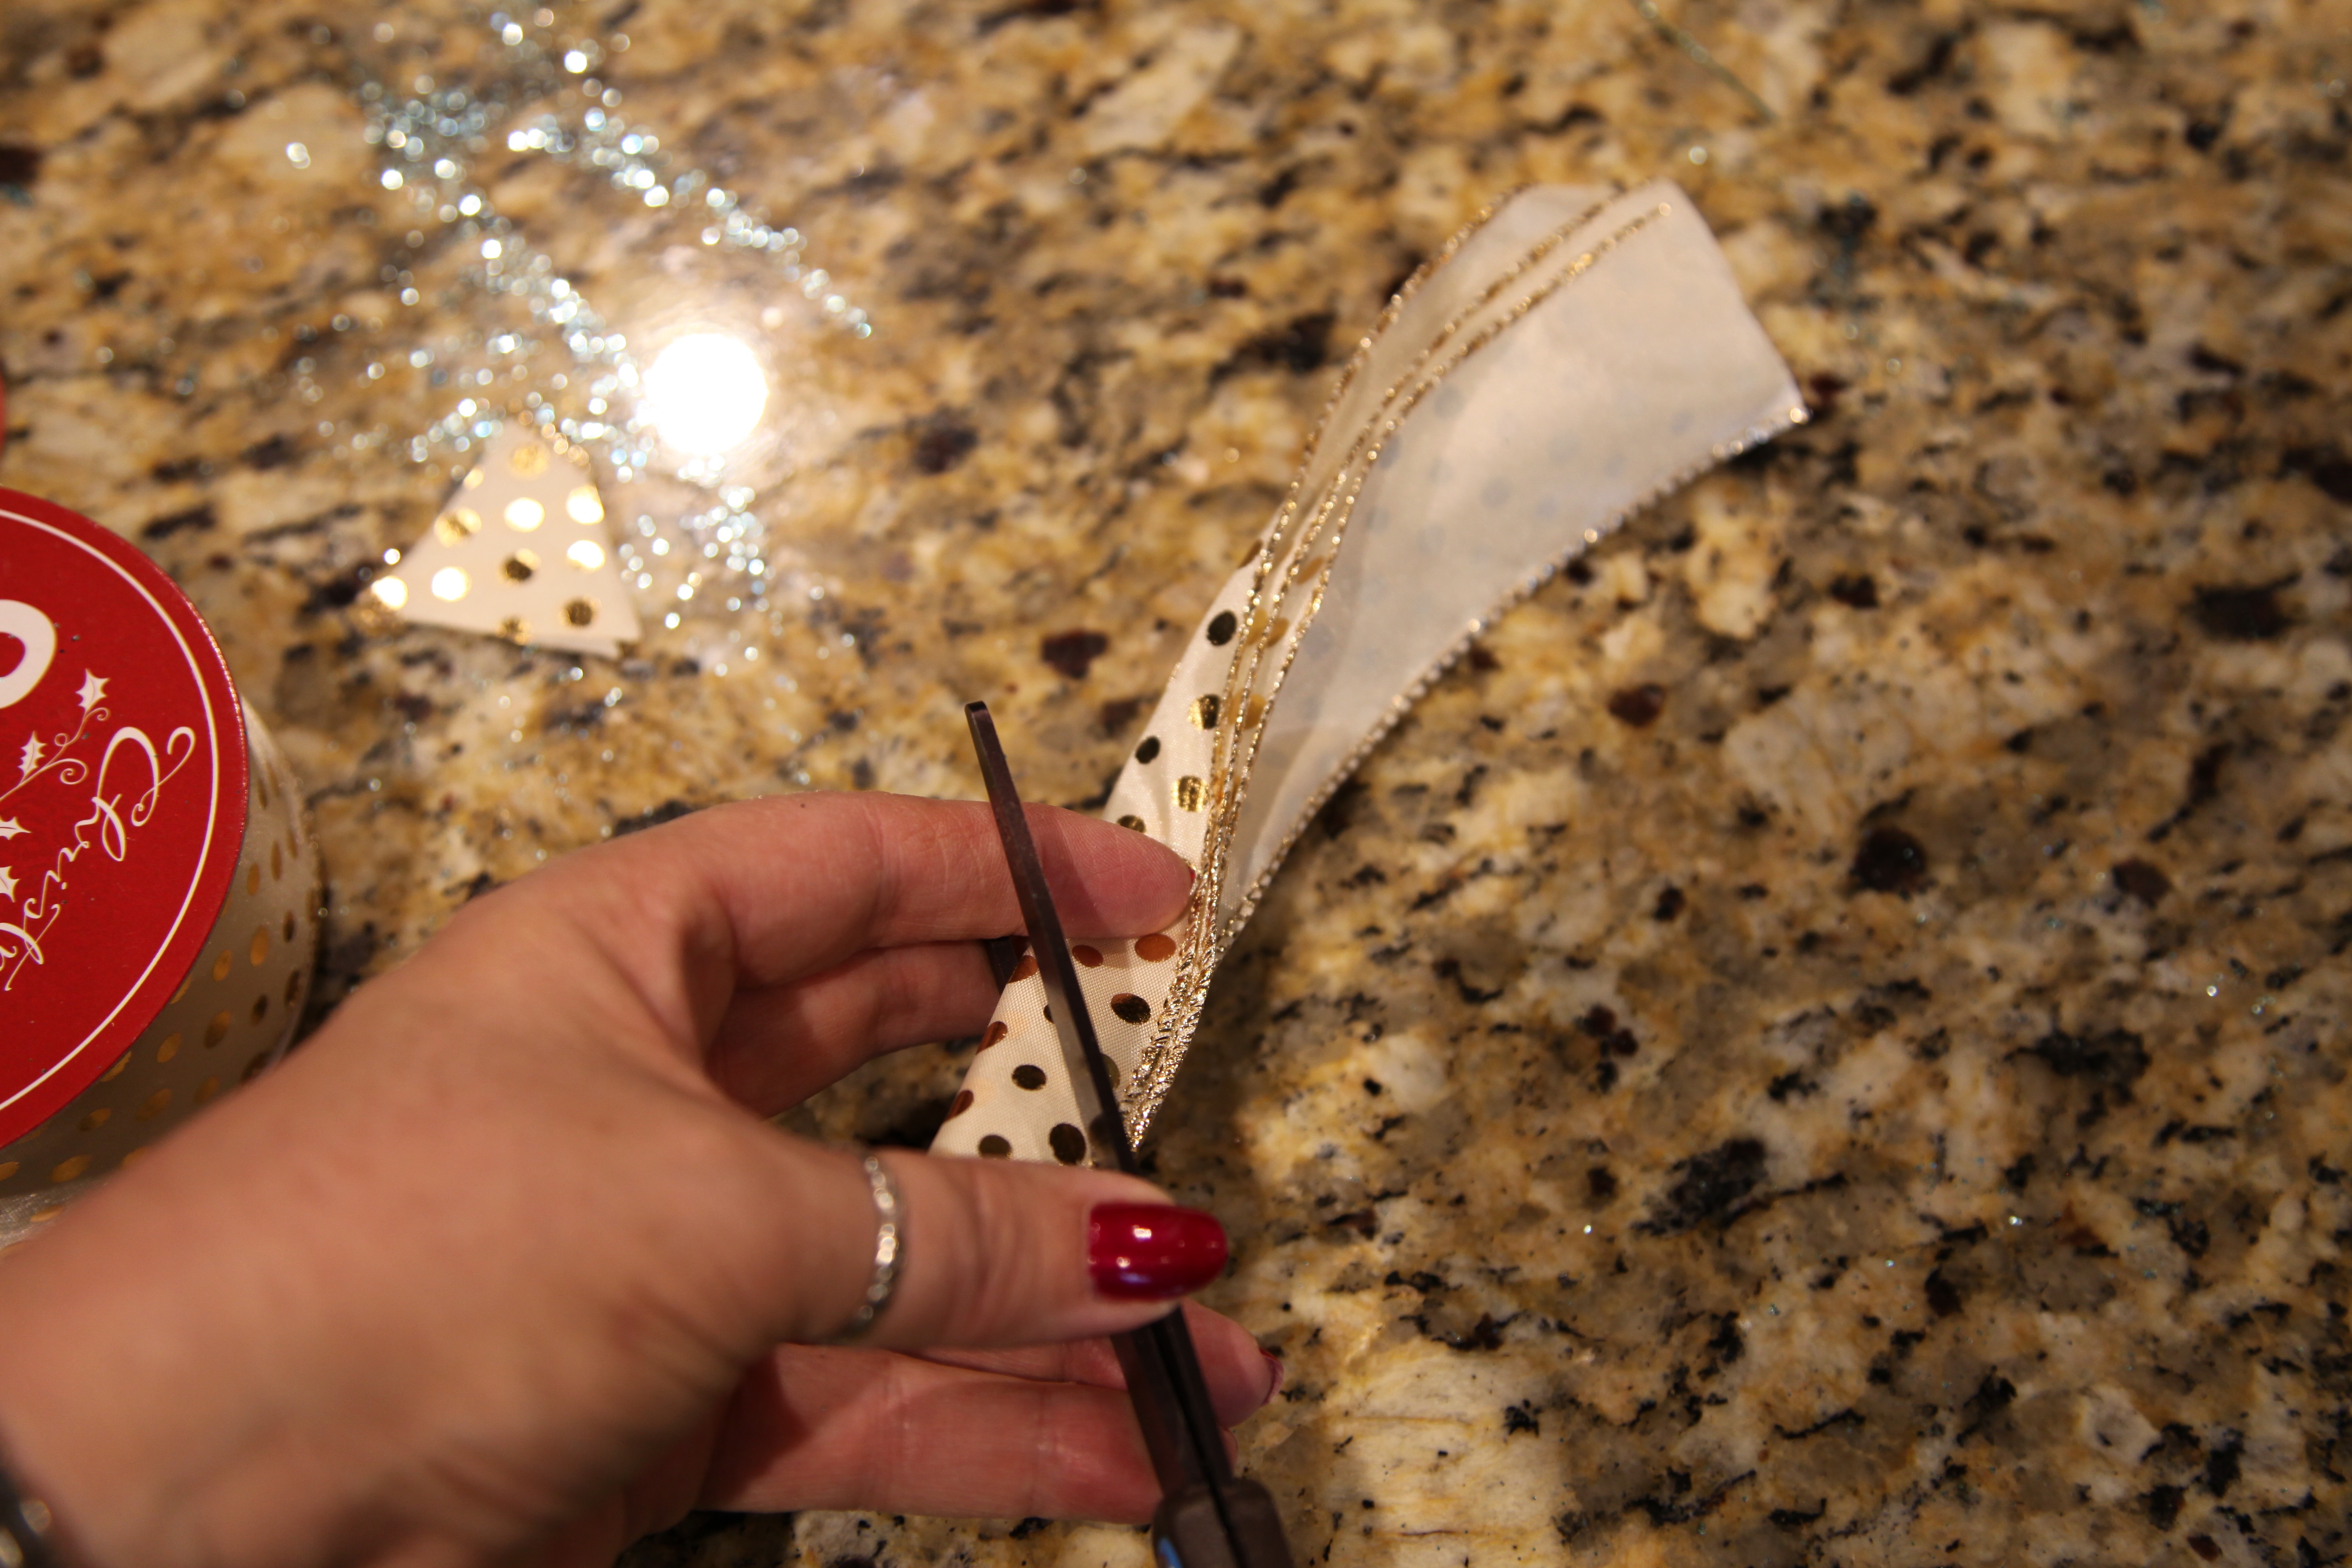
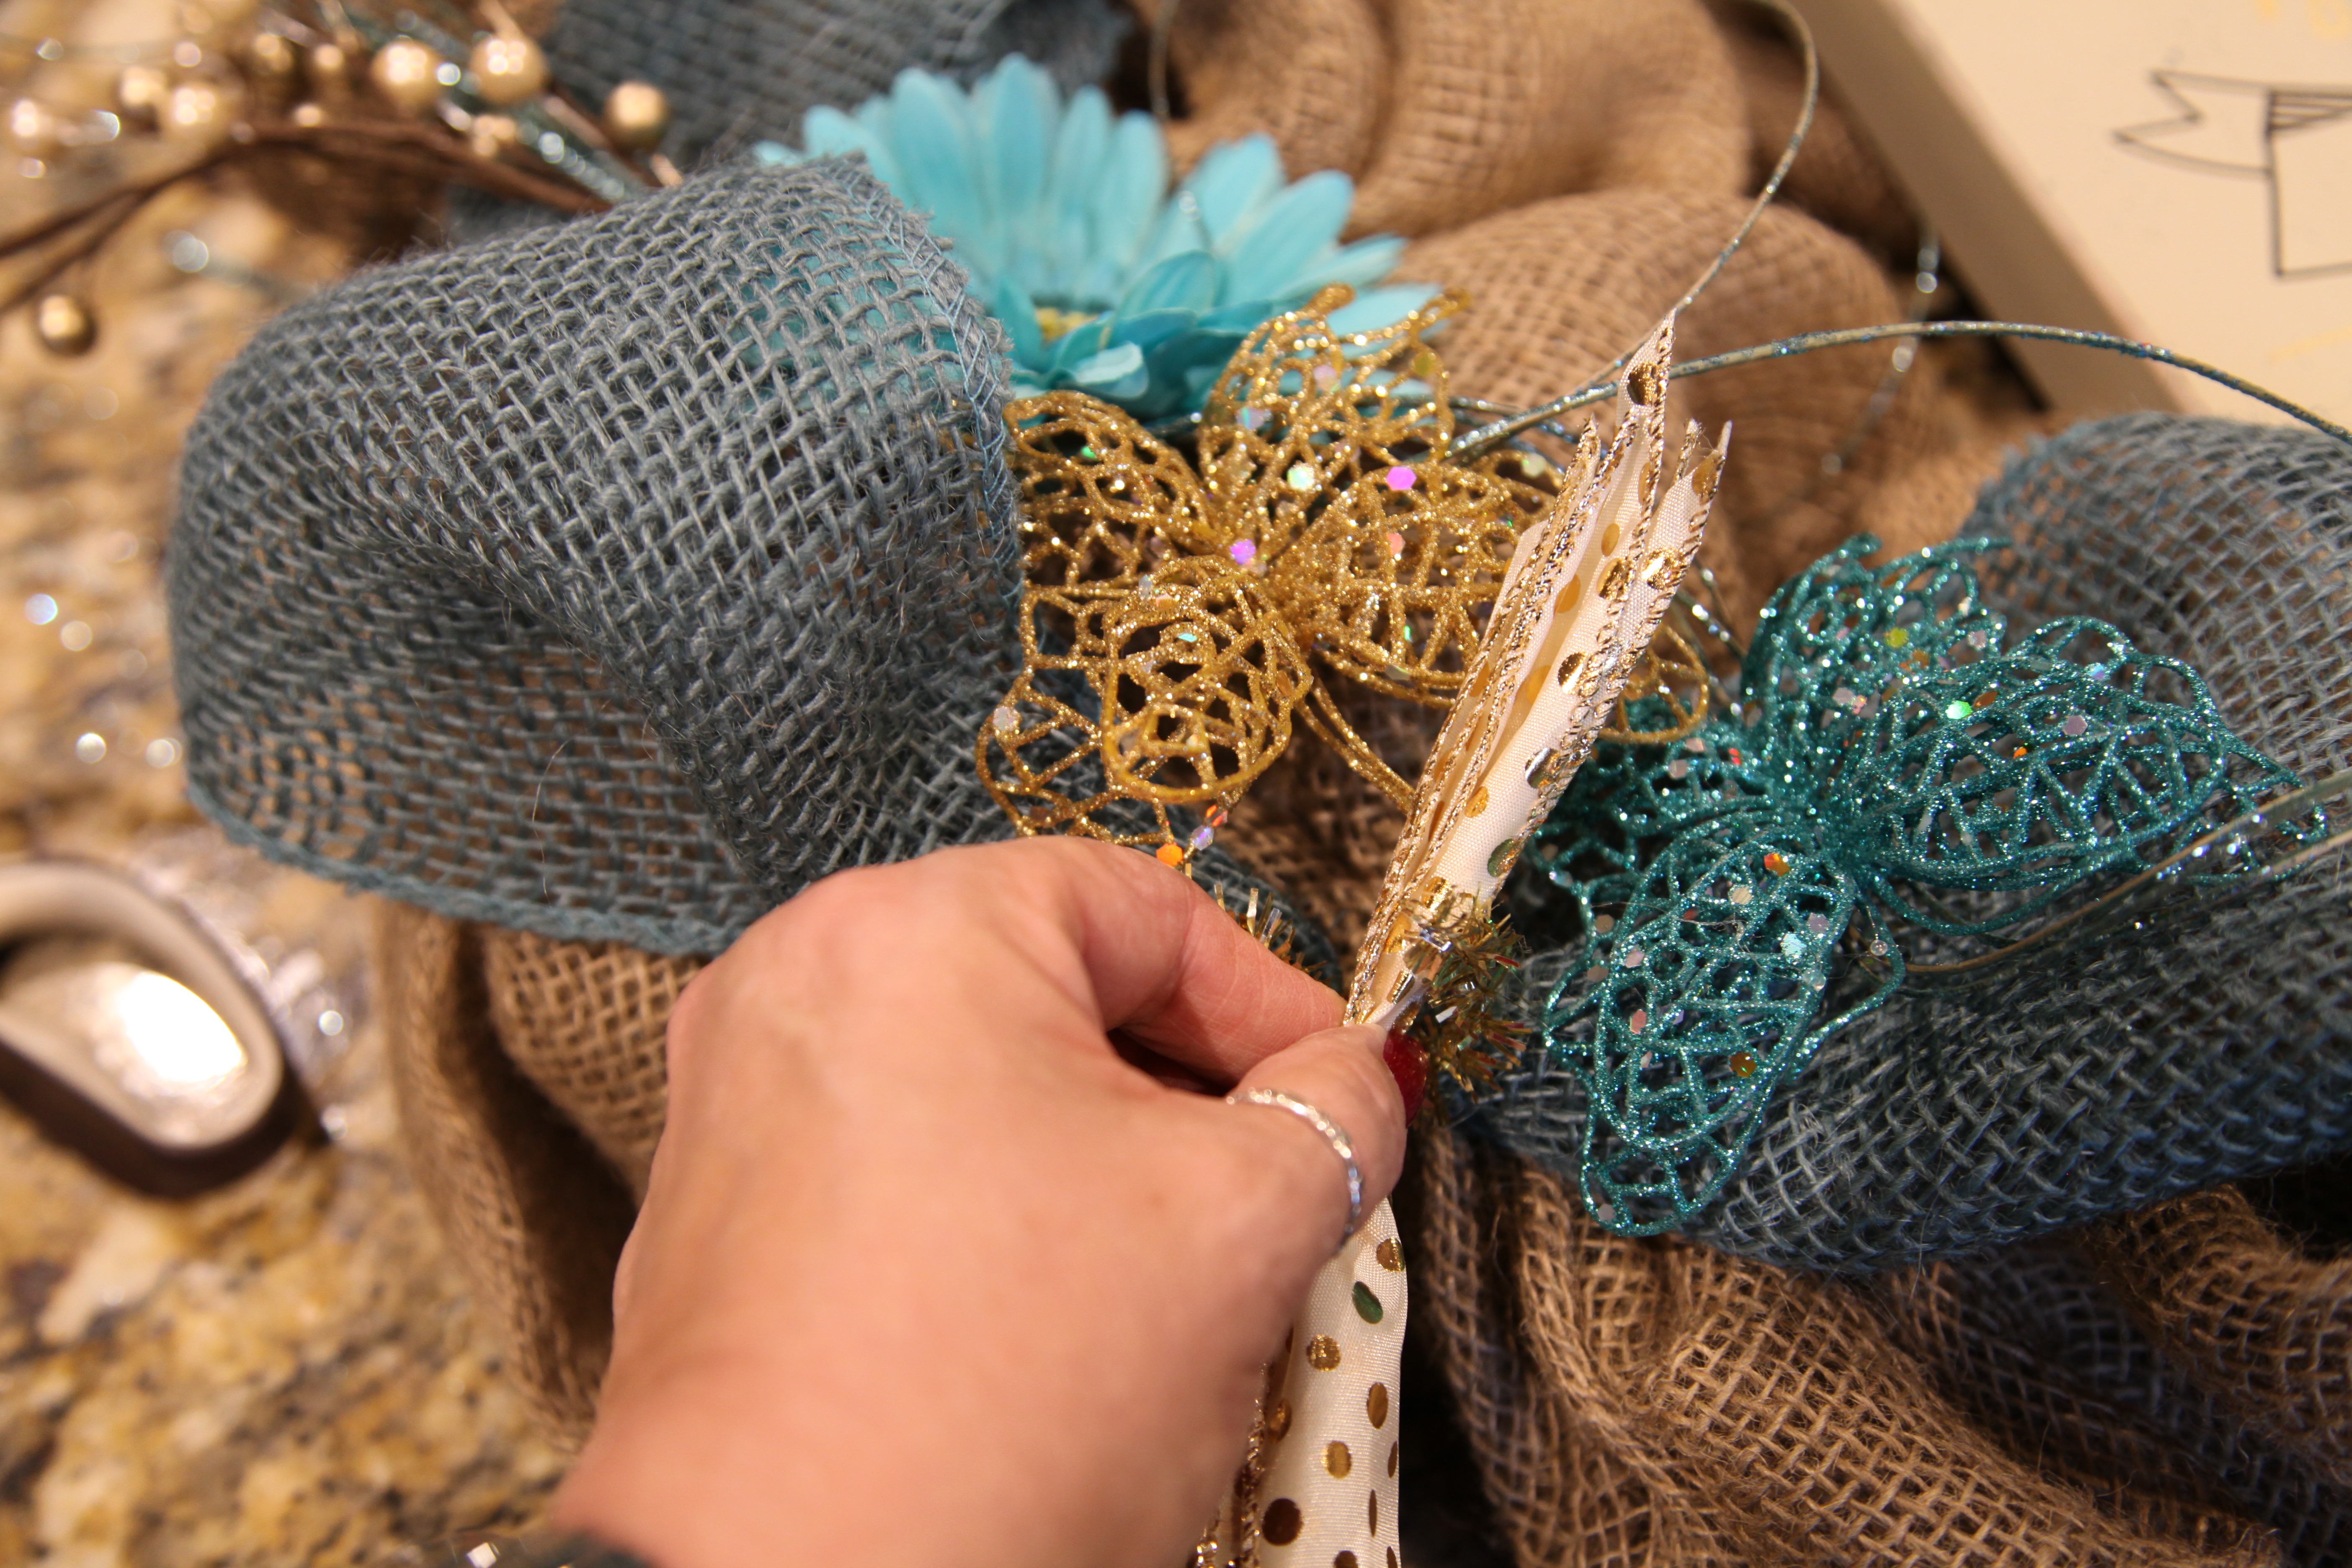
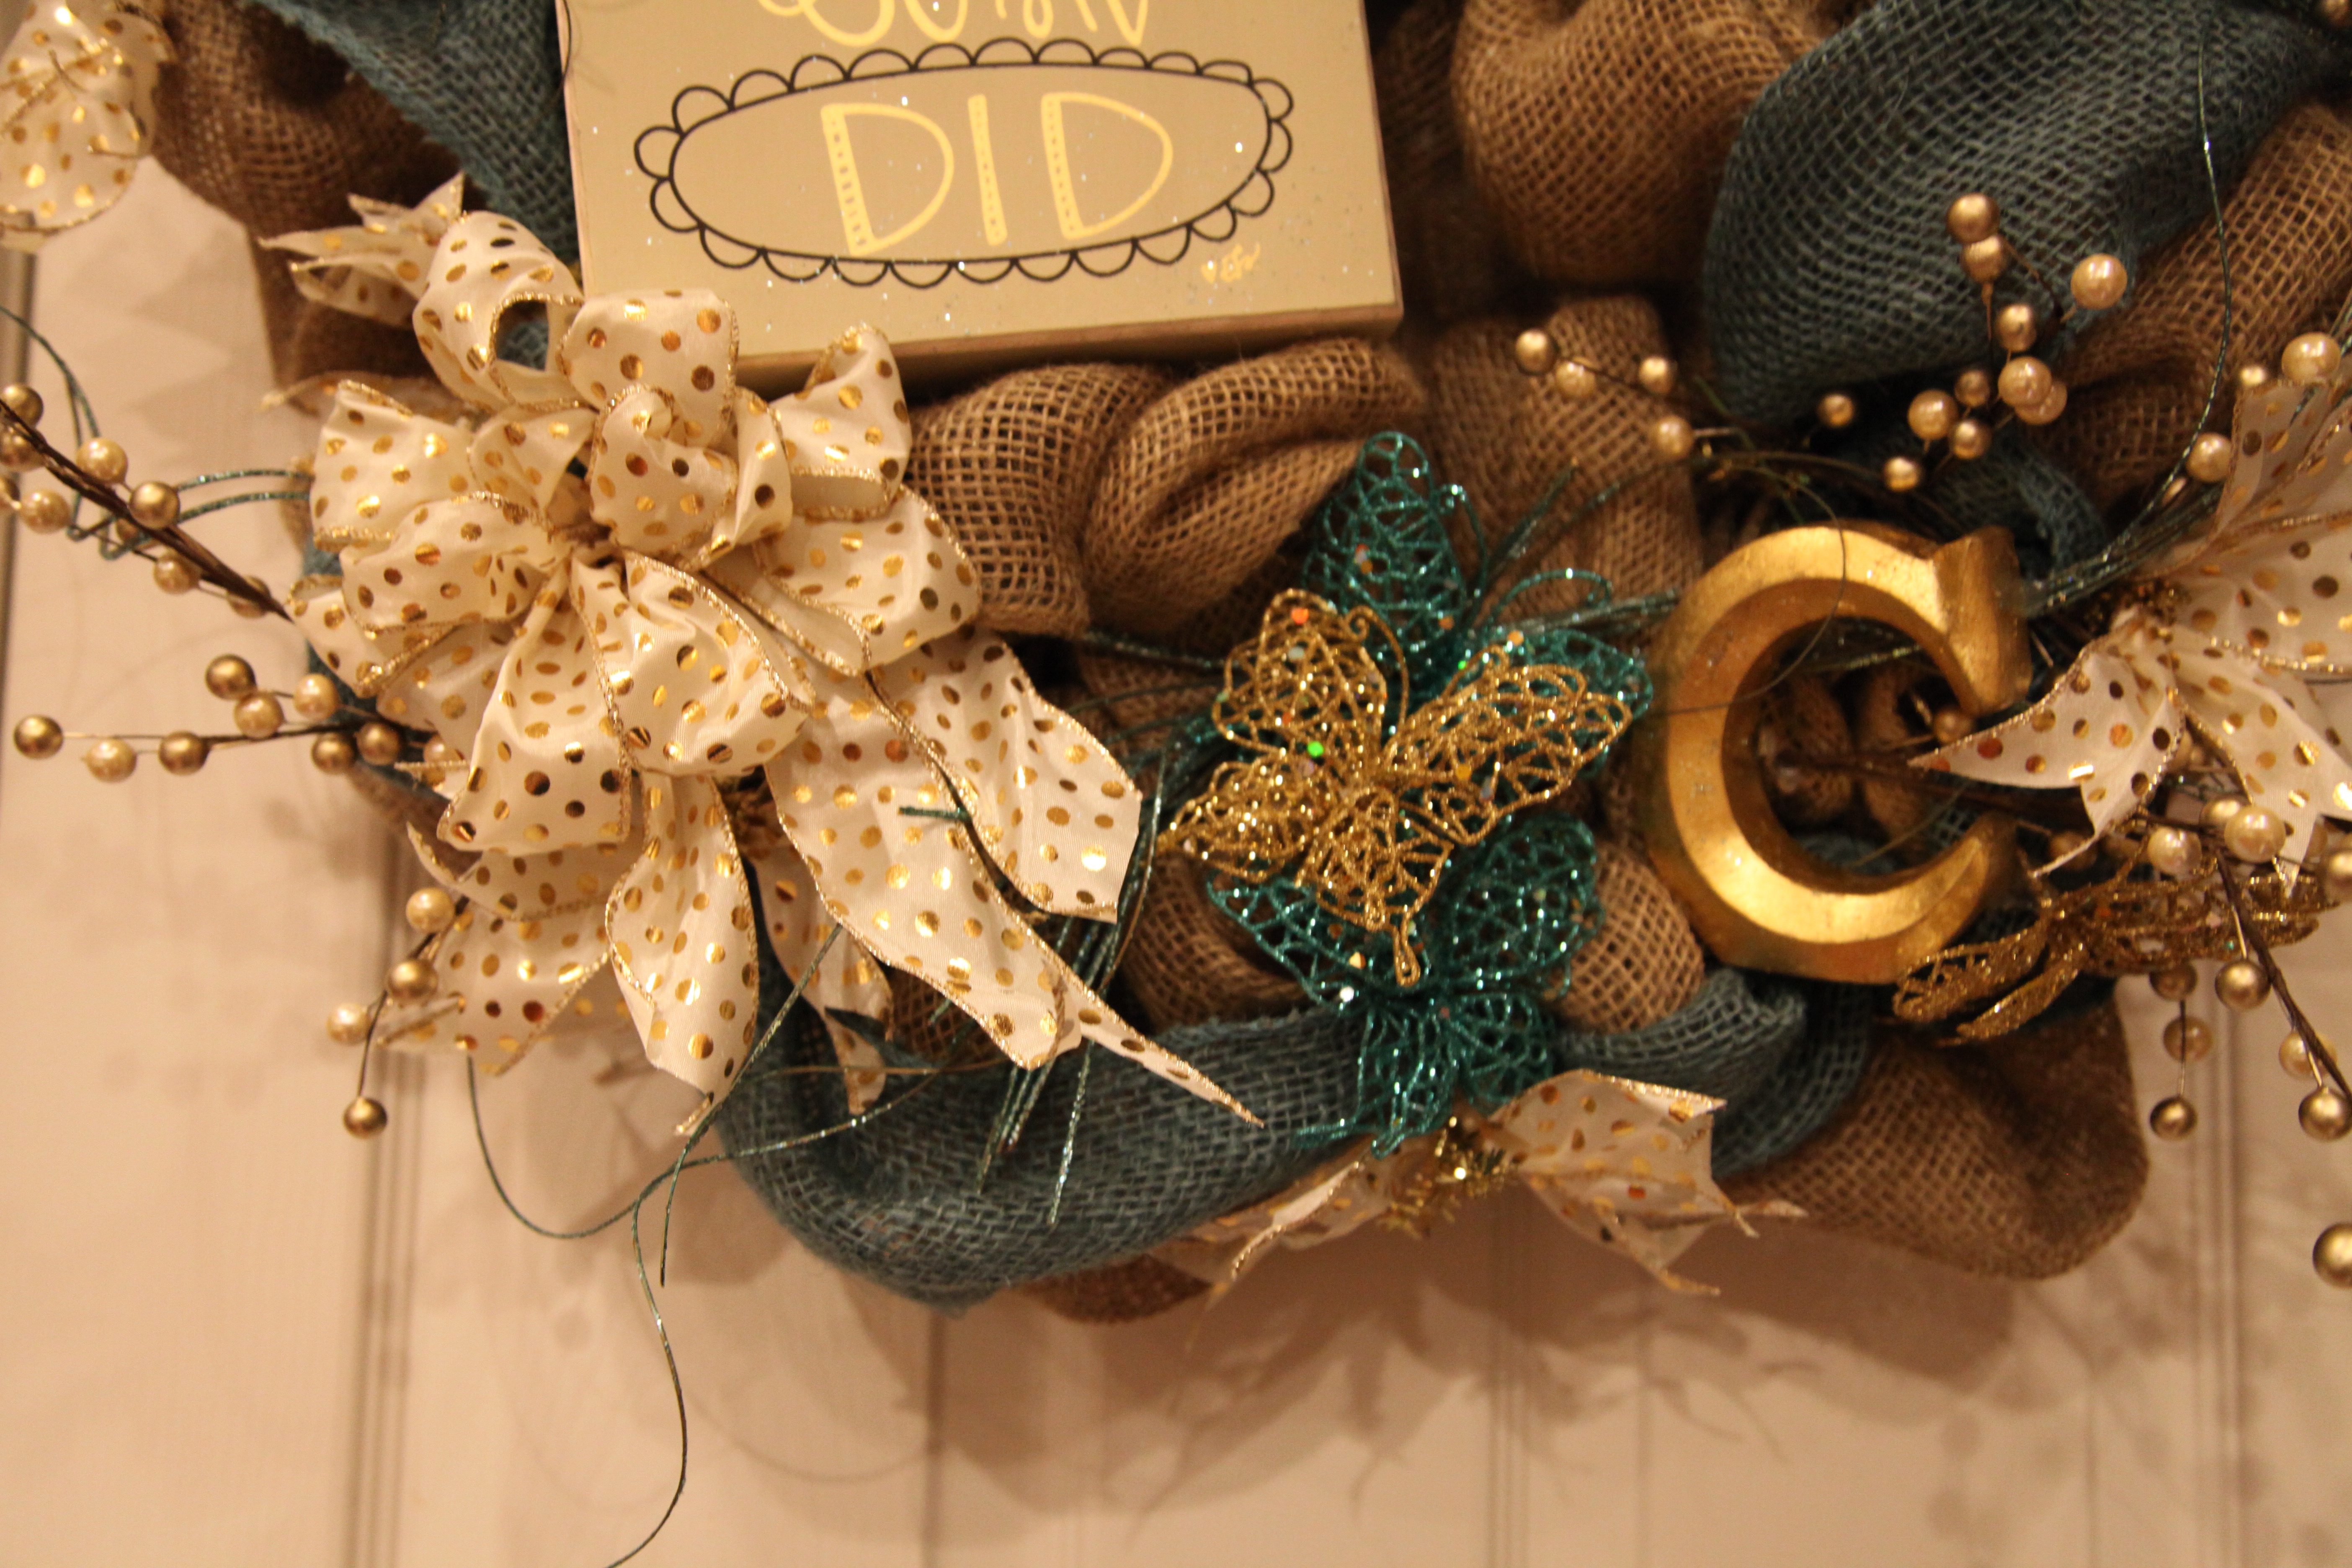
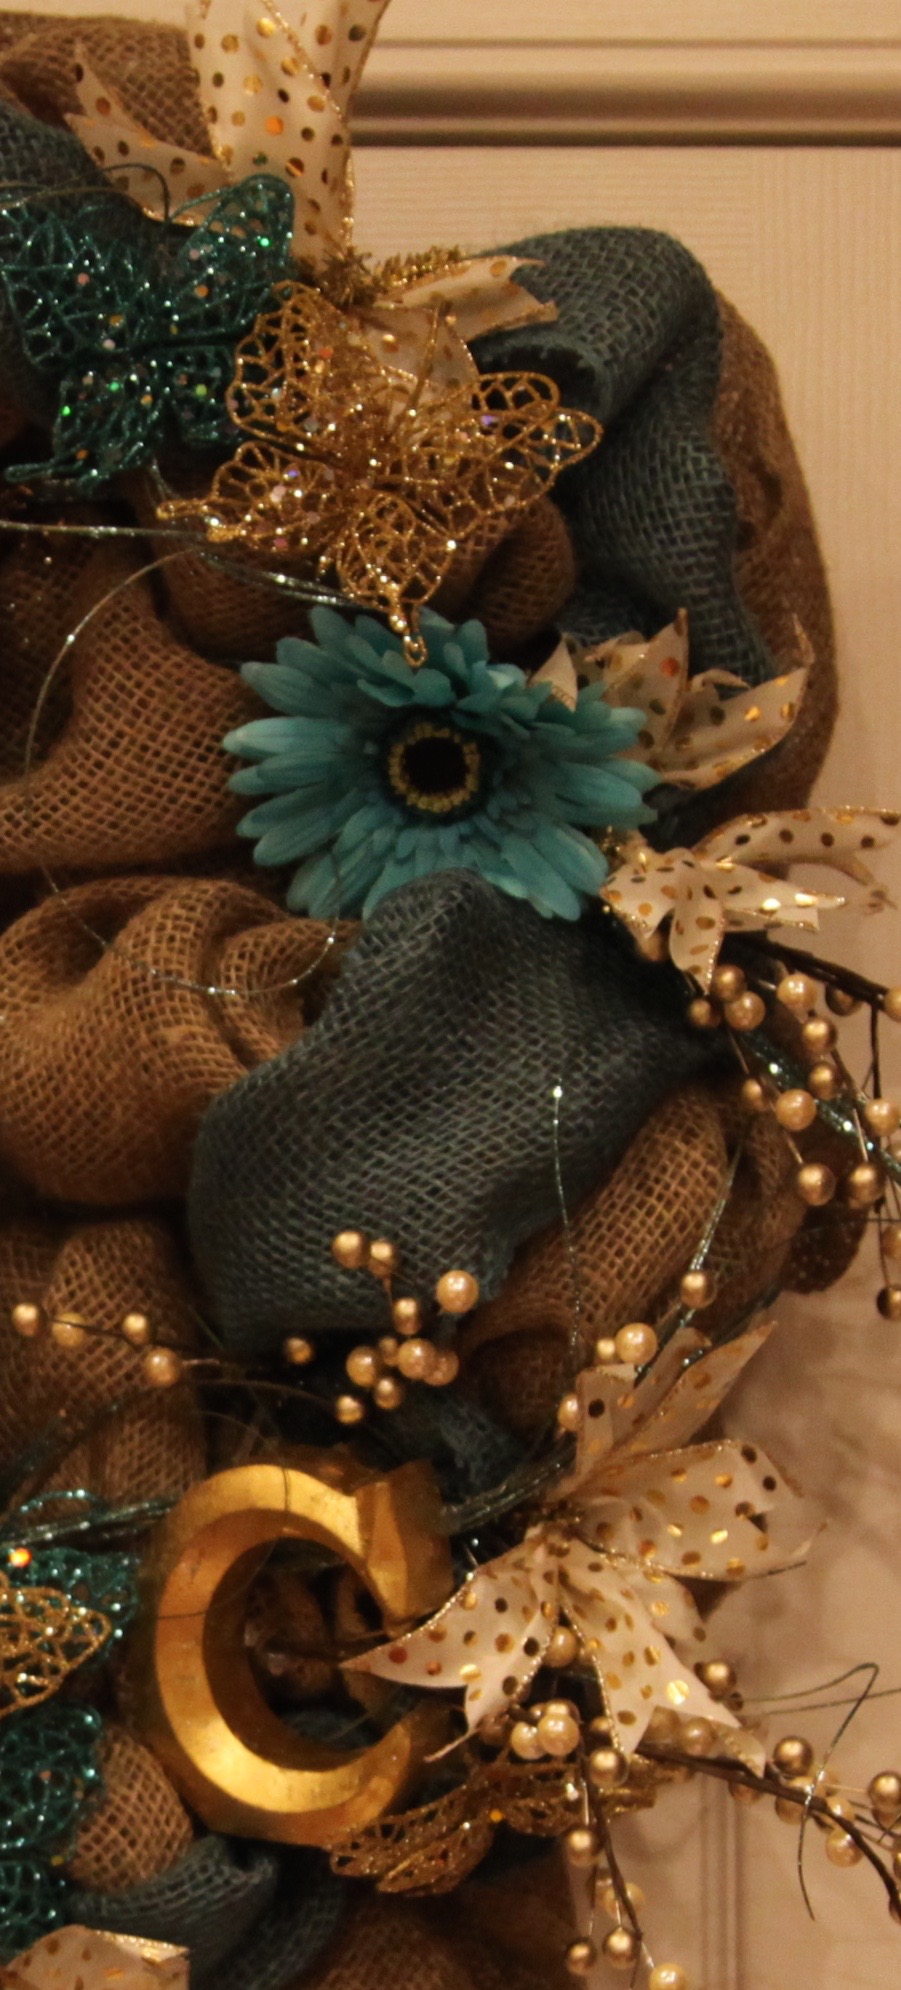
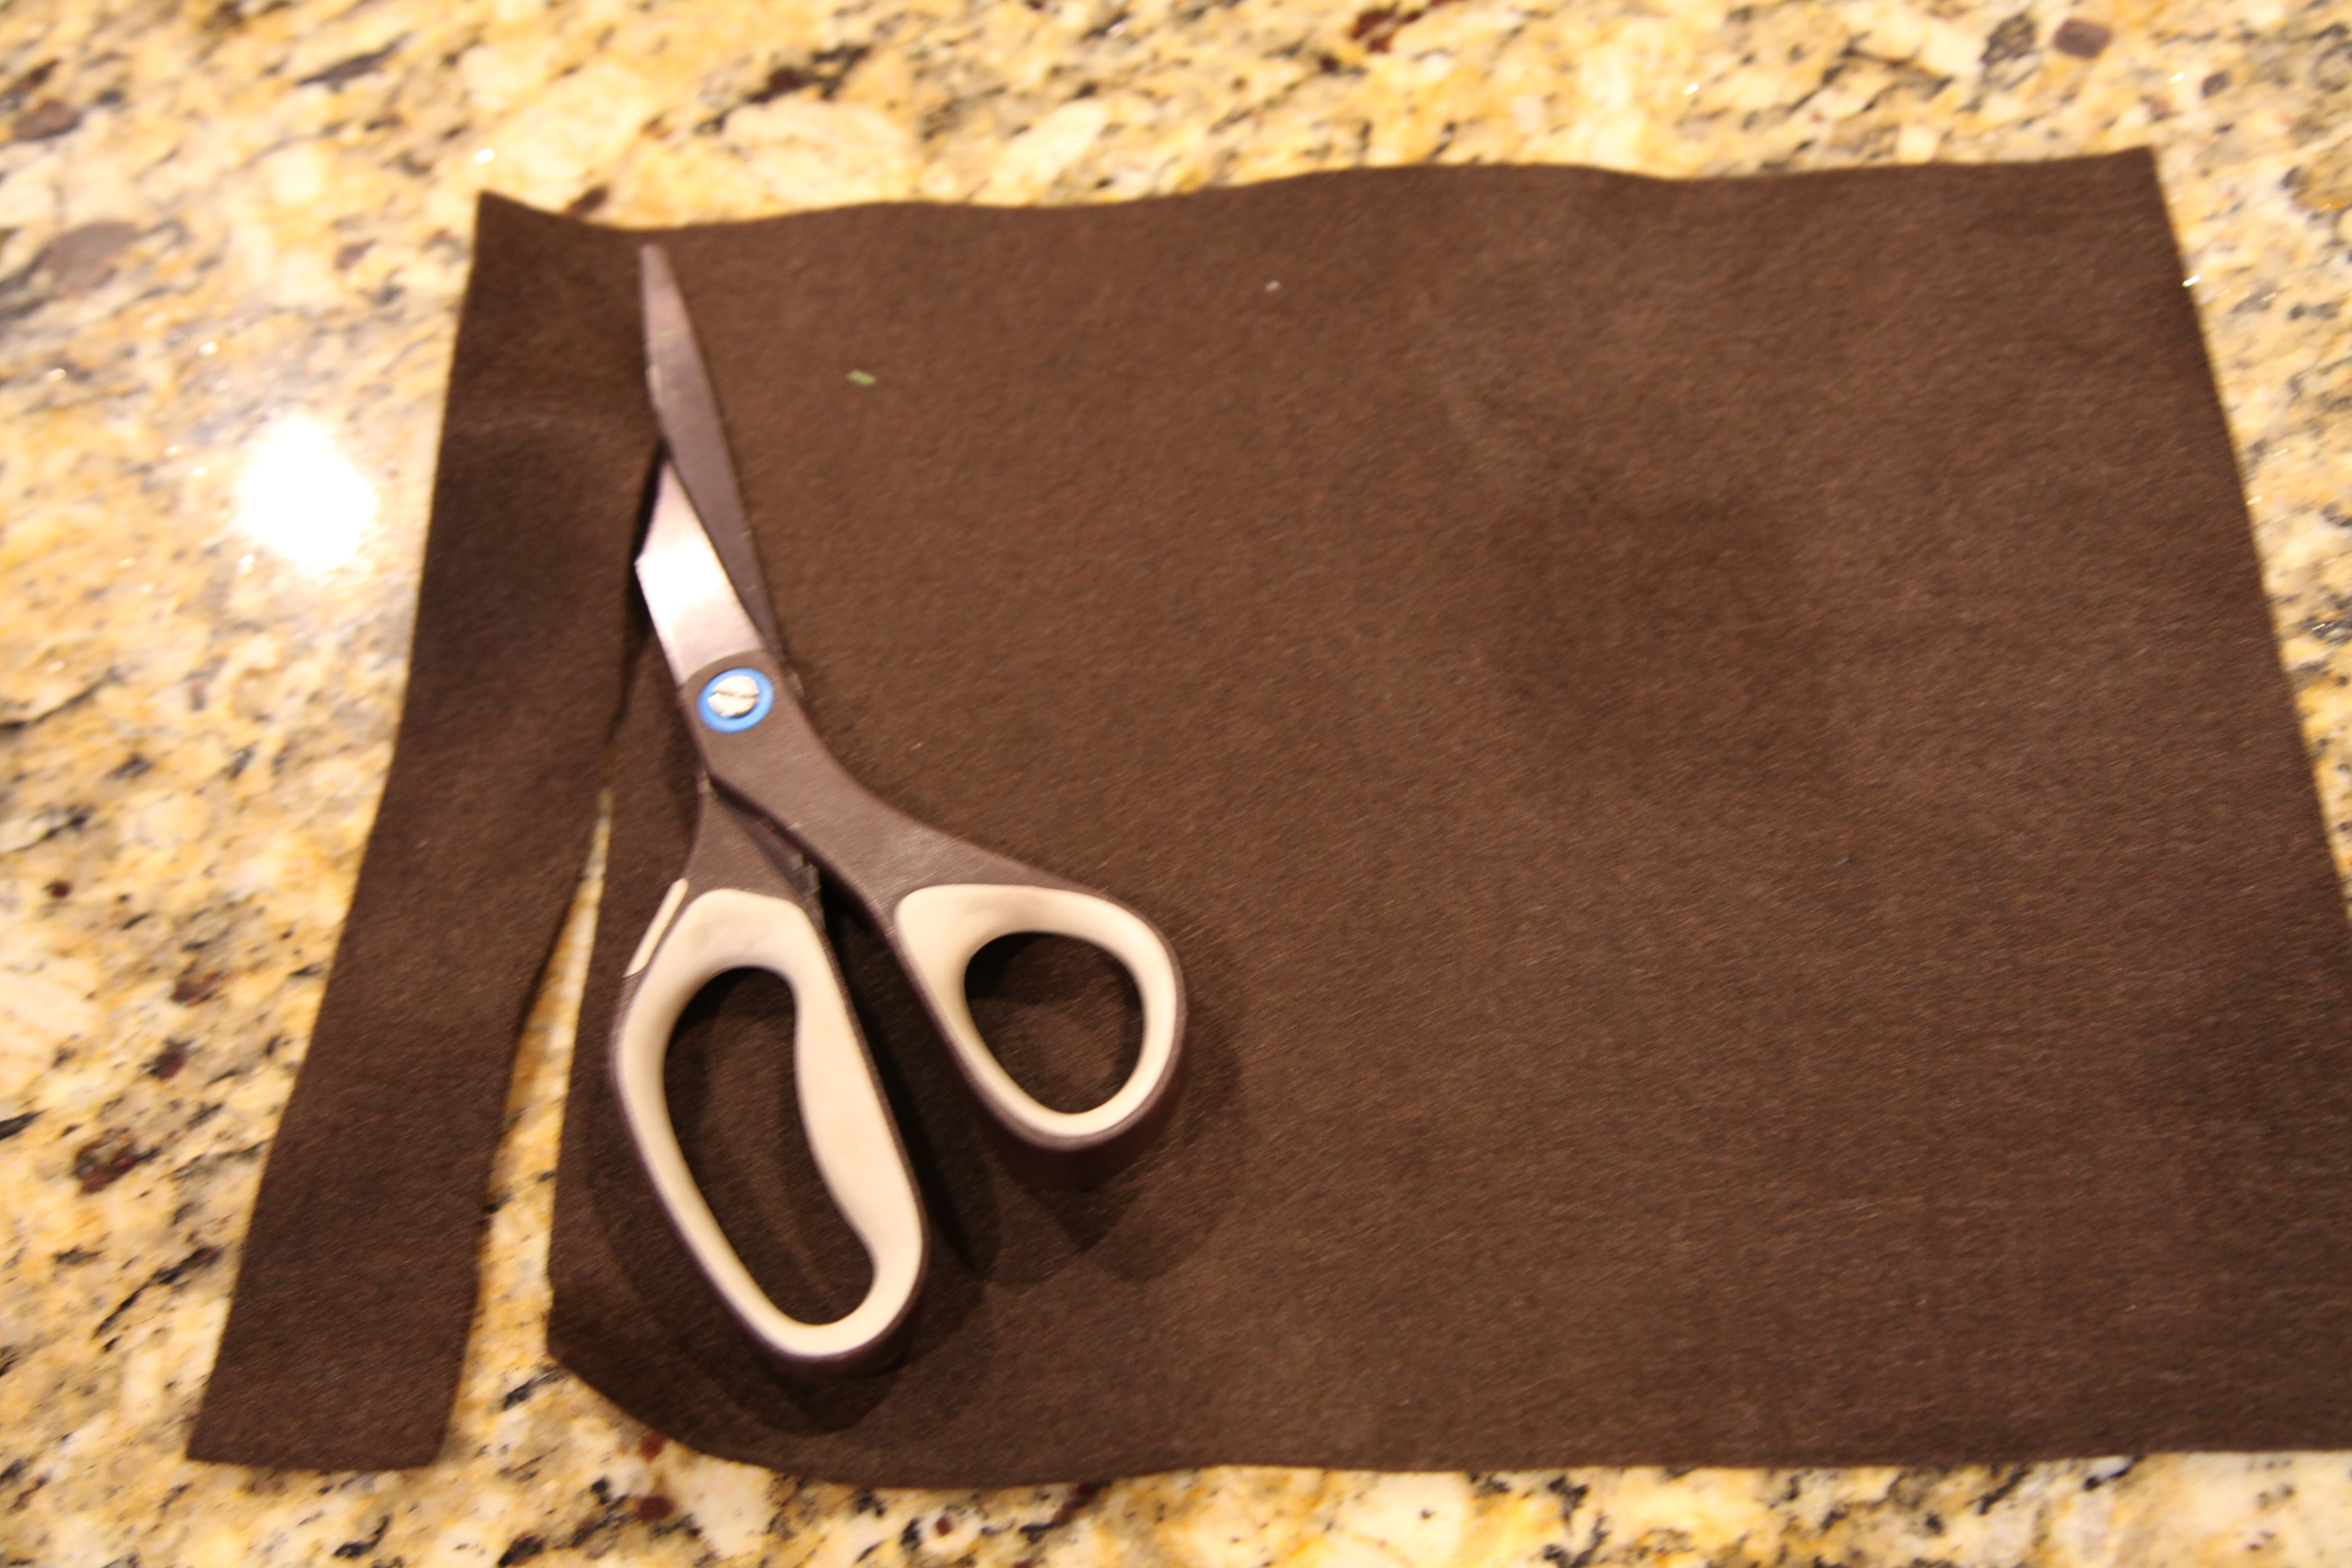
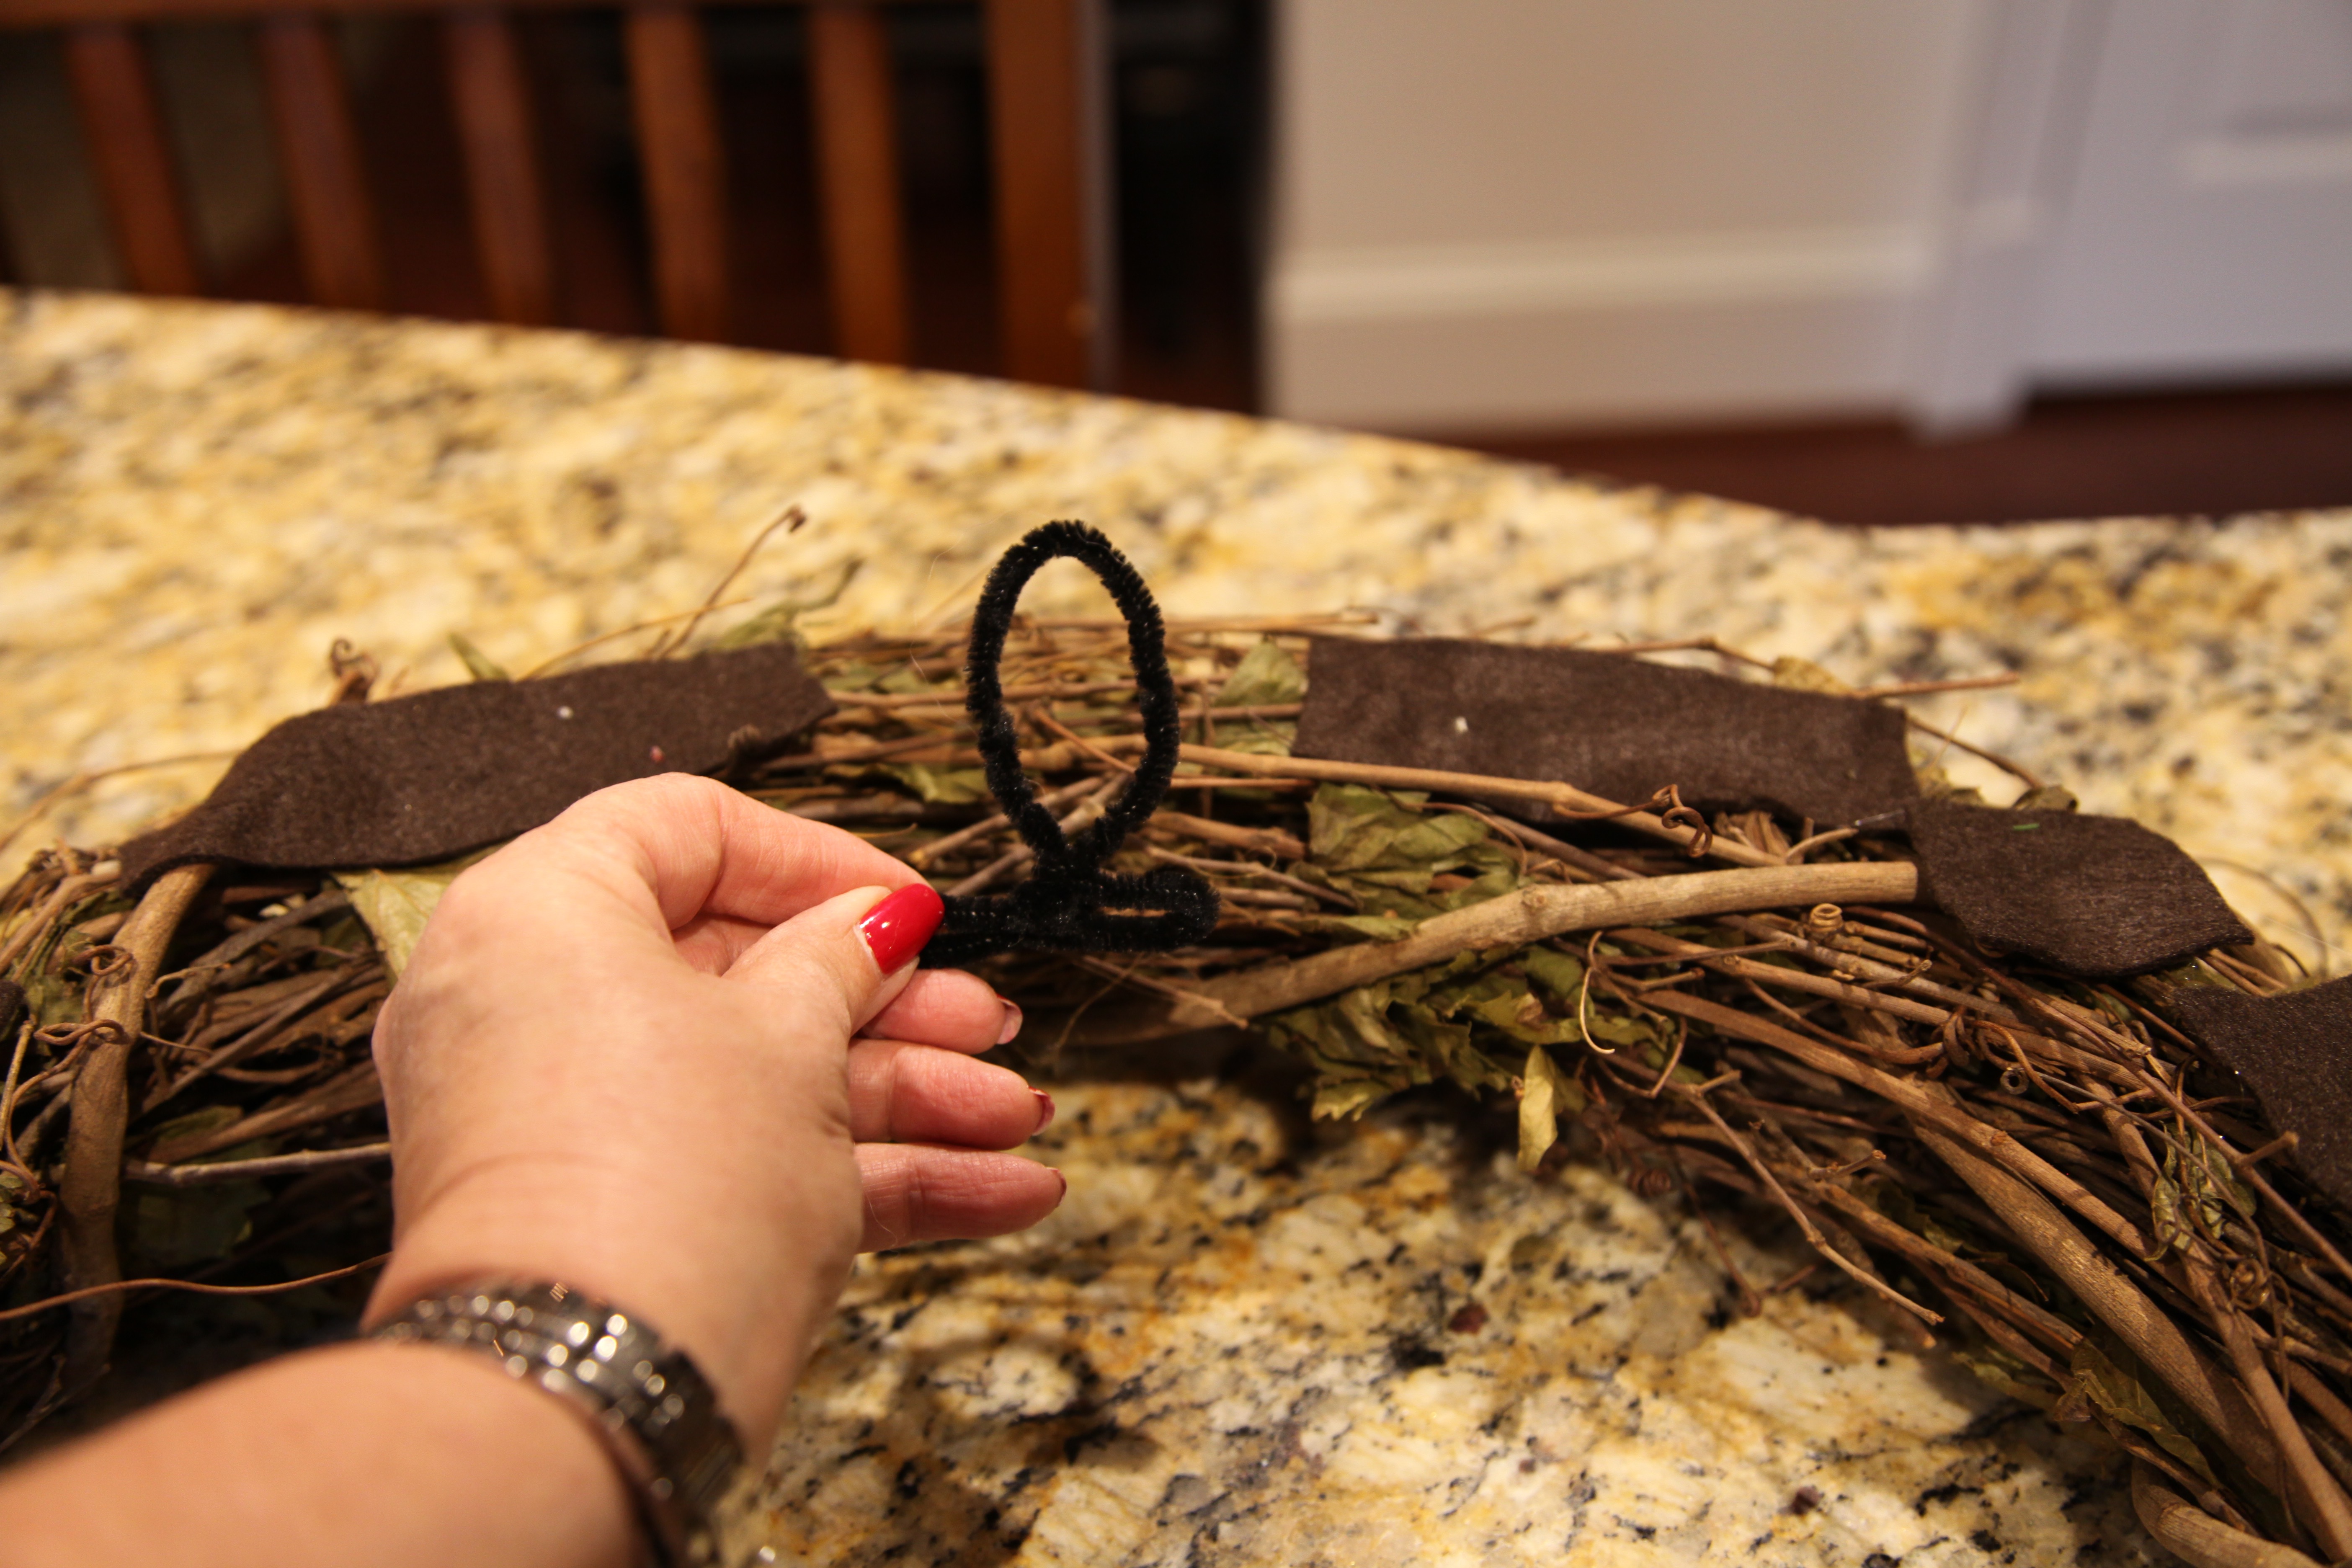
I used a strand of it to make this wreath…(Here is the link if you’d like to know how I put this wreath together):

IMG_2196

And I had the bright idea that I wanted to add it to the staircase garland because I was not interested in making my own ornament garland which I know would probably send me over the edge. lol  SO, first thing we needed to do was to locate a bunch of boxes of these Ornament Garlands…took us trips to 2 different Walmarts.  I cleaned both Walmarts out and I purchased 8 boxes at $20 a pop, yes, a bit pricey, but, the end result was well worth the cost, not to mention the ease with which they attached; worth their weight in gold in my humble opinion.

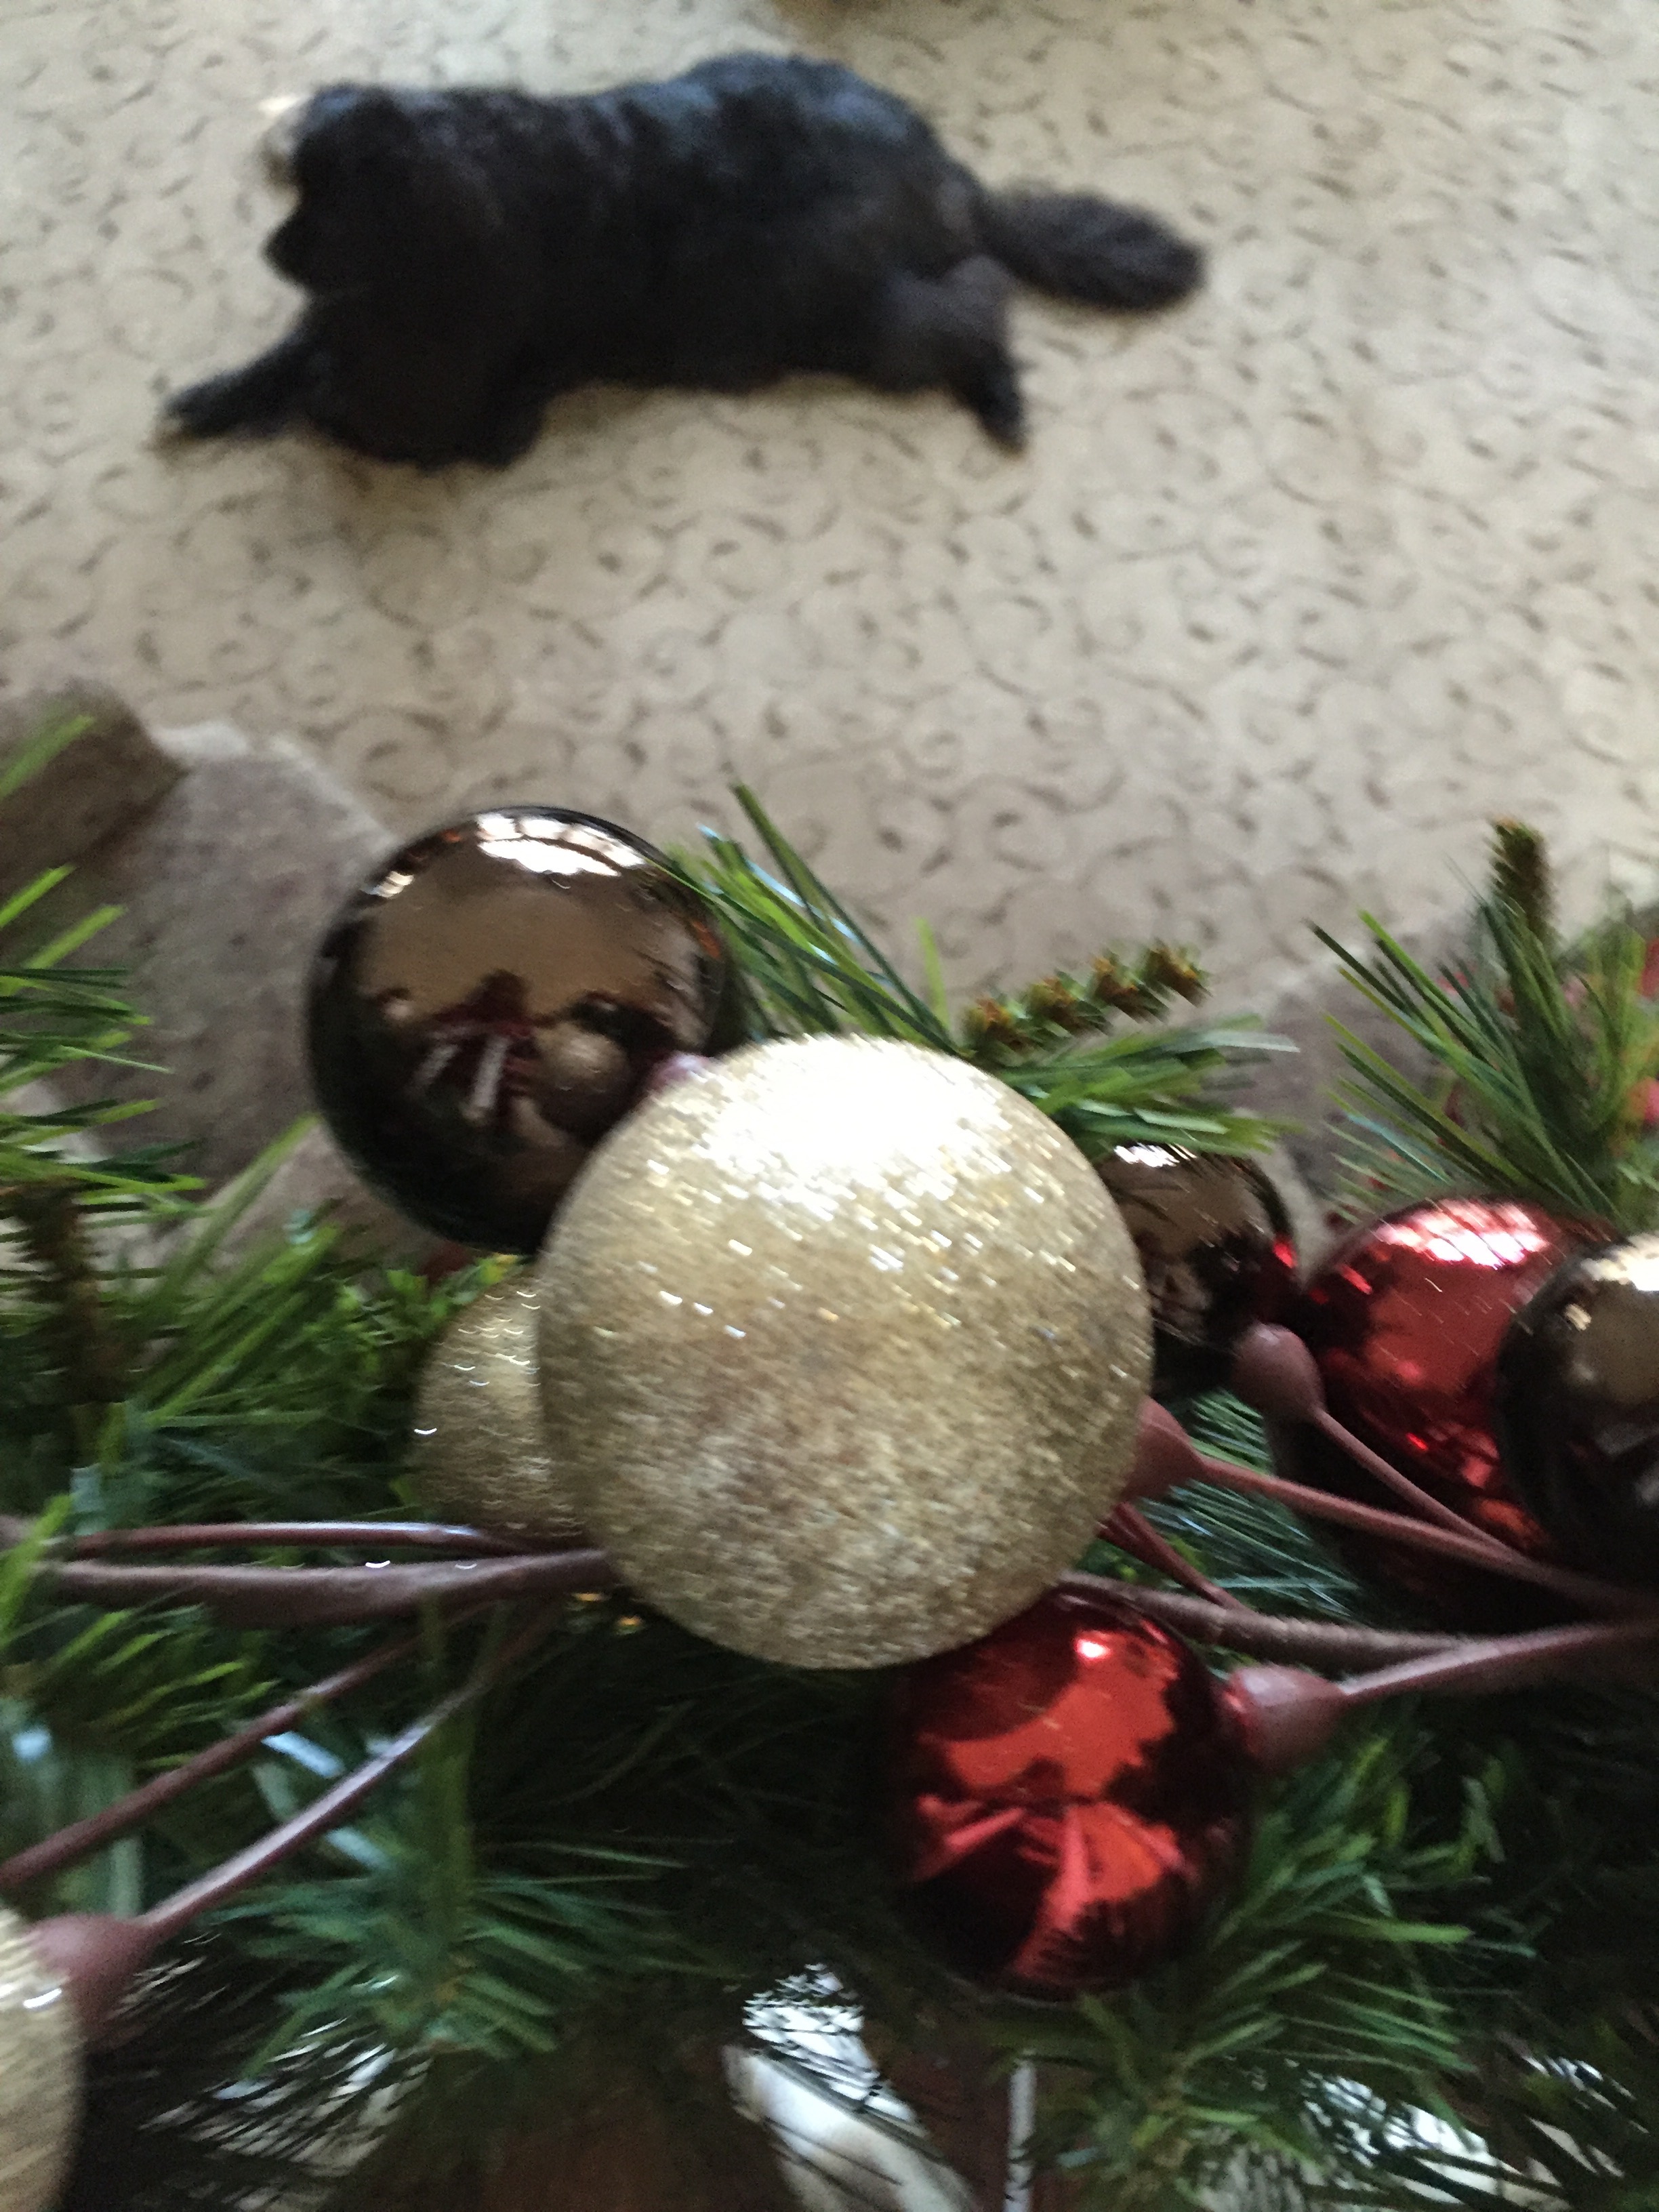
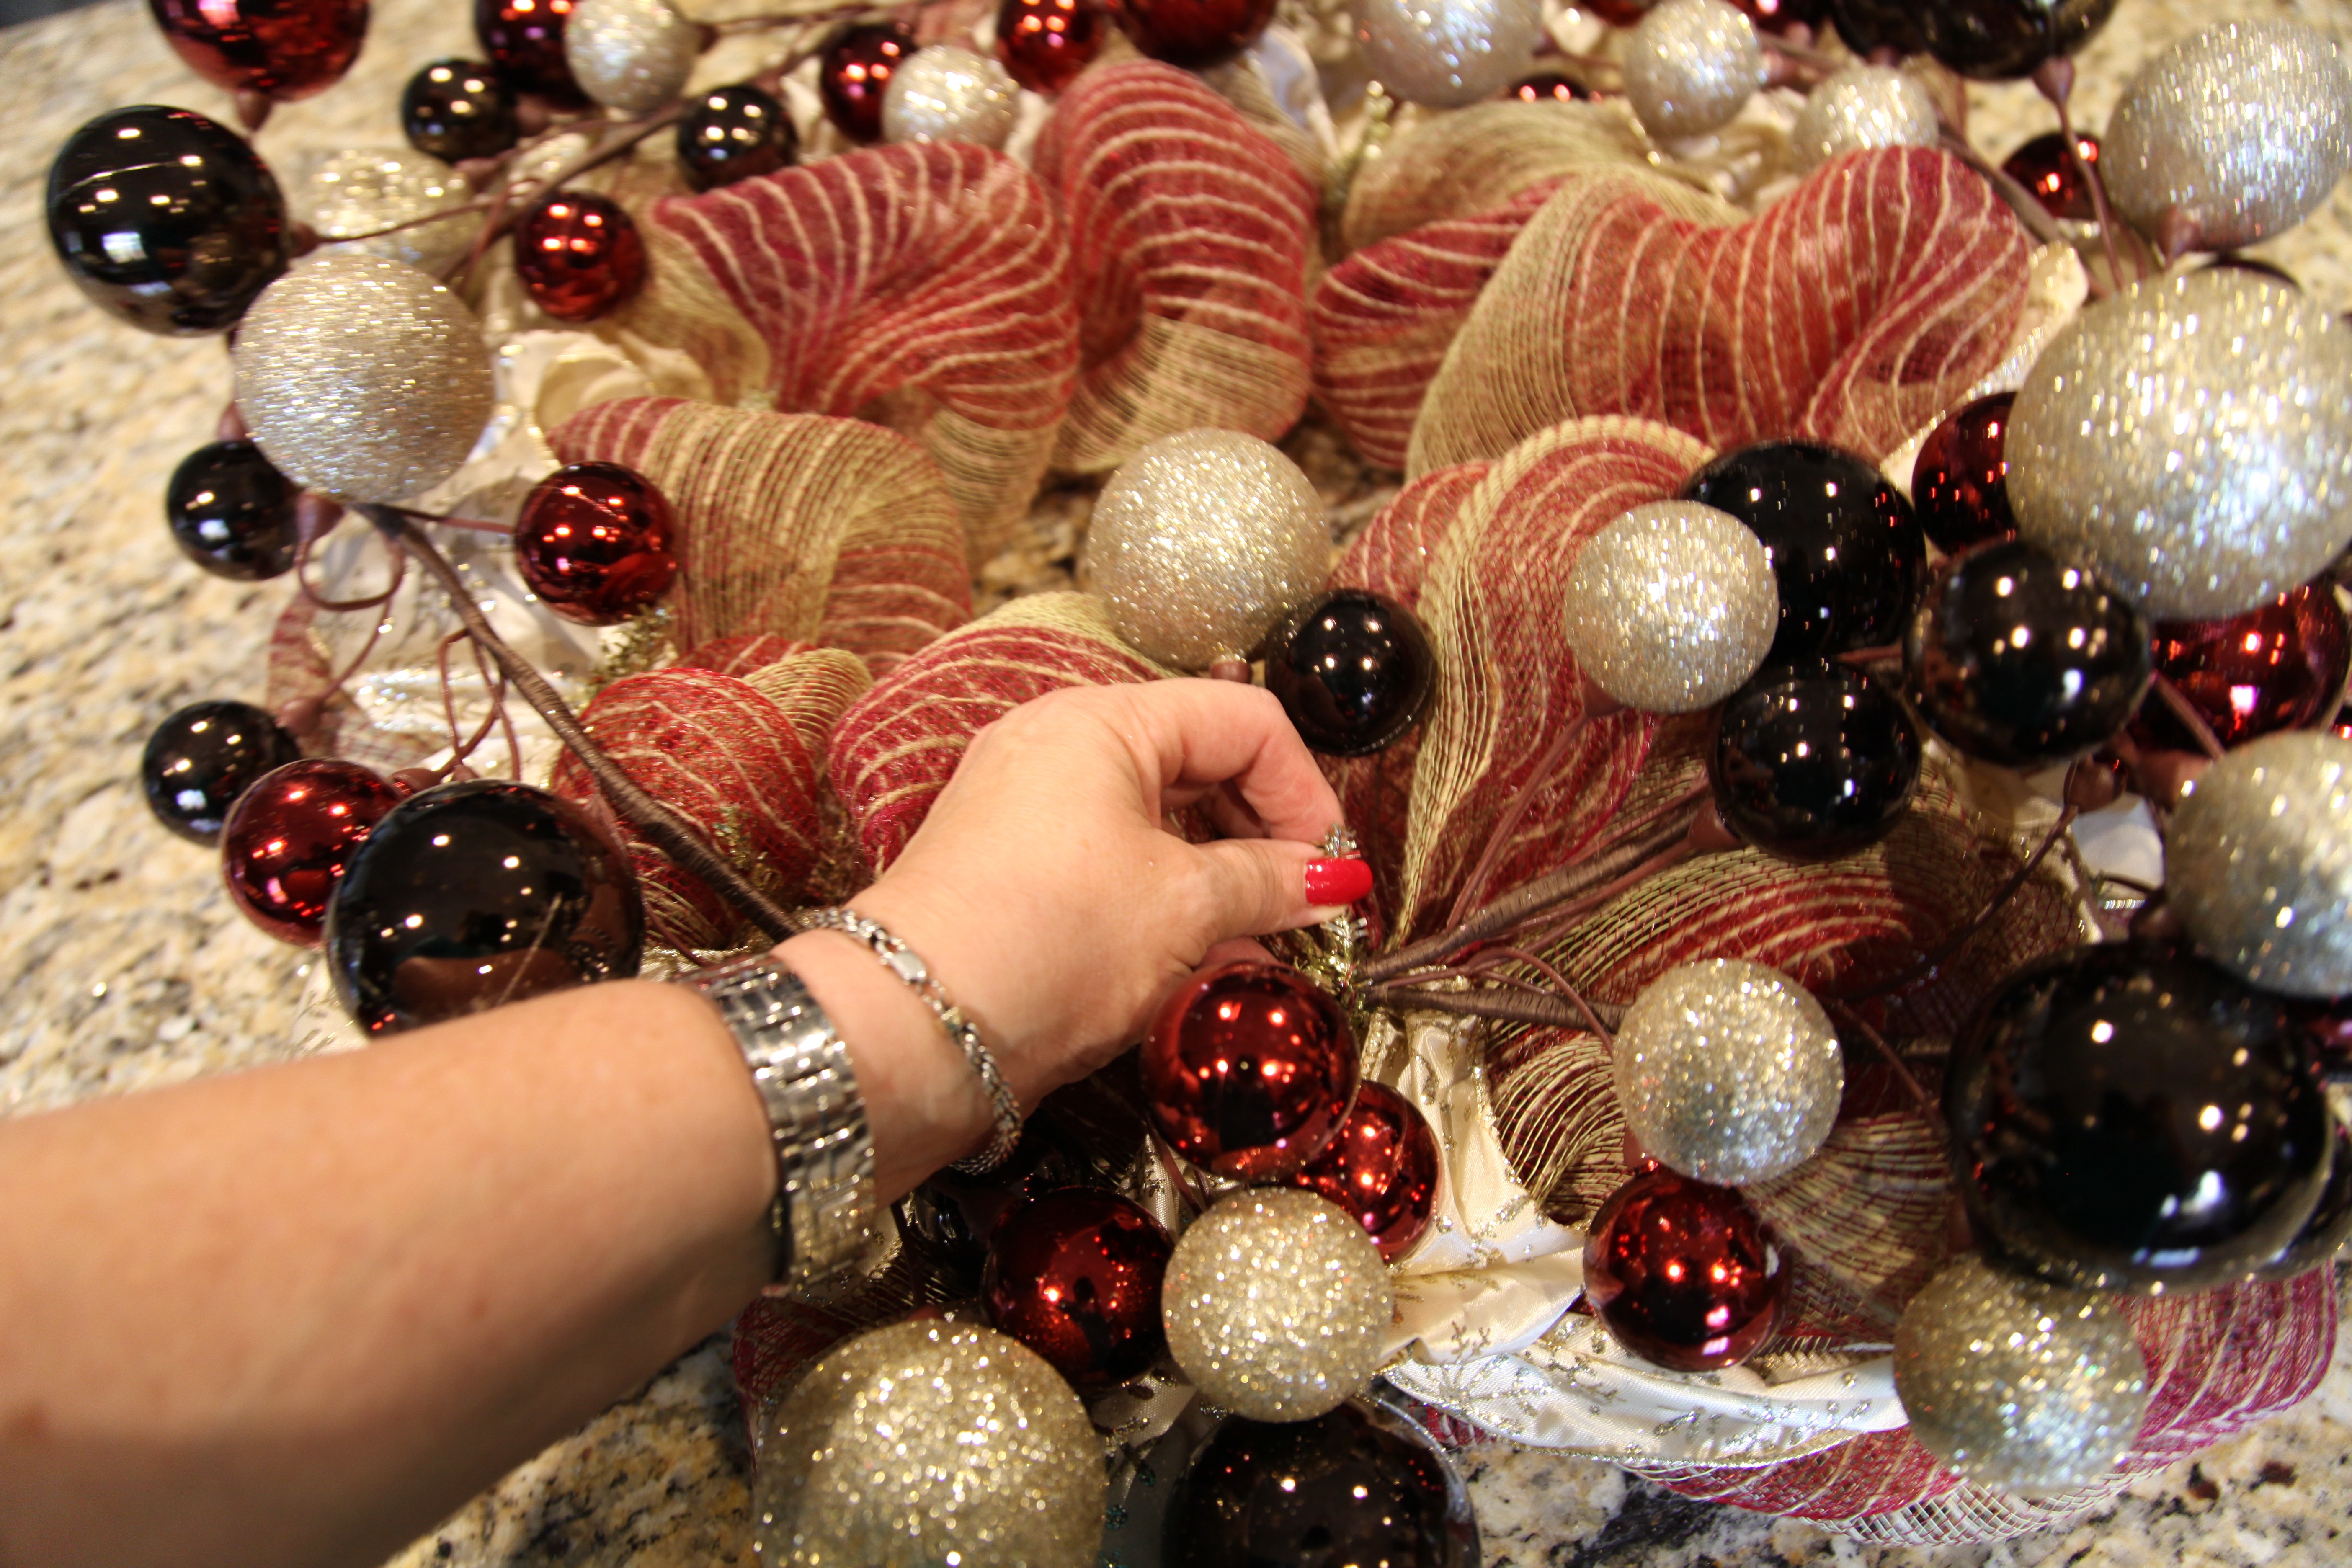
This stuff is so nice! And the bulbs are shatter-free bulbs which is a great bonus for us considering that we have clumsy people (me) and long swishy tails (the dogs) running around this house. Each strand is 6′ long and the bulbs are attached to a plastic ‘feeling’, very pliable cording type stuff…I used 7-1/2 strands on the staircase garland…

IMG_9453 IMG_9455

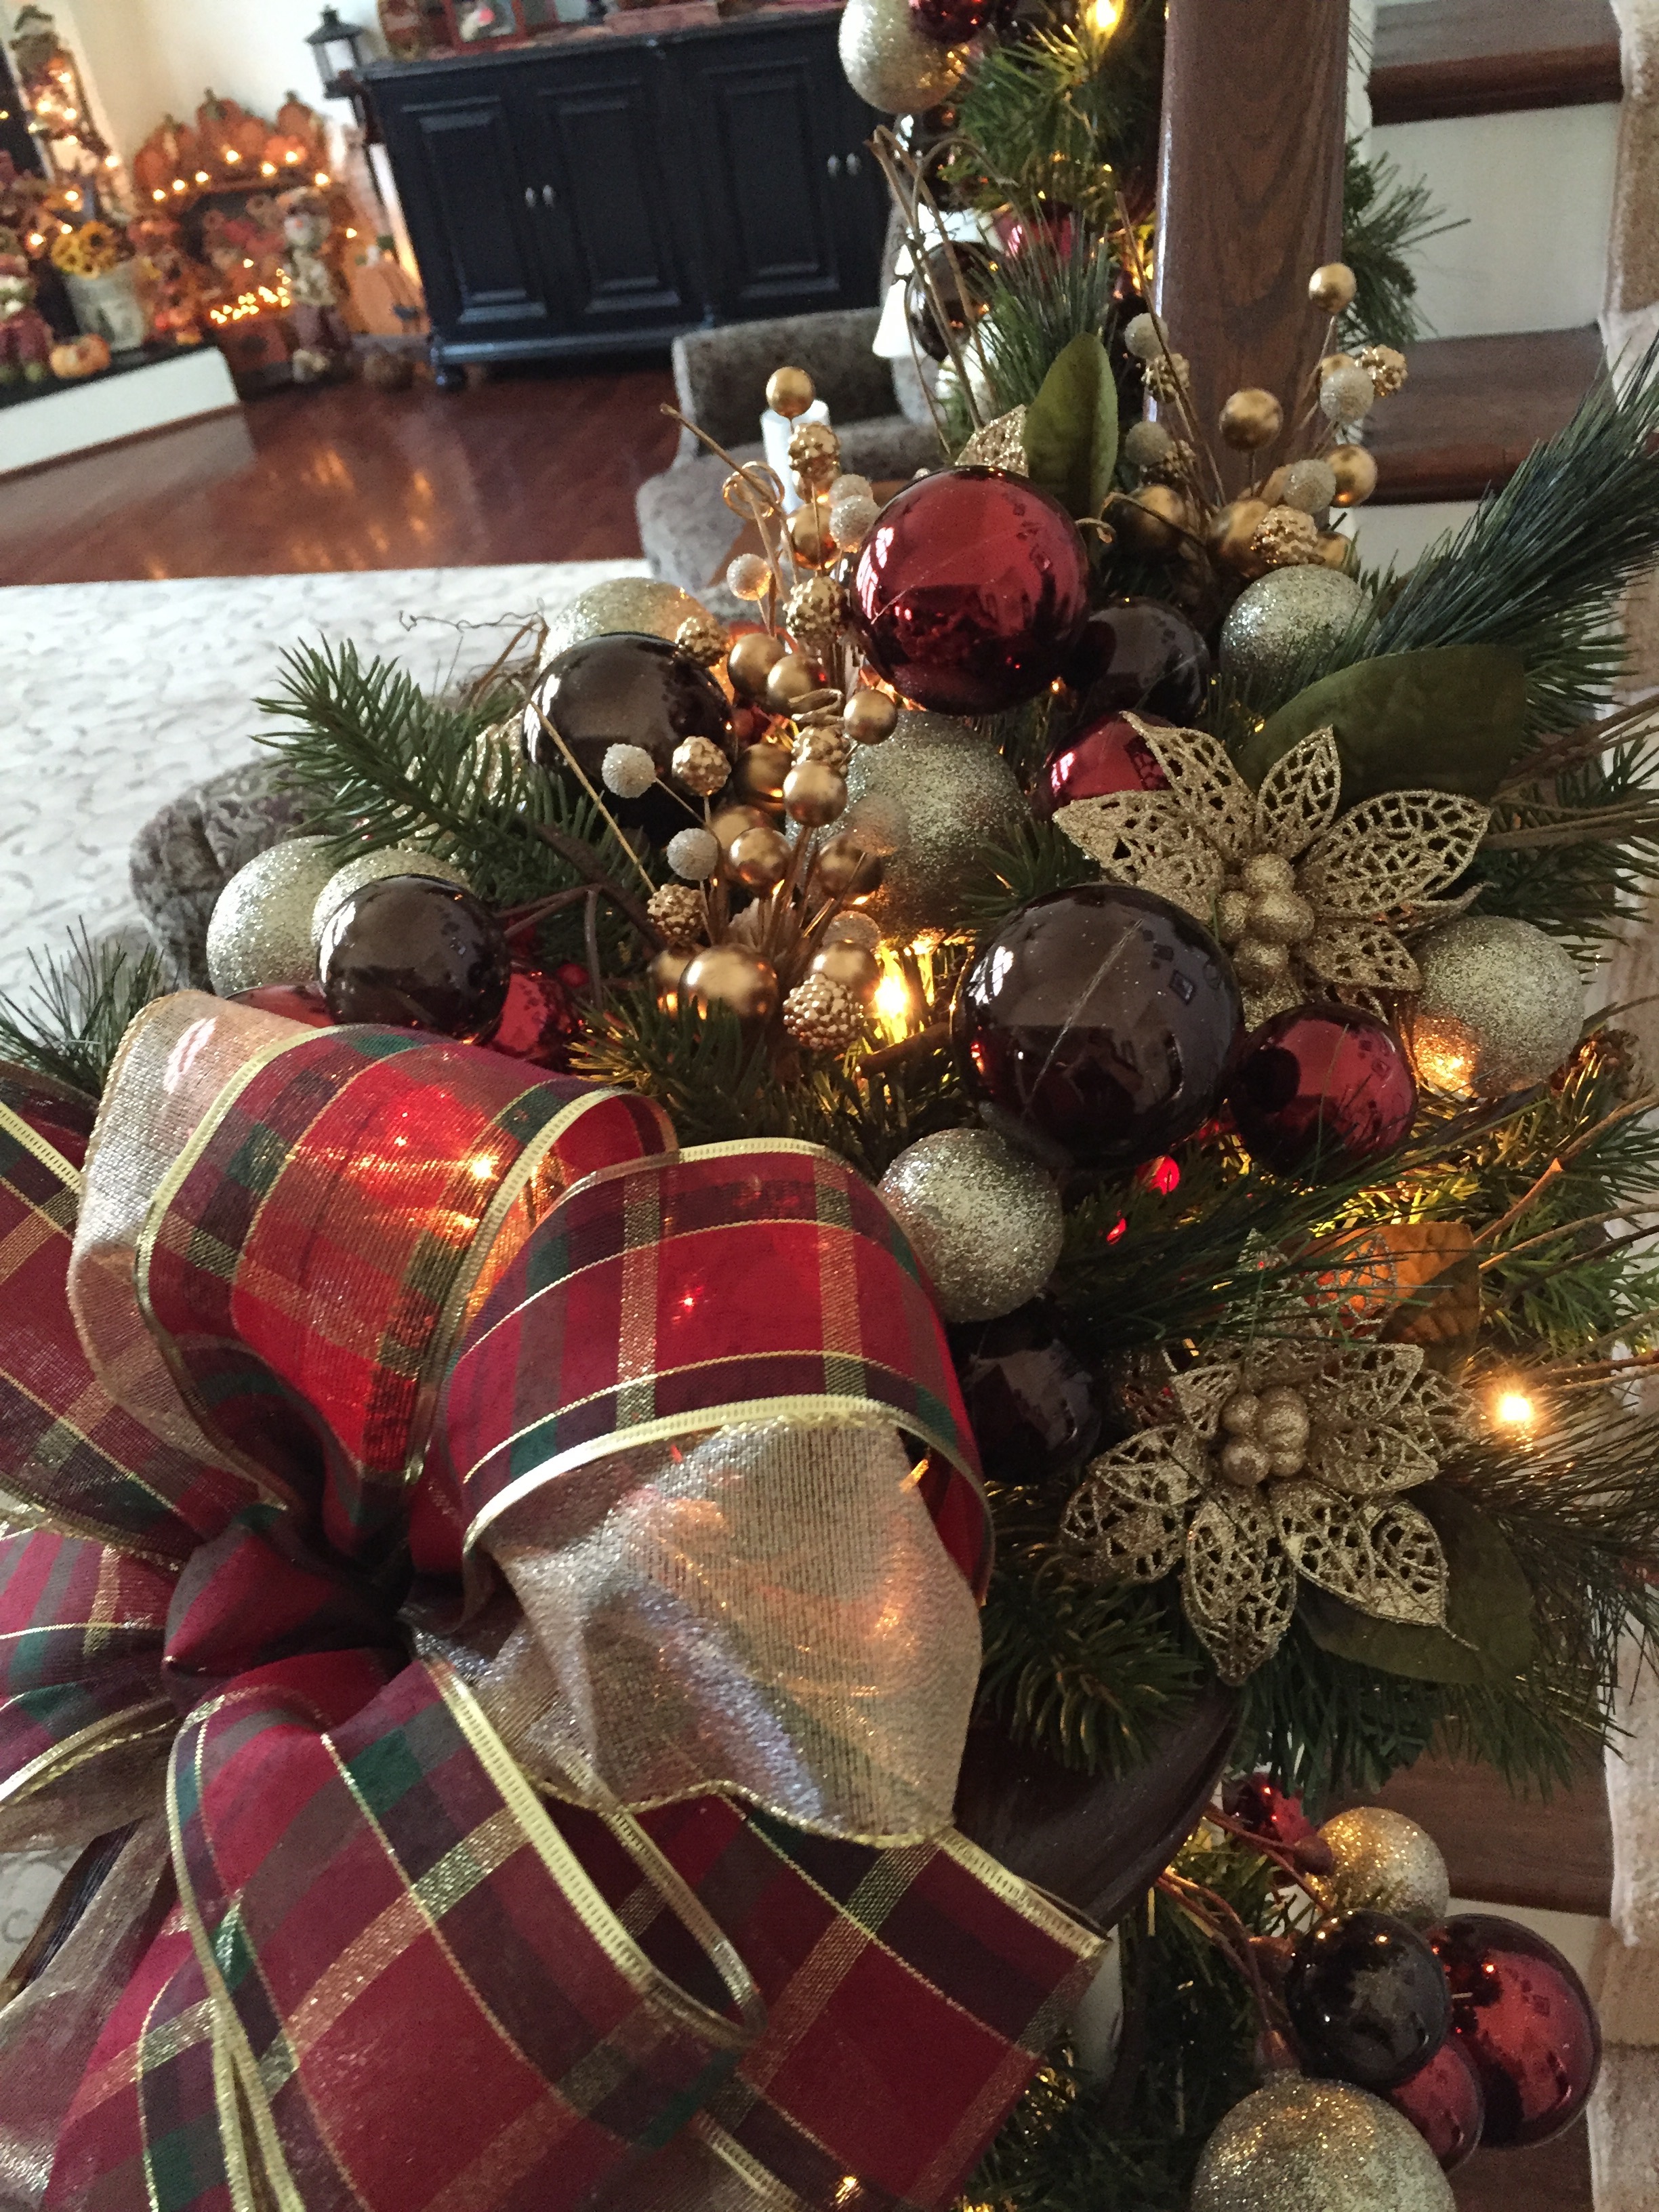
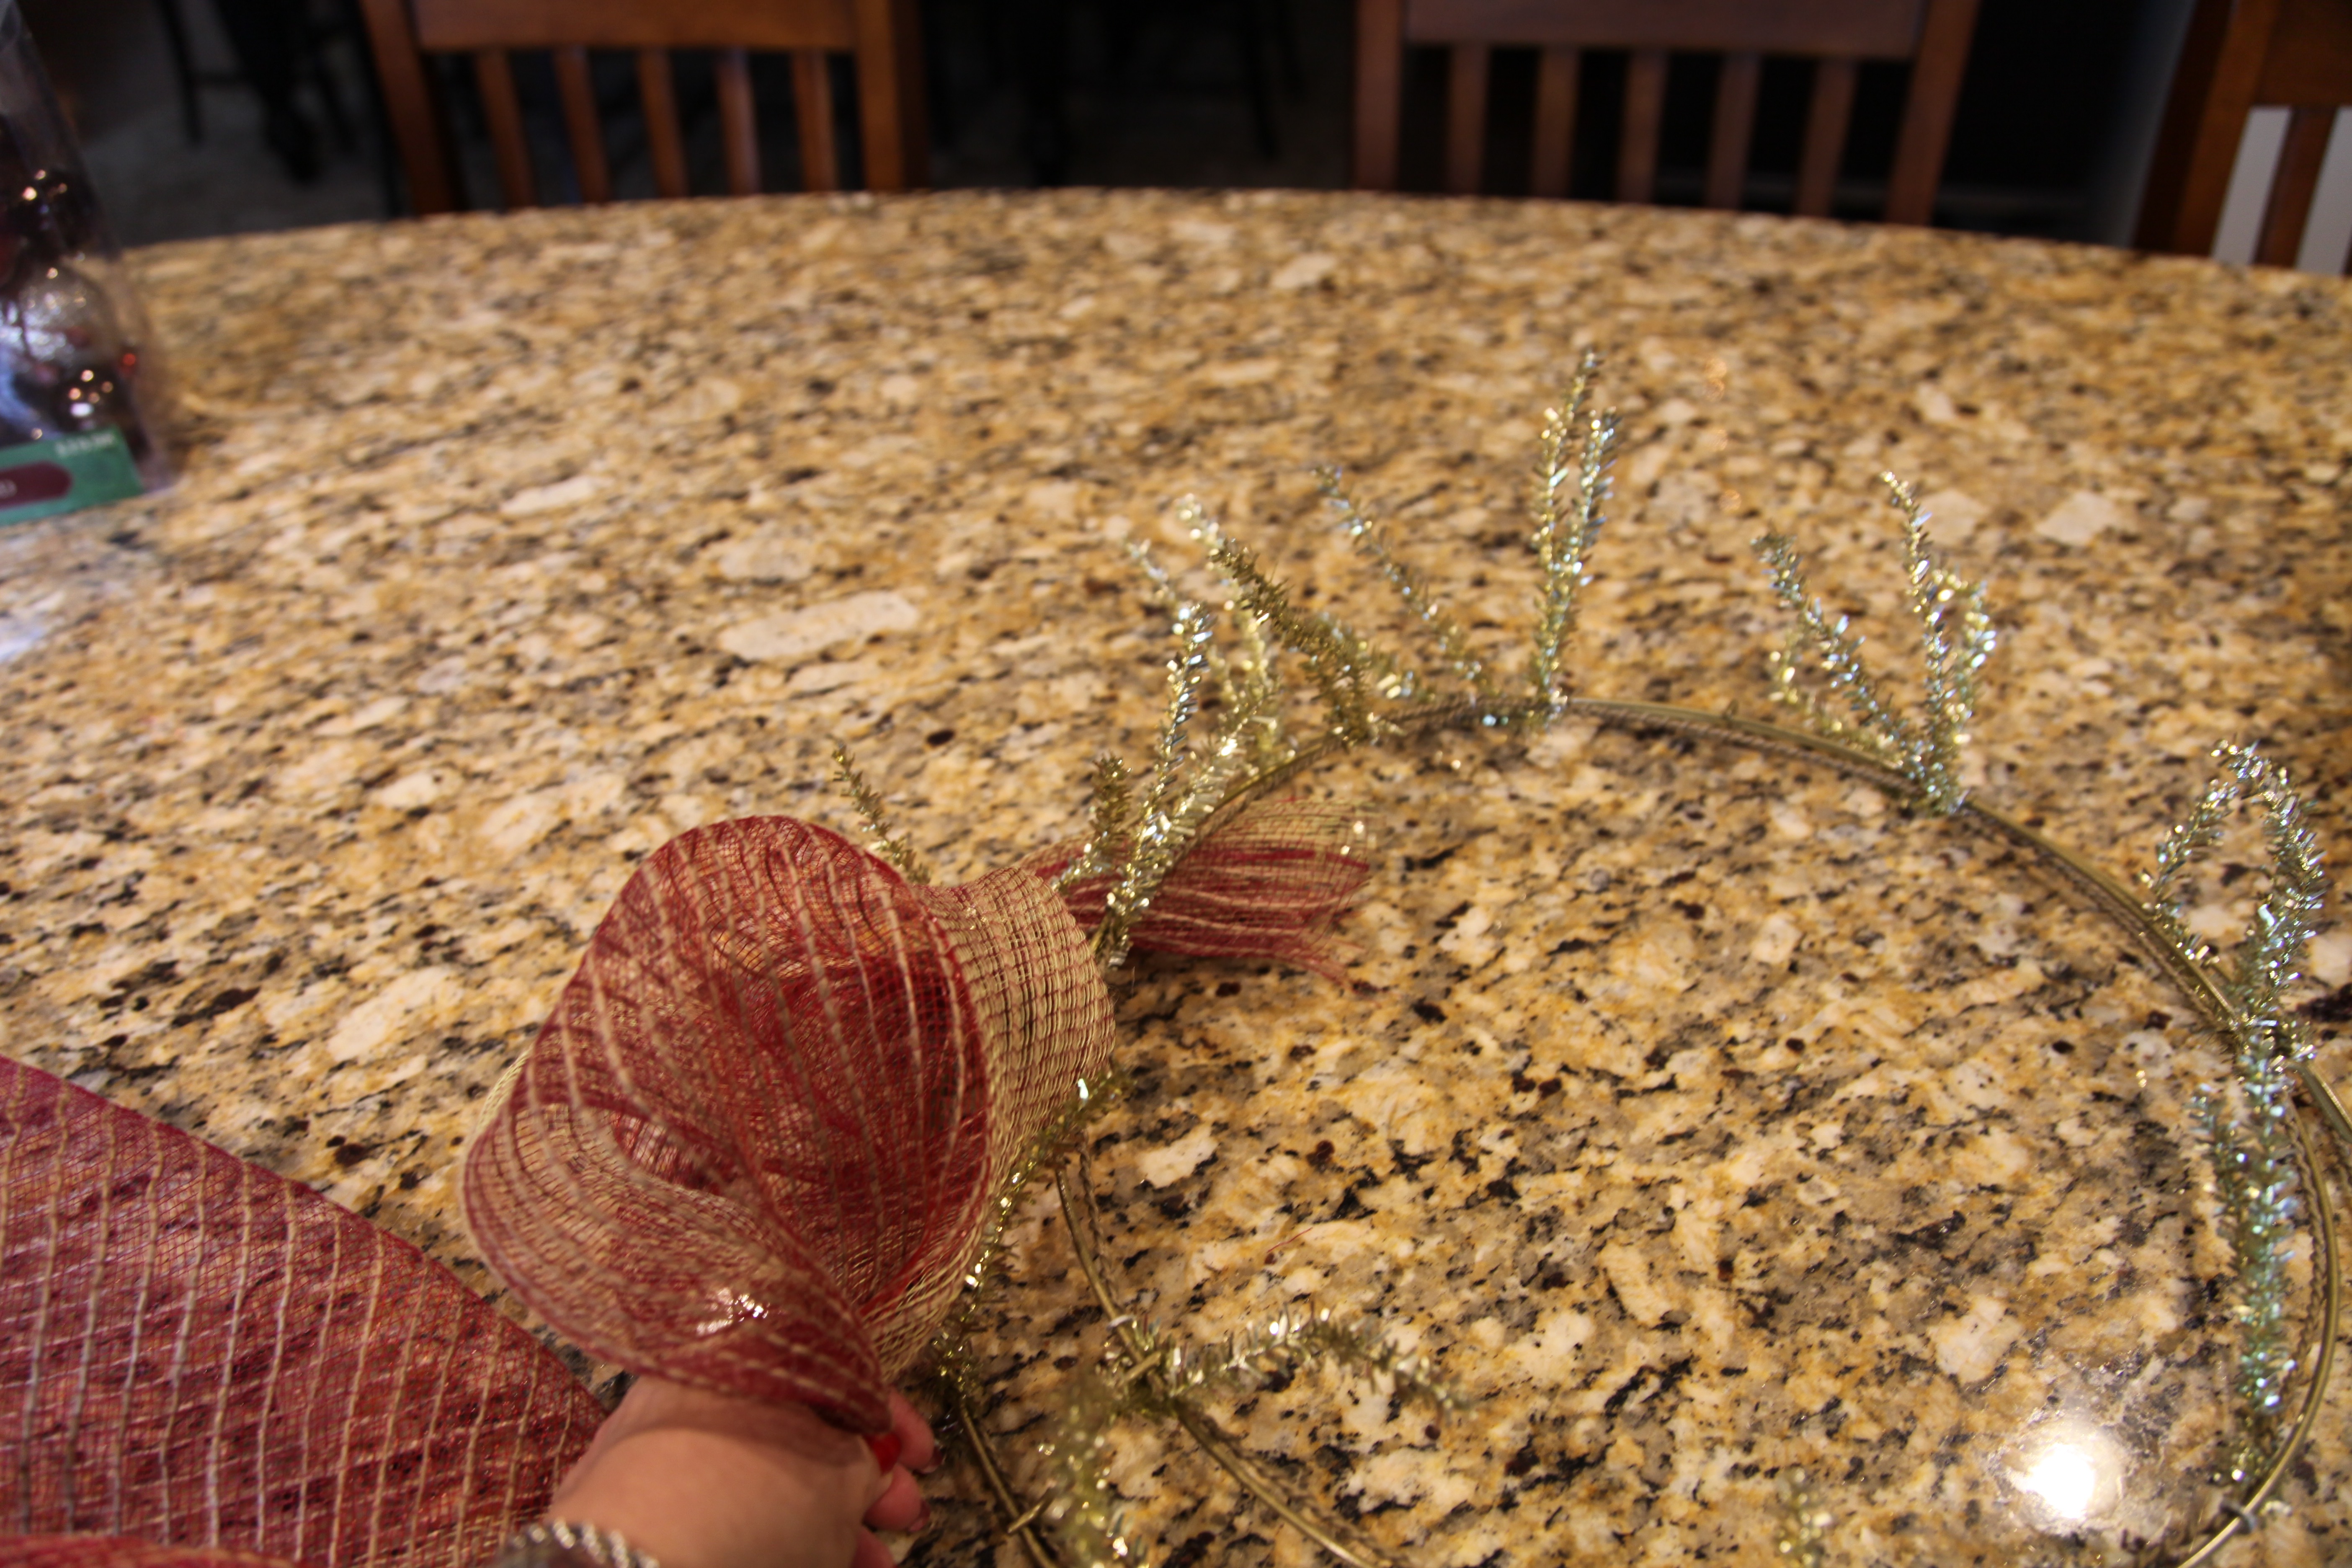
To attach the ornament garland, we simply made a trough in the pine garland, snugged the ornament garland down into the trough and used the pine sprigs like twist ties and simply tied it in.  We did do a tiny bit of mixing of the ornaments into the pine garland, but honestly, it somehow came together beautifully! I was jumping for joy and doing the happy dance when I stood back and took a look at our work.  Wow!! 🙂

IMG_9460

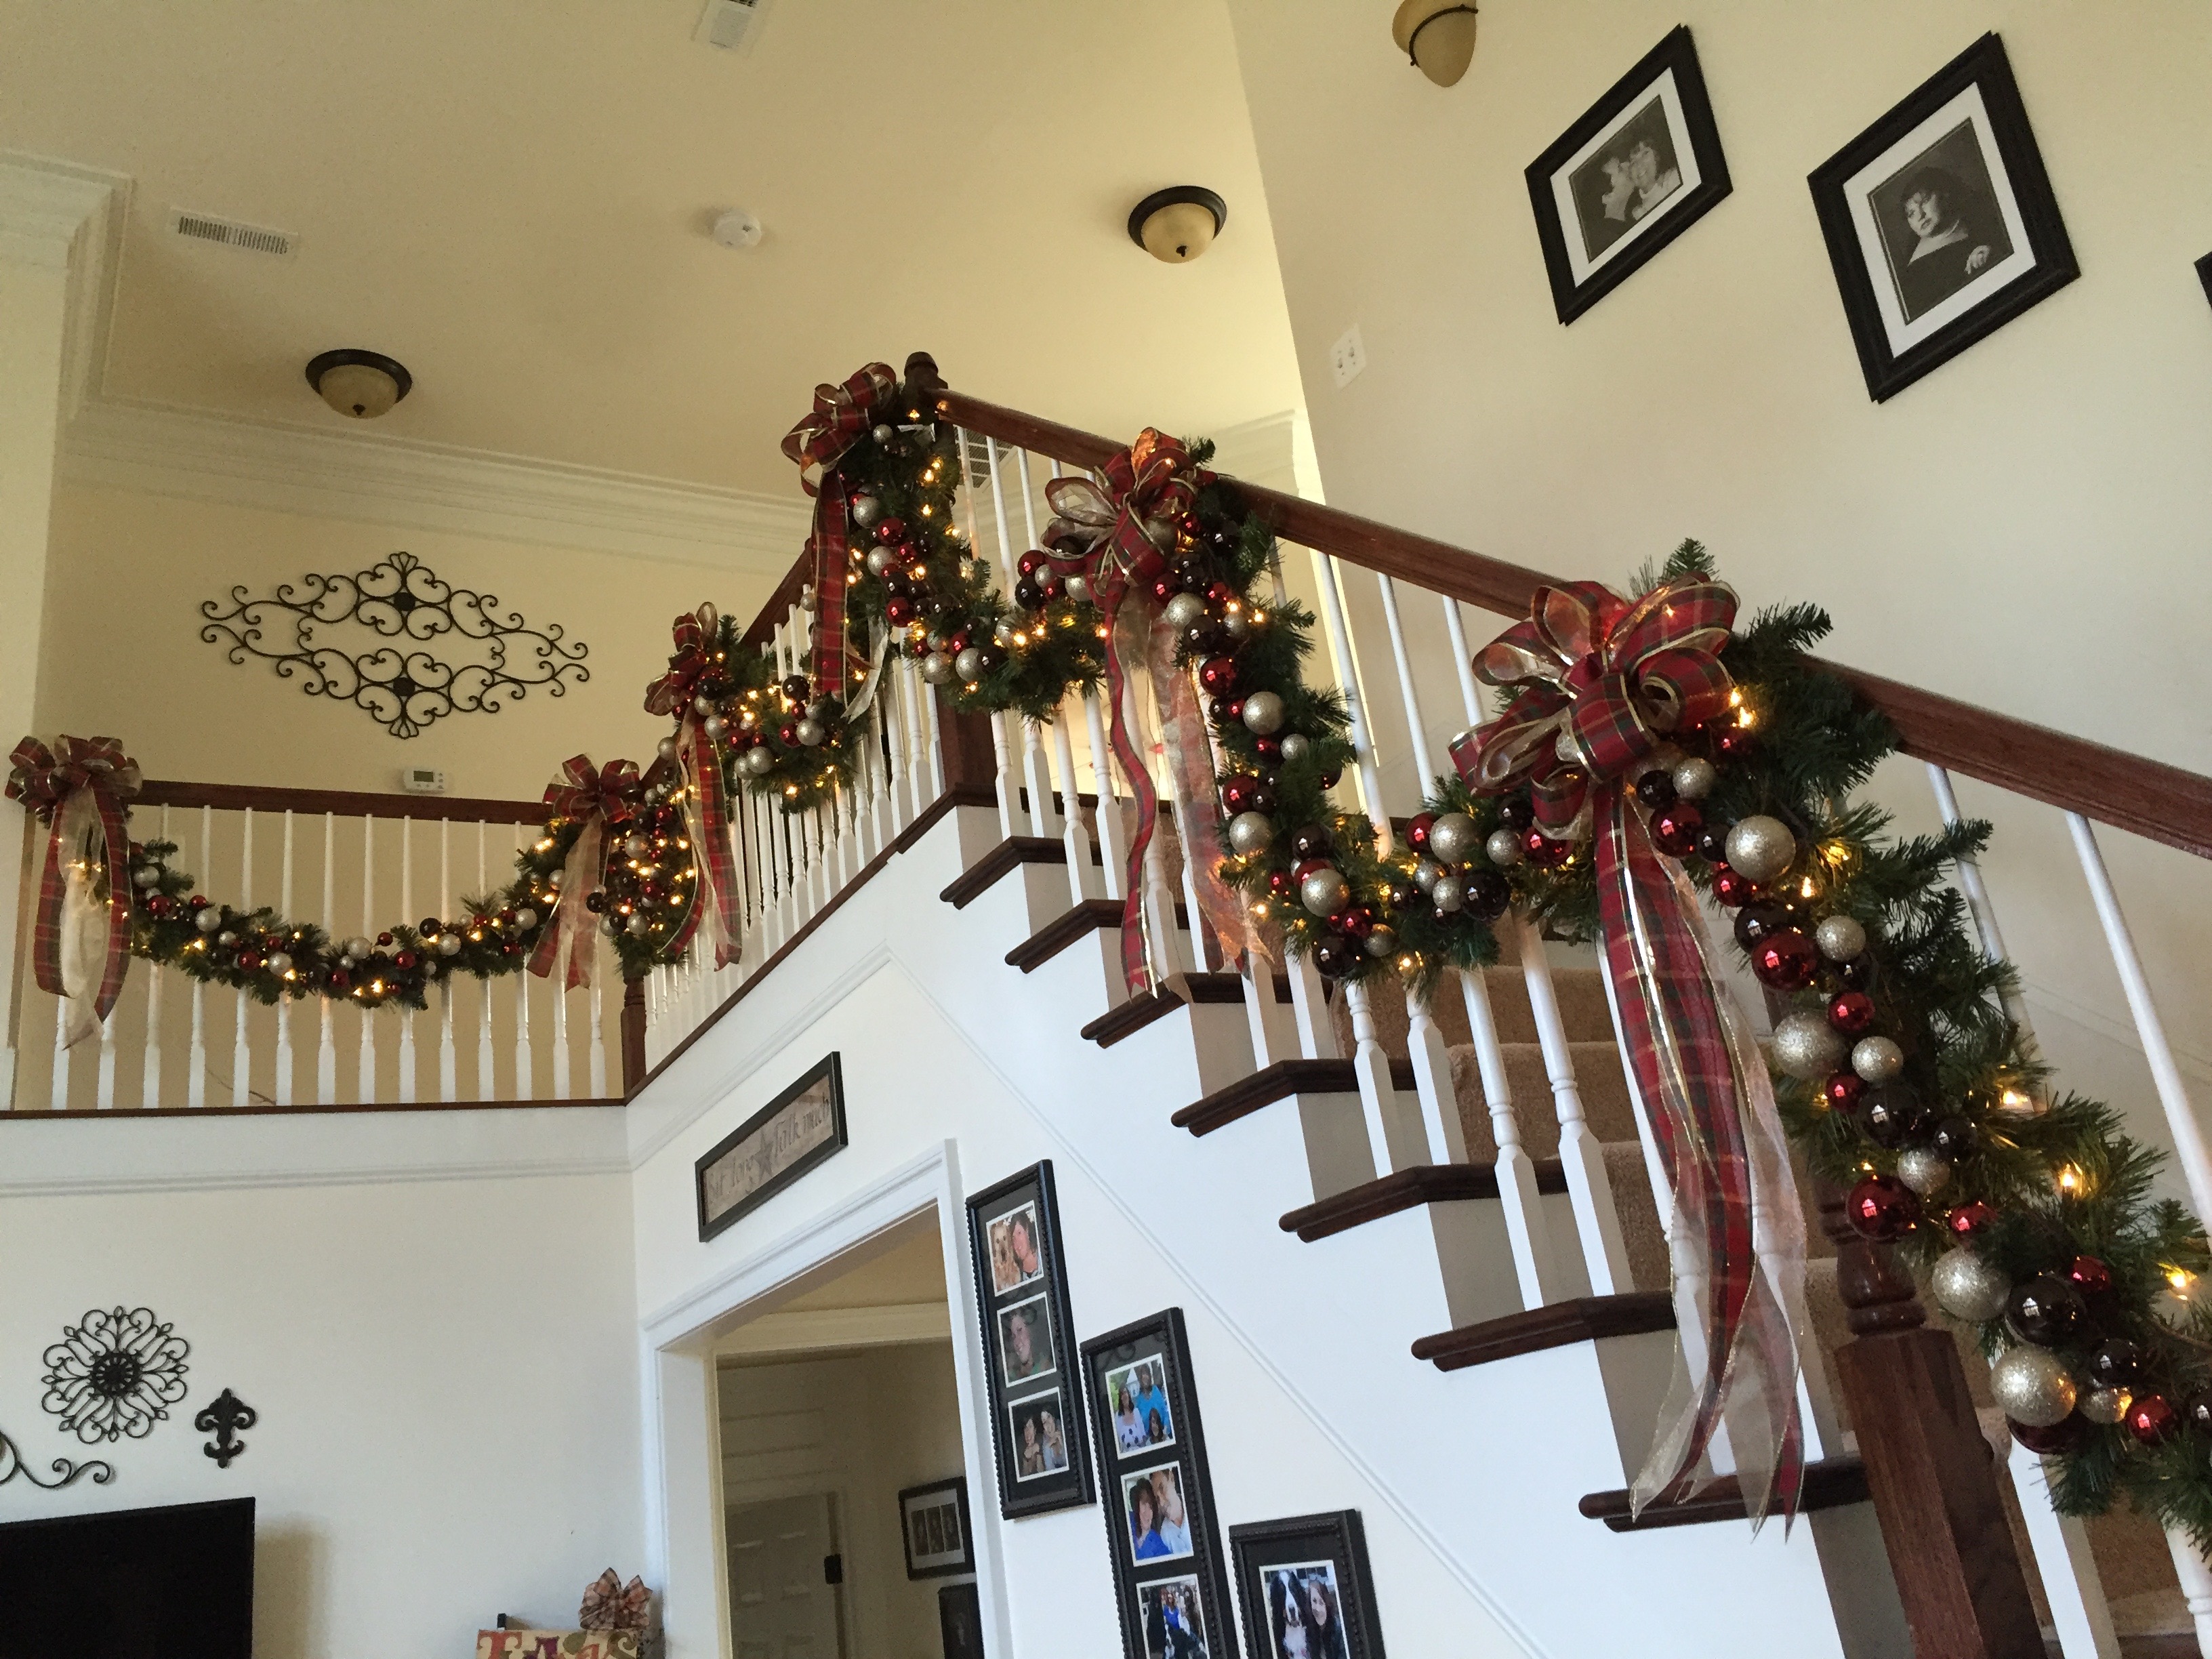
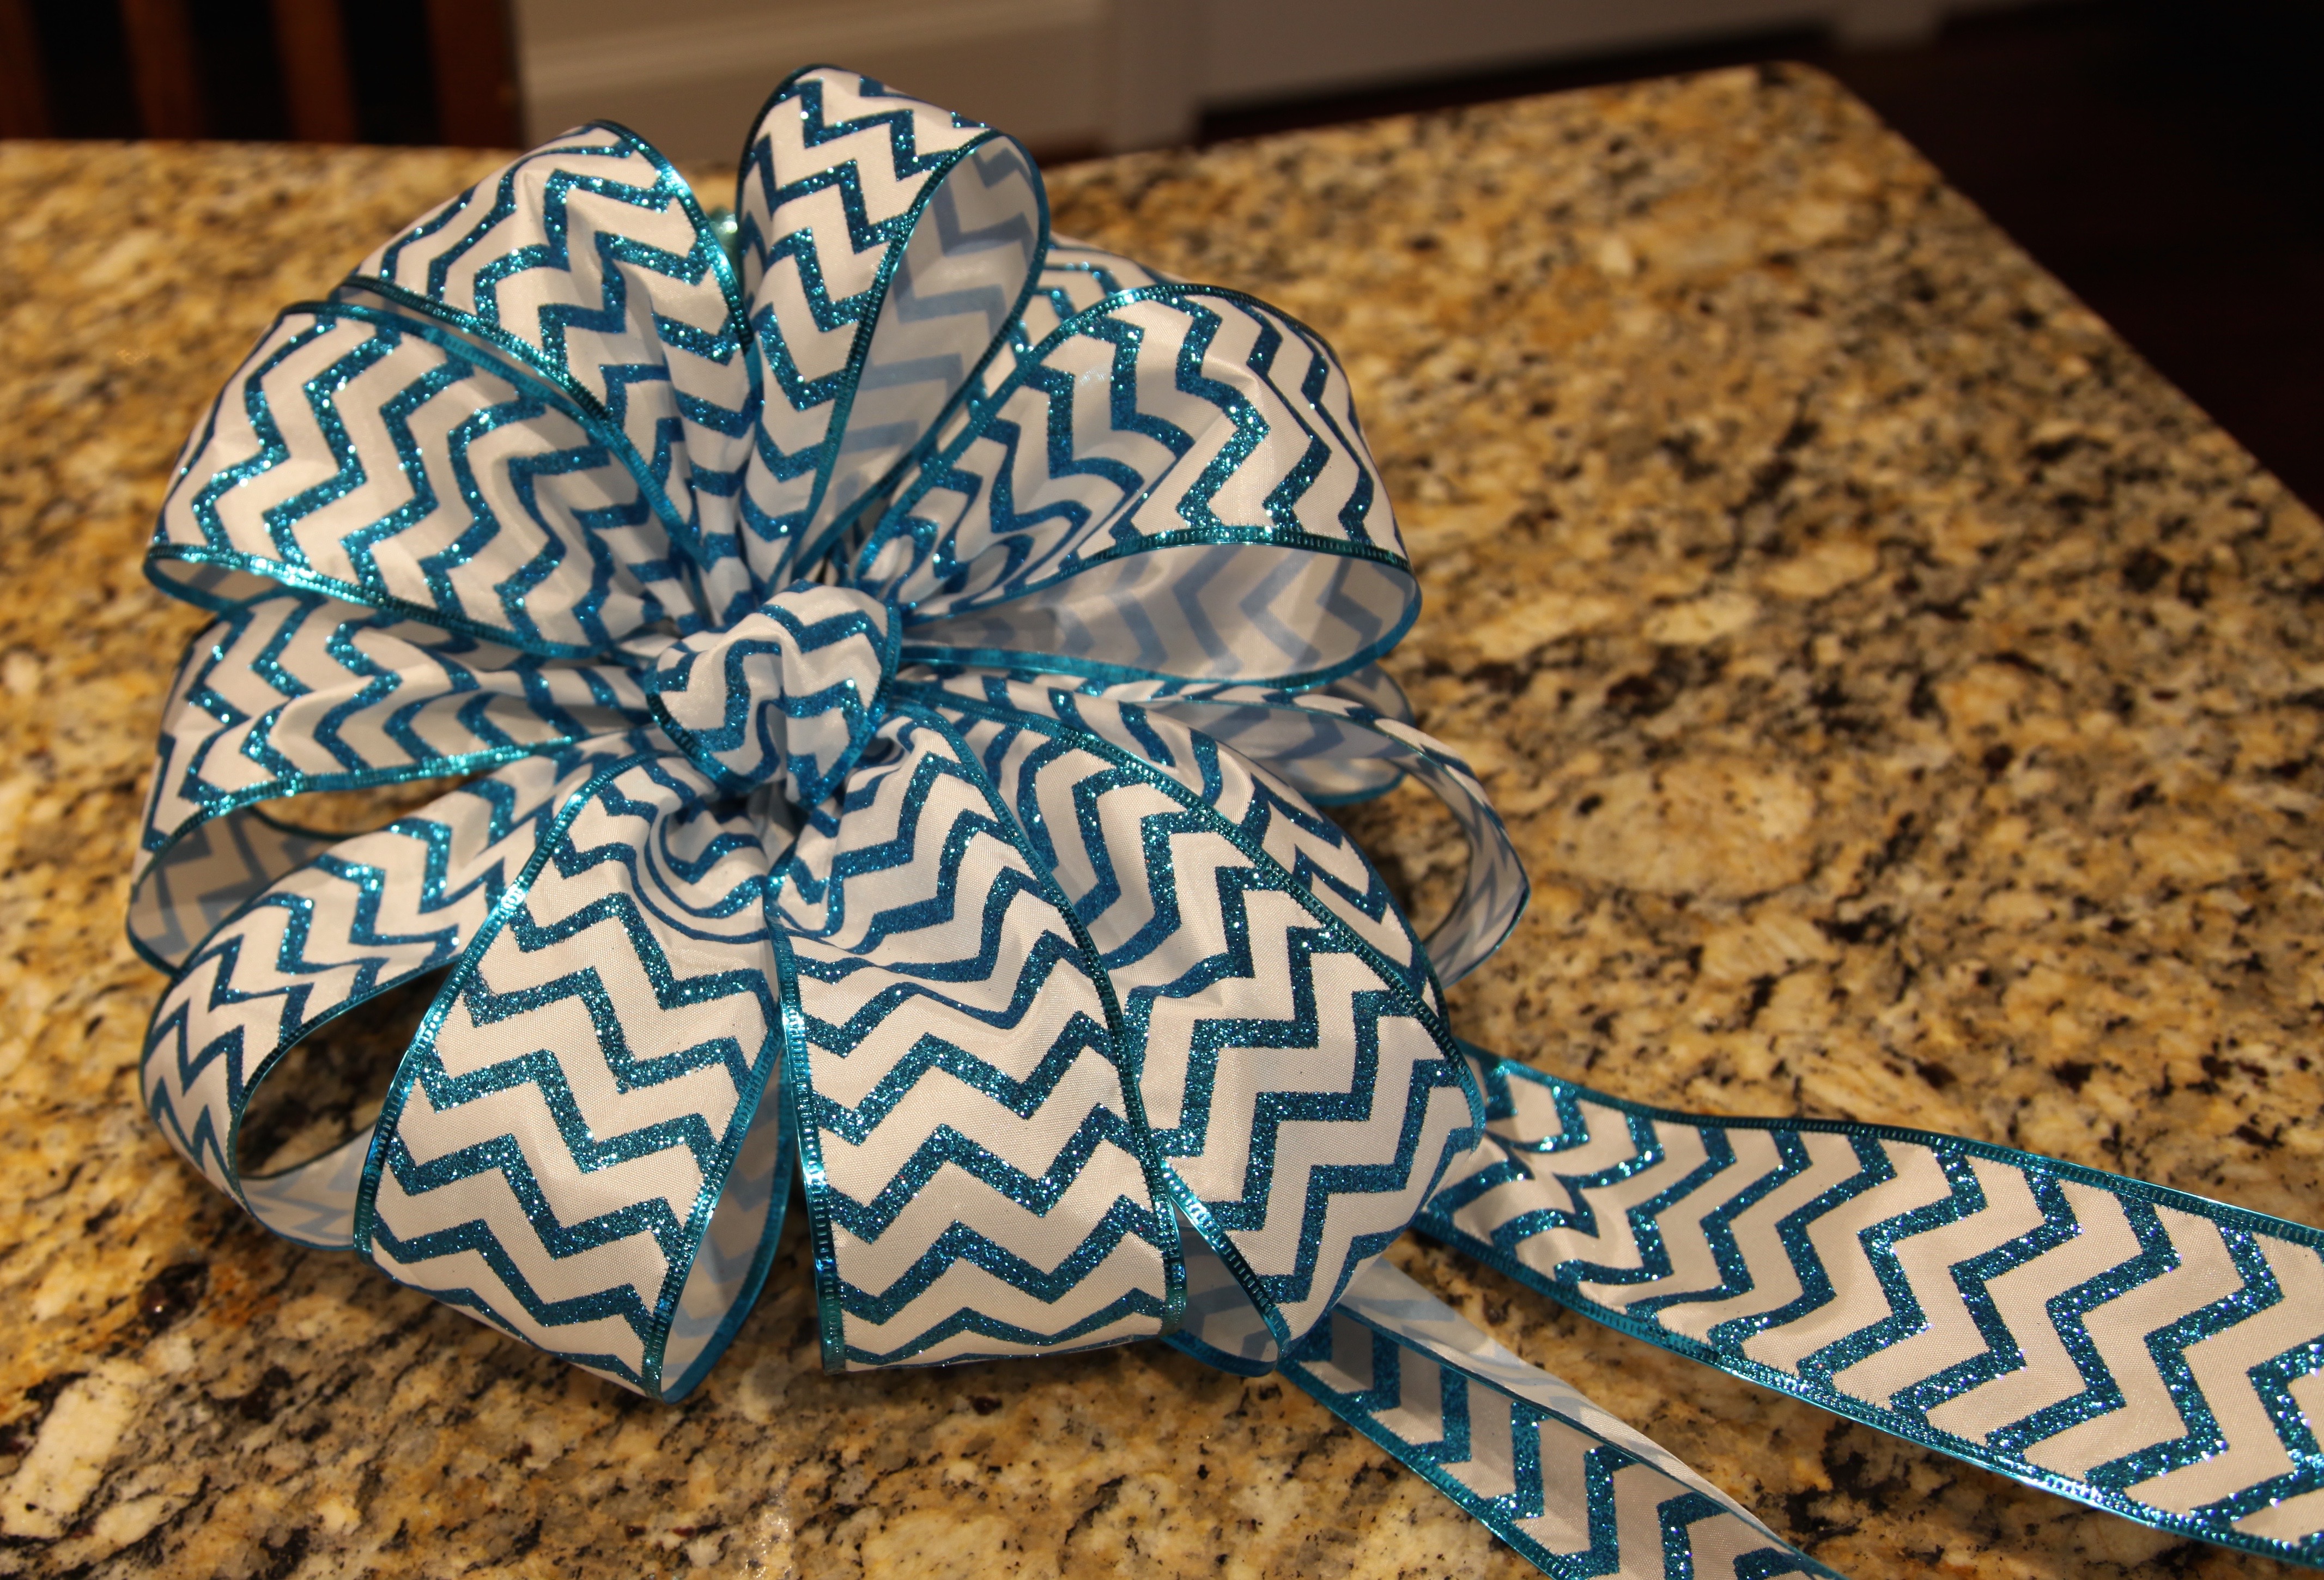
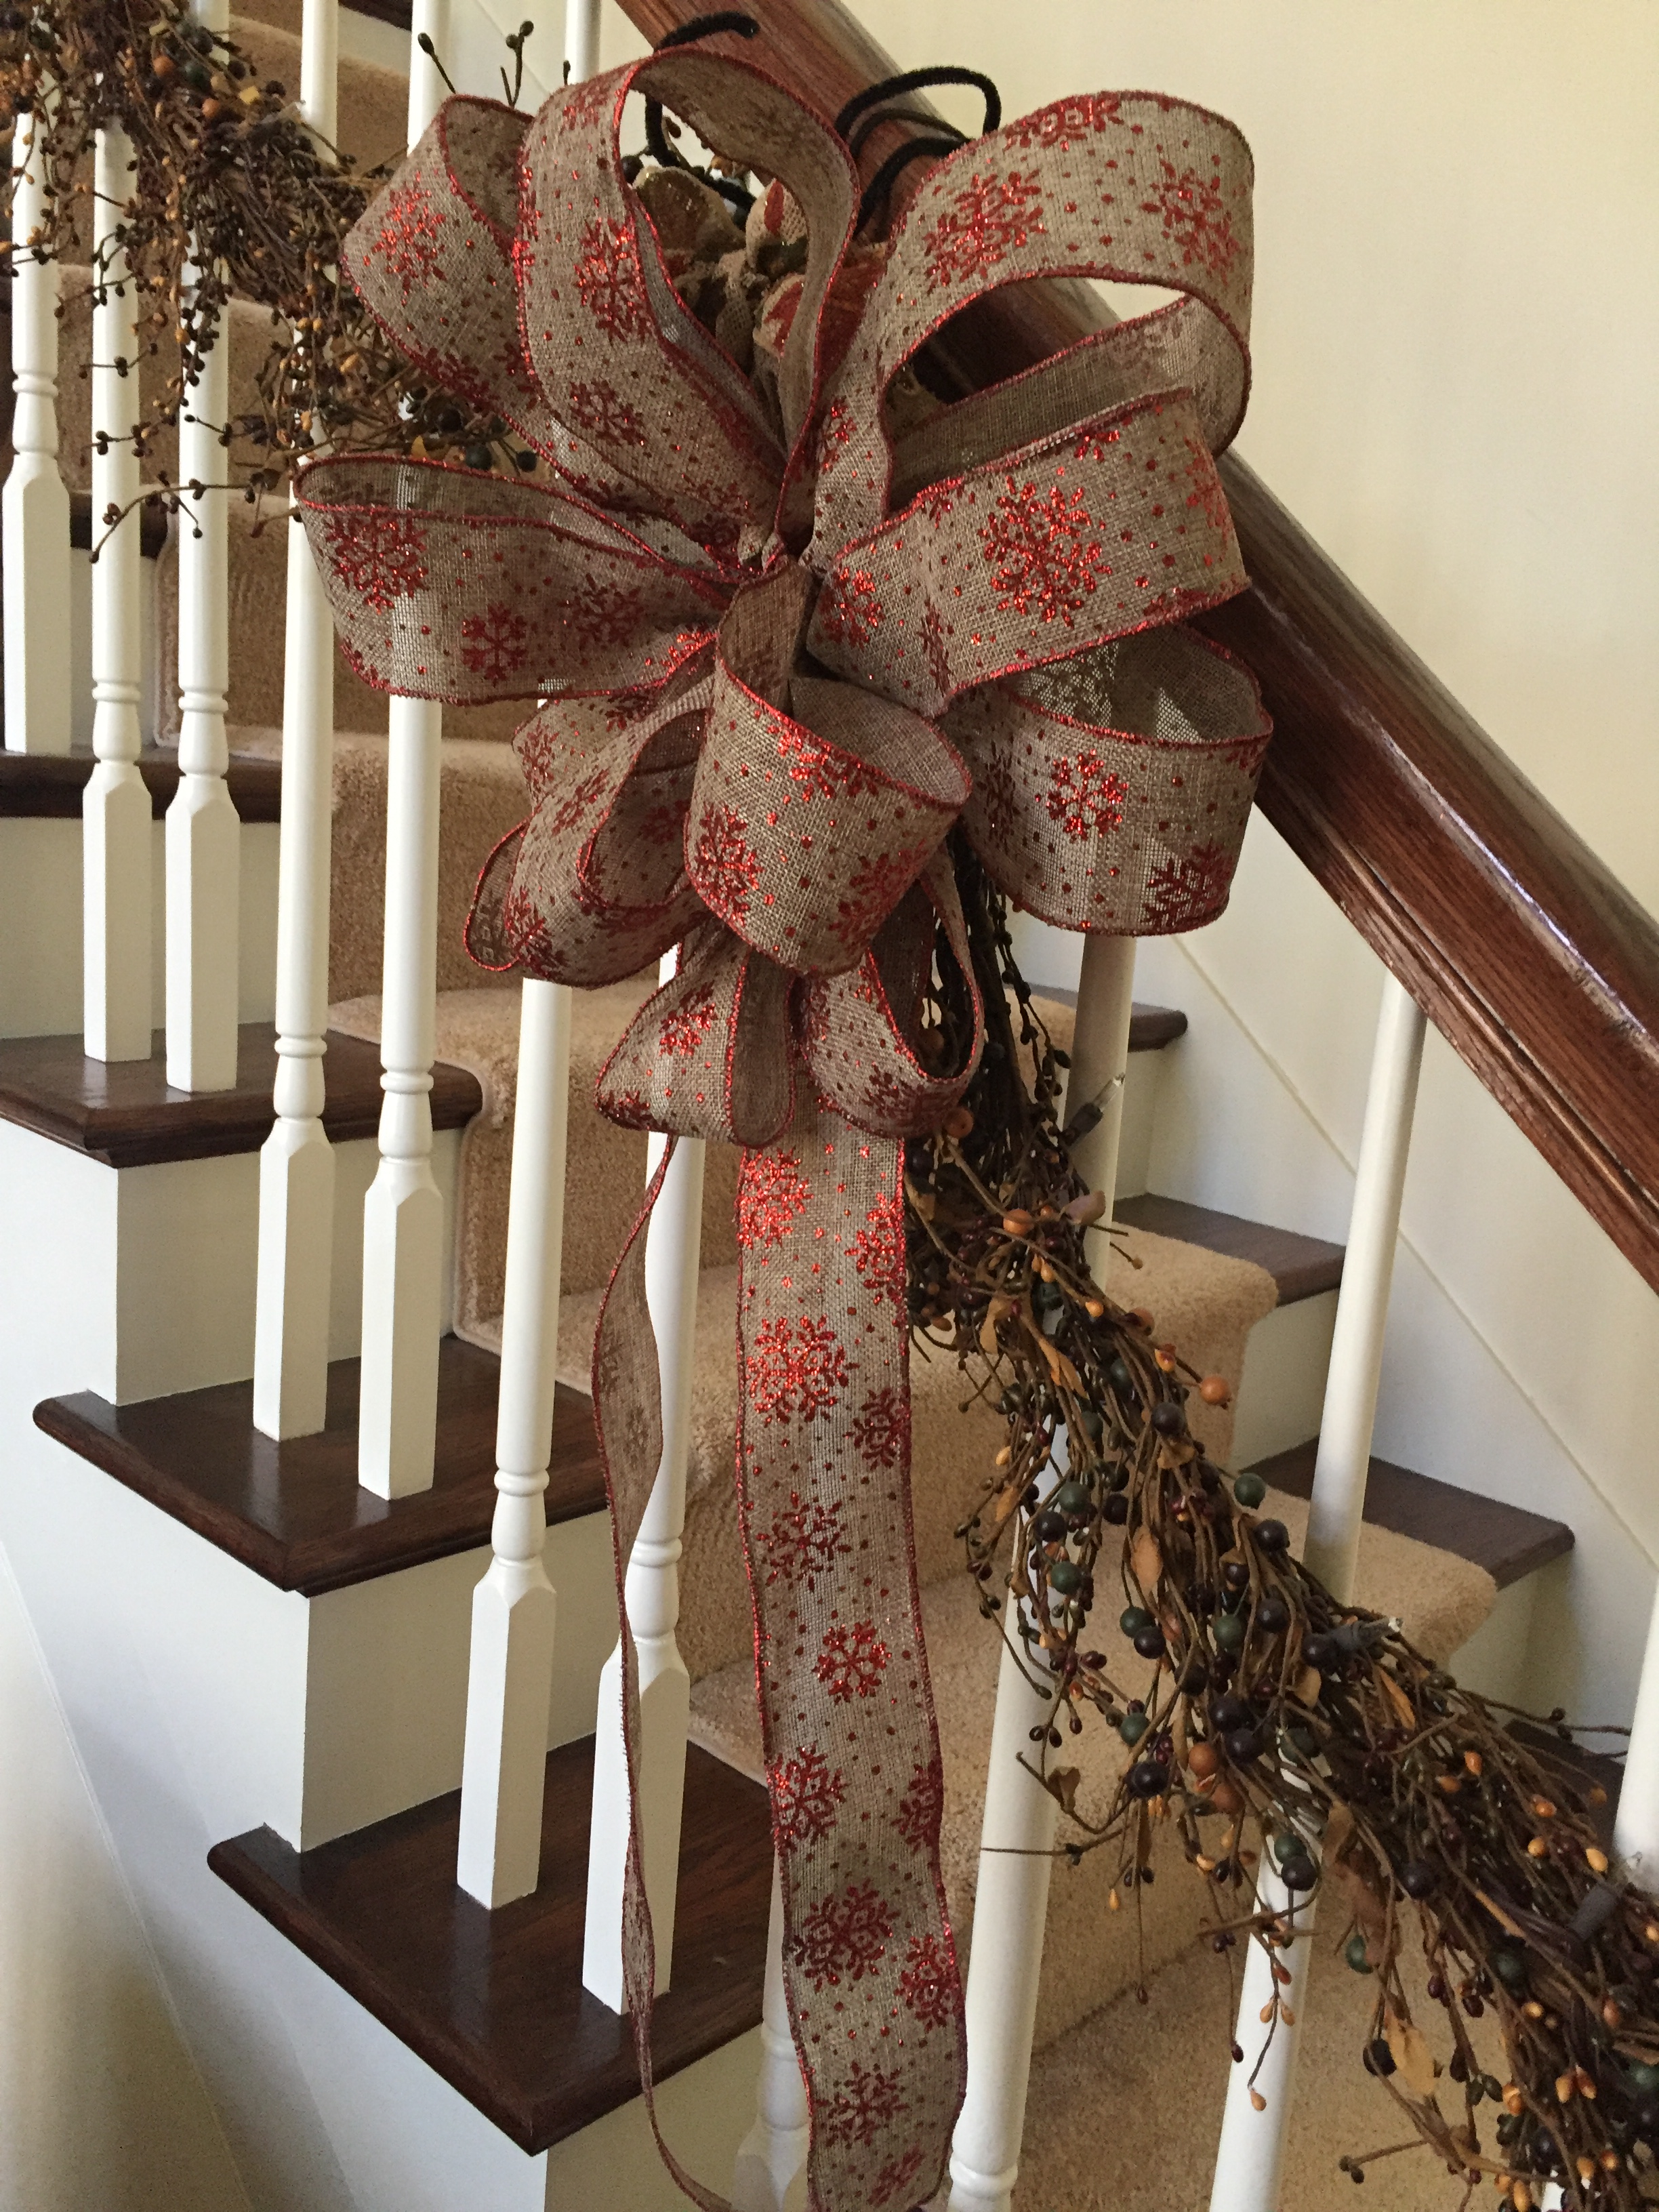
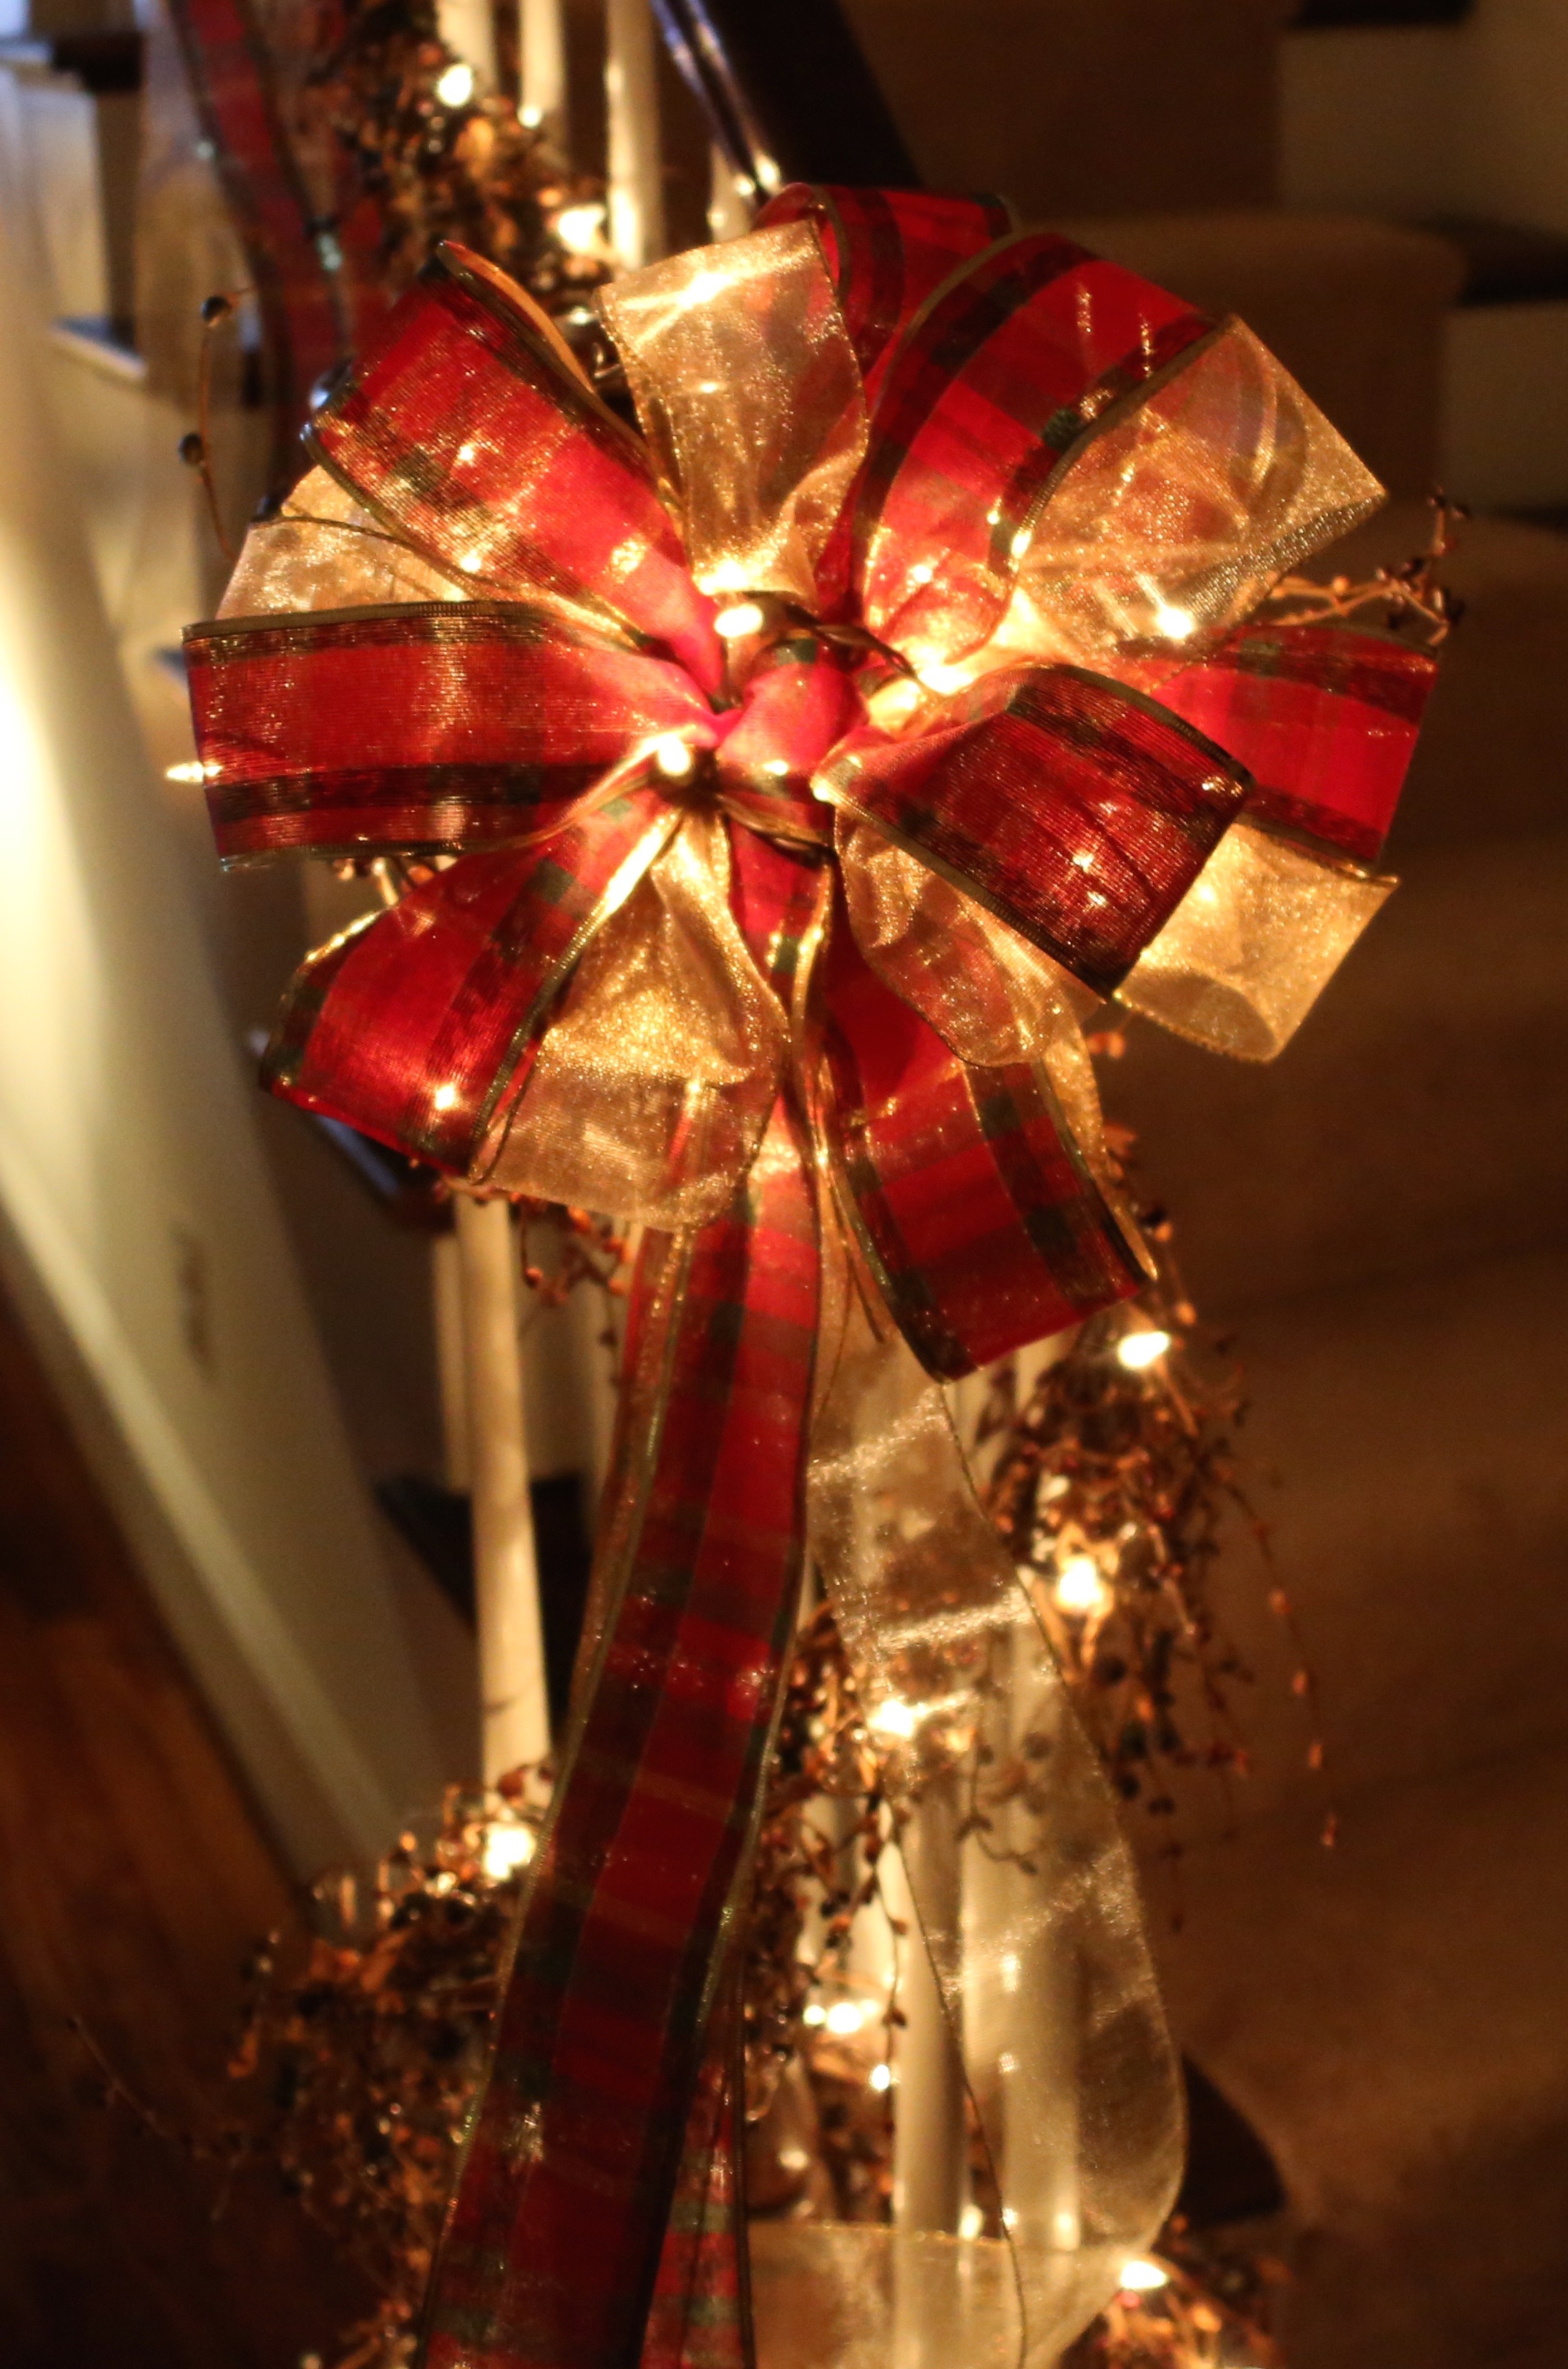
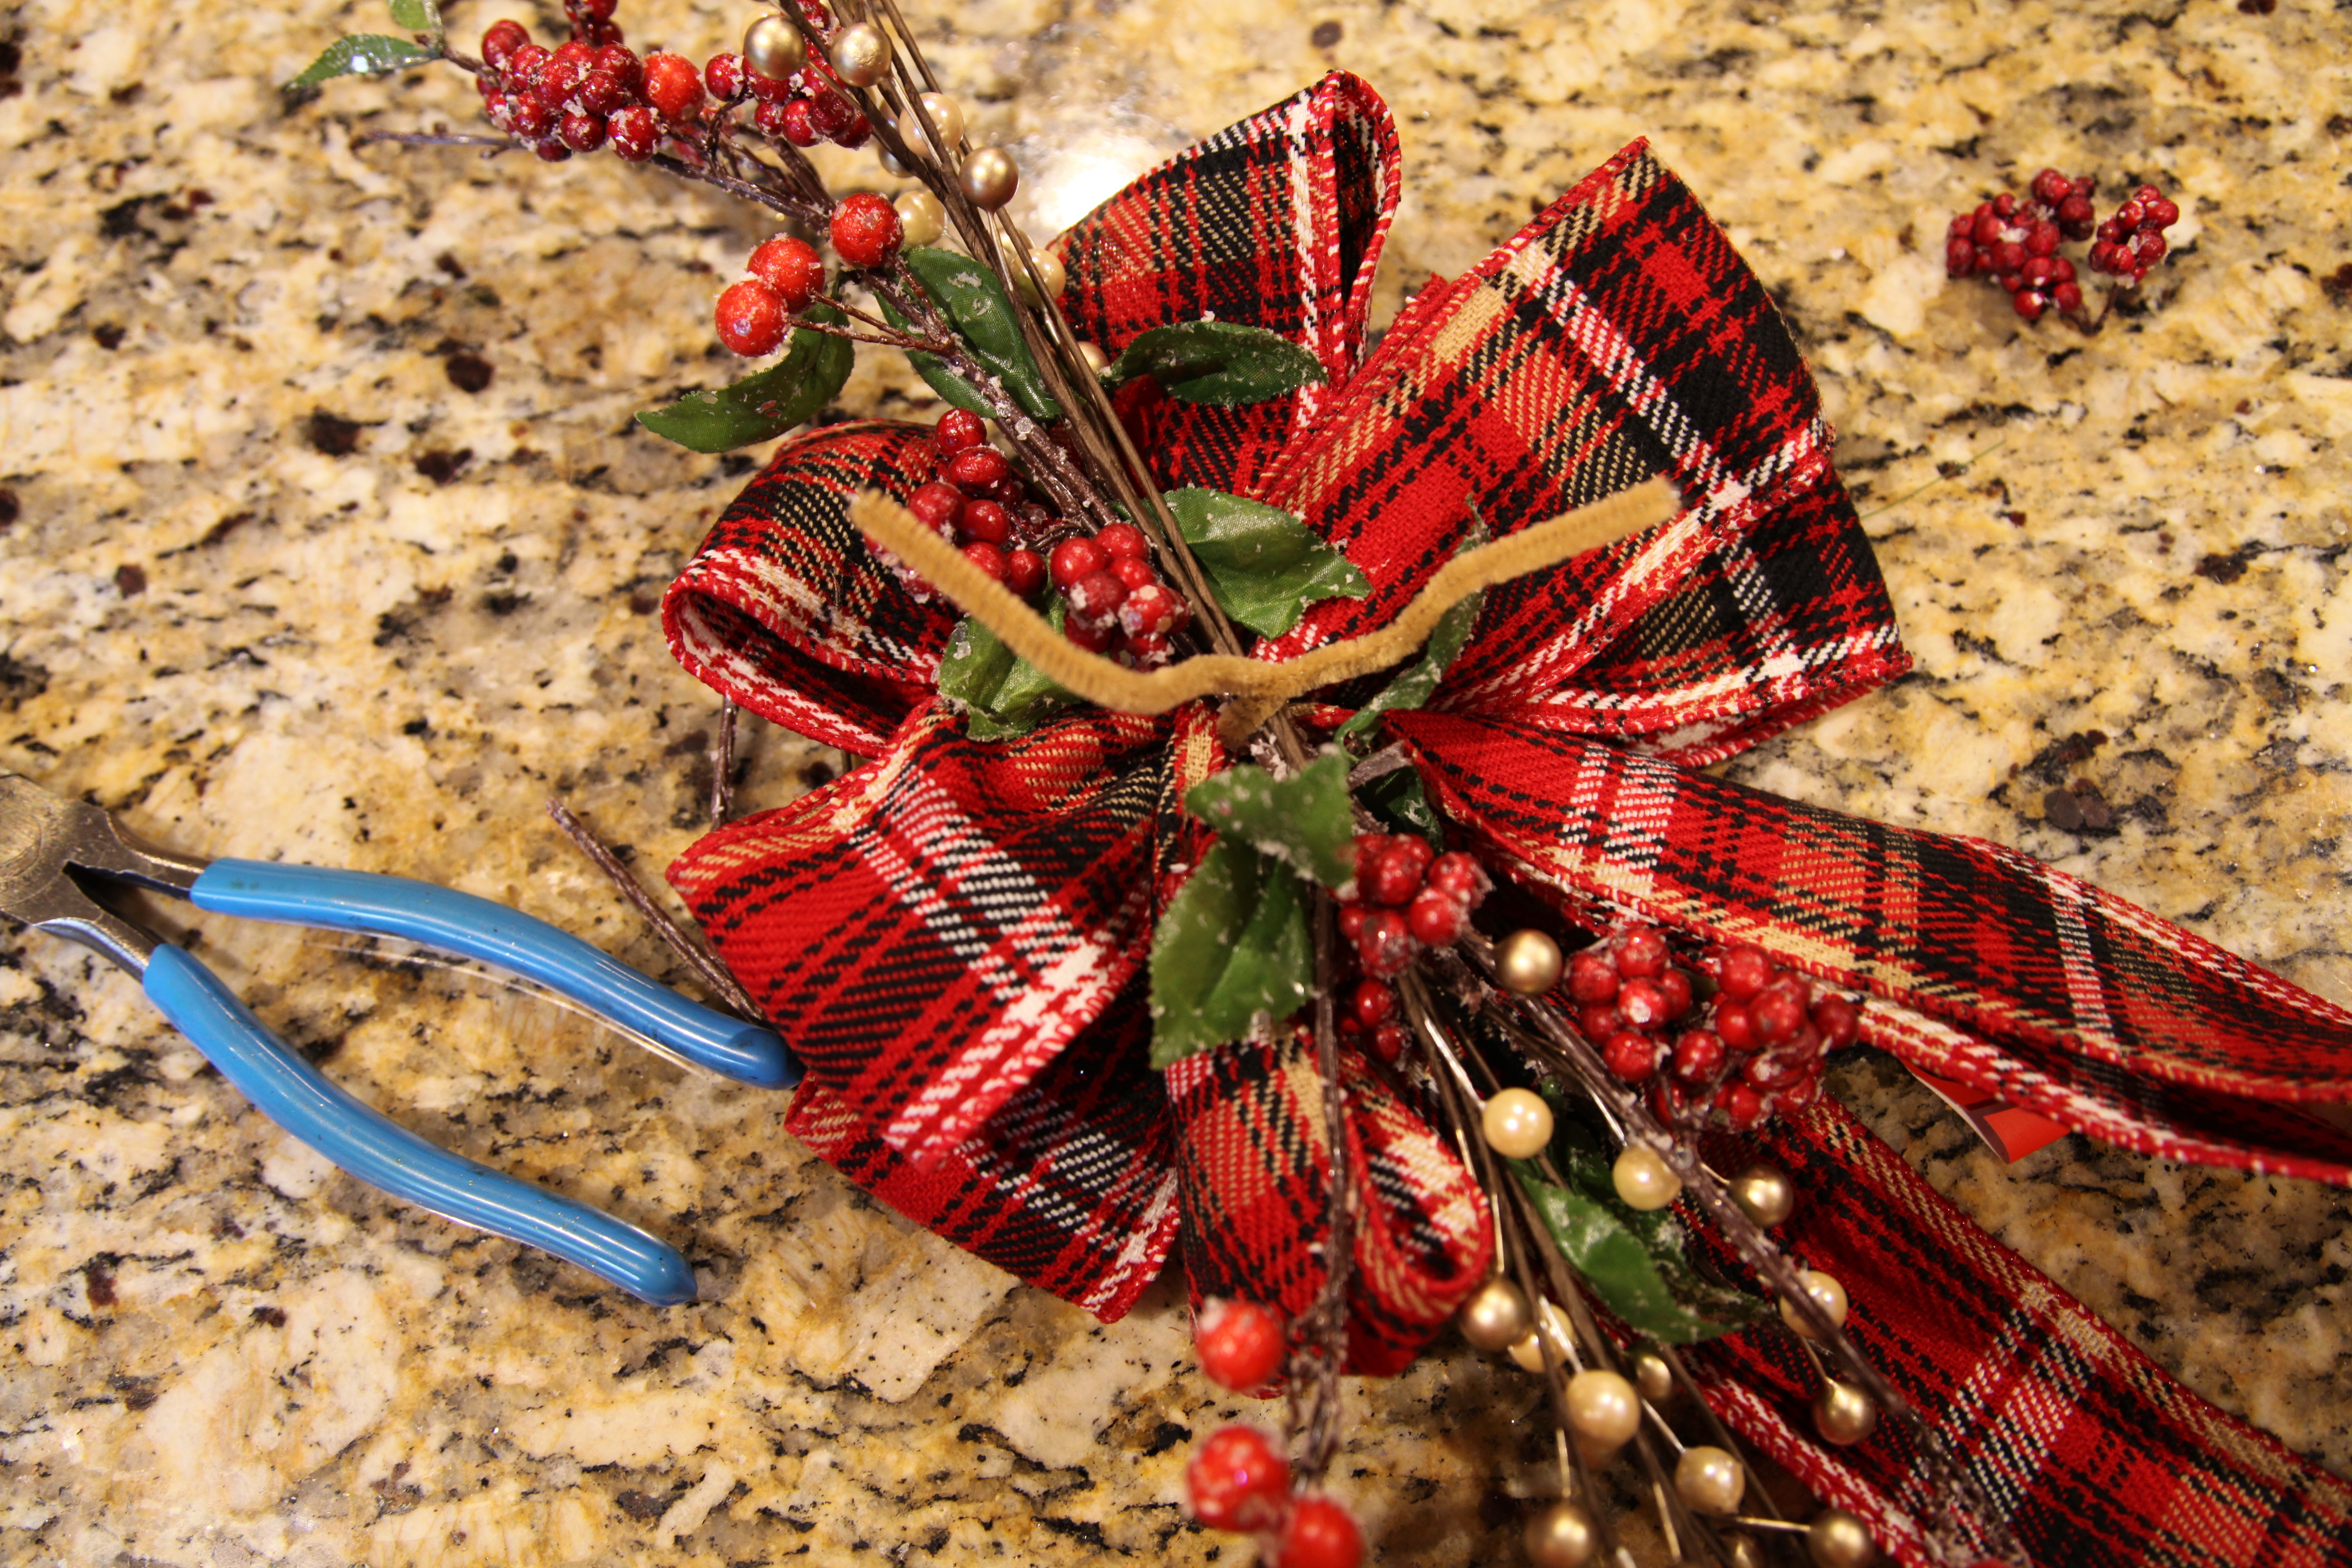
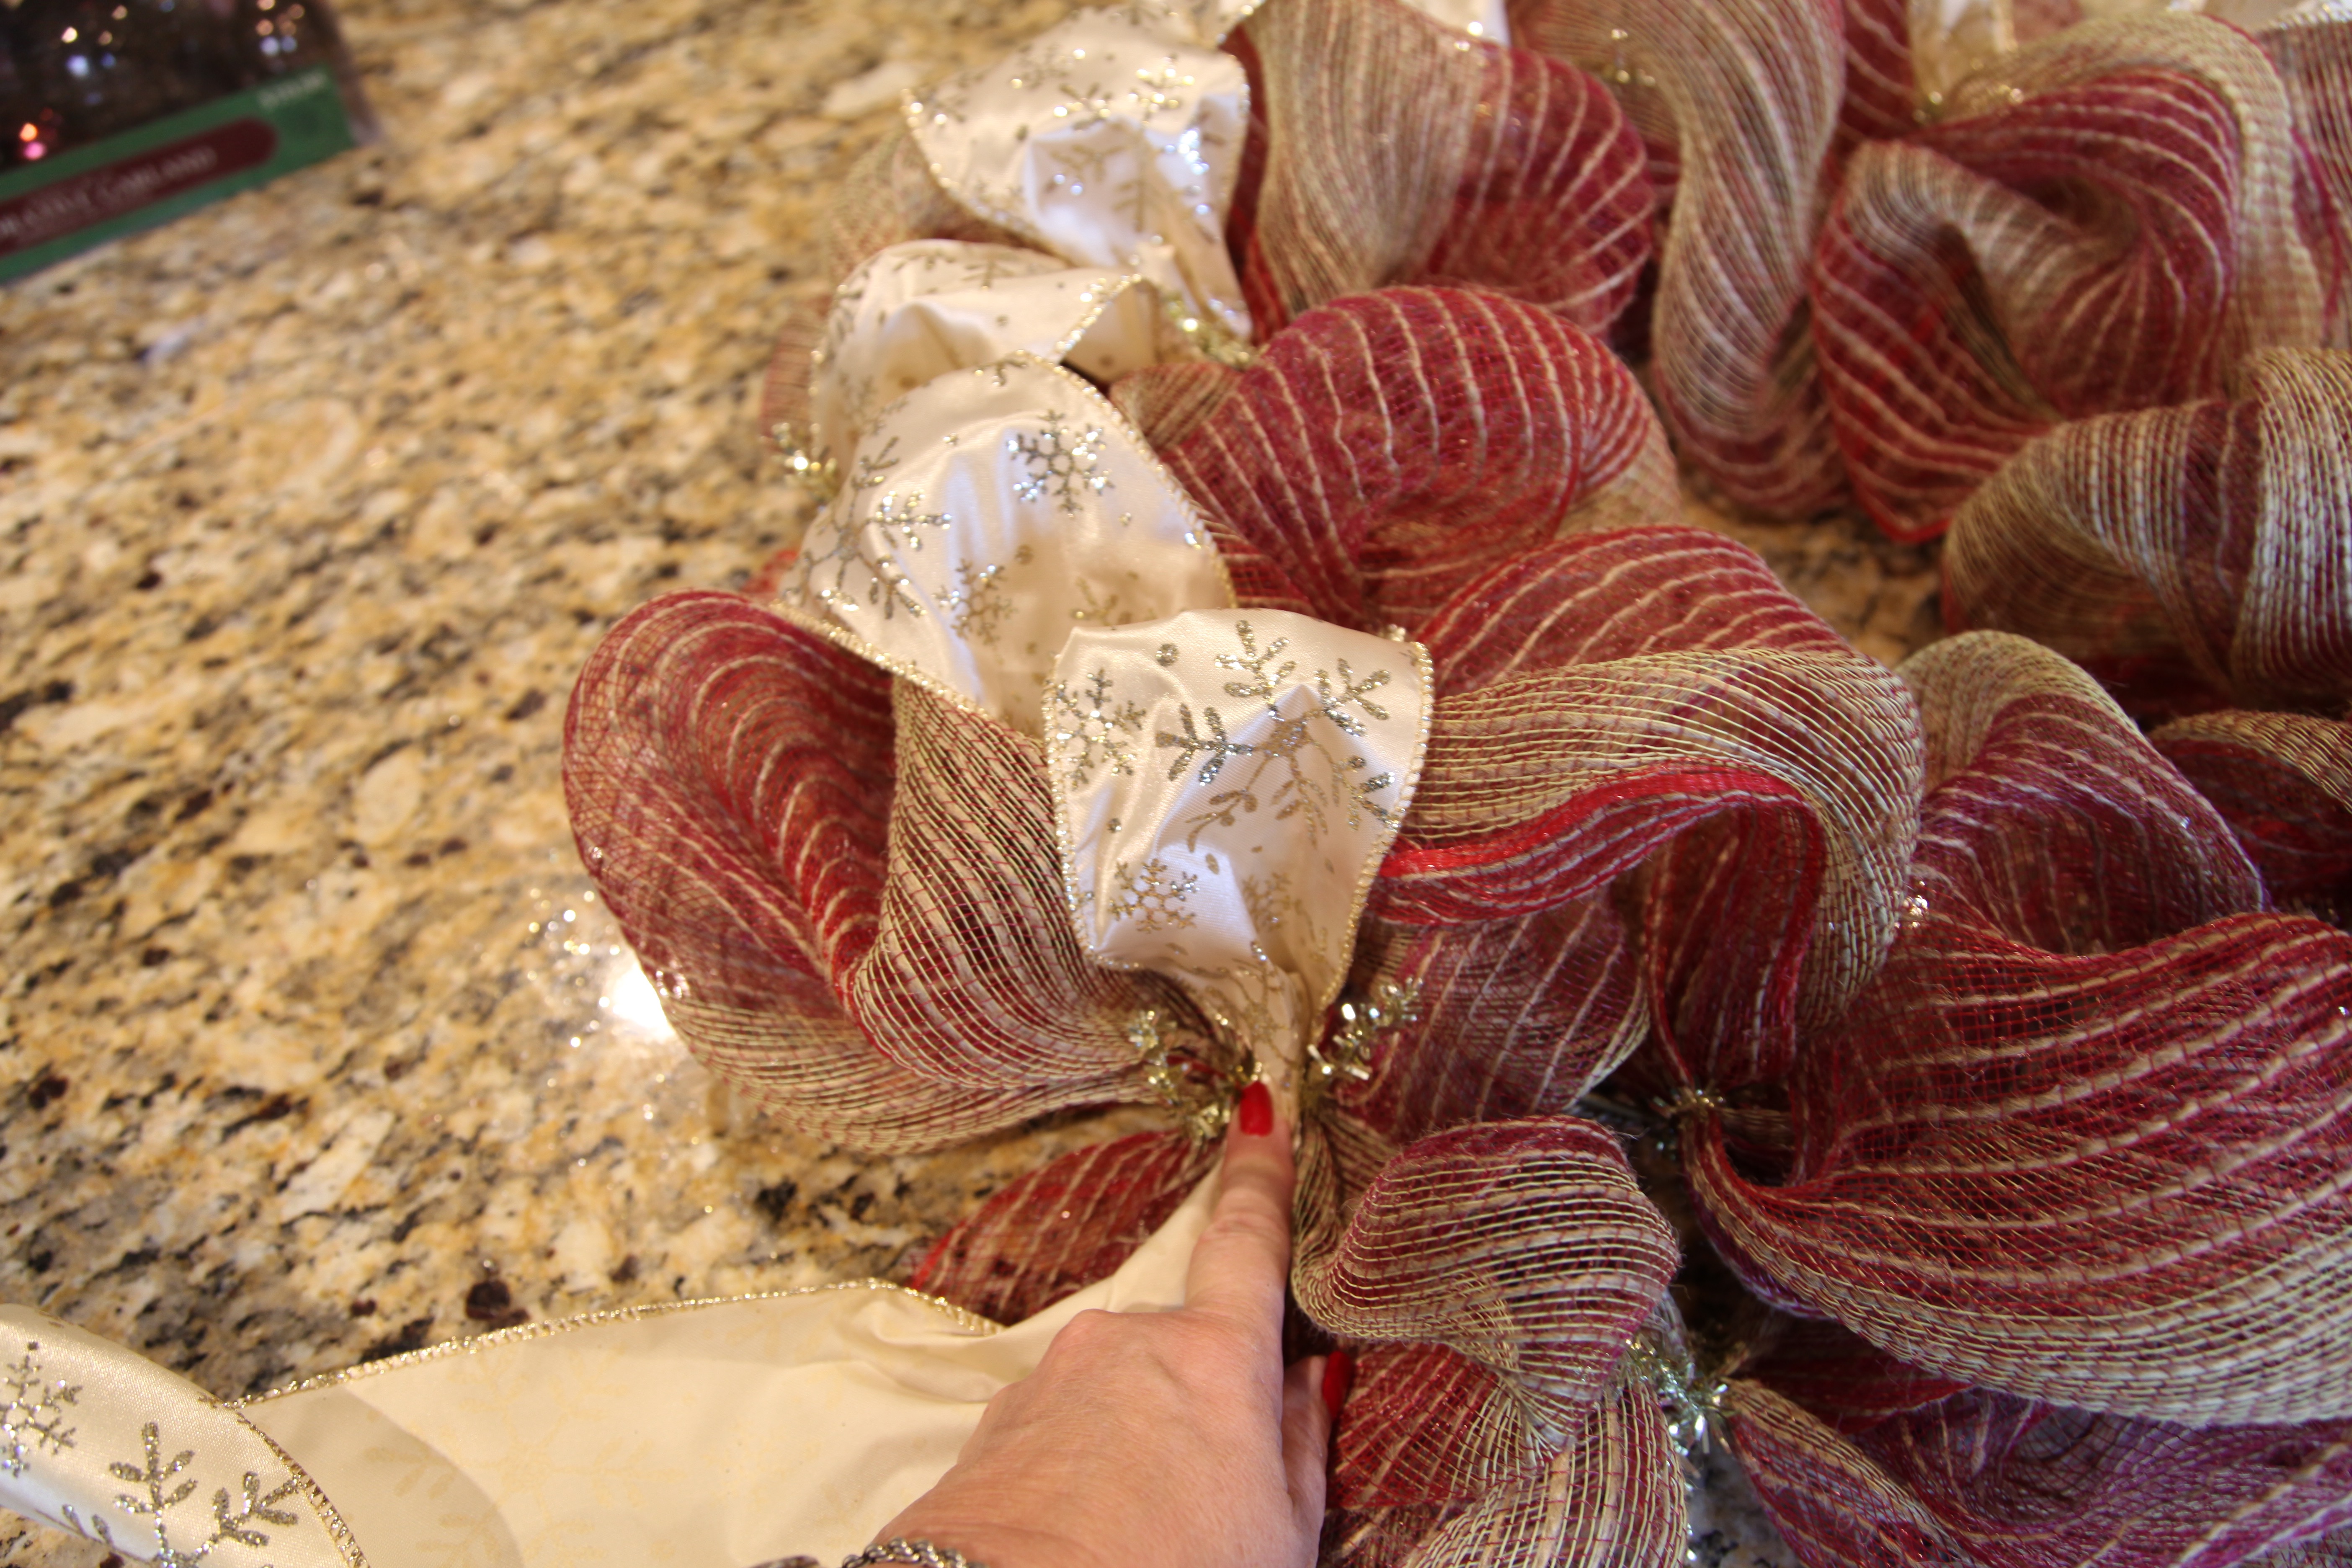
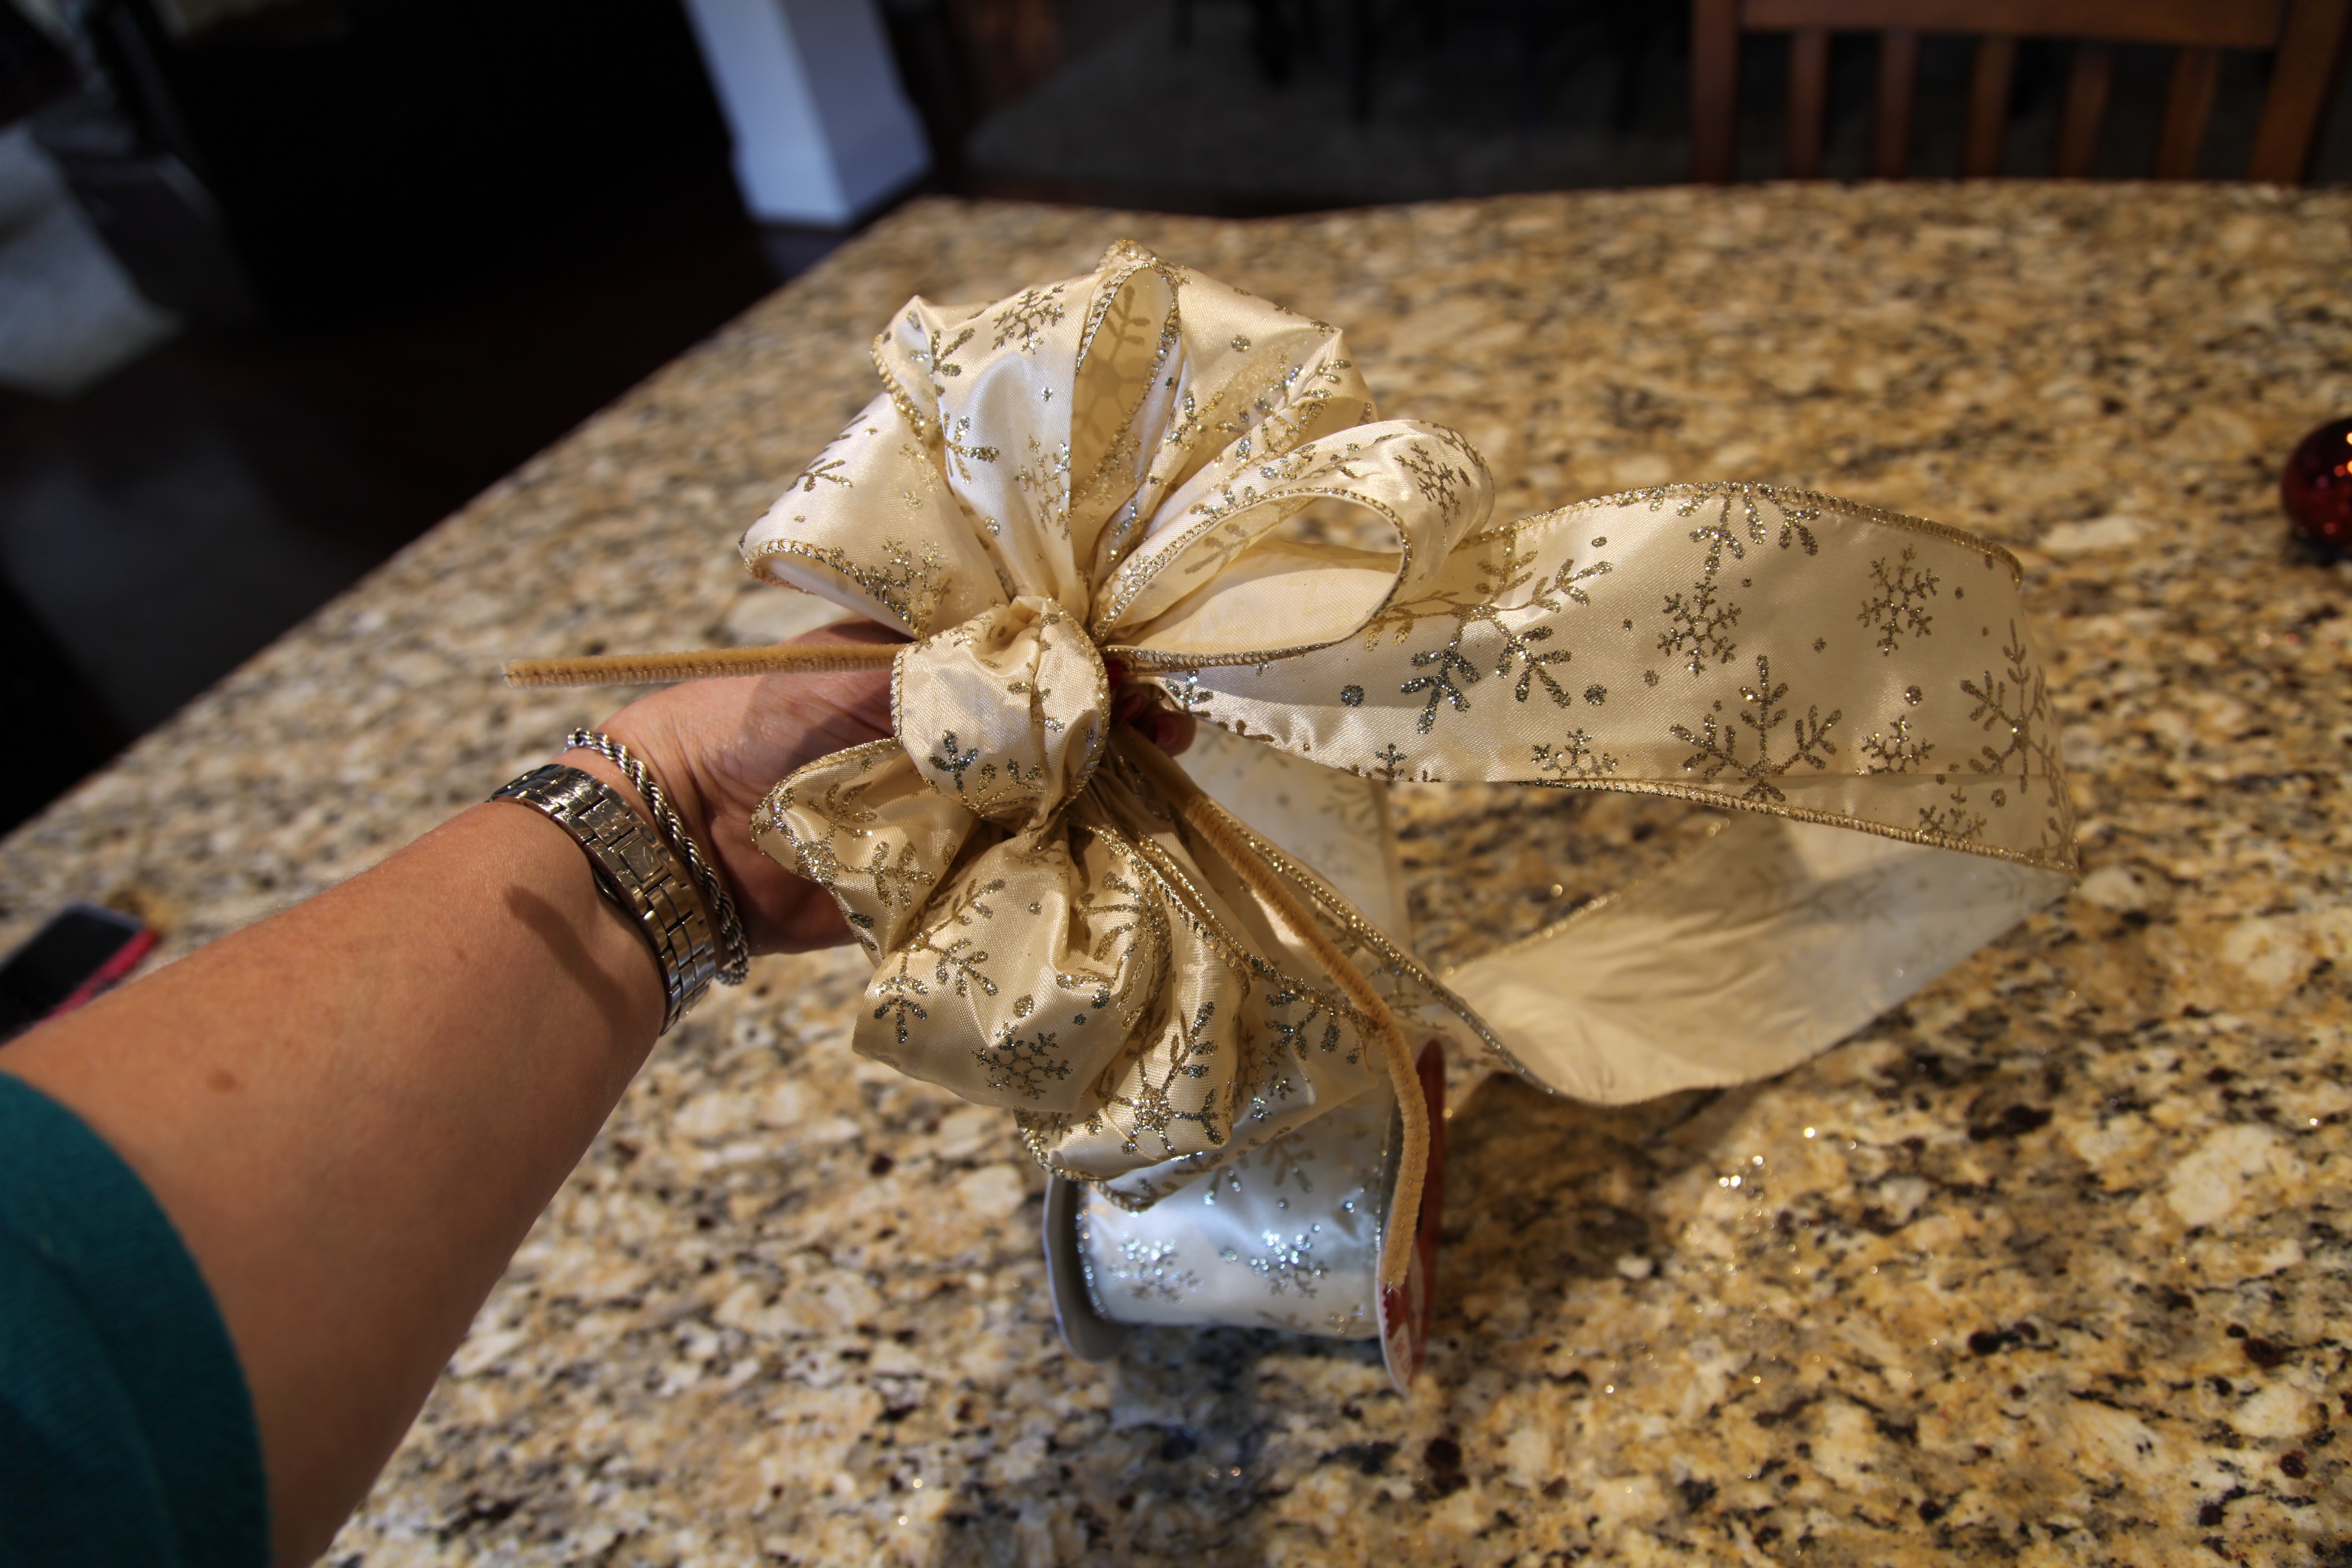
Next, I attached all of those big Christmas bows –Here is a link to tell you about those Big, Beautiful Christmas Bows.

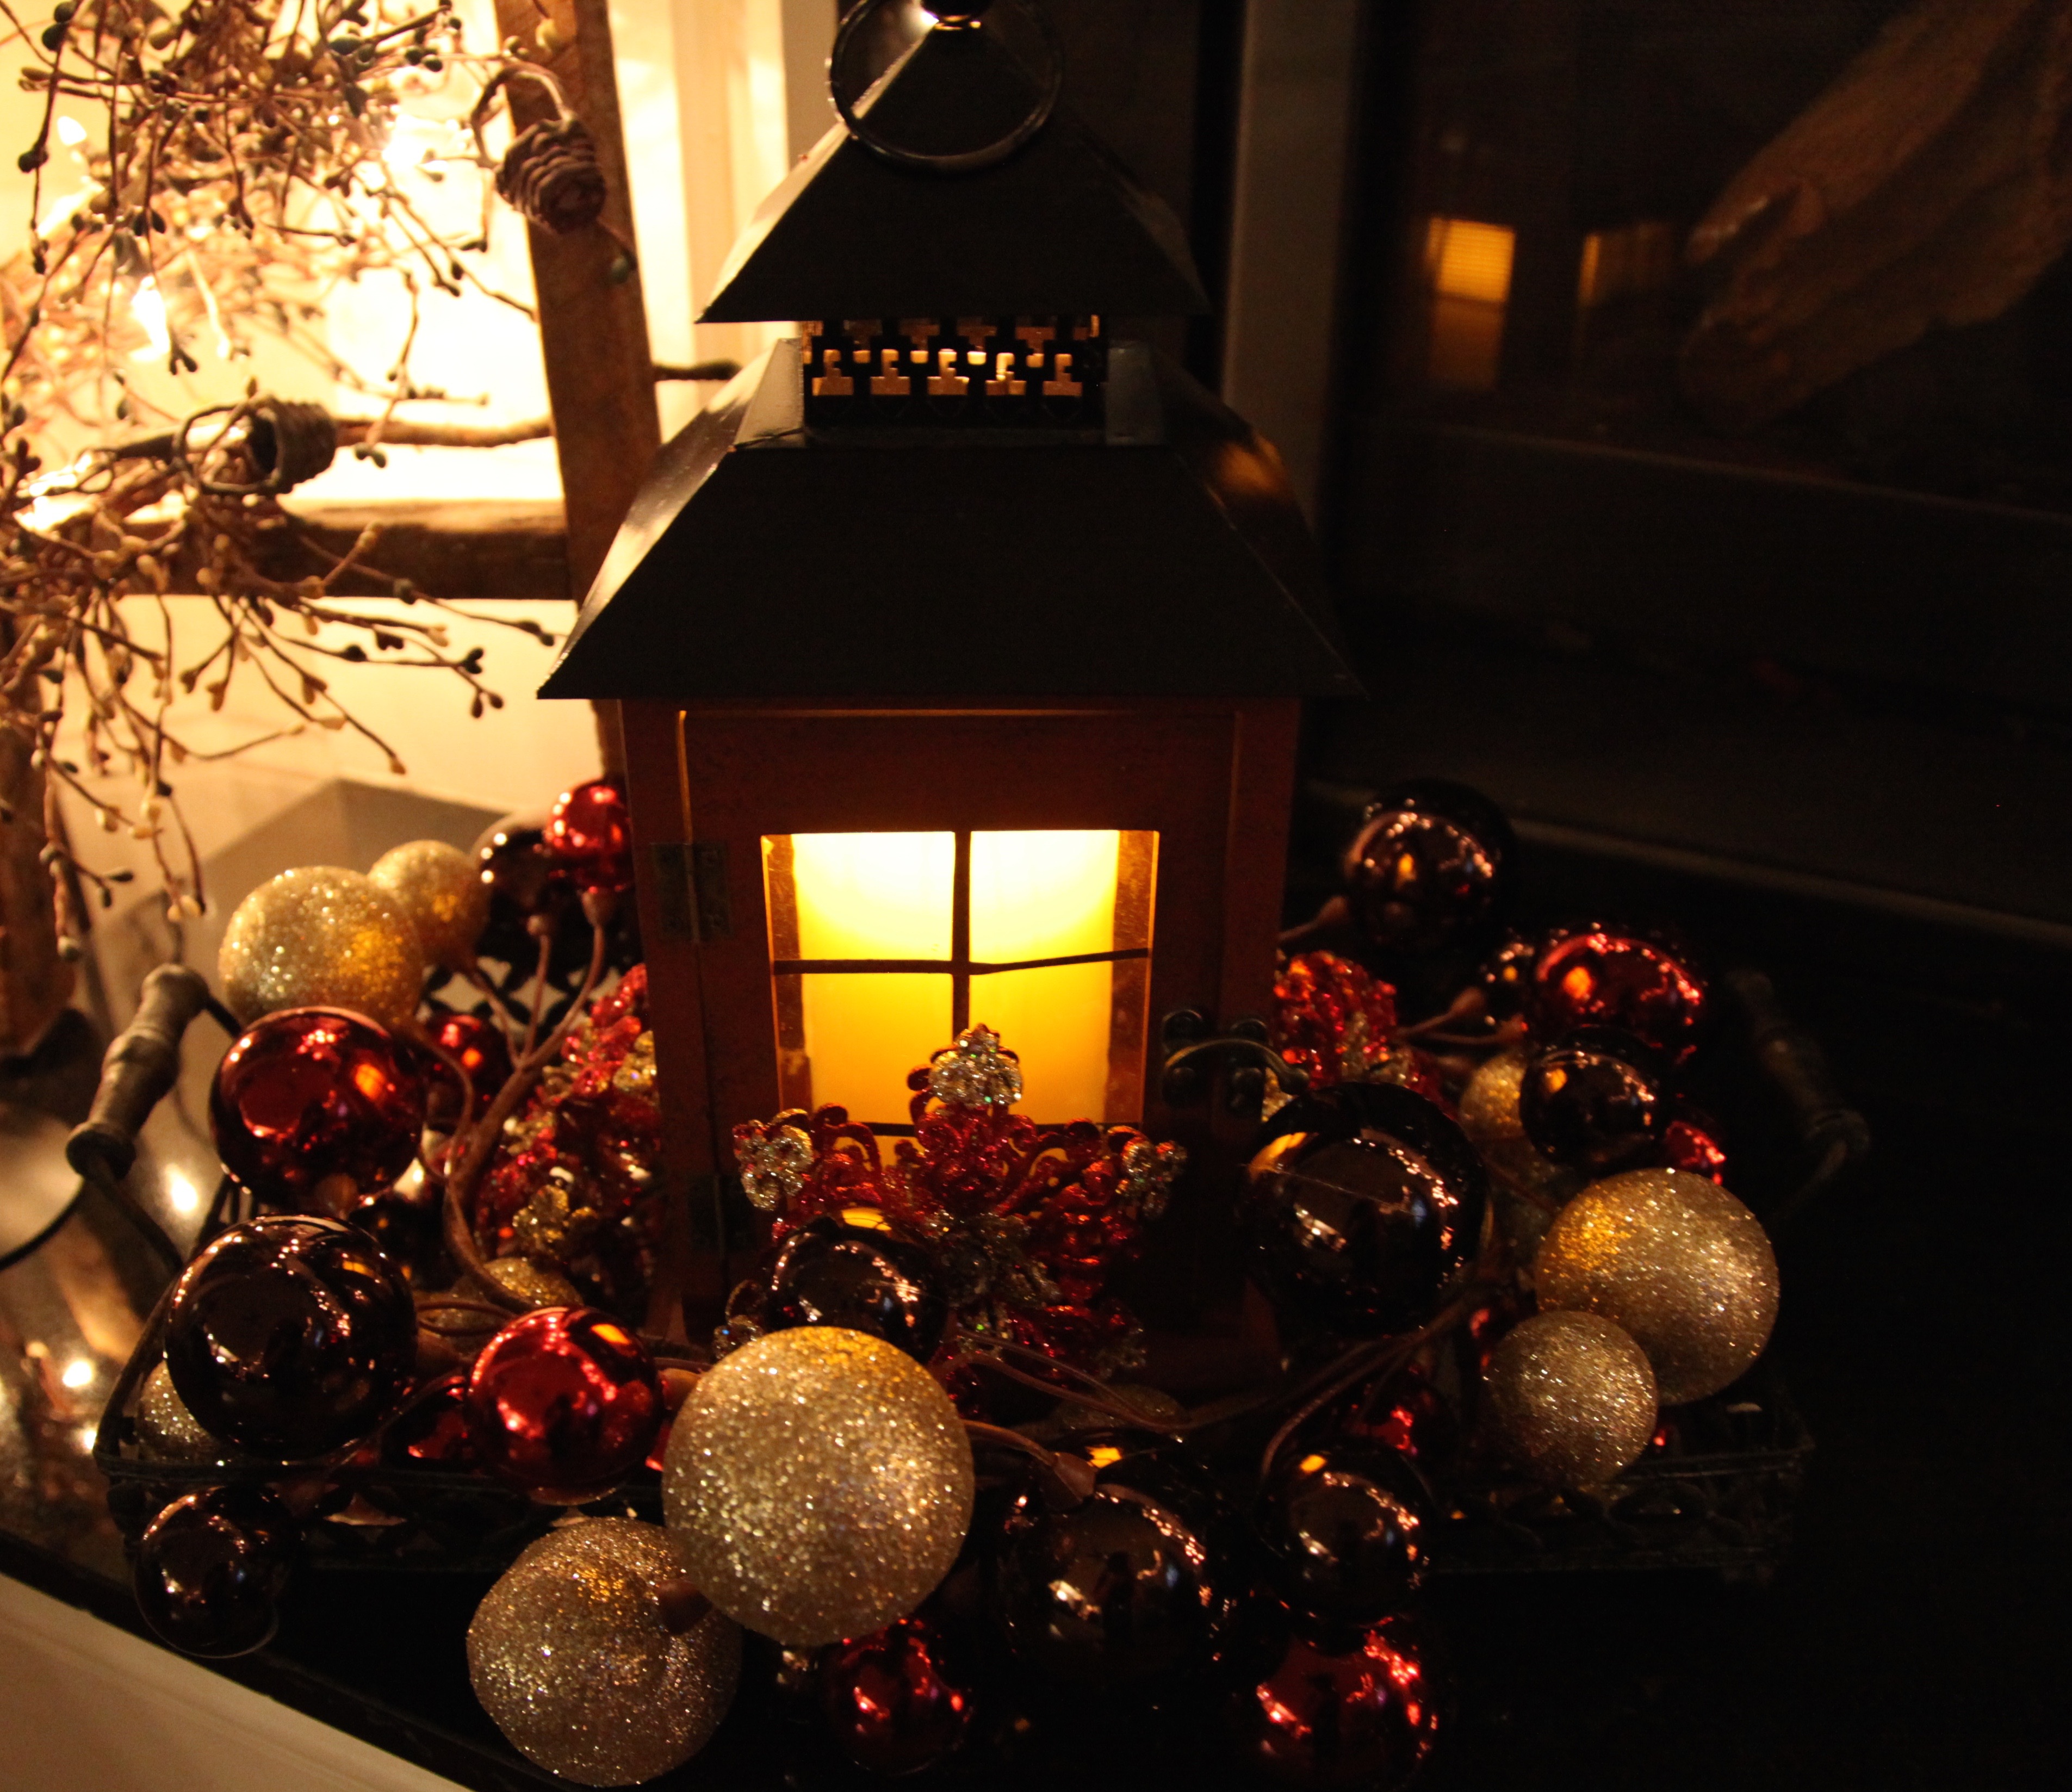
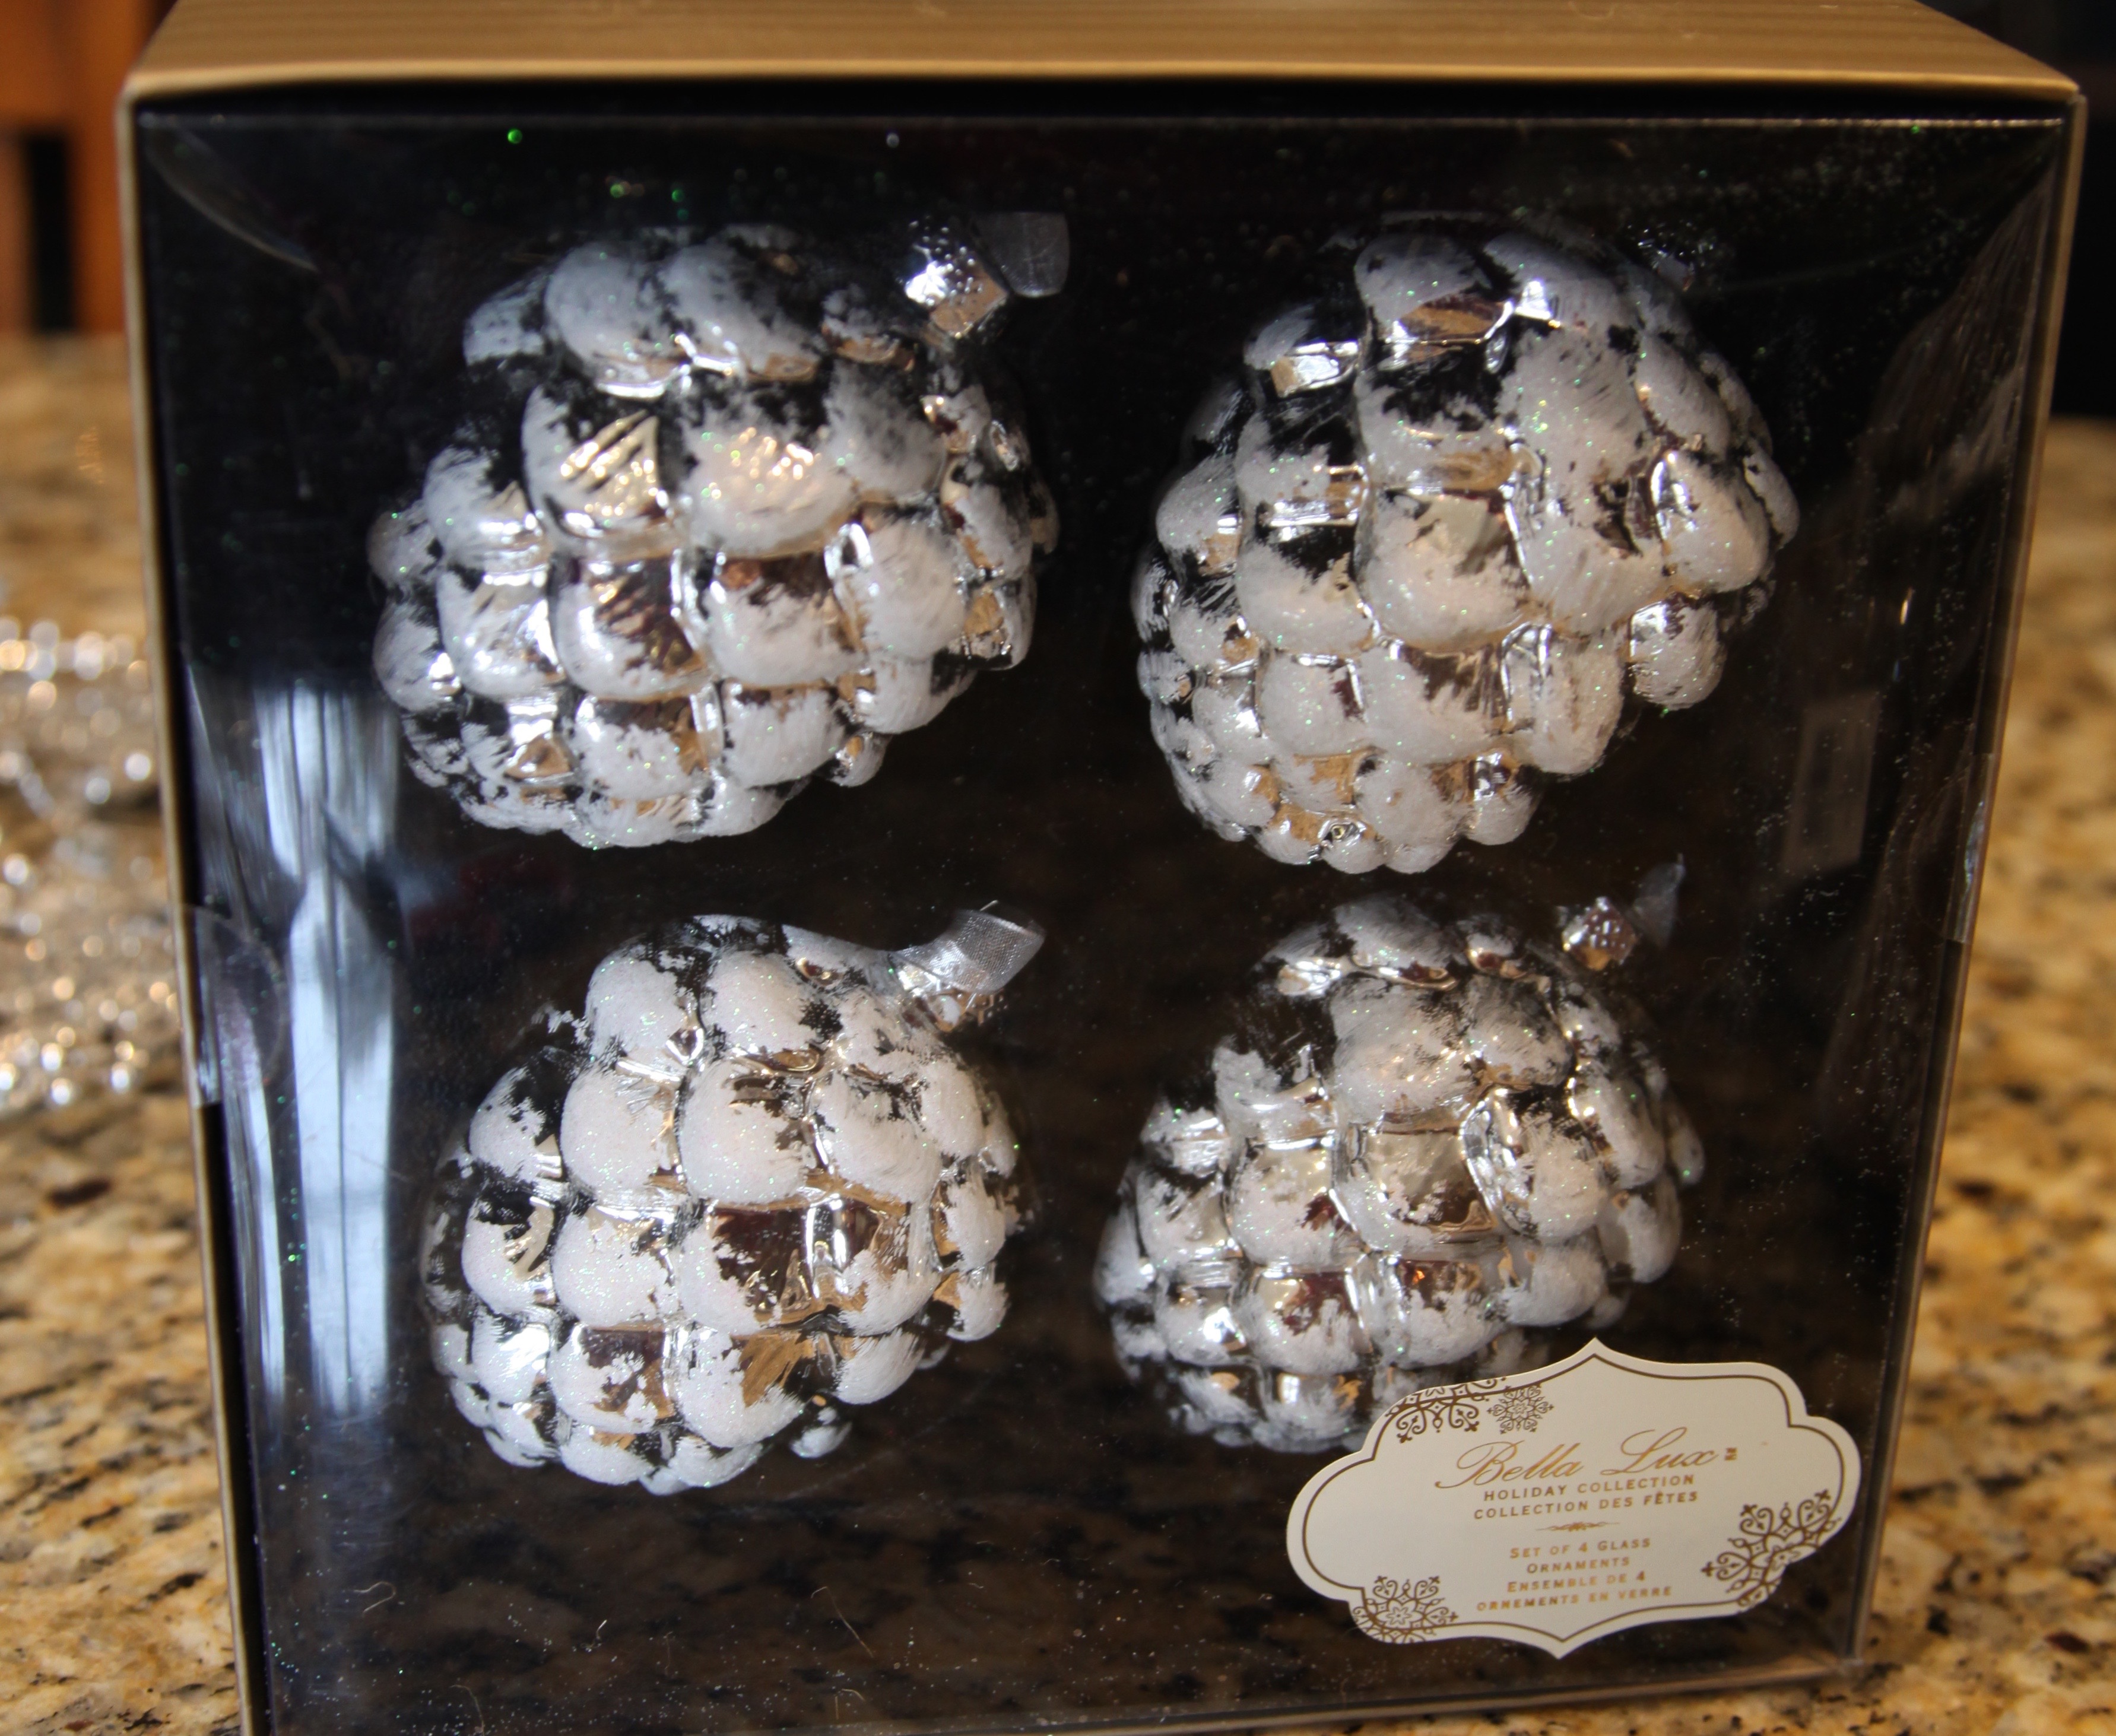
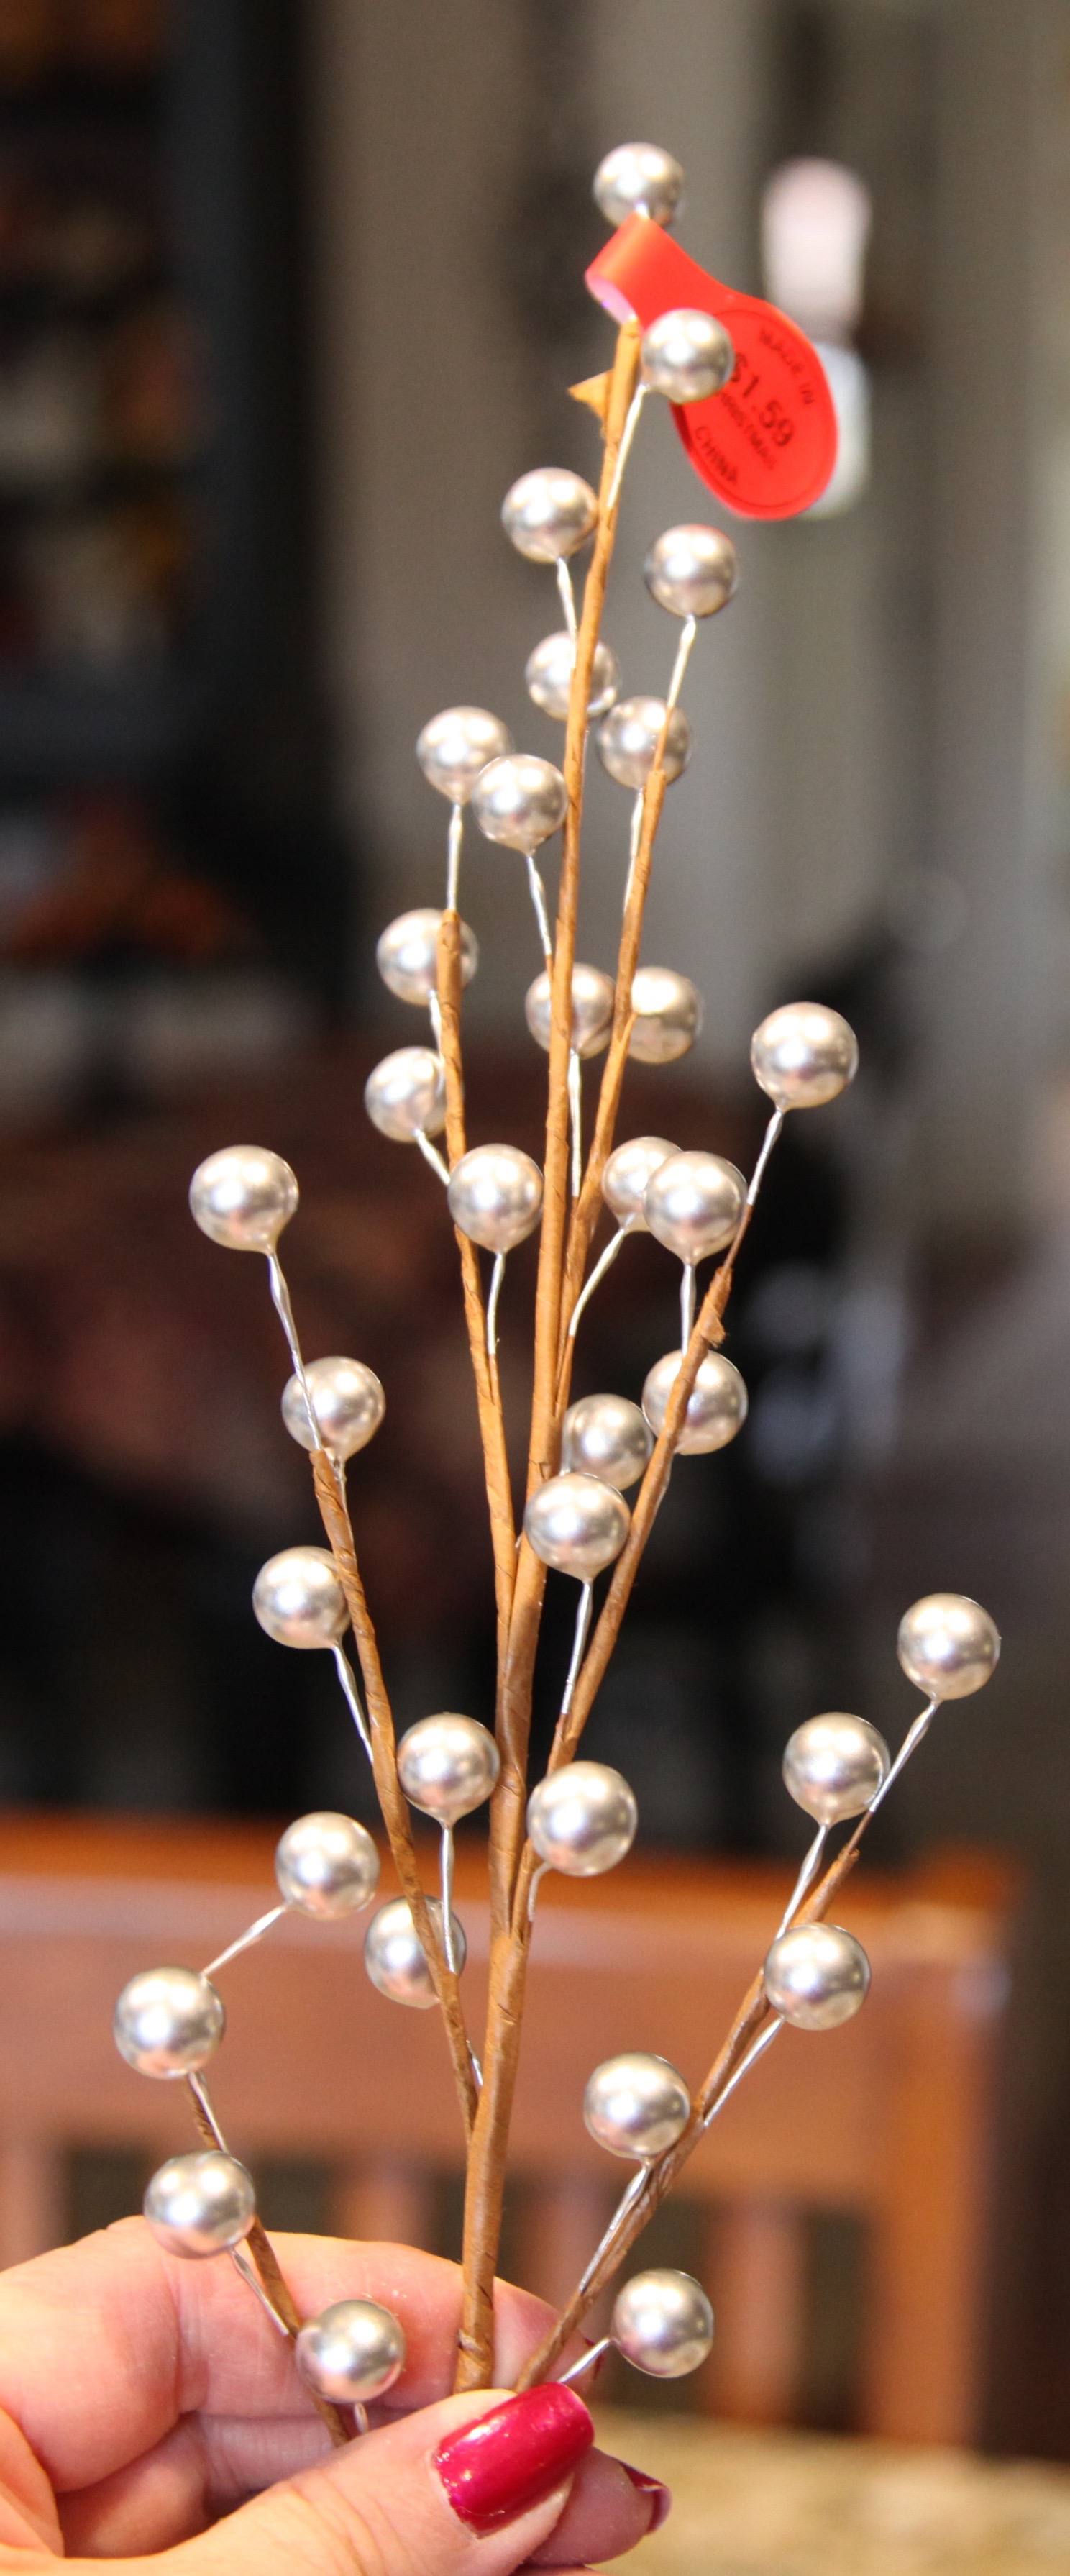
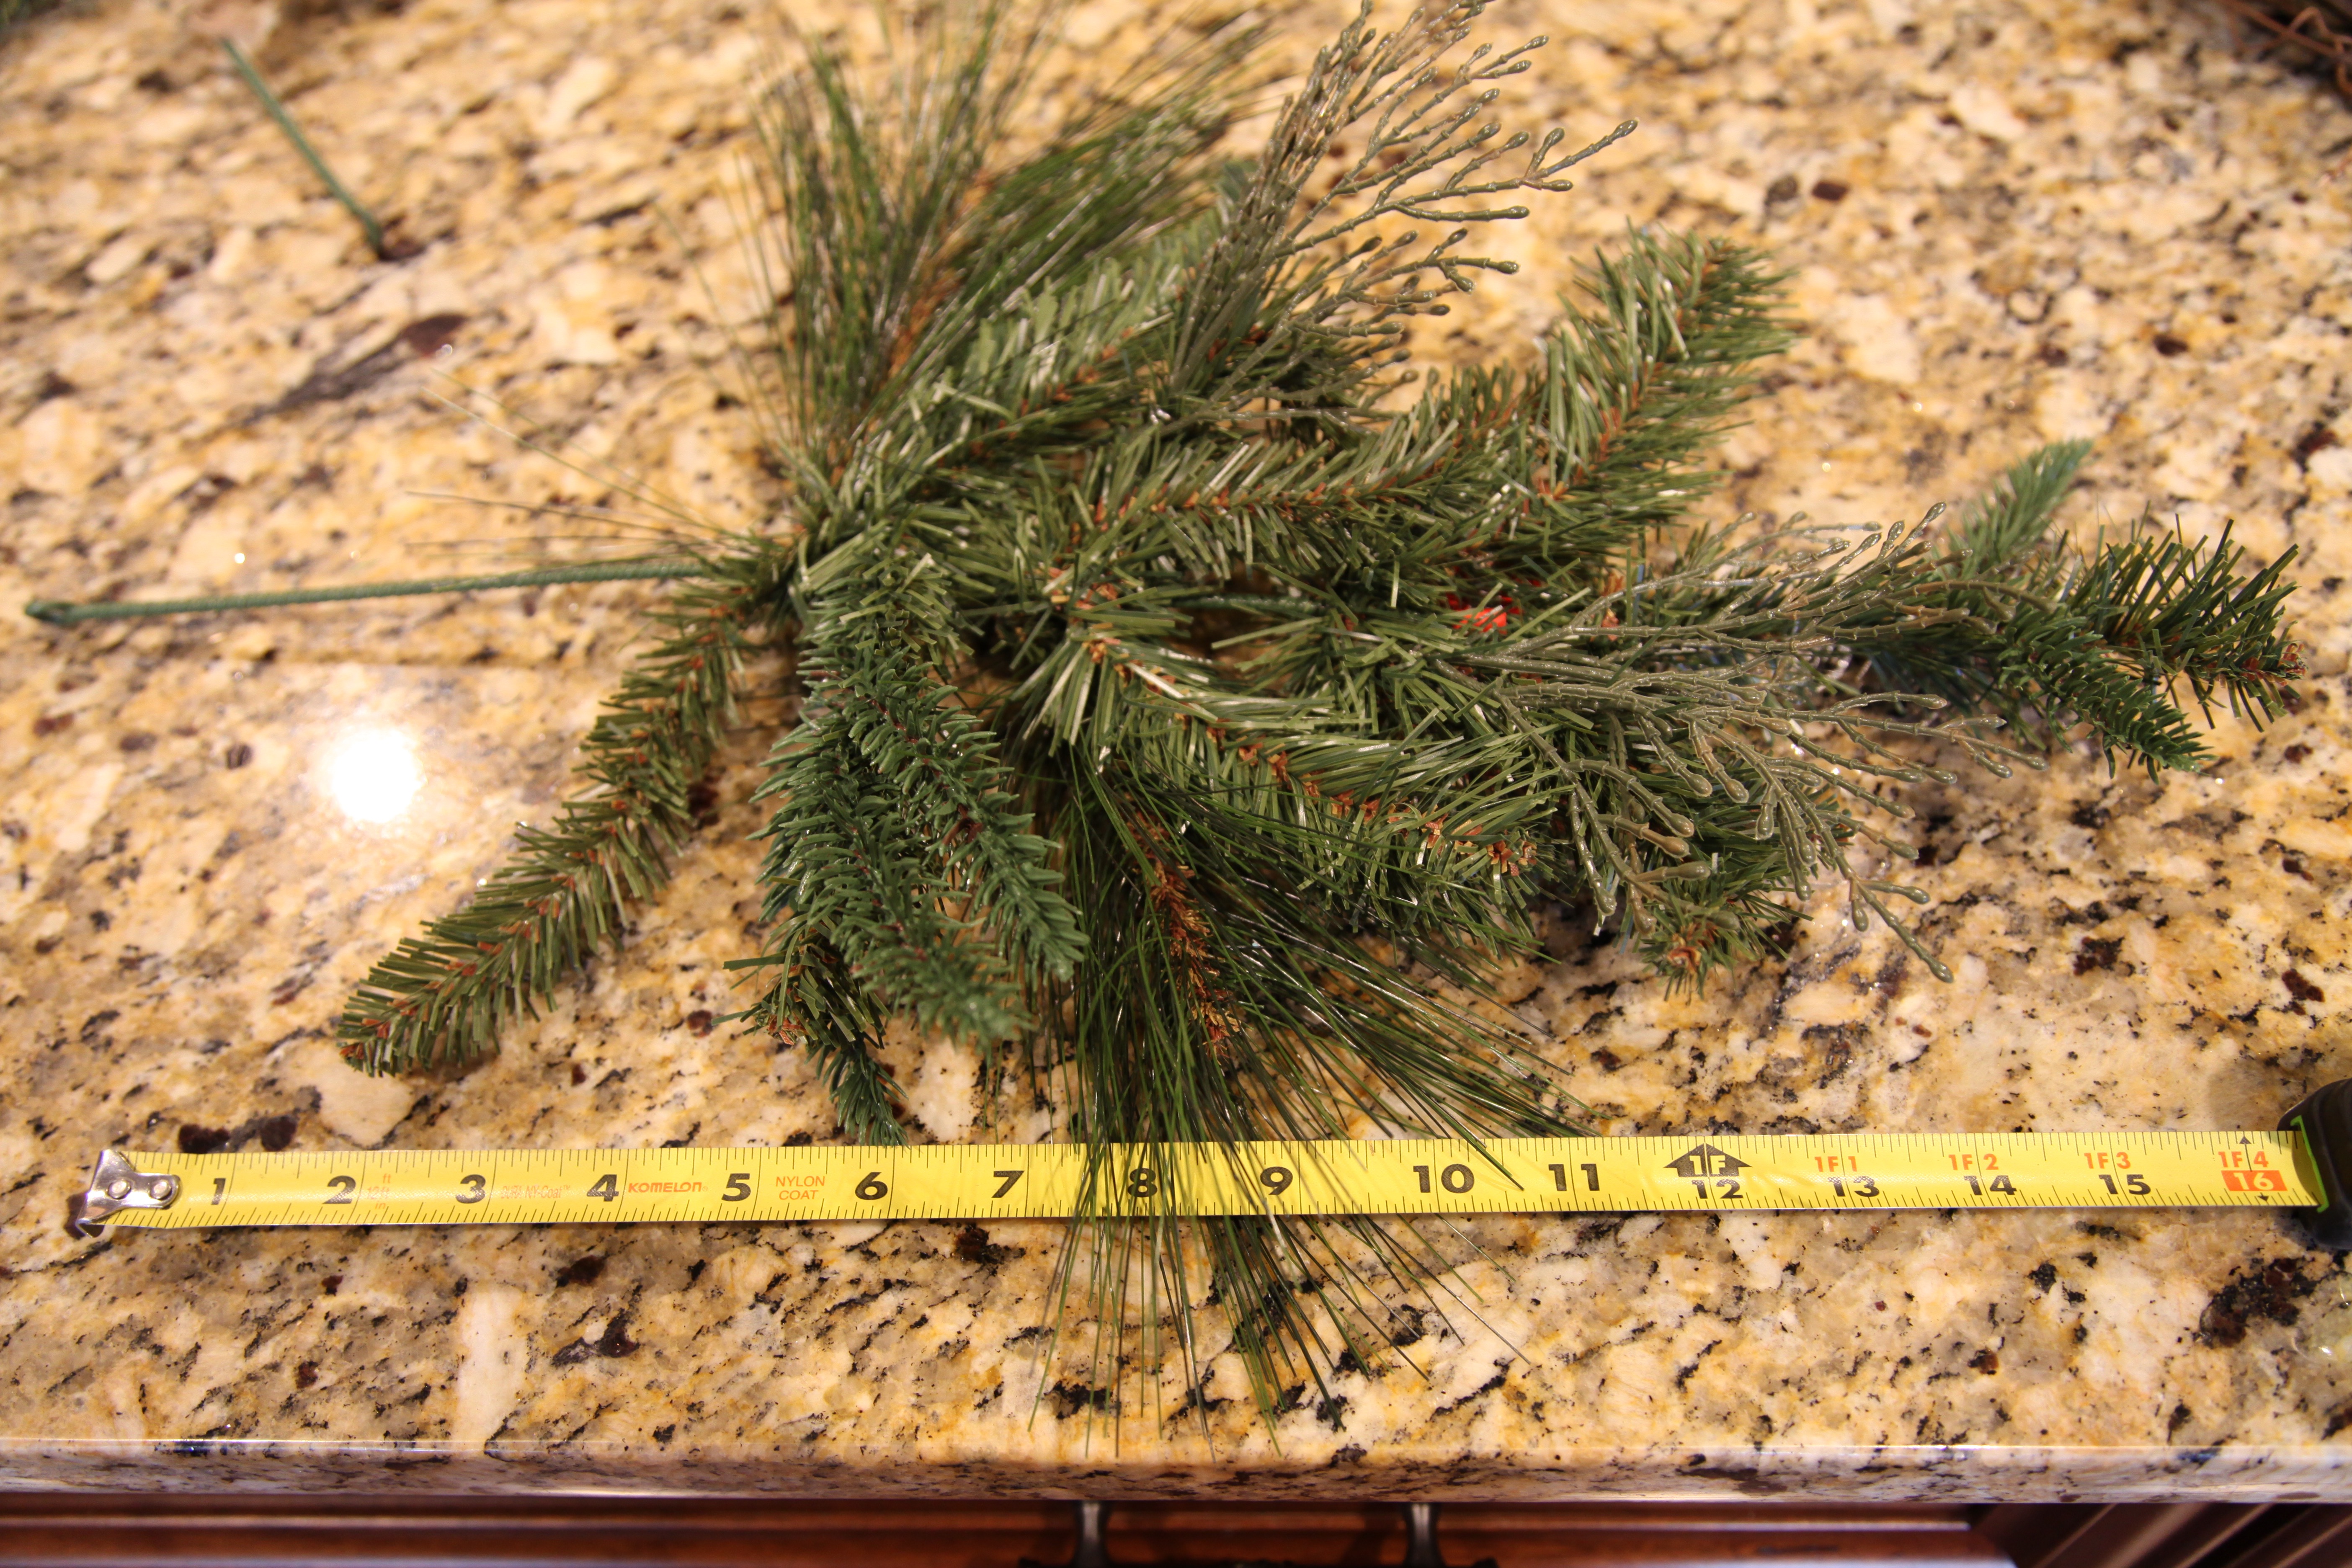
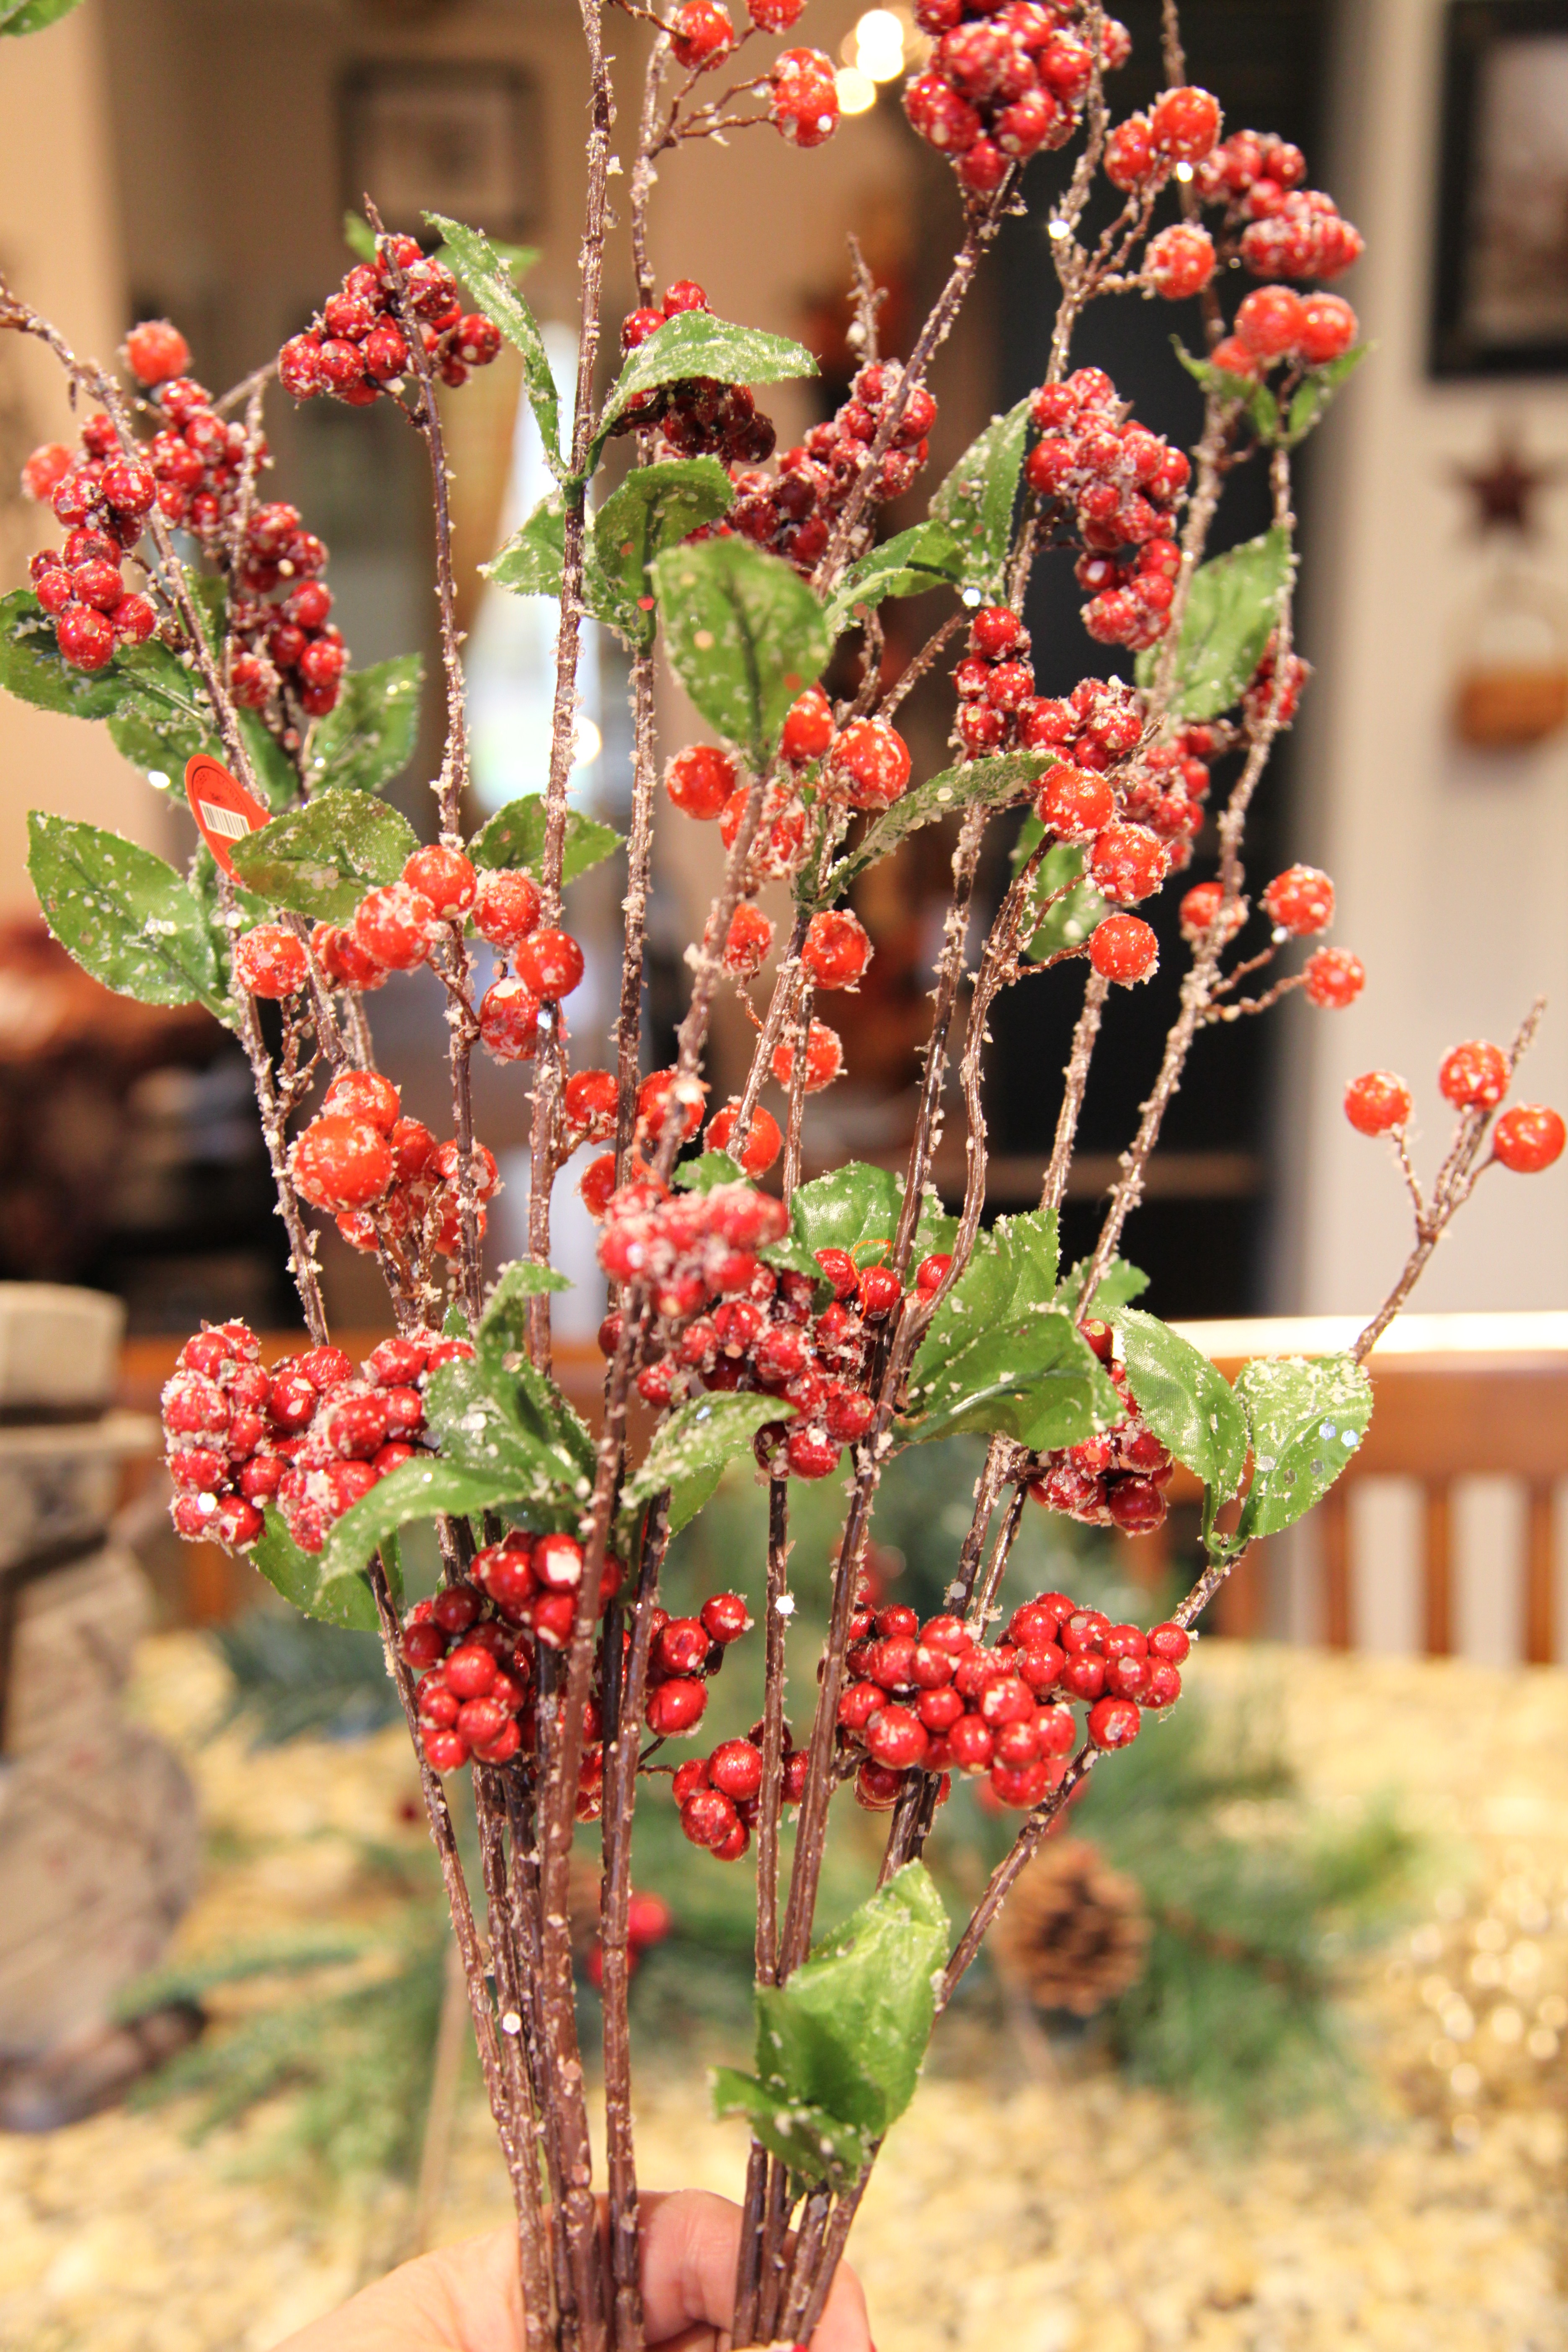
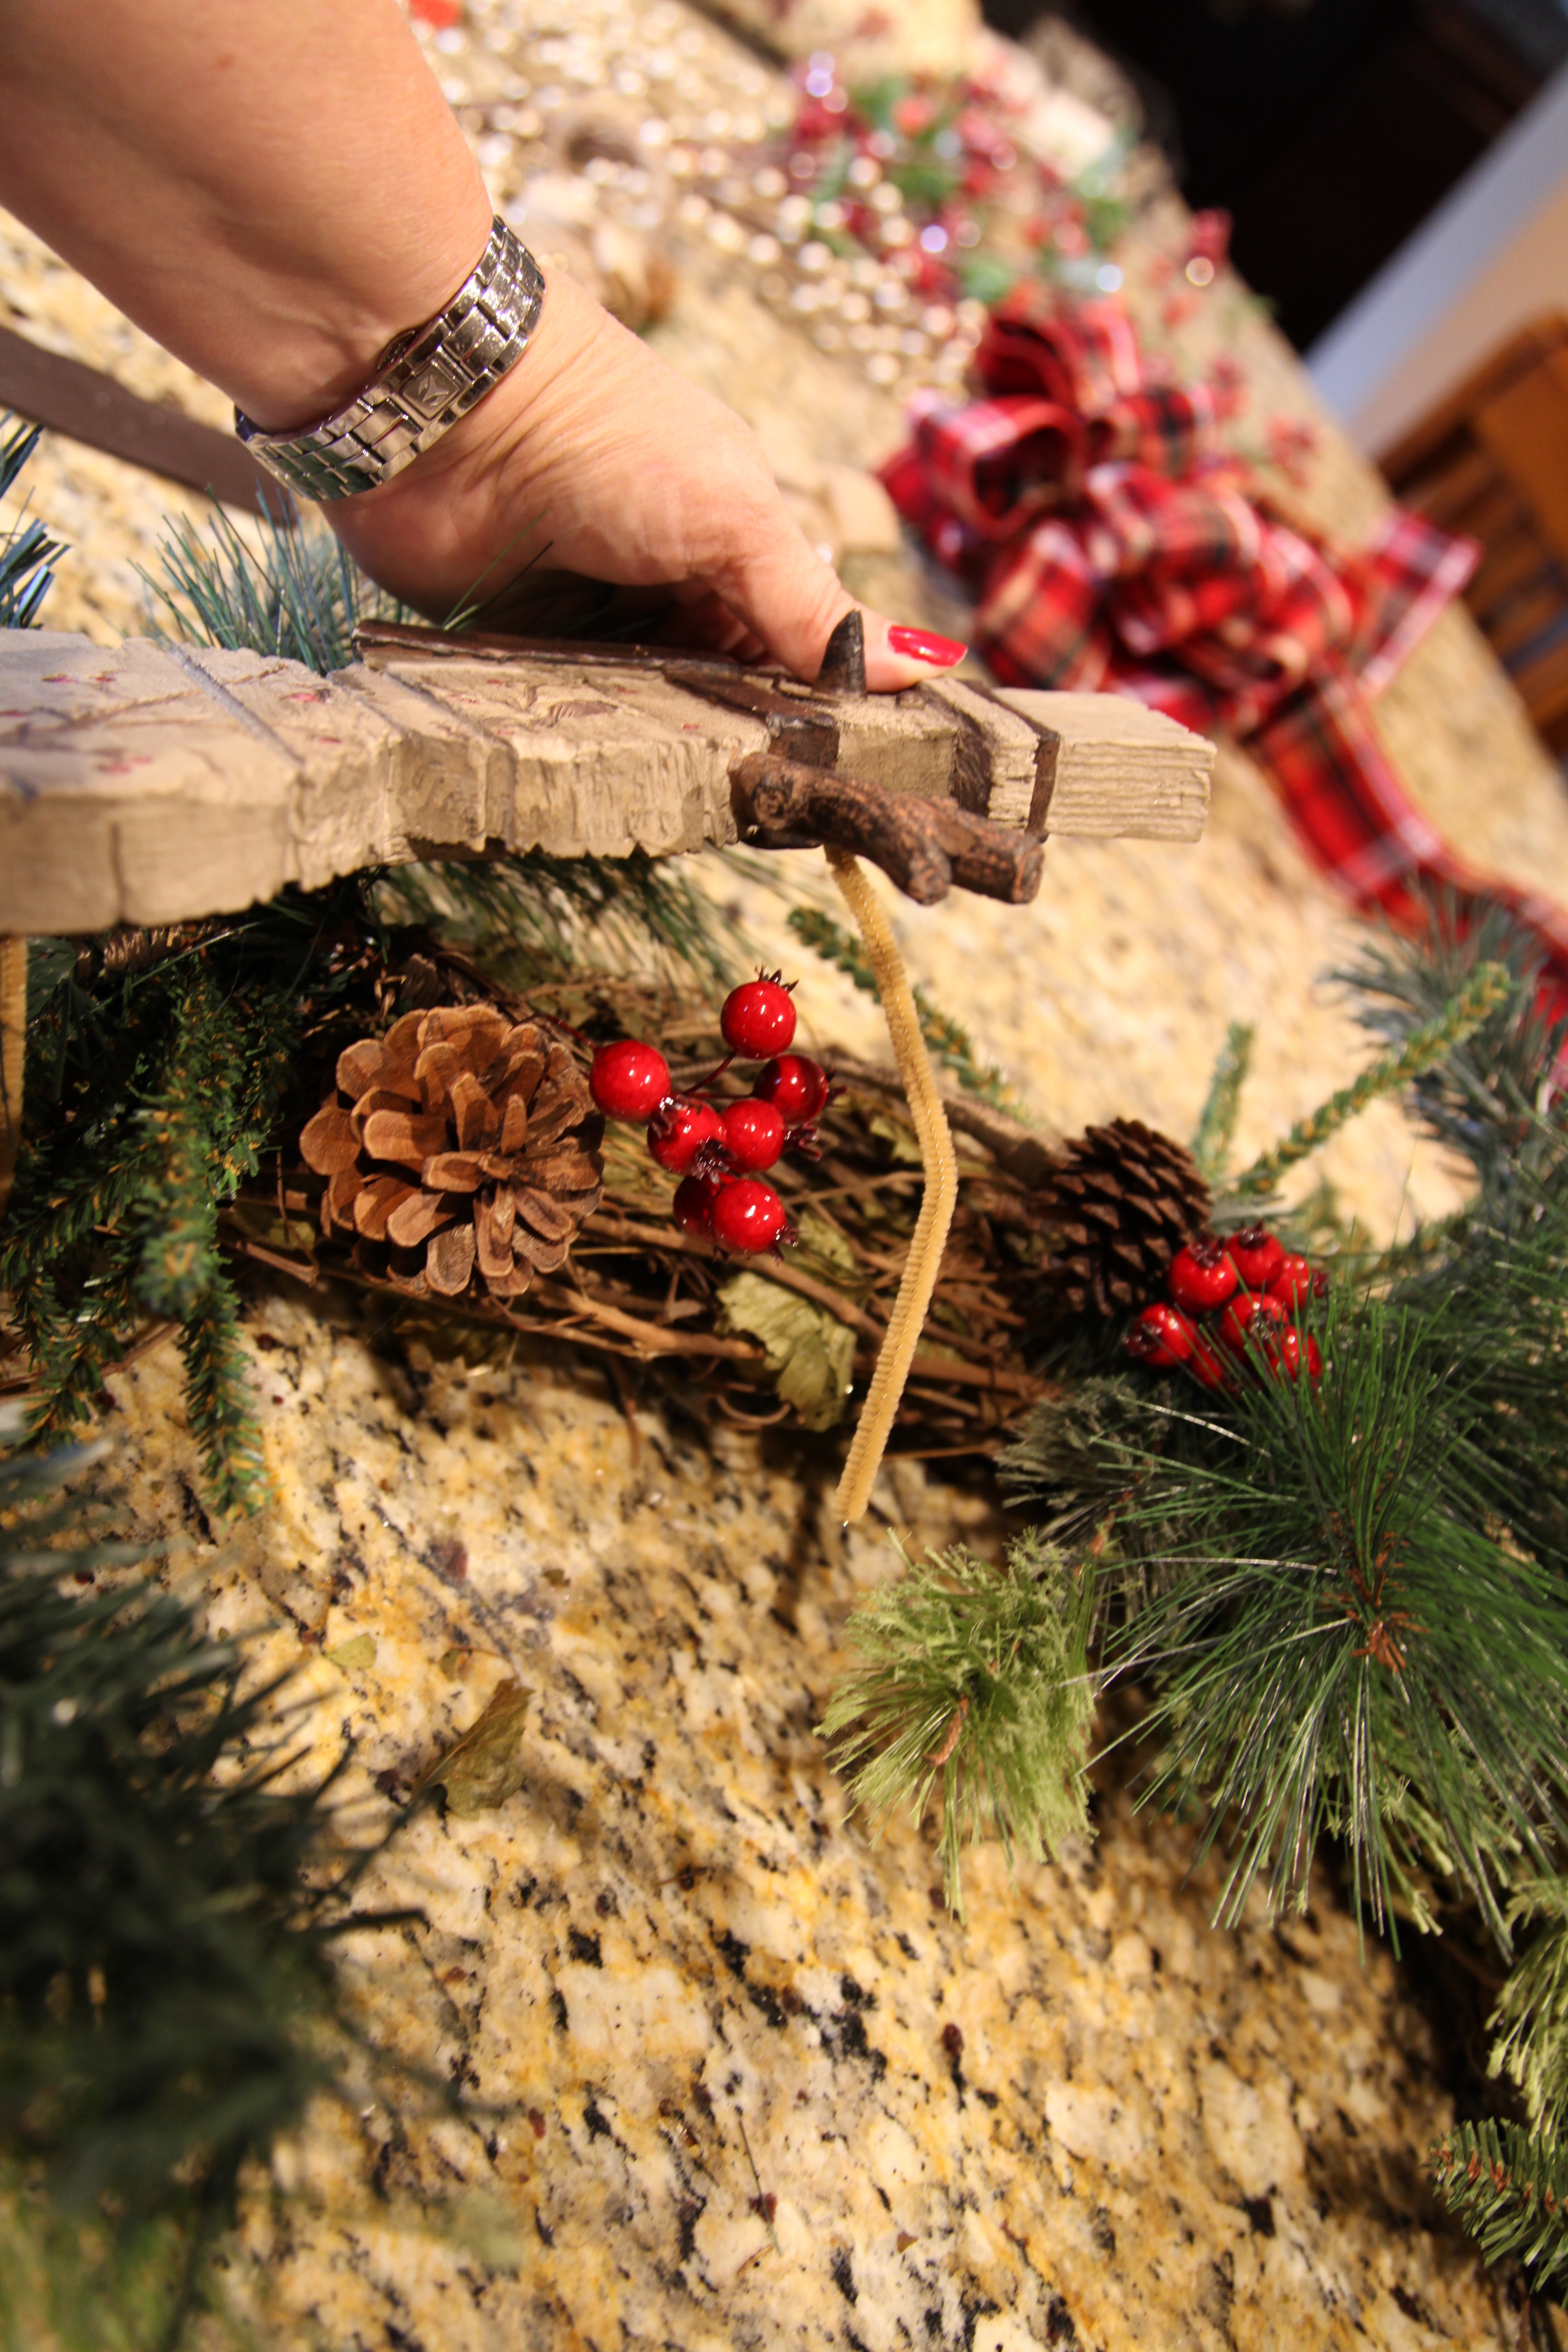
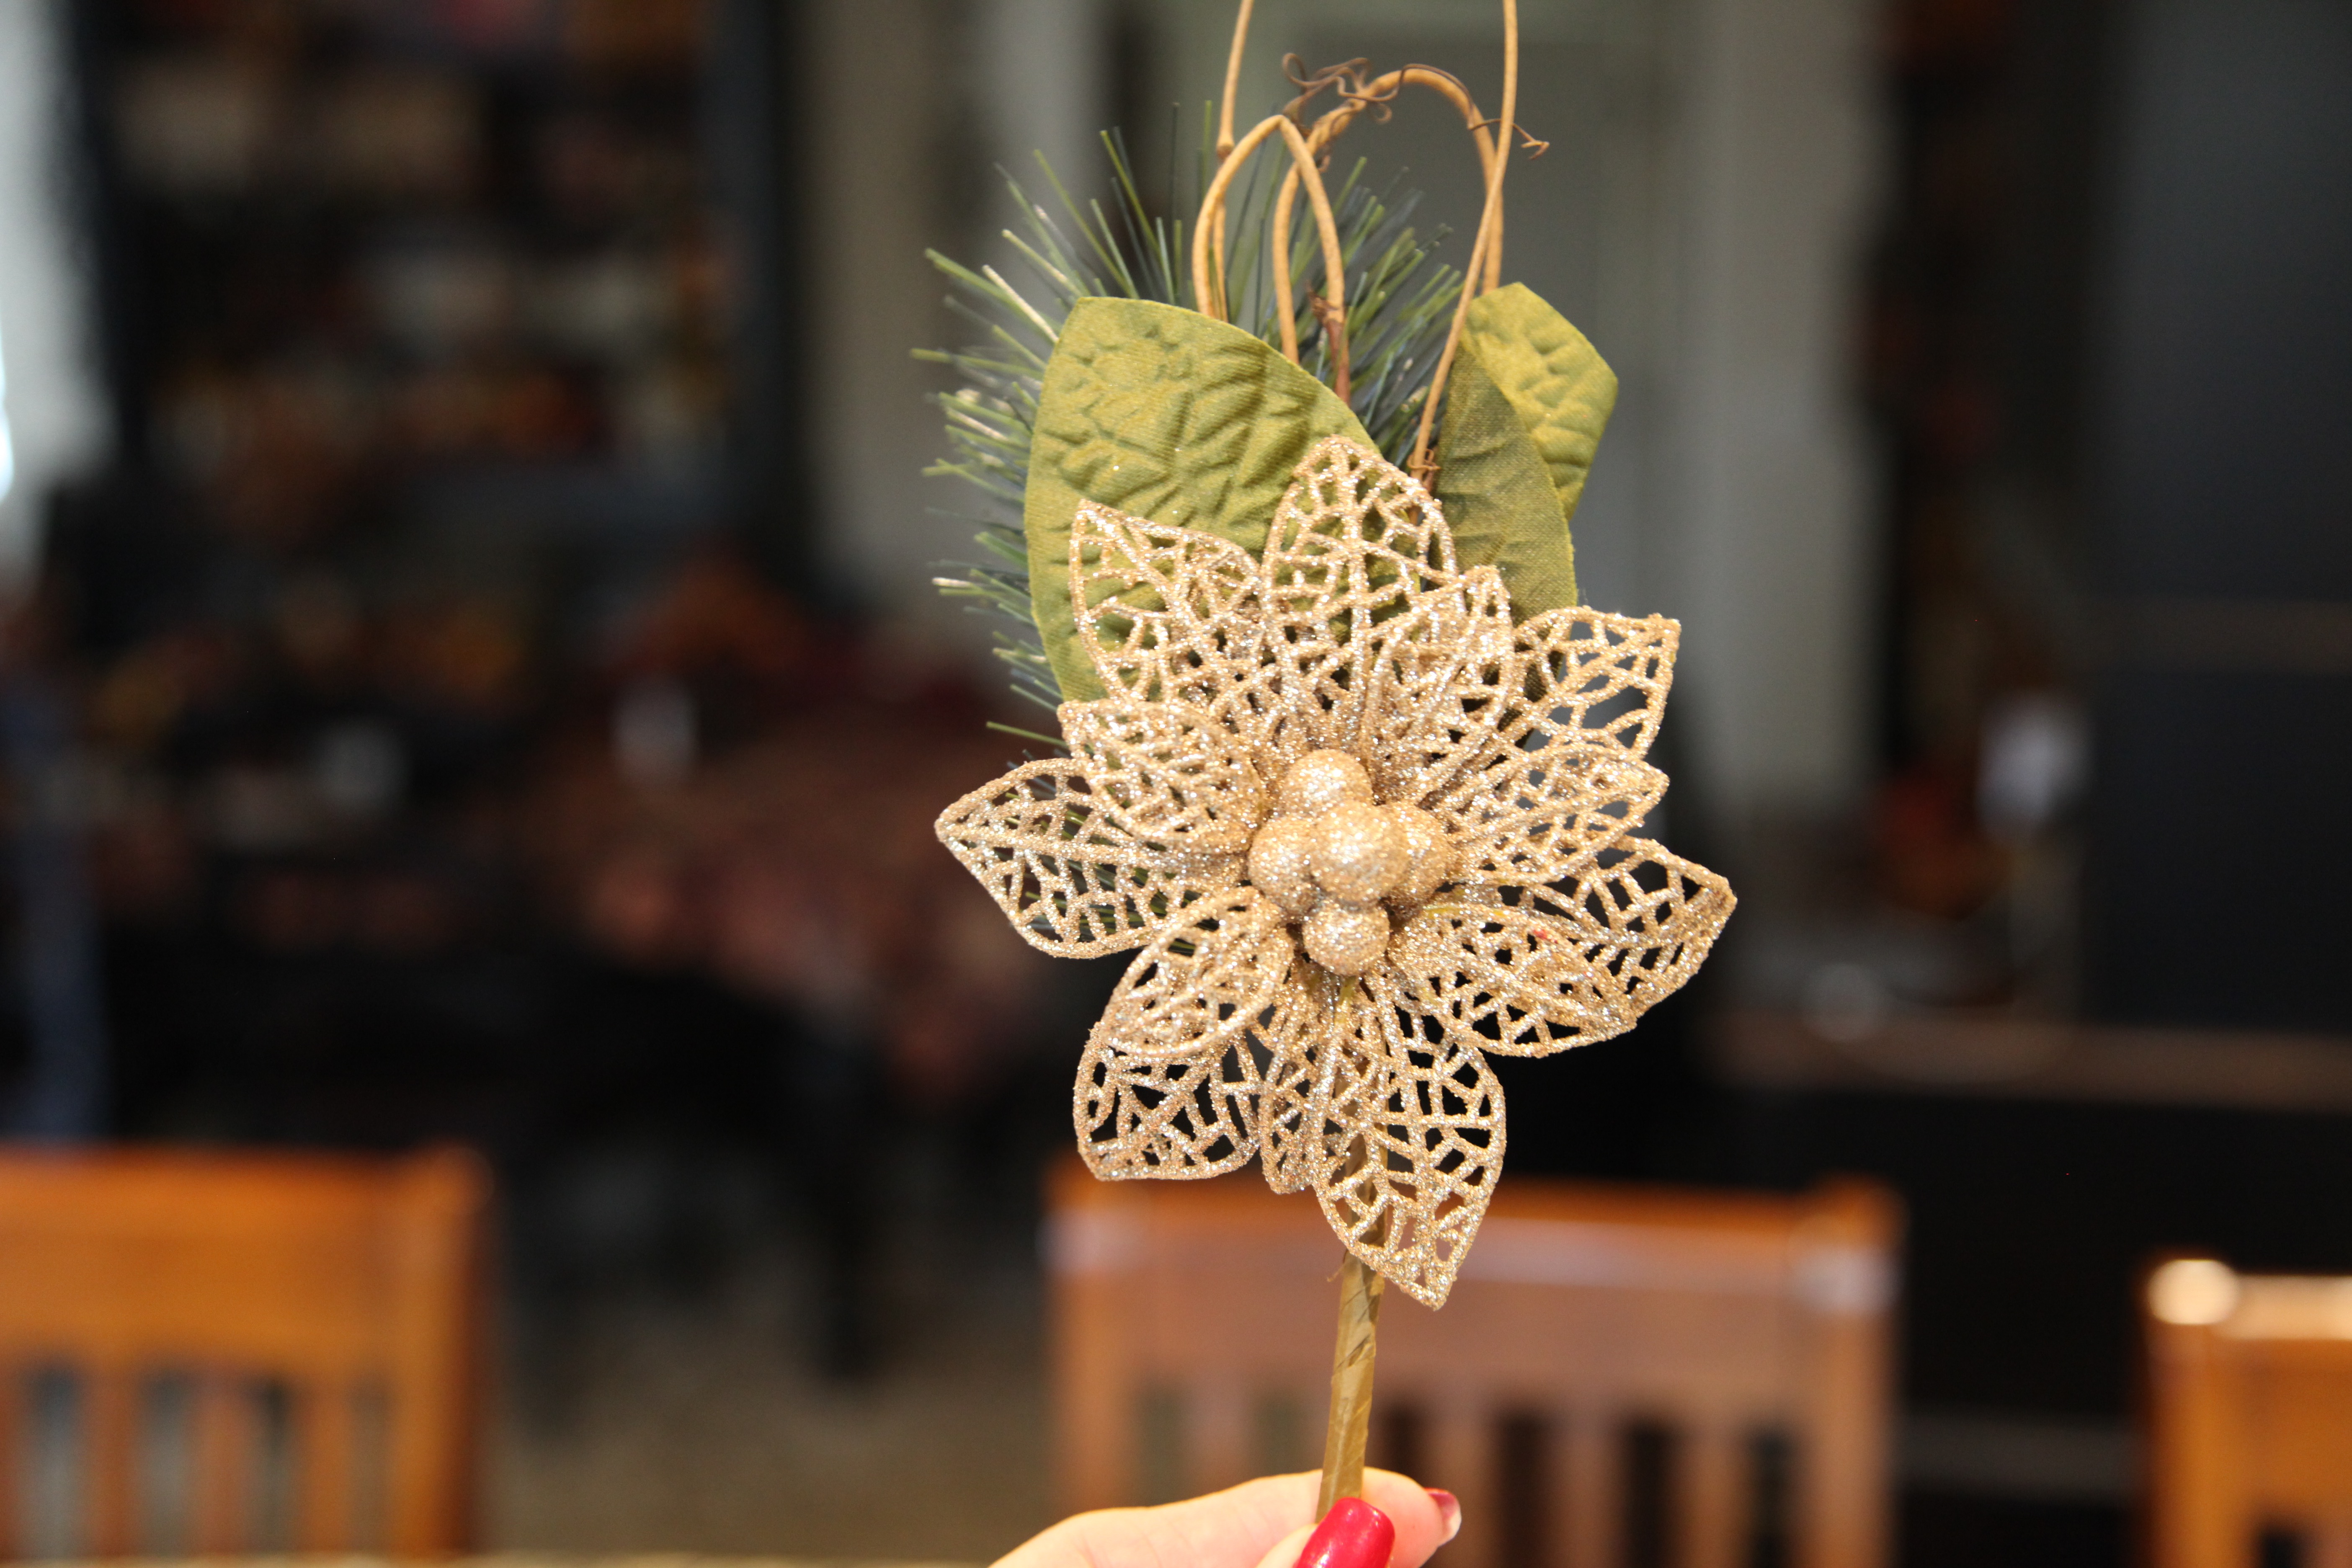
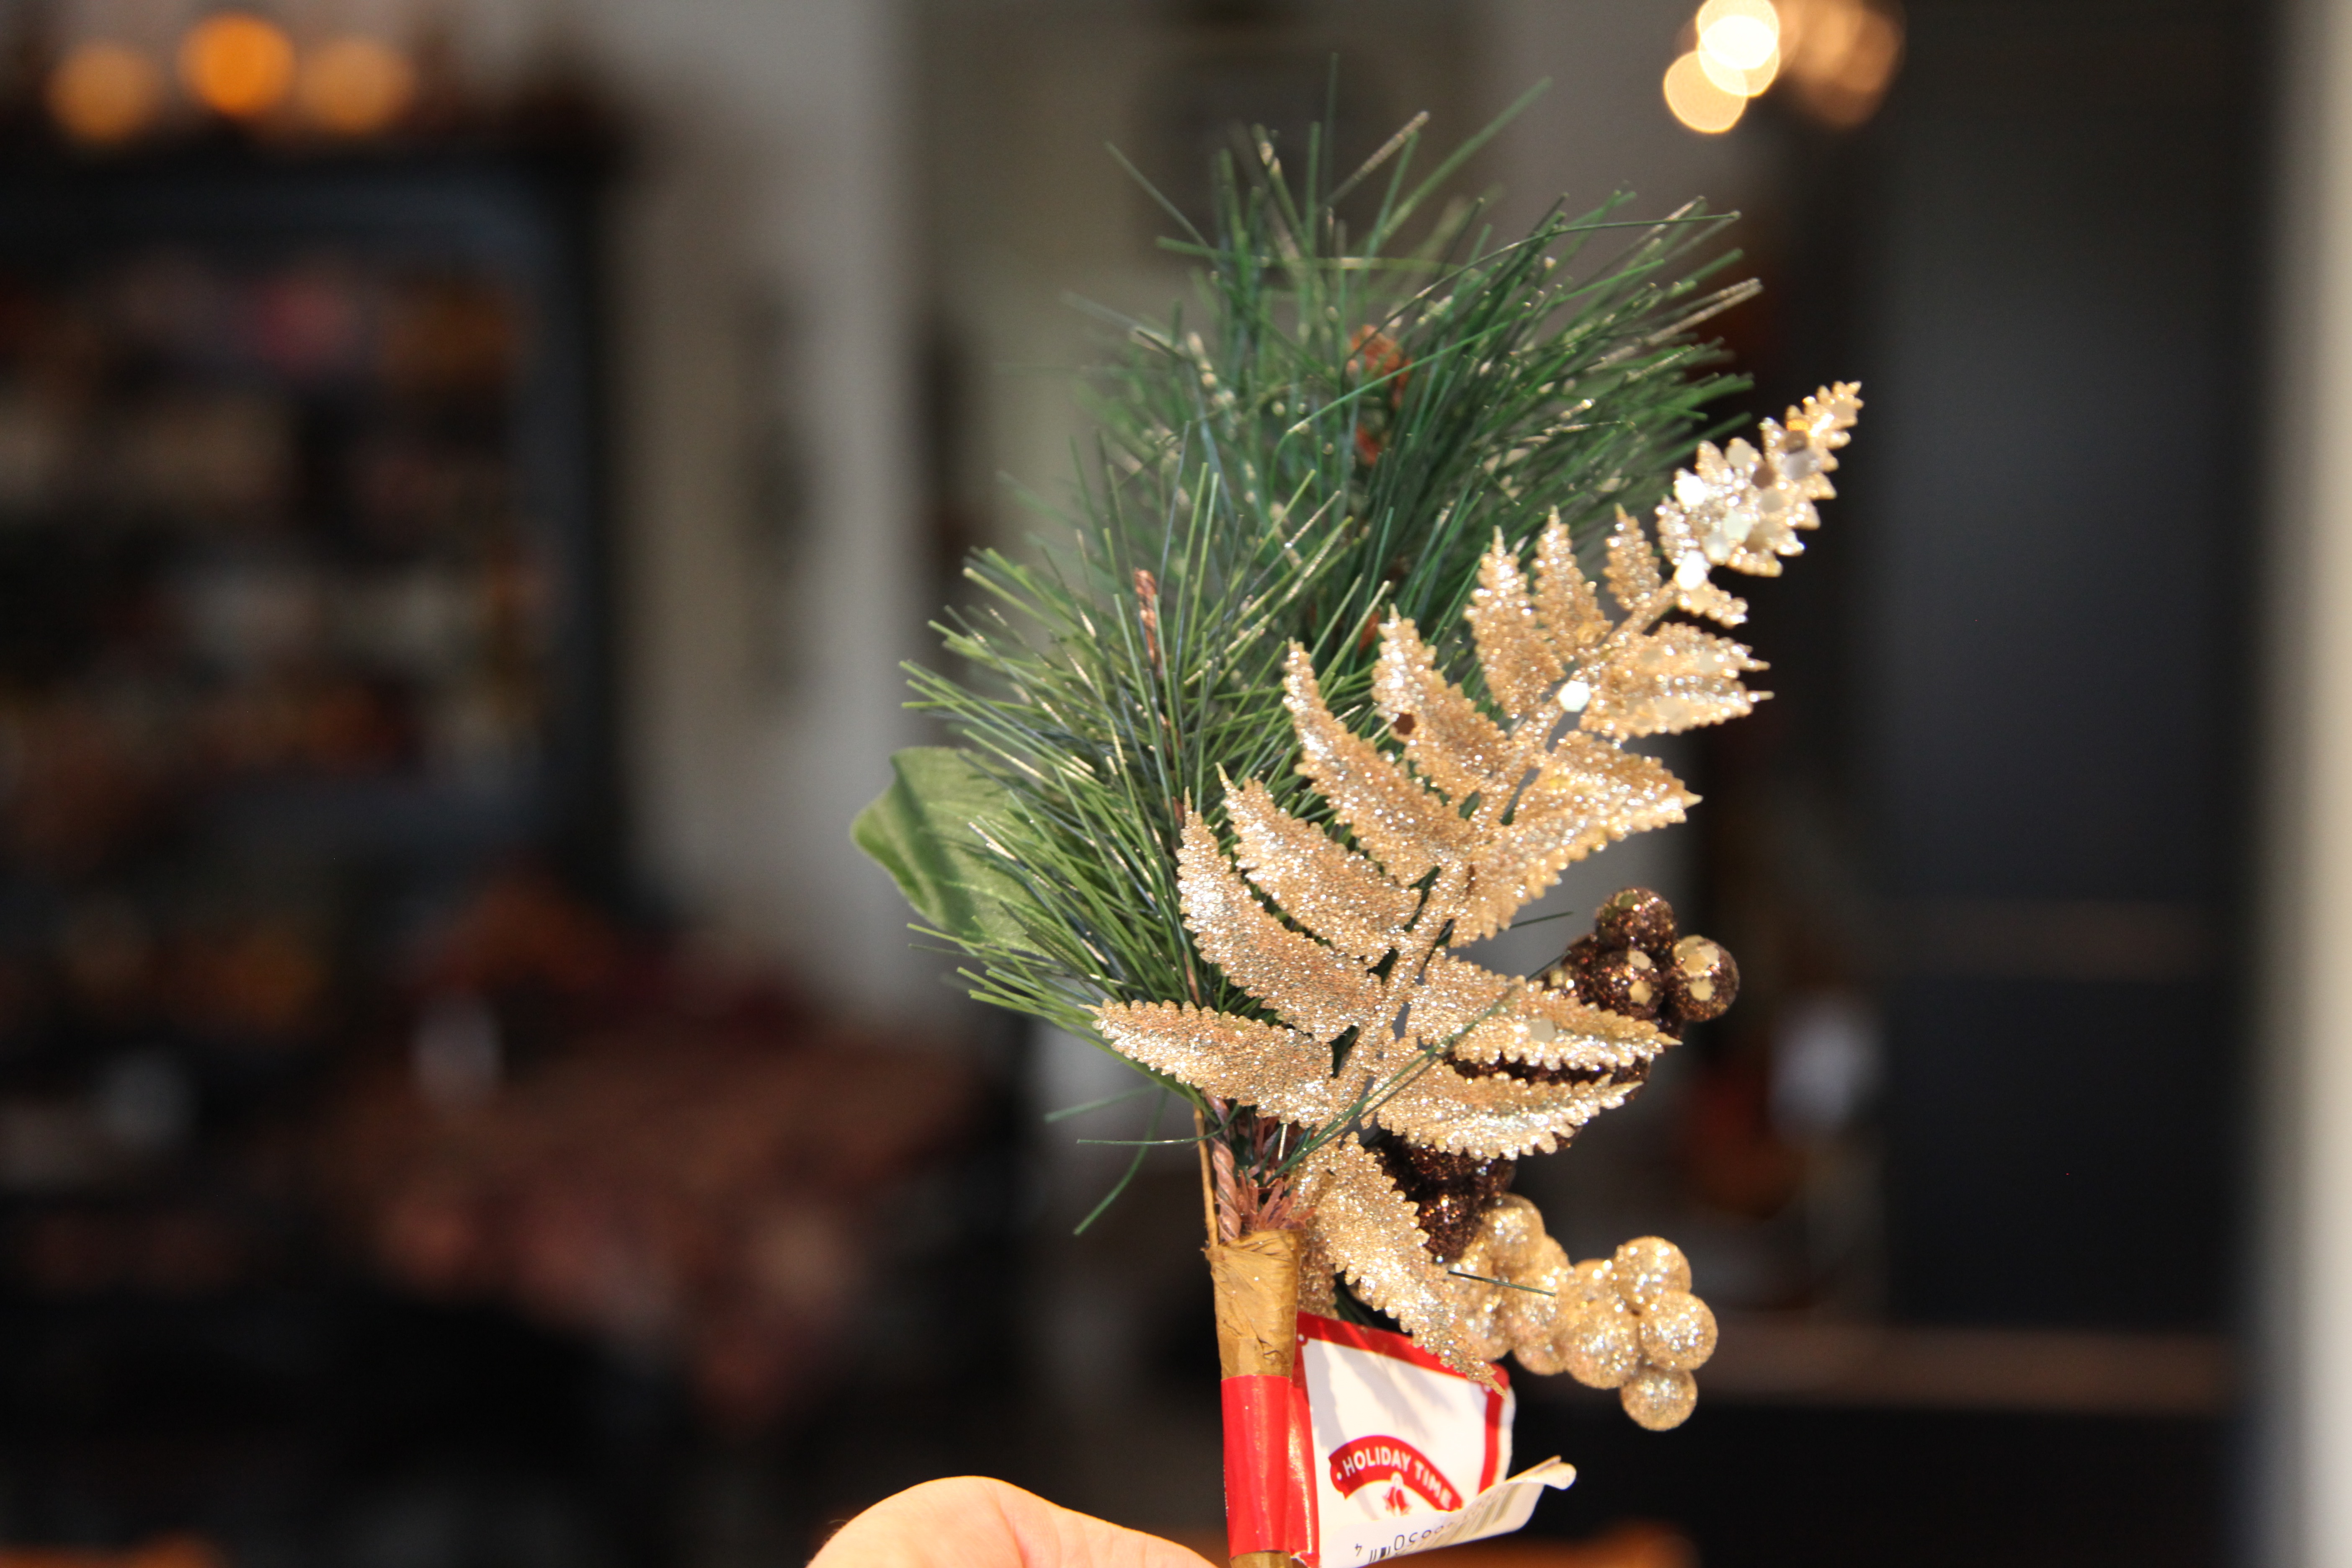
The next thing I did was to create a pine ‘spray’ to go on the bullnose at the bottom of the stairs.  I took some pine ‘pics’ that I found at Hobby Lobby and tied them all together with a pipe cleaner, I stuck the tied end down into the bullnose and then I added a strand of 15 white lights, a few gold lacy flowered pics, a few gold berry bead pics, and I cut the 8th and last strand of ornament garland in half and used it to wrap in and around the spray. Then I attached the last big bow…

IMG_9459 IMG_9462 IMG_9464IMG_2391

In years past, I’ve never been able to wrap my brain around or muster the strength to figure out how to make a pine ornament garland, but, I have to say that this pre-made ornament garland from Walmart made it so easy to bring this project to fruition.  It looks amazing and I couldn’t be happier with how it turned out! 🙂

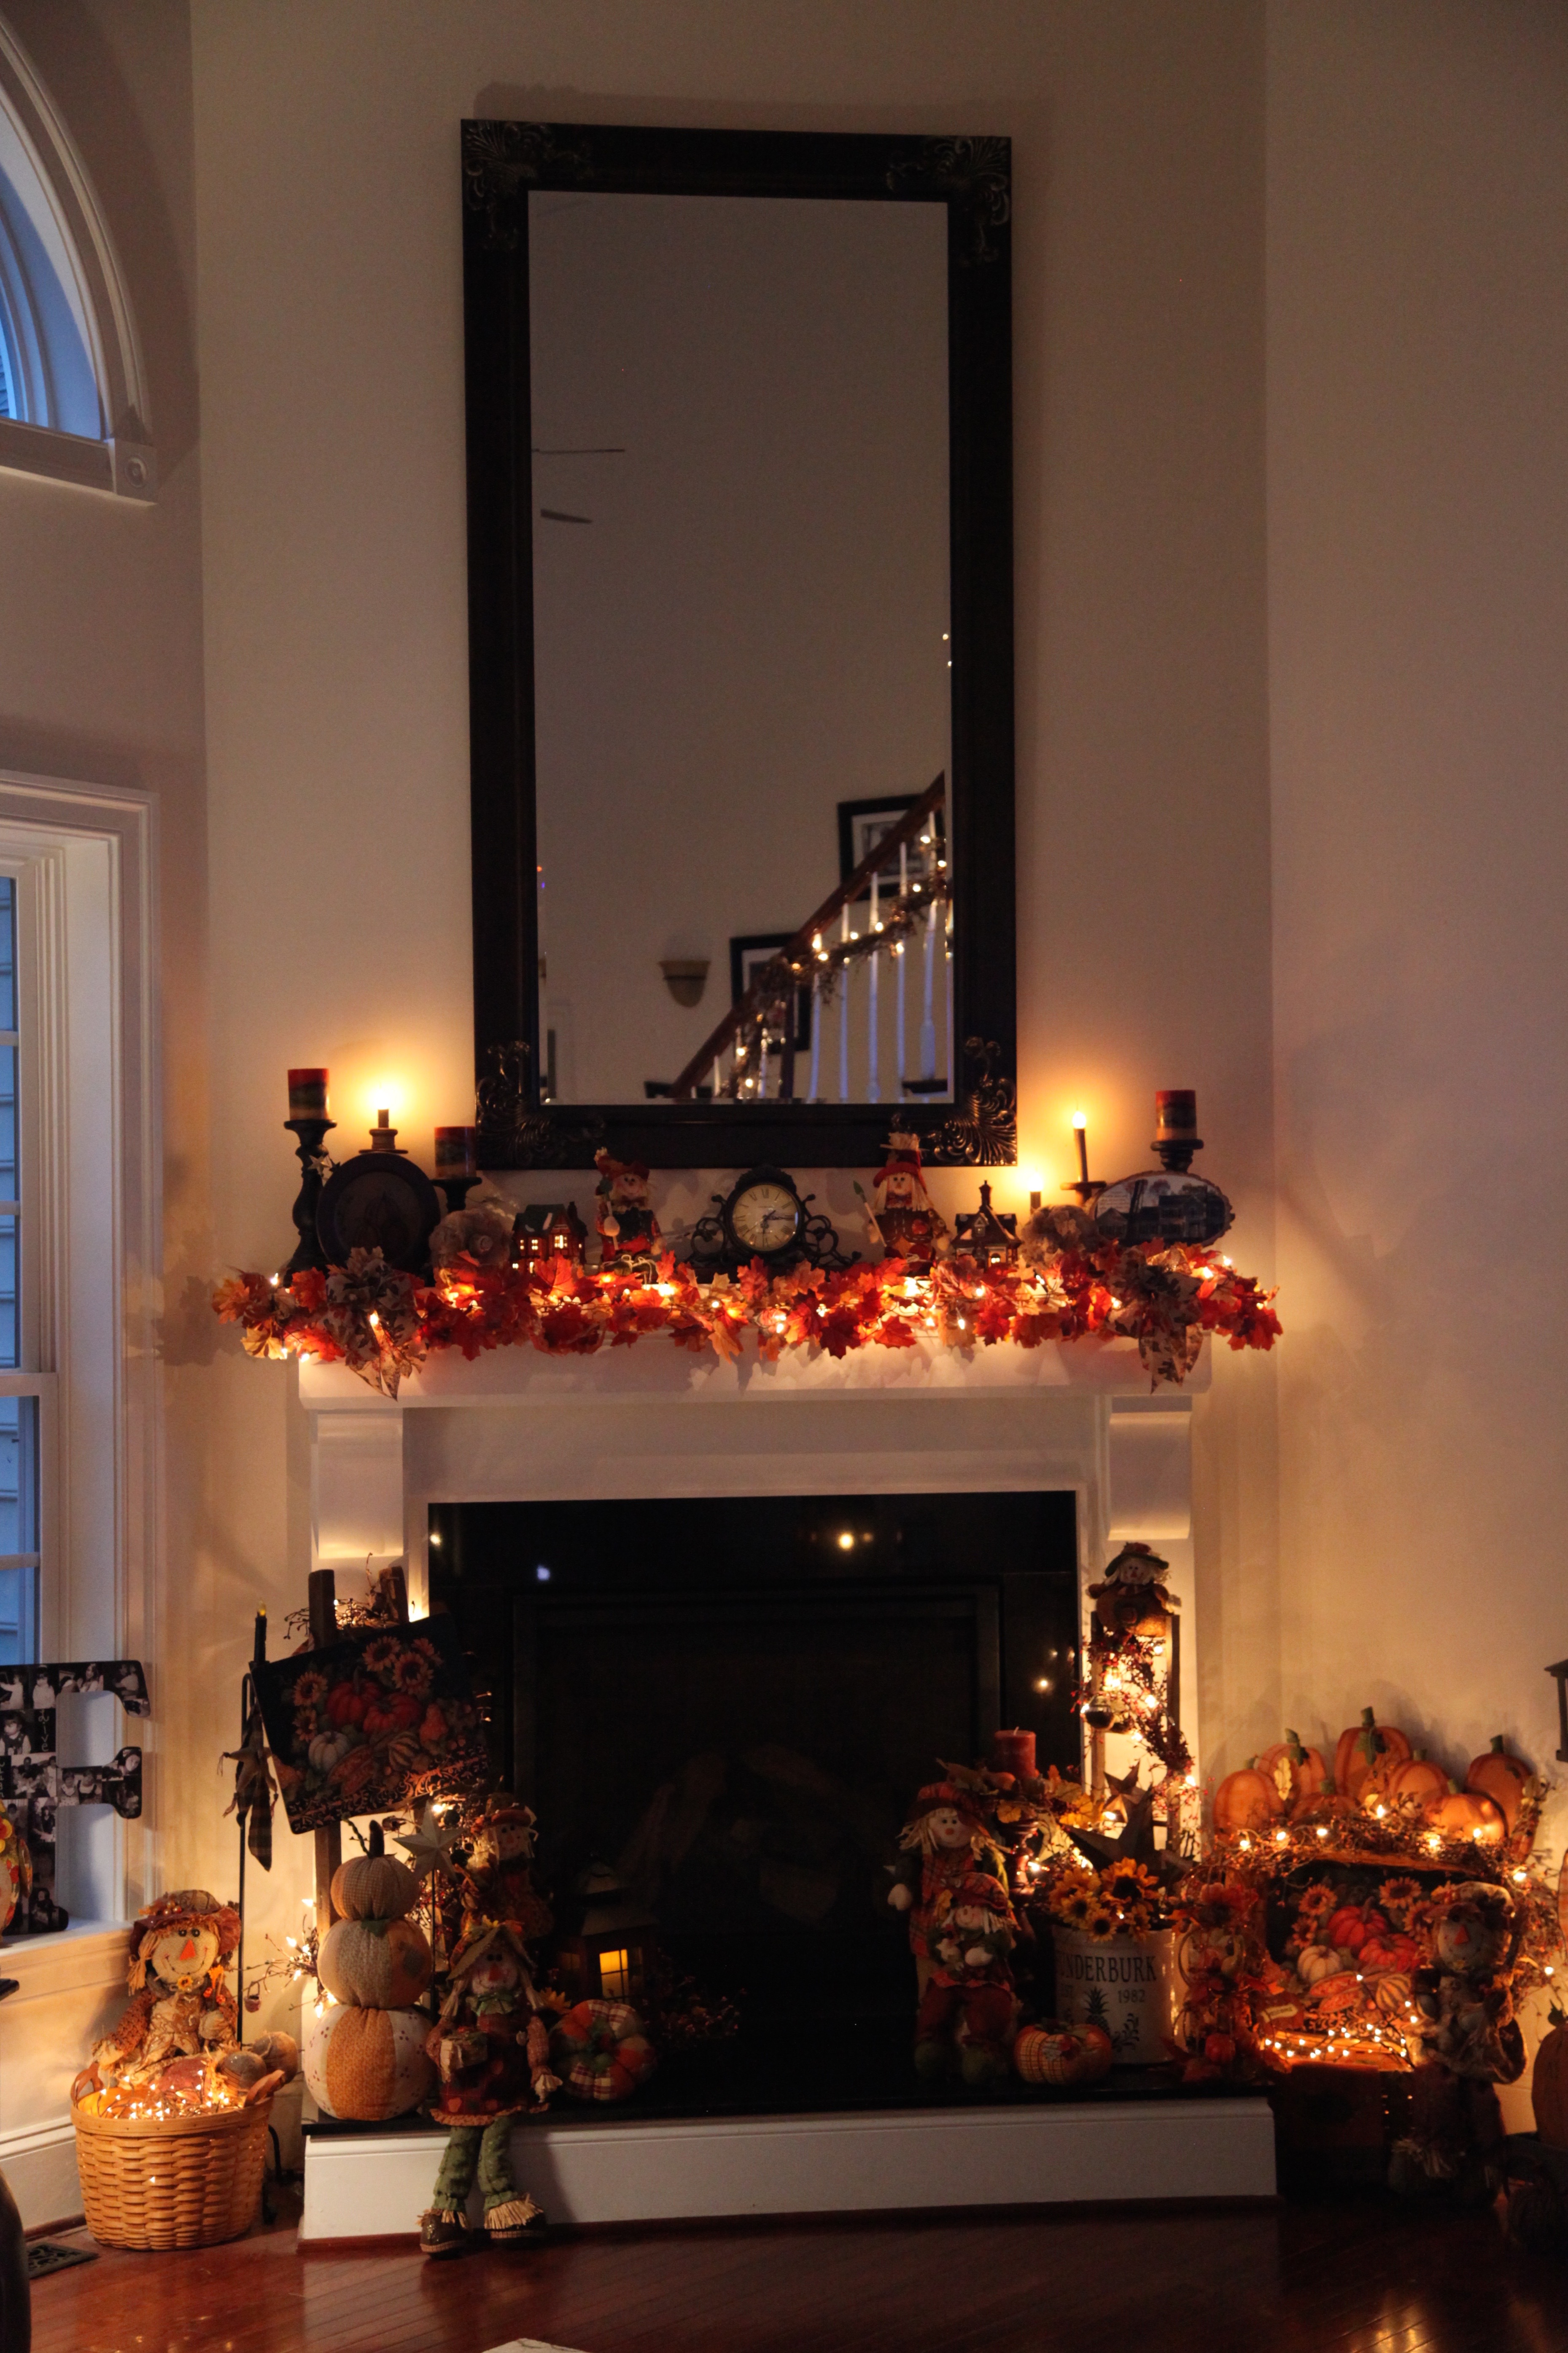
Onward I go with my decorating…Stay tuned, I’m sure I’ll be posting blogs about my projects, cozy corners, table top decor, mantel and hearth decor…etc..etc…

Until next time, y’all take good care! ❤

**In crafting there are no mistakes just unique creations**

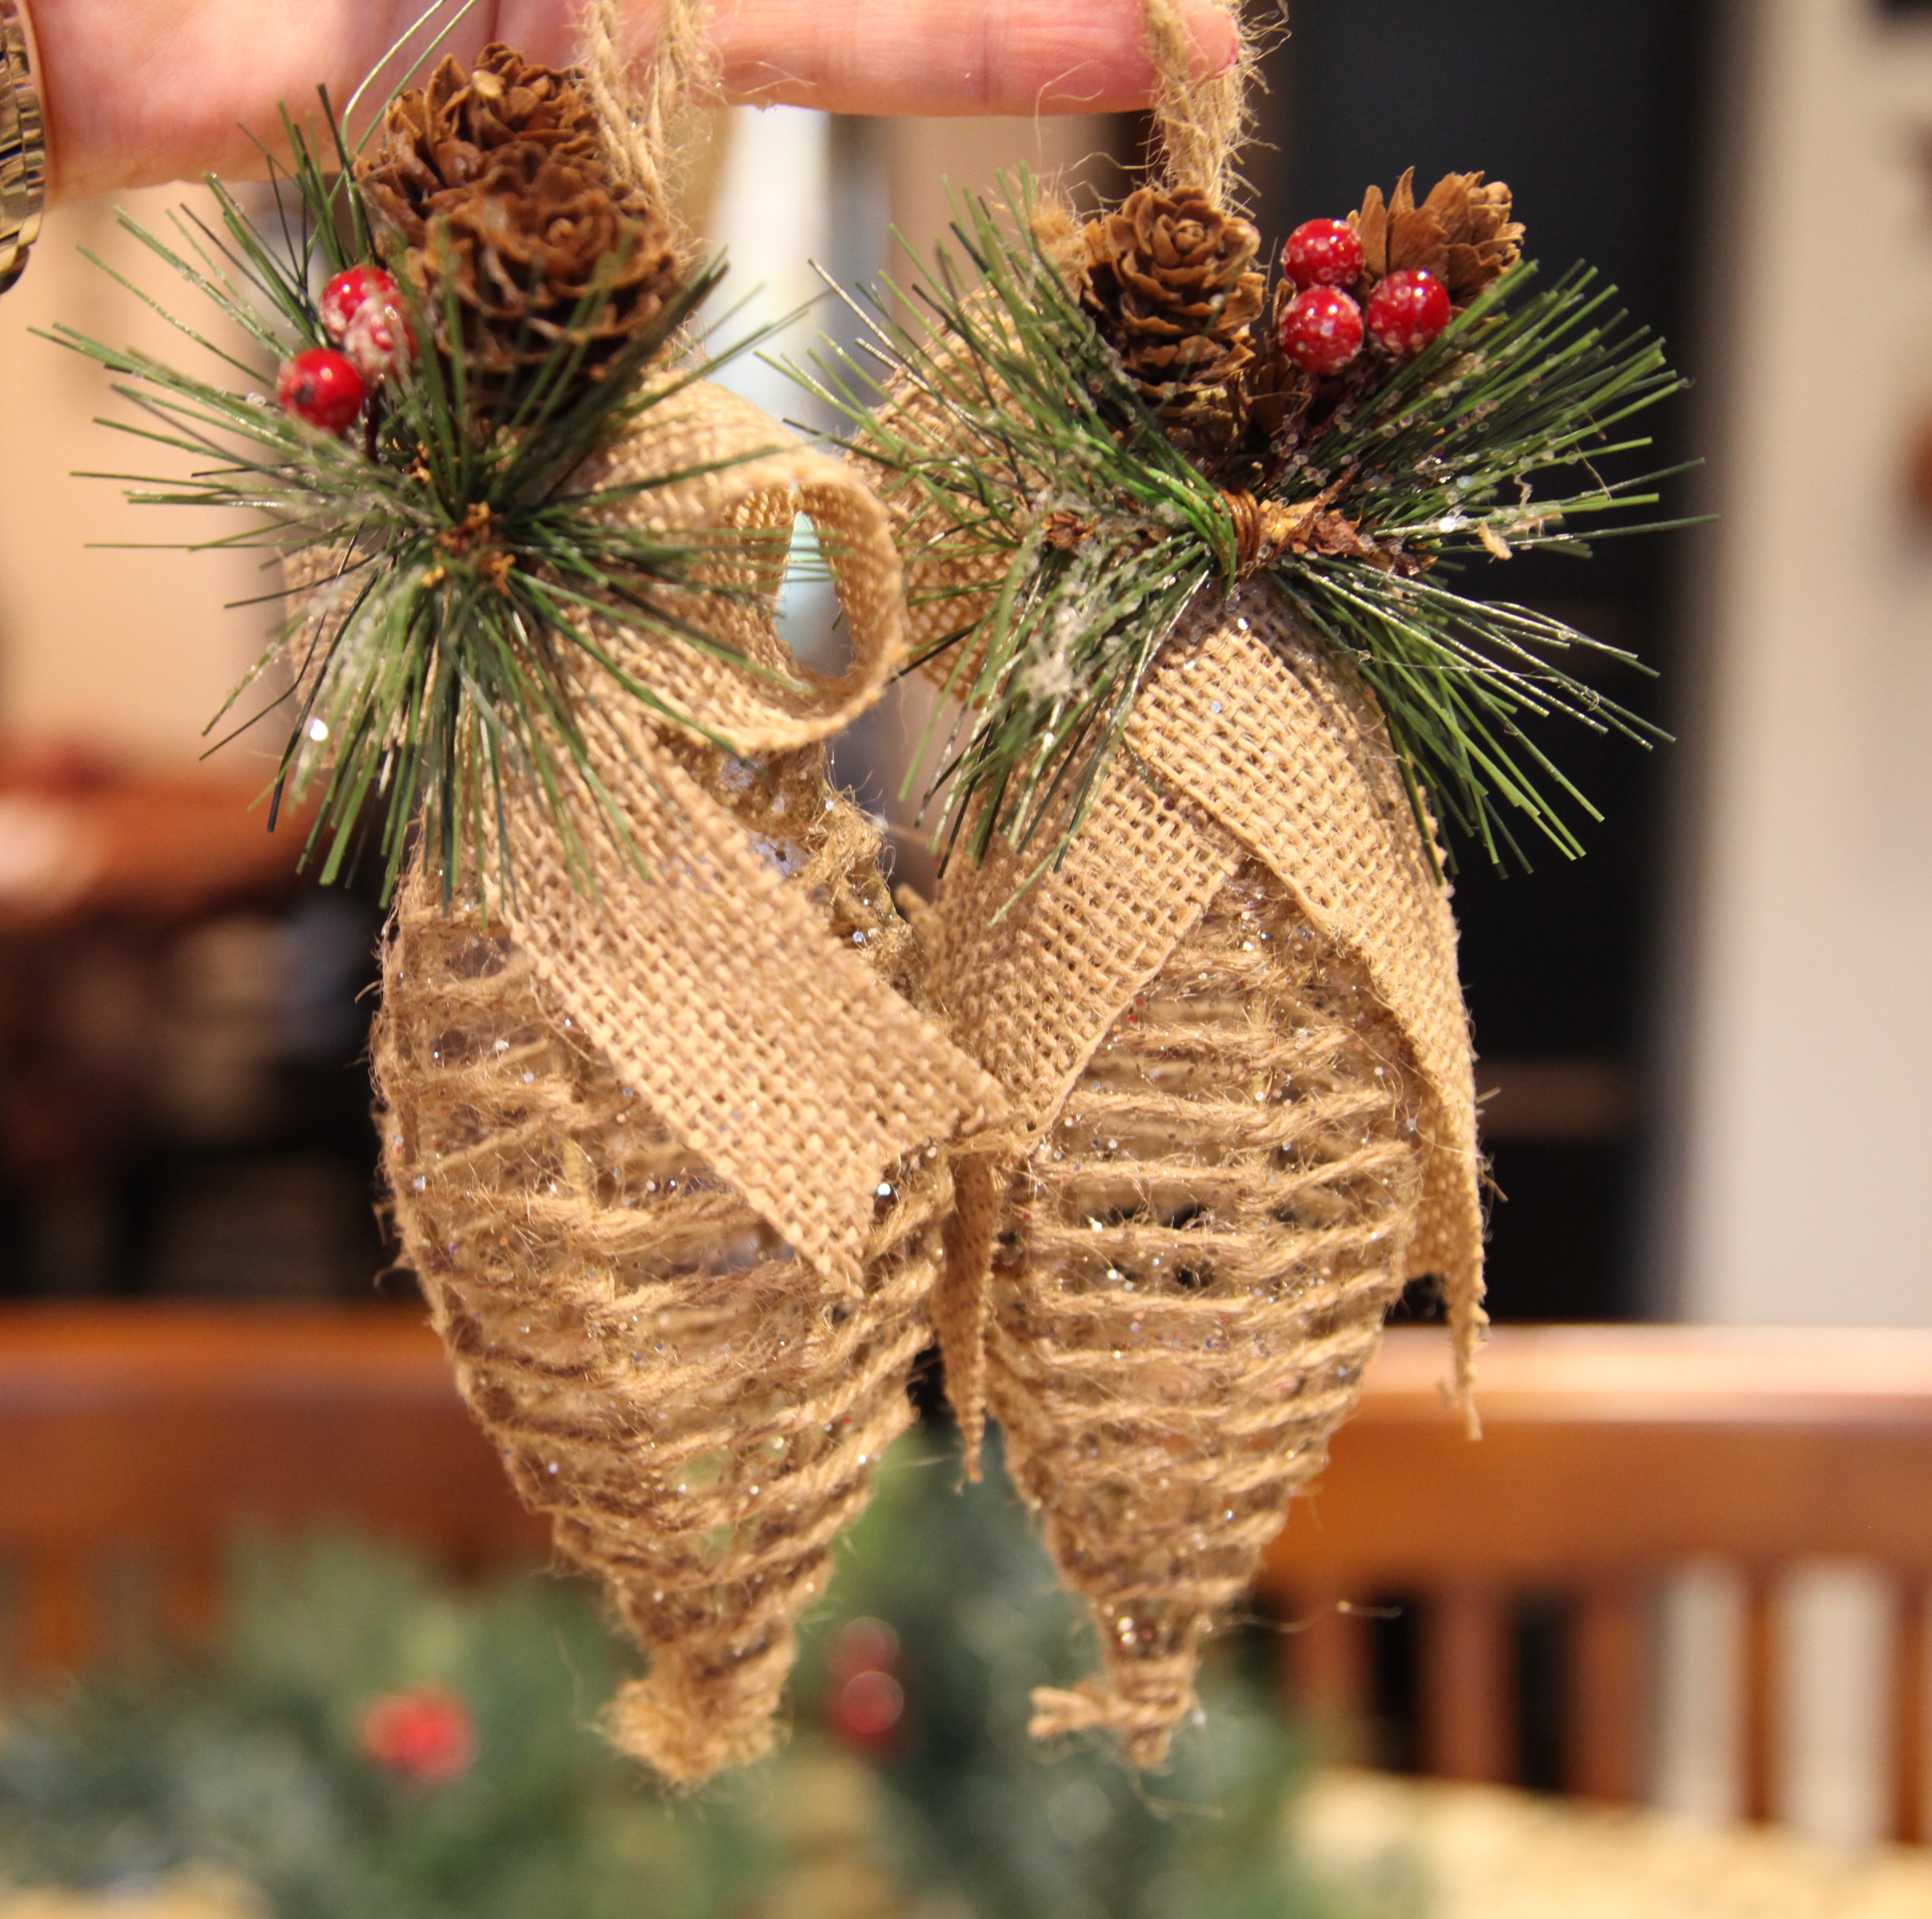
OH wait, I had cut the last strand of Ornament Garland in half, I only needed half of it to go on the bullnose spray.  I used the other half to create this little lantern decor–easy peezy little task.  I took a tray, sat the lantern down on the tray, wrapped the rest of the ornament garland around the lantern and added just a few snowflake ornaments. 🙂

IMG_2393

Quaint Deco Mesh Wreath In Teal And White

I was so touched that my oldest daughter asked me to make her another wreath this weekend, this one would be for her front door.  It was my complete pleasure and honor to create something just for her. 🙂 Teal is her very favorite color, so I went searching for accents that would pair with it nicely.  I found a roll of deco mesh in a beautiful teal color and I decided white would be the accent color and I was determined to not throw any other colors into the mix so I chose a white deco mesh, a wooden white “C”, a teal and white chevron ribbon to be used to make a bow, a few teal flowers, teal ‘scrolly’ things, and a couple of teal lacy looking butterflies.  I’m really happy with how it turned out.  Christin is tad (meaning *a lot*) more minimalistic than I am, so I tried really hard not to over do when purchasing stuff for this wreath; it goes to show you that you don’t have to use 5 thousand accent pieces to make a full and pretty wreath. 🙂

Here are pictures of the supplies that I used:

IMG_2338IMG_2348 IMG_2341 IMG_2344 IMG_2346 IMG_2347

I used a 16″ metal work wreath that I found in the Christmas section at Hobby Lobby for 50% off…

IMG_2337

Next, I made the bow, I just learned how to make a bow like this. I watched this YouTube video.  It wasn’t hard to do at all…YaY!!

IMG_2349

Then I started to attach the teal colored deco mesh by unrolling a good bit of the mesh and gathering the end of it into a tuft and catching it into a pipe cleaner, then moving around the wreath form, I gathered the mesh into 10-12″ loops and caught one in each of the outer pipe cleaners.

IMG_2350

I then transitioned to the inner ring and continued in the same looping action catching a tuft in each inner pipe cleaner…

IMG_2351

IMG_2353

After that I unrolled a good bit of the white deco mesh and started to attach it using the same technique as I described above.  I only attached the white to each outer ring and I simply added on top of the teal — I didn’t even untwist the twist ties, I just added it right on top of the teal and gave the twist tie another twist.

IMG_2354 IMG_2355

After the deco mesh was attached, I started to place the accent pieces.  I started by hot gluing pipe cleaners to the back of the “C” so that I could tie it onto the wreath form…

IMG_2356

Then I tied the bow onto the wreath, and added the flowers, scrolly things, and the butterflies.  After that, I took some of the teal and white chevron ribbon and cut it into 10″ strips.  I made 3 piles of three strips and cut pretty edges on the ribbon, then I attached them onto the wreath and spread them out to look a little bit like a snowflake…

IMG_2359 IMG_2360

IMG_2358

Christin was sitting at the kitchen island (where I was putting the wreath together) doing her lesson plans for this coming week so I was able to consult with her to make sure I was placing things where she might like them. I think that she is quite happy with the end result and when she is happy, well that makes me happy. 🙂 She will take it back to her home this evening and hang it onto her front door and it will be there to happily welcome her home each and every day from now on. 🙂

IMG_2370

Until next time, y’all take good care! ❤

OH by the way, here is the link to the Whimsical Burlap Wreath that I made for Christin last weekend.  🙂

**In crafting there are no mistakes just unique creations**

Big, Beautiful Christmas Bows (A New Kind For Me)!

Well, what do you know?!  This lady still has the capacity to learn how to do a new craft! YaY!! Go me! 😉  Seriously, I have been searching YouTube tutorials for a couple of weeks because I’ve been wanting to learn how to make a much bigger bow than the tiered bows that I’ve been making for literally decades.  For one thing, thanks to a couple of friends suggestions, I might want to make a bow tree topper for my Christmas tree and my little tiered bow wasn’t going to work in that capacity in any way, shape, or form. I was so happy that  I *finally* found the tutorial that helped the dim “I don’t know how to make a big, beautiful bow” bulb in my brain go off like a strobe light. 😉  I found a YouTube channel hosted by Nancy Alexander and here is a link to one of her bow tutorials.  She has a little trick where her first two loops form a “bow tie”, and then the next four loops form an “x”, and so on.  Those might seem like really simple explanations, but, I am not kidding when I say that I literally whooped out loud when I was successful at making a big, beautiful bow! 🙂

So, now that the “how to make a big, beautiful bow” light had come on, I had to do a little bit of practicing…Here are a couple of my trial run bows…IMG_9426 IMG_9433

Okay, they didn’t look bad, so I felt like I could try my hand at making the Christmas bows that would go on the staircase (because neither of those bows would match my planned burgundy and gold Christmas color scheme). I bet I find somewhere else to place them though. 🙂

I made 8 bows today out of this burgundy plaid and gold ribbon.  Both ribbons are wired ribbon (a must in my opinion) and I piled one on top of the other and created the bows; I fluffed the loops out when I finished. I got exactly 5 bows out of one (well one burgundy and one gold) bolt. I tied them together with chenille twist ties.  I didn’t use the ornament pictured, I thought I would glue it to the center of the bow, but, when I tried it I didn’t care for the look, so I will use the ornament elsewhere in the Christmas decor.

IMG_9434

Here is one finished bow and me doing the “Happy Dance” behind the camera!!

IMG_9441

After I saw that I could create exactly what I wanted, I went ahead and made 7 more big, beautiful bows and tied them onto my pip berry garland.  I will most likely replace the pip berry garland with the more traditional pine garland when I get to my Christmas decorating, but, for now, they sure look pretty hanging on that pip berry garland. 🙂

As I sit here and look at my creations for the day, I am patting myself on the back for taking the initiative to research and to learn a new craft! What a feeling of accomplishment such a thing can produce. 🙂

Here is how my stair railing looks this evening:

IMG_2334 1V4A3128 1V4A3130 1V4A3132

Until next time, y’all take good care! ❤

**In crafting there are no mistakes just unique creations**

Burlap Christmas/Winter Wreath with White and Silver Accents

I am still itching to start decorating for Christmas and since I practically recreate the wheel when I decorate, I have decided to decorate my powder room with a more neutral woodsy feel, I am going to try to use accent pieces that will transition nicely from Christmas to Winter; I’d like to keep it in place until Spring. This wreath was my first and will of course be my largest contribution to said powder room decor. 🙂

I found the burlap that I used at Walmart, it is h-e-a-v-y duty stuff, and trust me, will definitely hold its shape beautifully.  The burlap has white ‘flocking’ in the shape of pinecones stamped all over it which makes it quite stiff and honestly, I did struggle with it a bit, I just *might* have said a choice word or two to myself while struggling; but, the struggle was worth it in the end. I gathered all of the accent pieces to compliment that burlap.  I chose a coordinating burlap ribbon with silver snowflakes, a grapevine & white angel, silver and white pinecone ornaments, and silver and white berry beads.

Here is how I put it all together:

I started with a 16″ work wreath with silver chenille twist ties already attached…

IMG_2282

I used every single bit of both rolls of this burlap…

IMG_2284Version 2

I made this bow out of coordinating burlap ribbon:

IMG_2283

And then I started to put it all together; if you’d like to see how I put my burlap or deco mesh wreaths together, here are a couple of links:  Burlap Woodlands Wreath and Christmas Deco Mesh Wreath…If you have any questions at all, don’t hesitate to leave them in the comments below, I’d be glad to try and help anyone who might need a little assistance. 🙂

IMG_2286 IMG_2287 IMG_2288

I cut strips of the coordinating burlap ribbon into 8″ strips, cut the ends into points and attached a tuft of two to every-other twist tie on the outer ring of the form…IMG_2290 IMG_2294 IMG_2296

Then I spread them out to kind of look like a snowflake…

IMG_2297

Next, I hot glued pipe cleaners to the back of this angel (purchased at Hobby Lobby for 50% off) and I tied her onto the wreath form.  I knew she’d be too heavy and using hot glue alone would cause the burlap to sag; adding the pipe cleaners helped to secure her into place…

IMG_2300

Then I hot glued these pinecone ornaments into place
IMG_2299

Next, I attached the bow and accented it with the berry beads by weaving it through the bow loops…
IMG_2302

IMG_2308 (1)

I placed berry beads around the angel as well and called it done…

IMG_2308 (2)

Here is the finished wreath, it cost me in the neighborhood of $35 to make, only because the box of those pinecone ornaments cost $10.  I purchased them at our local Home Goods store and that store hardly ever has ‘clearance’ items or offers a percentage off, but I loved the look of them and they were perfect for this wreath, so I cringed and purchased:

IMG_2315

It will replace this wreath…

IMG_2314IMG_2313

Now I will start to collect a few other accent pieces with which to decorate the rest of the room. I’m going to try to stick with whites and silvers only…I might throw a touch of burgundy in there in a few places…not sure exactly what I’ll come up with quite yet. I *love* the creative process though. 🙂

Until next time, y’all take good care! ❤

**In crafting there are no mistakes just unique creations**

Whimsical Burlap Wreath (For My Daughter)

My daughter Christin asked me to make her a wreath! What?! I was so touched and humbled…honestly.  She is a lovely decorator and I love the look she has created in her home, her decor is much more modern and, as she puts it, minimalistic than mine. So, as we were perusing around Hobby Lobby yesterday (buying paint for her students to use to make their parents’ Christmas gifts; 2016 calendars) she eyed some ribbon that she just loved and this picture.  **Side note:  I am one very proud Mama, Christin is an awesome teacher, one that interacts with her students beautifully! She regularly provides them with interactive projects–the very essence of “learning through doing’.  She makes learning fun and interesting and her students adore her every single year!  Yes, yes, one proud Mama am I…**

IMG_2259

She knew she wanted a burlap wreath and she knew she wanted the accent color to be gold and that pretty teal’y’ green. So we started to build her wreath, here are the accents we chose to accompany this picture and to help to incorporate those colors…

Of course we needed the burlap and a coordinating ribbon, Christin loved that cream with gold polka-dots, so we went with it…IMG_2264

This stuff looked interesting, very glittery, and so pretty, and it was the right color, so we scooped it up…

IMG_2252

She loves gerber daisies as much as I do I think, she chose these in that pretty blue’ish’ color…

IMG_2256

She also loves butterflies, so we grabbed up some of these glittery ones in teal and gold…

IMG_2253 IMG_2254

We picked up that gold “C” and some gold berries and we were ready to go…

IMG_2260

IMG_2265

The first thing I did was make a bow…

IMG_2278

Next, I gathered up a 16″ work wreath (which only means that the chenille twist ties came already attached to the wreath form)…We had picked this up on our shopping spree as well.  It was on sale in the Christmas department for 40% off…

IMG_2250

So here we go, I attached the burlap into the twist ties on the outer ring of the wreath form, making loops of about 10″ and working my way around.  I then transitioned onto the inner ring and worked my way all around in the same manner making loops about the same size (I used one entire bolt of burlap and a little bit of another one)…

IMG_2267 IMG_2268

Then I attached the teal colored burlap to every-other twist tie moving from the inner to the outer ring as I worked my way around the wreath…

IMG_2269

As I have done before, I hot glued pipe cleaners to the back of the wooden picture and to the back of the letter “C” so that I could securely attach both pieces to the wreath (only hot gluing them would not hold them on top of the burlap–they’d slip and slide around too much without being tied on).  I neglected to take pictures of me doing that this time…I’m so sorry…:/  If you want to see how I did that to other pieces, you can check out my Burlap “Woodlands” Wreath blog post.  Anyway, those were the first two things that I attached to the wreath, and then I started arranging the rest of the accent pieces, moving them around and tweaking until I liked how it looked.  I then hot glued everything into place.

After all of the accents were attached, it needed a little something more, so I took whatever ribbon I had left and made several tufts made up of three 8″ pieces of ribbon; I cut the ends in a ‘V’ shape and attached each tuft to every twist tie on the outer ring…

IMG_2272 IMG_2273 IMG_2275IMG_2271

Here is the finished wreath…

Version 2 Version 2 IMG_2276

IMG_2276

Christin seems quite happy with the finished product and so am I, it turned out to be a pretty, whimsical, fun wreath. 🙂  I’m sure she will find a lovely place to hang it in her home.  I love making things for folks; people keep telling me that I should open an Etsy shop and sell my wreaths…I tell them that I have no desire to do that, making things in bulk does nothing but stifle my creative juices and I know in the end, I’d come to hate making wreaths,  I definitely don’t want to get to that point, so I will continue to create them for myself and whatever family members or friends might desire one.

Until next time, y’all take good care!! ❤

**In crafting there are no mistakes just unique creations**

Voyage of the Glaciers-Vancouver, Whale Watching Tour, & a Special Friend Meeting in Victoria

I’m almost sad to be writing this my last post lamenting about our Alaskan Voyage of the Glaciers cruise.  In this post, I will tell you about the last 3 days of our vacation

1) Our last day on the Coral Princess…

2) Disembarkation in Vancouver…and…

3) An Orca whale watching excursion trip that took us to Victoria on Vancouver Island.  A strategically planned trip just so that I could meet a very special friend that I had met on Facebook via my Newfoundland dogs. This would be our first ‘in-person’ meeting–more on that later. 🙂

So, after saying goodbye to Ketchikan, we were ‘at sea’ for a day.  I only took one exciting picture on this day.  😉  On sea days the crew brings out a plethora of different chains and you can have them made to fit.  Cute little option, and not expensive at all…, I purchased a couple of bracelets.

DSCN0130

We mostly used this day to relax, pack, shop for souvenirs, and just explore parts of the Coral Princess that we hadn’t seen yet.  Then, the next morning, we woke up and were docked at Canada Place in Vancouver, B.C…

DSCN0139DSCN0141

Disembarkation went extremely smoothly as it always does, Princess runs like a well-oiled machine, they are very organized and efficient.  We were escorted to our waiting motor coach that would take us to our hotel for the next couple of nights.  The The Westin Bayshore

1V4A2374

We had big ideas of what we might like to do on this day, but, in reality, we took a little walk along the water, found a Subway, and r-e-l-a-x-e-d.

1V4A2376 1V4A2375

The next morning I woke up with butterflies in my stomach; I was so excited that the day I had been waiting not so patiently for had finally arrived! First, I was going to see Orcas, and second and more importantly, I was going to meet up with my friend Liz!!  YIPPEE!!  We didn’t have to go far to catch our whale watching excursion boat, it was parked right at the dock outside of our hotel.  We had booked this excursion online months and months in advance and it was finally time to climb aboard and experience the Prince of Whales excursion.  We were not disappointed on the way to Victoria, after cruising under the Lion’s Gate Bridge, we spotted Orcas pretty quickly and enjoyed watching the J and L Pods as we made the crossing to Vancouver Island…amazing creatures that move effortlessly through that beautiful water, a site not to be missed if y’all ever have the opportunity. 🙂

1V4A2392 1V4A2395DSCN0168 1V4A2419 1V4A2427 1V4A2429 1V4A2476 1V4A2491 1V4A2500 1V4A2512 1V4A2513

We also eyed a harbor seal haul out–these cuties were just lounging around sunning themselves…ahhhhh, the life…;)

1V4A2566 1V4A2568

As we were getting close to docking in Victoria, we passed our boat’s sister ship…

1V4A2588

The trip from Vancouver to Victoria (Vancouver Island) was absolutely breathtaking, the shores were tree-lined in places and in others there were lovely homes with sprawling properties that one could just melt into as they dreamed of how life might be living in this part of the world.  The Pacific Northwest is one of the most picturesque places I’ve ever seen. As we were pulling into the dock, we saw the Fairmont Empress Hotel right in front of us, what a gorgeous place.  If we had stayed in Victoria and booked through Princess, that is where we would have stayed…next trip. 🙂

1V4A25701V4A2598 1V4A2583

Here is a little video snippet for you of the Orcas!

https://www.youtube.com/watch?v=K5XG4NRZshI

So, okay, we were snuggly moored up to the dock and it was *finally* time for us to meet my friend Liz.  Liz and and I met on Facebook through the smallish Newfoundland dog community.  She and I have a love for animals of all shapes and sizes, but we have a real affinity for our “Gentle Giants”, our Newfies; there is something very, very special about this breed of dog. ❤ All right, now for a little backstory on Liz, she used to be a professional chef, was a food critic writer for over a decade, is the author of several cookbooks (I brought this one with me for her to sign A Real Newfoundland Scoff), and she is an awesome blogger ~~ >Food 4Thought.  She is the one who encouraged me to start this blog.  Liz and her hubby used to live in St. John’s Newfoundland and Labrador–you know, over here on ‘my’ side of the Country, but her hubby got transferred and they had to pick up and move all the way over to the west coast.  Liz and I had been wanting to meet for years and years and when they moved west, I told her that it would be more likely that she and I would get that opportunity (because my hubby and I routinely travel to Alaska and routinely disembark in Vancouver).  AND, low and behold, my hubby and I planned another cruise to Alaska; I just couldn’t go without touching base with Liz and seeing if we could set up a meeting. She was thrilled and was on board with us stopping by for a visit, she and her hubby even went to the trouble of coming to the dock to pick us up.  Now, I rarely meet anyone new without bringing them a little gift, so while I was still at home, I collected several items that I thought might give them a taste of where we come from and packed them in my suitcase,  I also packed up a gift bag, and ribbon (so I could make her a bow for on the package), and tissue paper.  I put the gift together while in the hotel room and carried that big bag on the whale watching boat…I didn’t get too many odd looks, well that I saw anyway…haha.  Even if I had, I wouldn’t have cared…lol.  As I was walking up the gangplank, I could see Liz at the top waiting for me, arms open wide, with the biggest grin I’d ever seen all over her face!! I practically ran into her arms and we hugged and cried for a good little bit of time. OH I was so happy to finally be meeting this lady!! AND her hubby who as you can see in the picture below was chuckling at us while we stood there making quite the spectacle out of ourselves while hugging and crying…It was an awesome moment!!! ❤ (I think she loved all of her little gifts too…you can see the bag in my hand there…haha…I was a site carrying that bag, no doubt about it…lol)

1V4A2604 1V4A2606

Once back at their home, I got to meet their Newfie Jack!!! OMGosh, what a big LOVE he is…he is as calm as they come…the epitome of how a Newfoundland dog is supposed to be.  Unfortunately, we didn’t get to meet Liz’s sweet Newfie girl Fleur, she had passed away a month ago on that exact day. 😥 Liz was so sweet and said that our visit helped her get through that day and gave her some good memories to recall on that ‘anniversary’.  Bless her heart!! ❤

IMG_8376

1V4A2634

We were only able to stay there for a couple of hours because we had to catch a motor coach that would take us over to the other side of the island so that we could catch our boat that would take us back to Vancouver. Trust me though, we made the very most of our short time together; Liz had prepared a gorgeous meal for us…OH dear me, Liz created the best fish chowder that we’ve ever and I mean EVER had based on the kind of seafood we love…it couldn’t have been more perfect (and it was figure friendly, but we didn’t know that until after we were finished eating…haha…). It was SO good!!! YUM!!  For the rest of our visit, we talked and laughed, and cried and laughed through tears, we loved on Jack, my hubby and her hubby got along famously and chatted almost more than Liz and I did. 😉 ALL was right with our worlds in those couple of hours…honestly, it was one of the very best visits I’ve ever had with anyone.  Liz and I definitely have a very special friendship, one that I will cherish for the rest of my life!! **LOVE ya Lizzy**

1V4A2624 IMG_8373

<Sigh> Unfortunately, it was time for us to go and catch that motor coach, so we climbed back into Liz’ car and she and her hubby took us to our drop-off point.  Talk about a bittersweet parting…OH I didn’t want to leave, that was a very difficult goodbye…

1V4A2639

So we pulled ourselves away and headed to our motor coach that would take us to The Butchart Gardens.  I had had no expectations about this place as I had been so focused on our visit with Liz and her hubby, but, when we arrived, I was blown away by the beauty that stood in front of us.  As we meandered our way through the Gardens on our way to our transportation back to Vancouver, I was in awe and mesmerized by the sheer beauty of that place…

1V4A2656 1V4A2654 1V4A2653 1V4A2652 1V4A2650 1V4A2646 1V4A2645 1V4A2643 1V4A2642 1V4A2647 1V4A2652

We hopped back on our whale watching tour boat and away we went back to our hotel in Vancouver.  I will admit that I sat on that boat and was very sad, sad that I was leaving one of my dearest friends behind and I was also sad that tomorrow I’d be leaving this part of the world that I’ve come to love so much.  DSCN0151

We pulled back into the Westin Bayshore’s dock, disembarked, headed up to our room and packed our bags…Tomorrow we’d take a taxi ride to the airport and head back to our humble abode.

Every time we go to Alaska, I always say it is “the trip of a lifetime”, and we’ve been blessed and lucky enough to have been able to do that trip 4 times.  Who knows, we might go back again, I hope we go back again. So in closing, let me take a moment to thank you Princess Cruises for another amazing journey, one that allowed us to bask in Alaska’s beauty, cruising through Yakutat Bay, into Disenchantment Bay and then experiencing the wonders of Hubbard Glacier,  gliding through the pristine waters of Glacier Bay culminating in the stupendous calving of Margerie Glacier.  Then traveling through the Inside Passage where we experienced the three vastly different ports of Skagway, Juneau, and Ketchikan. Thank you Canada for again welcoming us with open arms and hearts and for bringing two friends together, even if it was only for a couple of hours.  Oh what an amazing journey…yes, **definitely** the trip of a lifetime!

Until next time, y’all take good care! ❤

~Arlynn

Here is one more link…I wrote one post describing the Cruise Tour that we took in 2012…:)  It covers our travels from Anchorage to the Princess Mt. McKinley Wilderness Lodge, on a jet boat excursion to The Devil’s Canyon (out of Talkeetna), then onward to the Princess Denali Wilderness Lodge, and then on a train ride back to Whittier (Anchorage) where we hopped on the Diamond Princess and enjoyed another Voyage of the Glaciers cruise. 🙂

Sneak Peek:

DSCN0535

I’ve also written two other blog posts that go hand in hand with these blog entries.  Here is a link to my Alaska Wardrobe Choices entry. And here is a link to my What’s In My Carry On, My Must Haves, and Packing Tips & Tricks entry.


Fall Colors Around the House

Cool crisp mornings and the changing of the leaves usher in one of my favorite times of the year, Fall.  Since I’ve lived in the South, I am so very grateful when the humidity of summer dissipates and sitting outside becomes pleasurable again.  While my hubby and I were out enjoying the cool weather last weekend, we took some time to click off a few pictures of our home, the dogs, and a battlefield.  We live out in the country and with each passing year, the trees that surround our house get prettier and prettier, the first couple of Falls that we were here I think our trees were not happy campers because they had been ‘disturbed’ by the building of our home, but, now, it seems that they have settled down and are starting to fill out with more foliage and hence presenting us with a colorful little show this Fall. 🙂

My hubby took these next pictures with the wide-angle lens on his camera:

1V4A3050 1V4A3060 1V4A3061

And then he took some shots of the dogs and I snuck in there with them for a one…

1V4A3078 1V4A3084 1V4A3087  1V4A3077

We decided to take a ride around our town into one of our Civil War Battlefields; wow, what a gorgeous ride that was!

1V4A3104 1V4A3093 1V4A3120

As we were pulling back into our driveway I took a moment to reflect on how lucky and truly blessed we are to be living in a place that provides so much beauty as each season passes.  If I’m honest, I’ll admit that winter is not my favorite season, I don’t care for looking at baron trees especially after seeing the trees that have just given us a beautiful show as they trumpeted their last hurrah.  I do enjoy November and December because Thanksgiving and Christmas are my two very favorite Holidays and I get to see my family, eat way too much, laugh, cry through laughter, sing a few carols and exchange gifts (although, I dislike wrapping said gifts…<erg>).  In December we always take many evening rides around our town to see the Christmas decorations and lights…Ahhhh yes, we do see quite the array of decorating styles, some absolutely gorgeous, some just good, some bad, and yes, some just plain ugly (haha). Of course I love to do my own decorating and this house presents me with new and exciting areas with which to display my creations.  But, ugh, January, February, and March are pretty bleak and very cold (relatively speaking).  Ever the optimist and one that tries to find the positive in any given situation, I will say that I do enjoy a good snowstorm and hunkering down with a nice pot of homemade soup and watching my dogs romp and play in the newly fallen blanket of snow. Also, snow is always pretty to photograph, so bring on Winter, I’ll be ready for you when you arrive. 🙂  Anyway, I digress…;)

Here was our view as we pulled back into our driveway…


1V4A31241V4A30591V4A3125

<Sigh> Life is good and I appreciate and am so humbled every single day that I wake up, put my feet on the floor, and maneuver through my day with only small normal aches and pains, ones that seem to be arriving a bit more frequently as I age…haha.  Regardless, I’m so very grateful.

Until next time, y’all take good care! ❤

~Arlynn

Christmas Grapevine Wreath

Another bright idea popped into my head as I was piddling around my house yesterday morning; how about if I make a Christmas wreath to attach to the 6′ mirror that hangs above our mantel?!  Well, the first thing I needed to do was check with the hubby to see if it was even a doable task *for him* as I am not as agile way up on a ladder as I’d like to be. 😉 He assured me that he would be more than able and definitely willing to hang whatever wreath I created way up there on that mirror.

OH let me tell you a quick story about that pretty, *large*, *heavy* mirror (6′ tall x 45″ wide). My hubby actually was the one that found that on LightingDirect.com <~~~ That link is for a similar mirror, I can’t find our specific mirror at this time.  Anyway, it was delivered via 18-wheeler (freight) because it was *that* heavy.  Putting that thing up was quite the task, my hubby attached a piece of wood the width of the mirror to the back of the mirror and one of the same size to the wall, he had cut angles on the edges of the wood pieces so that the piece on the back of the mirror would snug down into the piece of wood on the wall thus anchoring it nicely and securely.  It took my daughter, my hubby (while up on a ladder), and myself to lift and muscle it into place, whew!!  Trust me, it isn’t coming back down…probably ever…haha.

IMG_2231 IMG_2235

So back to my bright idea, I decided to make a grapevine wreath for this location because I wanted to stick with my planned color and rather rustic theme.  I’ll be using a pine pre-lit garland on the mantel…I bit the bullet this year and went ahead and purchased it new from Grandin Road…here is a link… Christmas Garland. Yes, it was a bit pricey, but I had a 20% off your entire purchase coupon, so I went for it.  While I was at it, I purchased a set of 5 Candle Rings; I will be adding some of the same red and gold berries to them that I used for this wreath (subject for another blog).  Those candle rings will be placed on these gold mercury glass candle stick holders that will be on the mantel…

IMG_9373

Okay, I know all of the components that I’m mentioning for my fireplace decor sound like quite the hodgepodge, but I *think* when I pull it all together that it will look lovely…I hope anyway. 😉

Now, I wanted to make a pretty large wreath to place on the mirror, so I purchased a 24″ grapevine oval wreath (the shape wasn’t as oval as I wanted it to be though, but it’ll do)…

IMG_2202 IMG_2203 IMG_2204

The first thing I did was to cut strips of felt and I hot glued them onto the back of the wreath so that it won’t scratch the mirror or anywhere else that I might want to hang it in the future…

IMG_2205 IMG_2206

I also made a ‘hanger’ out of a pipe cleaner and I hot glued it on to where I deemed would be the top center of the wreath…

 IMG_2207

I had purchased this little wooden snowman to add to the wreath and I knew that it’d be too heavy to glue on, so I hot glued pipe cleaners to the back of it so that I could tie him onto the wreath…

IMG_2211 IMG_2212IMG_2213 IMG_2214

Here are the other accents that I chose…

Some pine greenery:

IMG_2198 IMG_2199

IMG_2200 IMG_2201

Red sparkly berries:

IMG_2208

Gold berries and small Christmas ornaments…

IMG_2228IMG_2224

I made a rather large bow and attached some of the red and gold berries into the pipe cleaner that I used to tie the bow shut.  I pulled them around to the front and through the bow loops to add a little interest…

IMG_2221 IMG_2223 IMG_2228 (1)

I also found these cute burlap ornaments that I thought would help the wreath feel a bit more rustic…

IMG_2209

Okay, so it was time to assemble the wreath…Here we go…

The first thing I attached (hot glued) was the greenery, one large piece and one smaller piece starting on the upper left bending it and circling around the top and half way down the right side of the wreath form.   I did the same thing around the bottom portion of the wreath leaving myself a bit of a space on the left side so that I could place the snowman…

IMG_2217 IMG_2216 IMG_2219 IMG_2218

After that, I added the bow, red berries, the gold berries and the little ornaments.  I then placed the larger burlap ornaments and called it done. 🙂 Here is the finished wreath…

IMG_2230

I really wanted to have this wreath lit for at least a few of the evening hours so I went on the search of a battery operated light strand with a timer an I found one at Walmart! There are 3 timing options and the one I chose was to have the lights come on at a certain time each evening, they will stay on for 6 hours and automatically turn off.  The perfect solution! 🙂 AND **Bonus**  they were only $6.88!

IMG_9384IMG_9385FullSizeRender   IMG_9386 IMG_9388

I do think it will look really pretty on the mirror above the mantel…I sat it up on the mantel this morning to see if the size was going work okay, and I do think that it will. I had to do a little visualizing because I will not even attempt to hang that puppy up there by myself. 😉

IMG_9380

Wow, I do think that it will make a nice bold statement on that mirror and it will help to pull all aspects of the fireplace decor together. Yippee!!

I’m really itching to redecorate my house for Christmas; my Dad will be coming to join us for Thanksgiving and he enjoys Christmas decorations so much, I might just decorate a little earlier this year so that he can enjoy it when he comes for our feast. 🙂


~~~Well, it is a week later and I’m amending this post just a bit, just as I’ve amended this wreath…haha.  My color pallet for my family room is going to be burgundy and gold.  Then why (you might ask) did I put that bright red plaid bow on a wreath that would be an integral part of that room’s decor? Because I lost my mind for a moment? Because I *thought* it would blend in? 😉 😉   Shoot, I was losing sleep over this little issue, so I couldn’t stand it any longer.  I made a new bow out of 2 different ribbons (burgundy and gold) because I couldn’t find any ribbon that I liked enough. I added a couple of poinsettias, some more gold berry beads, and a couple more ornaments.  I feel much better now and I’m sure I will sleep much better tonight. 😉

Here is a before and after comparison:

Image (1)

And this is the wreath that will hang on the mirror…I loved that red plaid ribbon, but not enough to completely throw off my entire plan for the room. 🙂

IMG_2325

Until next time, y’all take good care! ❤

**In crafting there are no mistakes just unique creations**

Christmas Wreath: Ornament & Burlap Mesh (Burgundy & Gold)

Hi All,

I took a trip to Walmart with the intention of purchasing Christmas ornaments to be used to try and create one of those beautiful wreaths made completely out of Christmas ball ornaments.  I have never made one of those wreaths and I thought that I might like to give it a try, so I started perusing around looking for just the right color combination of ornaments.  Walmart does have very large containers of Christmas balls in a dizzying array of color combinations…just not the combination for which I was specifically looking.  I am going to be decorating my family room and surrounding rooms with burgundy and a light gold this year and all of the large containers of the gold ornaments were too dark in color and I was getting frustrated.  ANYway, my cousin Stacey had told me about some new and different burlap/meshy rolls that they have at Walmart  (y’all have met Stacey when she was my guest blogger and she told you about her Deco Mesh Halloween Wreath and her matching Deco Mesh Garland that she created when we got together for a craft weekend).  As I was wandering around continuing to search for what had become a very elusive color of gold ornament, I found the rolls that she was speaking about and gathered several and put them in my cart. I then looked to my left AND right across the aisle my eyes locked on an “ornament garland” in the *exact* colors that I’ve been tossing around as my theme colors for this Christmas!  My wheels started turning as I grabbed up that box of ornament garland–even though it was $20…yikes. Regardless, I was a happy girl because I had found burlap mesh *and* my envisioned color combination of ornaments; I was creating the wreath in my mind as I went around and gathered the other accents that I’d eventually add to the wreath.  This wreath cost me around $50 to make (a bit more than others that I’ve made because of the cost of the ornament garland)…

Here is what I came up with:

Here is the ornament garland:

IMG_2164

I chose to use a 16″ work wreath with the gold metallic chenille twist ties already attached (picked that up at Hobby Lobby in the Christmas section for 40% off):

IMG_2165

I used almost two entire rolls of that meshy burlap and most of the roll of the gold and cream accent ribbon:

IMG_2177

I picked up some gold and pine decorative picks and a few little owls to add as my accent pieces:

IMG_2171 IMG_2170 IMG_2173

Here is how I put it all together:

I started with the meshy burlap…I attached it to the work wreath starting on the outer ring.  I made large loops between each twist tie (probably about 10″ long) and worked my way around the entire ring finishing by adding the last gathered tuft into the same twist tie that I started with. Then, I transitioned to the inner ring and did the same thing around the entire ring.

IMG_2179IMG_2180

I then started to add the gold and cream ribbon. I started at one of the twist ties on the inner ring, attaching into the twist tie and right on top of the meshy burlap.  I continued around the entire wreath working from the inner to the outer twist ties.  I put the ribbon in every twist tie…

IMG_2182 IMG_2184

I wasn’t quite sure how I was going to manipulate that ornament garland into place, but, it was much easier to accomplish than I feared. All I did was get it out of the box, spread it out, and then laid it around the wreath. The ornaments were attached to a rather sturdy, wrapped stem sort of stuff that I could bend and manipulate any way I chose.  I used all of the inner twist ties to secure it onto the wreath.

IMG_2185 (1)IMG_2185

Next, I made a bow (here is my Bow Tutorial video), chose a place to put it on the wreath and tied it on using the pipe cleaner that I had used to tie the bow shut:

IMG_2187

IMG_2195

The garland did overlap in one spot–to the right of the bow, but it filled out that part of the wreath nicely and actually worked out perfectly in the end. 🙂

I then started to place the gold and pine picks and the owls, being a symmetrical person, I admit that I did fiddle around with them a good bit before I got them where they looked good to my eye.  I did hot glue them into place, and I also hot glued some of the ornaments together, they were flipping and flopping around a little too much.  This wreath will be hanging on our family room door that heads out to the backyard, so it is constantly in use, I wanted to make sure everything would be nice and secure.

I tried it out on the door for a few minutes, and I think it is going to work out beautifully there in the family room…

IMG_2196 IMG_2194 IMG_2191

I’m so excited to decorate for Christmas this year because I’m going to be tweaking my decor a bit.  I have gotten a bit tired of the same decorations year in and year out.  Some traditional things will remain the same, like the family room Christmas tree will not be changed a whole lot because it holds all of our special, sentimental ornaments, and I have a few ceramic Christmas trees that my Grandma made for me, they will definitely still be incorporated into the mix. OH yeah, I have a plethora of snowmen as well, I’m sure they will be scattered about. But, I will be changing up my mantel and hearth and most likely I’ll make a spray that will go on my bullnose of my staircase– all three of those places will mimic this wreath…somewhat. 🙂  (I rushed back to Walmart today to gather a couple more boxes of that ornament garland to incorporate in the places that I just mentioned). 🙂  So, I am going to be trying to recreate the old wheel so to speak this year…wish me luck! And stay tuned, after Thanksgiving, the decorating frenzy will begin…haha. 😉

Until next time, y’all take good care! ❤

**In crafting there are no mistakes just unique creations**

Voyage of the Glaciers-Ketchikan (Day 7)

Hi All,

When I woke up and we were docked in Ketchikan I was full of mixed emotions.  On one hand, I was excited because I knew that the excursion that we had planned for the day was going to be amazing, we’d done it one other time a few years earlier so I knew what to expect.  Also, the weather was amazing! Ketchikan is located in the Tongass Rainforest, so it rains *a lot* throughout the year, but on this day, the sun was shining brightly and there wasn’t a cloud in the sky…how fortunate were we?! 🙂  But, on the other hand, I was kinda sad.  I knew that this might very well be the last time that we were going to see Ketchikan and its quirky beauty; it is a very colorful little city…

IMG_1347 IMG_1348 IMG_1349

My hubby and I spent the morning walking around the Coral Princess, eating breakfast, and just relaxing on our balcony…

DSCN0079 DSCN0078 DSCN00751V4A15531V4A15541V4A15551V4A15581V4A15591V4A15601V4A15611V4A1562

I enjoyed watching the floatplanes take off and land, there are tons of flight excursions that one can choose to take;  Misty Fjords is one of the major attractions out of Ketchikan and many choose to fly over it as opposed to taking a boat excursion.

IMG_1273

Here are a few pictures that we took on our Misty Fjord’s boat excursion a few years ago:

IMG_1595 IMG_1618 IMG_1623 IMG_1635

After breakfast and lounging the morning away, it was time for us to head out for our excursion, we didn’t have to go too far, we literally stepped off of our cruise ship the Coral Princess and walked about 30 paces and climbed aboard the awaiting Aleutian Ballad for our Bering Sea Crab Fisherman’s Tour

1V4A2217 1V4A2216

As I mentioned above, we had done this tour one other time and enjoyed it so much that we had to do it again. I was glad we did because there were new crew members aboard and they told new and different stories of their adventures on the Bering Sea where they were doing one of the deadliest jobs on the planet…catching crab. The Aleutian Ballad was one of the crab boats featured on the 1st season of the Discovery channel’s Deadliest Catch.  It got hit by a rogue wave and was damaged quite badly; this is when they chose to start doing a tour out of Ketchikan, so when they had the boat refurbished, they had it refitted to accommodate covered tiered seating to make folks comfortable while sitting and listening to the crew’s amazing tales.

IMG_1278 IMG_1279 IMG_1284 IMG_1290

After they told a few stories we pulled into a little cove that was full of bald eagles, we caught some of the best pictures we’ve ever taken of those eagles–of course I knew this was coming so when they pulled into the cove, I practically dove for a front spot right at the railing…no, I wasn’t rude, just determined…haha. 😉  I think these pictures will speak for themselves…

IMG_1301 IMG_1306 IMG_1308 IMG_1313 IMG_1314 IMG_1318 1V4A2298 1V4A2331 1V4A2344 1V4A2350 1V4A2369

What a majestic bird!! I was amazed at their maneuvering ability and their accuracy when diving for the snacks that the crew was tossing into the water.

Here is a little video I took of our time on the Aleutian Ballad:

We then traveled around to some different crab and shrimp pots that the crew had dropped earlier and they explained the process of pulling/baiting/dropping said pot. We got to hold snow (or opilio) crabs, king crabs, shrimp, and other creatures from the sea. 🙂 I loved that part!

IMG_1429 IMG_1441 IMG_1443 IMG_1445 IMG_1454 IMG_1458

I was mesmerized by all of their stories and completely thrilled yet again with this amazing excursion. If y’all ever get to Ketchikan, I would highly recommend this tour (you can book it on your own, or through any of the cruise lines).

So, this was our last port of call, as we pulled out of Ketchikan I again got weepy, I so love Alaska, its sheer size, its grandeur, and its magnificent sites.  I do hope that we will be able to return one, or two, or three more times in the future, but I’m not sure that we will do so as we’ve chosen to set our sights on other parts of the world.

The next day would be a ‘sea’ day, and then we’d be pulling into Vancouver, B.C. We’d disembark our cruise ship, but our vacation wasn’t quite over…

Next up…Orca whale watching tour on our way to Vancouver Island and meeting up with a dear Facebook friend Liz (that I’d met through my Newfoundland dogs), her hubby Mike, and their awesome Newfoundland pup Jack…I couldn’t wait for this next part of our adventure!

***Update***  I’ve now completed all of my installments in the Voyage of the Glaciers Series and have included links to the next post in line (so to speak) at the end of each posting.  So, here is a link to the next post and it covers our time in Vancouver & Orca Whale Watching tour to Victoria… 🙂

Sneak Peek:

1V4A2513

1V4A2606

Until next time, y’all take good care! ❤

~Arlynn

I’ve also written two other blog posts that go hand in hand with these blog entries.  Here is a link to my Alaskan Wardrobe Choices entry. And here is a link to my What’s In My Carry On, My Must Haves, and Packing Tips & Tricks entry.