Switch-Out To Patriotic Decor

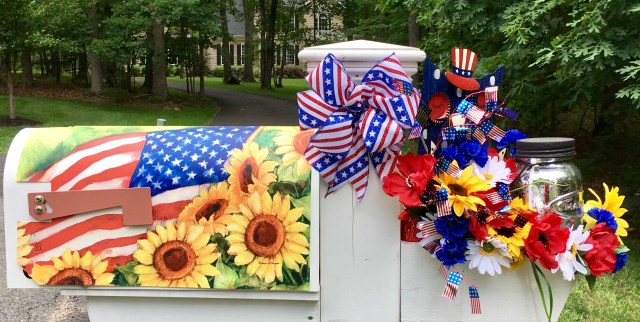
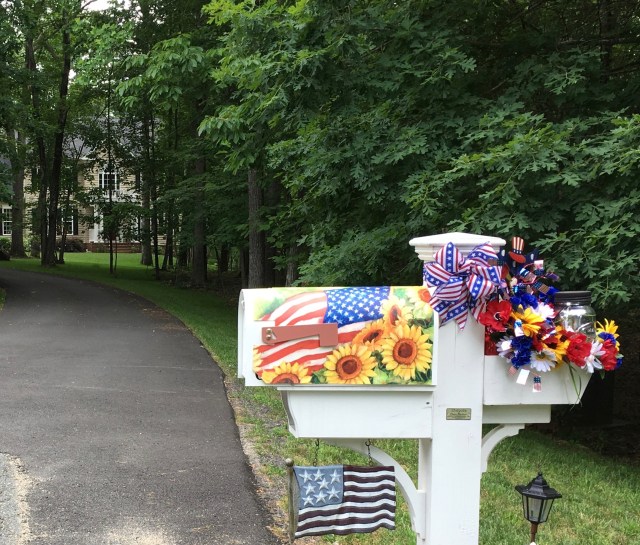
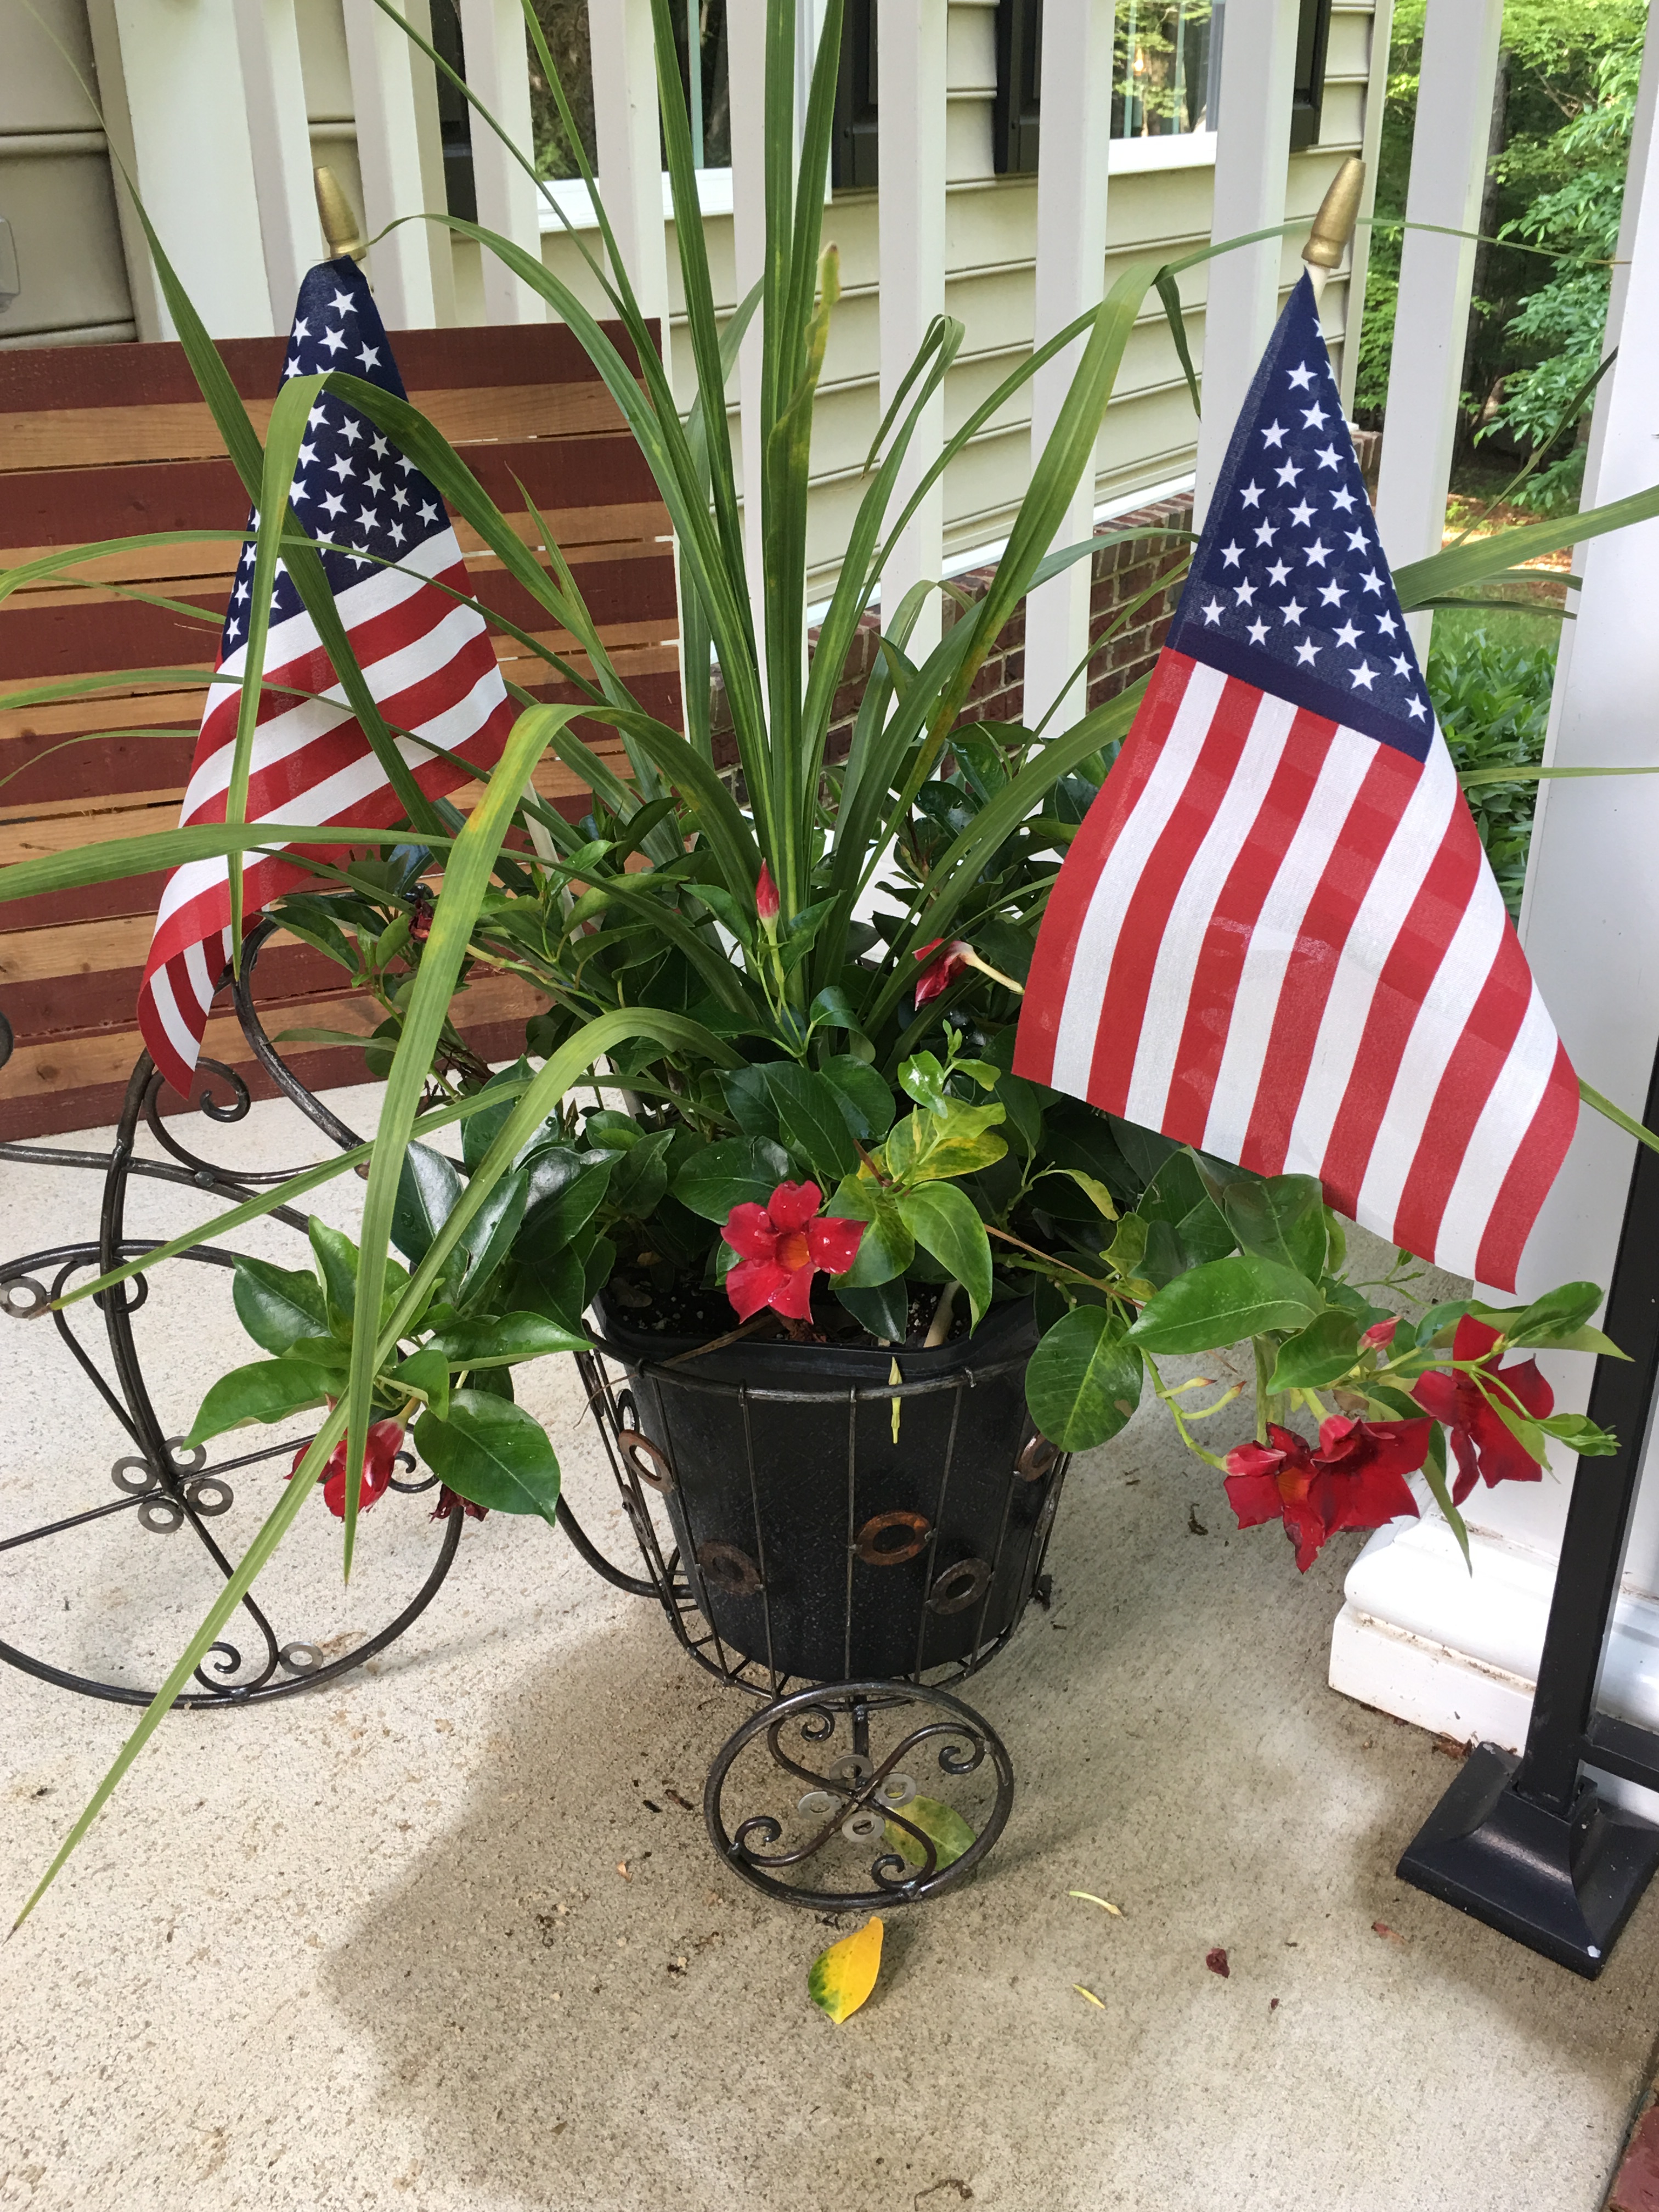
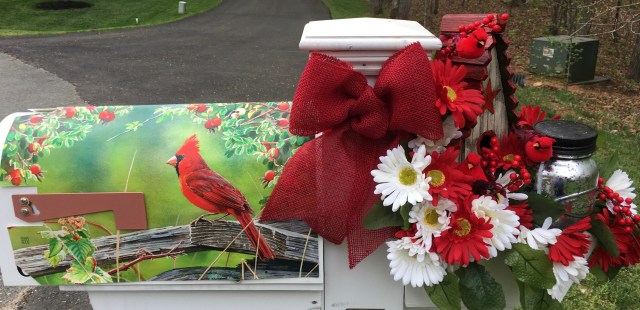
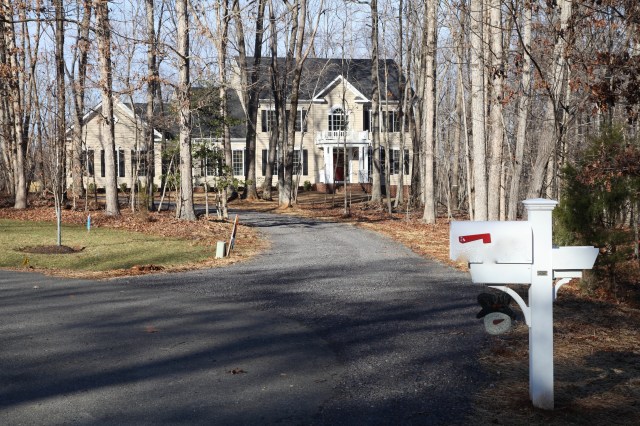
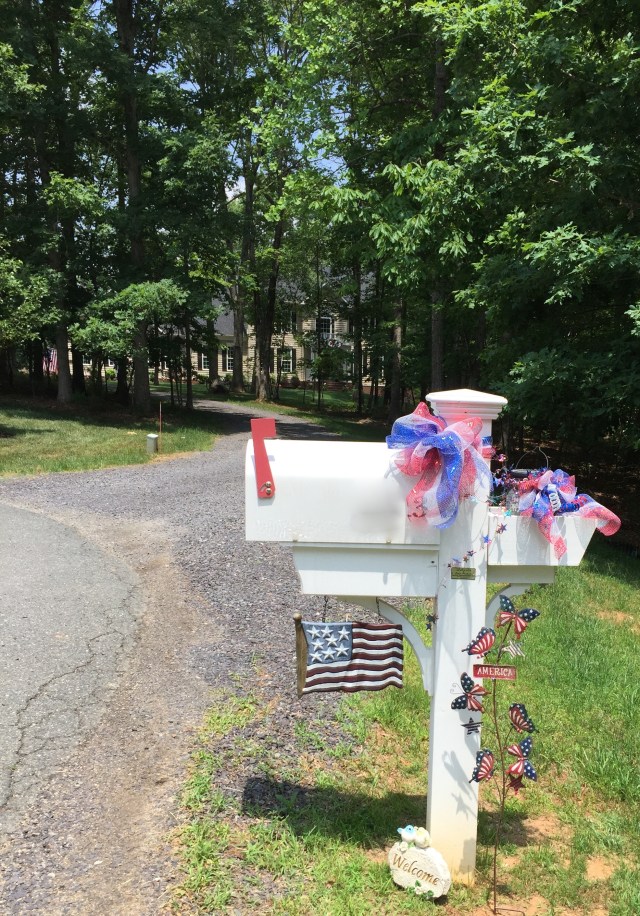
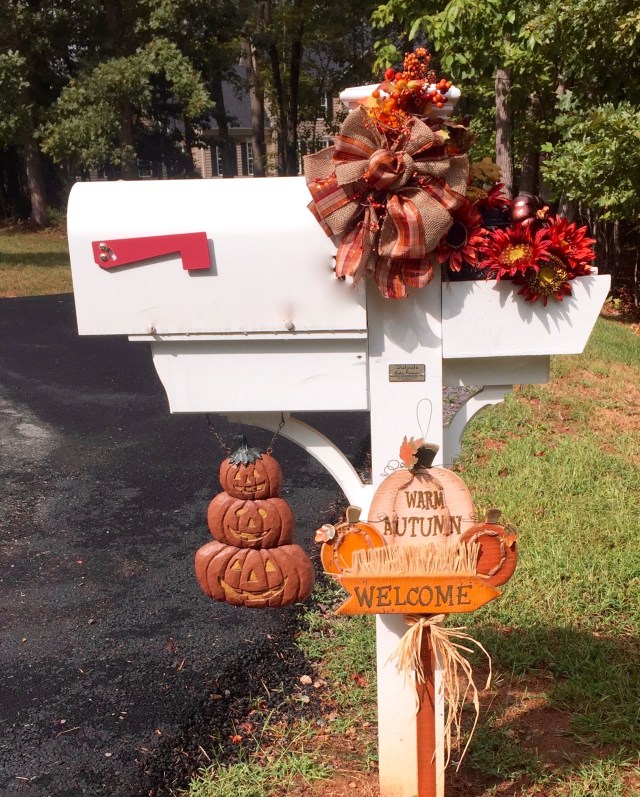
Hi everyone! Thank you all so very much for stopping in here to see what I’ve been up to as of late…a-n-d…I’ve, as you will see as we go through this little post, have been keeping myself very busy.  As y’all know by now, decorating and redecorating for each Season/Holiday is a passion of mine.  So as we were approaching Memorial Day at the end of May, I started to plan, create, and get myself all revved up to start my switch out to my Patriotic decor.  I normally will switch everything over to the Patriotic by Memorial Day and that is how it will stay until after the 4th of July.  So instead of talking y’alls ears off here, let me show and tell you (via my YouTube video tutorials and tours) how I achieved my goal of bringing in some of the Patriotic.  By the way, I only redecorated the back side of the house, I left the living room, dining room, and foyer alone.  Okay, so here we go.  I started with our mailbox, here is how it looks after I took inspiration from that mailbox cover—trying to create the same feel in the back trough that is depicted on the cover:

IMG_0323.jpgIMG_0324.jpg

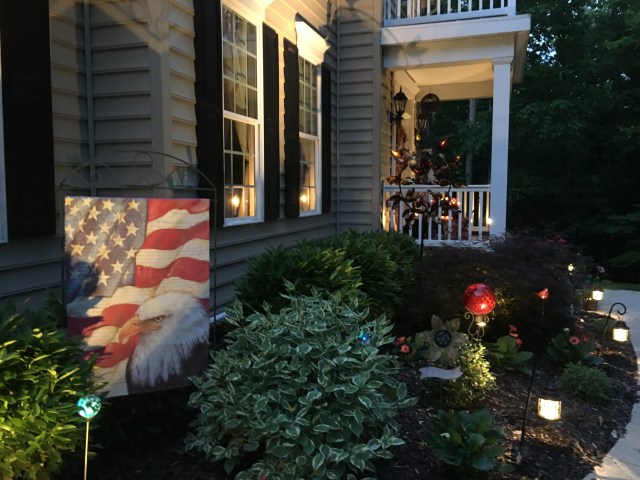
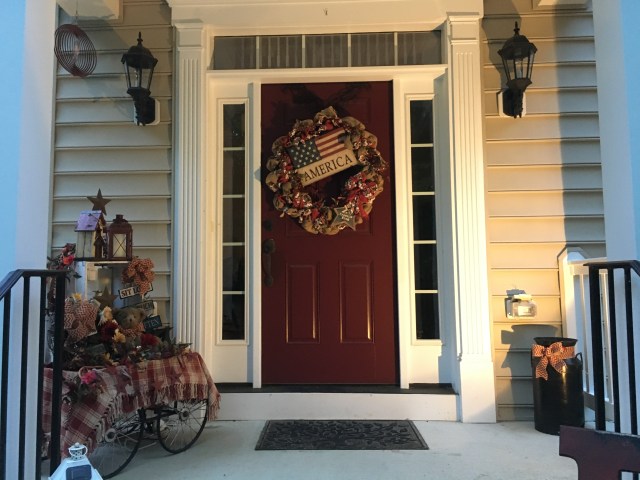
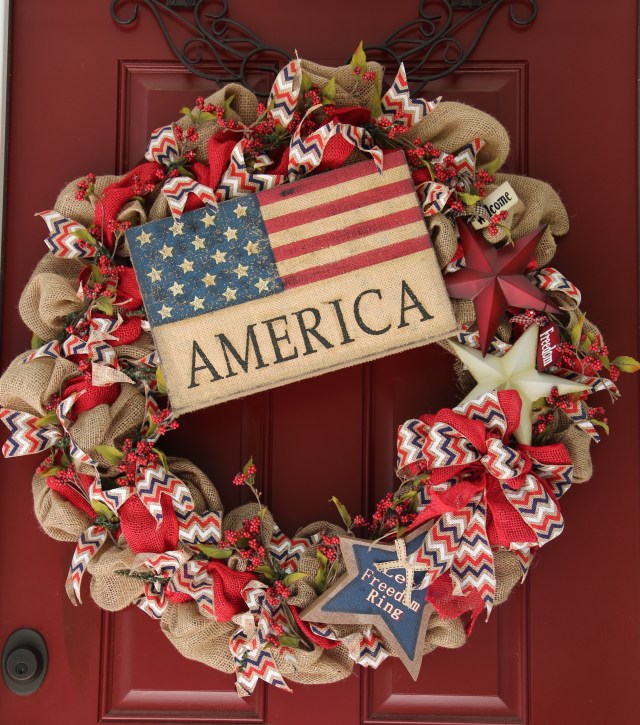
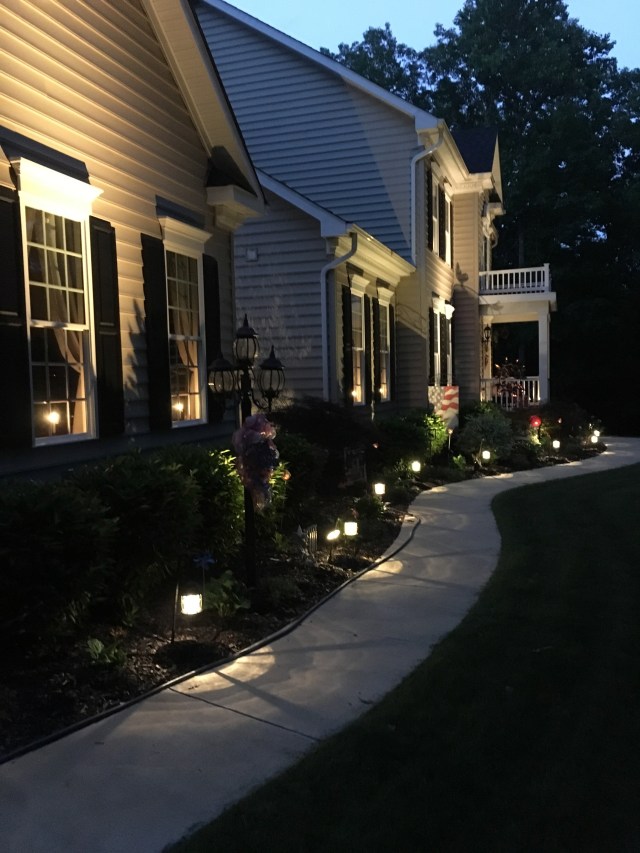
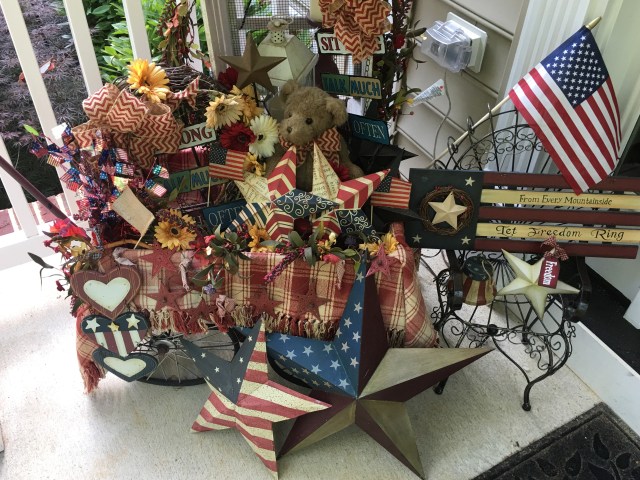
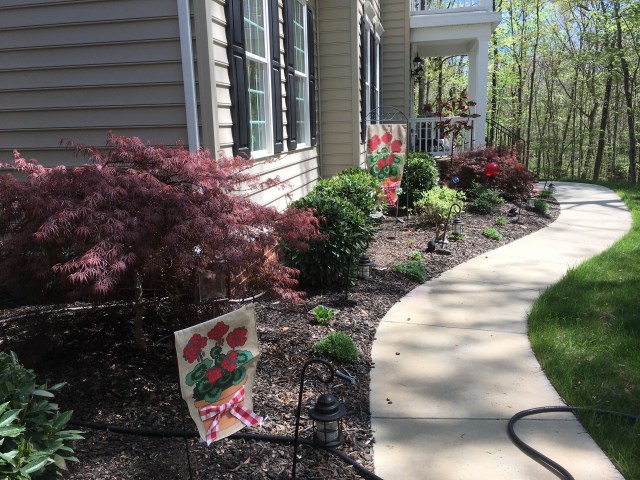
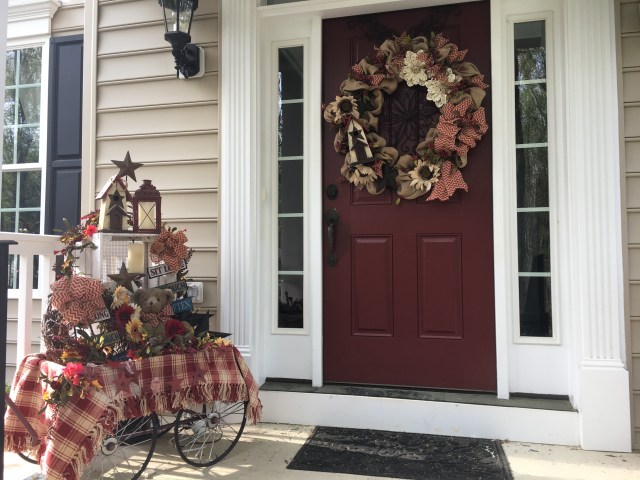
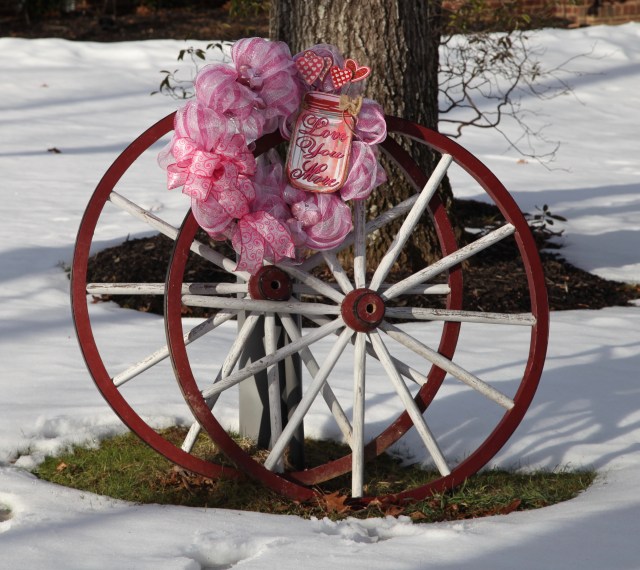
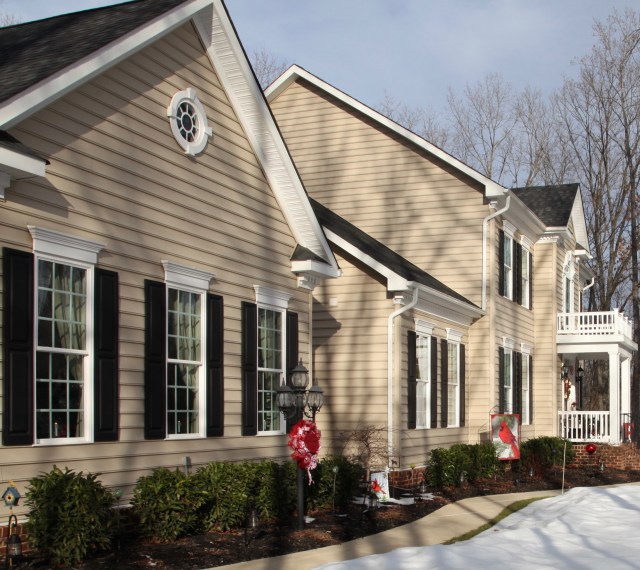
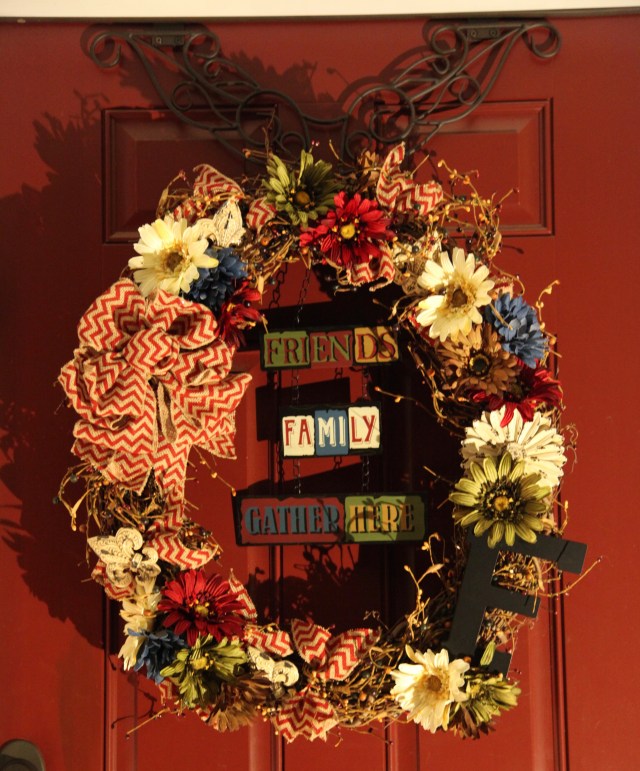
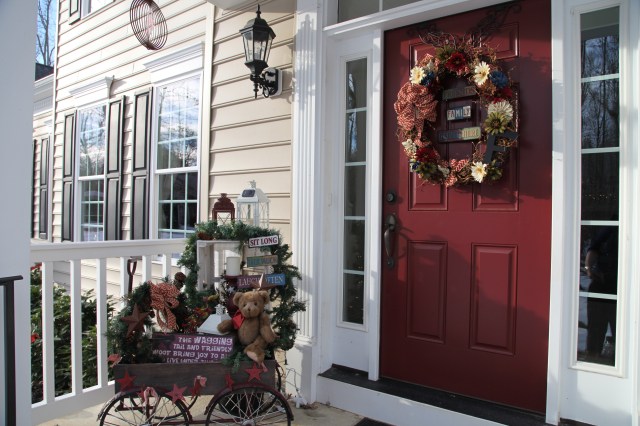
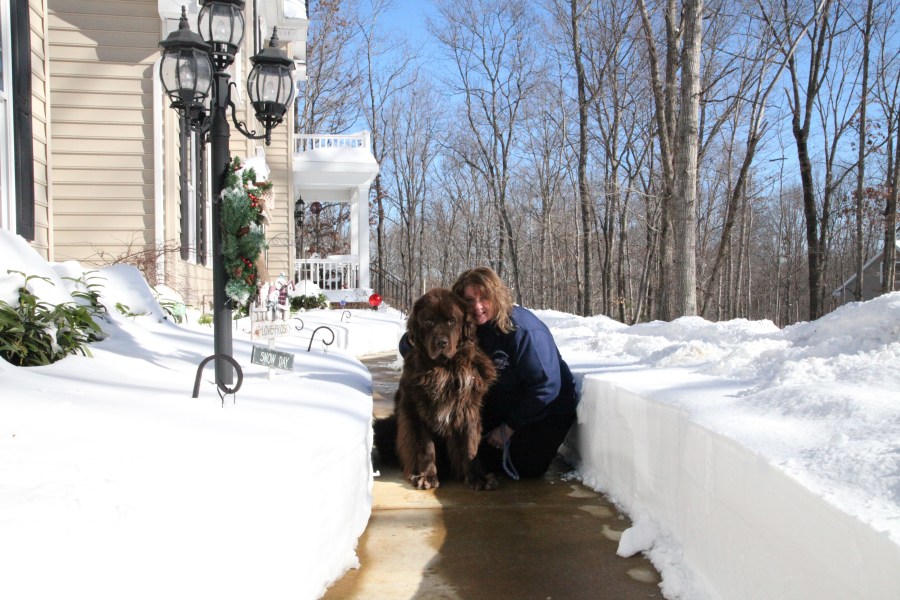
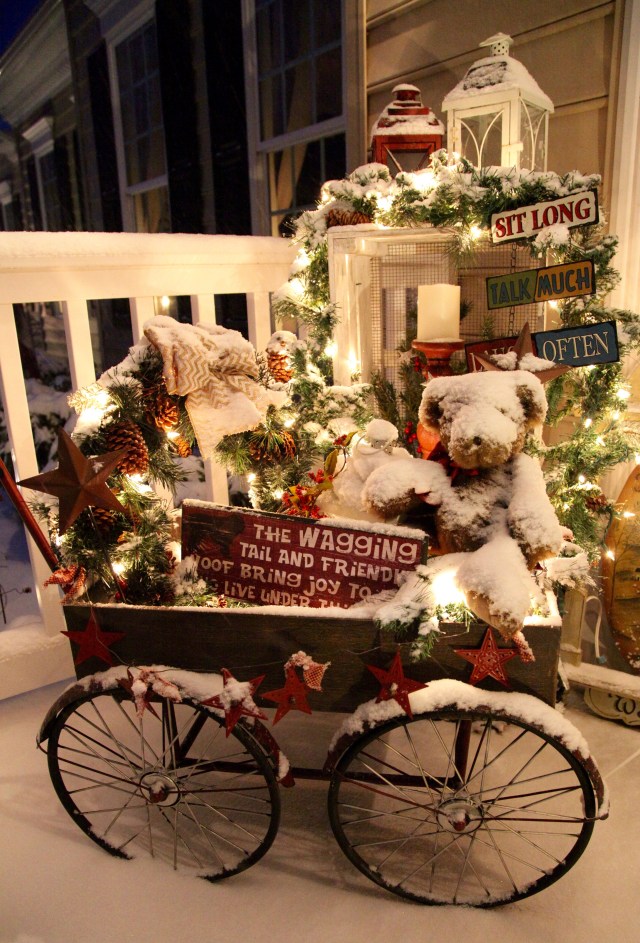
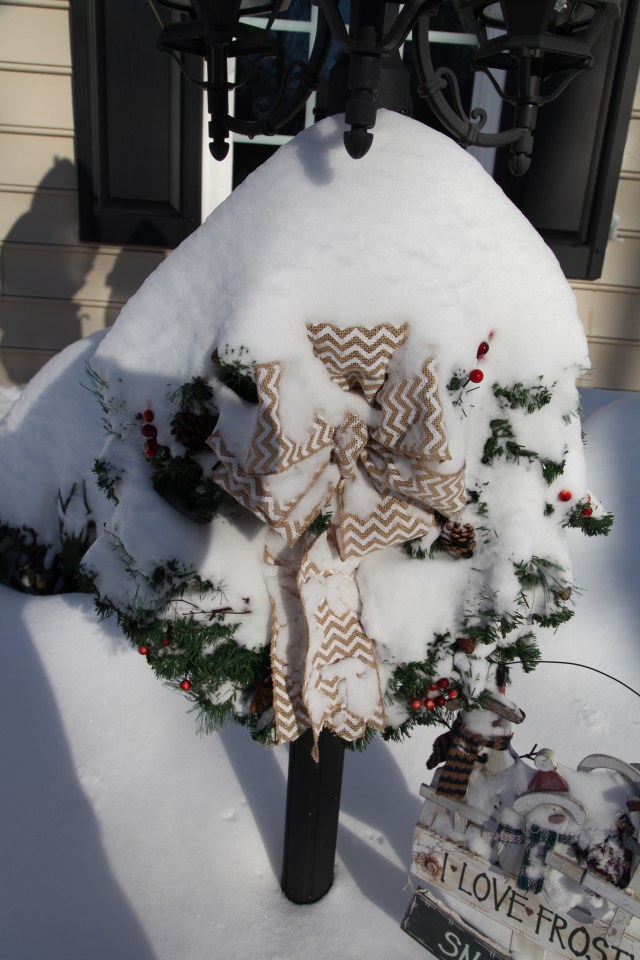
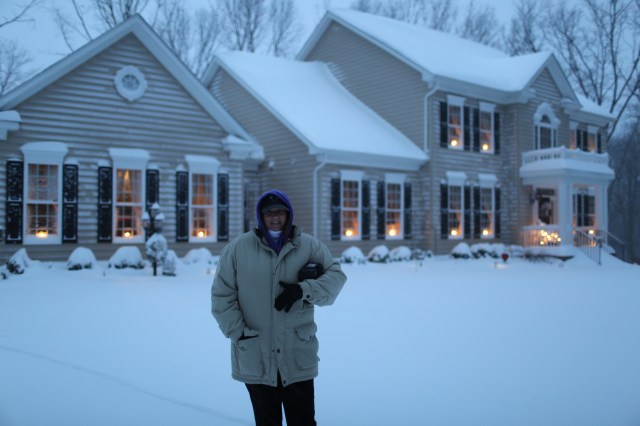
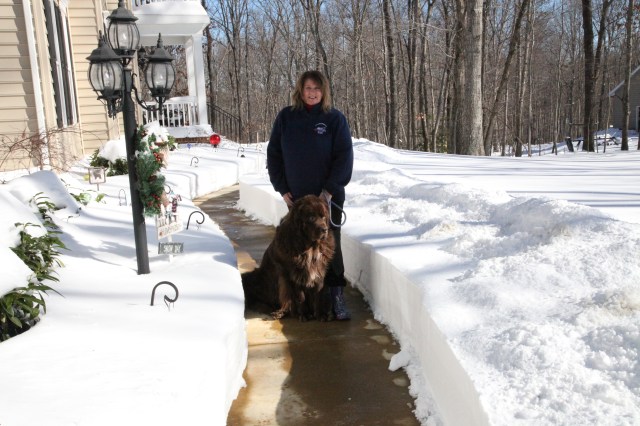
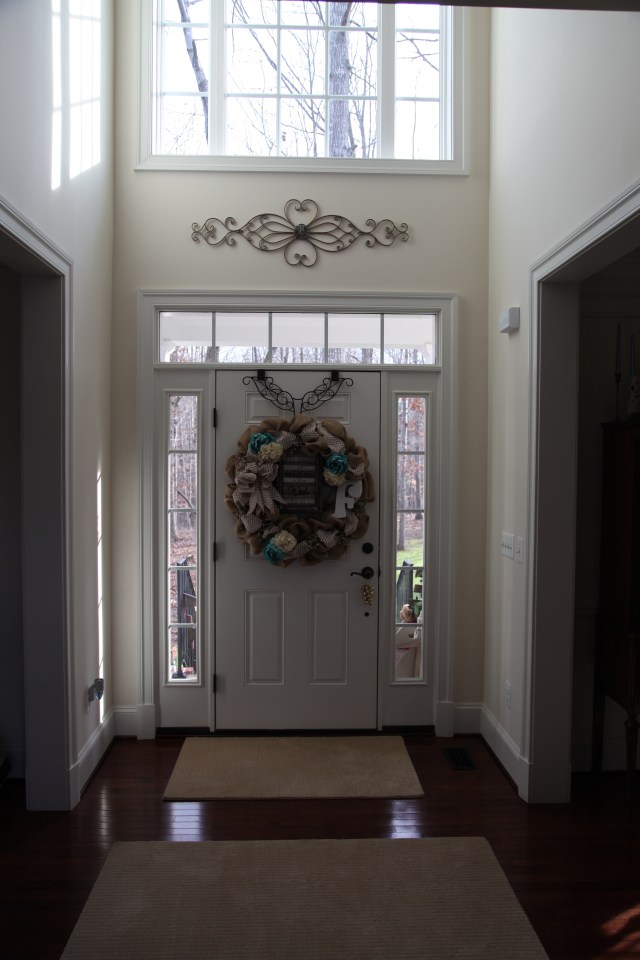
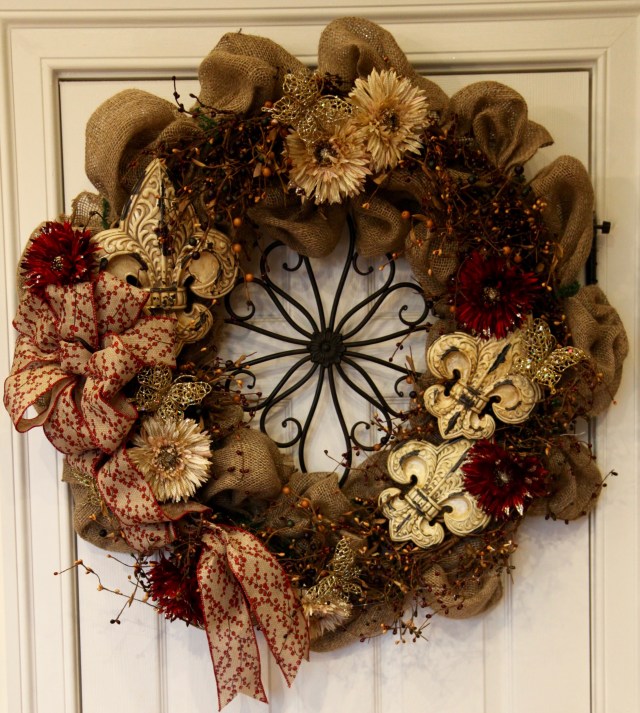
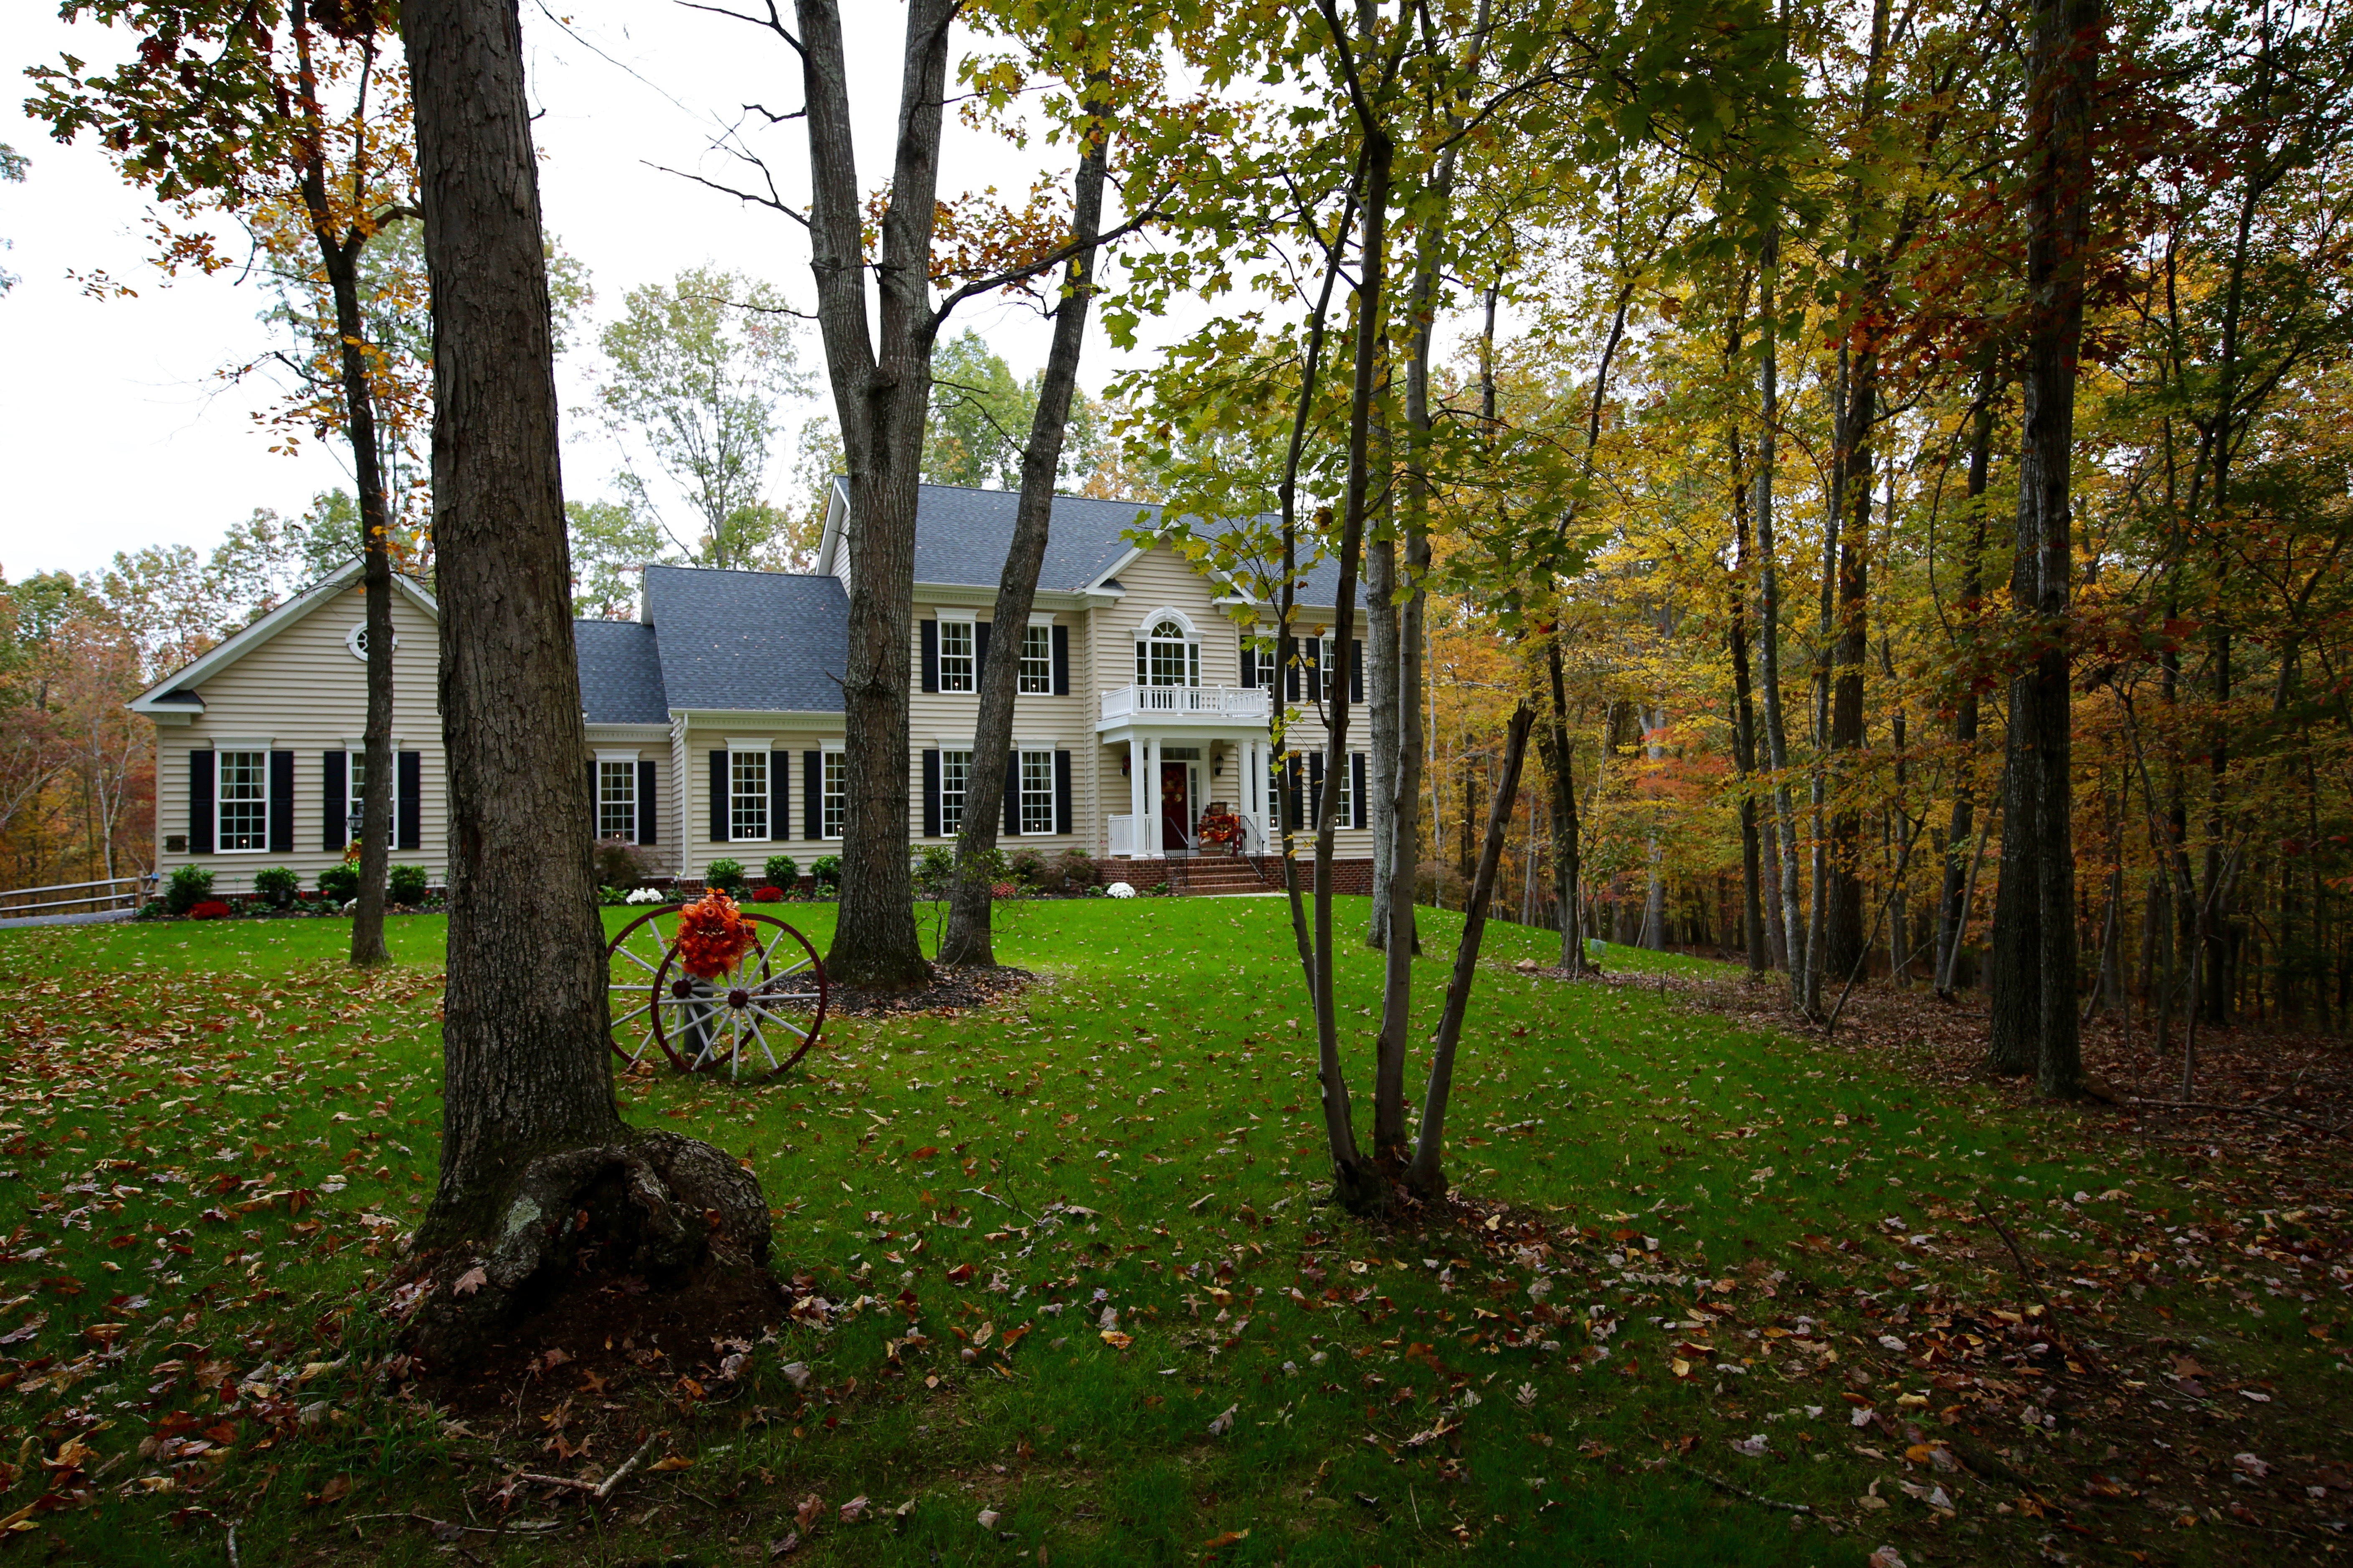
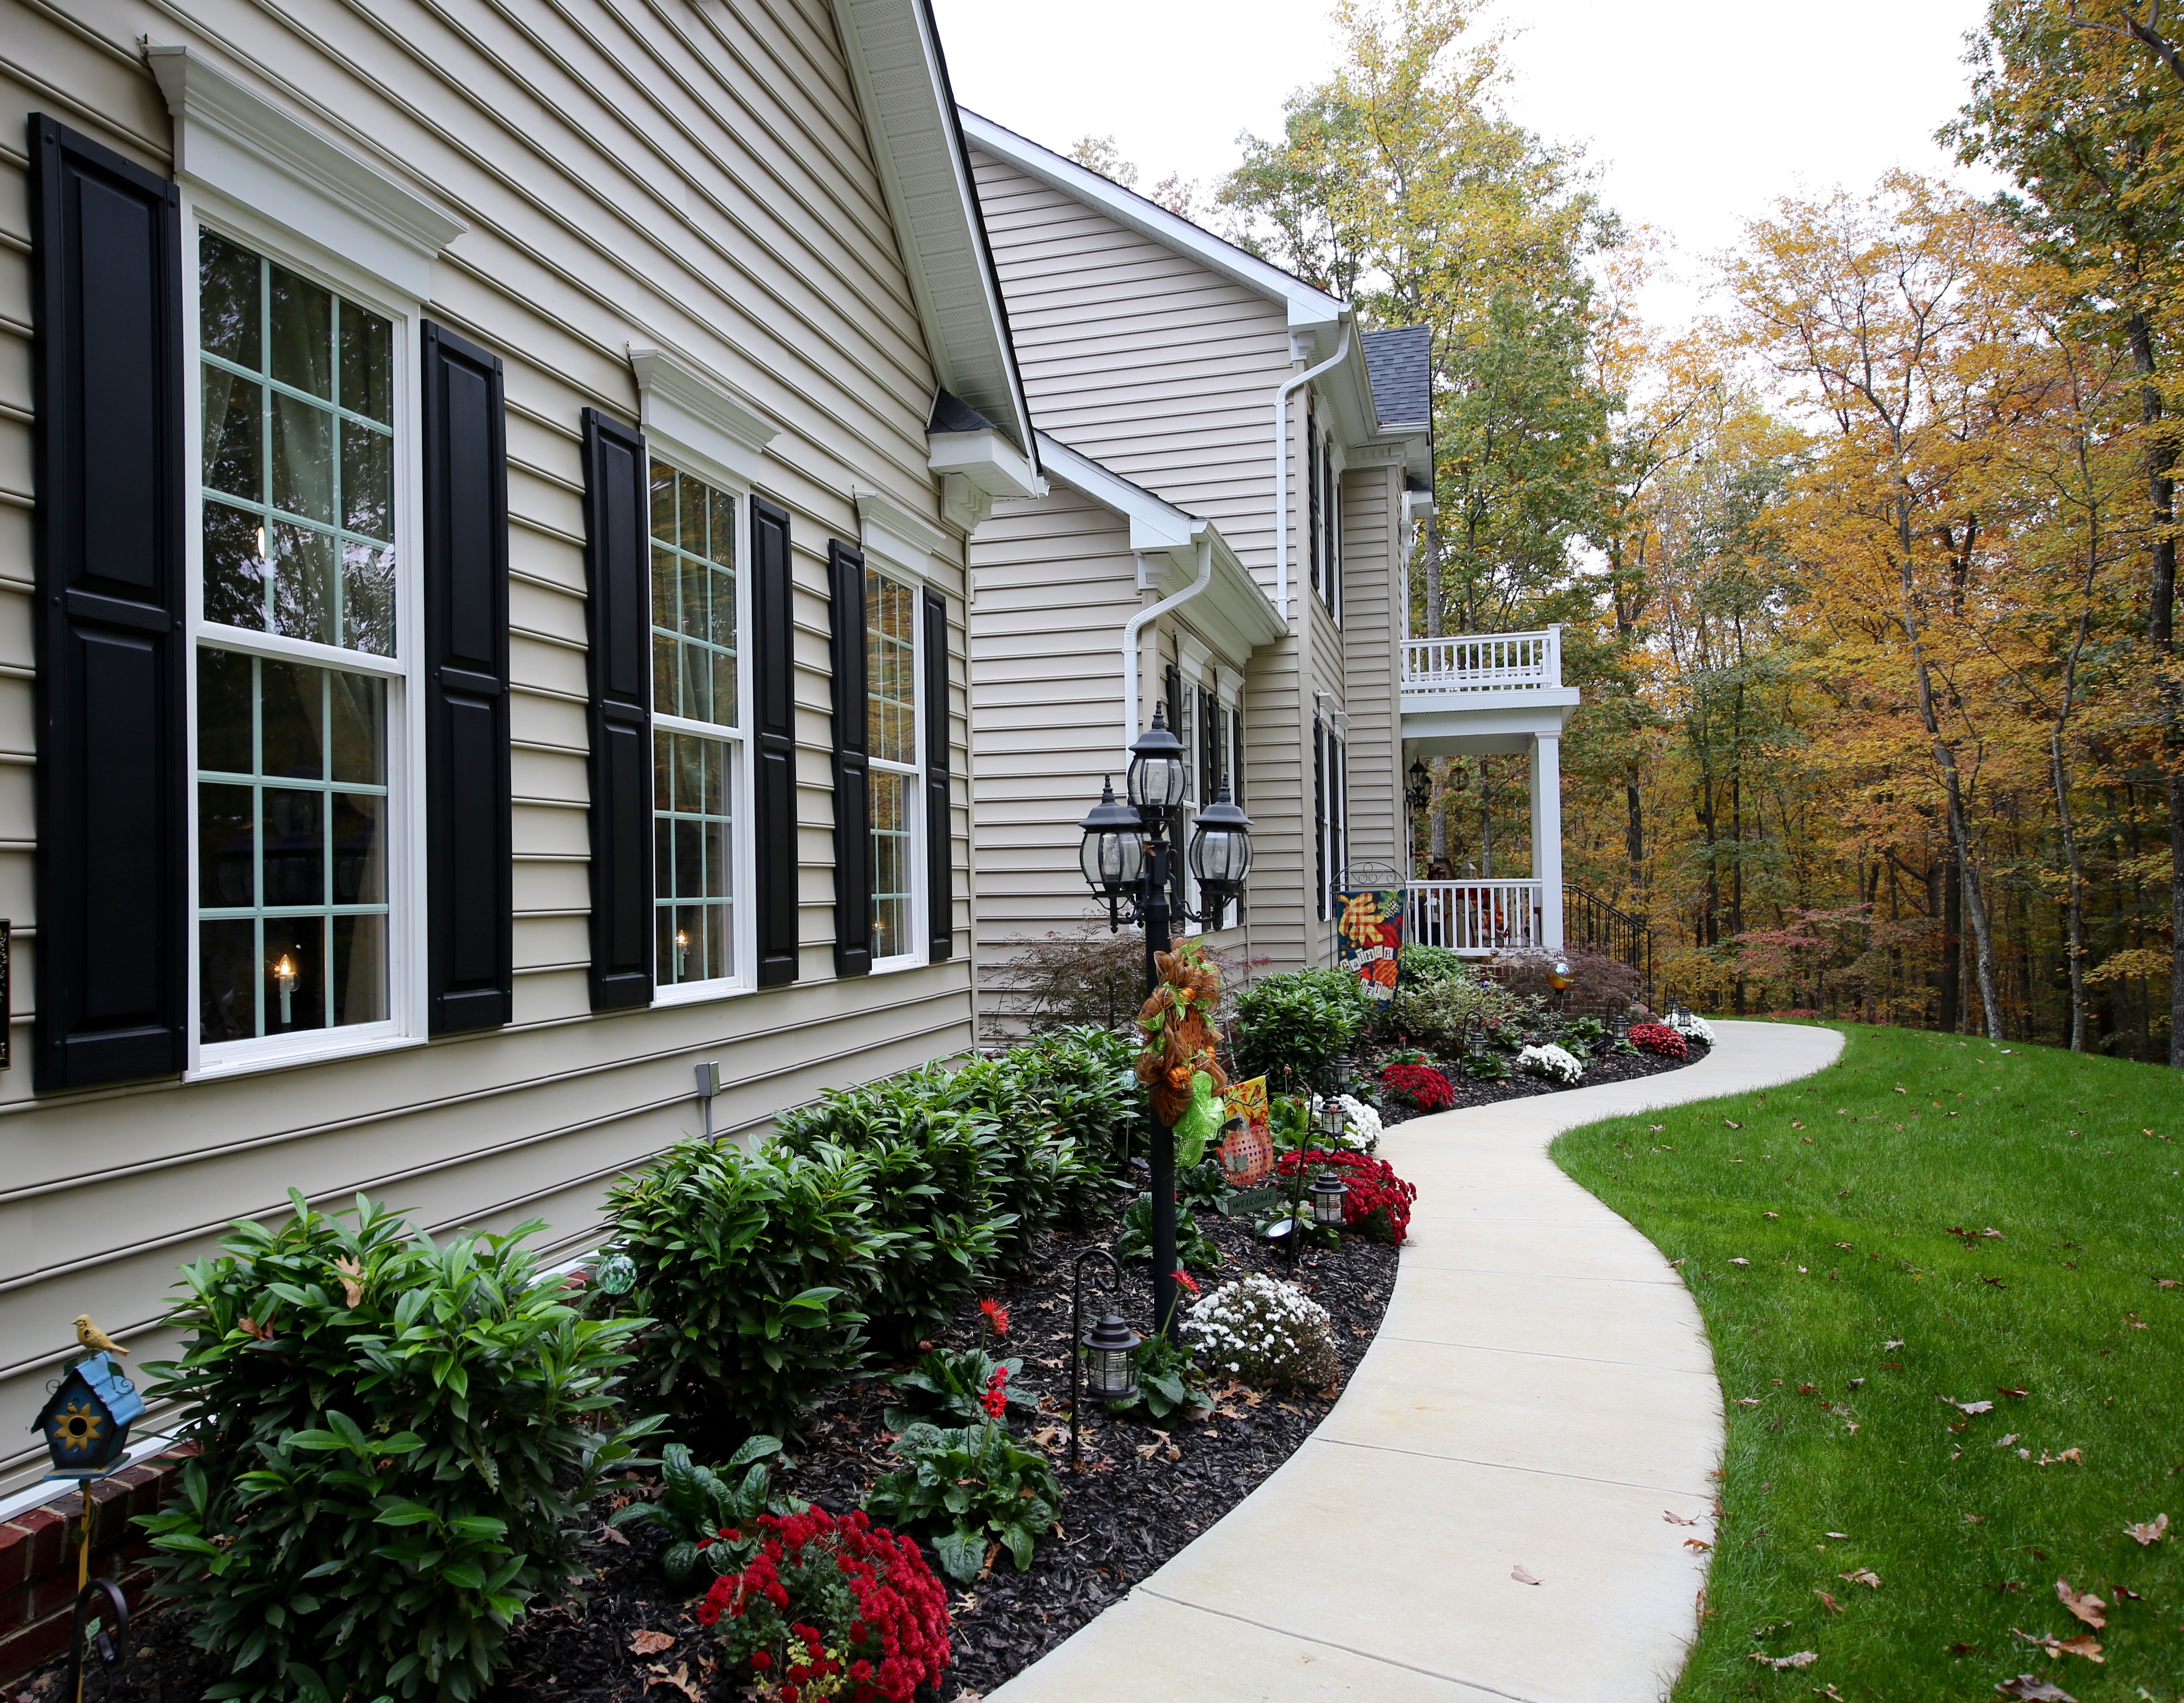
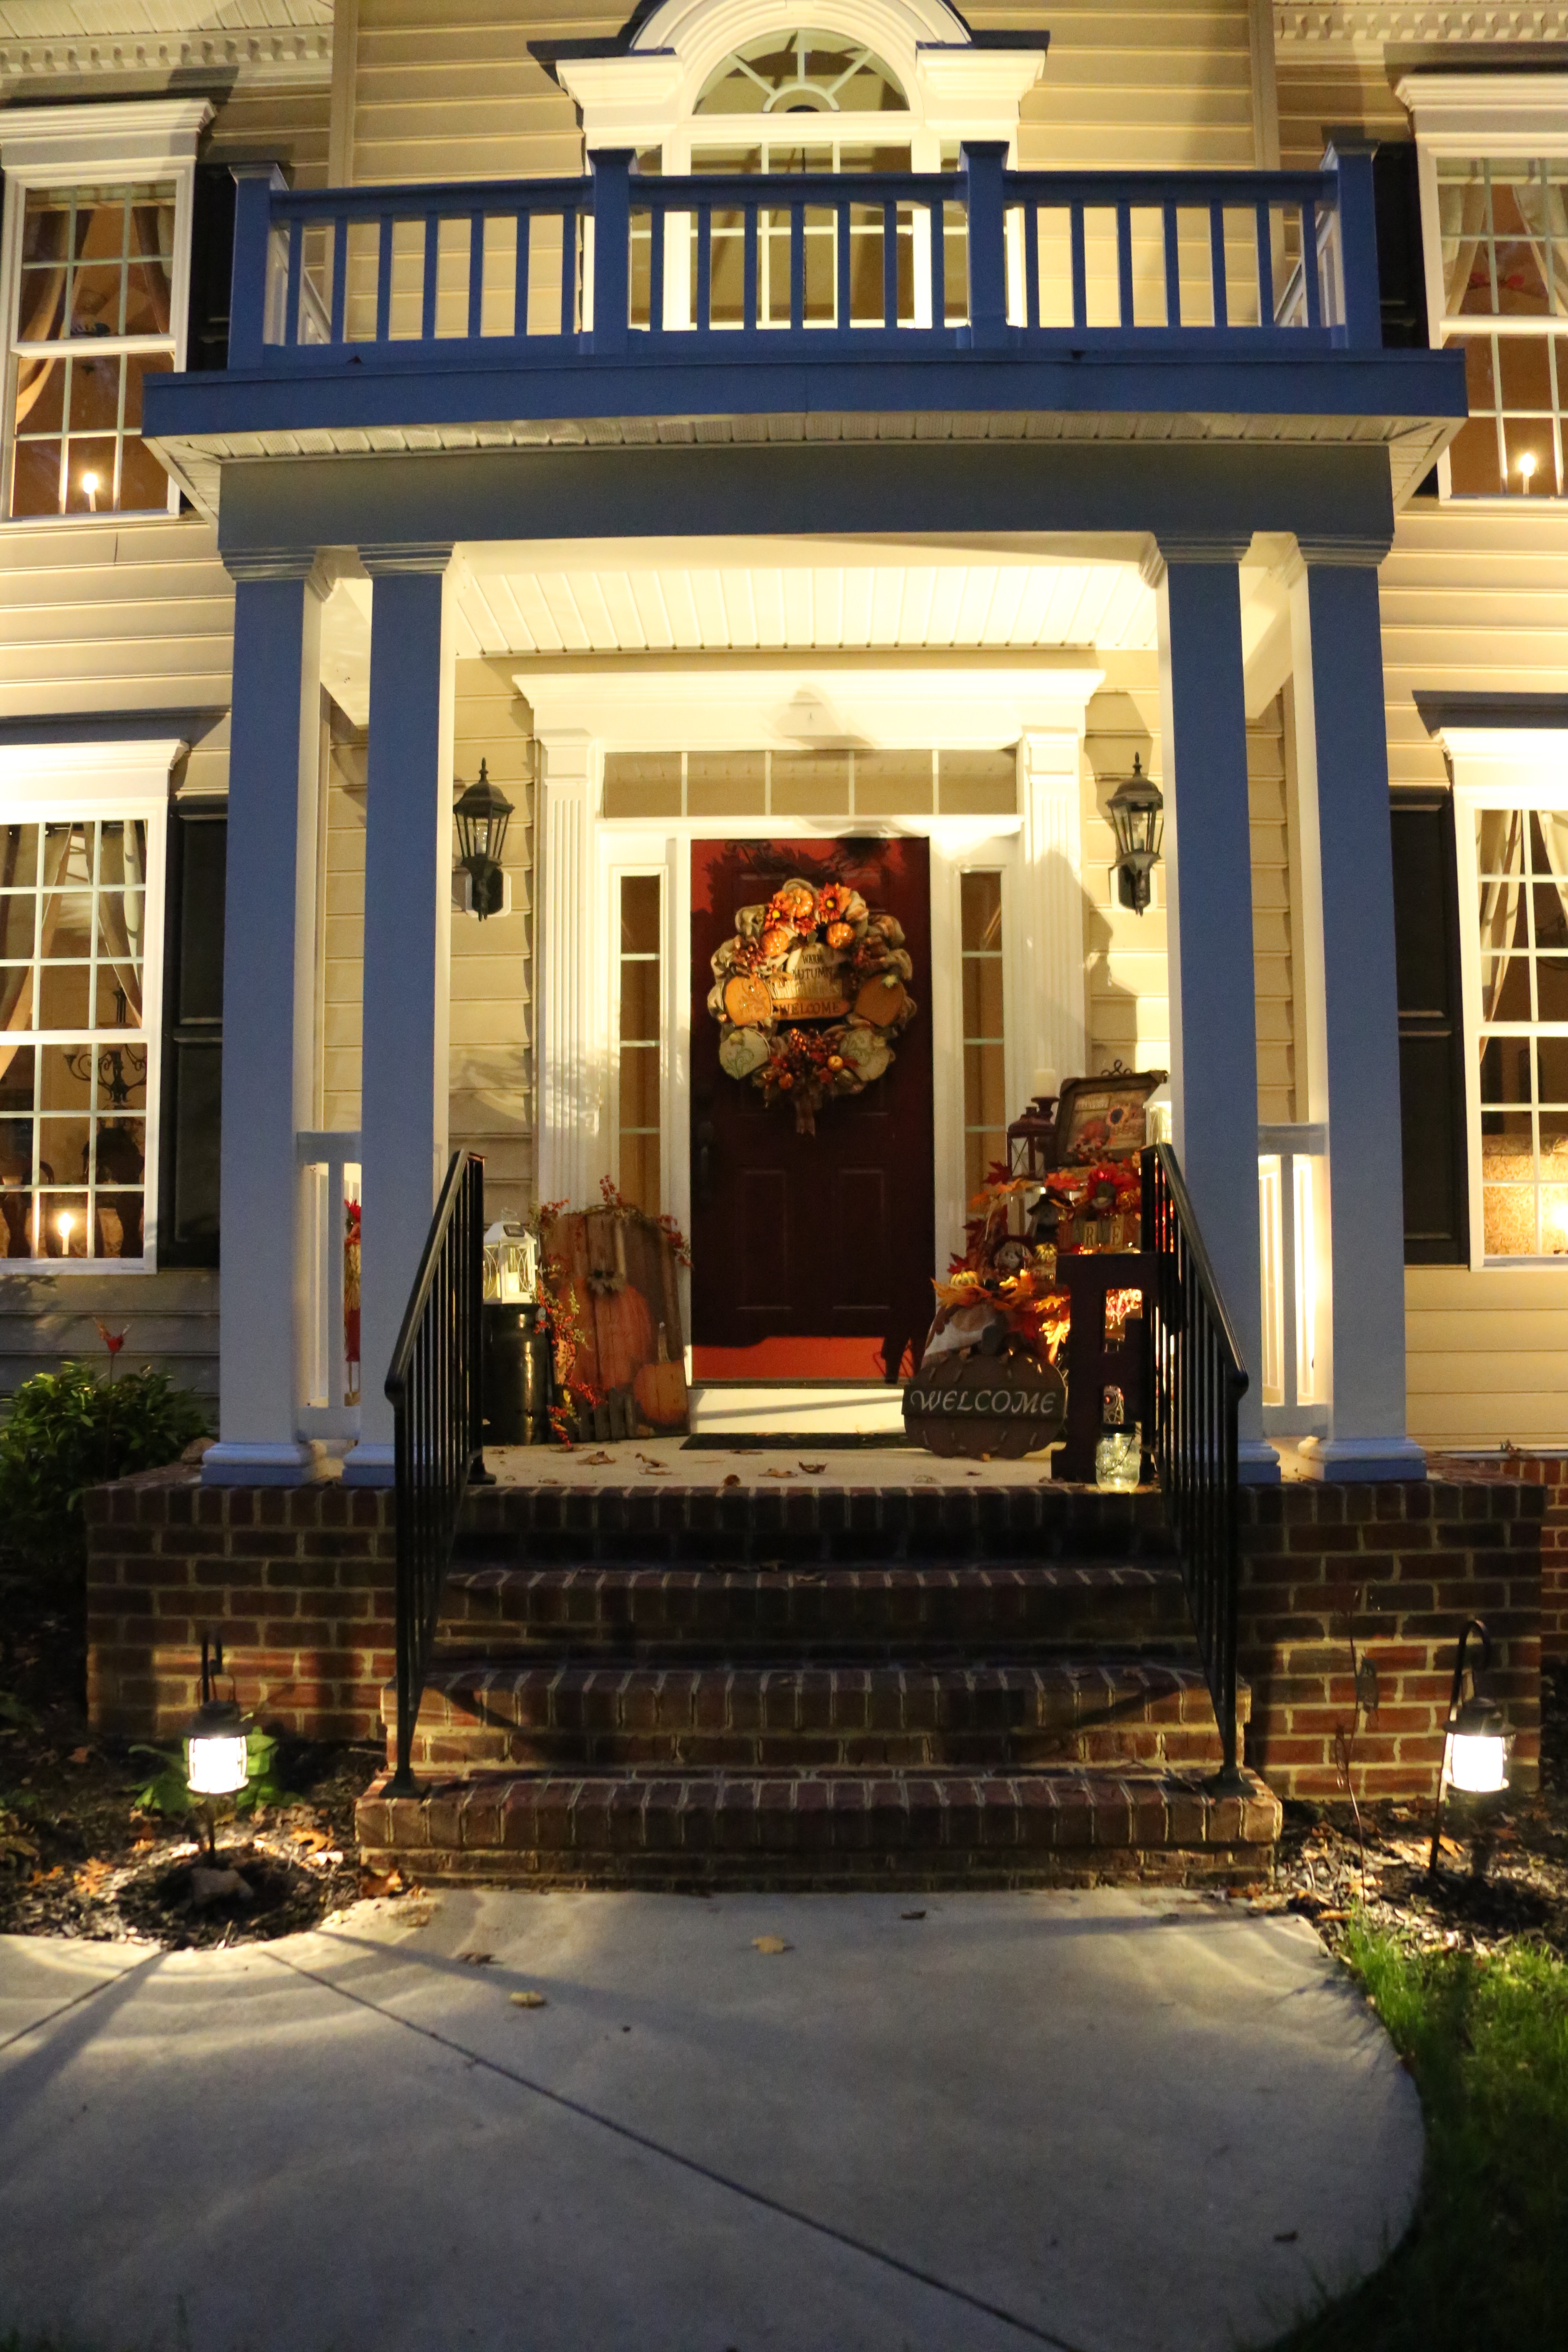
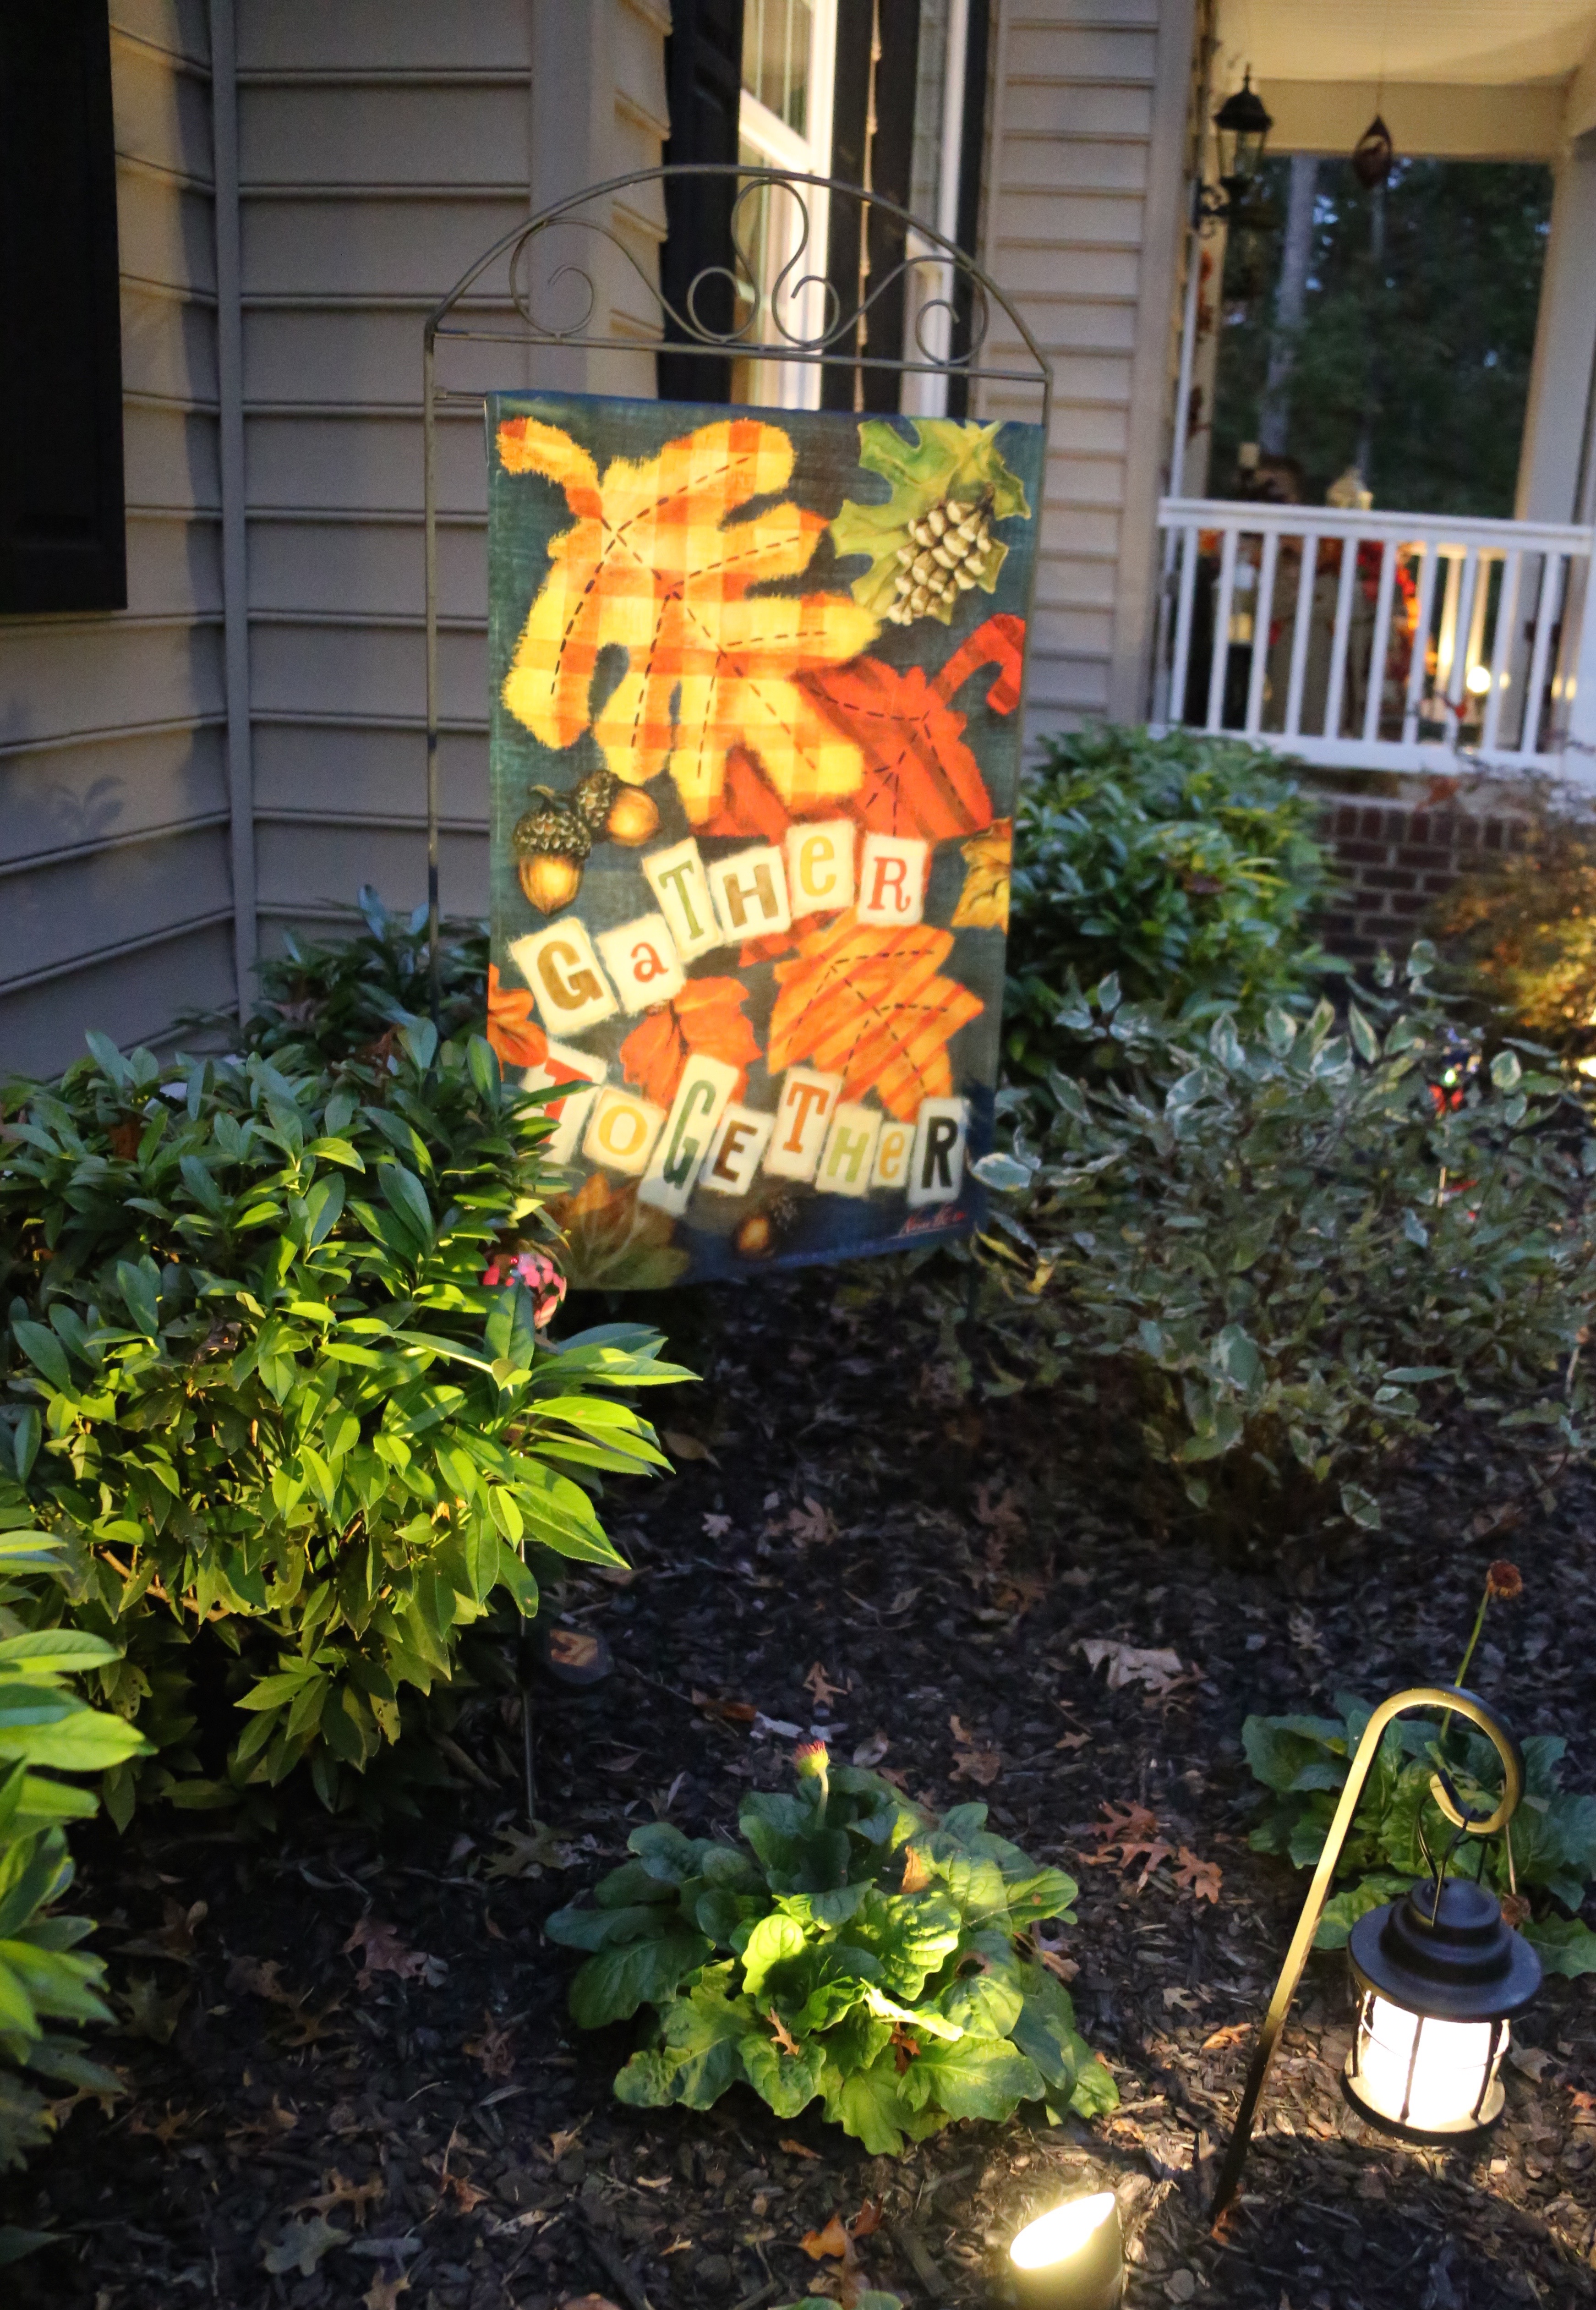
So while I was outside, I went ahead and did some more decorating up by the house.  I switched out the lightpost wreath to a deco mesh one that I had made last year, I also switched out the decorative flags, placed a burlap wreath that I had made a couple of years ago on the front door and then I added a few Patriotic things to the red wagon decor.

IMG_6083.jpgIMG_6082.jpgIMG_6077.jpg1V4A0847.jpg

Here is my YouTube video where I show you how I put that mailbox decor together and then I give you a tour of the front sidewalk decor and beyond. 🙂

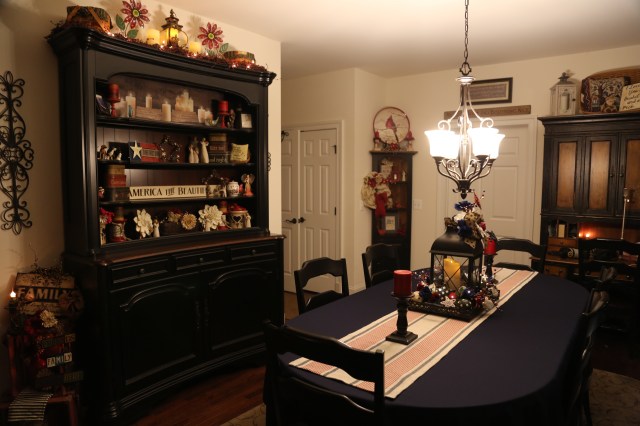
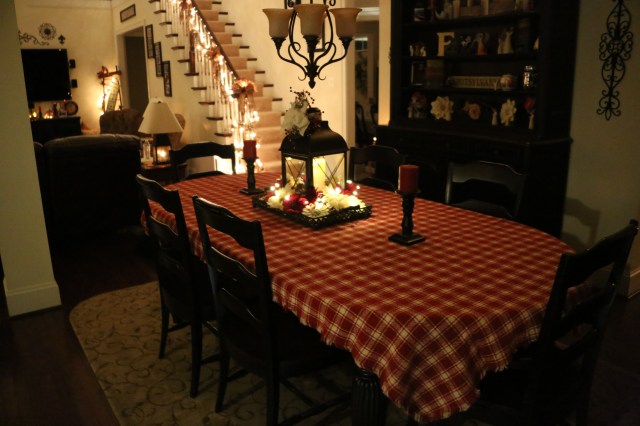
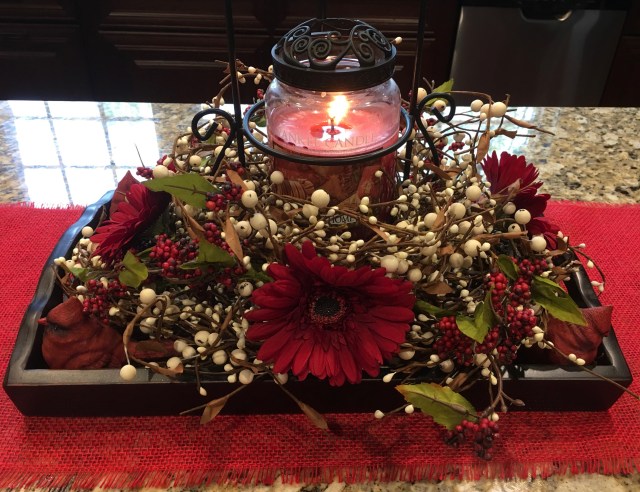
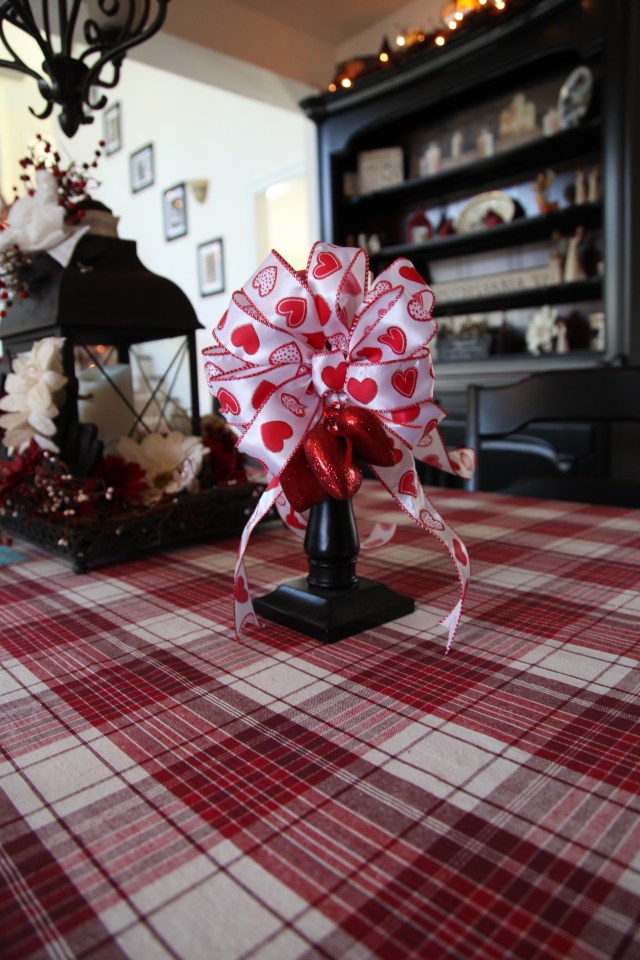
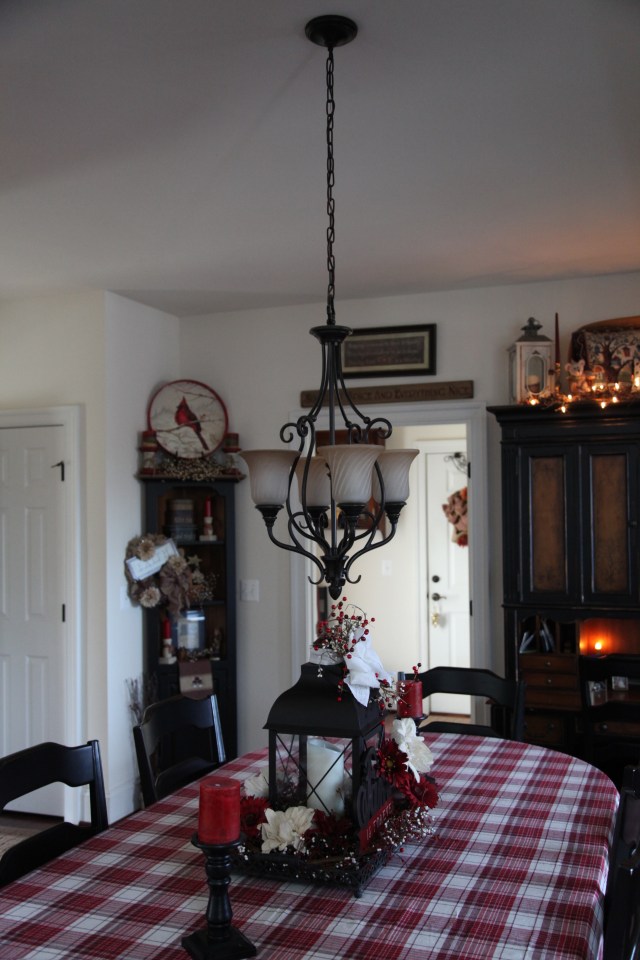
Next up, I moved on into the house and I started redecorating at our kitchen table by replacing my red and white gingham tablecloth with a navy blue one and then I added a table runner on top.

1V4A9141.jpg1V4A9076.JPG1V4A9137.jpg1V4A9136.jpg

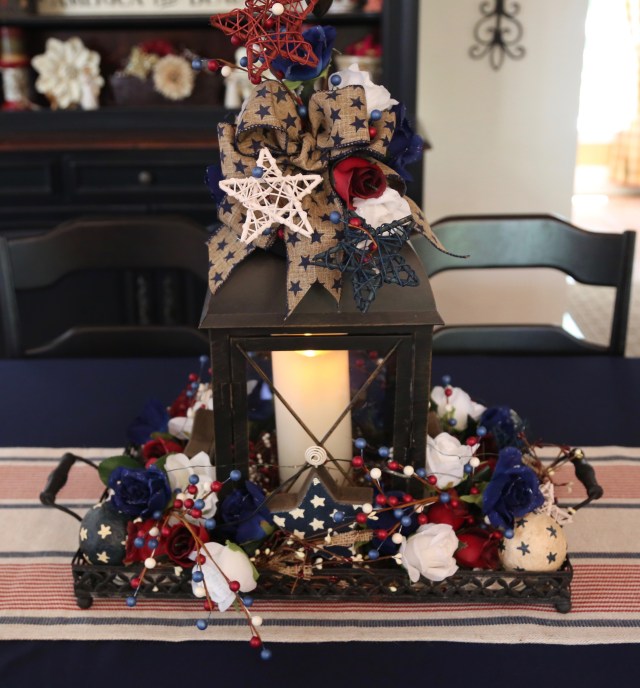
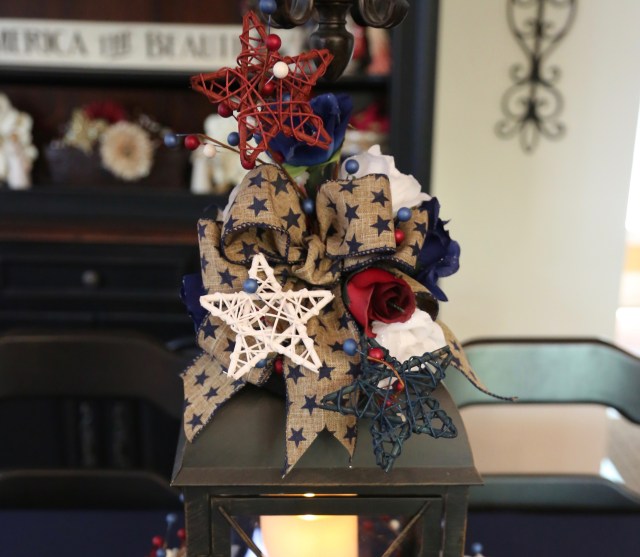
I made the lantern centerpiece to pair with that runner.  Here is a my YouTube video where I show you how I put the centerpiece together:

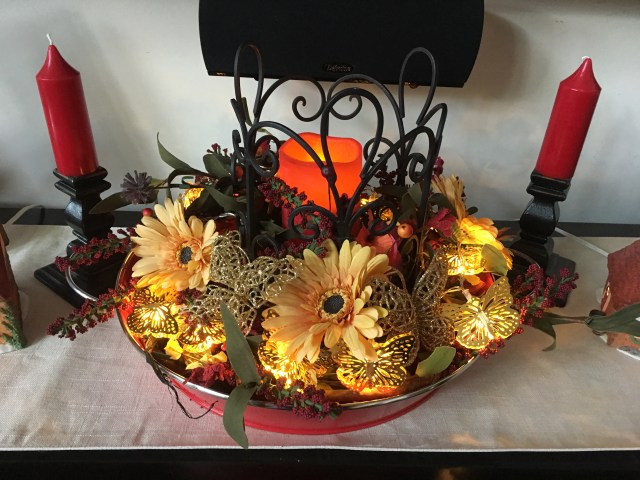
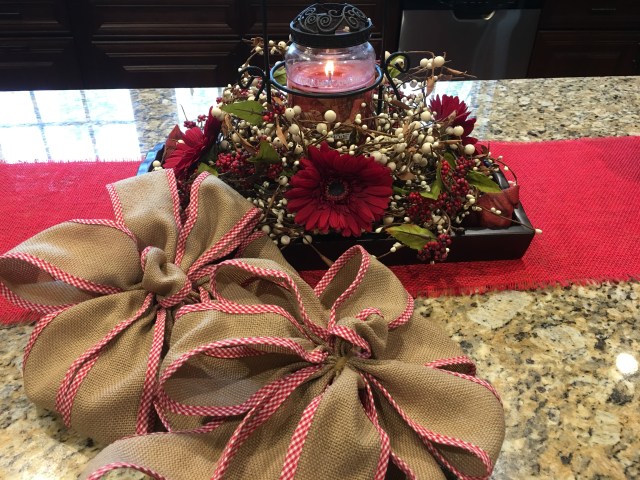
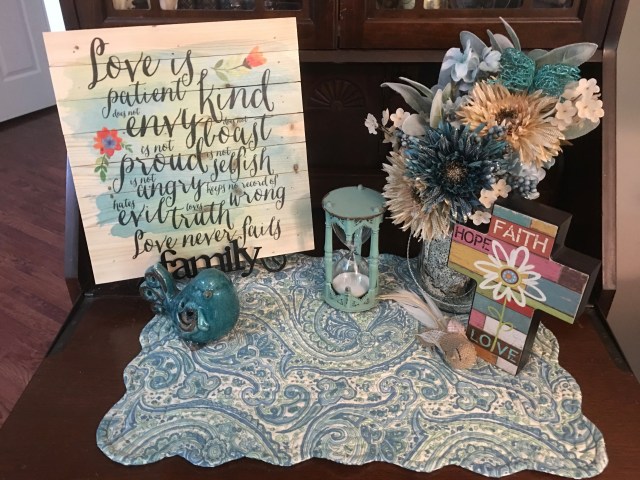
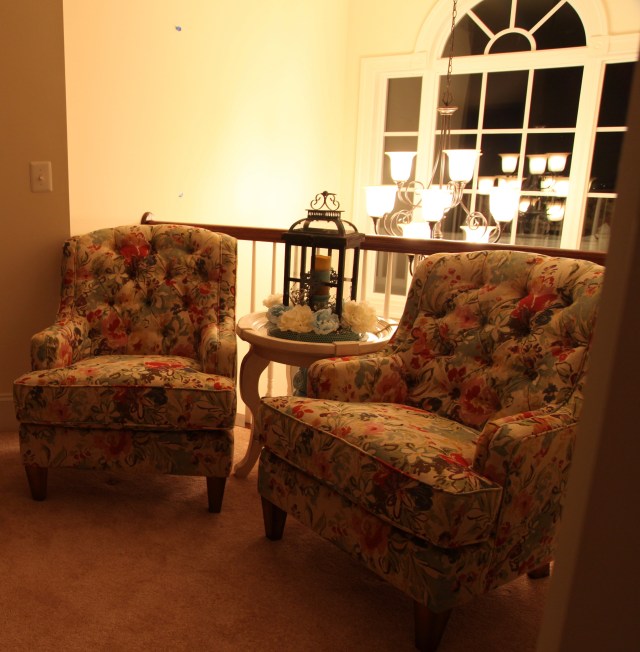
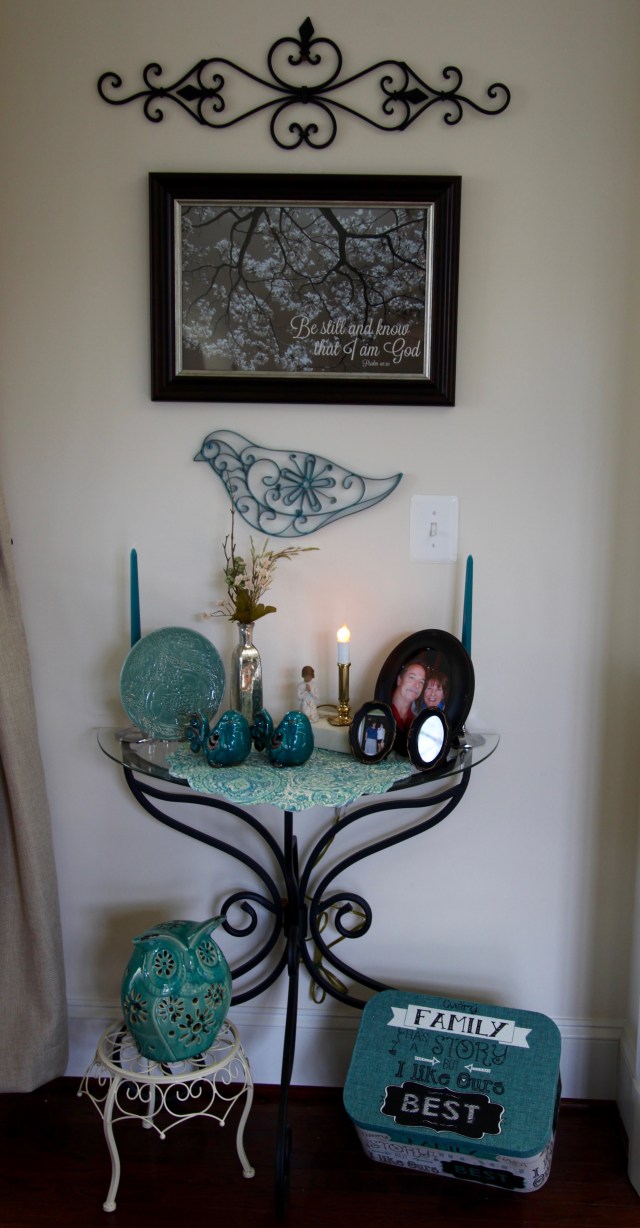
Next up, I worked on a few accent centerpieces:

1V4A9098.JPG1V4A9106.JPG1V4A9103.jpg

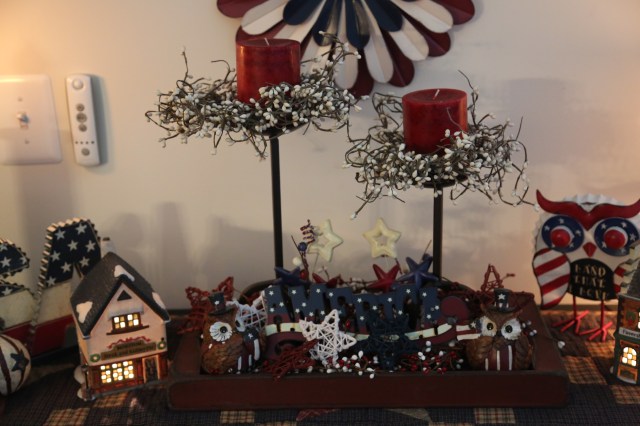
And here is my YouTube video showing you how I created those three centerpieces:

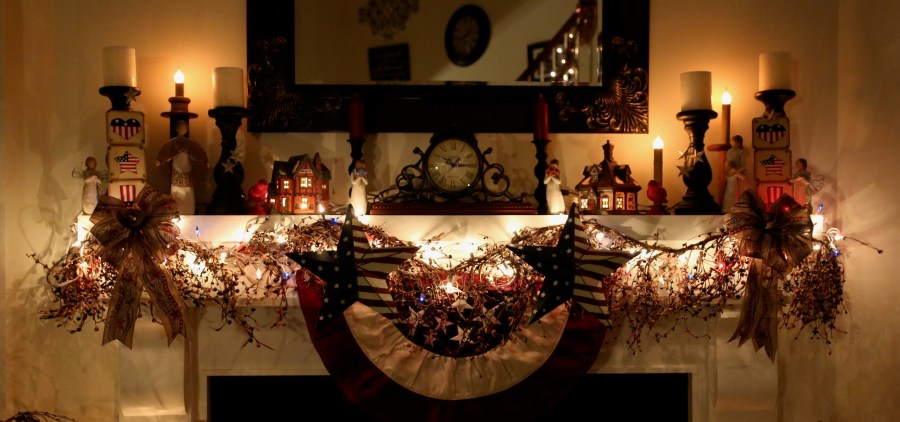
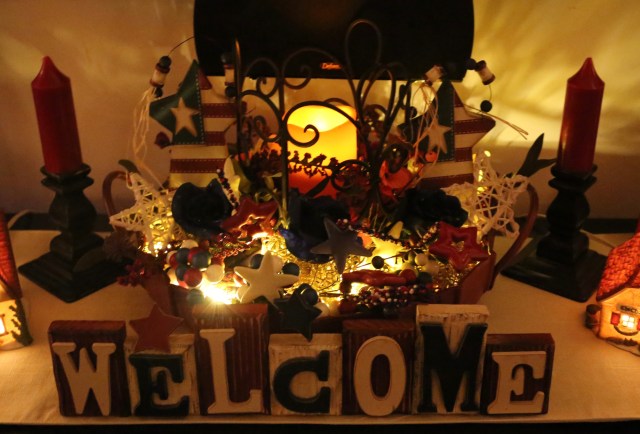
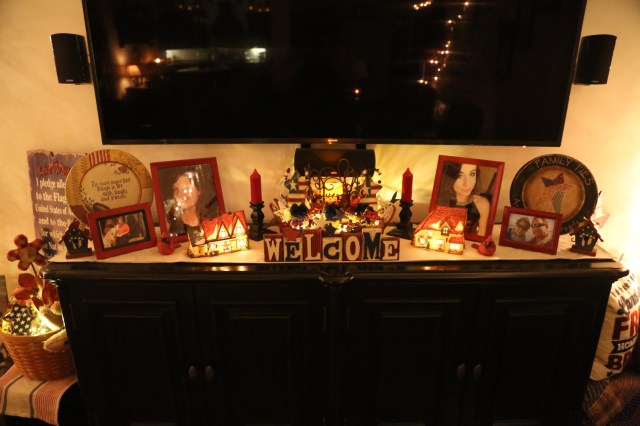
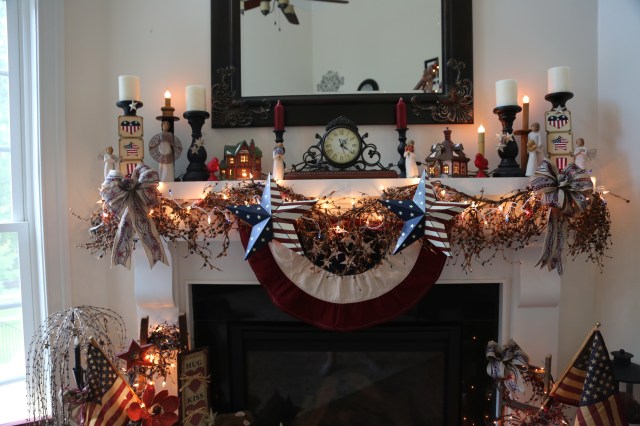
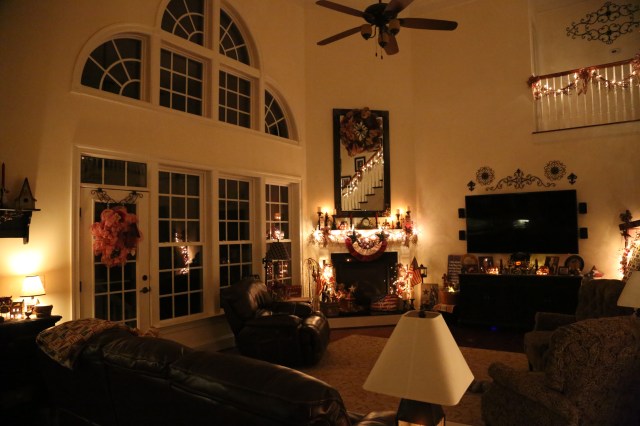
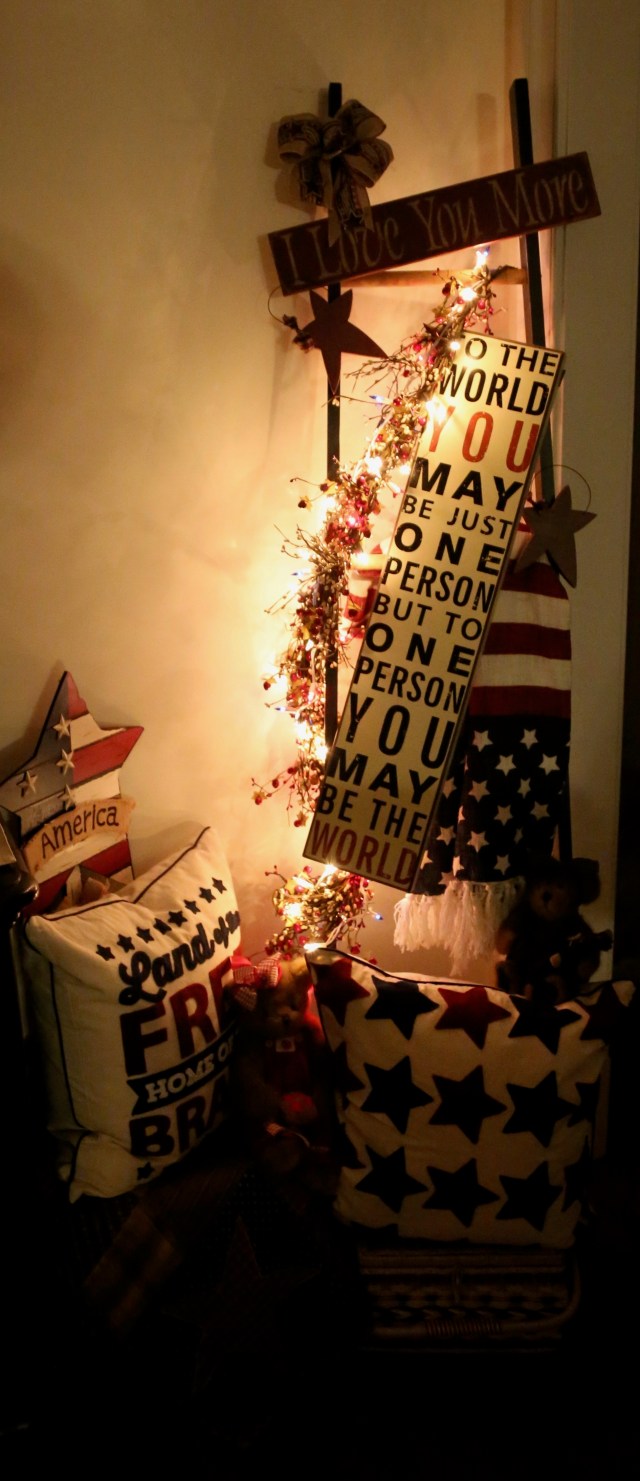
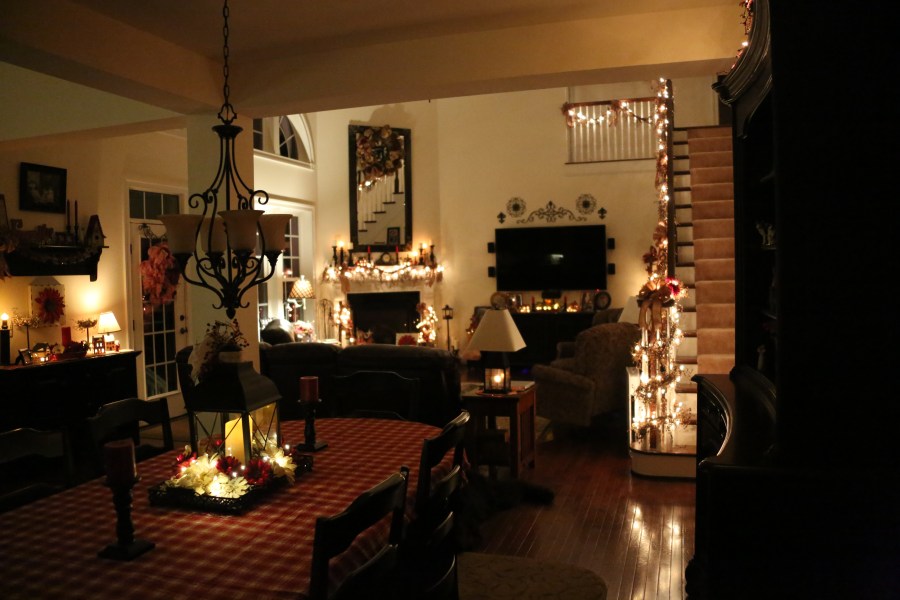
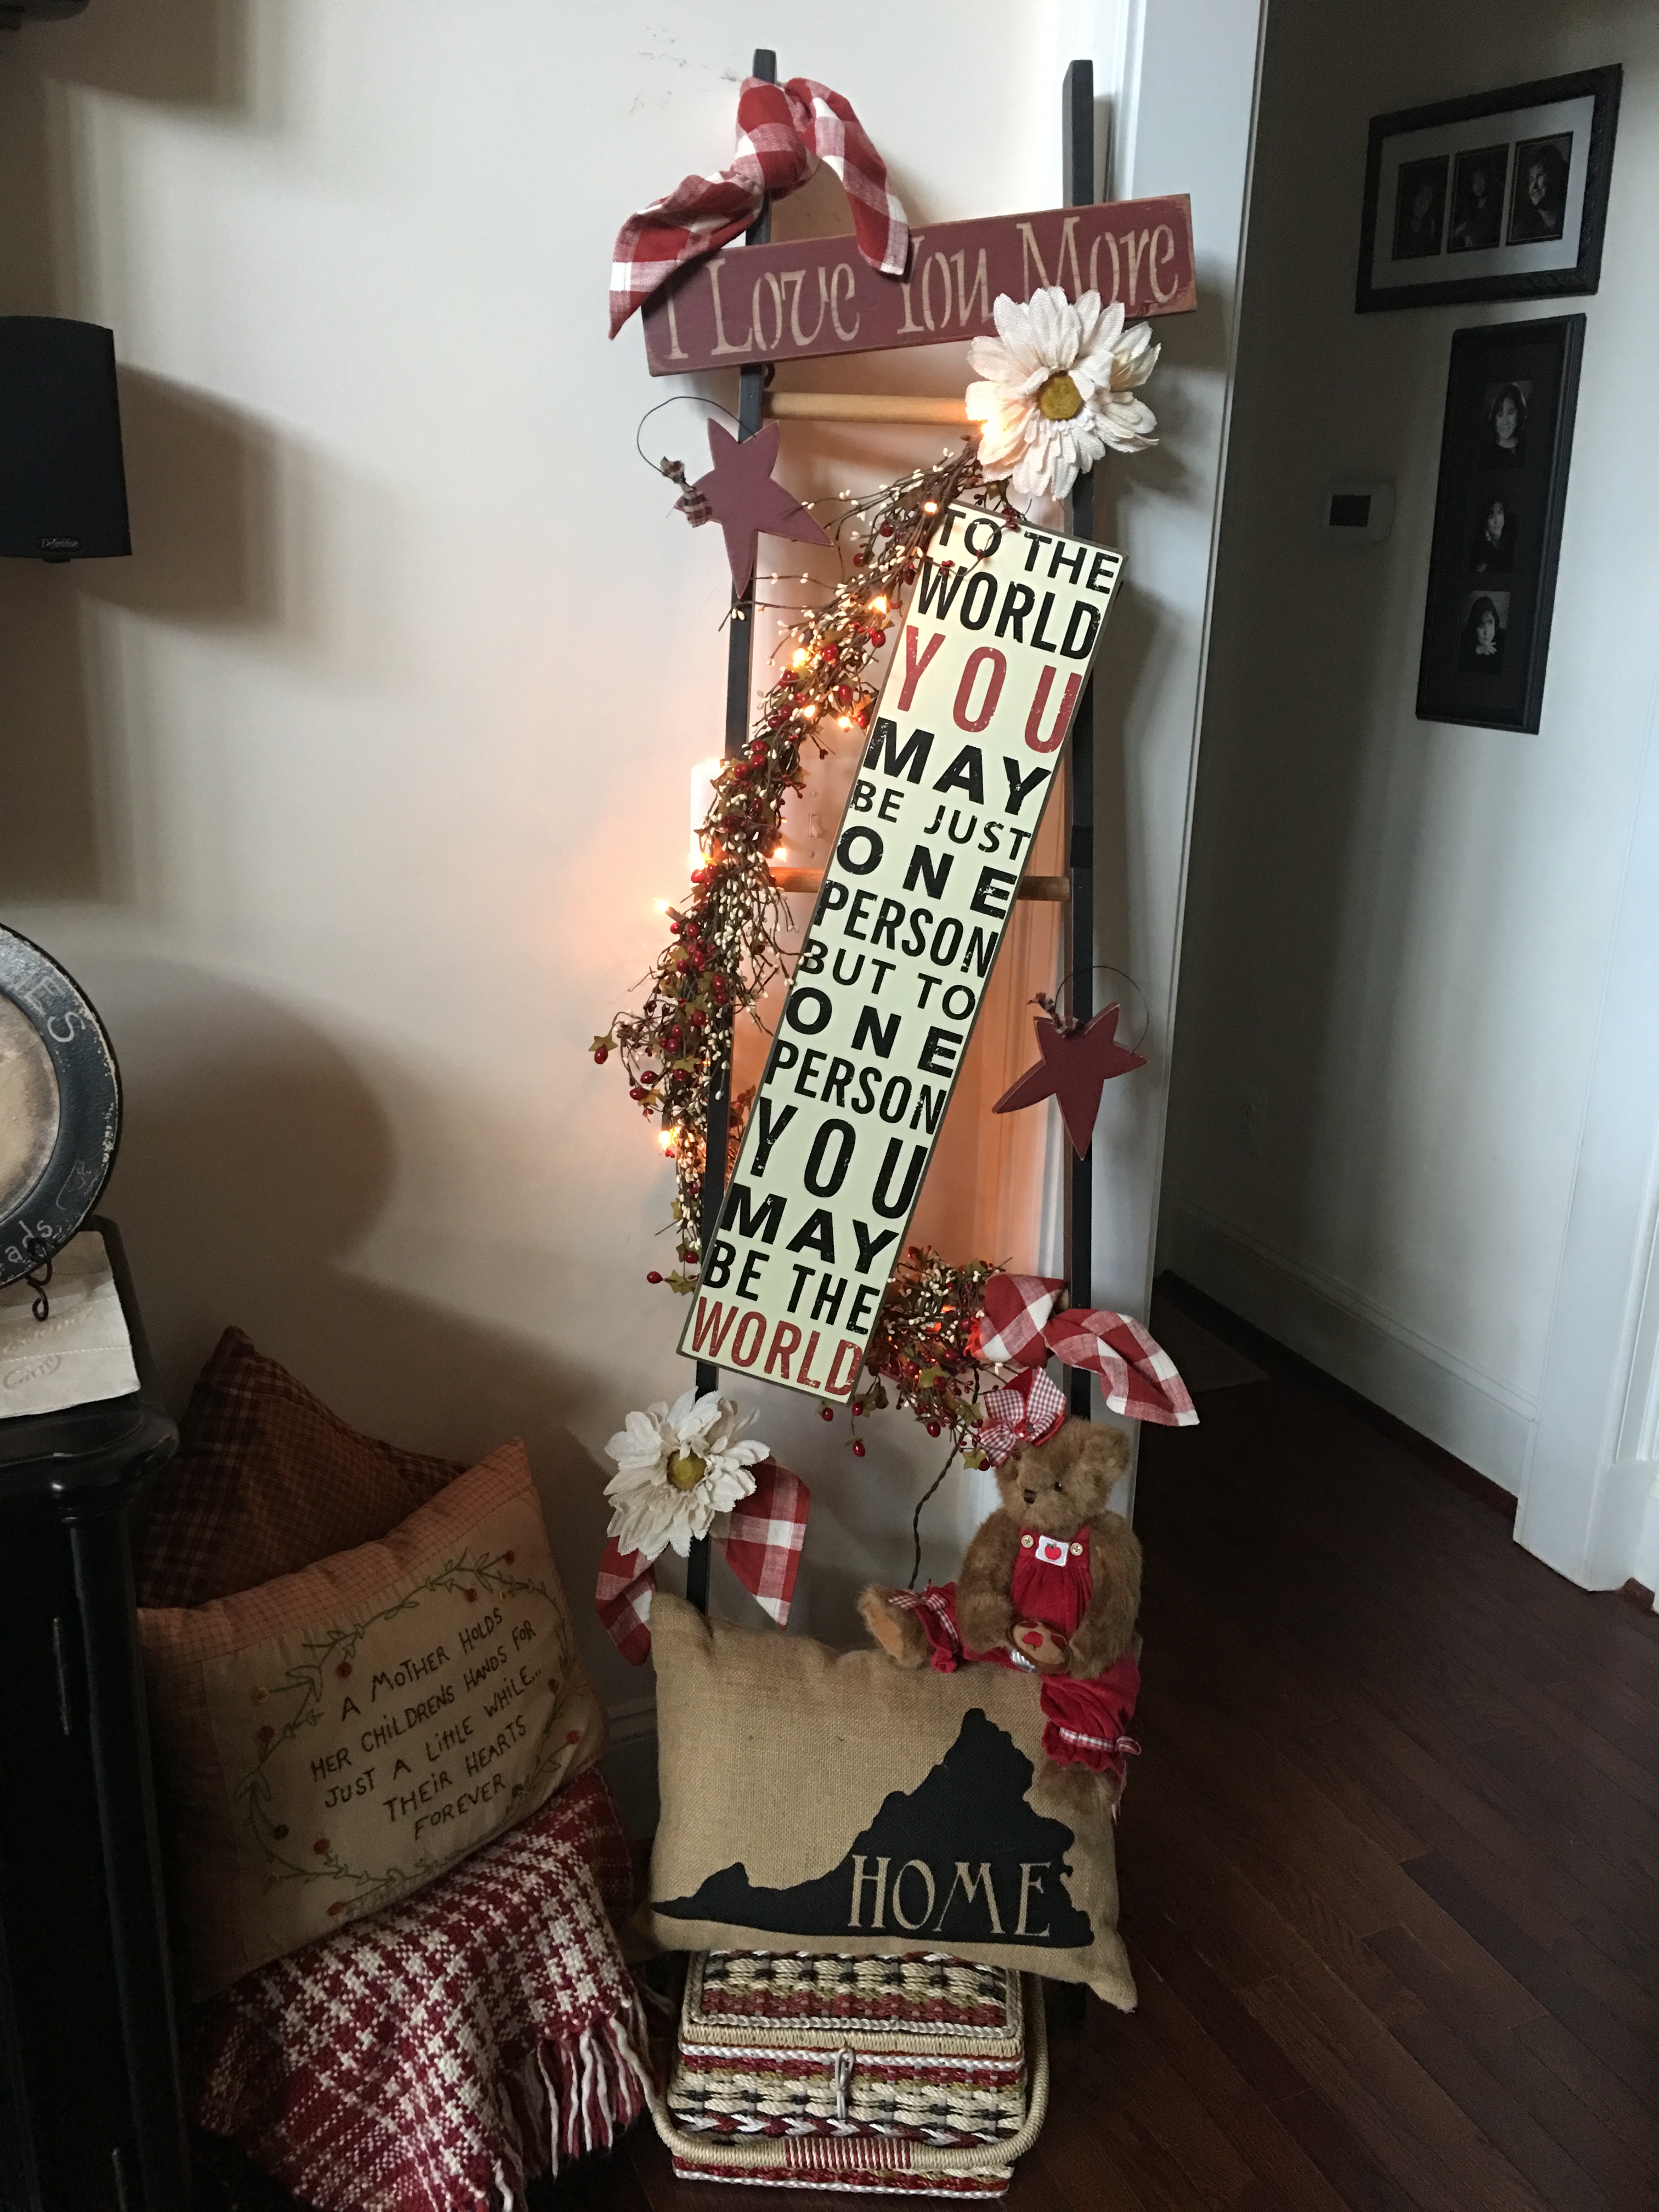
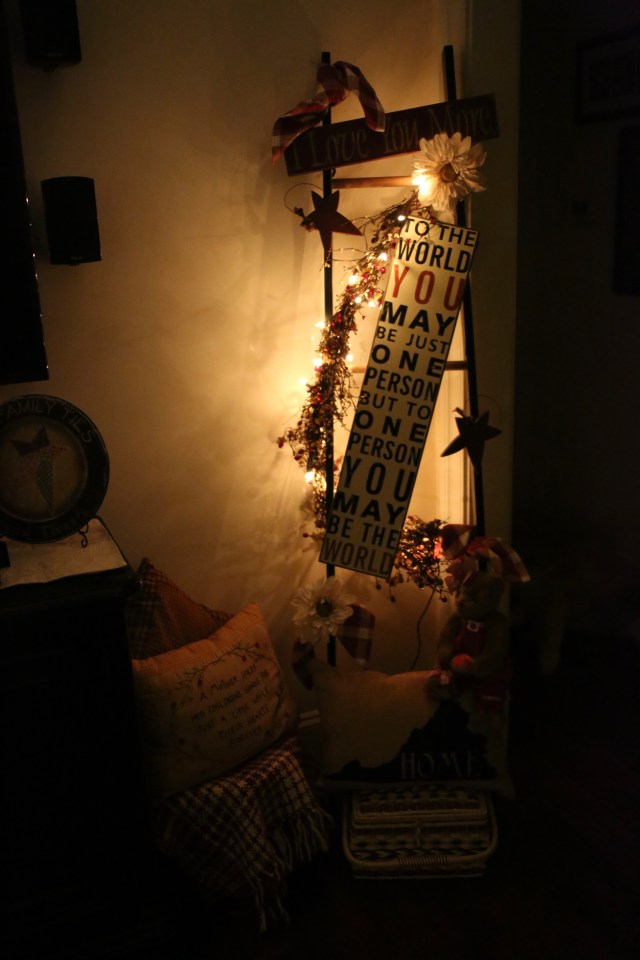
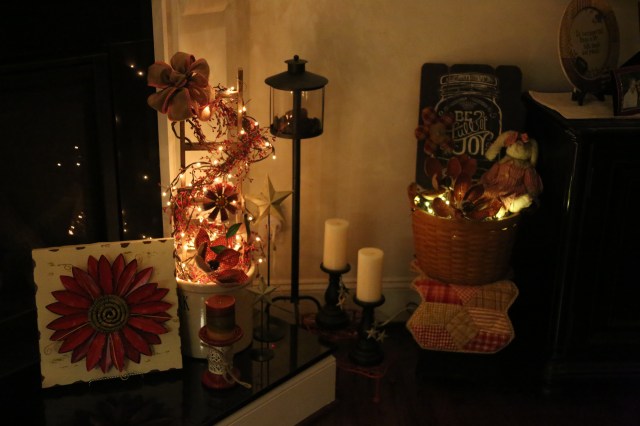
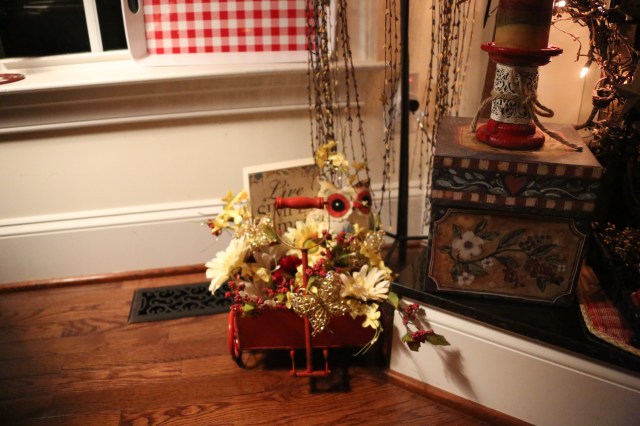
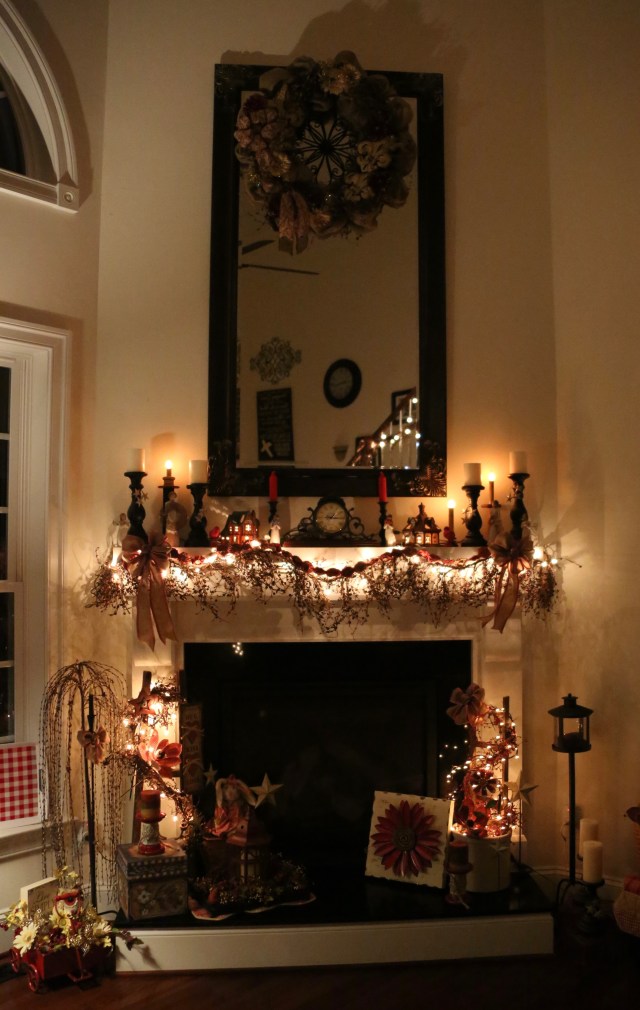
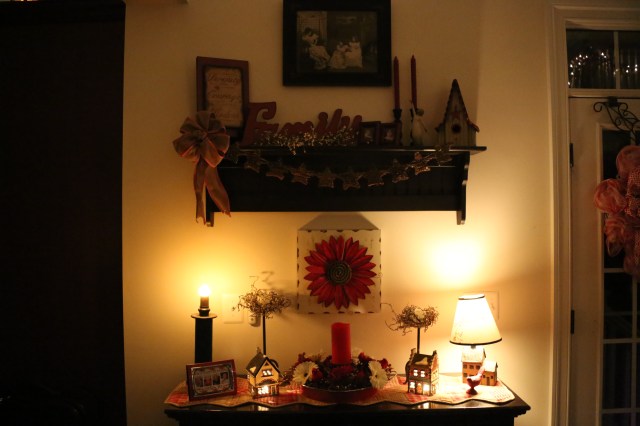
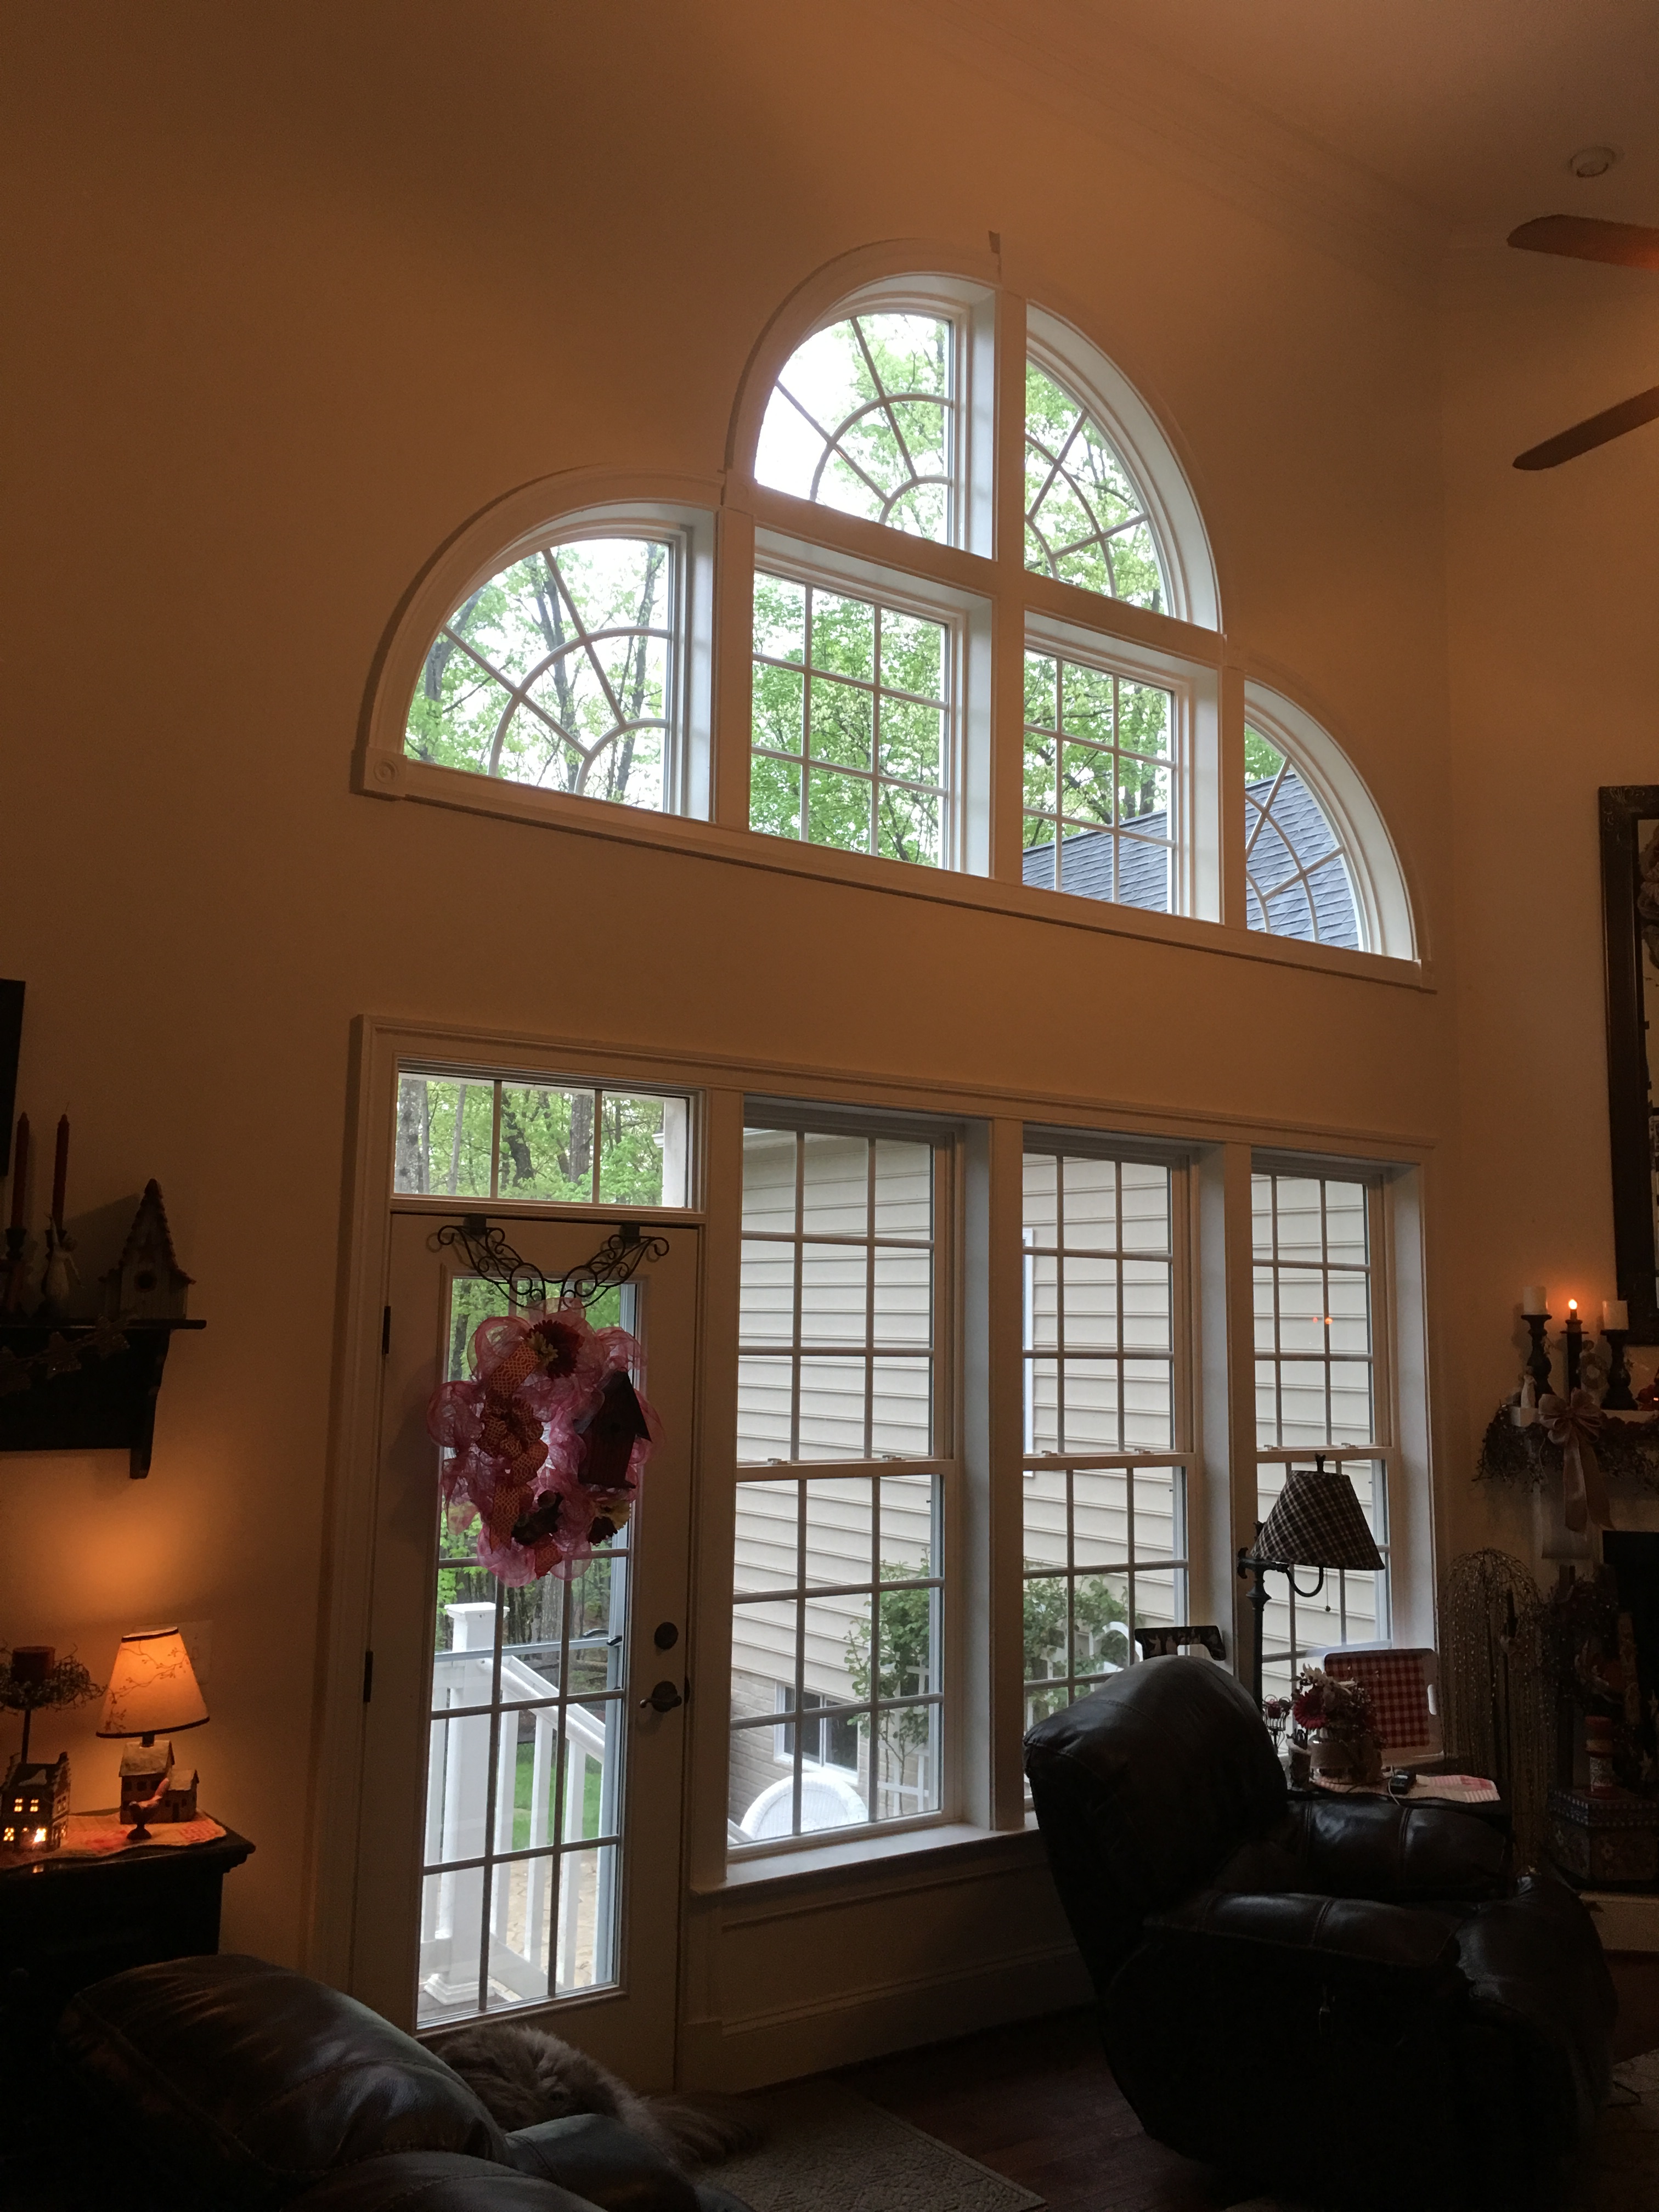
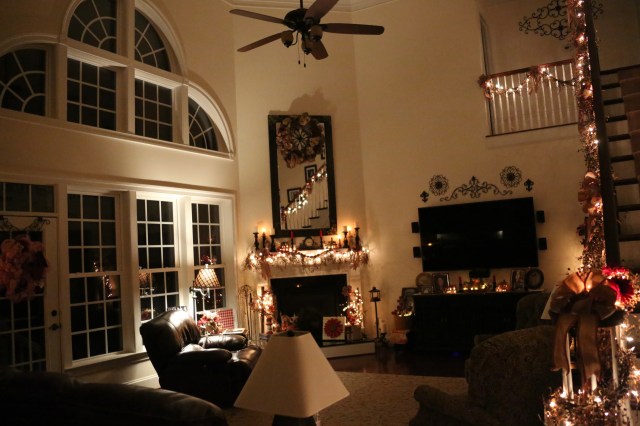
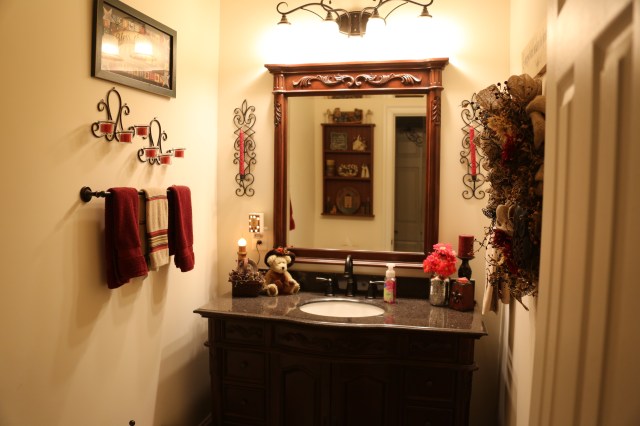
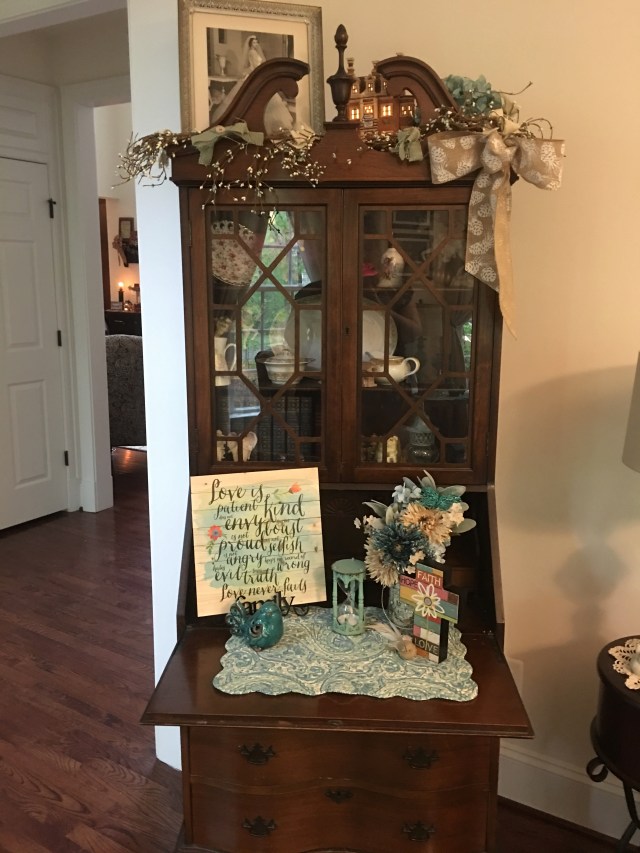
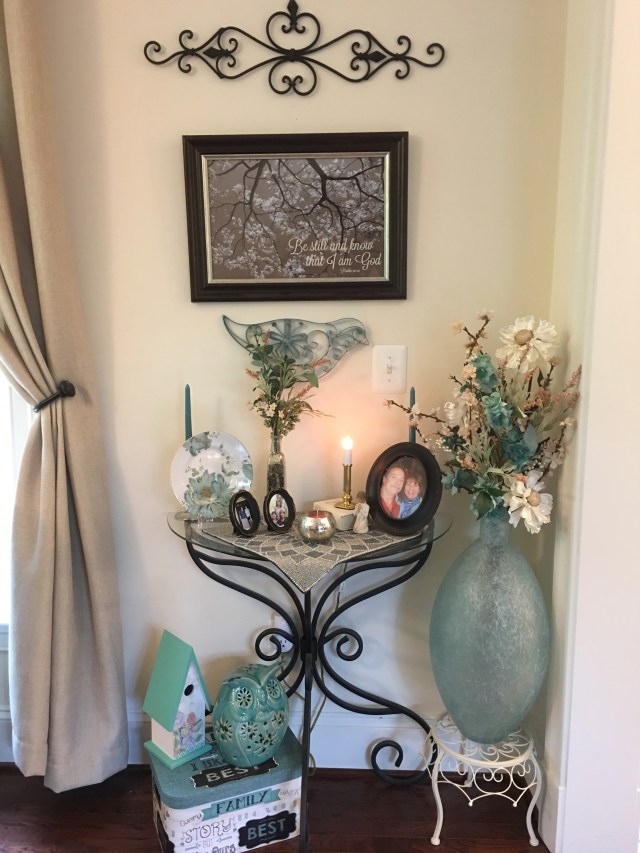
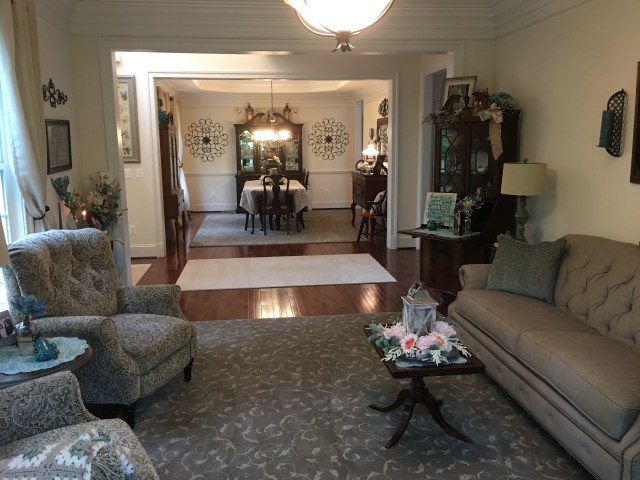
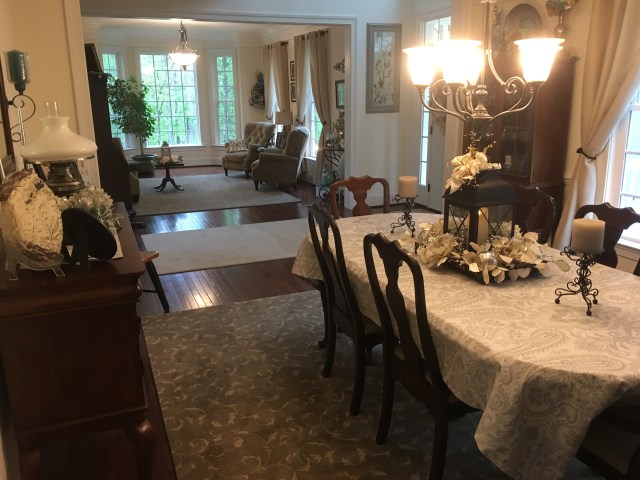
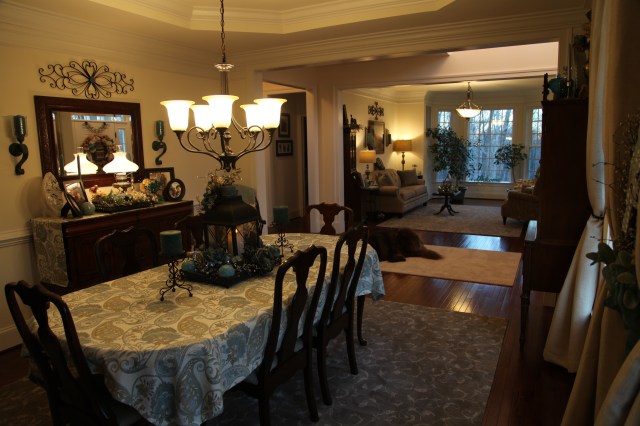
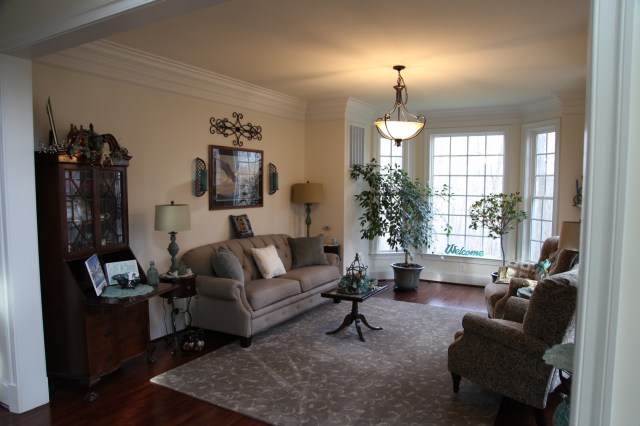
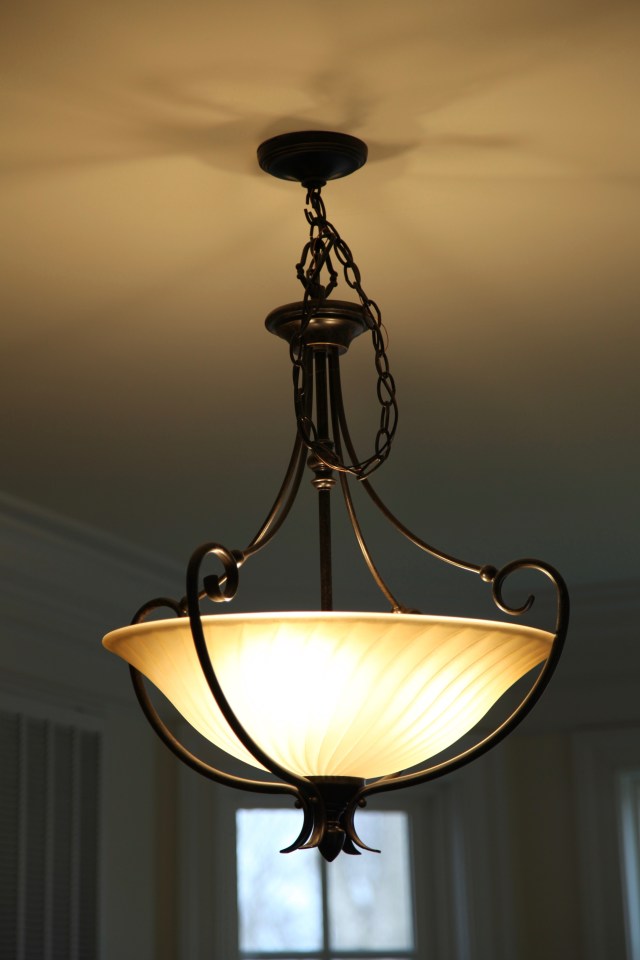
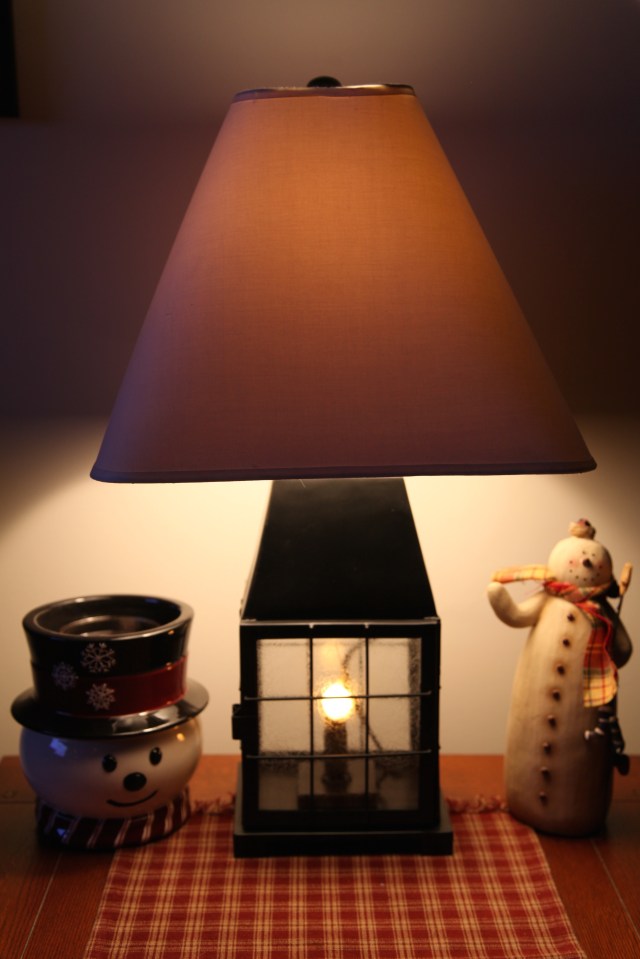
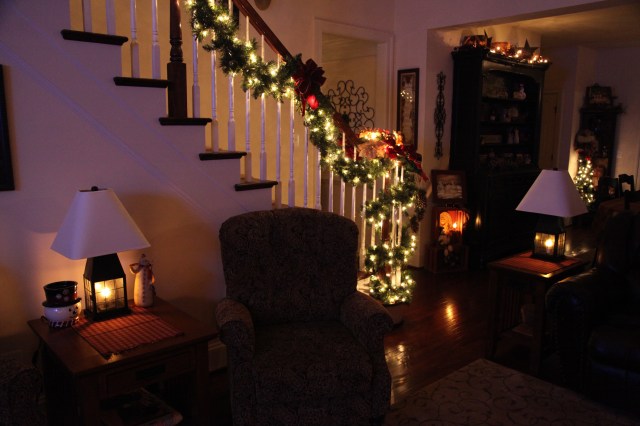
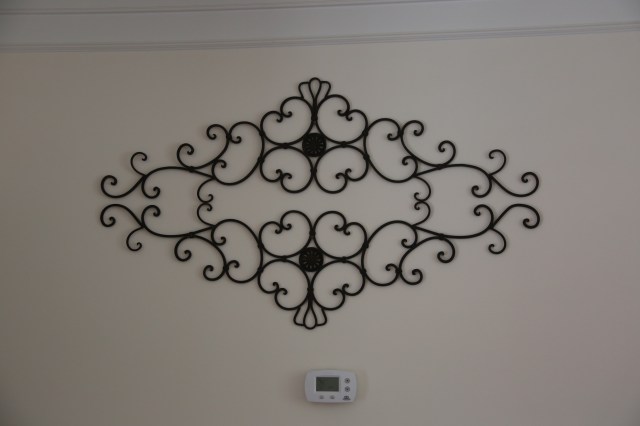
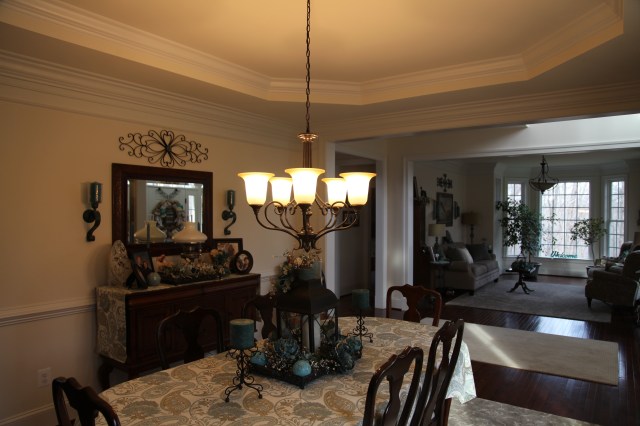
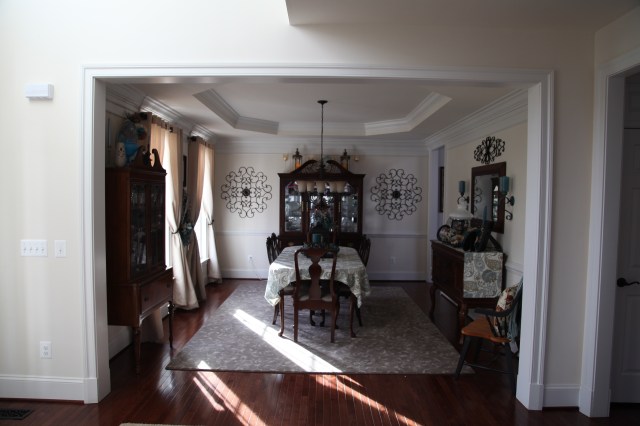
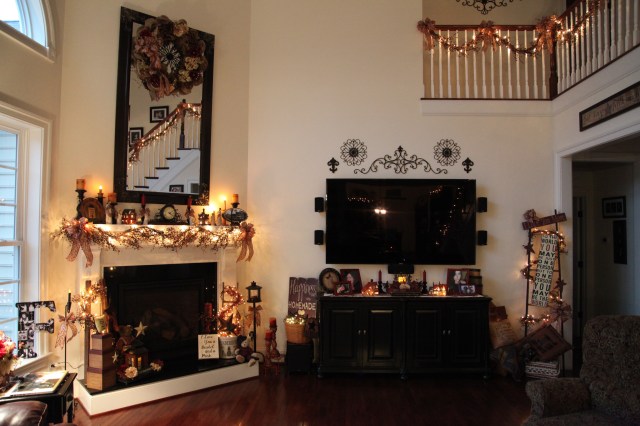
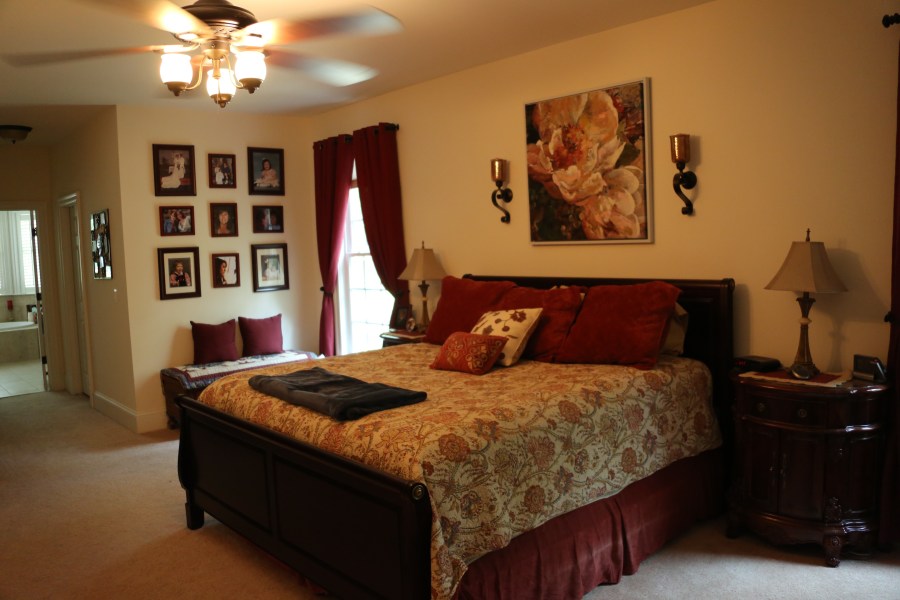
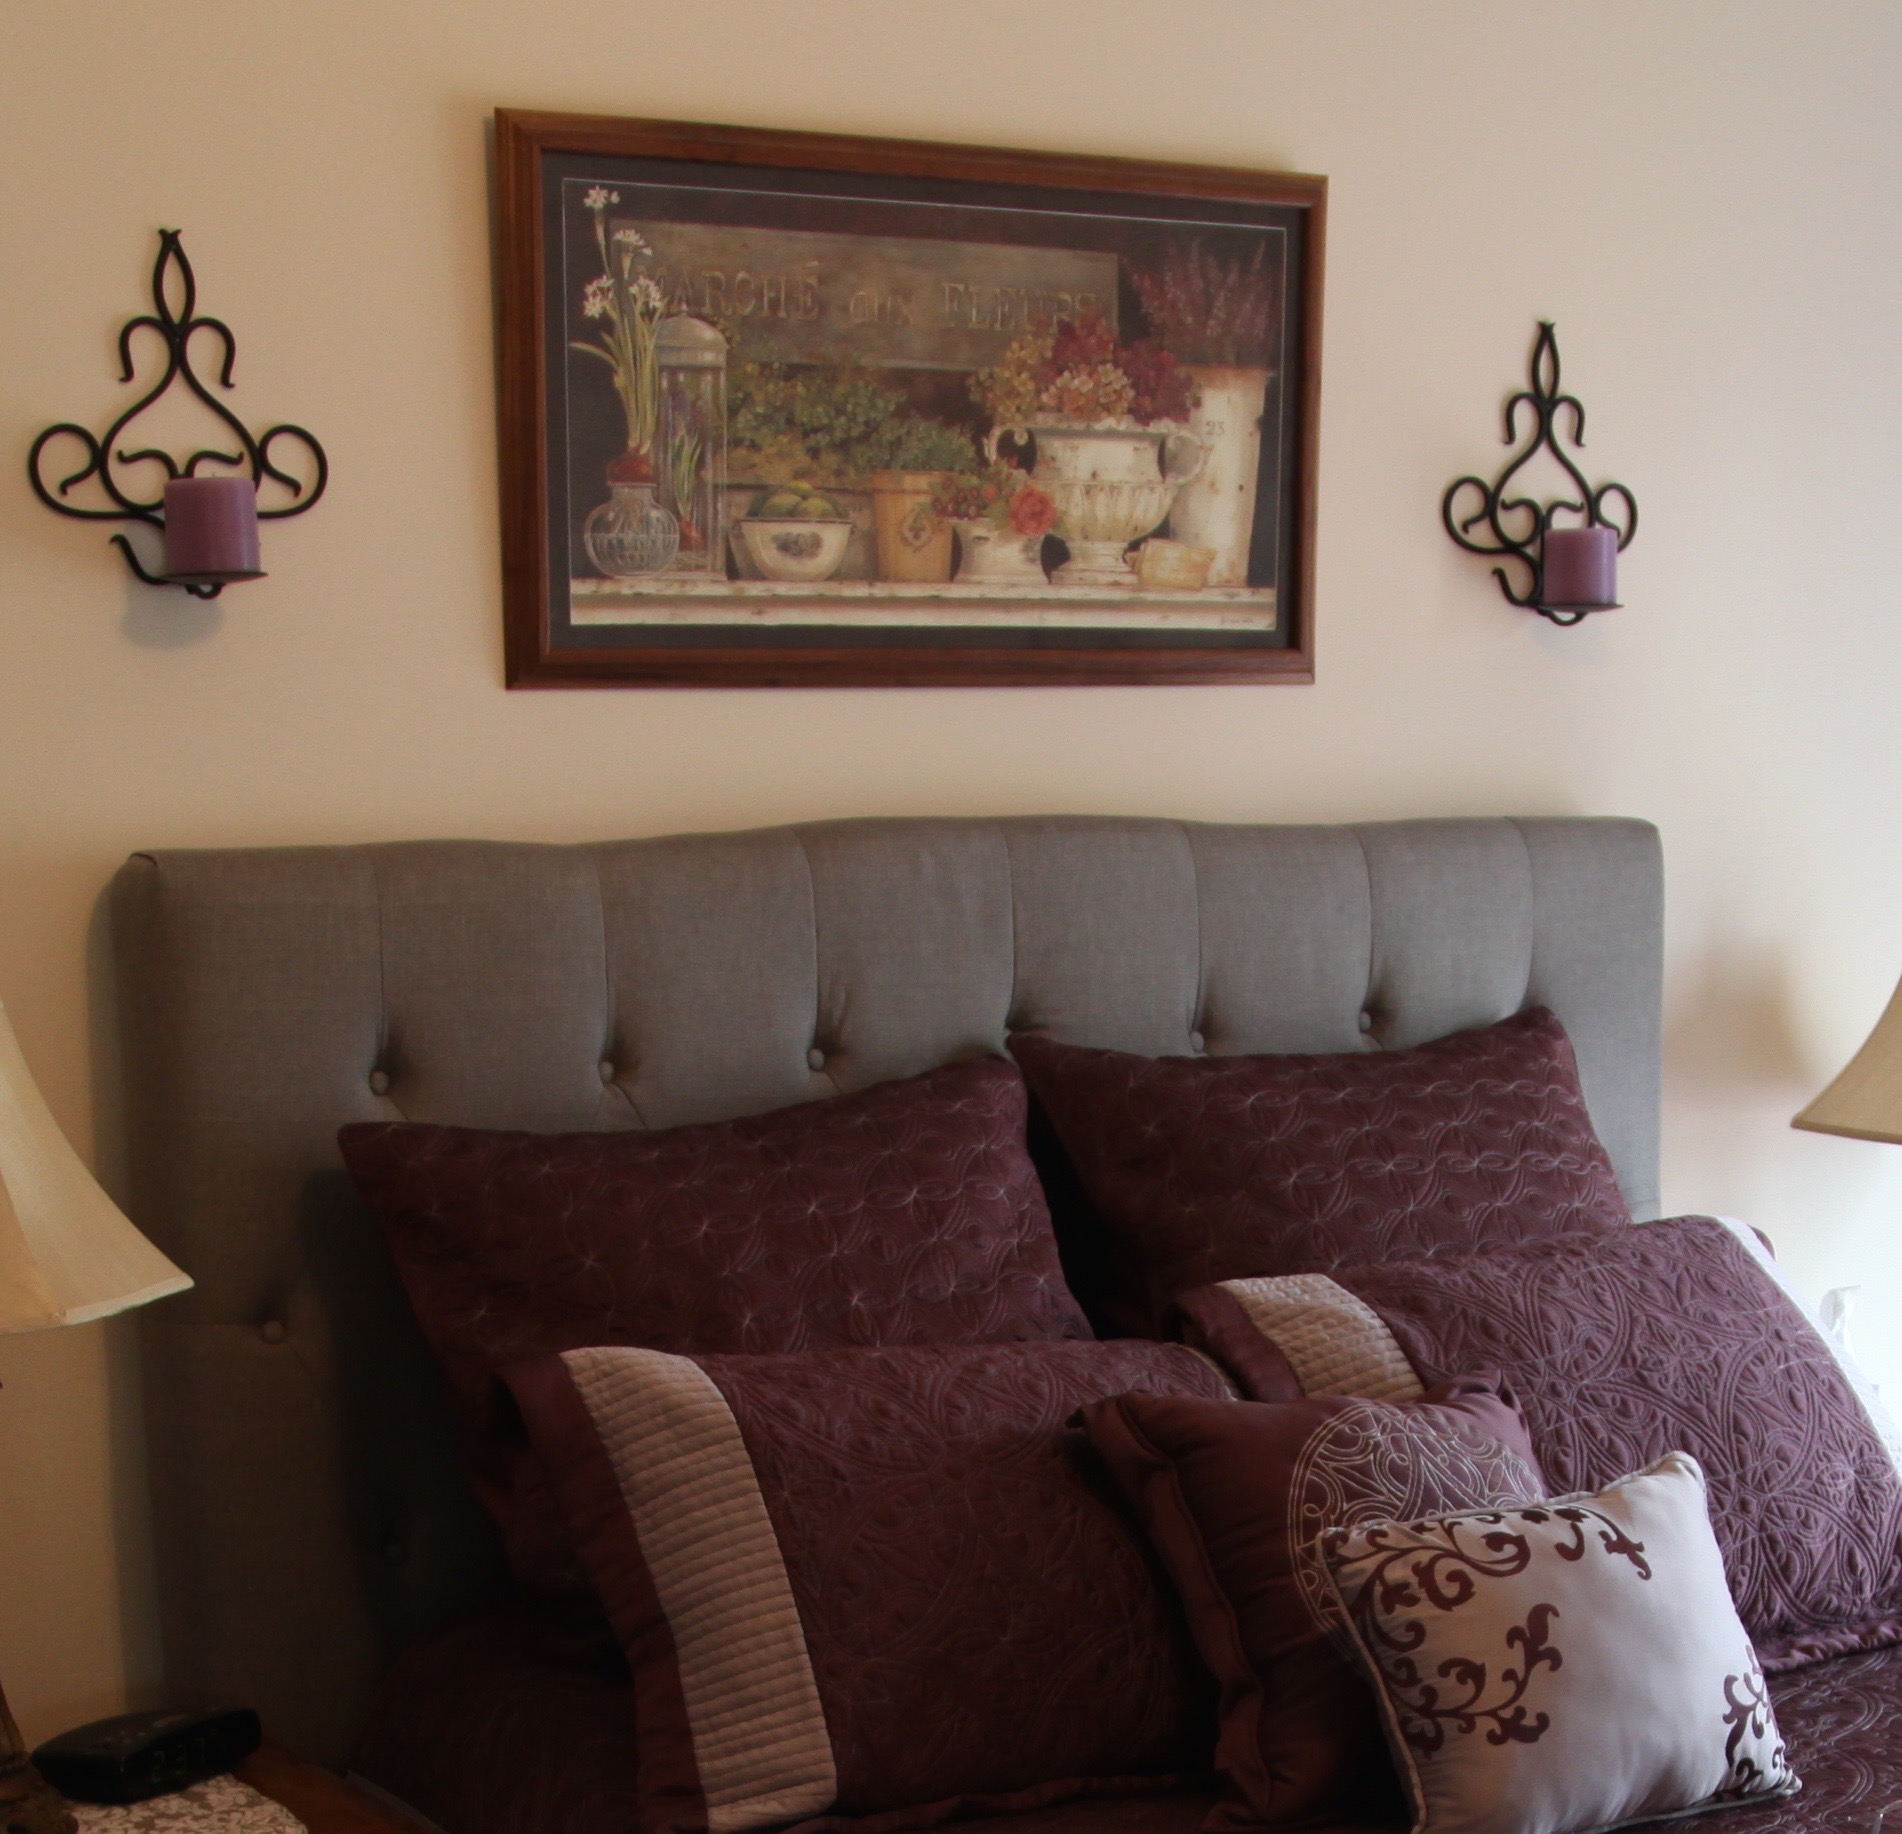
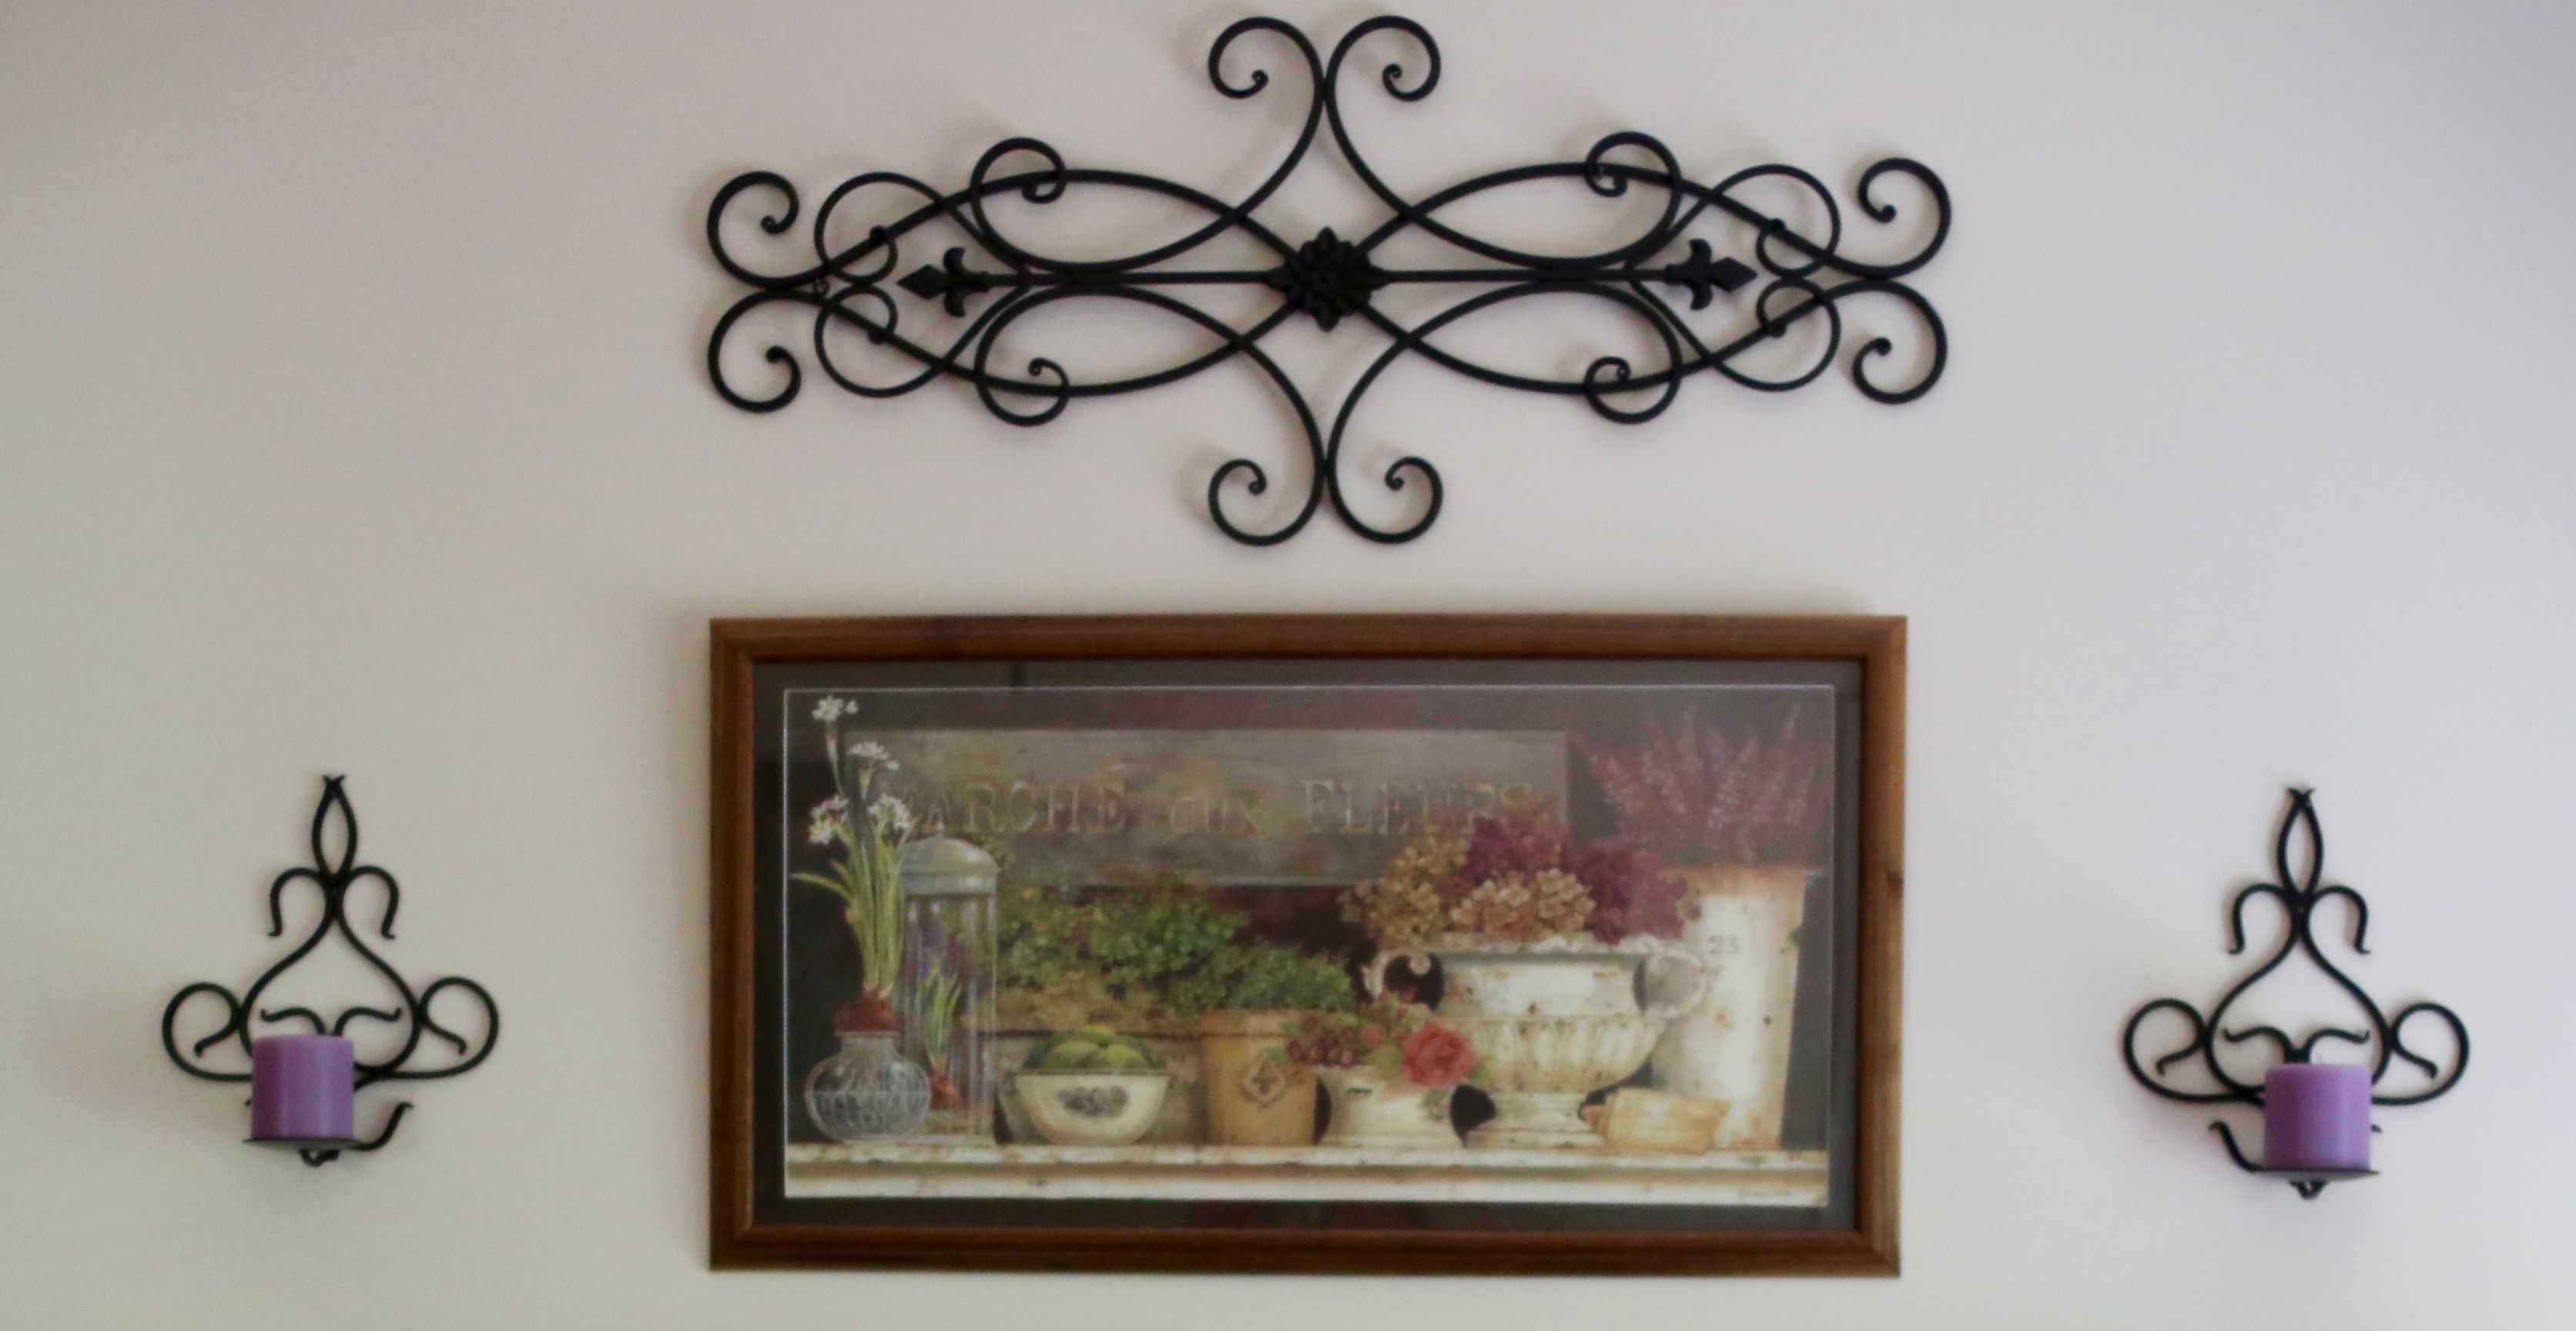
And last but not least, I finished decorating the rest of the family room including several “cozy corners”, the mantel, the hearth, the kitchen hutch, and more.  Here are some pictures first, and then I’ll give you a link to my home tour video:

1V4A9077.JPG1V4A9078.jpg1V4A90831V4A90791V4A9104.JPG1V4A9115.JPG1V4A9116.JPG1V4A9117.JPG1V4A9114.jpg1V4A9140.JPG1V4A9113.jpg1V4A9111.JPG1V4A9106.JPG1V4A9094.JPG1V4A9105.JPG1V4A9093.JPG1V4A9090.JPG1V4A9087.jpg1V4A9084.jpg1V4A9096.JPG1V4A9074.JPG1V4A9090.JPG1V4A9075.JPGIMG_6088.jpgIMG_6087.jpgIMG_6080.jpg

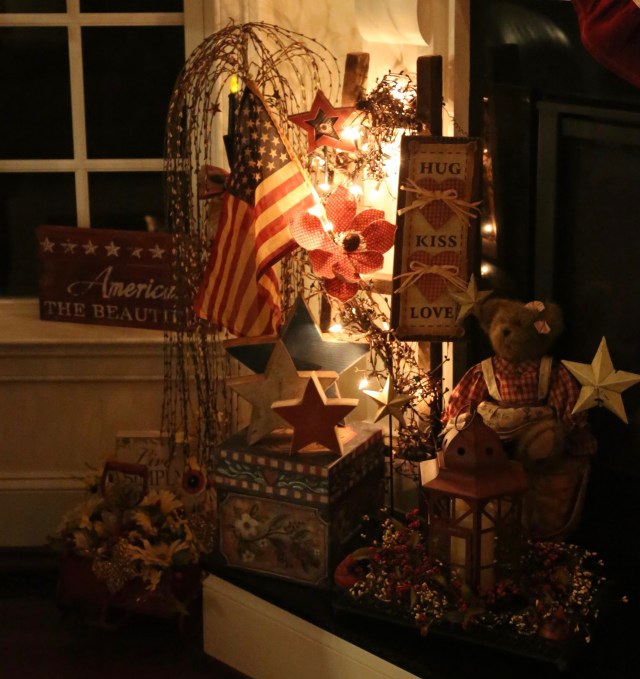
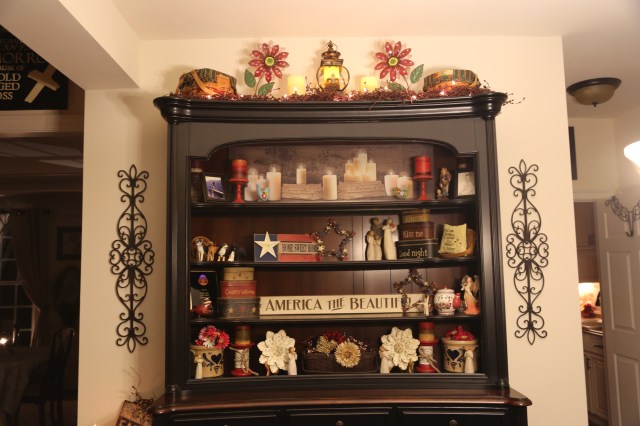
And here is my YouTube Home Tour Video:


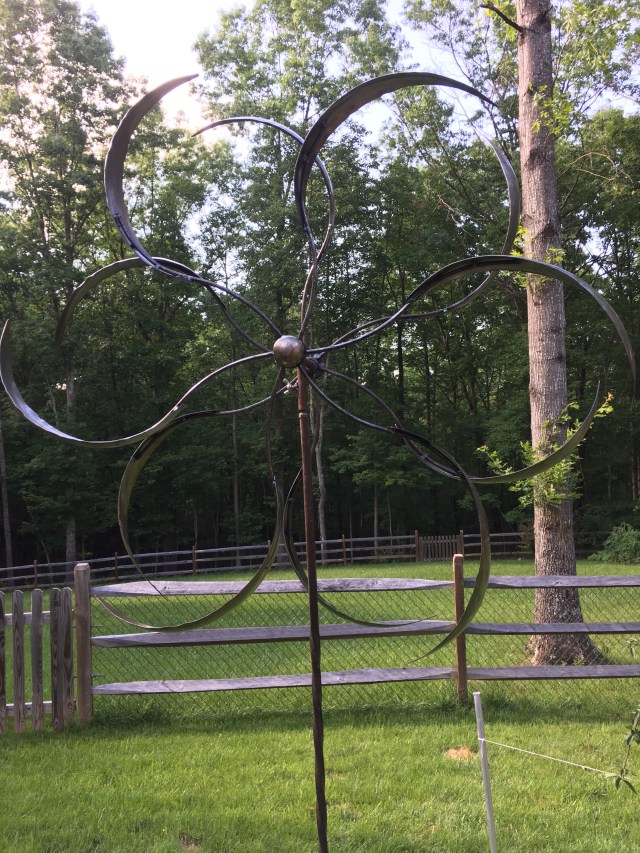
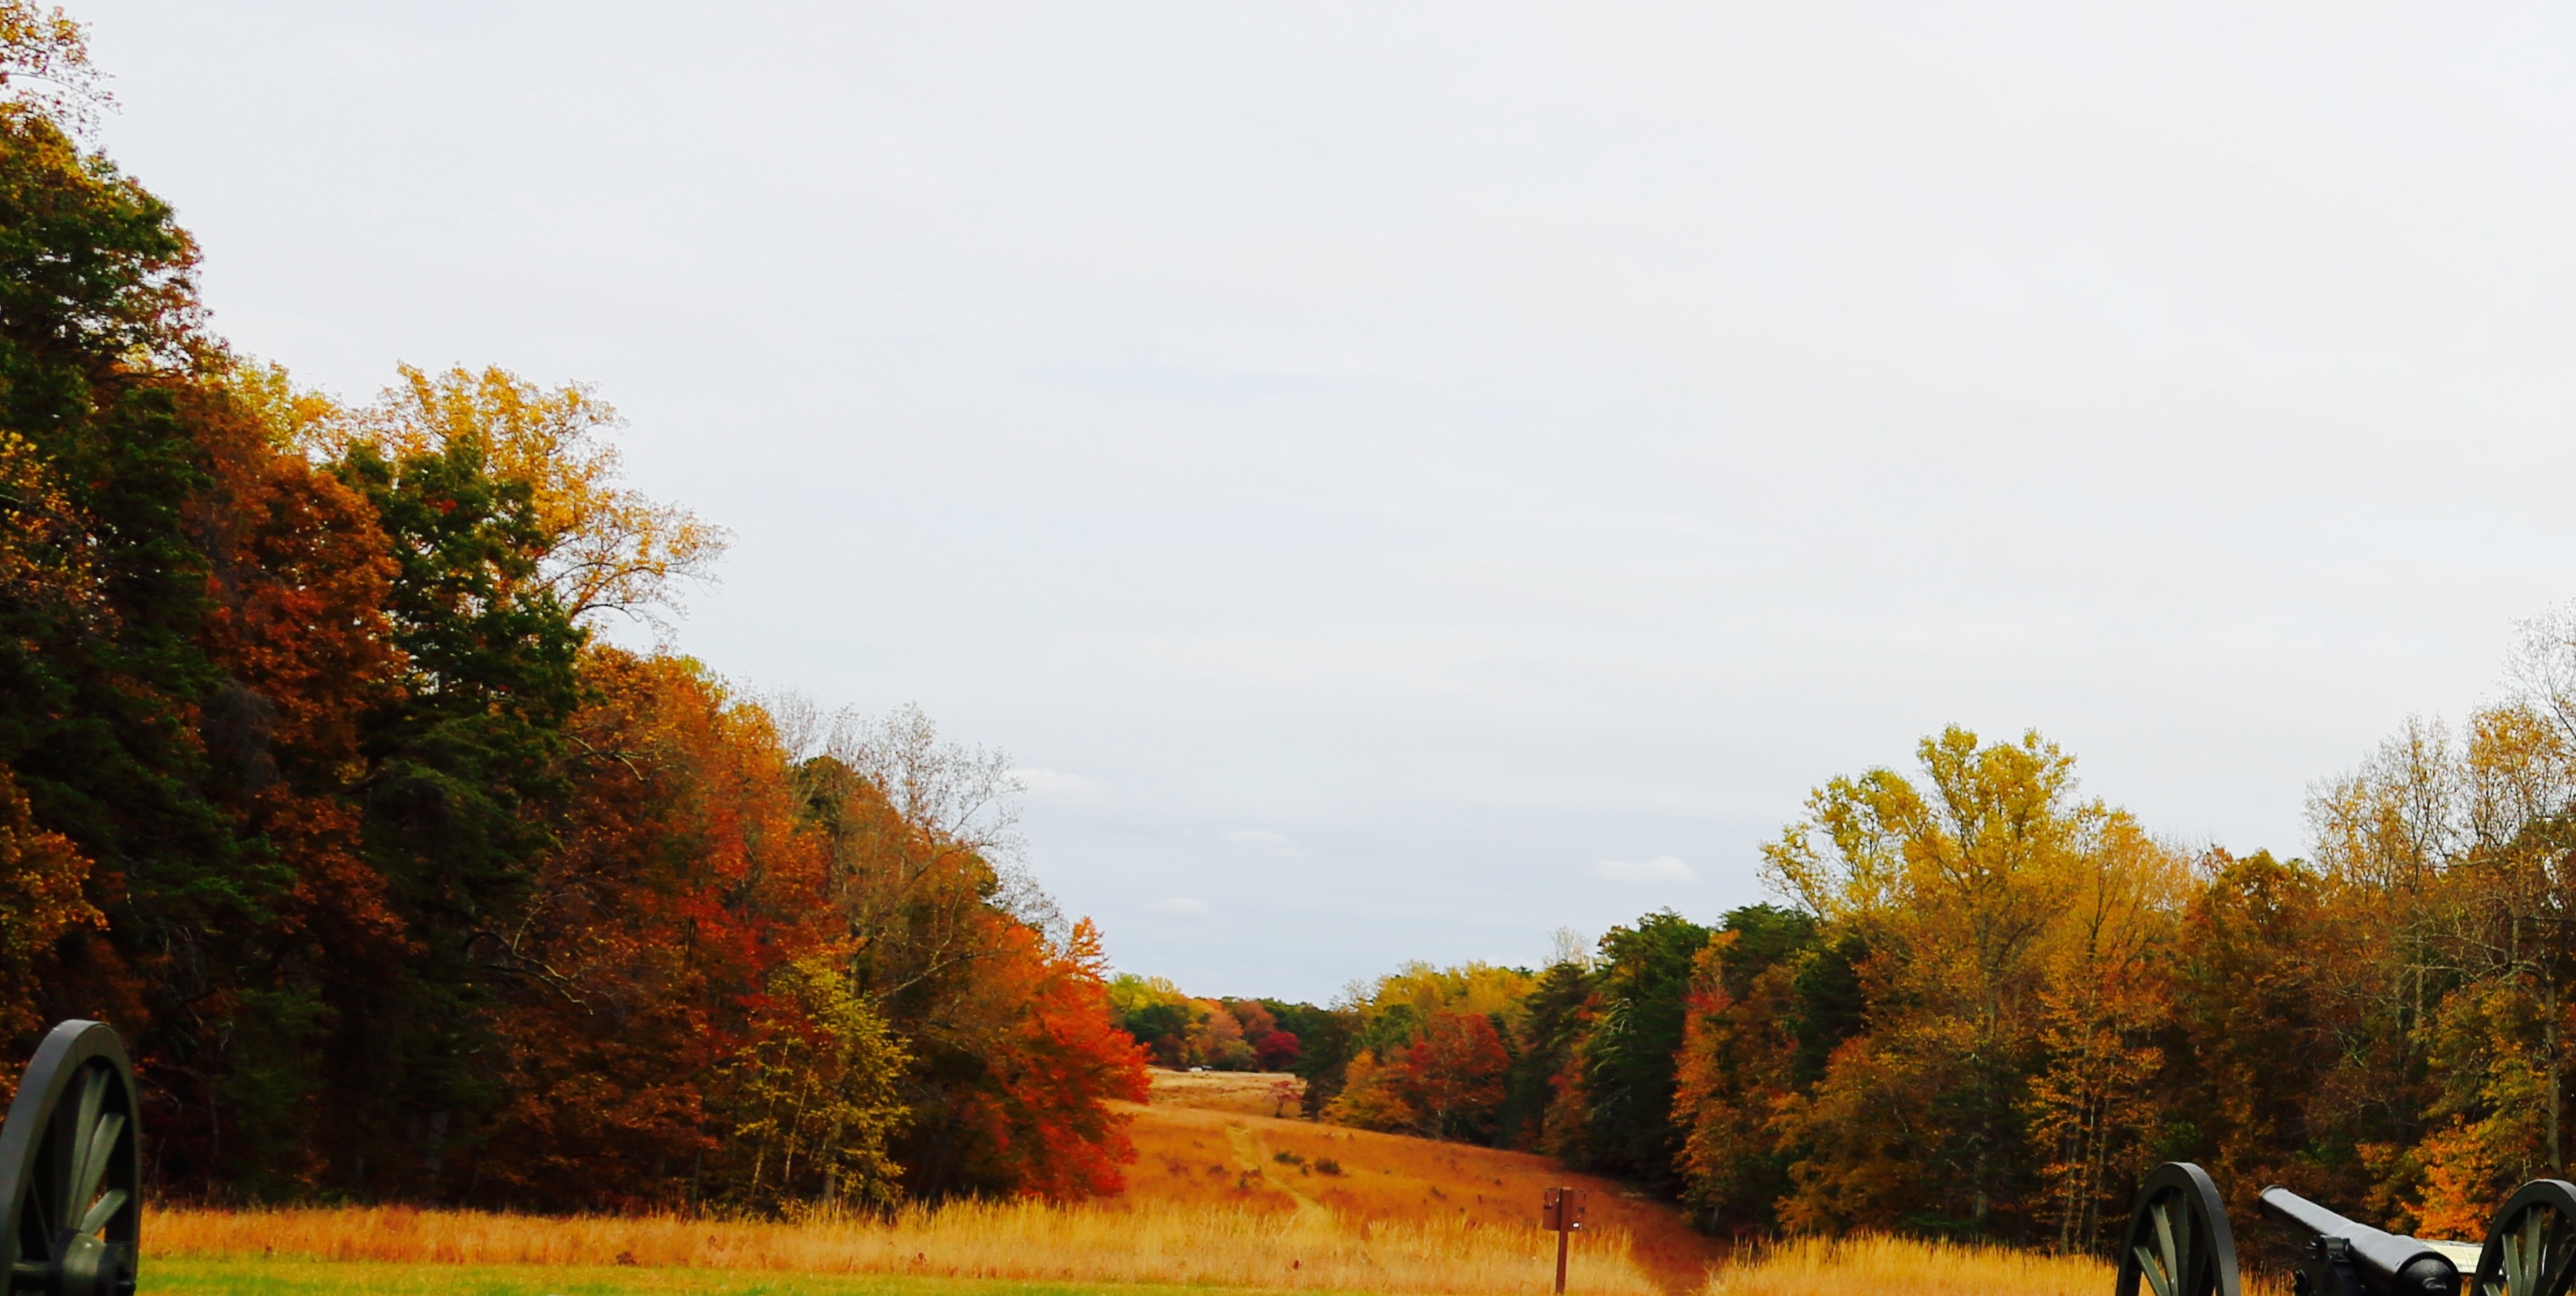
Last but not least,  and a little bonus footage, Chris and I took a trip down to Hampton, Virginia to go to the “Bodacious Bazaar”.  Chris’ Mom had a beautiful wind spinner that we wanted to purchase and the vender that supplied that spinner was going to be at that bazaar.  Here is a little video of our road trip down to the bazaar, and then I haul what we purchased.

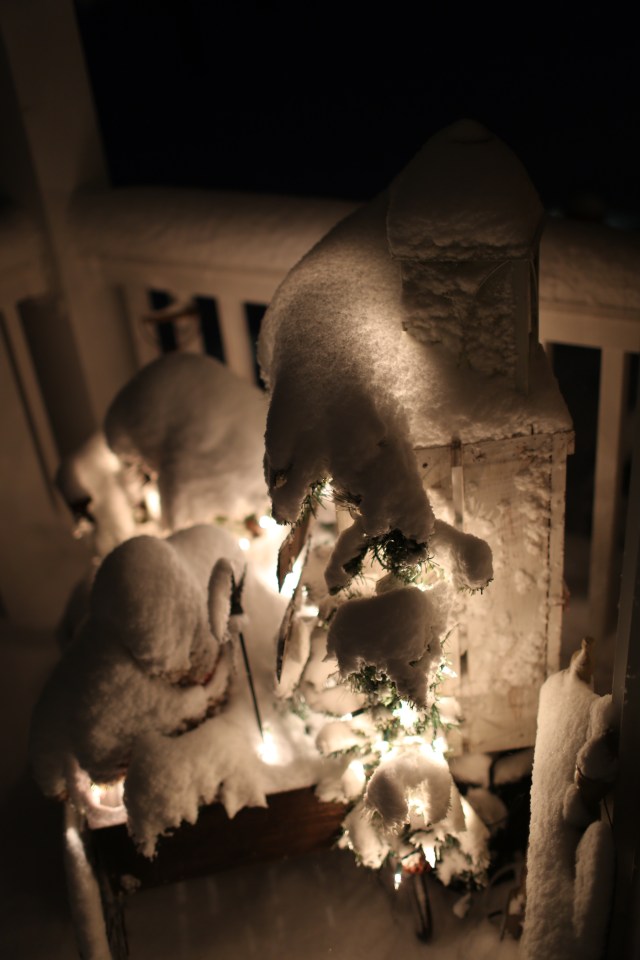
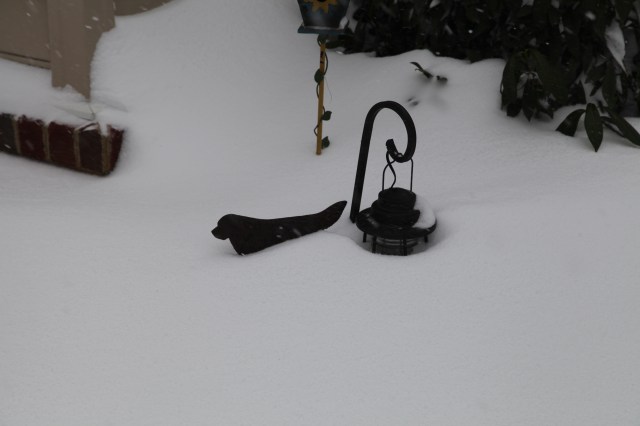
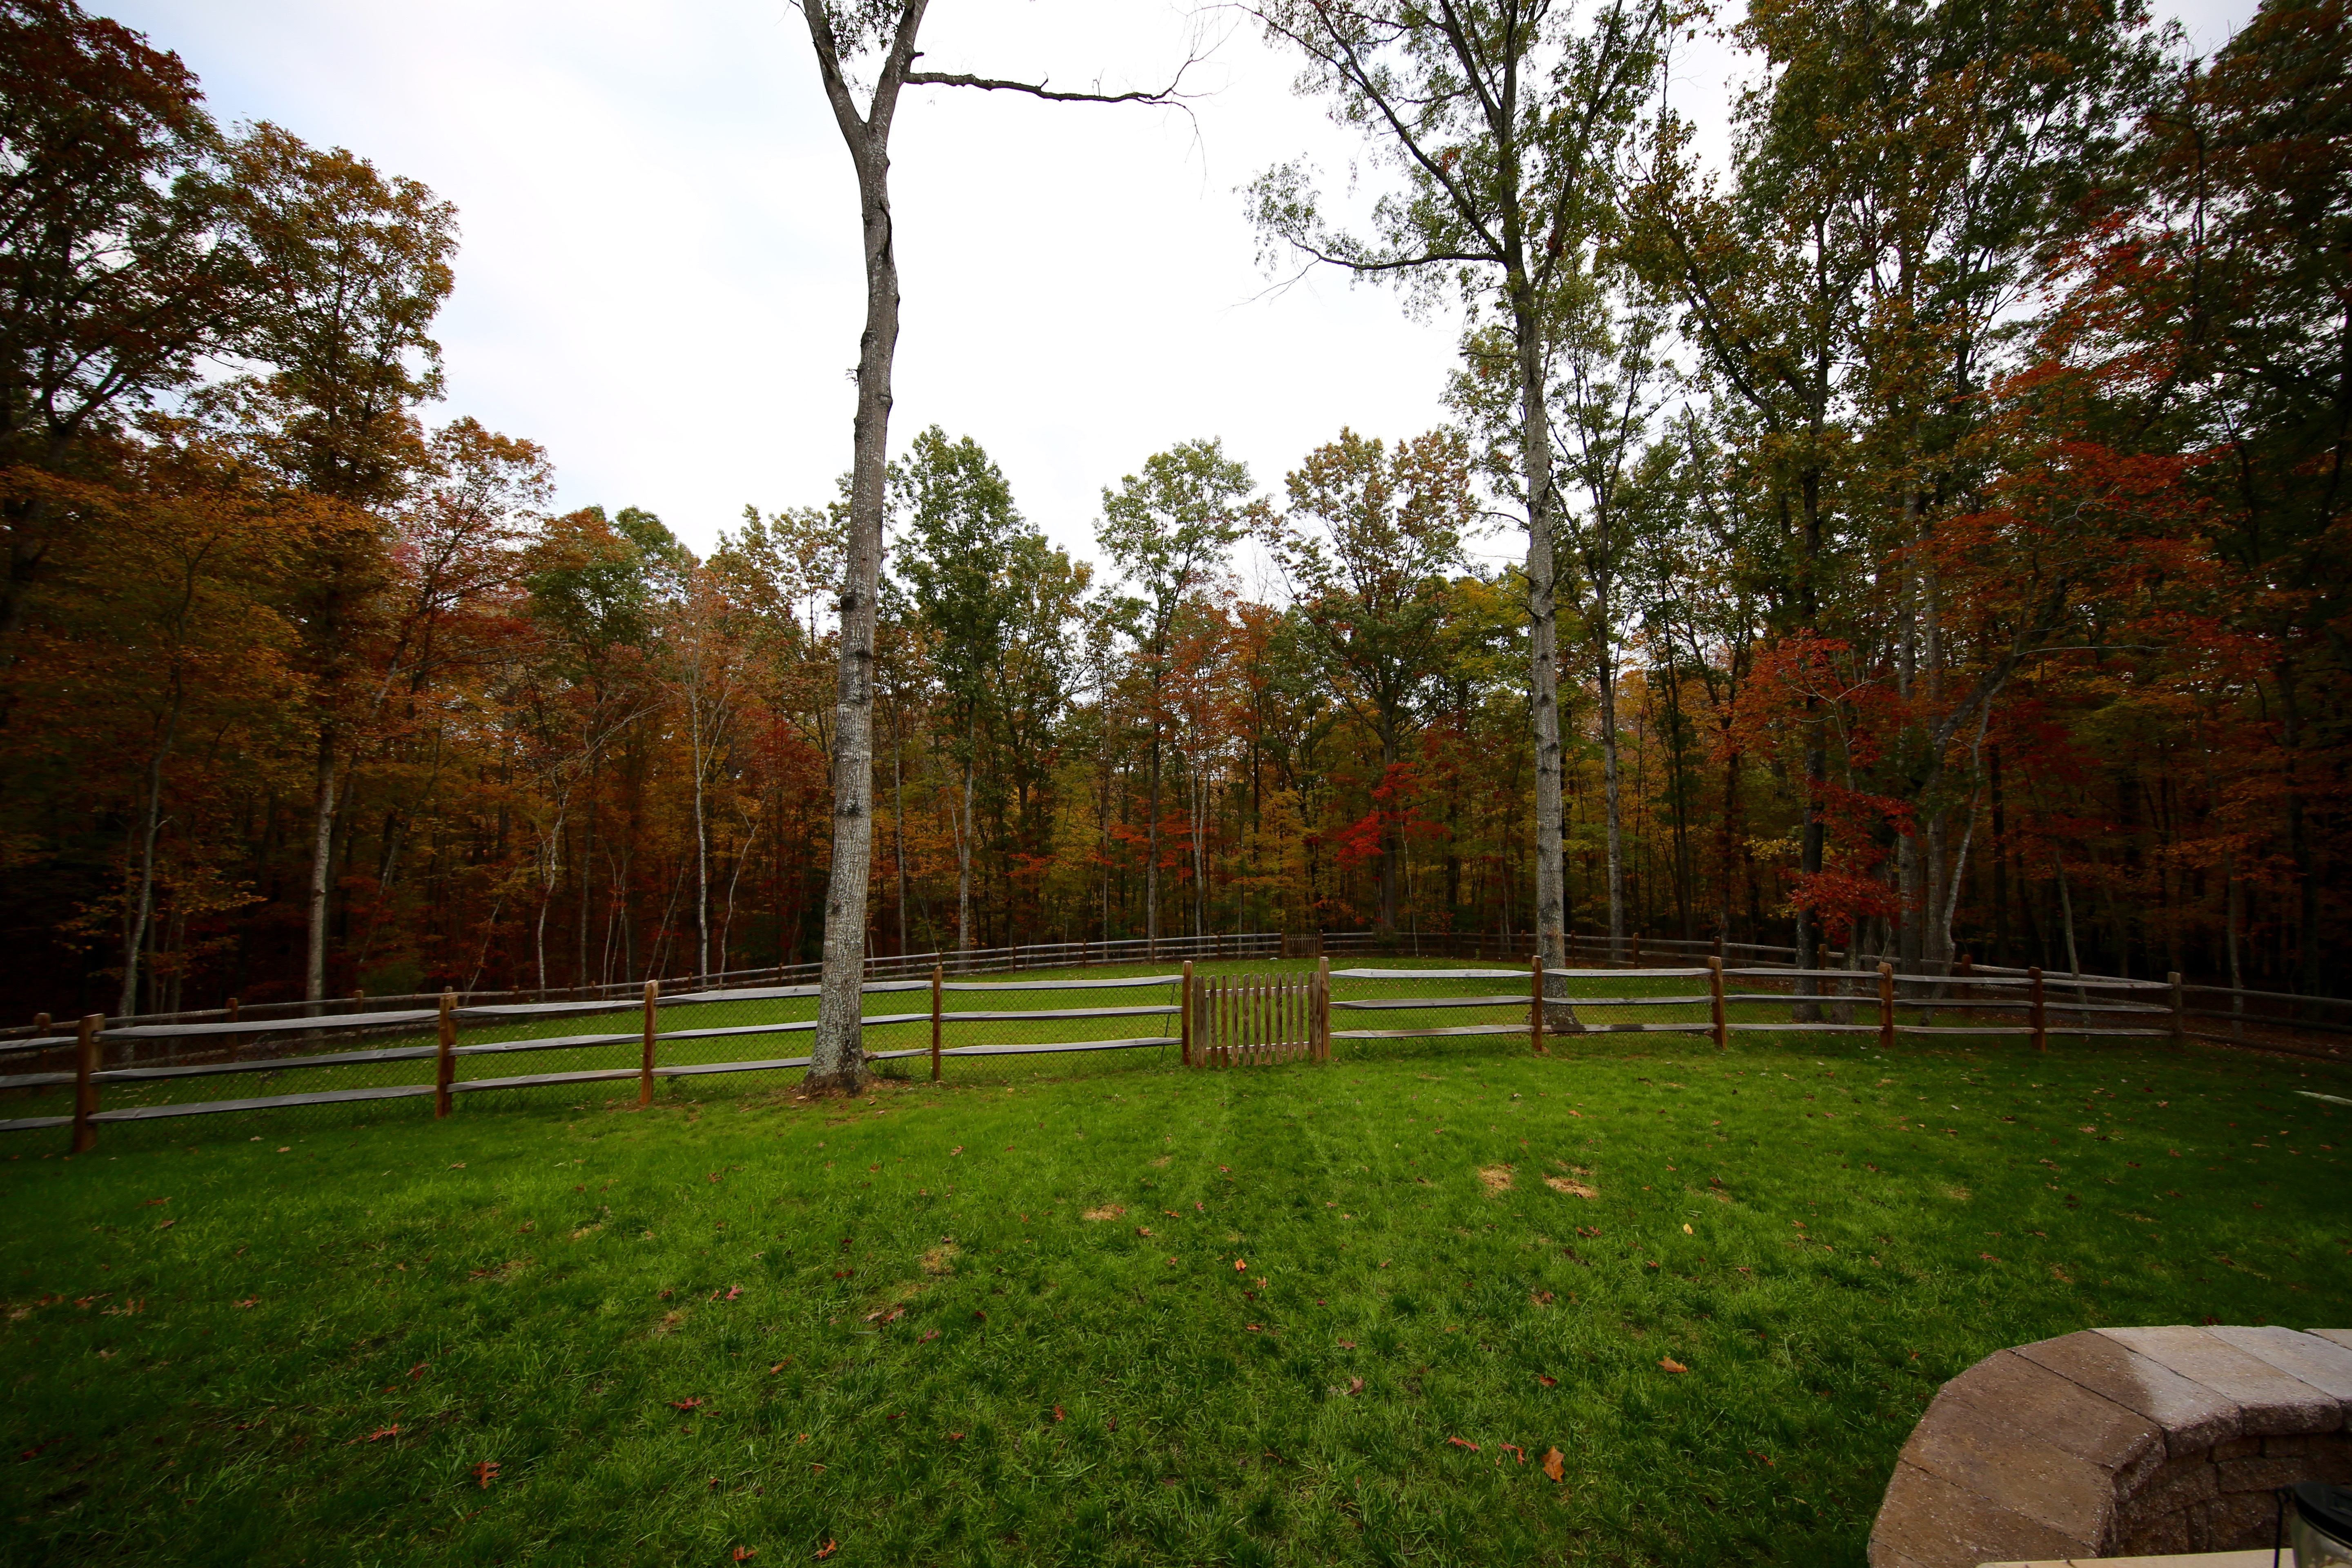
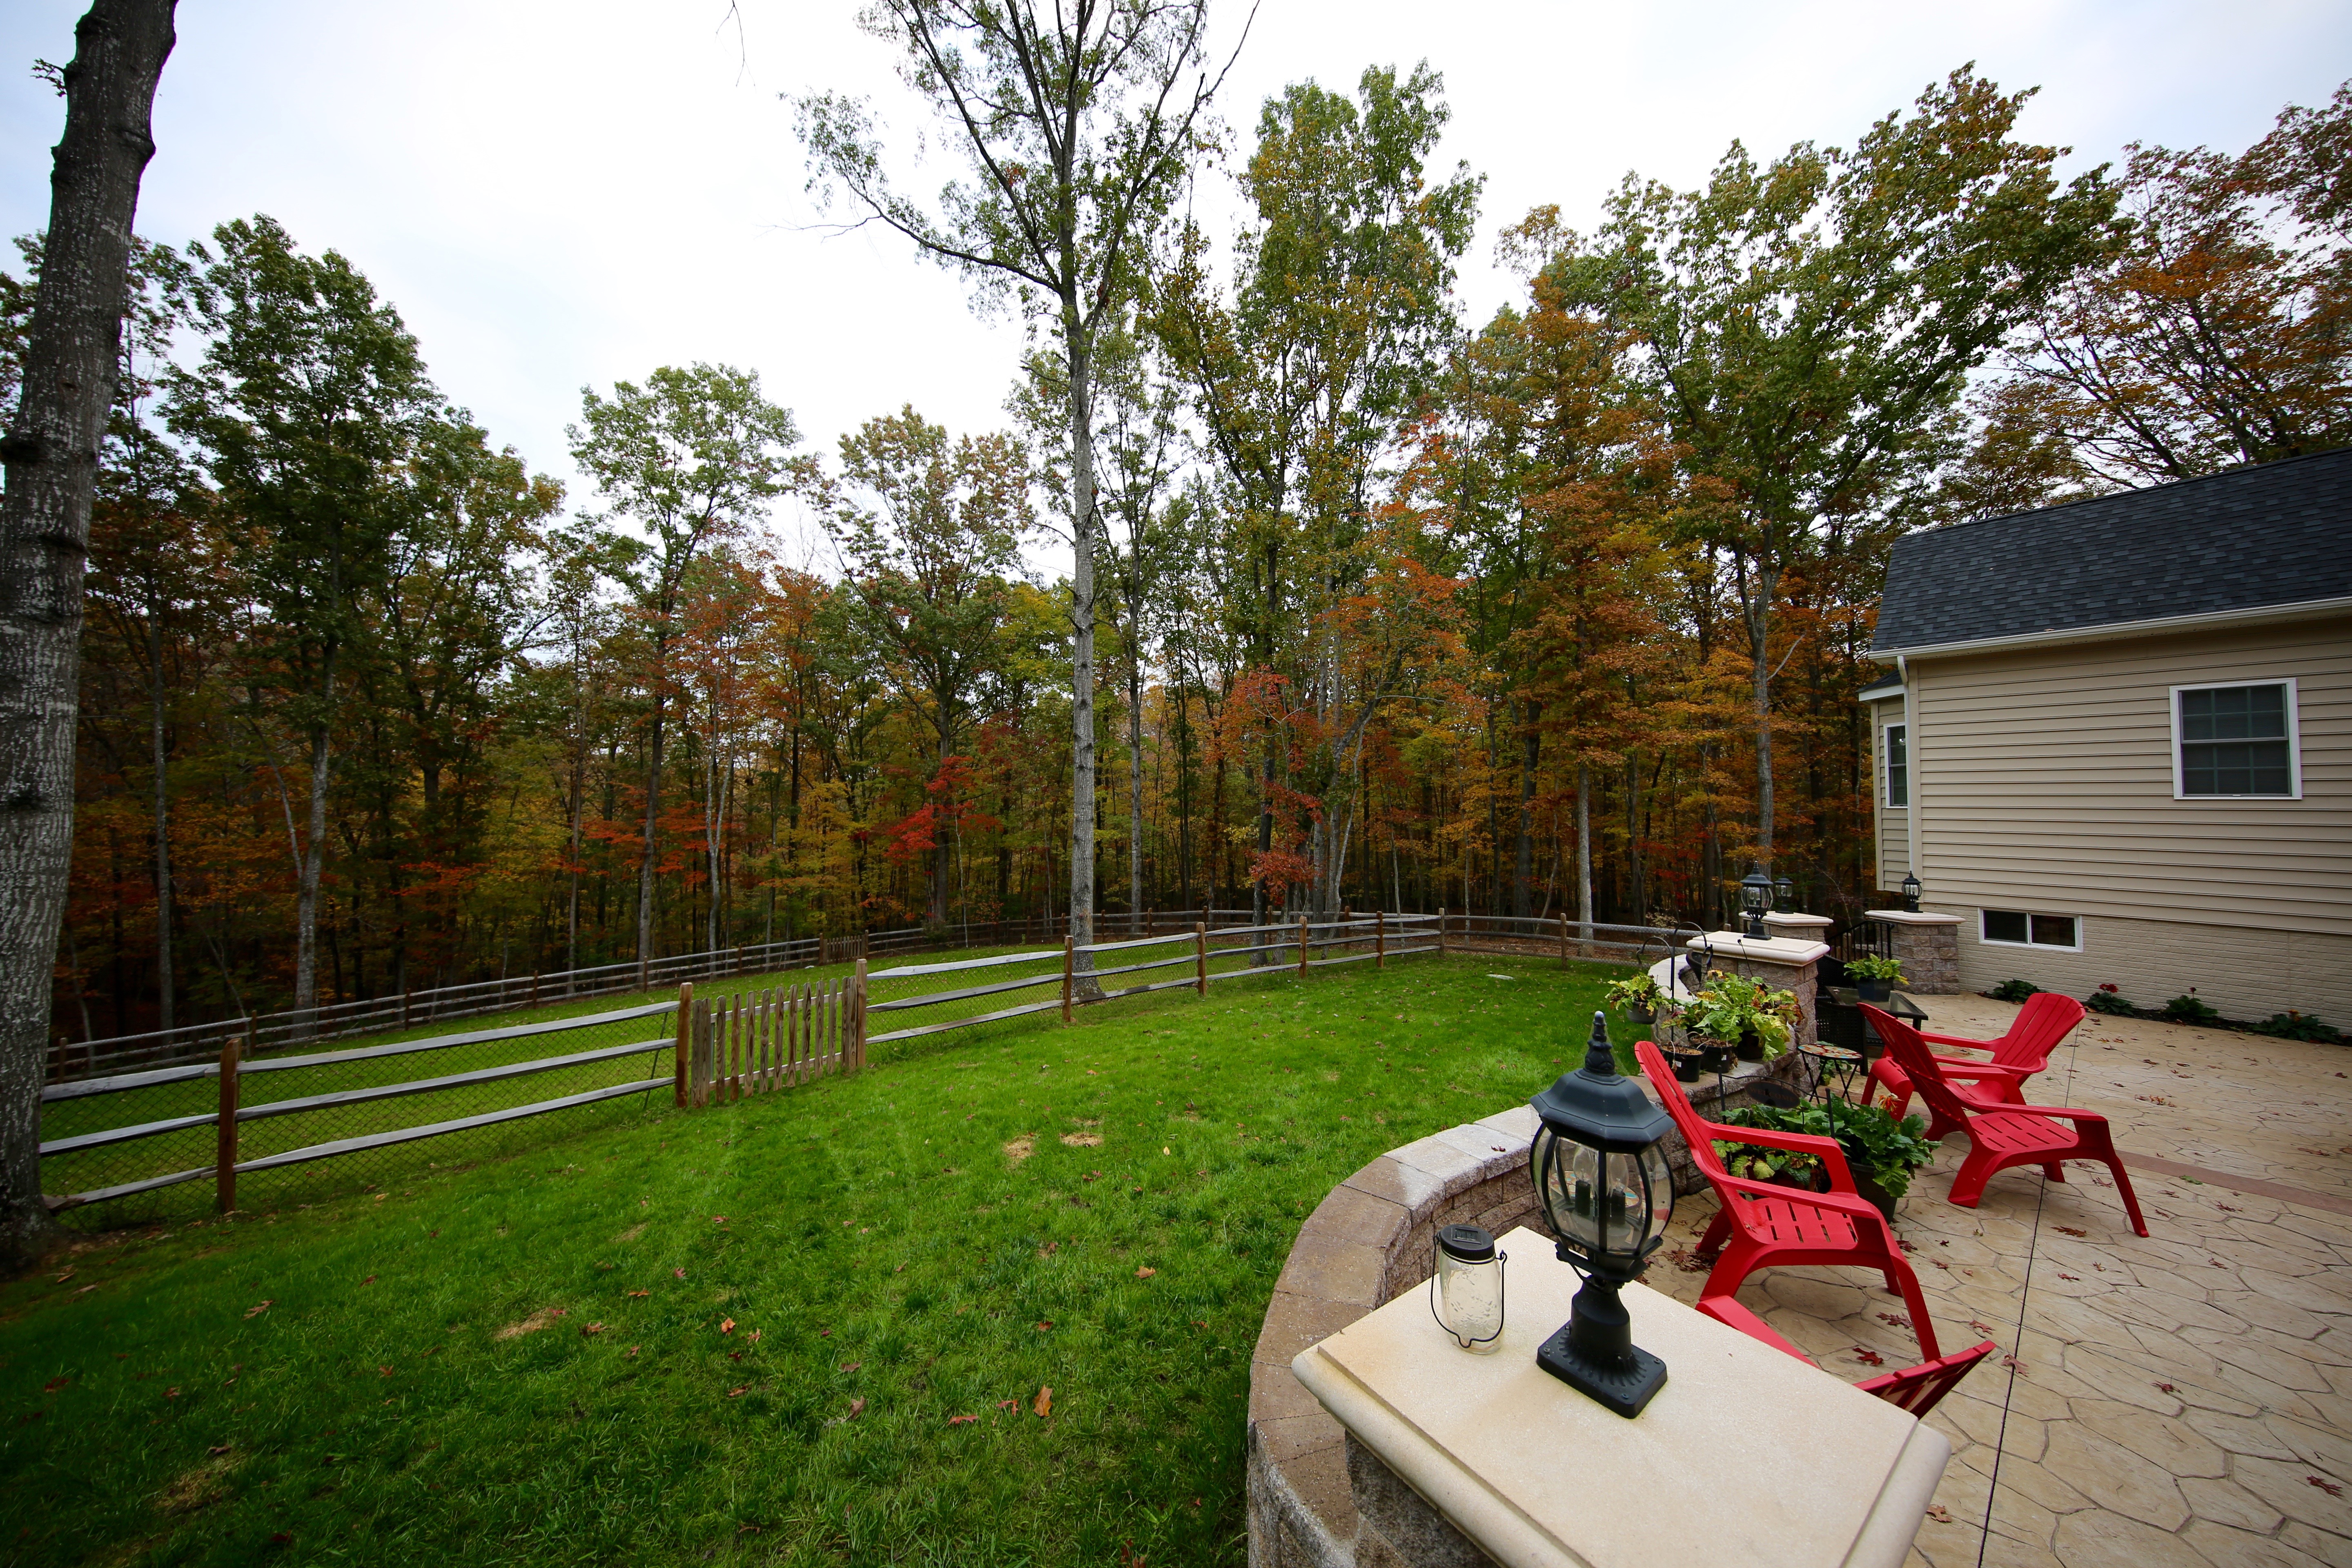
And here are a few pictures of where we placed that sweet bike, chair, & lantern shepherd’s hook.  Both spinners are in the backyard along with the butterfly balancer 🙂

IMG_6176.jpgIMG_6169.jpgIMG_6173.jpgIMG_6172.jpg

And I brought a little of the Patriotic feel to the bike and the chair. 🙂

IMG_6298.JPGIMG_6300.JPGIMG_6301.JPG

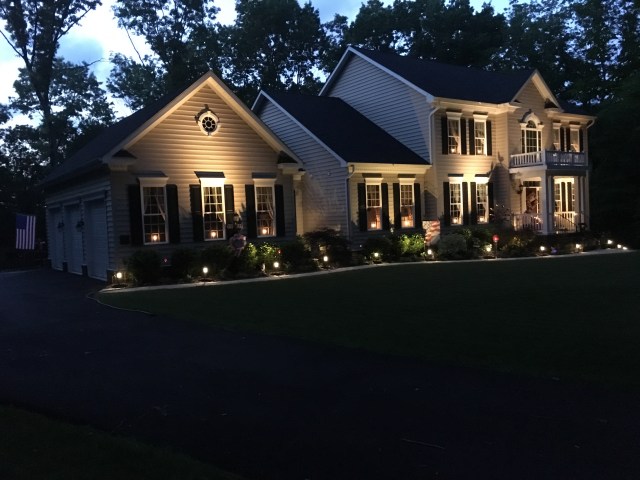
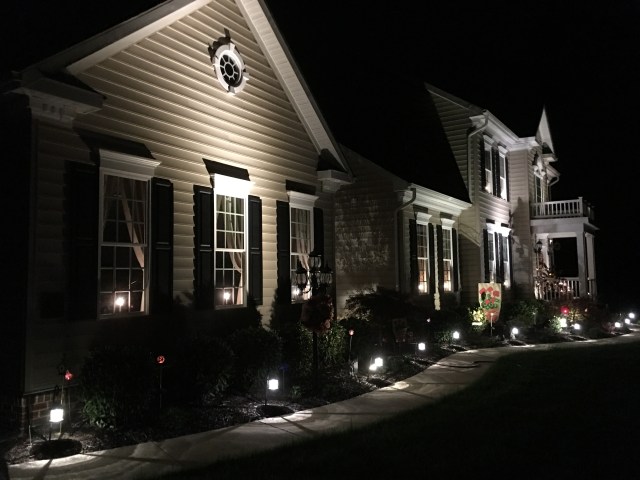
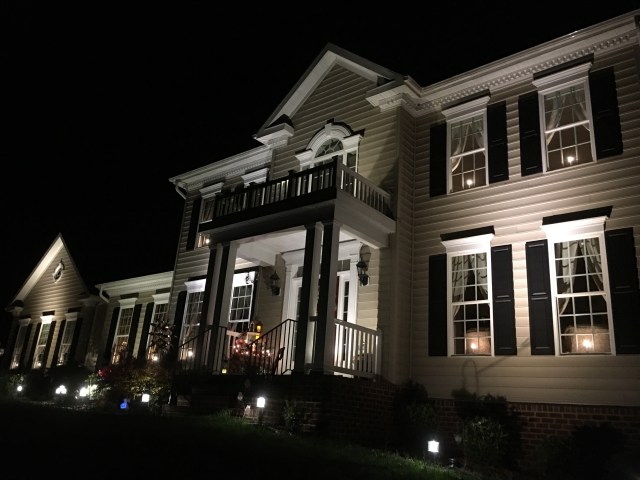
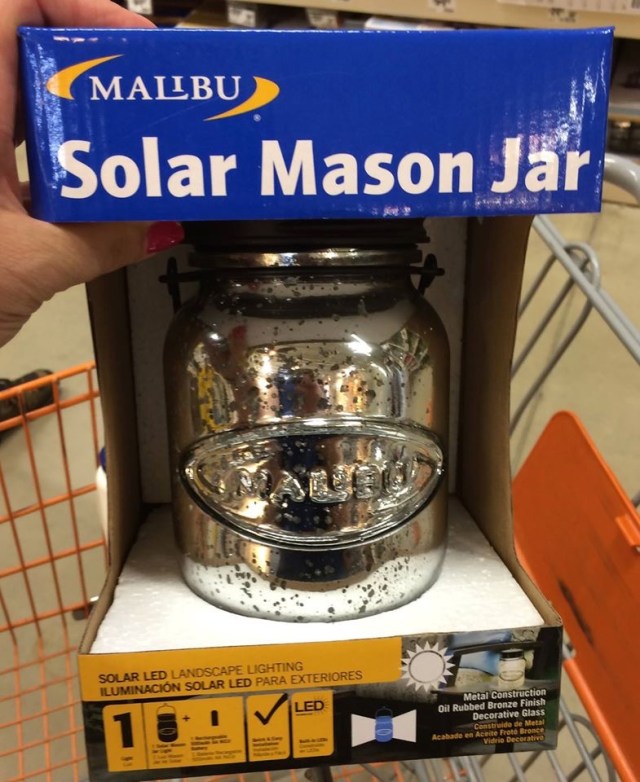
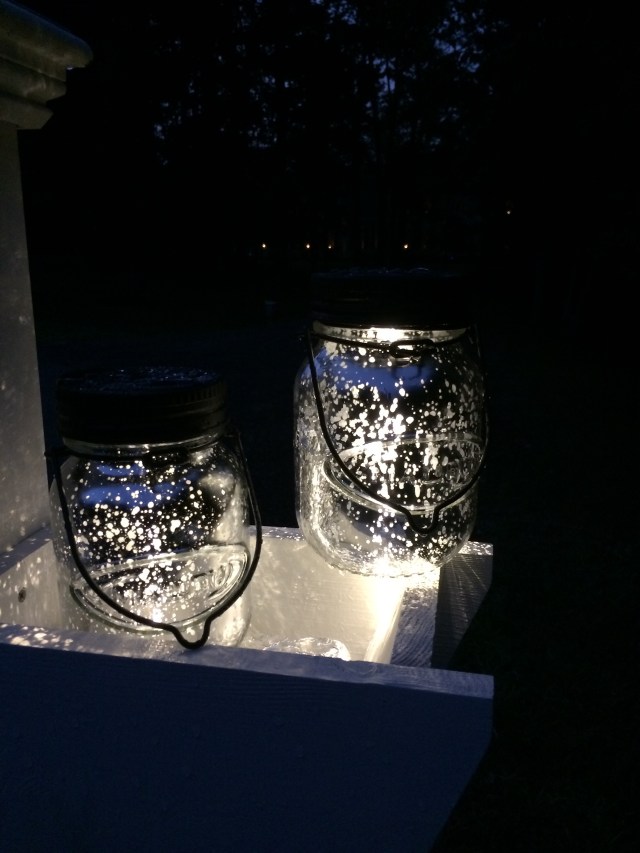
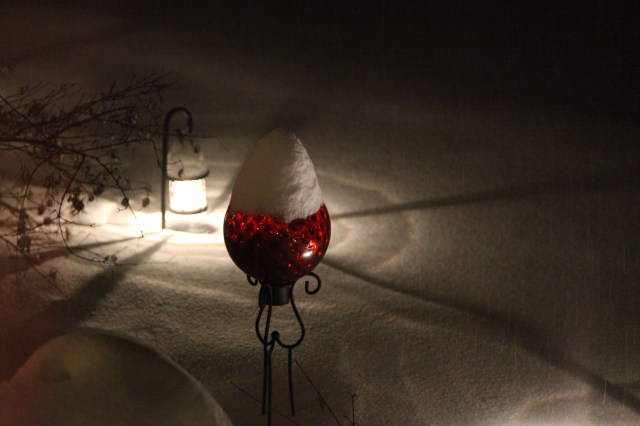
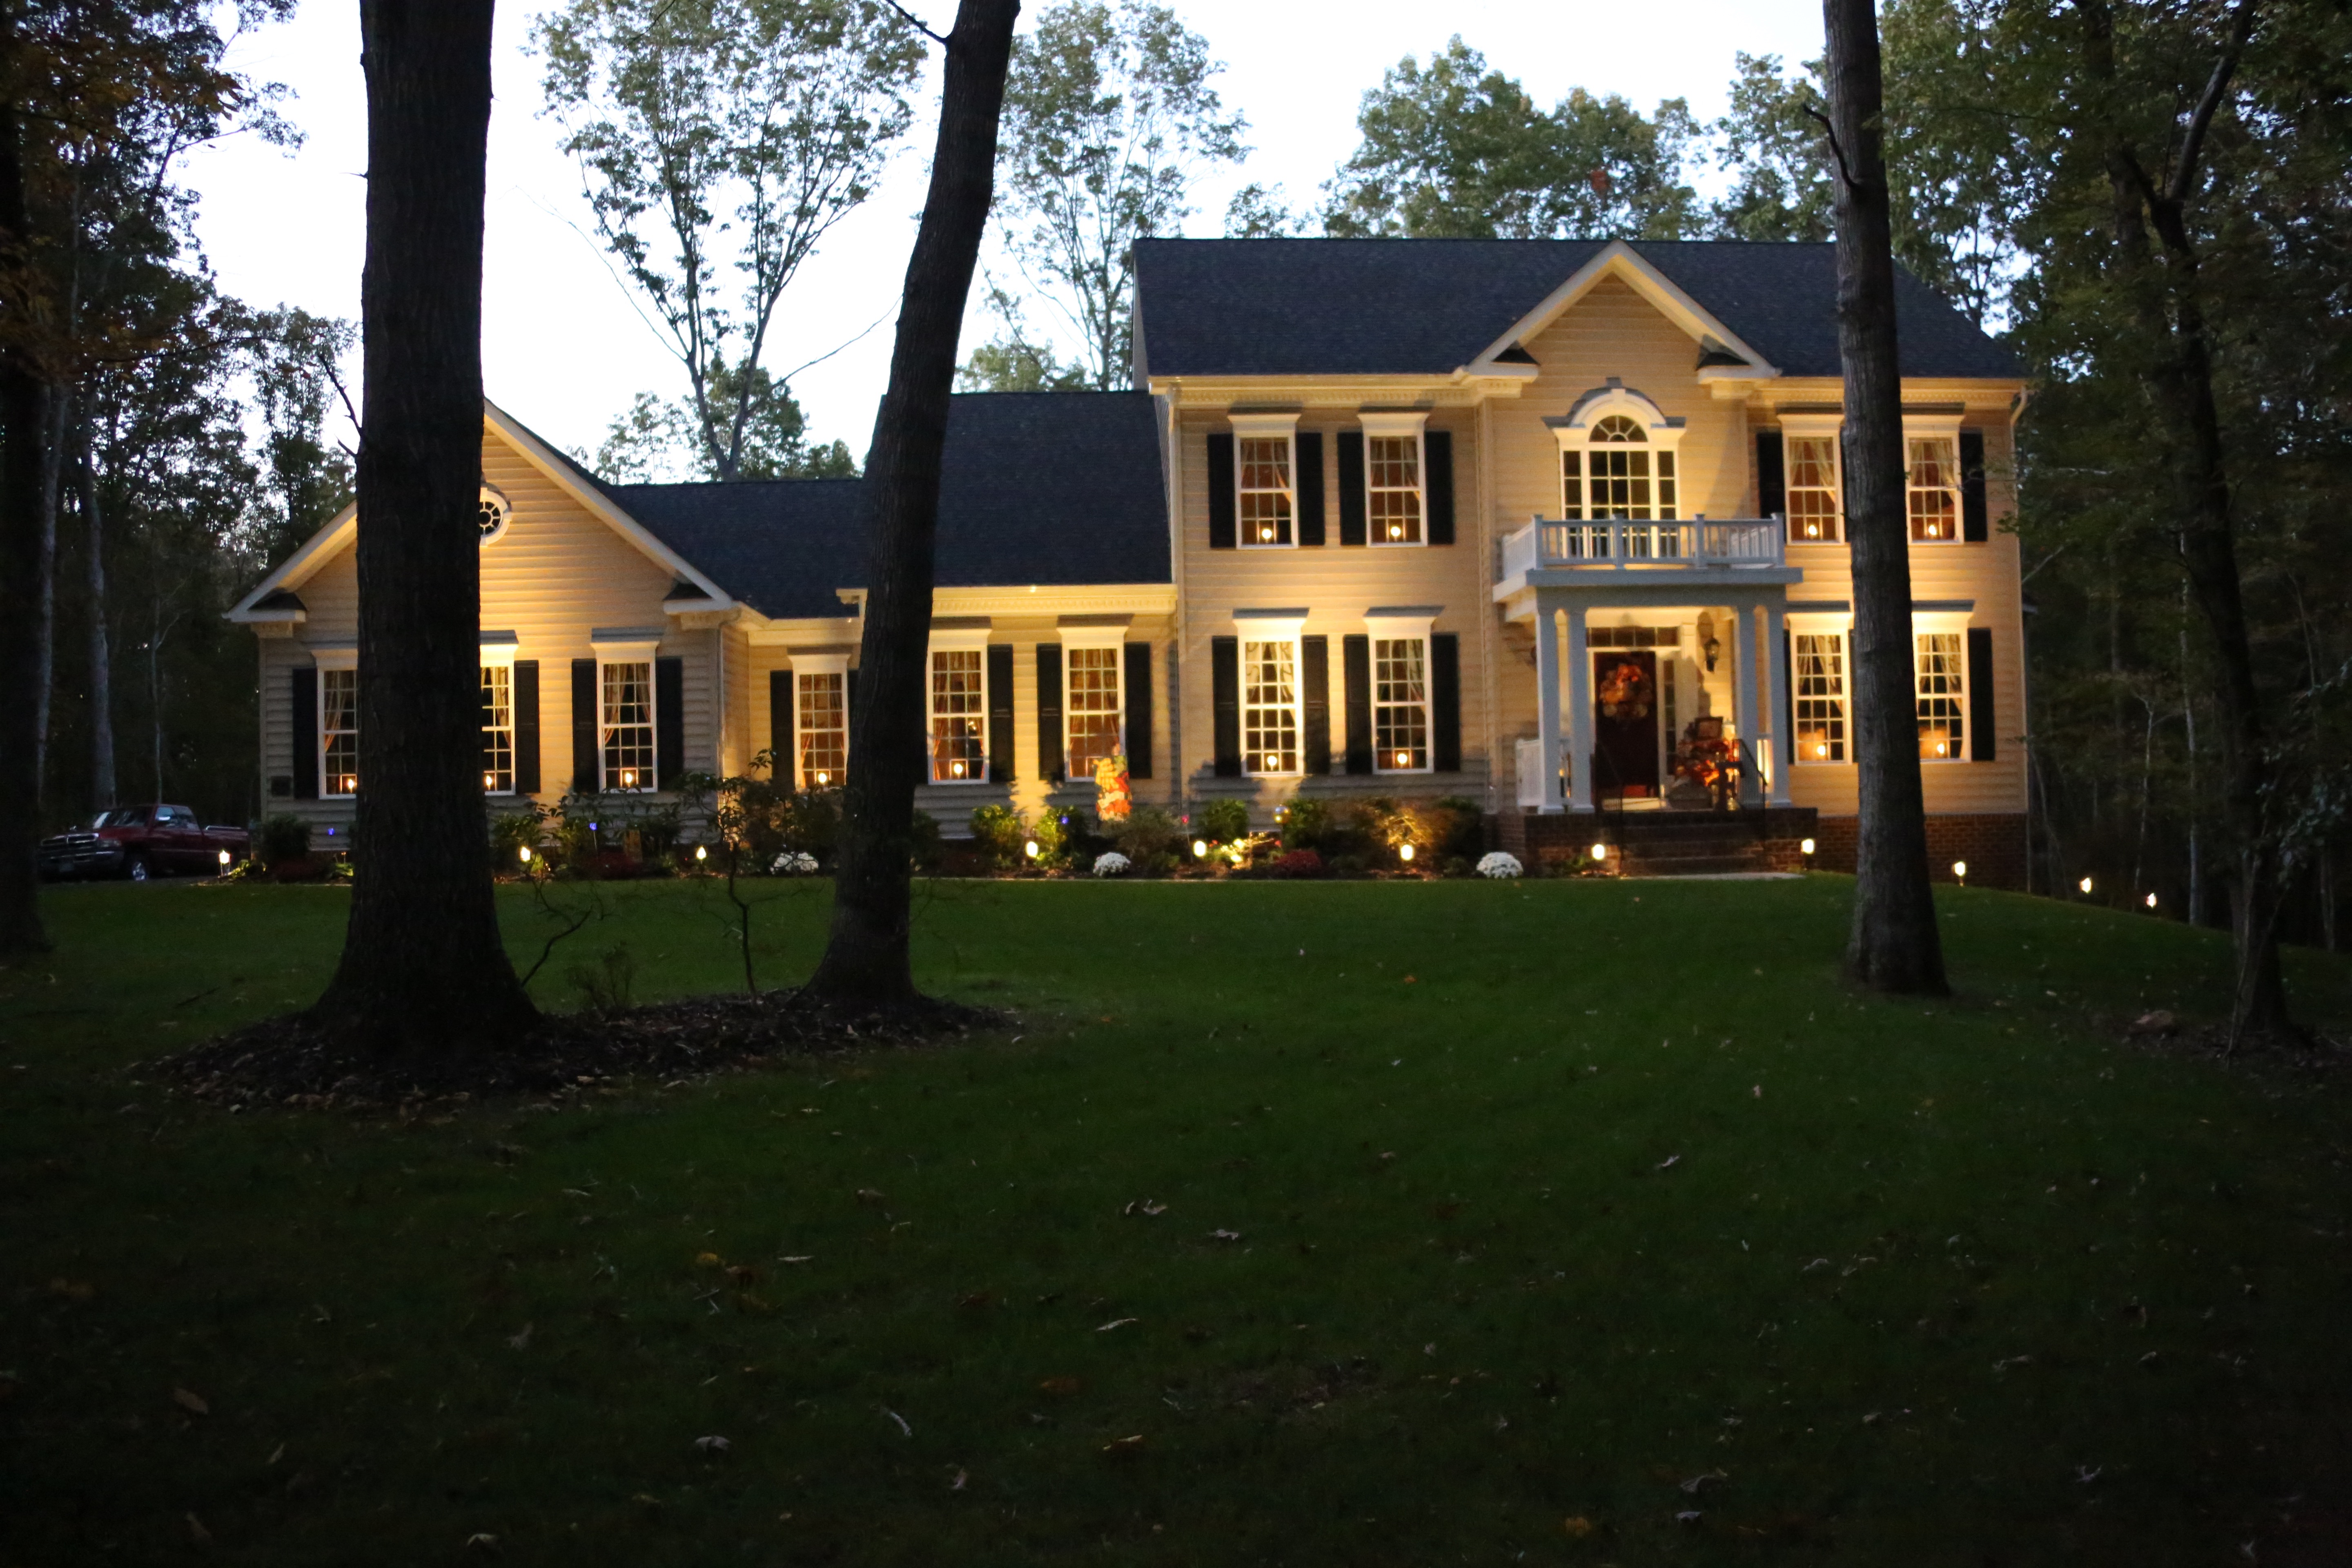
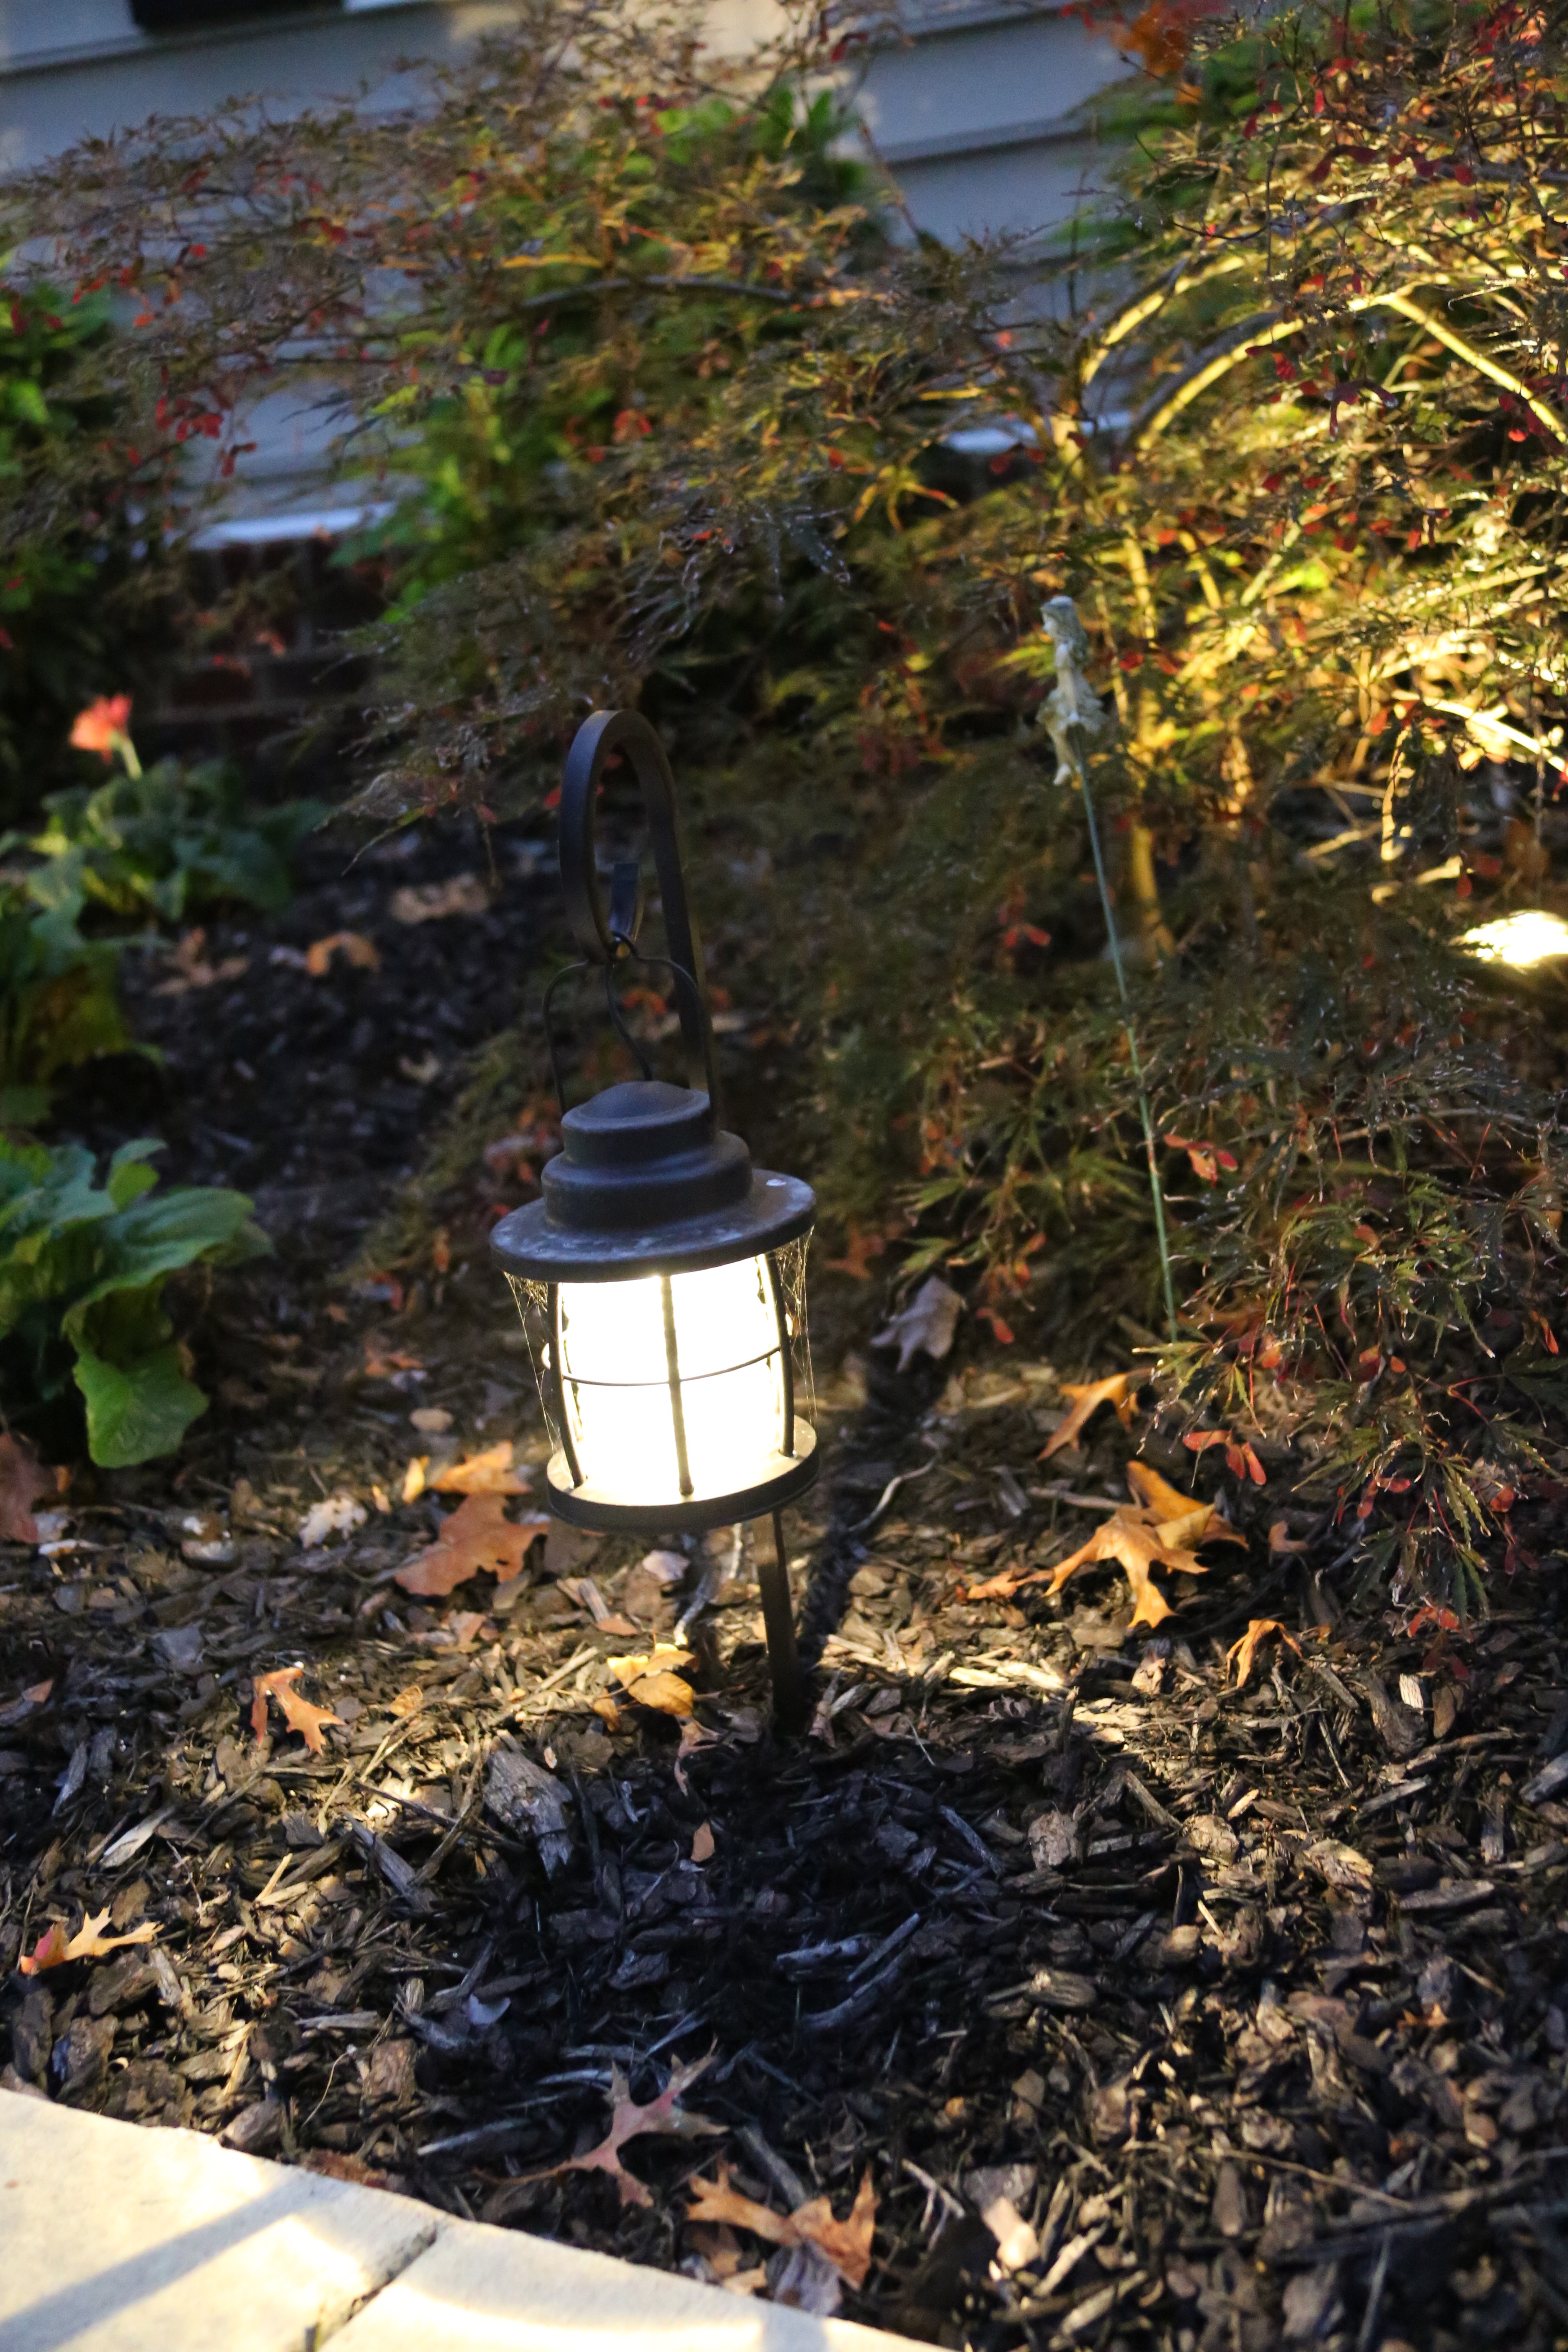
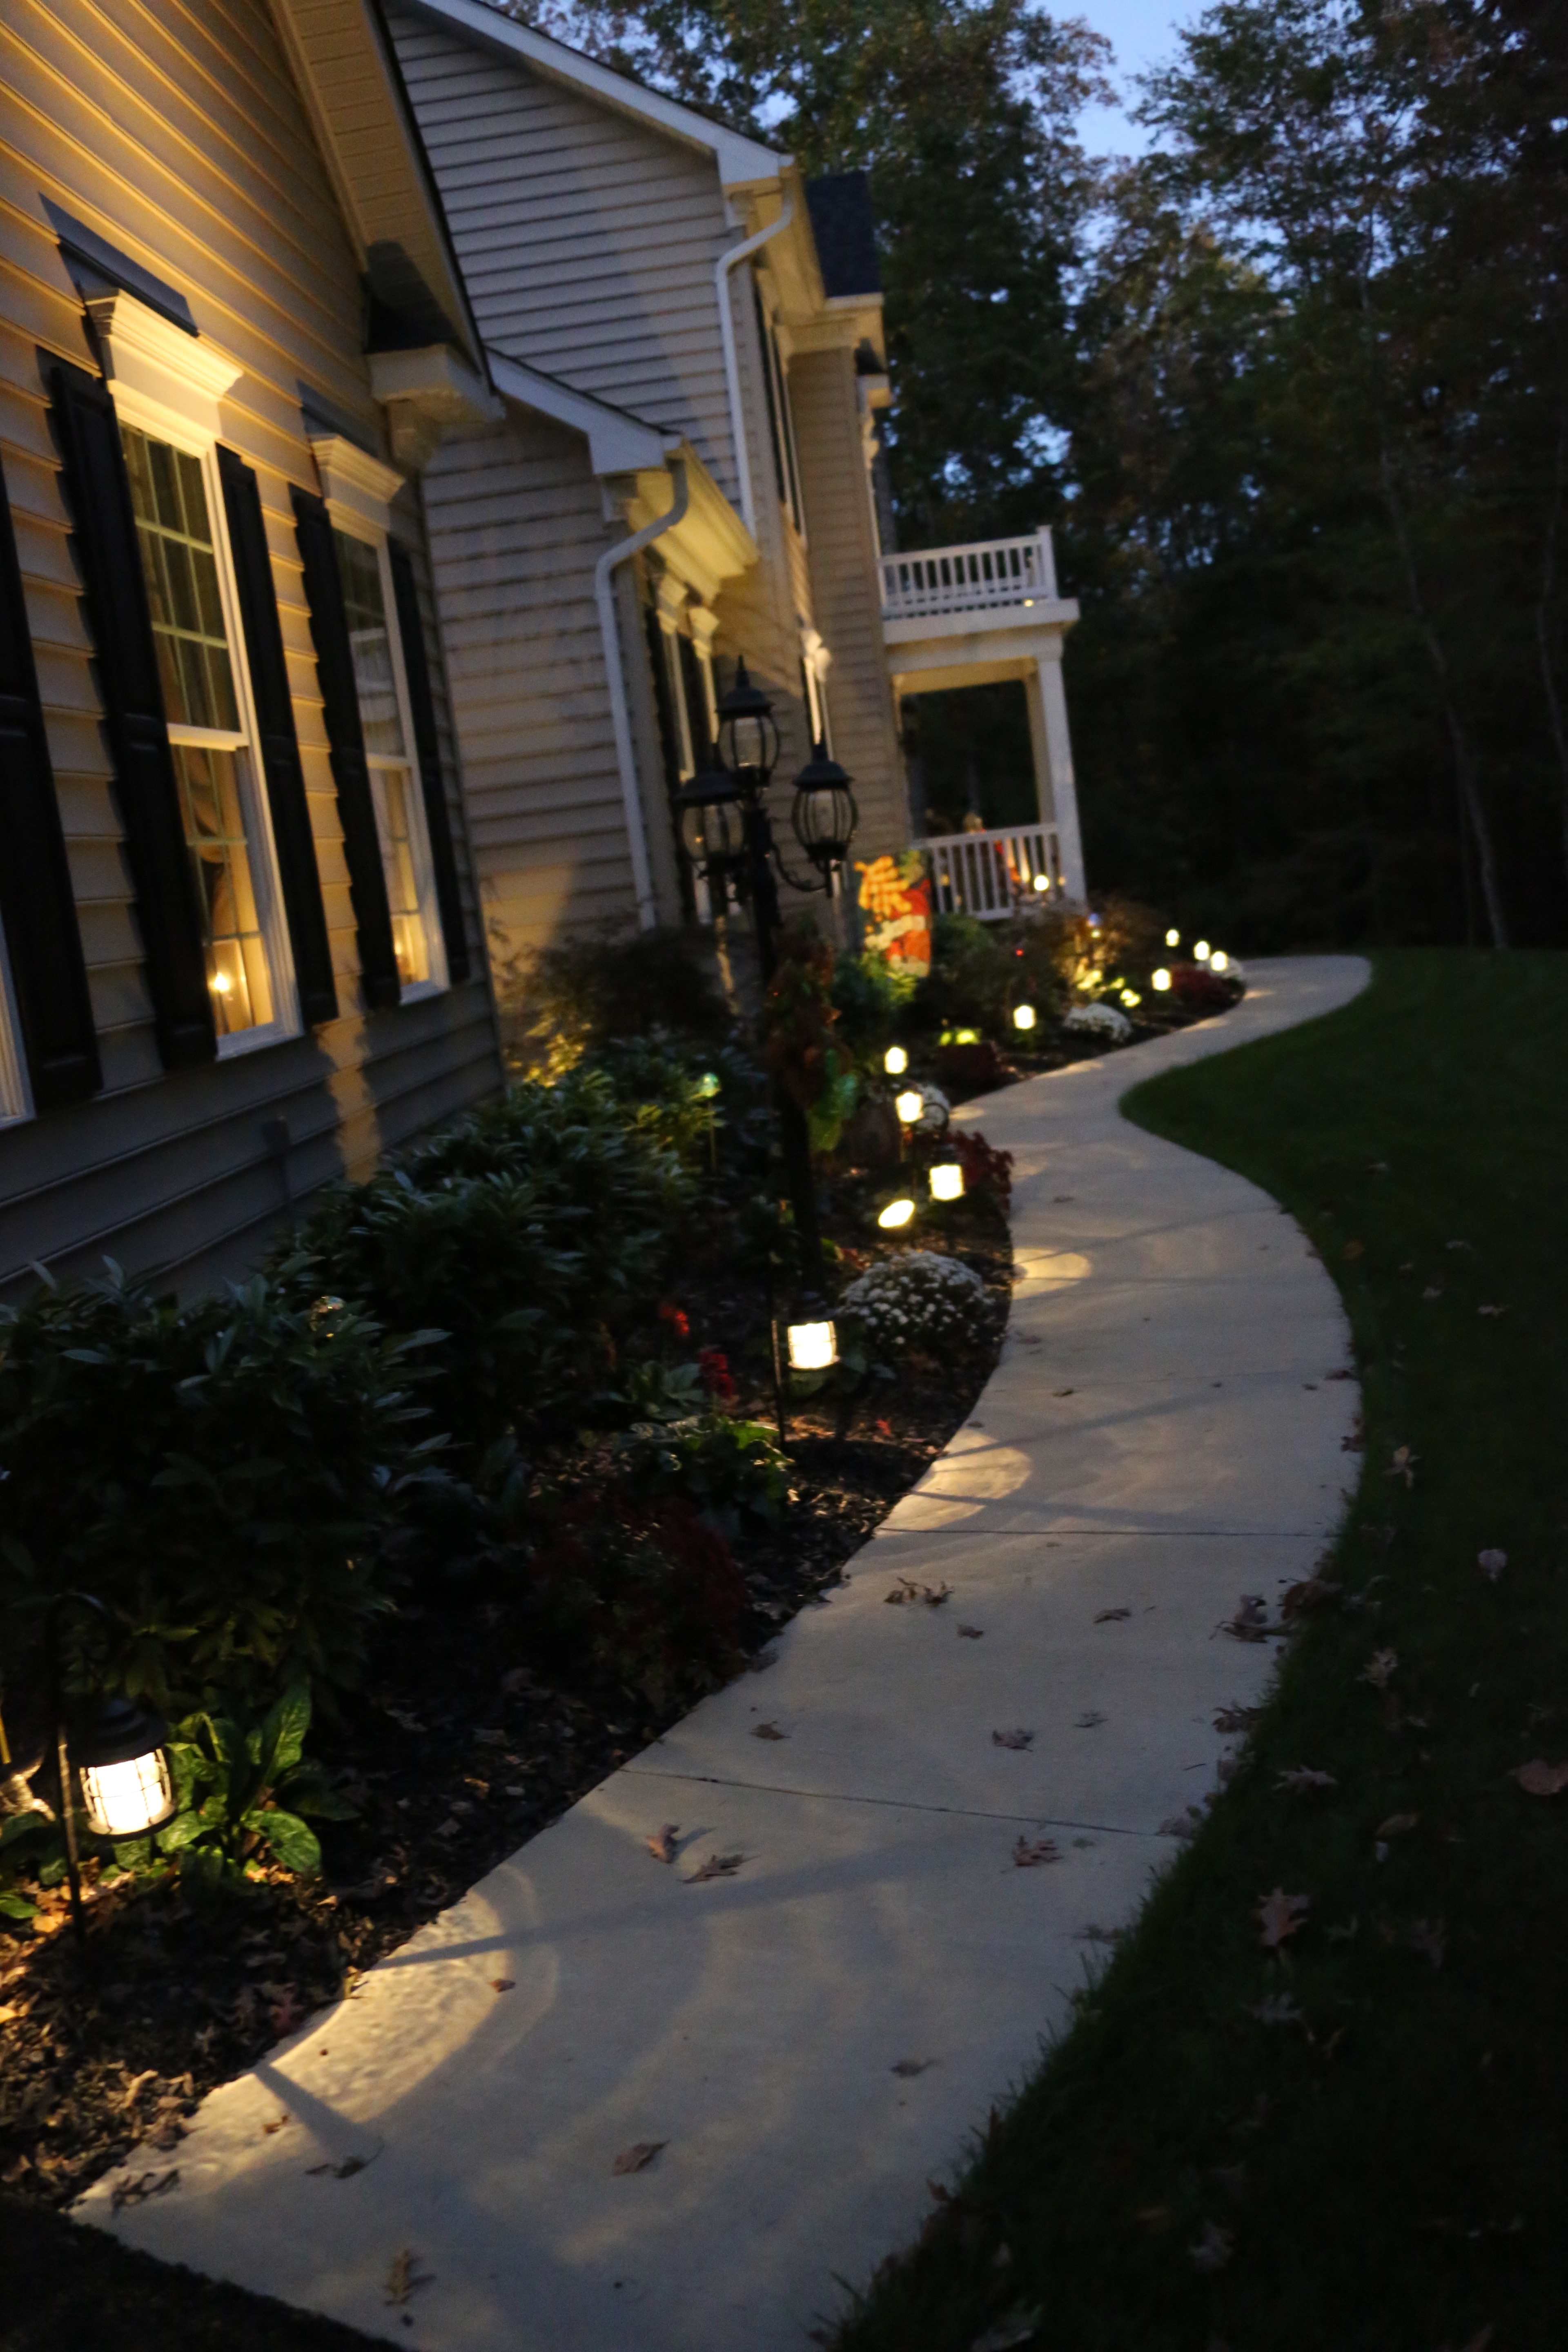
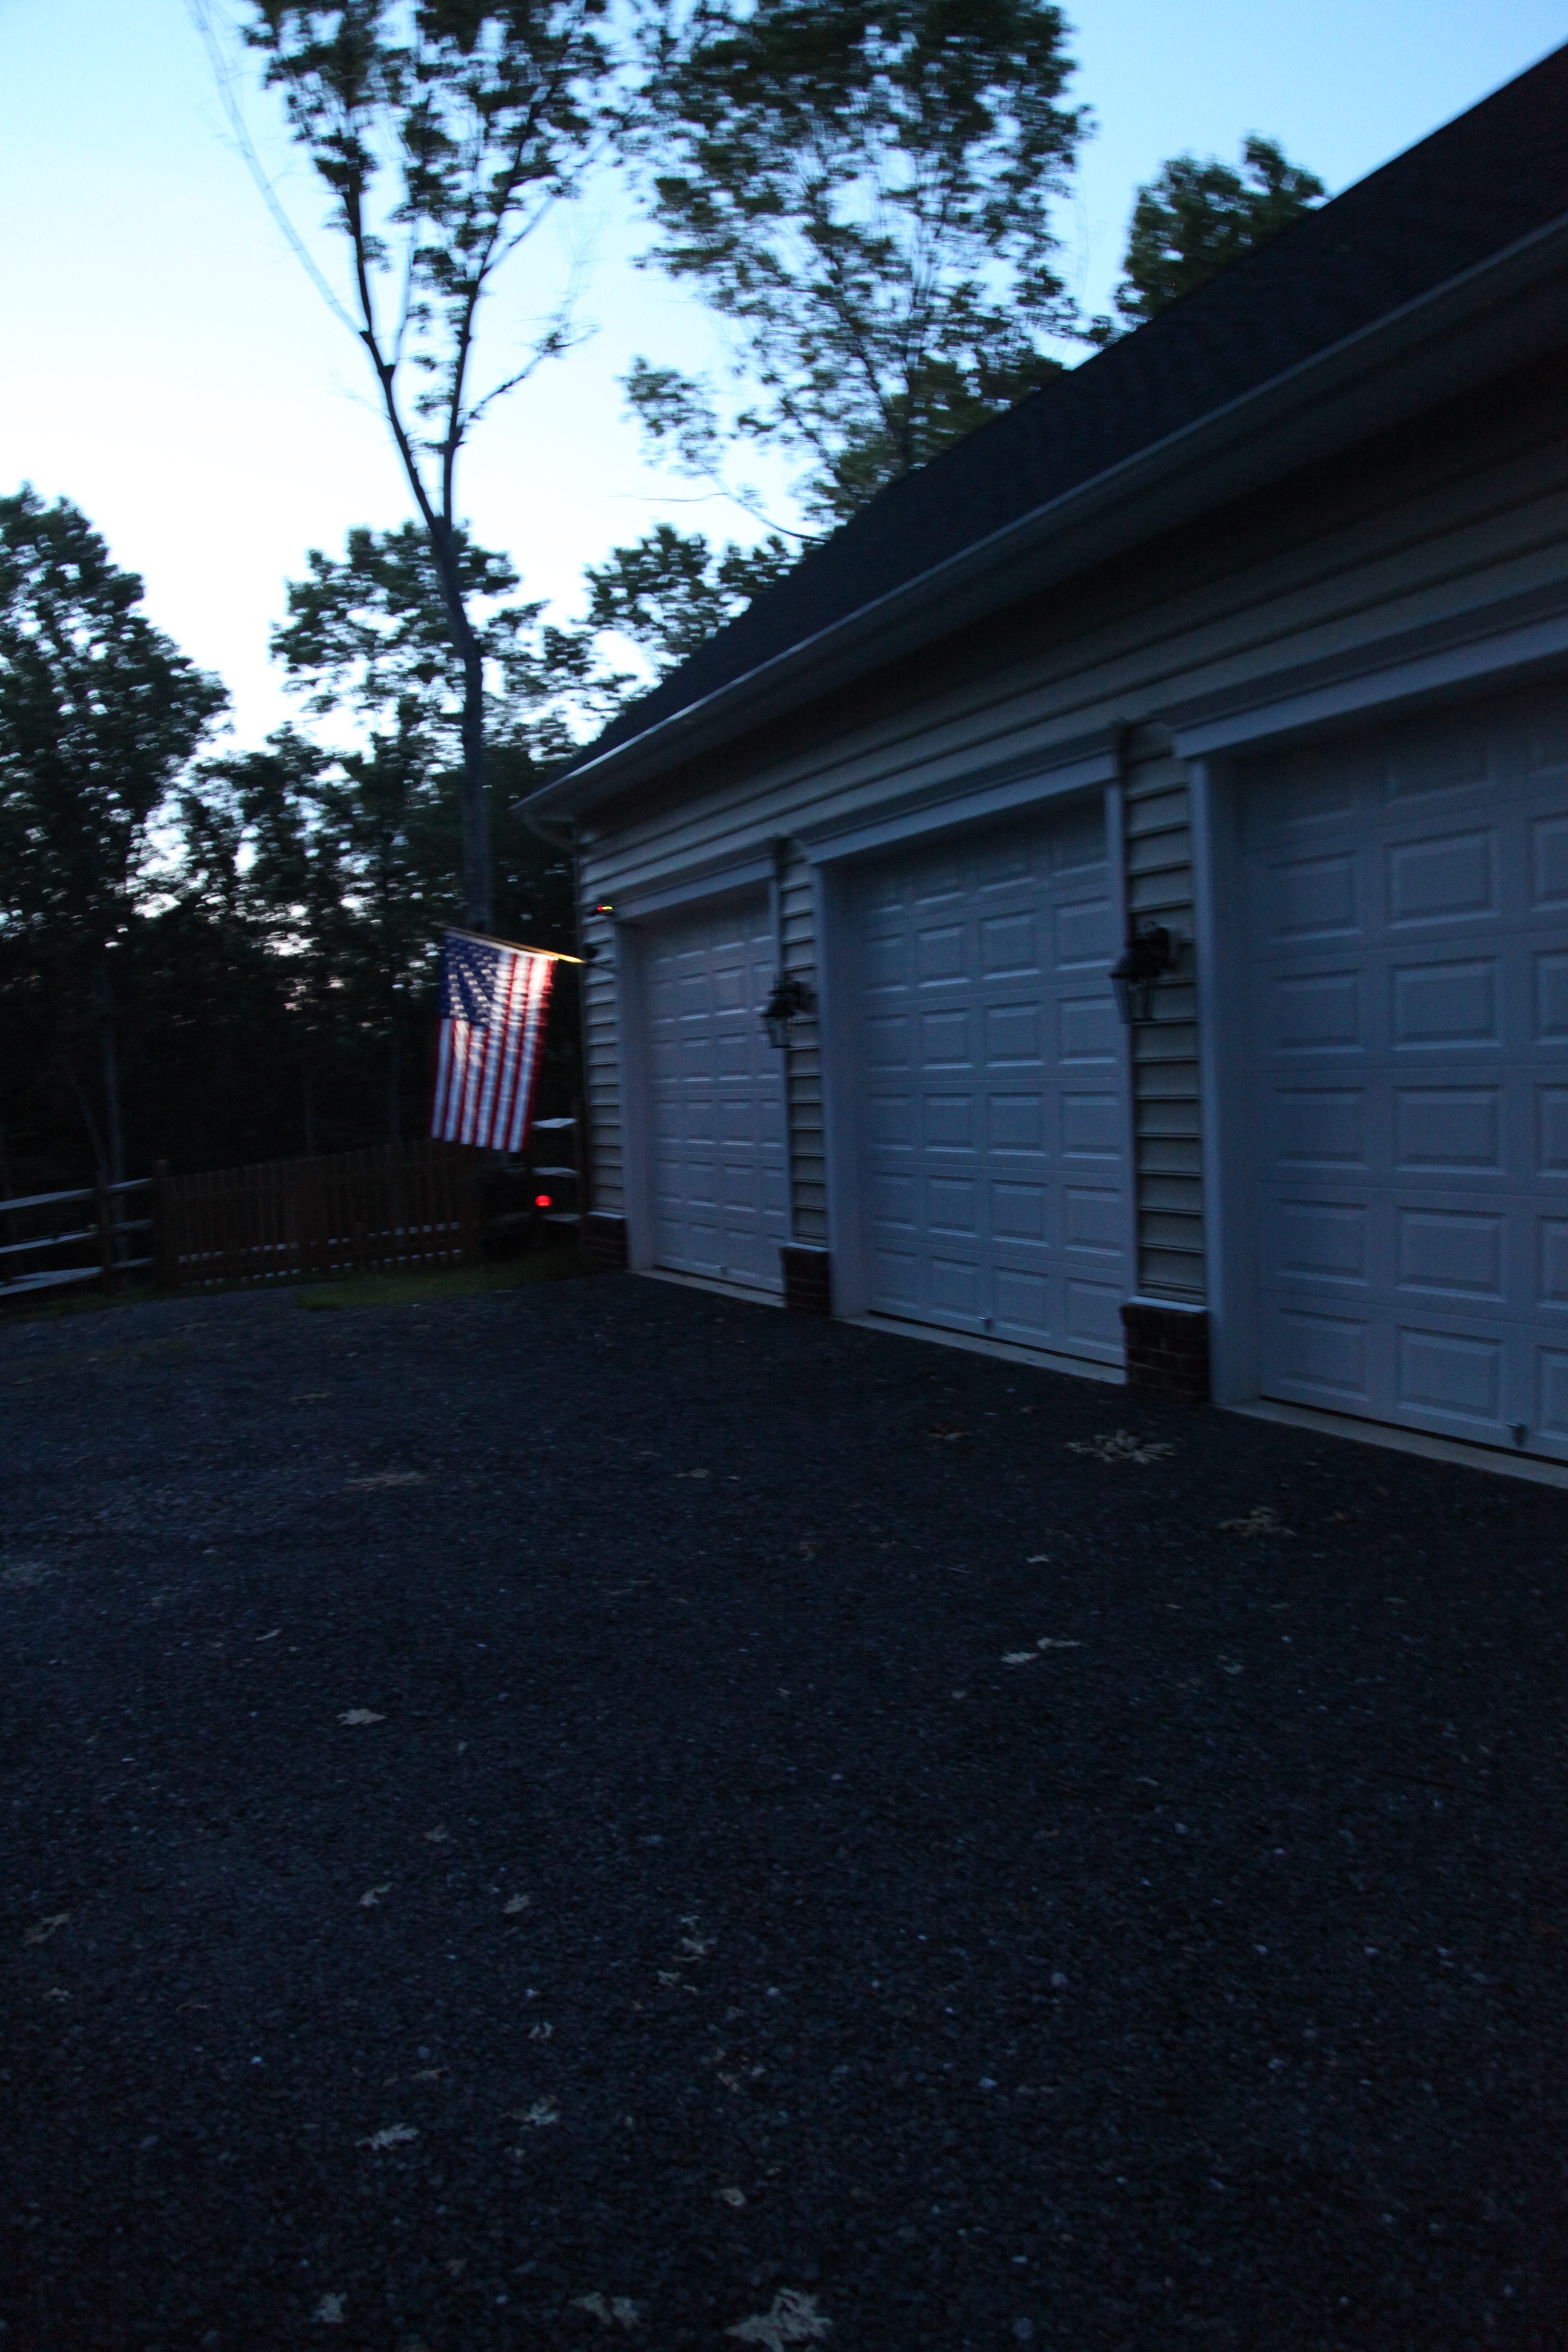
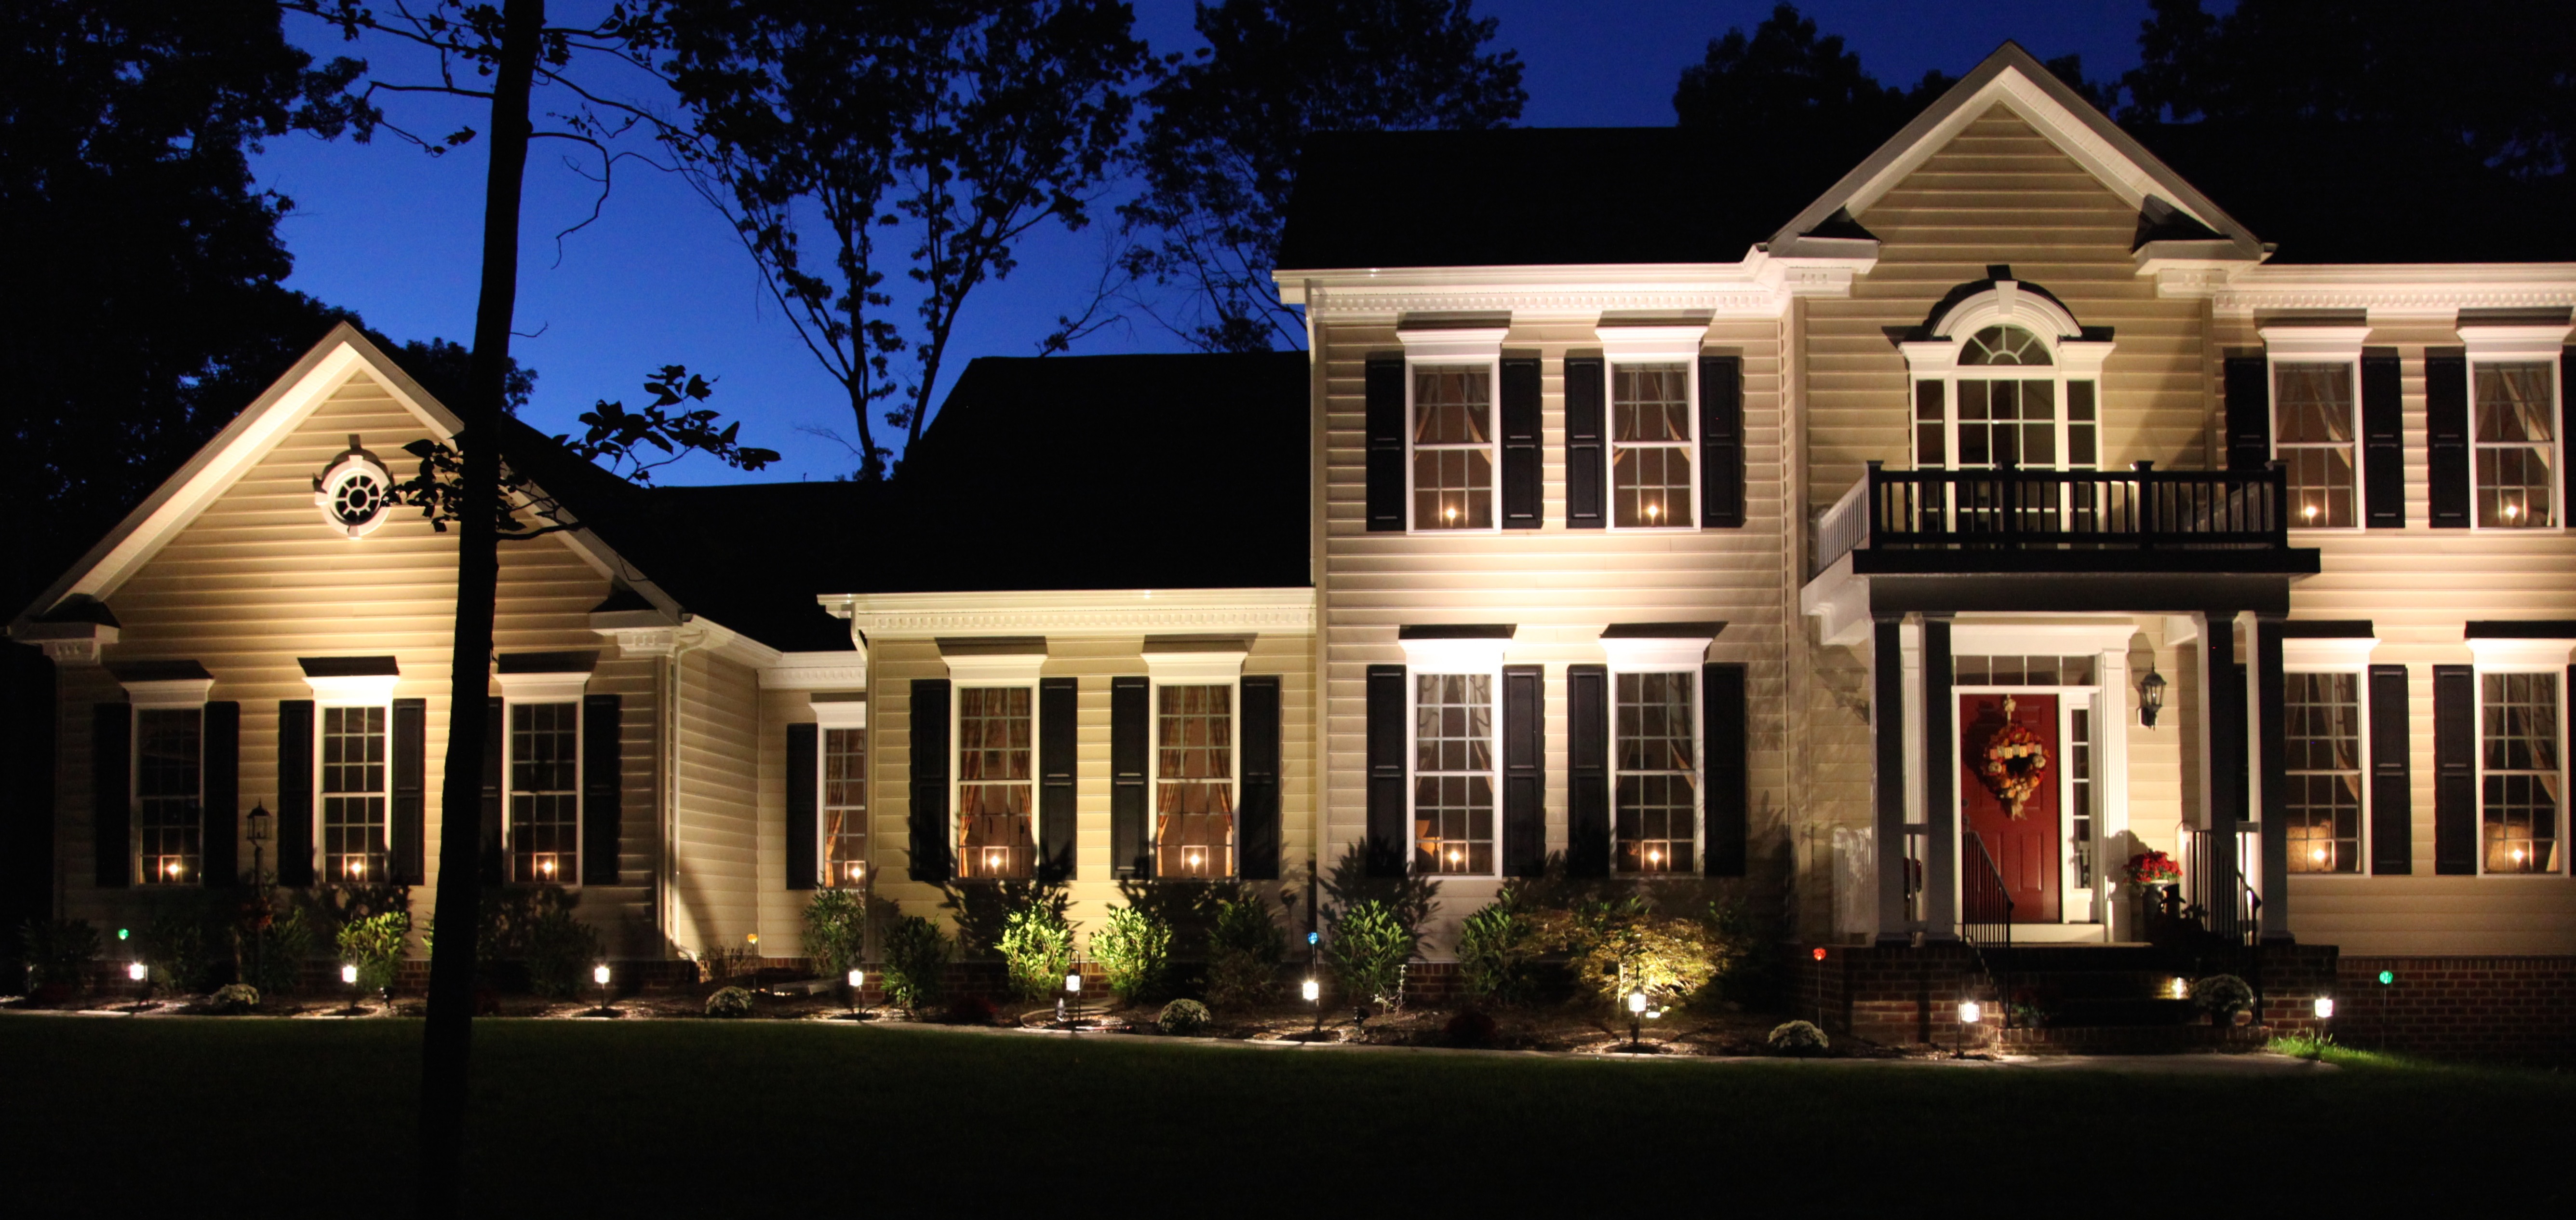
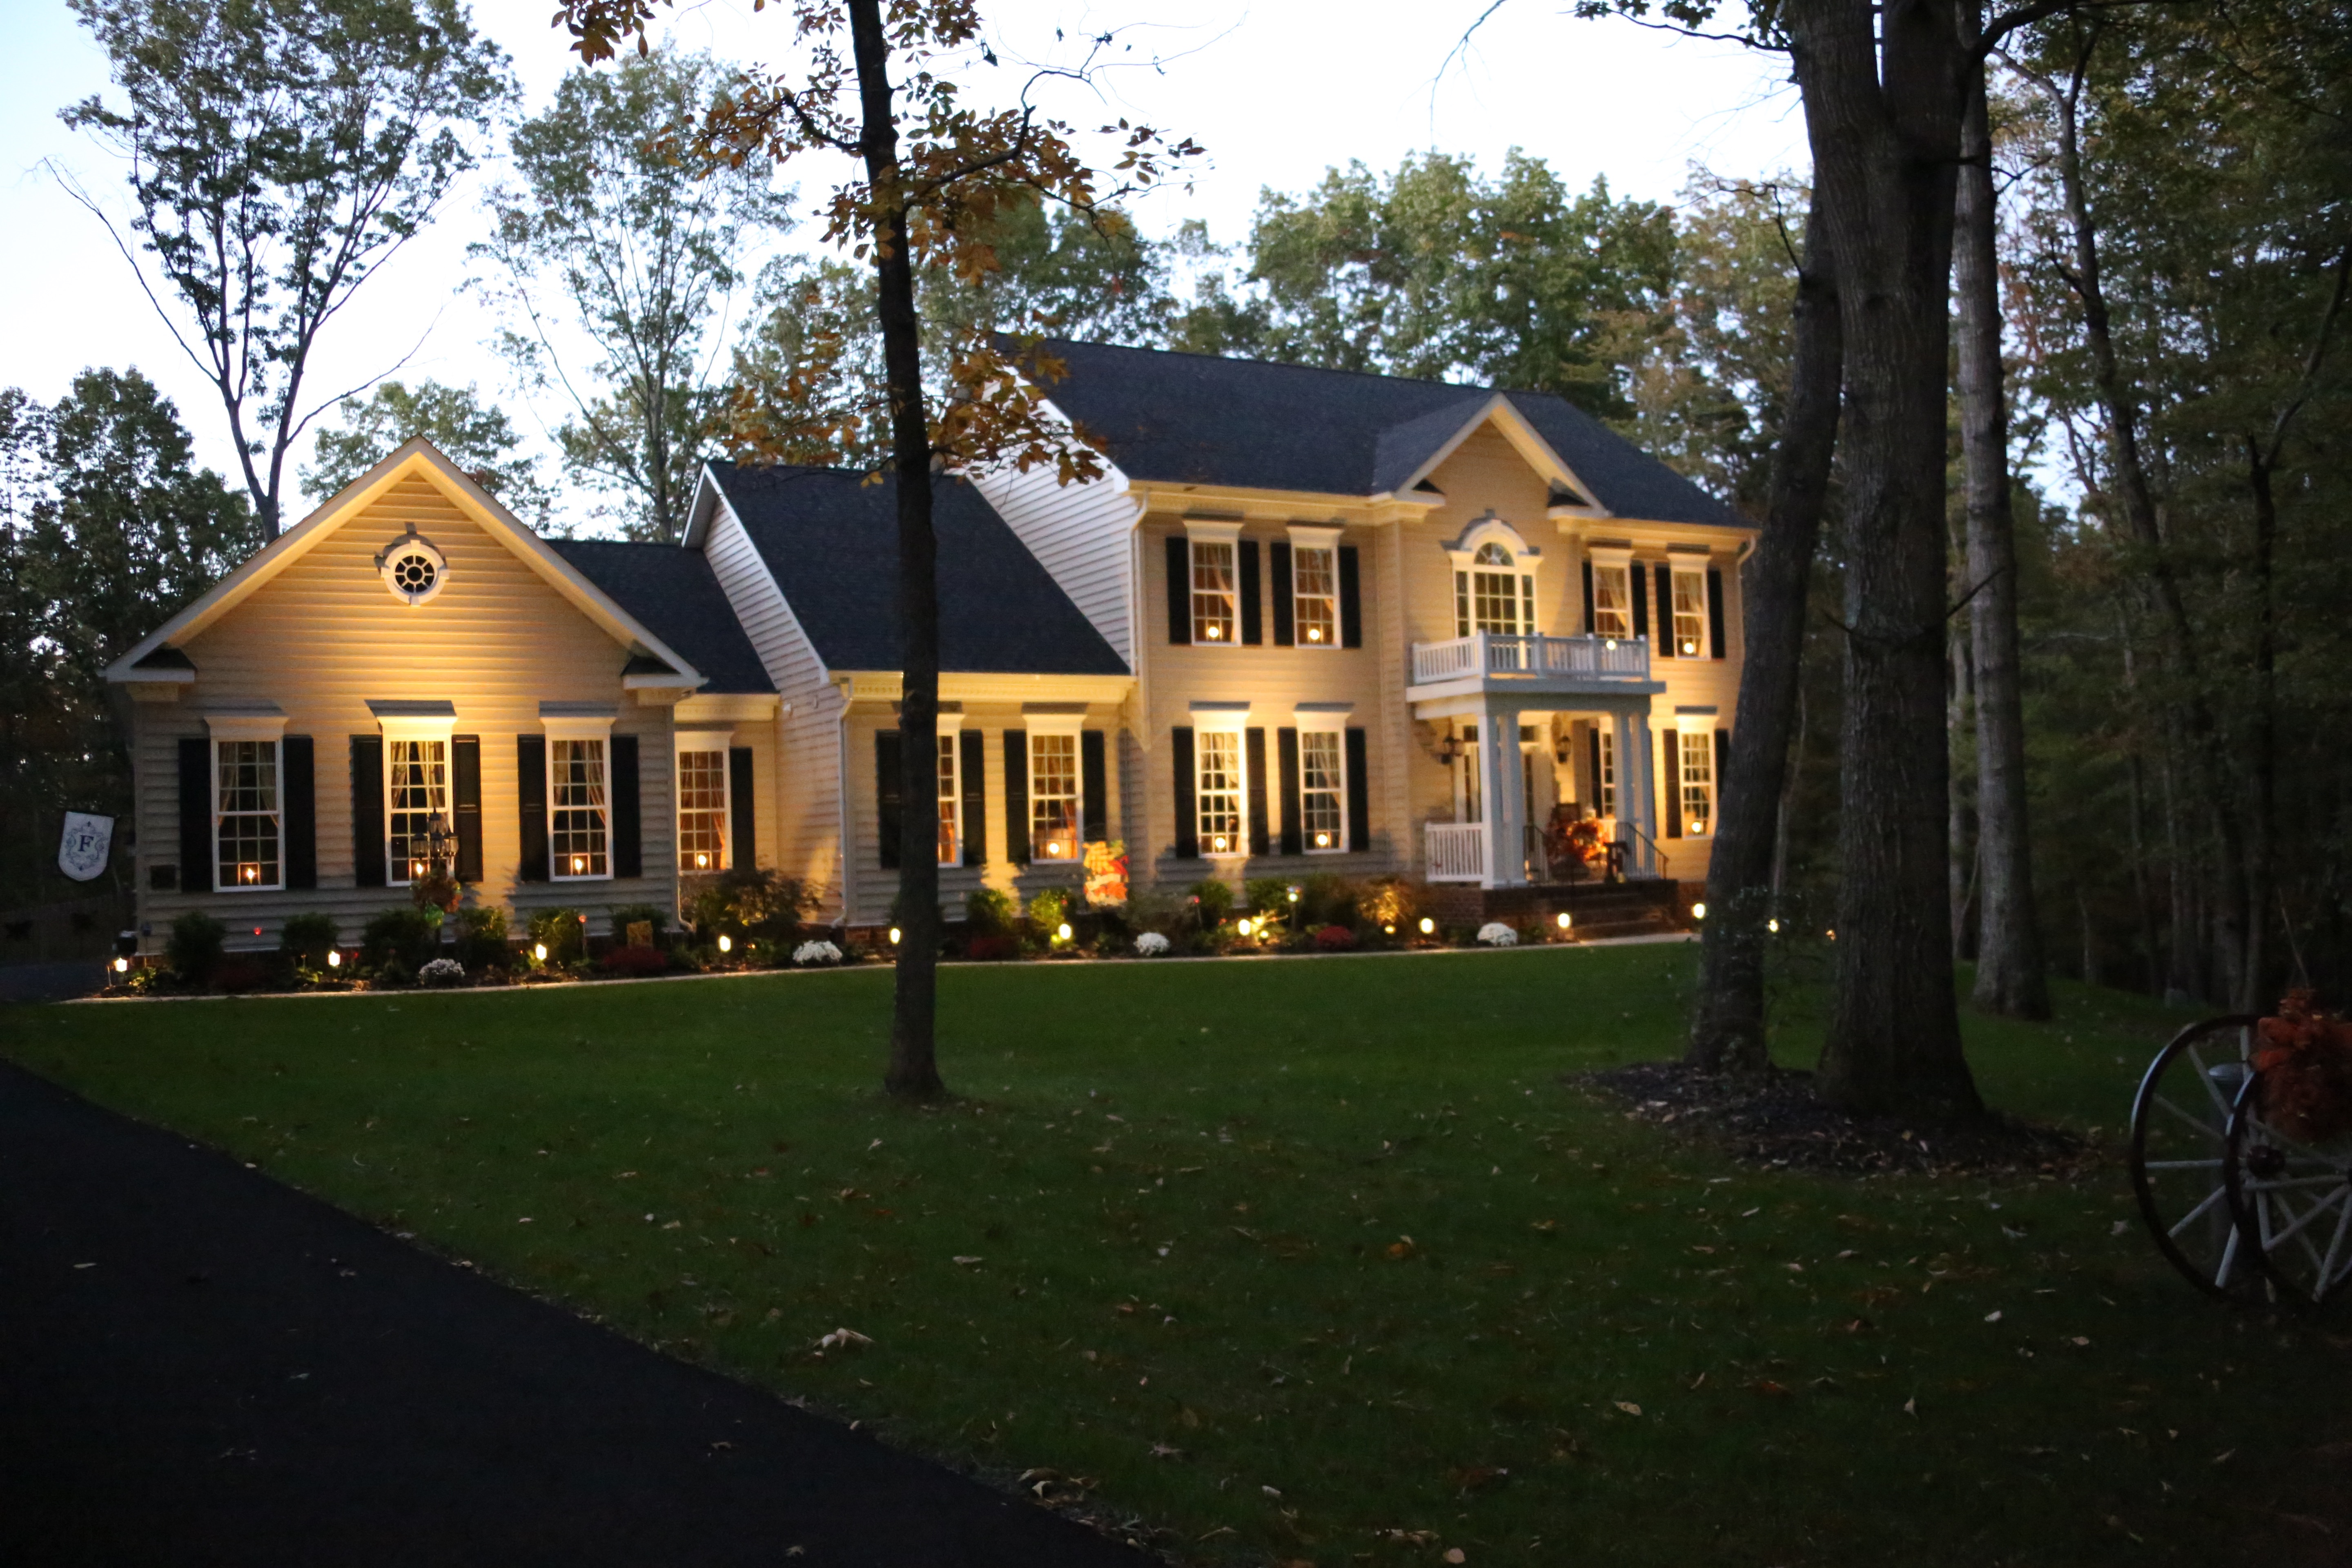
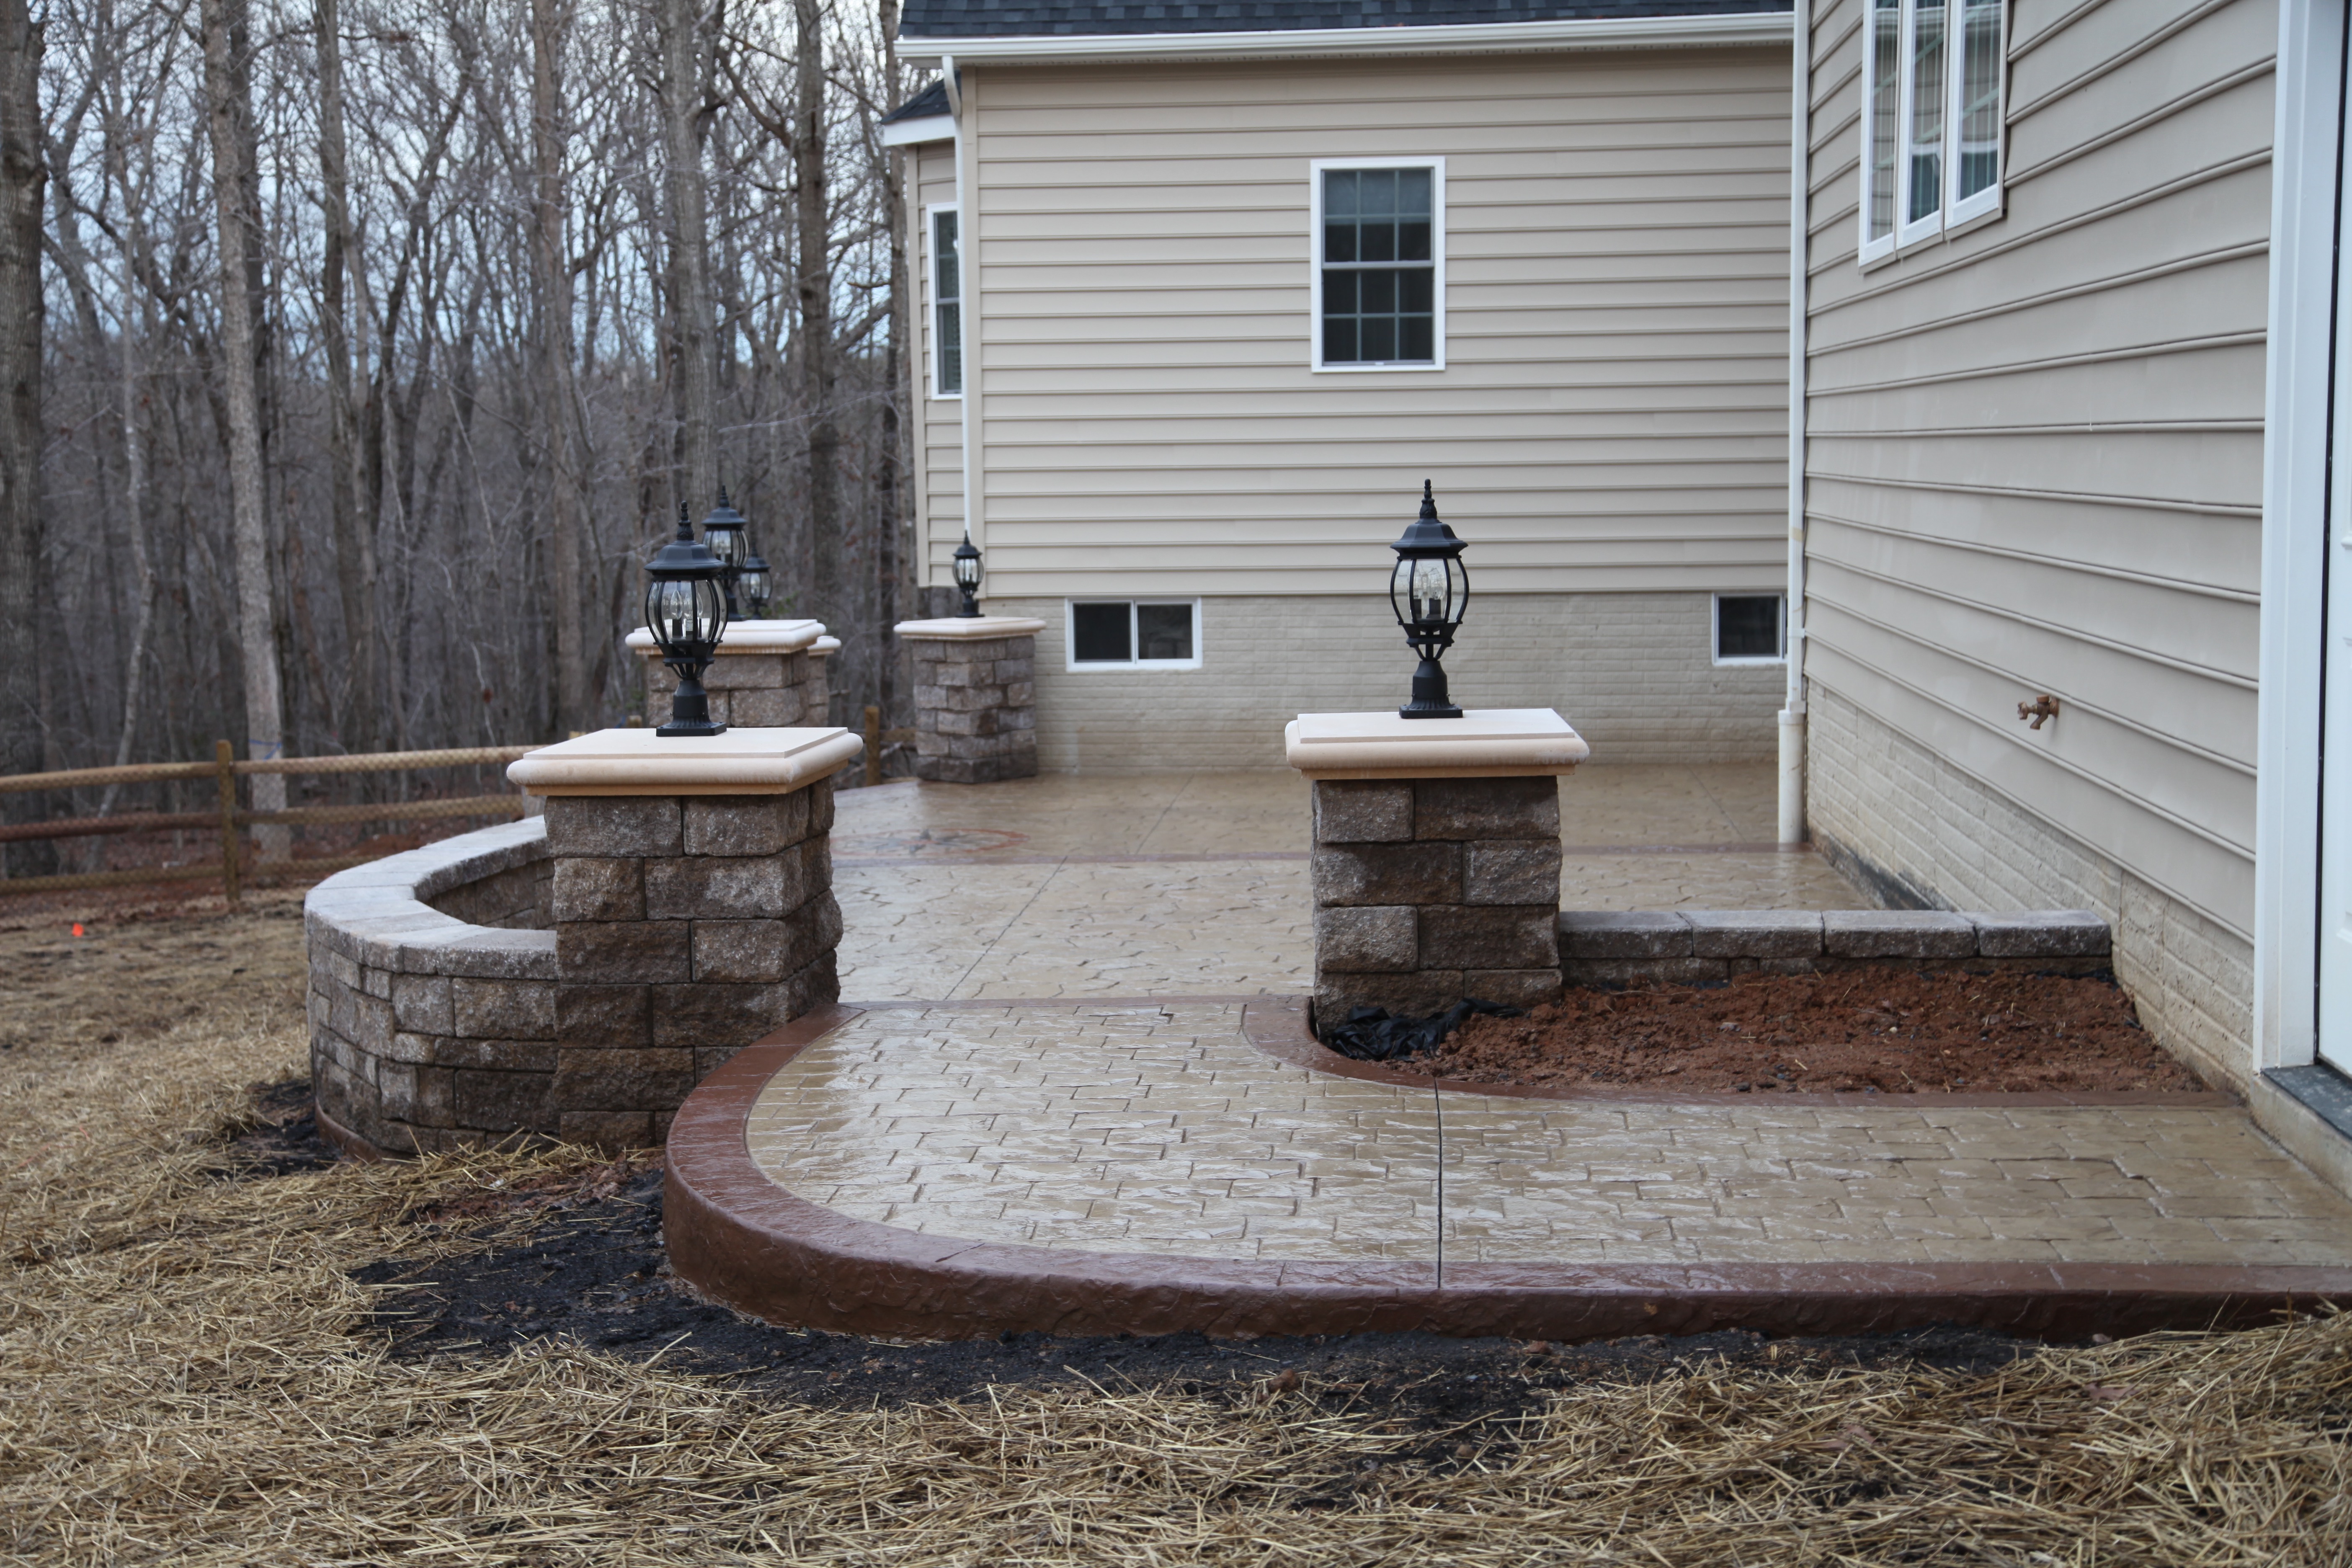
Chris rigged up some low voltage lights and attached them into those lanterns and they come on and go off with the rest of the pretty accent lighting in front of the house. 🙂  IMG_6340.jpg

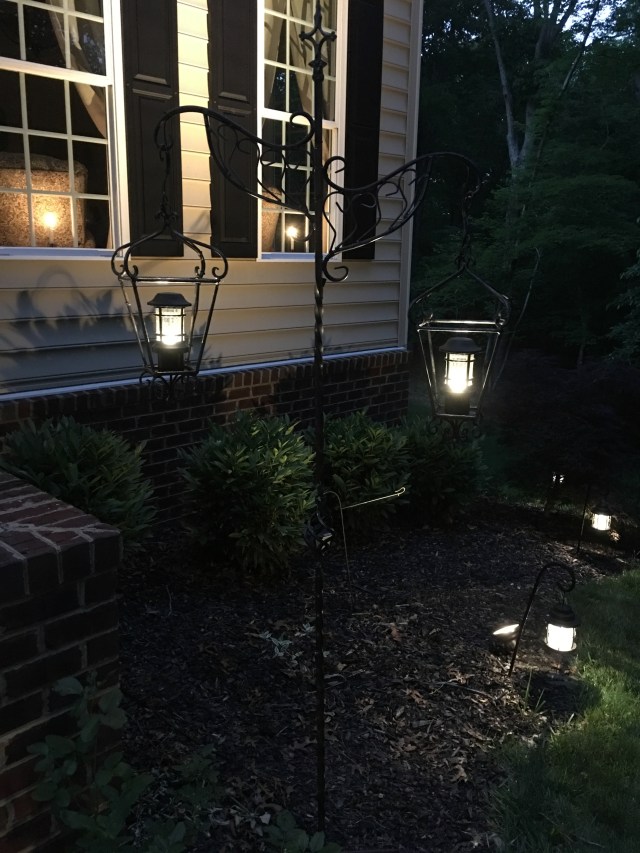
And that, my friends, is that…As I mentioned above, I’ve been a busy lady. 😉 It does feel good to get everything switched over though, it was a task, but, one that I totally enjoyed!

Until next time, y’all take good care! ❤

**In crafting, there are no mistakes, only unique creations**

~Arlynn ❤


It’s Beginning To Look A Lot Like…Summer!

As most of you know by now, I absolutely love to decorate and redecorate our home…I truly am in my “Happy Place” when I’m able to switch out to a new fresh look.  Such has been the case for the last couple of weeks when I diligently worked on putting my Easter decorations away and redecorating with some summer decor accents.  At first, I had told myself that I was going to use ALL of my red and white gingham decor pieces–the ones I had used for our Family Reunion. I came up with that idea after one of my YouTube subscribers has asked me how I set up my kitchen island for buffets or dinner parties.  That brought to mind the red and white gingham, mason jar, and gerber daisy decor and hence my decision to switch back over to that for summertime.  I did change that family reunion decor up a bit when I decorated though, I ended up using just a touch of red and white gingham and throwing in pops of yellow and red here and there. Come along with me as I walk you through all that I created.  Let me start by sharing a YouTube video that I created and where I show and tell about how I came up with the Family Reunion decor and accent pieces, talk about how I might set up my island for a buffet, and I demonstrate how to make a quick and easy centerpiece. 🙂

I was now ready to start the redecorating frenzy–And trust me, it is a frenzied event when I go to switch my decor out.  Thank goodness for Chris and his muscles and good knees, as he helps me by carrying bins up from the basement. The very first place I started to redecorate was out at the mailbox on the Monday right after Easter. 🙂 Here are a few pictures of my mailbox design, and then I’ll share my YouTube video in which I show you how I put said design together. 🙂

IMG_5337IMG_5345IMG_5341

Next, I moved onto the other outdoor decor.  I switched out the wreath on the front lamp post, changed out my flags, switched out the gazing ball for a red one, and recreated the Little Red Wagon arrangement, finishing up by replacing the front door wreath:

IMG_5352.jpgIMG_5365IMG_5364

Here is the little red wagon in the evening hours:

IMG_5369.jpg

And here is my YouTube video where take you for a little walk down the front sidewalk and then I demonstrate how I decorated my red wagon:

All righty, now that the outside was all switched out, I proceeded into the house and started redecorating in there.  The very first thing that I worked on in there was the centerpiece that sits on the kitchen island, and to make a copious amount of bows to be used on our staircase.   Here is a video where I share how I put that together along with showing you items that I purchased from CraftOutlet.com.; it also includes a bow tutorial.

My next task was a pretty large one, it was time to change over some and create other new centerpieces.  So the first thing that I did was go around and collect all of the Easter centerpieces and arrangements and congregate them onto my hub, the kitchen island.  Here are all of the arrangements that I had made for Easter:

IMG_5401.jpg

I was sad to have to deconstruct these beauties, I had worked hard on them. 🙂  Here is a video where I show you how I took these apart and packed them away and how I created my new centerpieces for the summertime.

Here are some pictures of the family room, kitchen, kitchen eating area, and powder room redecorated for summertime:

IMG_5420.JPG

1V4A8993.jpgIMG_5418.JPG

1V4A8990.JPGIMG_5422.JPG1V4A8986.jpg1V4A8992.jpg

1V4A8987.JPG

1V4A8984.JPG1V4A8983.jpg

1V4A9000.jpg1V4A9001.JPG1V4A8975.jpg1V4A8972.JPG1V4A8970.JPG1V4A8980.JPG1V4A8971.jpg1V4A8969.jpg

IMG_5477.JPG1V4A8978.jpg1V4A8982.jpgIMG_5391.jpg1V4A8979.JPGIMG_5389.jpg

IMG_5437.jpg

Here is a video where I show you how I put together this ^^ sweet little arrangement:

Now it was time to move on into the Living and Dining rooms–I didn’t do too, too much in there because I decided that I would leave my “generic” decor with the green accents in there for summer.  I did recreate my dining room lantern centerpiece and I created a new little arrangement in a mercury glass mason jar..first pictures of those arrangements and the other living/dining room decor, and then a video showing you how I created both arrangements. 🙂

IMG_5468.JPGIMG_5469.JPGIMG_5471.JPGIMG_5463.jpgIMG_5465.jpgIMG_5474.jpgIMG_5472.jpgIMG_5470.JPG

And, I was finally finished…This process took me a couple of weeks to complete.  Here is a video where I give an entire house tour showing you all of the redecorated spaces up close and in detail (and I even venture upstairs and do a quick little tour up there as well):

All righty, that does it for now…As y’all can see, I’ve been a busy lady over here in Virginia.  We are ready to go (decorating wise) for summer, and it has been feeling like summer as of late too, temperatures have already been in the 80’s and 90’s! Yikes!! Welcome to summertime in Virginia…100 degrees with 100 percent humidity….Not even kidding about that…lol. 😉

Here are a couple of more shots of the house after dark, Chris did such a fabulous job on the outdoor lighting!

IMG_5377.jpgIMG_5375.jpg

~Until next time, y’all take good care! ❤

**In crafting there are no mistakes, just unique creations**

~Arlynn ❤

Seasonal Mailbox Decor

I was so excited to move into our new home a few years ago for many reasons not the least of which was where our mailbox was located and that in our neighborhood it seemed to be a *thing* to decorate on and around mailboxes. YaY!!   Of course this idea fell right into my wheelhouse so the creative juices started to flow and I started to plan out how I would be changing my mailbox decor as the Season (or in most cases the months) change.  The first thing that I came up with was that I was going to utilize all of my wooden hanging signs that I’d been collecting for over a decade.  I used to hang them on a bracket off of the front porch of our other home.  Here is a link to where you can find the sign bracket.  I do not use the bracket on my mailbox, but you could use it on your front porch, on a fence, or on any number of other places. Here is a picture of the bracket–that is not my sign though..;)

5126

Here is a picture of all of my signs save for the wooden heart that is hanging out on my mailbox right now:

IMG_4230

If you’d like to purchase them they can be found at here at PiperClassics.com…

C-Hook-Wood-Screw


All of the signs come with little chains attached to the top of them so we screwed little hooks into the underneath wooden portion of our mailbox.  This made the signs super easy to change out.


You’ll also notice that our mailbox has a trough that juts out of the back; that is a pretty spiffy little addition and it provides me with another receptacle with which to decorate. 🙂

IMG_3509

I found this solar mason jar to sit in that trough at Home Depot, gosh it does look pretty in the evening hours.

10355472_10204061567129907_2990622319743943291_o

For a little while, I had two of them sitting in and on the trough…

photo 3

I’ll now show you how I change out the mailbox decor as we go through the months and seasons of the year. 🙂

Both of these pictures were both taken the very first January that we resided in our new home:

IMG_3509

There are our Newfoundland doggies Sophie and Samson. ❤

IMG_0191

February:IMG_6057

March:IMG_0104

April:1V4A0215

May and June:1V4A0407

July:IMG_7725

August:IMG_8724

September:IMG_6821

October:IMG_8940

November: **I received Mr. Turkey this past Christmas, so he’ll take his rightful place on the mailbox next November**IMG_4228

December 2014:IMG_7722

December 2015:IMG_2901 (1)IMG_2900

And then back to January again:IMG_3570

And just the other day, I changed things out for February:IMG_4198

For years and years…actually for decades…when we lived in our other home, our mailbox was located across the street from our house and it was situated immediately next to another mailbox.  Its location didn’t lend itself to festive decorating hence my excitement about being able to decorate this new mailbox.  My hope is that this silly mailbox might provide folks with a warm, welcoming feeling as they enter our driveway; as y’all know, bringing forth a “warm & welcoming” feeling through my decorating is always my goal. 🙂

Until next time, y’all take good care! ❤

**In crafting there are no mistakes, just unique creations**

~Arlynn ❤


A Few Outdoor Changes for Valentine’s Day

February has arrived and as often happens when a new month arrives (especially one with a spiffy Holiday included) I get inspired to do just a few little decor tweaks outside.  I typically do not redecorate the inside of my home for Valentine’s Day or St. Patty’s Day, but I do try to be a bit festive outside. As y’all know, I made two Valentine’s Day deco mesh wreaths, one in pink and white with just a touch of red and one in red and white… <~~~Those links will show you how I put both wreaths together quickly and easily. 🙂IMG_4169

IMG_4188

First, I had to decide where I wanted to place that pink and white wreath because, let’s be truthful here, it really was completely different than the red one and would not look all that wonderful paired with my other red accent pieces that I have scattered about outside. So I chose to hang it on the wagon wheels that sit out in the front yard (they camouflage our well pipe)…

IMG_4200

I feel that it sits far enough away from the house that it doesn’t compete too too much with the rest of the red decor…

IMG_4203

The sidewalk’s light post is where I chose to place the red wreath, it pairs nicely with the cardinals on the flags and the red gazing ball…

IMG_4204IMG_4206

Then I moved to the front porch…I didn’t put any Valentine’s Day accent pieces on there, but, I did change out the front door wreath for one that I had made last summer right before I started writing this Blog–therefore, I did not take pictures of the creative process when I made this wreath…my apologies.  My idea with this wreath was to create something that I could hang up anytime of the year…in other words a more generically accented wreath.

IMG_4220

Then I moved to the little red wagon that I have sitting on my porch…

IMG_4215

Here is a link to My Little Red Wagon blog post showing you all of the different ways that I utilize this one “staple” accent piece…

IMG_4217IMG_4209

I love how it looks in the evening hours too…

IMG_4223IMG_4225

If you’d like to see how we came up with the accent lighting (up lights, wash lights, walkway lights, and the lights in the windows and the story behind those), check out my Special Outdoor Lighting post.

The morning after I took these pictures, the sun was shining beautifully and I was doing some organizing and came across this cute wooden heart…I went ahead and added it to my red wagon arrangement….

IMG_4226

I also took a minute to take a picture of my sweet Brown Newf Samson. 🙂

IMG_0328

Last but not least, I did make a bow and added some sparkly hearts to it and I tied it onto our mailbox…

IMG_4192IMG_4198
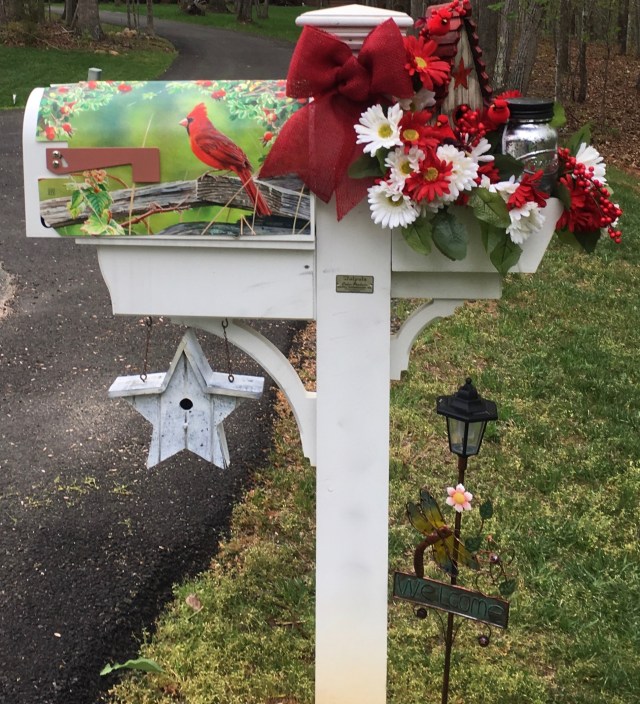
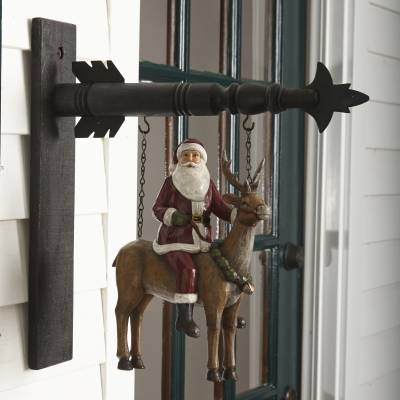
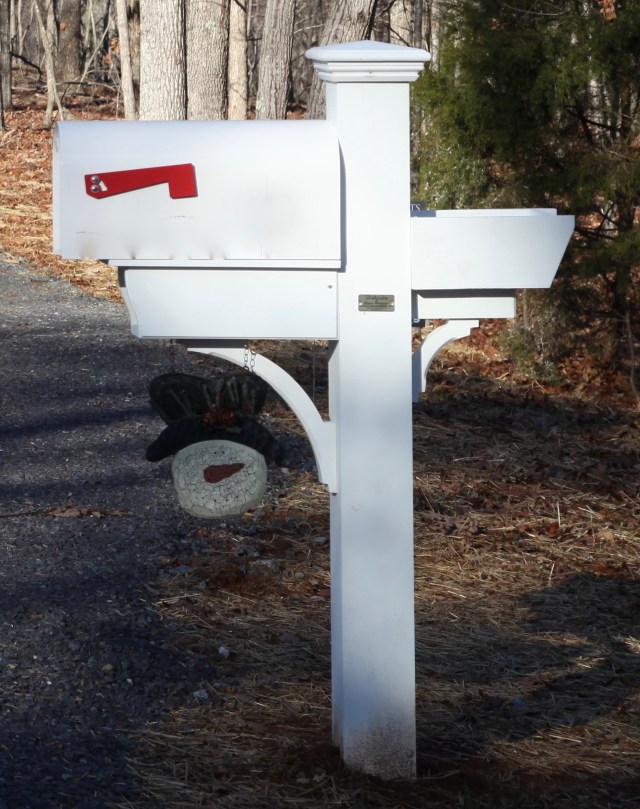
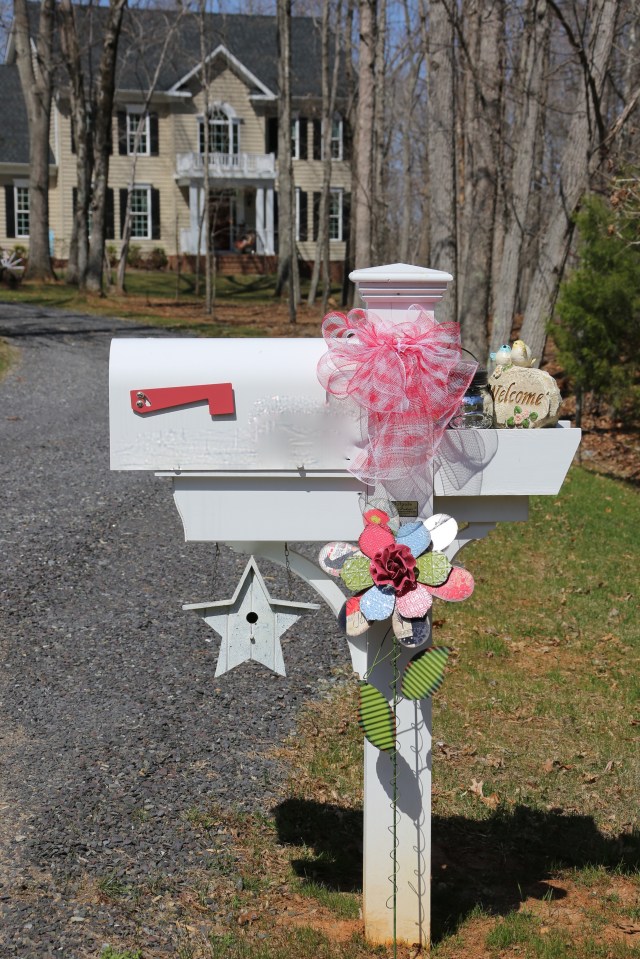
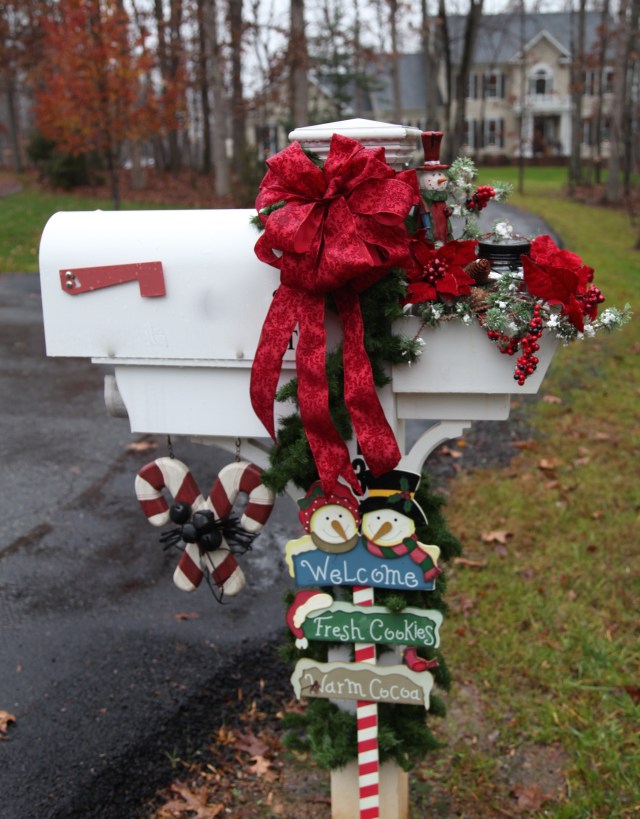
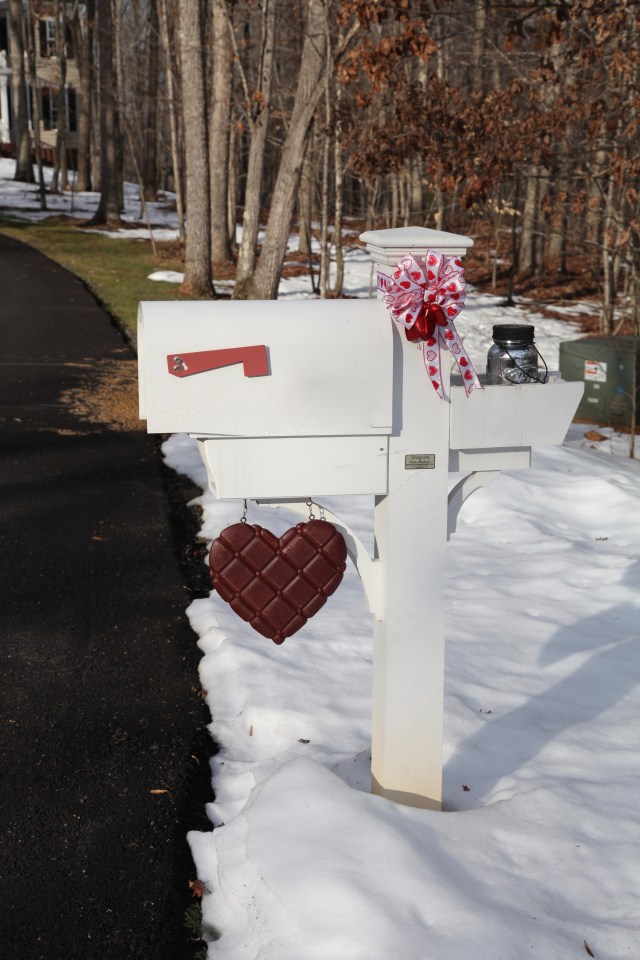
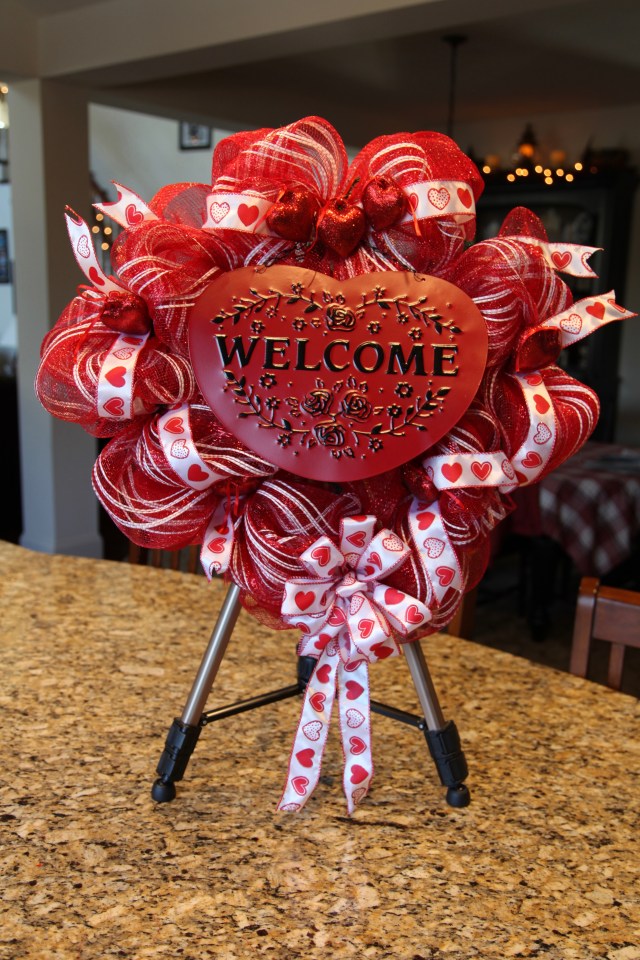
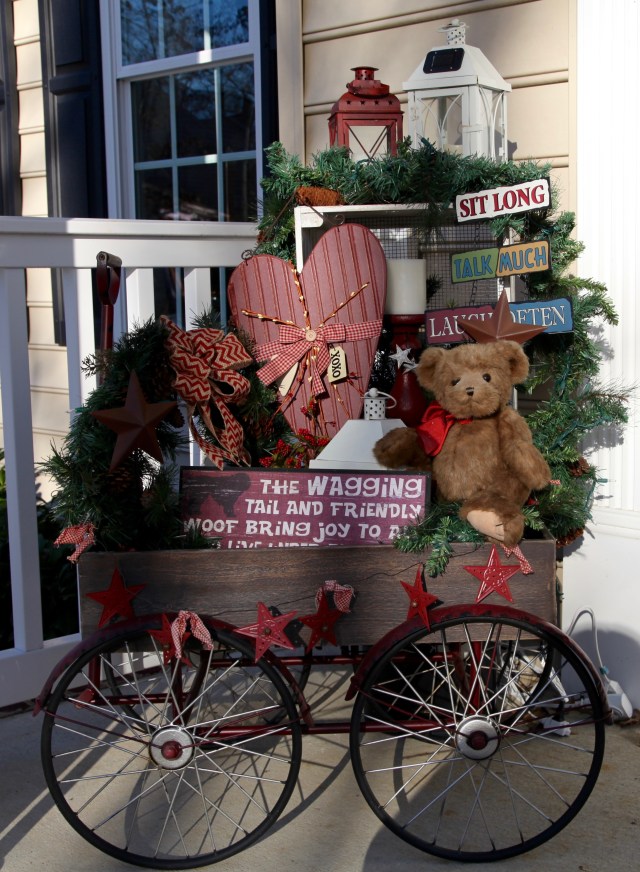
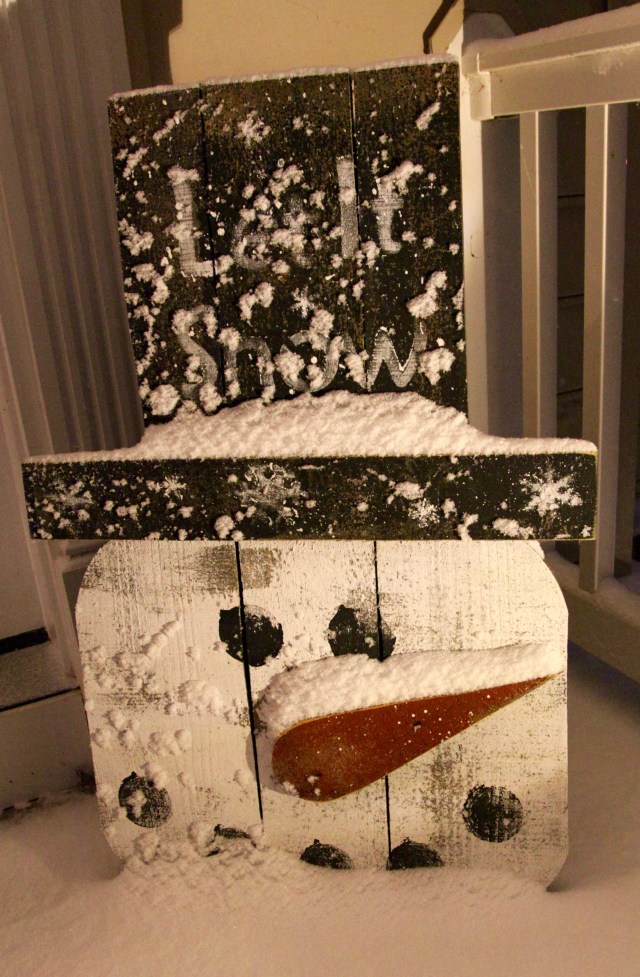
See that wooden heart hanging under the mailbox? That is actually meant to be hung on a little decorative pole (I had it hanging on the front porch of our other home).  I didn’t have a place that I wanted to hang the decorative pole here at this house, but, I’ve been using all of the “signs” that I collected throughout the years to augment my mailbox decor.

IMG_4199

So, now, I’m all set for the month of February, I truly don’t do too much redecorating inside of the house through the winter months so adding just a little somethin’ somethin’ to our outdoor spaces keeps me tapping on those creative juices. 🙂

Until next time, y’all take good care! ❤

**In crafting there are no mistakes, just unique creations**

~Arlynn ❤


Blizzard Jonas: Dogs, House, and SNOW!

“Snowzilla”& “Snowmageddon” were just two of the names that the blizzard “Jonas” received as it roared through our area last weekend.   In the end, it was an historic storm that dumped a copious amount of snow on an area that isn’t used to having to deal with *that* much snow.  Goodness gracious, it was a mess around here, we just don’t have the snowplows and other resources that Northern States who routinely get snow like this have. Here at our house, we got upwards of 2 feet of snow, and I heard of some areas that got 30 and 40 inches of snow; it truly did shut us down for quite a few days.  In fact, the kids still haven’t gotten back to school.

I do enjoy a good snowstorm every now and again, I spent my days cooking some of my family’s favorite meals…

Chicken and Yellow Rice one day:

IMG_3770

Beef & Vegetable soup one day:

12541068_10208093765332342_645311816577184676_n

And Spaghetti one day:

FullSizeRender

I also made a wreath on one day:

IMG_4169

Sam and I had a few moments like this…haha…

IMG_0208

I took a ton of pictures of our pups playing in the snow and of the house.  Here are a smattering of pictures of the dogs (Sophie the Black Newfoundland, Samson, the Brown Newfoundland, and Gracie the Golden Retriever).  Be prepared to scroll a lot as I took many, many shots…haha. 😉1V4A3398

IMG_4133IMG_4048

Thankfully, my hubby had invested in a snow blower last year, to say that that came in handy is an understatement!  He used it to create a nice oval track for the pups in the backyard! This was genius on his part because even as big as our pups are, they were having troubles traversing through the mounding and drifting snow…

IMG_3892IMG_3908IMG_4144IMG_3711IMG_3909IMG_4142IMG_3982IMG_4134

IMG_3885

IMG_3883IMG_3730IMG_3935IMG_4054IMG_3855

Here are some shots of the house during the storm:

IMG_3813

1V4A34601V4A3330IMG_39461V4A3352

I was taking this picture:

IMG_3800

IMG_3798

1V4A3353

IMG_3802

And then the snow finally stopped and the digging out process began:

IMG_3807

IMG_3952

IMG_3966IMG_3967IMG_3812IMG_38211V4A3451IMG_38411V4A3467IMG_3839IMG_3963

IMG_3958

IMG_4085

IMG_4088

I’m hoping upon hope that this is the biggest snowstorm that will come our way this winter! I am very grateful that the storm happened to fall on a weekend when the hubby was off and didn’t have to try and traverse to work.  I am grateful that we had food in the house and that I was able to hone my cooking skills a bit.  I am grateful that one of our daughters came and stayed at our house and kept us company as the snow fell and that our other daughter and her beau were safely tucked in their home warm and cozily hunkered down.  I am grateful that my family and friends also weathered the storm and are sufficiently dug out now and are starting to enjoy their *normal* life again.  We all took a moment or two to *pause* and reflect on the beauty and fury that nature can bestow upon us in a moment’s notice.  I will say that I’ve had my fill of snow for this winter and will be quite happy if I don’t see another flake fly. 😉

IMG_0237

Until next time, y’all take good care! ❤

~Arlynn


Rod-Iron Scroll’y’ Accent Pieces & Lighting

I am going to give my hubby some of the credit for giving me the idea to accent my country decor with rod-iron pieces.  When we moved into this new house, I wanted to take my decorating up a notch, meaning I wanted to pull away from having walls full of this, that, and everything that goes with this and that. 😉  I wanted this home to look warm and cozy which of course country decor definitely invokes but I wanted to be really careful and not fill every available bare wall and tabletop with a plethora of ‘foofoo’ <~~~hubby’s word for random decor pieces~~~.  At first I was a little afraid of the rod-iron.  But, now that I’ve incorporated it into almost every room in some way in our home, I love it.  I feel as if I’ve been able to keep the warm and cozy feel of our home intact with a bit of sophistication thrown in for good measure. 🙂  I will show you how and where I’ve incorporated said scrolly’s’…but first, let me explain a bit of how I came to utilize said pieces.

When we where choosing accents for this new home with our builder, we chose oil-rubbed bronze for all of our light fixtures and door hardware.  I didn’t know it when we were making those choices, but, they provided us a wonderful pallet with which add our dark furniture and later those rod-iron scrolly pieces. 🙂  In addition, we had chosen this gorgeous mirror for over our fireplace and its design inspired me greatly (hubby picked the mirror btw…he has a great eye).

IMG_3413

Our builder provided the lighting over the kitchen island as an upgrade so in turn that provided us with the style that we took through the kitchen, into the dining room, and ultimately into the foyer.

IMG_3648

We only purchased the island lights from our builder, my hubby found the other 4 accompanying fixtures online and purchased them that way (for a good bit less than we would have paid via our builder) and he installed them himself.

Here is the light fixture that hangs over the kitchen table:

IMG_3645

IMG_3655

Here is the light fixture that hangs over the dining room table:

IMG_3535IMG_3654

And this is the light fixture that hangs in the foyer.  I had to look away when the hubby was up on a huge ladder installing this puppy…talk about precarious! Whew!!

IMG_3657

IMG_9406

IMG_9405

The hubby installed one more light fixture and that was in our living room:

IMG_3663IMG_3662

As you can see, all of the light fixtures are the same style and once installed really pulled the entire lower level together.

In addition, I chose a couple of lamps that I felt paired nicely with the light fixtures…

IMG_7990

IMG_7992

And we refurbished this floor lamp which is metal…

1V4A0305

And this is a light that sits in one corner on the kitchen countertop:

IMG_6749

Now, onto how I came to start using the rod-iron scrolly accent pieces.  The very first place with which we utilized some scrolly’s’ was at the top of our staircase.  You can see that space from wherever you are located in our family room and kitchen areas and it looked nekkid up there.  My hubby is the one that came up with the idea to put two scrolly pieces together to make one large wall unit.

1V4A2859

1V4A2856

I love the look of that and little did my hubby know…he had created a monster! I will now show you where else I’ve placed these scroll’y’ accent pieces throughout our home. They add just a little somethin’ somethin’ to the space in which they reside…

The dining room:

IMG_3653IMG_3638

The foyer:

IMG_3640

The living room:

IMG_3636

1V4A2846IMG_3634

The family room:

IMG_34031V4A2835

Here are some examples of how I’ve used pieces in our bedrooms:

IMG_8791

I’ve also used black and oil-rubbed bronze metal pieces for sconces, wreath hangers, shelves, and as accents on wreaths. In addition, I’ve utilized some in lanterns and other table top candle holders to augment the wall pieces…Here are a smattering of examples:

IMG_8680IMG_3327IMG_3394

IMG_3637IMG_8780IMG_3642

IMG_3434IMG_8438IMG_3630IMG_1813

I am quite happy with how incorporating what one might construe as a cold accent piece into a warm surrounding upped my entire design theme throughout the house. 🙂

Until next time, y’all take good care! ❤

**In crafting there are no mistakes just unique creations**

Fall Colors Around the House

Cool crisp mornings and the changing of the leaves usher in one of my favorite times of the year, Fall.  Since I’ve lived in the South, I am so very grateful when the humidity of summer dissipates and sitting outside becomes pleasurable again.  While my hubby and I were out enjoying the cool weather last weekend, we took some time to click off a few pictures of our home, the dogs, and a battlefield.  We live out in the country and with each passing year, the trees that surround our house get prettier and prettier, the first couple of Falls that we were here I think our trees were not happy campers because they had been ‘disturbed’ by the building of our home, but, now, it seems that they have settled down and are starting to fill out with more foliage and hence presenting us with a colorful little show this Fall. 🙂

My hubby took these next pictures with the wide-angle lens on his camera:

1V4A3050 1V4A3060 1V4A3061

And then he took some shots of the dogs and I snuck in there with them for a one…

1V4A3078 1V4A3084 1V4A3087  1V4A3077

We decided to take a ride around our town into one of our Civil War Battlefields; wow, what a gorgeous ride that was!

1V4A3104 1V4A3093 1V4A3120

As we were pulling back into our driveway I took a moment to reflect on how lucky and truly blessed we are to be living in a place that provides so much beauty as each season passes.  If I’m honest, I’ll admit that winter is not my favorite season, I don’t care for looking at baron trees especially after seeing the trees that have just given us a beautiful show as they trumpeted their last hurrah.  I do enjoy November and December because Thanksgiving and Christmas are my two very favorite Holidays and I get to see my family, eat way too much, laugh, cry through laughter, sing a few carols and exchange gifts (although, I dislike wrapping said gifts…<erg>).  In December we always take many evening rides around our town to see the Christmas decorations and lights…Ahhhh yes, we do see quite the array of decorating styles, some absolutely gorgeous, some just good, some bad, and yes, some just plain ugly (haha). Of course I love to do my own decorating and this house presents me with new and exciting areas with which to display my creations.  But, ugh, January, February, and March are pretty bleak and very cold (relatively speaking).  Ever the optimist and one that tries to find the positive in any given situation, I will say that I do enjoy a good snowstorm and hunkering down with a nice pot of homemade soup and watching my dogs romp and play in the newly fallen blanket of snow. Also, snow is always pretty to photograph, so bring on Winter, I’ll be ready for you when you arrive. 🙂  Anyway, I digress…;)

Here was our view as we pulled back into our driveway…


1V4A31241V4A30591V4A3125

<Sigh> Life is good and I appreciate and am so humbled every single day that I wake up, put my feet on the floor, and maneuver through my day with only small normal aches and pains, ones that seem to be arriving a bit more frequently as I age…haha.  Regardless, I’m so very grateful.

Until next time, y’all take good care! ❤

~Arlynn

Special Outdoor Lighting

Good Day All!

I will be completing my “Home Tour” series of blog entries with this post describing the outdoor lighting that we chose to brighten up the front of our home.  My hubby and I worked in tandem to choose and arrange said lighting; he did do all of the installing though, but, I was definitely there for moral support. 😉

The first lights that I want to tell you about are the candles in the windows.

IMG_9273

Here in the South, many of us leave lights lit in our windows throughout the entire year; I have done this for years and years now (even in our old house before we moved here).  Old traditions tell us that the candle was often placed in the window when a member of the family was away. The lit candle was also placed in the window as a sign of good news or as a welcome to weary travelers. Candles also represented friendship and were seen as a sign of welcome to others. One of my favorite schools of thought regarding placing candles in the window was that it served as a beacon to solders who were away at war, kept ever burning so that they could find their way back home to their loved ones.  For all of these reasons, we keep candles lit in all of the front windows day and night.  We took advantage of a spiffy lighting package that our builder offered, a “Holiday Light Package”, this package provided us with an extra outlet at each window and all of those outlets lead to one switch, so when on the rare occasion that I do turn out all of the candle lights all I need to do is flip that one switch.

1V4A3039

I’ve always loved the look of a home subtly lit at night so we went on the hunt for lighting that would highlight the different rooflines and ‘sections’ of our home.  All of these lights are on a timer, they come on at dusk and remain on for 6 hours then magically turn out all on their own. 😉 🙂

We purchased pathway lights:

1V4A3030

1V4A3040

And “wash” lights, that softly light parts of the front of the house:

1V4A30331V4A2747

My hubby installed wash lights up on top of the porch and on the porch itself as well:

1V4A3045 1V4A3043

We chose “up” lights to highlight whatever decorative flag I have on the flag stand and some of the prettier trees and shrubs in the flowerbed.                                                (I purchased the flag stand from Plow and Hearth):

1V4A3034 IMG_7548

We even found a flag pole with a solar light attached, that way the flag that we have flying will always be lit as well.                                                                                                 This is especially important when we have the American Flag flying, it is not supposed to be flown at night without it being lit:

IMG_6129 IMG_0827

Last, but not least, we have several solar lights dotted throughout the flowerbed, they change colors very slowly and subtly and add a little touch of whimsy:

1V4A0134

IMG_7009

The lighting is pretty throughout the entire year, but it is especially pretty right after a snowfall:

1V4A0138

Well, there we go, with the completion of this blog entry,  you’ve now had a tour of pretty much the entire house. My hubby and I work every day to turn this house into a home, a home that will provide a warm and cozy haven to family and friends. My greatest hope is that when folks stop by that they feel welcome and like they can sit down, put their feet up, relax, and enjoy their time here in our country home.

1V4A3038

Until next time, y’all take good care! ❤

~Arlynn

Master Bedroom & Bathroom

Hi All,

I would have to say that our bedroom is the least decorated of all of the rooms in the house, but, regardless, I’ll go ahead give you a little glimpse.  When we built this house, we had this room extended by 4 feet which makes this quite a large room–25′ x 16′ (or thereabouts).  We have a king-sized bed, two bedside tables, two dressers, a corner shelf, two chairs with a stand in between them, and my cedar chest and we still have tons of room.  We have two walk-in closets and master bath as well.


 IMG_6224 IMG_8860

The master bathroom is quite large as well, and I must admit that I do love it.  We had a master bathroom in our other house, but it was tiny (not complaining, at least we had one). We have a separate soaker tub in there, I’ve never had one of those in my life. 🙂 Also, we did special order those plantation shudders for on the bay window; I will admit, they are wonderful and I’m so very glad that we bit the bullet (they were pricey) and purchased them.

1V4A2840

We each have our own vanity…Of course, I had to make a little something to sit on mine. 😉

IMG_8822 IMG_8864

A couple of extras are that the tiles in the shower go all the way up to the ceiling and the shower door is a very heavy piece of glass (devil to clean too…haha).

IMG_8871

We also have a toilet room…goodness gracious! 😉 Of course I had to do a little decorating in there…

IMG_8873

IMG_7744

IMG_7745

Well, that does it for the interior of our home, except for the basement and I’m not going to show that to you…haha.  Stay tuned for a couple more Home Tour entries describing our backyard patio and the front of the house lighting. 🙂

Sneak peek of the patio:

IMG_3860

I must say one more time how blessed we feel to have this home; we waited and saved for a very long time to have it and we honestly will never build or move to another one. 🙂

Until next time, y’all take good care! ❤

~Arlynn

Guest Bedroom #3 – The Purple Room

Hi All,

Now to to finish the upstairs part of the home tour; our third and final guest bedroom upstairs is what I’ll be highlighting in this entry; it is the only bedroom that has an ensuite bathroom. The dresser and bedside tables in this room are ancient, and I don’t mean “pretty” ancient as in they are collectors pieces, I mean, 1980’s soft pine, beat up like crazy ancient…haha. My hubby and I used them in our master bedroom for years and years and we’ve just never gotten rid of them.  One of these days, we will most likely refurbish them in some way, we just haven’t gotten around to doing that yet…not high on our “to-do” list I guess. 😉 Regardless, they are quite sturdy pieces and anchor this room nicely.  I have no earthly idea what ever happened to the headboard, so we did find this gray fabric covered and tufted headboard on Overstock.com, and I will say that I love it so much. 🙂

IMG_0173

We’ve dubbed this space “The Purple Room” for the obvious reason, the color of the bedding and accessories.  I love the look of gray and purple together, so when I found this comforter set in Bed, Bath, & Beyond, I scarfed it up and set to the task of collecting and making the accessories with which to bring this room to life. 🙂

Let’s start with the picture over the bed:

1V4A2863

We found that picture in Michaels one day; it was in a cardboard ‘frame’.  My hubby  constructed the wooden picture frame and cut the matting to fit and framed it up in no time; it turned out so pretty and fits nicely in this bedroom.  I love to accent with those black scrolly wall pieces, I found all 3 in Hobby Lobby, on sale of course, I honestly don’t buy too much home decor that isn’t on sale.

We decided to go with a black ceiling fan in this room with silver accents…classic…

IMG_9539

I made this burlap wreath and I actually utilized one of our daughter’s old Boyd’s Bear bunnies into the design replacing his worn out neck ribbon with a pretty purple ribbon.  I found some purple silk flowers in lavender and cream and made a cream burlap bow to finish it off.  I can’t for the life of me remember where I got that wreath hanger, but it is metal and quite sturdy.  I found that little shadowbox under the wreath on sale and filled it with things that I already had here at the house.

IMG_166011825928_10206987538317358_7047143603318203063_n

We decided to put a tv in this room just in case we have a guest that might like to watch a little tv before retiring for the night. 🙂  The table that sits under the tv is another piece that has been around for decades, although, this one is a really nice oak table that when purchased was unstained and my hubby stained it to the exact color that we wanted.

1V4A2866 11846633_10207013233719727_3240507543954665602_n 11817165_10207013233639725_8988499147774118813_n

I honestly didn’t buy too many things to utilize in this room–I just went down into my basement bins that hold my extra ‘stuff’ and started collecting everything in the purple/gray/silver color scheme.  I carried it all into the room, put it on the bed and just started putting little groupings and arrangements together. 🙂

IMG_1661

Here is the bathroom:

11828656_10206987539677392_3946361095746907911_n

This is a very small space, but, it is private and I know that those who stay in this room appreciate that attribute. 🙂   I really enjoyed doing that little wall grouping.  Actually, my hubby helped a lot, we had the 3 shelves, the owls, and the butterflies laid out on the floor in Hobby Lobby one day; we were arranging and rearranging those items until we finally got it like we wanted it…that process took a while…haha.  Once we got everything home and hung up, I put all of the other stuff together on the shelves pulling from the stash that I had retrieved from the basement.

Just as I did in the other two rooms, I have placed a basket of goodies on the bottom of the bed.  I think it adds a nice touch, makes guests feel welcome, and also provides them with necessities if they happened to forget anything.

IMG_0172

I used the very same type of curtain in this room as I did in the Happy room and in the Turquoise Room the only difference being that I used a silver curtain rod and tie back hooks.  The grommets in the curtains are silver as well.

IMG_0173

All three bedrooms are pretty large upstairs, and one of my goals was to make them feel cozy and comfortable without cluttering the room up with extra furniture and such; it is a task that I believe I have completed in all three spaces. 🙂  I’d love to stay in any one of these rooms if I were a guest here. 😉

IMG_1665 11800429_10206987539077377_987796561808067765_n IMG_1667

Until next time, y’all take good care! ❤

~Arlynn