

Deco mesh has become one of my favorite things with which to make my outdoor wreaths. It holds its shape and handles rainy or snowy days beautifully. 🙂 I have been making wreaths for my front light post as the seasons pass since last winter, so I decided to go ahead and get my Christmas wreath made today. Honest to goodness, I wish I could find my “off switch” sometimes, I truly am like the energizer bunny and I am rarely idle. I shouldn’t complain huh? I should be very grateful that I can still put my feet on the floor in the morning and go through my day with an exorbitant amount of energy. 😉 🙂
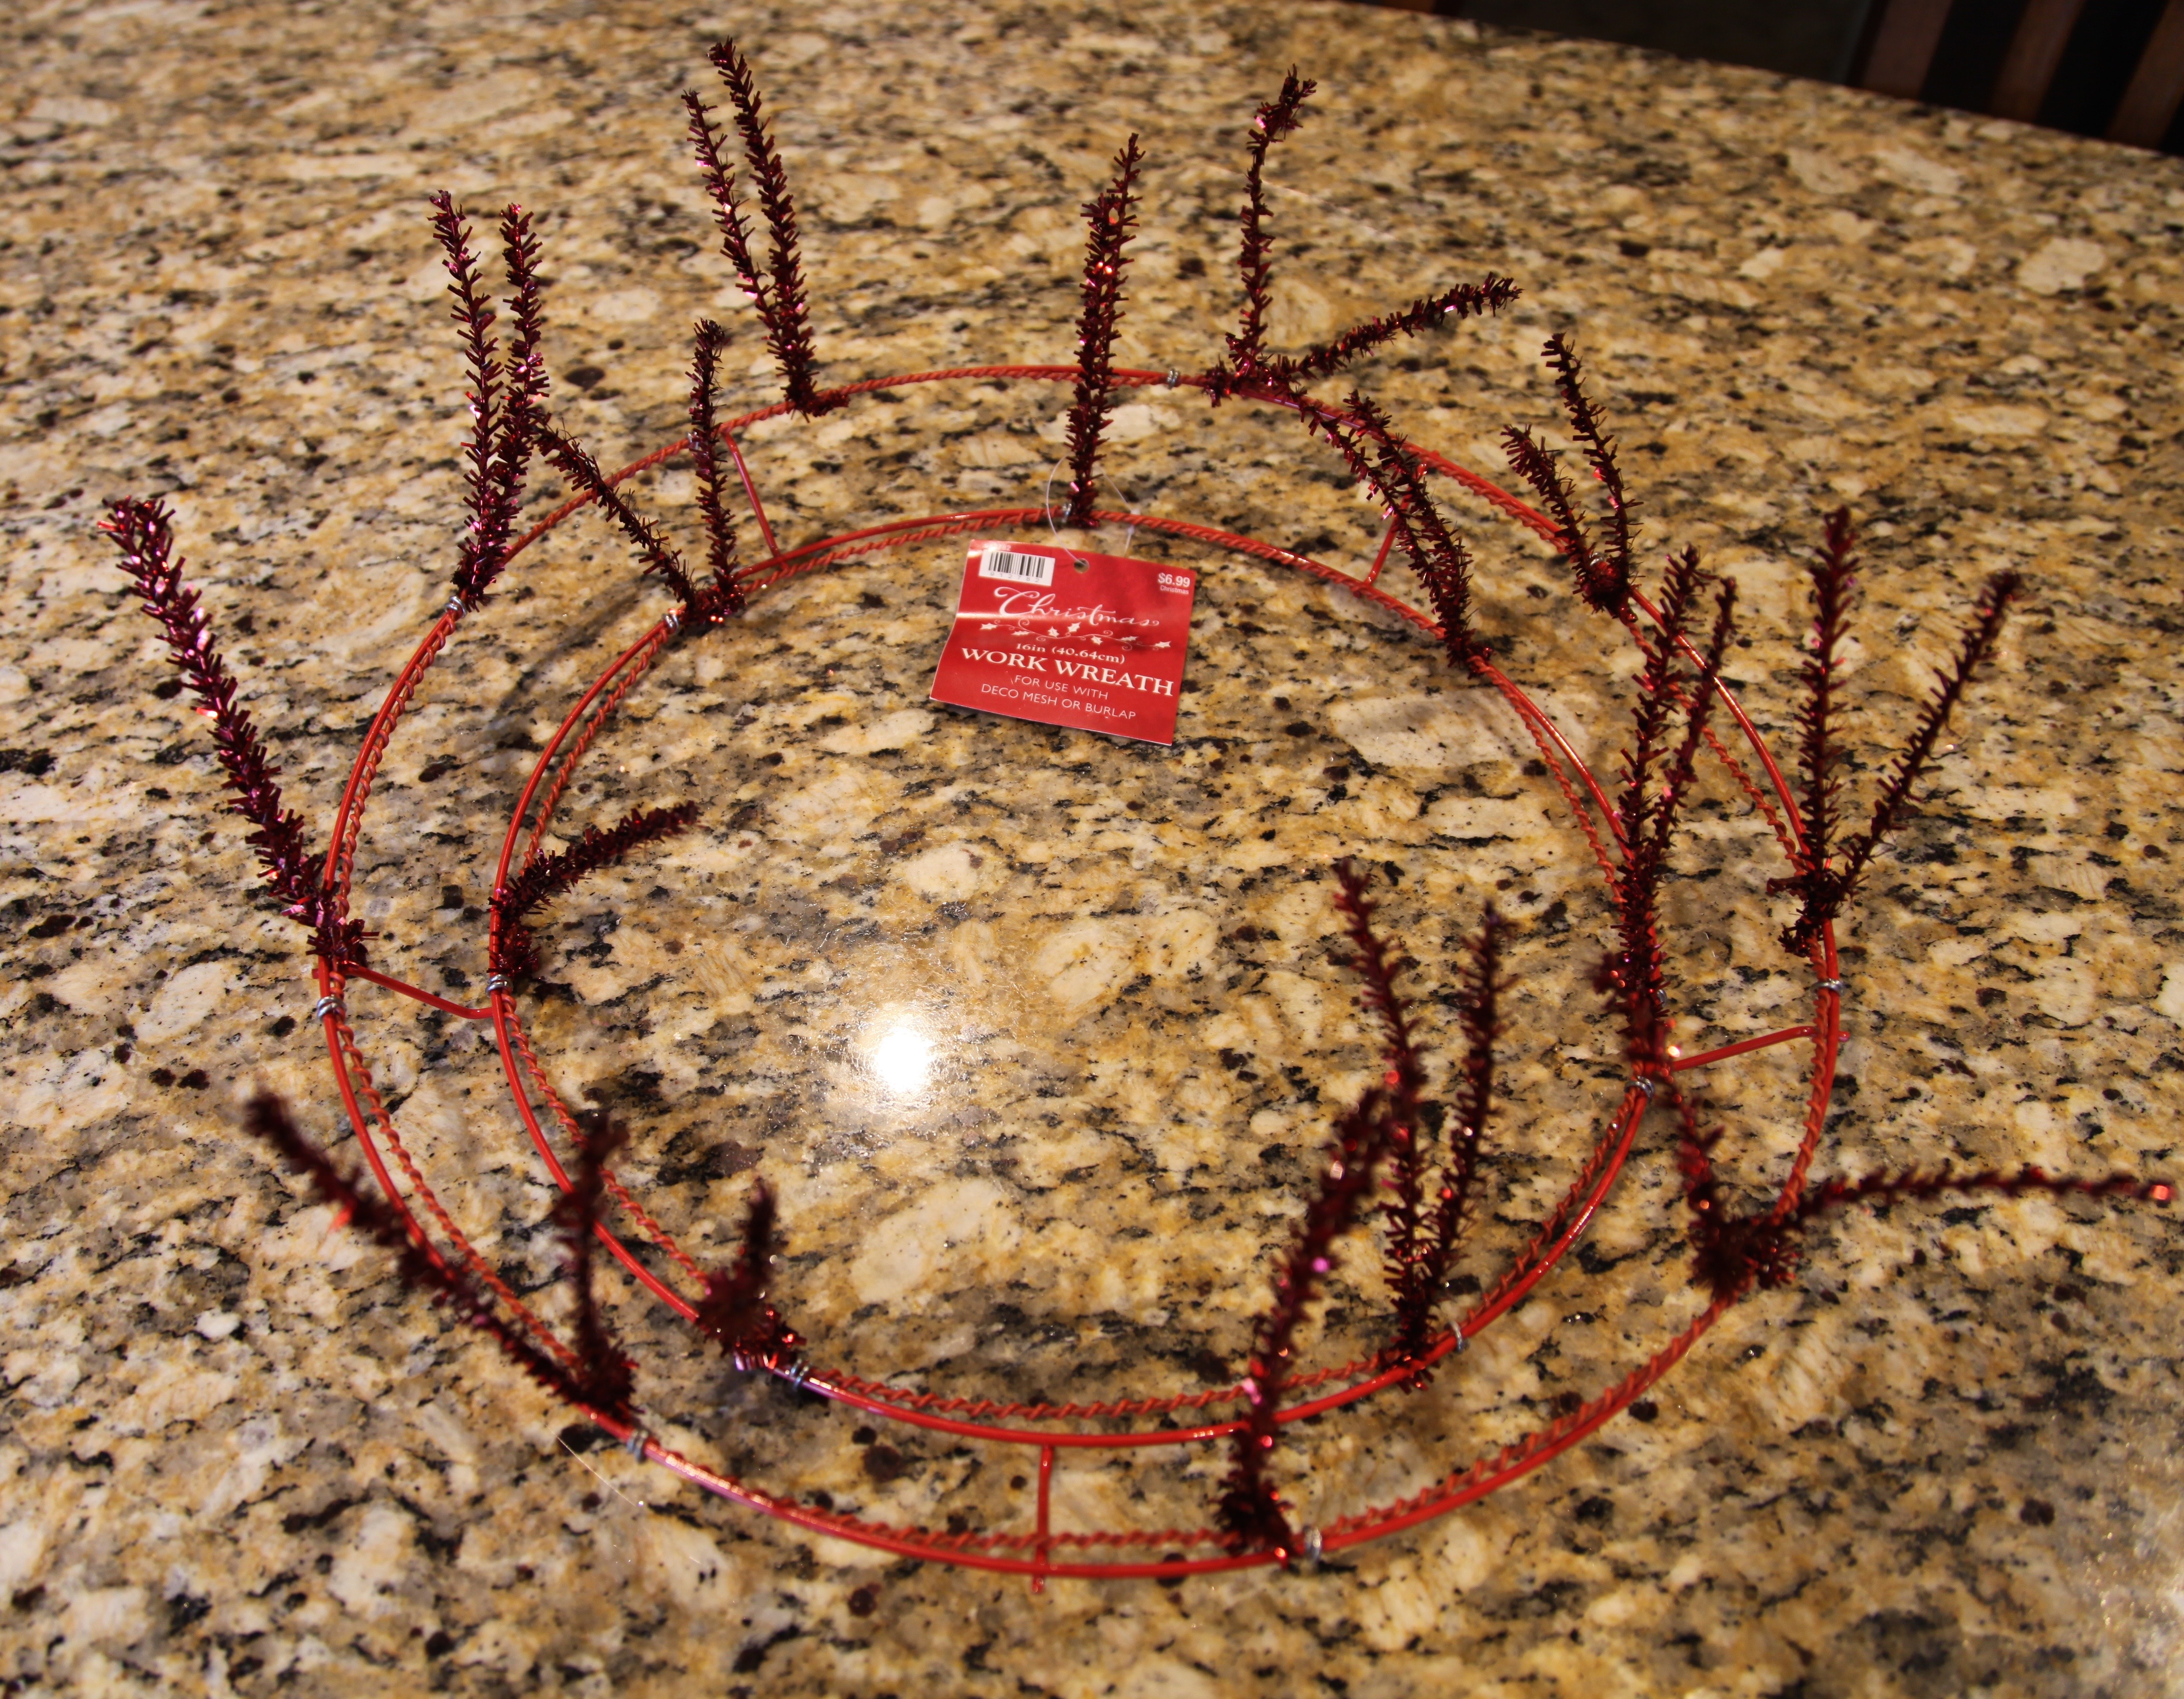
So, here we go…I used a 16″ “work wreath” which only means that it is a metal form with chenille twist ties already attached. I actually was able to find one with red twist ties on sale at Hobby Lobby in the Christmas department.
I was able to do this entire wreath with one roll of deco mesh:

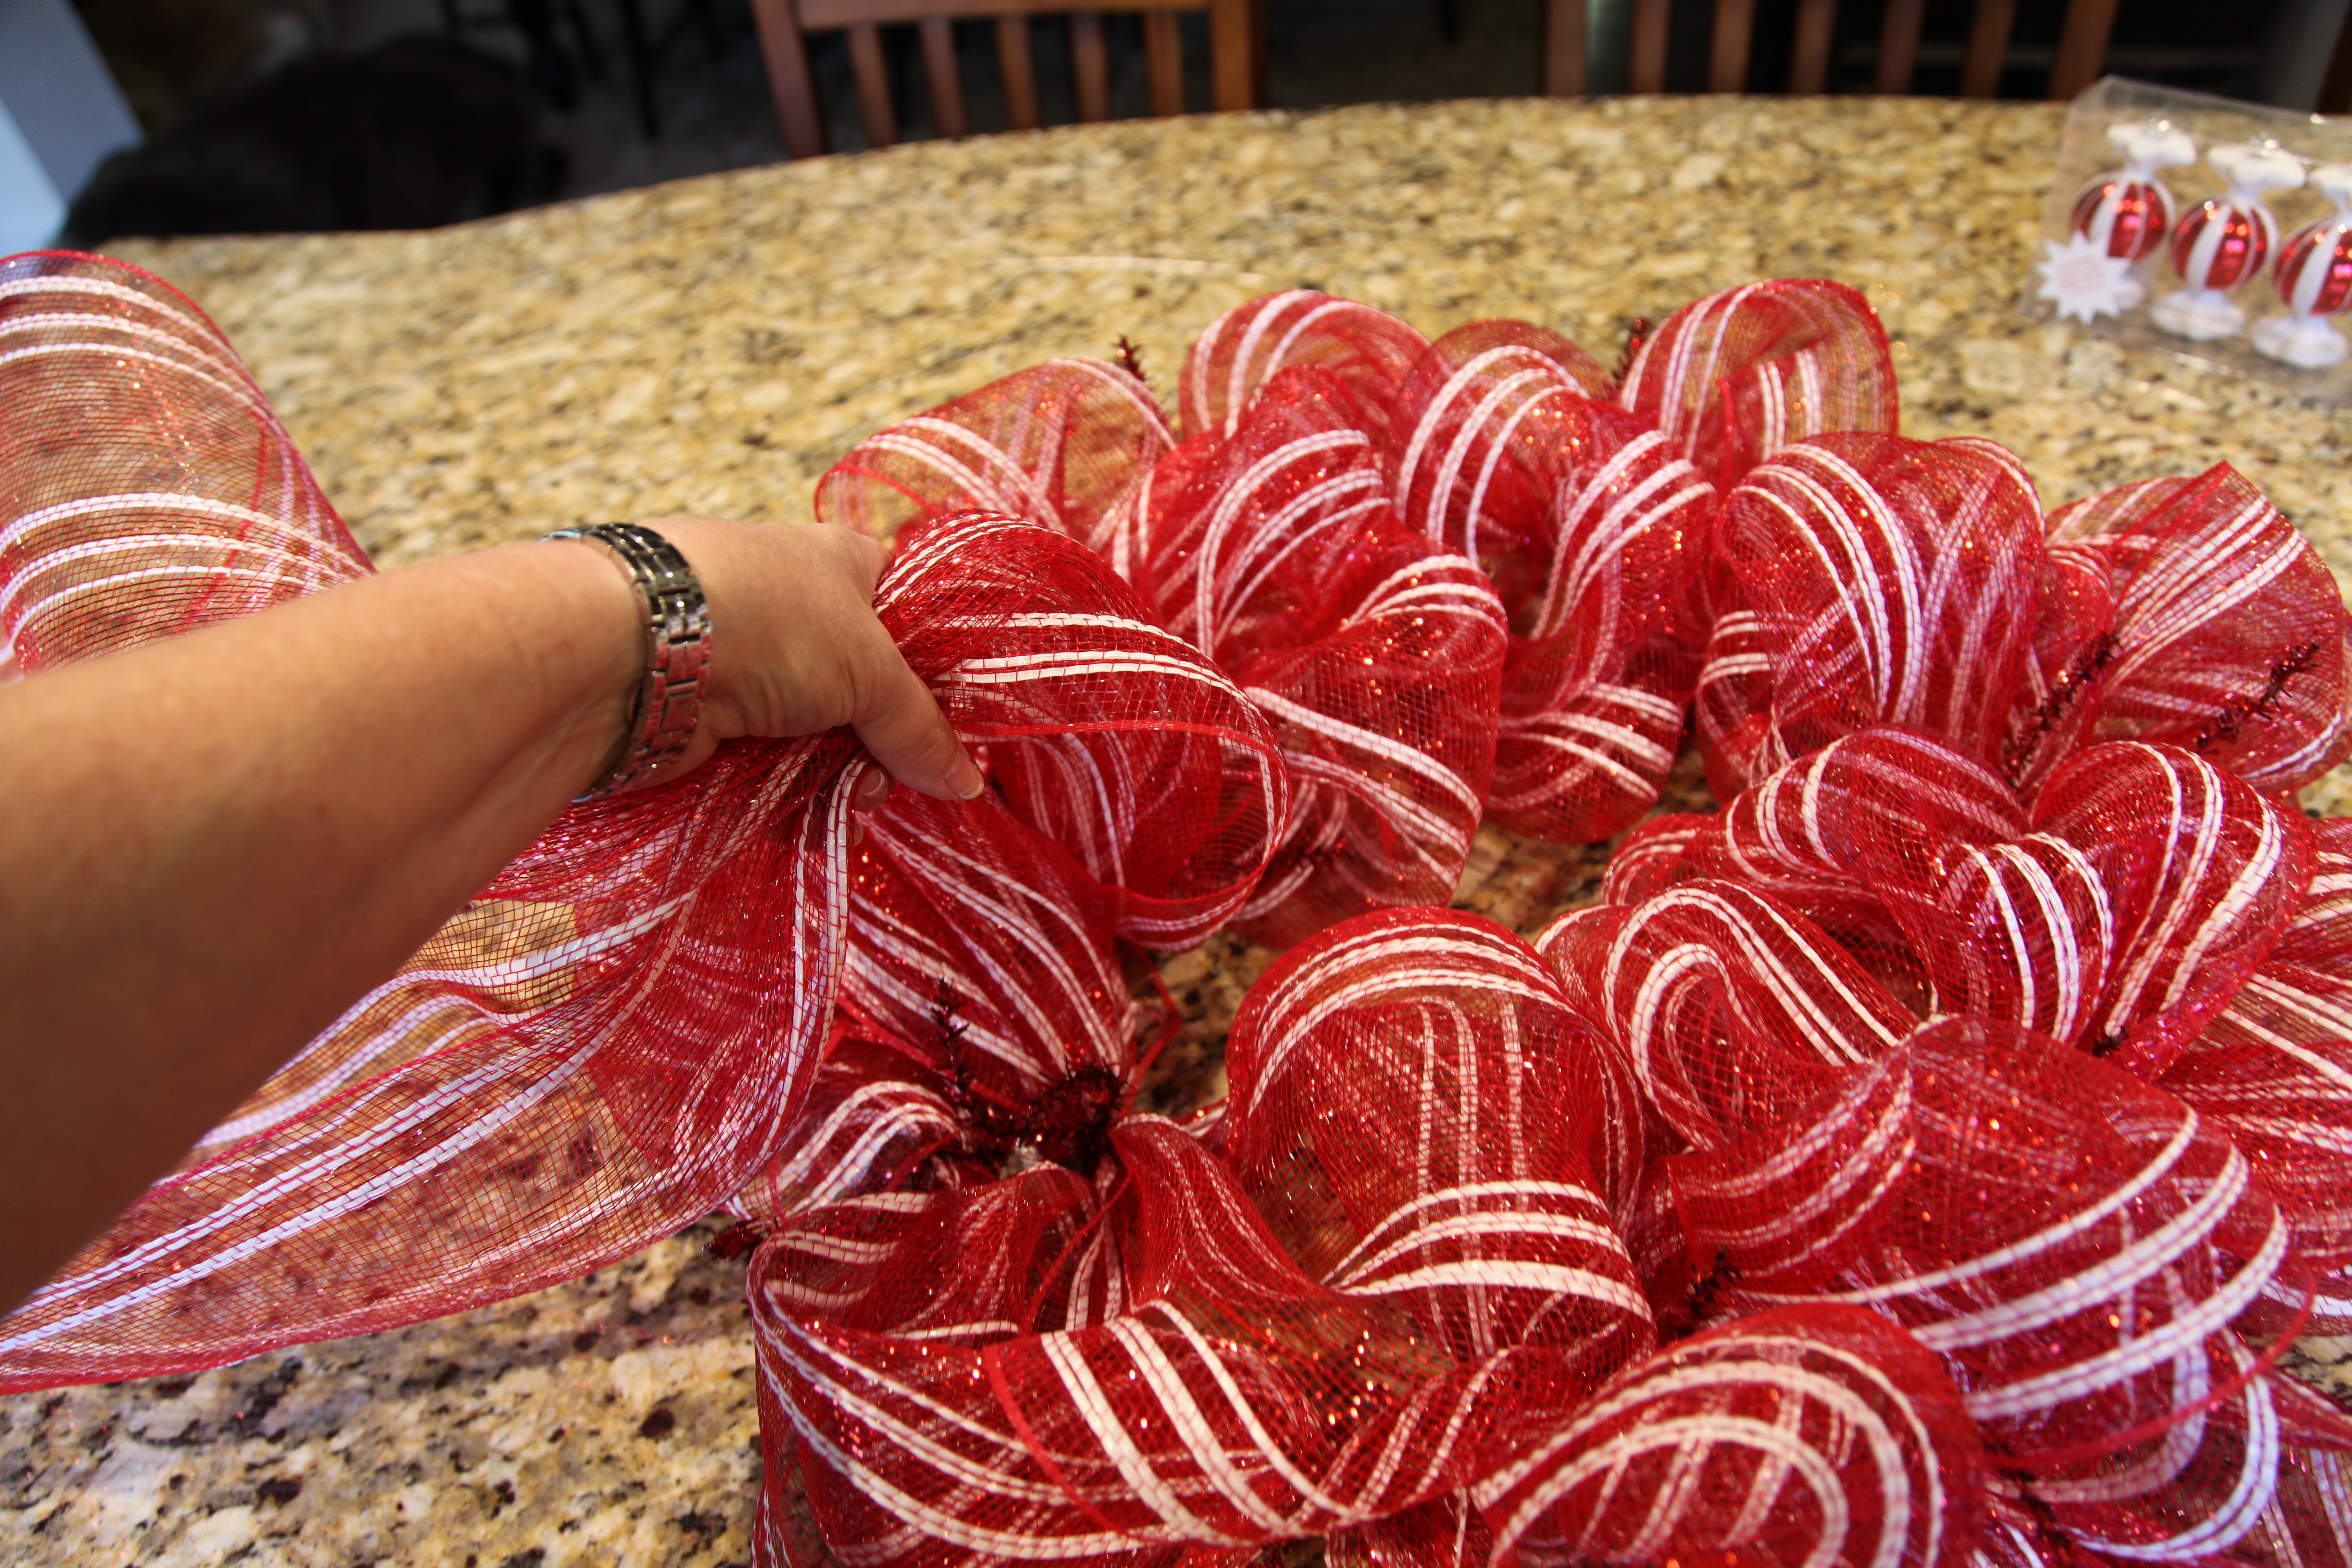
I started this wreath by unrolling a good bit of the deco mesh and start attaching it to the outer ring of the work wreath. I then started to make loops using about 10″ of mesh for each loop. I followed that pattern all the way around the outer ring and then transferred to the inner ring and did the same thing until I had filled all of the twist ties…


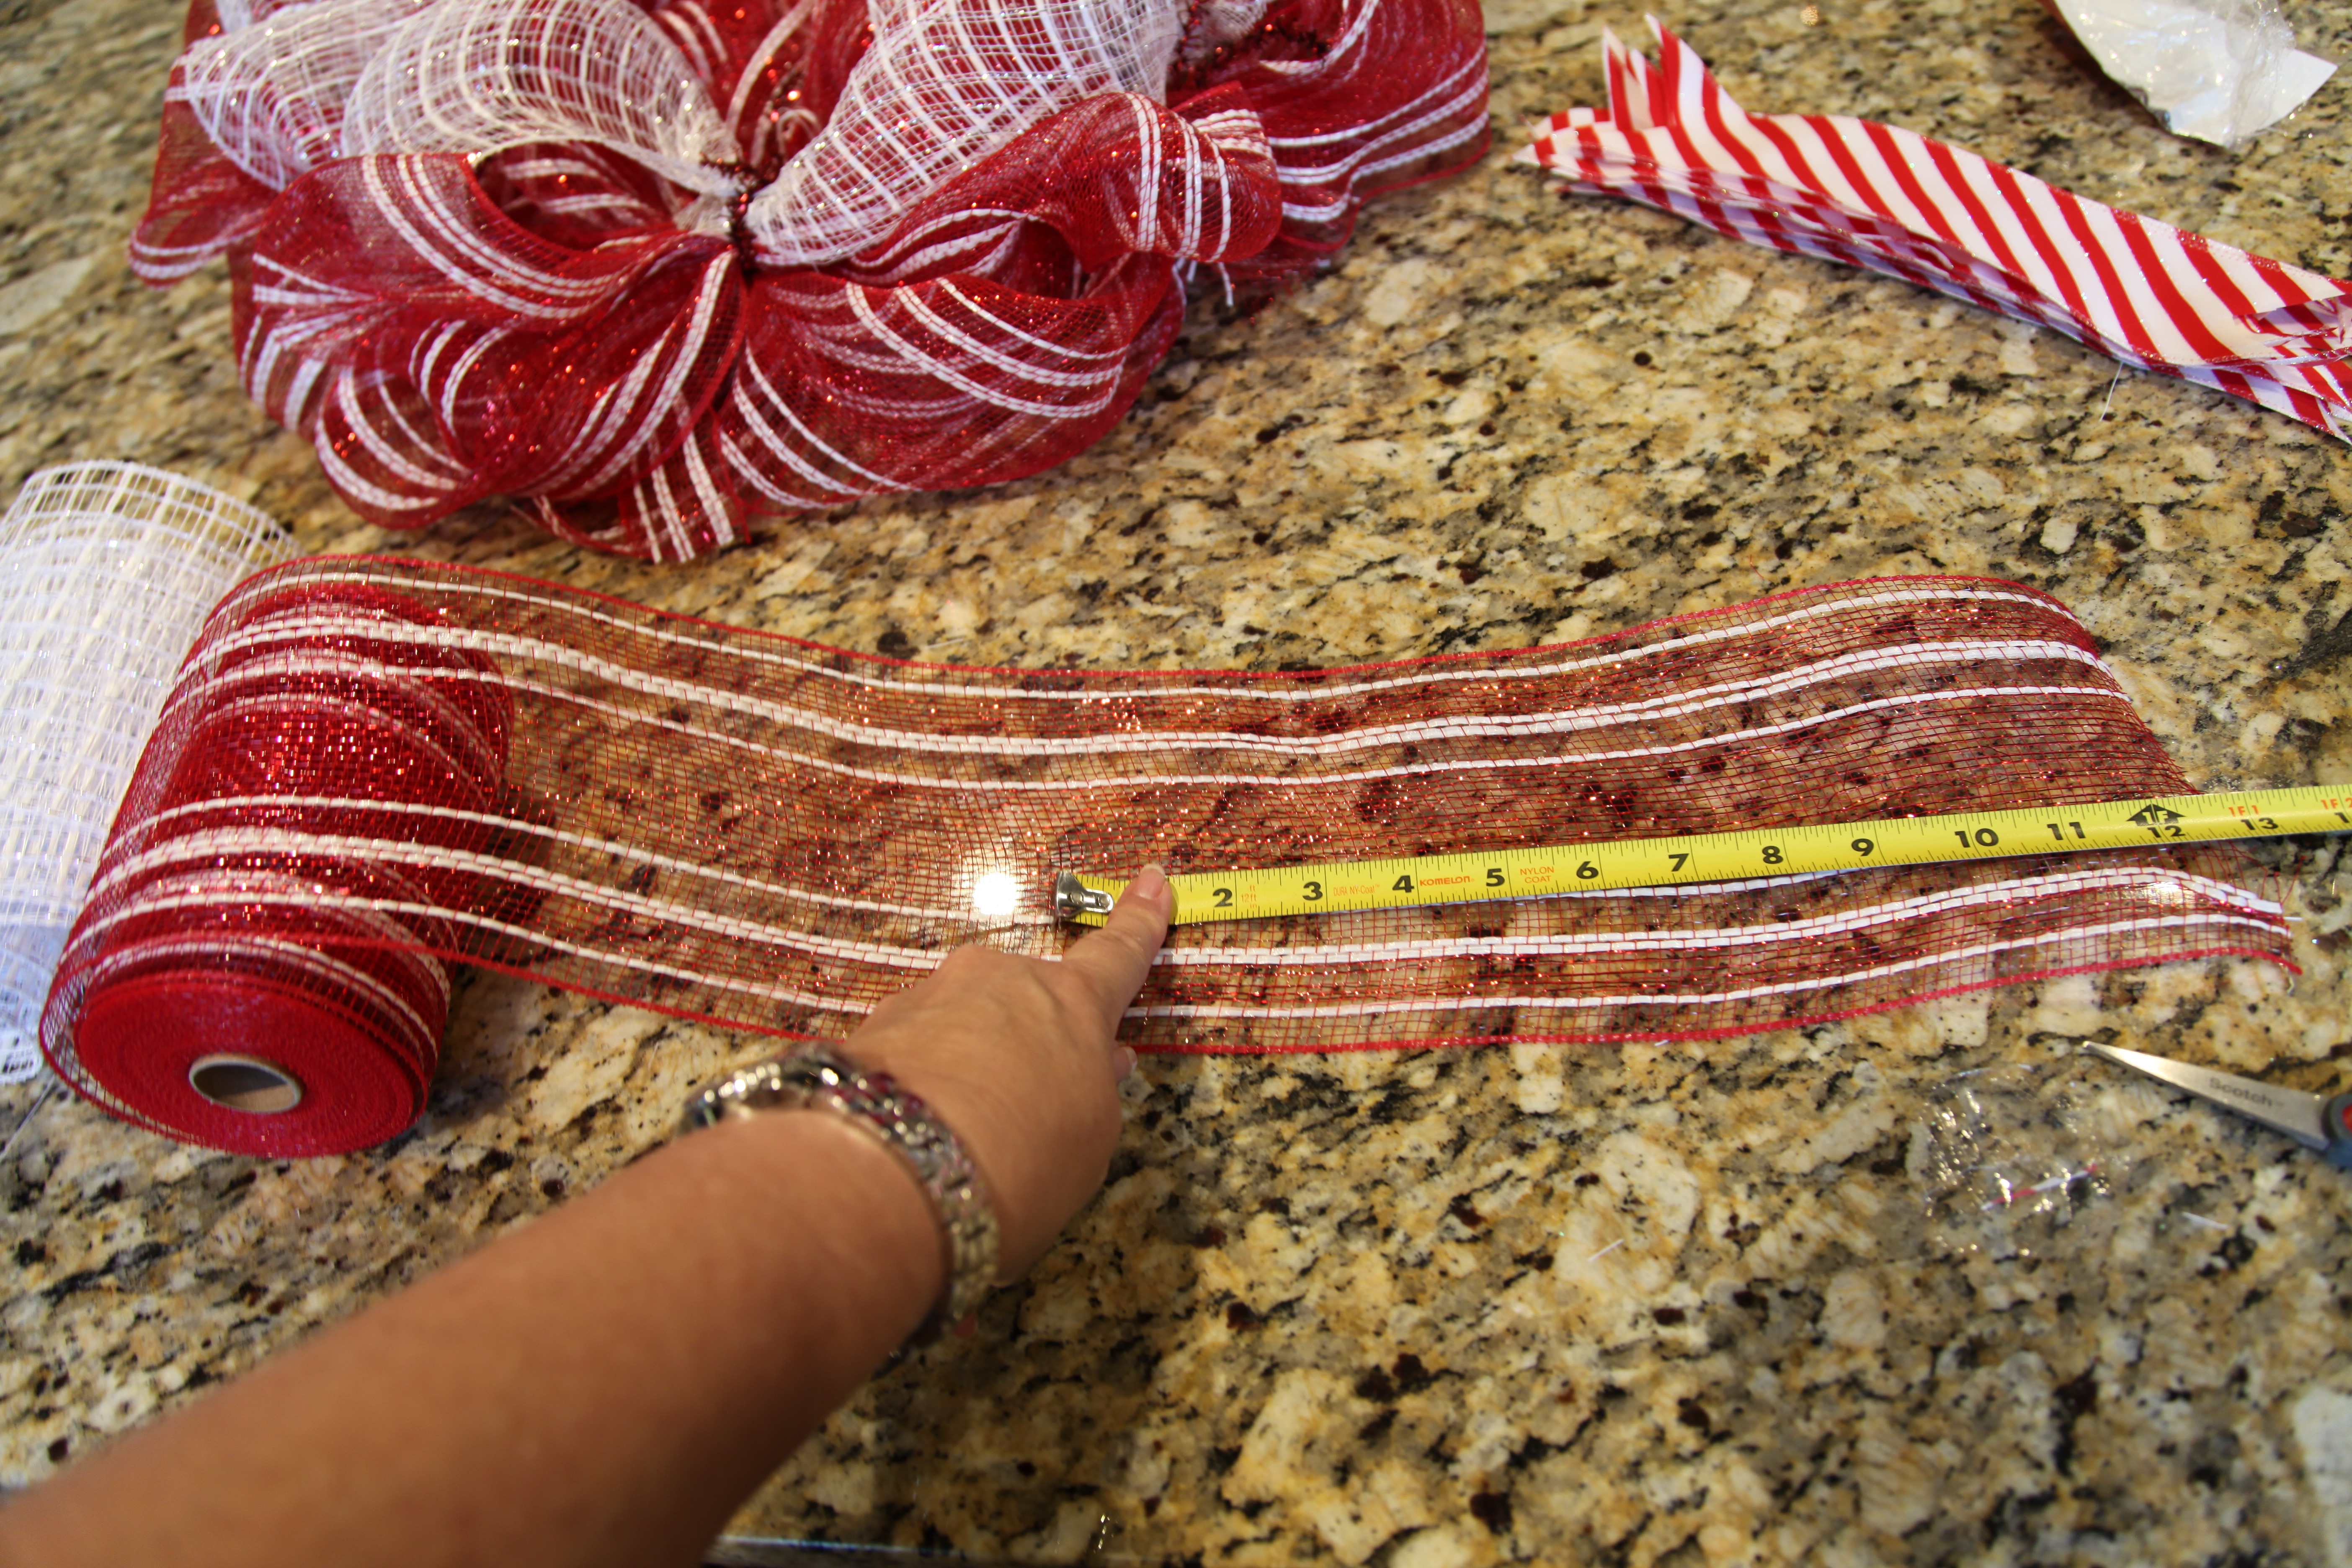
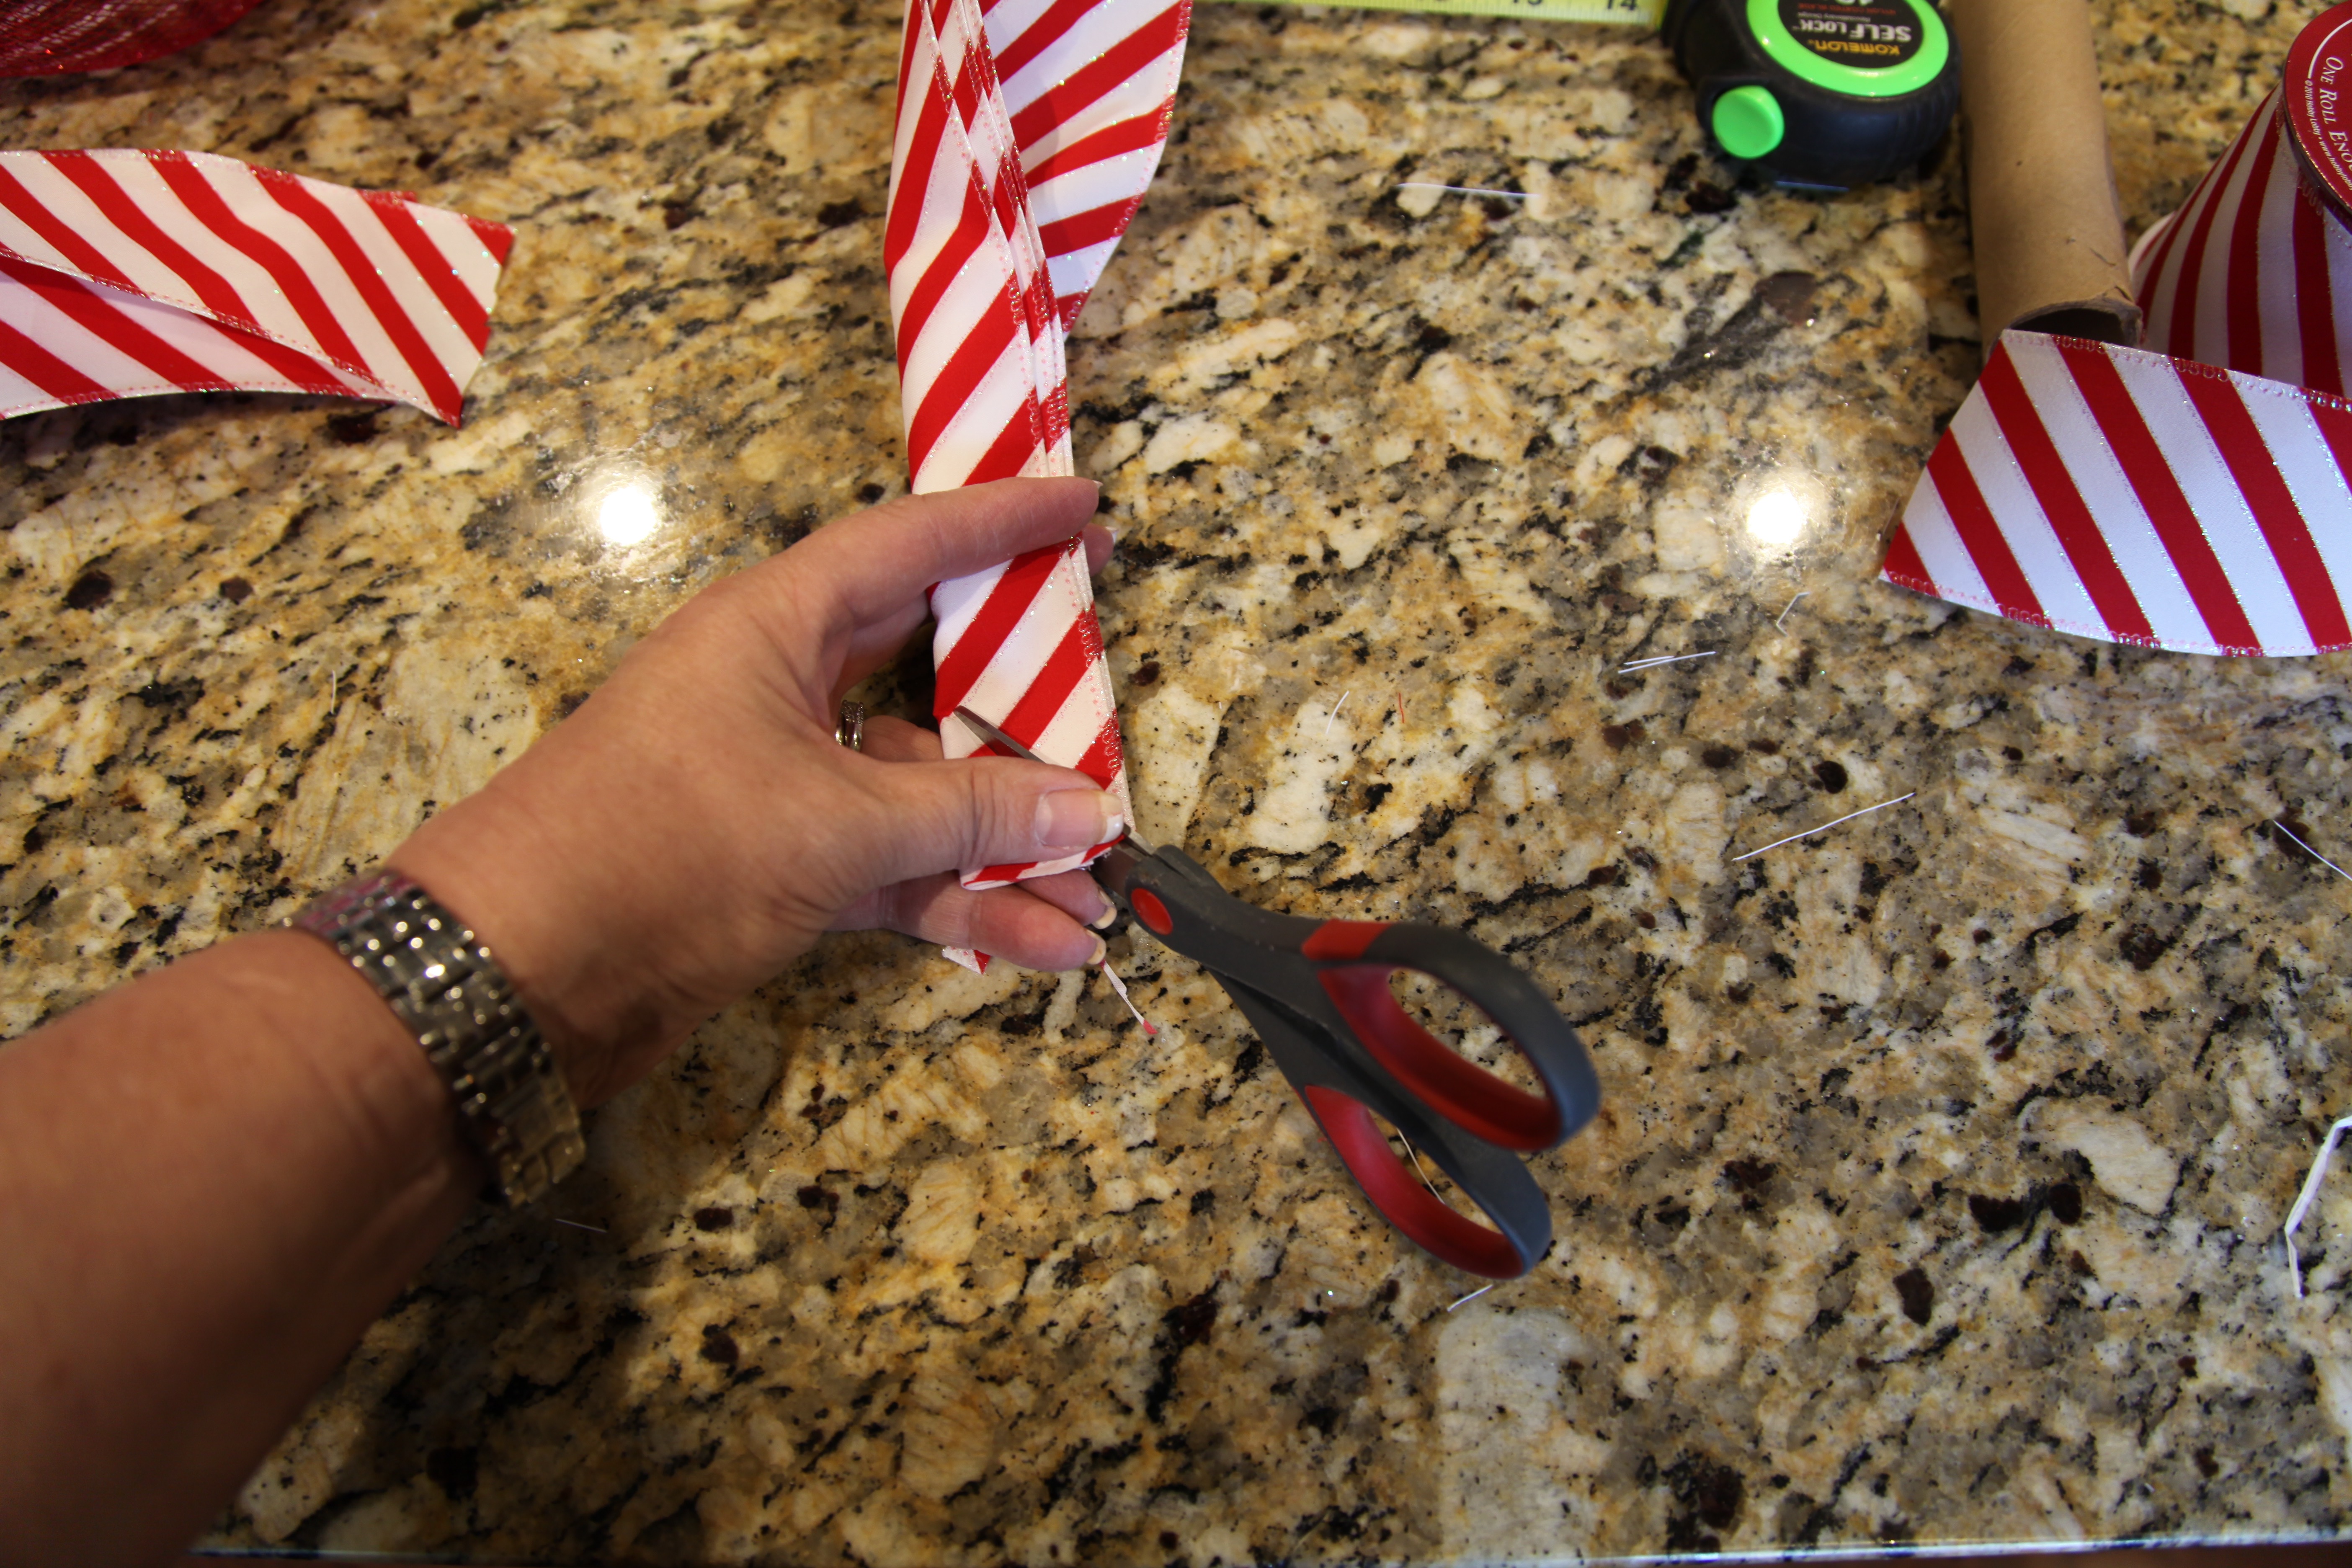
Now to add a few extra adornments to the wreath, I took some 5″ deco mesh ribbon in the same pattern that I used for the wreath and I cut 4- 12″ strips, and I did the same thing with some red and white striped wired ribbon.


Then I made a little pile consisting of one piece of the cut deco mesh, one piece of the red and white ribbon, and I added a white “snowflake” pick and bundled them all together and placed them into one of the twist ties on the wreath. I did that 3 more times strategically placing the 4 tufts around the wreath.

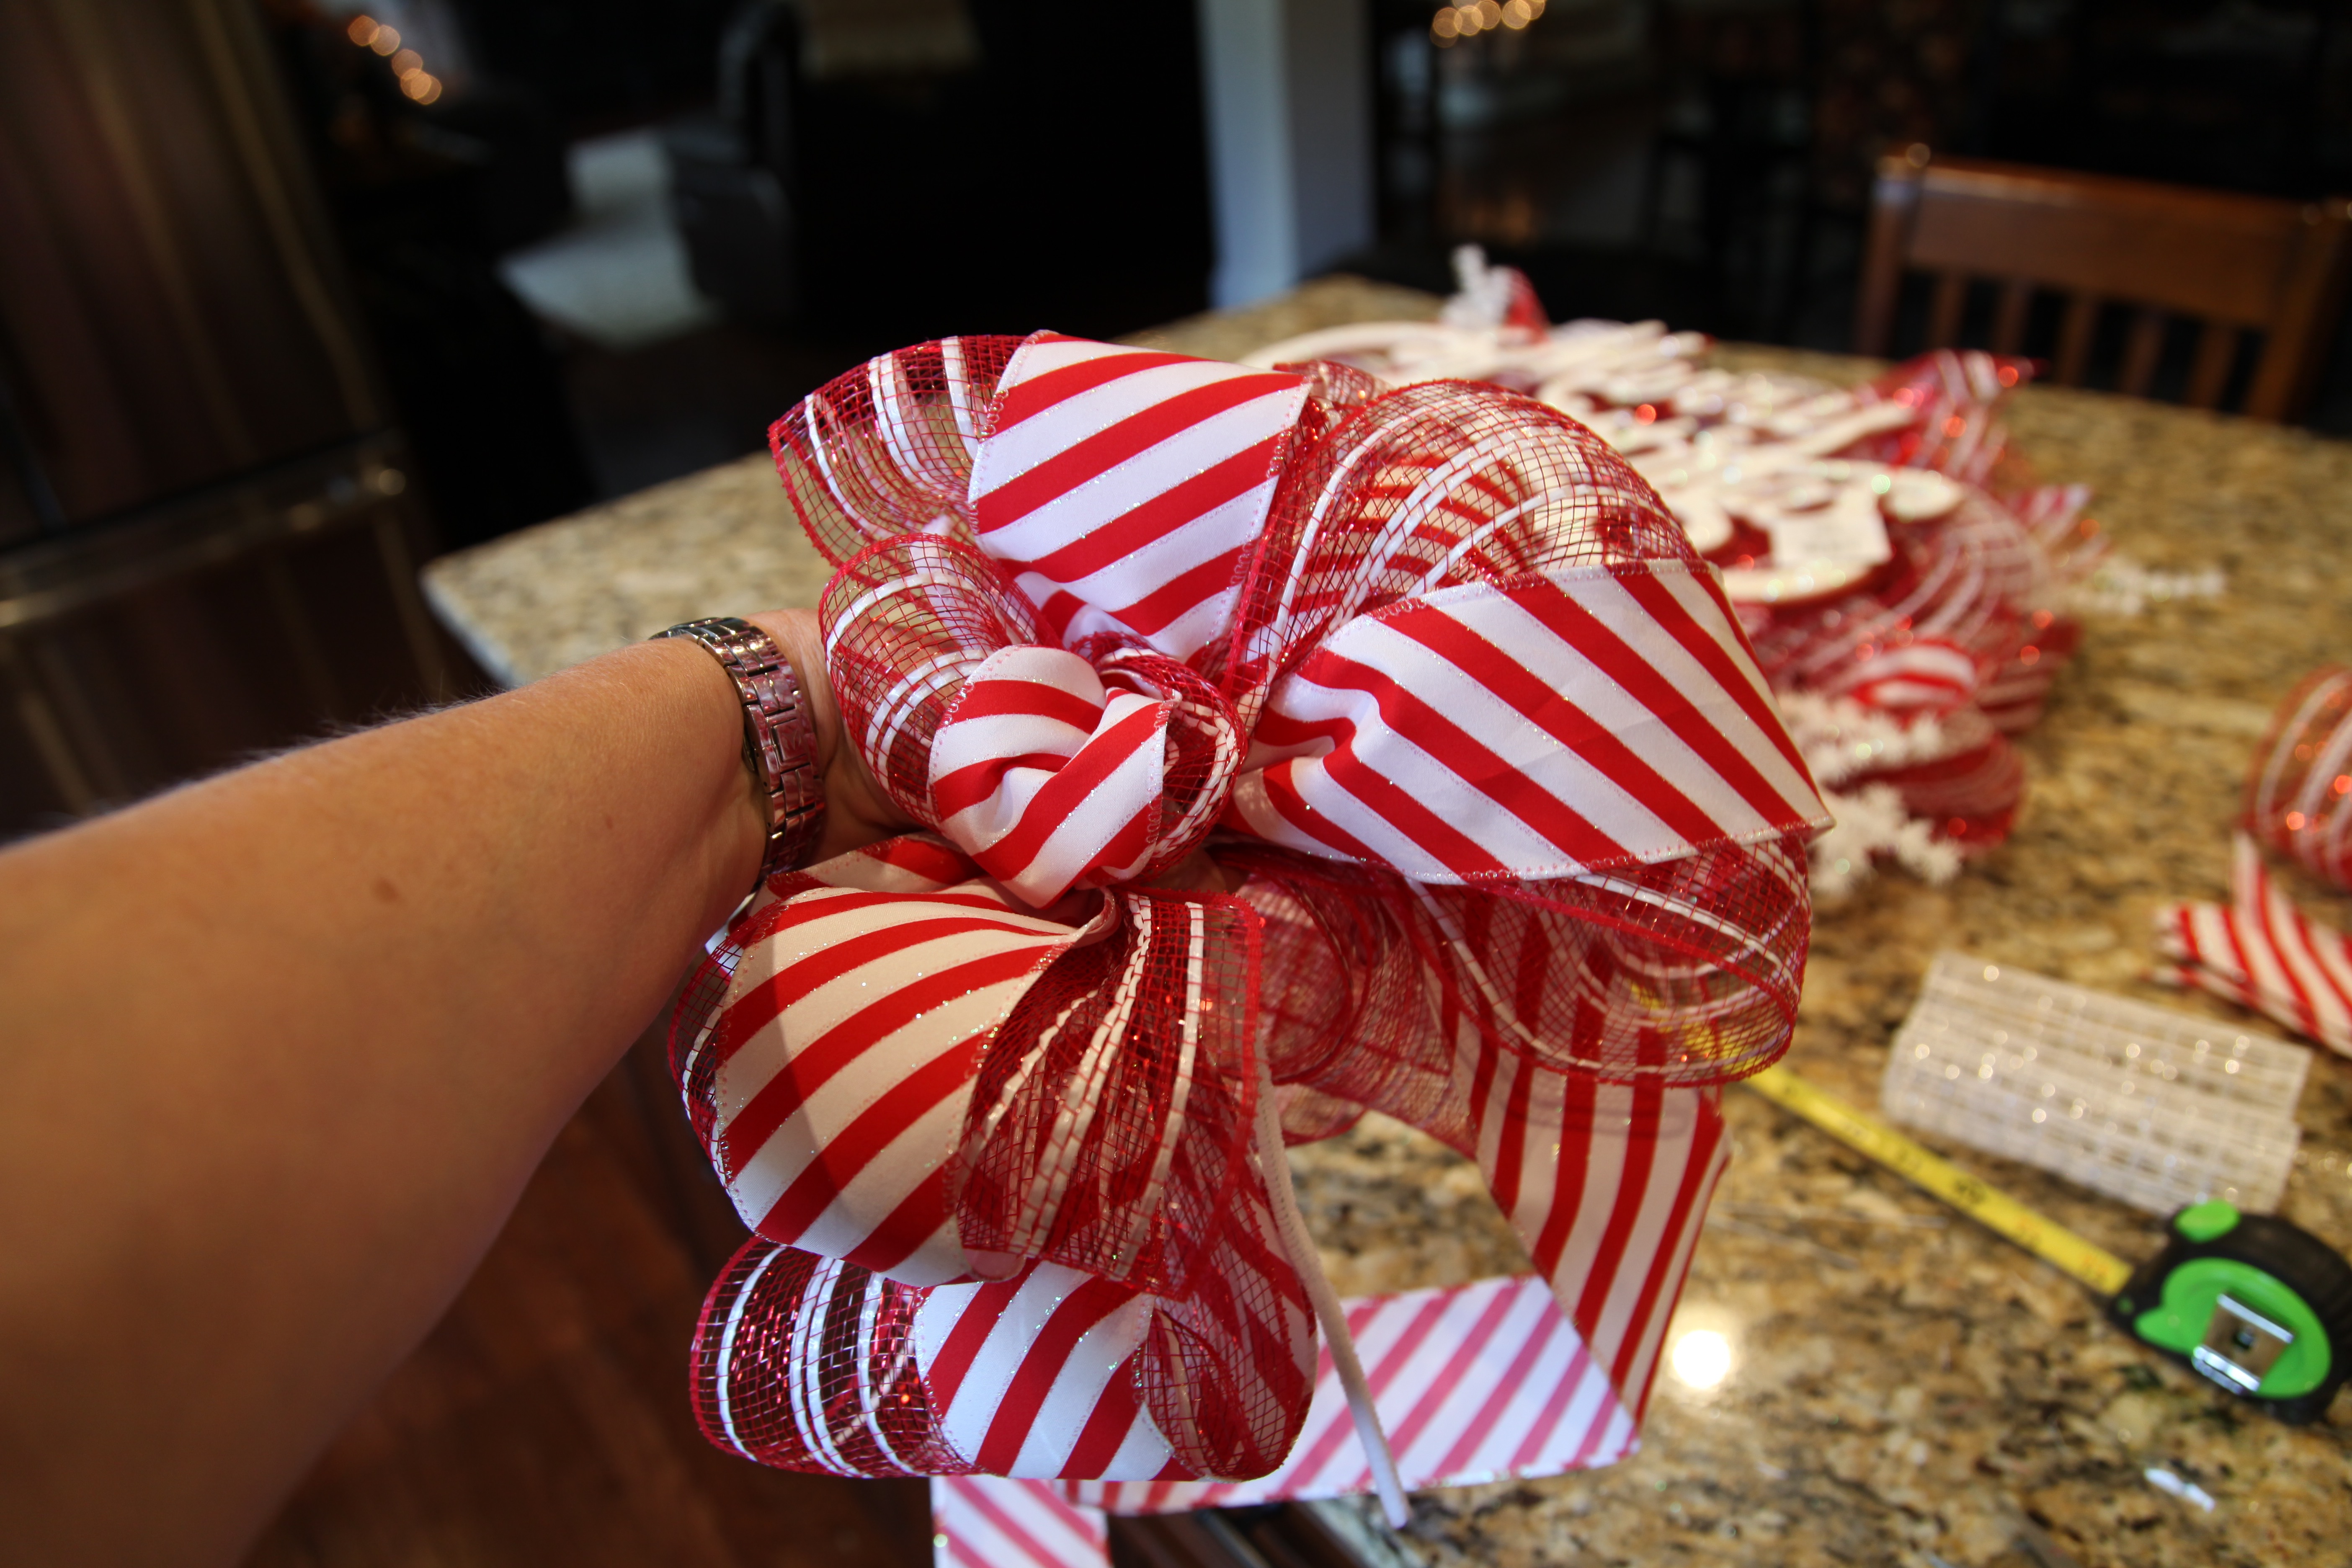
A bow was next, I made it out of the same 5″ deco mesh and red and white ribbon that I had used for the little tufts. Here is a link to my “How to make a bow tutorial” (video)…

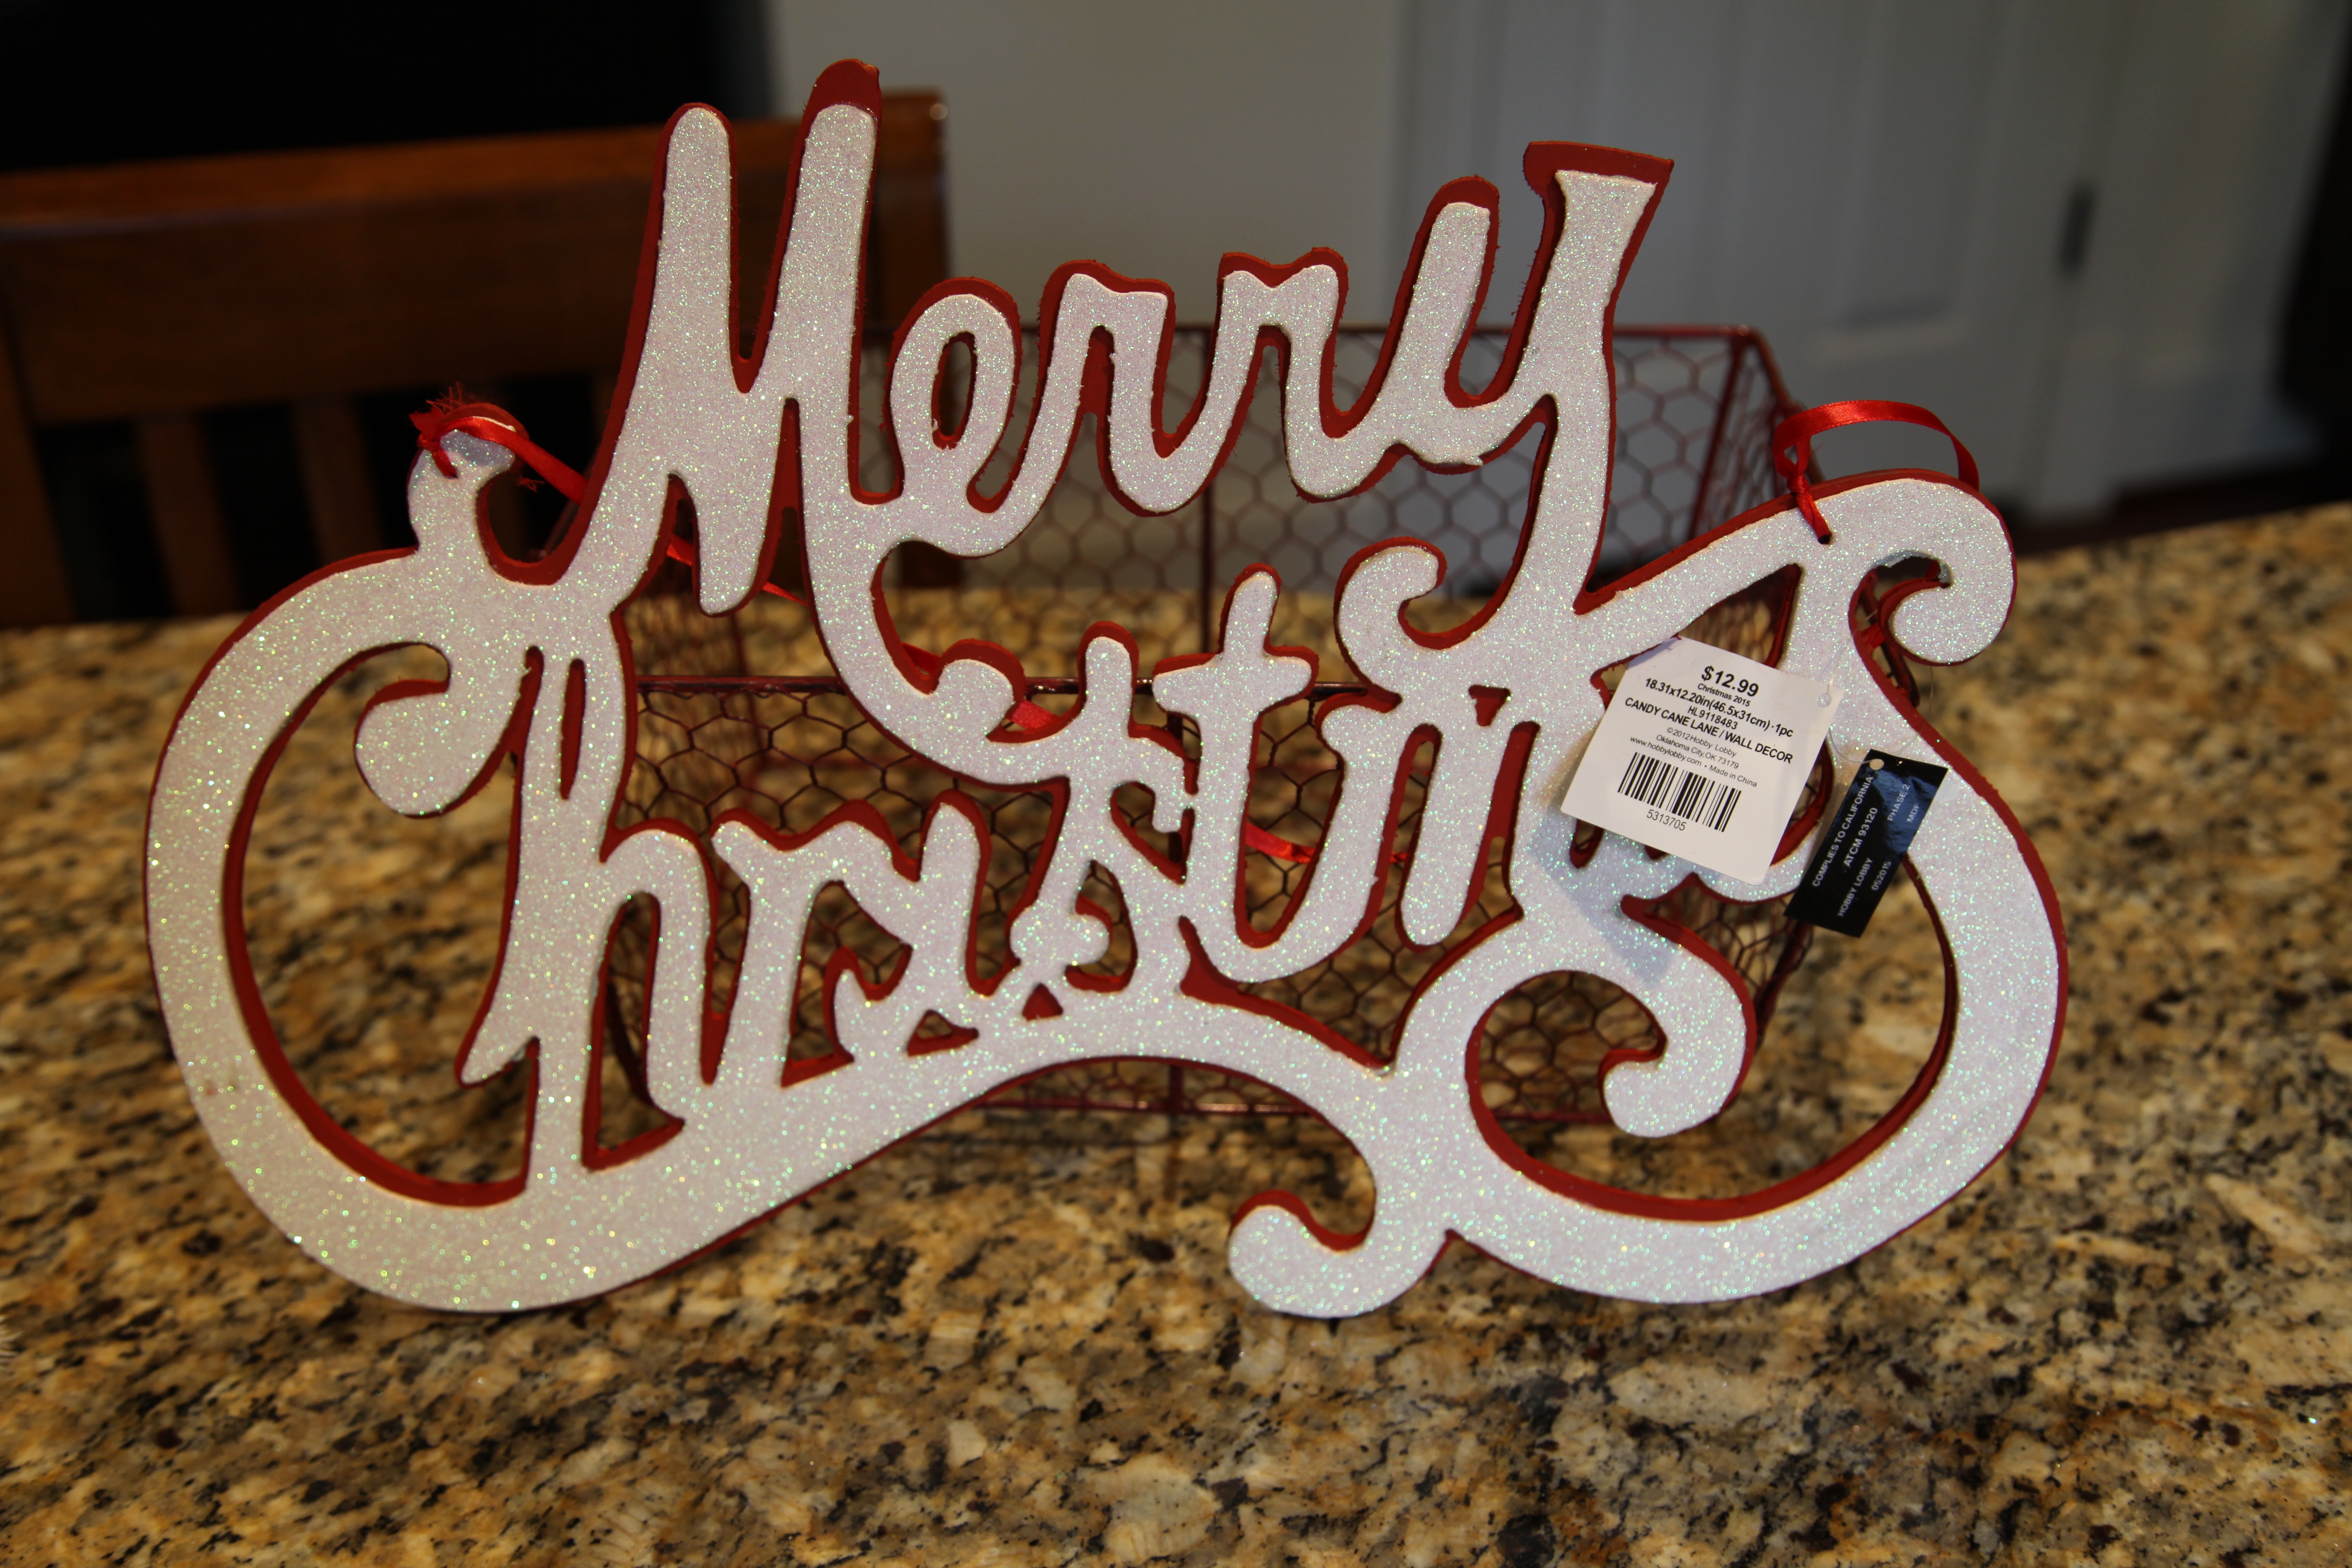
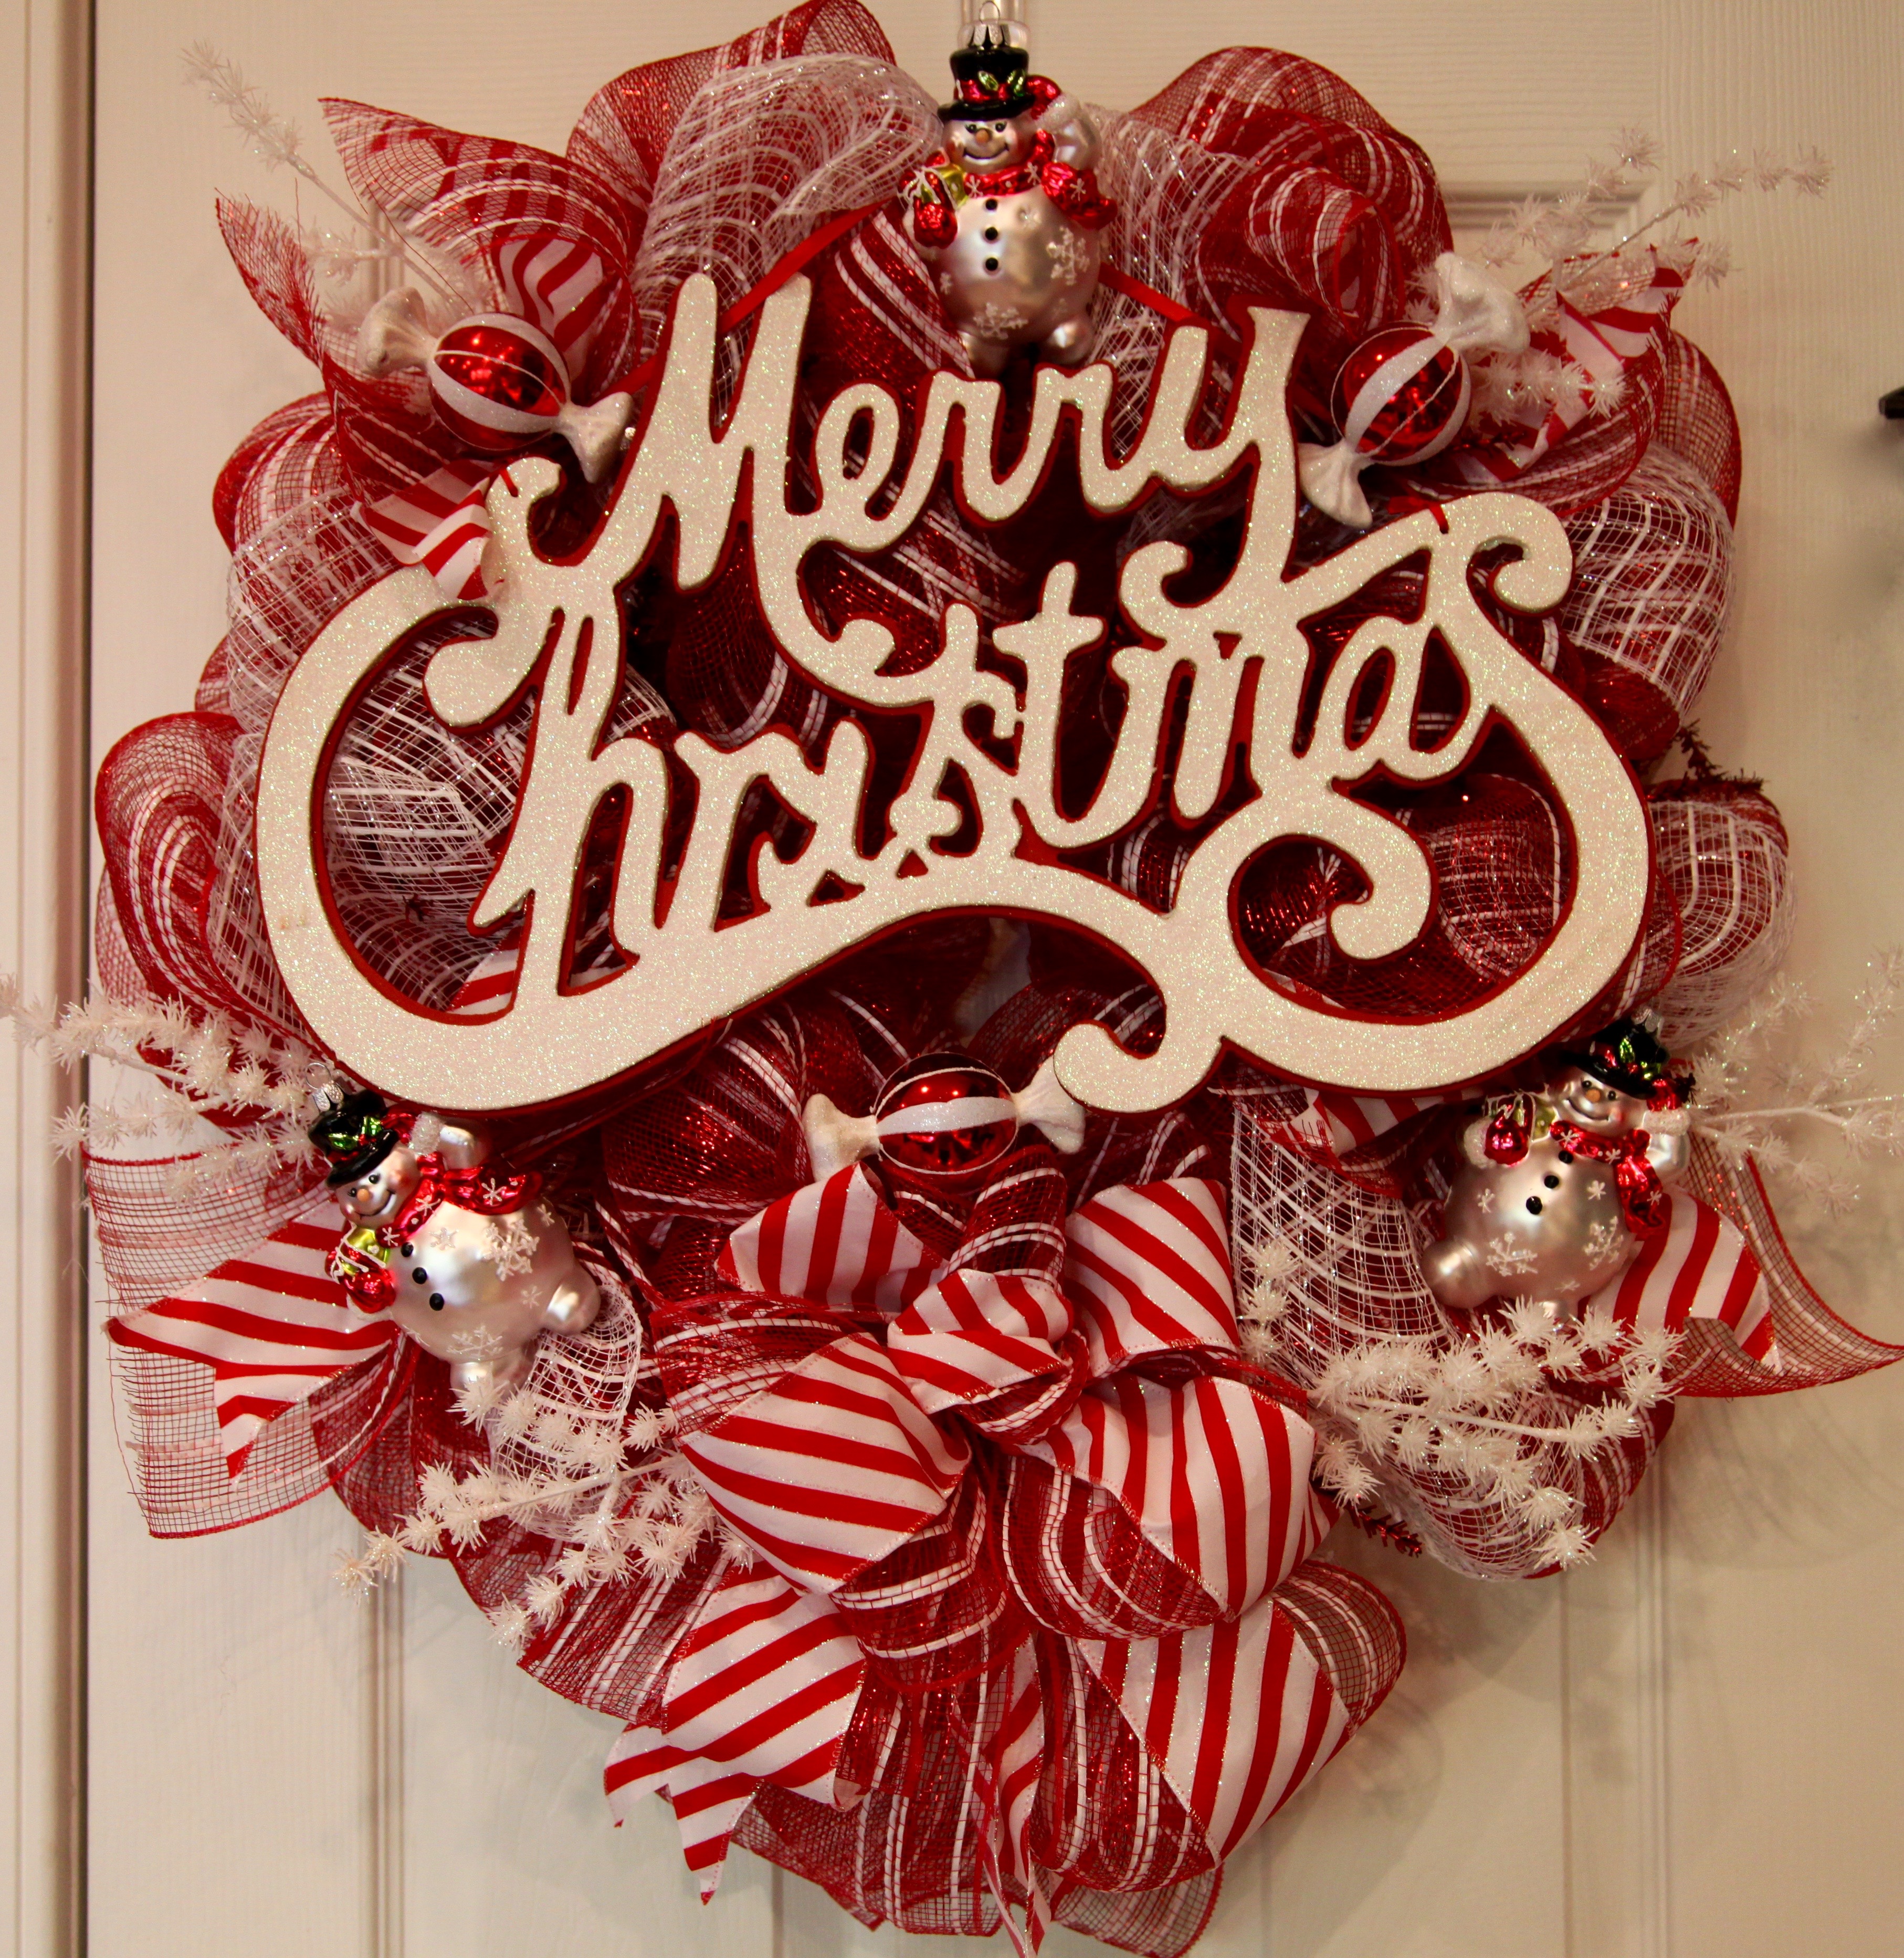
I found a “Merry Christmas” worded sign with glittery white lettering, I was able to tie that into the twist ties; I did glue it in a couple of places as well…
Next, it was time to place a few snowmen and candy Christmas ornaments; I hot glued them into place and called it done.

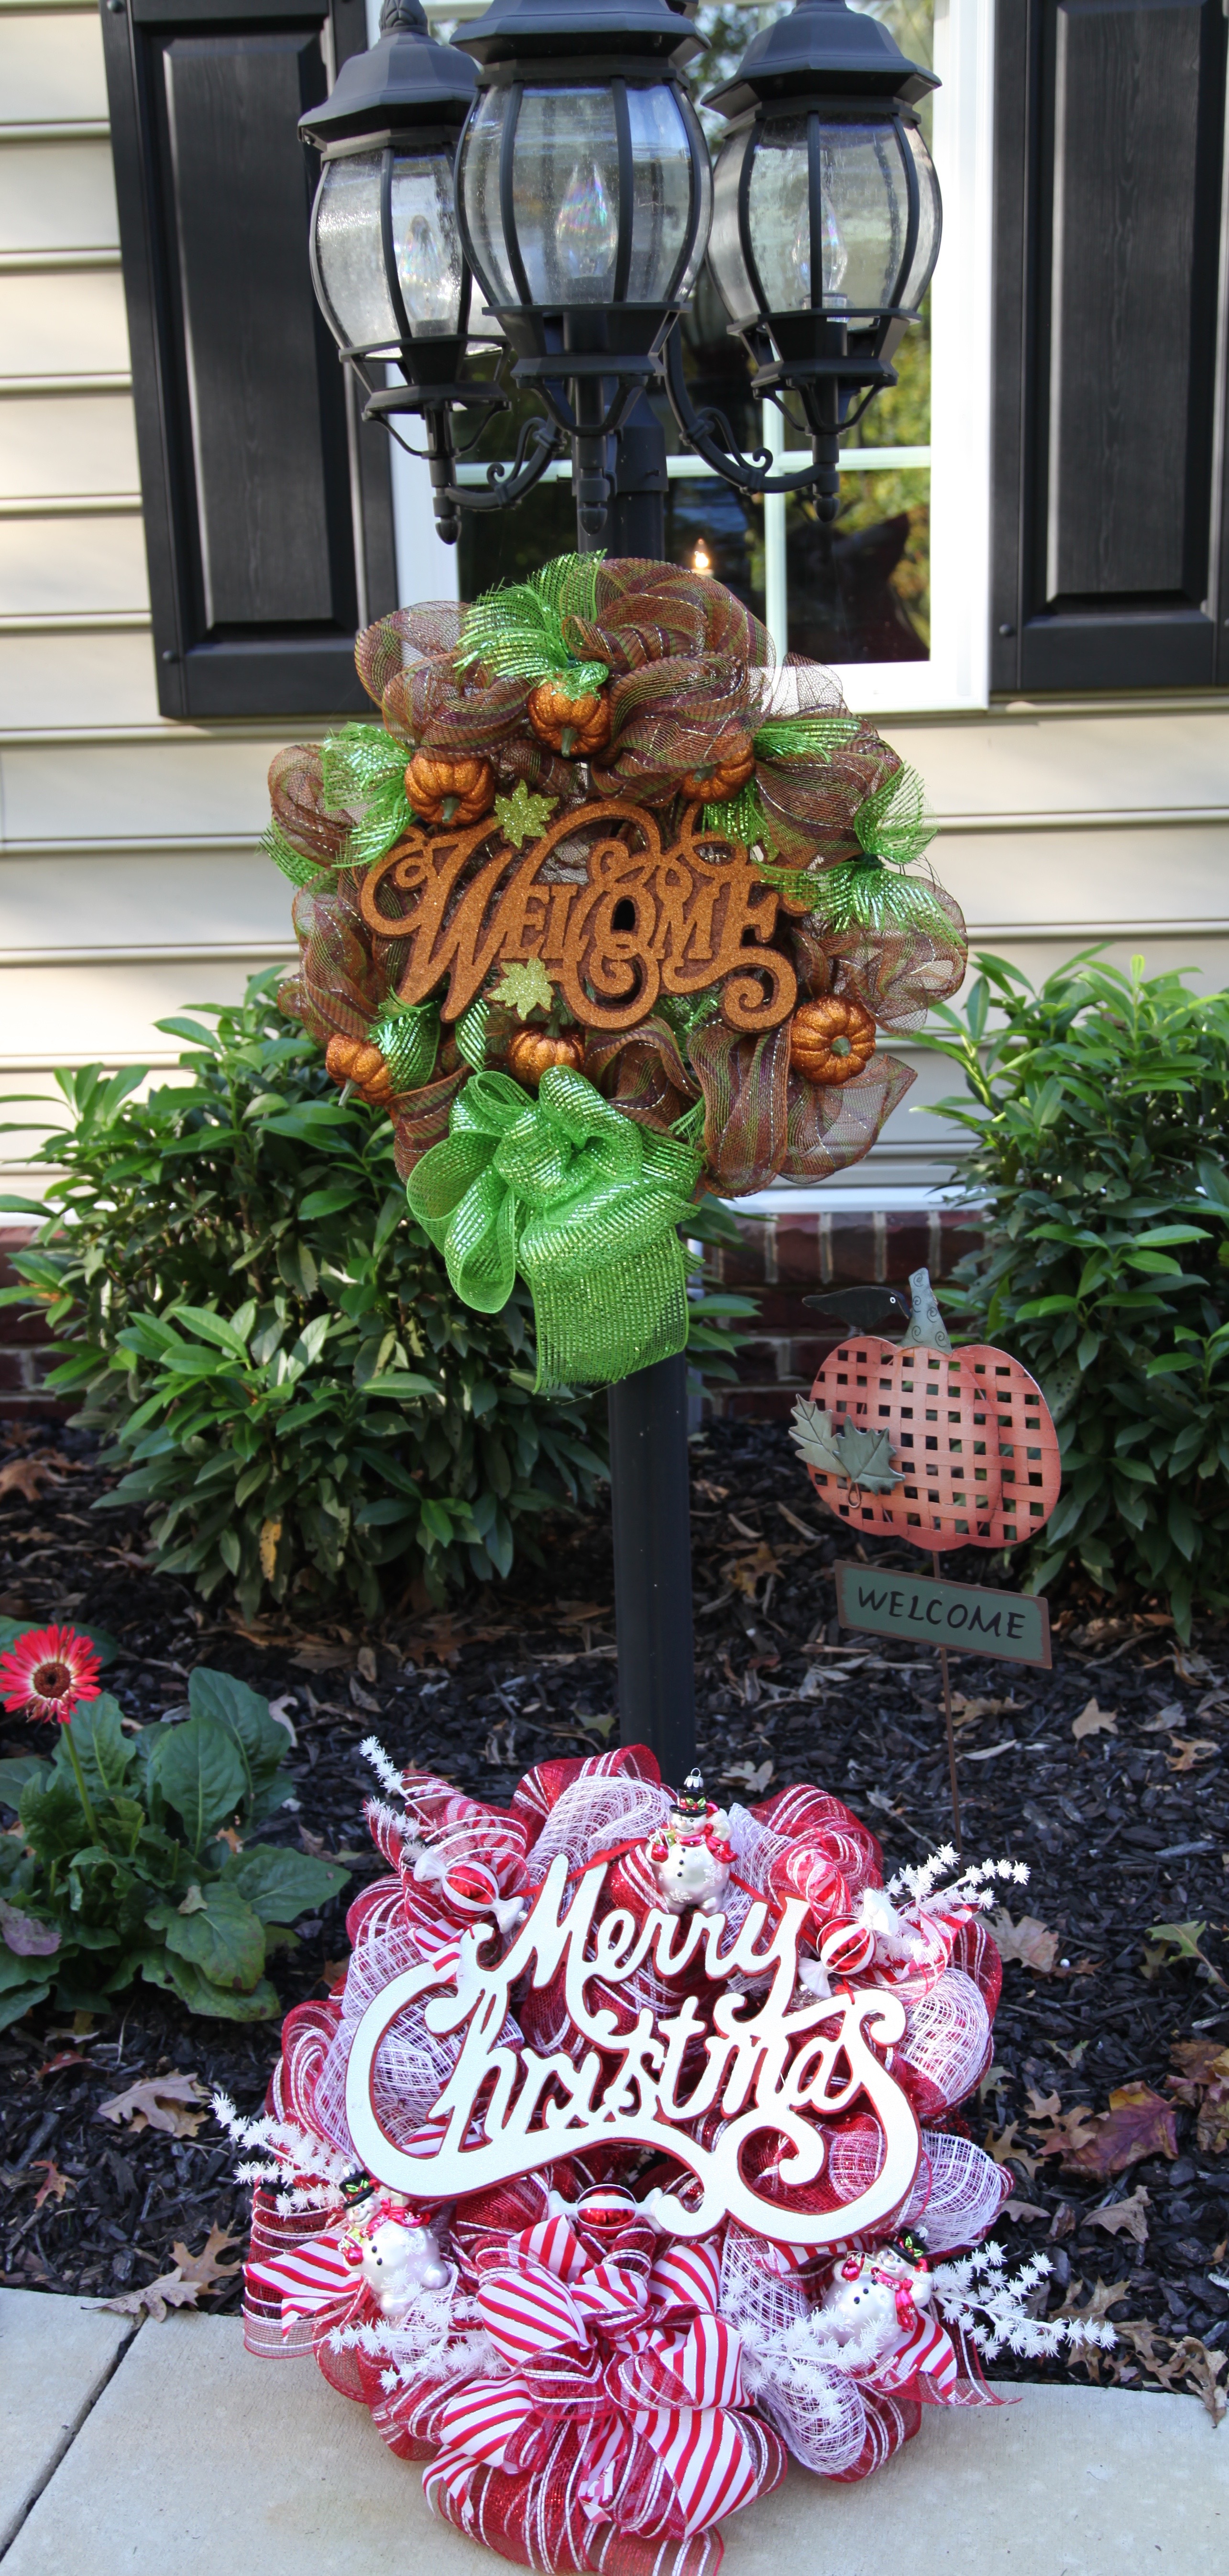
When it is time to decorate for Christmas, this wreath will replace my Fall wreath on the light post…
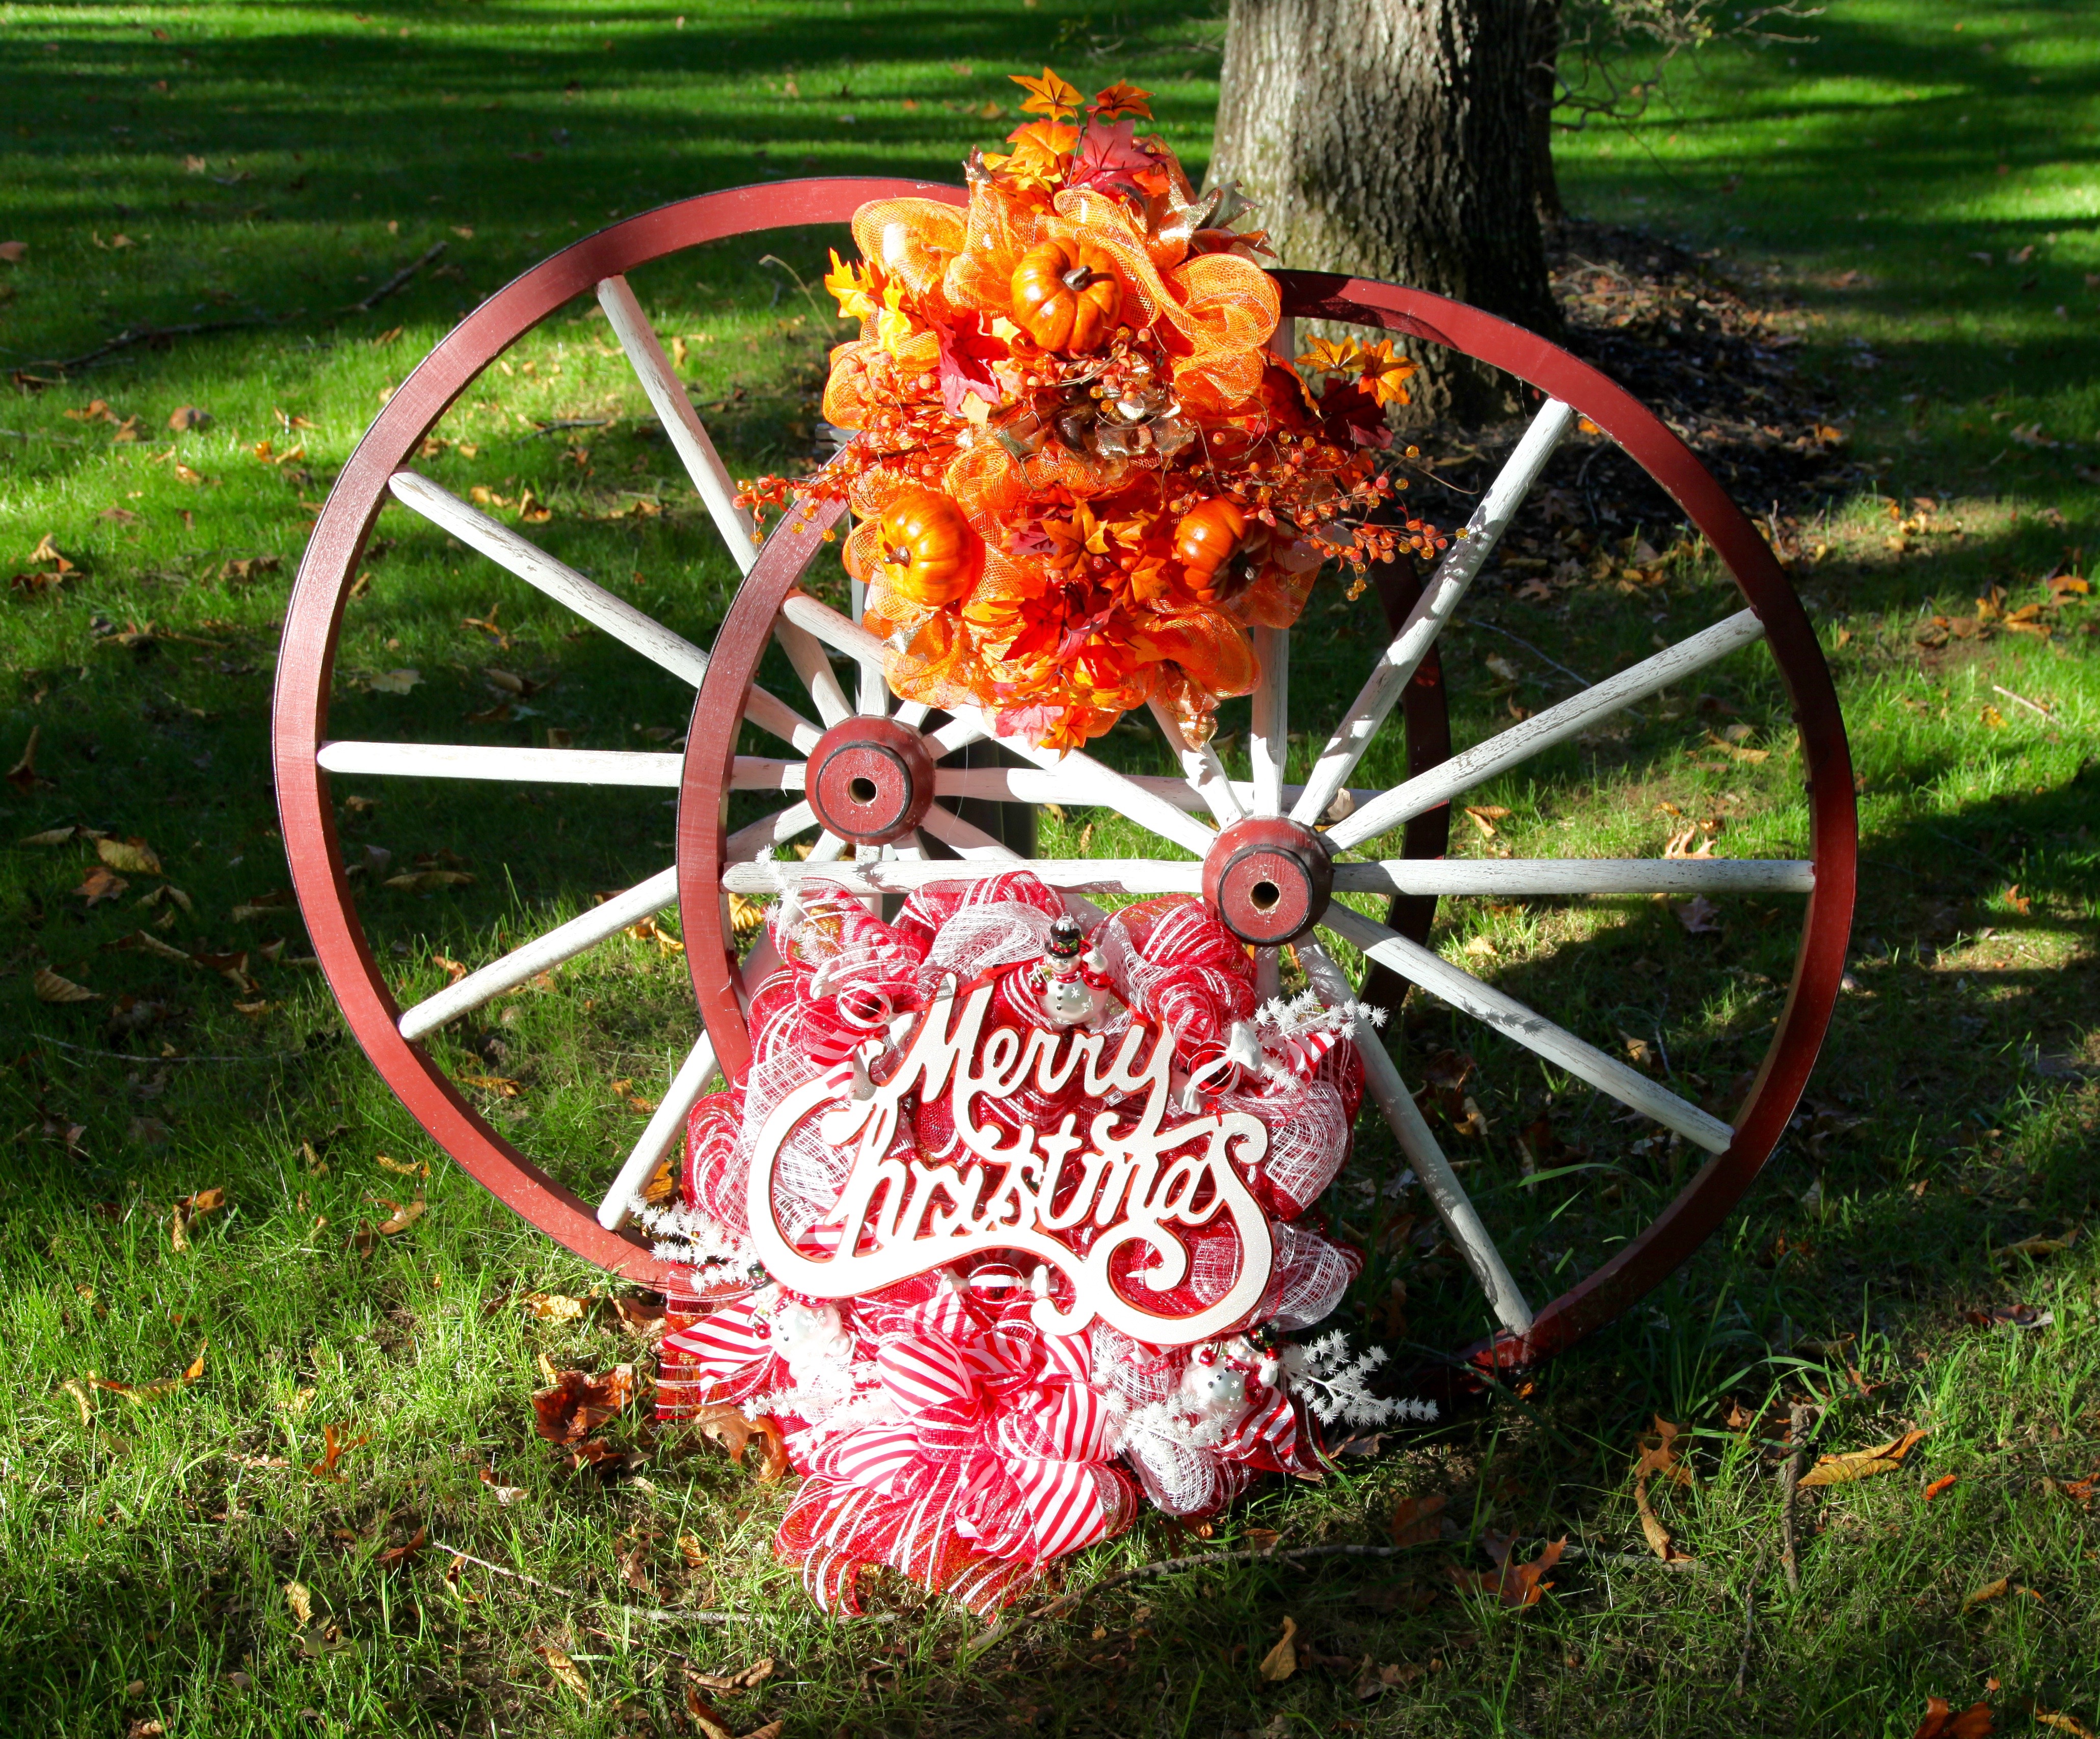
Or possibly, it will replace the spray on the wagon wheels…
I’m extremely happy with how this wreath turned out and *bonus* it only took me 45 minutes to make from start to finish; I hope that this will inspire someone out there to try one for themselves. You can do it!
Until next time, y’all take good care! ❤
**In crafting there are no mistakes just unique creations**
