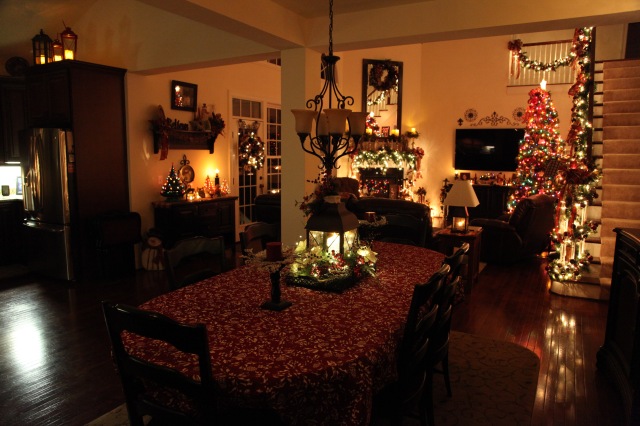
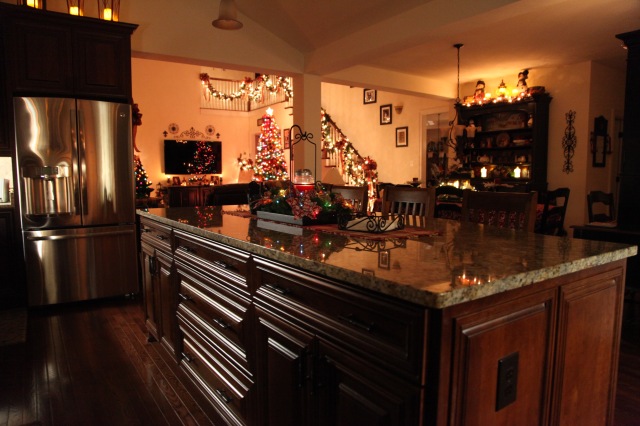
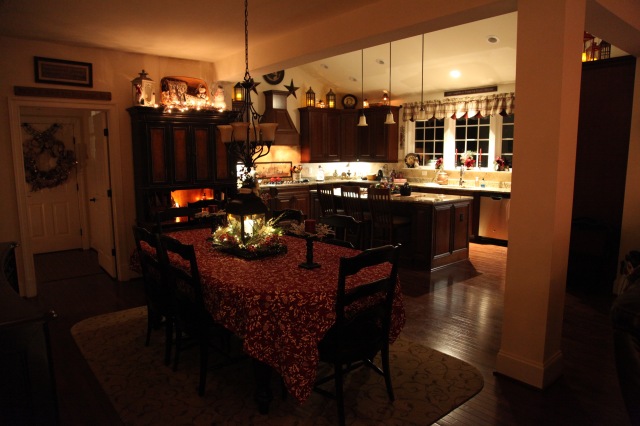
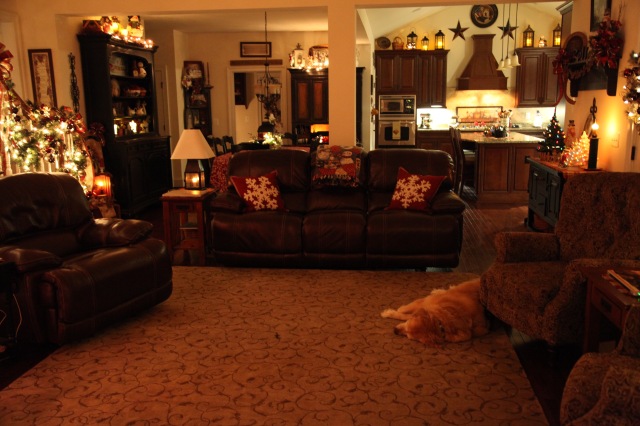
Christmas 2016: Home Tour-Episode #3 (Thanksgiving too)

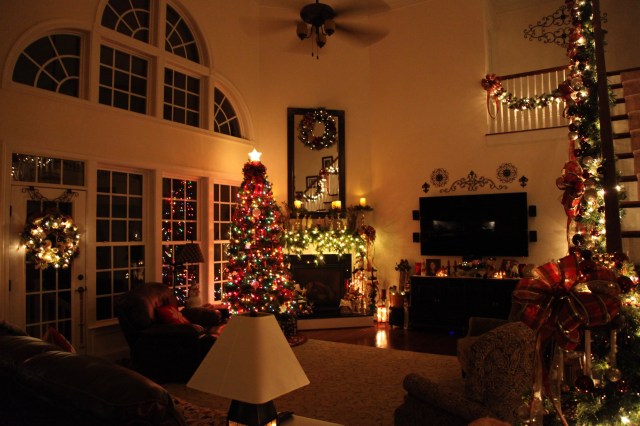
I am now officially finished decorating for Christmas–Woohoo! And, I am going to enjoy a couple of days of rest before attacking my Christmas shopping with a fervor. And if truth be told, I am one tuckered out lady at the moment. I feel like I have been working on this for weeks…OH wait, I *have* been working on this for weeks…haha. 😉  BUT, it is a labor of love to be sure–I absolutely love to create and decorate, as I told someone the other day, it is my “wheelhouse” and I’m never more happy when I can see what is in my mind’s-eye come to fruition. 🙂

Before I start with my last home tour in this Series, let me tell you a little bit about our Thanksgiving.  We had a lovely time of it here, both of our girls were here and my Dad was also here.  In addition, we had our daughter’s beau and their pup here as well. Candace (our youngest) cooked us a wonderful dinner one evening, we played trivia games, we trimmed a Christmas tree, we laughed, hugged, and did all of those things that close families do–We are blessed. 🙂 Here are a few pictures of our time together:

Candace and Dustin’s pup Valentino!

IMG_5695.jpg

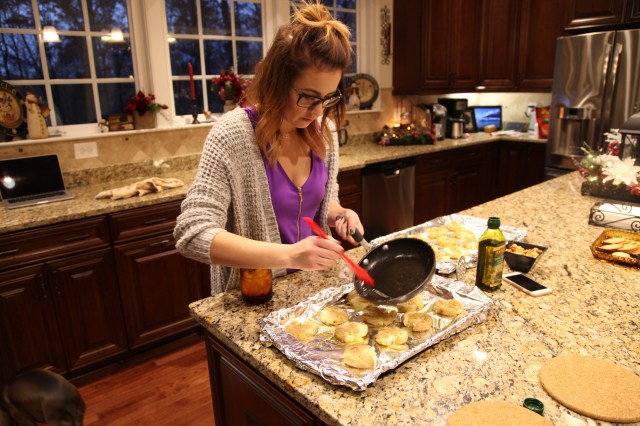
Candace cooking up some dinner one night…YUM!!

IMG_5711.jpg

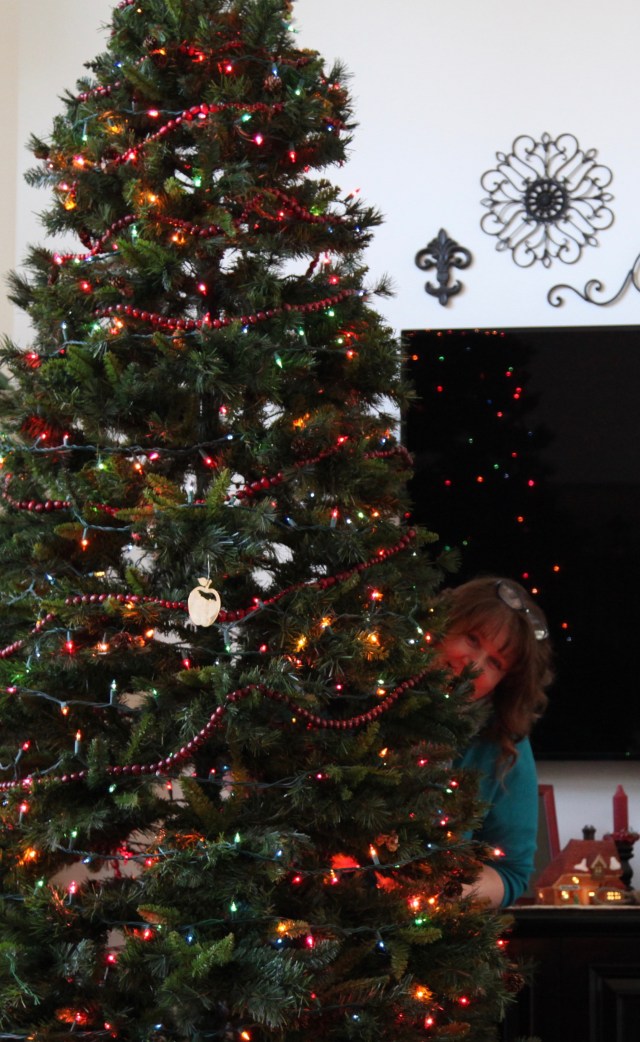
We all trimmed the big family room Christmas tree together:

IMG_5858.jpg

IMG_5820.jpg

IMG_5883.jpgIMG_5885.jpgIMG_5879.jpgIMG_5886.jpg

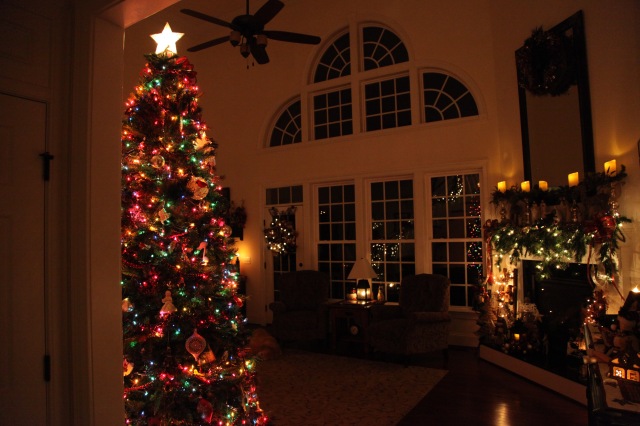
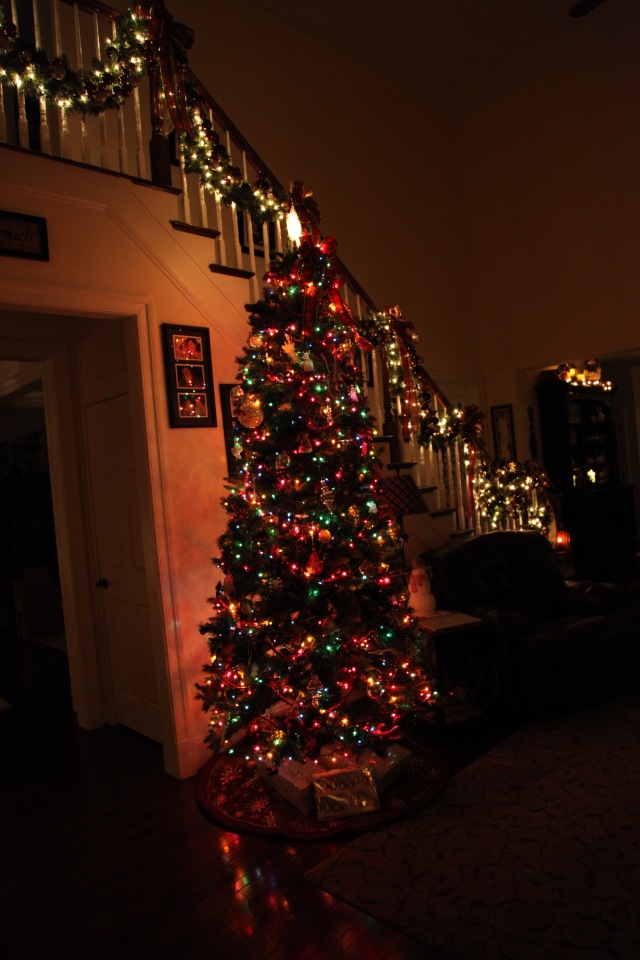
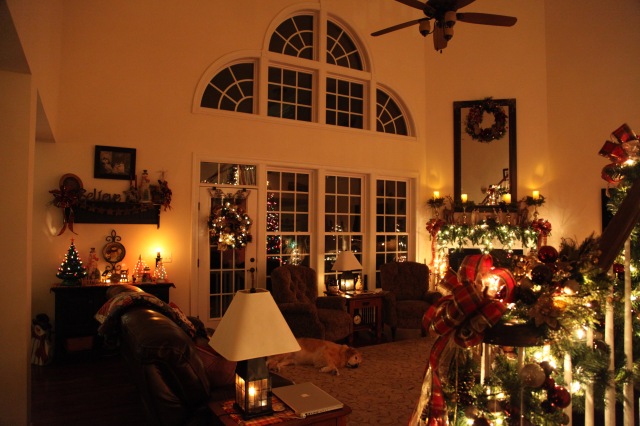
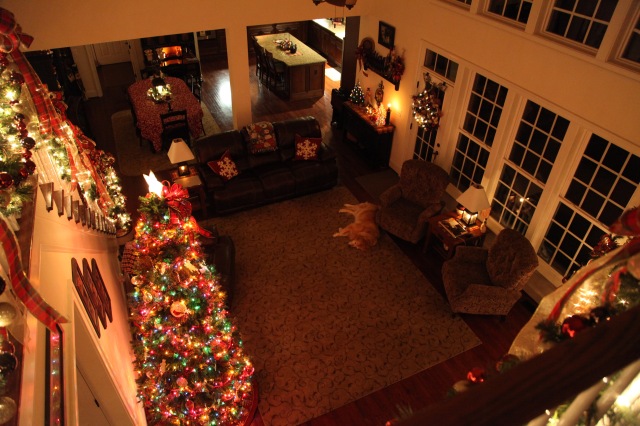
And here is the finished tree that evening:

IMG_5913.jpg

IMG_5912.jpg

IMG_5910.jpg

IMG_5915.jpgIMG_5918.jpgIMG_5917.jpg

And the pups posed prettily for me…Left to right– Gracie, Samson, & Sophie:IMG_5893.jpg

IMG_5903.jpg

IMG_5894 (1).jpg

And then Thanksgiving morning dawned–Here are a smattering of pictures of our time on that most special of days–I definitely have so much to be thankful for:

Here I am with my handsome hubby Chris:

img_5924


And these two beauties are our daughters Christin & Candace:

IMG_2807.jpg

Here are the girls with my sweet Dad Dave…

IMG_2825.jpg

IMG_2826.jpg

Here is Candace with her beau Dustin…

IMG_5927.jpg

IMG_5962.jpgIMG_5972.jpgIMG_2870.jpg

It was a ***wonderful*** day!! ❤  Everyone headed home on Thanksgiving evening…So sad to see them go; there is nothing more important than family!

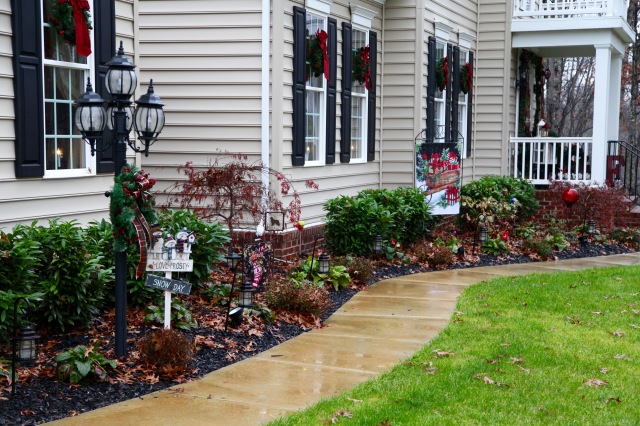
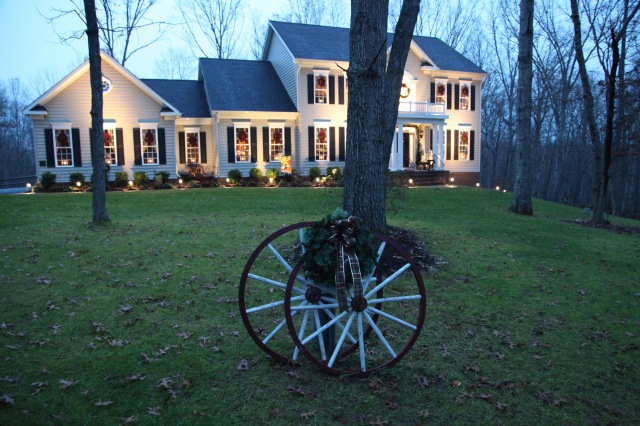
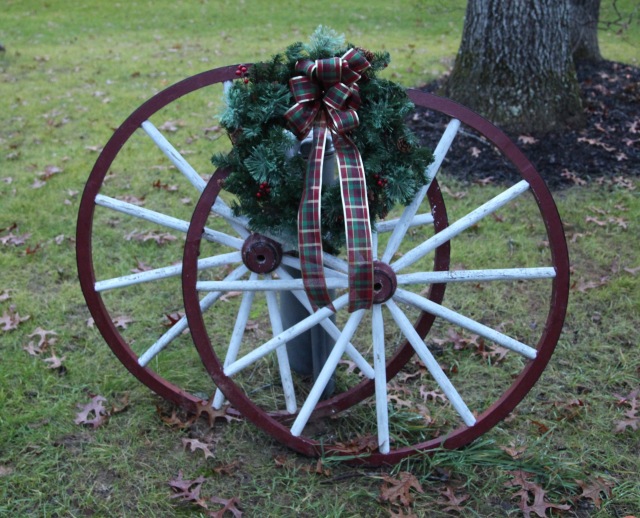
So the day after Thanksgiving dawned, and honestly, I didn’t have a whole lot of energy…lol…BUT, Chris and I were bound and determined to get our outdoor decorating completed.  So we went into attack mode and by the end of the day, we had everything created, hung, blinged out, and in place. 🙂  I will post my YouTube video below that will give you a quick ornament and pine garland tutorial.  I found more of that ornament garland at Walmart and I attached it to the garland that goes around the front door and I put some on the lit wreath that hangs on the front door…

IMG_2873.jpgIMG_2875.jpgAnd then I give you a tour of the outdoor decorations…

IMG_2888.jpg1V4A8476.jpg

1V4A8487.jpg1V4A8474.jpg

1V4A8485.jpg1V4A8482.jpg1V4A8480 (1).jpg

And here is a link to my YouTube video:


I am completely content and pretty happy with the end result of my decorating efforts this Christmas.  It took me several years to gather all of the parts and pieces together and this year, I feel as if I have one cohesive design happening throughout the house. 🙂

I hope everyone had a fantastic Thanksgiving filled with family, friends, as well as good food, tons of hugs and unconditional love–I know that we sure did. 🙂  And I am completely and totally glad that my decorating is totally finished on this day, just two days after Thanksgiving. 🙂

All righty—I will close this one out by saying…

~Until next time, y’all take good care! ❤

~Arlynn ❤


Christmas 2016: Quick Accent Centerpieces

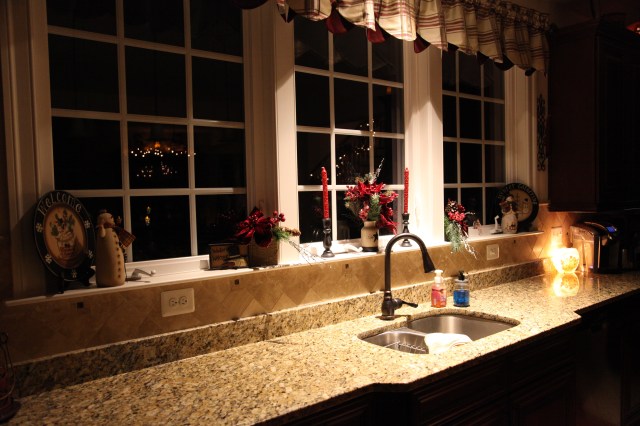
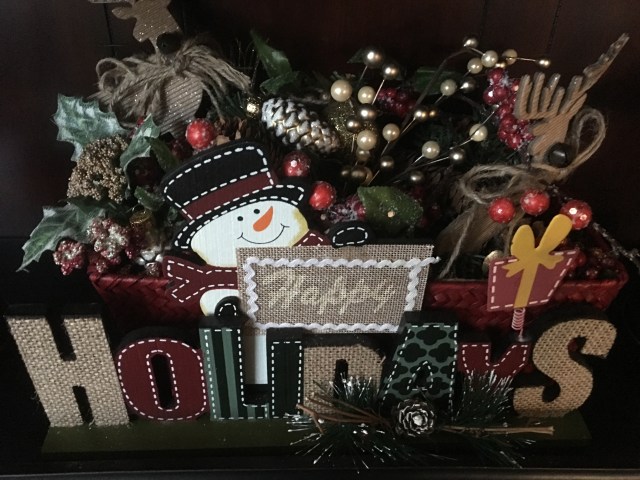
I’m continuing on with my decorating frenzy over here…lol…I’m just about a blithering idiot now. 😉  Of course I’m just kidding, and y’all know how I love to create.  I have now finished the back portion of our house–the family room, kitchen, kitchen eating area, and powder room and I will be posting a tour of said areas after I get finished with this little ditty. 🙂  So many folks ask me about my little accent arrangements and how I put them together, in the video below, I explain and show you how I put together my kitchen window arrangements:

IMG_5602.jpg

A little basket creation that goes on a shelf:

IMG_2616.JPGIMG_5596.jpg

One that goes on the kitchen hutch:

IMG_2617.JPGIMG_5623.jpg

An arrangement centerpiece that I did around a lamp (like I do my lanterns) that sits in the corner of the kitchen:

IMG_5632.jpg

And lastly, an arrangement that sits on the sink in the Powder Room:

IMG_2627.jpg

These little arrangements don’t stand alone very well, but, when they are combined with all of the other decor surrounding them, I feel as if they bring the entire grouping/idea together and to fruition.  These were all fun and easy to put together and as always, I completely enjoyed submersing myself in the project’s’. 🙂

Here is a link to my YouTube Tutorial:

Christmas 2016: Accent Centerpieces

As I mentioned above, I have now finished decorating the back portion of our home, so my next project is to write a blog that will include tons of pictures and I will pair it with a video that will give a tour of the spaces that I’ve completed.  Still to decorate—The living and dining rooms incorporating a beautiful light green color, silvers, and whites–hopefully creating a soft and cozy atmosphere. 🙂

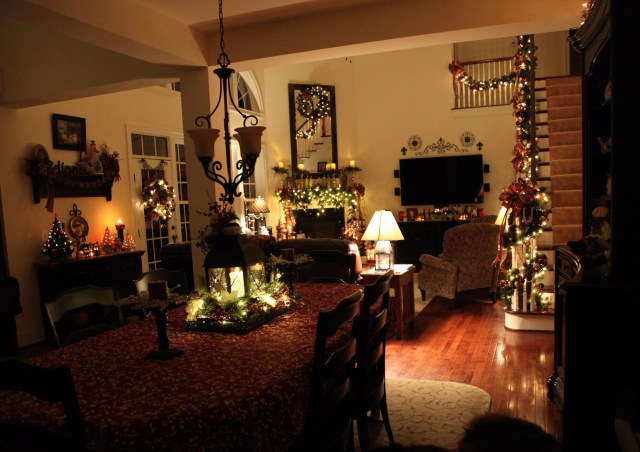
Here is a sneak peak of the back portion of our house all decked out for Christmas (minus the Christmas Tree that won’t go up until Thanksgiving evening). 🙂

IMG_5613.jpg

Until next time, y’all take good care! ❤

**In crafting there are no mistakes, just unique creations** 

~Arlynn ❤

Christmas 2016: Staircase Ornament Garland, Mantel, & Hearth

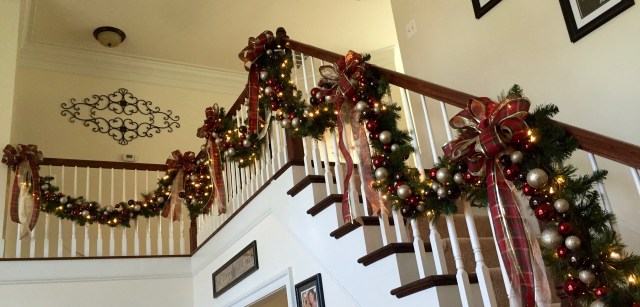
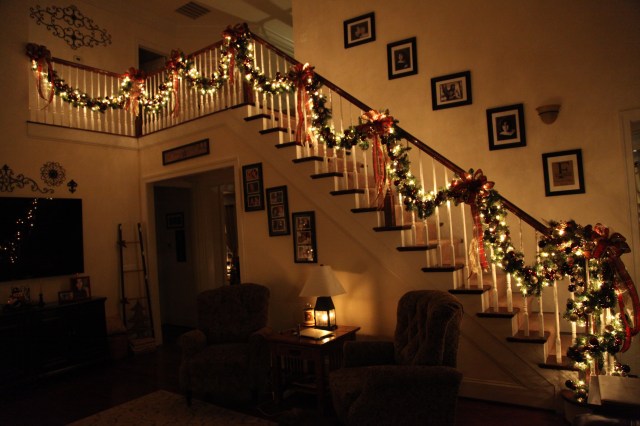
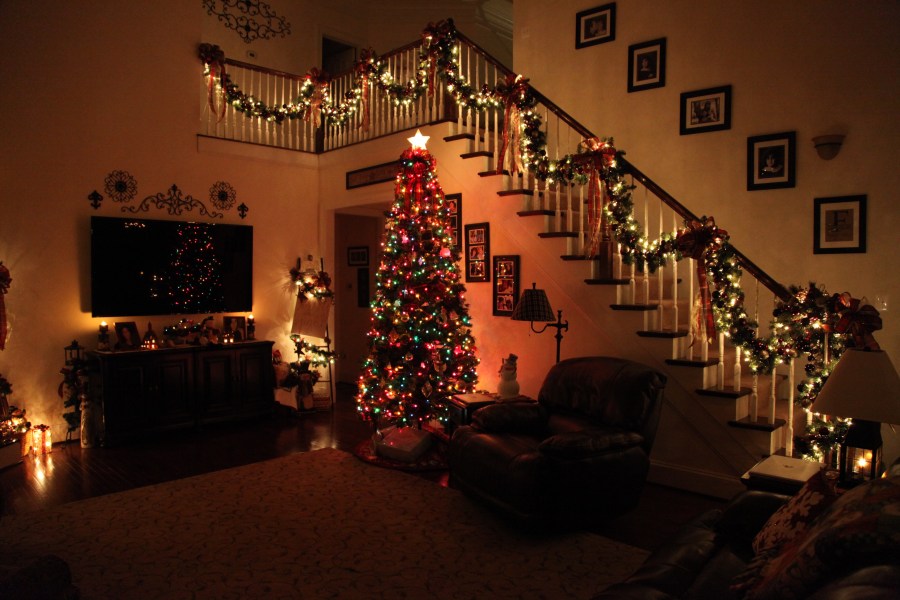
It’s beginning to look a lot like Christmas…around here anyway…haha. 🙂  I have again started to decorate for Christmas way earlier than most probably do, but, I have found that it takes me quite a while to get everything into its place and all prettied up.  In addition, my Dad who will be here for Thanksgiving, love, love, loves Christmas decorations, so I wanted to get them up for him–And one of our daughters and her beau will be on a cruise over Christmas and we are going to celebrate Christmas with them on Thanksgiving–all good reasons to decorate a wee bit early this year. 😉   I started working on the staircase bannister today—actually, Chris started working on it before I did…by the time I even opened up one of my peepers this morning, he had attached the garland that we had put together last year, all I had to do was a bit of tweaking and adding of big, beautiful bows.  I wrote a long blog about the process that we went through last year, so I will link that here, but, before I give you that link, here are a few pictures of the finished project–We didn’t change a thing from last year’s creation:

IMG_9460.jpgIMG_2398.jpg

Here’s that link:

Staircase Pine and Ornament Garland

Another link from last year, because I did have to teach myself how to make those big bows:

Big, Beautiful, Christmas Bows

I’ve also created a little video tutorial of sorts and along with my blog explanations, if you’d ever want to try something like this, it should be a snap for you. 🙂  In this video, I also show you how I decorated up my mantel, hearth, and credenza today.  Here is my blog post from last year giving you all of those particulars–I didn’t really do too much differently this year…If it ain’t broke don’t fix it and all of that huh? 😉 😉  And before I give you that link, here are today’s mantel and hearth creations:

IMG_0745.jpg


IMG_0750.jpg

IMG_0747.jpgHere is the link to last year’s blog post where I explain all about the mantel and hearth:

Mantel & Hearth

And last but not least, here is a link to my YouTube Video Tutorial that I created today (11/10/16):

Christmas 2016: Pine & Ornament Garland, Mantel, & Hearth Decor

Until next time, y’all take good care!! ❤

**In crafting there are no mistakes, only unique creations**

~Arlynn ❤


Christmas 2015: My 12′ Slim Christmas Tree

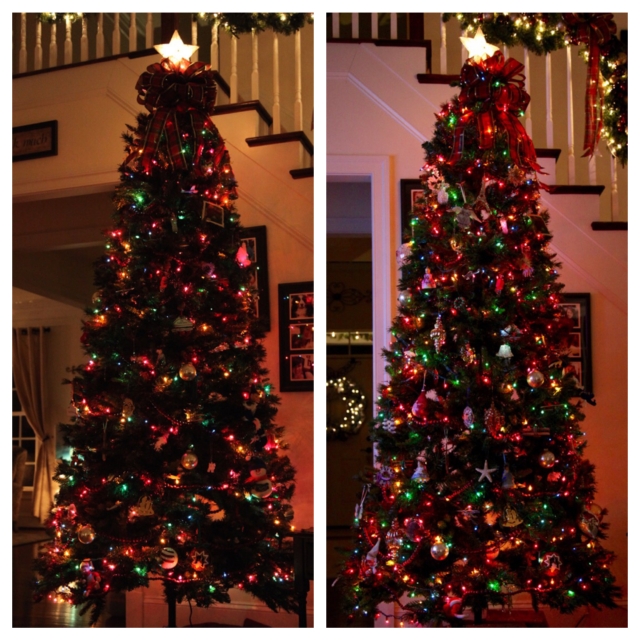
Meet my nemesis, my 12′ Christmas tree…

IMG_2836

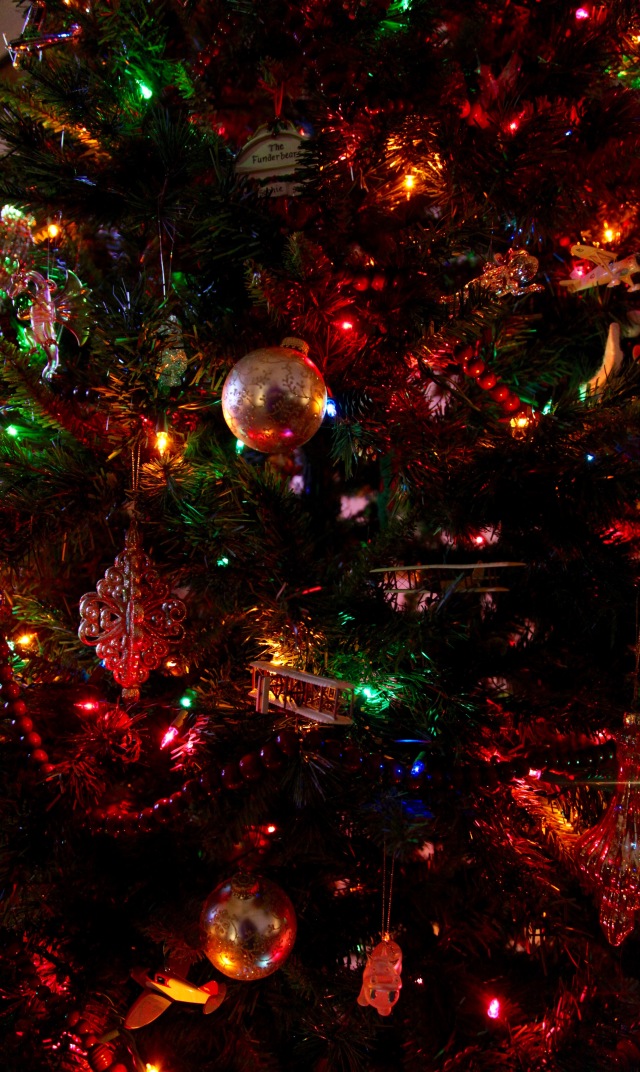
I have to be honest and tell you that decorating this puppy is not my very favorite thing to do.  I’ve seen many fancy Christmas trees on Pinterest and YouTube and I’m sure if I set my mind to it, that I could certainly create an over the top, very elaborate tree. I have decided against doing that though because this tree, when finished, exhibits many cherished memories.  A lot of the ornaments are ones that my kids made when they were little, there are some that were given to me as gifts, some to remember our past pets, some to commemorate trips, alma maters, well I could add to this list all day long.  Bottom line, I’ve chosen to keep this tree more simple and let it speak for itself instead of making some grand design and having all of our cherished ornaments get lost in the “foo-foo”.

IMG_2957 (1)

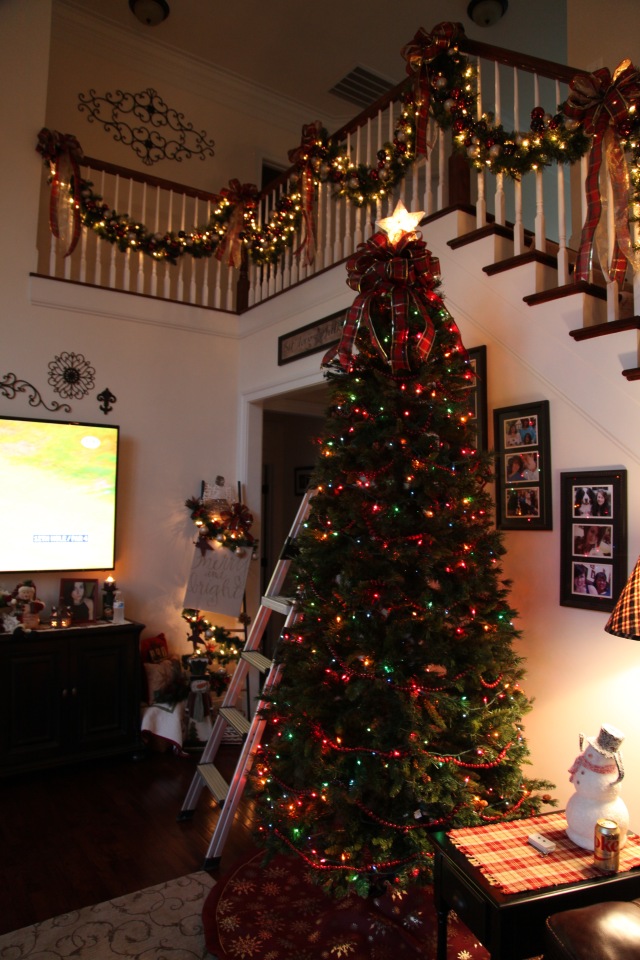
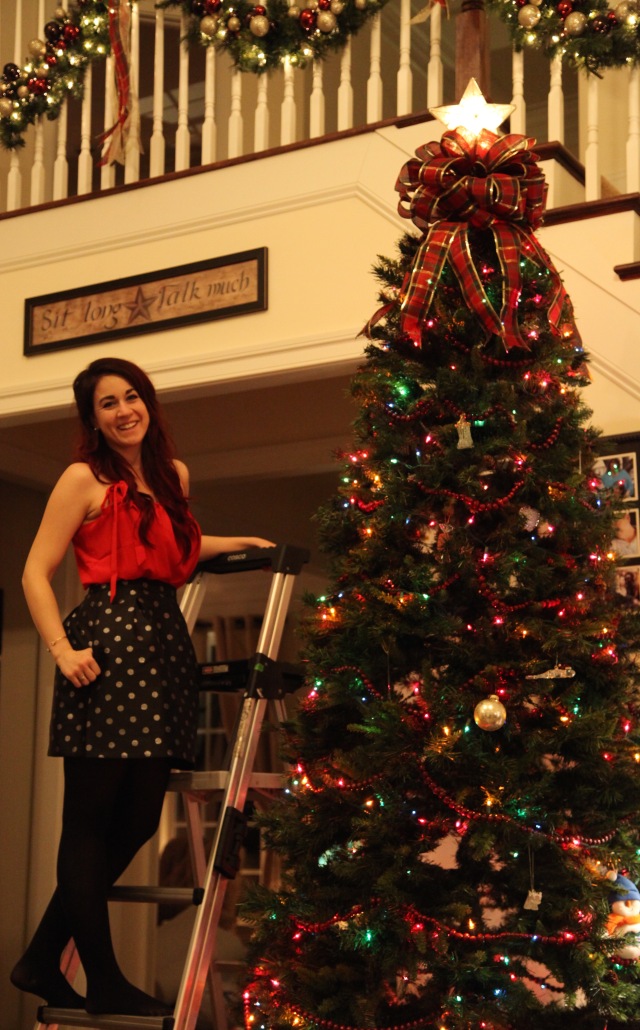
We purchased this “slim” tree when we moved into this home, I wanted it to make a statement, but, I didn’t want it to encompass the entire room.  It is quite tall at 12′ and it definitely requires a ladder when decorating.  I also chose to put colored lights on this tree because the family likes the colored lights and I love how it looks when it is complete…the colored lights set it apart from everything else in the room.

We started putting it up on Thanksgiving evening, a tradition that was started when our girls were born.  They were both here to help, here is our youngest up on a ladder hanging ornaments…

IMG_2842

Here is her older sister, she was sitting on the floor handing her the ornaments…They make quite a good team! ❤

535690_10100373333513753_114470516_n

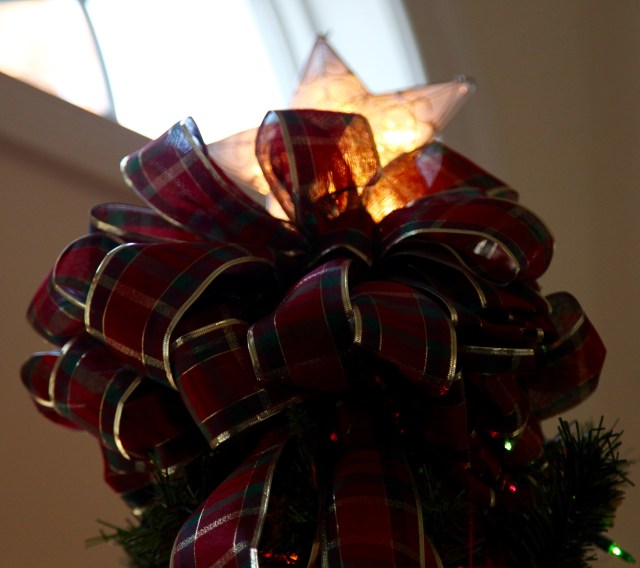
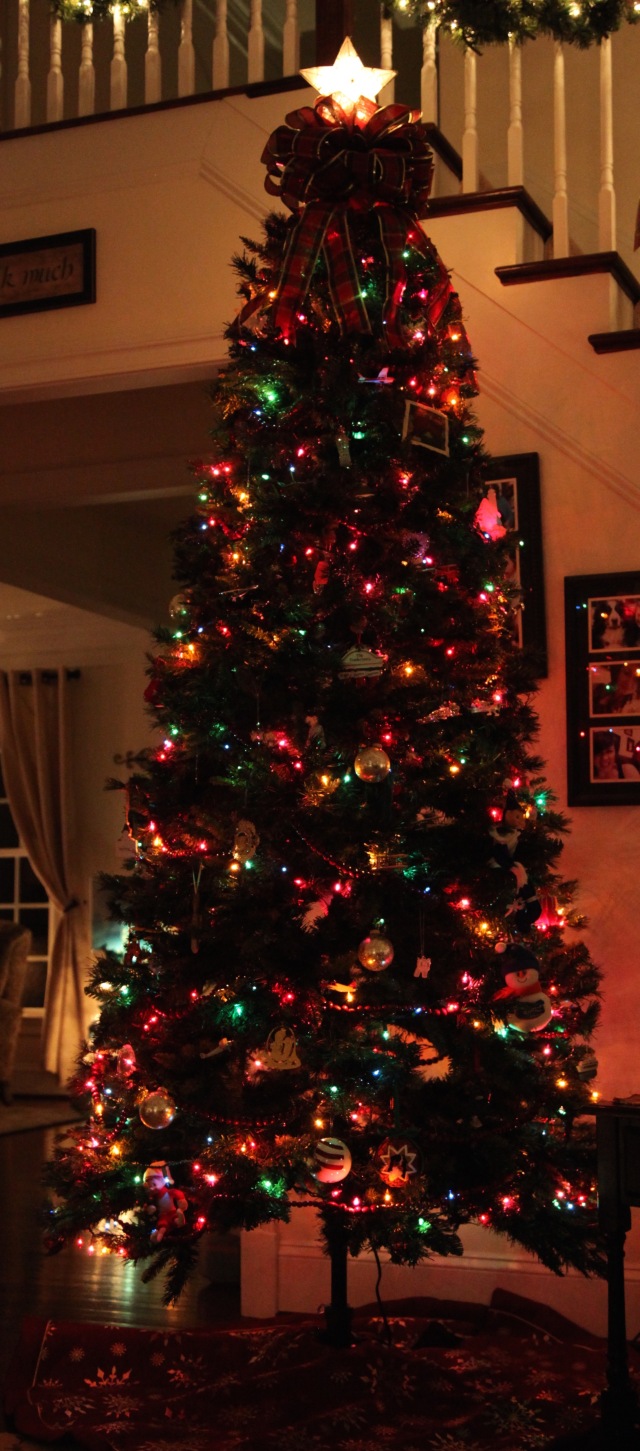
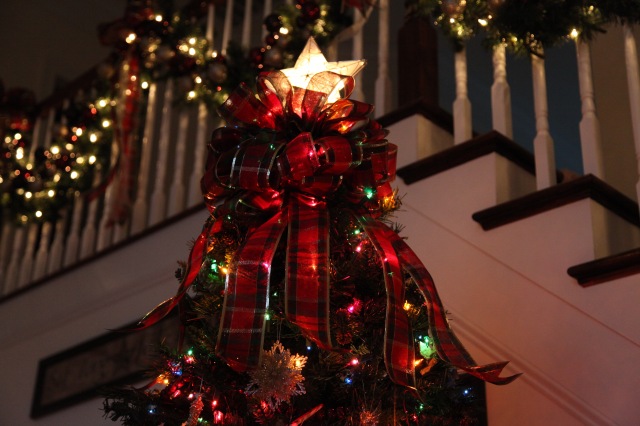
My hubby had already fluffed the tree, put the lights on it, and wrapped those wooden beads around the it.  I had made that bow topper earlier in the day and tied it on…The tree was a work in progress…This is how it looked on Thanksgiving evening…

IMG_2858

Very pretty, but, *something* was bothering me, there weren’t enough lights on it for one thing (hubby had already put 500 in place). And it didn’t have enough ornaments and that stinkin bow was driving me crazy…from a distance, it looked like a big dark blob was on the tree.  Why oh why did I make that bow out of that plaid ribbon (as opposed to a sheer deco mesh ribbon that the lights would shine through)? Well, because I’m anal retentive and that bow *had* to be made out of the same ribbon that I had made for the bannister bows (not to mention the bows that I’d added to every other grouping in this part of the house).

So yesterday, I went about solving this little “tree needs help” problem.  I took a trip to Target and I purchased 300 more lights, and then I went down into my ‘store’ <~~~ basement, and I rummaged around and found about 30 more ornaments.  I went and gathered the step ladder out of the garage–and I tried not to knock anything down as I was muscling that stupid thing to the tree…sheesh, that thing was awkward and a bit heavy. 😉

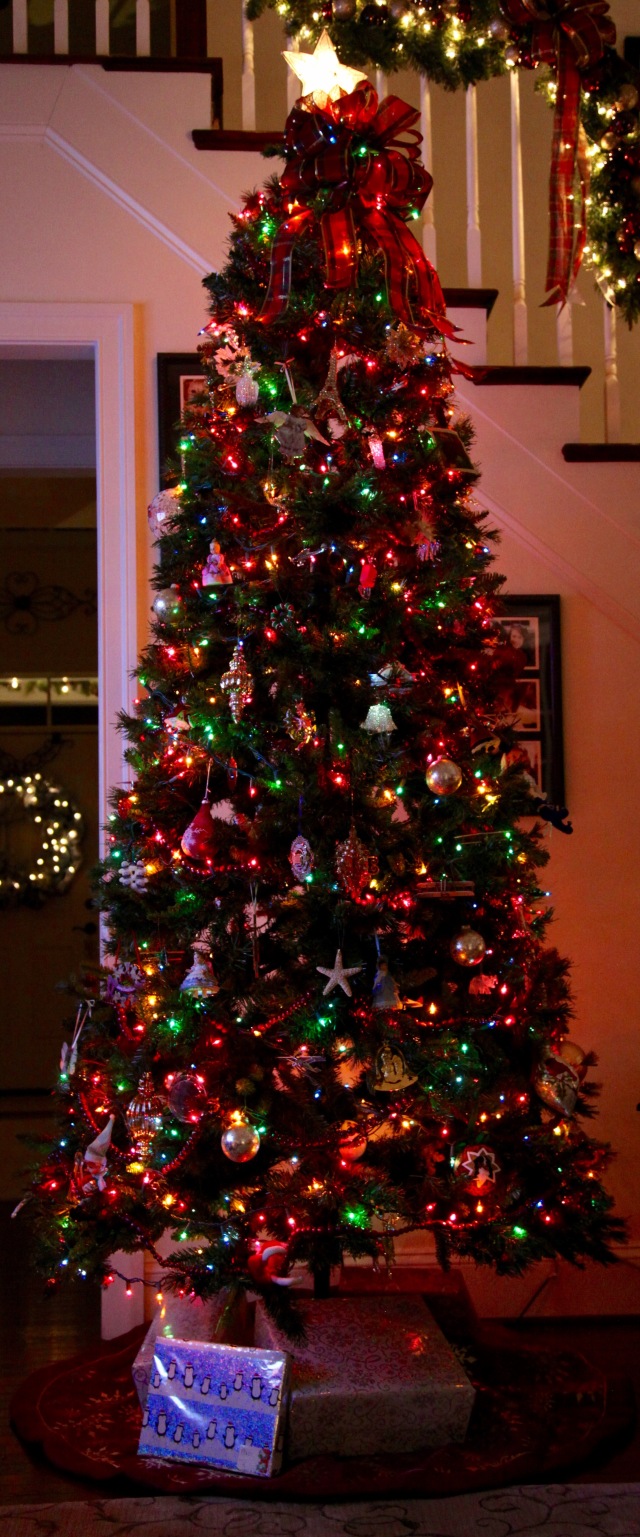
This is what I came up with by yesterday evening…

IMG_2981 (1)

Here is a before (left picture) and after..

Image

I intertwined lights through the bow hoping that that would help it stand out and not be so much of a blob…and it worked! YaY!!

IMG_2964

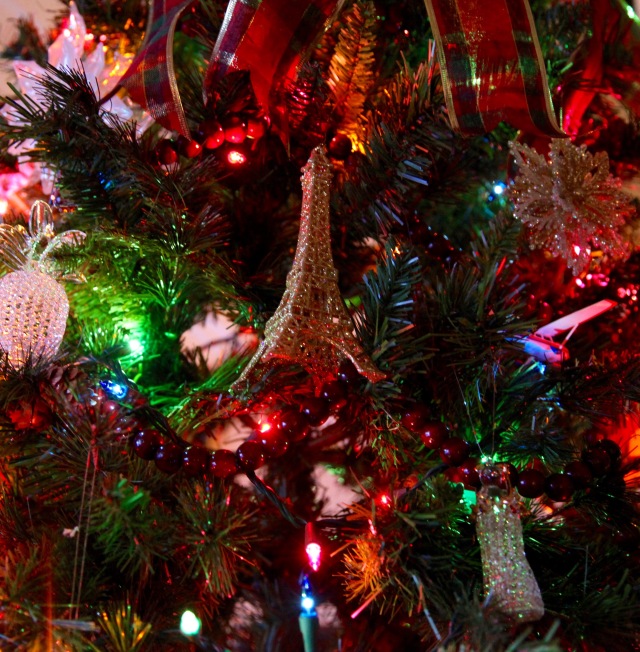
Subtle differences, but those simple additions made a world of difference to me. I was finally happy with the tree.  Here are some more pictures of the ornaments…

And one more shot of a very special ornament that we purchased this year…to remember those lost in France…

IMG_2948

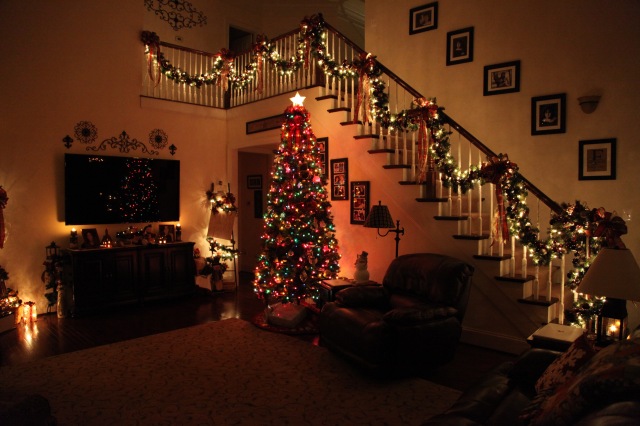
I took some time yesterday evening to walk around this section of the house and take pictures from different angles, I’m quite happy with how everything turned out.  All of the Christmas decor flows together quite nicely…

IMG_2992

IMG_2986

IMG_2988

IMG_3000

IMG_2994

IMG_2992

IMG_2999

IMG_2995IMG_3001IMG_3002

I fixed that big “lit-less” ^^^ gap at the top of the tree this morning after I downloaded these pictures onto my computer…haha…

I am definitely breathing a bit easier now that I know that all of my decorating is finished.  I’ve also been doing a bit (meaning a good bit) of shopping, so my ***least*** favorite task is ahead of me and that is wrapping gifts.  Yes, I love to create decor, I do not like to wrap presents…bah hum-bug to me eh?! 😉

I will close this blog post by quoting what I feel *is* the reason for this most glorious of Seasons…

“For unto us a Child is born, unto us a Son is given; and the government shall be upon His shoulder. And His name shall be called Wonderful, Counselor, The Mighty God, The Everlasting Father, The Prince of Peace” …Isaiah 6:9

God Bless you all!

Until next time, y’all take good care! ❤

~Arlynn


Christmas 2015: Outdoor Decorations

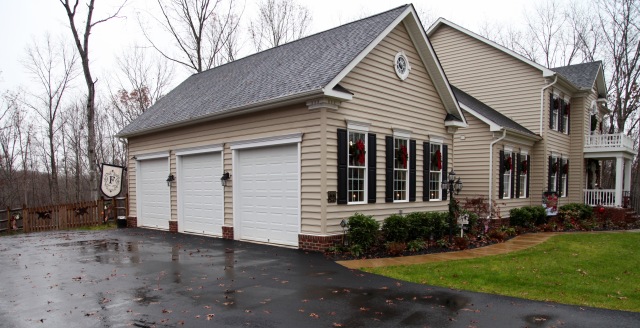
I hope everyone had a wonderful Thanksgiving filled with family, friends, good food, and tons of love! We had a great time here, I ate way too much so I’m now back on my “regular diet” as opposed to my “see it eat it diet” that I was partaking in for too many days straight. 😉 I am forever working on my weight, maybe someday I’ll write a post about that part of my life.  ANYway, I waited until Thanksgiving was over to decorate outside, I *think* I’m *finally* finished all of my decorating…wow, it took me 2 solid weeks to decorate the inside spaces and 2 days to decorate the outside — obviously, I do a lot less outdoors…haha. 😉

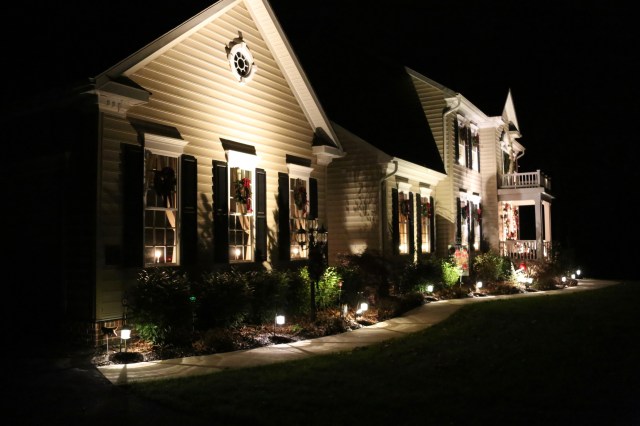
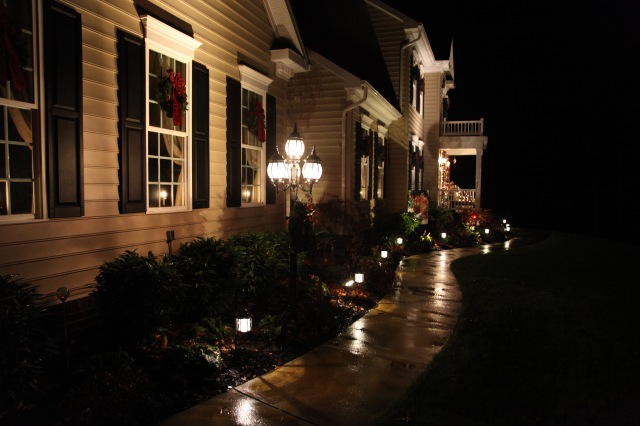
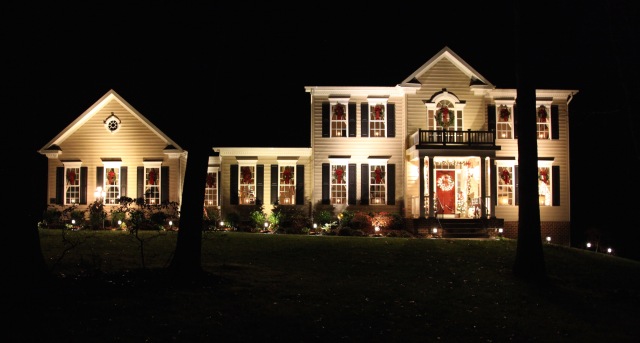
I love the look of lights in the windows, and as y’all know, I keep window lights on all year round.  Also, my hubby installed wash lights, up lights, and walkway lights to illuminate the front of the house and the walkway. These lights go on and off every night controlled by a timer that turns them on at dusk and then off 6 hours later. If you’d like to see more about our outdoor special lighting, I’ve written this Special Outdoor Lighting blog.  All of these lights worked in our favor when decorating for Christmas.

I will be highlighting the windows, front porch, front flowerbed, lamp post, wagon wheels, and a fence gate that leads to our backyard.

Okay, so here we go…

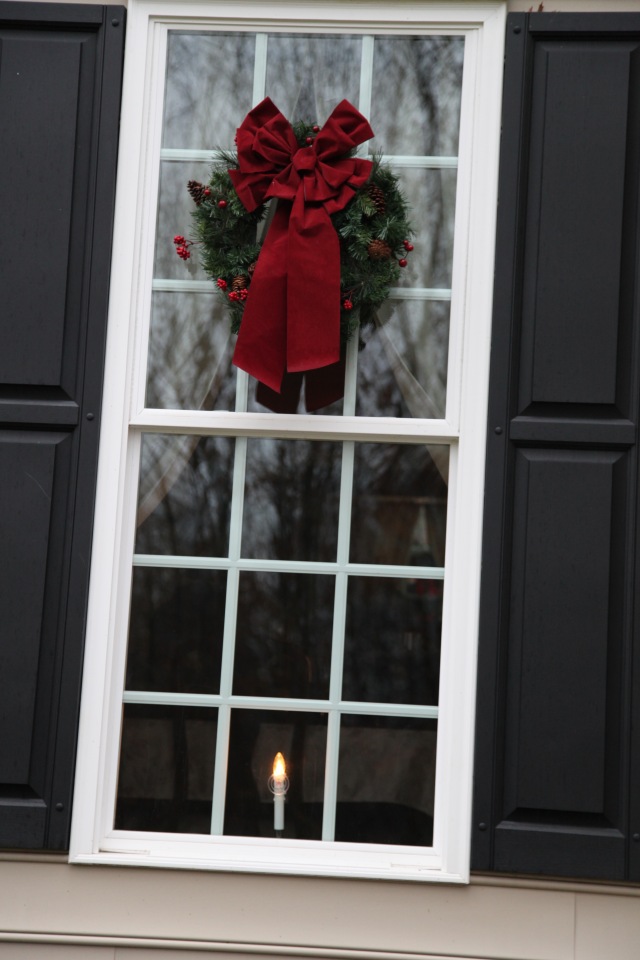
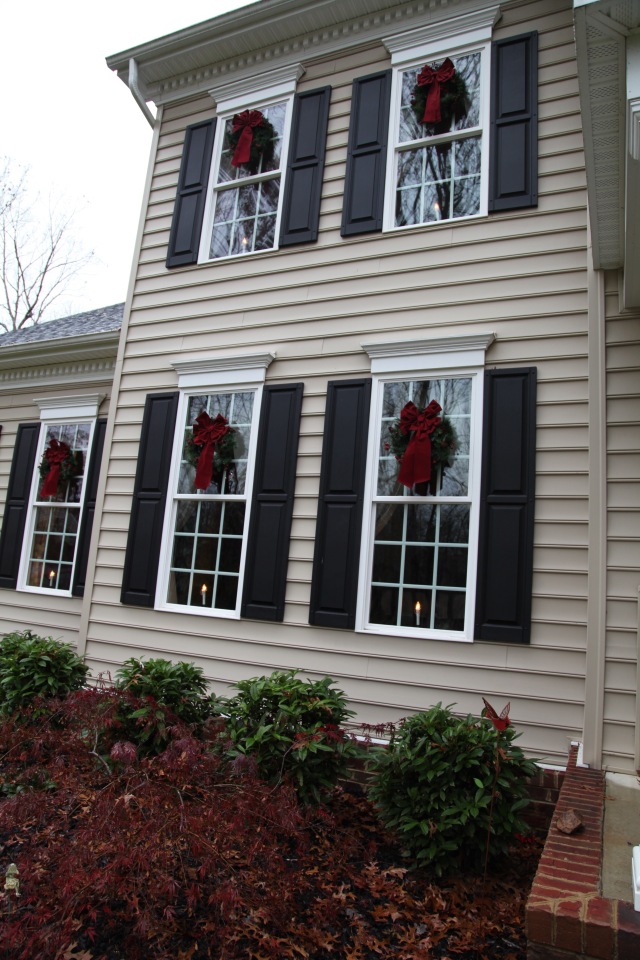
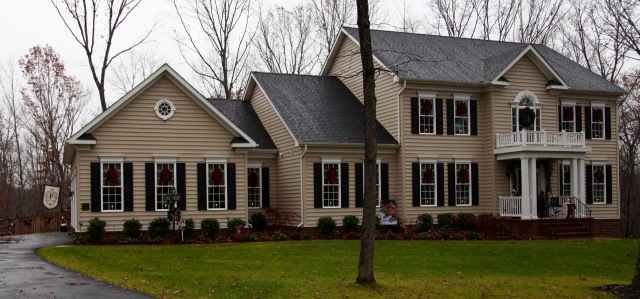
The hubby started the process by putting up wreaths on all 15 front windows, including the large palladium window above the little porch.  We used 24″ pine wreaths, we purchased them at Michaels last year for 1/2 price. Here is a link. The wreath on the palladium window was quite a bit larger and I honestly can’t remember where we got that one.  I did not make those bows! What? Nope, I purchased the bows last year at our local “And That” (Christmas Shop) store.  They are pretty large and full though and that’s why I chose to go ahead and purchase them as opposed to making 15 bows…OH the hand cramps that would have ensued had I done that. 😉

IMG_2923

IMG_2922

IMG_2907

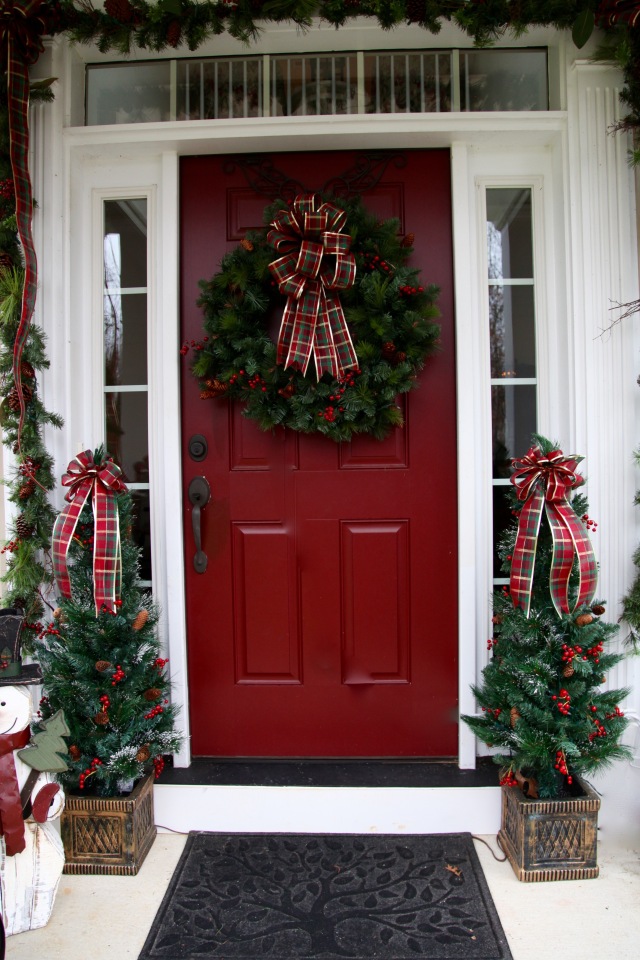
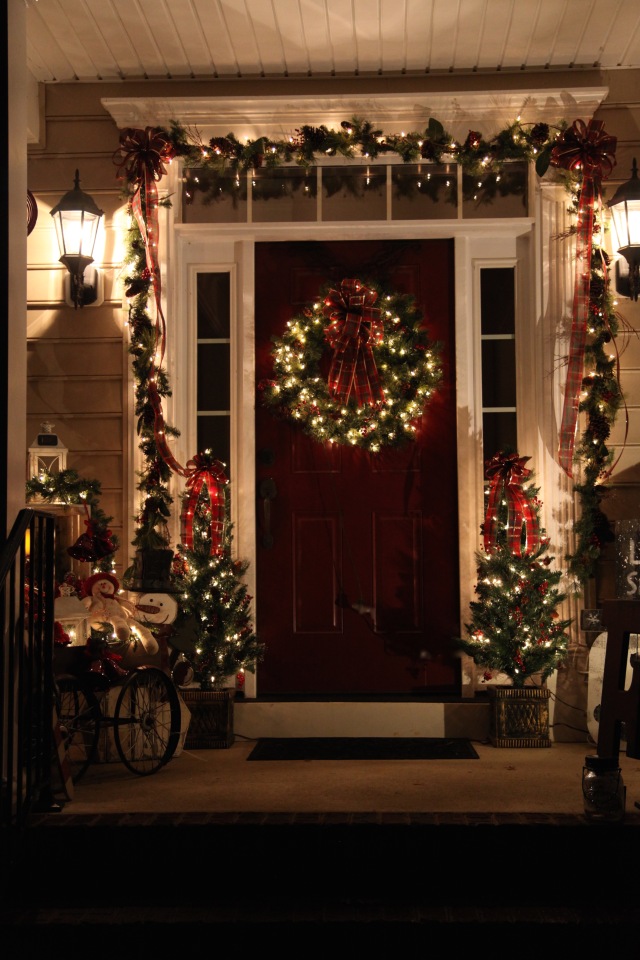
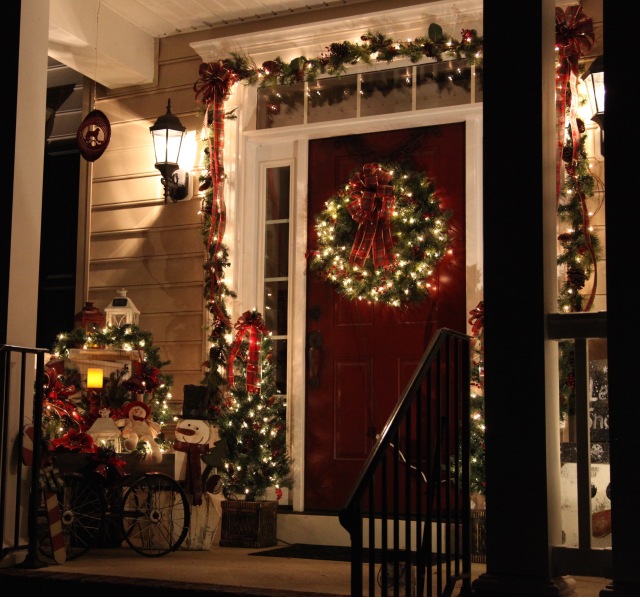
As the hubby was working on the windows, I was working on the front porch decorations.  Sometimes less is more you know? So we chose to only put a lit pine garland over the door and let it drape down the sides of the transom windows.  We added a big lit pine wreath to the front door as well as little lit potted trees on either side of the door.  I made bows to add to each corner of the garland, one for the wreath, and 2 to go on the little trees.

IMG_2920

Now onto my little red wagon decor.  For those of you who might not have seen my post about my little red wagon and all of the different looks that I’ve created to go inside of it, check out my Little Red Wagon Decor post. 🙂

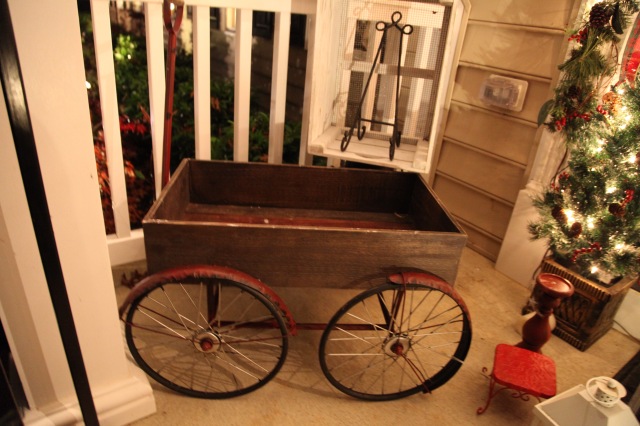
I decided to move the wagon to the other side of the front porch because we have a spotlight mounted on the railing that illuminates the front door and the wagon had been blocking it, so I moved it out of the way.  Here is the wagon stripped nekkid of all decor…I purchased it at our local Plow and Hearth outlet store last winter. I added that white crate that you see in the back and I have it sitting on top of my grandmother’s old milk can.

IMG_2879

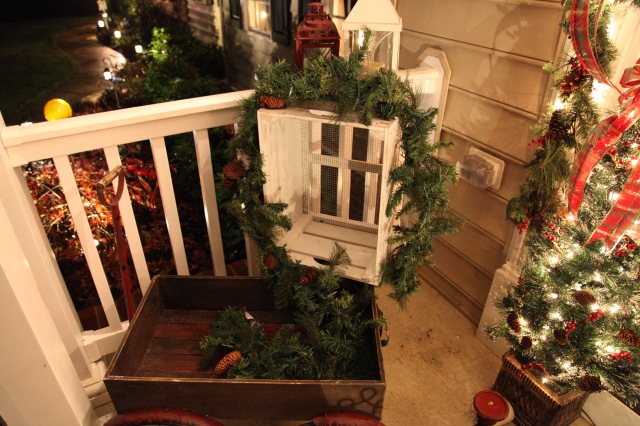
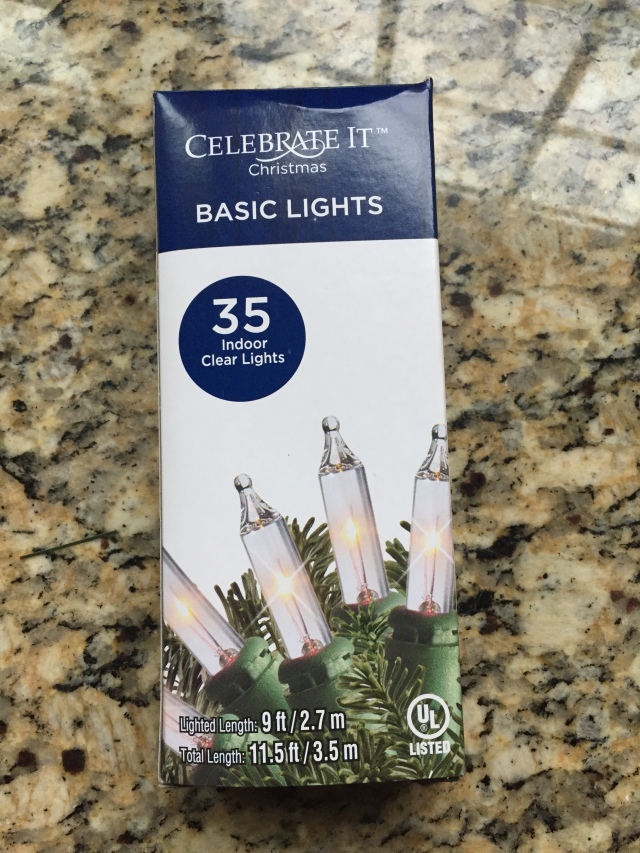
I had gone down into our basement and spent quite a while rifling through Christmas bins full of unused decorations.  I knew I’d be able to find *something* to use in this wagon.  I started with an old piece of pine garland.  I wrapped a 35 Christmas light strand around it and placed it on top of the white crate and inside of the wagon; this garland would serve as a nice anchor for the rest of the grouping.

IMG_2880

IMG_9629

Next, I found an old pine wreath and wrapped lights around it as well and I made a bow out of the same plaid that I used for the over the door garland, front door wreath, and flanking potted trees.

IMG_2918

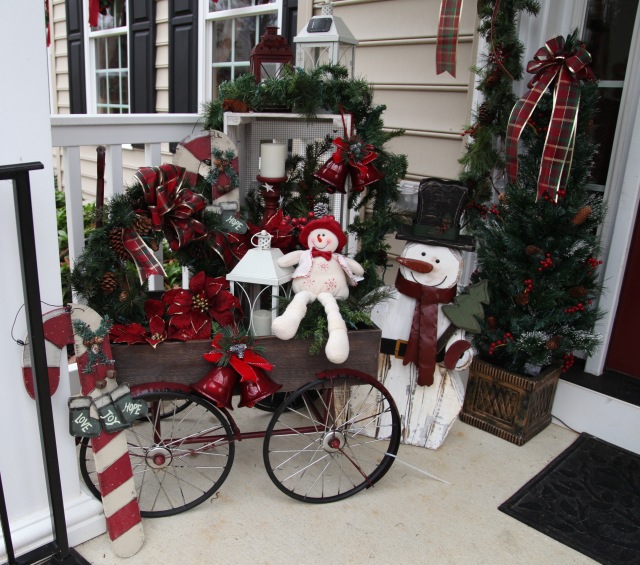
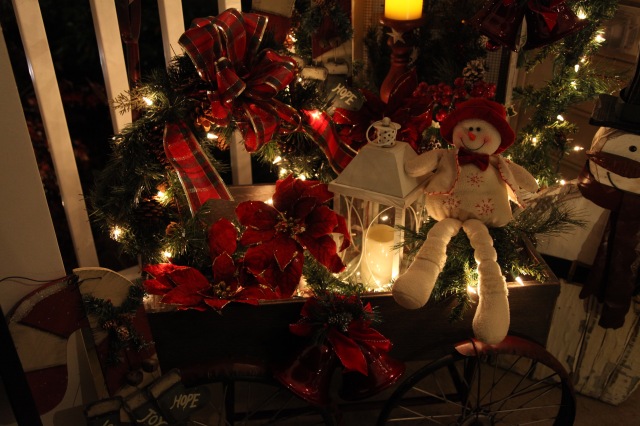
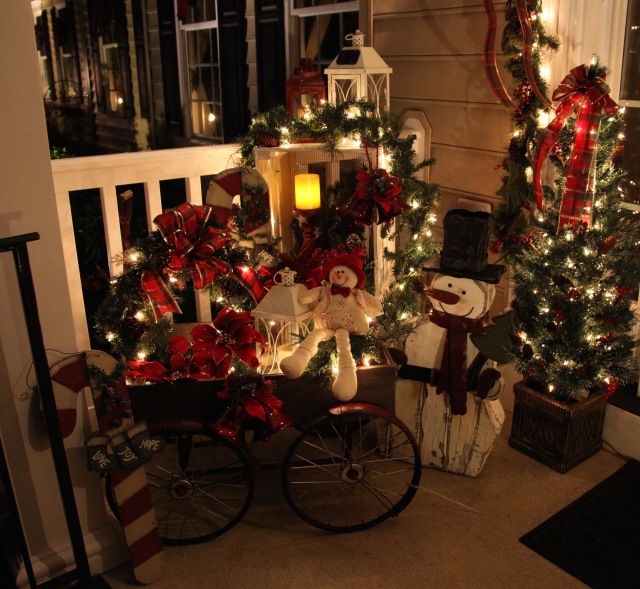
I placed the wreath in the left hand corner and then started to build the rest of the grouping working from the top of the white crate down and from the wreath over.  I added 2 solar powered lanterns (the white ones), a  red lantern with a battery operated candle, a large burgundy candle stick with a battery operated candle, some poinsettias, a few sprigs of pine (placed inside of the white crate to add depth and interest).  I found those sets of bells at Michaels for 1/2 price, so I hung them on the one side of the white crate and on the front center of the wagon–I used sprigs of the pine garland like twist ties and that worked beautifully to hold them in place.  Lastly, I sat a pretty red and white snowman on a little red stool, and added a couple of wooden candy canes and called it done. 🙂  I got the big wooden snowman at Kirkland’s several years ago, I snugged him in beside the wagon.  I stood back, took a look, and was satisfied with how it turned out. 🙂

Here it is all lit up at night:

IMG_2882

And from a distance…

IMG_2881

IMG_2894

IMG_2892

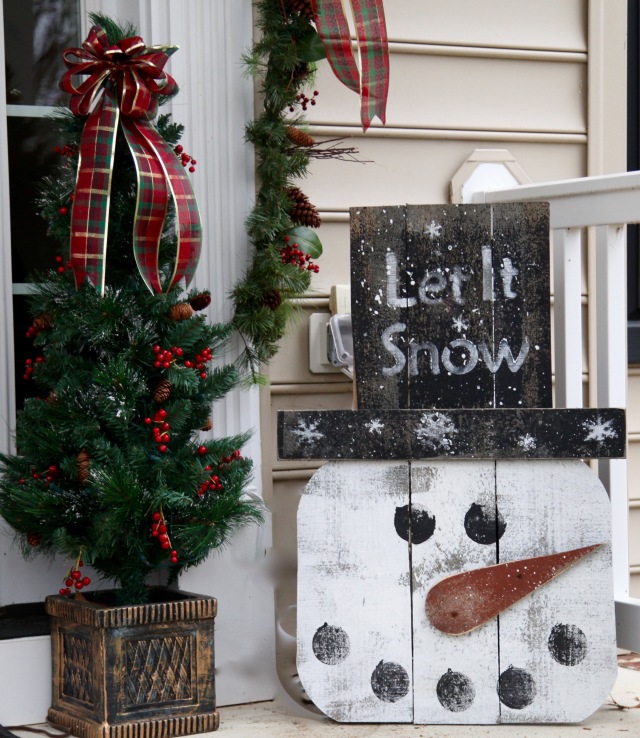
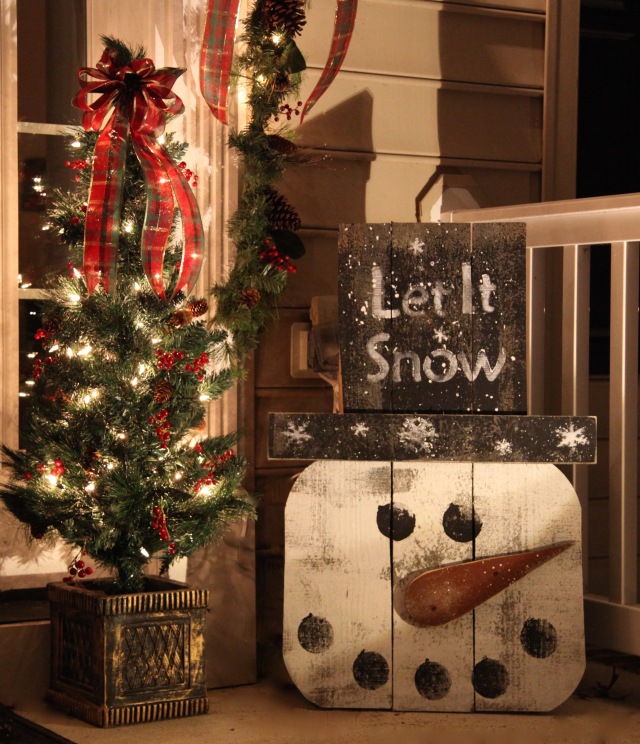
I found this large wooden snowman at The Christmas Mouse and I placed him on the other side of the porch beside the other potted tree…

IMG_2916

Here he is at night, the spotlight shines on him too…

IMG_2890

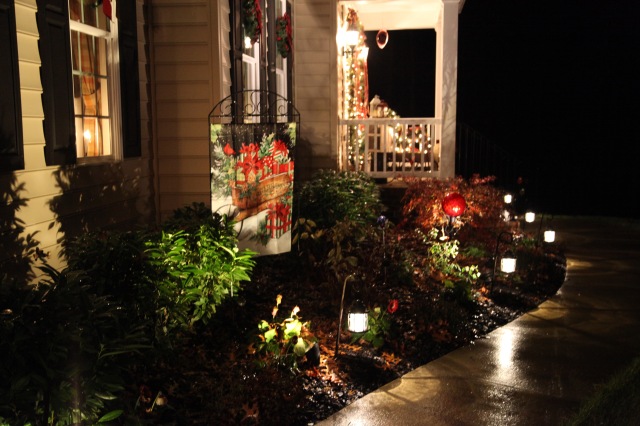
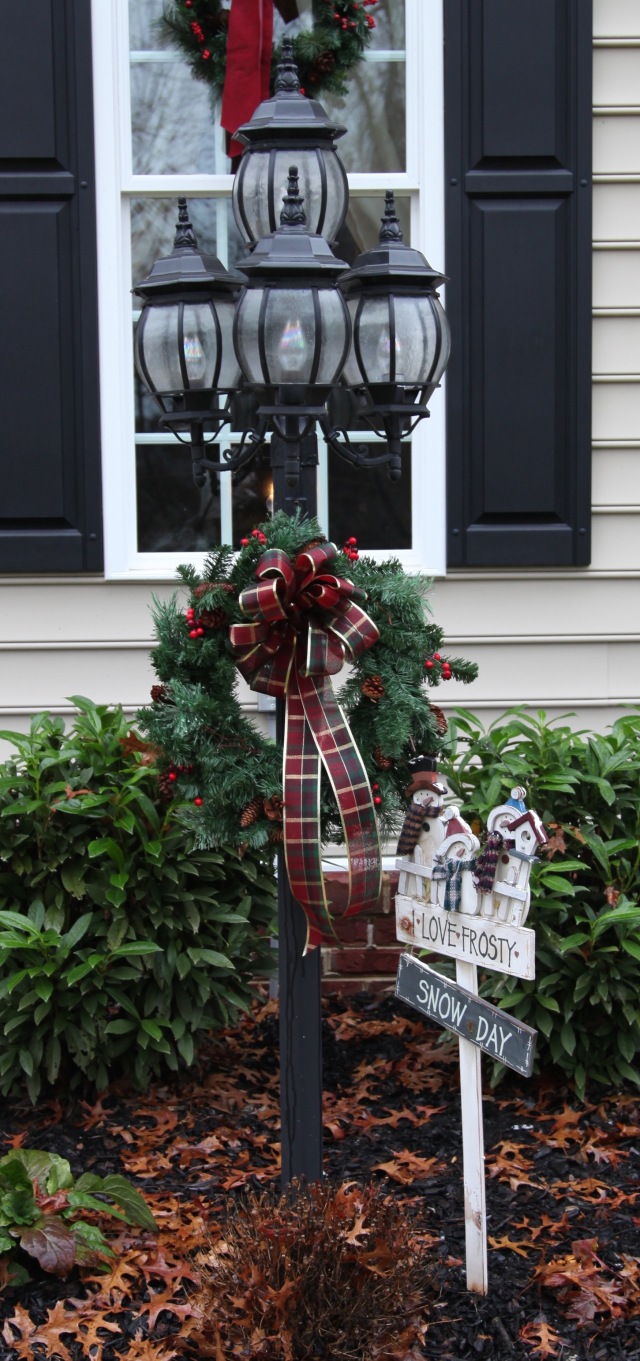
So, the hard part was done, now it was just a matter of changing out the decorative flags in the flower bed, switching out my gazing ball for a red one, adding a nice pine wreath to the light post & wagon wheels…

IMG_2945

IMG_2914

IMG_2943

IMG_2908

IMG_2871IMG_2870

Yes, I made several of those plaid bows, and yes, my hands were so stinkin sore after doing so, but, I love that ribbon and I wanted something that would contrast nicely with the burgundy velvet window bows.

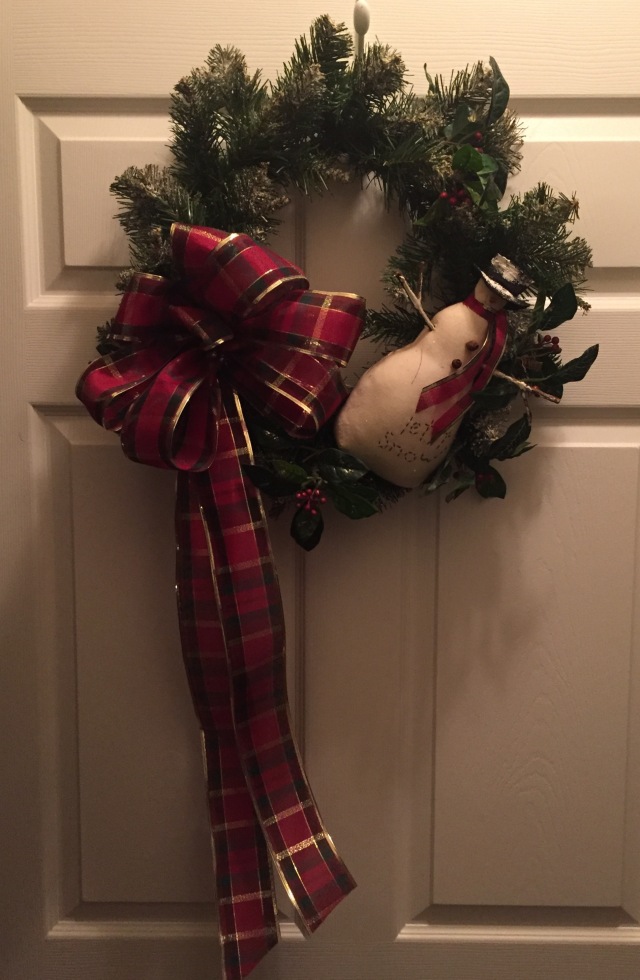
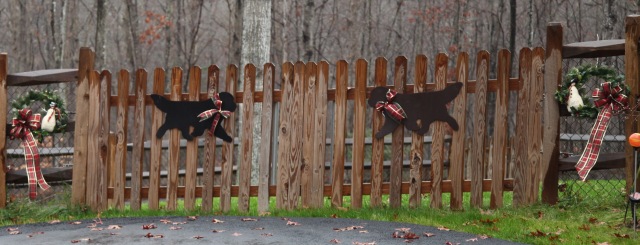
I finished up my outdoor decor by doing just a couple more little things.  My dear friend Karen had given me 2 snowman wreaths years ago, at that time they had bright red ribbon bows and ribbon tied around the snowmen’s necks.  I did a little repurposing to the wreaths…IMG_9625I decided to make new bows out of that plaid and use the same ribbon to tie around the snowmen’s necks…I hung them on either side of our “Newfie” gate (where silhouettes of our pups are located)… I also tied ribbon around the Newfs necks. 😉

IMG_2911

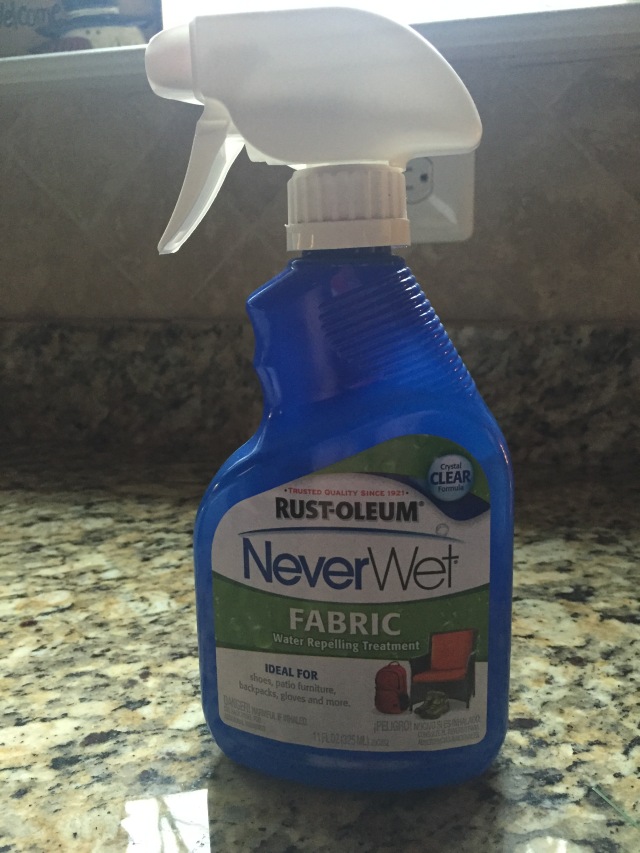
It has been raining buckets here for the last few days, so I went on the search for something that I could spray on those fabric snowmen and on all of my bows that would be exposed to the weather.  I found this at Home Depot…fingers crossed that it works!

IMG_9630

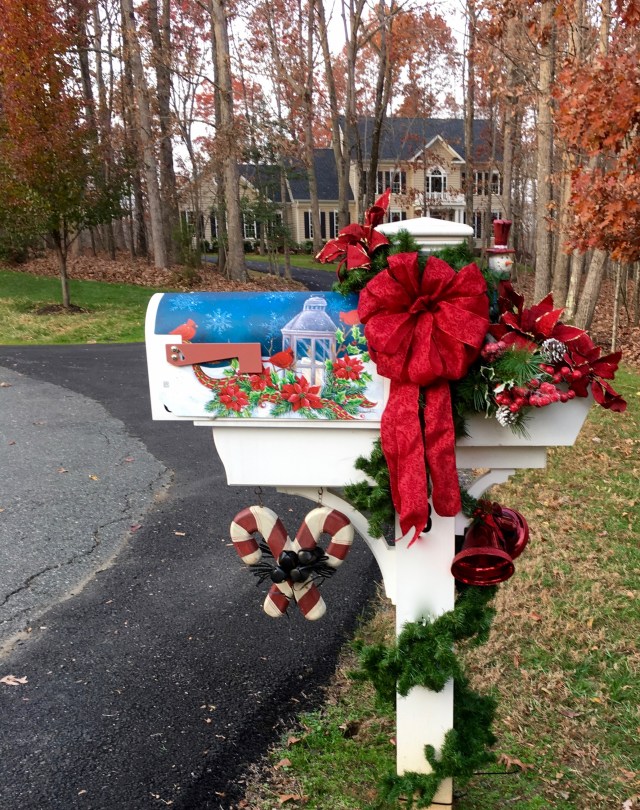
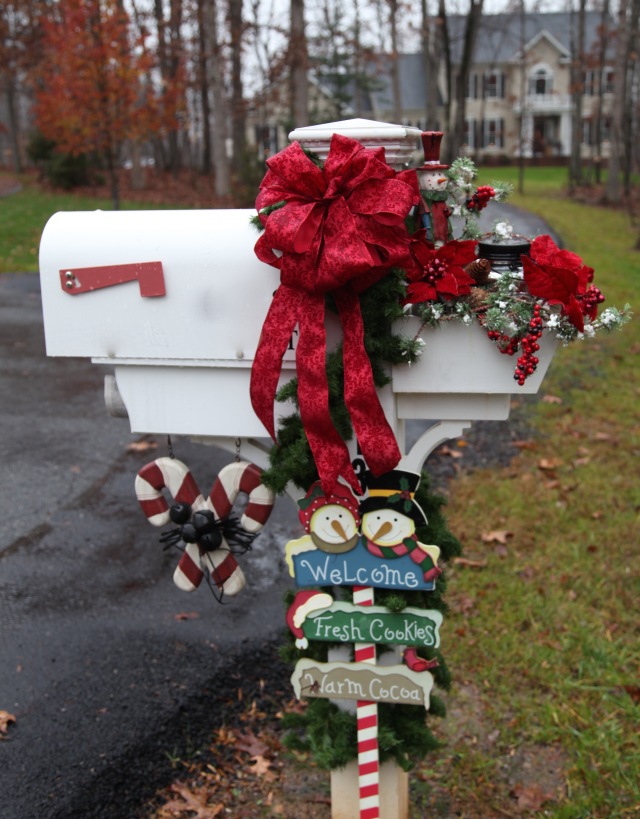
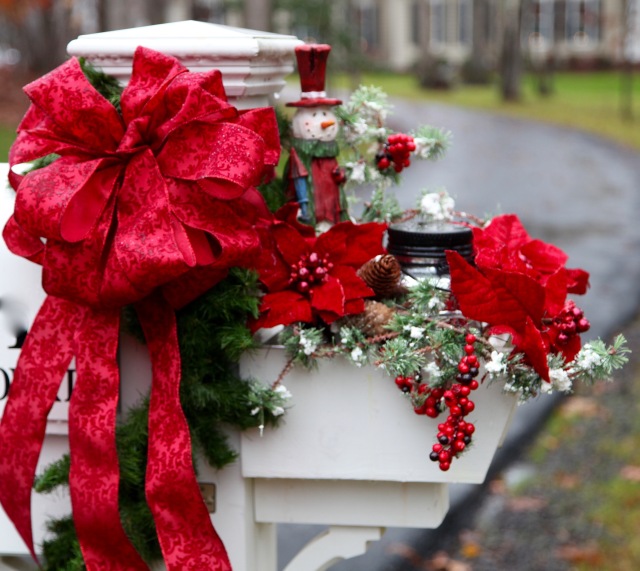
To finish off my outdoor decor, I decorated up our mailbox…Here is that little design…

IMG_2901

See that wooden candy canes sign hanging under the mailbox? That is actually meant to be hung on a little decorative pole (I had it hanging on the front porch of our other home).  I didn’t have a place that I wanted to hang it here at this house, but, I’ve been using all of the “signs” that I collected throughout the years to augment my mailbox decor.  I really need to do a post describing how I change out my mailbox decorations…I’ll get to that soon. 🙂 I get the signs from Piper Classics.

IMG_2900

I can definitely say that I am completely (and finally) finished decorating for Christmas! I plan on writing one more Christmas themed entry showing y’all our large Christmas tree in our family room (honestly, nothing all that interesting crafting wise…but it sure is filled with all sorts of sentimental ornaments) and an all-over look-see around the house. I have really enjoyed doing my decorating this year and I’m glad that I started way before Christmas, I’d be a crazy lady now trying to get ‘er all done along with all of the shopping and wrapping.

IMG_2909

I hope that this rain stops soon, I’m not complaining about the rain, I realize that we can always use the rain, but, I think I’d rather be seeing snow! 😉

Here is one last picture of our home all decked out for Christmas…

IMG_2898

“Merry Christmas to ALL and to all a goodnight”. 😉

Until next time, y’all take good care! ❤

~Arlynn


Christmas 2015: Light Up Christmas Canvas (With Guest Blogger My Cousin Stacey)

It’s time for another post from my awesomely talented cousin Stacey! Wait till you see what she has in store for y’all today! OMGosh, she is so inspiring, I think I want to give this “Light Up Christmas Canvas” a try!!

Here is a picture of Stacey and me taken a couple of months ago, she is the one on the left and I’m sort of behind her and on the right. 🙂

IMG_9048

Take it away Stacey!

Hello!! It’s Arlynn’s cousin Stacey again!! A big THANK YOU to Arlynn for allowing me another guest spot!!

I’m going to show you how to make this light up Christmas canvas!!

IMG_3701


AWESOME RIGHT?!?!  The best part; YOU can totally do this too!!!

First, let’s get all our supplies together.  You need a canvas, (I chose a rather large canvas of 24X36) graphite paper, some battery powered lights, paint, paint pen, brushes, glue gun, and your imagination!  I also used some glitter glue to add a little extra sparkle around the lights.  You can NEVER have too much sparkle!


12316564_10206707057828912_6516009150123142165_n

The hardest part of this whole craft is deciding on what you want your image to say.  I knew I wanted my canvas to light up so I wanted something that alluded to “light”.

Some other ideas I kicked around were “The Stars Were Brightly Shining” and “O Star of Wonder, Star of Night”, “All is Calm, All is Bright”.   But, I also liked “Joy to the World”, “ O Holy Night”, “Come Let Us Adore Him” and “Merry Christmas”.  You may choose whatever makes your Christmas heart sing with joy!

Again, I chose a large canvas but you may choose whatever size will work best in your home.  I bought a computer program called Mindcad Tiler.  This will take a picture file and turn it into a banner or several page poster.  This is what I use to create my template. I can only imagine there are hundreds of these types of applications online.  Whatever works best for you.  I printed my template and added the stars where I thought my lights would work best.

12279173_10206707058348925_4937936218981489479_n


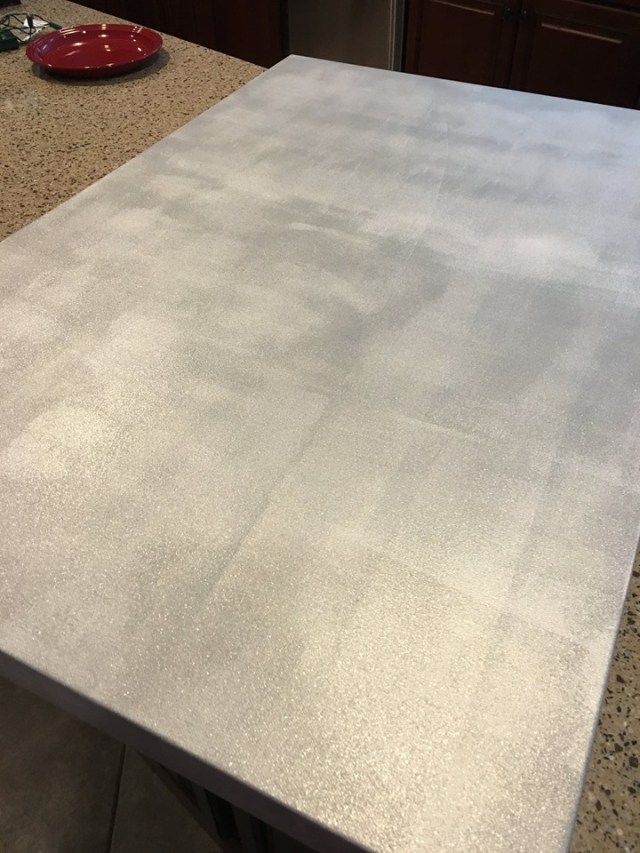
My next step was to paint my canvas.  Since it’s a Christmas canvas, sparkle and shine was a MUST!! I chose some glitter acrylic paint from Target.  I’m sure there is better paint to use, but I was there, and I’m lazy and didn’t want to run all over town looking for “special” paint for canvas.  (If you have read some of my earlier entries, you may remember my laziness)

12316658_10206707058948940_2661354369870174204_n

OoOoOohhhh!! SPARKLE SPARKLE!!  Get those brushes out and paint that whole canvas!! Don’t forget the sides!!

12316091_10206707060068968_8420024479364197026_n

At first I was kinda bummed about the splotchy, patchy look of the paint. But, after I let it dry, I realized it was a happy accident! It really adds texture and interest instead of just being flat. Nice!!  Laziness to the rescue! I decided to roll with it.

OK, your canvas is all painted and ready! Grab your template and graphite paper.  Lay your graphite paper ink side down towards the canvas and your template on top.

12241773_10206707060468978_166317716719929506_n

Then, trace your image! The graphite paper will leave an outline and all you will need to do is fill it in with your paint!

12274691_10206707061068993_3045421376898606236_n

Two game changing words for you…PAINT PEN!!  These things are seriously awesome!! It’s exactly what it calls itself! A pen filled with paint!! YES!

12274763_10206707061188996_3350841979645904754_n

I did all the script with this paint pen. I love you Sharpie.  I used the water based paint pen with a medium tip. I found it with the painting supplies at Michaels when I bought my canvas.  I’m sure all the craft supply stores sell them.  Seriously, this is the best thing ever!


YEA!! All filled in!!

12299387_10206707062029017_8229984974716002450_n

As you can see, I included the little stars with my template. I knew this is where I wanted my lights to go. I didn’t outline them in black. I just left the graphite outline. I allowed them to kind of fade into the background. I didn’t want to draw the eye away from the script.

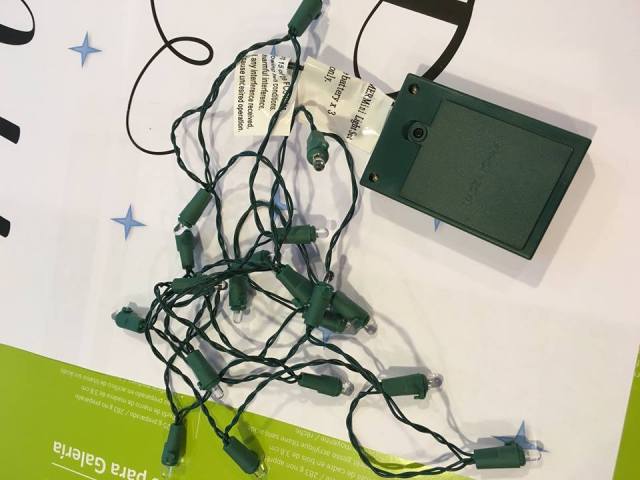
You can also wait until after you have your script on the canvas and lay out how you would like your lights that way.  Just be sure you space your lights in such a way that the strand will reach.  I found a string of 20 battery-powered lights with a timer at Wal-Mart! You could also reuse some leftover plug in lights and up-cycle them and give them a new life. I didn’t want to have to plug in my canvas every night (hello laziness) so I went with battery powered timed lights.12321114_10206707062949040_1611213411582997669_n

Before I poked the holes for the lights, I embellished the stars with some glitter glue. Love this stuff.  Found it at Michaels with the craft paints.

12308682_10206707064069068_3687892957952416603_n


12299319_10206707064949090_2487134565083540280_n

It has some really pretty iridescent glitter already in the glue.  I thought that would be really reflective and the glue adds a 3D element.  I used the glue to make some little dots just to add a little more interest.

12289692_10206707065549105_4265159274536964750_n

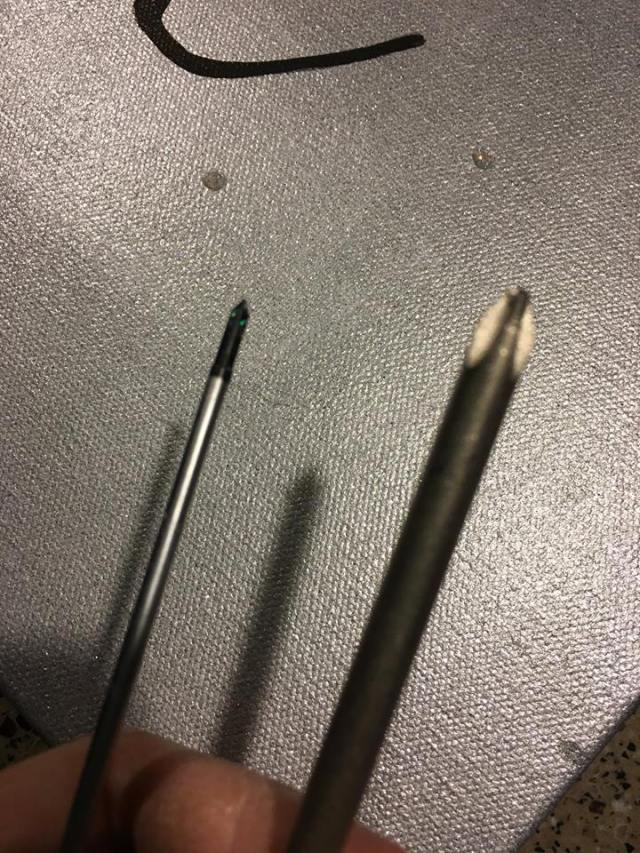
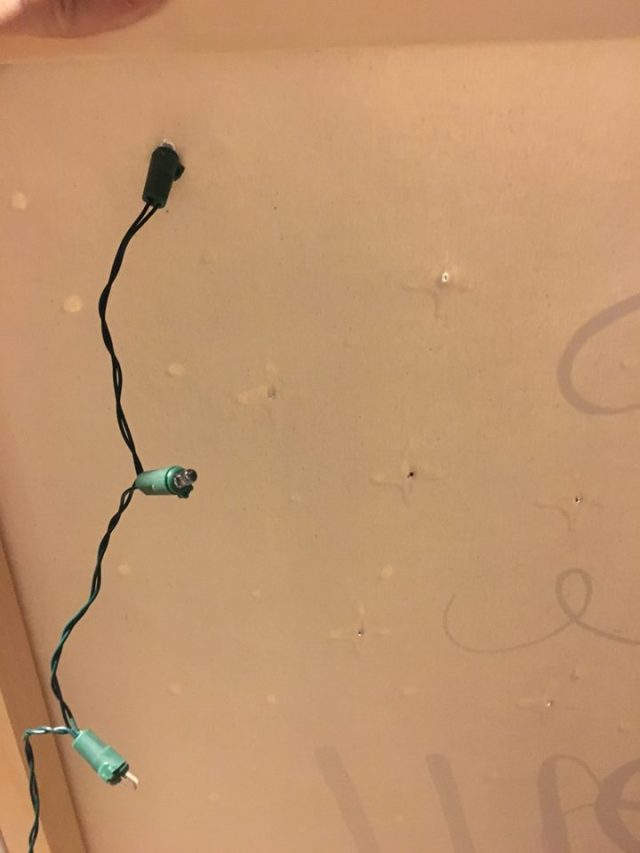
Time to poke some holes.  I used some screwdrivers to poke my holes.  I think an awl would work great too. I would recommend not using a knife or blade to make your holes.  I think a slit would split and not give a finished look to your holes.  I also went with a smaller screwdriver to start so that the hole wouldn’t be too large and the entire light would push through! You only want the glass part of the light to come through the canvas.  I used the larger screwdriver to widen the holes just enough for the top of the light to poke through.

12308779_10206707066109119_8783451772671835304_n

Poke, poke, poke! All your holes are poked, time to push in your lights.  I ran a ring of hot glue around the light to hold them in place.

From the back of the canvas, push just the glass light part through the canvas.

12308681_10206707066509129_8687946912709474702_n

12278913_10206707067429152_8006236655167920260_n

Here you can see what the front of the canvas will look like with just the little light sticking through.

12308790_10206707068269173_9084928327048832353_n

Here’s the back of my canvas with the lights glued in place.

12279156_10206707068789186_6226896337047886064_n

I realized, too late, that I didn’t plan on how I would attach my battery pack. Sooo, I got crazy creative and came up with this.  I used a saw tooth picture hanger and a doubled up heavy-duty rubber band! Sometimes, I even impress myself! LOL! (wow, Stacey, nice. Lazy and humble? SMH) Anyway, this does double duty.  It immobilizes the battery pack AND allows you to still reach the batteries so you can change them.   (You could also just use some tape, or Velcro etc. to hold yours in place)

12310465_10206707069109194_264666065083222665_n

12308812_10206707069709209_782909584578133247_n

All that’s left is to hang that glorious canvas and turn on those lights!! AMAZING!! Look at what you created!! Time to bask in all the Christmas Spirit your canvas will inspire!!  MERRY CHRISTMAS and GOD BLESS!!

12310691_10206707056708884_5661321292350769009_n


**Arlynn here again…Wasn’t that amazing?!!  I LOVE it!! And Stacey makes it look so easy, she is absolutely awesome!!!

**Thank you Stacey…LOVE you a bushel and a peck and a hug around the neck Sweetie!! MWAH!!**

I am so grateful to Stacey for taking some time out of her busy schedule to contribute her talents to my Blog, especially today as I had planned on writing an entry describing my outdoor Christmas decor.  I still have a few things to accomplish today, but, I promise that I’ll get that post up tomorrow. 🙂

Until then, here is a sneak peak at the front of my house all decorated up for Christmas:

IMG_2898

Until next time, y’all take good care! ❤

**In crafting there are no mistakes just unique creations**


Christmas Decorations 2015: Merry & Bright With Battery Operated Lights

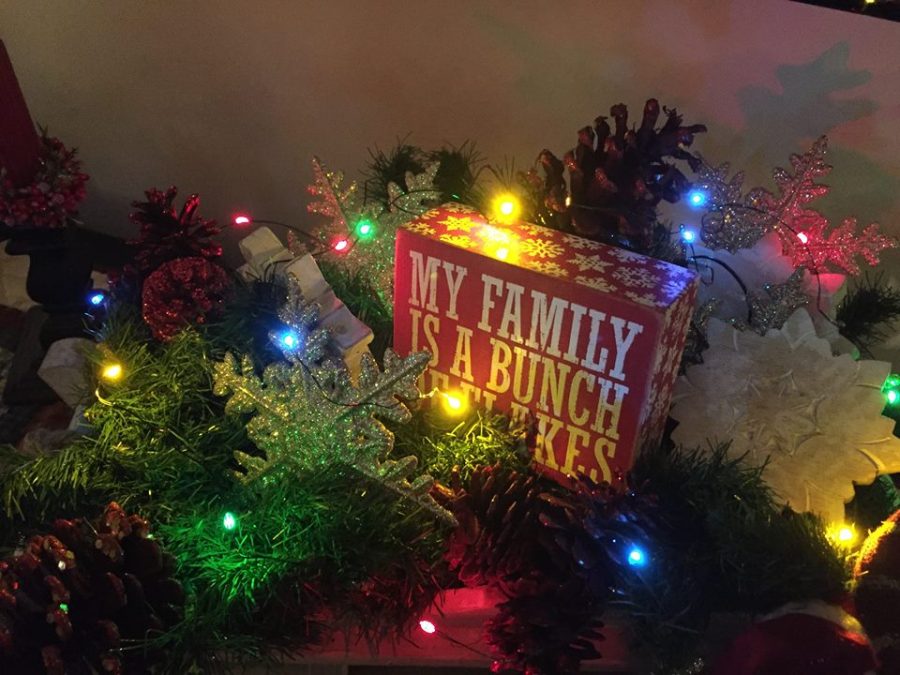
The one thing good about getting the Christmas decorations in place a little early is that between now and Christmas I can continue to add to, mess with, and tweak things…<rolling eyes>. 😉  Just kidding, once things are in place, I normally don’t mess with the creation too, too much.  But, I have to say that I’ve discovered these wonderful little battery operated mini light strands at Walmart this year, so some tweaking I did yesterday.  I’ve used battery operated strands in the past and they lasted for all of a day before they burned out and I got frustrated with them. Like everything else in the world, *they* <~~~those people who tweak these sorts of things~~~ must have improved the workability of these spiffy lights as they perform a ton better now-a-days and I’ve found that they add just a touch of ‘somethin’ somethin’ to a few of my wreaths and centerpieces. They add a subtle glow in the evening hours that just calms my very being. 🙂  I’m always all about accent lighting and how it warms a room right up. So here we go…

Here are the two types of lights that I found, they come in “Warm White”, “Multi-Colored”, and a array of solid colors, i.e. red, green, and blue. Also, there are different bulb counts, I used 18, 36, and on the larger bulbs, 20 count.  They range in price from $4 to $6 (for the larger bulb variety)…

IMG_9588IMG_9568

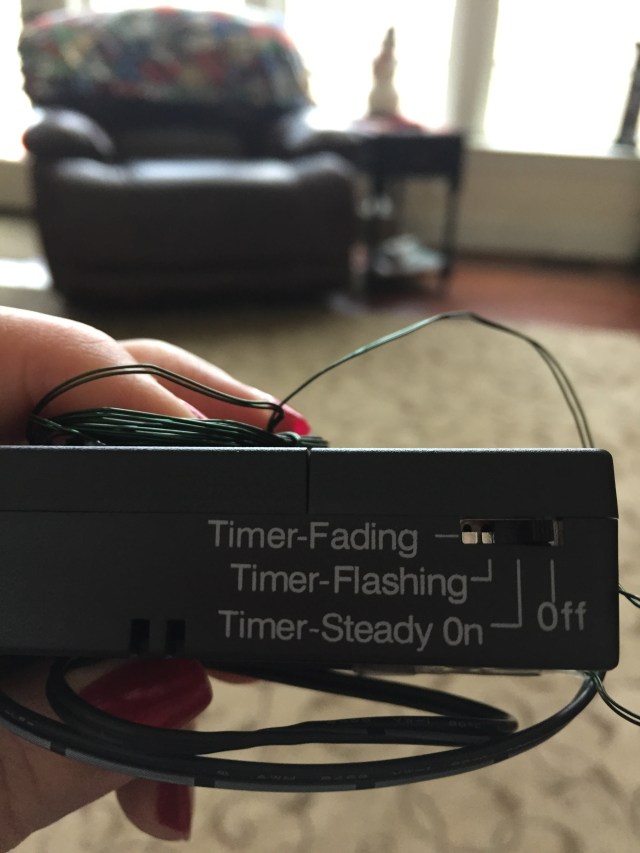
They come with a battery pack which is easily hidden in wreaths and centerpieces. They also have built in timers and once they are turned on they automatically turn off after 6 hours. (So I put them in place and waited for it to get dark outside before turning them on)

Also,  the timer has 3 different options…”Timer Fading”, Timer Flashing”, or “Timer Steady On”–I set mine to “Timer Steady On” just because ‘fading’ or ‘flashing’ would drive me bonkers:

IMG_9589

Here are some examples of how I’ve utilized these little lights…

This wreath hangs up on the mirror above the fireplace, I have a set of the “Ultra Slim” lights (36 count) on that wreath.

IMG_2395

I used a set of 18 multi-colored lights for this little arrangement…

12289632_10207684937991914_4490220147806743279_n

12249616_10207684937951913_2620237742855295913_n

I used a set of 18 warm white lights for this arrangement…

IMG_2726

IMG_2724

I used two sets of 18 warm white for this arrangement…

IMG_2788

IMG_2787

One set of 18 warm white lights brightened up this little centerpiece nicely…

IMG_2794

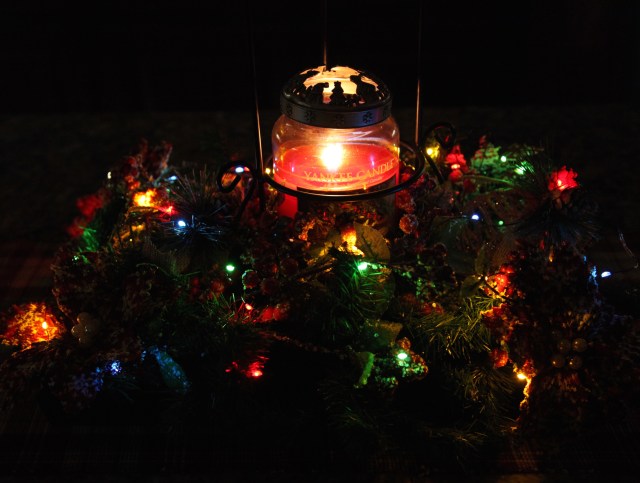
I used 2 sets of 18 multi-colored lights for this centerpiece that sits on the kitchen island…

IMG_2524

IMG_2796

I added one strand of 18 warm white lights to this little arrangement that sits in the powder room.  It sure brightens up a room that has no natural light…love it!

IMG_9592

IMG_9591

I wanted to brighten up a couple of my wreaths as well, again, I just snugged the battery pack down into the wreaths and actually caught the wire into one of the twist ties on the work wreath.  It worked like a charm.

IMG_2786

IMG_2785

And I used two sets of 20 warm white bulbs on this next wreath.  This wreath is huge, over 30+ inches around…

IMG_2790IMG_2789

So, there we go, I only tweaked a few things, but the warmth that a silly little battery operated light strand brings to a room is just amazing. 🙂

Until next time, y’all take good care! ❤

**In crafting there are no mistakes just unique creations**

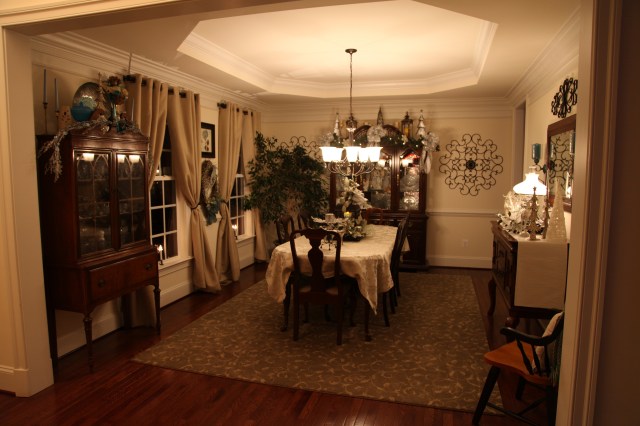
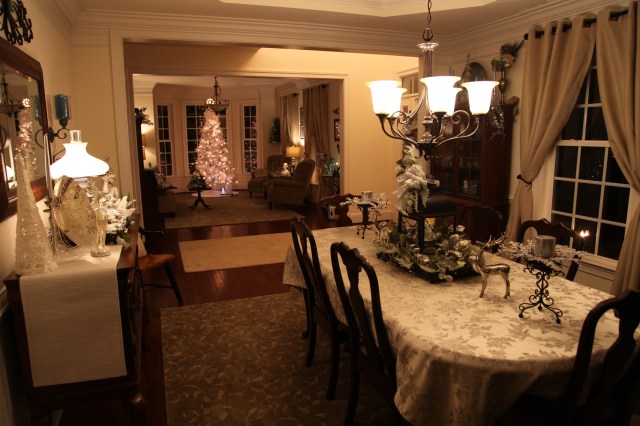
Christmas Decorations 2015: Living & Dining Rooms (Silver & White with Touches of Teal and Light Green)

So, I was all finished decorating the back rooms of our home, i.e. family room, kitchen, kitchen’s eating area, powder room and all spaces that dwell within said rooms. As you have seen, I used the more traditional Christmas colors of burgundy and gold for that part of the house. In my past posts I have explained that my accent color for the front rooms of our home is a pretty green that is seen everywhere I look in most stores and I pair it with khakis and creams.  So, my Christmas decorating goal  was to utilize that same green and add silver, teal, and white therefore creating light, airy, and hopefully cozy rooms.  Let me reiterate a bit about my decorating style, my all-over goal is to always provide a place where whomever enters feels as if they can sit down, put their feet up, pet a big dog, have a cup of coffee, tea, or hot cocoa, and be as comfortable here as they would feel in their own home. I always, no matter the time of year, use warm mostly earth tones throughout the house and I add pops of color with my decor.  I mostly stick with burgundies, khakis, and creams (for my regular decor) in the back rooms of the house, and that pretty green color for the front rooms.  All that said, I was worried that by adding the lighter colors of silver, white, and teal for Christmas that I might ‘cool’ those rooms down a bit. BUT, I was determined to try because I love the clean and bright look that those lighter colors can bring to a room.  Also, those rooms are a smidge more formal to begin with just because of the cherry wood furniture; I have 3 pieces that were handed down to me from my grandmother and then my mom, we also have our own dining room furniture; all pieces are a dark cherry color. Before we moved in here, we purchased a new couch and 2 chairs for the living room selecting comfortable, lighter colored furniture that would help to stave off the formality that the cherry furniture inherently puts forth.  We tried our best to mix the old with the new, I feel like we accomplished our mission.

All that said, I’ll now show you how I decorated these pretty rooms that sit on the front of our home separated by the foyer…

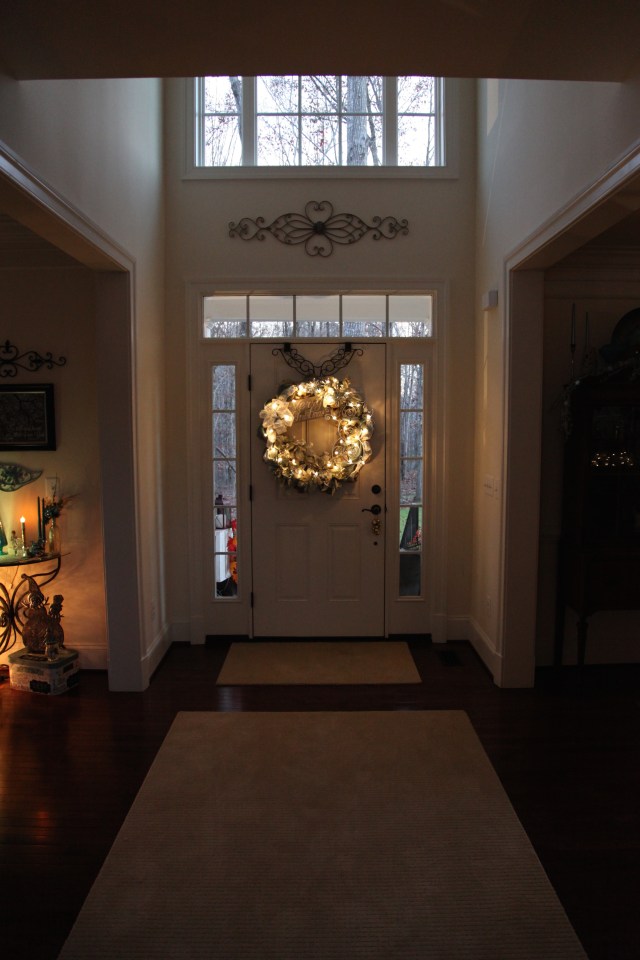
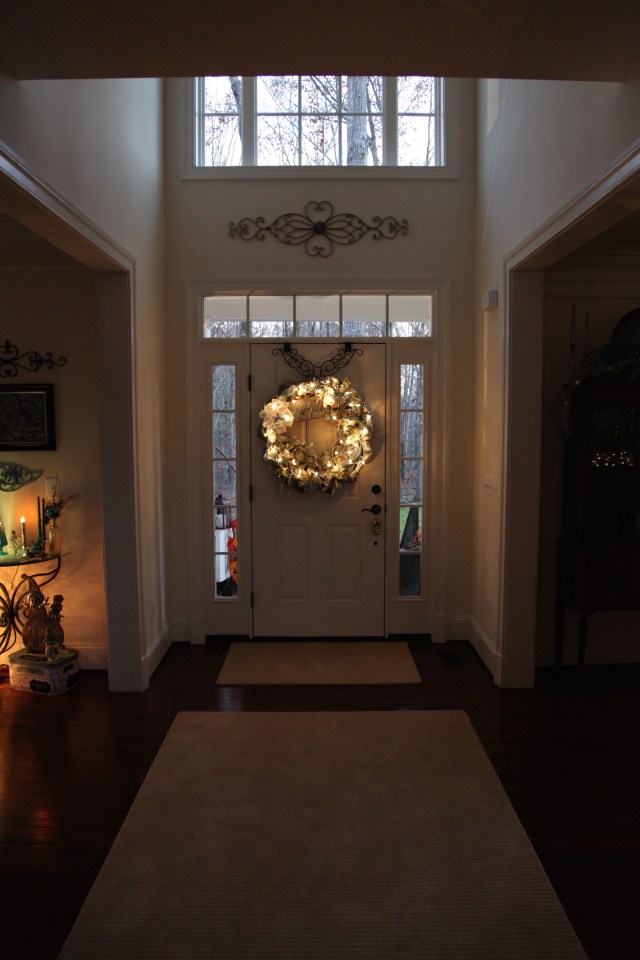
This is looking at the back of our our front door, living room to the left and dining room to the right, family room behind me…
IMG_2634

First, the dining room:

IMG_2694

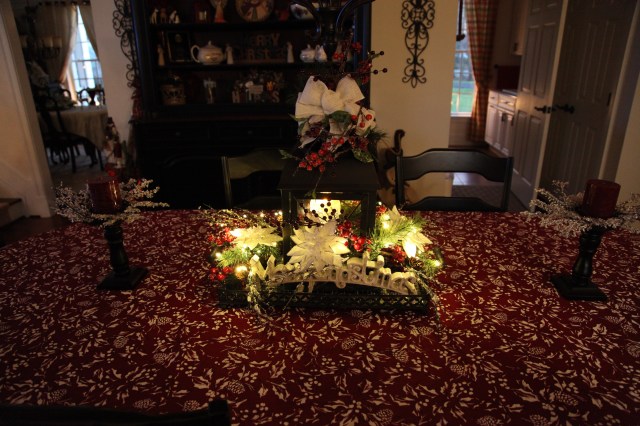
Here are a couple of things that I created for the dining room, first, the dining room table’s lantern centerpiece.  I will not bore you with another “how to make a lantern centerpiece” in this entry.  If you would like to know how to do so, please check out my A Lantern Centerpiece For All Seasons link. 🙂

IMG_2609

Here are all of the accent pieces that I used to create this centerpiece (using the very same tray and lantern as I highlighted in the link above):

I also made a bow and attached some of the same accent pieces that I was using in the arrangement to the back of the bow via the pipe cleaner with which I closed the bow and tied it onto the top piece of the lantern.  Here is my Bow Tutorial (Video) if you’d like to see how to make a tiered bow…

IMG_2609

Next, the sideboard.

First, my Aunt and Uncle gave us that pretty white and silver bowl on the left, I was sure that this was the place that I wanted to show off its prettiness…so that was the very first thing that I set up on the sideboard.  I then added the candle sticks, Christmas trees, reindeer, and then set my sights on creating something special to go around that lamp…

IMG_2691

The lamp was my grandmother’s and then my mom had it in her house for many years, and its resting place before coming to me was in my mom’s nursing home room.

IMG_2692 It is a very, very special lamp so I wanted to do it justice.  Unfortunately, I was concentrating so hard on making this arrangement that I neglected to take pictures of how I created it.  It wasn’t hard though, all it really is are a couple of white flocked pine picks, a few white and silver pinecone ornaments, and a few sparkly white and silver poinsettias.  OH, I did add a battery operated mini light set (with a timer)…

IMG_2724

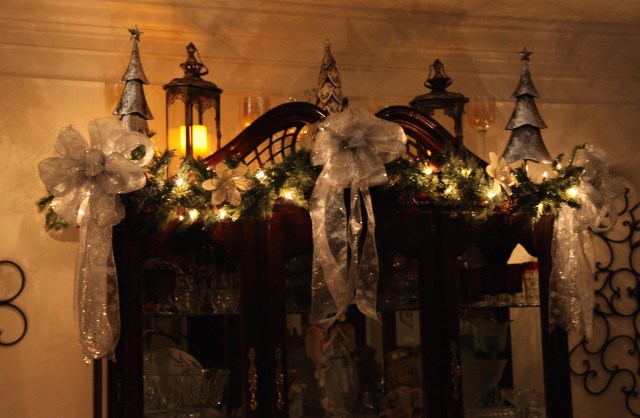
The dining room hutch’s decor is simply a green pine garland wrapped with white lights, 3 big silver bows, and a few silver Christmas trees, the lanterns and the rest of the decor remain on the top of the hutch year round…
IMG_2605

Now for the living room:

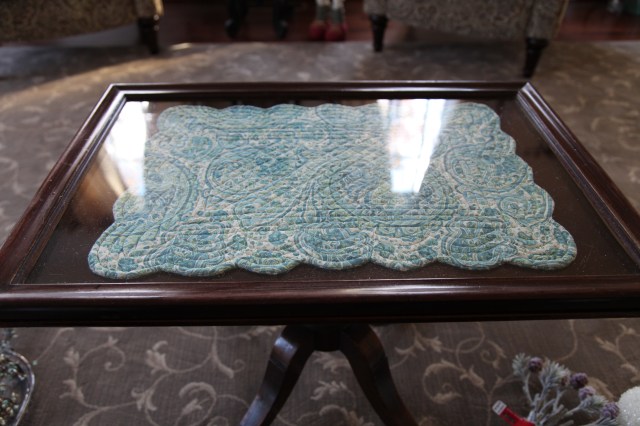
The first thing, I created for this room was a smaller lantern centerpiece to go on top of another one of my pieces that used to be my grandmother’s, this little table:
IMG_2665

As you can see, it has a glass top on it, but check this out, you can actually lift the glass top completely off. I keep whatever doily that I am using under the glass…

IMG_2666

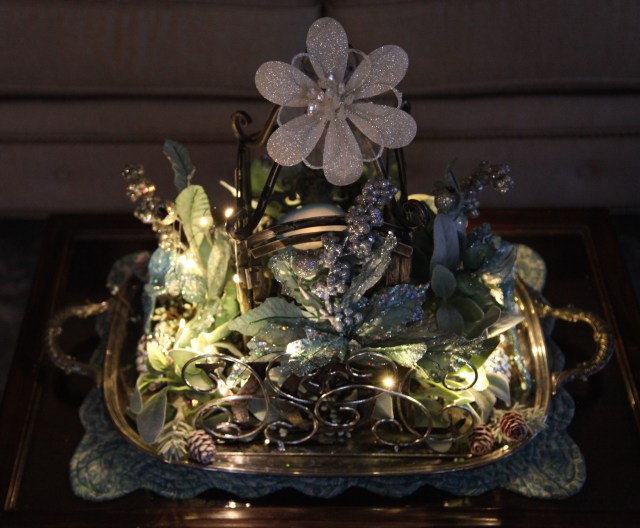
I started my centerpiece with a silver tray that used to be my mom’s (as you can see, there are many sentimental pieces in these rooms)…

IMG_2667

I placed a lantern on the tray and surrounded it with a pip berry garland and then started to add the other accent pieces IMG_2668

IMG_2672

I placed a battery operated candle inside the lantern and stepped back, I was happy with what I saw…

IMG_2686 (1)

IMG_2705

There is one more little grouping that I just made up today after I took a trip to our local Kirkland’s store.  I purchased those stackable lit gift boxes, I just couldn’t resist them, they were the perfect color to pair with the rest of the decor that I had planned for that rod-iron and glass table (which I also got at Kirkland’s shortly after we moved into this house)…

This old secretary is one of my favorite pieces that I inherited from my grandmother.  My Aunt just told me a couple of stories that I had never heard about this piece of furniture.  Apparently, my grandmother purchased this Secretary by selling her homemade candy (I remember as a child we’d help her pull butter mints, I’m not sure if that’s the candy to which she is referring, but what a neat story!). And apparently, the 13 panes of glass in each door represents the first 13 original States. What?! I love these stories!!! 🙂 ANYway, I love to give it a different look as the seasons change.  I remember sitting at it as a child and opening up all of the drawers that contained all sorts of fun treasures and pretending like I was a secretary…sweet, sweet memories.  ANYway, I choose to leave the big door open and put a bit of decor on the inside (maybe when I have grandchildren one day, I’ll have to fill up those little drawers with all sorts of goodies and help to make some sweet memories for those little tykes). The picture on the top is a picture of my beautiful mom on her and my dad’s wedding day. **Miss you mom!!**  Anyway, here is how I decorated it up for Christmas this year:

IMG_2703

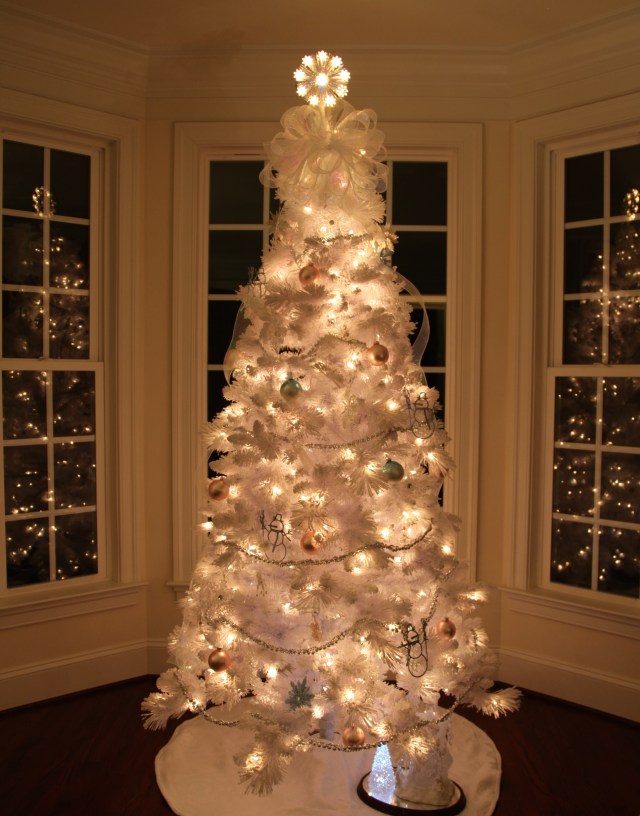
I purchased our white Christmas tree last year at Walmart if you can believe that?! lol And it is a beauty! It does put off a pink hue though, so I kept the decorations on the tree to a minimum.  I didn’t want to fight with the pink and I didn’t want to add tons of pink to the decor in the rest of the space.  So I added a big iridescent bow topper, a lit tree topper above the bow…IMG_2711

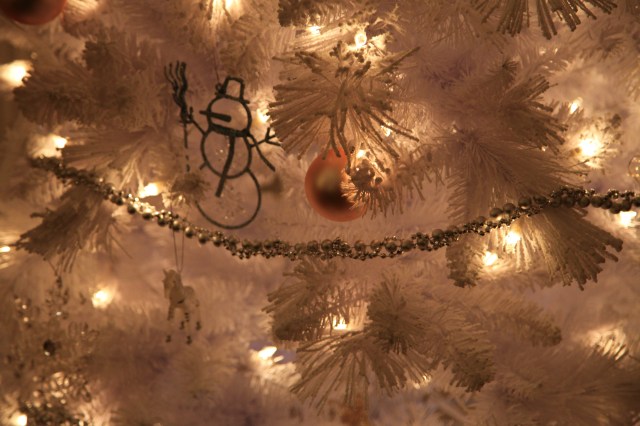
Then I added silver beaded garland, and ornaments in silver, white, a few pink, and ornaments that were a very subtle green…
IMG_2713

I put a white tree skirt on the floor and added a little lit church and tree and called it done. 🙂  It looks beautiful sitting in the bay window, I love to see the reflections of the tree in all of the windows.
IMG_2710

And check it out from outside…wow!!

IMG_2741

Here are some pictures of the rooms as a whole…I am quite pleased with how it all turned out. I have found myself walking in there and drinking in all of the memories that are conjured up while moving my eyes from one piece to the next.  Sweet, sweet, precious memories that I hold very close to my heart. ❤

IMG_2716

IMG_2698

I hope y’all have enjoyed seeing all of my creations for this Christmas, the only things that I have left to do are the big Christmas tree that will go up on Thanksgiving Day in the family room (the family will help to decorate that) and the outside.  I will be sure write a little blog about both things. Let me take a moment to thank those of you who have commented and those of you who come back and check to see what this silly crafter has been doing.  I’ve really enjoyed sharing my creations and home with you all…

Until next time, y’all take good care! ❤

**In crafting there are no mistakes just unique creations**


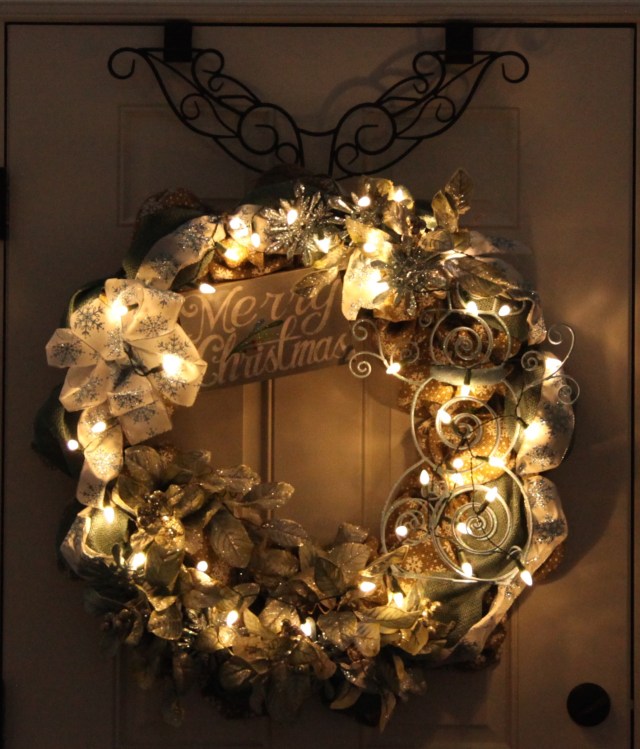
Christmas 2015: Burlap Snowman Wreath (Light Teal and Silver)

I was getting ready to start decorating the front rooms of our home for Christmas and I realized that weeks ago I had gathered everything that I needed to make this light and airy feeling snowman wreath for the inside of my front door; I needed to get it made and put up before I started on the other decor.

I found that metal snowman in Hobby Lobby several weeks ago and he was just the color that I use all year round and will be using again to accent my Christmas decor in those front rooms.

IMG_2578

This is a very large wreath, I created it using a 24″ work wreath, and in its finished state it measures every bit of 30+ inches from one side to the other.

I used 3, 9′ burlap rolls that I found in Walmart, it is your normal burlap color with stamped white snowflakes added.  I will say that it was quite stiff and not all that easy to manipulate and my hands were pretty crampy when I was finished muscling it around the outer and inner rings of the work wreath.  I use a looping style when I make burlap wreaths; I move from one twist tie to the other making large loops (probably 8-10″ worth of burlap) in between.

IMG_2583

IMG_9513

As you can see here in this picture, the snowflakes are only stamped on one side of the burlap, so I had to be really careful not to get the burlap twisted upside-down during the attaching process, that was a bit of a challenge.

IMG_9512

Thank goodness I had the presence of mind to purchase 3 skeins of the burlap because I used every single bit of it except for this much:

IMG_9514

After the burlap was attached, I took a roll of 5″ burlap in that green color and started attaching it to all of the twist ties on the outer ring of the wreath form.  I made loops just about as large as I had the burlap loops.  IMG_2582

Next, I made a big bow out of wired coordinating ribbon and left myself two long tails, I attached the bow and then looped one of the tails up and over the top of the wreath catching it in a couple of the outer twist ties and then cutting an upside-down  “v” at the end, and I looped the other tail down below the bow and looped and caught it in a couple of the outer twist ties and cutting the end into that upside-down “v”.

IMG_2587 (1)

Next, I attached the metal snowman using the twist ties on the wreath and then I took the white wired ribbon and continued looping it around the snowman and on top of the green burlap ribbon.

IMG_2587 (3)

Next, I added the flowers and snowflakes, I used the twist ties to attach the flowers and I hot glued the snowflakes in and among the flowers.

IMG_2580 IMG_2585 IMG_2586

The last thing that I did was to hot glue a couple of pipe cleaners on to the top of the wooden “Merry Christmas” sign and then I used the twist ties to attach the sign onto the wreath form.

IMG_2584

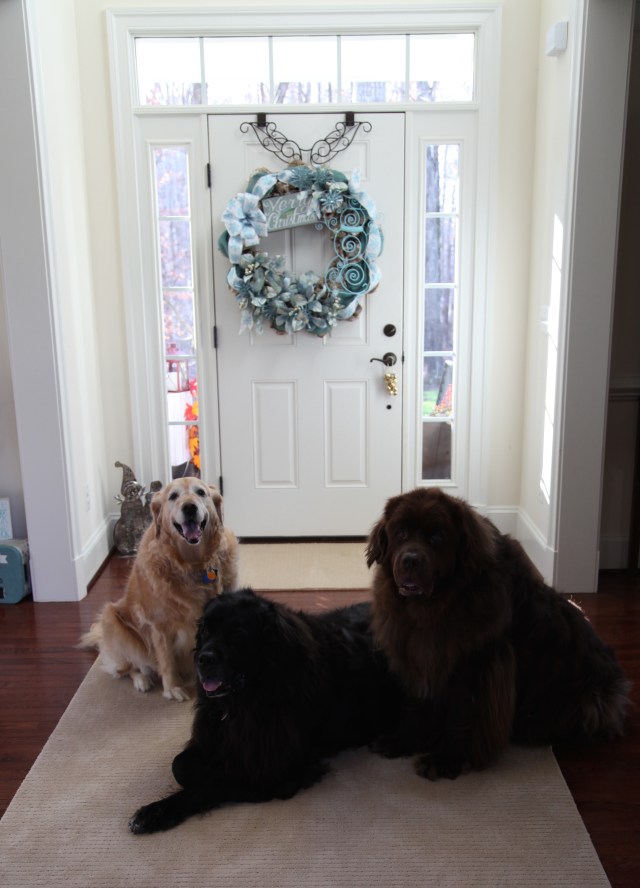
I absolutely LOVE this wreath, it might be one of the favorite ones that I’ve ever made. 🙂  And it looks really pretty hanging on the inside of my front door. 🙂 I am ready to decorate the rest of the space now that this beauty is in place.

Here are a few pictures of the finished product…

IMG_2587 IMG_2591 IMG_2615

And the doggies posed prettily in front of it just this morning. 🙂IMG_2634

Onward I go with my decorating, I’m *almost* finished!

Next, I’ll be highlighting how I made this lantern centerpiece for my dining room table…

IMG_2609

Stay tuned! 🙂

Wait!! Fast forward a few weeks and I’ve now added two battery operated timed light strands to this wreath…It looks so pretty at night–it comes on at dusk and goes off 6 hours later. Here are a couple of pictures:

IMG_2789

IMG_2790

Check out my “Merry & Bright With Battery Operated Lights”  entry to see where else I’ve utilized battery operated lights in my Christmas decorations. 🙂

Until next time, y’all take good care! ❤

**In crafting there are no mistakes just unique creations**
Christmas 2015: Mantel & Hearth
The “Tis The Season” attitude is still in full swing around this Southern home. 😉  Yes, I know, it is *still* way early to be doing Christmas decorating, but, considering how long it took me to pull this mantel and hearth together, it’s a good thing I started early. 😉  I’m only half kidding, in years past, I’ve decorated with snowmen and only snowmen, and well, this year, in this new house, I wanted to do a little something different. I’ll still have snowmen scattered about here and there throughout the rest of my decorations because I’m not going to be recreating the entire wheel this year…which is what I had to do to the fireplace’s decor.

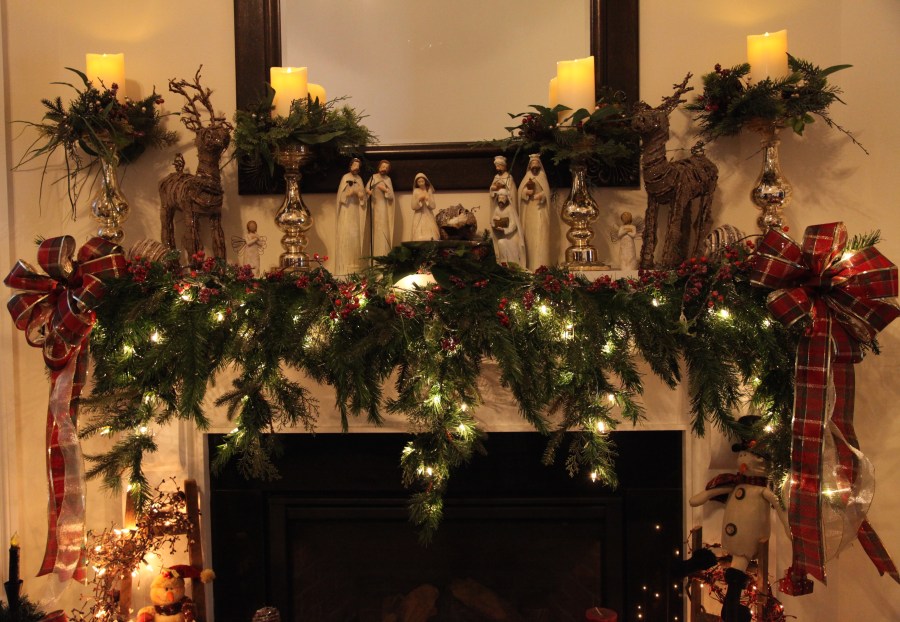
Every single thing you see on the mantel was newly purchased this year…

IMG_2407 (1)

That gorgeous lit garland and those candle rings came from Grandin Road and yes, they were a bit pricey, but I had a coupon and free shipping, so in the end, they weren’t all that expensive.

IMG_2405 (1) IMG_2407 (2)

I purchased the gold mercury glass candle ‘sticks’ (they are quite tall and very sturdy– one is 14.5″ and the other is 13.5″) at Hobby Lobby for half off and the candles are Luminara, they are 3-1/2″ x 9″, and yes, they were rather pricey too although we got them off of Amazon.com for a better price than the Luminara site offers.  It is worth a search around the Internet for the best price, they are amazing! I turn them on and off with a remote that came with them, if I chose to, I could set them to come on for 5 hours in the evenings as well and they’d automatically turn off. Those grapevine reindeer also came from Hobby Lobby for 50% off–they have fantastic sales on their Seasonal stuff.  I made two bows out of burgundy plaid wired ribbon, they match the staircase decor.

IMG_2406 (1)

I purchased this Nativity scene at Hobby Lobby (of course) for half off $80, I love it so much because let’s face it, Jesus *is* the reason for the Season.  I also love it because it mimics my Willow Tree angels and it completes the ‘feel’ that I was trying to accomplish on the mantel.

Now, the hearth, well that really presented me with another challenge because as I mentioned above, I didn’t want to recreate the entire wheel this year and my past years decorations were ALL snowmen.  SO, I did purchase a few things.

IMG_2409

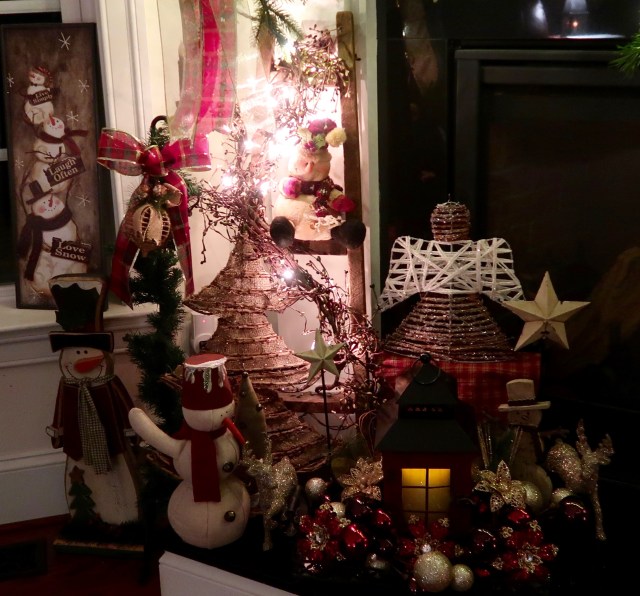
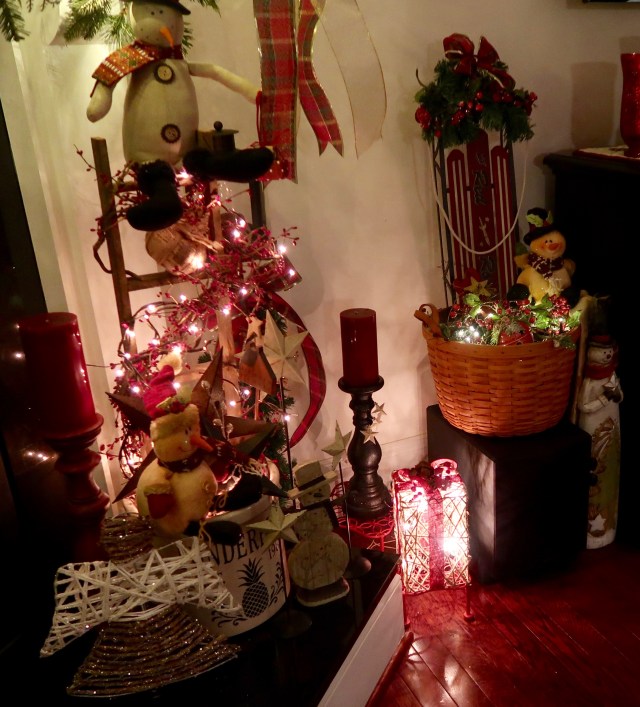
Working from back to front, which by the way is the way I create all my groupings, I wrapped that little rustic ladder with a small pip berry garland (I wrapped said garland with a 15 light strand).  I sat a little stuffed snowman on one of the rungs of the ladder, and sat that burlap tree in front of and beside the ladder.  See that grapevine angel in the back, well, I wanted her to stand up higher in the back to add interest, so I used a burgundy and cream colored country napkin and covered a box for her to stand upon. I made the lantern decor utilizing the ornament garland that I had left over from doing the Staircase & Ornament Garland and adding a few Christmas ornaments for interest.  I added a couple of snowmen, one burlap fella on the left and a wooden one that is just like the one that is up on the wreath on the mirror, and a couple of glittering reindeer.

IMG_2414

Here is the right hand side of the hearth, I made the crock decor simply by filling it up with “filler” <~~~whatever I can find that will take up room like an old towel, then I  added a pip berry garland wrapped up in a bunch and stuck that on top. I took another pip berry garland and wrapped it around another rustic ladder.  I then added Willow Twig Garland mini lights around the ladder garland, and then placed the remaining lights into the top of the crock on top of the pip berry garland. I stuck a big metal star in at an angle, added some gold berry beads and a snowman on the crock and another up on the ladder and called it done. 🙂 Again, I built the rest of the grouping from the back to the front, tallest to shortest adding the burgundy candle stick and candle, angel, another wooden snowman that matches the one in the wreath on the mirror. I scattered cream colored metal stars around the entire hearth to help to pull everything together.

I am in love with the finished project and am quite pleased that it all came together so nicely.  I have to give some credit to my sweet cousin Stacey who was right there via text helping me choose accent pieces for the mantel while I was wandering around Hobby Lobby.  She has a great eye and she was very patient with me; I wanted to mix the fancy gold mercury glass candle holders with more woodland type accents and trust me, several options were picked up and put in my cart and then taken back out and replaced with other accents.  Eventually, this design came to fruition and I’m quite satisfied and happy with the result. 🙂

Daytime View:

IMG_2443 (1) IMG_2444

Nighttime View:IMG_2442 IMG_2441

And now, I continue on around the family room with my Christmas decorating…stay tuned…;) 🙂

For one thing, I’ll explain how I made this cute little sled & basket decoration:

IMG_2436

Until next time, y’all take good care! ❤

**In crafting there are no mistakes just unique creations**