Happy Fall Y’all 2016 Series: Kitchen, Centerpieces, & More – Video Included

As you all know by now, I love to redecorate and create new cozy corners and more, so I’ve really enjoyed switching things out and transforming the house so that we’re ready to greet those cool, crisp morning and usher in the changing of the leaves.  Fall is one of my favorite times of the year, the warm colors speak to me and help me get inspired to create. I will admit that I was well-prepared for this year’s decorating, I had organized myself pretty well when I packed away all of my Fall stuff last year so this year’s decor went together rather easily—*except* that I had to dig into my bins a little too much.  When it is time to put this decor away this year, I am going to try to make myself a label and a sketch of what is where in each bin…that way I won’t spend half of my time digging and grumbling to myself that I can’t find this or that. 😉

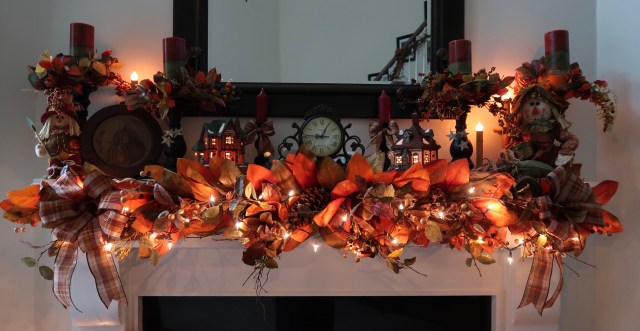
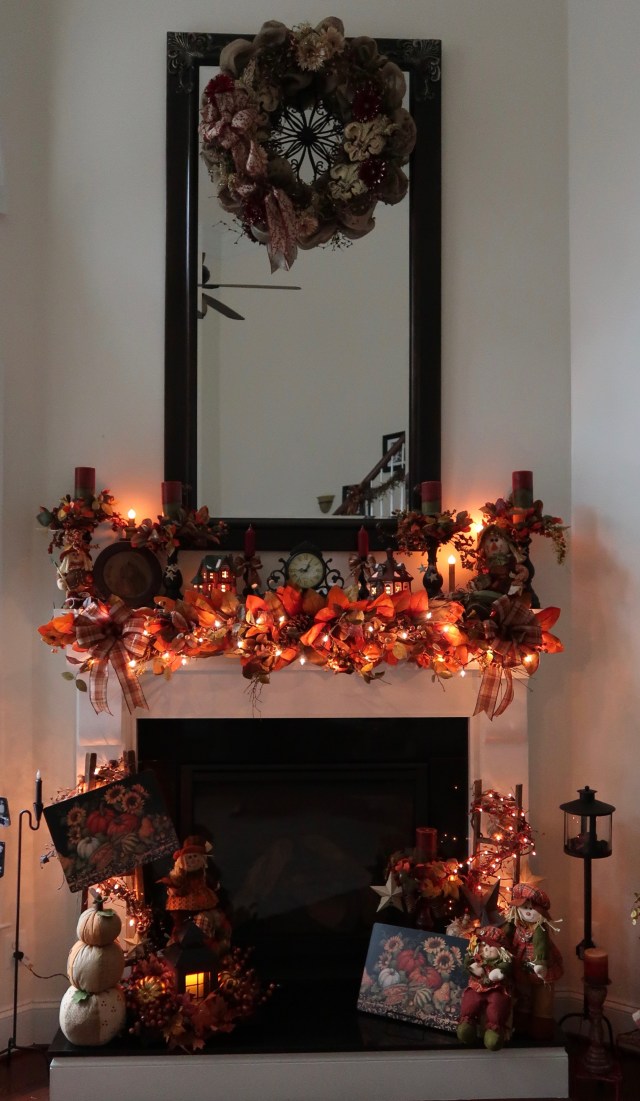
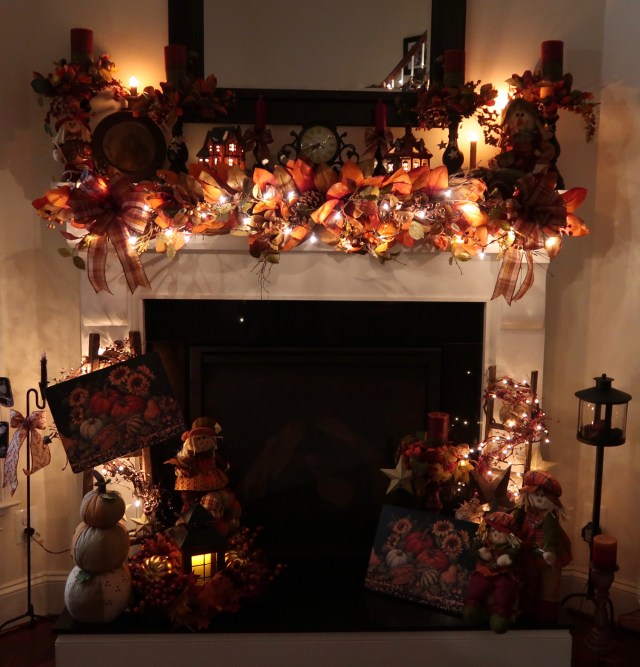
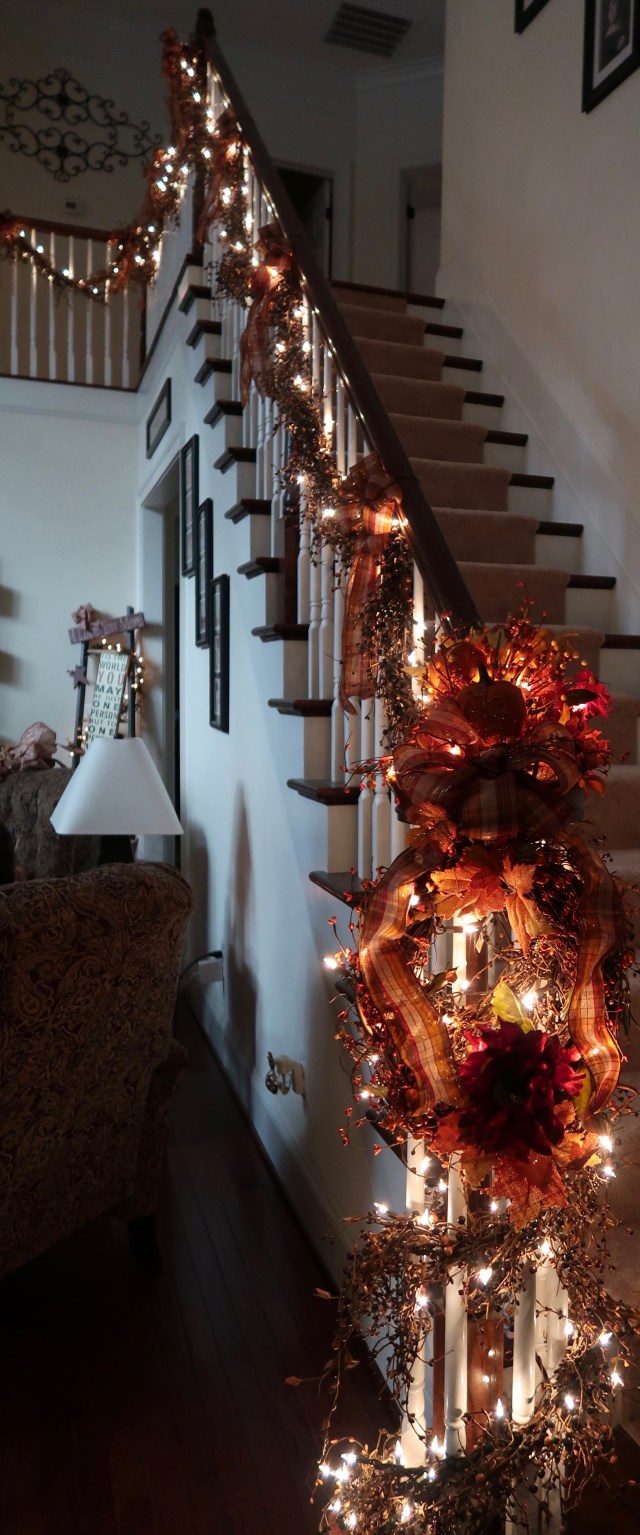
Let’s get started, I did make a little video to accompany my explanations in this the body of the blog, it is located down below.  The first thing that I started working on was this cozy corner that sits to the right of the family room’s credenza:

IMG_0067

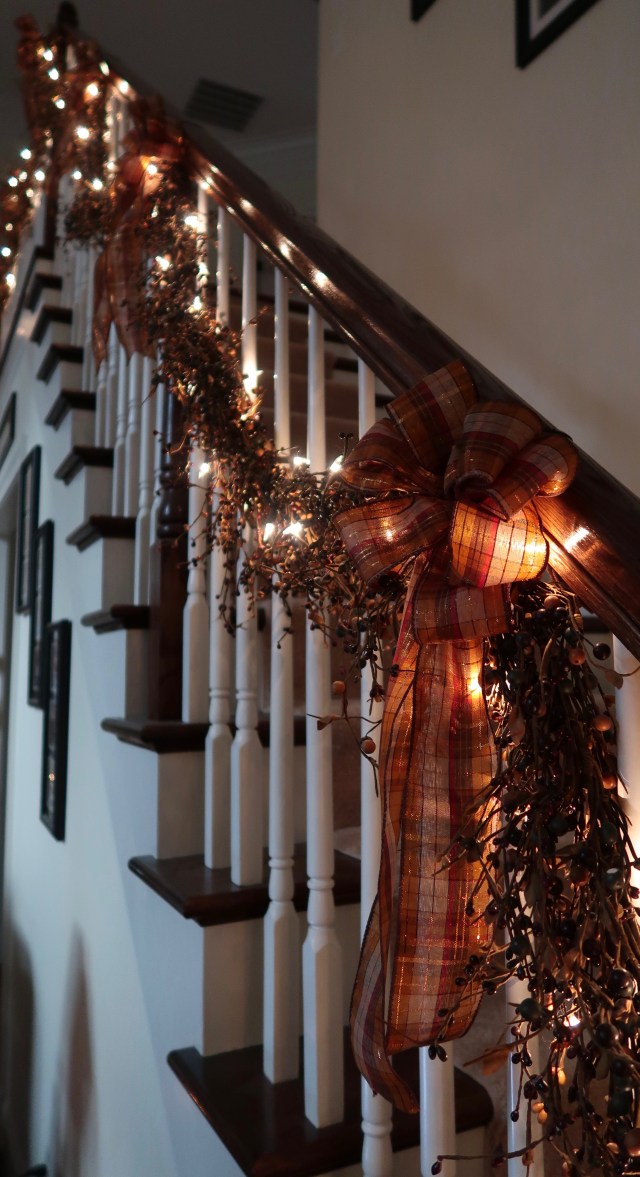
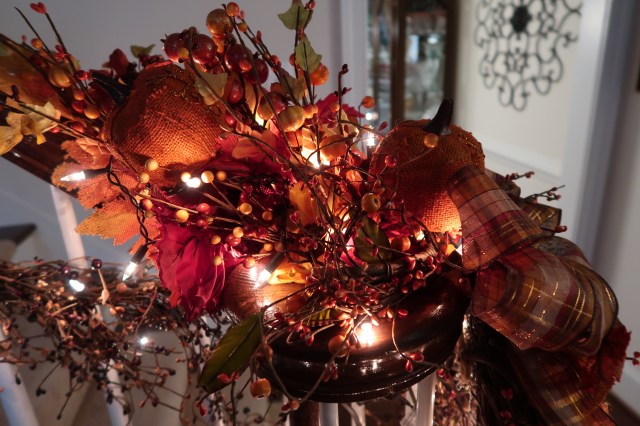
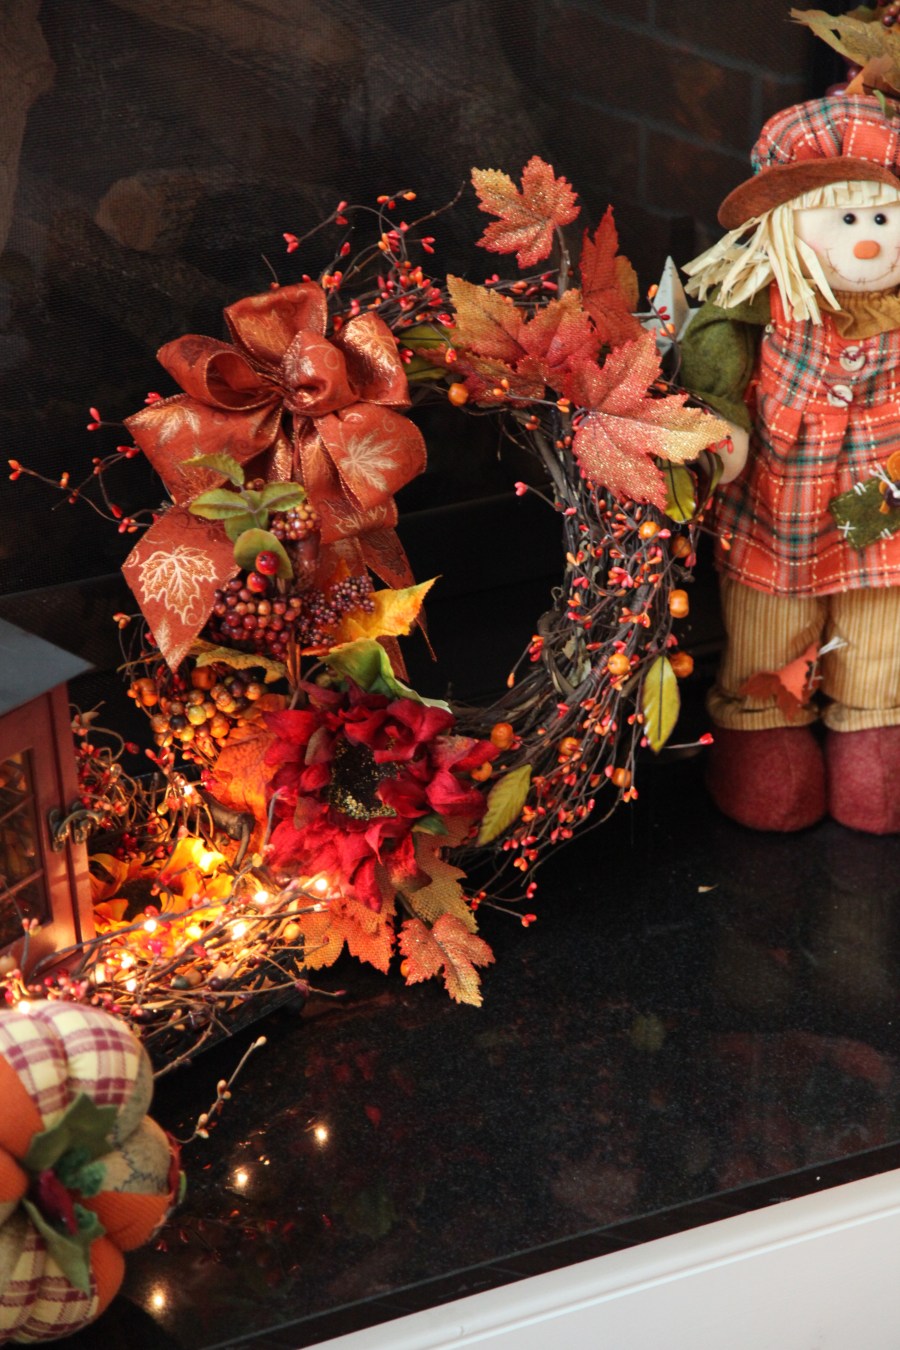
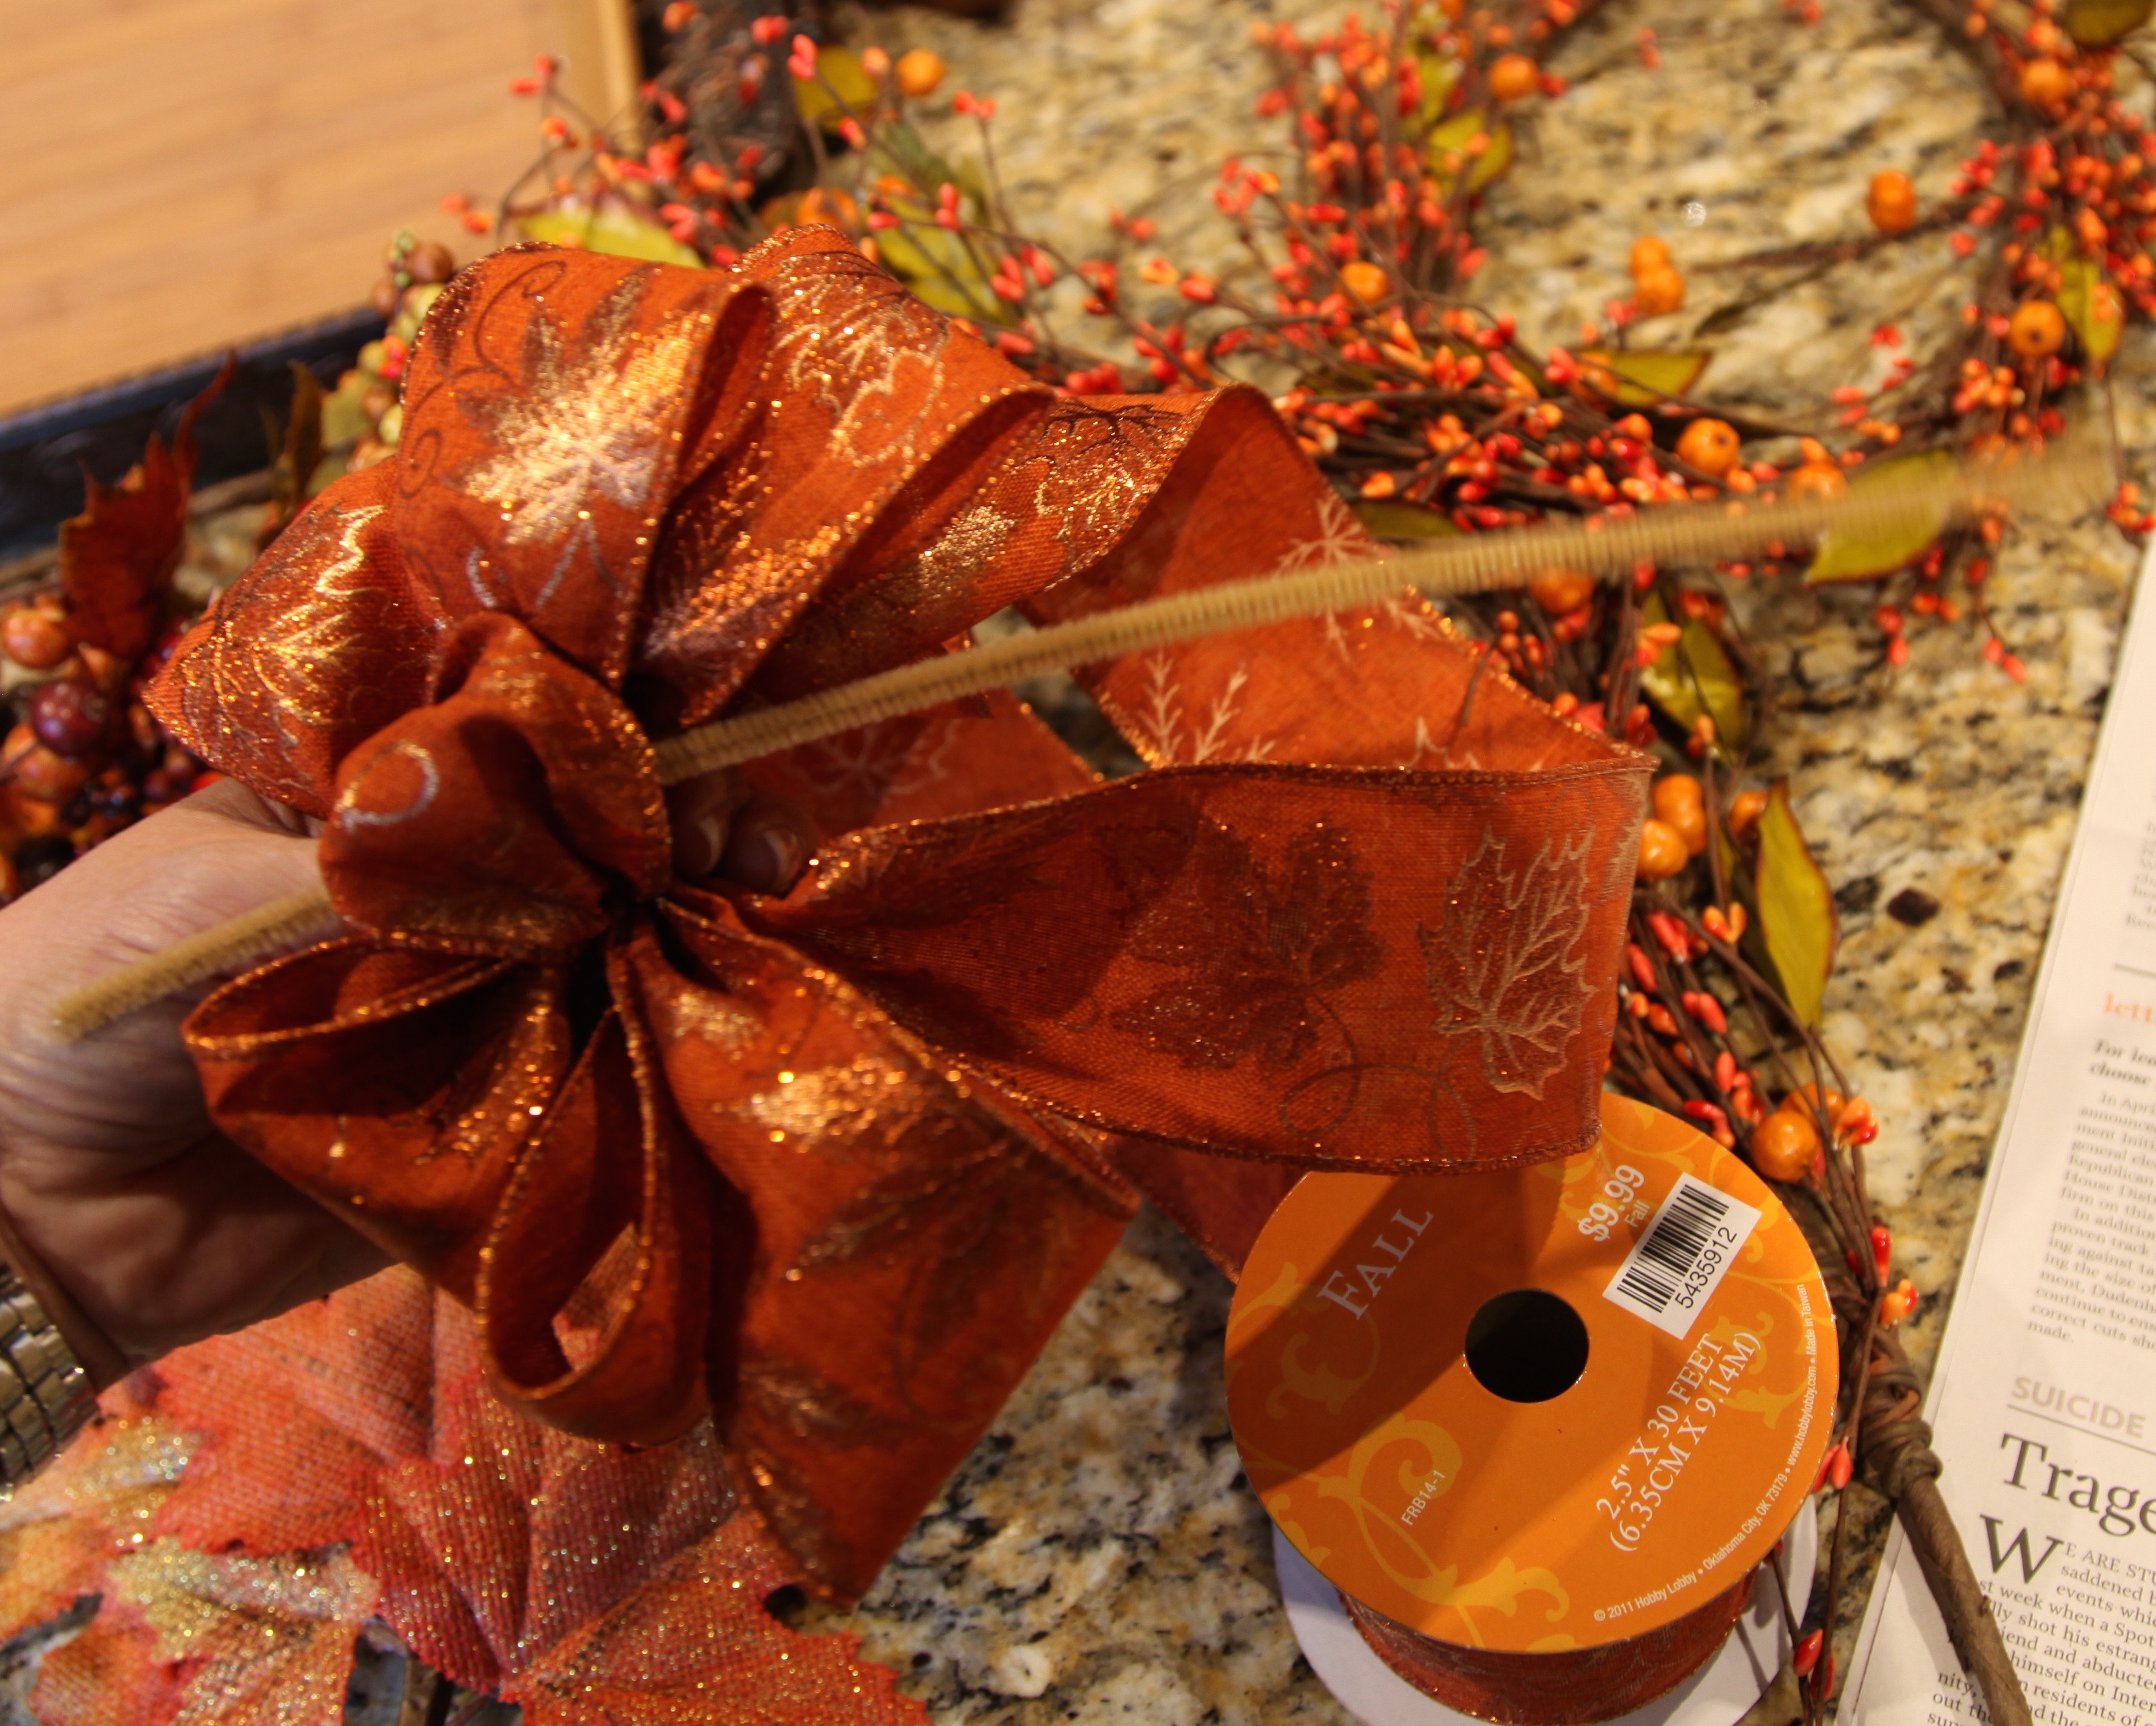
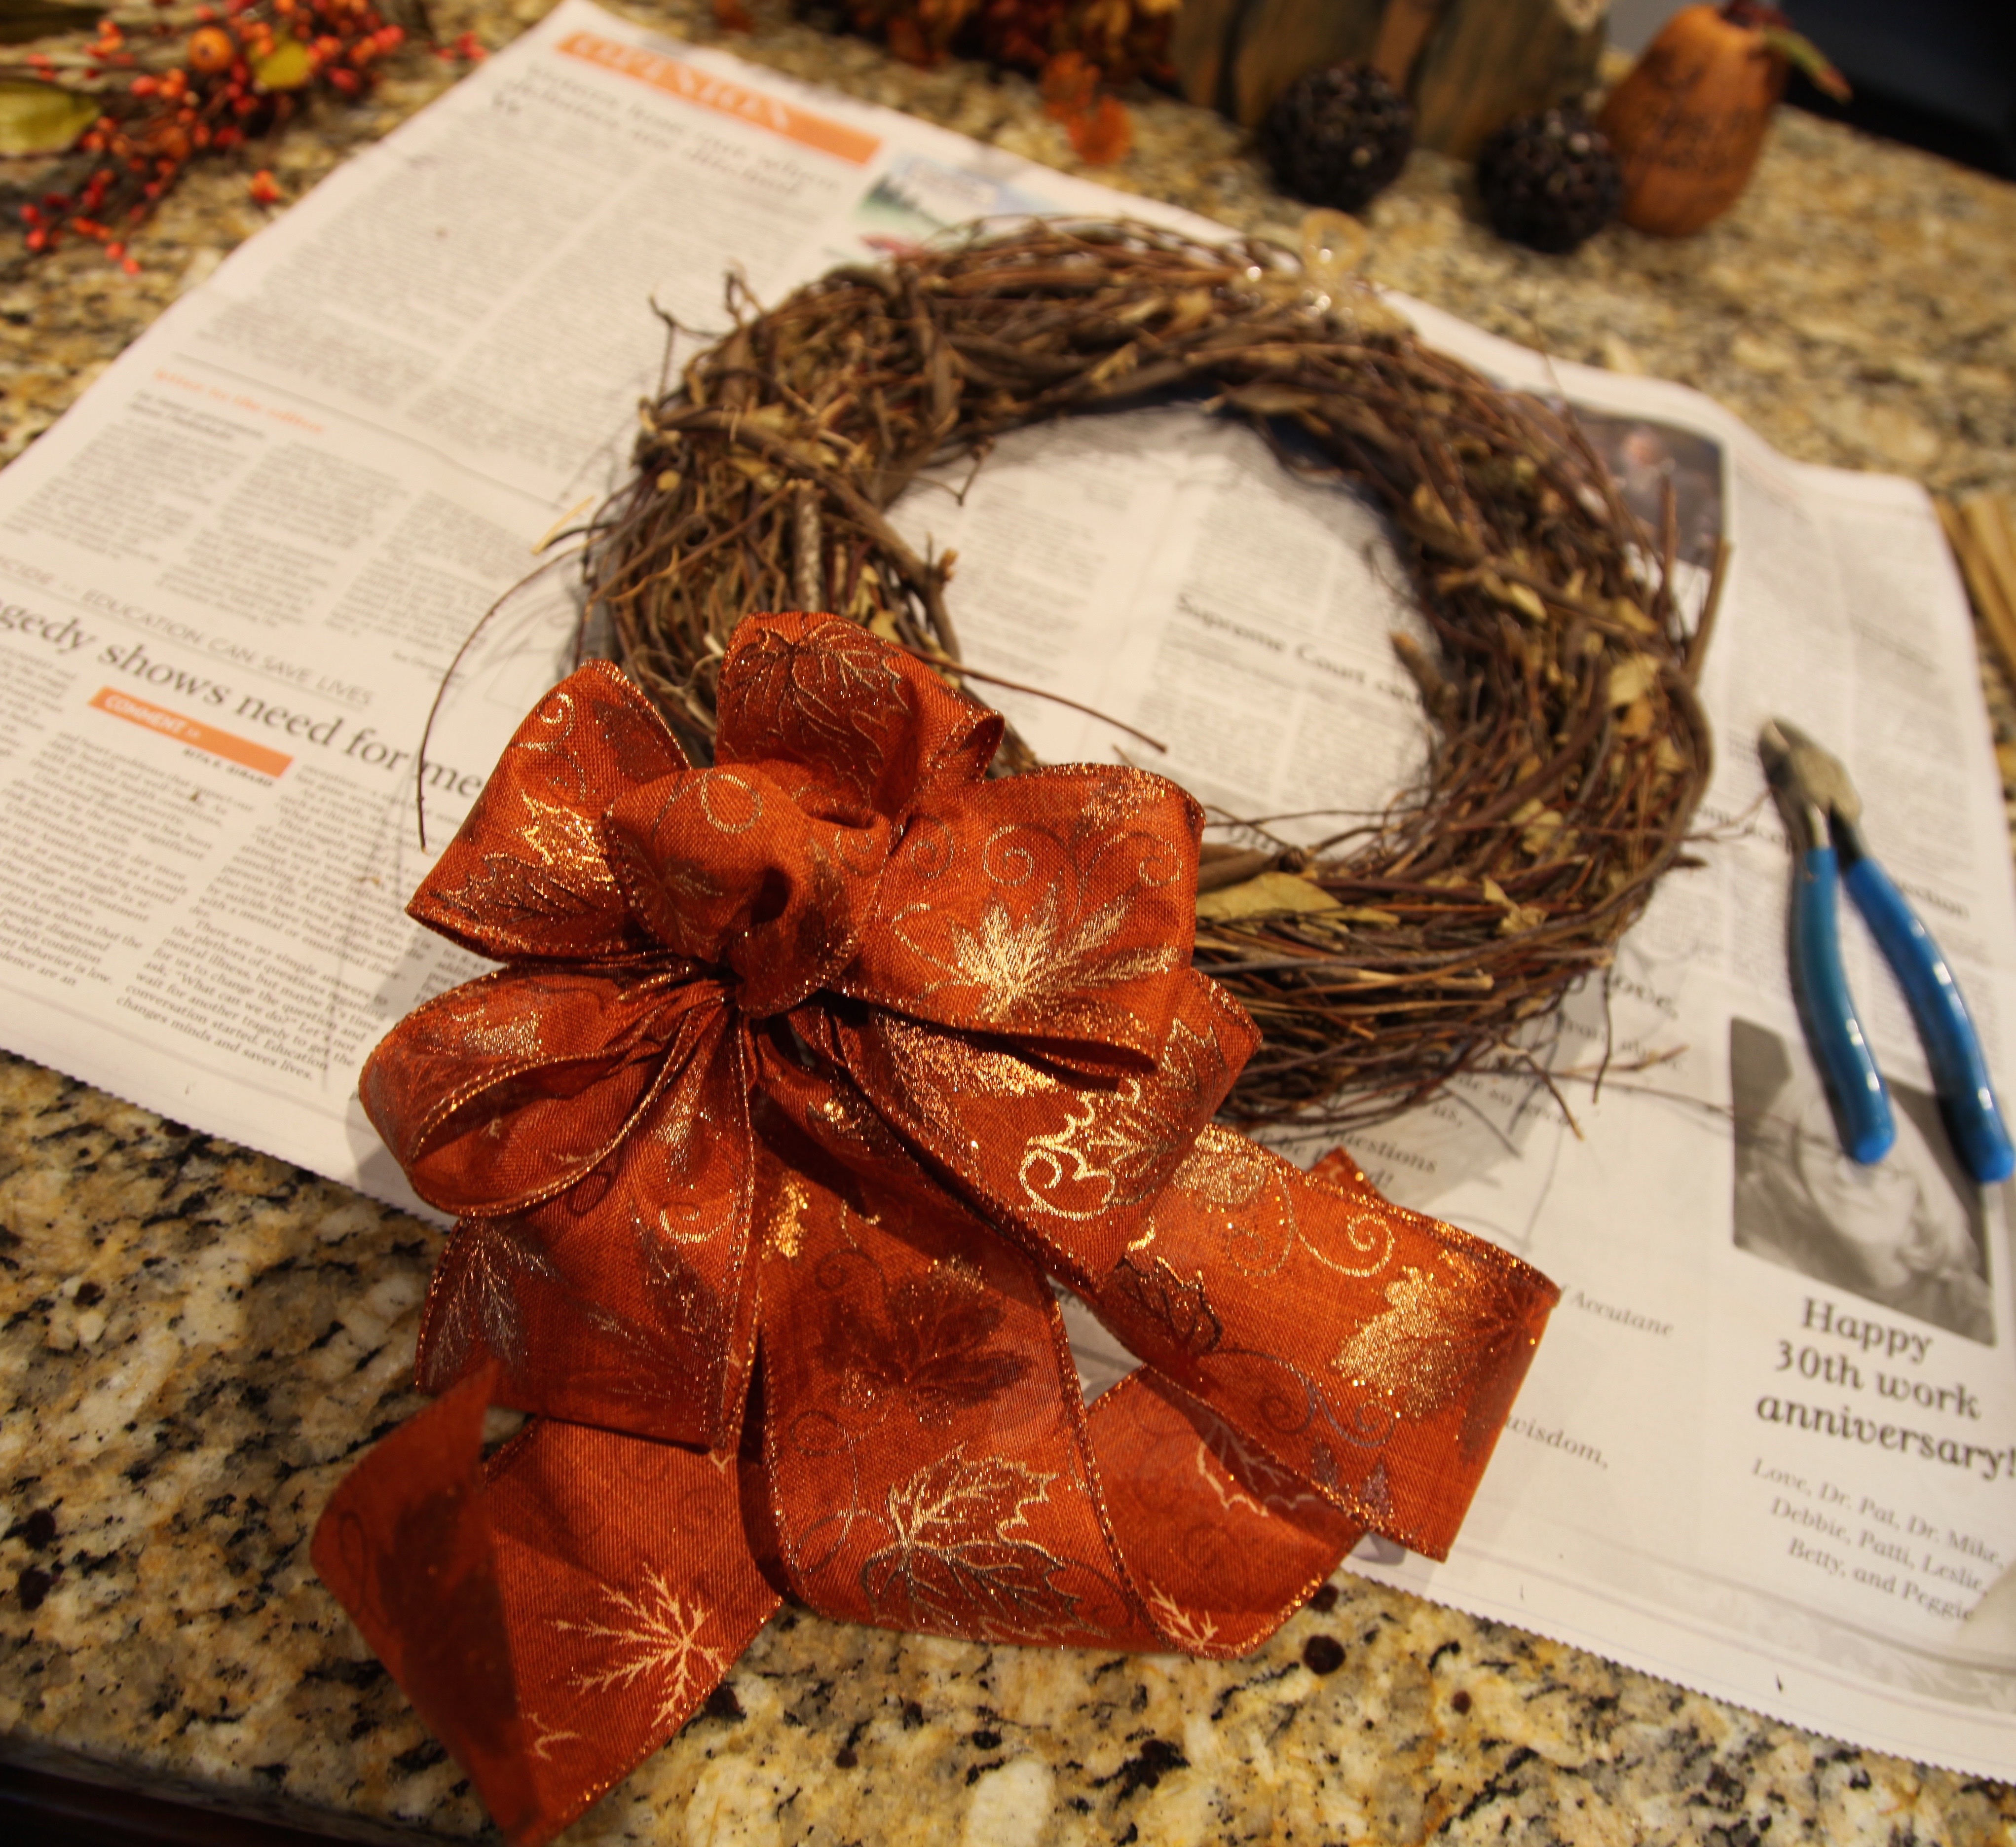
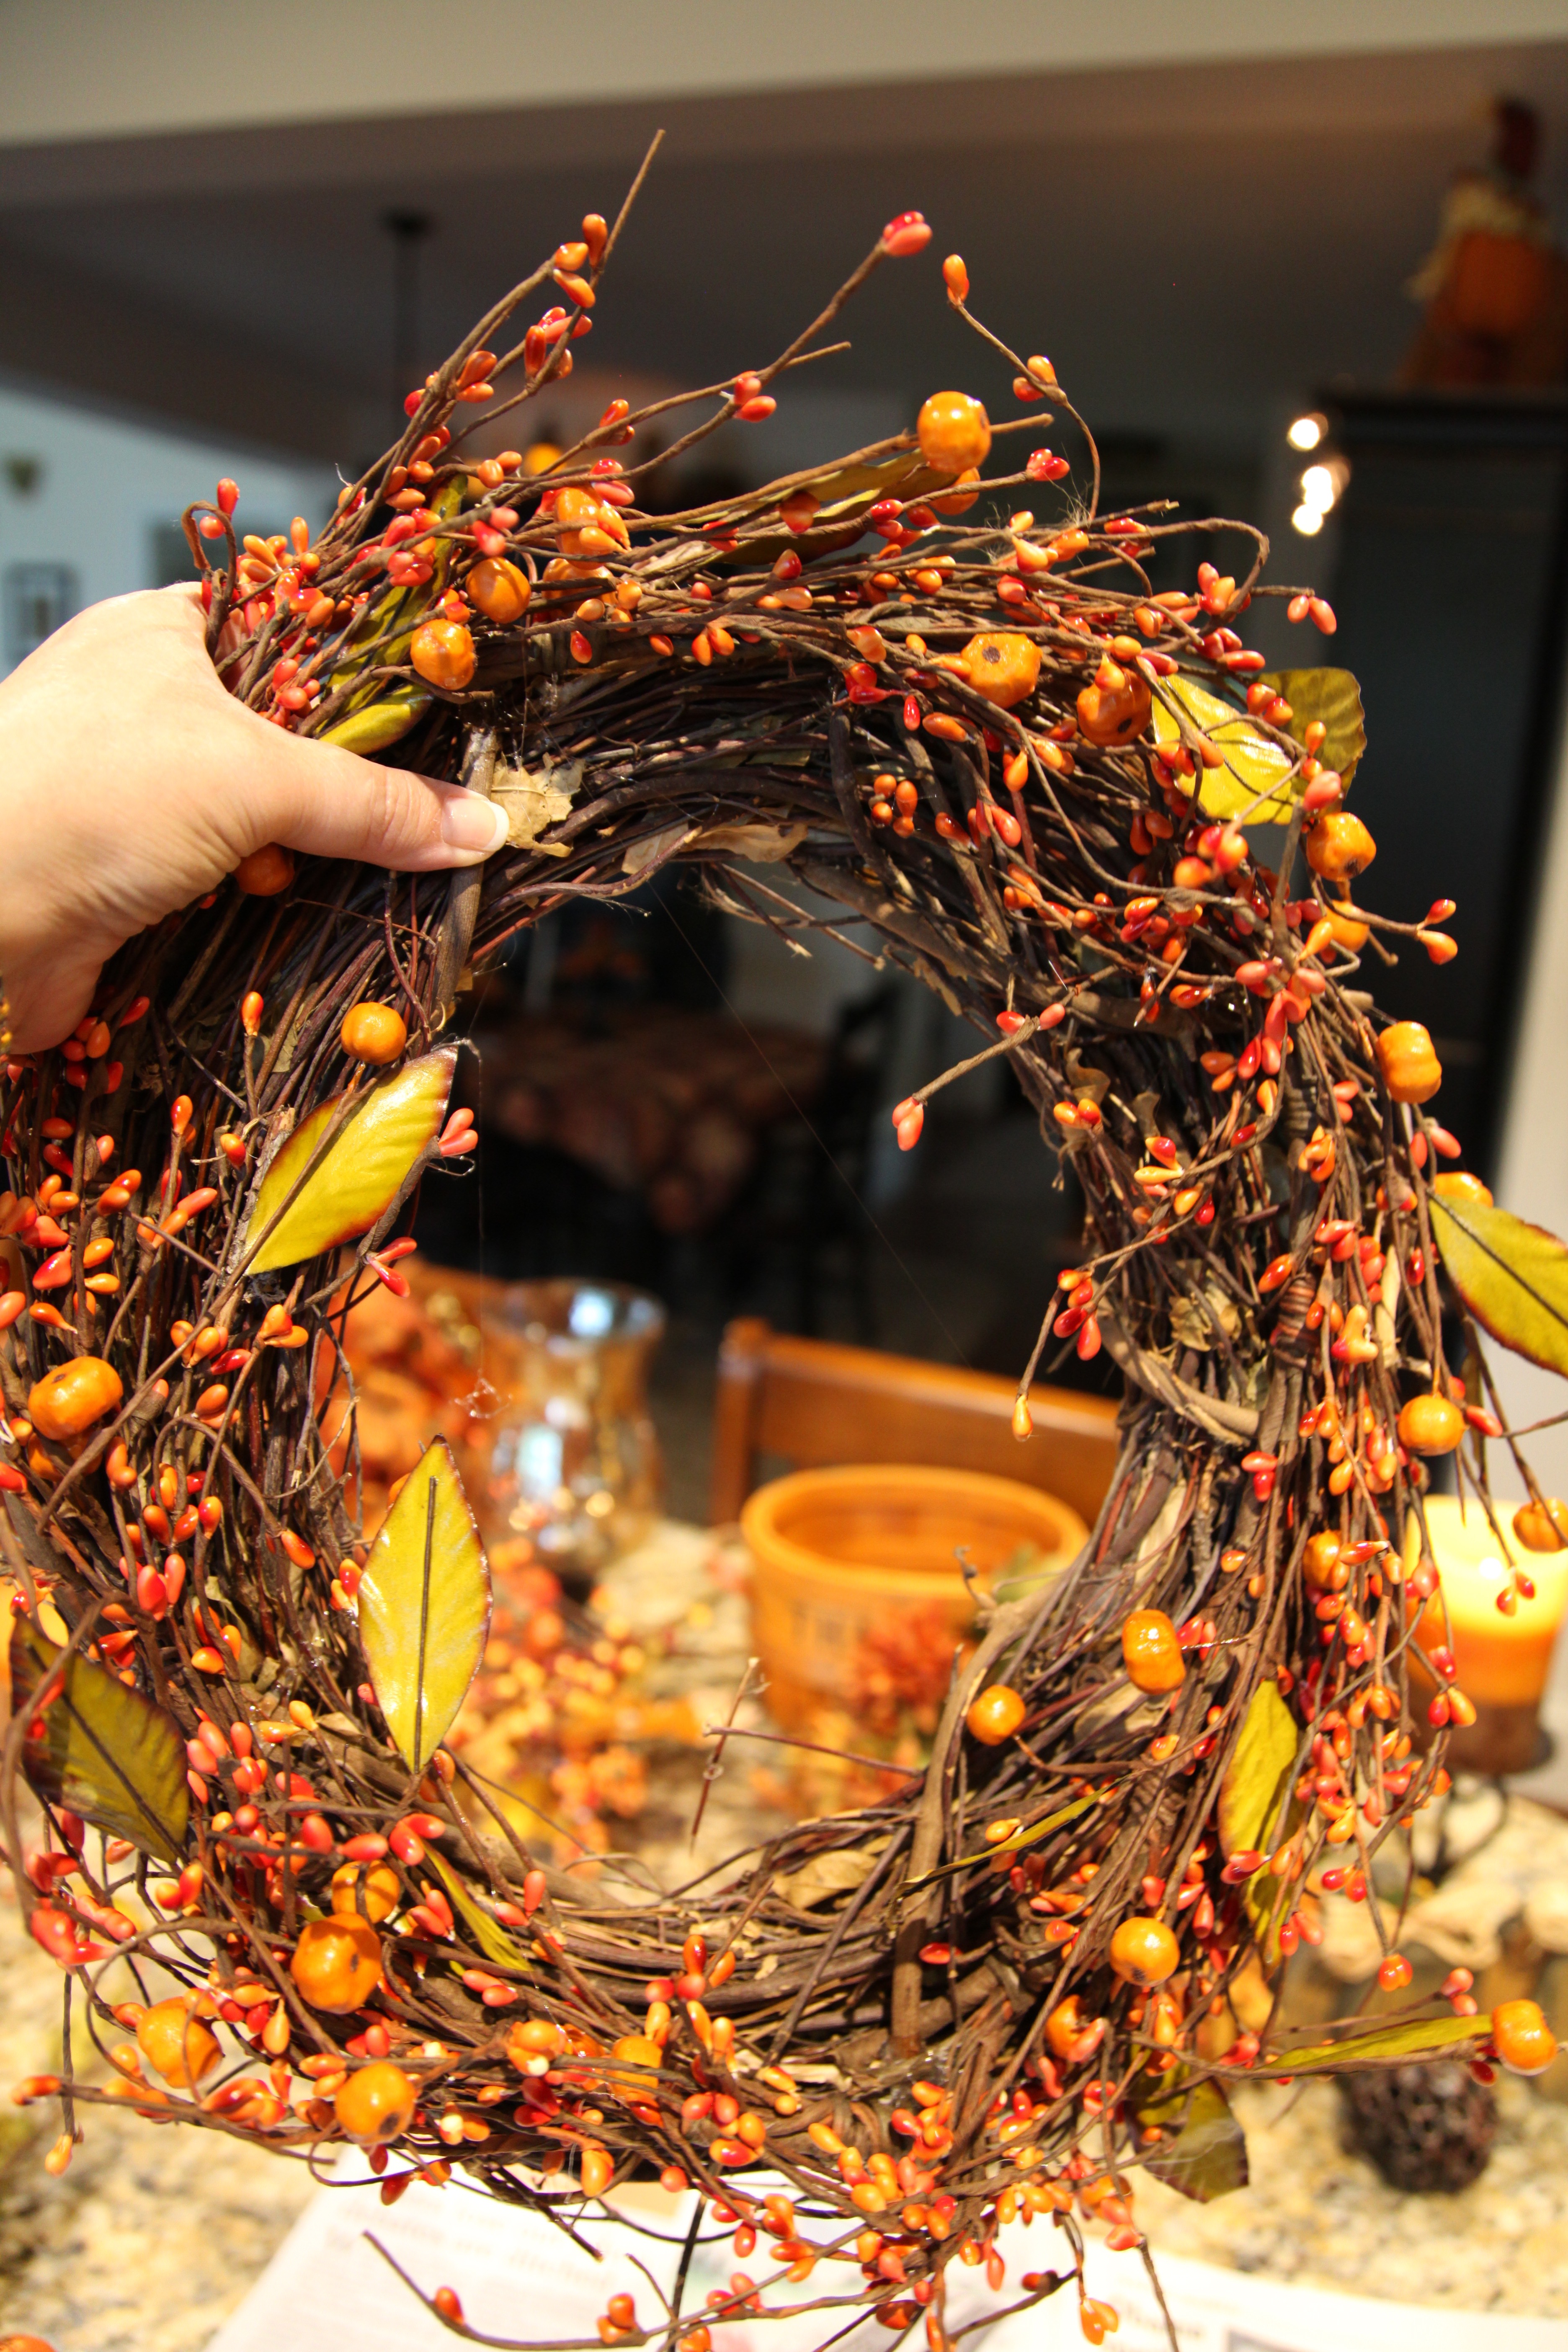
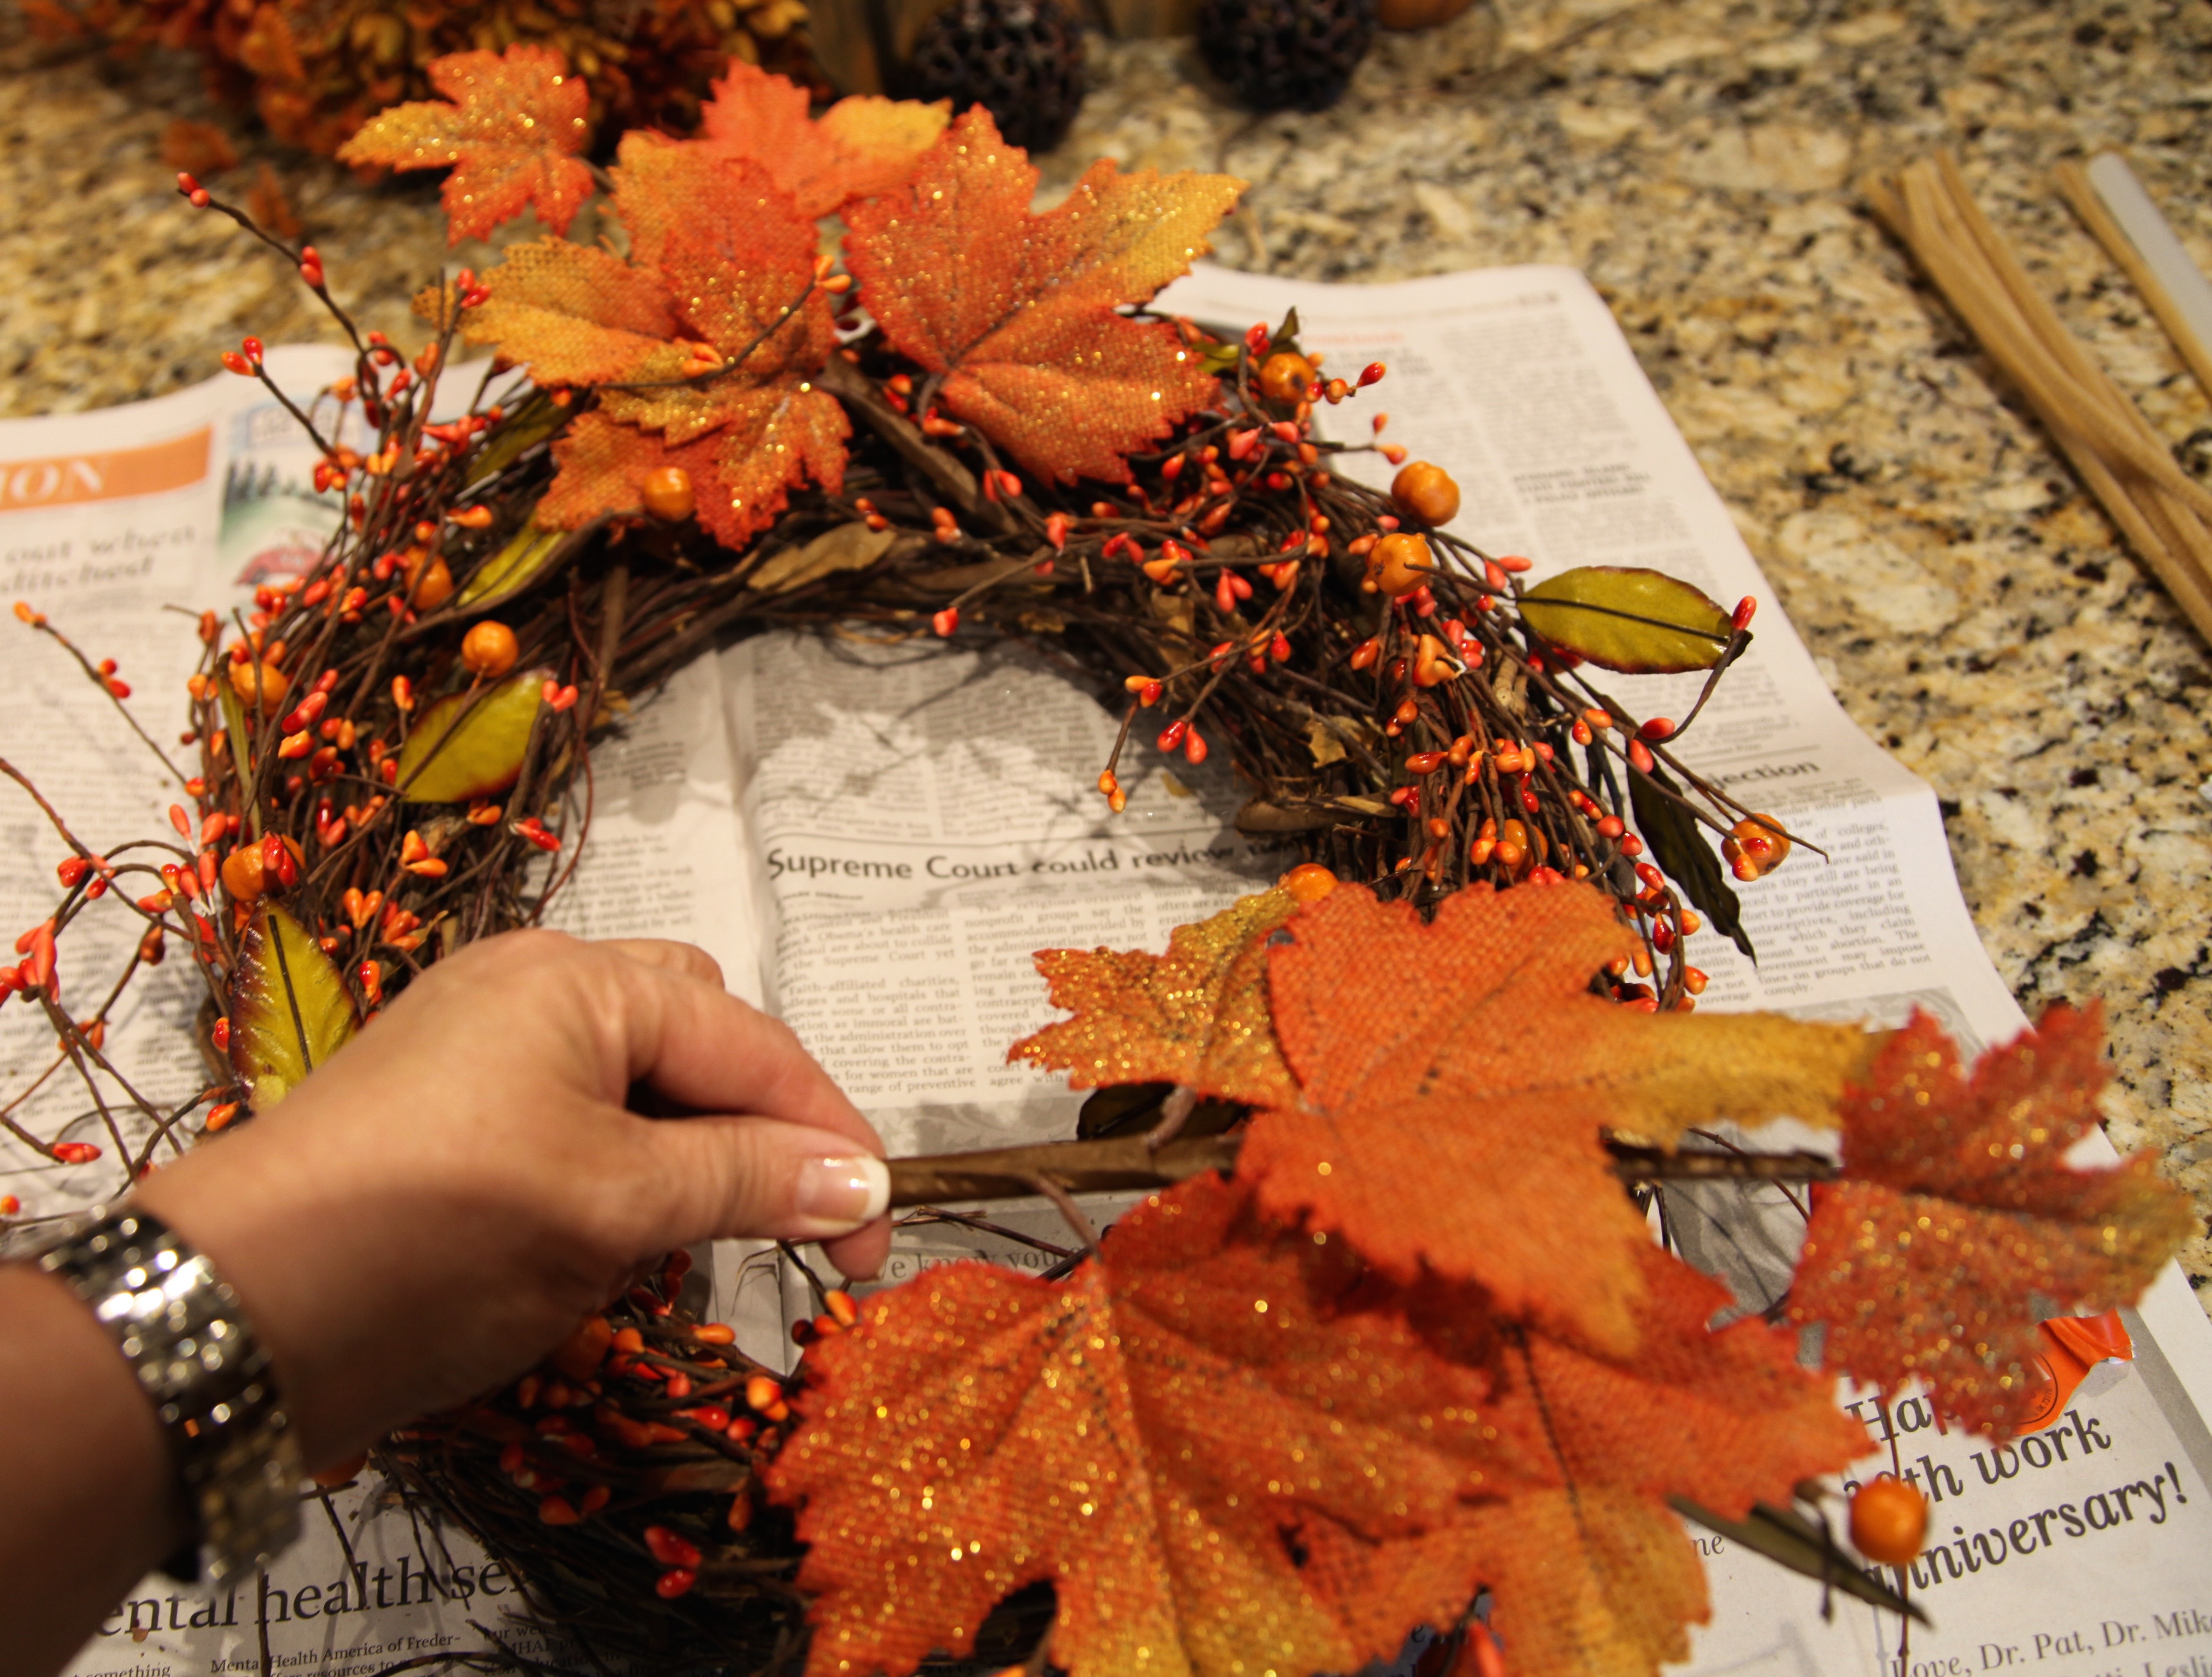
Next, I moved on around and put up a wreath that I made last year–It truly was so easy to make…It is nothing more than an oval grapevine wreath with a leaf garland glued on, a plaid bow, some pumpkins, some acorns, and a welcome sign:

IMG_5419

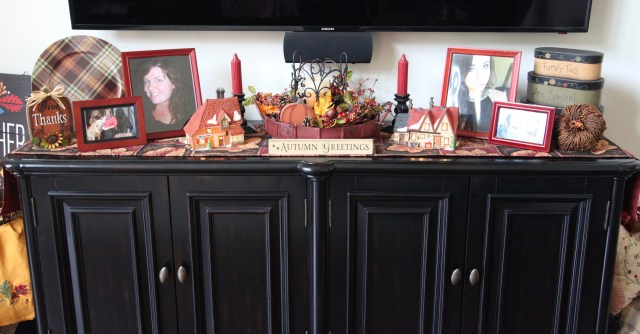
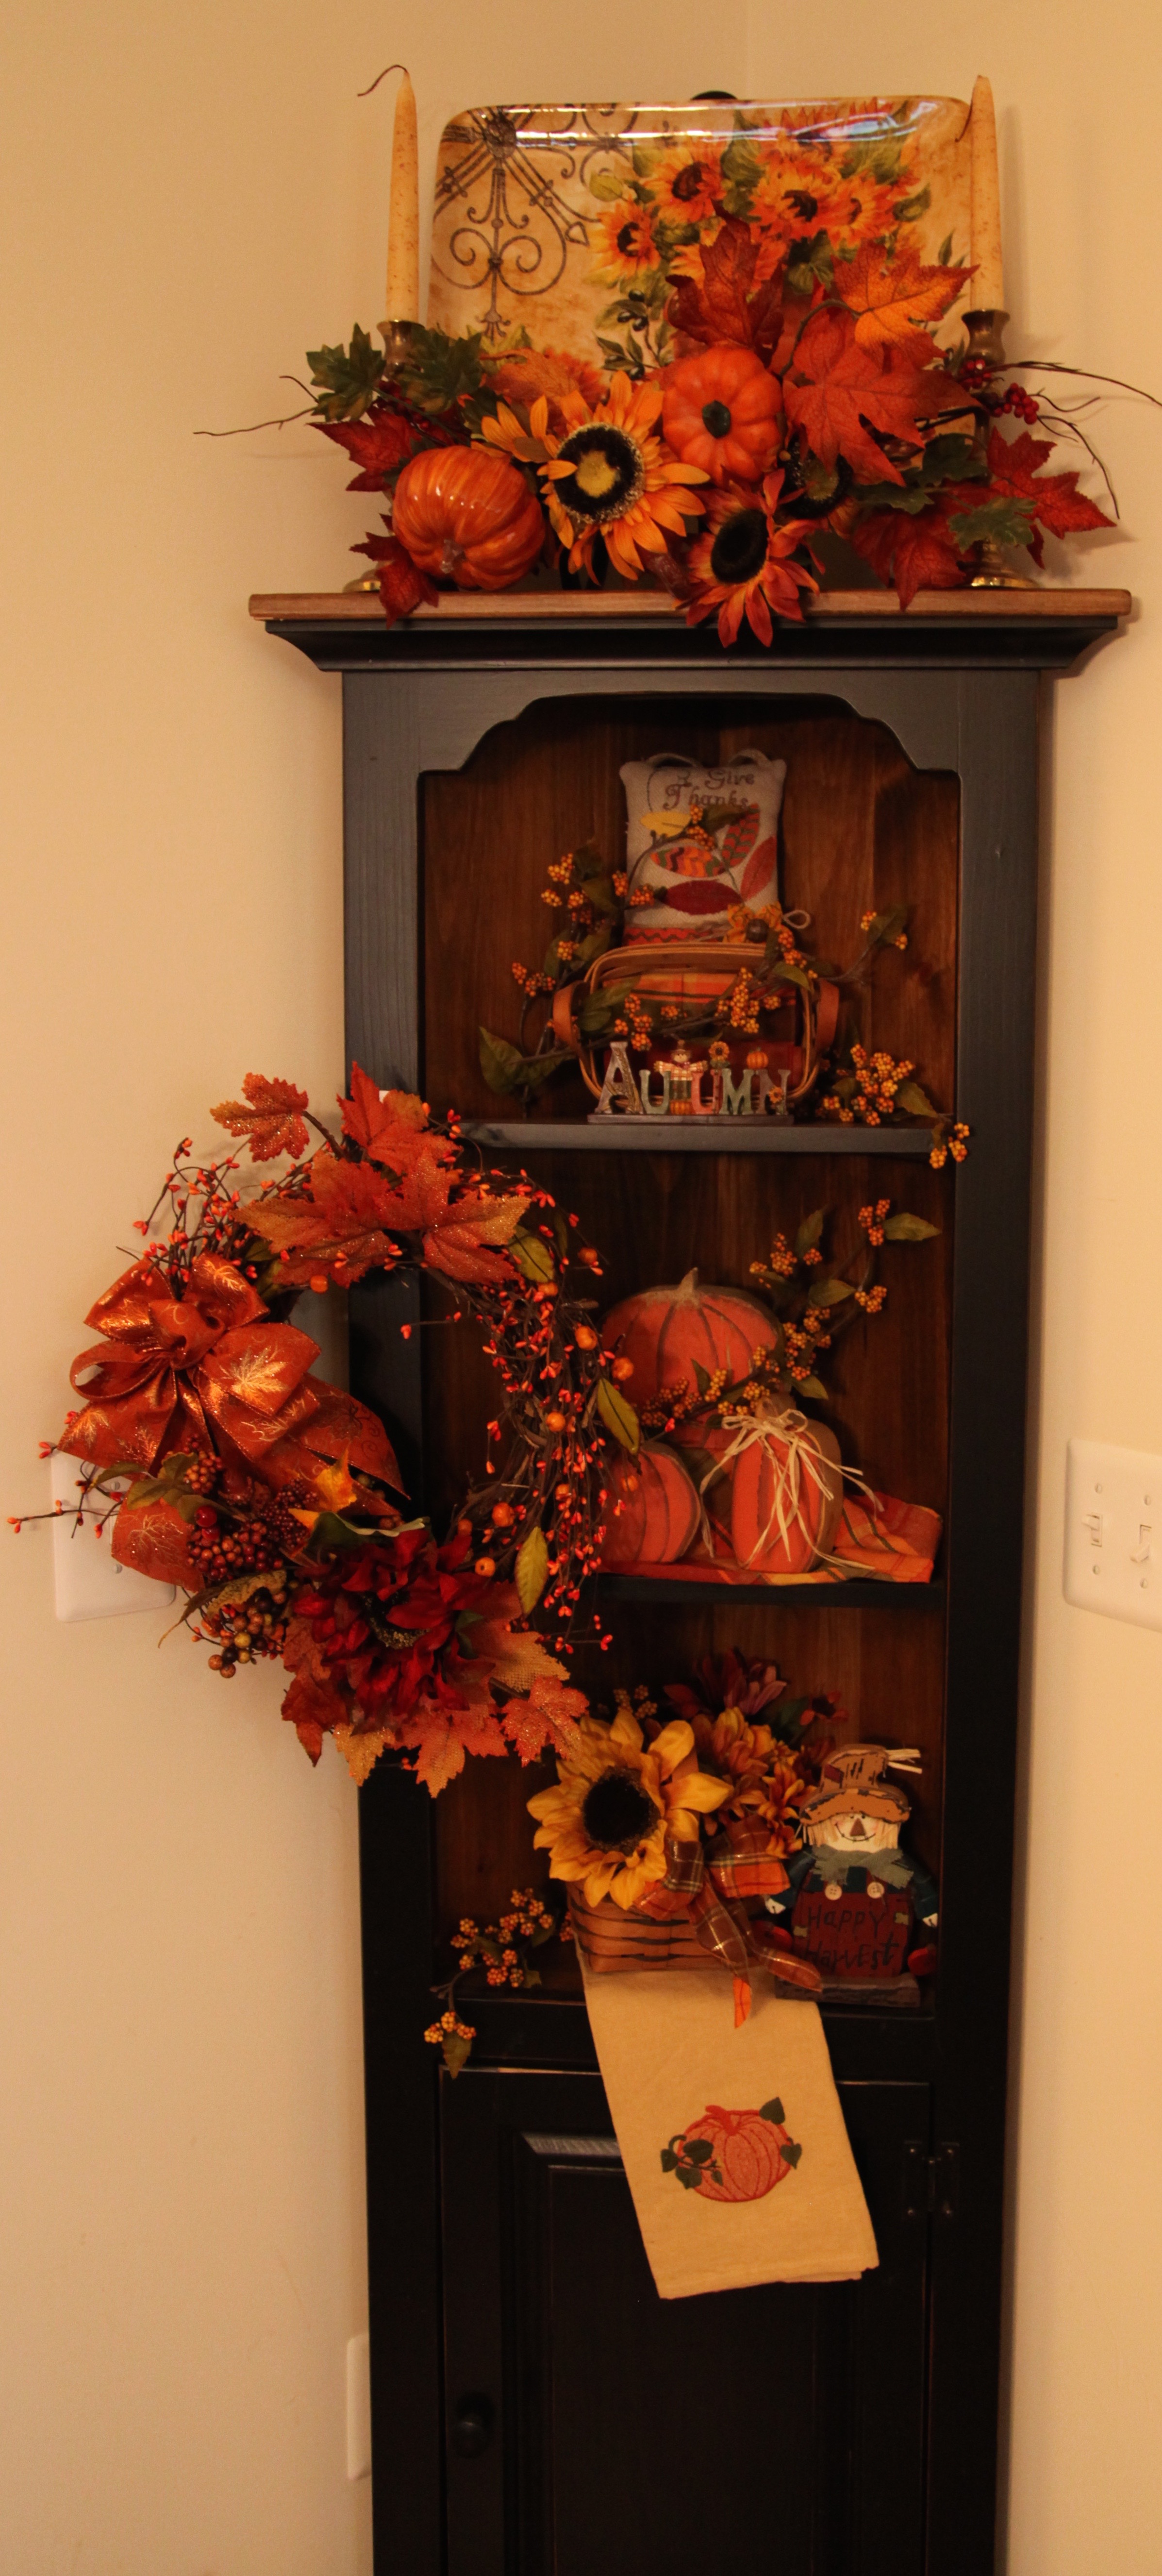
Next was the “Ivy Table” so named because it used to have ivy stenciled on the door fronts before Chris repainted it a distressed black to match the black Hooker furniture that sit in the rest of this portion of the house.  I got the shelf above it at one of our local craft stores.

IMG_5411IMG_5410

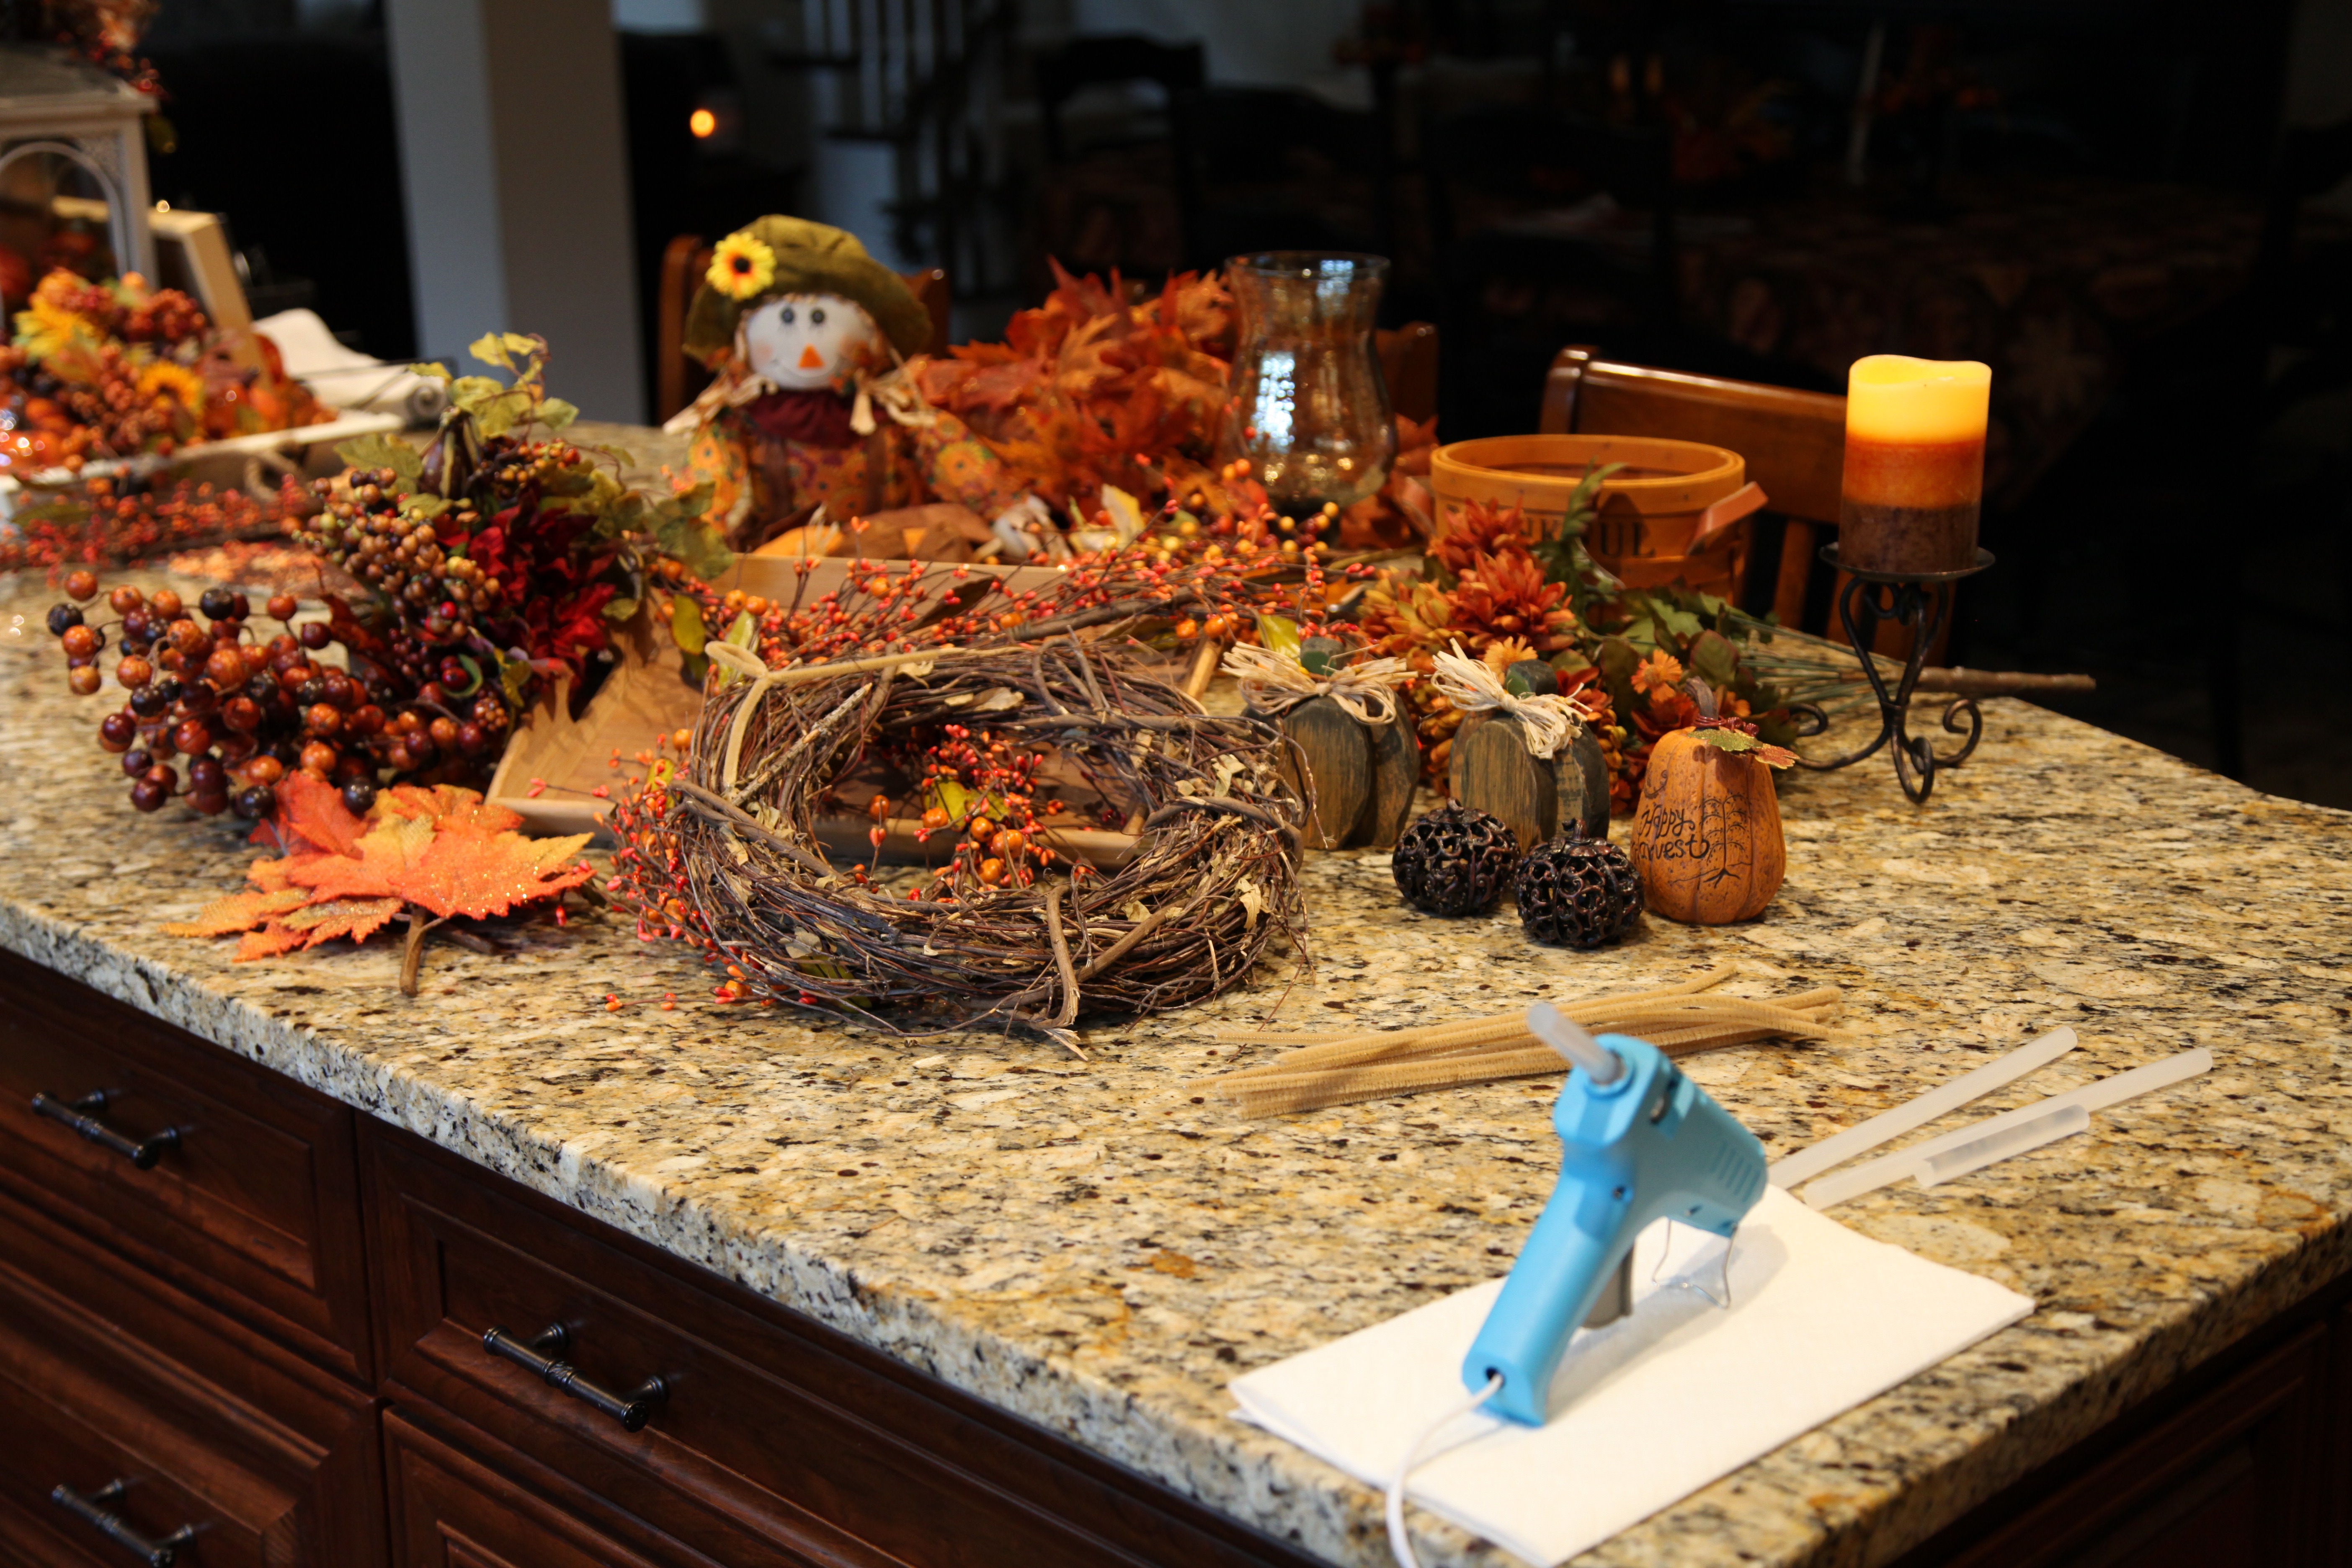
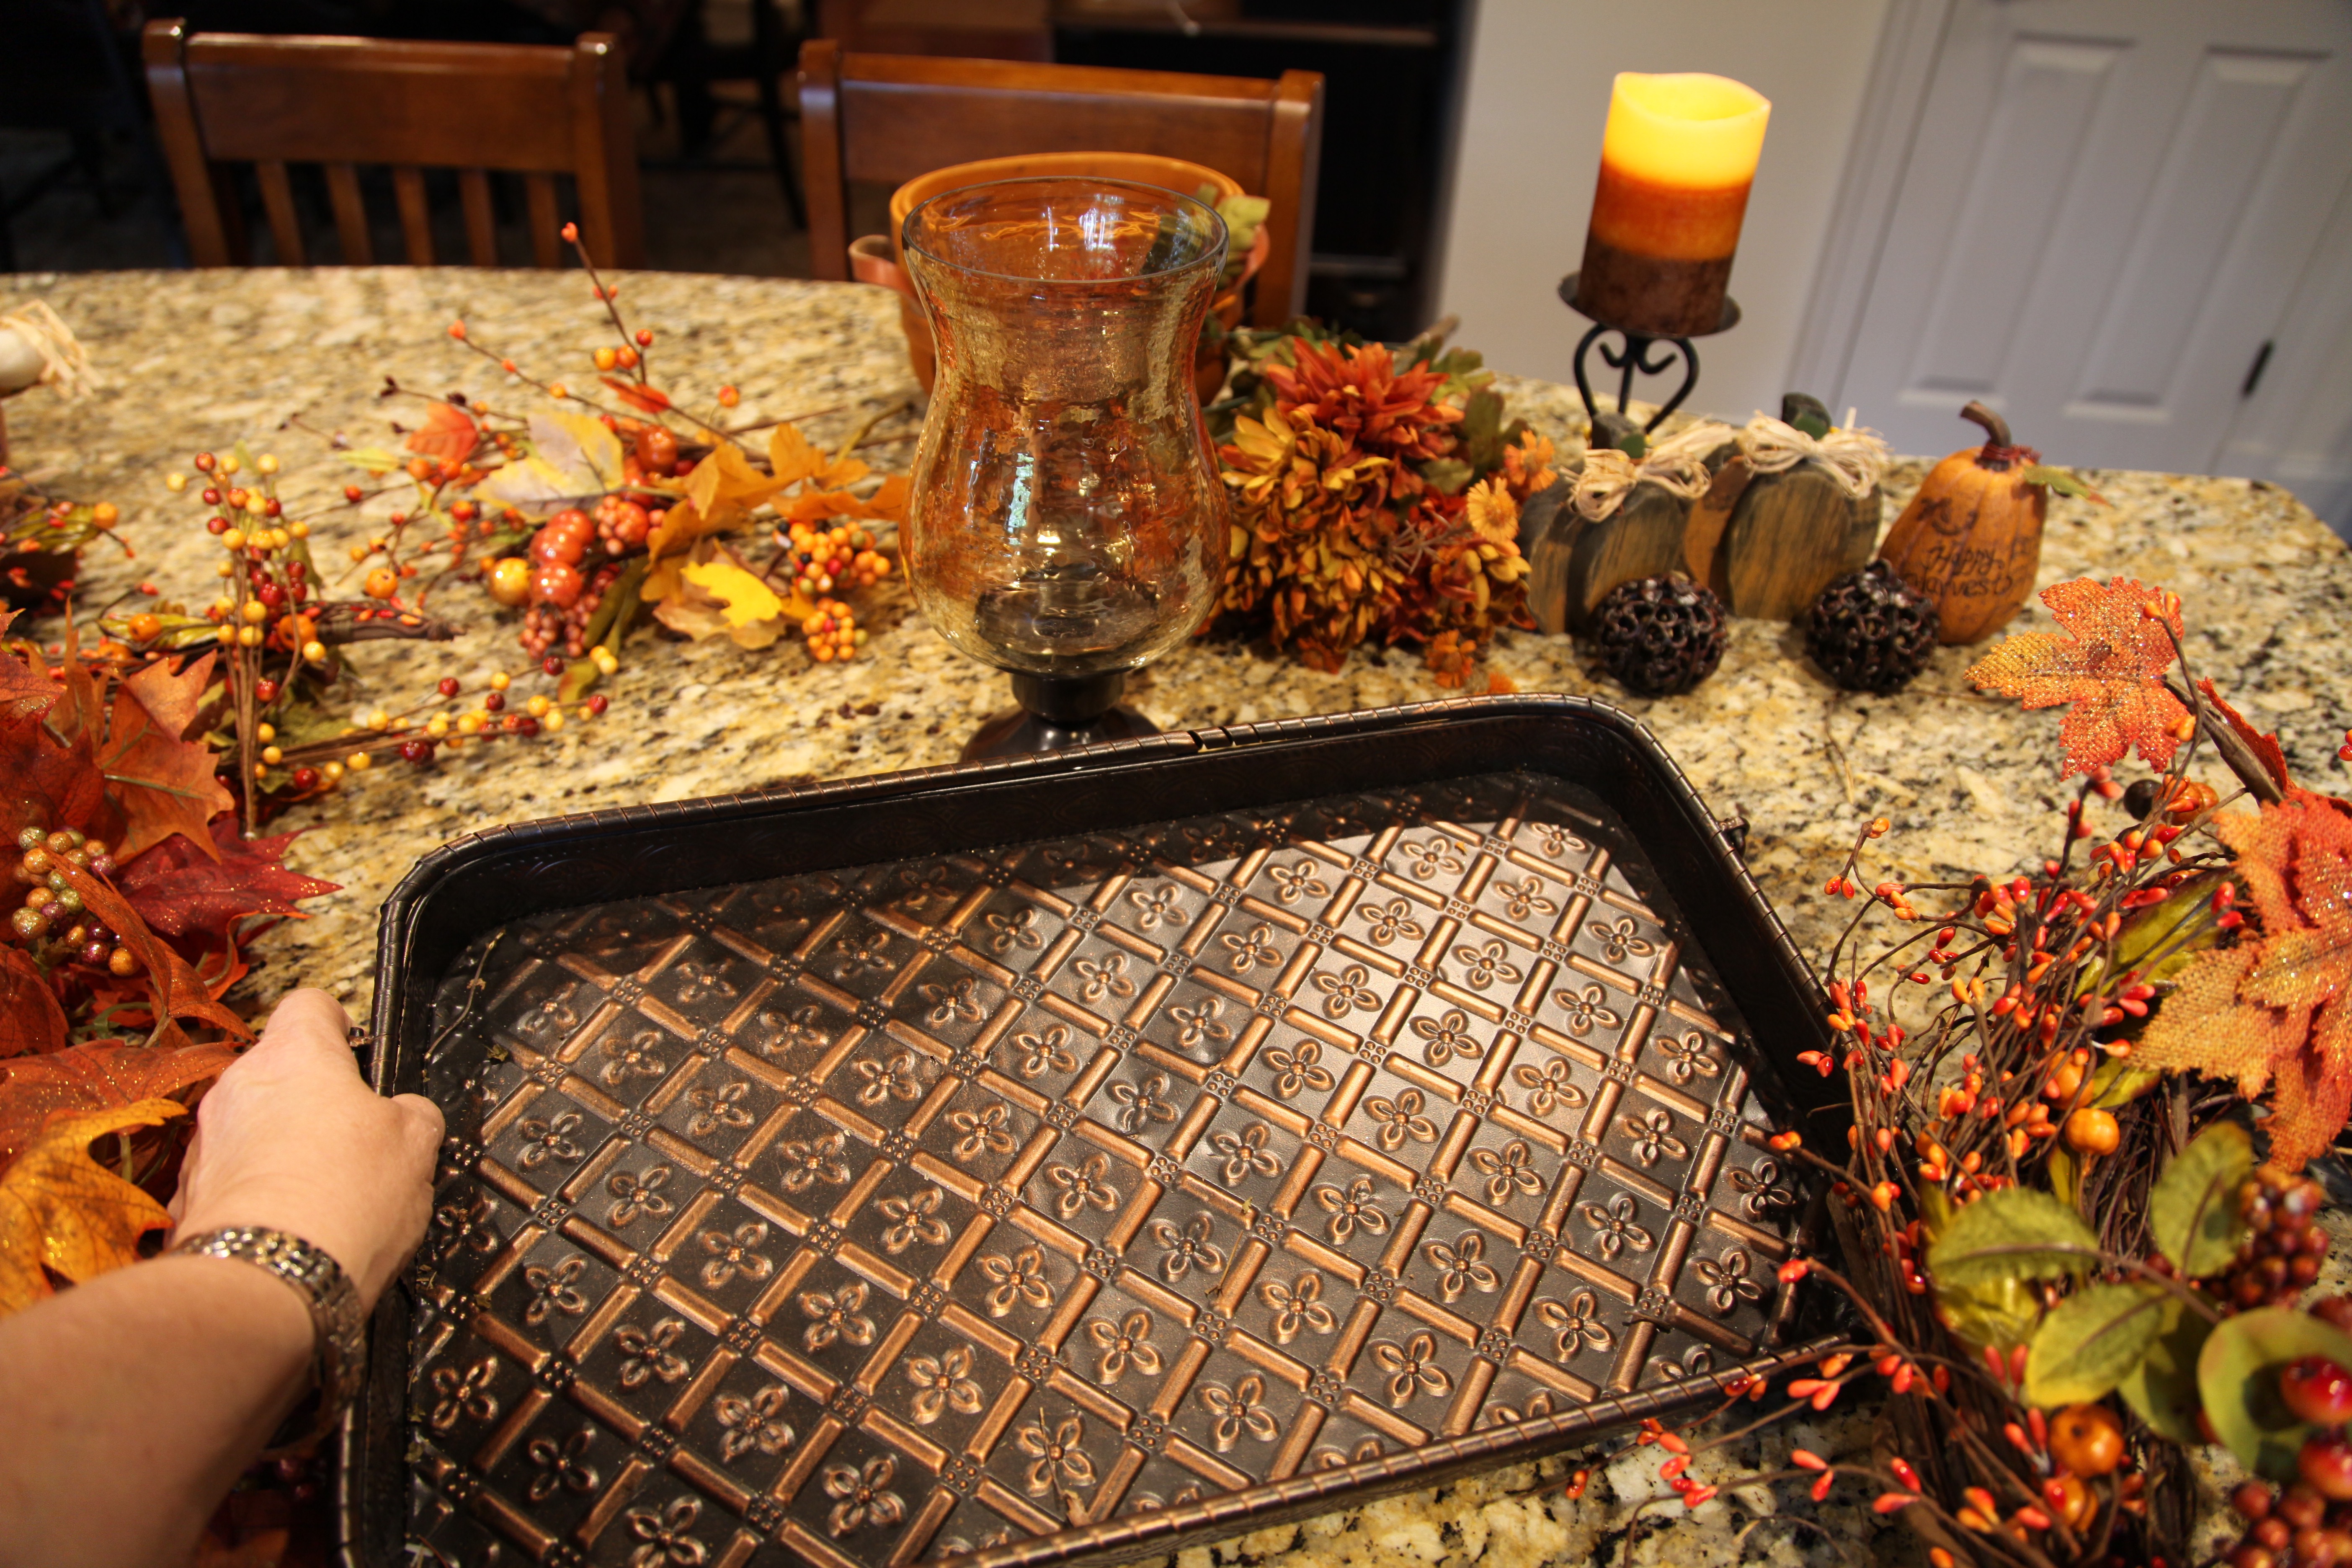
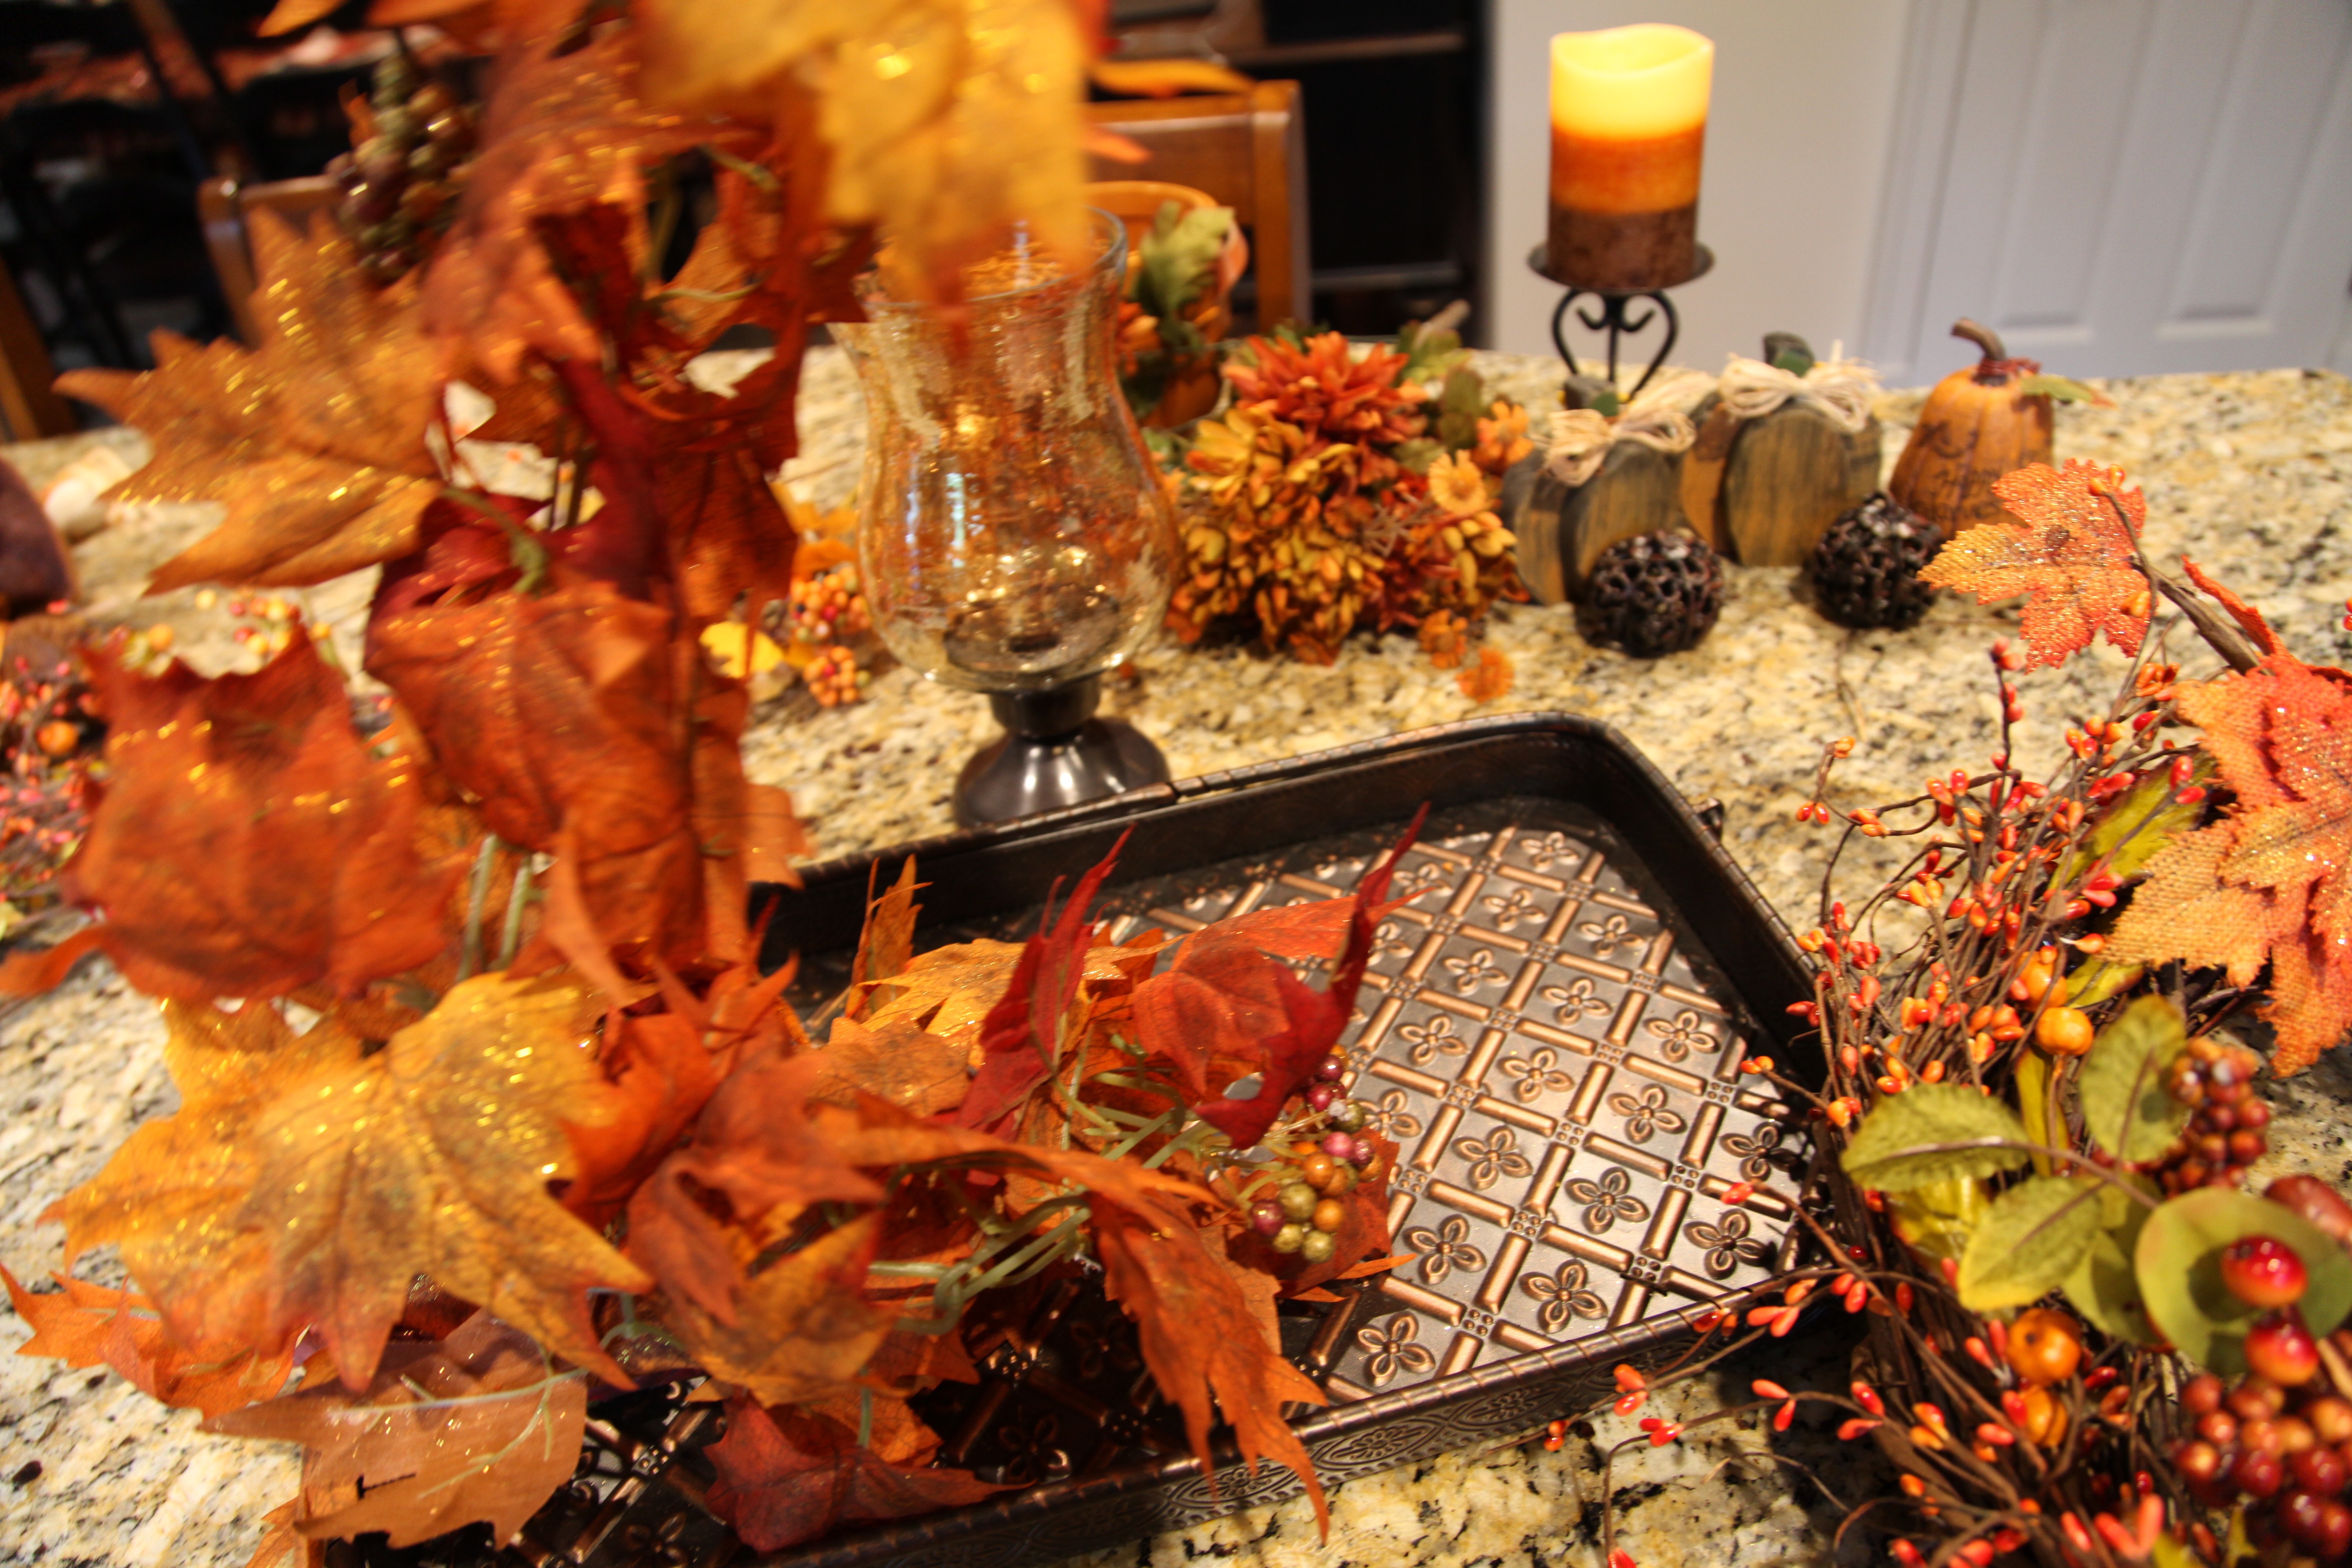
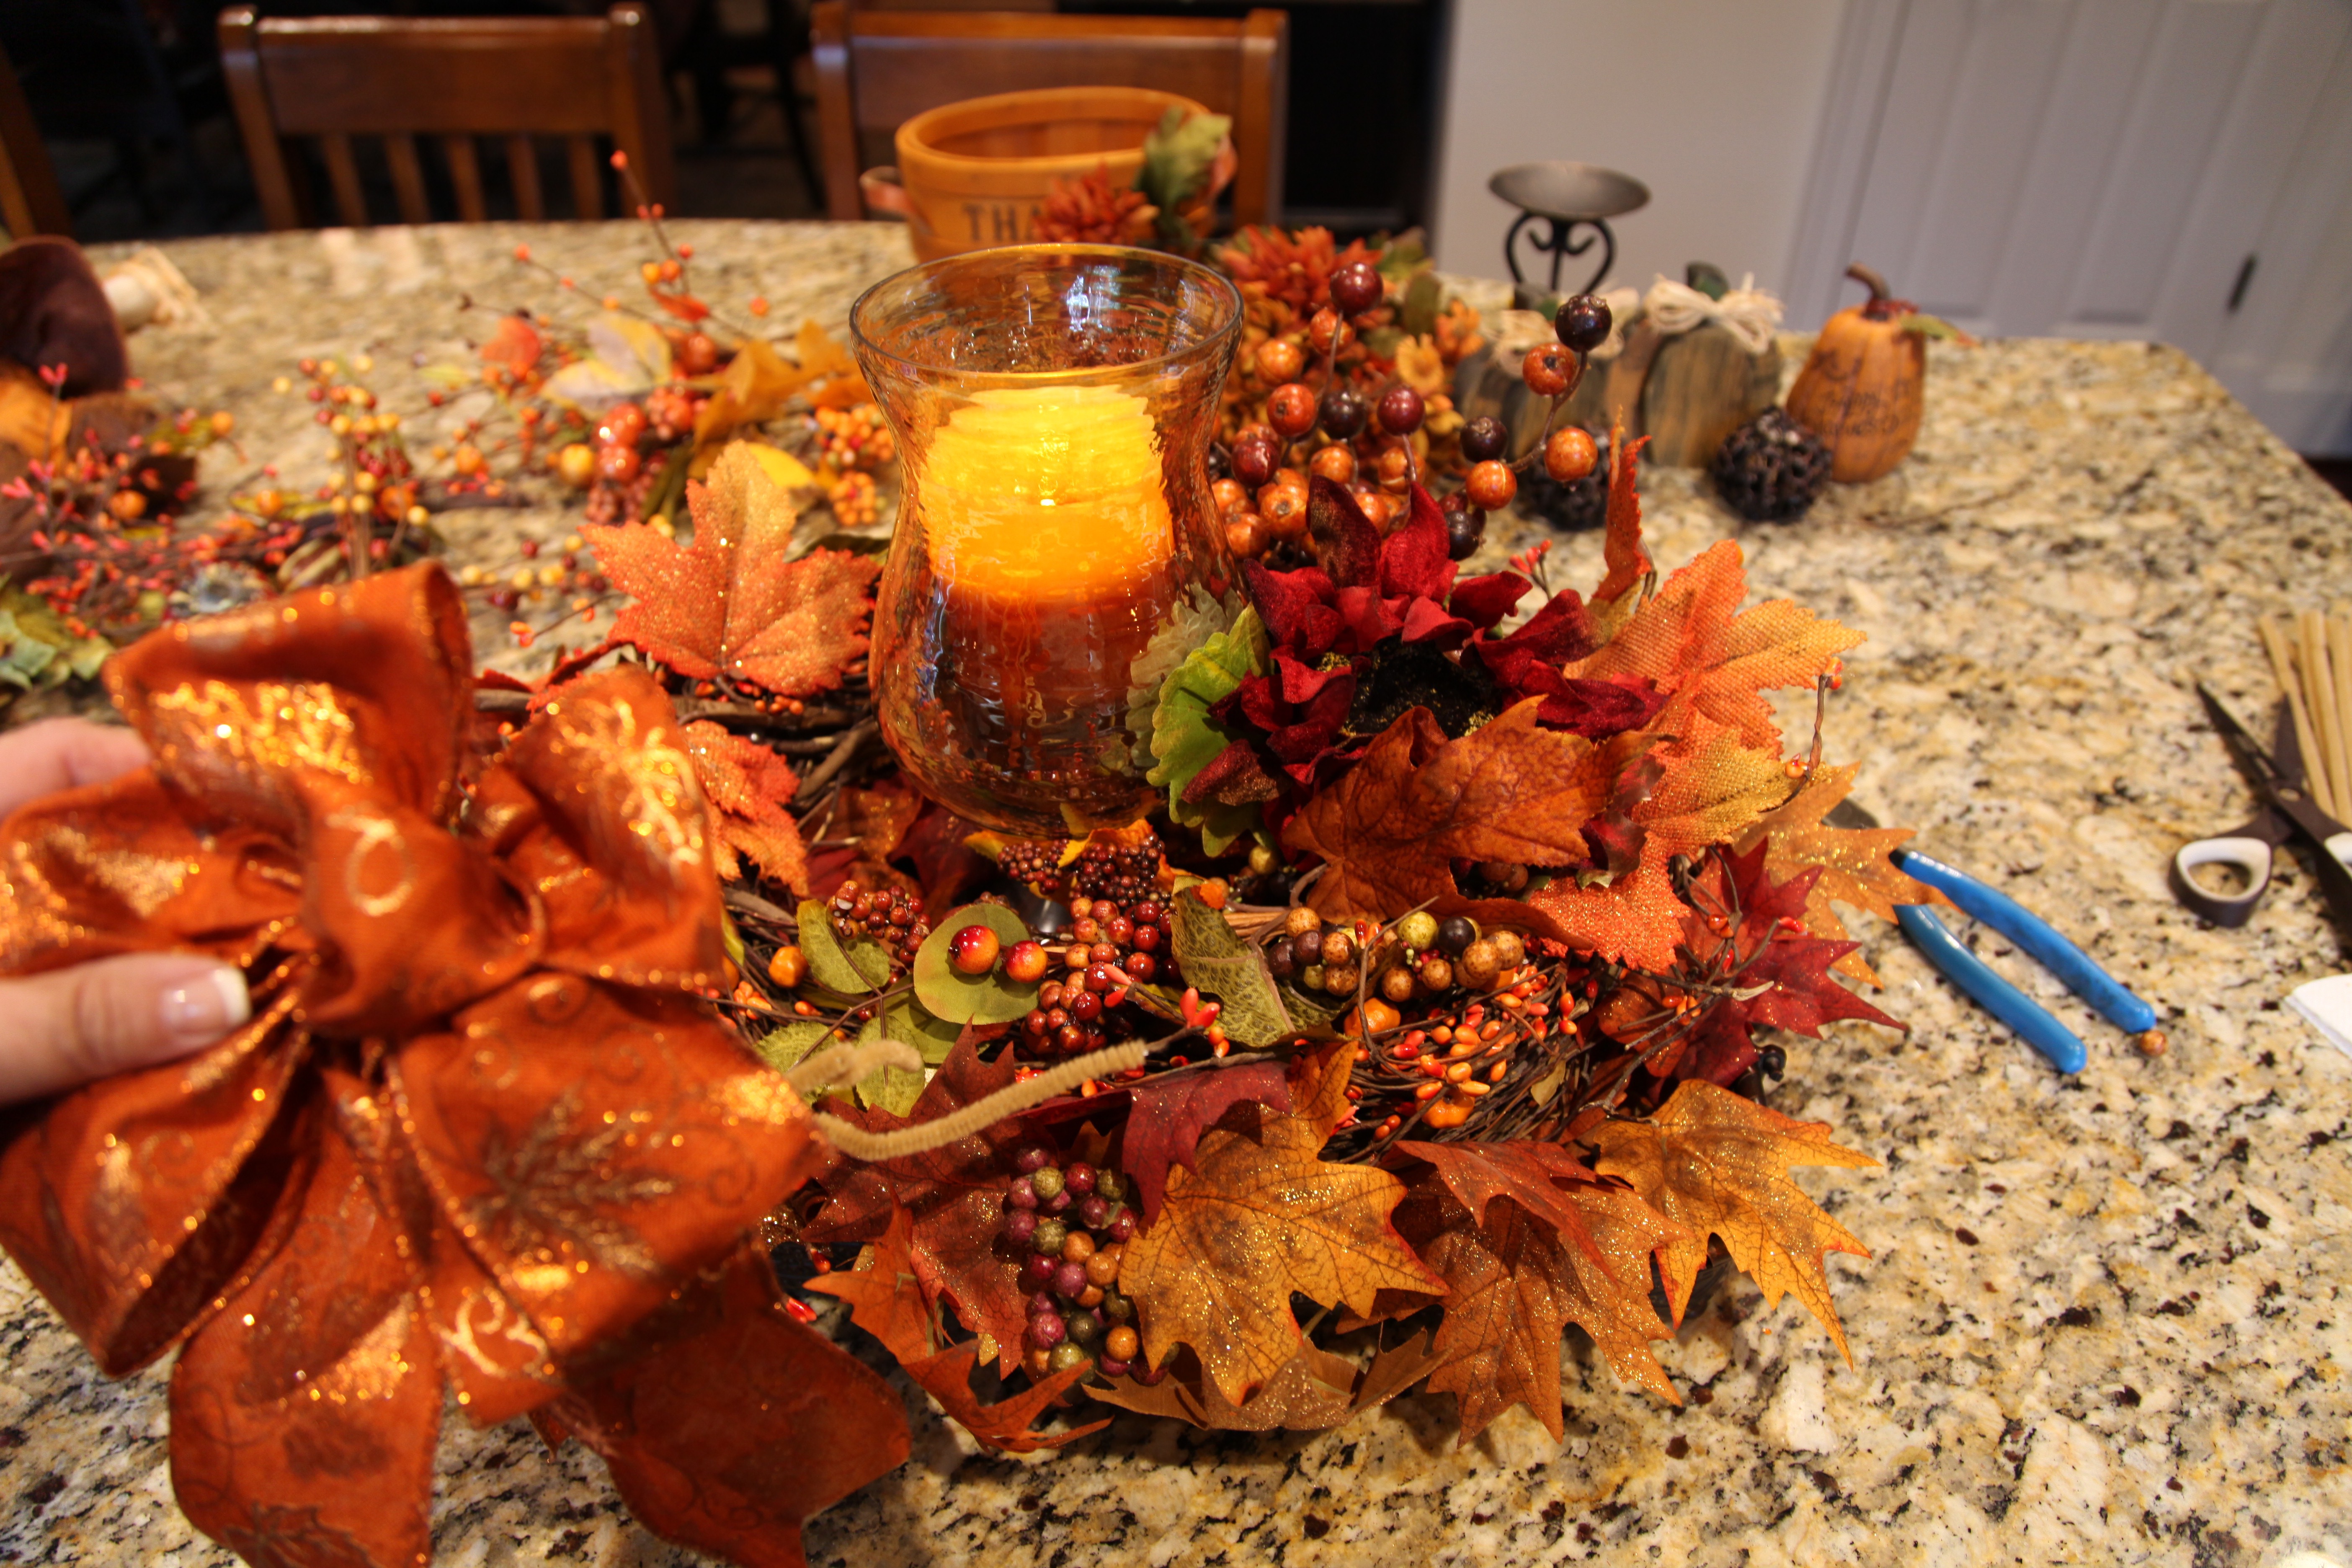
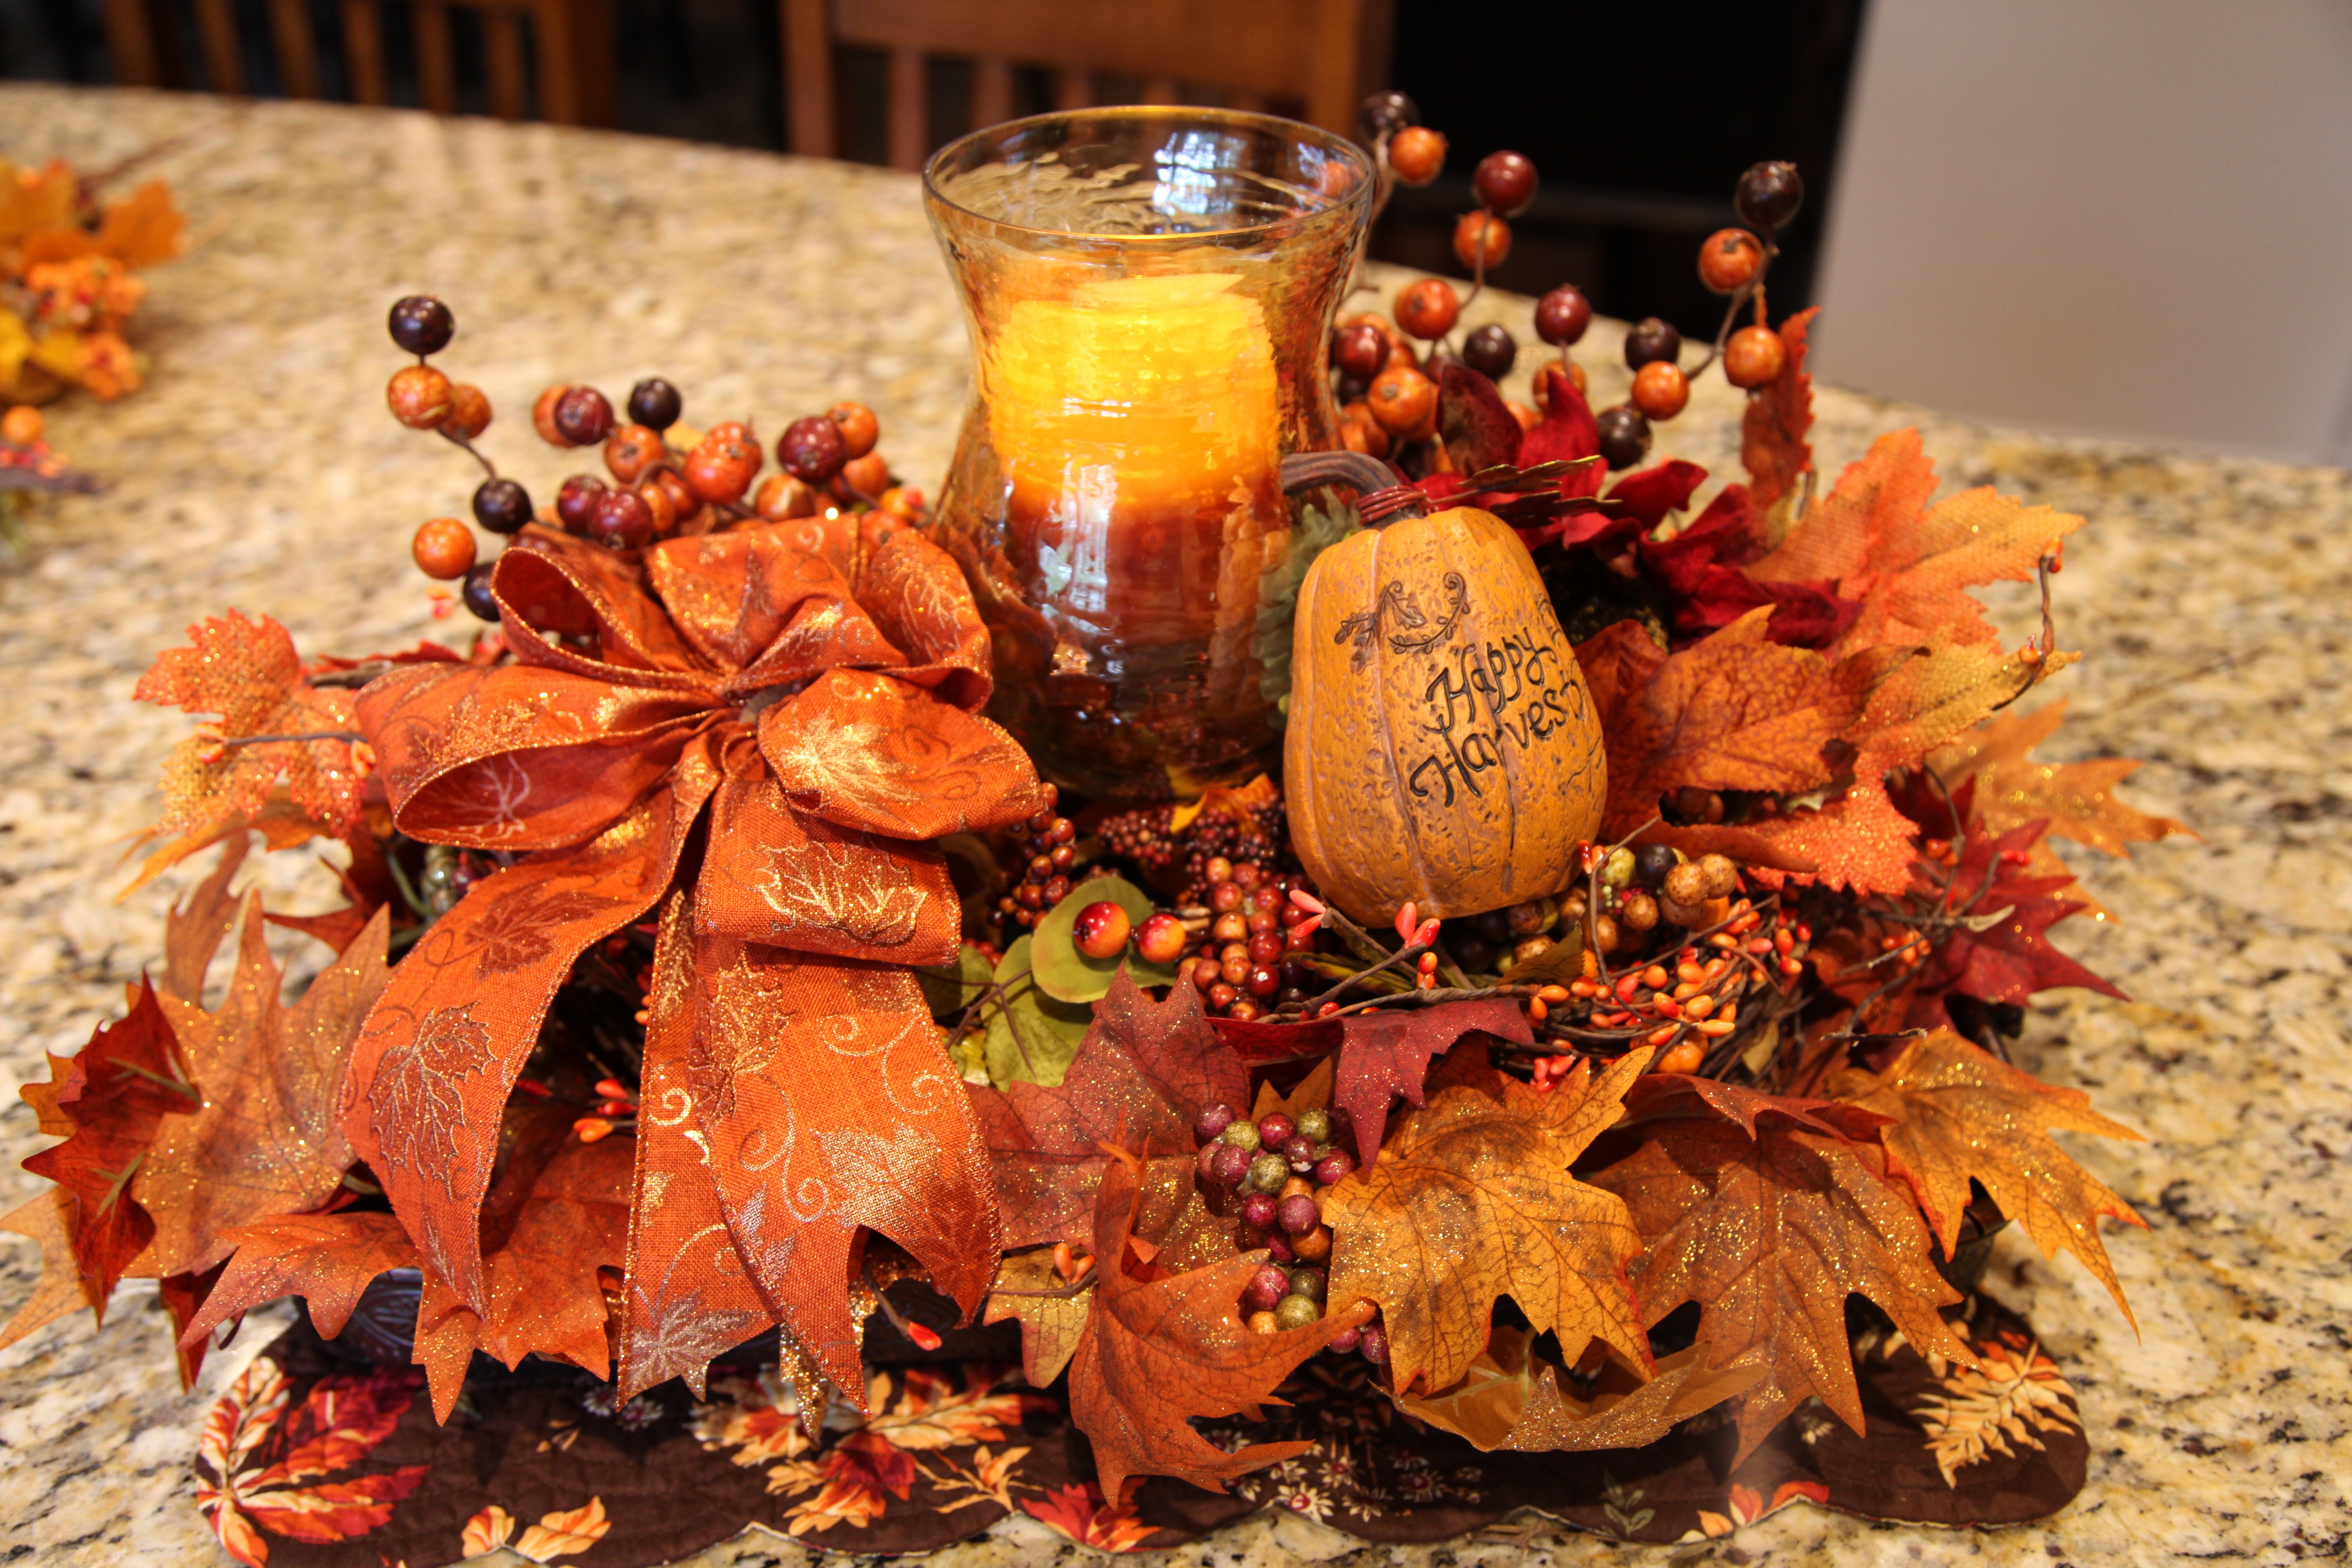
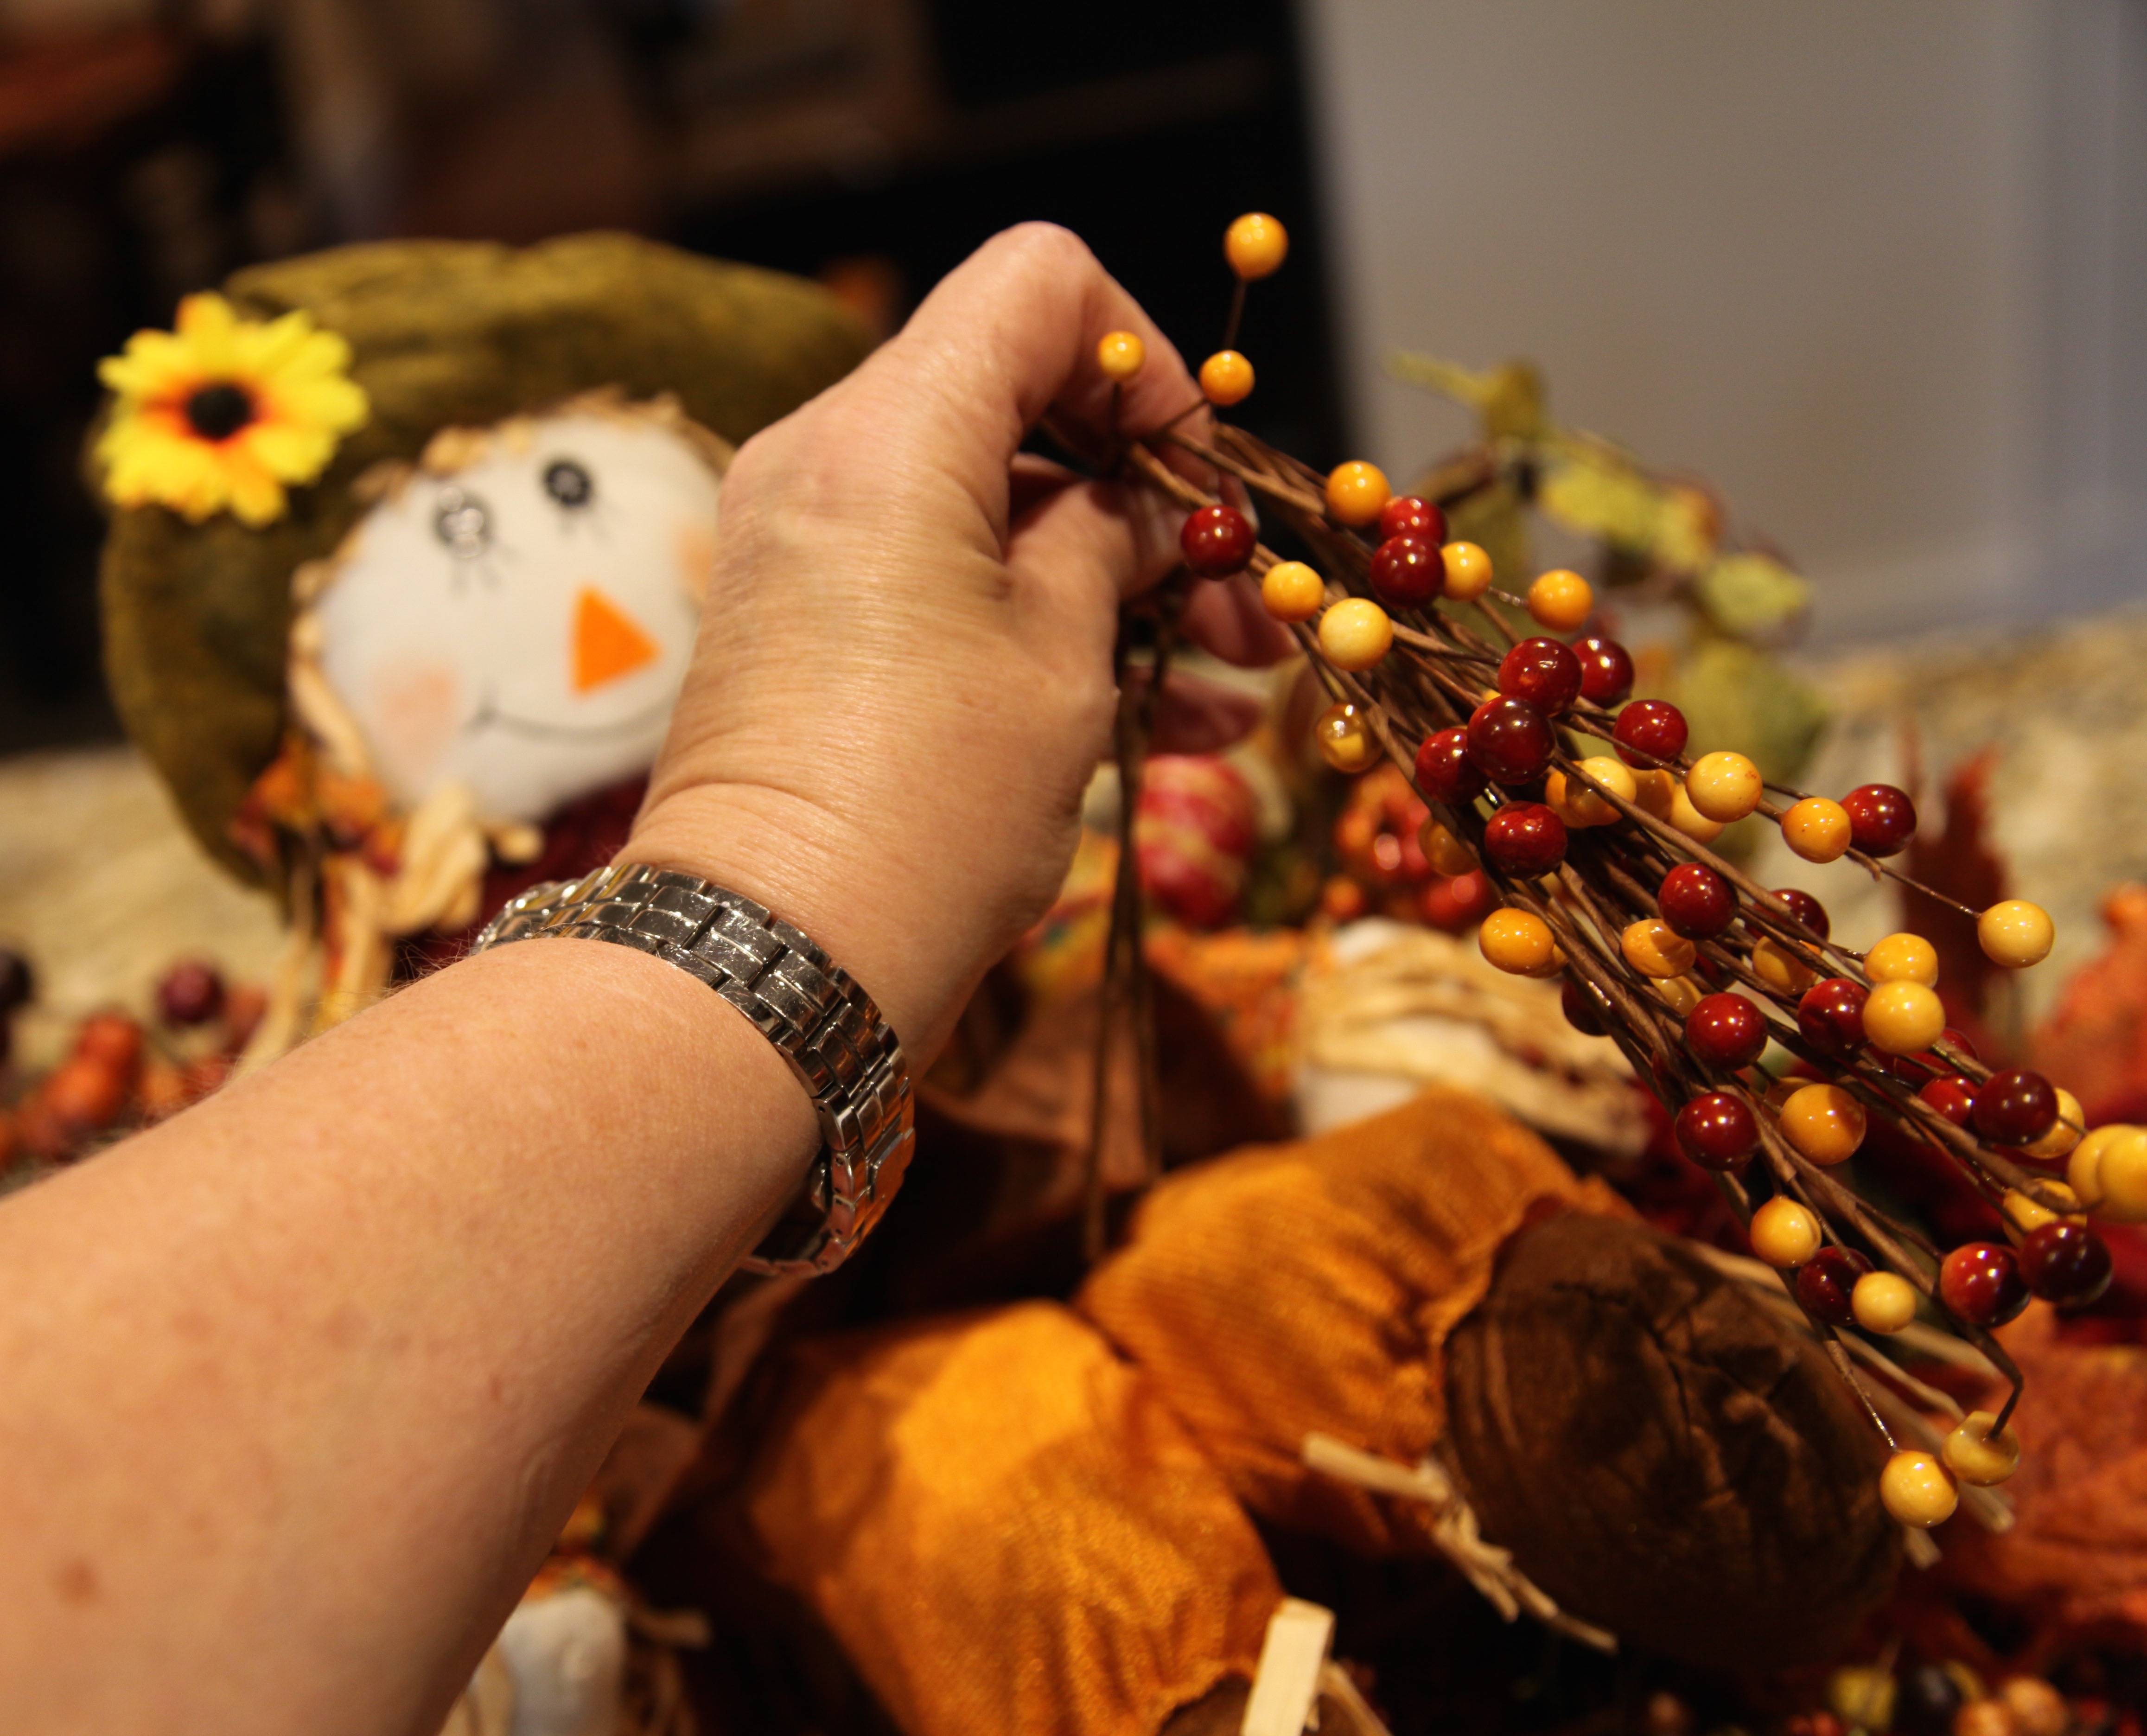
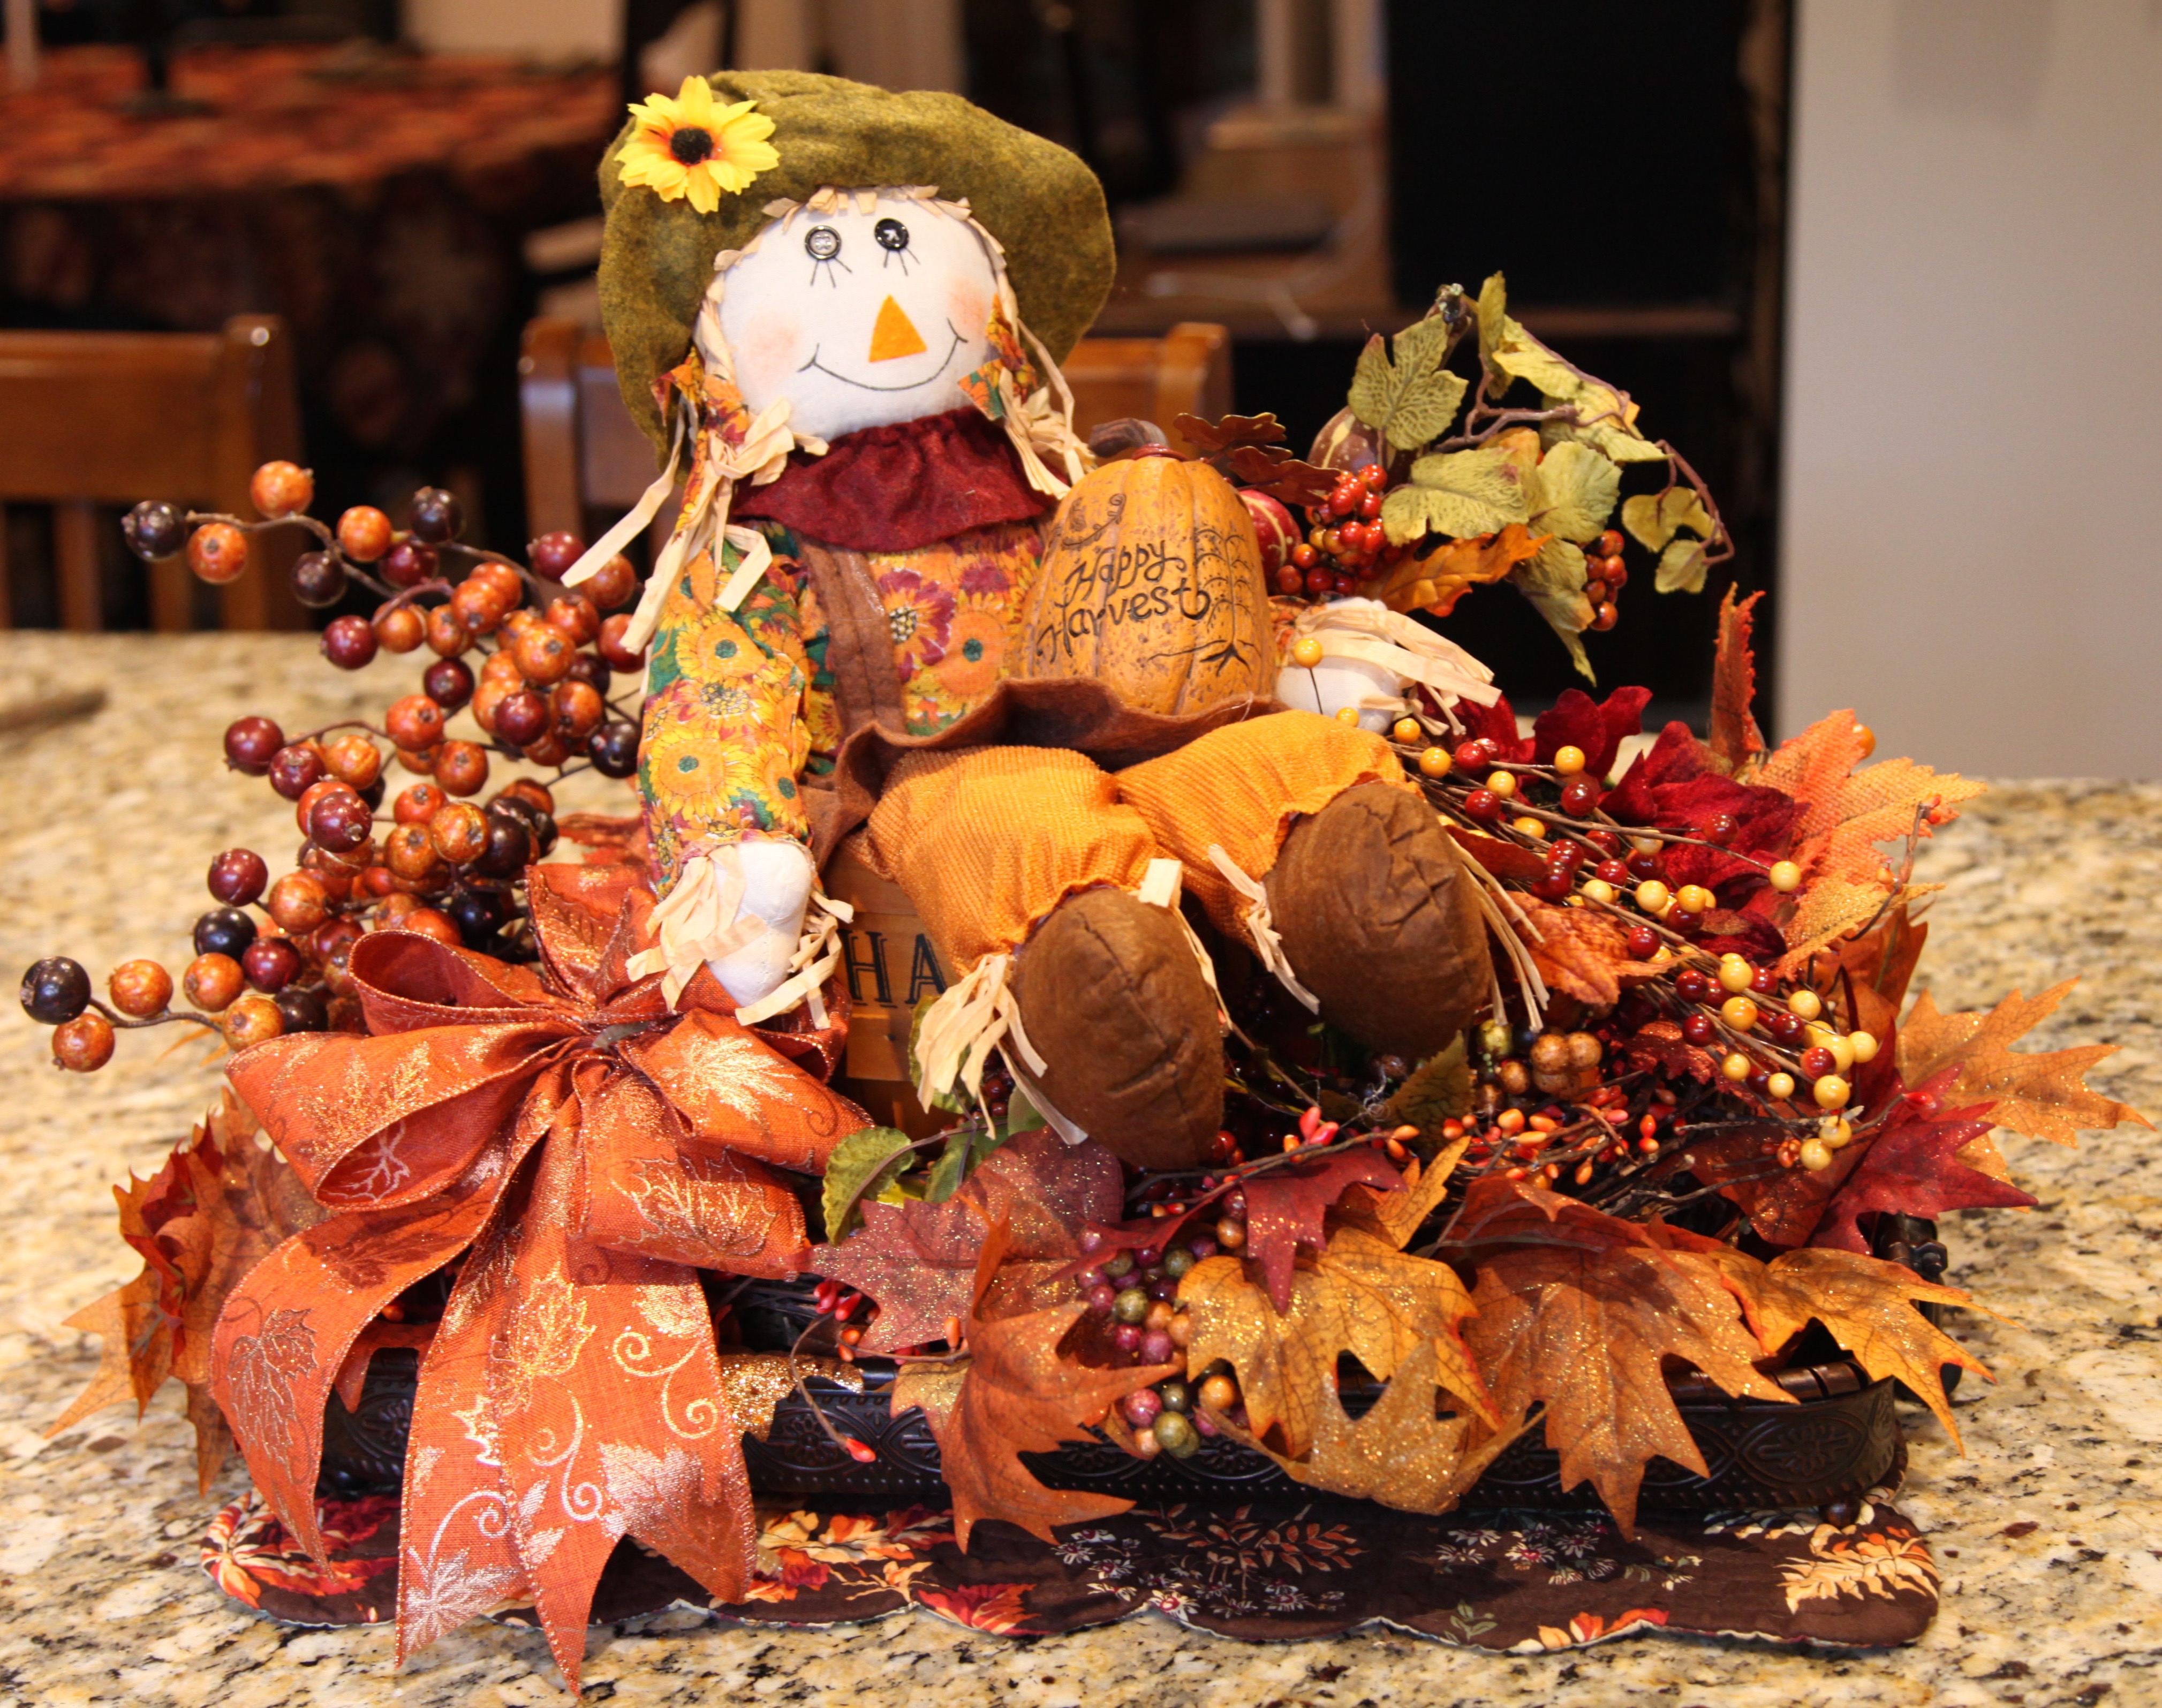
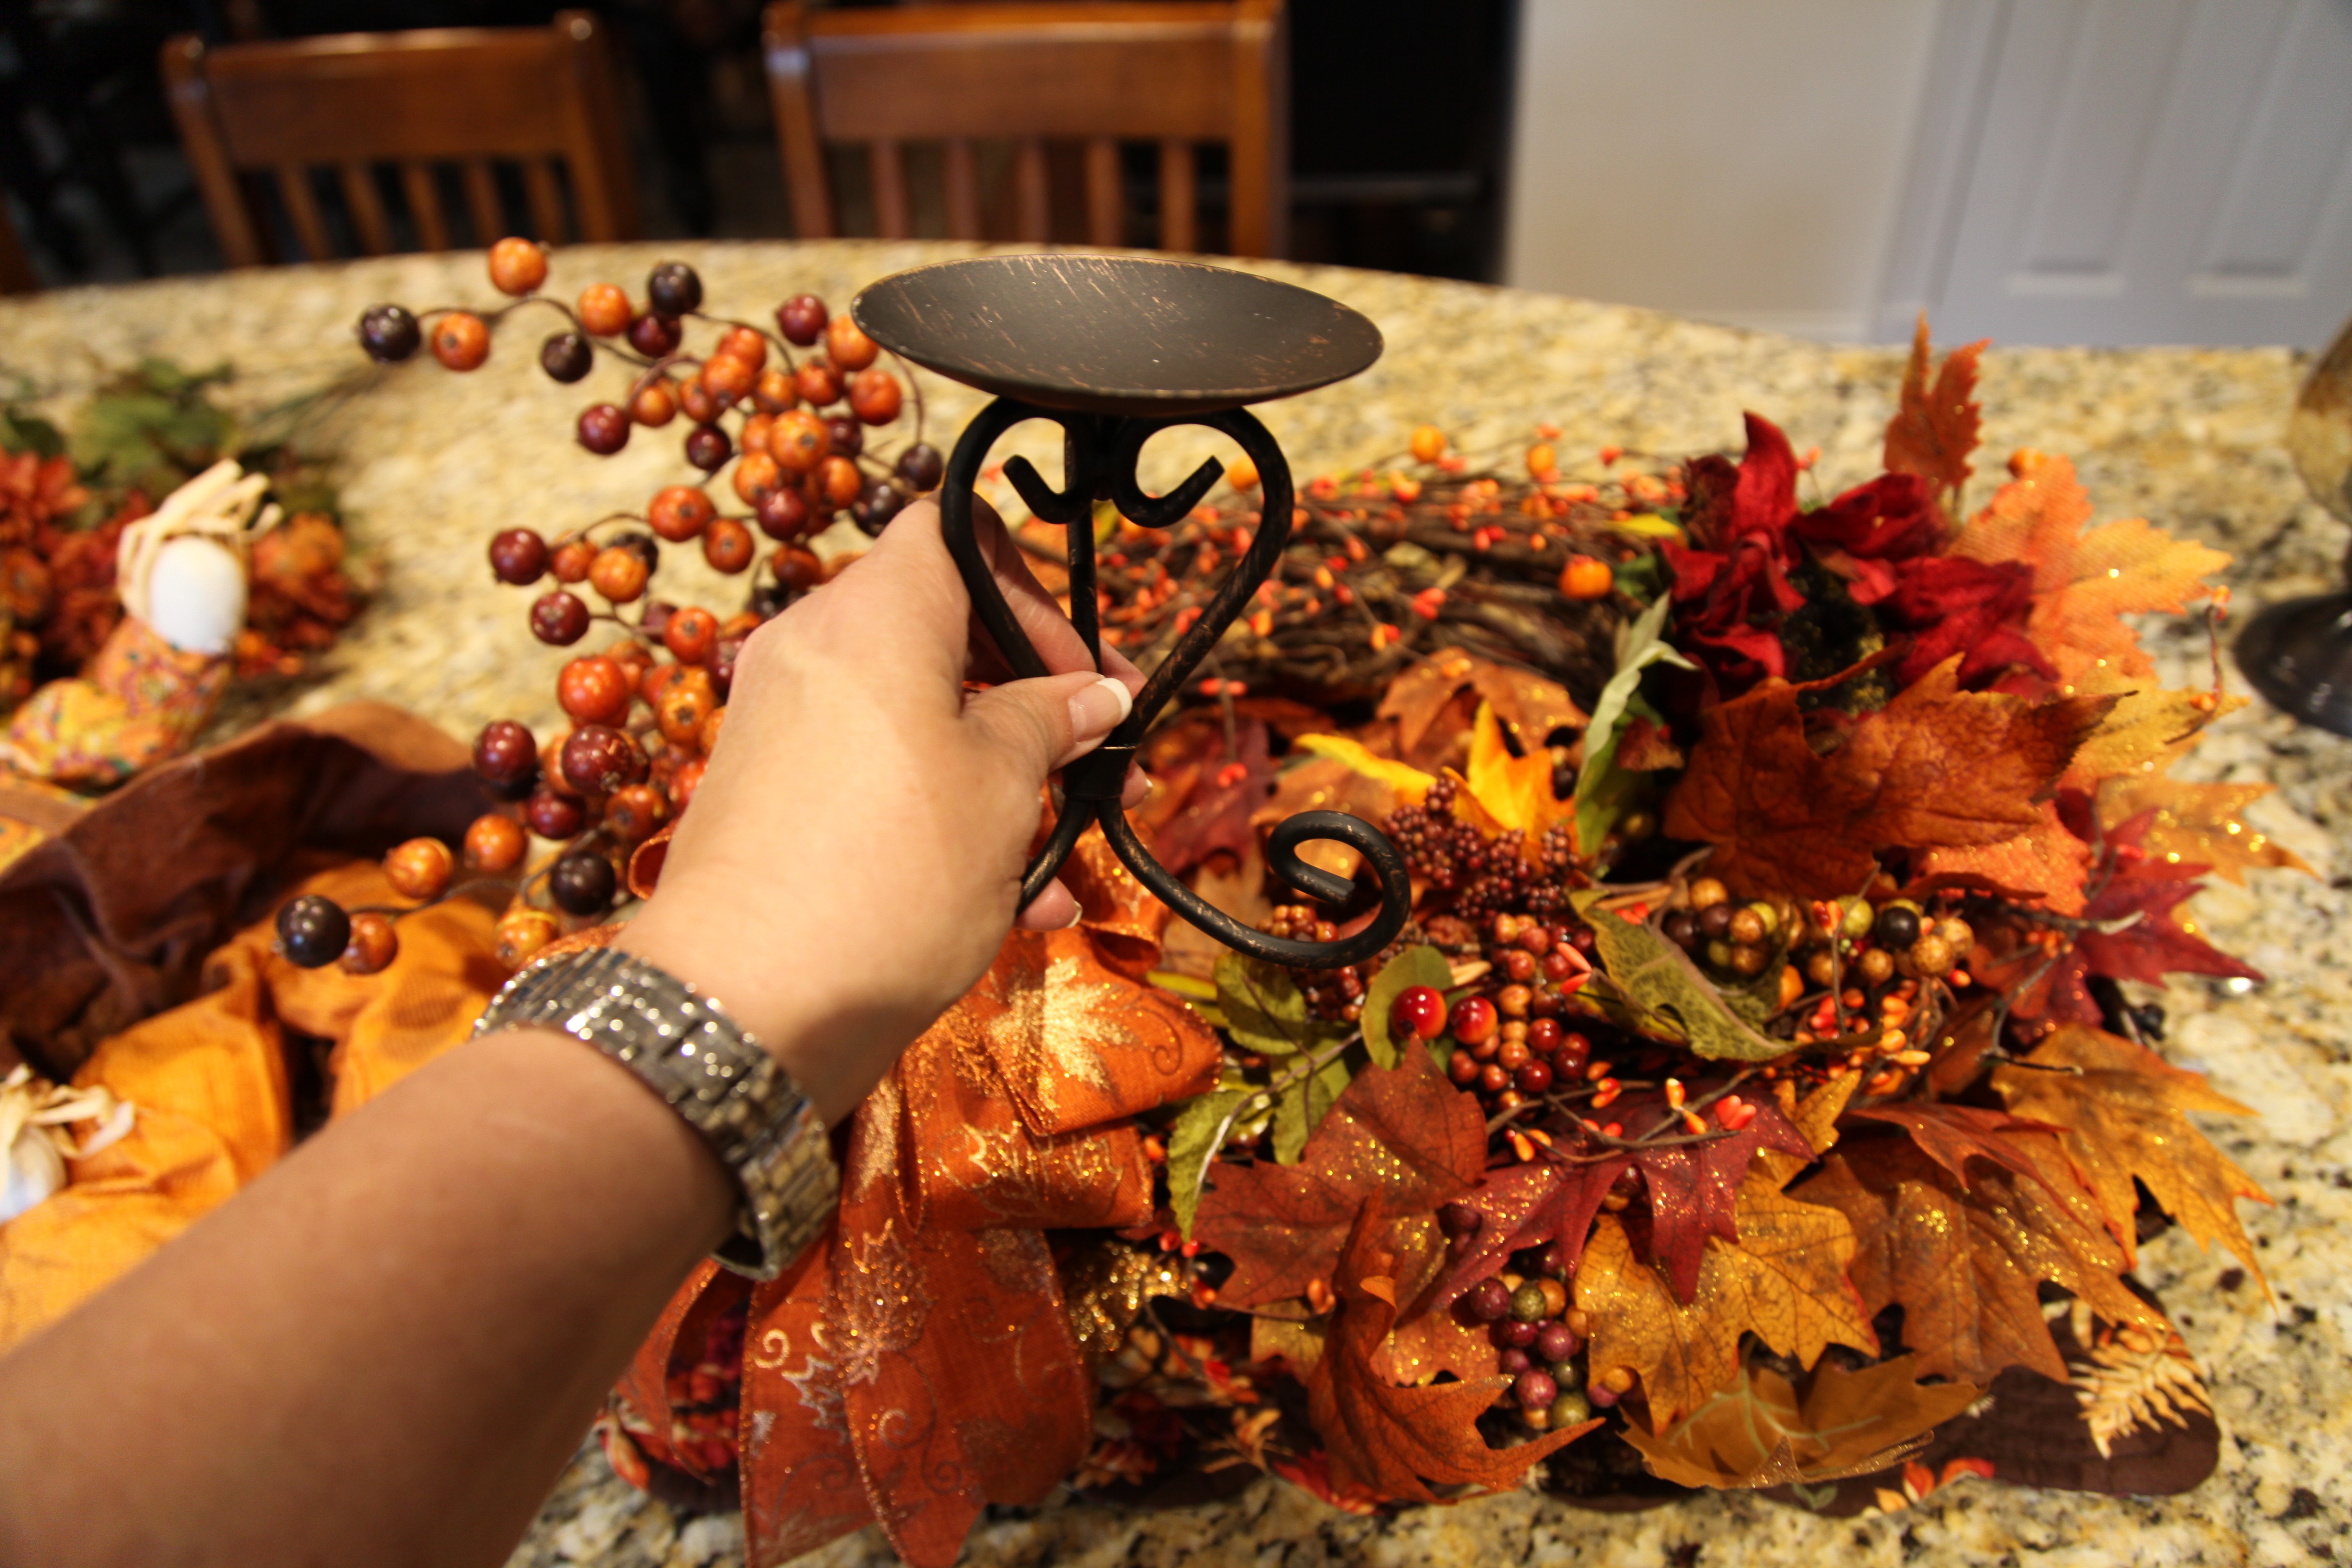
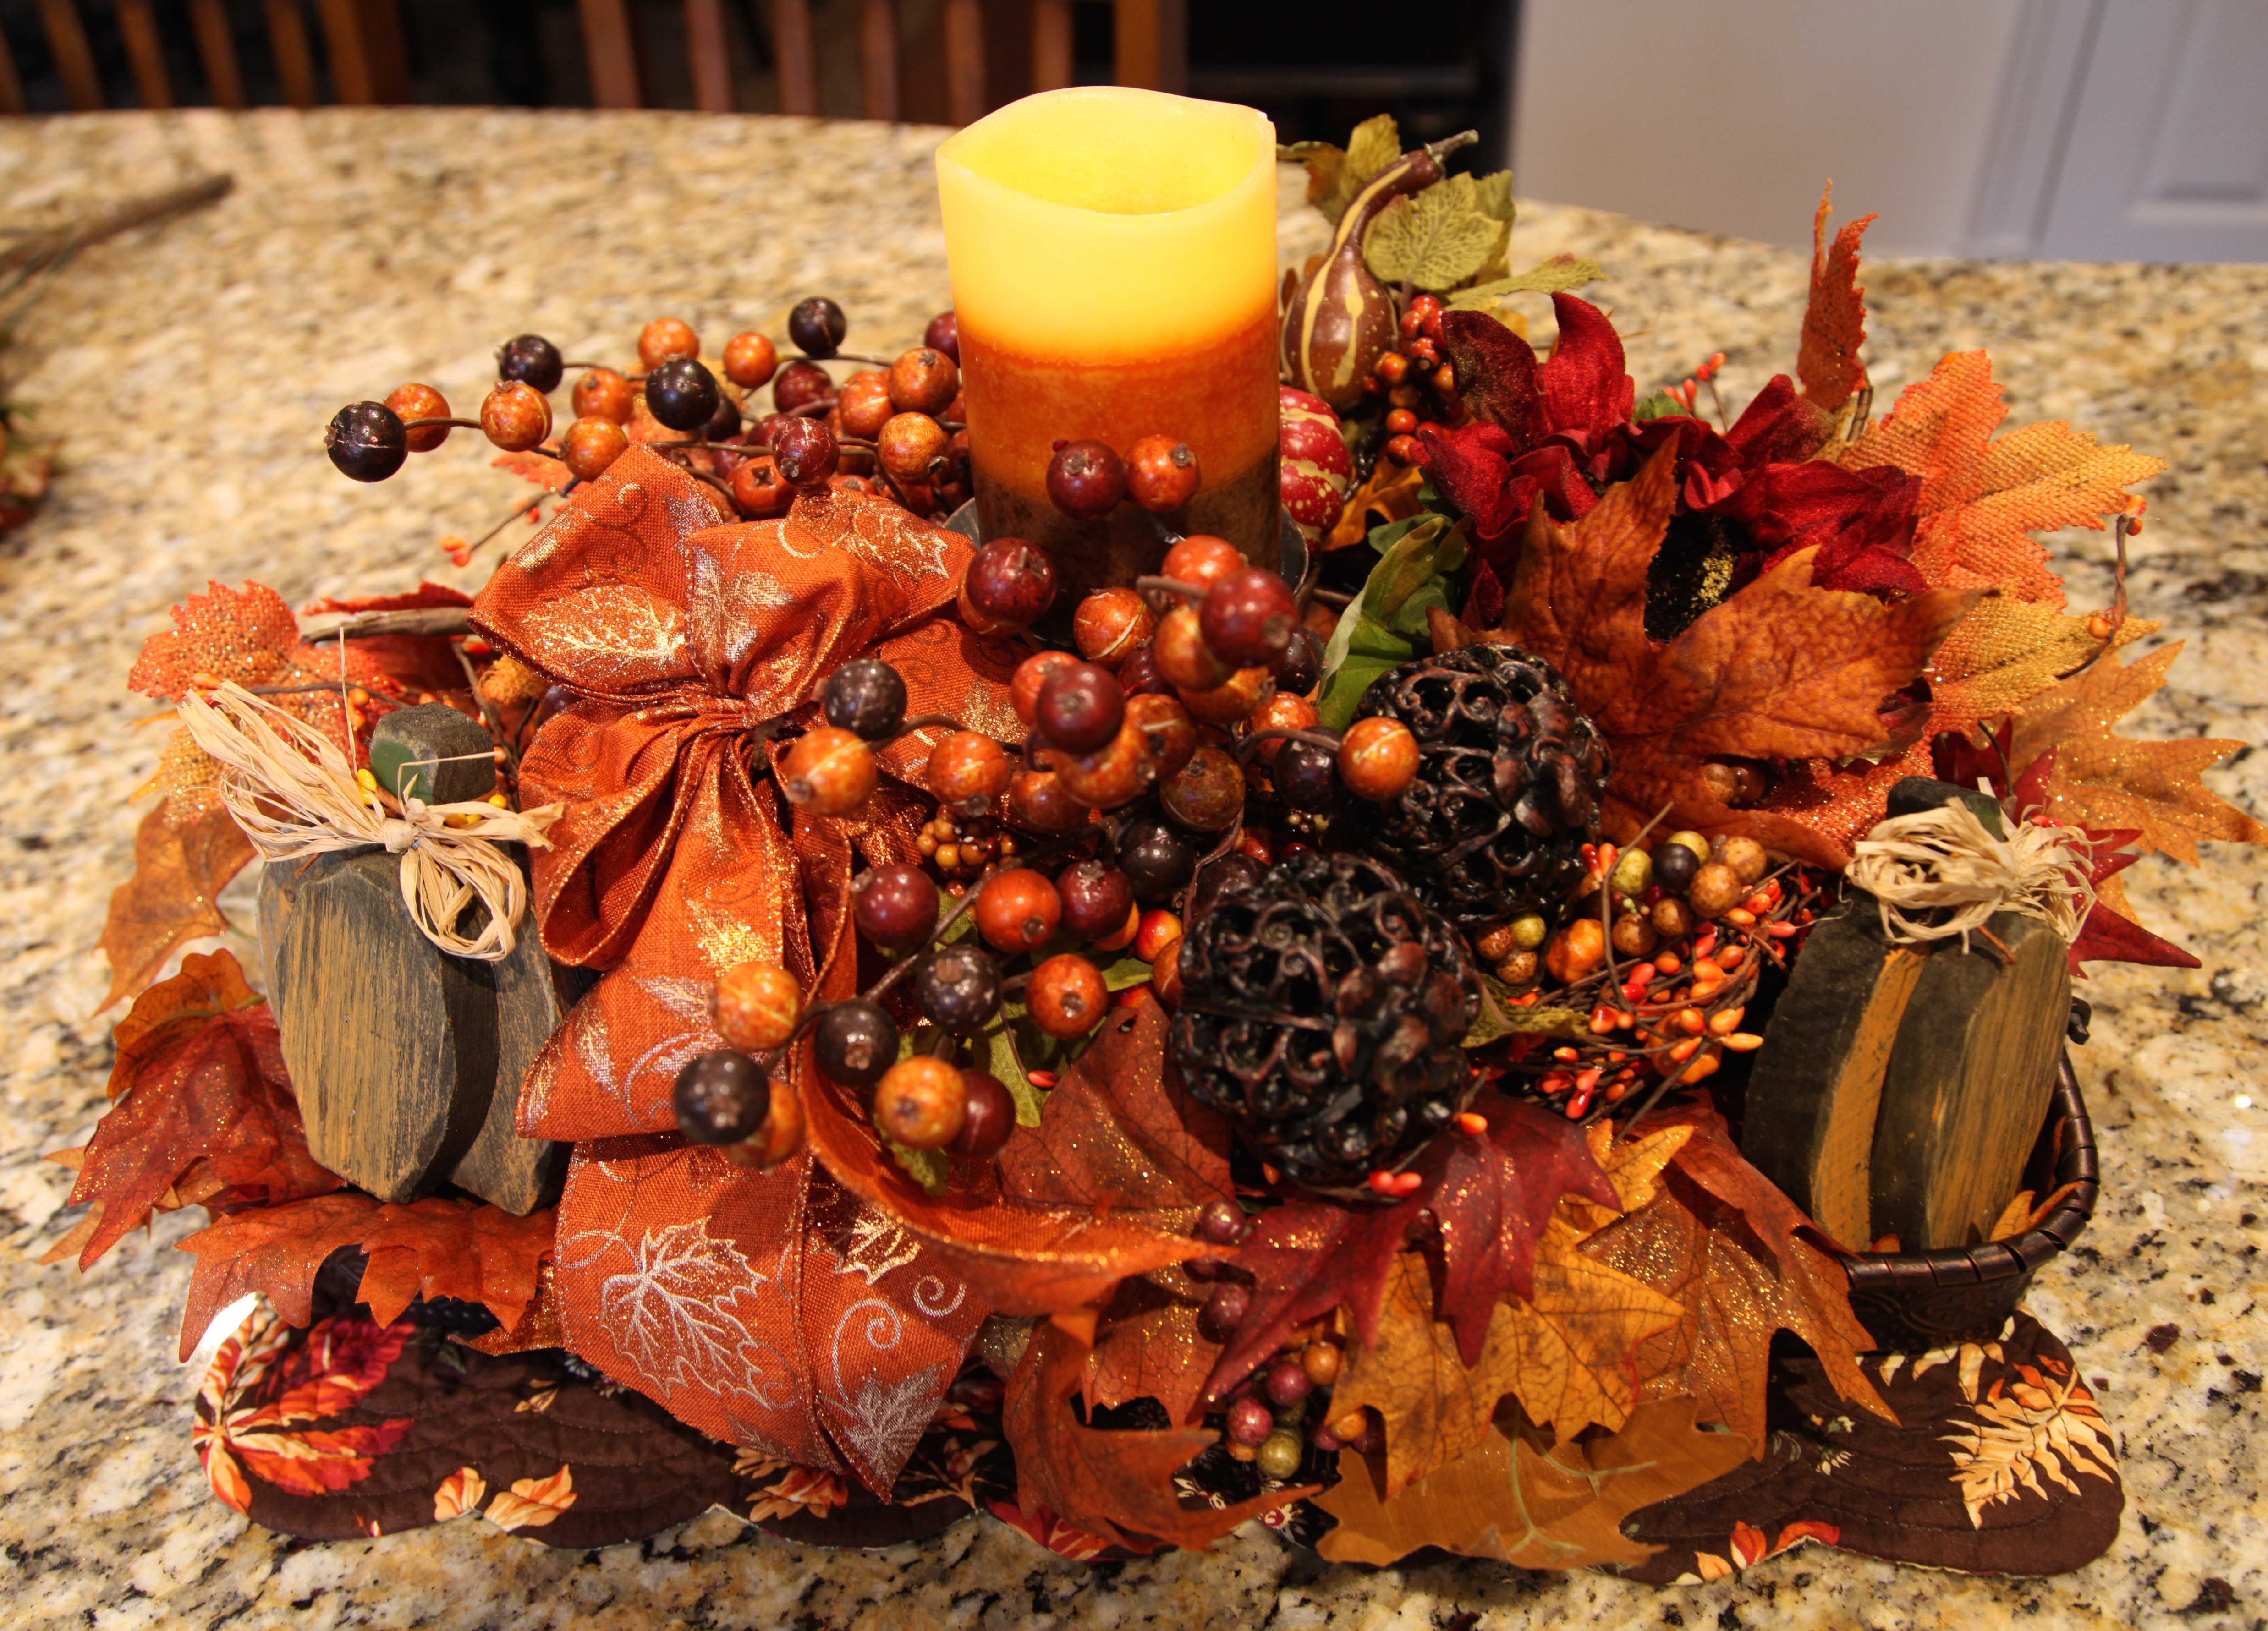
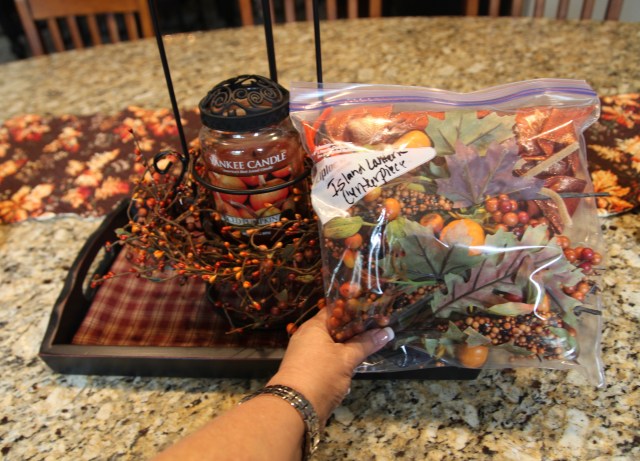
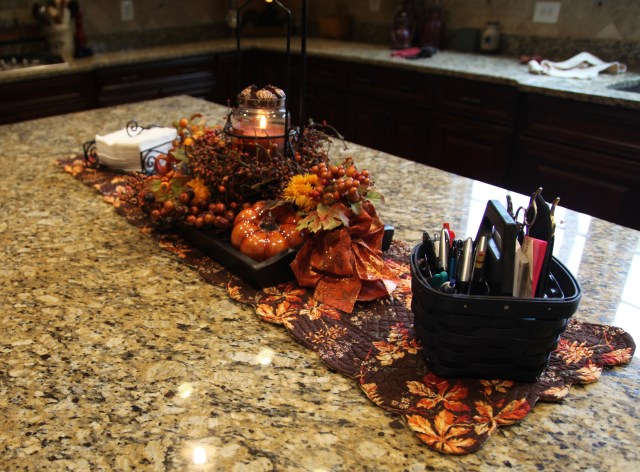
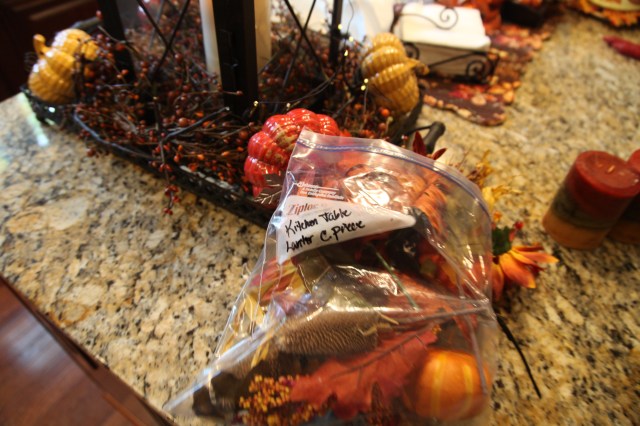
I moved on into the kitchen next, the first thing I did was to make a quick centerpiece for the Island by using a tray, a Yankee Candle and rod-iron holder, and accent pieces that I had saved from last year:

IMG_5376IMG_5379IMG_5380IMG_5384IMG_5385

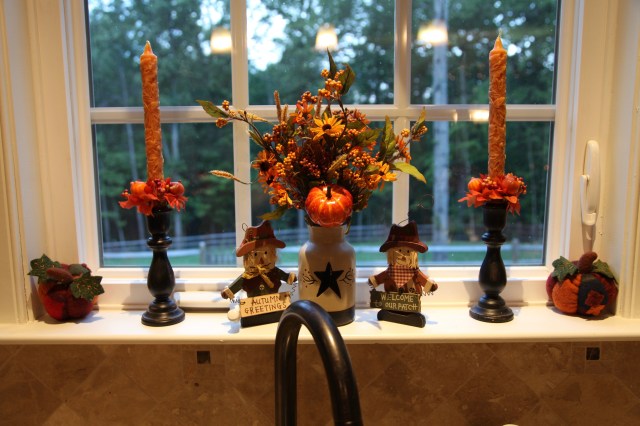
Next I tackled the windows–Let me let those of you who might have just found my crafting blog know that I typically will keep “staple” <~~generic decor such as lanterns, tins, vases, ladders, and the like ~~ in place and just switch out the accent pieces to bring in whatever Season/look for which I’m going.  In the kitchen windows, I leave two plate holders, two tins and a vase in which I make small flower arrangements.  You’ll see below what I’m speaking about–And I explain further in the video:

IMG_5404IMG_5405IMG_5406IMG_5407

And the kitchen was completed:

IMG_5408

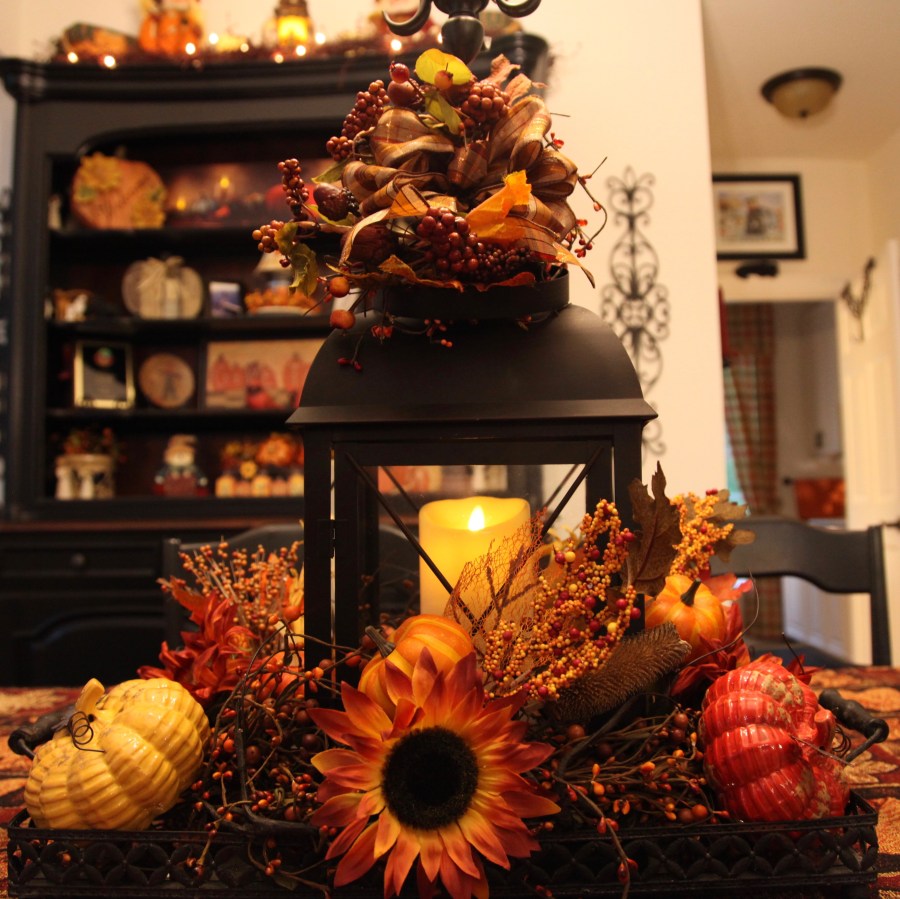
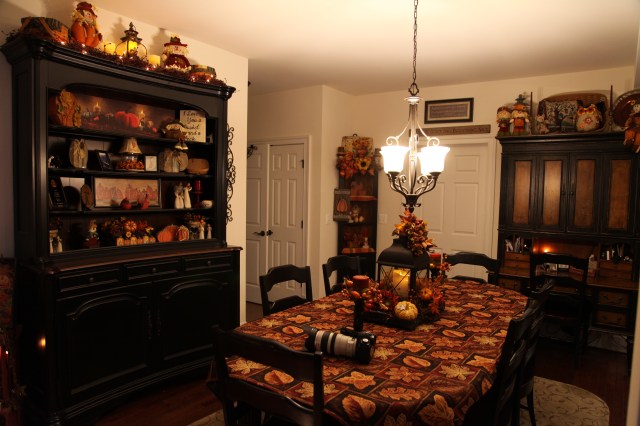
Next, I worked on the kitchen table.  I switched out the tablecloth for one with a fall motif, then I made up the lantern centerpiece for Fall.  I replaced the candles on the flanking candle sticks and added Fall candle rings and called it finished. 🙂  Here is a link to my blog where I explain how I create my lantern centerpieces:  A Lantern Centerpiece For All Seasons

IMG_5388IMG_5391IMG_5397

IMG_5394

To finish up the kitchen eating area, I created a cozy corner, changed out the decor on the kitchen hutch, and on a corner cabinet:

IMG_5414IMG_5398IMG_5399IMG_5412

I switched out a few things in the Powder Room:

IMG_5400IMG_5401

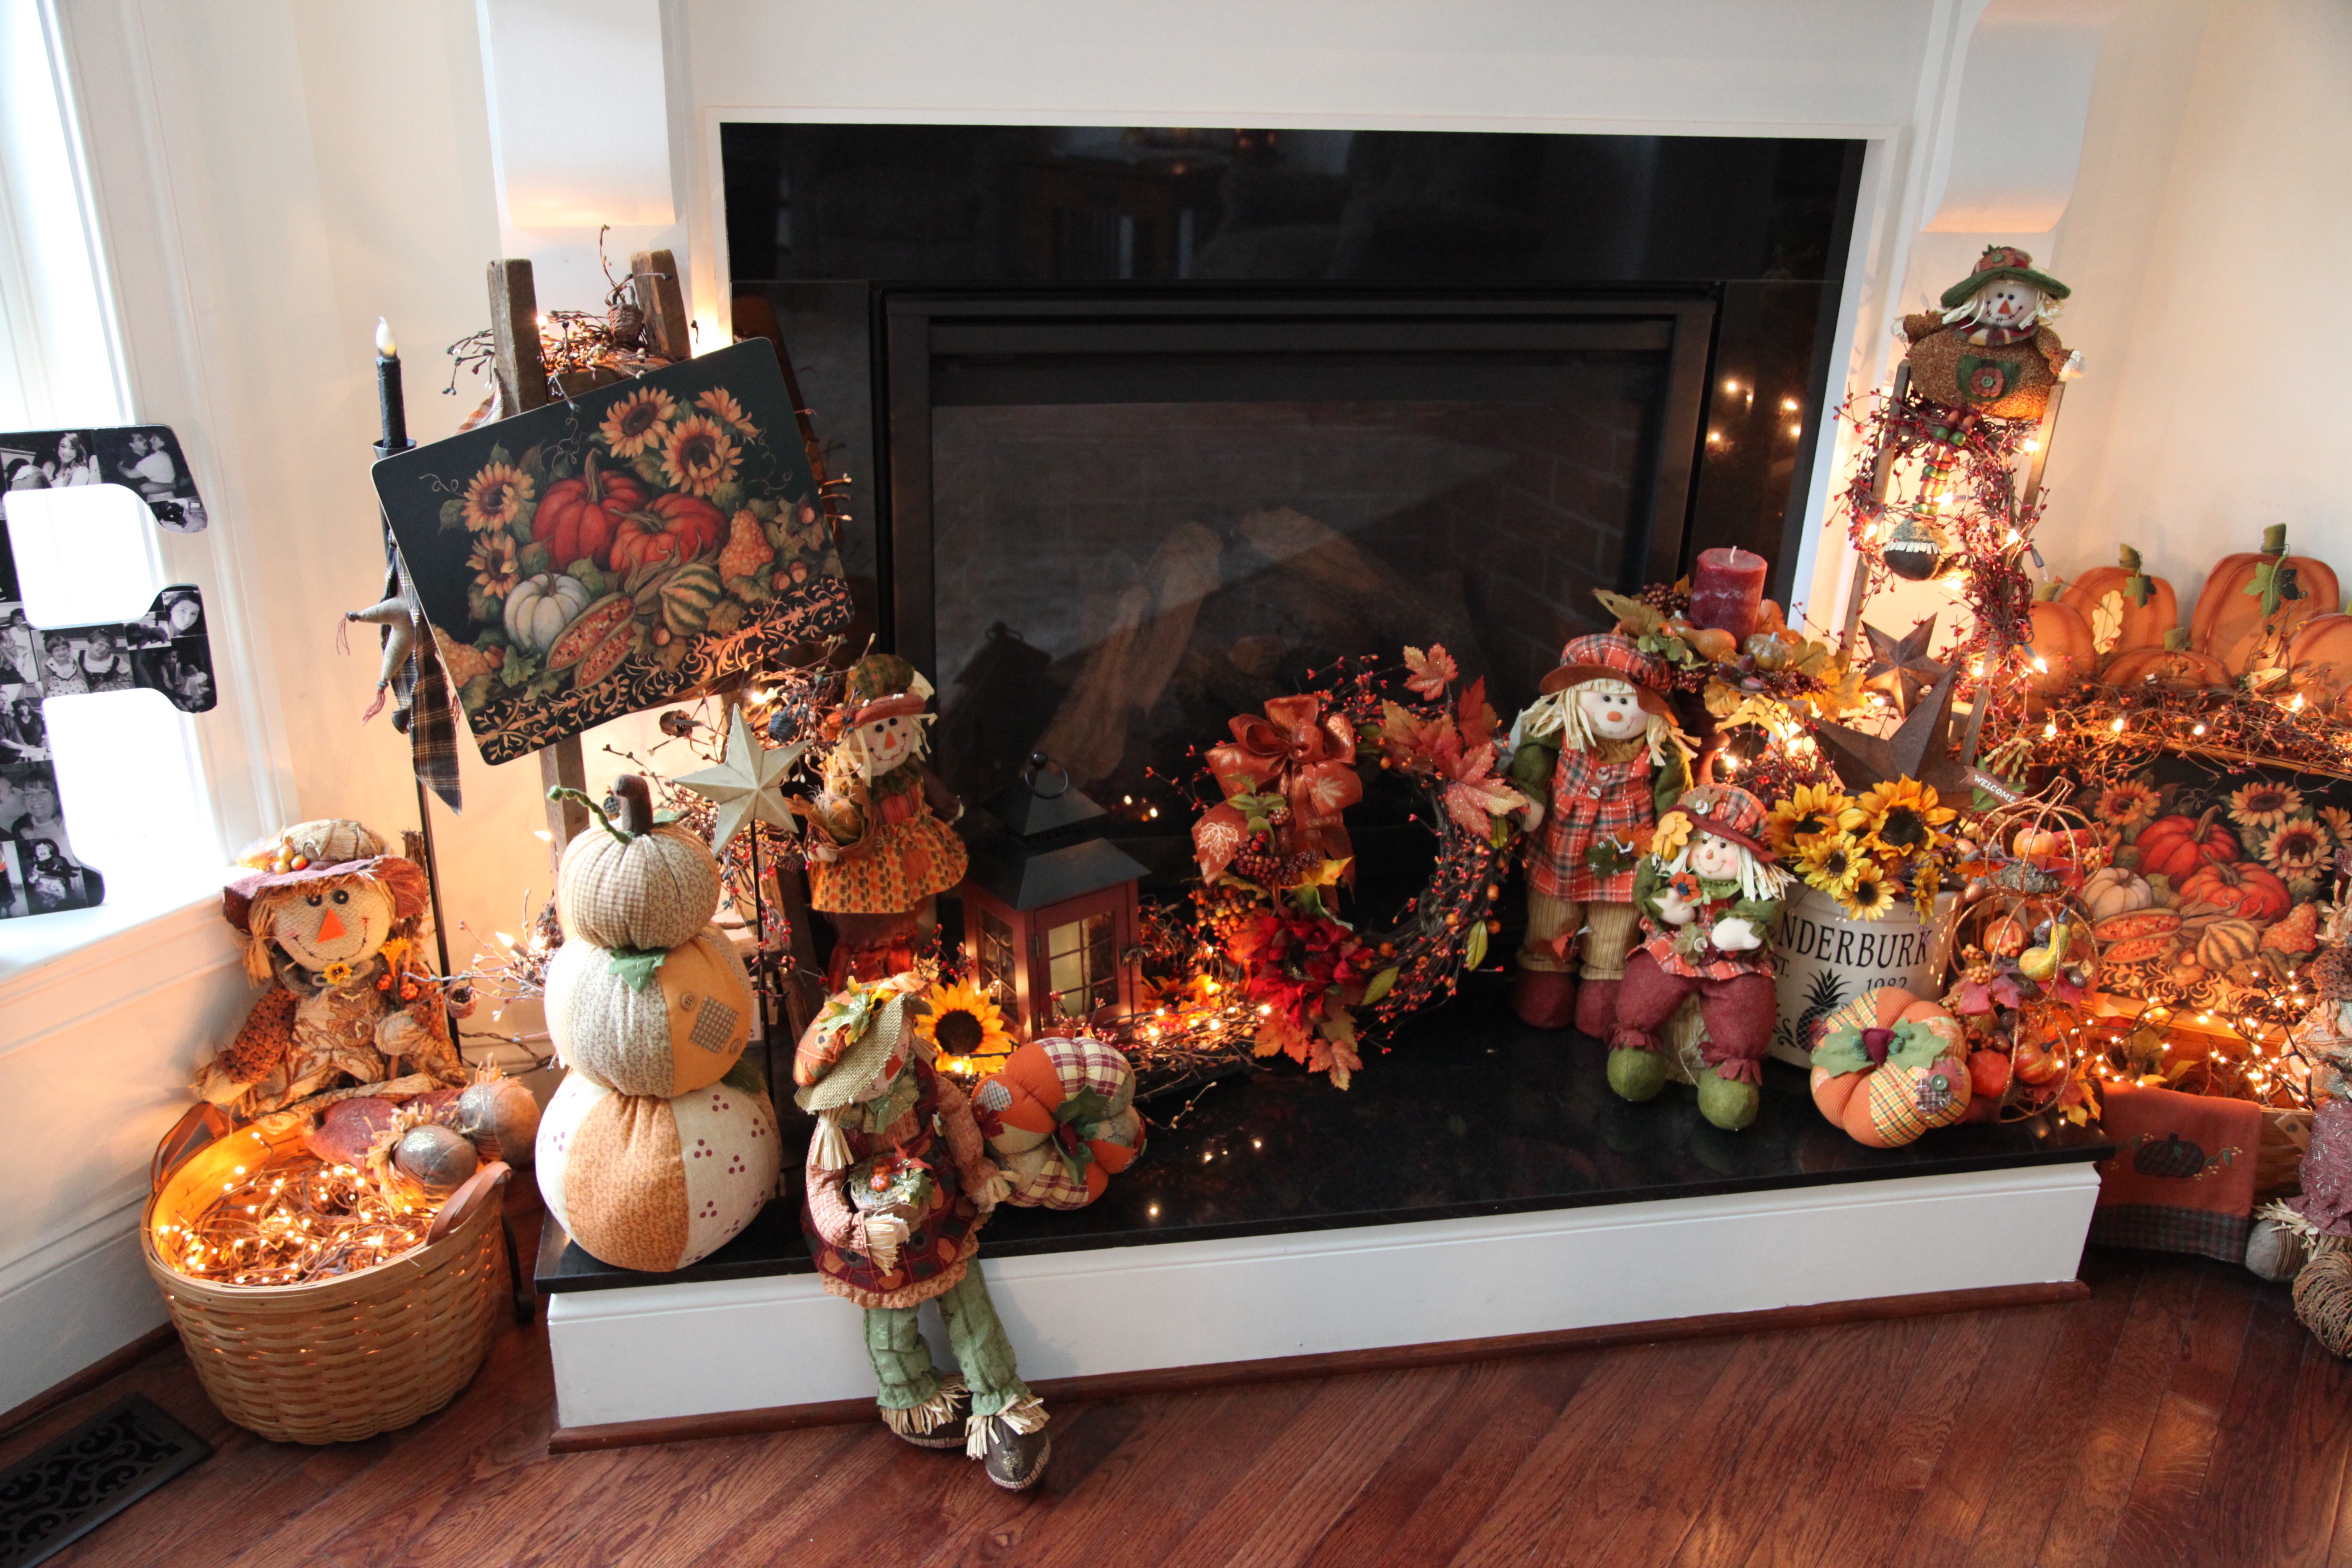
I then took a moment to take a few pictures of what I had accomplished:

IMG_5415IMG_5417IMG_5422

AND then I literally collapsed for the rest of the evening…haha.  As I mentioned in my previous blog, this is not hard physical work for me, but, boy oh boy does it take some brain power.  I’m a creative person by nature, but, it is still a challenge to do so many things in one day—BUT, of course, I’m anal retentive and want it all done sooner than later. 😉

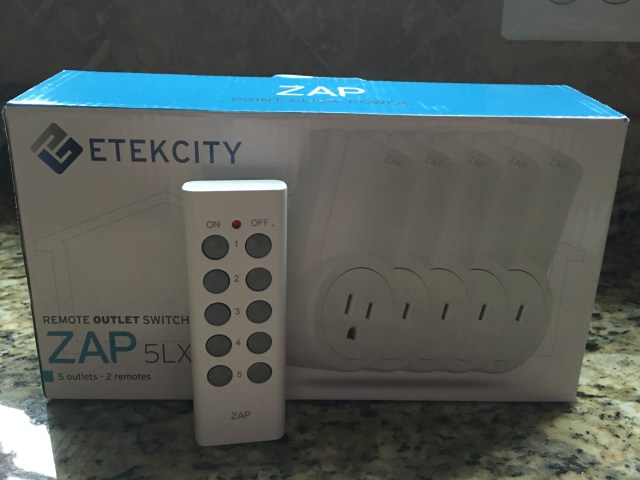
One more thing that I show you and talk about in the video below is this spiffy little remote controlled outlet package that Chris installed for me–I show you how it works in the video. Here is a picture:

IMG_0481

And here is that little video:

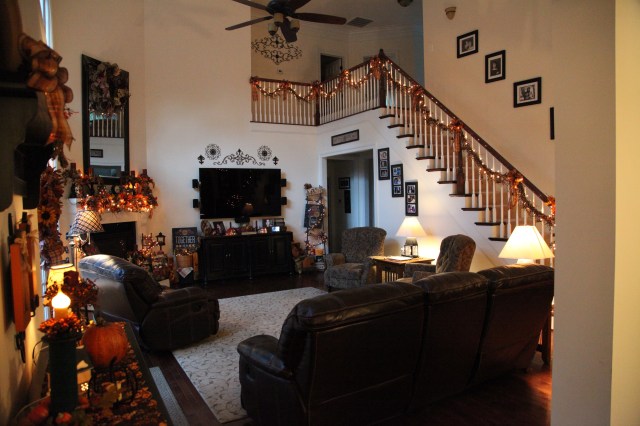
Next up, I’ll be showing and telling you how I transformed the living and dining rooms over to Fall—I utilized that pretty green color that I have been using in those rooms to bring Fall to life in a softer and gentler way.

*In decorating there are no mistakes, just unique creations!*

Until next time, y’all take good care! ❤

~Arlynn ❤

Happy Fall Y’all 2016 Series: Family Room Fireplace/Mantel & more–Video Included

Happy Fall Y’all!! Yeah, I know, it’s not quite Fall *yet*, BUT, it is September, so that is close enough for me. 😉  I love Fall decor, the warm and cozy feeling that comes with this sweet decor is something that I so enjoy creating each and every Autumn. 🙂  This year is no different, although, now-a-days, in our new home, it takes me a bit longer to get everything accomplished. 🙂 I always start with the fireplace hearth and mantel, and this year was no different.  I was so excited get started too because I had broken down and purchased a gorgeous new mantel swag and candle rings from Grandin Road–They are so pretty and wow, do they ever make a huge statement!  I LOVE the final look. I also purchased 3 new black candle sticks (only because they come in a set of 3–and I already owned 3 but needed more to accommodate those lovely candle rings)… Here is a link for those candle stick holders.

I created a little video to go along with this post…And will more videos as I work my way around the house in my decorating frenzy…Here are some pictures of what I highlight in the video:

IMG_0055 (1)

As I tell y’all in the video that I always replace most of my generic decorations with my Seasonal decor.  I do leave some of the “staple pieces” (for lack of better descriptive words) in place…like the Dickens houses and the clock on the mantel, and the ladders w/pip berries and just a few other items on the hearth.  So basically, I truly do recreate the wheel for Fall and then for Christmas.  And this year, I had to go out and purchase a couple extra bins to accommodate the generic decor that I remove I won’t use again until January–All of the Fall decor will be replaced by Christmas decor and that will stay up till the end of December. 🙂  It took me quite a few years to collect all of this decor for both Seasons; I’ve done it a little bit at a time.

Here is the fireplace completely changed over to Fall. Whew, I was bushed after doing just this…No, it’s not hard physical work, but, I use a lot of whatever brain power I have left to create this look…haha. 😉  JUST kidding, y’all know that I LOVE this sort of thing…I honestly do thrive on the creative process.

IMG_0054 (1)IMG_0046IMG_0048IMG_0049

Another one of my staple pieces that stays in place and that I use as a base for my Seasonal decor is this large Longaberger basket.  Here is how I decorated it up for Fall this year:

IMG_0050

And the last thing that I highlight in the video is the staircase–I made all new plaid bows for the swag points this year as well as a new “spray” for the bullnose.  I also added a little fall wreath to the bullnose…I had written a blog about that little grapevine wreath showing you many different ways in which it could be used…Here is a link to my blog post highlighting that little wreath:  “Not Just a Fall Grapevine Wreath”.

IMG_0044

As you’ll see in the video, I did trim down those crazy bow tails…hahaIMG_0041

IMG_0045IMG_0042

Here is the top of the Credenza that sits under the tv; I did create the centerpiece:

IMG_5370IMG_5372

One last thing, I mention in my video are some quilted Fall placemats that I utilize on the family room end tables, and then they also sell a runner that I purchased, one for the kitchen’s Island and one for one other table.  I purchased them last year, but, here is a link for a set of four quilted placemats–UNfortunately, they are not available at this moment in time but, if you check back, they might come available later in the Season.

ANYway, I plan on trying to finish the rest of the back portion of the house today and I will do a walk-thru video of everything in this part of the house. And then I’ll transition into the living and dining rooms and use some of that pretty green color to create the Fall decor  in those rooms.  For now, here is a video of what I’ve created up to this point. 🙂


*In decorating there are no mistakes, just unique creations!*

Until next time, y’all take good care!! ❤

~Arlynn ❤


Not Just Fall A Grapevine Wreath

Hi All,

There are days when I wish my “off” switch was more easily found, lol, my brain is always going a million miles an hour and it is hard to harness its energy and focus on tasks that need to be or that I want to get accomplished. 😉  Of course I’m teasing–well mostly. 😉  My brain really has been working overtime since yesterday afternoon though after I found a rather small, oval shaped grapevine wreath when I was wandering aimlessly around Hobby Lobby.

Here it is along with a bunch of other Fall accent pieces that I will be using to show you how to make a small oval wreath and then use the *same* wreath to make 3 different centerpieces. I’m all about using the same basic staple pieces and building and layering on different decor to change the feeling, for instance, from casual to more formal or from one Season to another.

IMG_2043

Some of the accent pieces that I gathered include a oil-rubbed bronze metal tray, various wooden pumpkins, Fall floral picks, a Fall themed pip berry garland, Fall ribbon, a scarecrow, a leaf garland, a wooden basket, a couple of candle holders, and a battery operated candle.

IMG_2046

So the very first thing that I did was to make a pipe cleaner ‘hanger’ and I glued that to the back of the grapevine wreath; it is not hard to do, just make a loop and hot glue the heck out of it.

Next, I made a bow–I really am going to make a bow tutorial for y’all one of these days…honestly, I promise!

IMG_2049 IMG_2051 IMG_2054

After the bow was made, I grabbed up the pip berries garland and started to lay it onto and around the wreath form measuring how much I needed.

IMG_2055

Then I trimmed off the excess garland and proceeded to hot glue it into place on the wreath.

IMG_2056 IMG_2057

The only other things that I glued into place on the wreath were these two Fall leaves picks, one at the top and one on the bottom.

IMG_2058

After that, I attached the bow simply by wrapping the pipe cleaner that I used to tie the bow shut around the wreath and twisted it closed to hold it on the wreath (I did not use hot glue), and I added a Fall sunflower pick that had some larger pip berries and leafy accents on it; I didn’t glue it on either, instead, I stuck the pick in between some of the twigs of the grapevine wreath.  That is *all* I put on the wreath and I called it done.

I carried it around my family room and kitchen trying to figure out where I wanted to hang it, *if* I decided to use it as a wreath–I’ll explain that statement after I show you the different places the wreath landed.

The first place I tried it was on this corner shelf …hmm, yeah, it looked okay there, but, nah, let’s see where else I could put it… IMG_2059 IMG_2060

How about on my hearth, hmmm, nope, it’s busy enough on that hearth as it is…It looked cute there though, but, I tried one more place…

IMG_2062 IMG_2063

IMG_2065

The last place I hung it was on that lamp…yep, looked really cute there, but I was already admitting to myself that I did *not* need yet *another* wreath hanging anywhere…so…I decided to do something different with it…

Here are three different centerpieces made with this wreath and a oil-rubbed bronze metal tray.

First, I took the leaf garland and wrapped it around the inside edge of the tray. Then I placed the wreath into the tray sideways (I removed the bow and that sunflower pick). After that, I placed the hurricane lamp candle holder into the center and started to surround it with Fall picks, then I placed the bow where I thought it looked pretty and added a little resin pumpkin…too cute!

IMG_2068 IMG_2069 IMG_2070 IMG_2071

Okay, I really liked that one, but I thought I might try to make something a bit more casual, so here is what I tried second.  I removed the hurricane lamp, bow, pumpkin, and picks. I then snugged a wooden basket into the center, placed that sweet scarecrow into the basket, placed the bow, and then filled in and around the basket with additional Fall picks. Then I sat the resin pumpkin on the scarecrow’s lap:

IMG_2073 IMG_2074 IMG_2075 IMG_2076

And here is that finished centerpiece, more casual, but cute as can be. 🙂

IMG_2077

I liked that one just fine, but I thought since I had gone to the trouble of digging out that black candle holder that I might as well try to do something with that as well.  So,  I once again went into “deconstruction mode” and reconstructed the third centerpiece like this:

IMG_2079 IMG_2081

Honestly, that was my least favorite design ^^^^

This is what I ended up creating and where I chose to place it:

IMG_2087 IMG_2085

I placed it on our desk that sits in the kitchen eating area, it is going to look pretty in the evenings with that candle glowing in that hurricane lamp.

IMG_2086

So, for now, my brain is at rest, goodness knows what I’ll come up with next! I hope that this little post has shown you that if you have an old wreath laying around or if you find a neat form to use to create a wreath, that there are other things that you can do with it instead of hanging it on a wall.

Until next time, y’all take good care! ❤

~Arlynn

**In crafting there are no mistakes just unique creations**