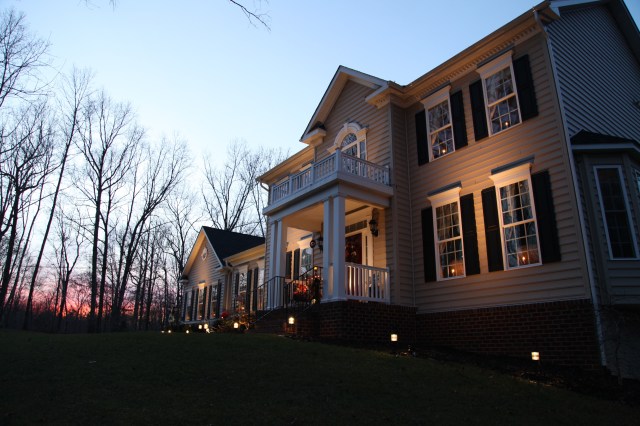
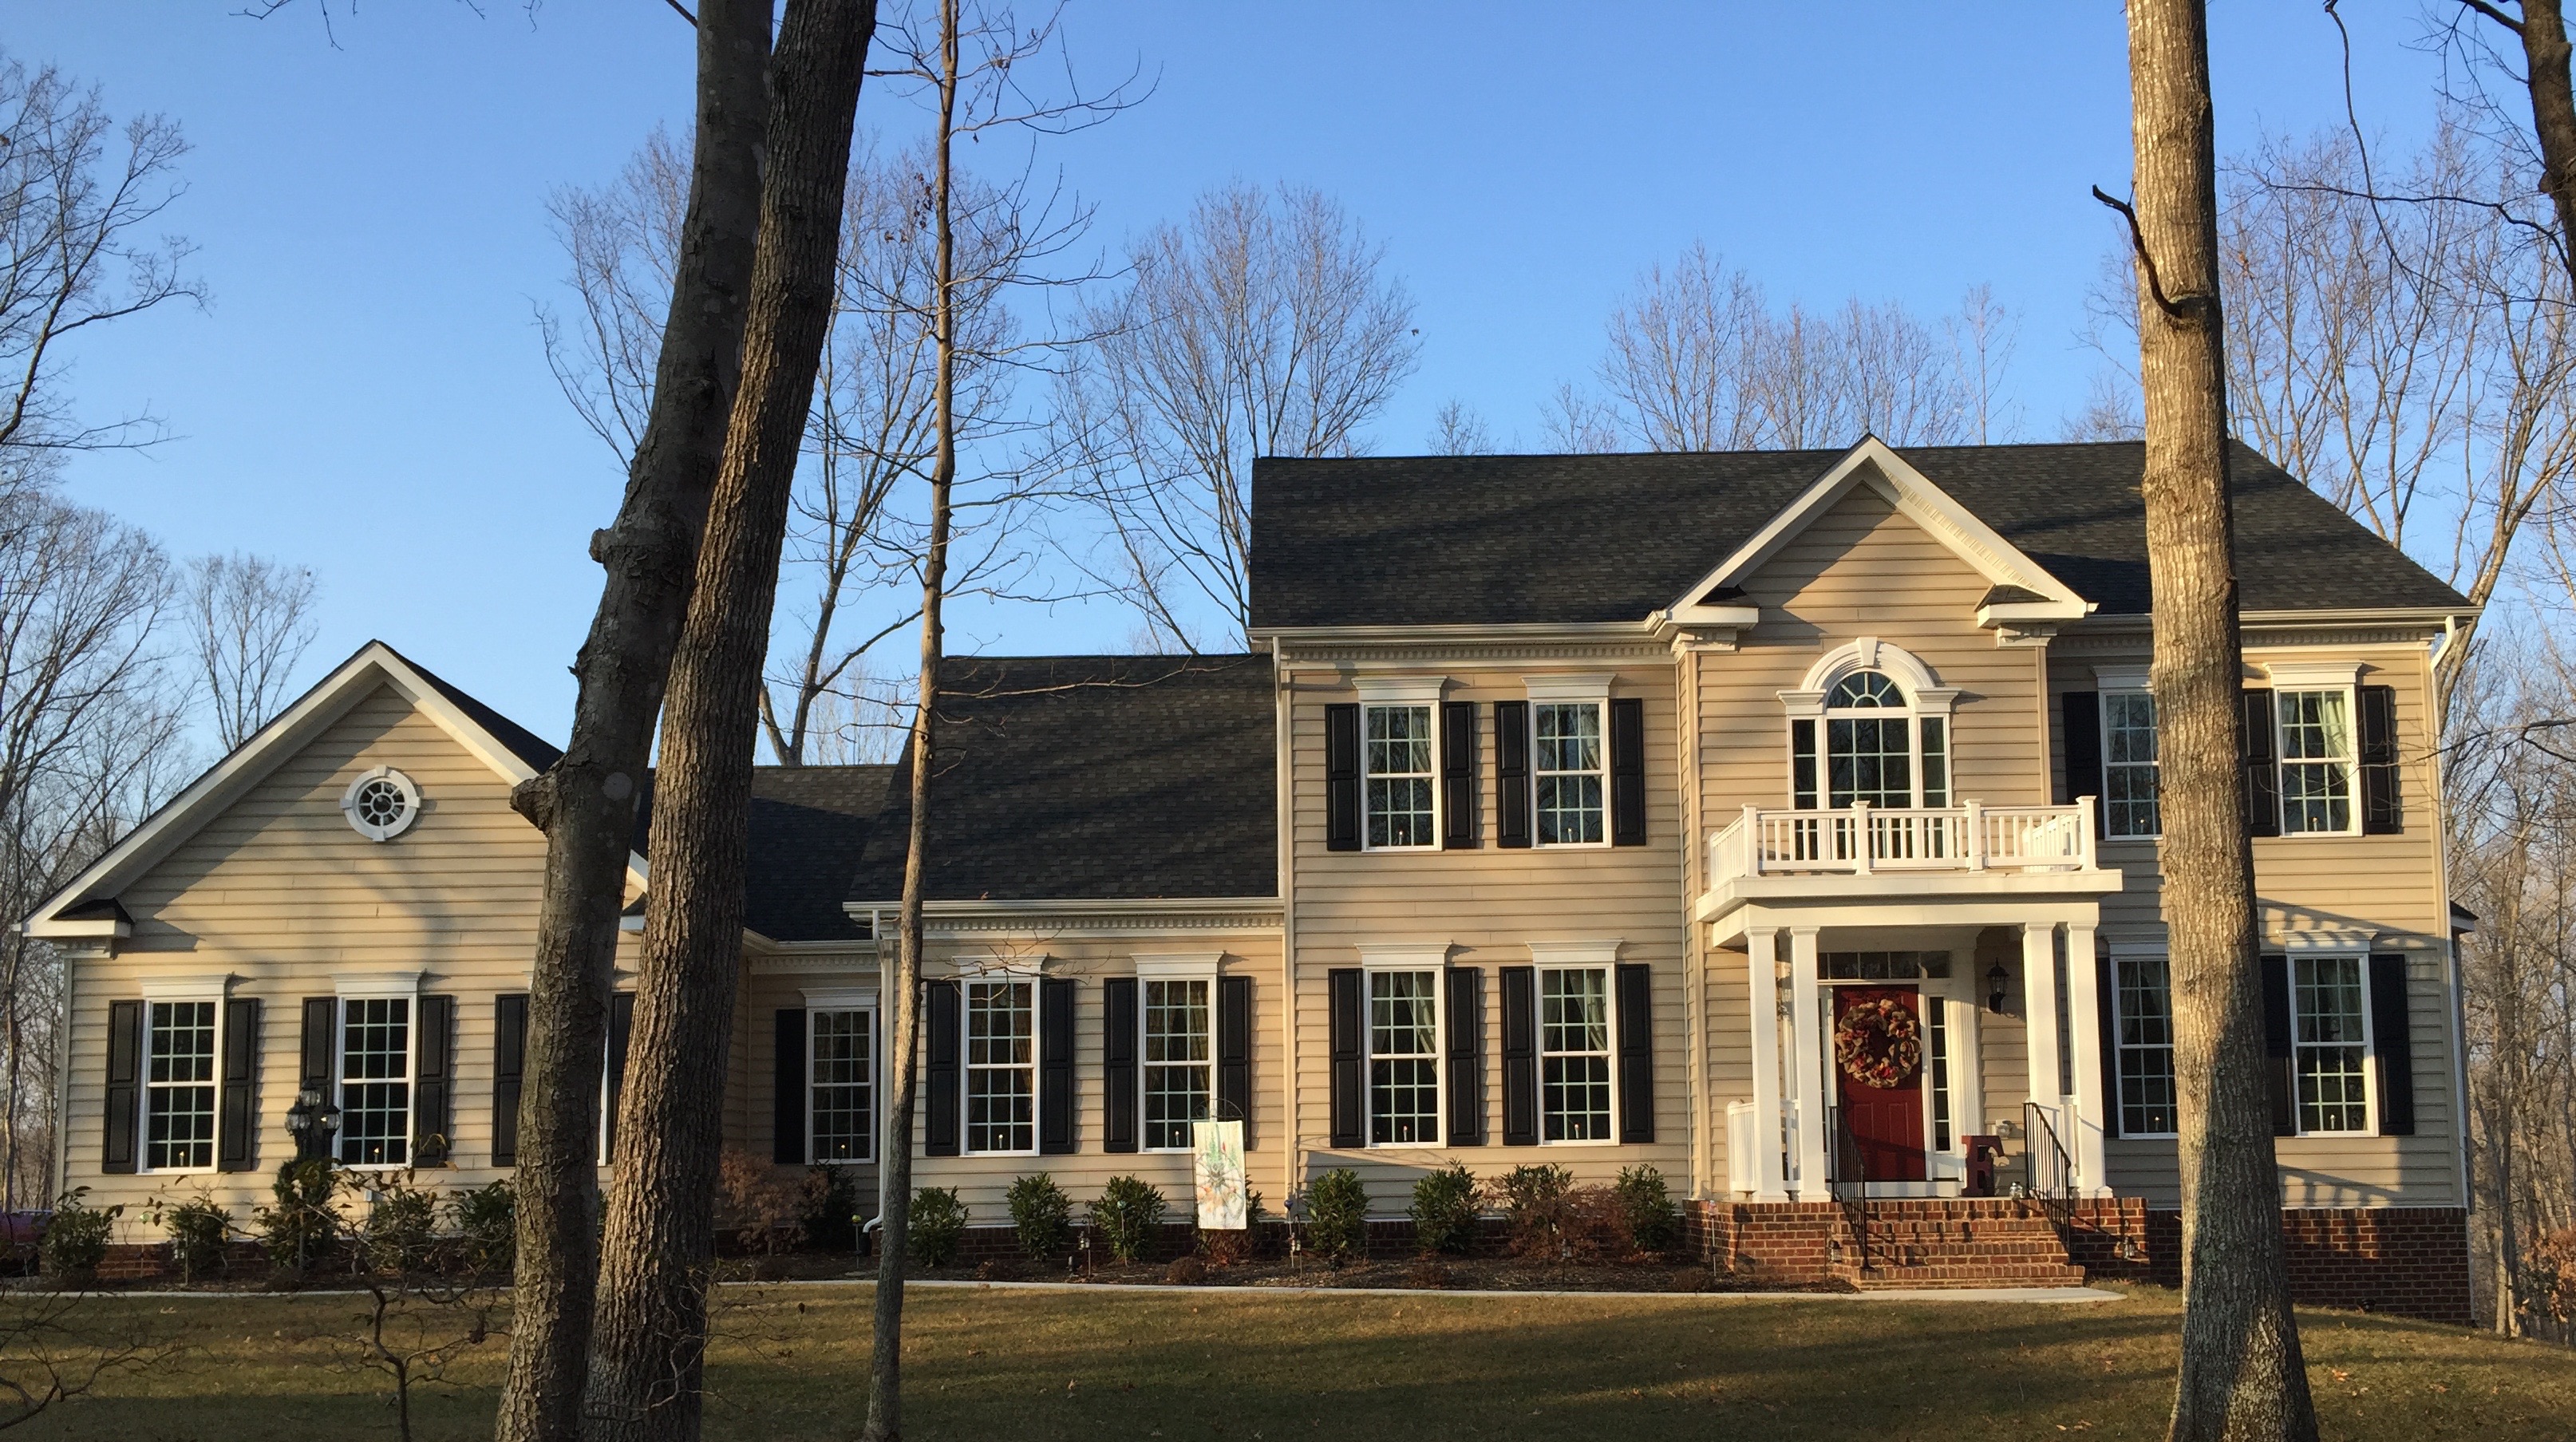
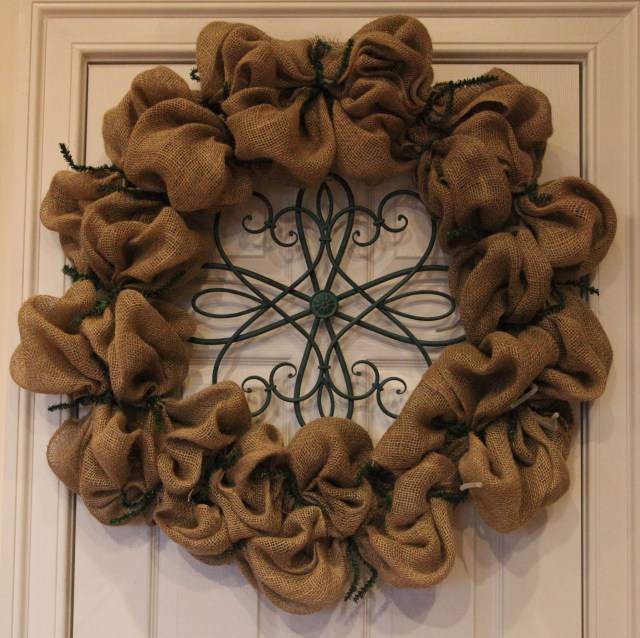
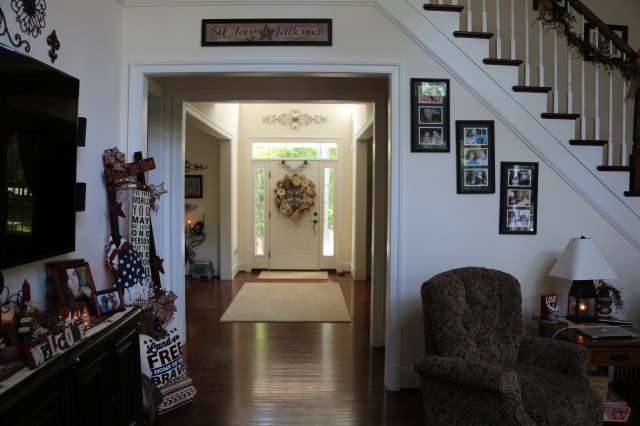
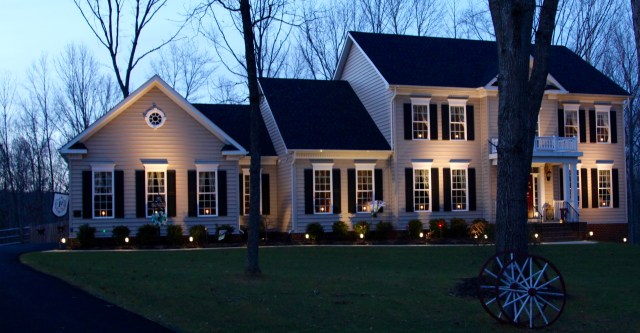
As y’all know, our living and dining rooms sit on the front of our home <link to home tour> and are separated by our foyer & front door. I have found that I really enjoy putting a wreath on the inside of the door. I have a pretty large foyer and that wreath helps to carry the decor theme from one room to the next. I use a pretty green color–I see it everywhere–along with cream & burlap as my accent colors in those rooms. These colors lend themselves to a soft, pretty, warm and cozy design that I have fallen in love with since moving into this house. Also, using these softer colors while incorporating my other favorite design accents into these rooms presents me with a bit of a challenge being that they are not necessarily your typical country themed colors. In this post, I will highlight a wreath that I made while on a ladies craft day last March; I made it especially to hang on the back of my front door. I will also show you some other soft country design elements and techniques like I’ve used in my family room/kitchen area (that are decorated in the more typical country colors of burgundy, green, blue, etc…) and carried into these softer hued rooms.
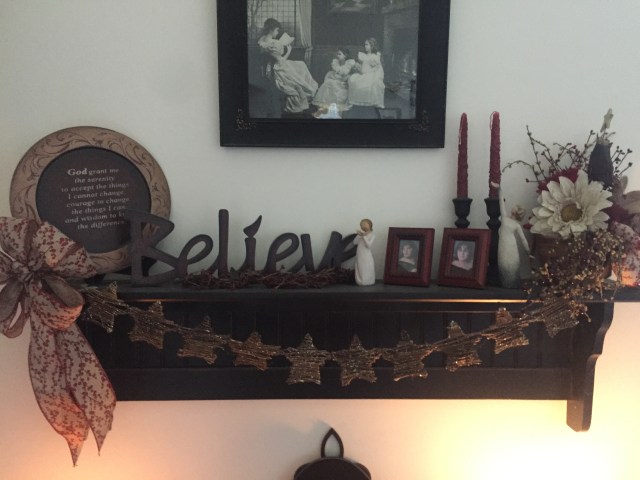
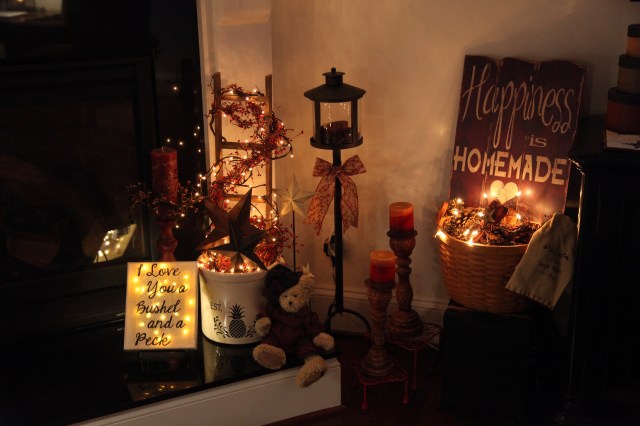
Okie dokie…So, first, let me list some of my very favorite accent pieces that I usually will use to augment my decor:
- Pip Berries (picks and garlands)
- Lanterns
- Burlap
- Gerber Daisies
- Dickens Houses
- Candles
- Family Pictures
- Rod-Iron Accent Pieces
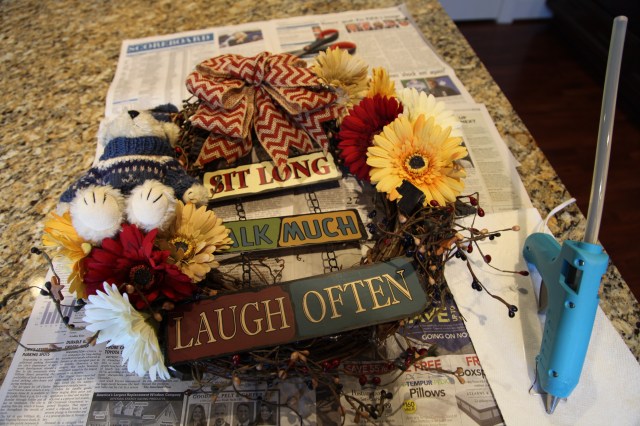
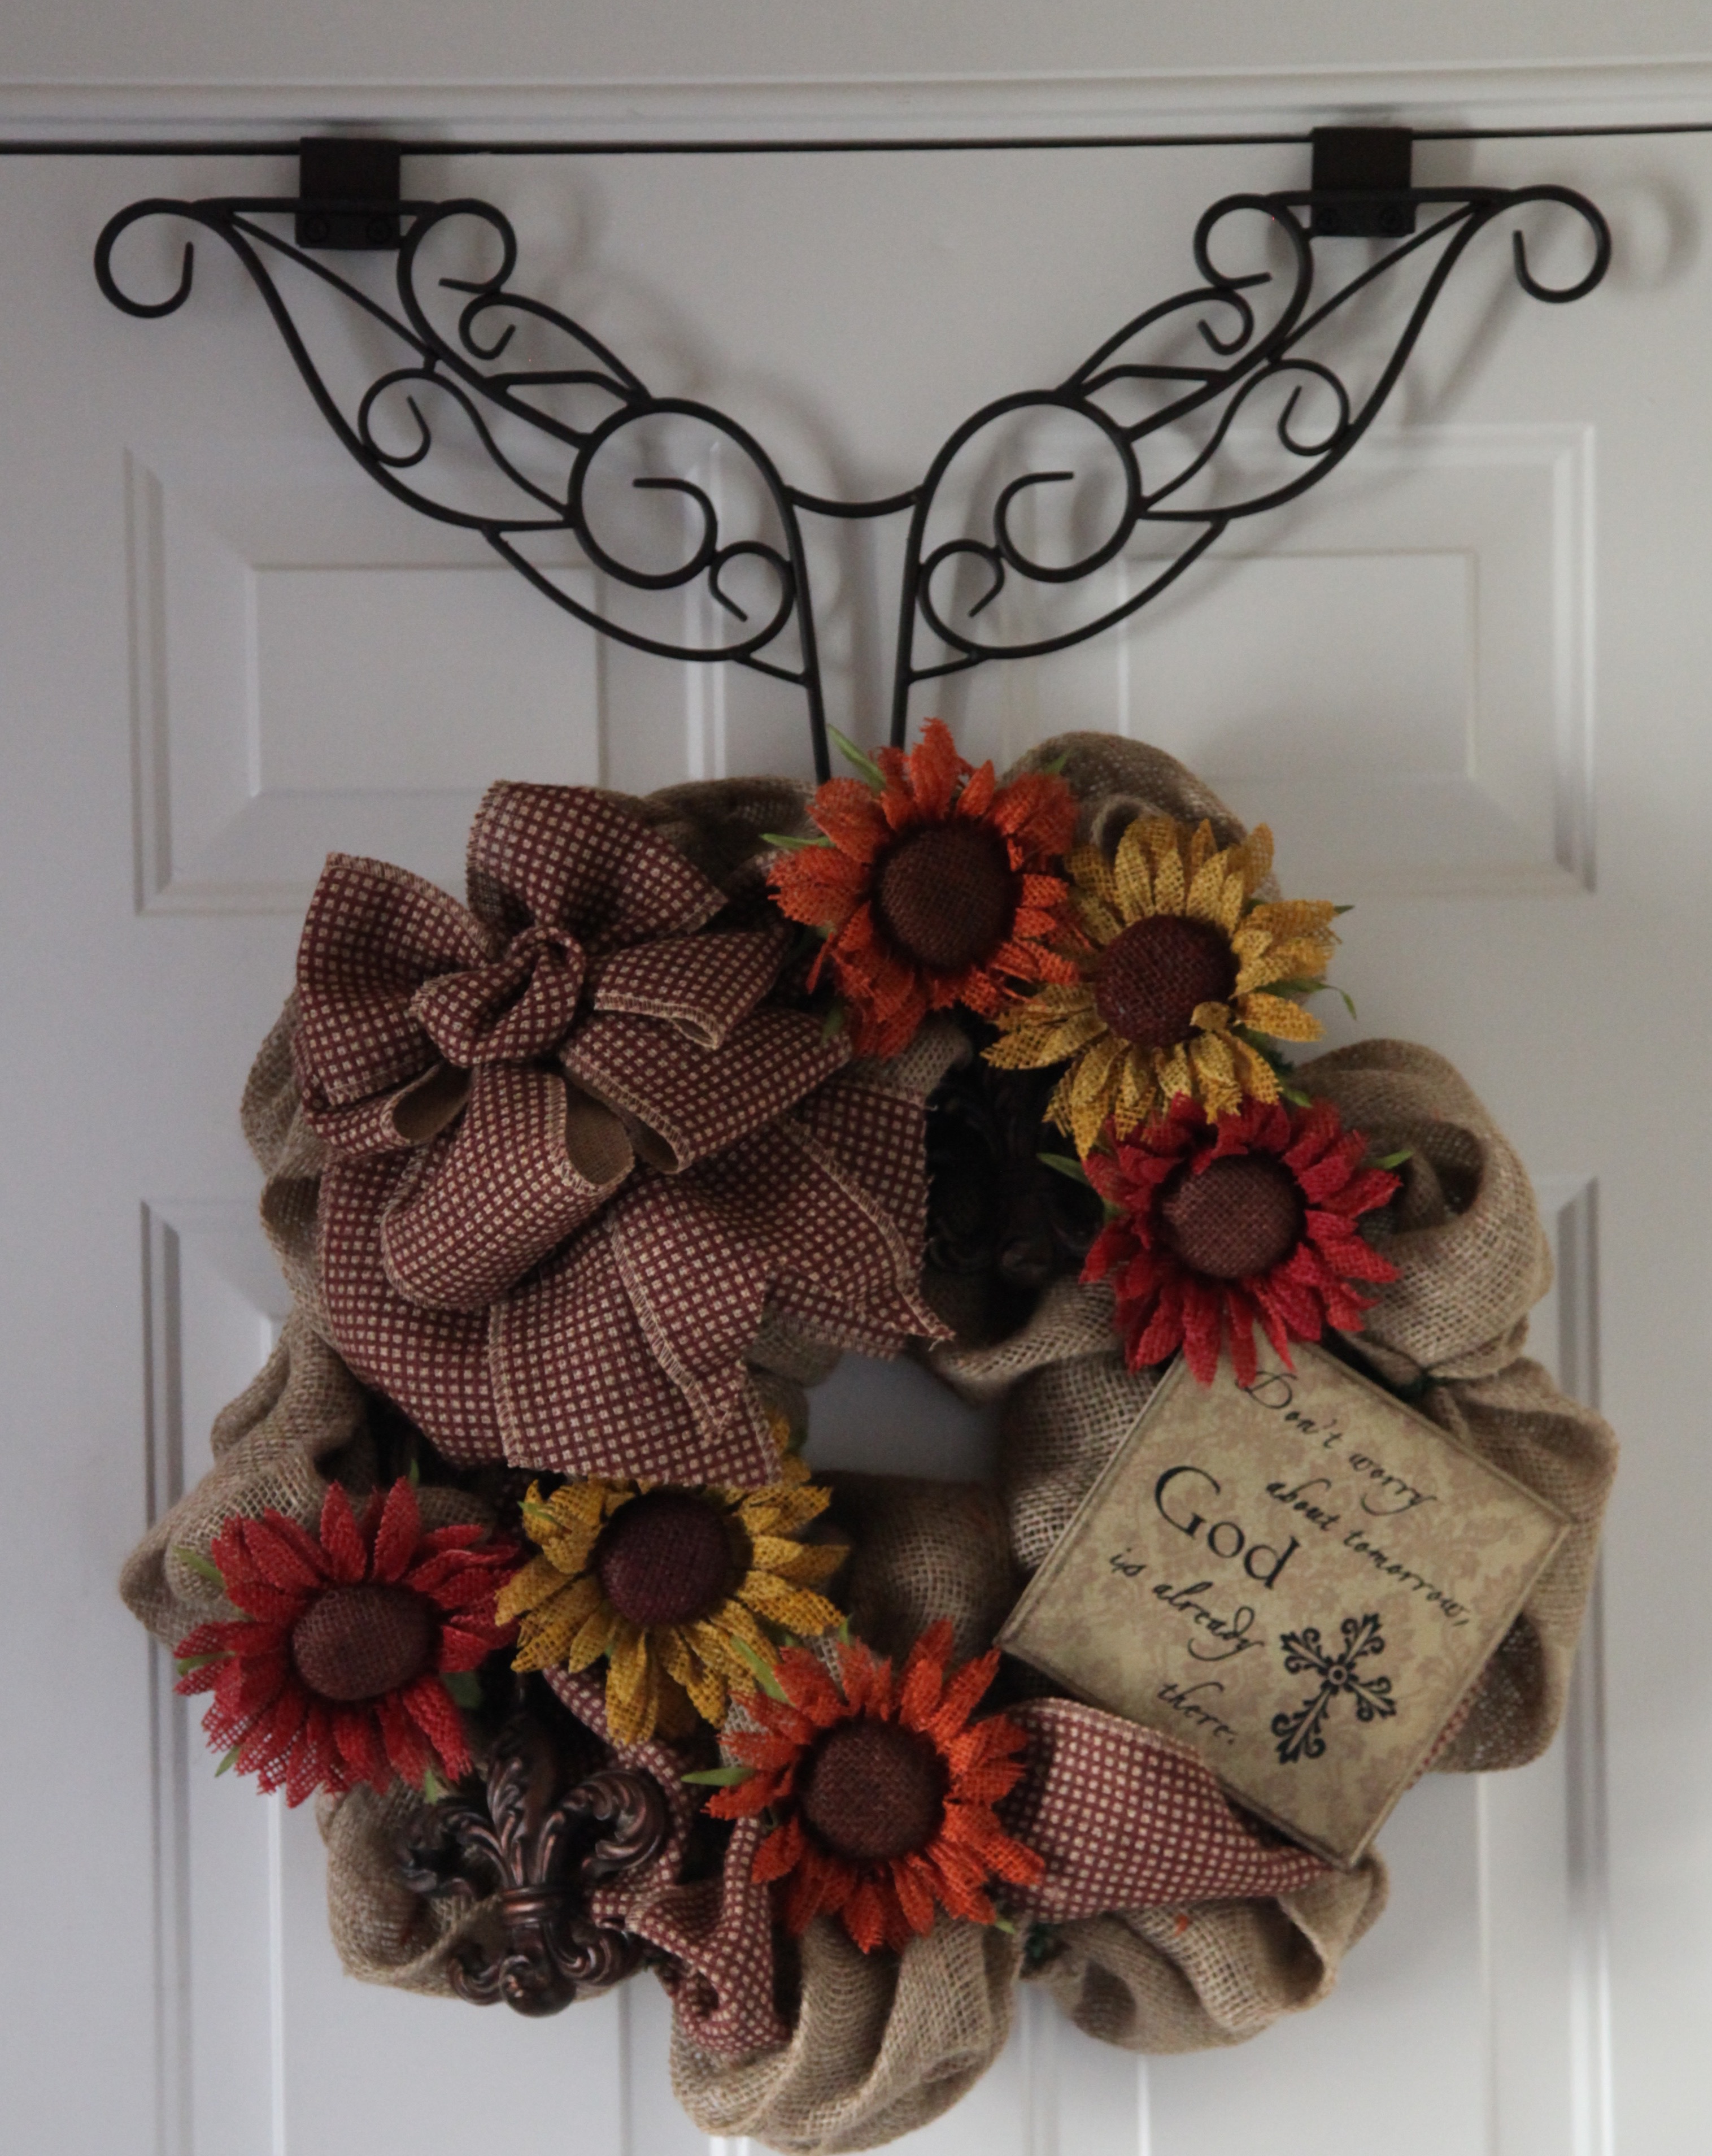
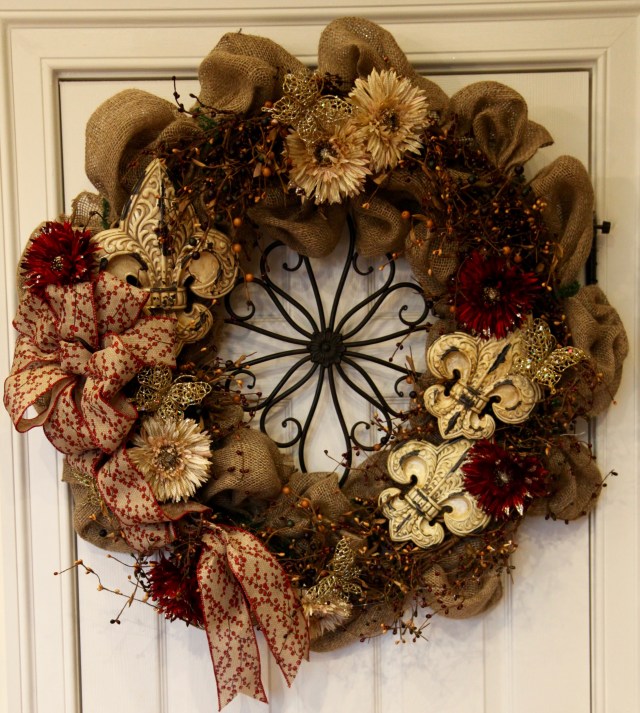
As you will see, I’ve tried my best to try and incorporate some of my favorite things into my room designs and into that huge wreath on the door. Speaking of the wreath, let me describe how I made that real quick…
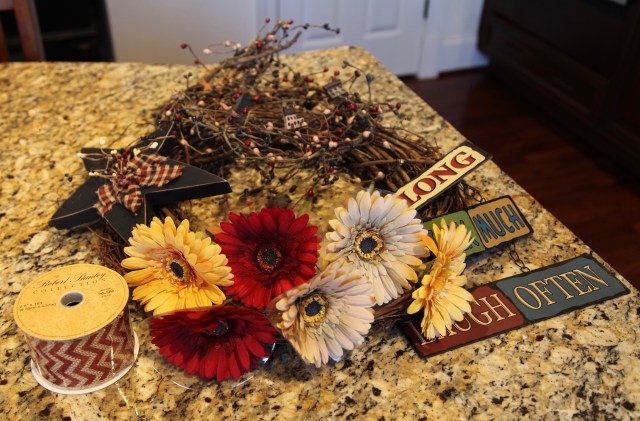
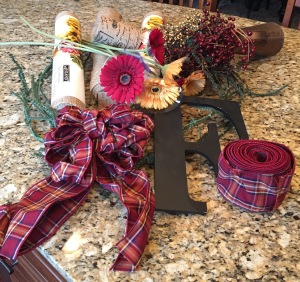
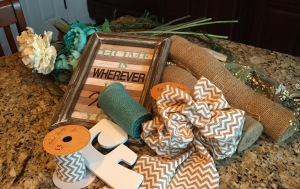
Here are the supplies that you’d need if you wanted to try to make this wreath, also here is a link showing you a bit more detailed directions as to how to make a burlap wreath:
- 24″ Work Wreath
- 2 Skeins of Burlap ‘Runner’
- Pip Berry Garland
- Accent burlap ribbon (or whatever accent you might want to use)
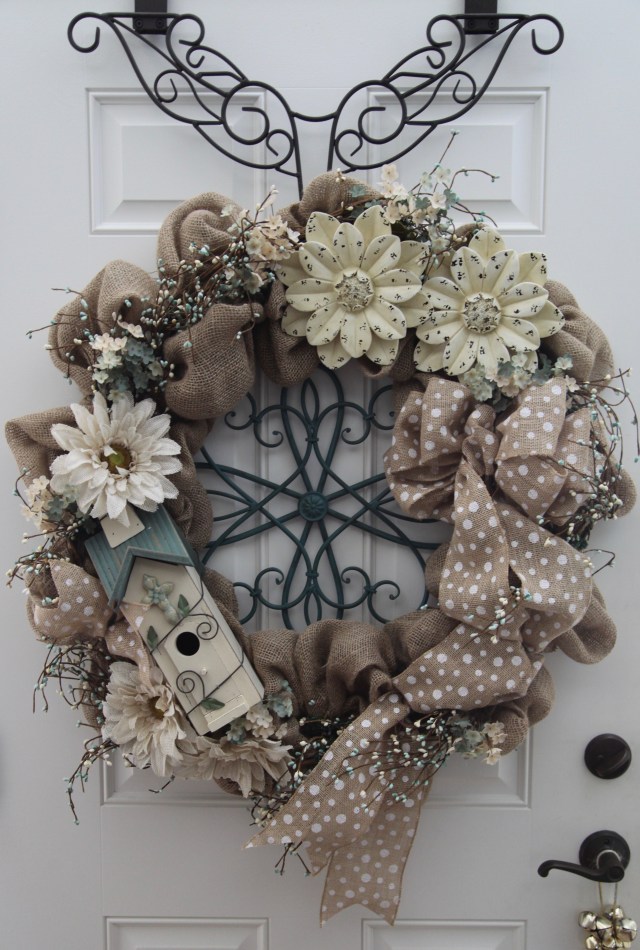
- Wooden Birdhouse
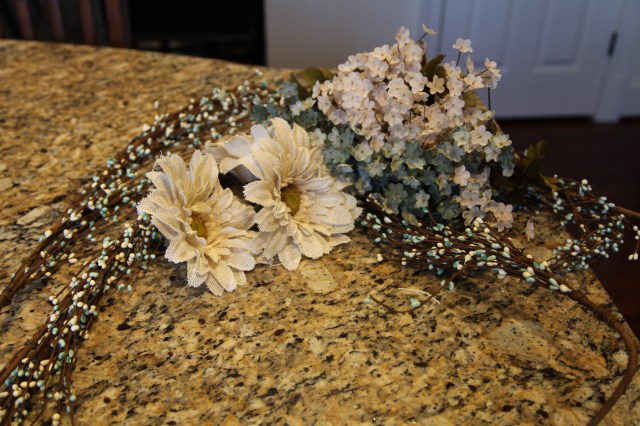
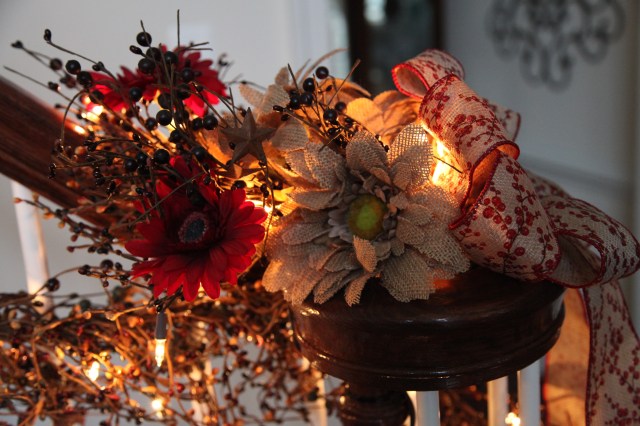
- Resin Flowers
- Burlap Daisies
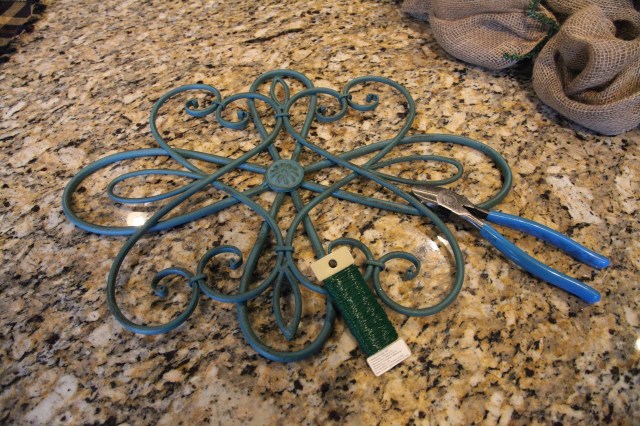
- Rod Iron Flower & Accent flowers
- Floral wire

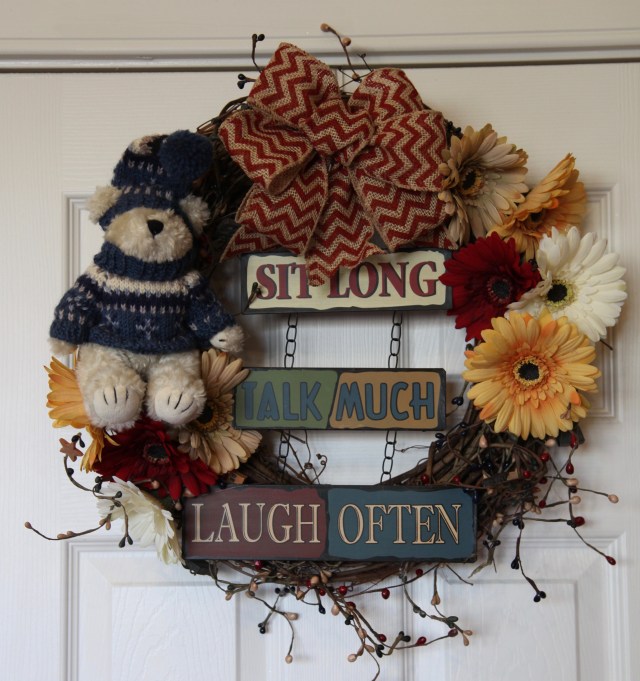
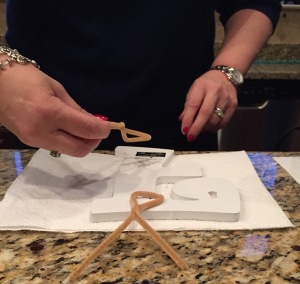
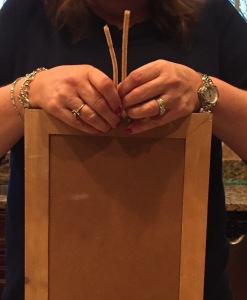
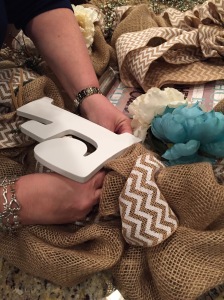
The first thing that I did was to glue pipe cleaners onto the back of the birdhouse and the wooden daisies:


And the Birdhouse:

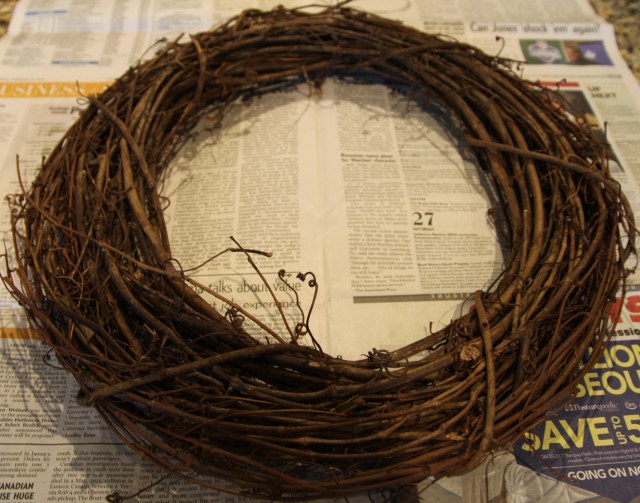
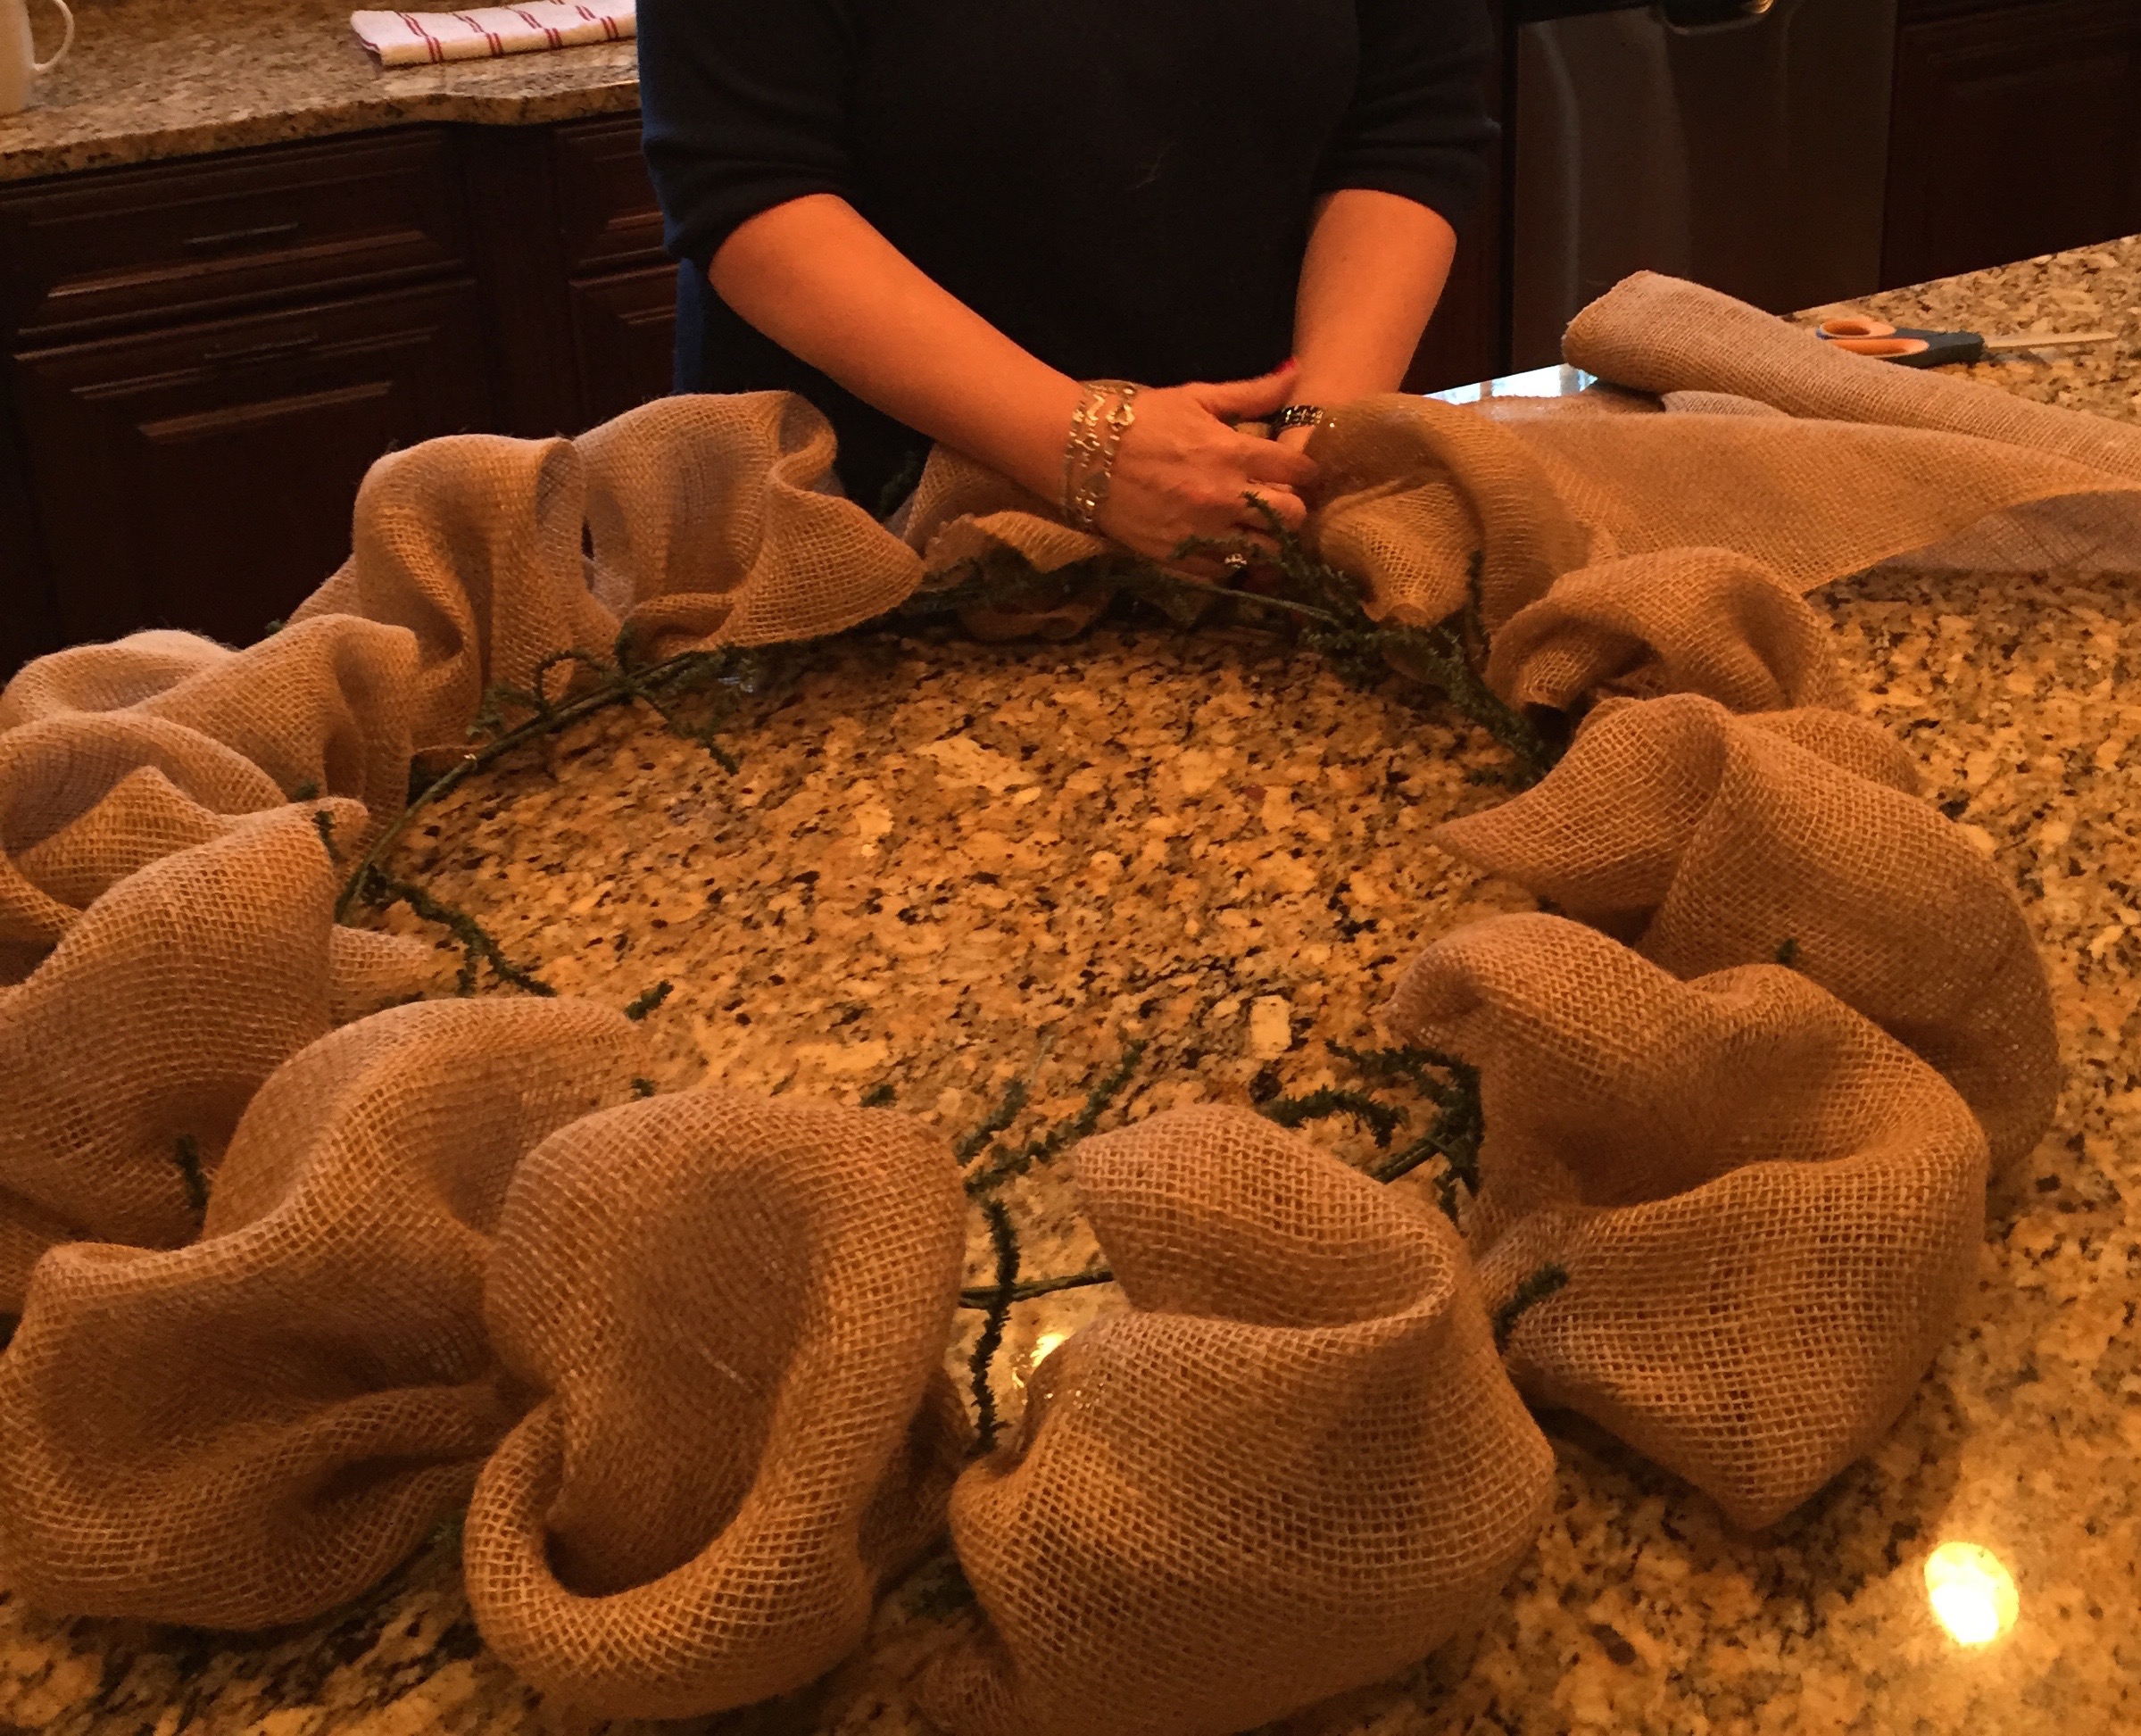
Then I added the burlap to the work wreath:


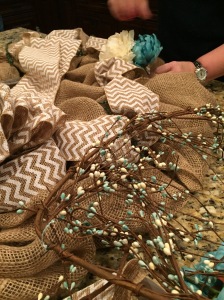
Next I turned the wreath over and attached the rod-iron flower using floral wire:


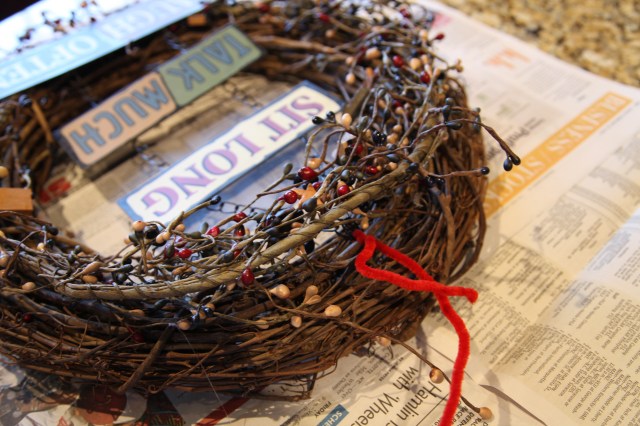
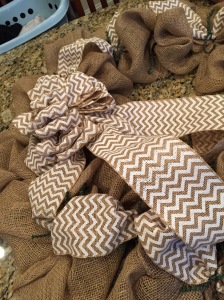
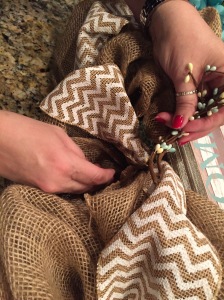
Then it was time to make it pretty, so I went about adding the pip berry garland simply by adding it in on top of the burlap, attaching it into each outer ring’s pipe cleaner…

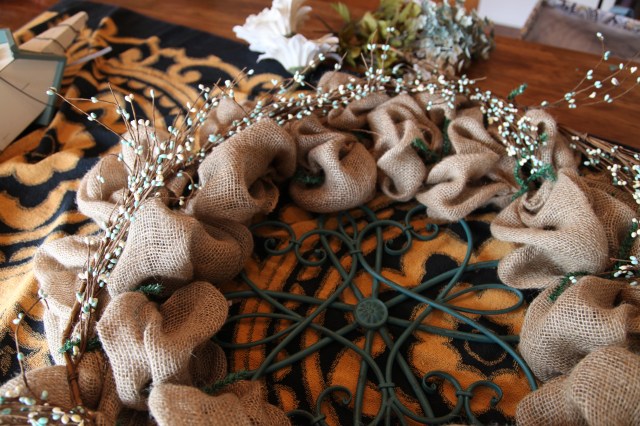
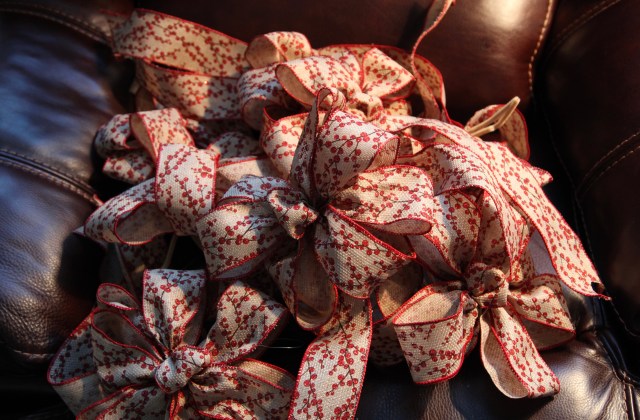
Then I added the bow, birdhouse, all of the daisies and other accent flowers…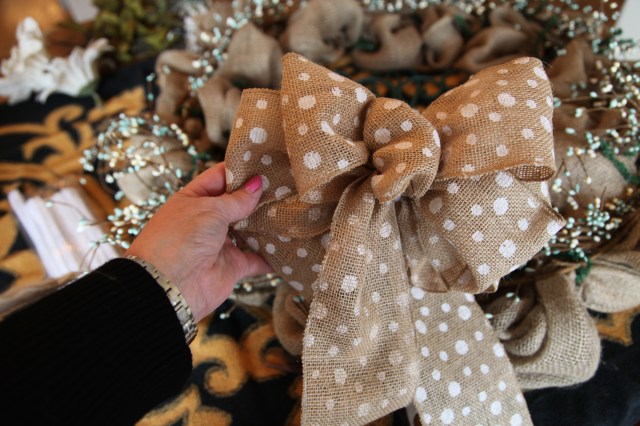
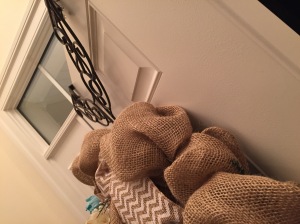
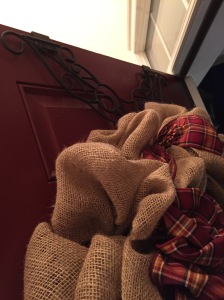
And here is the finished wreath:
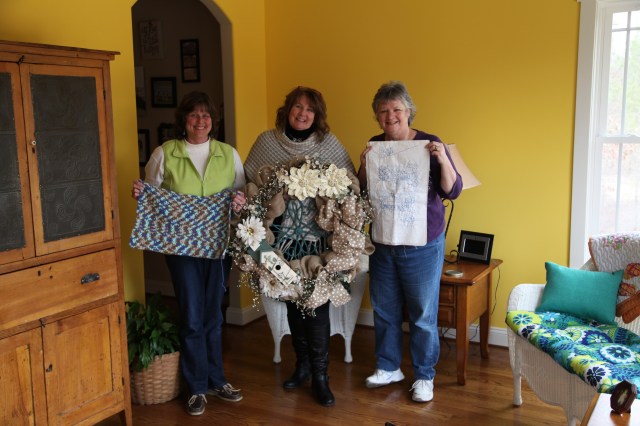
Here I am at Karen’s house in the middle holding the wreath, I’m flanked by my sweet friends Karen and Katrina who worked on their lovely crafts on that nice day:
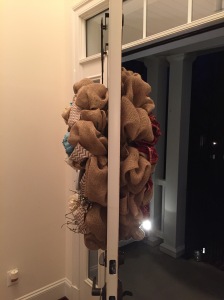
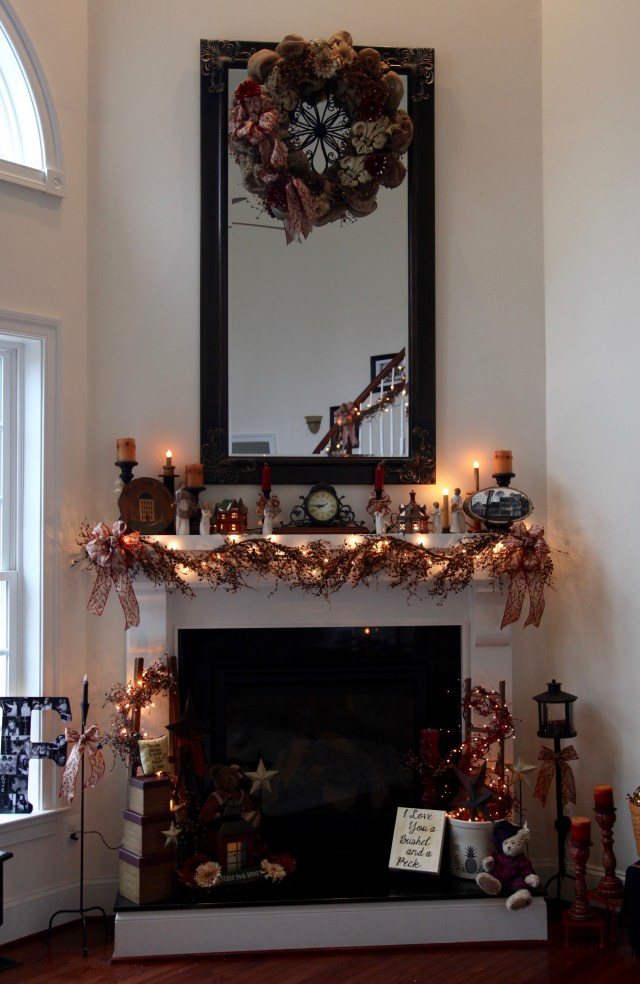
Here are a few more pictures of that wreath in place:
And of course, the pups always love to pose prettily for a picture–Left to Right–Gracie the Golden, and the Newfoundlands, Sophie and Samson. ❤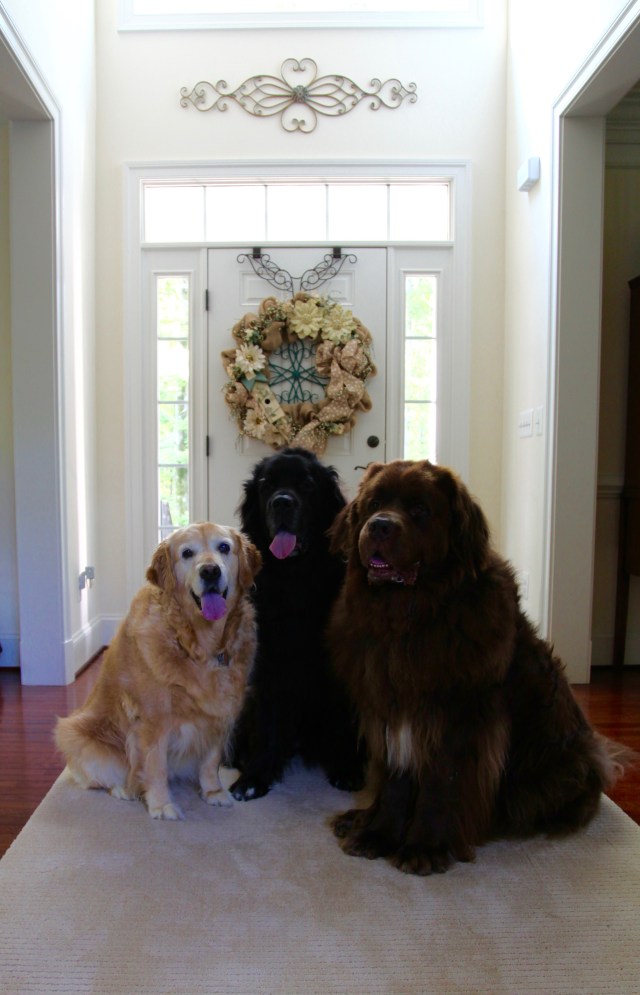

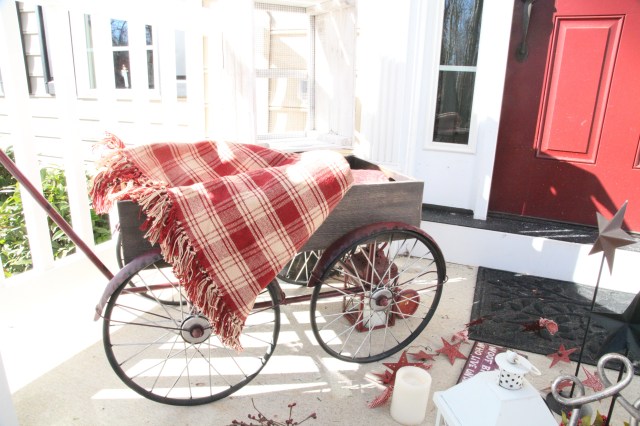
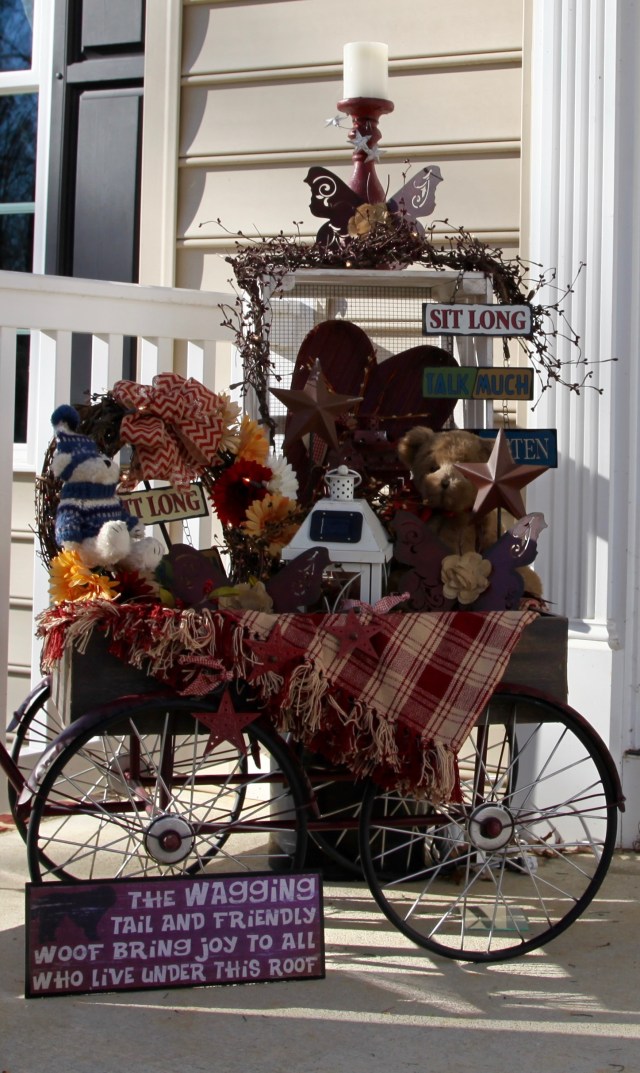
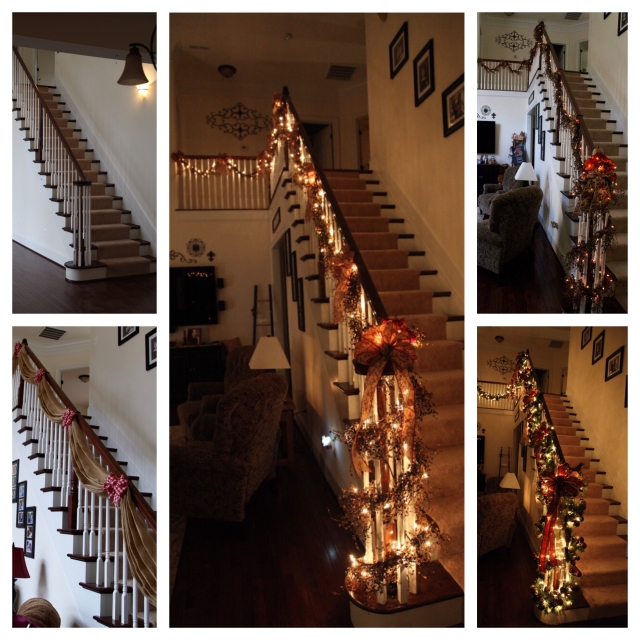
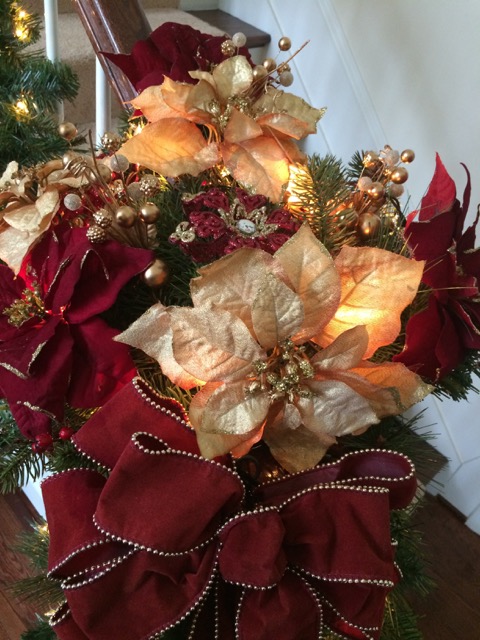
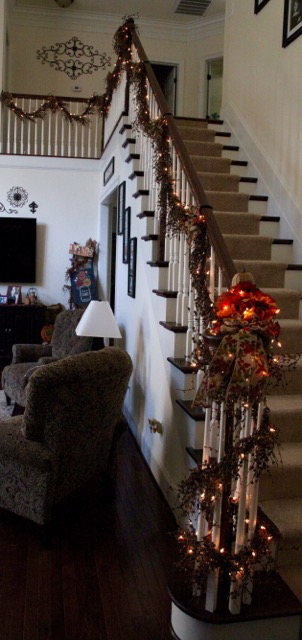
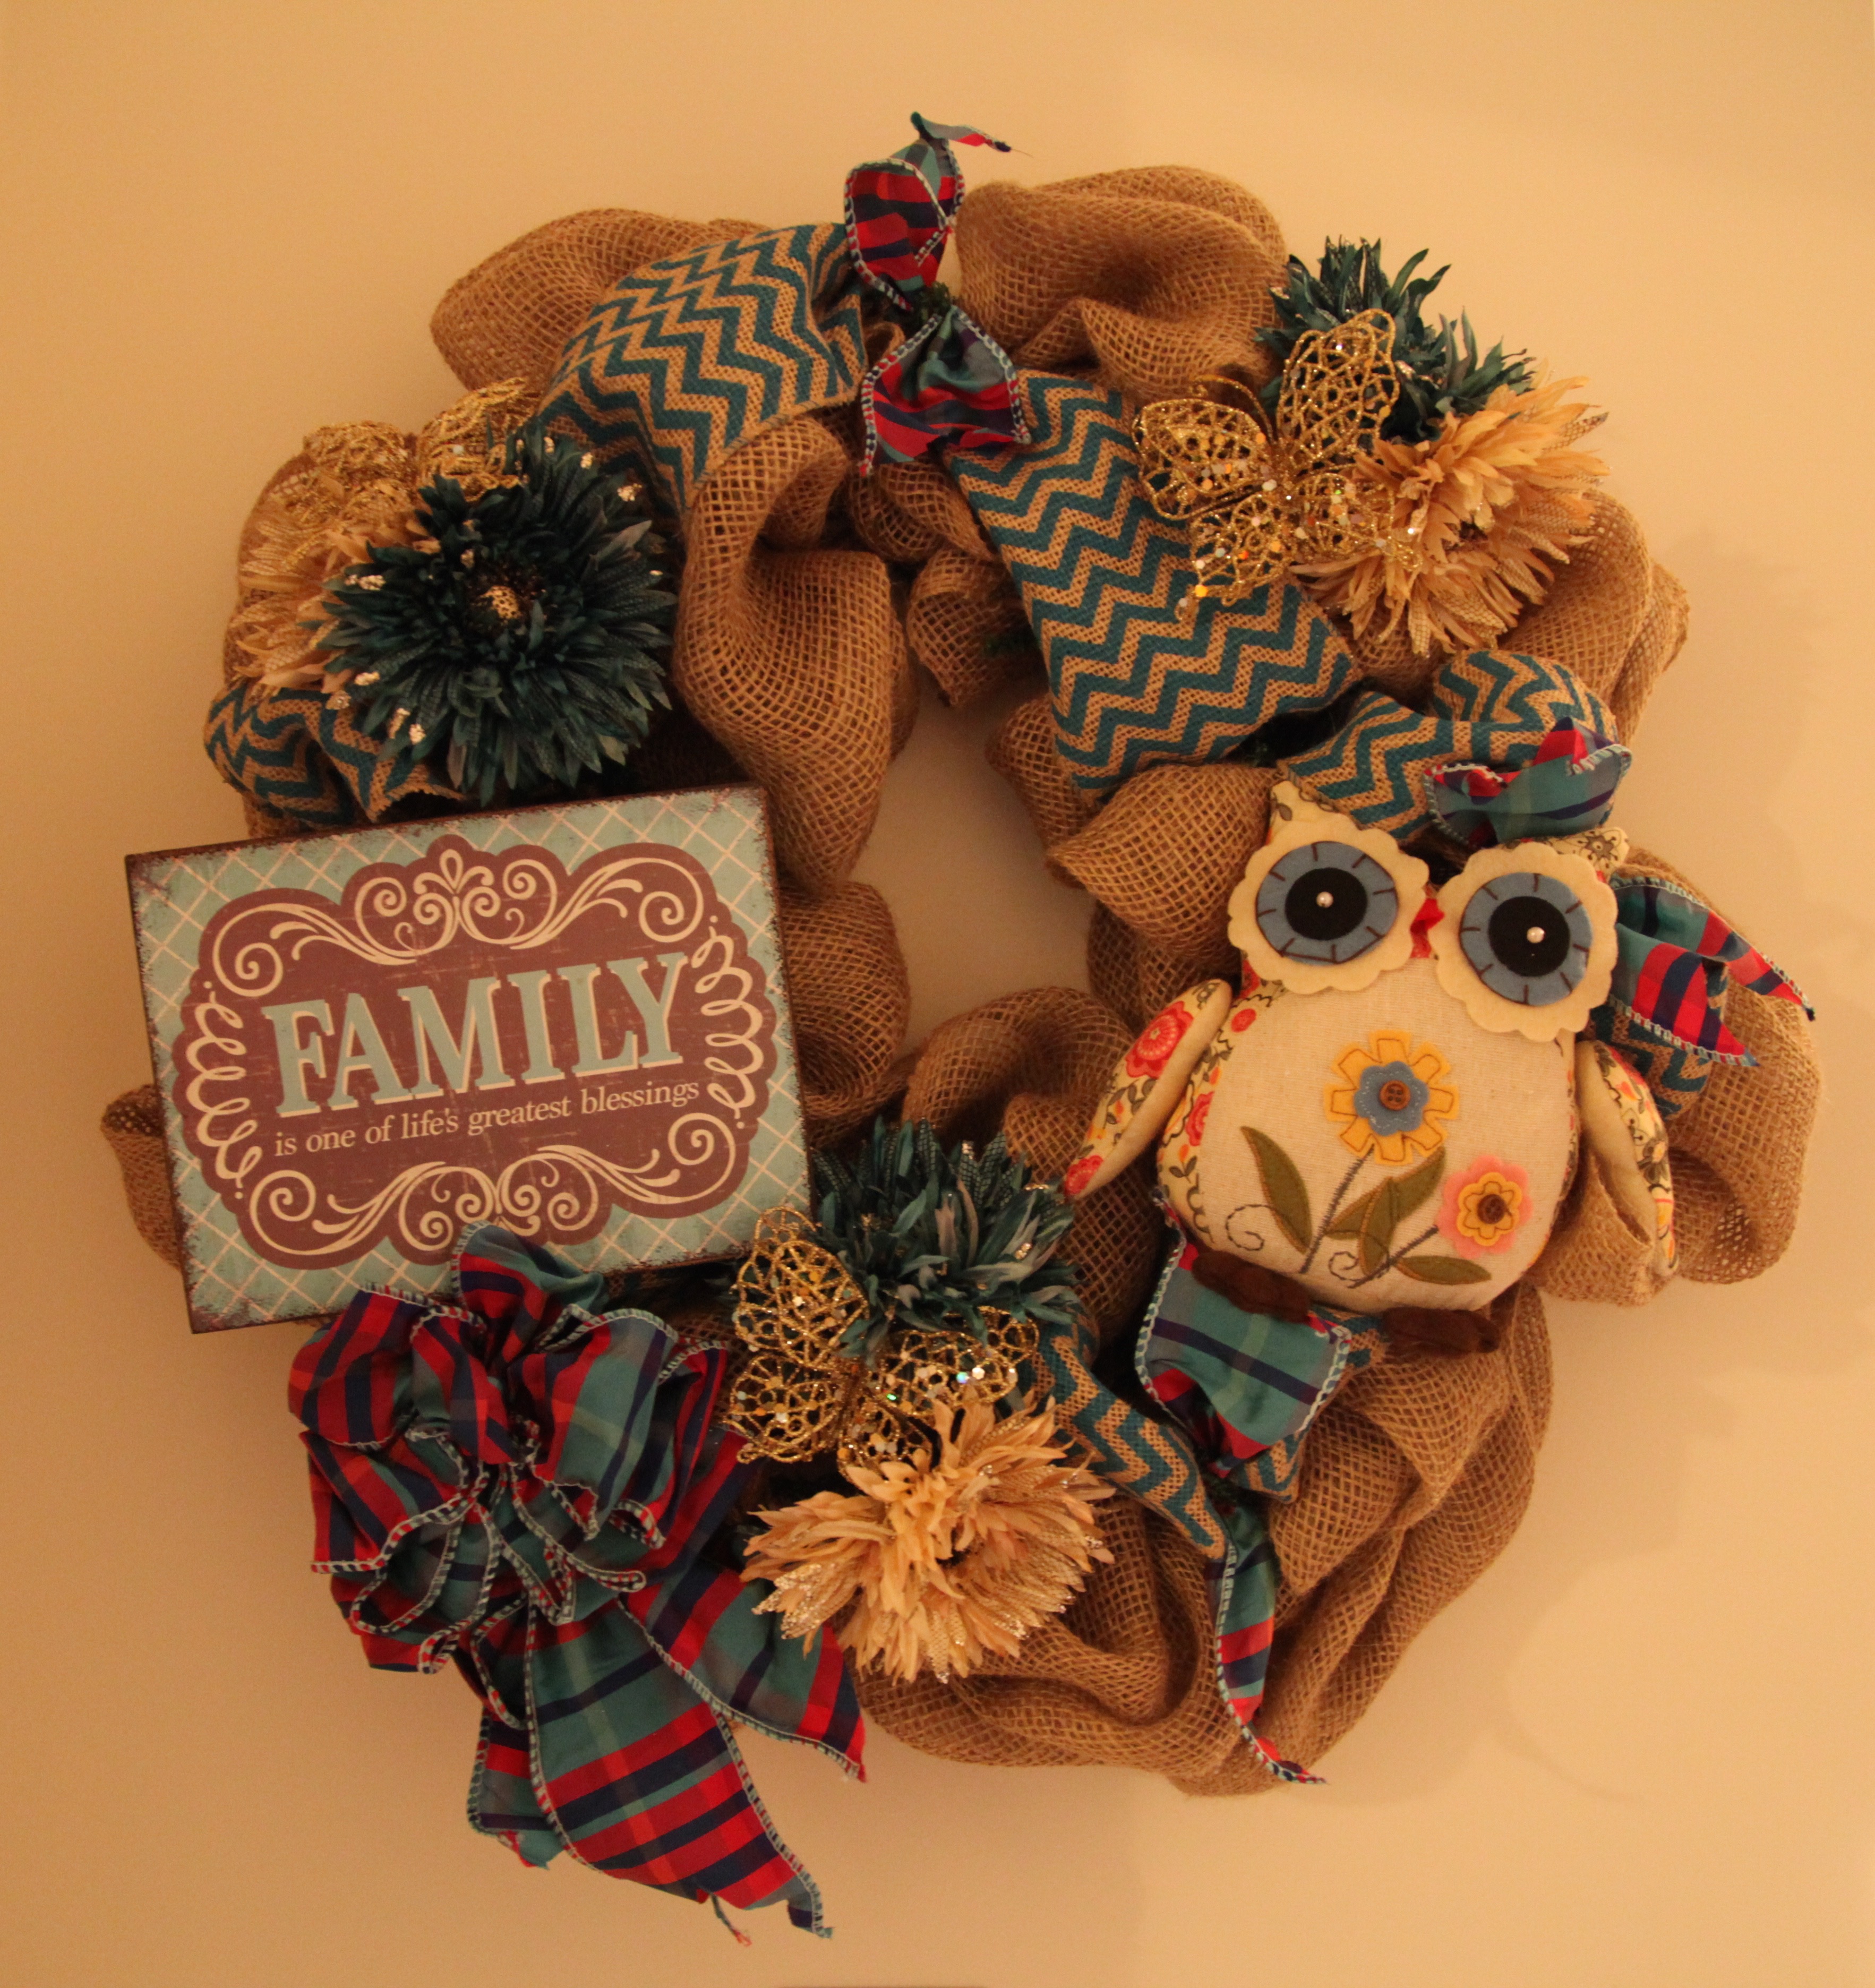
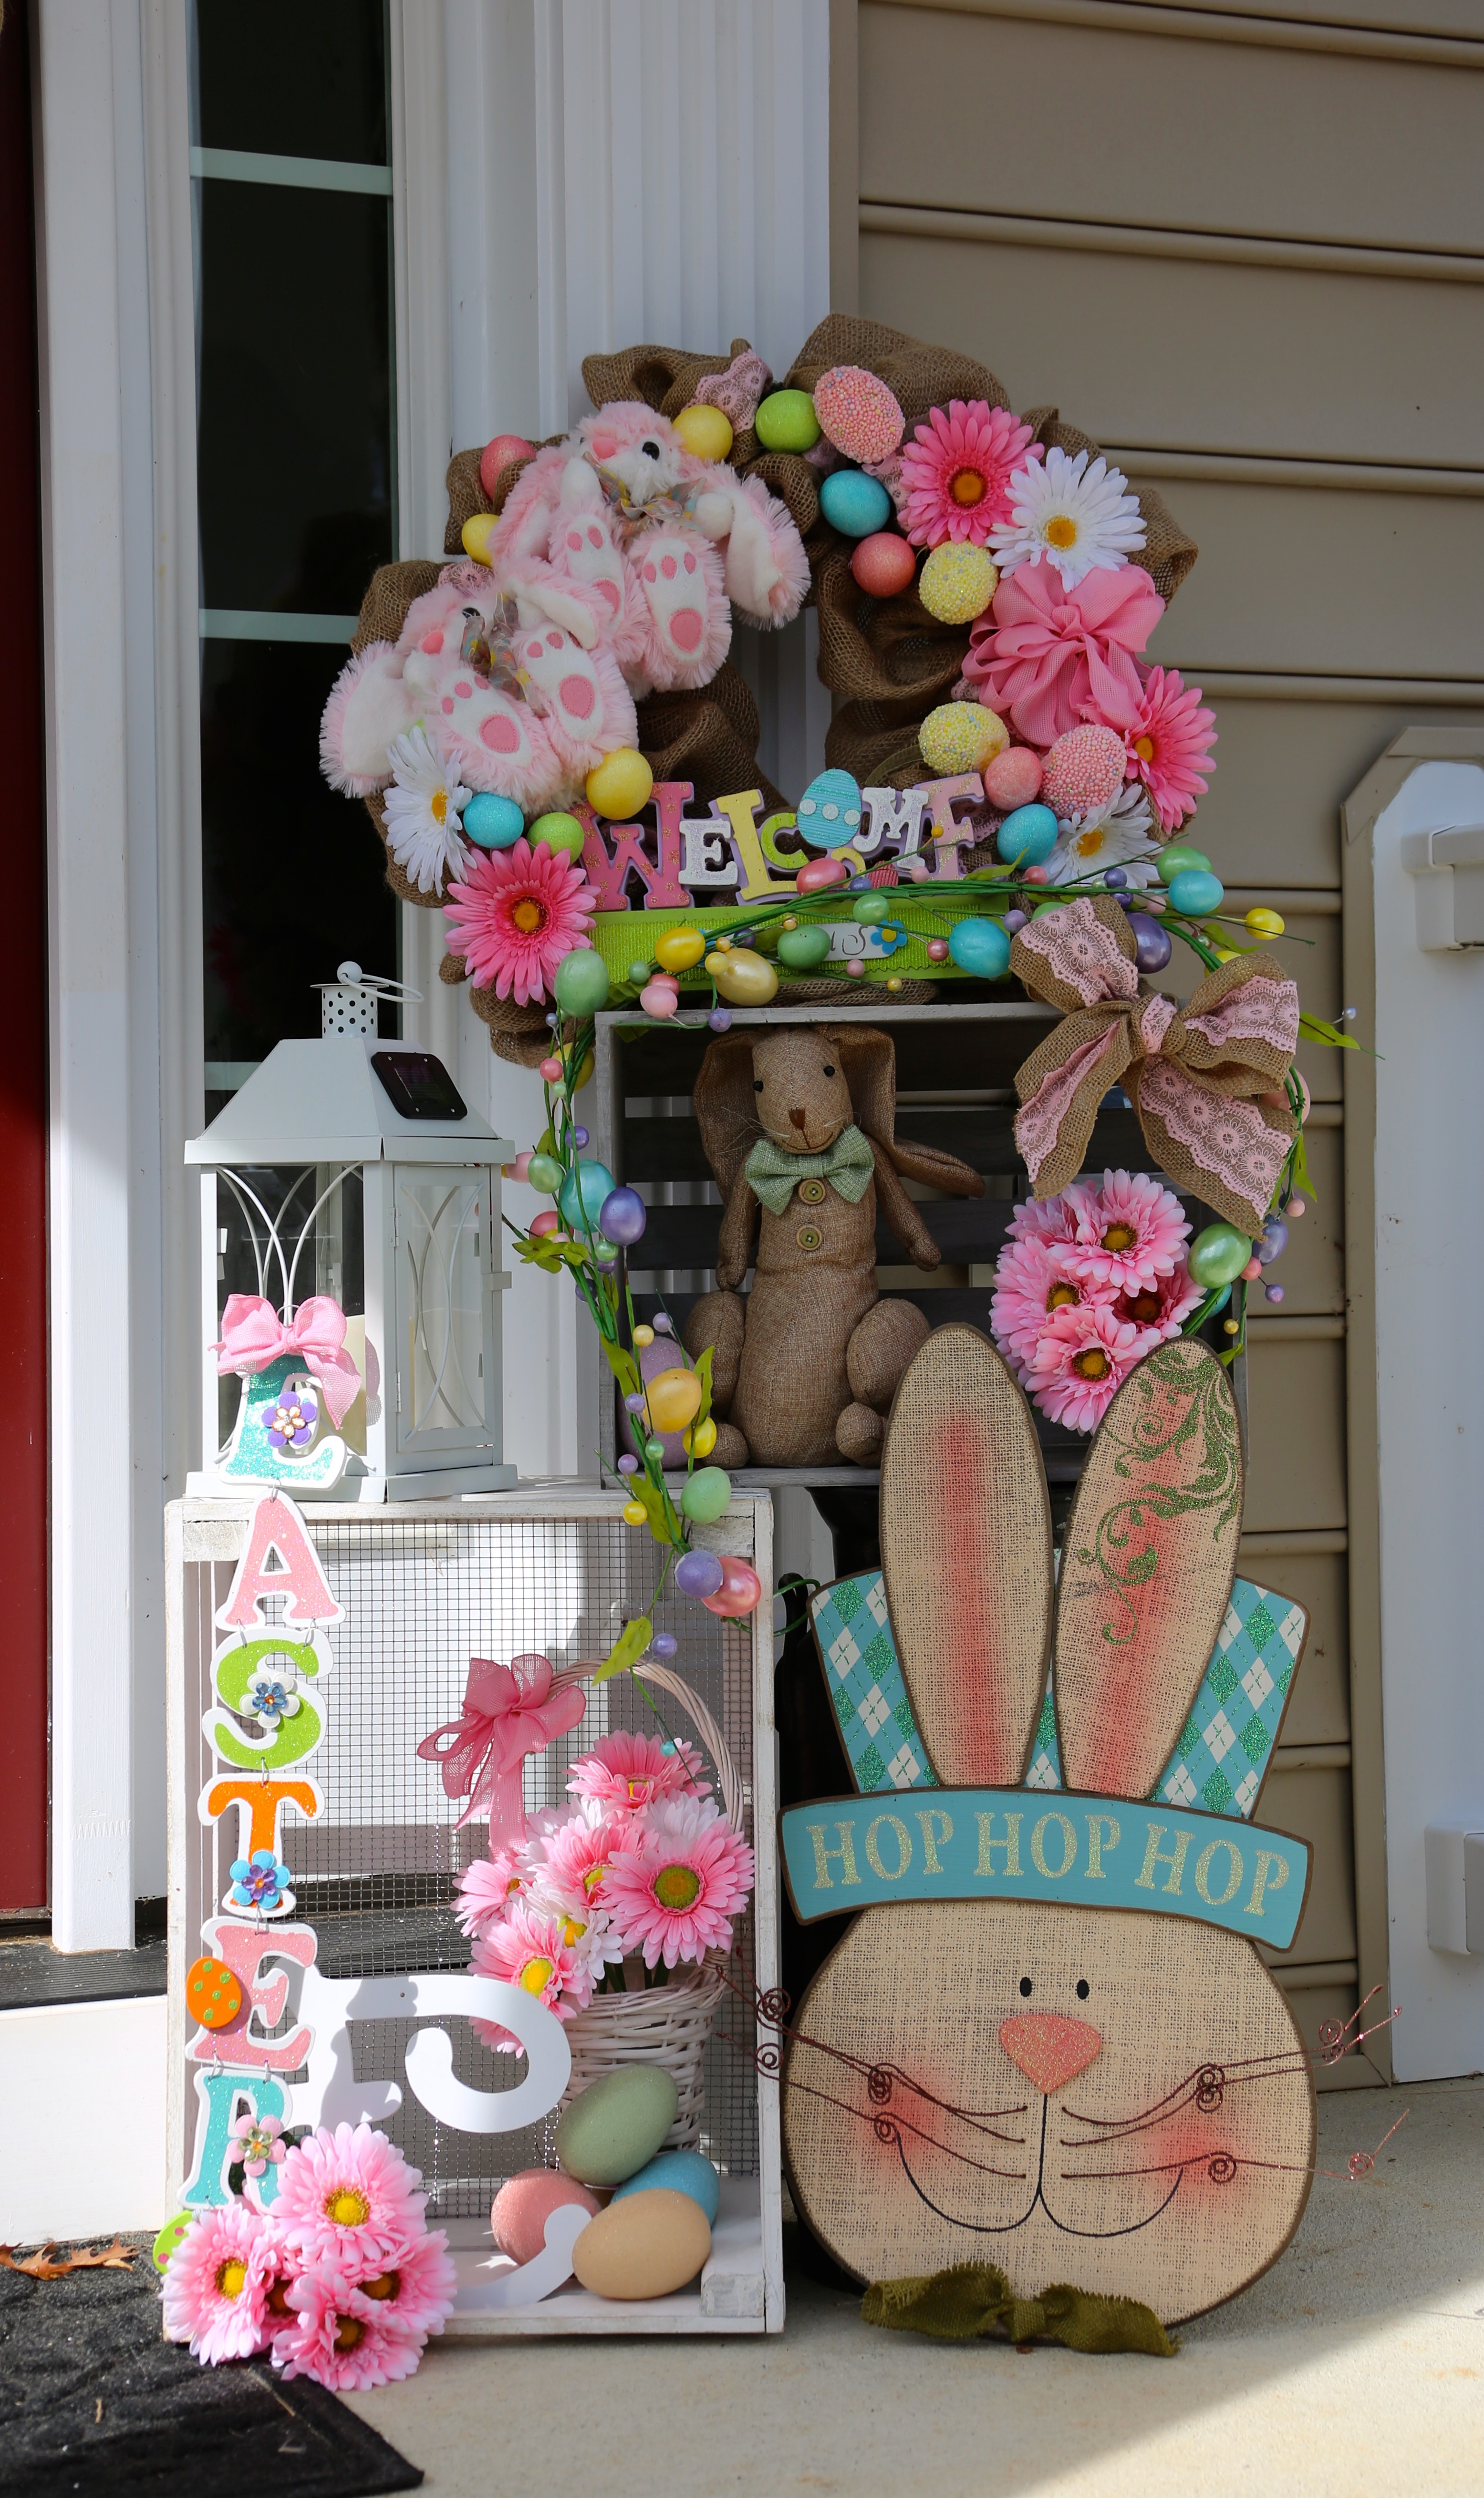
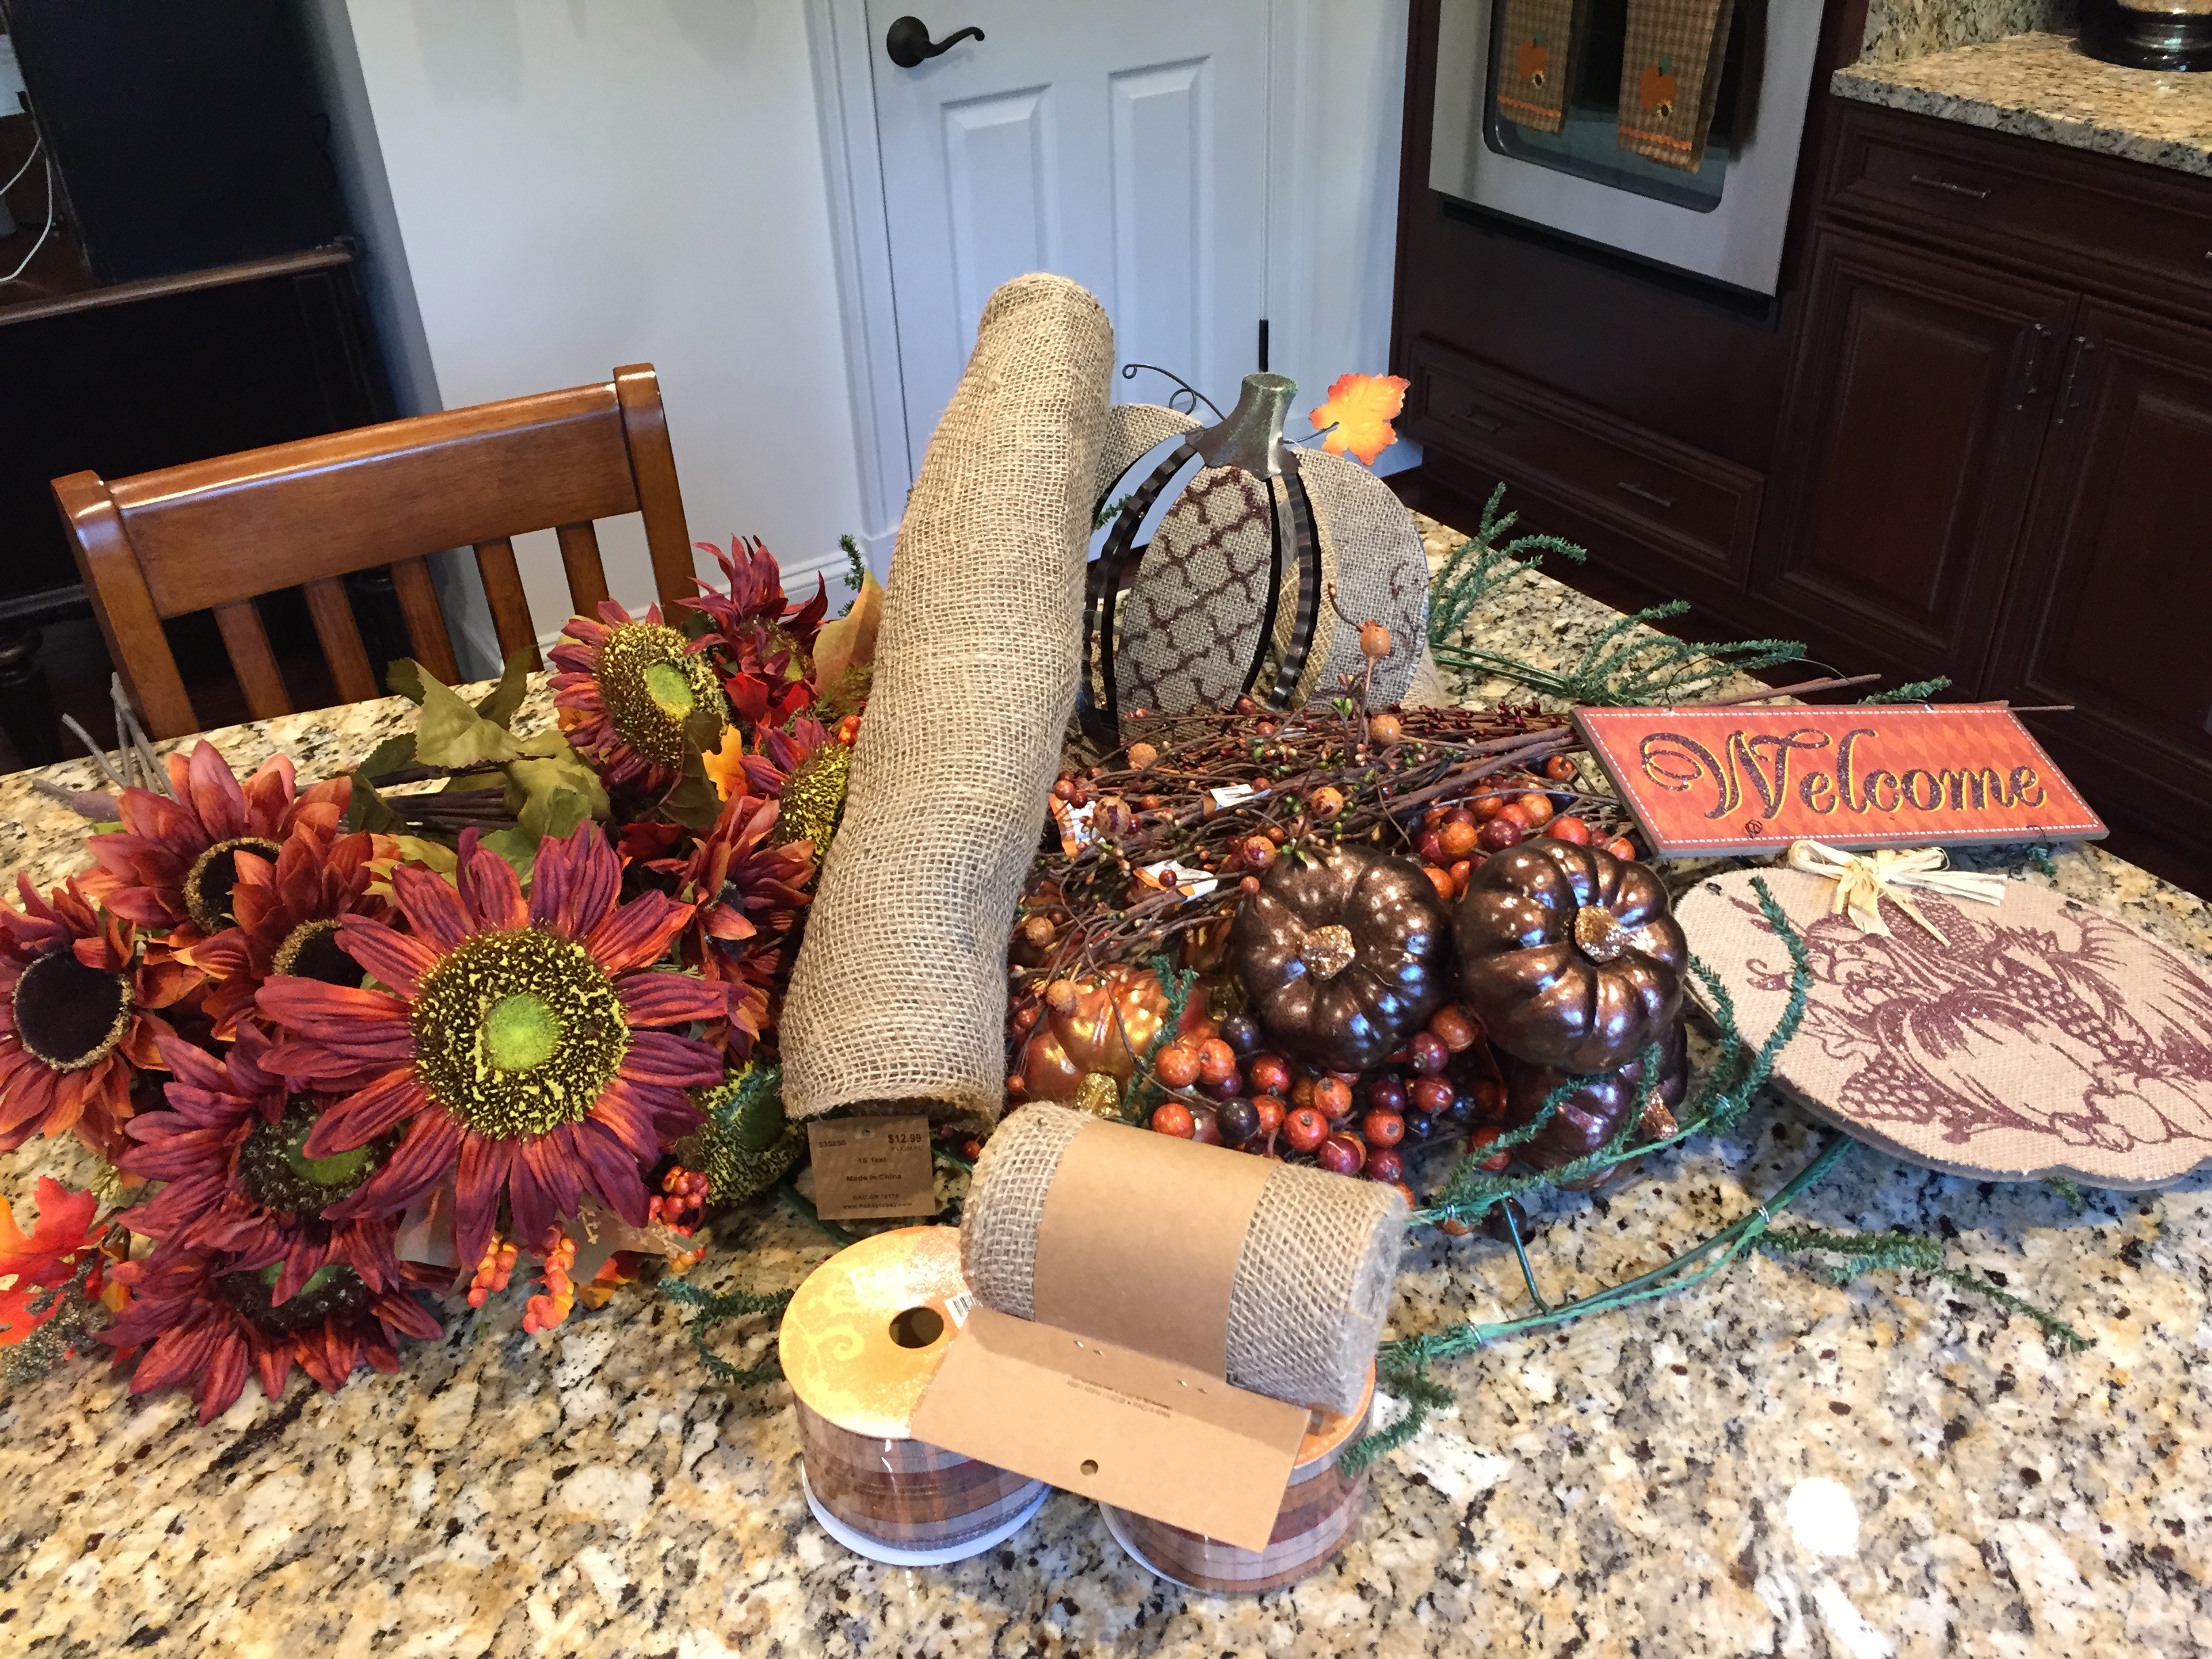
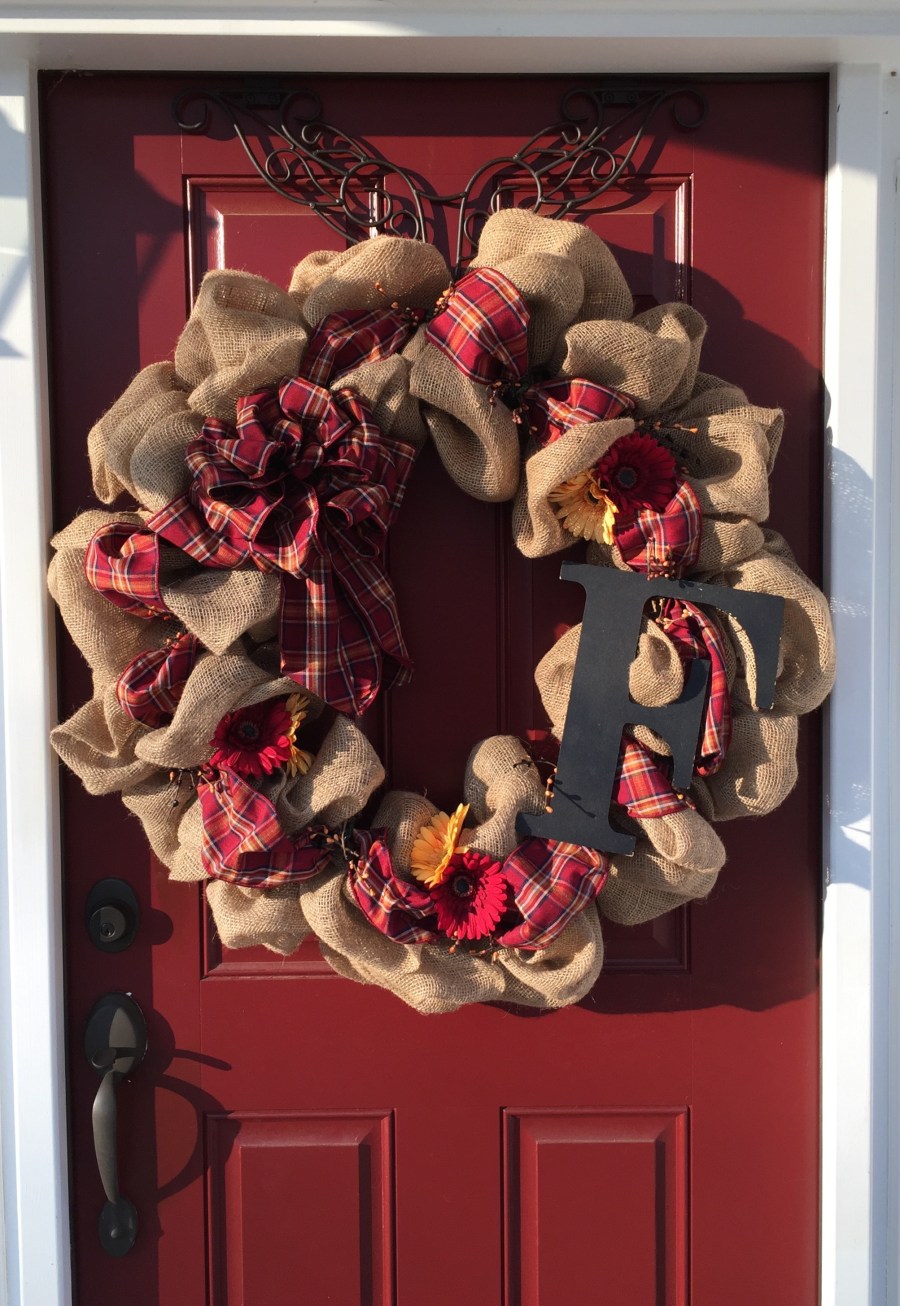
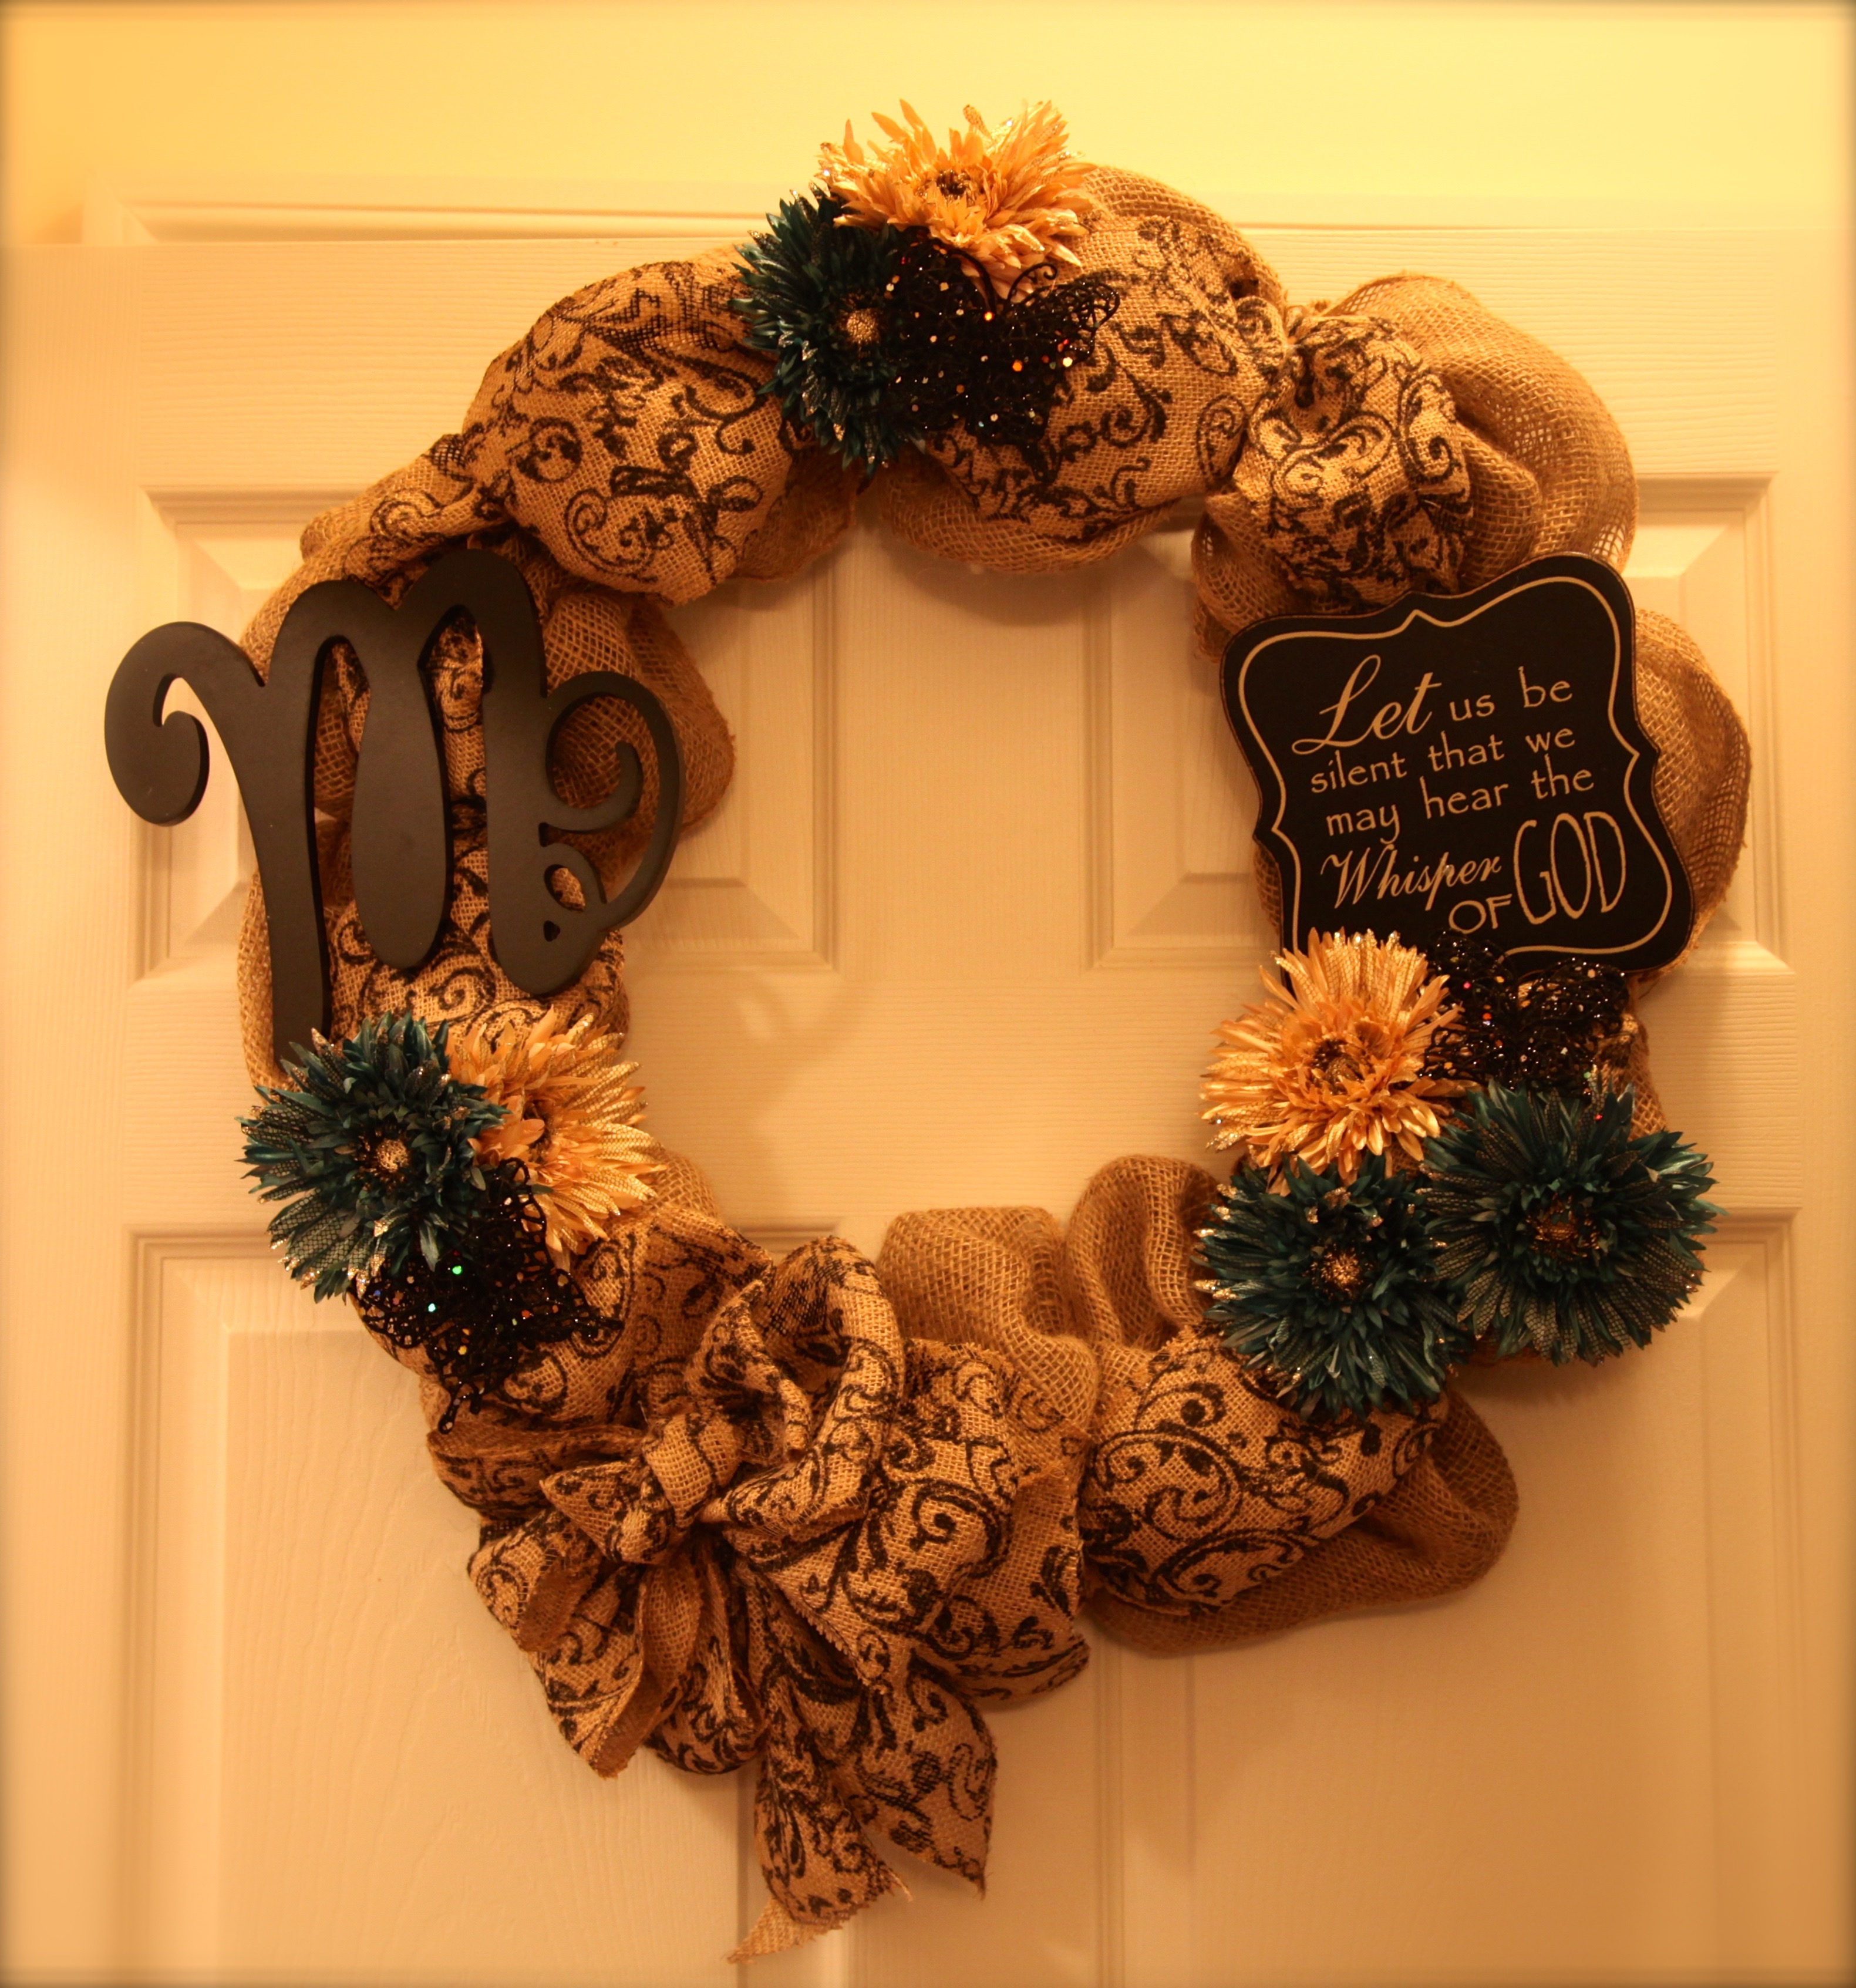
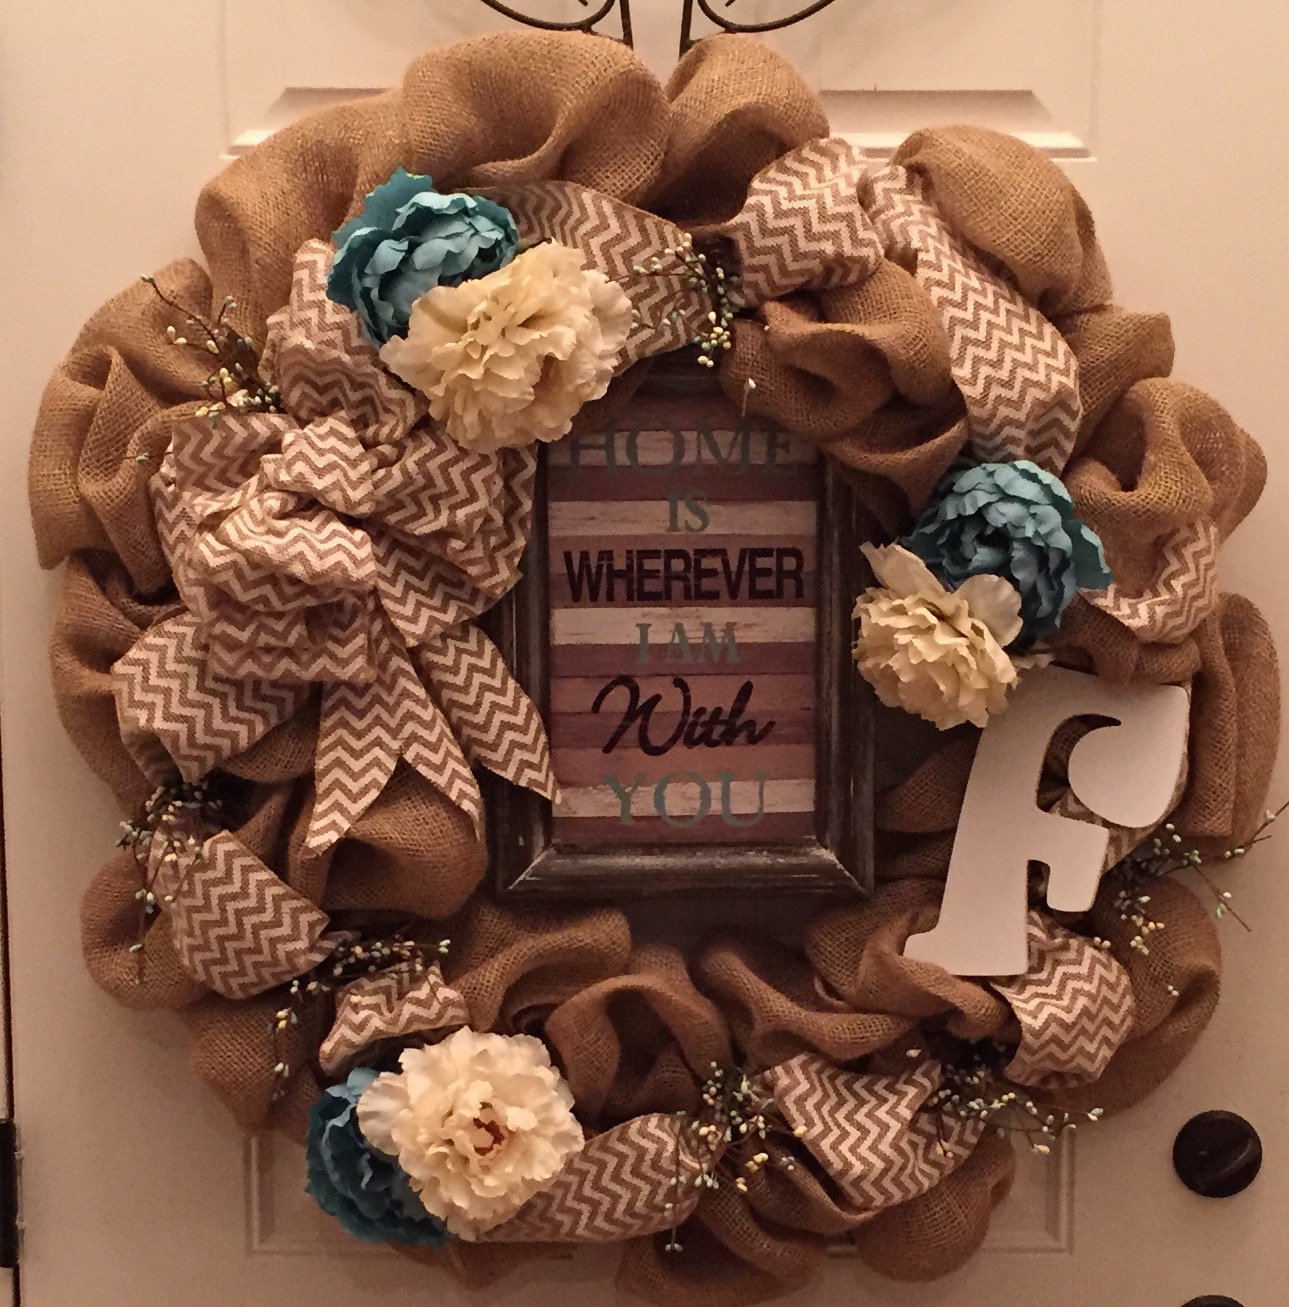
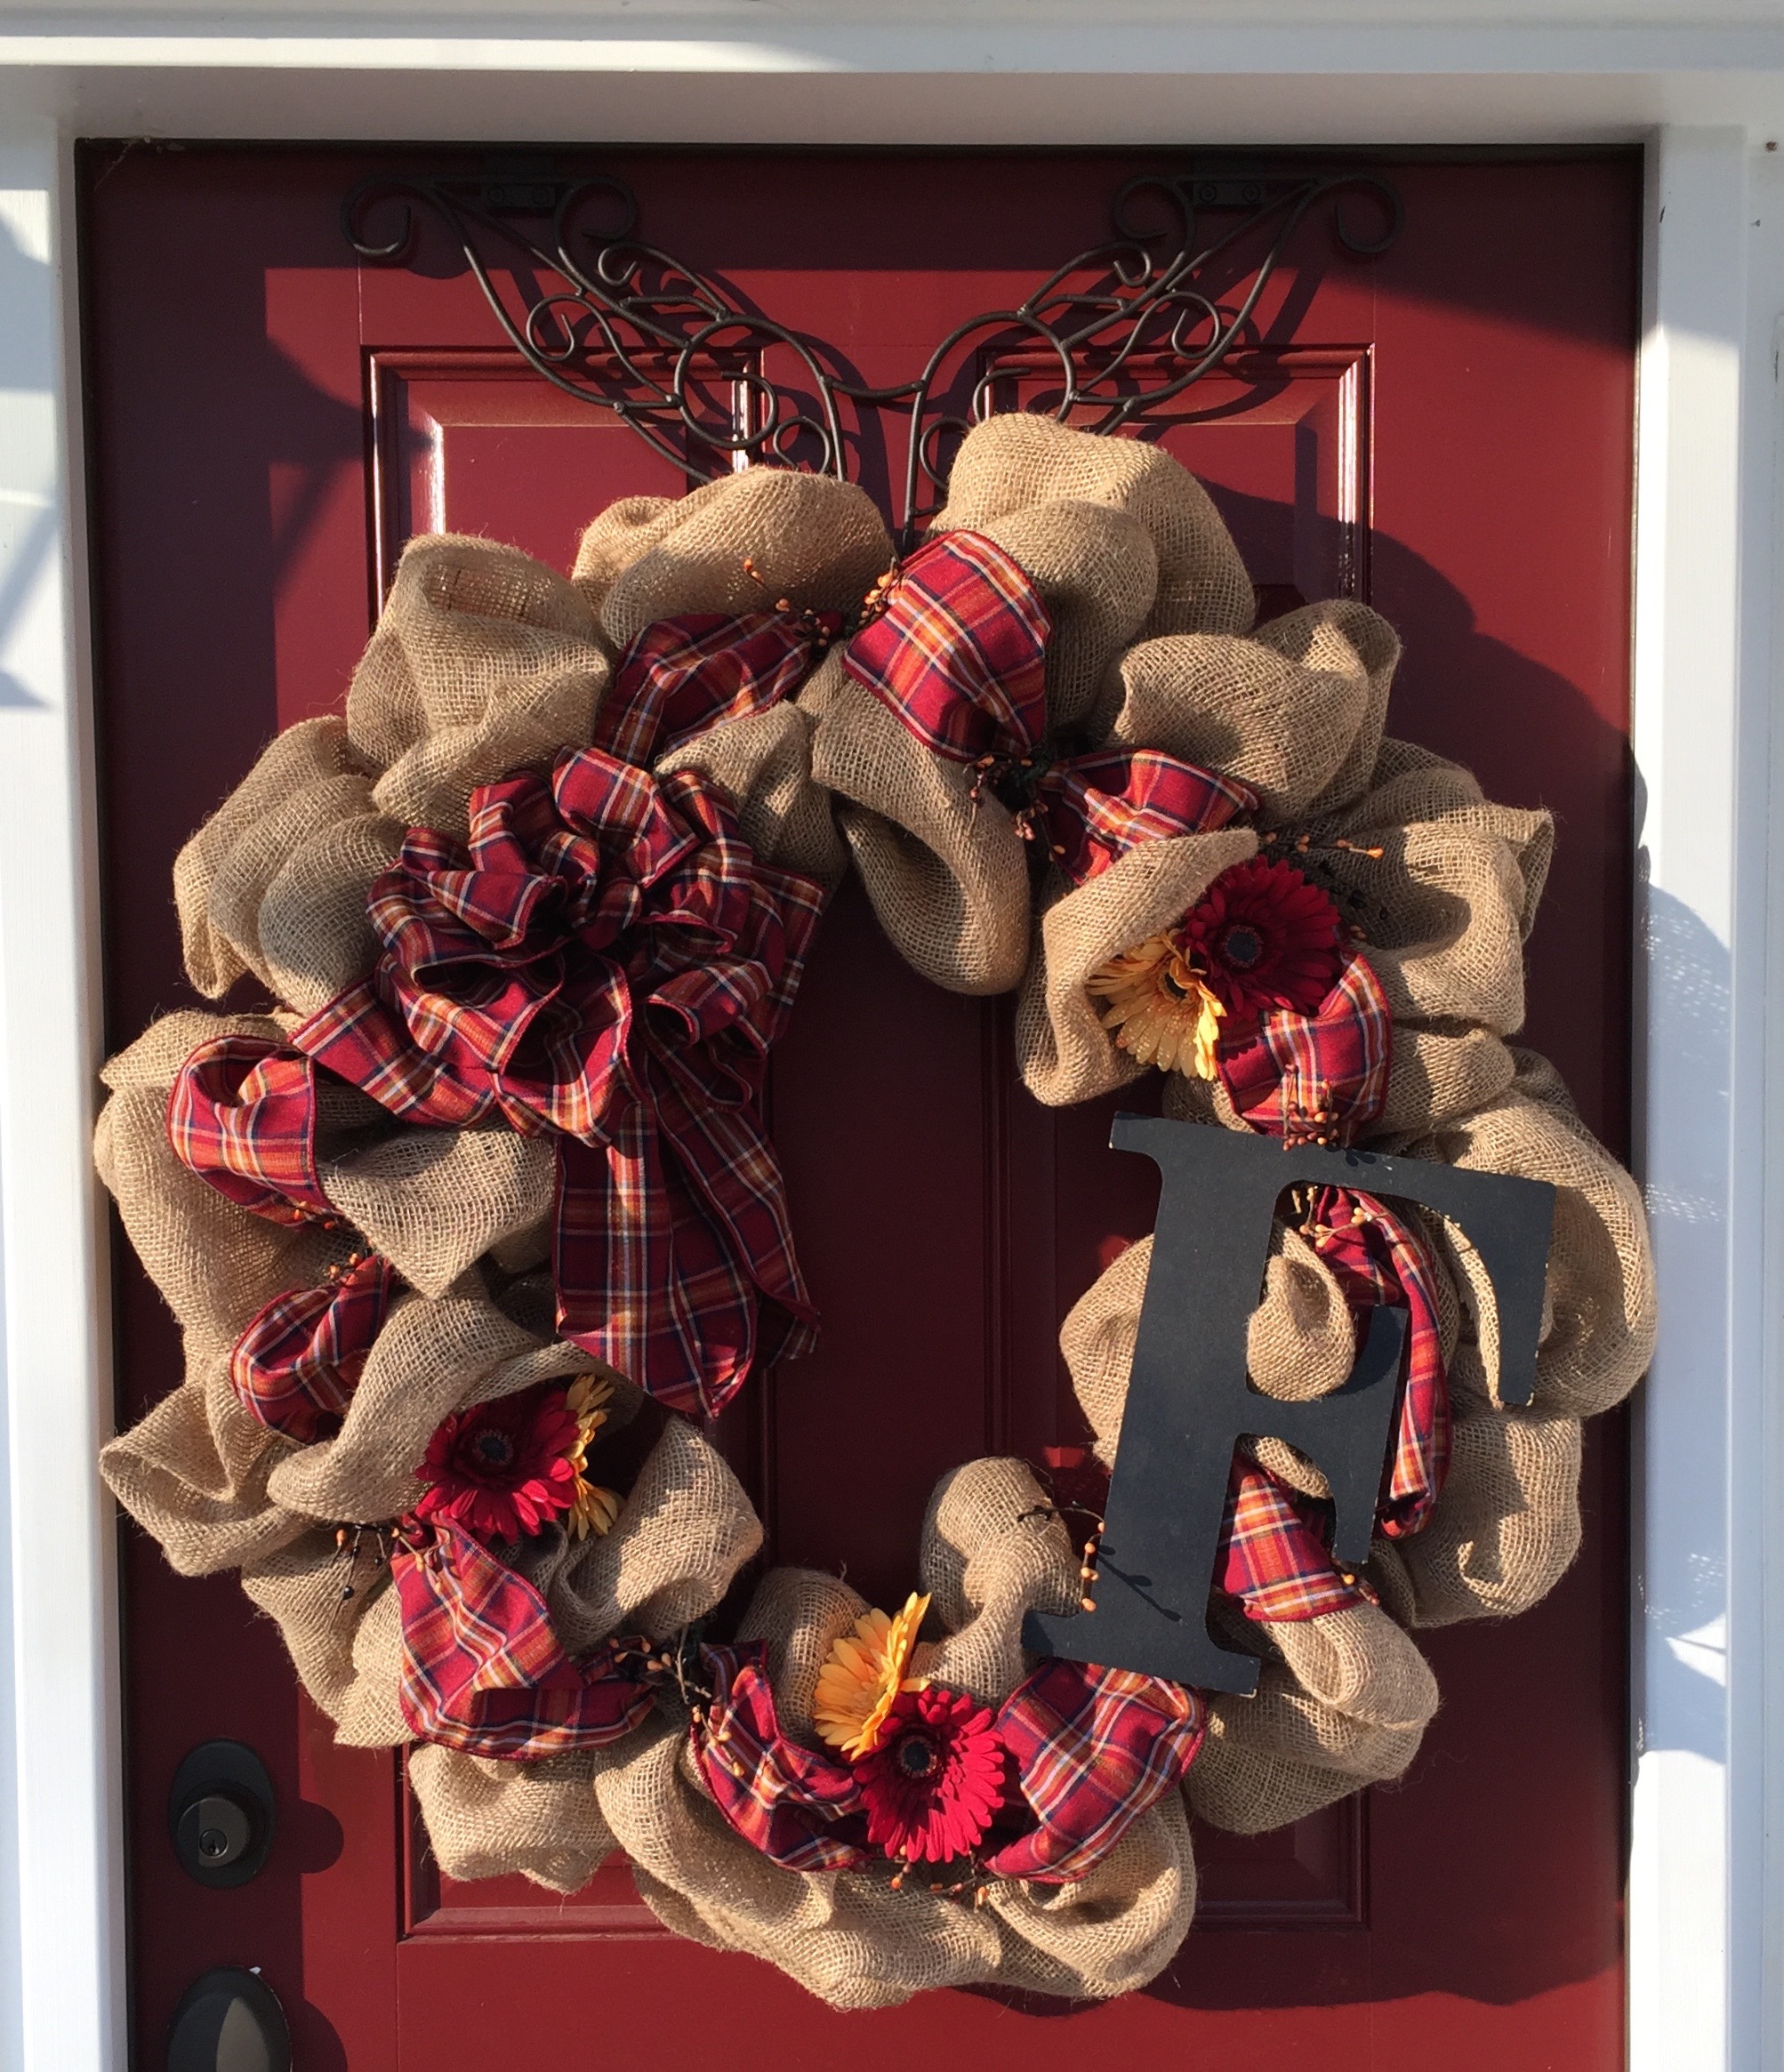
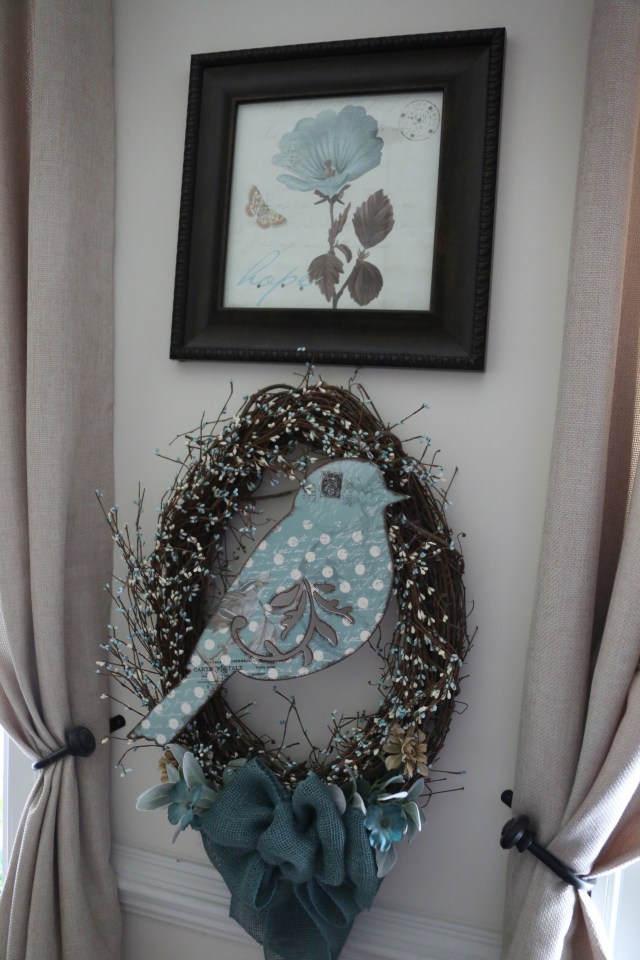
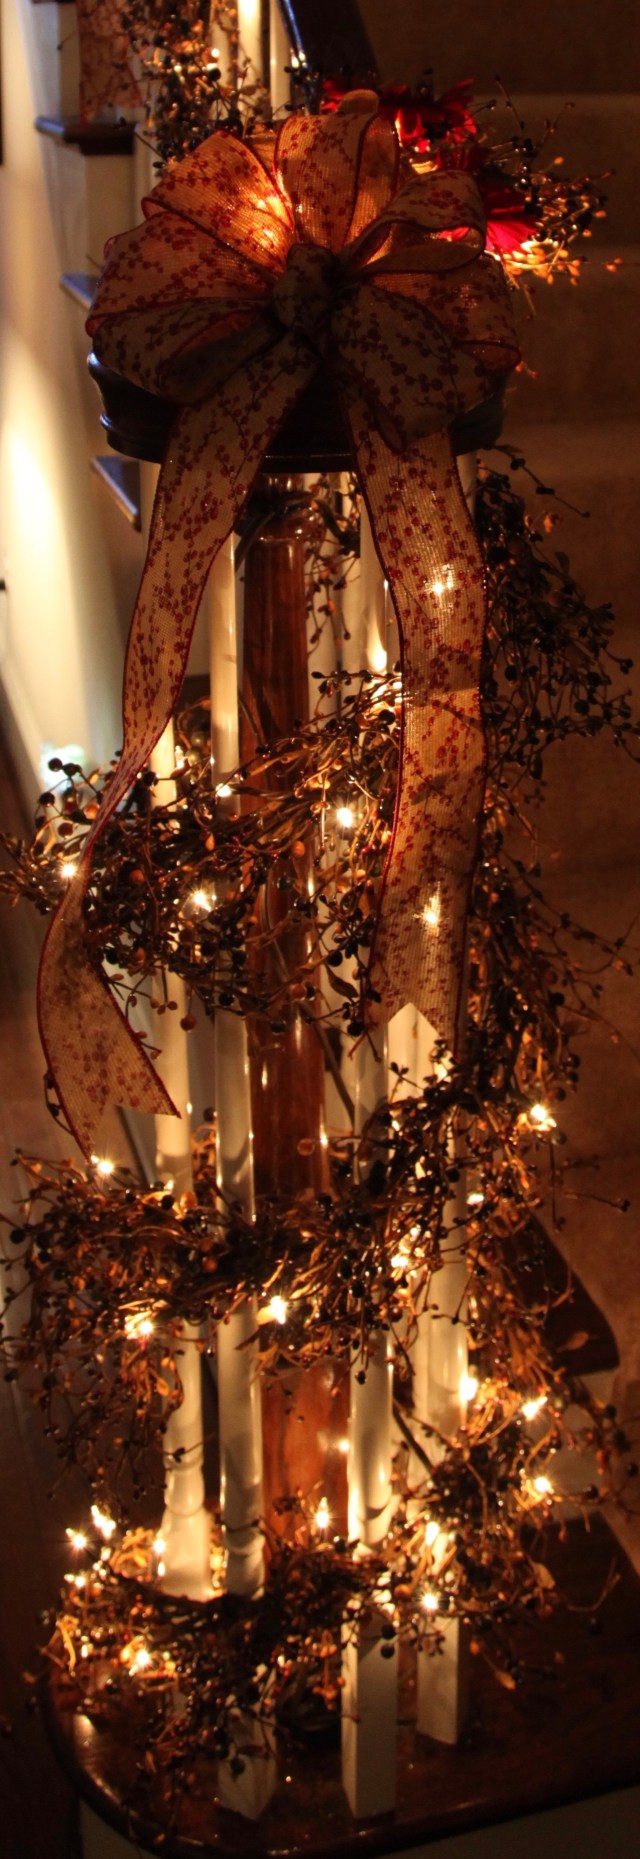
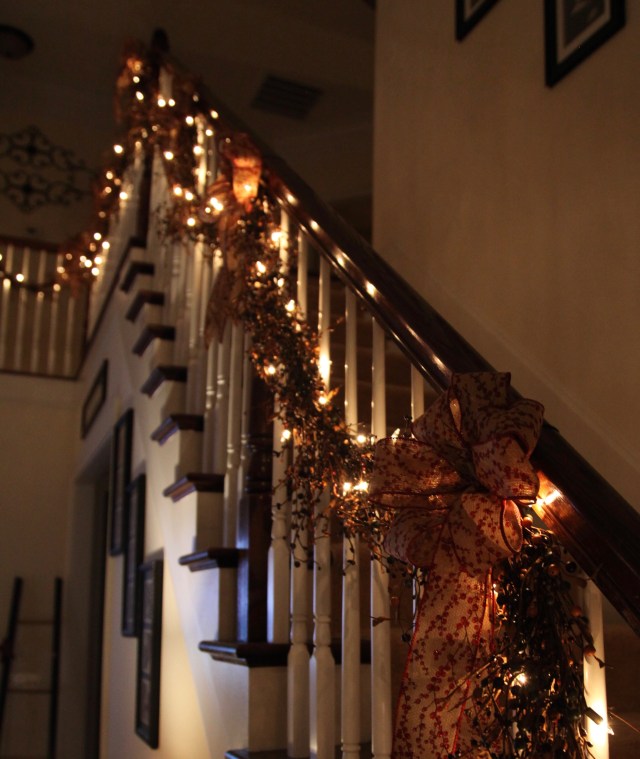
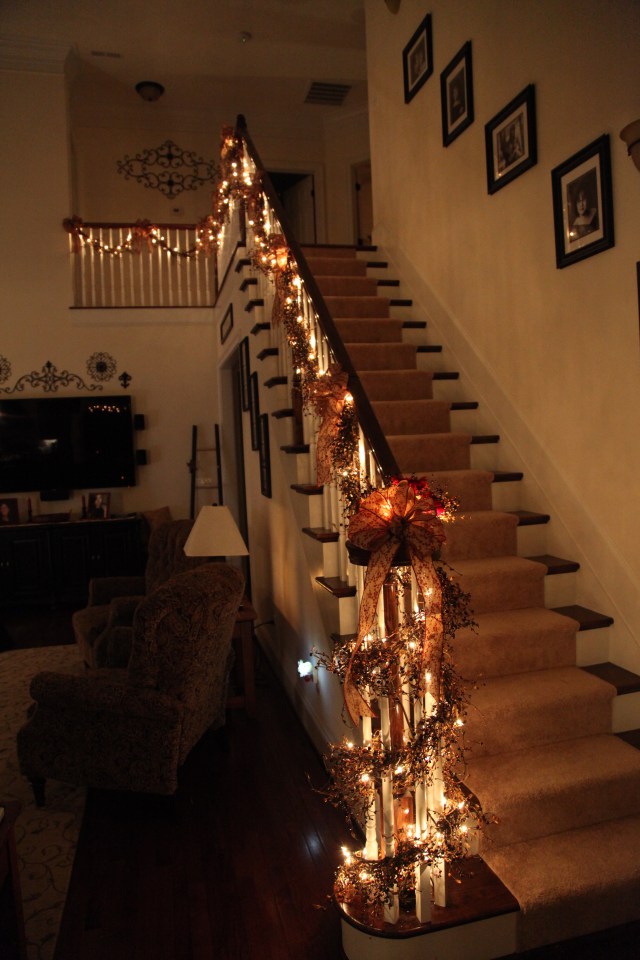
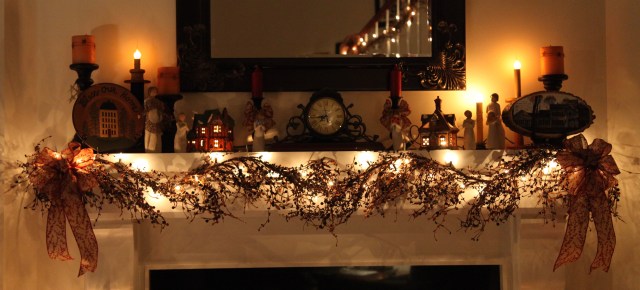
Here are some pictures of some of the other wreaths that I’ve made to go on that door at different times of the year:


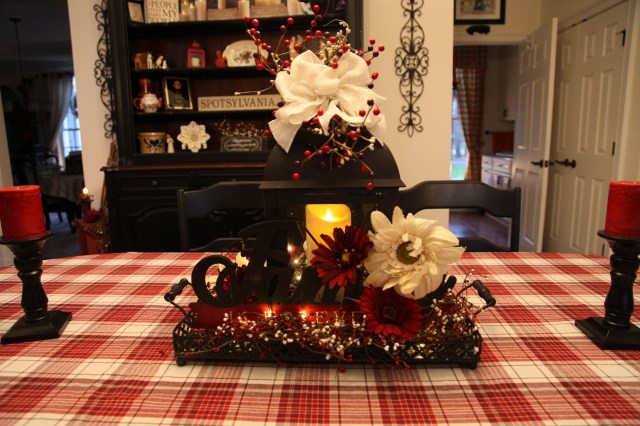
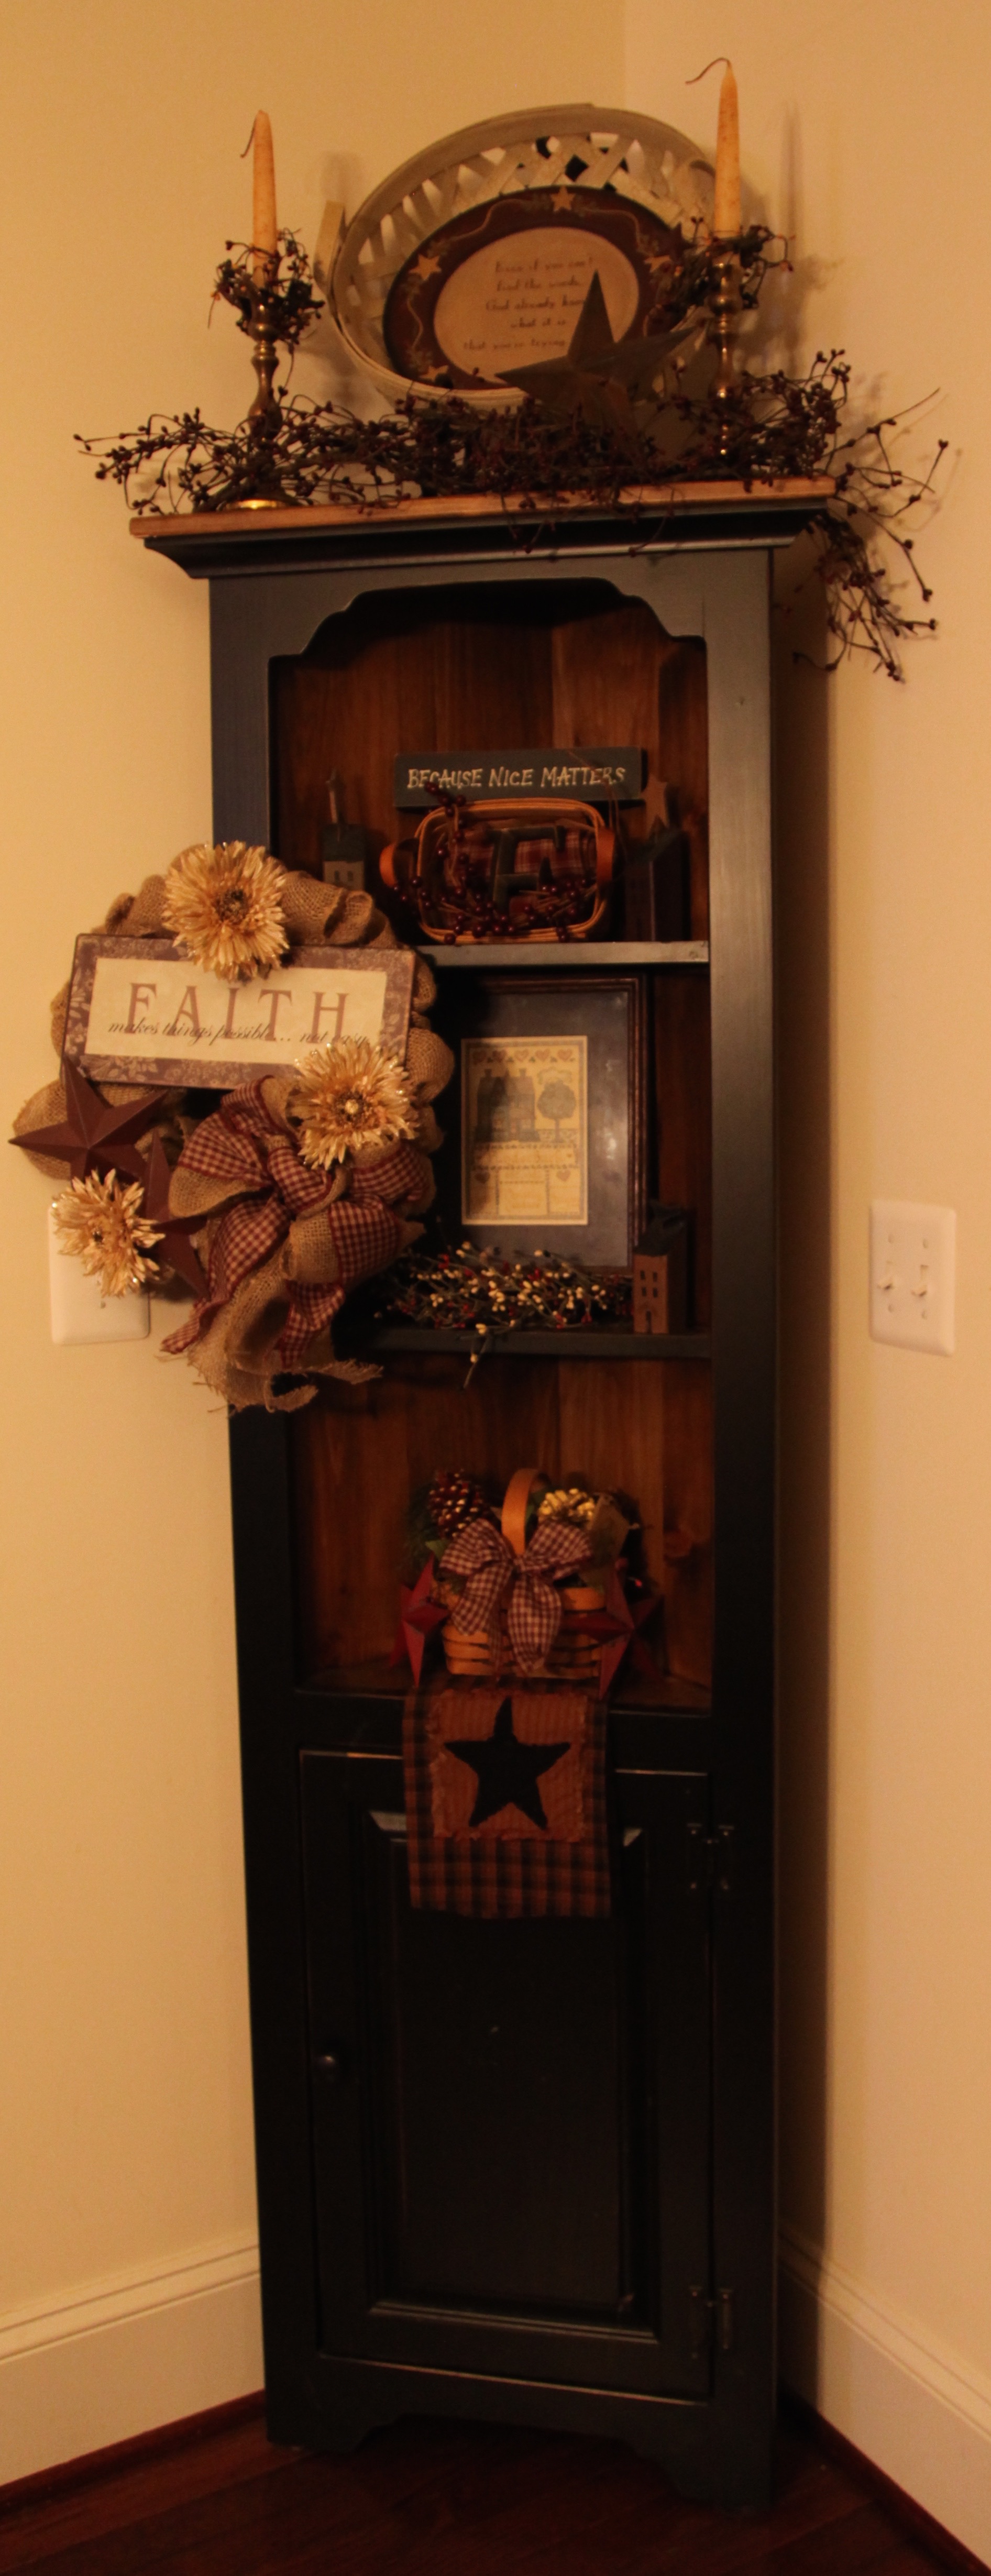
And now to show you how these rooms are pulled together using that pretty green color, cream, and burlap. I’ll start in the dining room with the tablecloth, lantern centerpiece, flanked by rod-iron candle holders and green candles. OH I also made that wreath hanging on the wall between the windows…

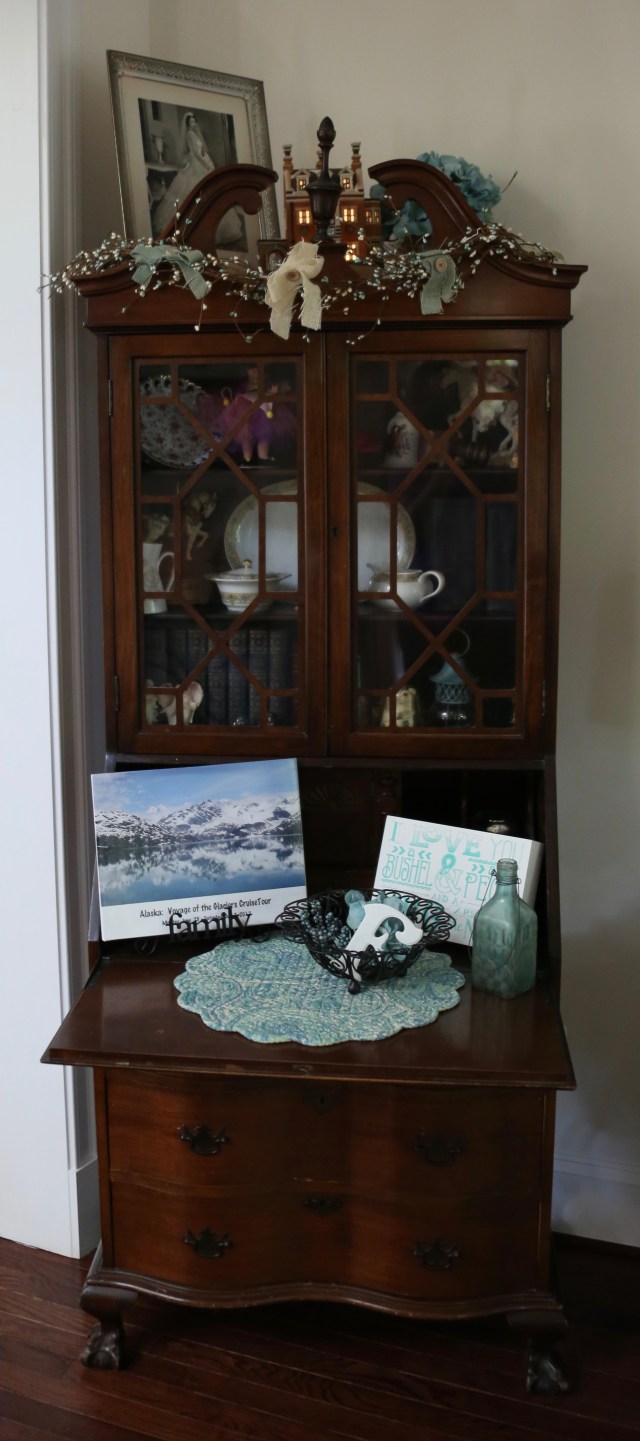
The table runner on my Sideboard matches the tablecloth. I also was really happy when I found those sconces that are on either side of the mirror at Hobby Lobby for 1/2 price:


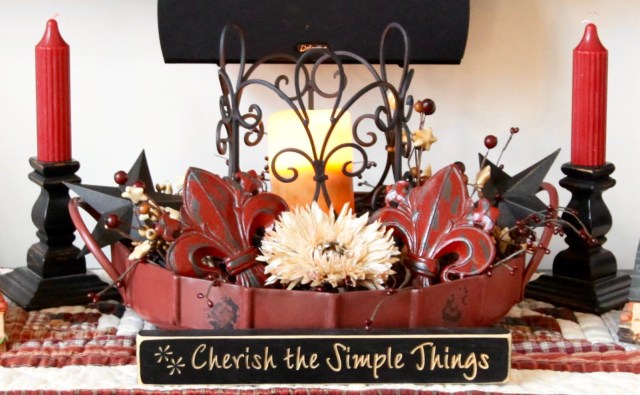
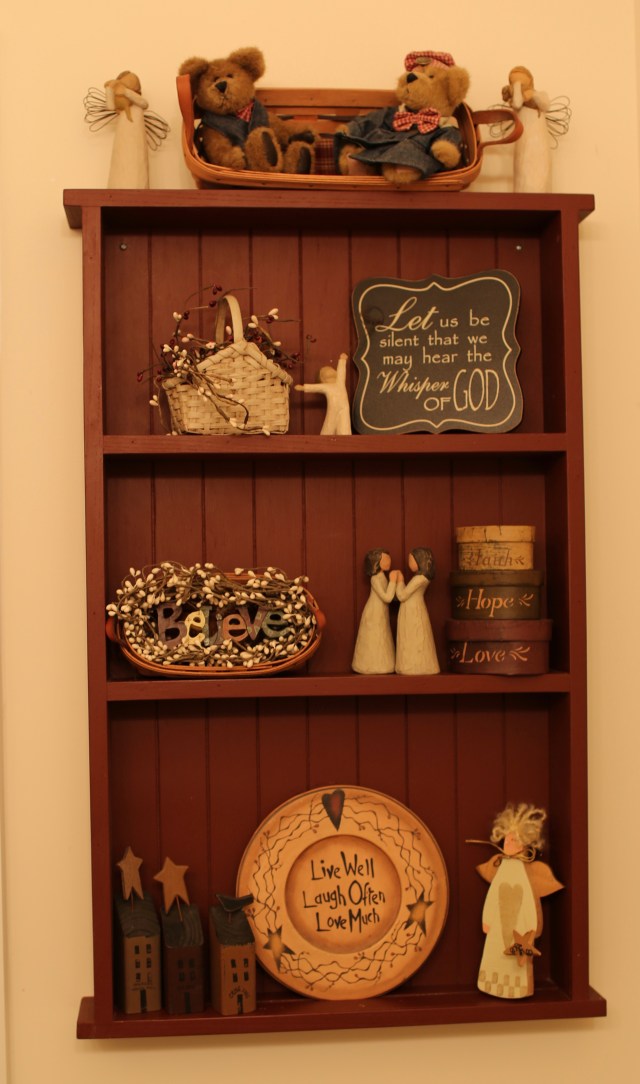
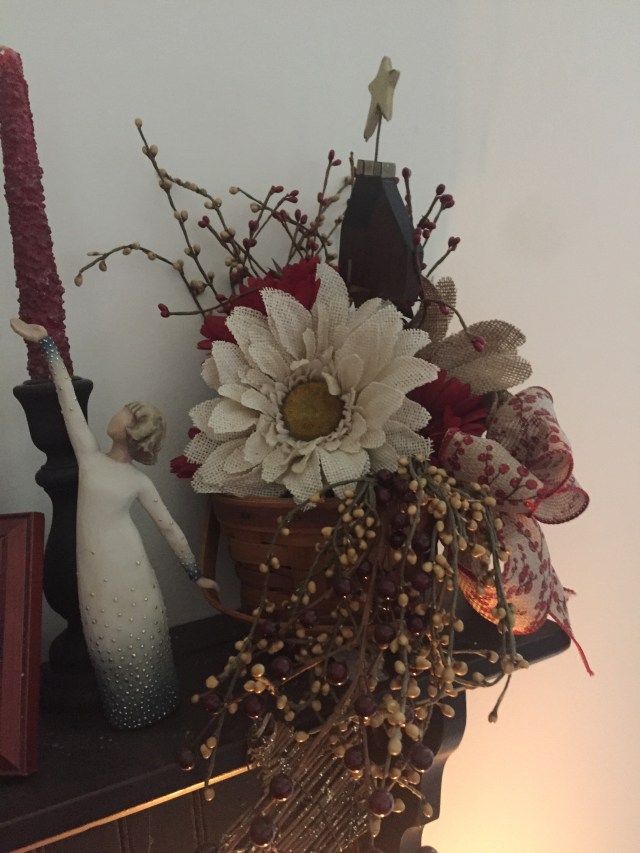
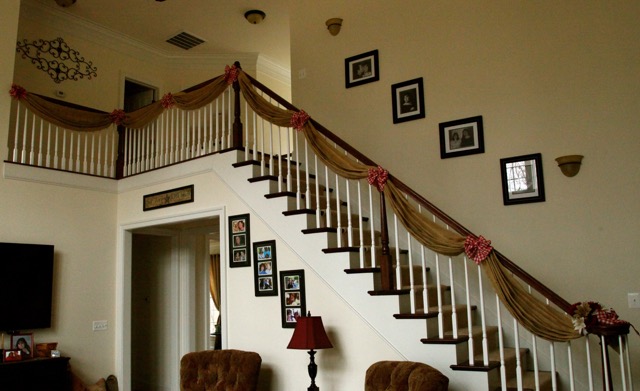
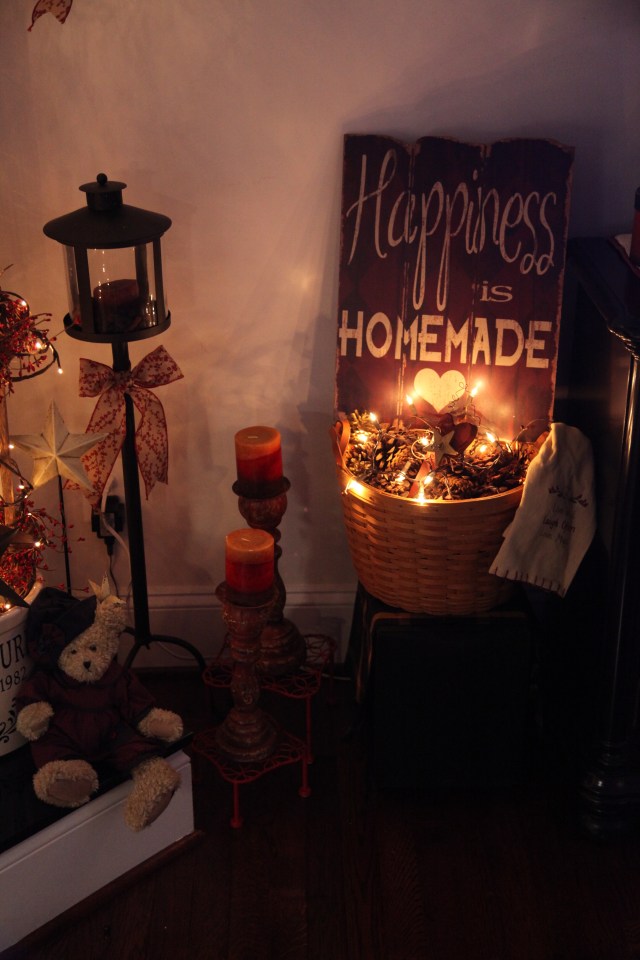
And then a few decor elements in the living room:
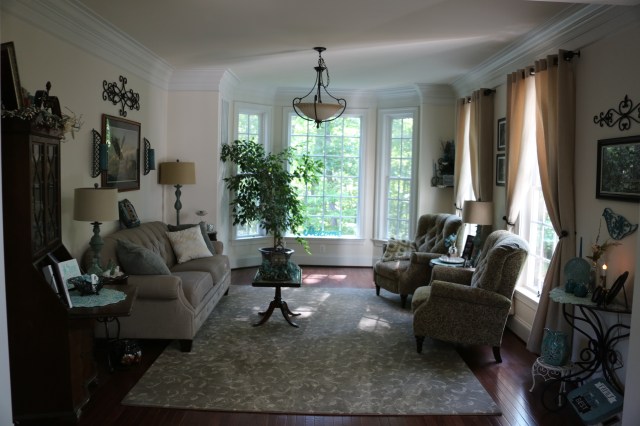


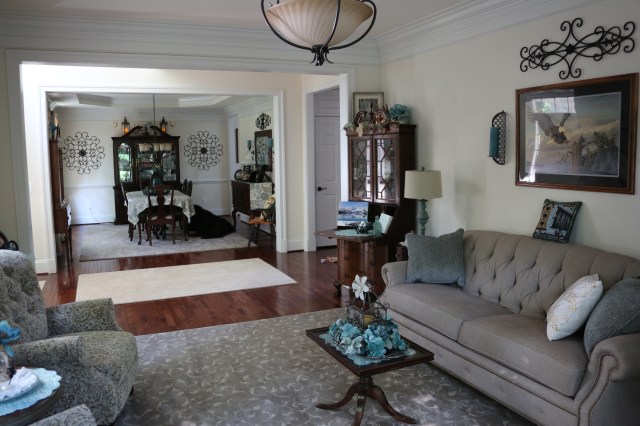

If you’d like to read more about these rooms, here is a link to my Living & Dining Rooms blog post describing them in more detail (like where we got those rugs from, and more about the living room furniture, that lamp on the side board, etc…<here is a link>.
I’ll tell y’all, I’ll just go into those rooms and drink in the softness of the design…I love it, truly. It calms my very soul. 🙂
Until next time, y’all take good care! ❤
And remember!
**In crafting there are no mistakes just unique creations**


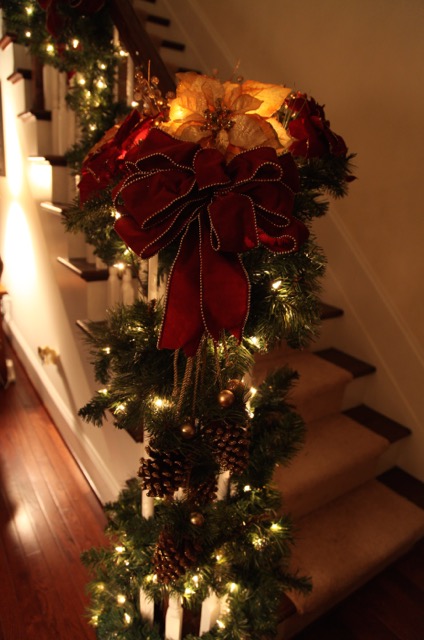
 As seen in the picture above, I have found that adding Rod-Iron