
It is now day 6 of my decorating frenzy and I’m very happy with what I’ve gotten accomplished. In this entry, I will highlight 3 different arrangements that I created to go in my family room.
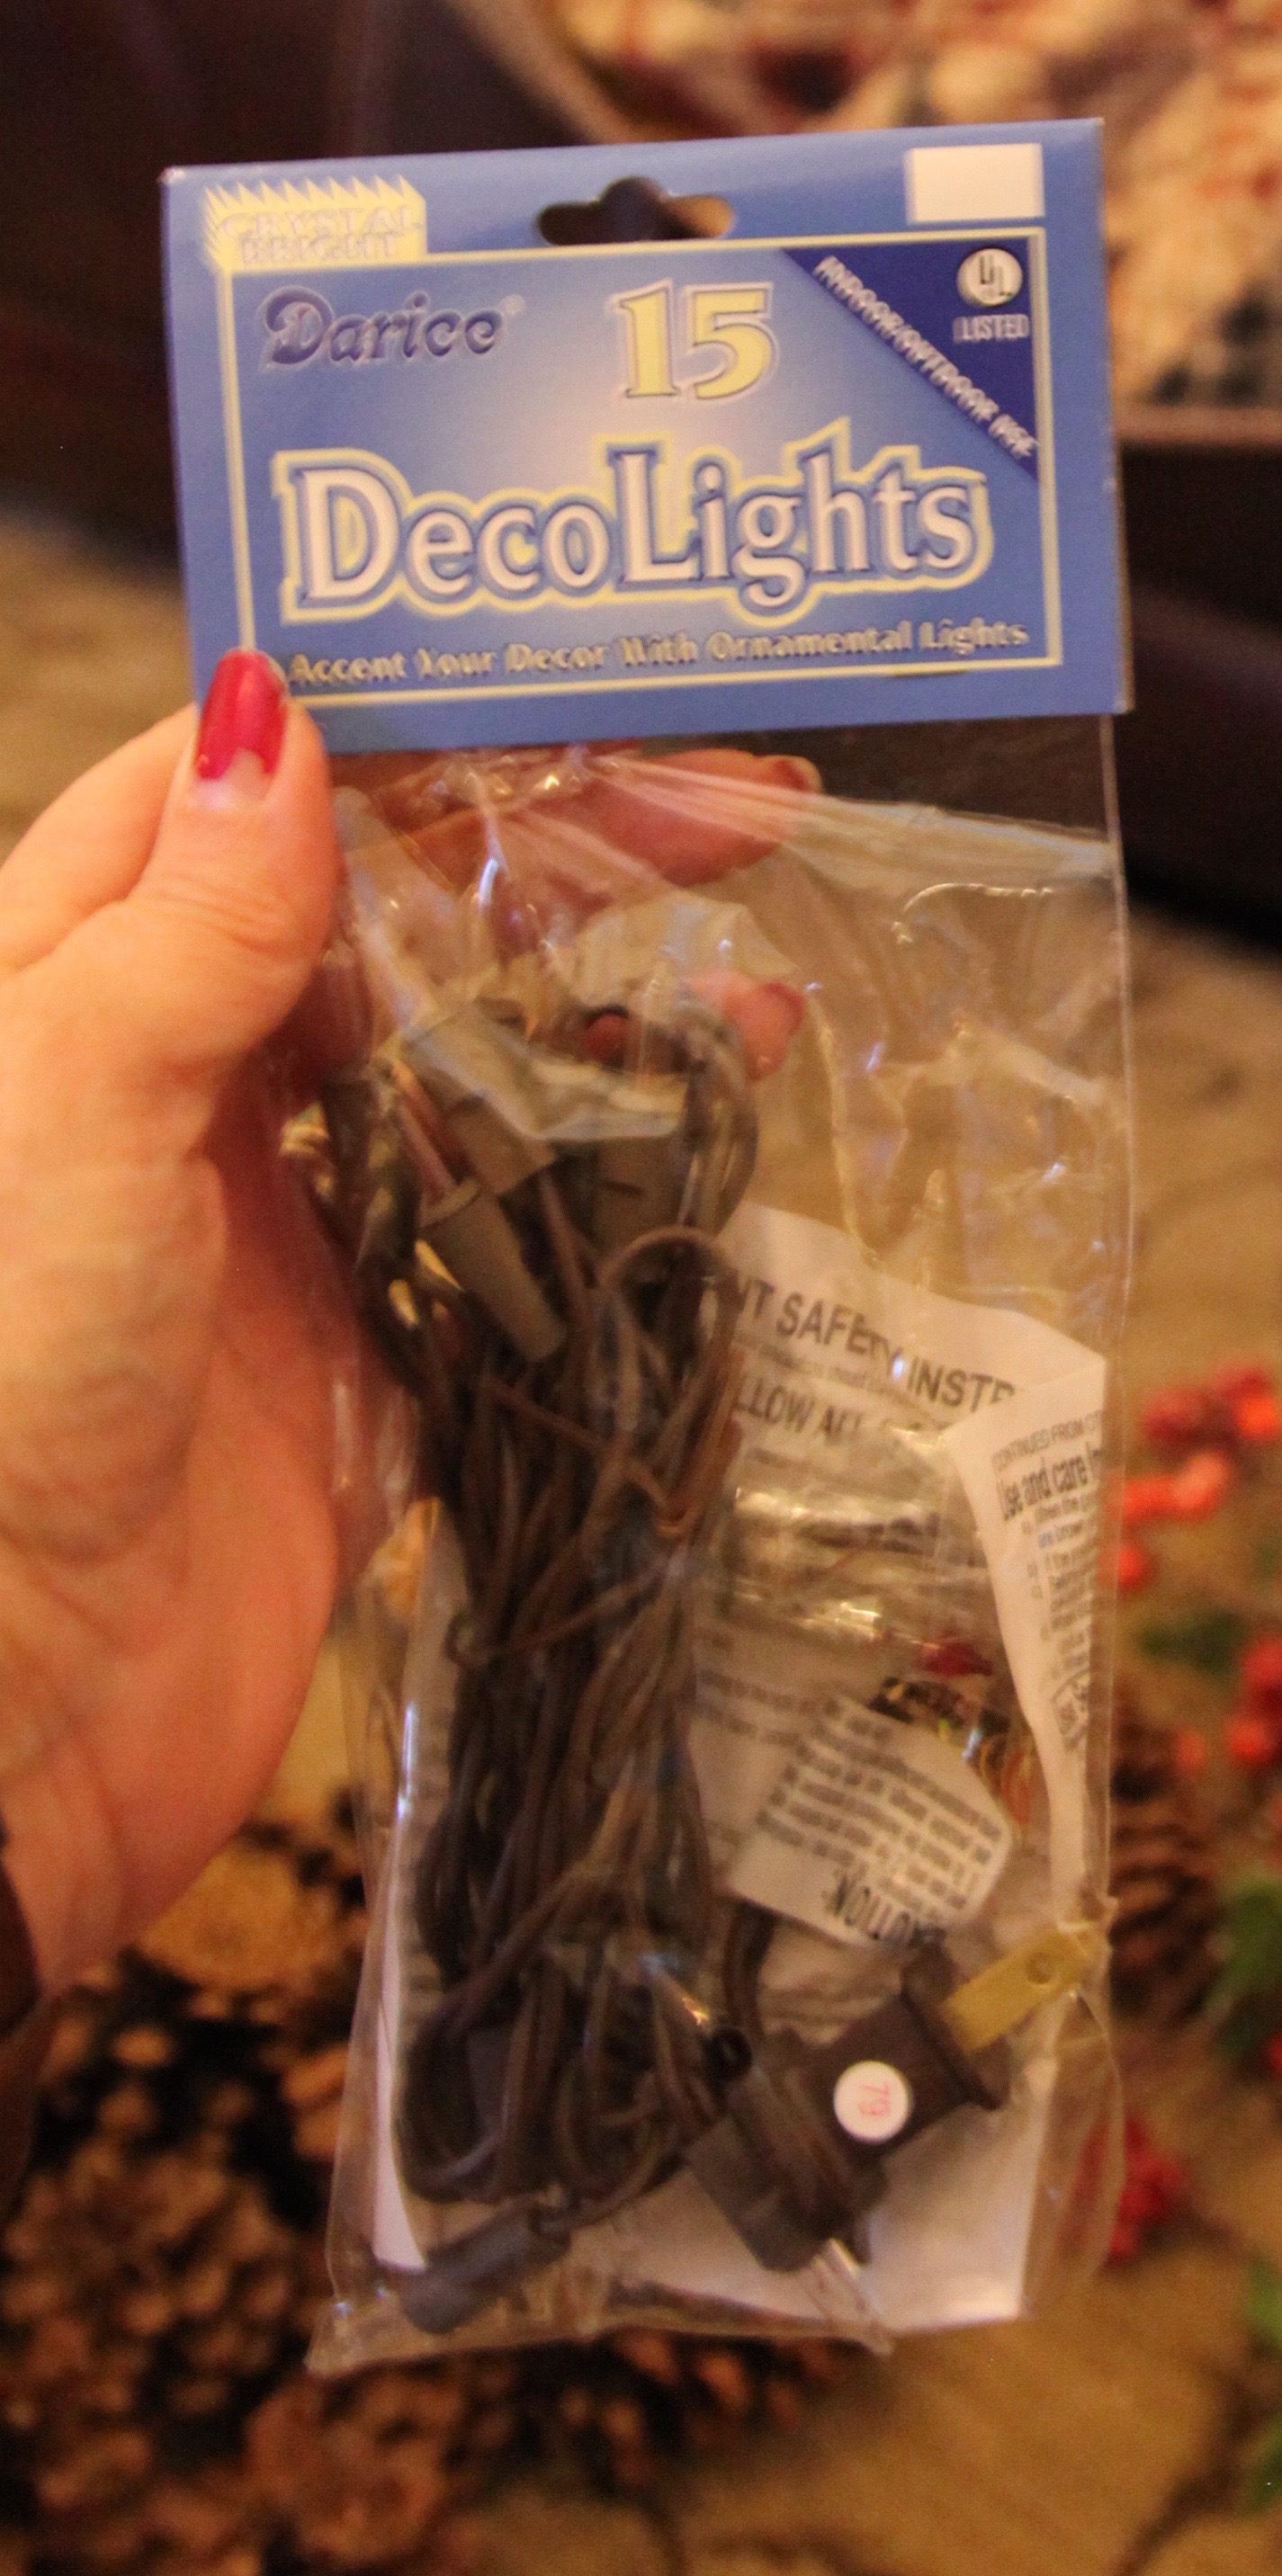
The first piece was made *just* so I could cover a wall outlet that is to the right of the fireplace that would have driven me crazy to see throughout the Holidays. I took an old (and I mean *old*) Longaberger basket and I filled it with a bunch of pine cones–you know those ones you might buy every Fall, they smell oh so cinnamon’y’ and wonderful. I also threw in a pip berry garland that happened to already be residing in the basket. Then I took a pine garland (that I actually used for all 3 of the highlighted projects) and trimmed off a piece of it and placed on top and placed more pine cones on top of that. I also added a set of 15 “DecoLights”.


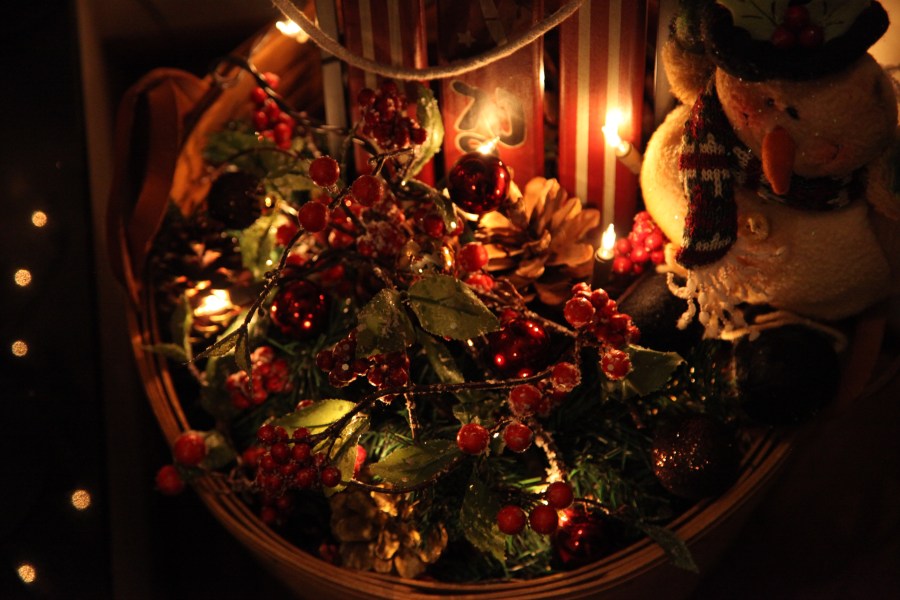
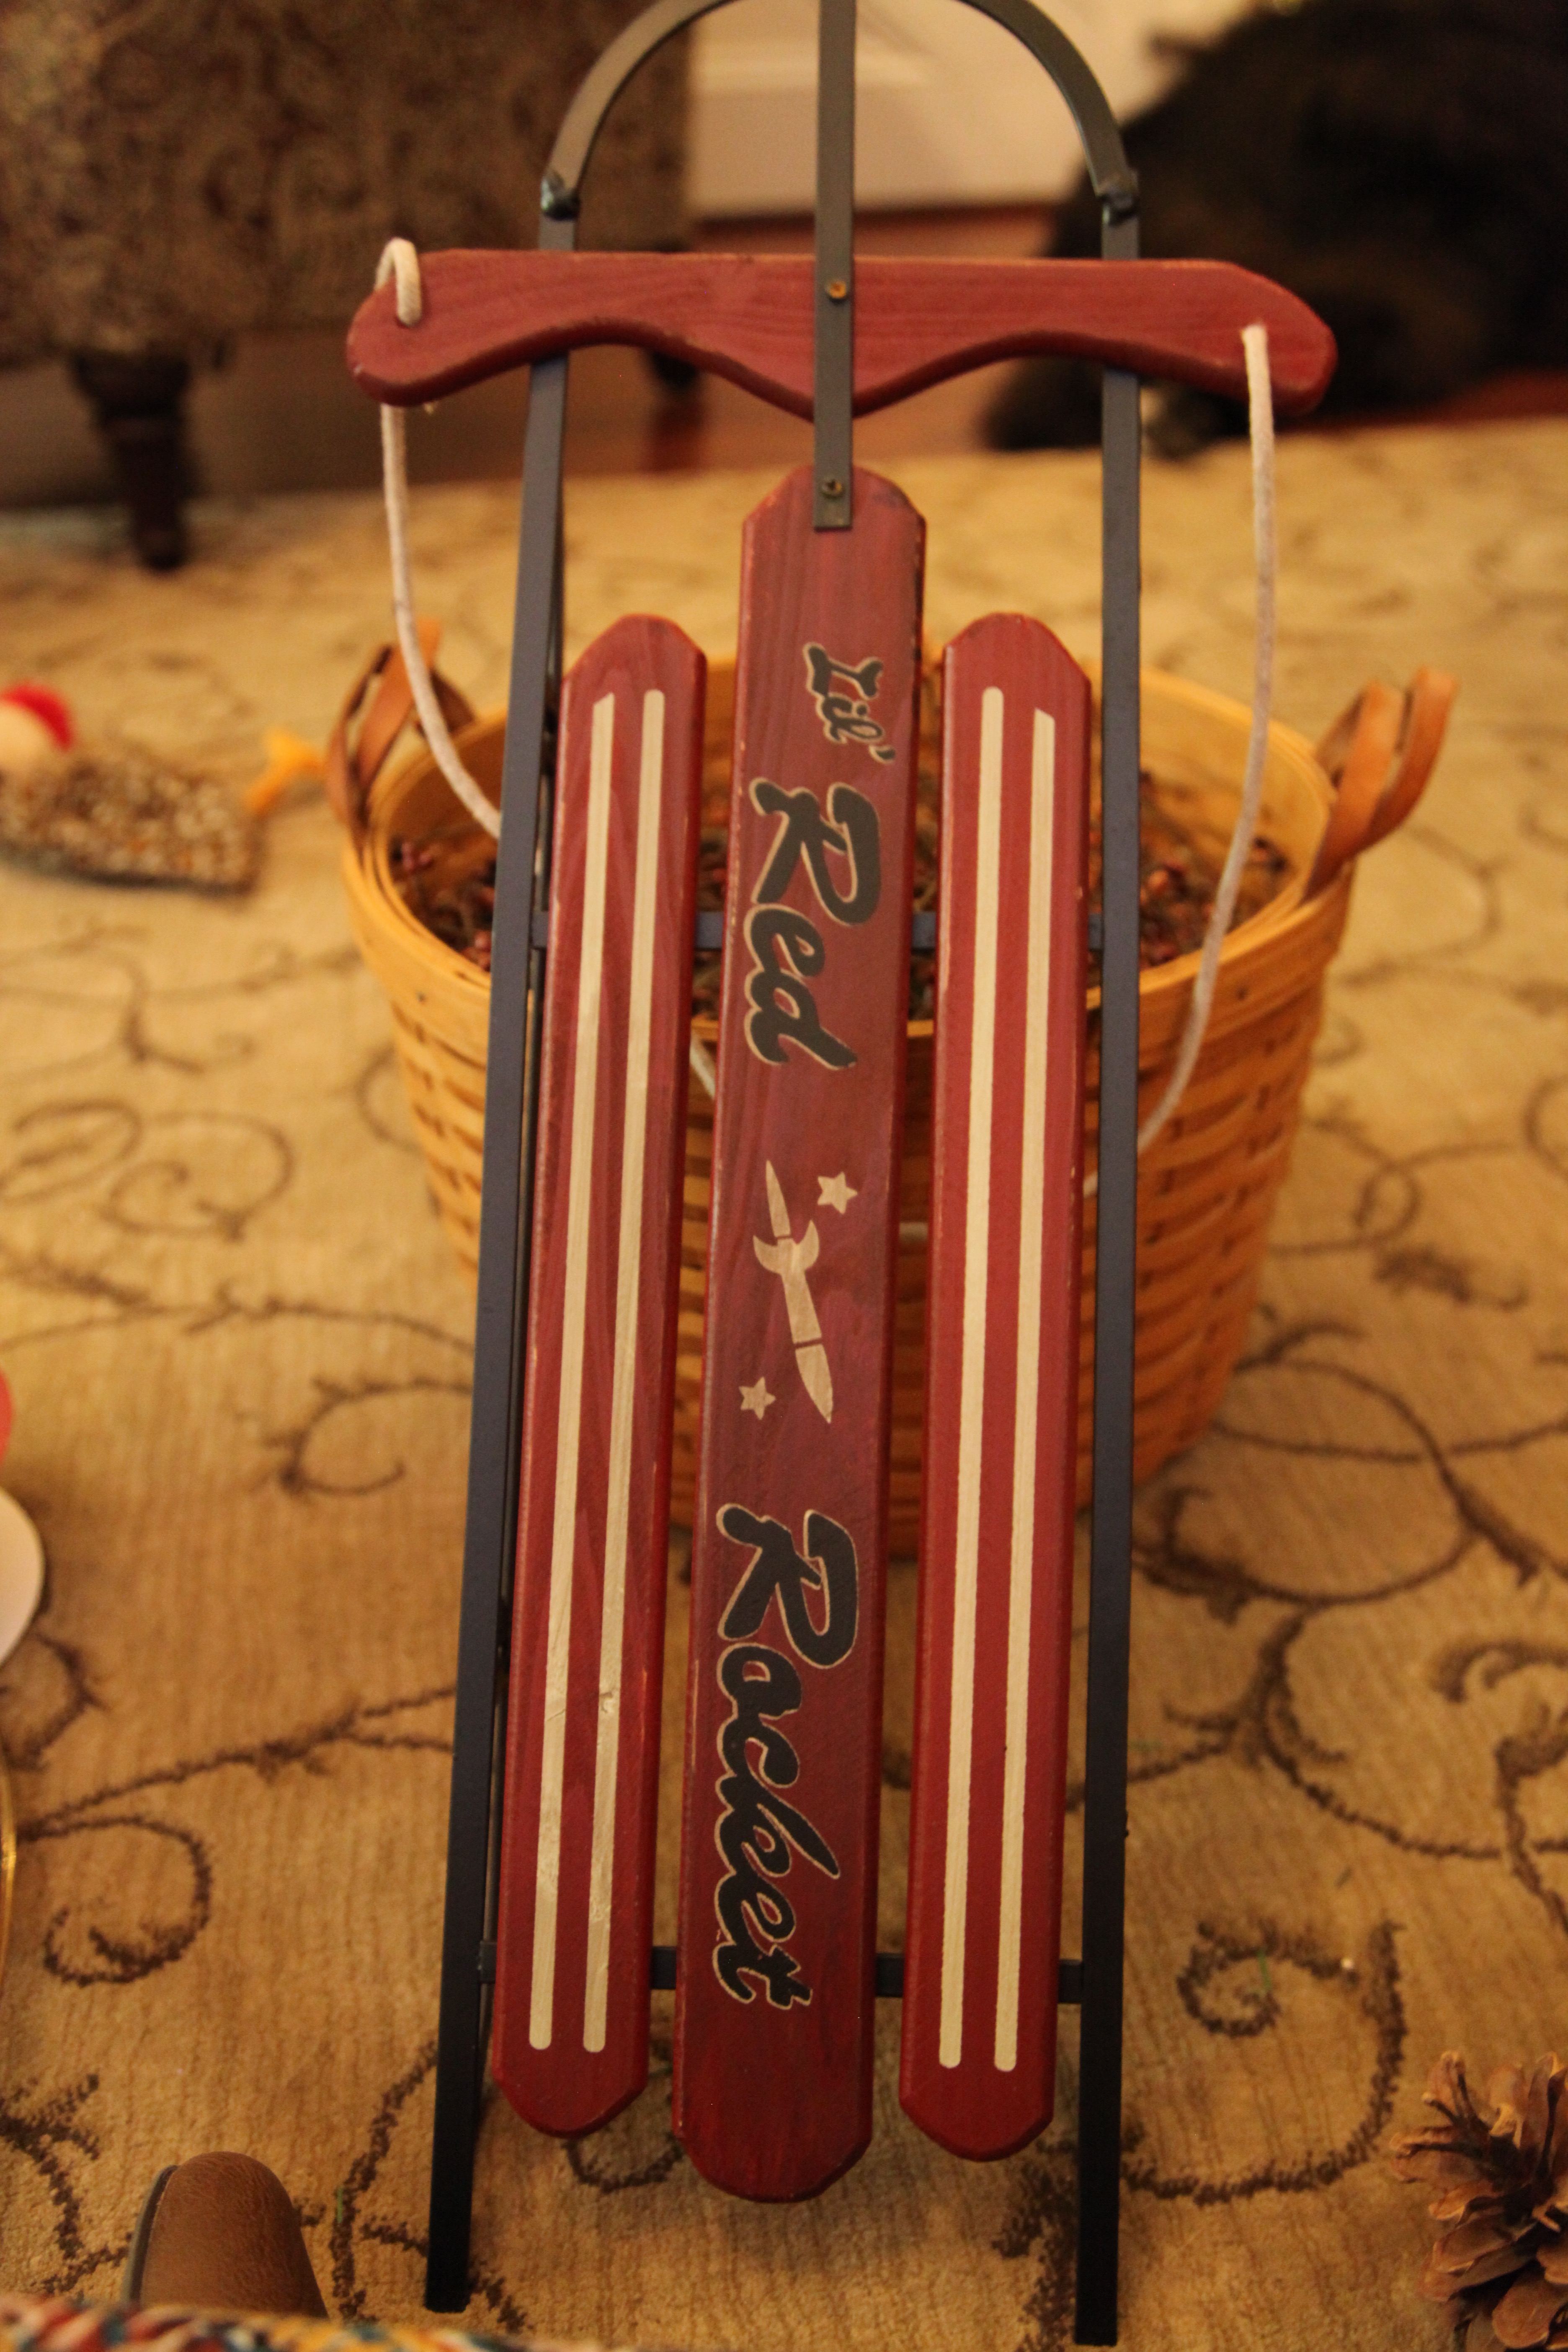
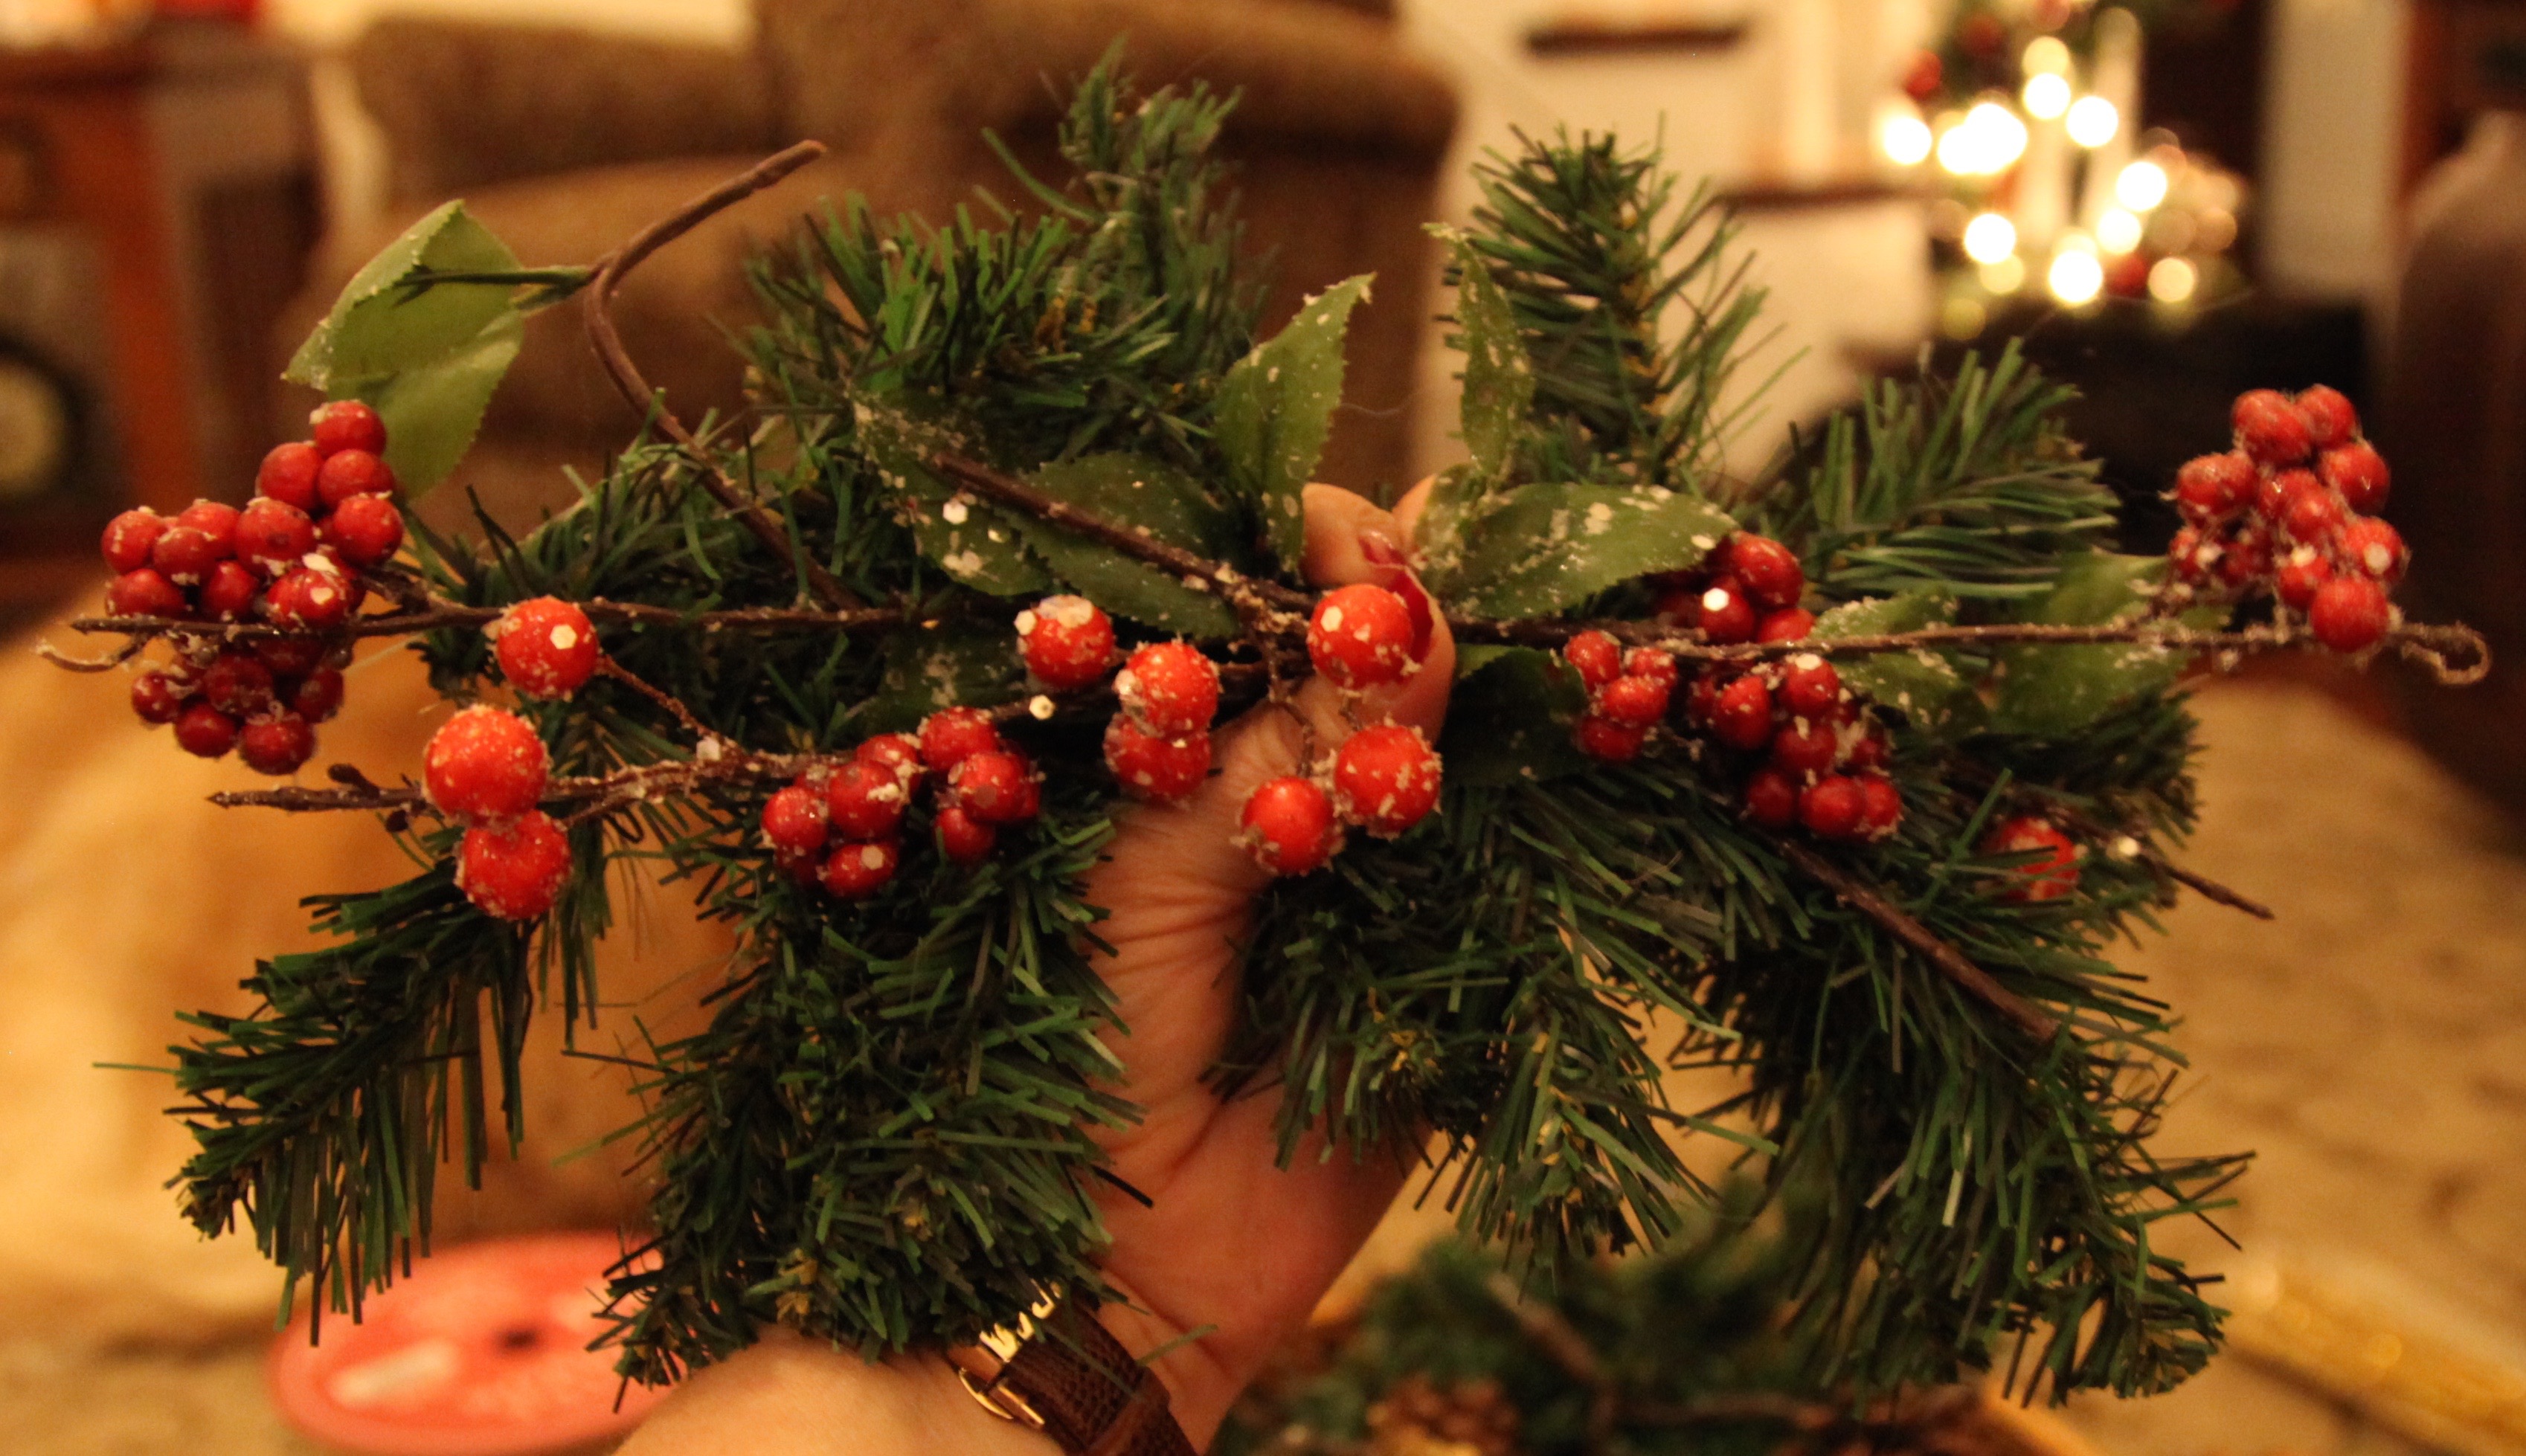
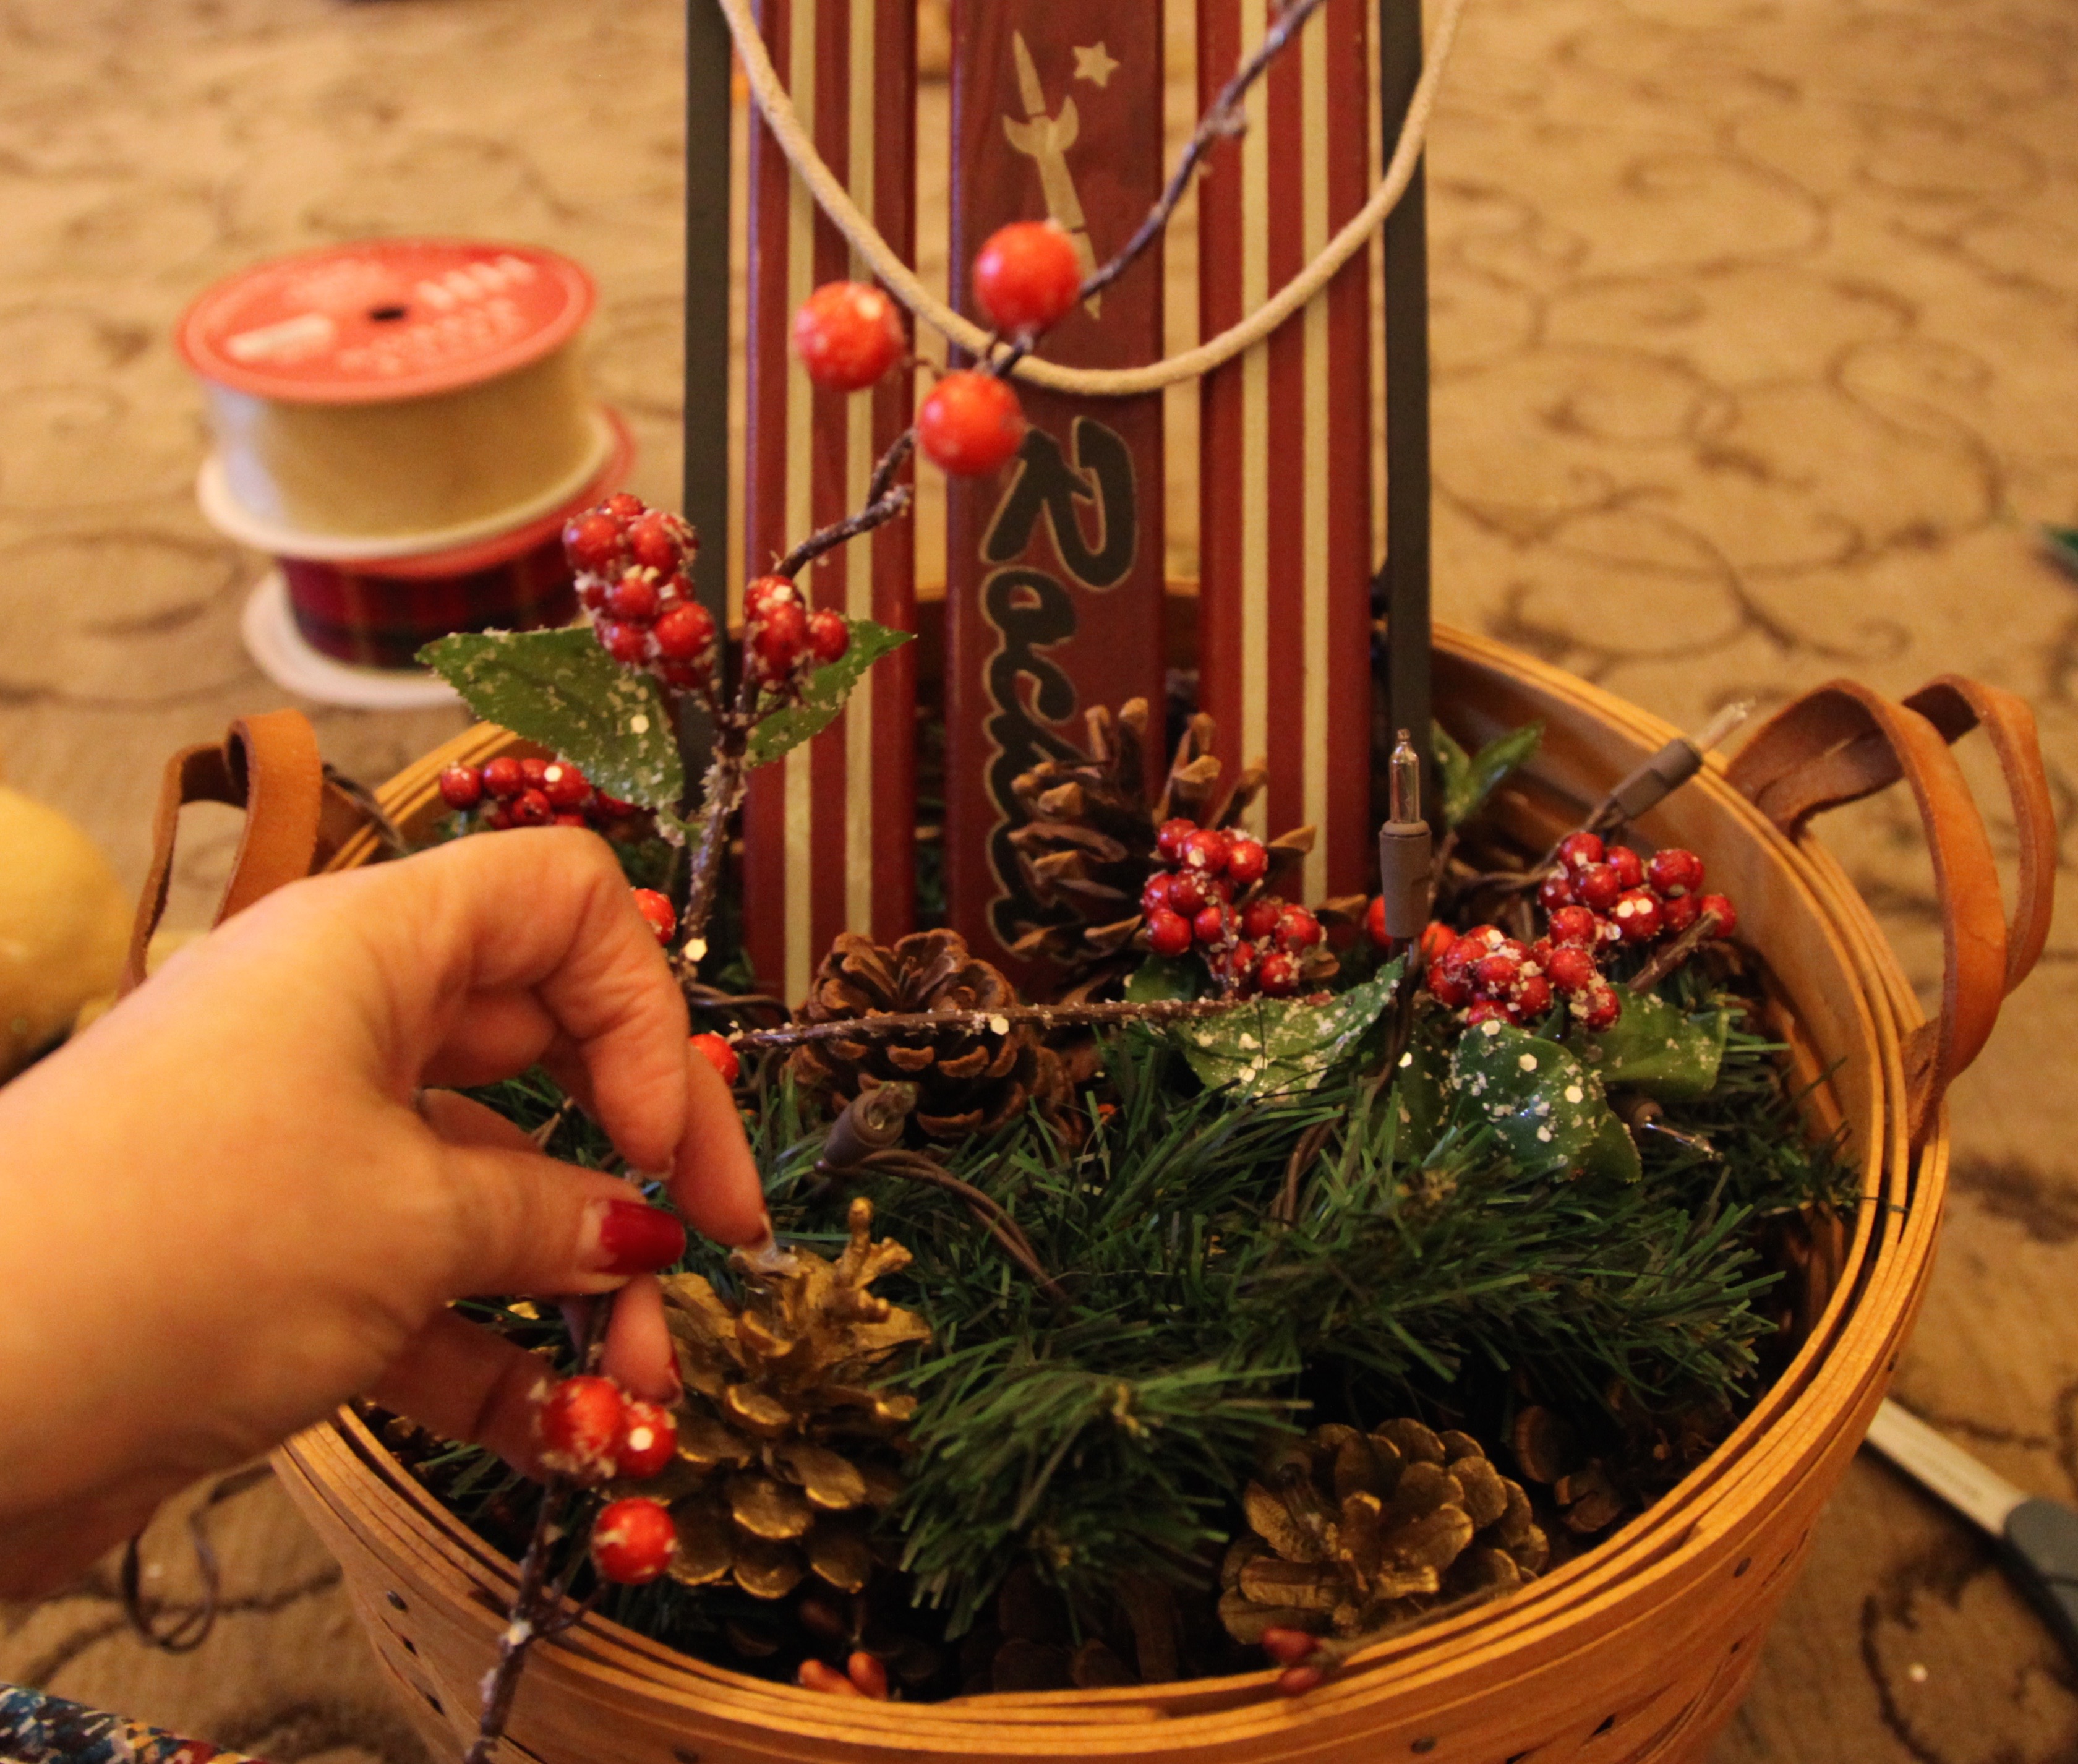
I’ve had this little sled for several years and I just love it, so I wanted to utilize it in some way, so I decided this would go nicely in this little centerpiece, so I stuck it down into the pine cones toward what I thought would be the back of the basket. I made a little arrangement out of a piece of that pine garland and some red sparkly bead berries. I tied those things together with a pipe cleaner and tied them onto to front of the sled; I tied a bow on the top, added a few of the red berry beads in and around the pine cones and lights, and sat a little stuffed snowman on the edge of the basket and called it done.


Here is the finished project that covers that wall outlet nicely: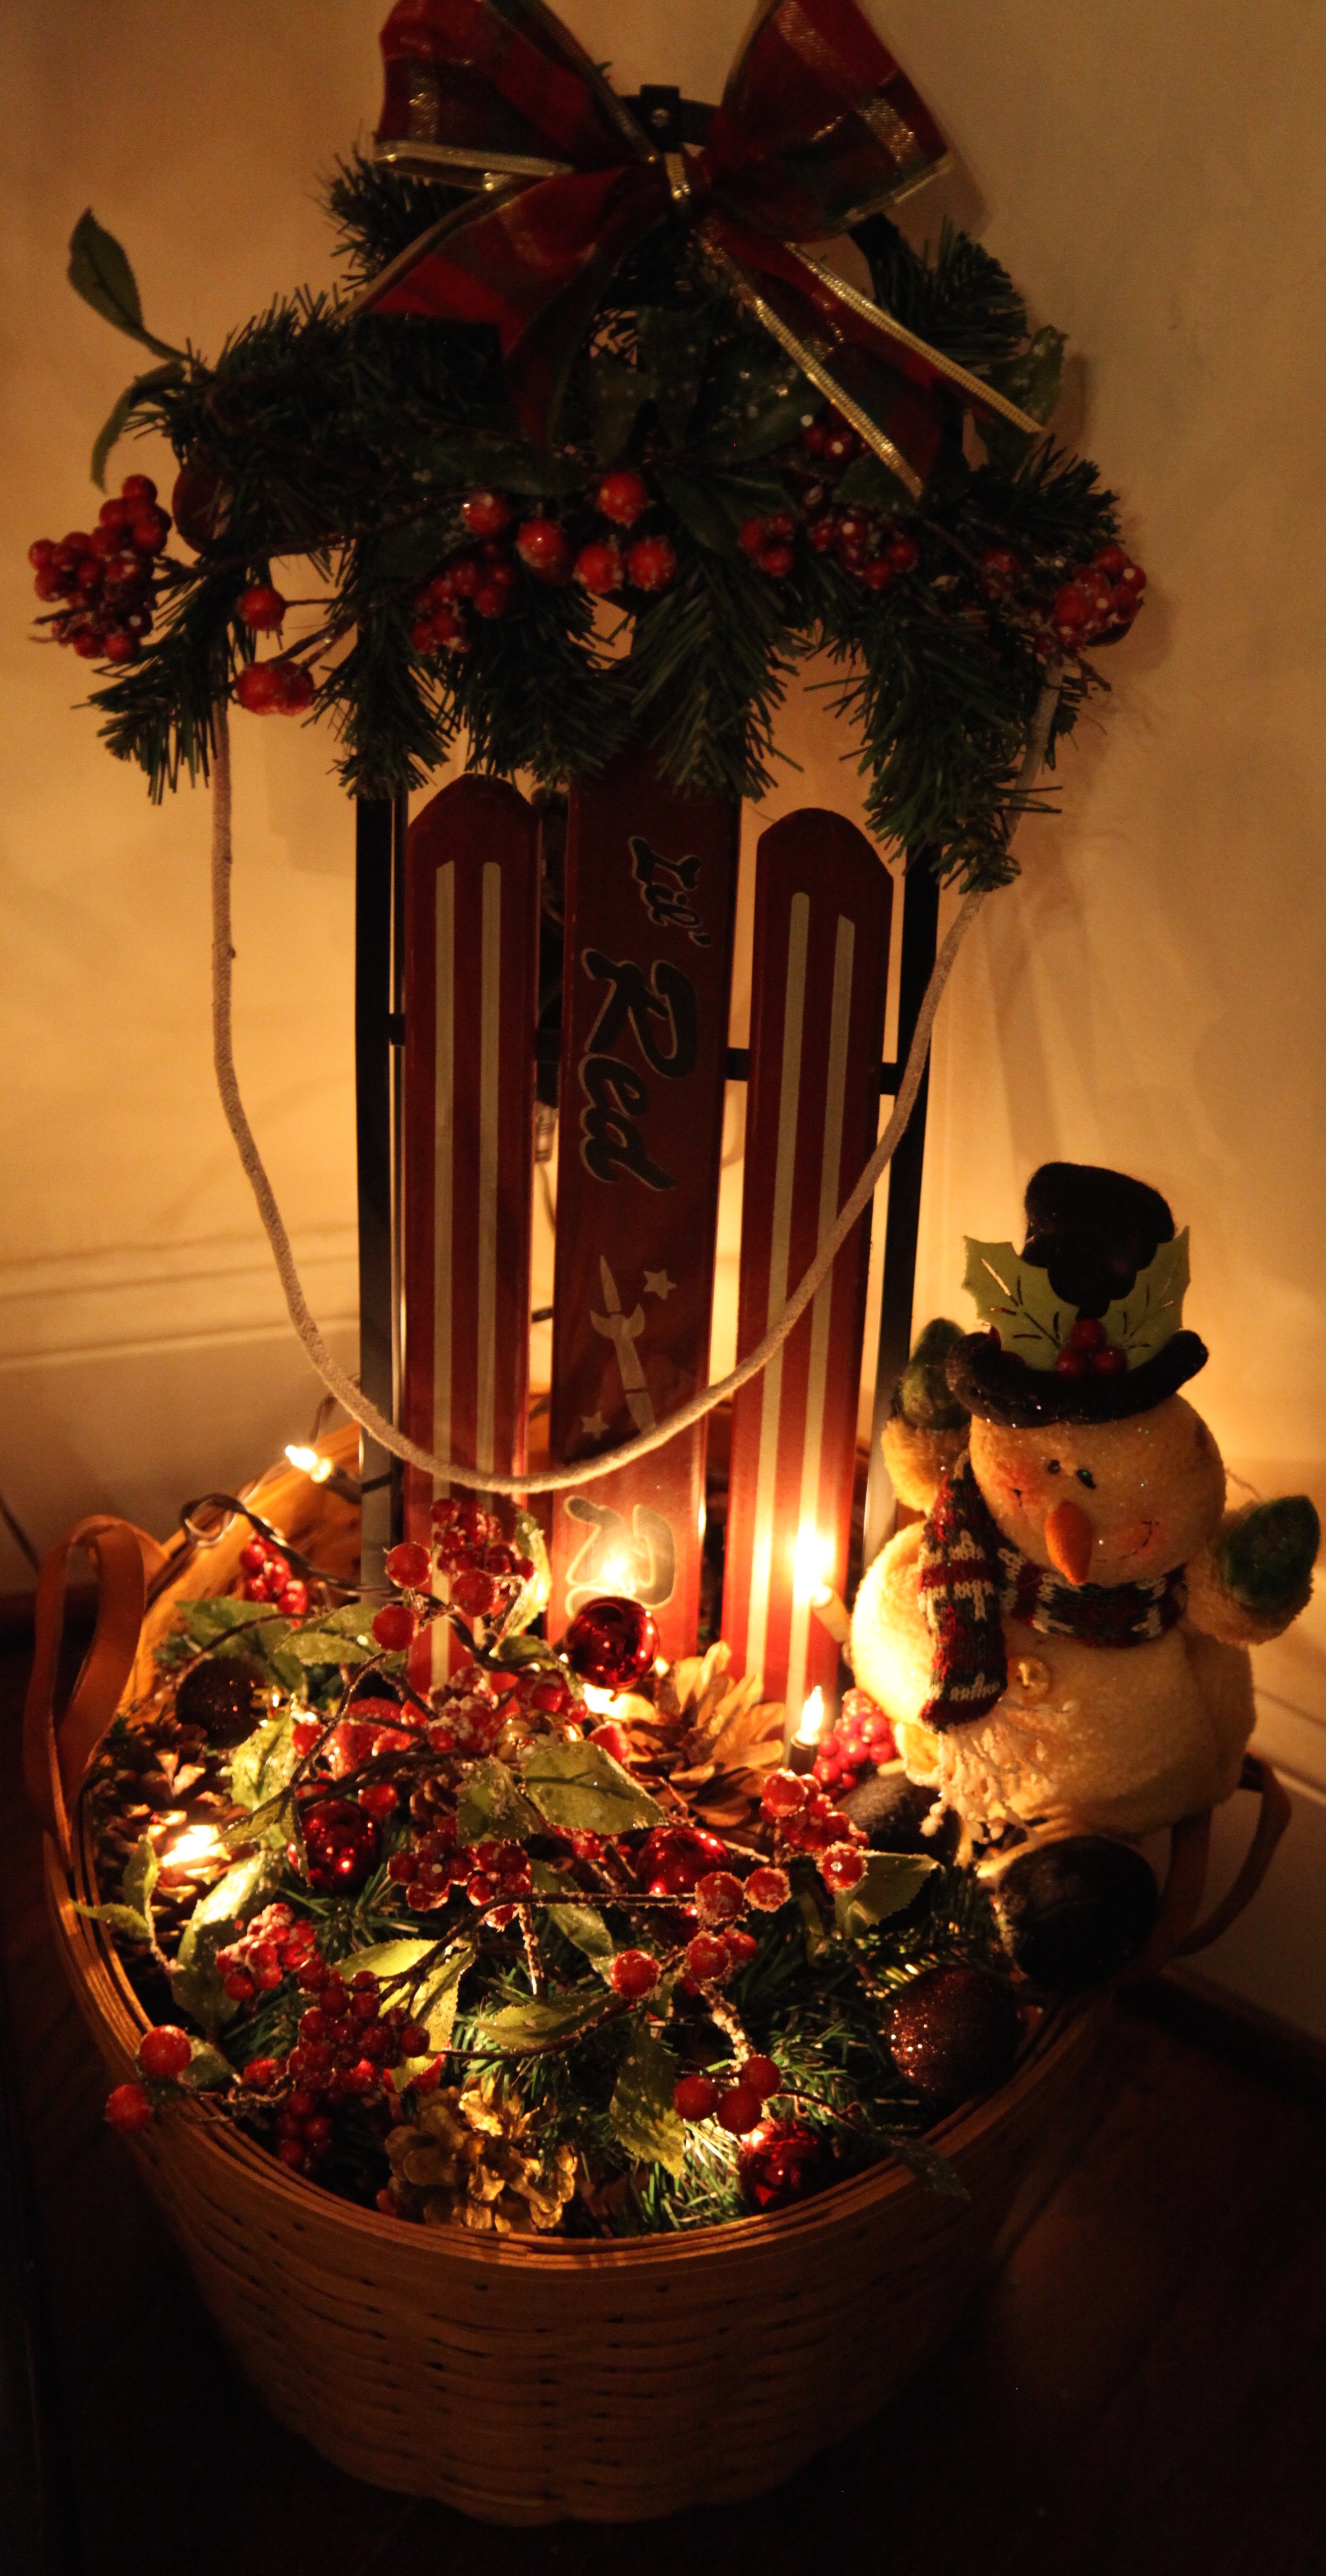
And it blends in nicely with the rest of the fireplace decorations:

My next little project was a centerpiece for the credenza that sits under our tv in the family room. I needed to make a lower profile centerpiece so as not to block the tv screen. I found a cute little sled at our Home Goods store here in town and that is what I started with.
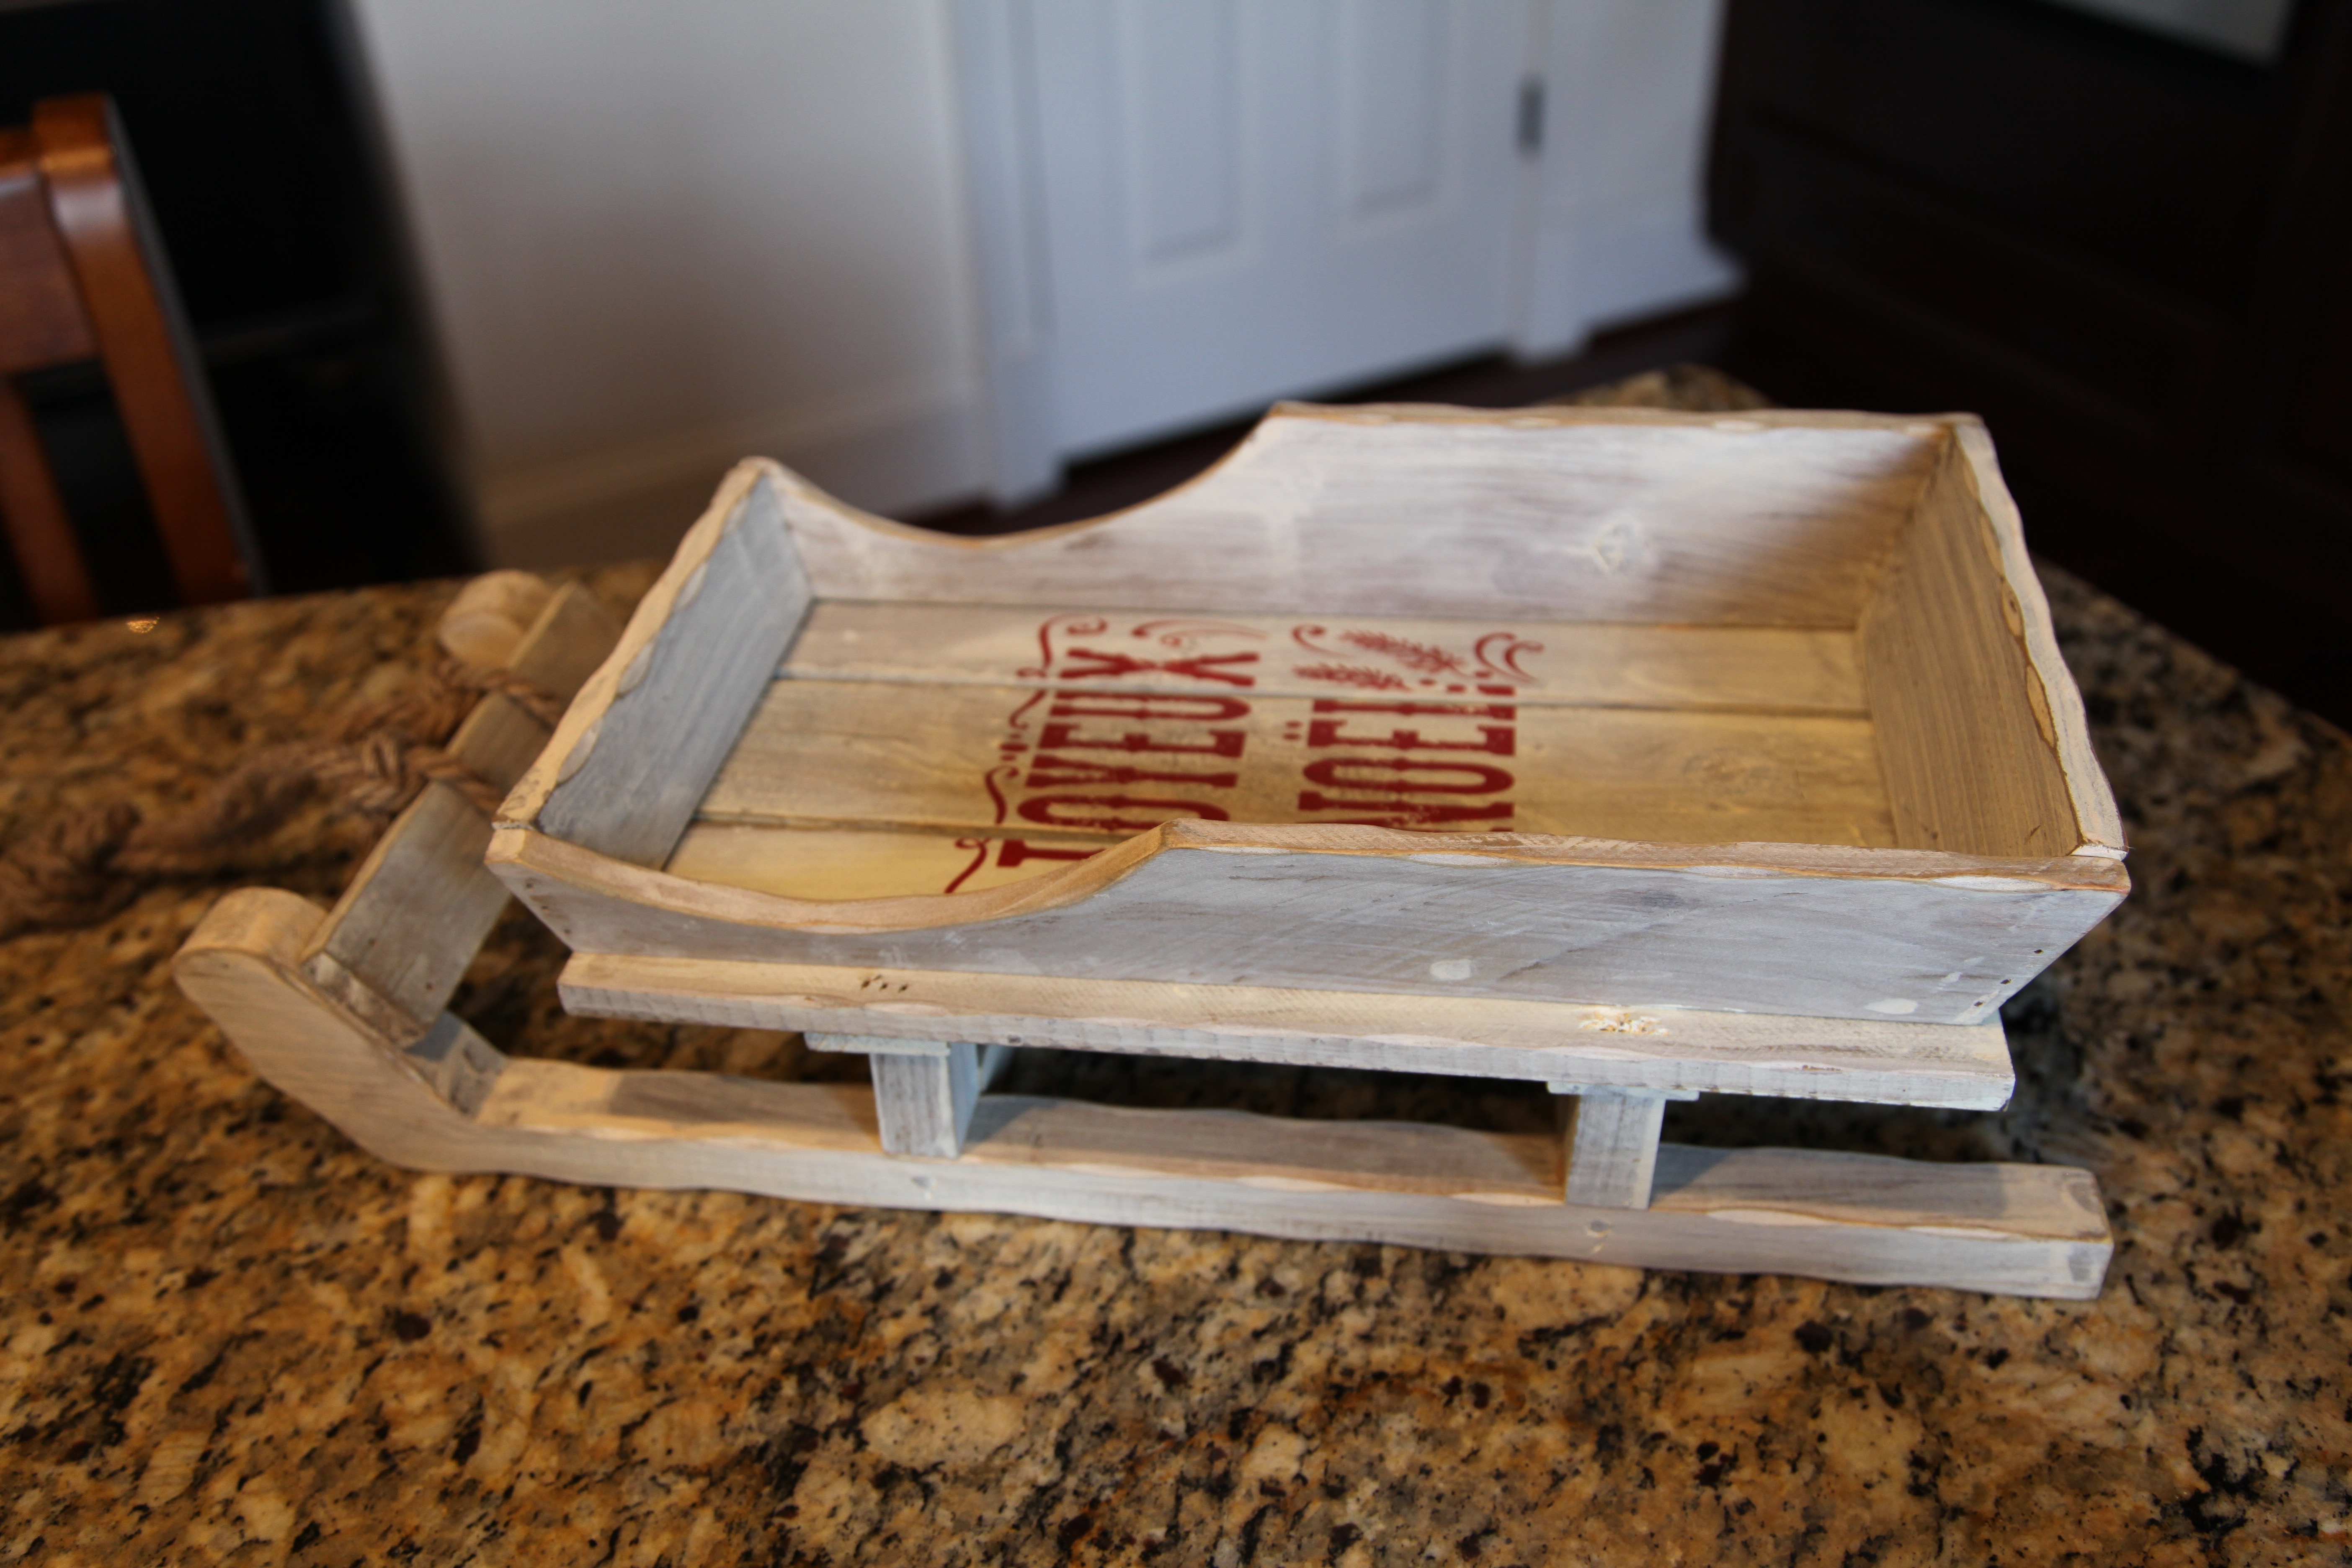
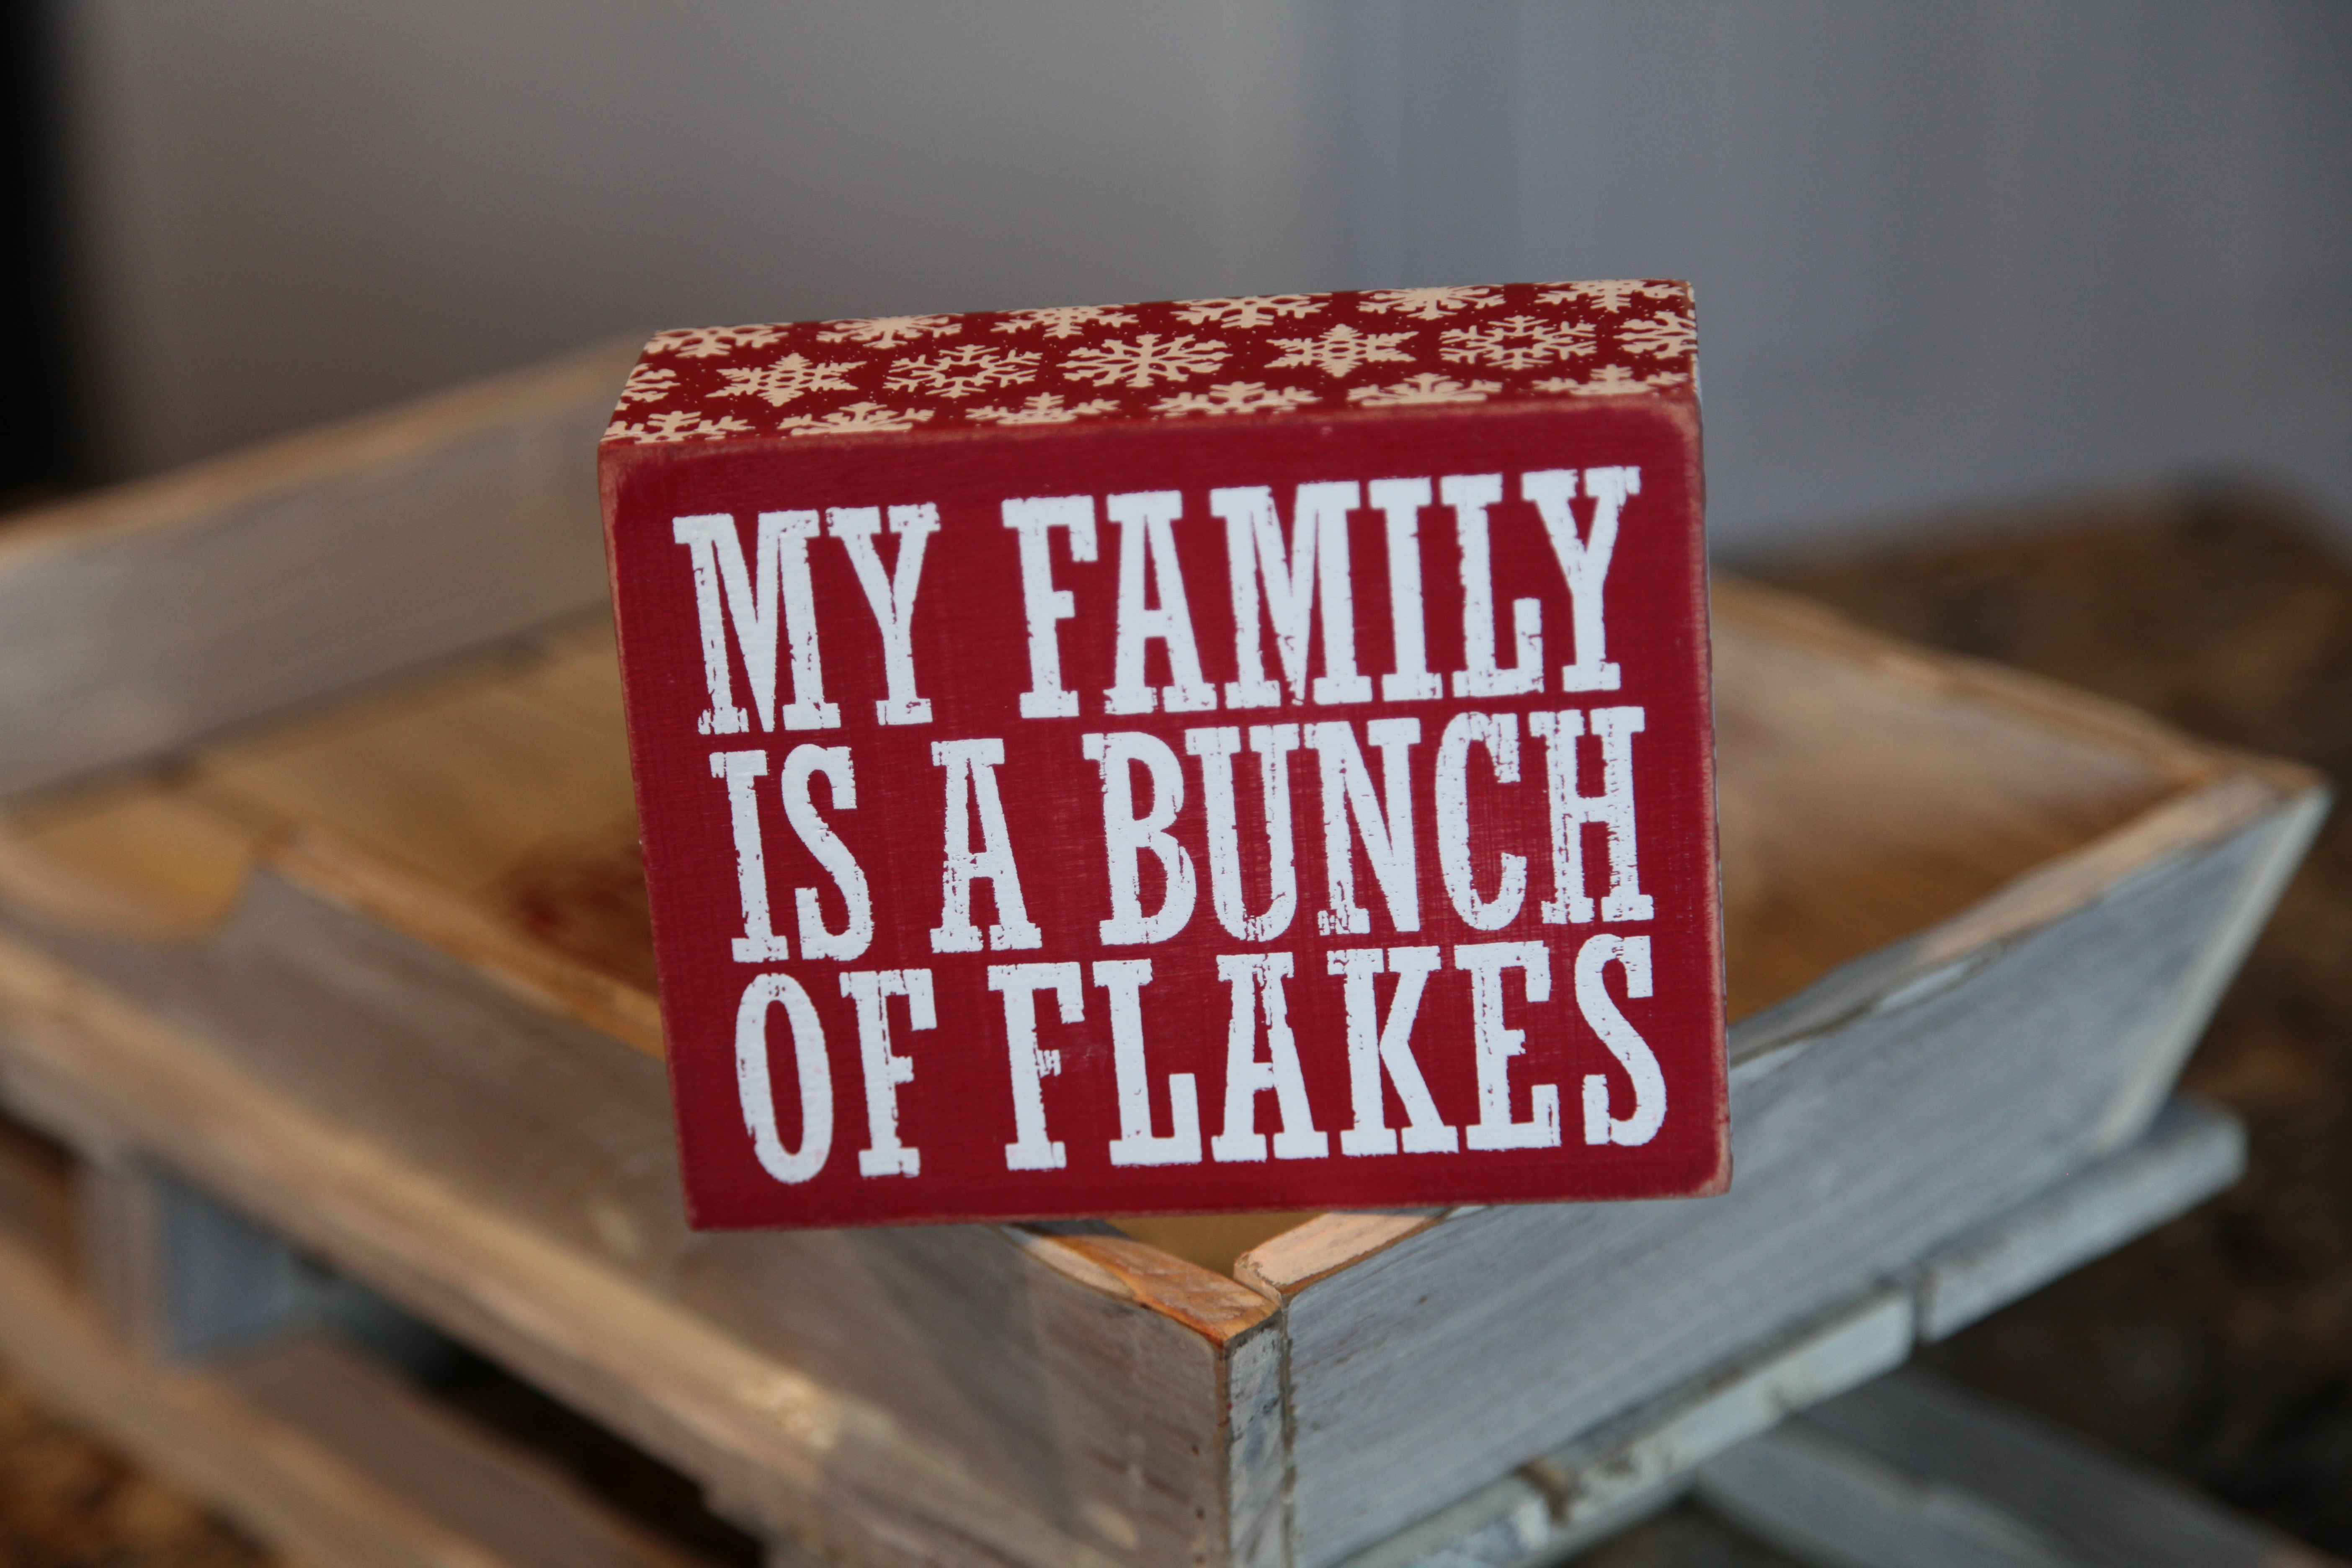
This went together very quickly, I simply cut off a bit more of that pine garland that I used in the previous project and laid it into the sled. Then I just started to place some burgundy pine cone picks that I had in my stash and a cute little sign “My Family Is A Bunch Of Flakes” (they’re really not, but I thought it was a cute sign…haha).
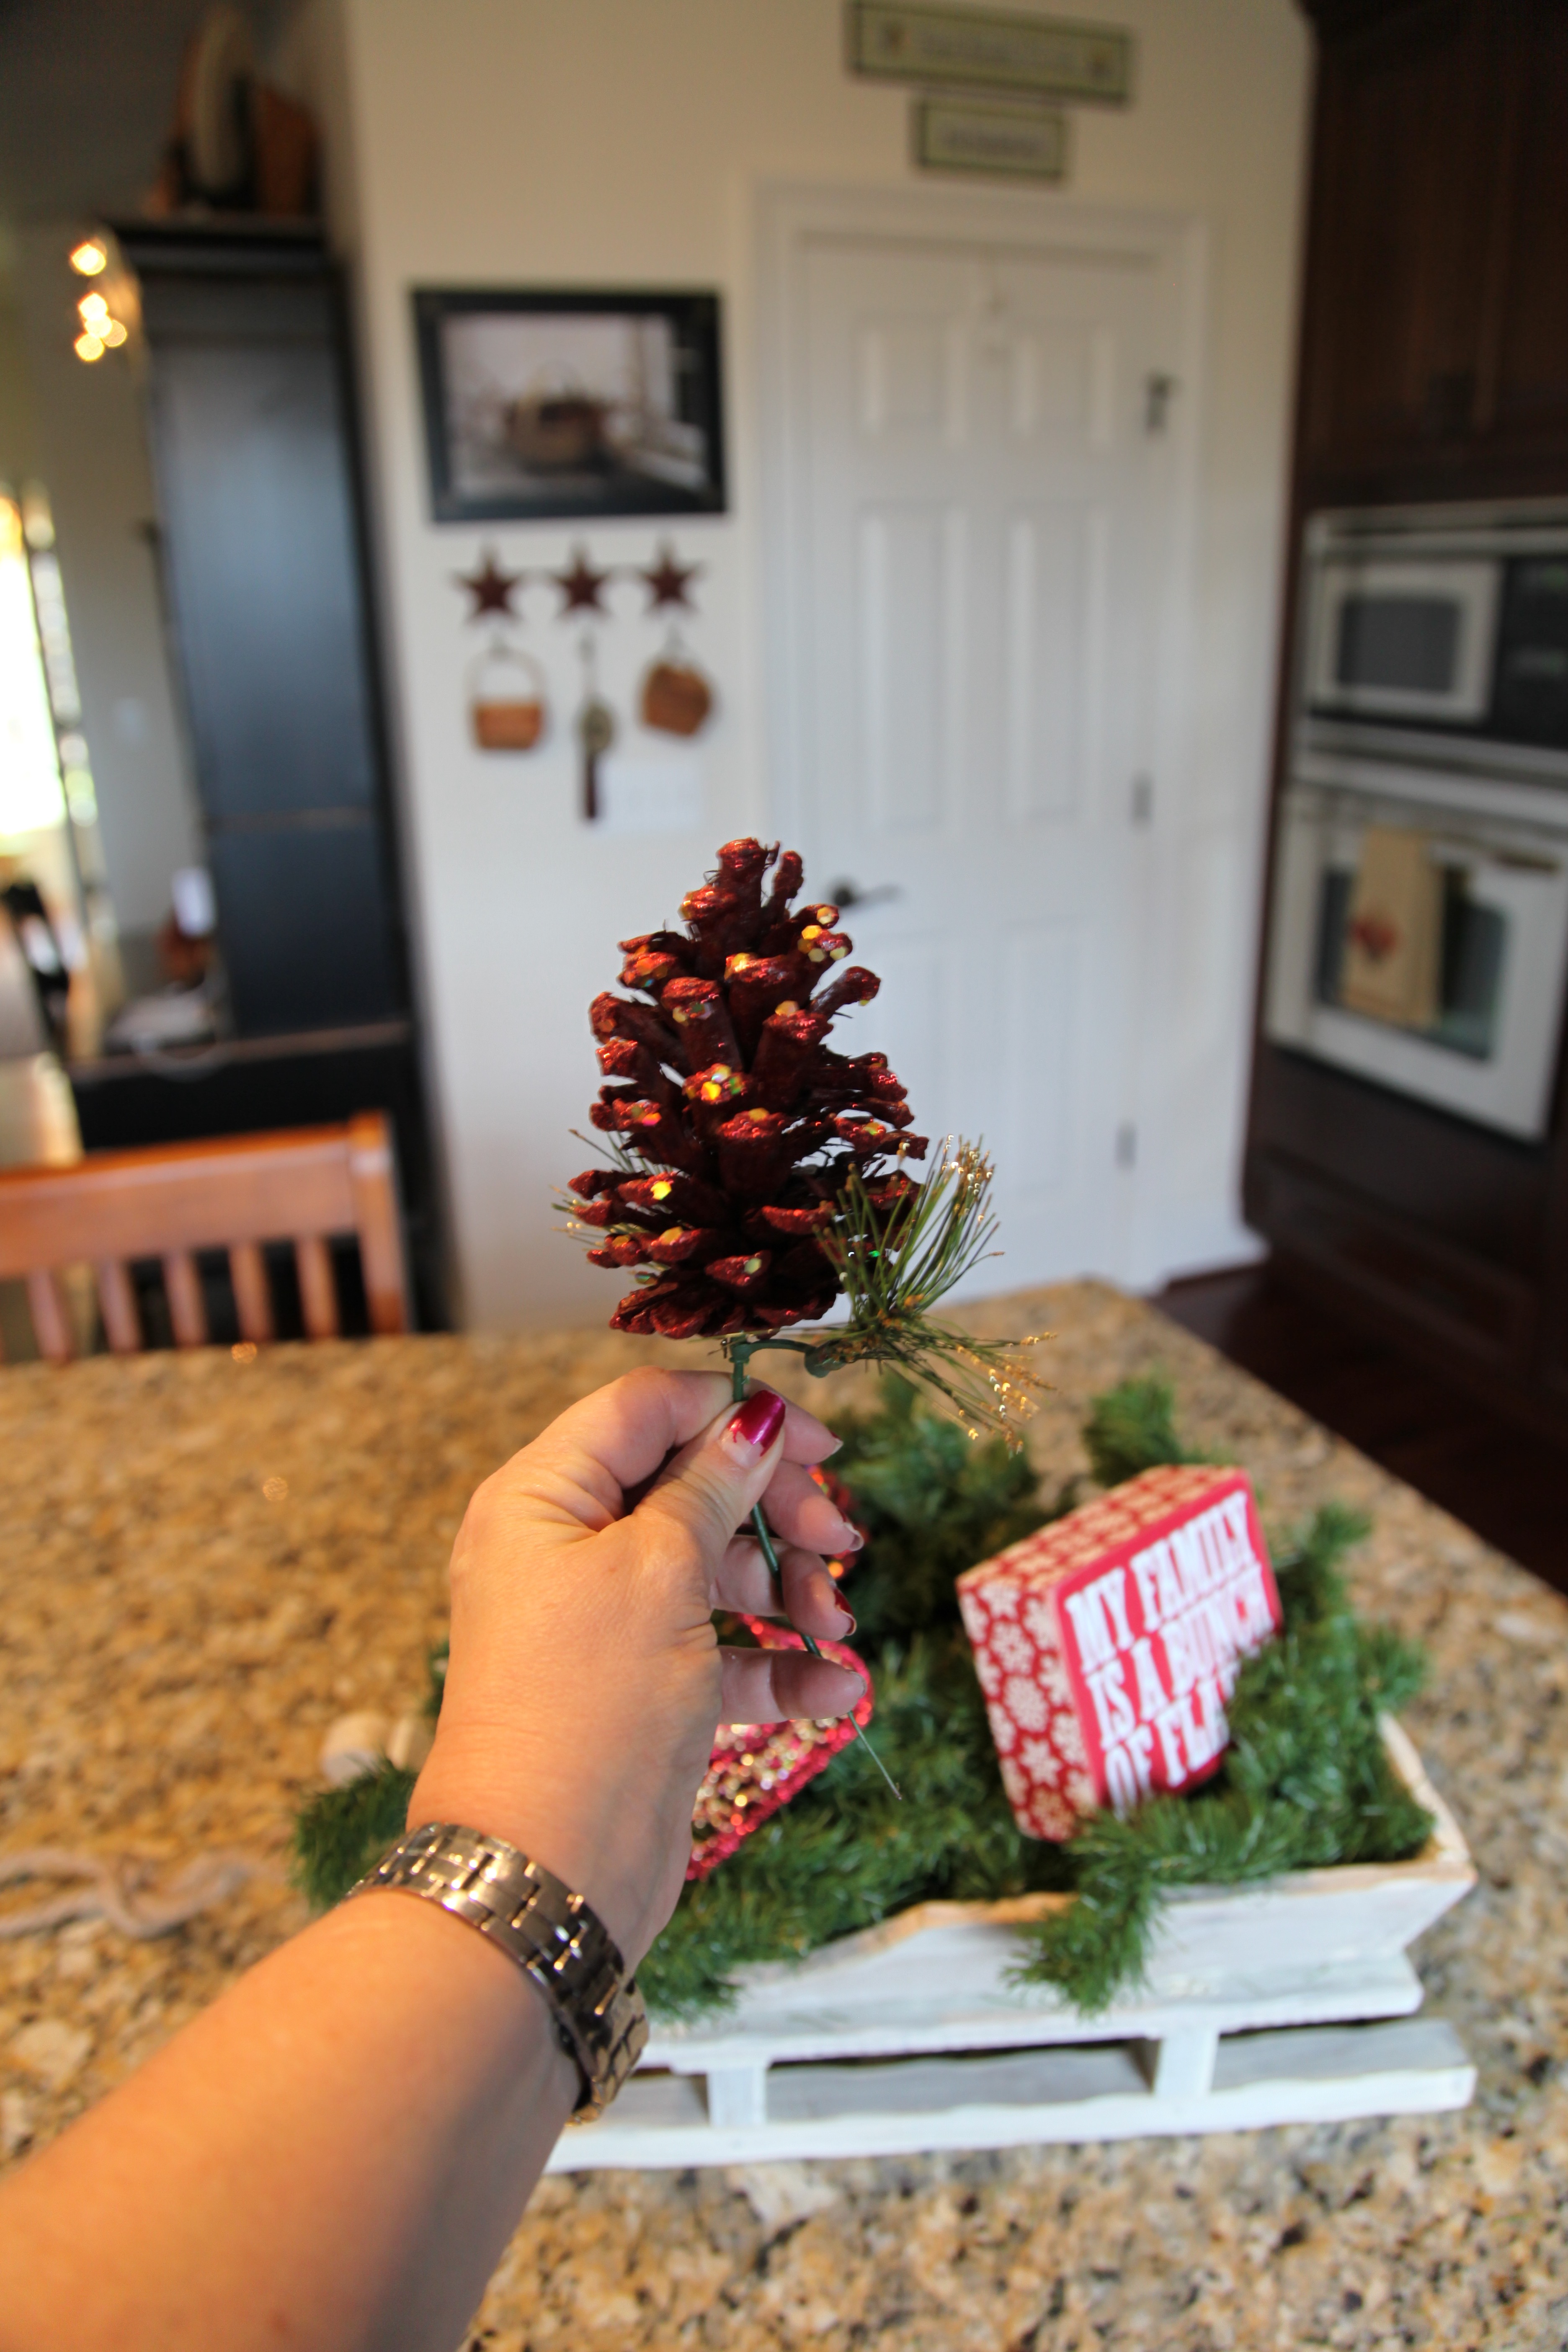
To finish this centerpiece, I added a few sparkly snowflakes and some cream colored wooden snowflakes, sat a snowman with a cute saying on his belly in front of the sled and called it complete. 🙂

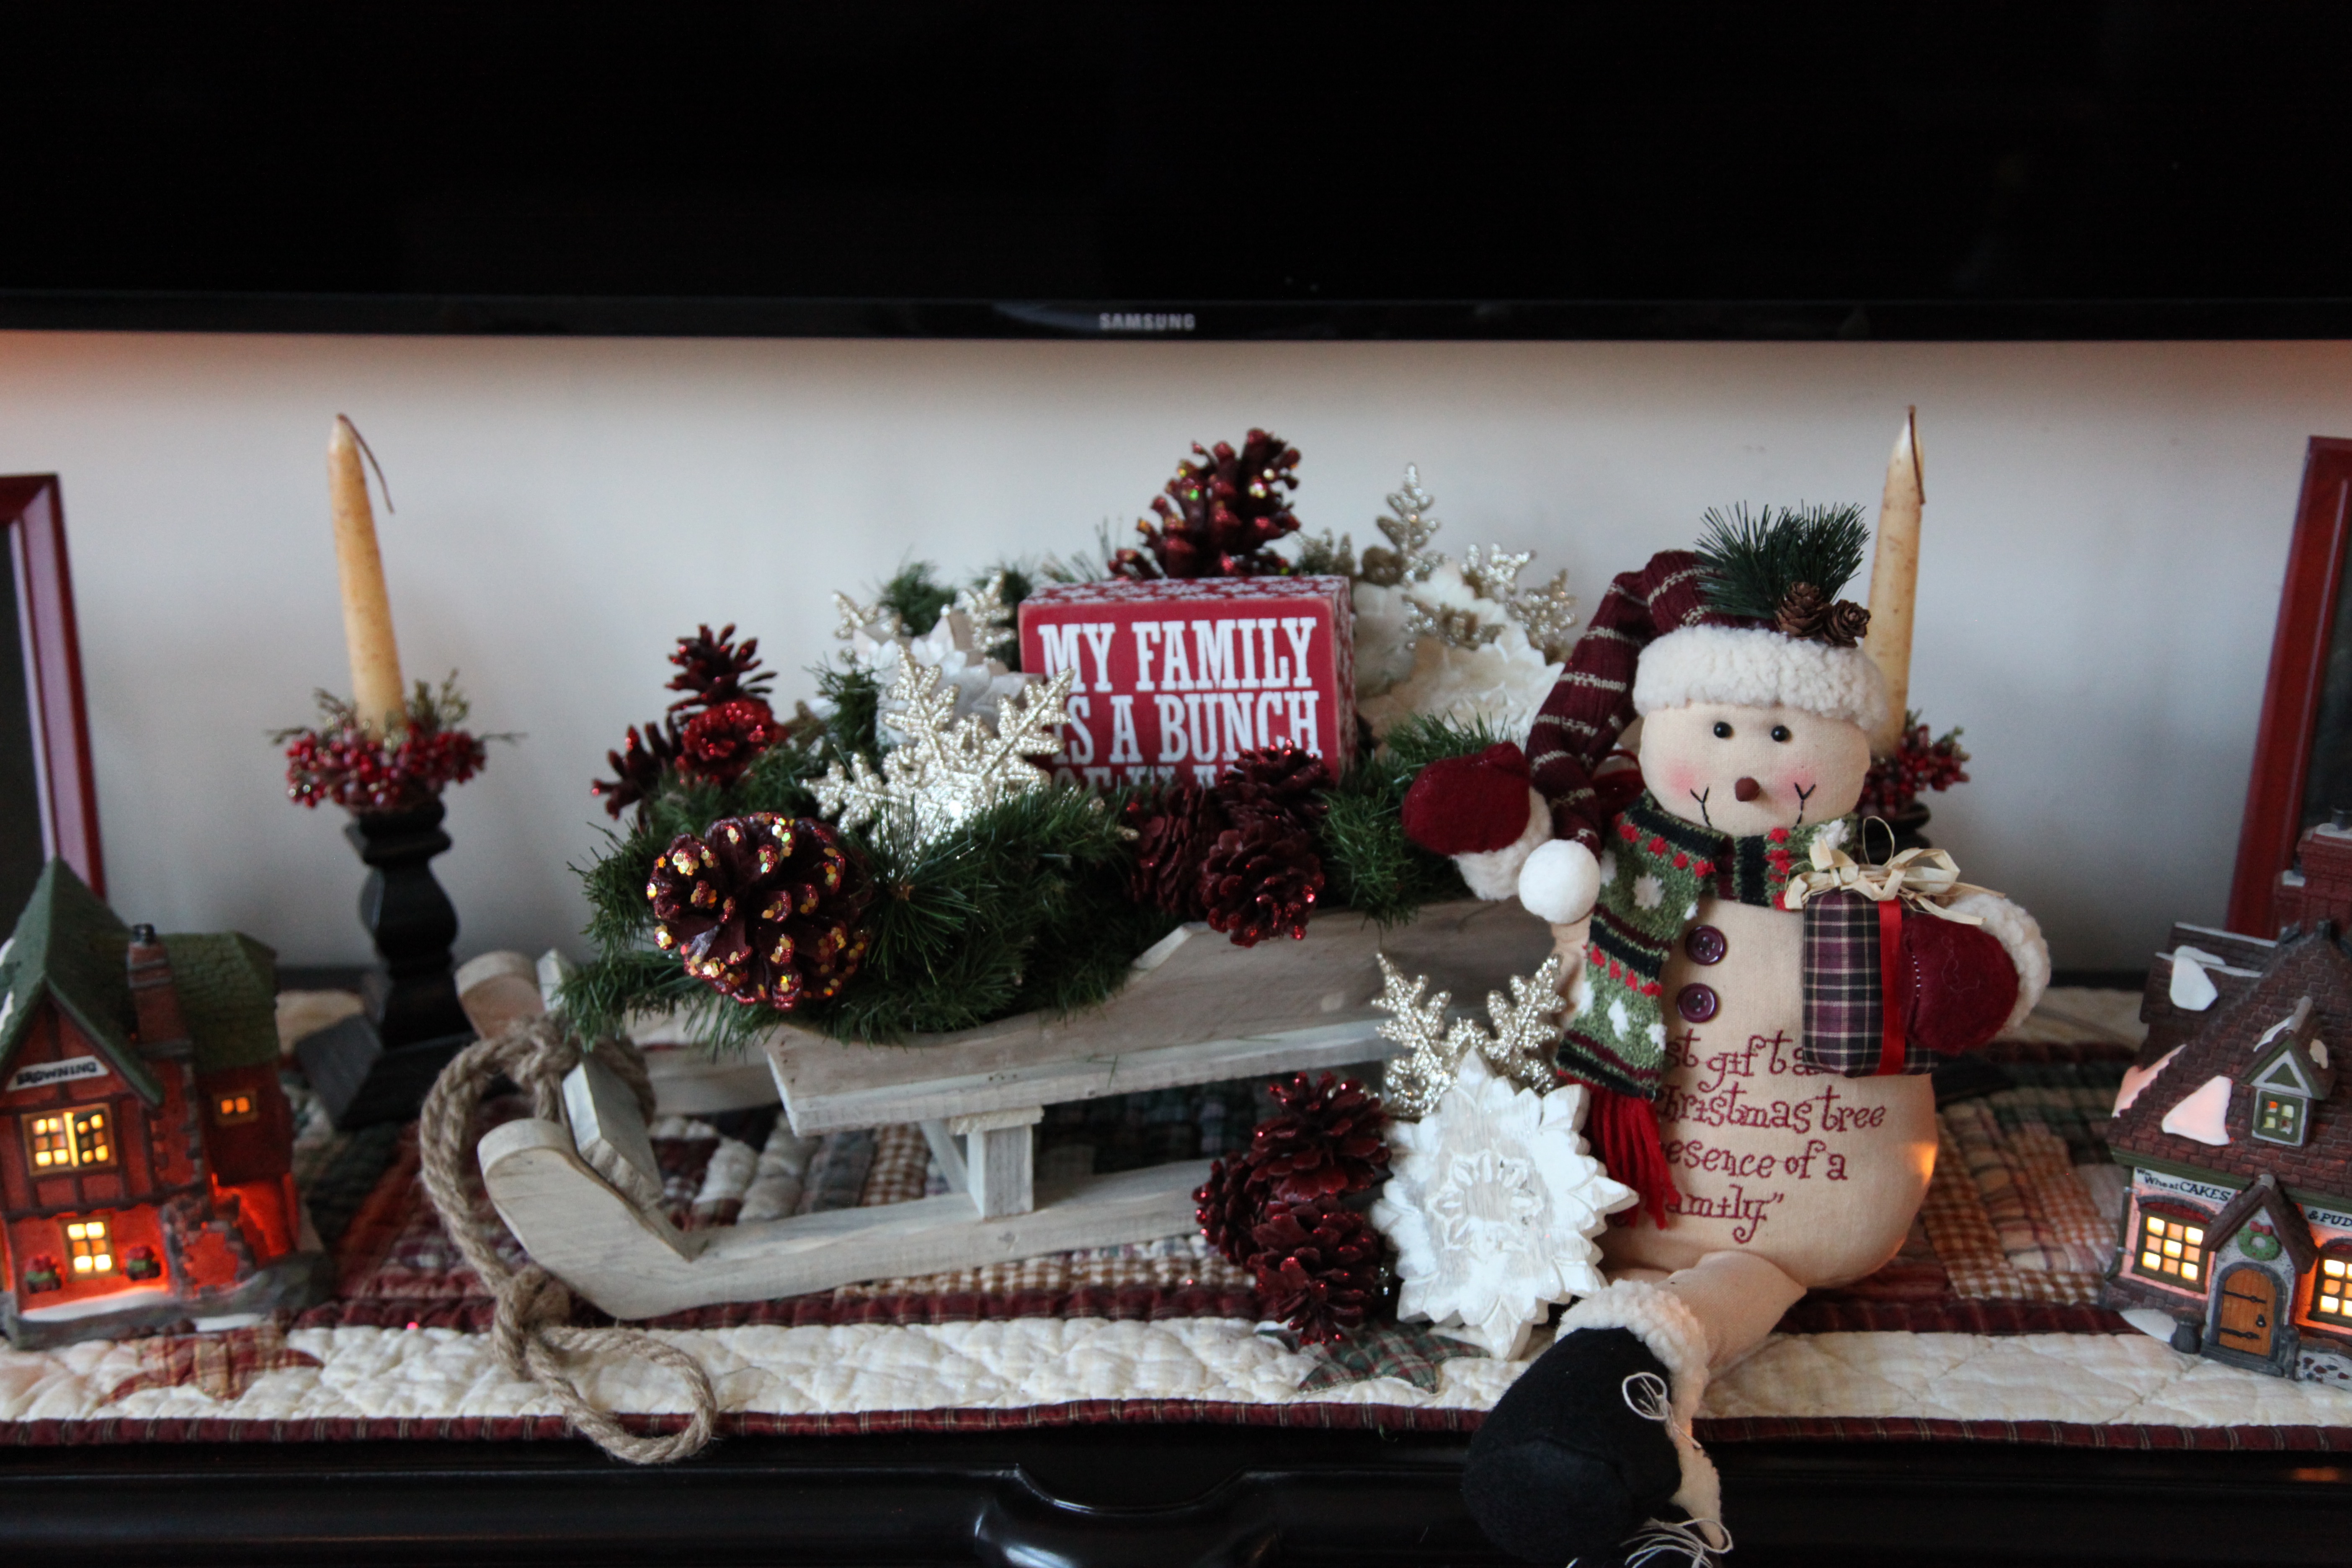
Here is the credenza with the centerpiece in place…(those are my pretty daughters in the pictures). ❤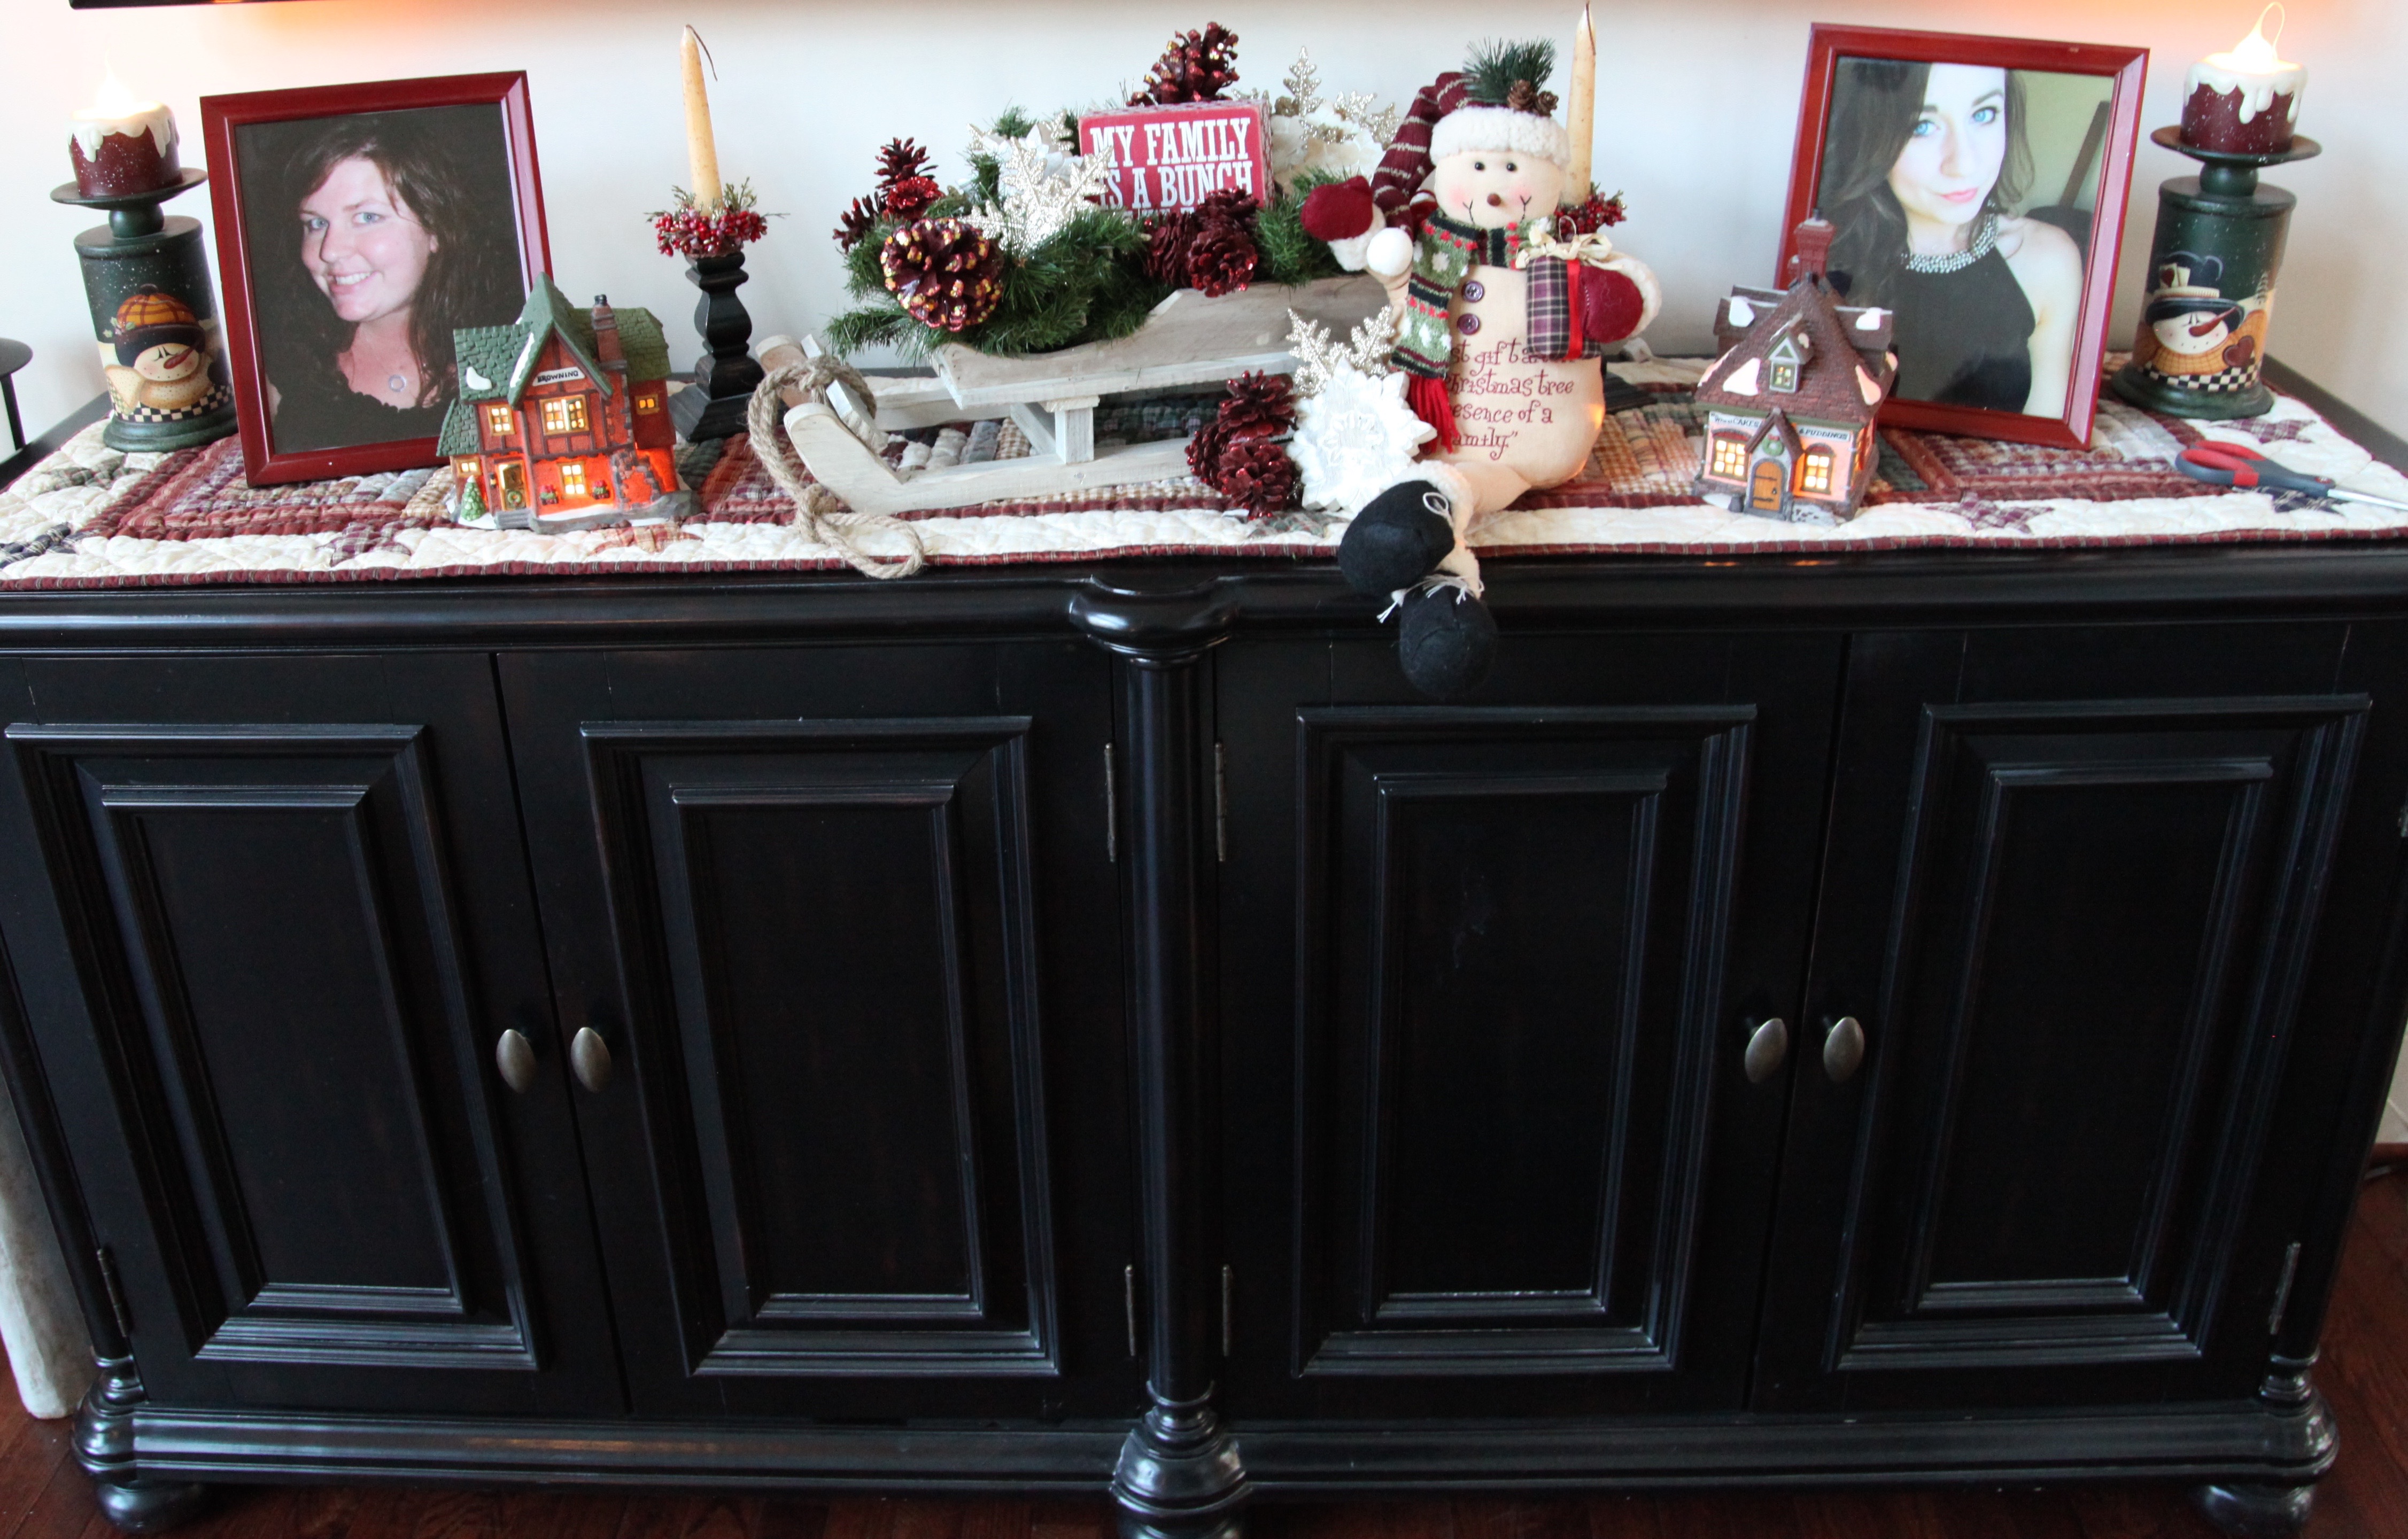
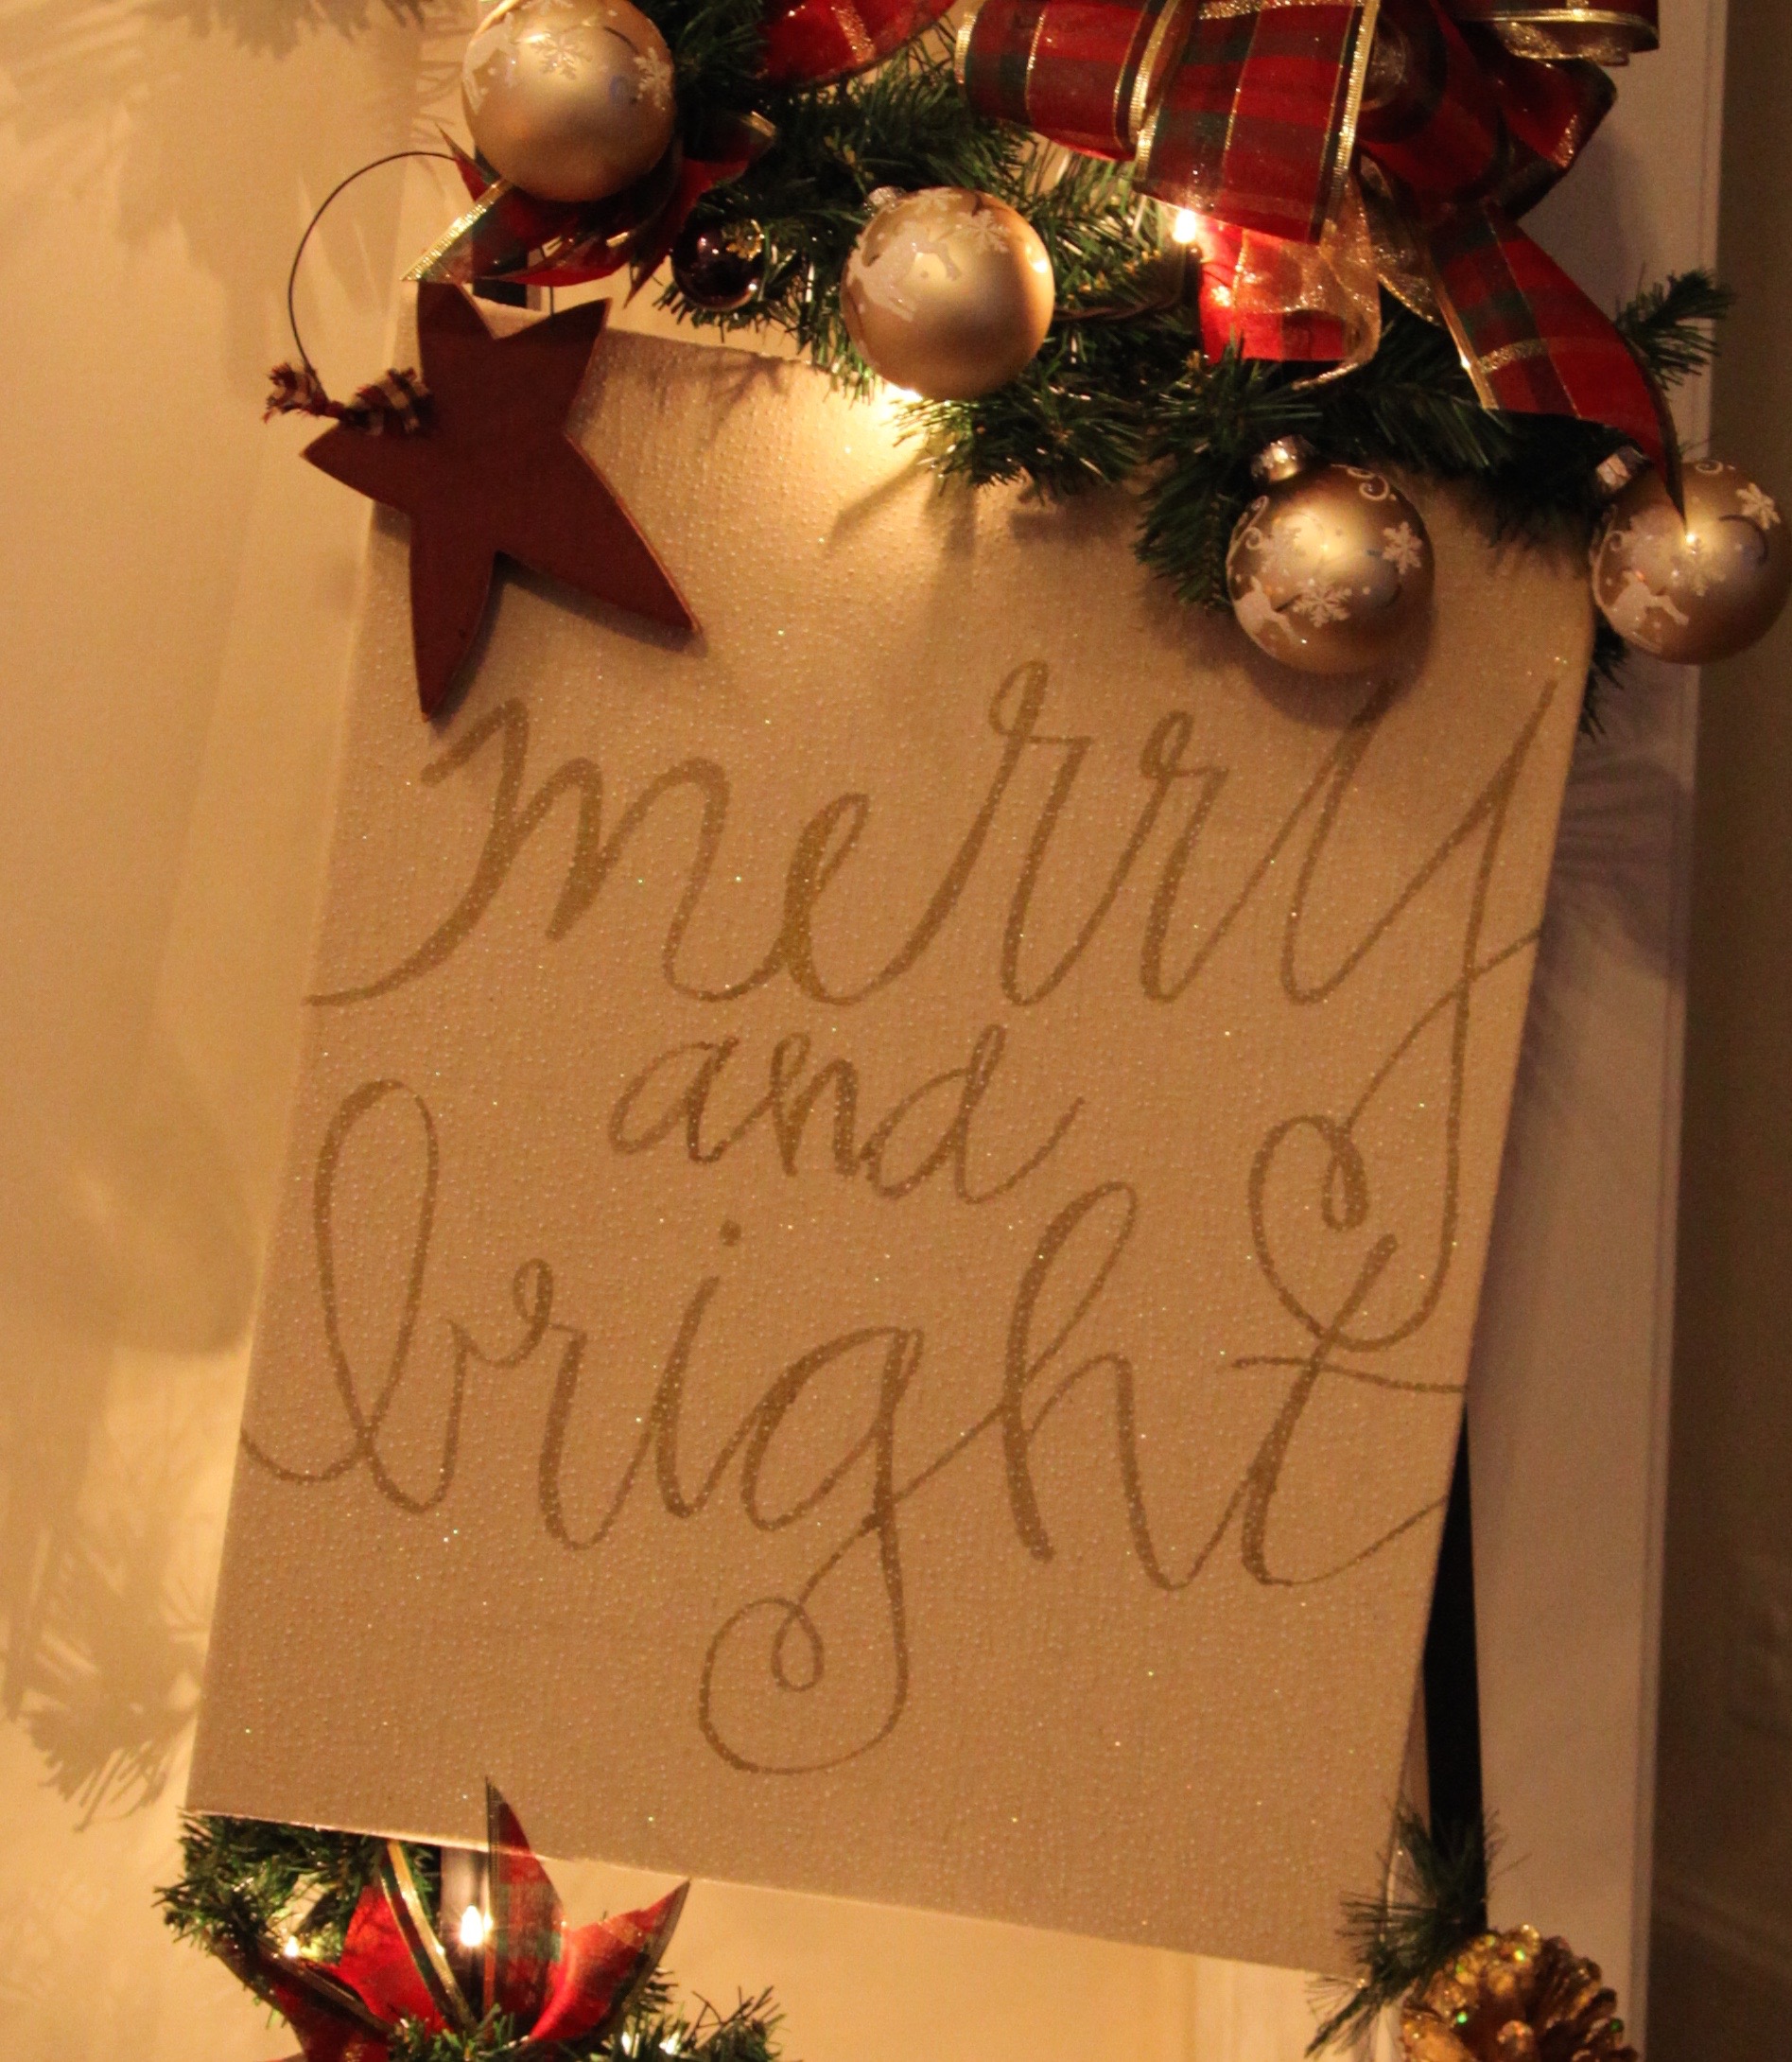
The third thing I’m highlighting in this entry is my “Merry and Bright” corner grouping named as such because I found this cute sign at Hobby Lobby.
I purchased this picture with a ladder that I got last summer in mind. That ladder has presented me with a challenge as I’ve traversed through the seasons. This will be the third time that I’ve created decor to go on and around this ladder; I love a challenge, but admittedly this is not an easy little task because I’ve got to rig something with which to hang whatever decor on said ladder. Here are the other two designs that I came up with…
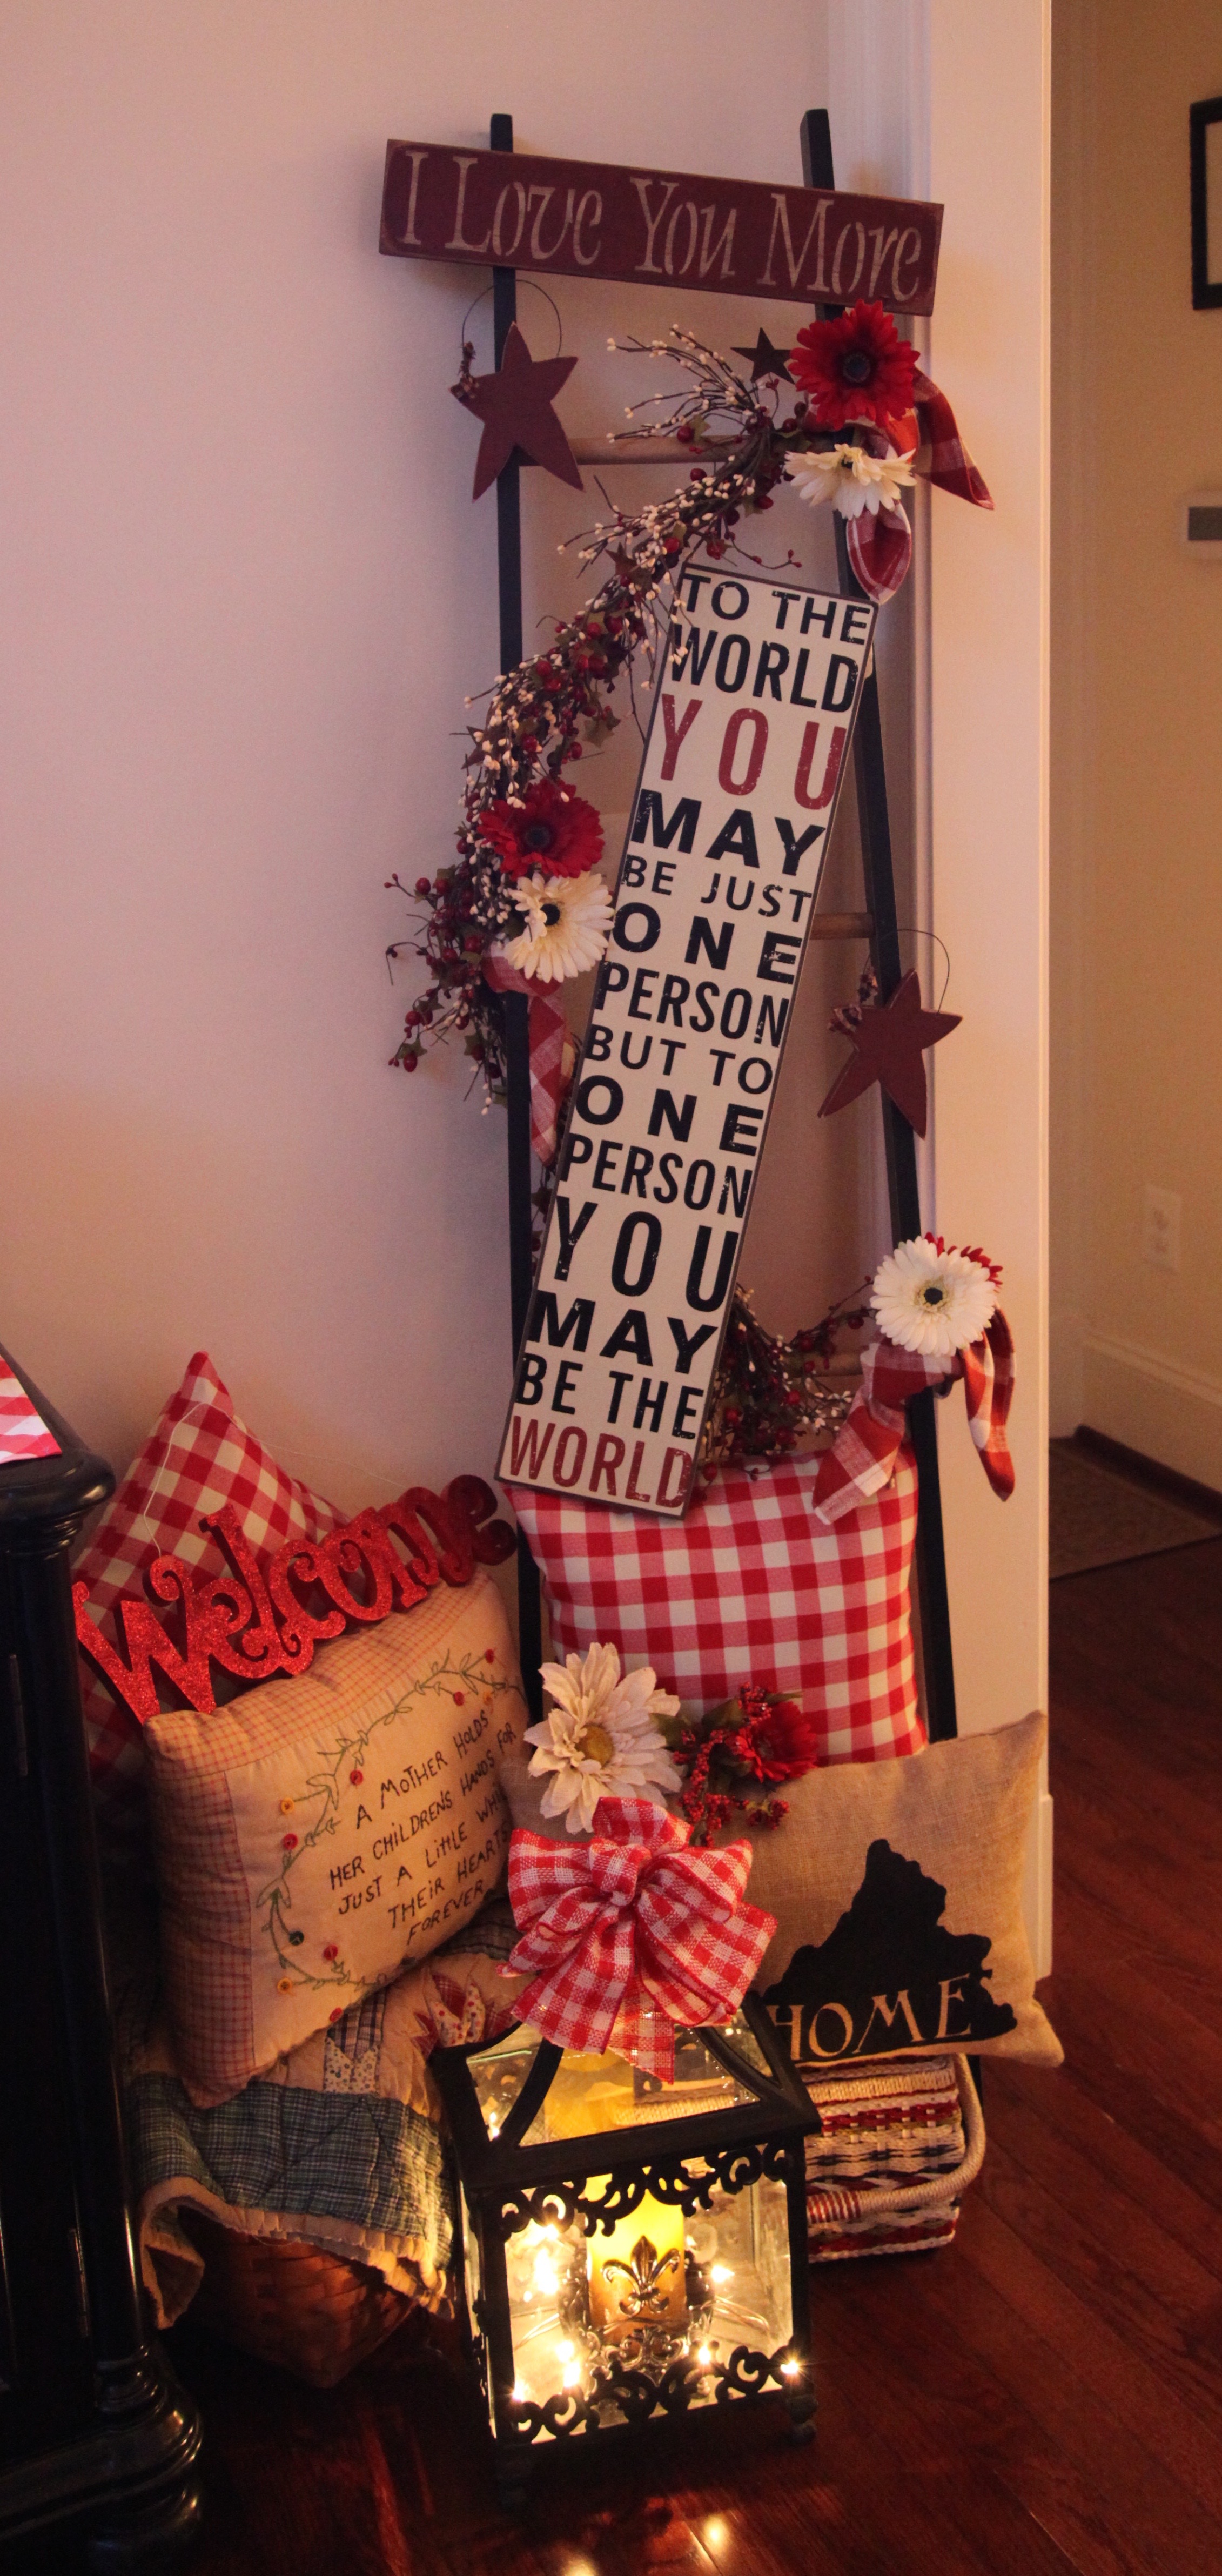
As I’ve explained in other blogs, I have basic ‘staple’ pieces in my home that remain constant throughout the year in certain places, i.e. on the hearth and mantel to name just two. For this corner this ladder has been added to the Longaberger basket and my Grandmother’s old sewing basket staple pieces; this ‘corner’ is to the right of the family room’s credenza. Here is a blog post about how I arrange my Cozy Corners. For this specific corner, I always change out the quilt on the basket and the pillows and add accent pieces to match whatever season or ‘feel’ I’m trying to attain.
Okay, so here is how I created this corner’s Christmas decor. I started by utilizing the rest of that pine garland that I had used to create the two sled centerpieces. I wrapped a 35 white light strand around the garland and started at the top of the ladder and wrapped it around ending at the very bottom rung. I placed a woodland angel at the top, made a bow and and offset it to one side, I glued pipe cleaners to the back of the “Merry and Bright” picture and tied it onto the ladder. I then placed some gold Christmas bulbs throughout the garland (simply by taking a sprig of the garland and threading it through the holder at the top of the ornament). I made tufts of the bow ribbon by cutting 8″ pieces and catching them into two of the pine sprigs; I did this several times to fill in the empty gaps.

Then I started to build the bottom of the grouping. I placed a Christmassy quilt on the basket and placed two pillows on top of that, I then used some pine sprigs and pine cone picks to make a little arrangement. Placing the wooden snowman atop the sewing basket finished this grouping off nicely. 🙂 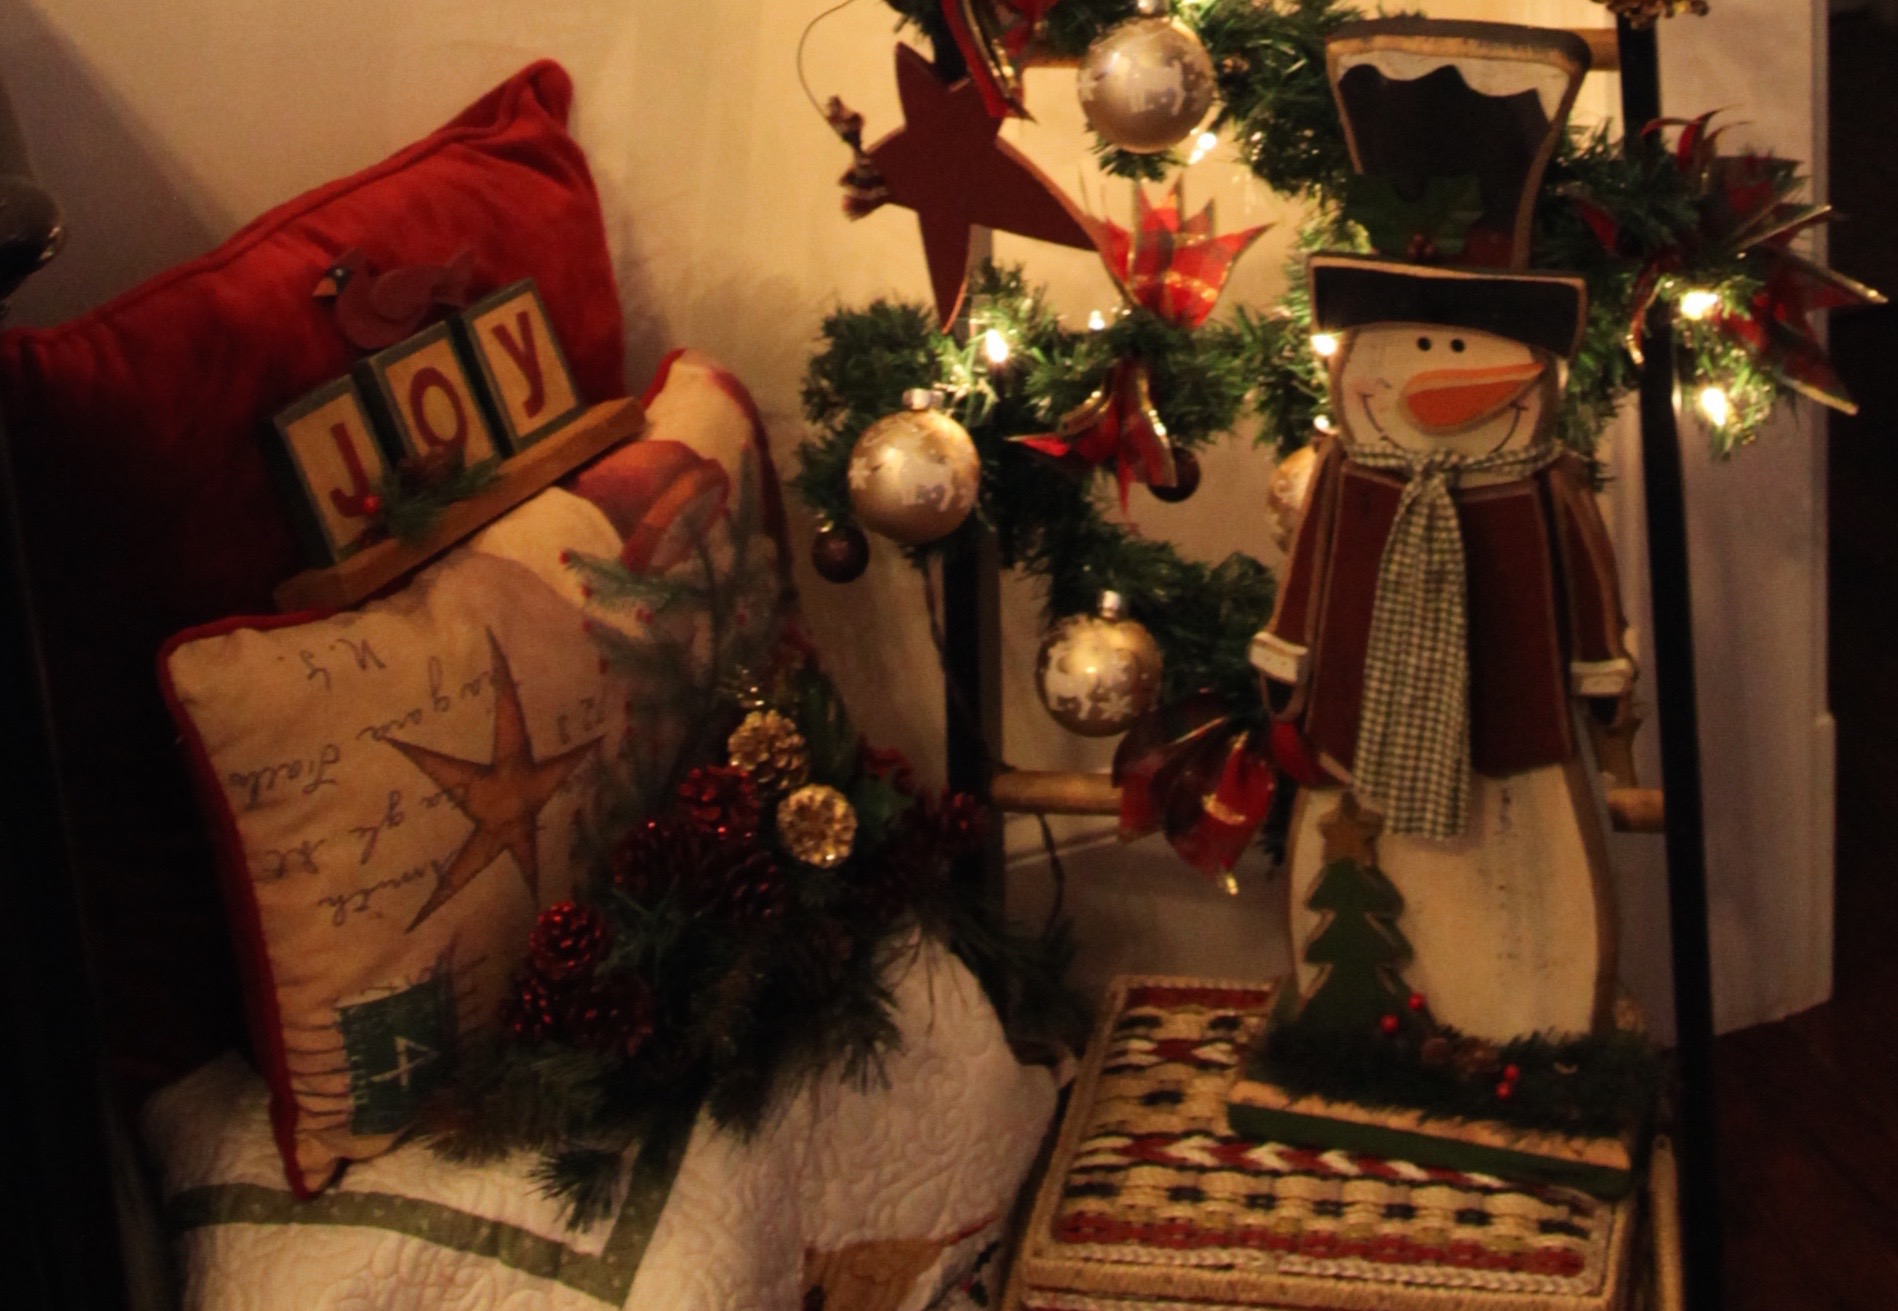
The finished project: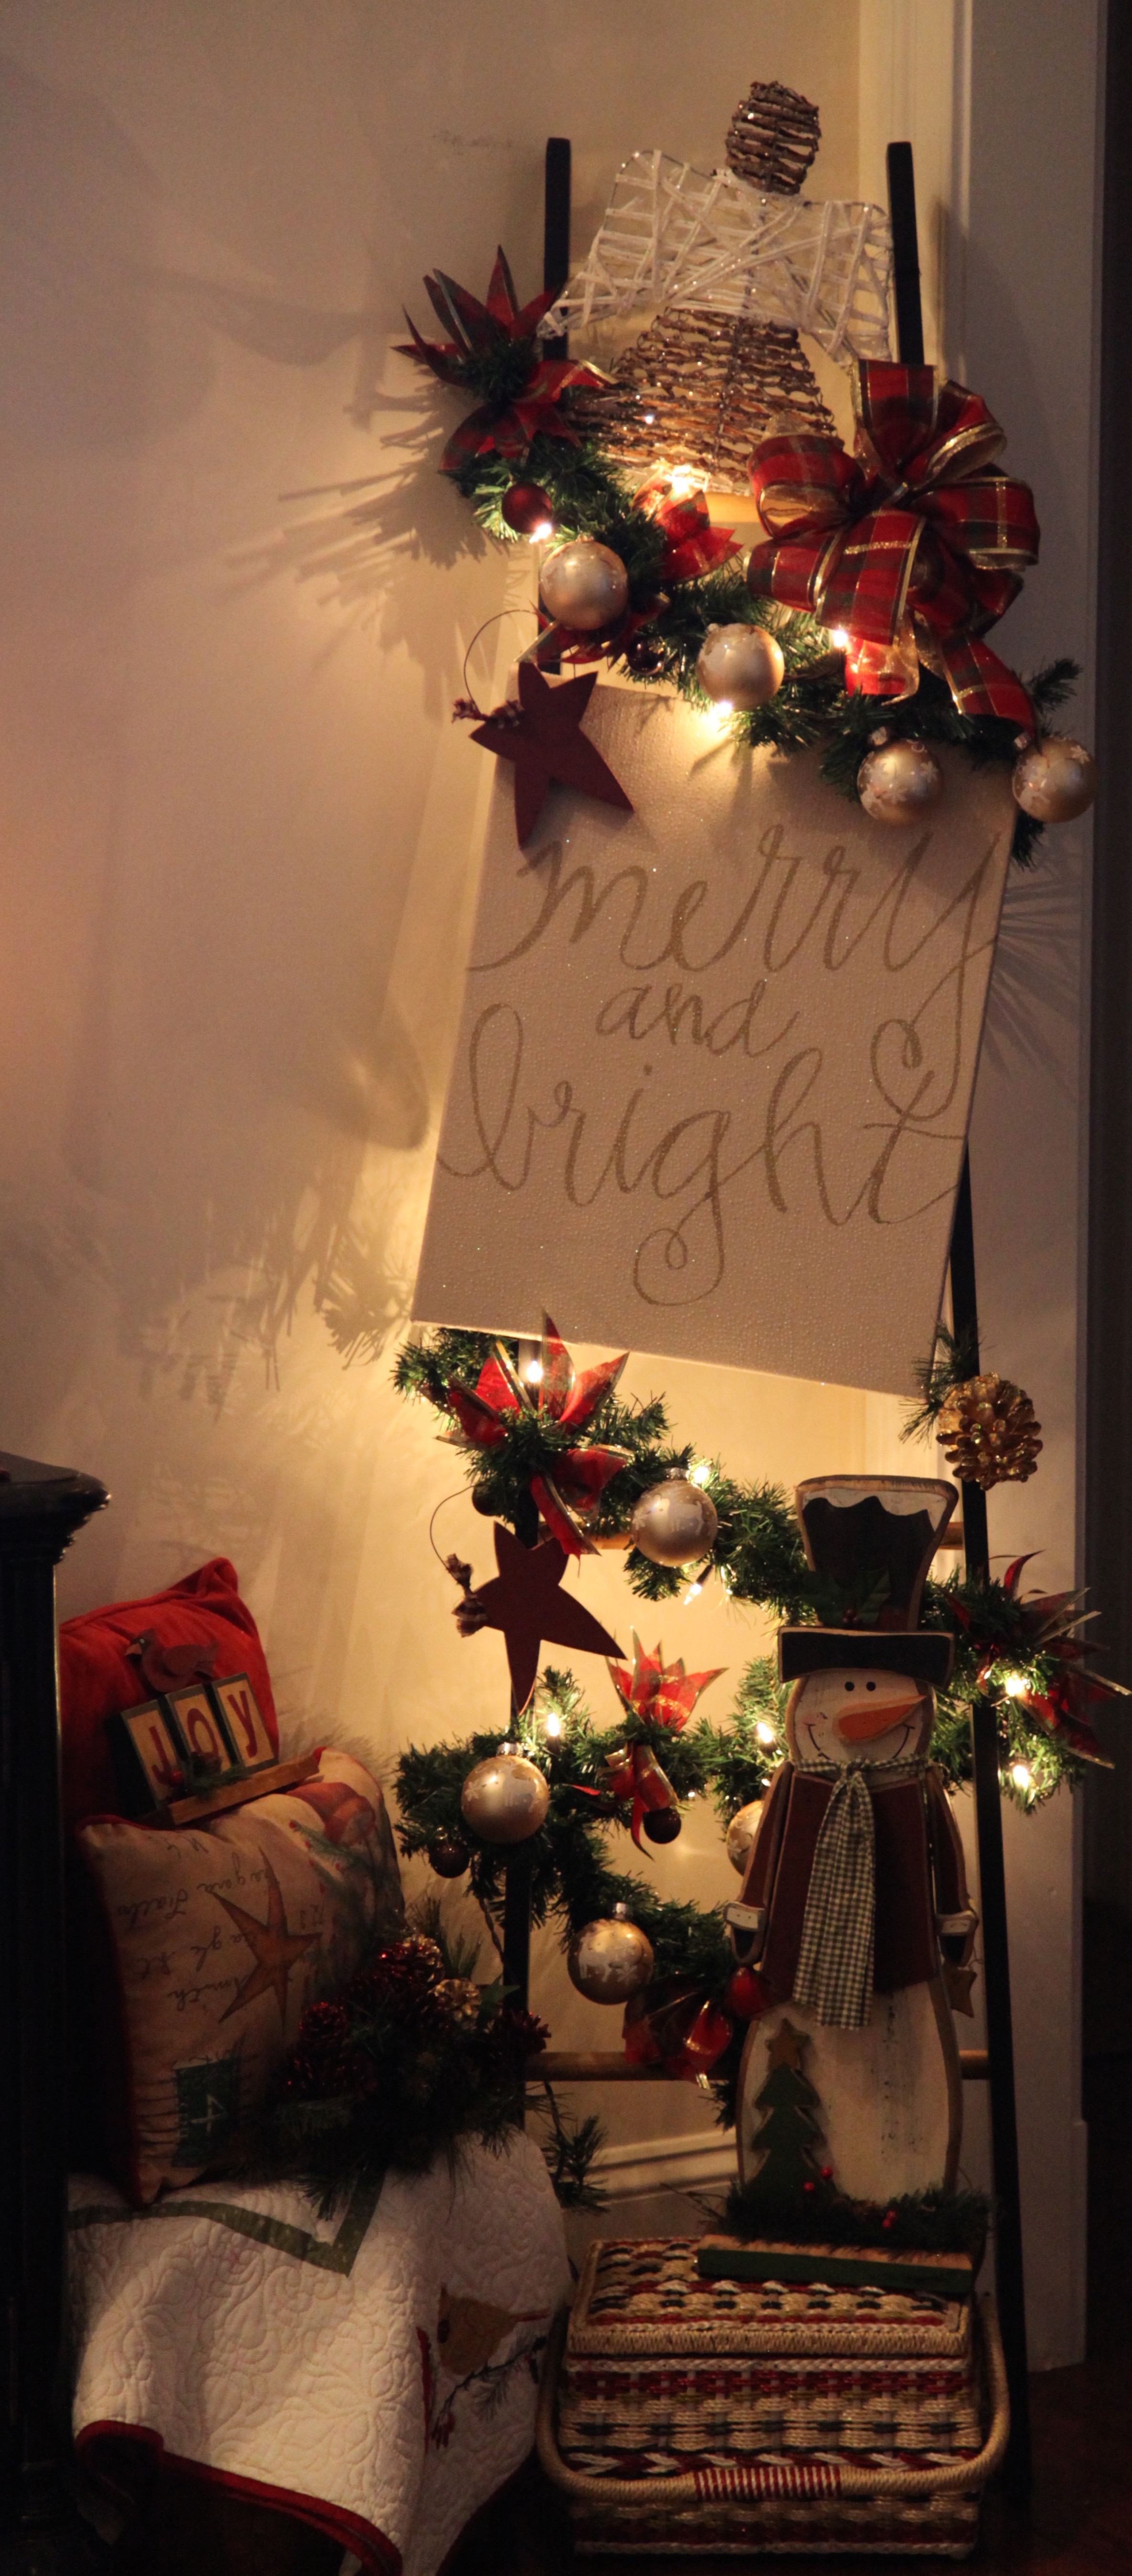
While I’m at it here, I might as well show you two other little things that I did, these literally took me 10 minutes combined to put together. Only supplies needed to augment two of my staple pieces were pine garland, wired ribbon and a simple burlap Christmas ornament.
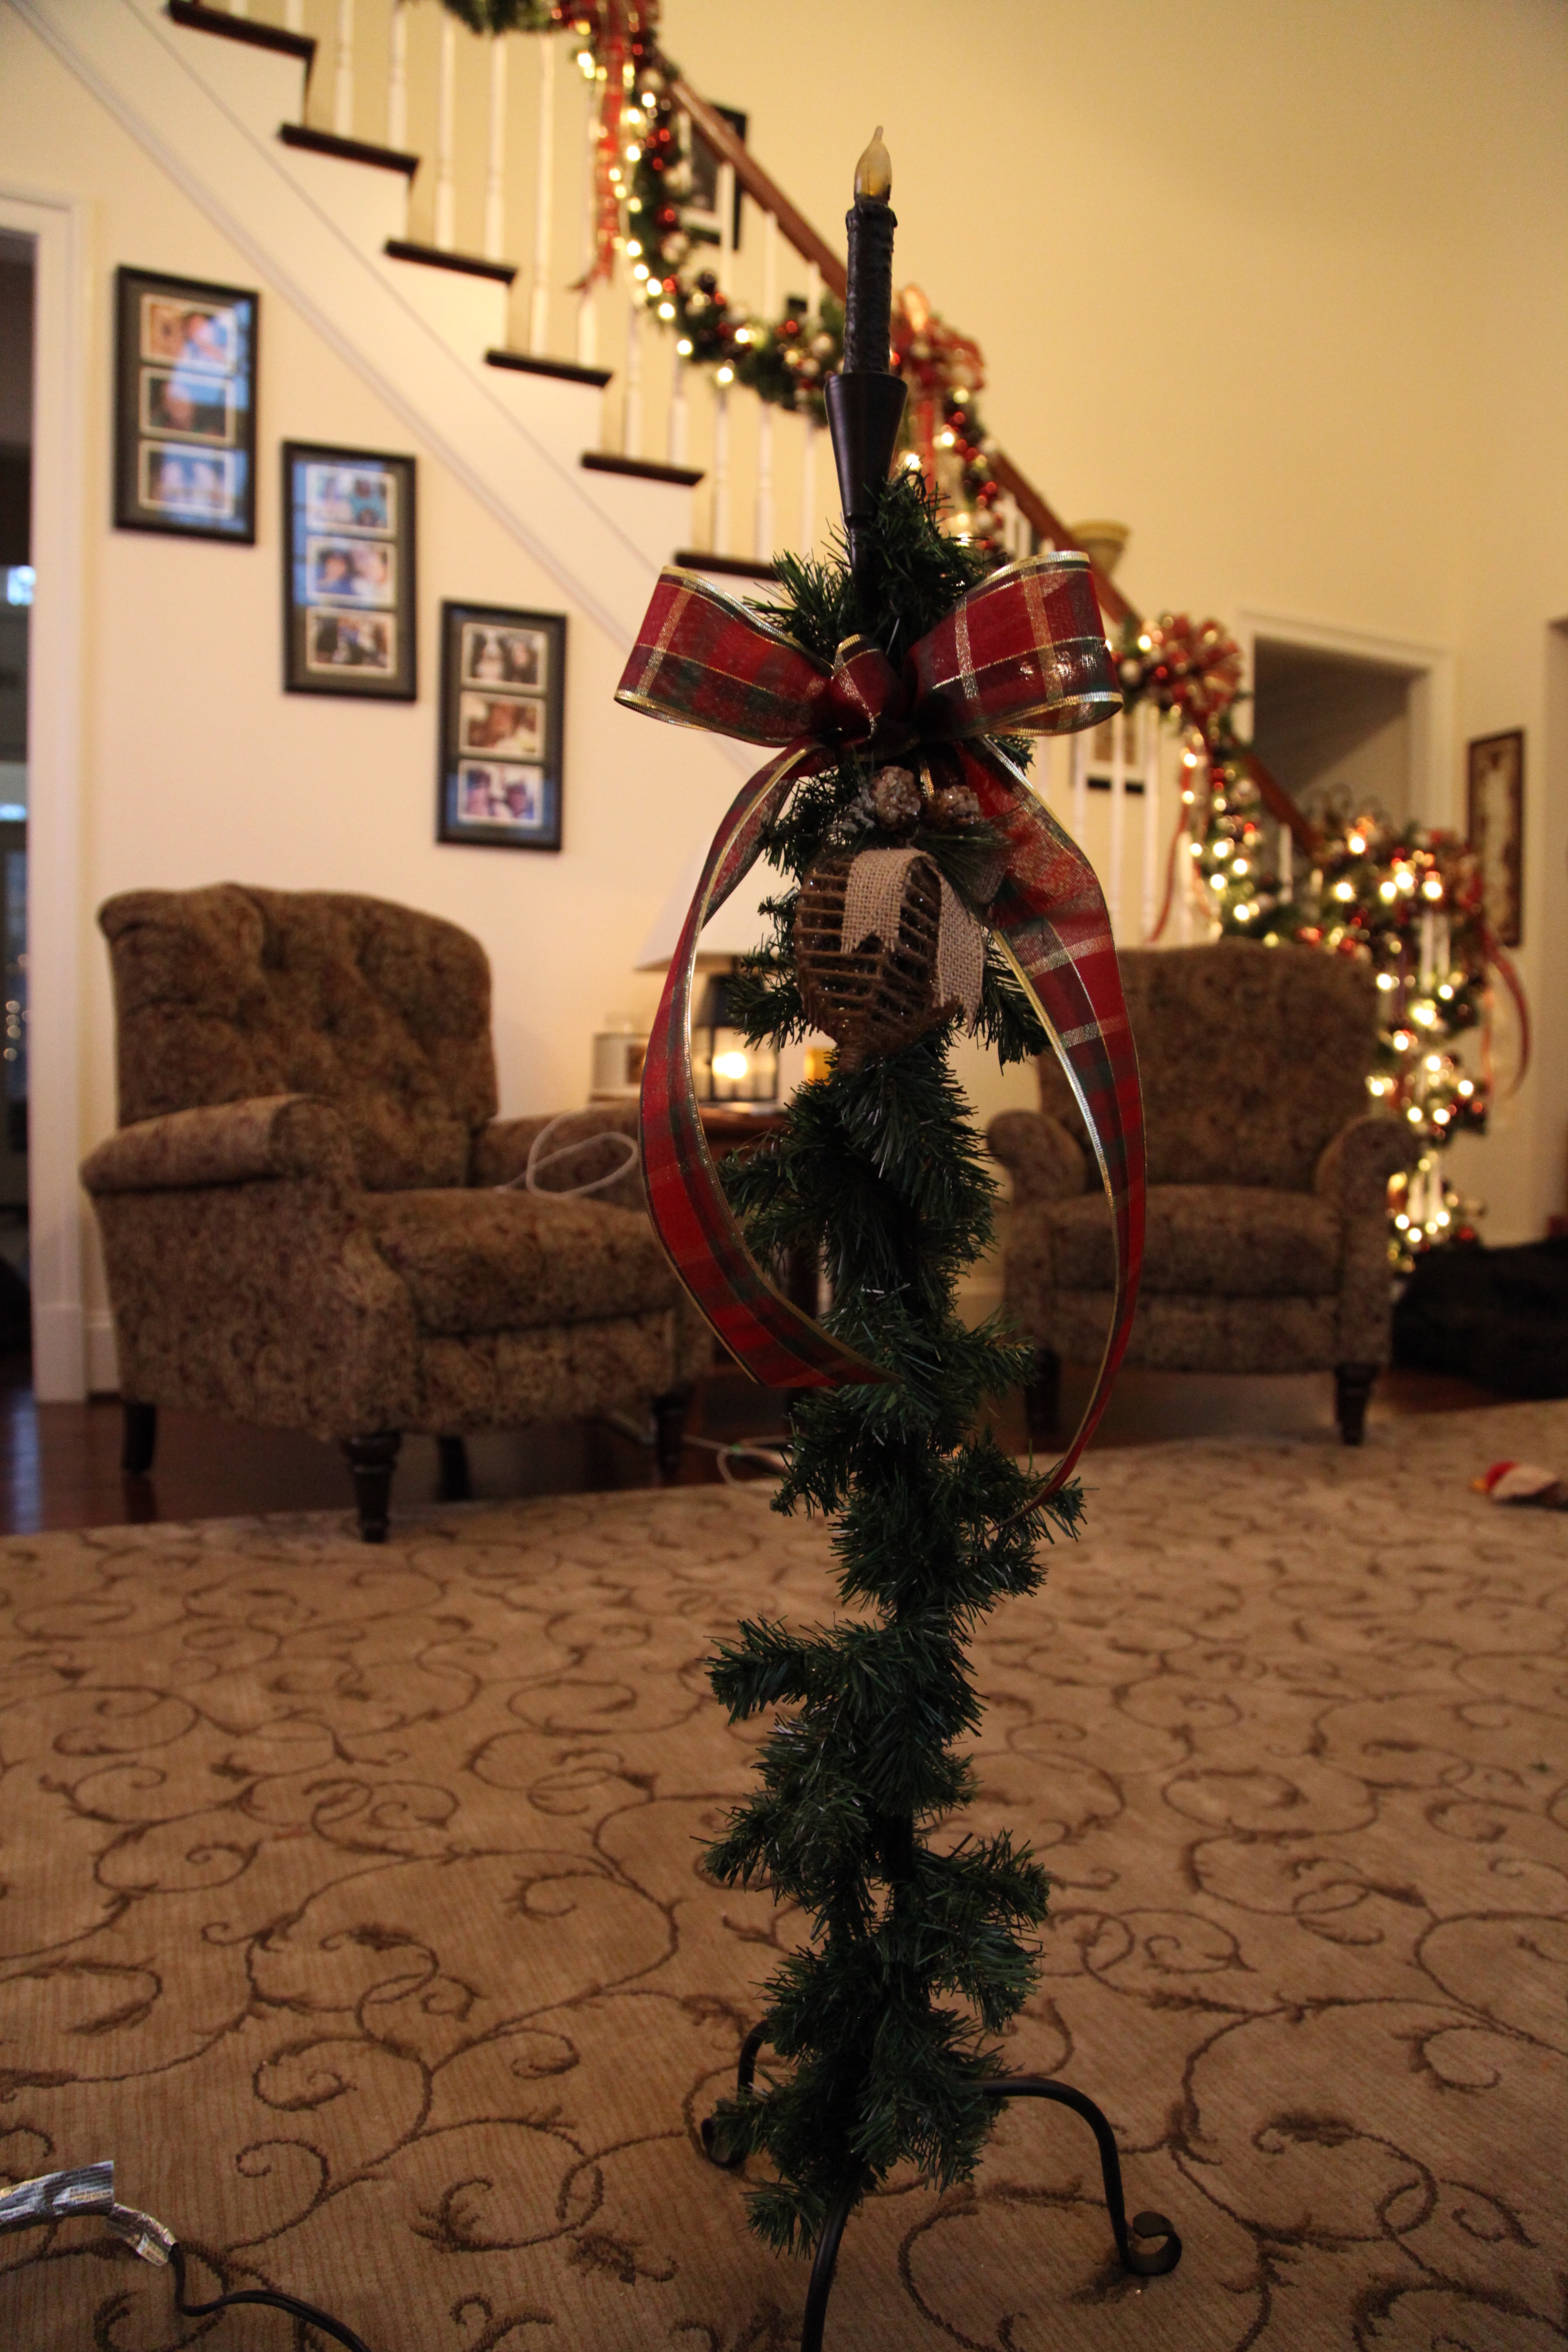
There it is to the left of the hearth…
And here is the other one, it sits to the left of the credenza and to the right of the fireplace…
.
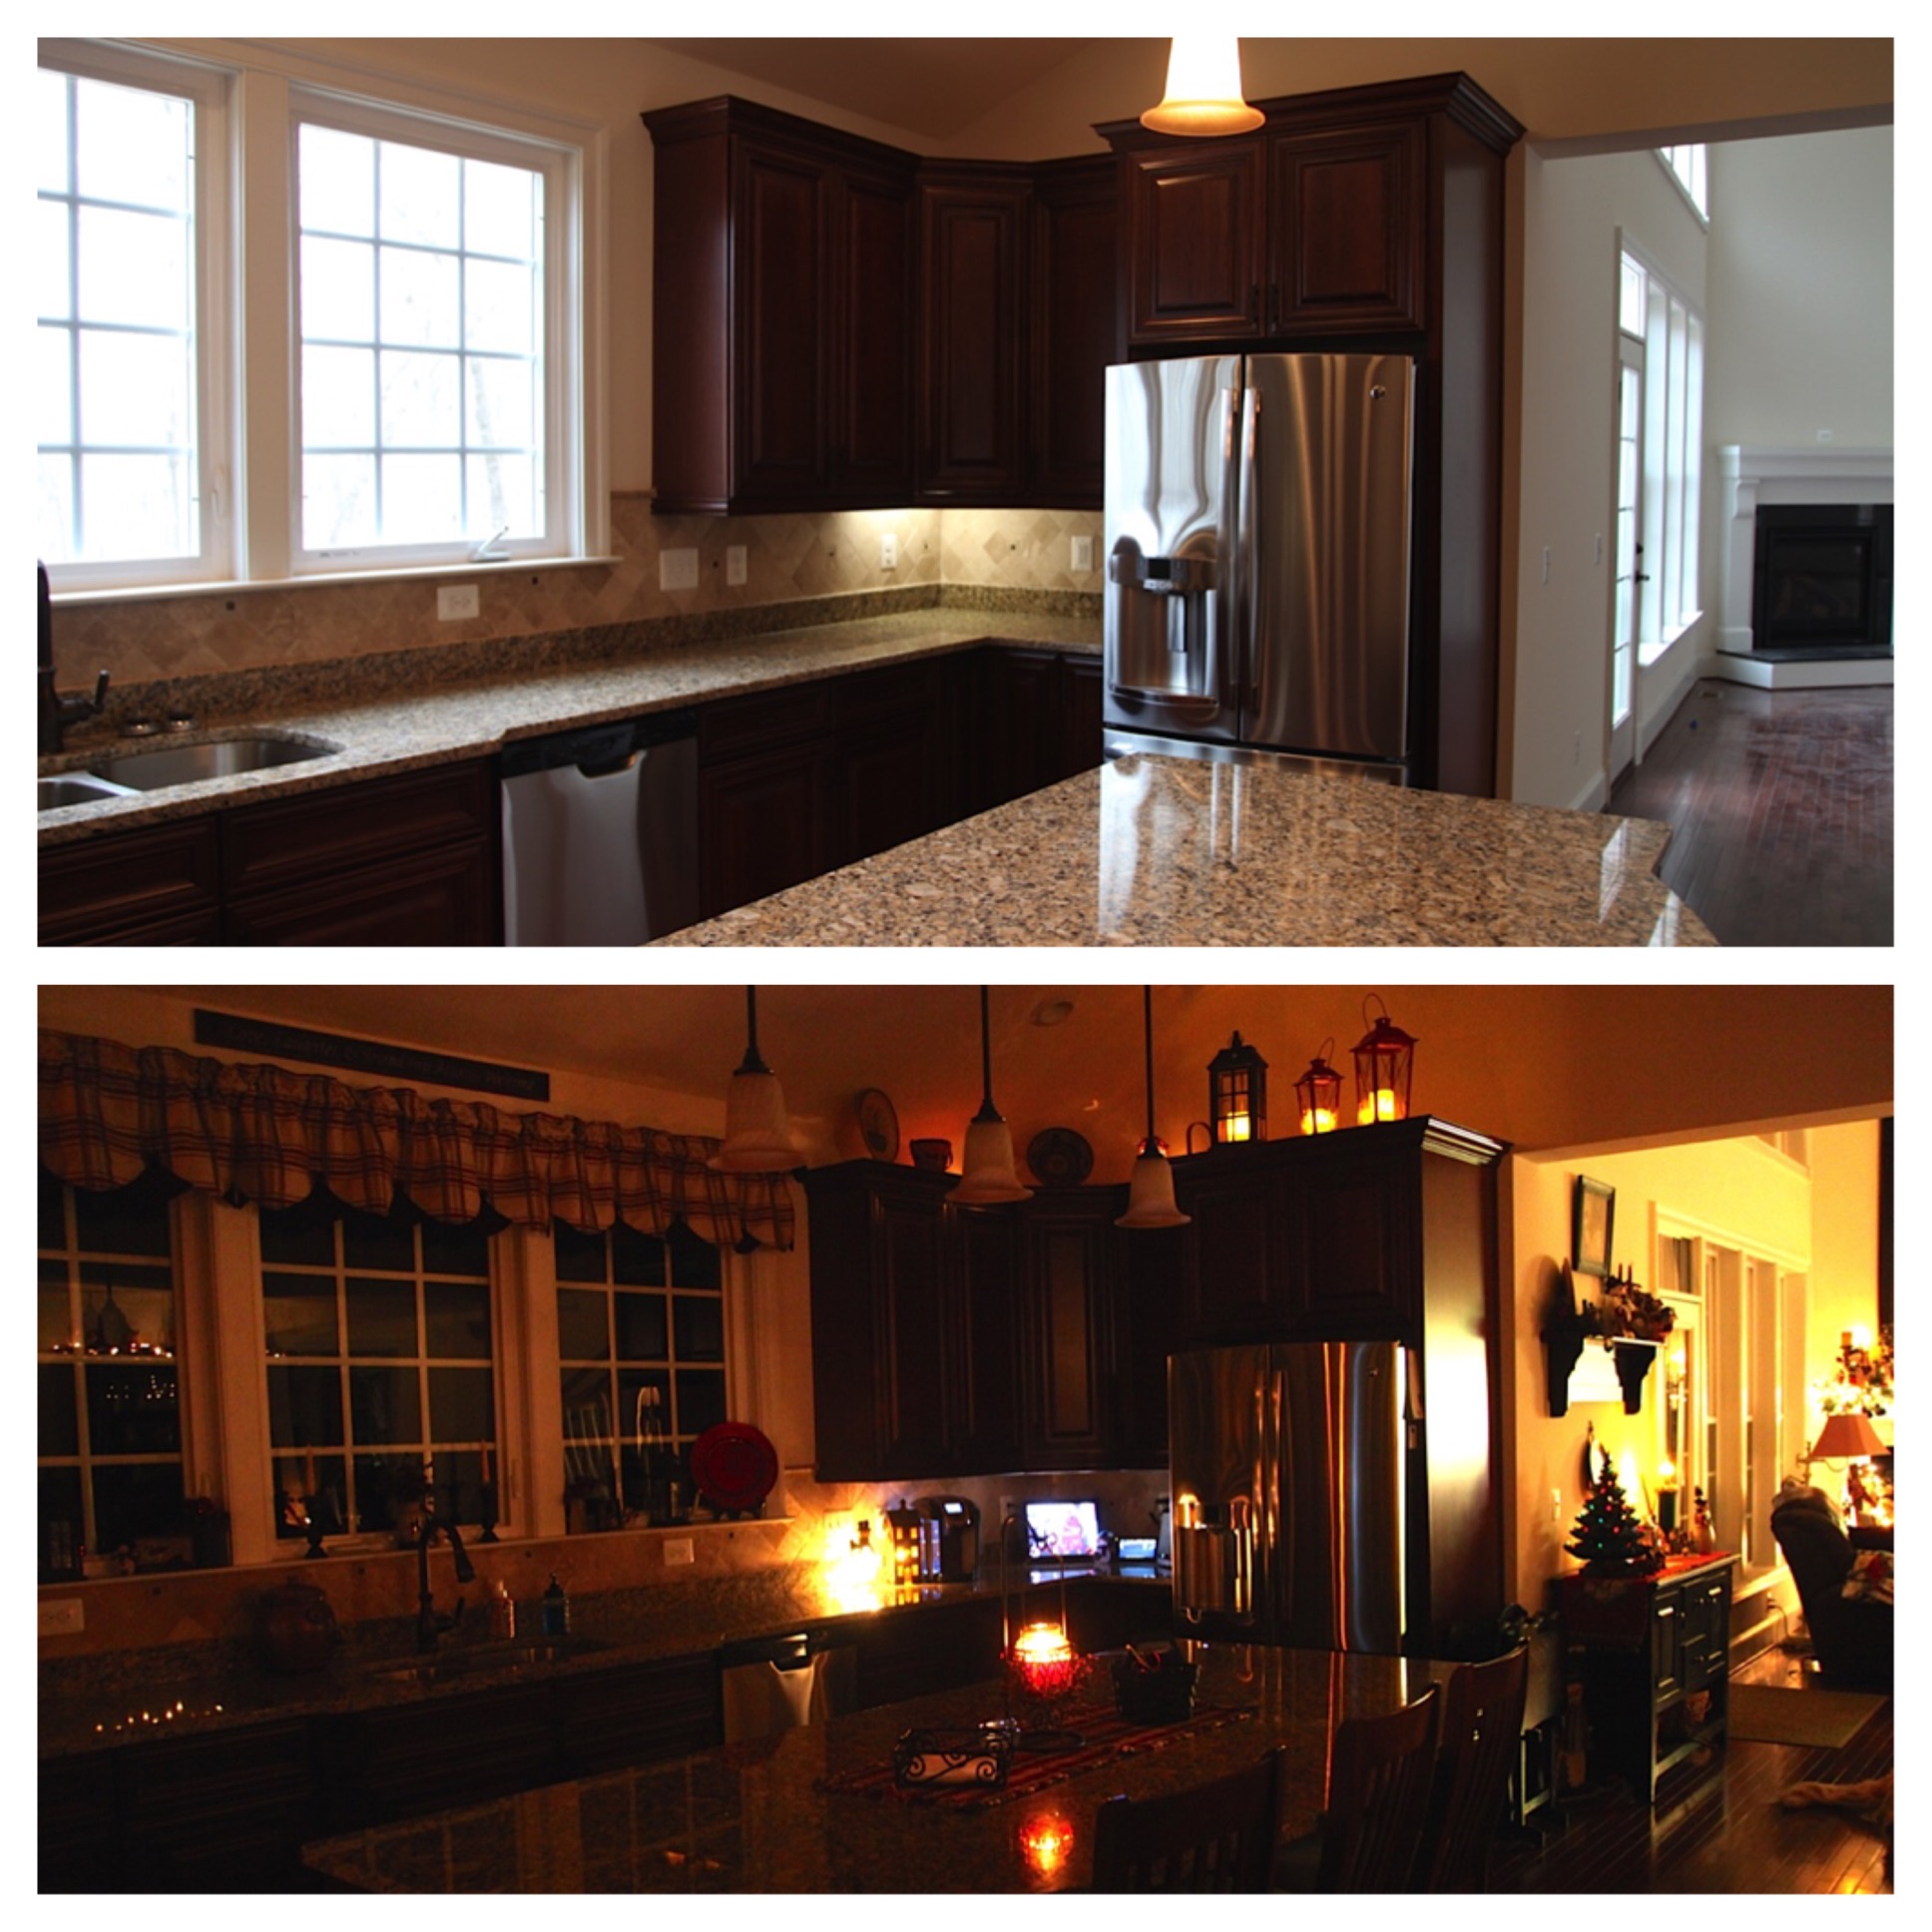
I have several more centerpieces to show you, but I will save them for another posting as this one is becoming a novel. 😉 Here is a sneak peek at my kitchen table’s lantern centerpiece that I’ll be describing (among others) in my next posting…stay tuned. 🙂

Until next time, y’all take good care! ❤
**In crafting there are no mistakes just unique creations**


