Christmas 2015: Burlap Snowman Wreath (Light Teal and Silver)

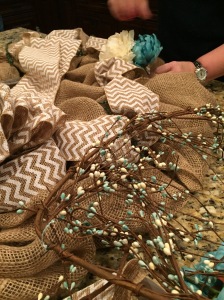
I was getting ready to start decorating the front rooms of our home for Christmas and I realized that weeks ago I had gathered everything that I needed to make this light and airy feeling snowman wreath for the inside of my front door; I needed to get it made and put up before I started on the other decor.

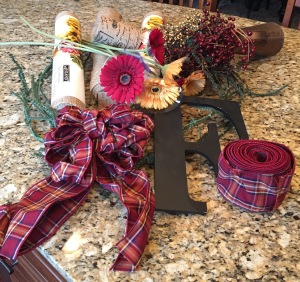
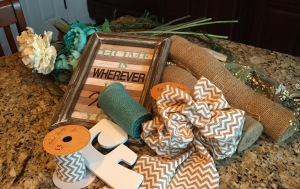
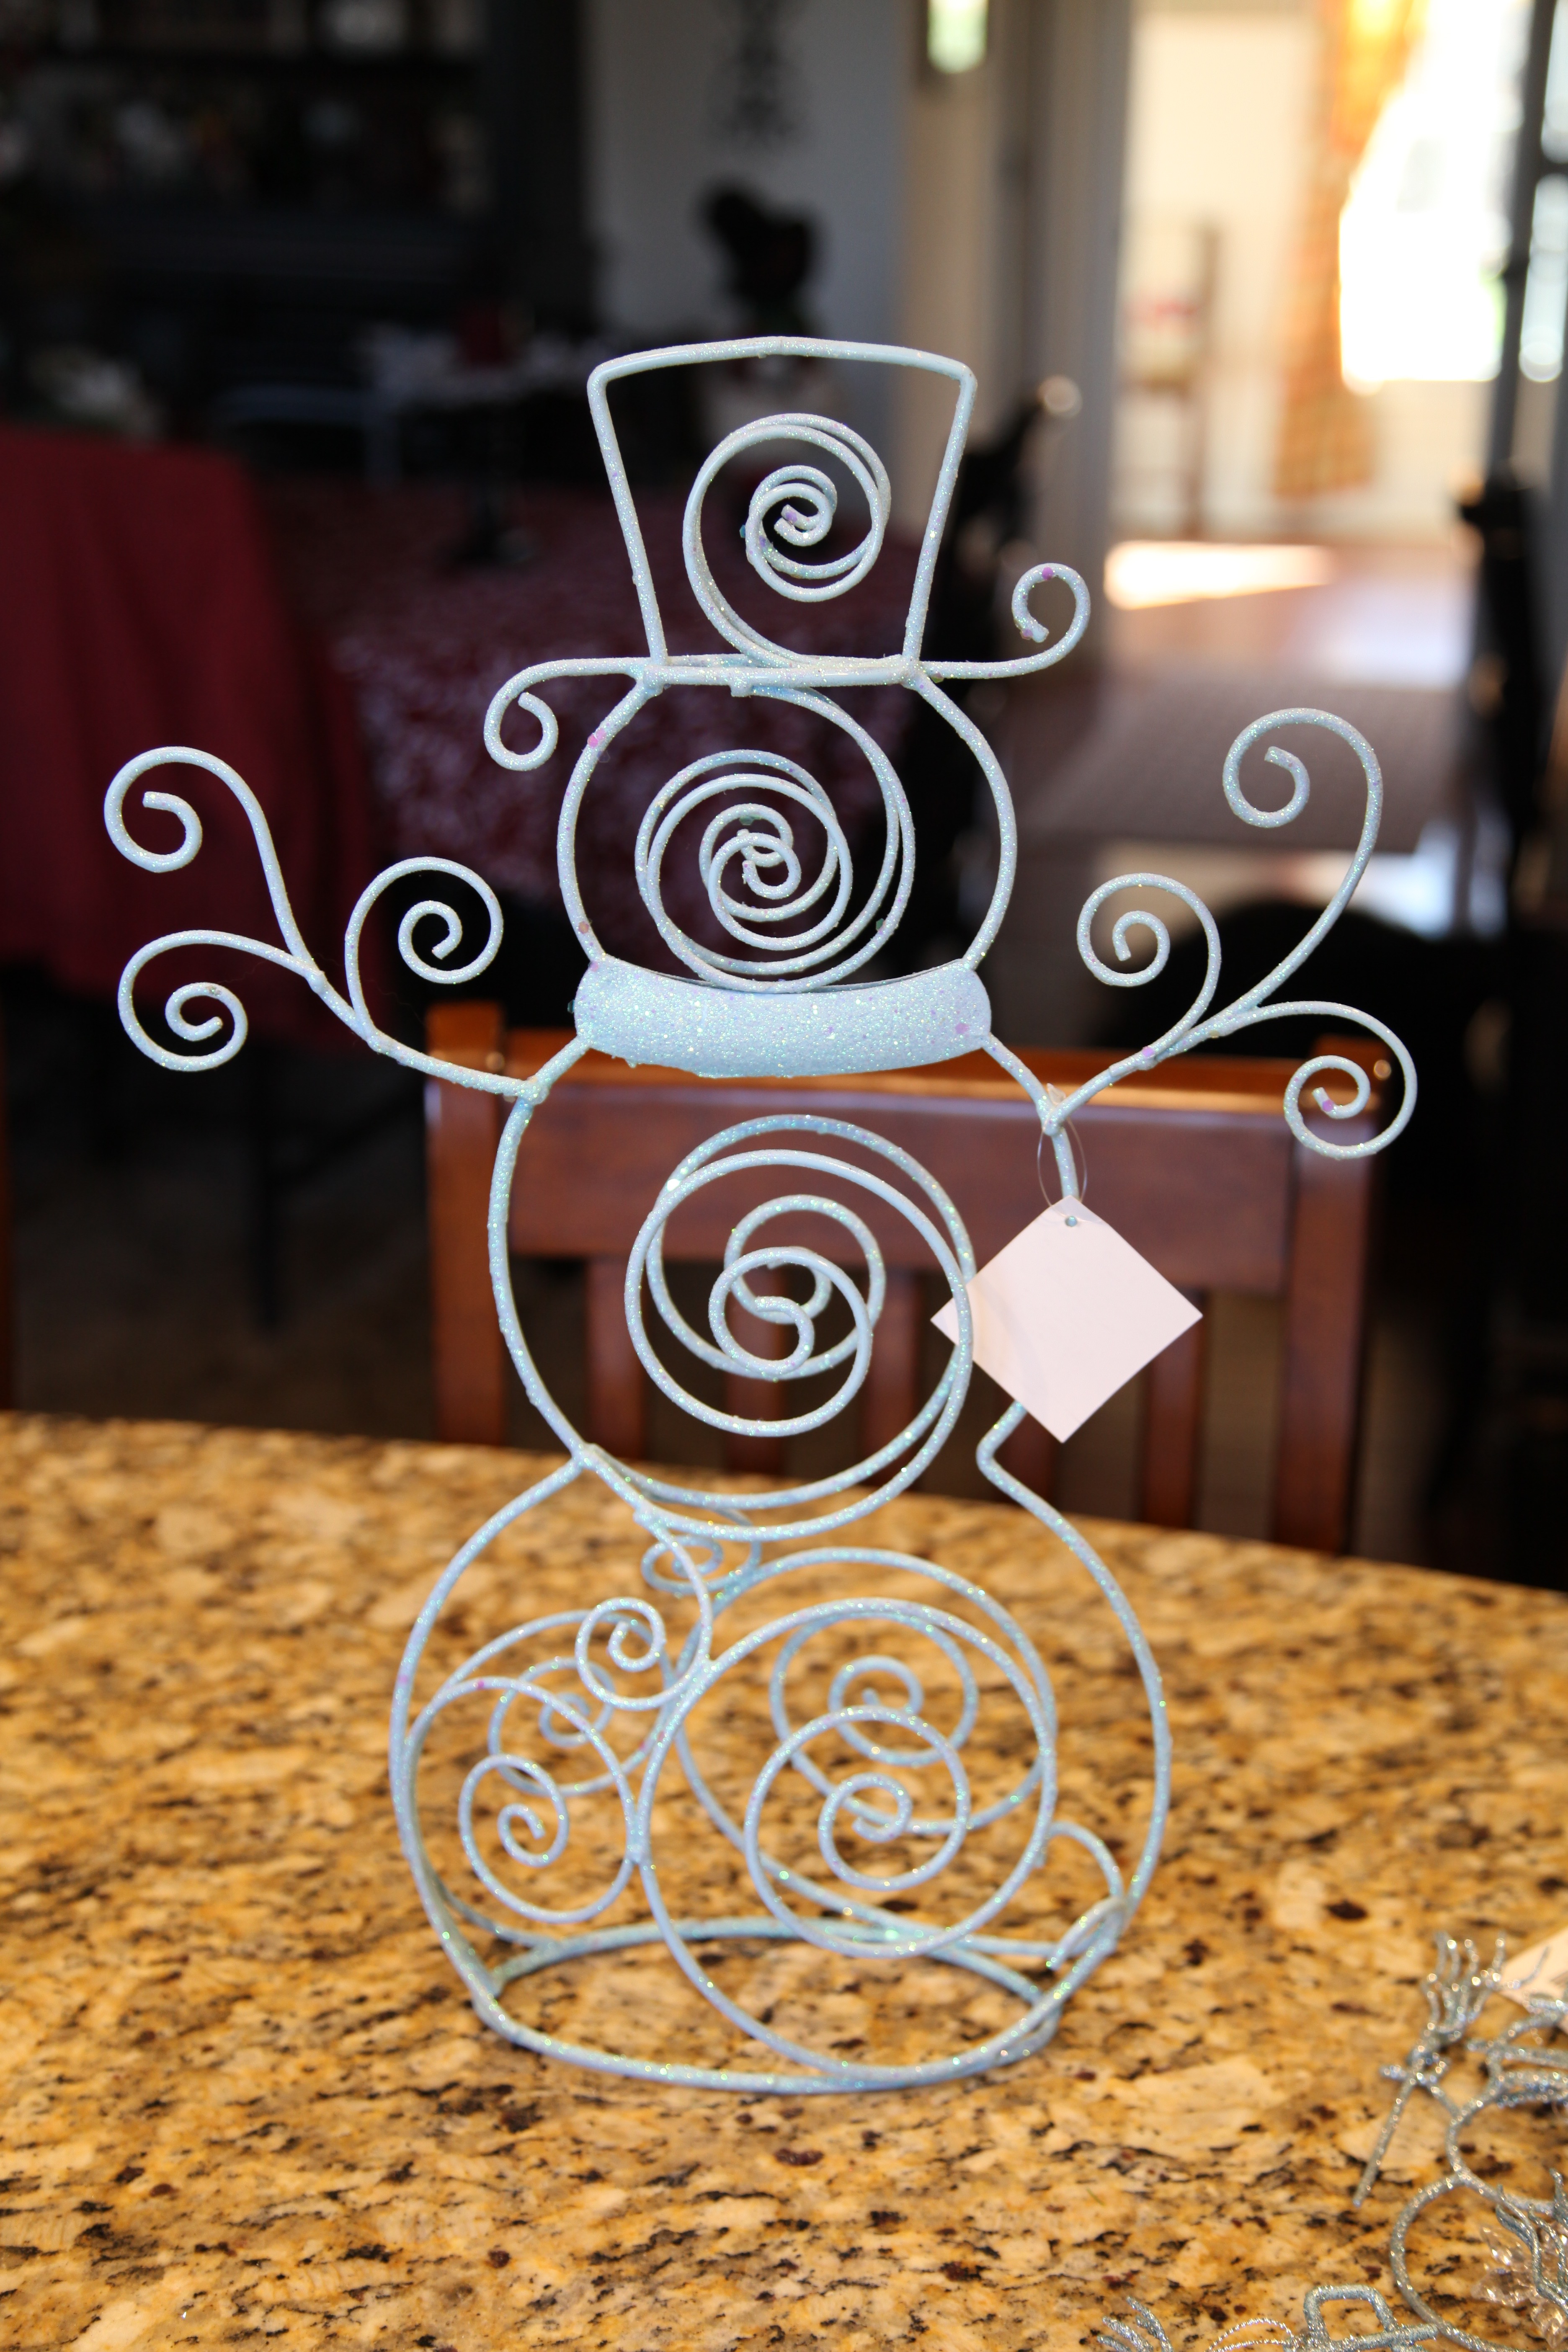
I found that metal snowman in Hobby Lobby several weeks ago and he was just the color that I use all year round and will be using again to accent my Christmas decor in those front rooms.

IMG_2578

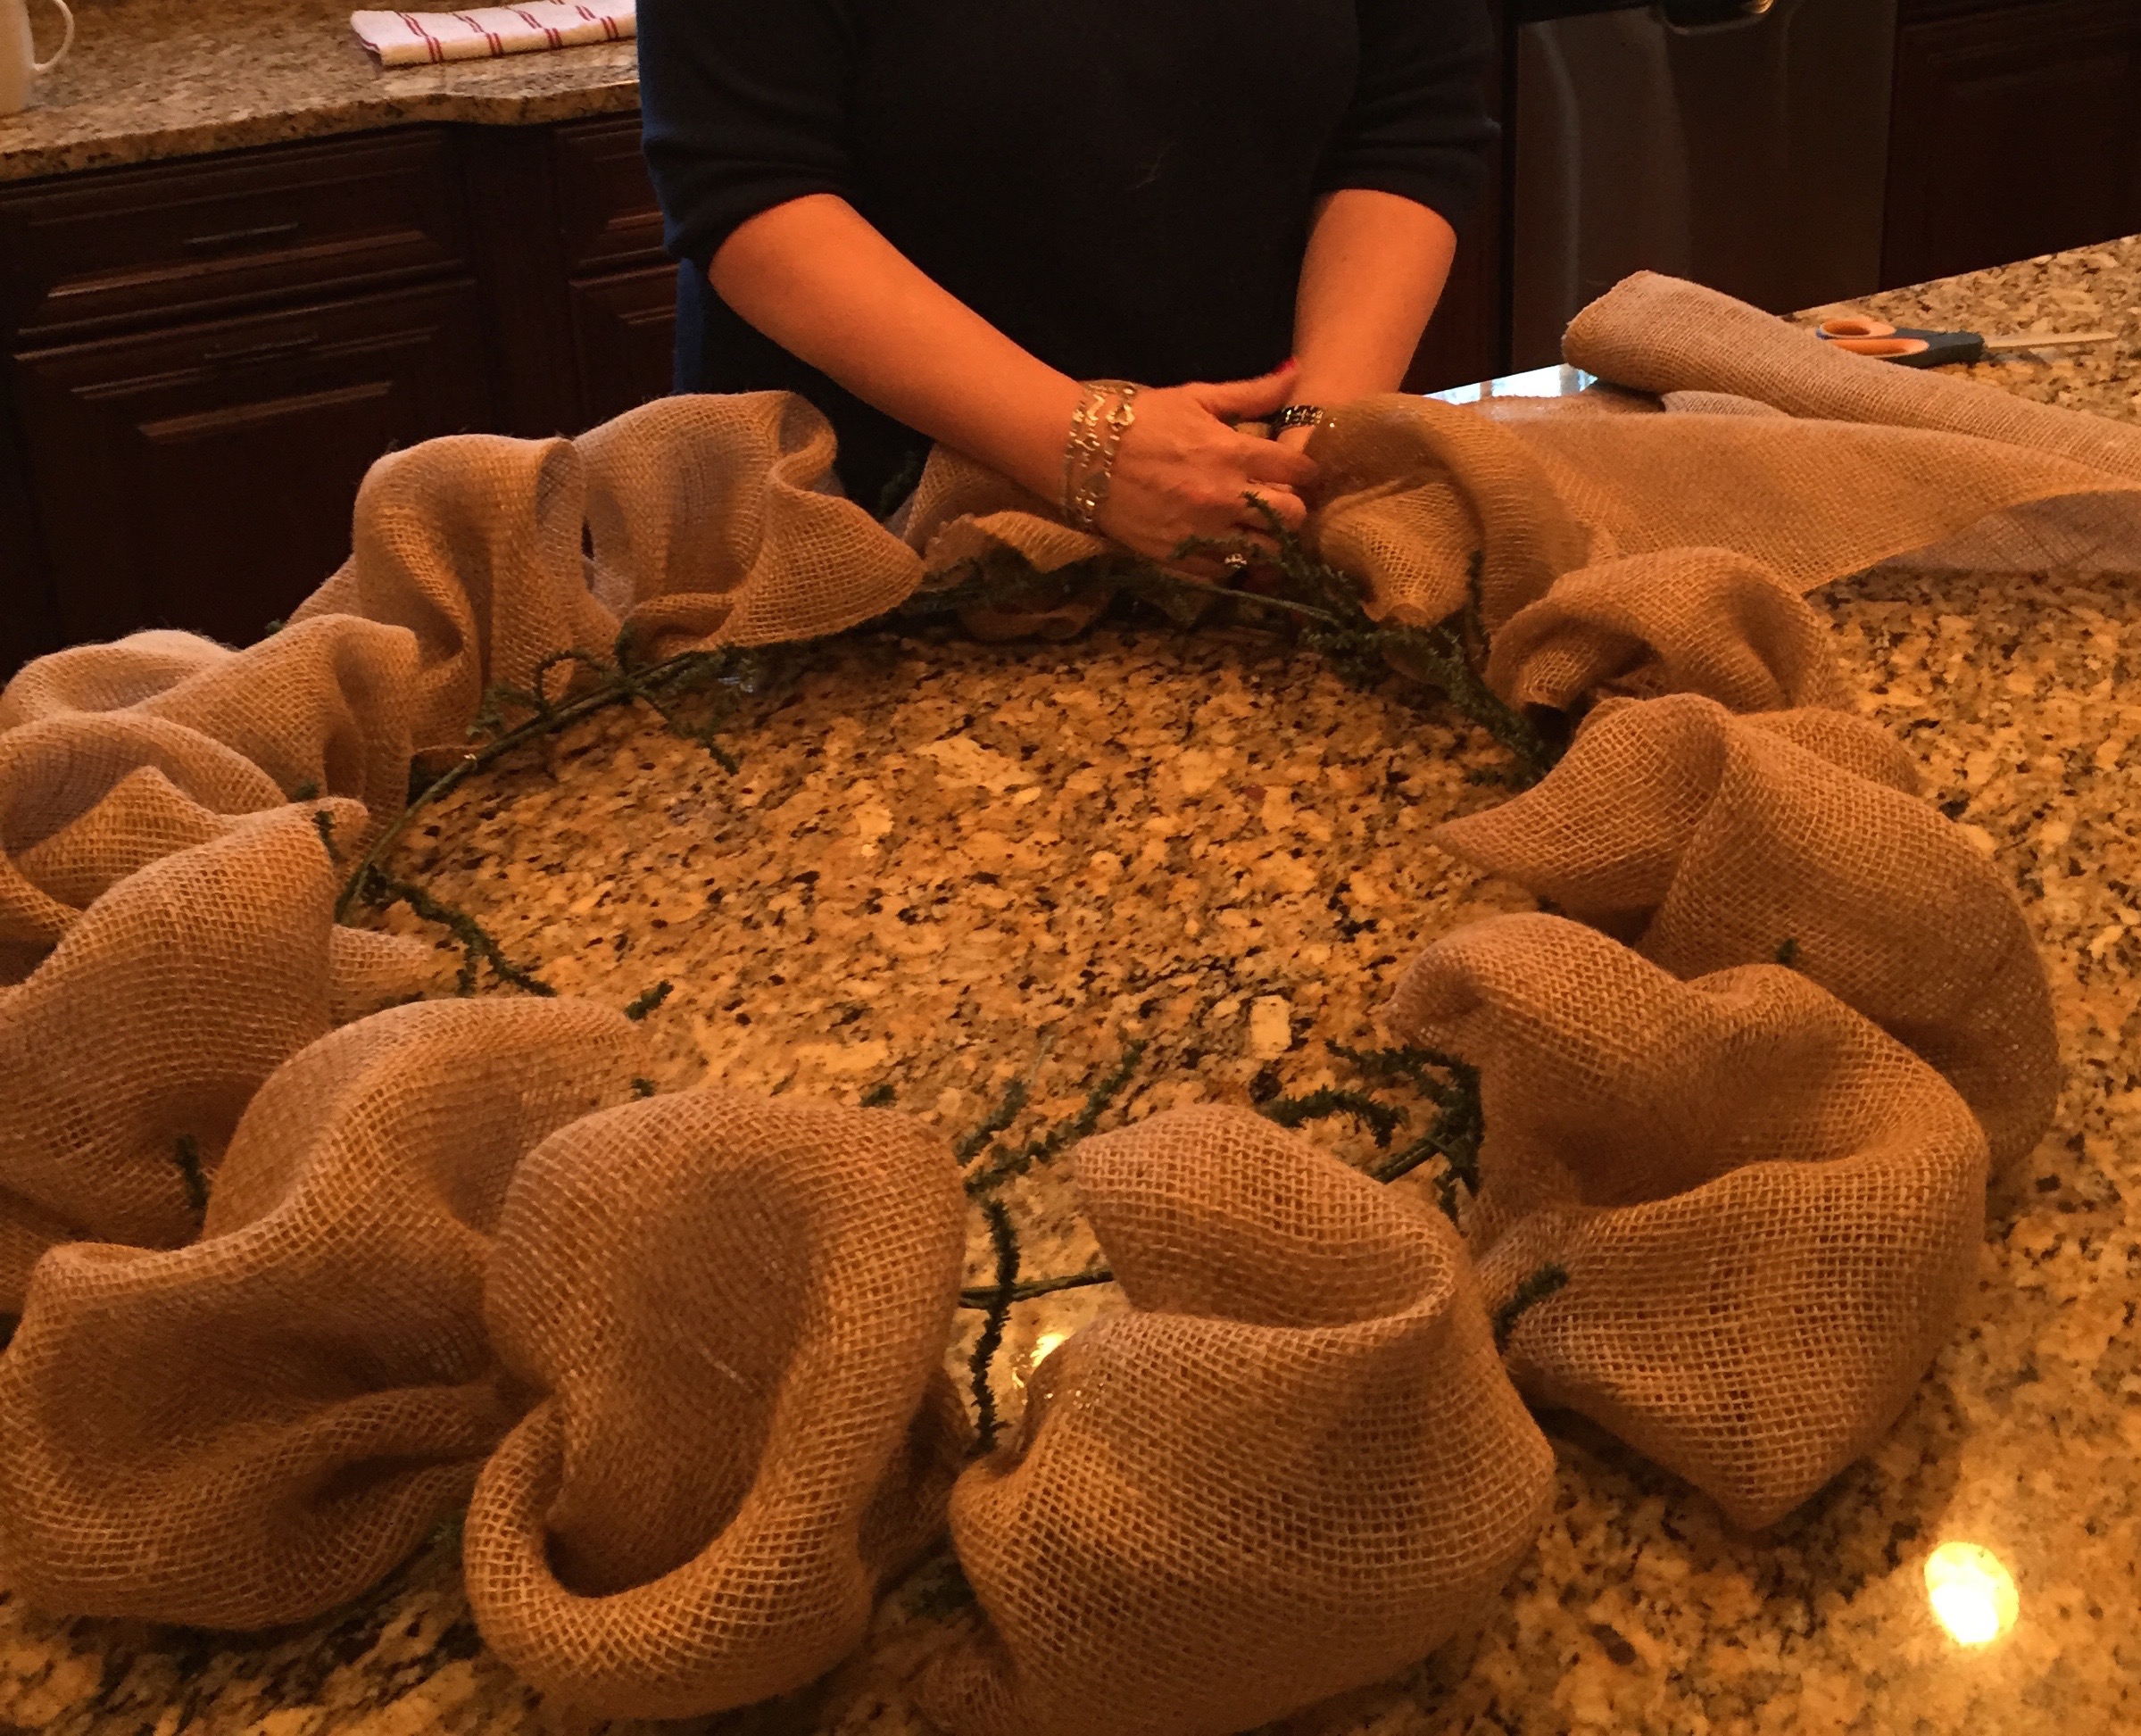
This is a very large wreath, I created it using a 24″ work wreath, and in its finished state it measures every bit of 30+ inches from one side to the other.

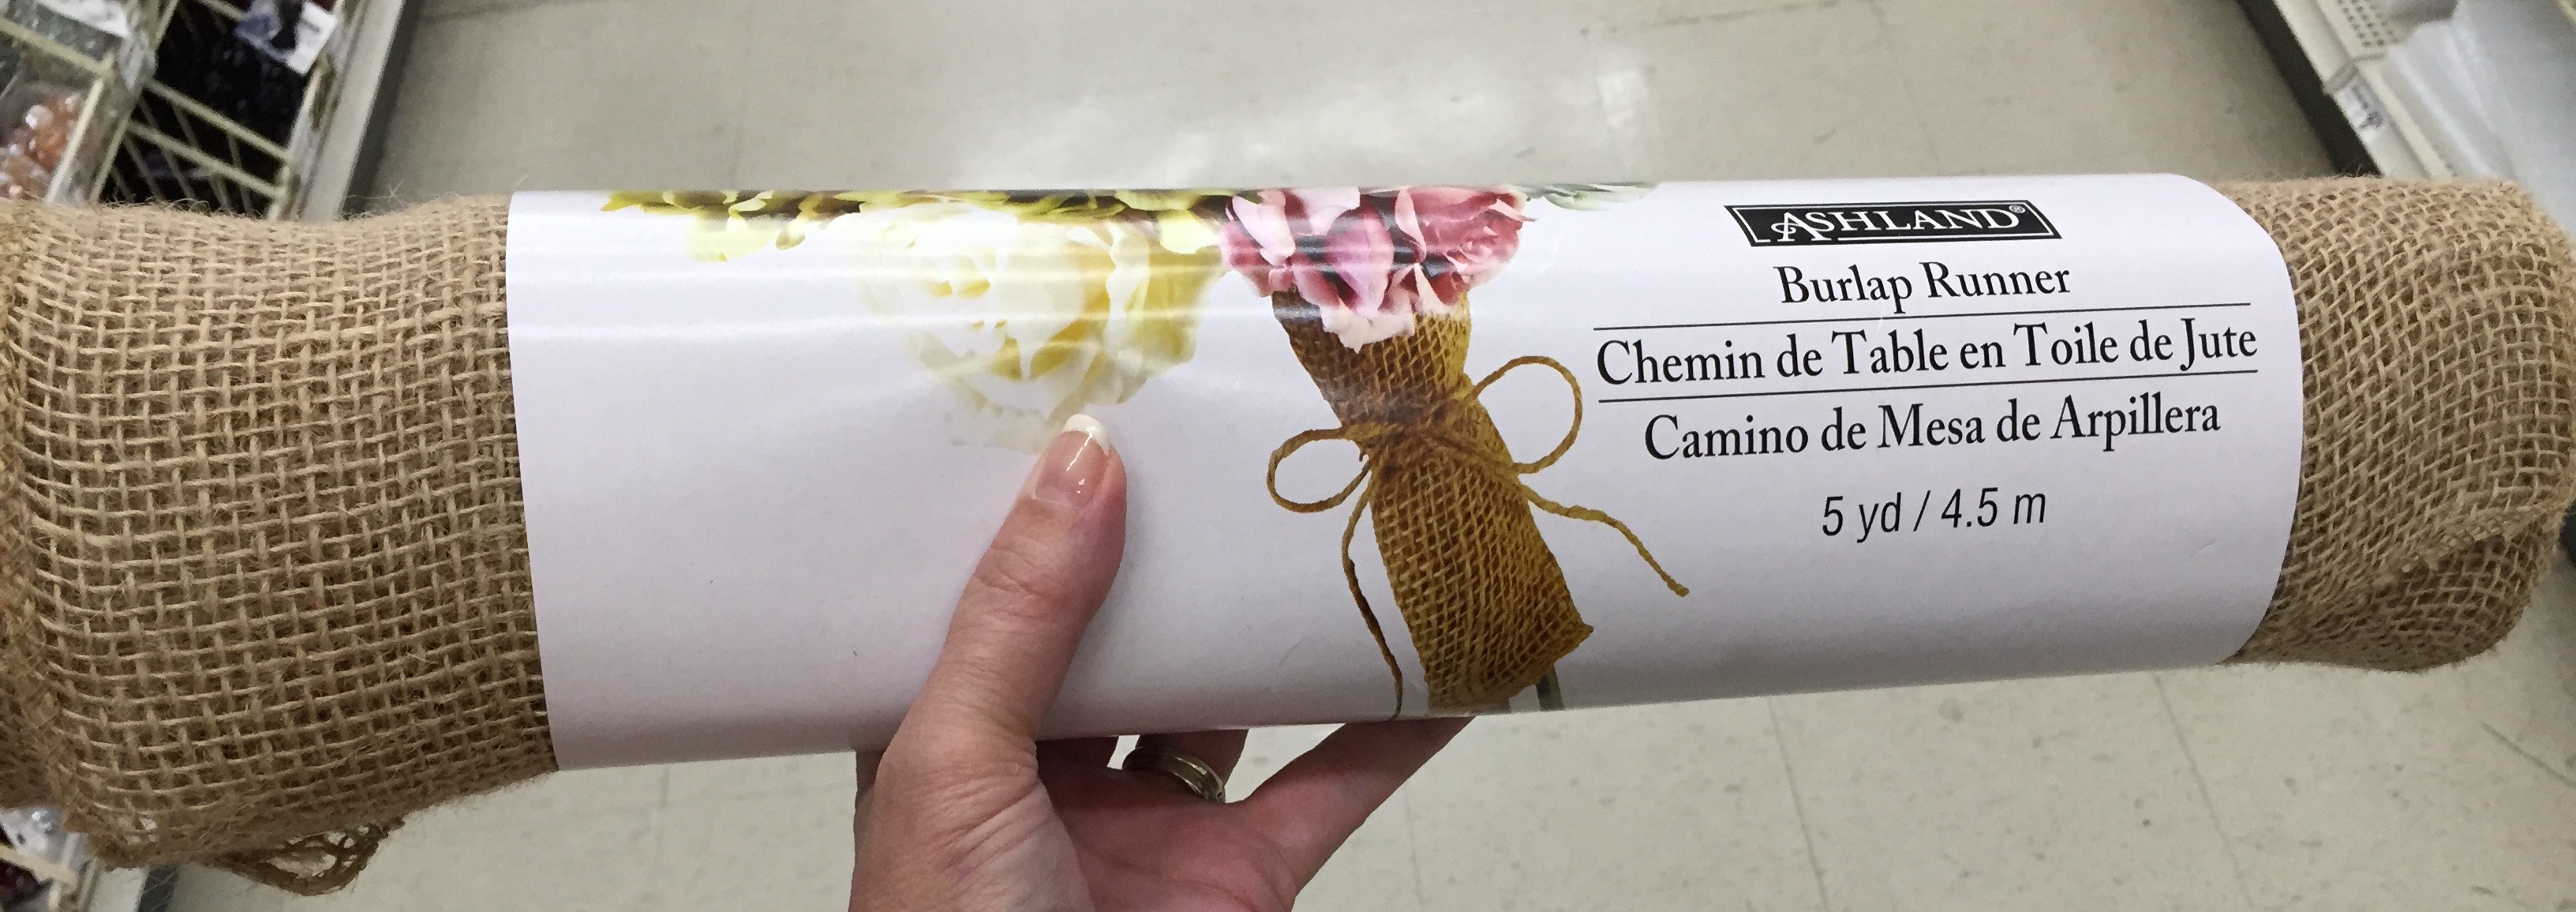
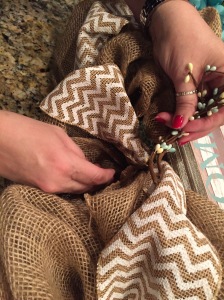
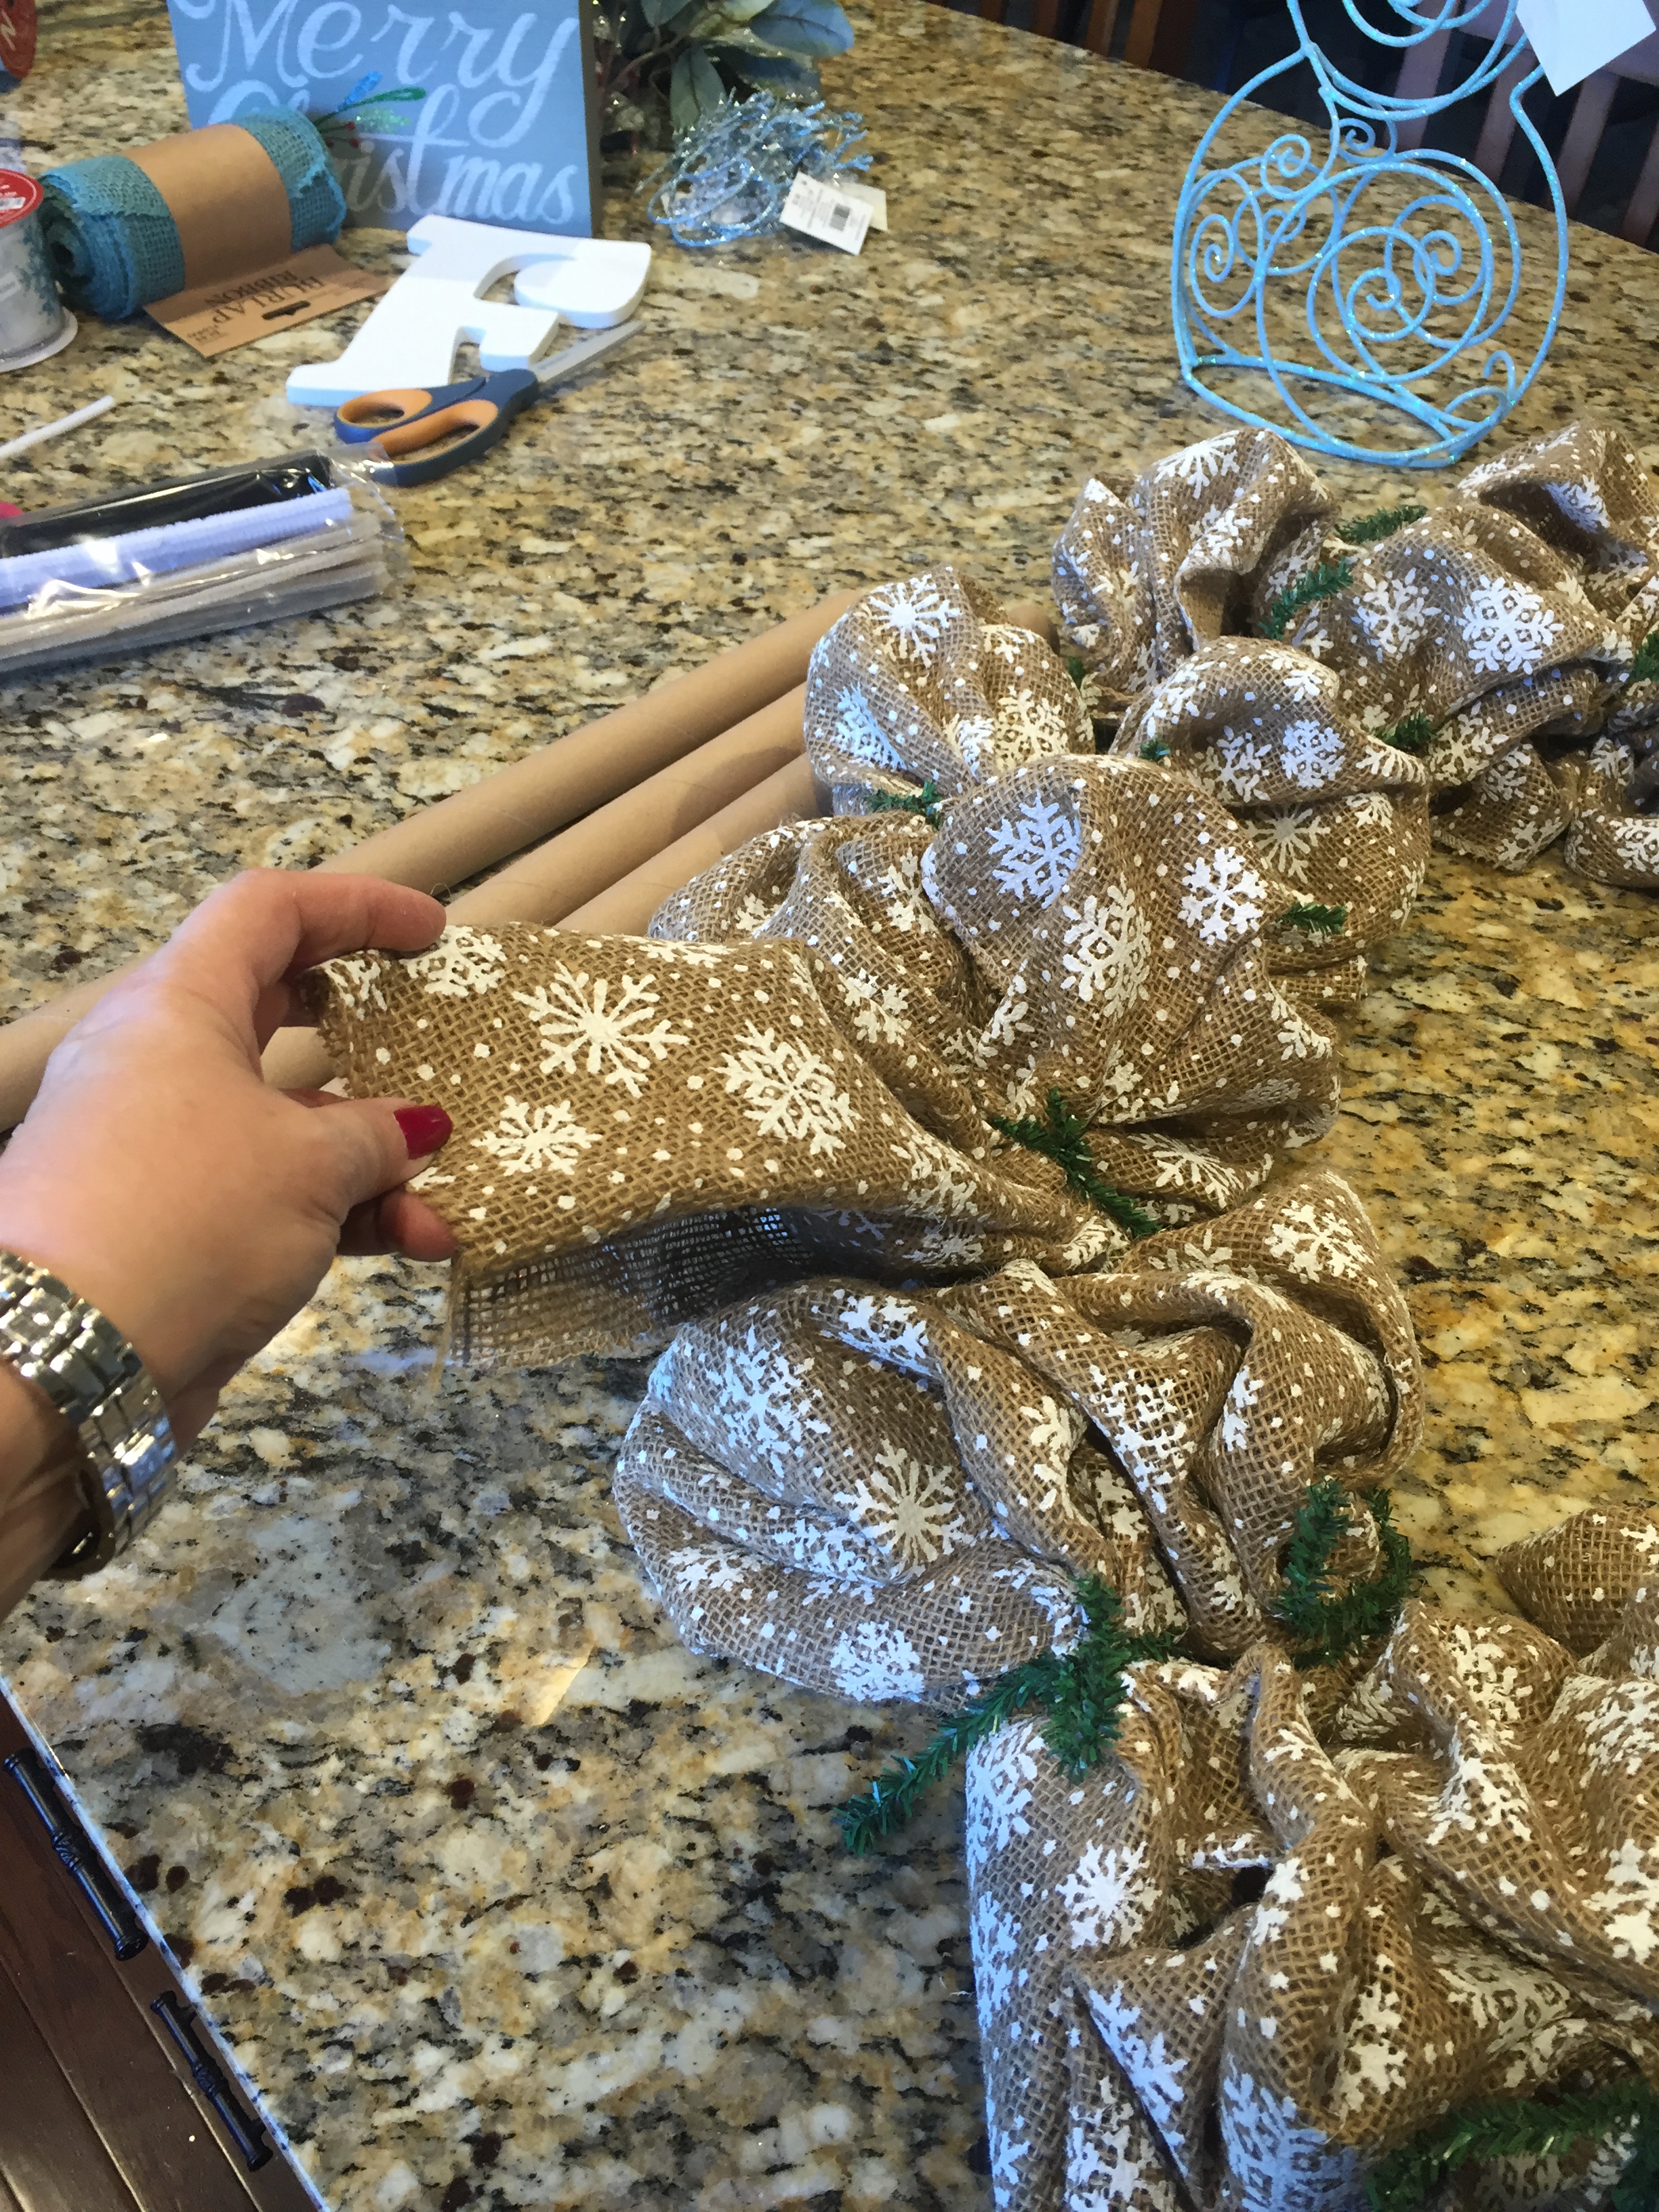
I used 3, 9′ burlap rolls that I found in Walmart, it is your normal burlap color with stamped white snowflakes added.  I will say that it was quite stiff and not all that easy to manipulate and my hands were pretty crampy when I was finished muscling it around the outer and inner rings of the work wreath.  I use a looping style when I make burlap wreaths; I move from one twist tie to the other making large loops (probably 8-10″ worth of burlap) in between.

IMG_2583

IMG_9513

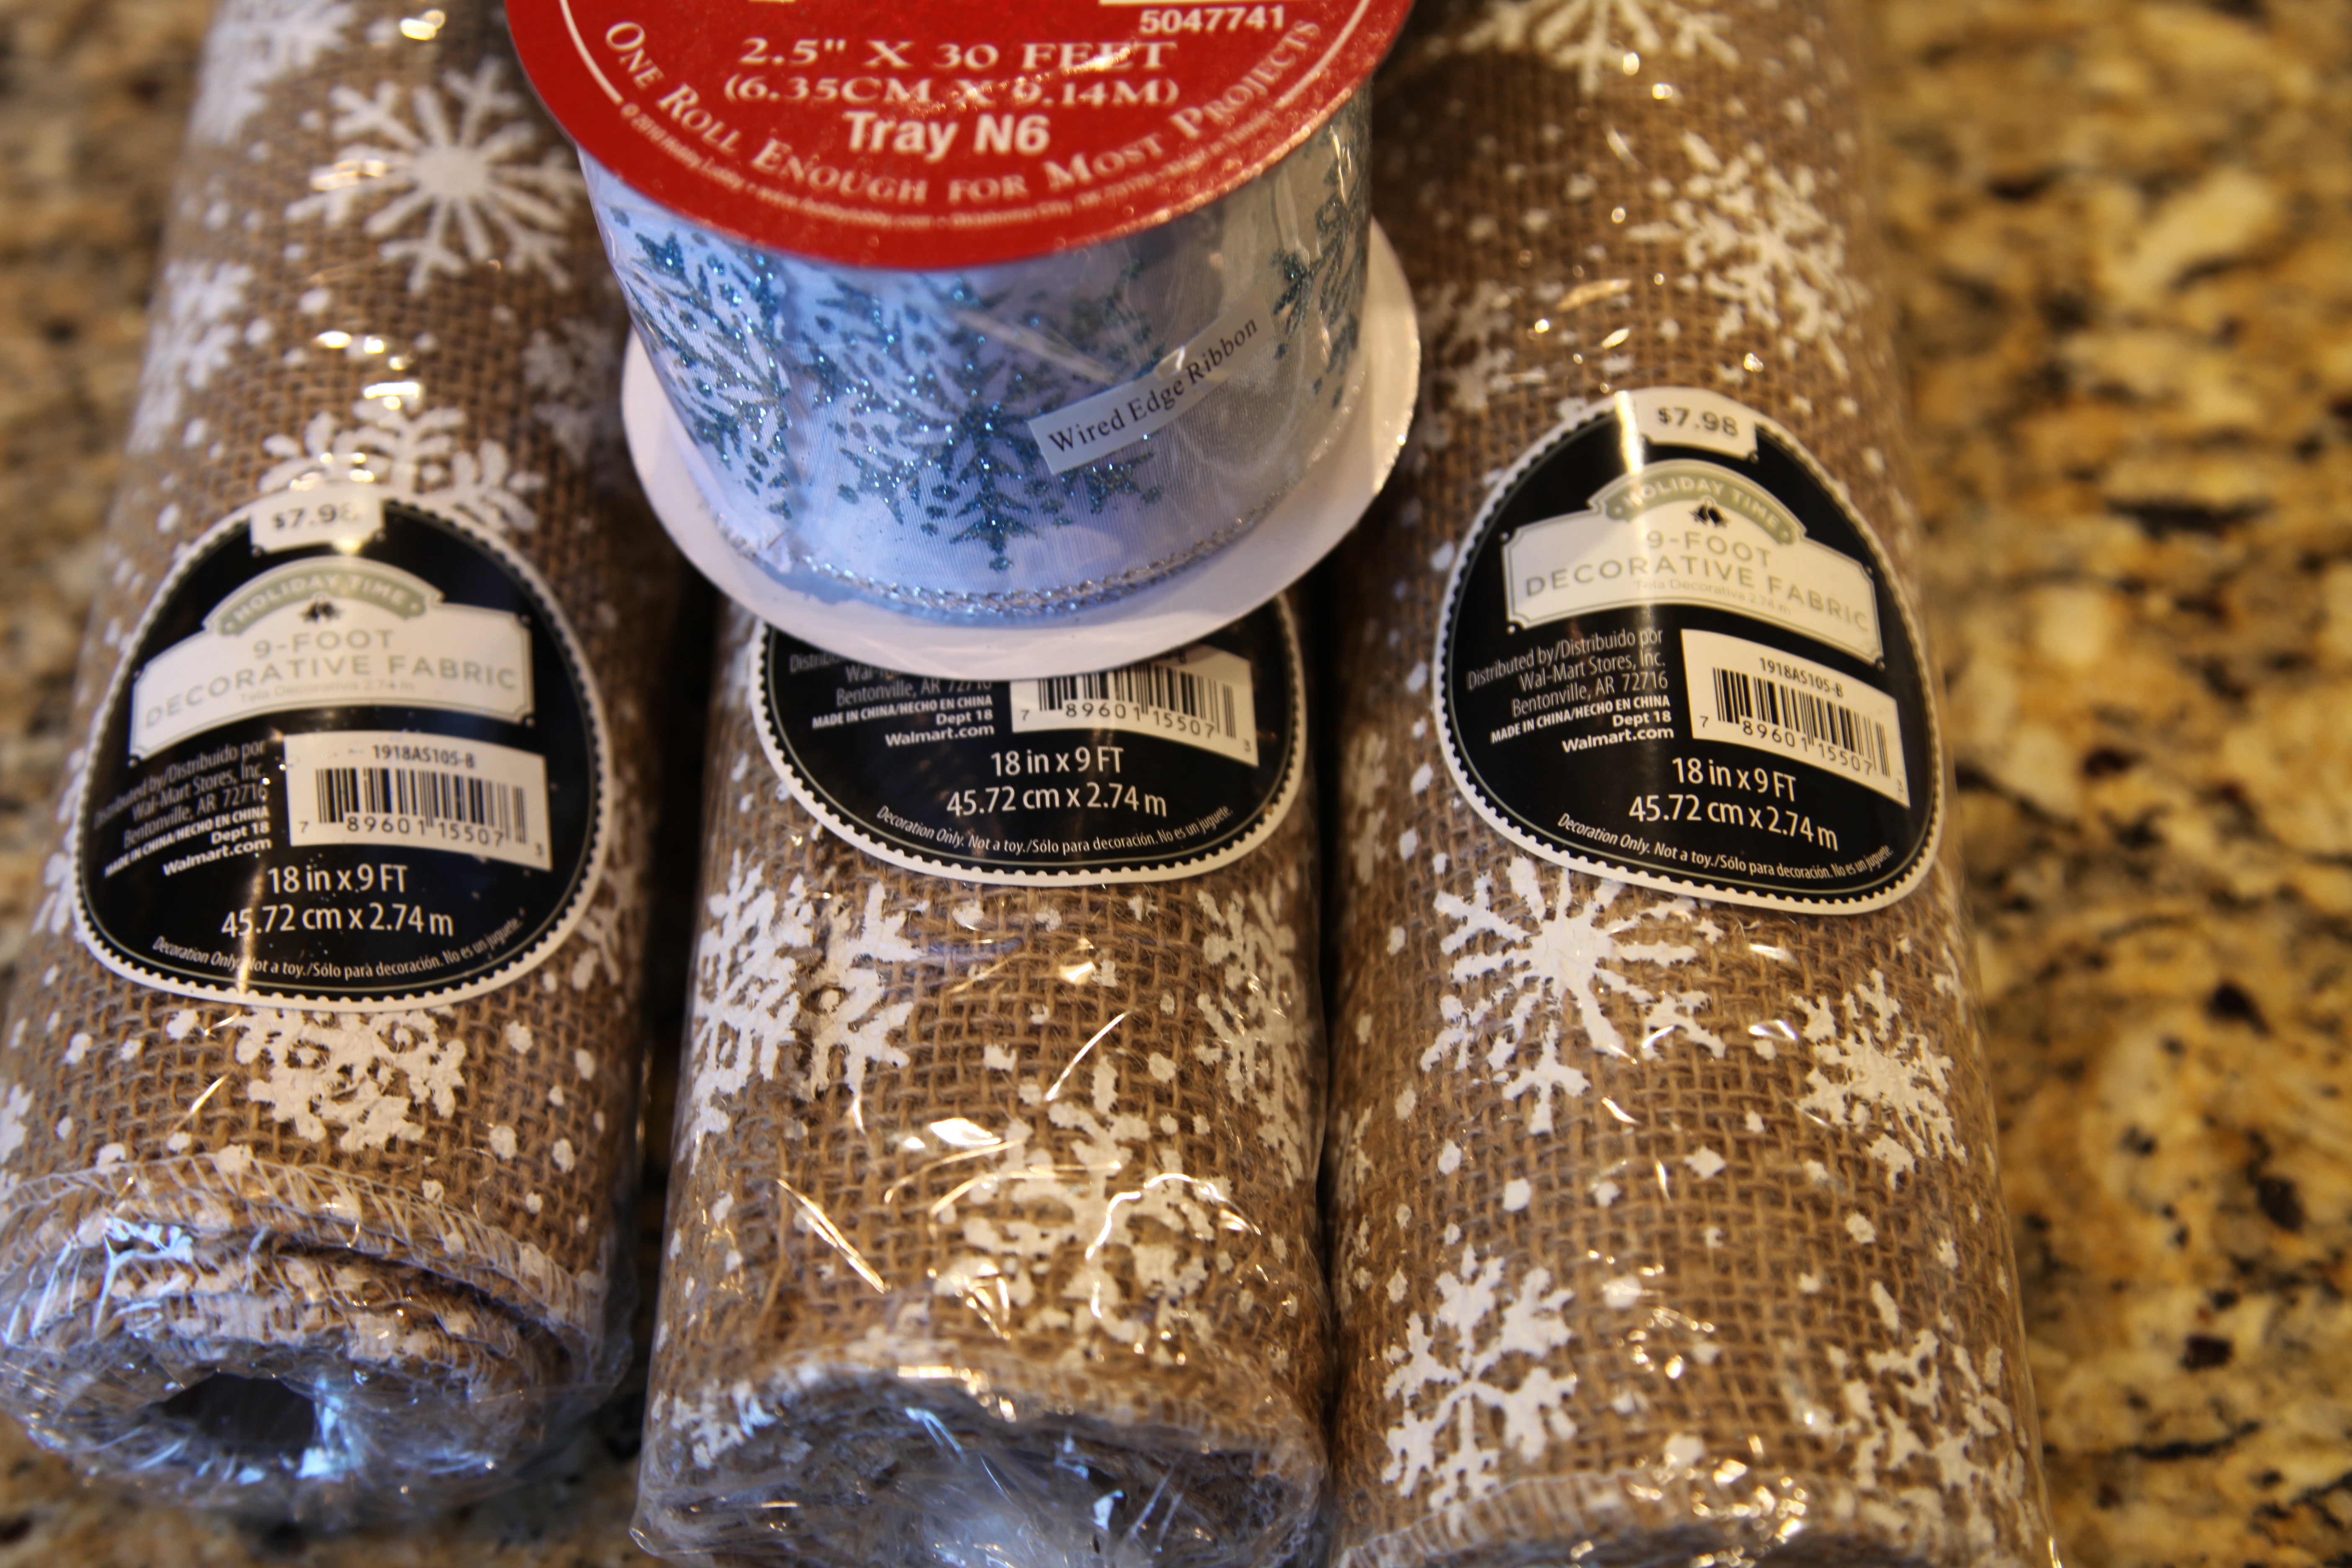
As you can see here in this picture, the snowflakes are only stamped on one side of the burlap, so I had to be really careful not to get the burlap twisted upside-down during the attaching process, that was a bit of a challenge.

IMG_9512

Thank goodness I had the presence of mind to purchase 3 skeins of the burlap because I used every single bit of it except for this much:

IMG_9514

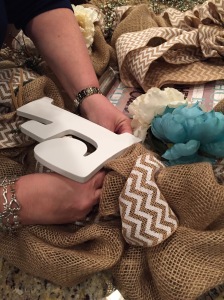
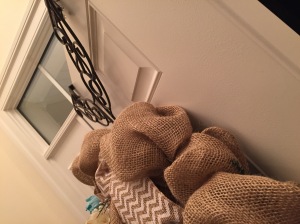
After the burlap was attached, I took a roll of 5″ burlap in that green color and started attaching it to all of the twist ties on the outer ring of the wreath form.  I made loops just about as large as I had the burlap loops.  IMG_2582

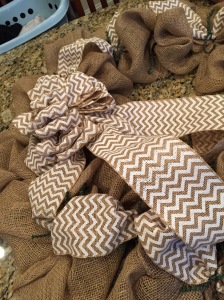
Next, I made a big bow out of wired coordinating ribbon and left myself two long tails, I attached the bow and then looped one of the tails up and over the top of the wreath catching it in a couple of the outer twist ties and then cutting an upside-down  “v” at the end, and I looped the other tail down below the bow and looped and caught it in a couple of the outer twist ties and cutting the end into that upside-down “v”.

IMG_2587 (1)

Next, I attached the metal snowman using the twist ties on the wreath and then I took the white wired ribbon and continued looping it around the snowman and on top of the green burlap ribbon.

IMG_2587 (3)

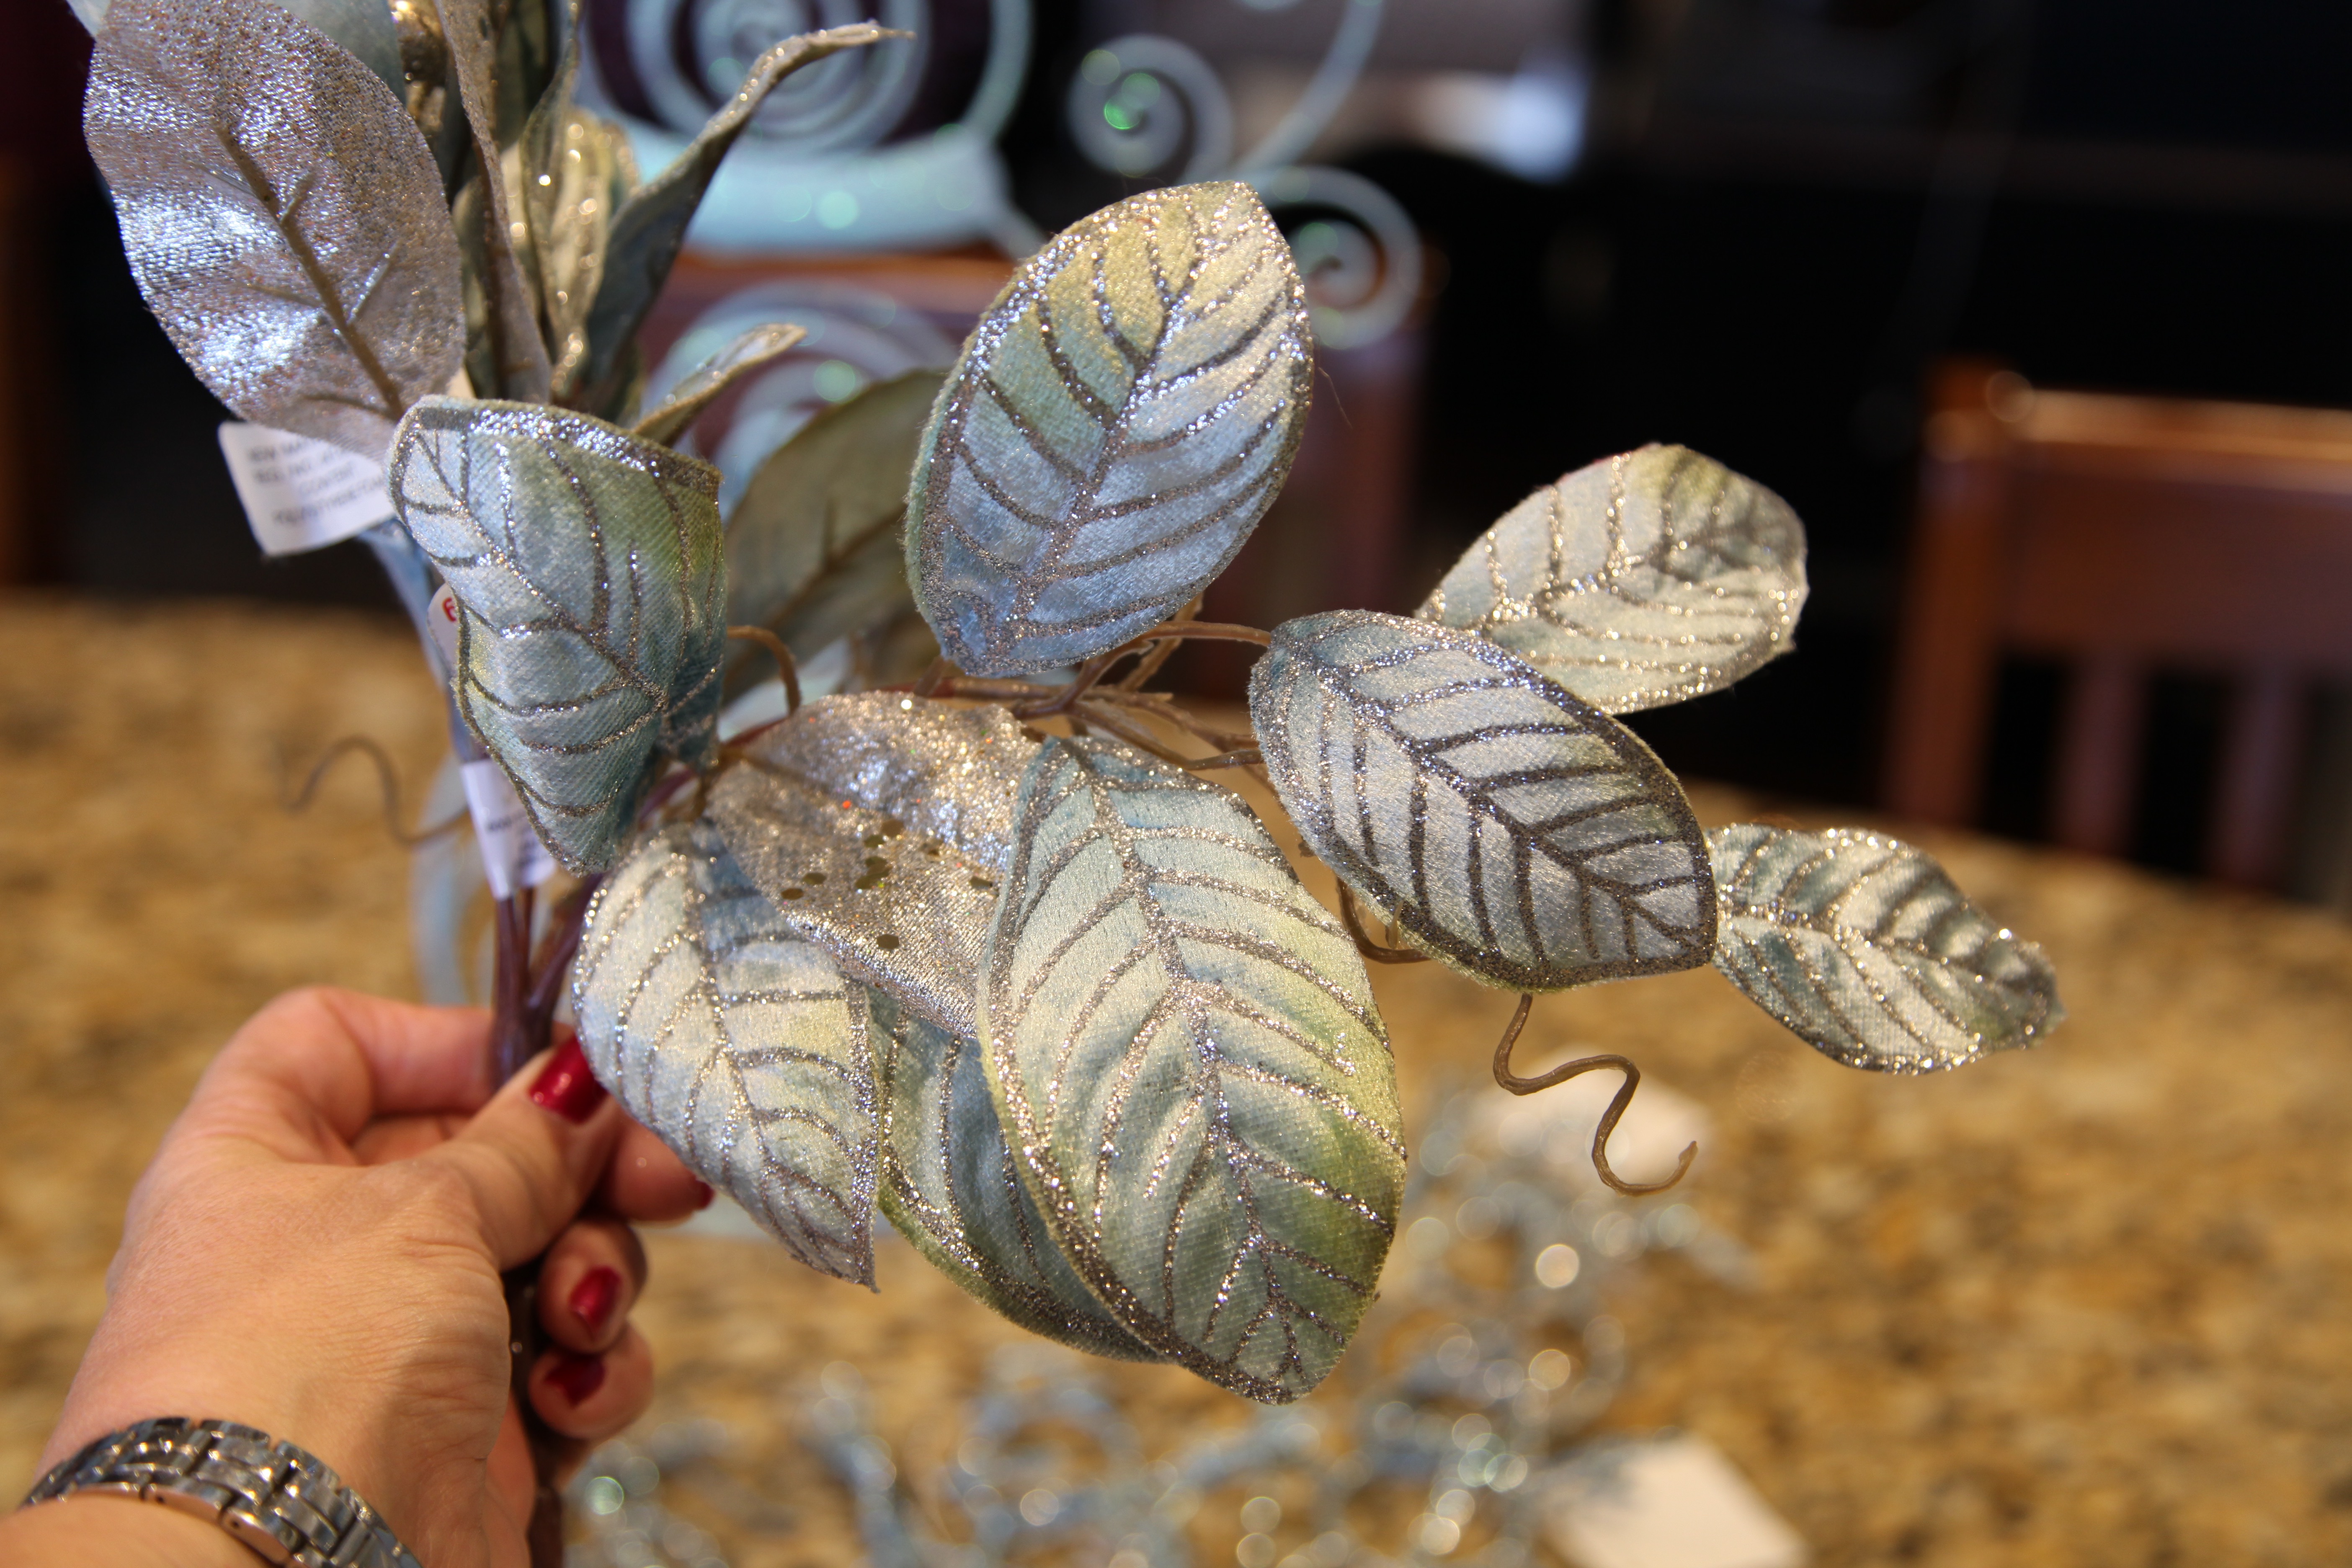
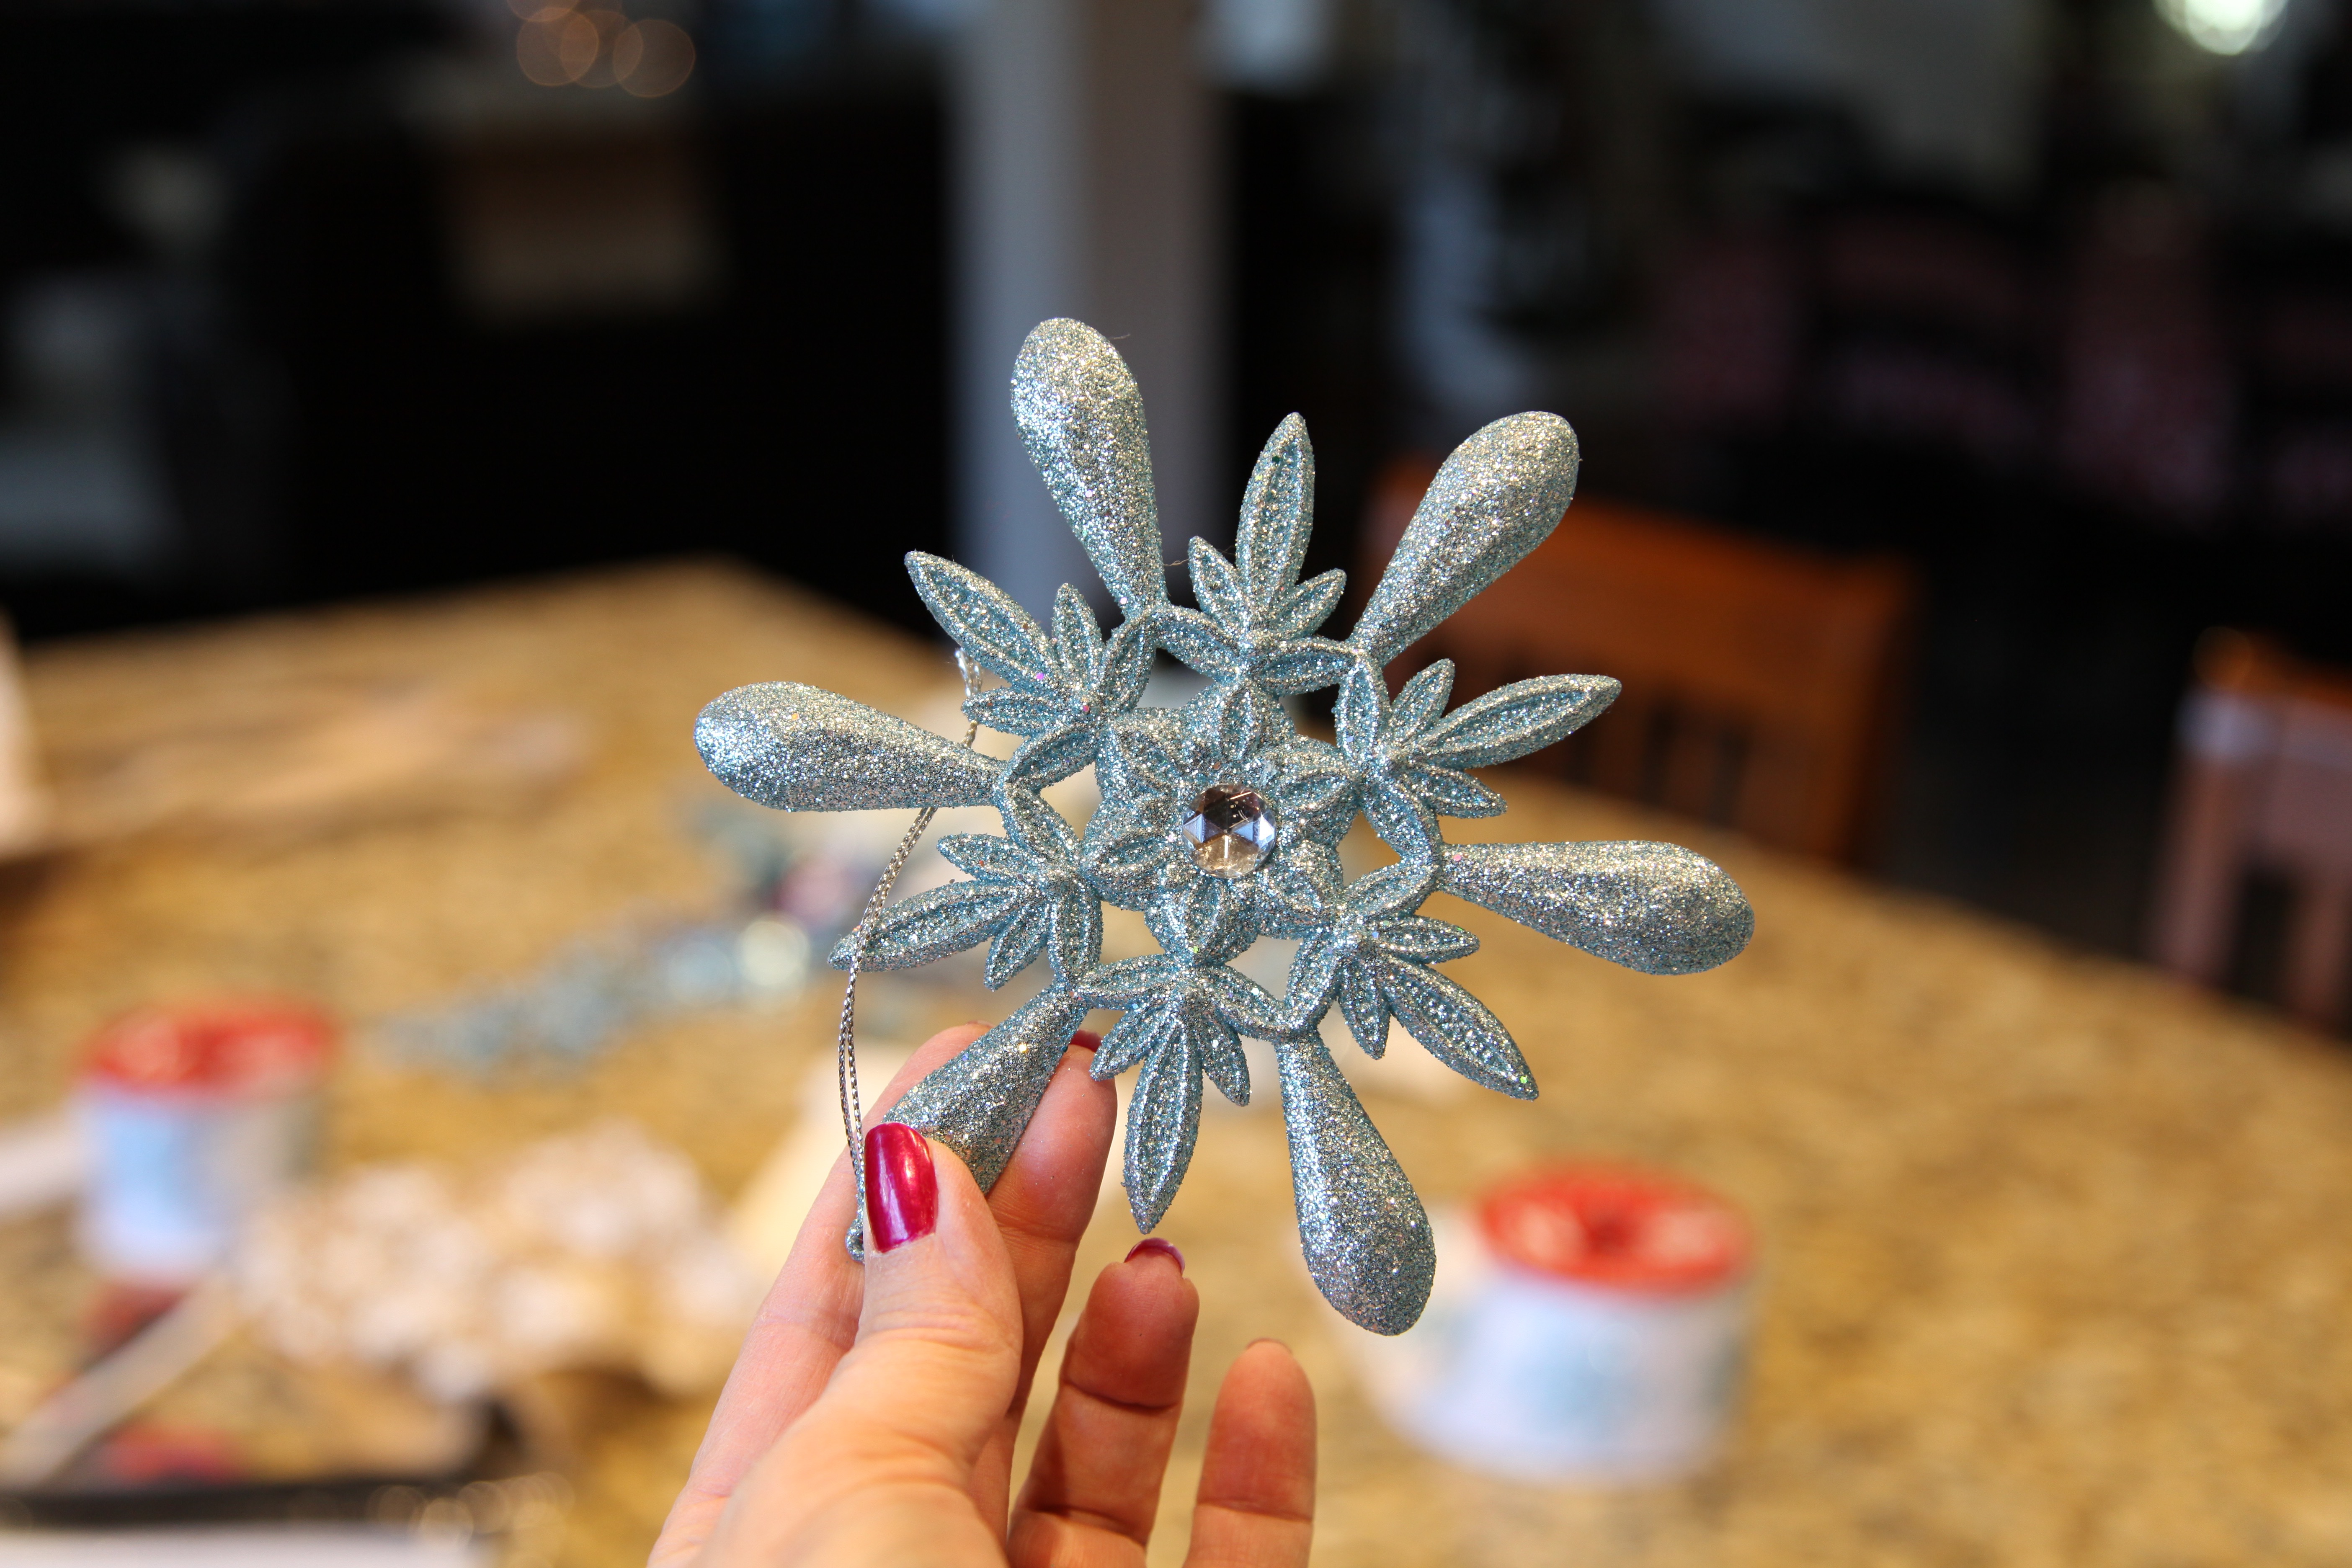
Next, I added the flowers and snowflakes, I used the twist ties to attach the flowers and I hot glued the snowflakes in and among the flowers.

IMG_2580 IMG_2585 IMG_2586

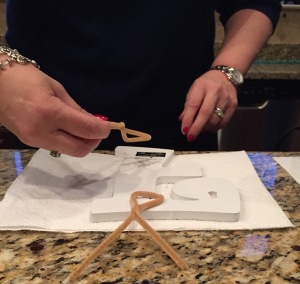
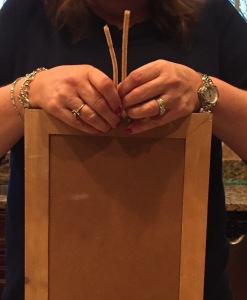
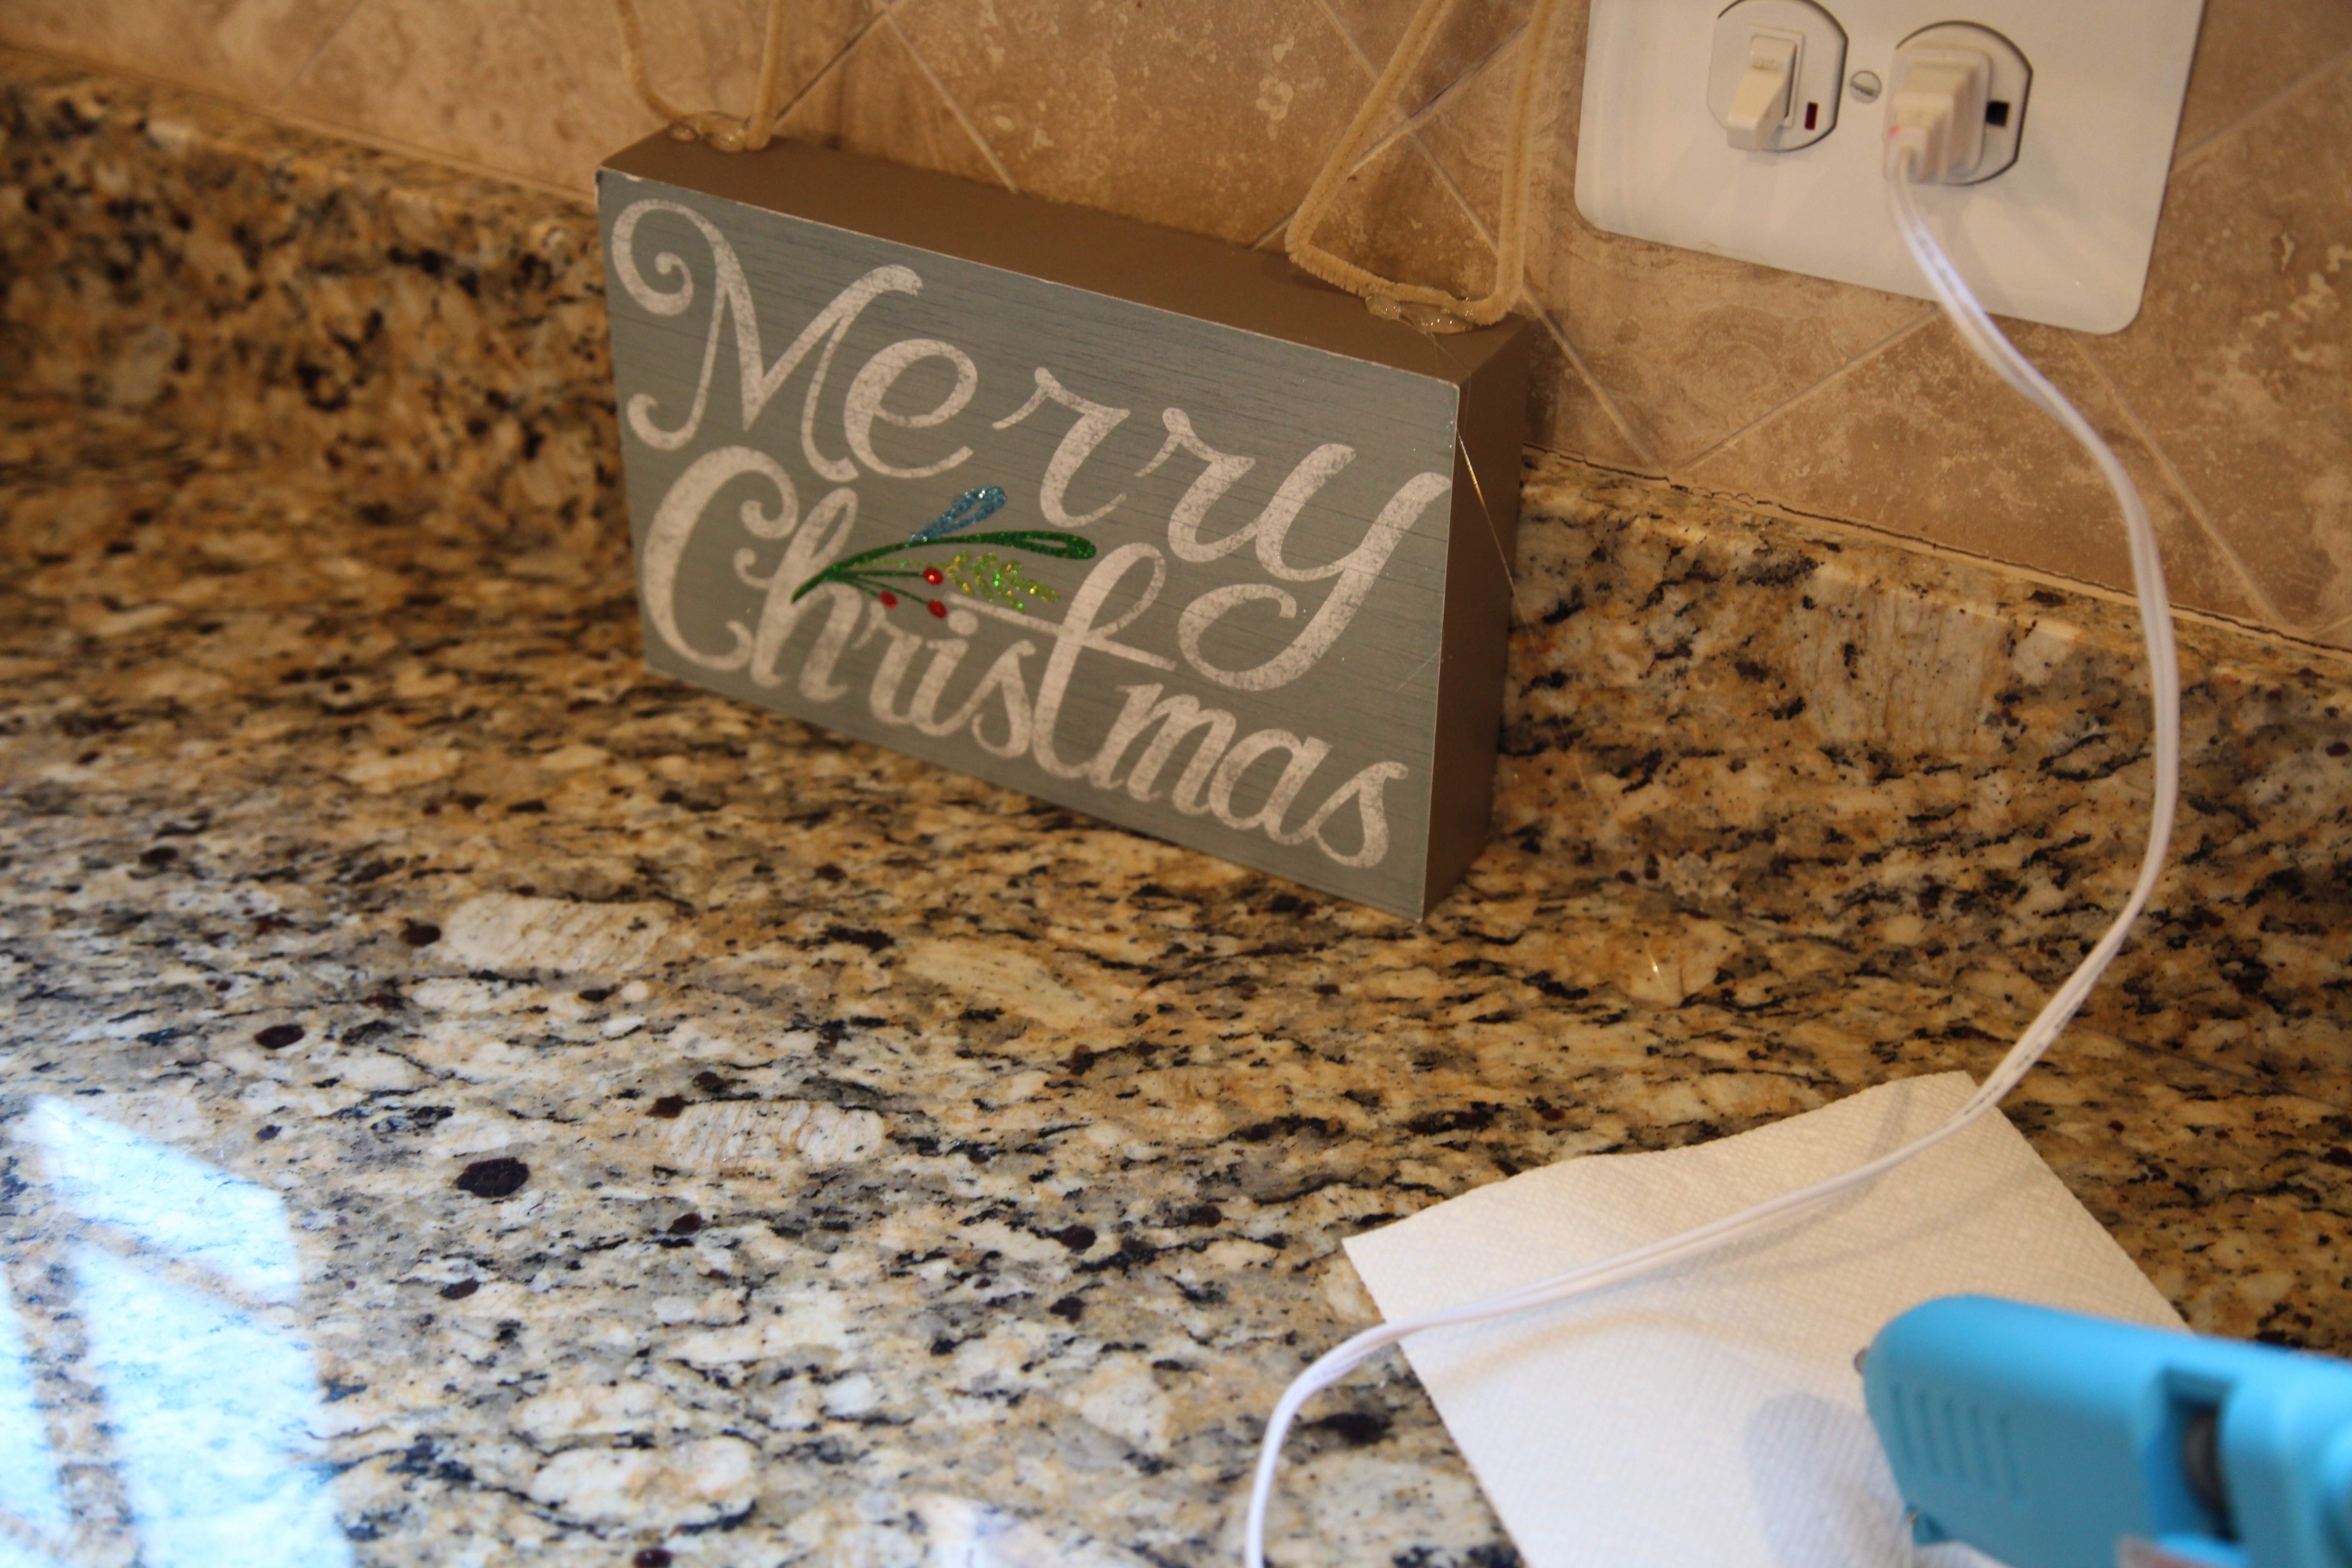
The last thing that I did was to hot glue a couple of pipe cleaners on to the top of the wooden “Merry Christmas” sign and then I used the twist ties to attach the sign onto the wreath form.

IMG_2584

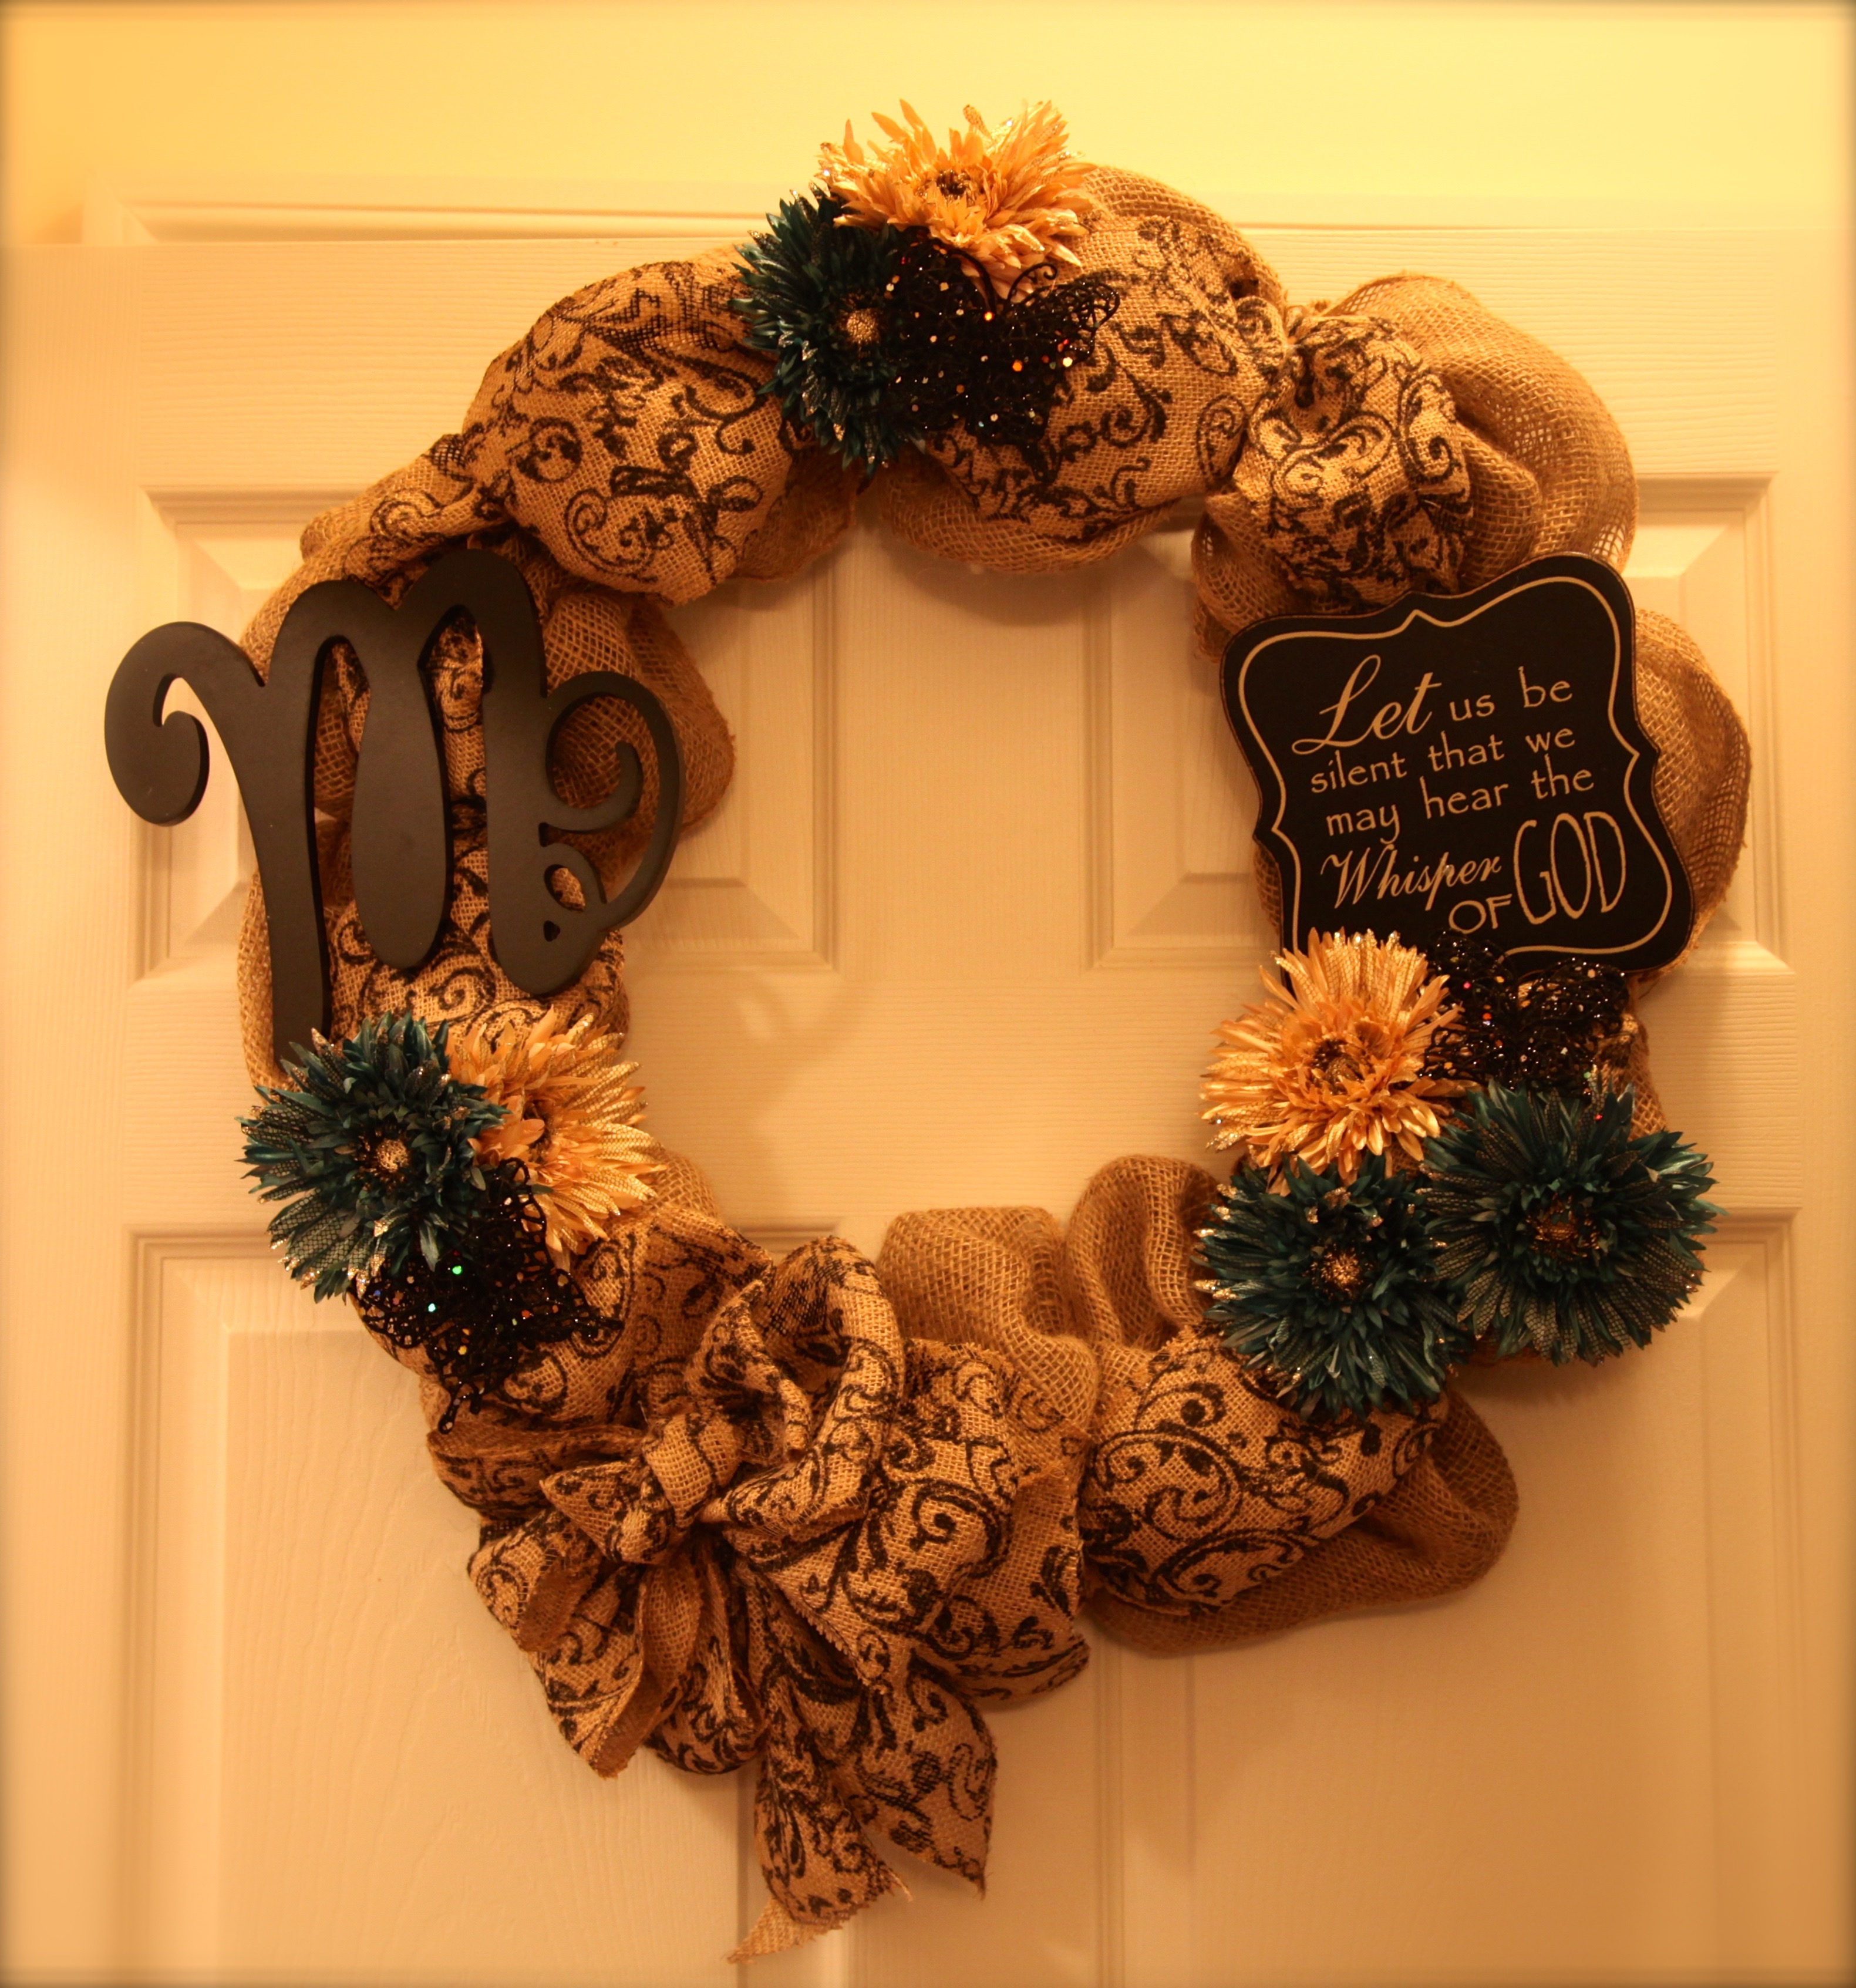
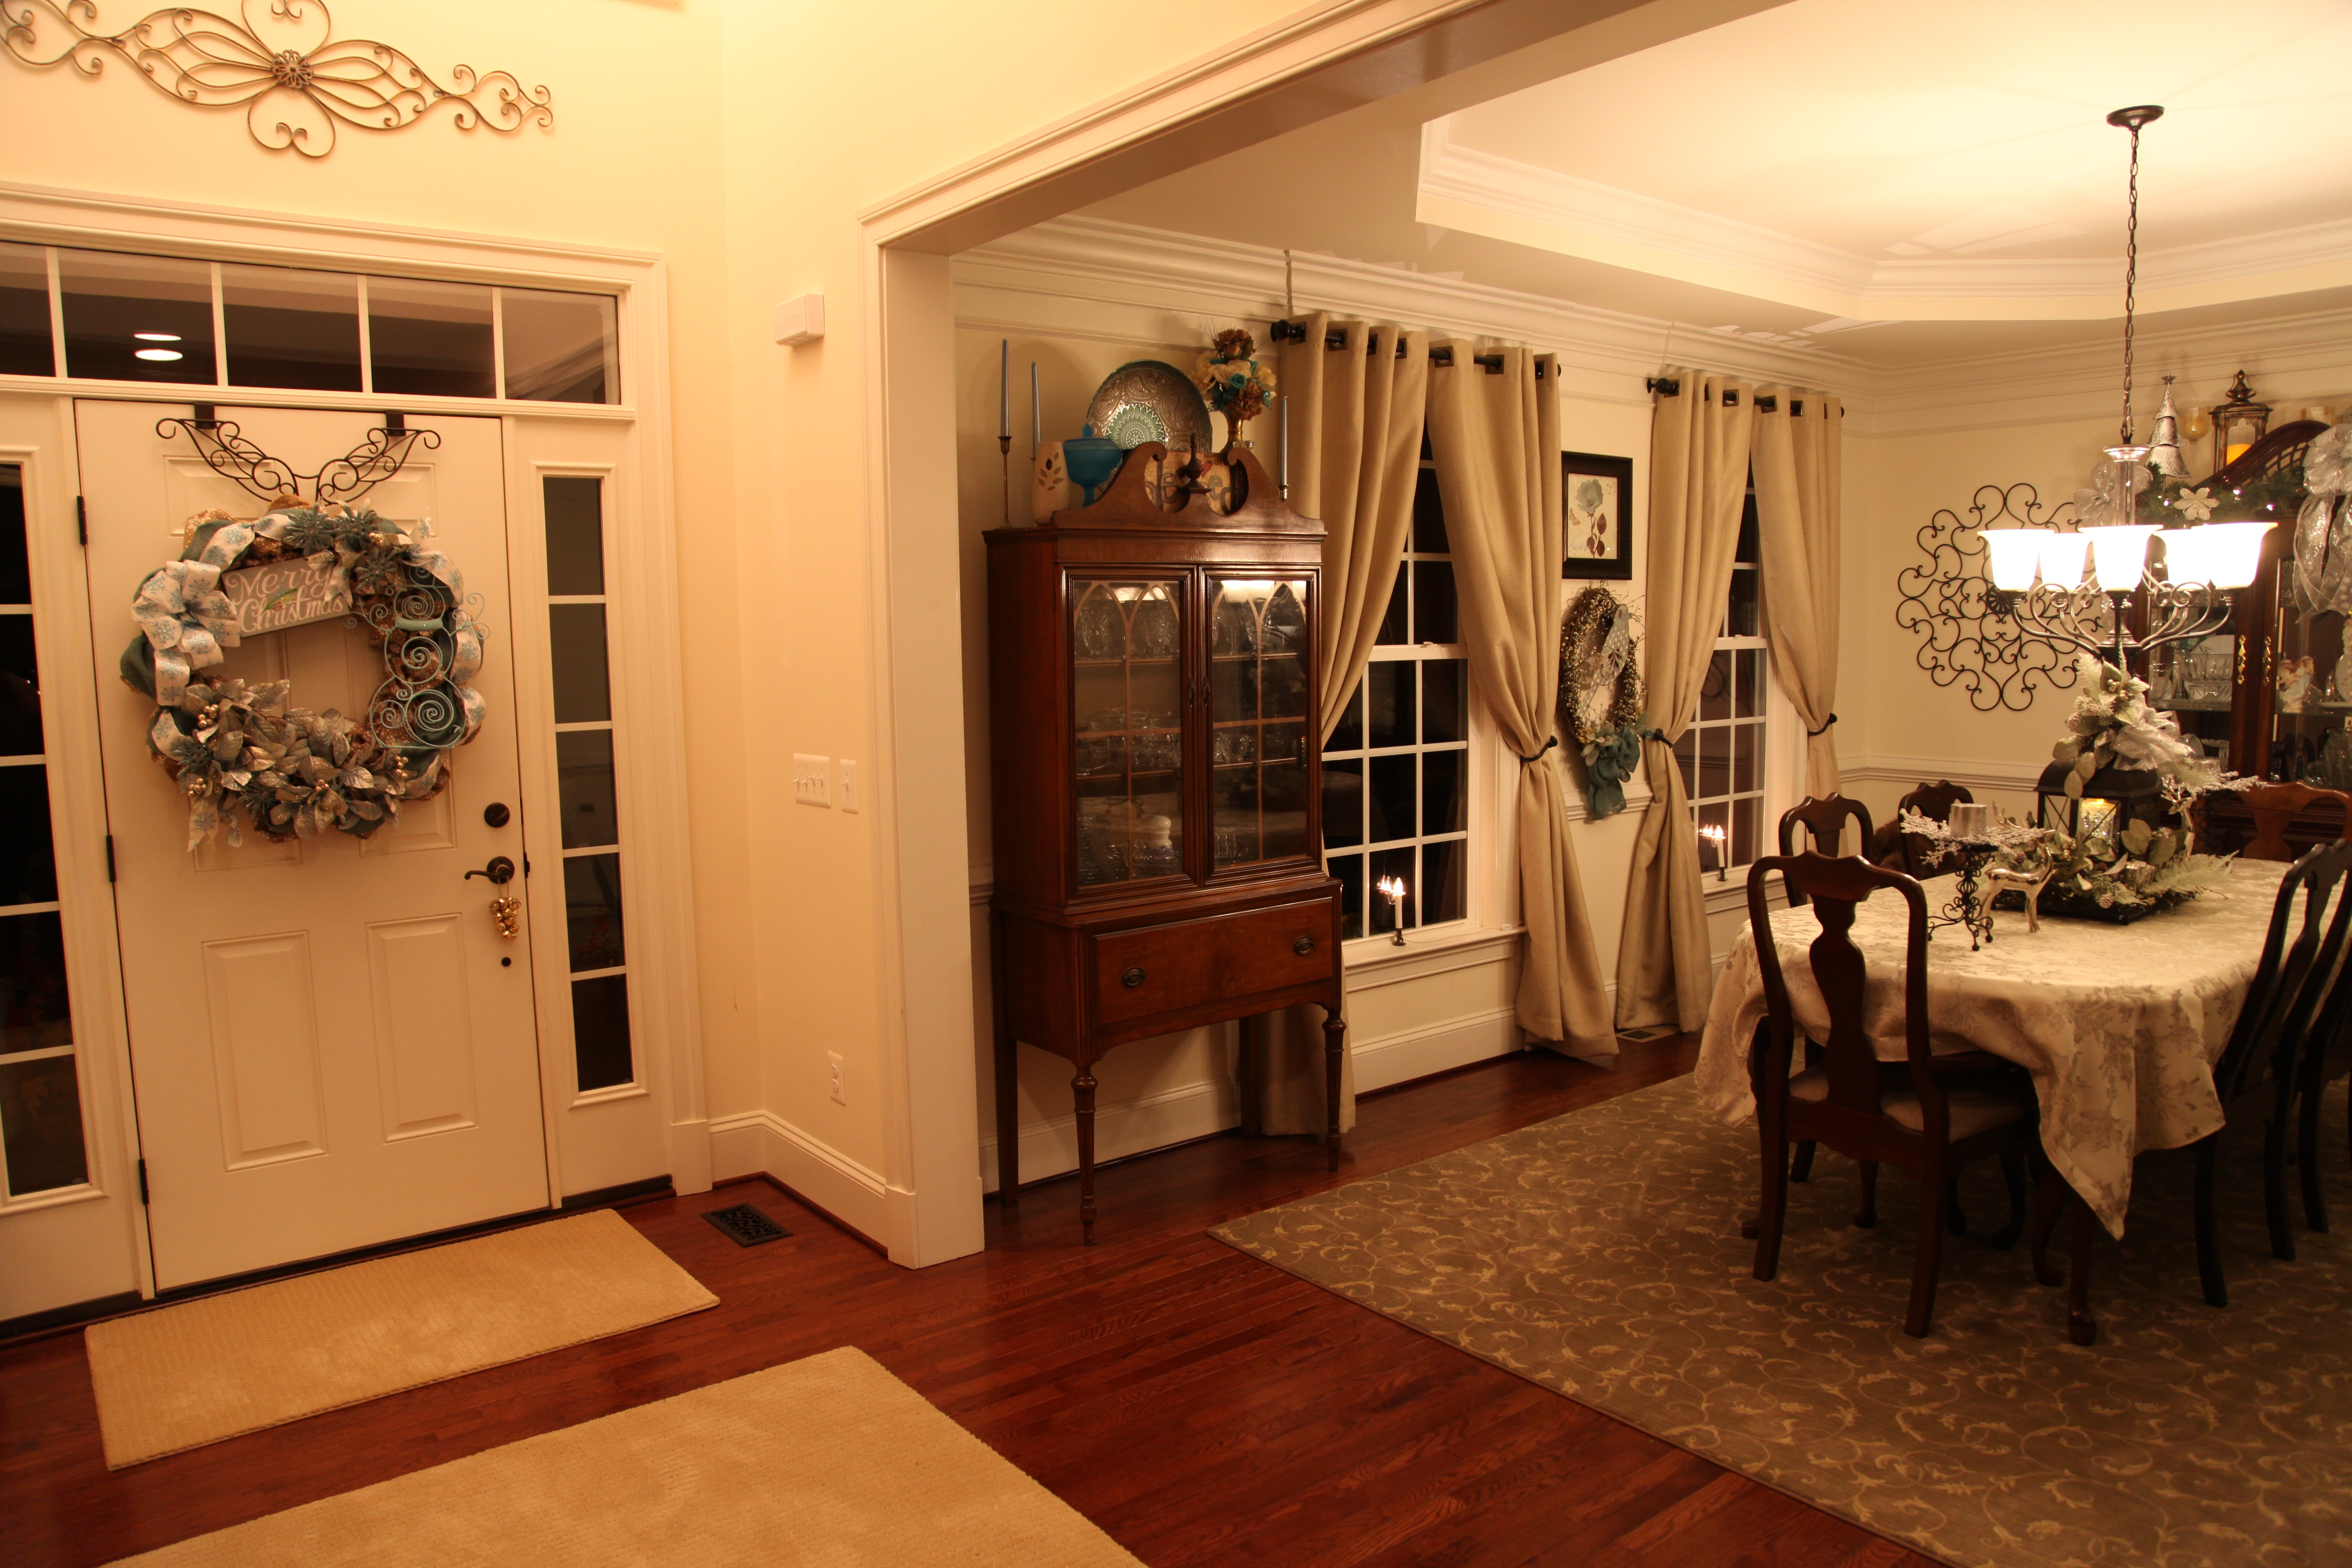
I absolutely LOVE this wreath, it might be one of the favorite ones that I’ve ever made. 🙂  And it looks really pretty hanging on the inside of my front door. 🙂 I am ready to decorate the rest of the space now that this beauty is in place.

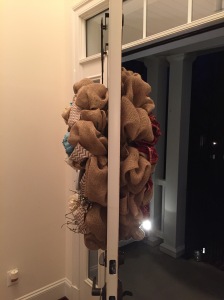
Here are a few pictures of the finished product…

IMG_2587 IMG_2591 IMG_2615

And the doggies posed prettily in front of it just this morning. 🙂IMG_2634

Onward I go with my decorating, I’m *almost* finished!

Next, I’ll be highlighting how I made this lantern centerpiece for my dining room table…

IMG_2609

Stay tuned! 🙂

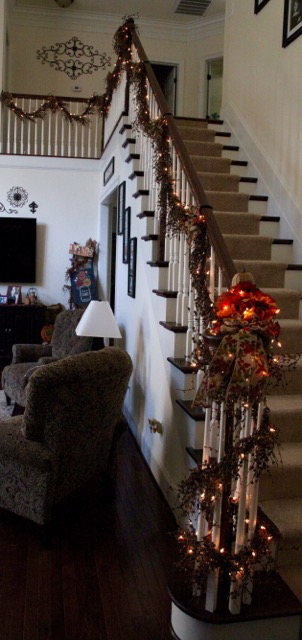
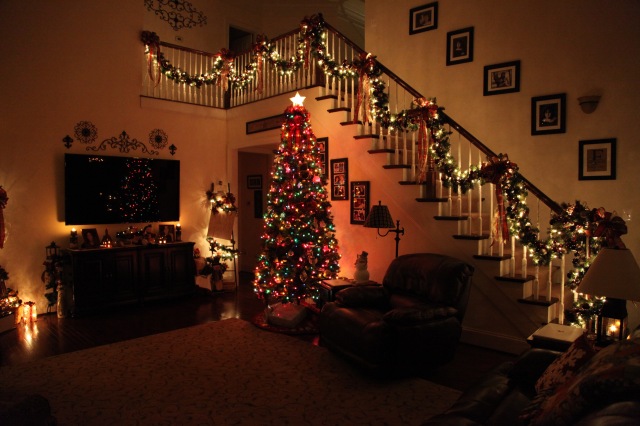
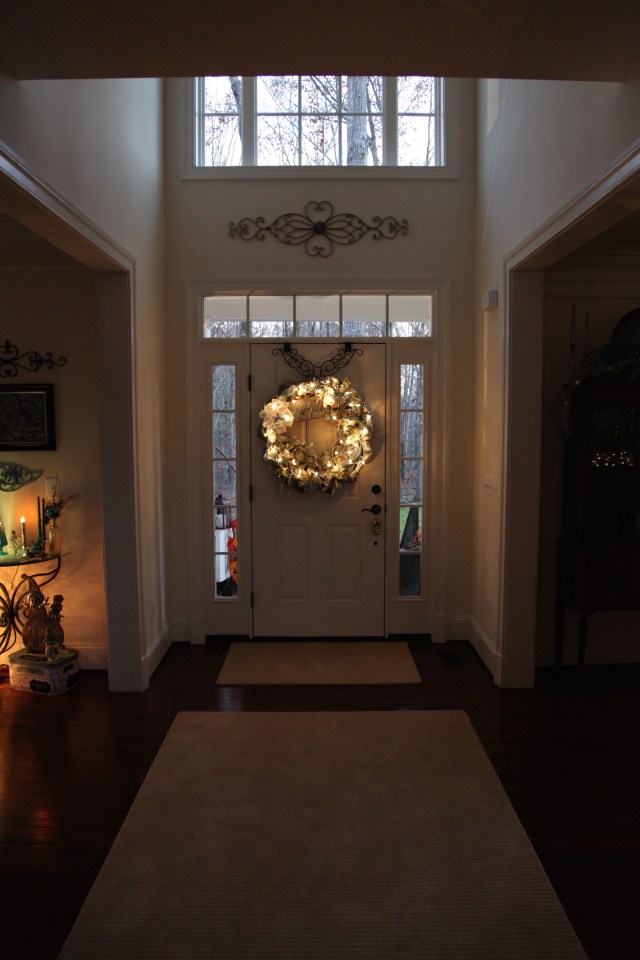
Wait!! Fast forward a few weeks and I’ve now added two battery operated timed light strands to this wreath…It looks so pretty at night–it comes on at dusk and goes off 6 hours later. Here are a couple of pictures:

IMG_2789

IMG_2790

Check out my “Merry & Bright With Battery Operated Lights”  entry to see where else I’ve utilized battery operated lights in my Christmas decorations. 🙂

Until next time, y’all take good care! ❤

**In crafting there are no mistakes just unique creations**

Staircase Railing Decor Ideas

Greetings Everyone!

As I have mentioned before, my hubby and I just moved into our retirement home a couple of years ago.  We went through the entire building process and waited 7+ months for our new home to be built.  The reason we went with the new build is because we found a pretty piece of property with a good many acres (hubby’s wish) in a neighborhood, in a cul-de-sac (my wish) and we were also able to make every single choice that would make it our own.  There were many reasons why we chose this model to build not the least of which was this pretty staircase.

Image


I had had staircase railing decorating ideas flying around in my head for the entire time that the house was being built.  One of the first ideas that came to fruition was a burlap swag idea that I’d seen somewhere on Pinterest.  We did it our way and we started with a bolt of burlap fabric that I found at Joann’s Fabric.  My hubby and I laid out burlap on the floor (I wish I could remember how many yards I purchased, but I’m sorry to say that I cannot–we did use an entire bolt though) out into one long piece and folded it accordion style and wrapped masking tape around it every so often to keep it folded in place until we hung it up.  Once that was completed (no easy task honestly) we evenly draped it like you would a swag curtain between each post on the staircase and then took the masking tape off and tweaked each swag until it looked like we or I had envisioned.  I also made a flower arrangement and attached it to the bottom and on top of the bullnose section of the staircase; that pulled it all together nicely.  I then made bows and attached them to all of the swag points; I loved how it turned out and I kept it up for quite some time.

IMG_0795IMG_0999IMG_0798IMG_5167IMG_5163

Then Fall rolled around and I decided that I would keep the burlap in place but make new Fall themed bows and a new arrangement for the bullnose.  This is how that turned out:

IMG_6660 IMG_6659

Of course Christmas decorating was next.  We removed the burlap and replaced it with pine garland wrapped in white lights, I made new Christmas bows, and a new arrangement for the bullnose.  I really loved how those lights looked, so, so pretty. My hubby also attached a remote control to the lights so that we could turn them on and off at will; that was so convenient.

IMG_7640 IMG_7639 IMG_7617 IMG_7613 IMG_5057

After Christmas my daughter and I were chatting and she reminded me of a new and different staircase railing idea that she and I had discussed around Christmastime. That idea is what my hubby and I brought to fruition and what we have hanging on the railing now. I purchased pip berry garlands from The Pip Berry Barn and this is the garland that I chose to pair with my everyday home decor, it has worked beautifully. (I highly recommend purchasing Pip Berry Garland from this online store; the strands were so full and beautifully made, absolutely awesome)  I also purchased strings of 100 white lights with a brown cord and plugs at both ends.  These are the white lights that I purchased. We used two strands to do the stair decor, but I purchased extra strands for the inevitable, eventual, and necessary replacement parts. My hubby has attached the same remote control to the lights so that we can turn them on and off at will (I usually turn them on after dark and turn them off when we go to bed)

IMG_8444 IMG_8529

Of course I made new bows out of  burgundy checked wired ribbon which matched the ribbon that I’ve used in many a centerpiece, arrangement, and wreath throughout our home.  I purchased the ribbon online too because I couldn’t find what I knew I wanted around here.  This is the ribbon that I purchased.  And then I made a new flower arrangement out of burgundy and burlap gerber daisies and pip berry picks, wrapped white lights around that arrangement and tied it all together with a bow. This is what hangs in our house for my “regular” or “generic” decor.  I only change out the bows and flower arrangements for Fall and Christmas now-a-days; I love the look *that* much!

IMG_8527 IMG_8524 IMG_8522

When I decorated for Fall, I simply changed out the bows and made a new arrangement for the bullnose.  Here is that finished project:

IMG_1786 IMG_1785 IMG_1774 IMG_1768

I came up with a different idea for the staircase decor for this Christmas (2015).  I’ve wanted to create an ornament and pine garland for a couple of years now, but, I knew that it was going to cost me a fortune to do so…not to mention give me a headache or two because yes, I’m a pretty patient person when I’m creating, but the patience required to create such a garland might just push my ‘envelope’ a bit. 😉  Anyway, here are some pictures of what I came up with this year.  If you’d like to see how my hubby and I put it together, you can check out my Blog entry entitled: Staircase Ornament and Pine Garland.  Here are some pictures of this year’s creation:

IMG_2992

Keeping the staircase decorated throughout the year really helps to warm up our space. And with the addition of the lights in the evenings, it really feels comfy and cozy in here.  I’ve been so very happy with each and every change that I’ve made to the original idea and I’m sure I’ll continue to tweak and hopefully improve the look as time marches forward. 🙂

Until next time, y’all take care! ❤

**In crafting there are no mistakes just unique creations**

Front Door Burlap Wreaths

Good Afternoon!

As is typical of me, I woke up one morning with the idea in my head that I wanted to make something. What I chose to do on that particular day was to make my aunt a burlap wreath for her front door.  The only problem with that was that I had never tried to make a burlap wreath and I had no idea where to start.  So, I took to google search (one of my best friends…lol) and I started reading and watching tutorials; this gave me the basic idea of how to, at the very least, *start* to make my wreath.  I will admit that I spent a bit too much time searching “how-to” blogs and videos and not enough time trusting my own abilities to accomplish my goal on my own.  So, I put my computer down, got in my car, and headed to my local go-to craft store Hobby Lobby.  We also have a Michaels and an AC Moore here in our town, but I am usually successful at finding exactly what I need to bring a project to fruition at Hobby Lobby.  So, anyway, I started walking through the store collecting my needed supplies.  When all was said and done, I was successful at making my aunt a wreath and then I made my cousin one too; I gave them to them for Christmas last year.  But, I wasn’t exactly satisfied with those two wreaths even though my aunt and cousin loved them and were so sweet with their compliments regarding just how much they loved them. Here are pictures of those two wreaths:

IMG_7986 IMG_5153

I decided I would try again (I am nothing if not determined to try and try again until I’m satisfied with the end result) and so I set myself to the task of making a burlap wreath for our front door, I wanted it to be quite large because our home sits pretty far back from the road and I wanted to be able to see the wreath on the front door from our cul-de-sac. So off to Hobby Lobby I went yet again and I began to gather my supplies.  The first thing I picked up was a 24″ metal wreath form with the twist ties already attached. I then collected all of the other things that I thought I might need to make my wreath.  I will try my best to put into bulleted form how I constructed not one but 2 burlap wreaths for my front door…yes, I said 2…lol…I made one for the inside of the door too. We found a wreath hanger that we could manipulate over the door that provided a hook on either side of the door.  I was very happy with what I ended up with and I have made many other burlap wreaths since, so many that my hubby has made me a wreath hanging station in our basement.  In another blog, I will post a bunch of pictures of the burlap wreaths that I’ve made, some for my own use, a few for gifts, and one or two for friends who sweetly asked me to create one for them.

The two specific wreaths featured in this blog are wreaths that hang on my front door at times of the year when we are not celebrating a Holiday or for times when I am not using a specific seasonal decor…in other words, these are my “everyday” wreaths. I switch out the outside front door wreath A LOT… 🙂 Here are pictures of the finished wreaths:

IMG_5993 IMG_5840

Here is how I put all online tutorials out of my head and created my own version of a burlap wreath:

*Supplies needed for a very large burlap wreath: 24″ wreath form with the twist ties or pipe cleaners already attached, or you can attach your own pipe cleaners at regular intervals around the form–not hard, 2 rolls of burlap–for these extra large wreaths, I used burlap “runner” rolls, a coordinating colored burlap or ribbon, any accents that you might like to add such as pip berries, silk or dry flowers, wooden words, wooden or metal ‘pictures’, wooden or metal initials, seasonal decor, and so on…Let your imagination run wild

IMG_8834IMG_5829IMG_5918

*Find a large surface with which to work and lay out all of your supplies

*Plug in your hot glue gun–I try not to use too much glue on these types of wreaths, but I do glue pipe cleaners to the backs of pictures and/or other accents (wooden initials, pictures, etc…) so that I can tie them onto the wreath frame. And when necessary, I do glue certain things into place if they just won’t stay by attaching them with the pipe cleaners

*Work your way around the wreath form starting on the outside ring gathering and  catching burlap into each pipe cleaner and then moving to the inside ring and doing the same thing. I’ve seen some people online who measure the length of burlap that they put between each pipe cleaner, I do not do that, I just eyeball it and go for it. So once you have your outer and inner rows of burlap attached to the form, add your coordinating colored burlap or ribbon catching it into one of the outside pipe cleaners (by untwisting the pipe cleaner and adding it to the burlap that you already caught) and working to the next inside pipe cleaner, then back to the outside and so on all the way around the wreath.

IMG_5927IMG_5830IMG_5933

*Take a moment to glue pipe cleaners to the back of anything you might want to attach to the wreath form as you see me doing in the picture below.

IMG_5963

Instead of gluing, I just threaded a pipe cleaner through the metal clasp on the back of the picture

IMG_5948

*Then start attaching anything else that you’d like to put on your wreath either via the pipe cleaners that you attached, or directly into some of the pipe cleaners (you’ll see what I mean in the pictures below–SO hard to explain).  I chose slightly different things for each wreath, I chose to put our last name initial on both wreaths as well as a bow (that I made…I’ll need to do another blog about how to make a bow huh?) on both. Then I chose other specific items for each wreath consisting of pip berries, gerber daisies for the outdoor wreath to match our red door and the coordinating ribbon, other silk flowers and a wooden framed picture for the indoor wreath to match my room decor.

IMG_5837IMG_5976

IMG_5944IMG_5966IMG_5972IMG_5951

Here is a link for the  Wreath Hanger that we used

IMG_5996IMG_5995IMG_5994

So there you go, I was finally successful at making burlap wreaths that met with my own approval…haha. Give a burlap wreath a try! Nothing is perfect in the crafting world, that’s what makes it so much fun and unique to just you! 🙂

IMG_5842   IMG_8856           IMG_5992 - Version 2 IMG_5840

**In crafting there are no mistakes just unique creations**