Christmas 2016: Blue Snowflake Wreath

Okay, okay, okay…I’ve got to stop with the crafting huh? lol Yeah right, that’s like telling the sun not to rise tomorrow morning! 😉  What might help me is to stop heading into Hobby Lobby *just* to look.  Such is the scenario that was taking place when I found this Christmas tree:

IMG_2686 (1).jpg

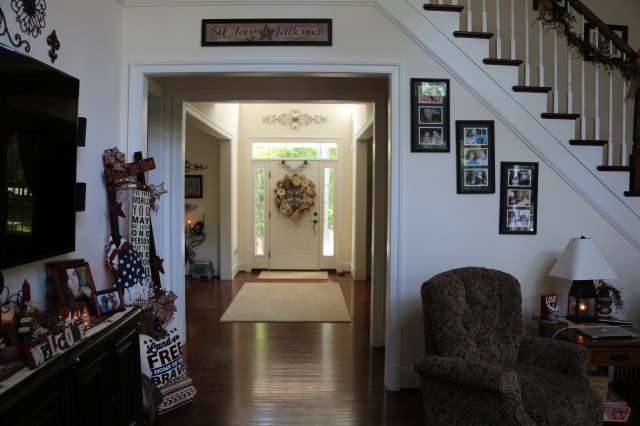
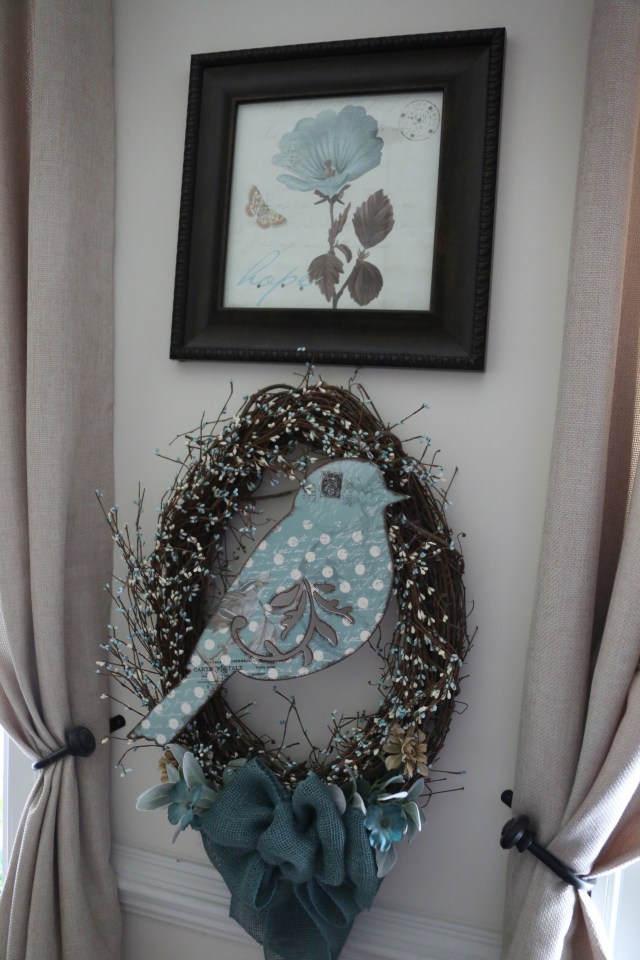
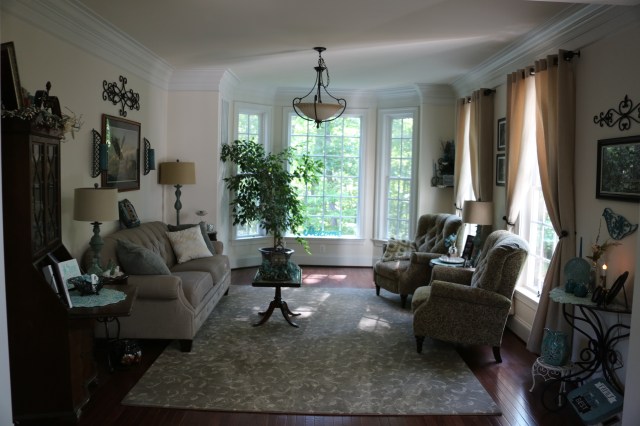
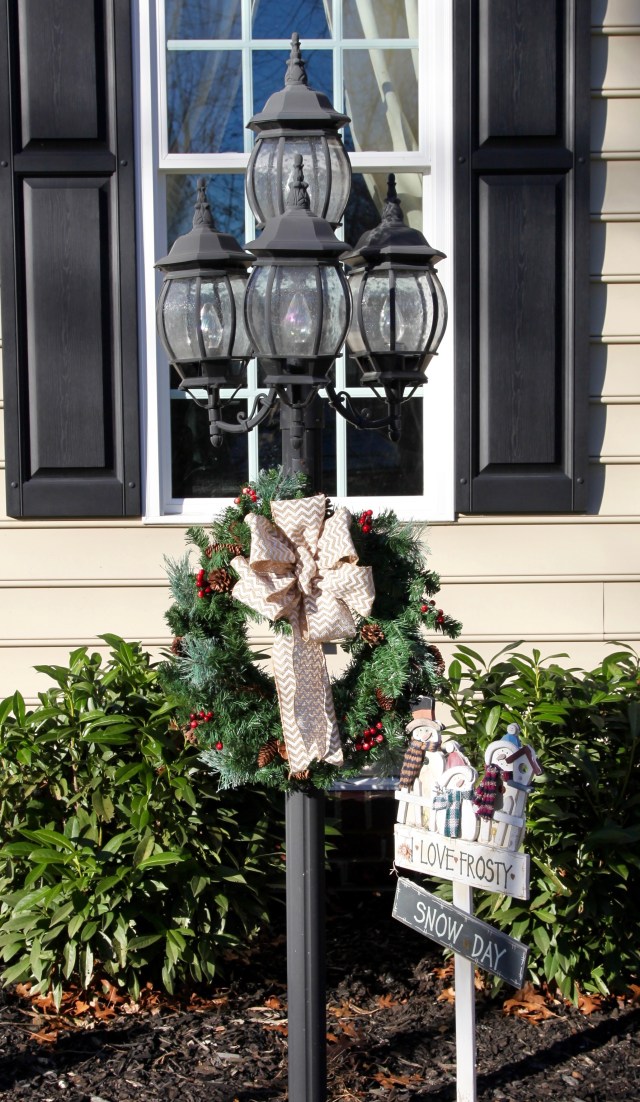
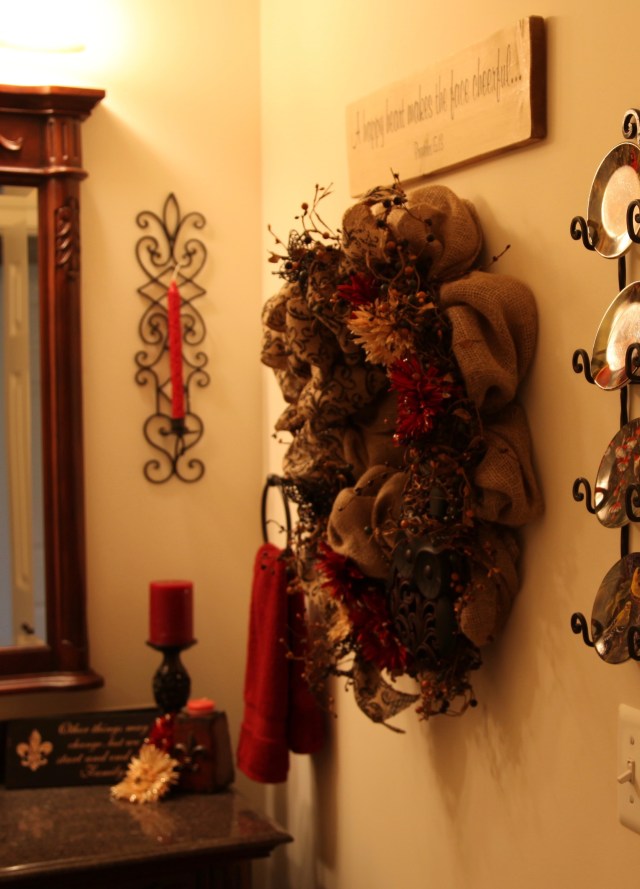
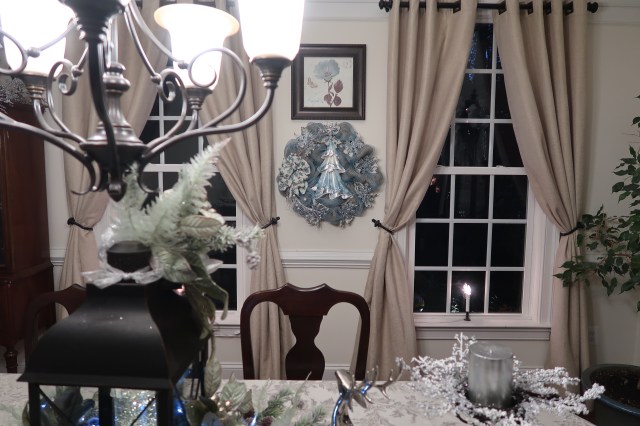
As y’all know, my Christmas decorations in the living and dining rooms are done up in light blues and greens, silvers, and whites.  But, see that wreath hanging between the windows in the picture below, the one with the bird on it?  Well, in my mind, where the wheels are always turning and new ideas are always spewing forth, I thought that I would love to have a Christmas wreath hanging there :

IMG_5677.jpg

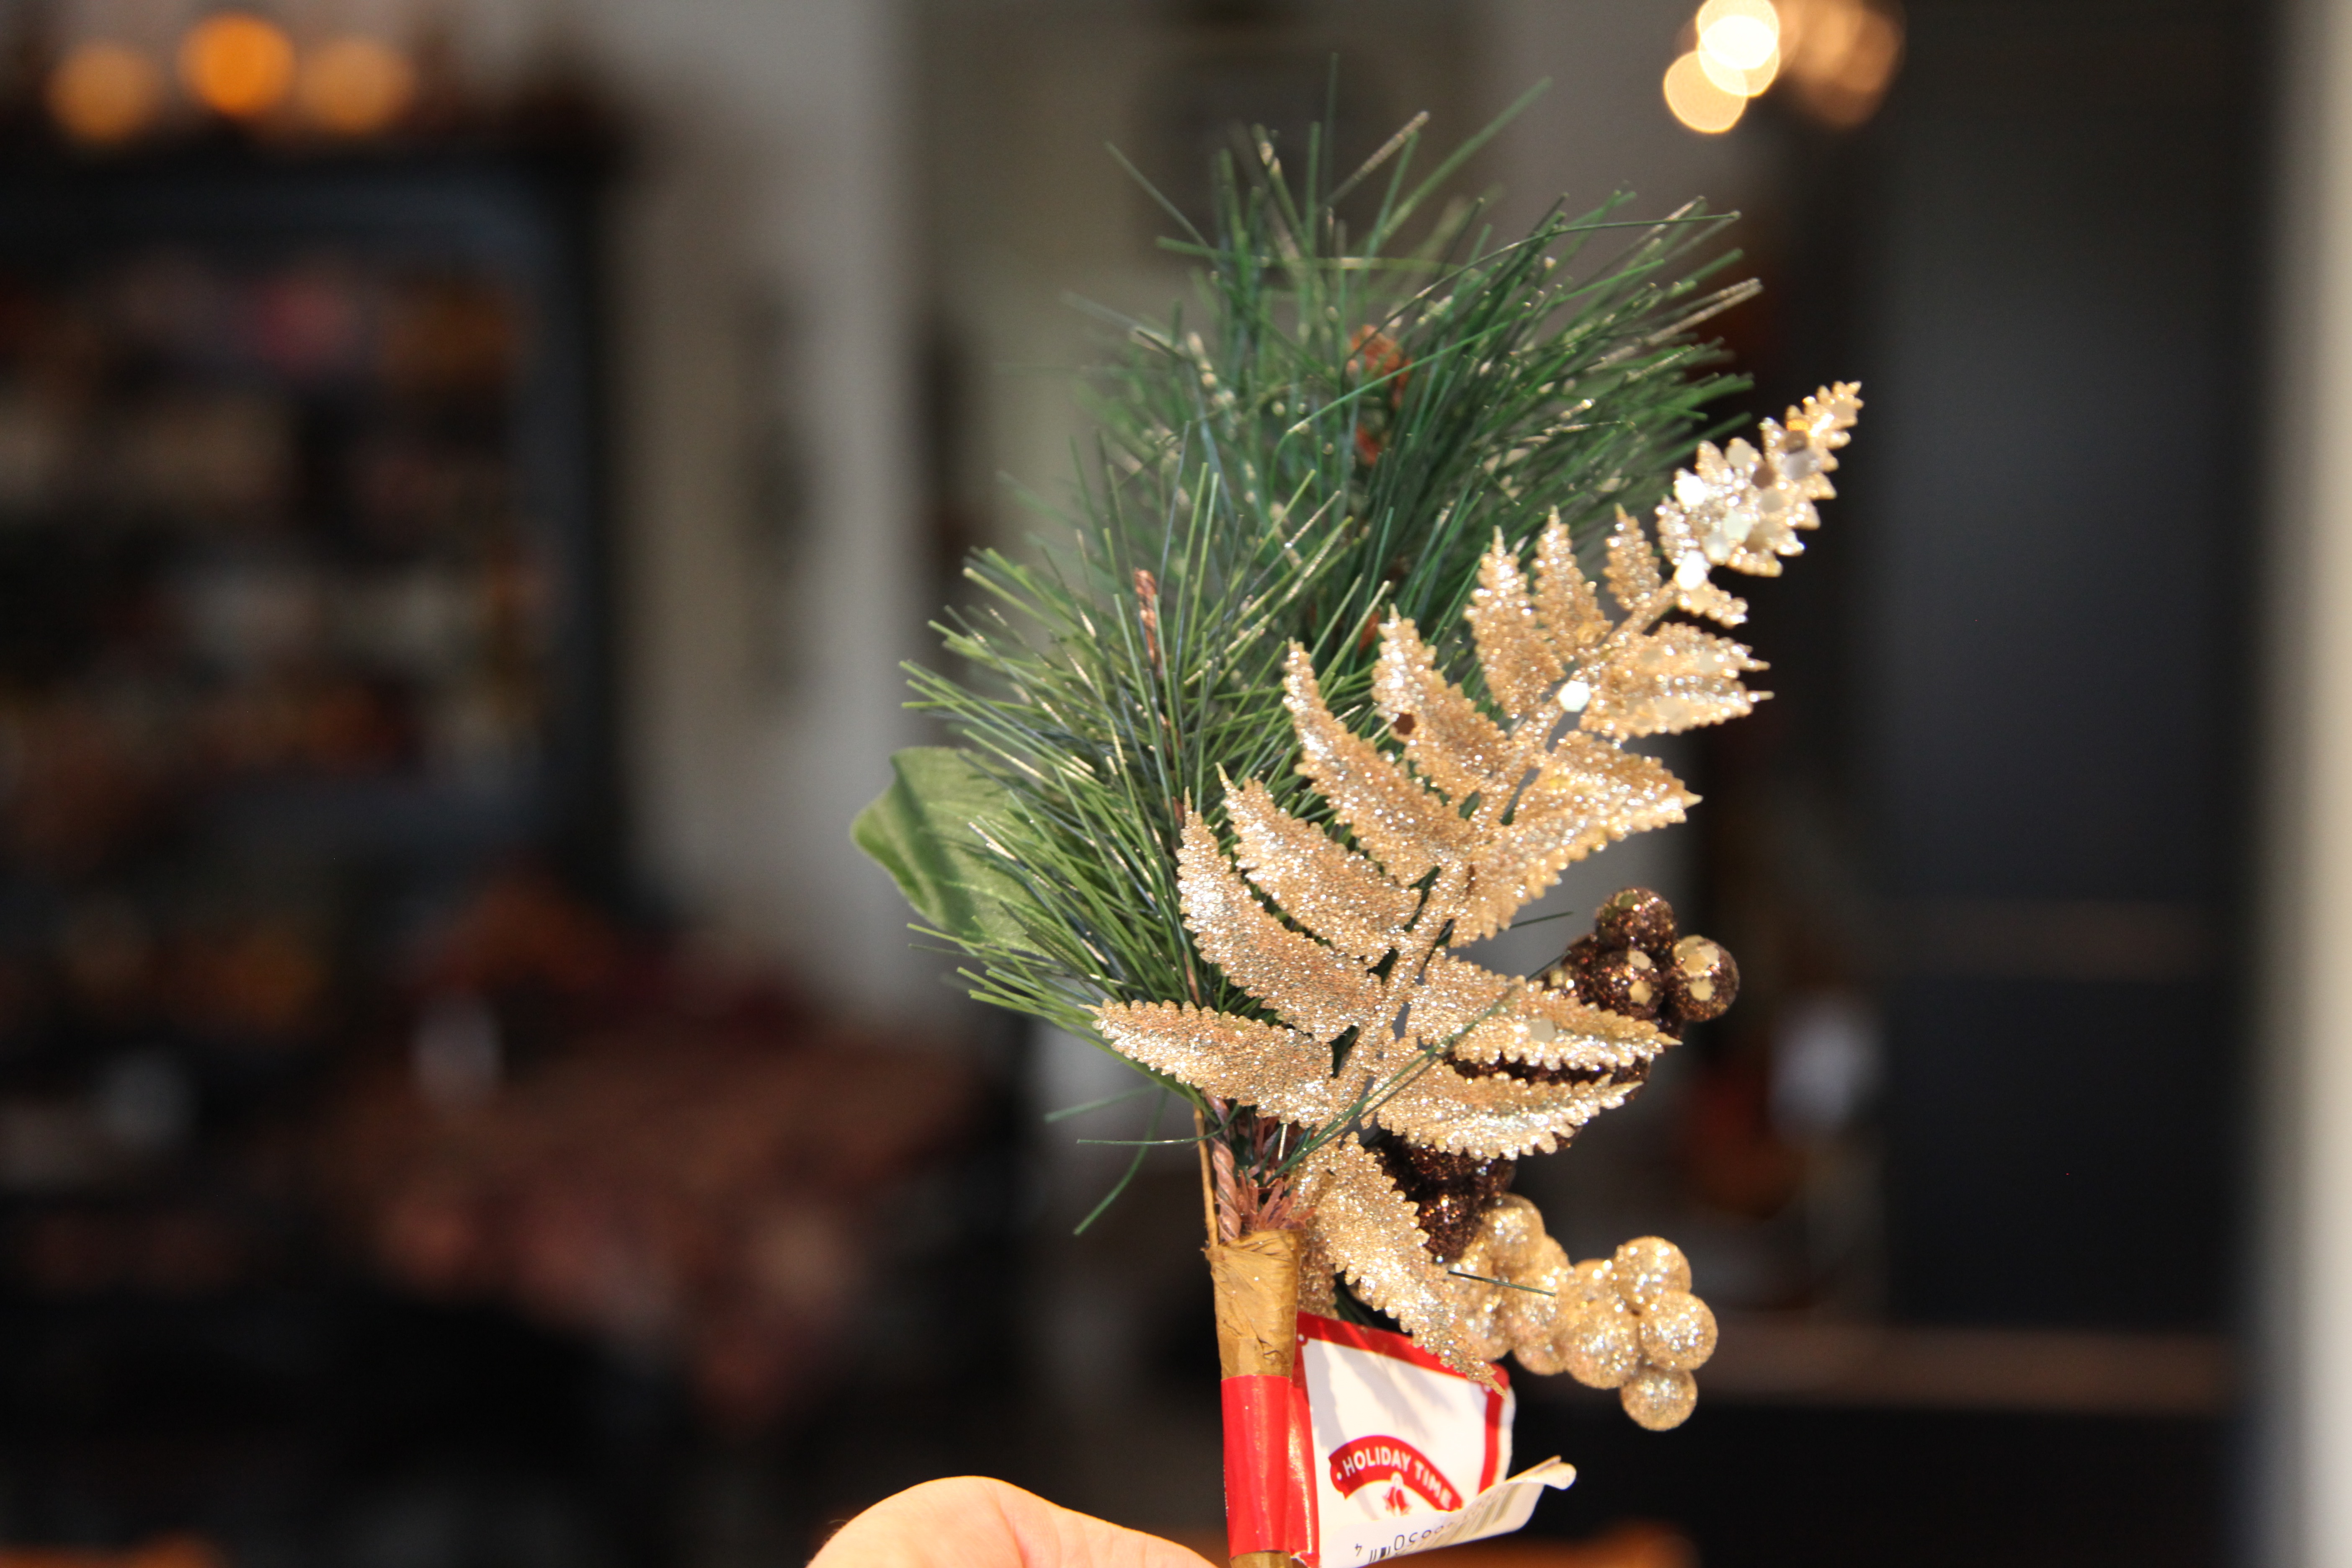
So when I saw that Christmas tree, the imaginary lightbulb above my head went off–btw, that Christmas tree was sitting way up on the very top shelf display, good thing I’m tall because I was able to reach it with knocking only one or two things over–yes, yes, I fixed it right back up, trust me, they never knew that my frenzied self had been anywhere near that spot. 😉

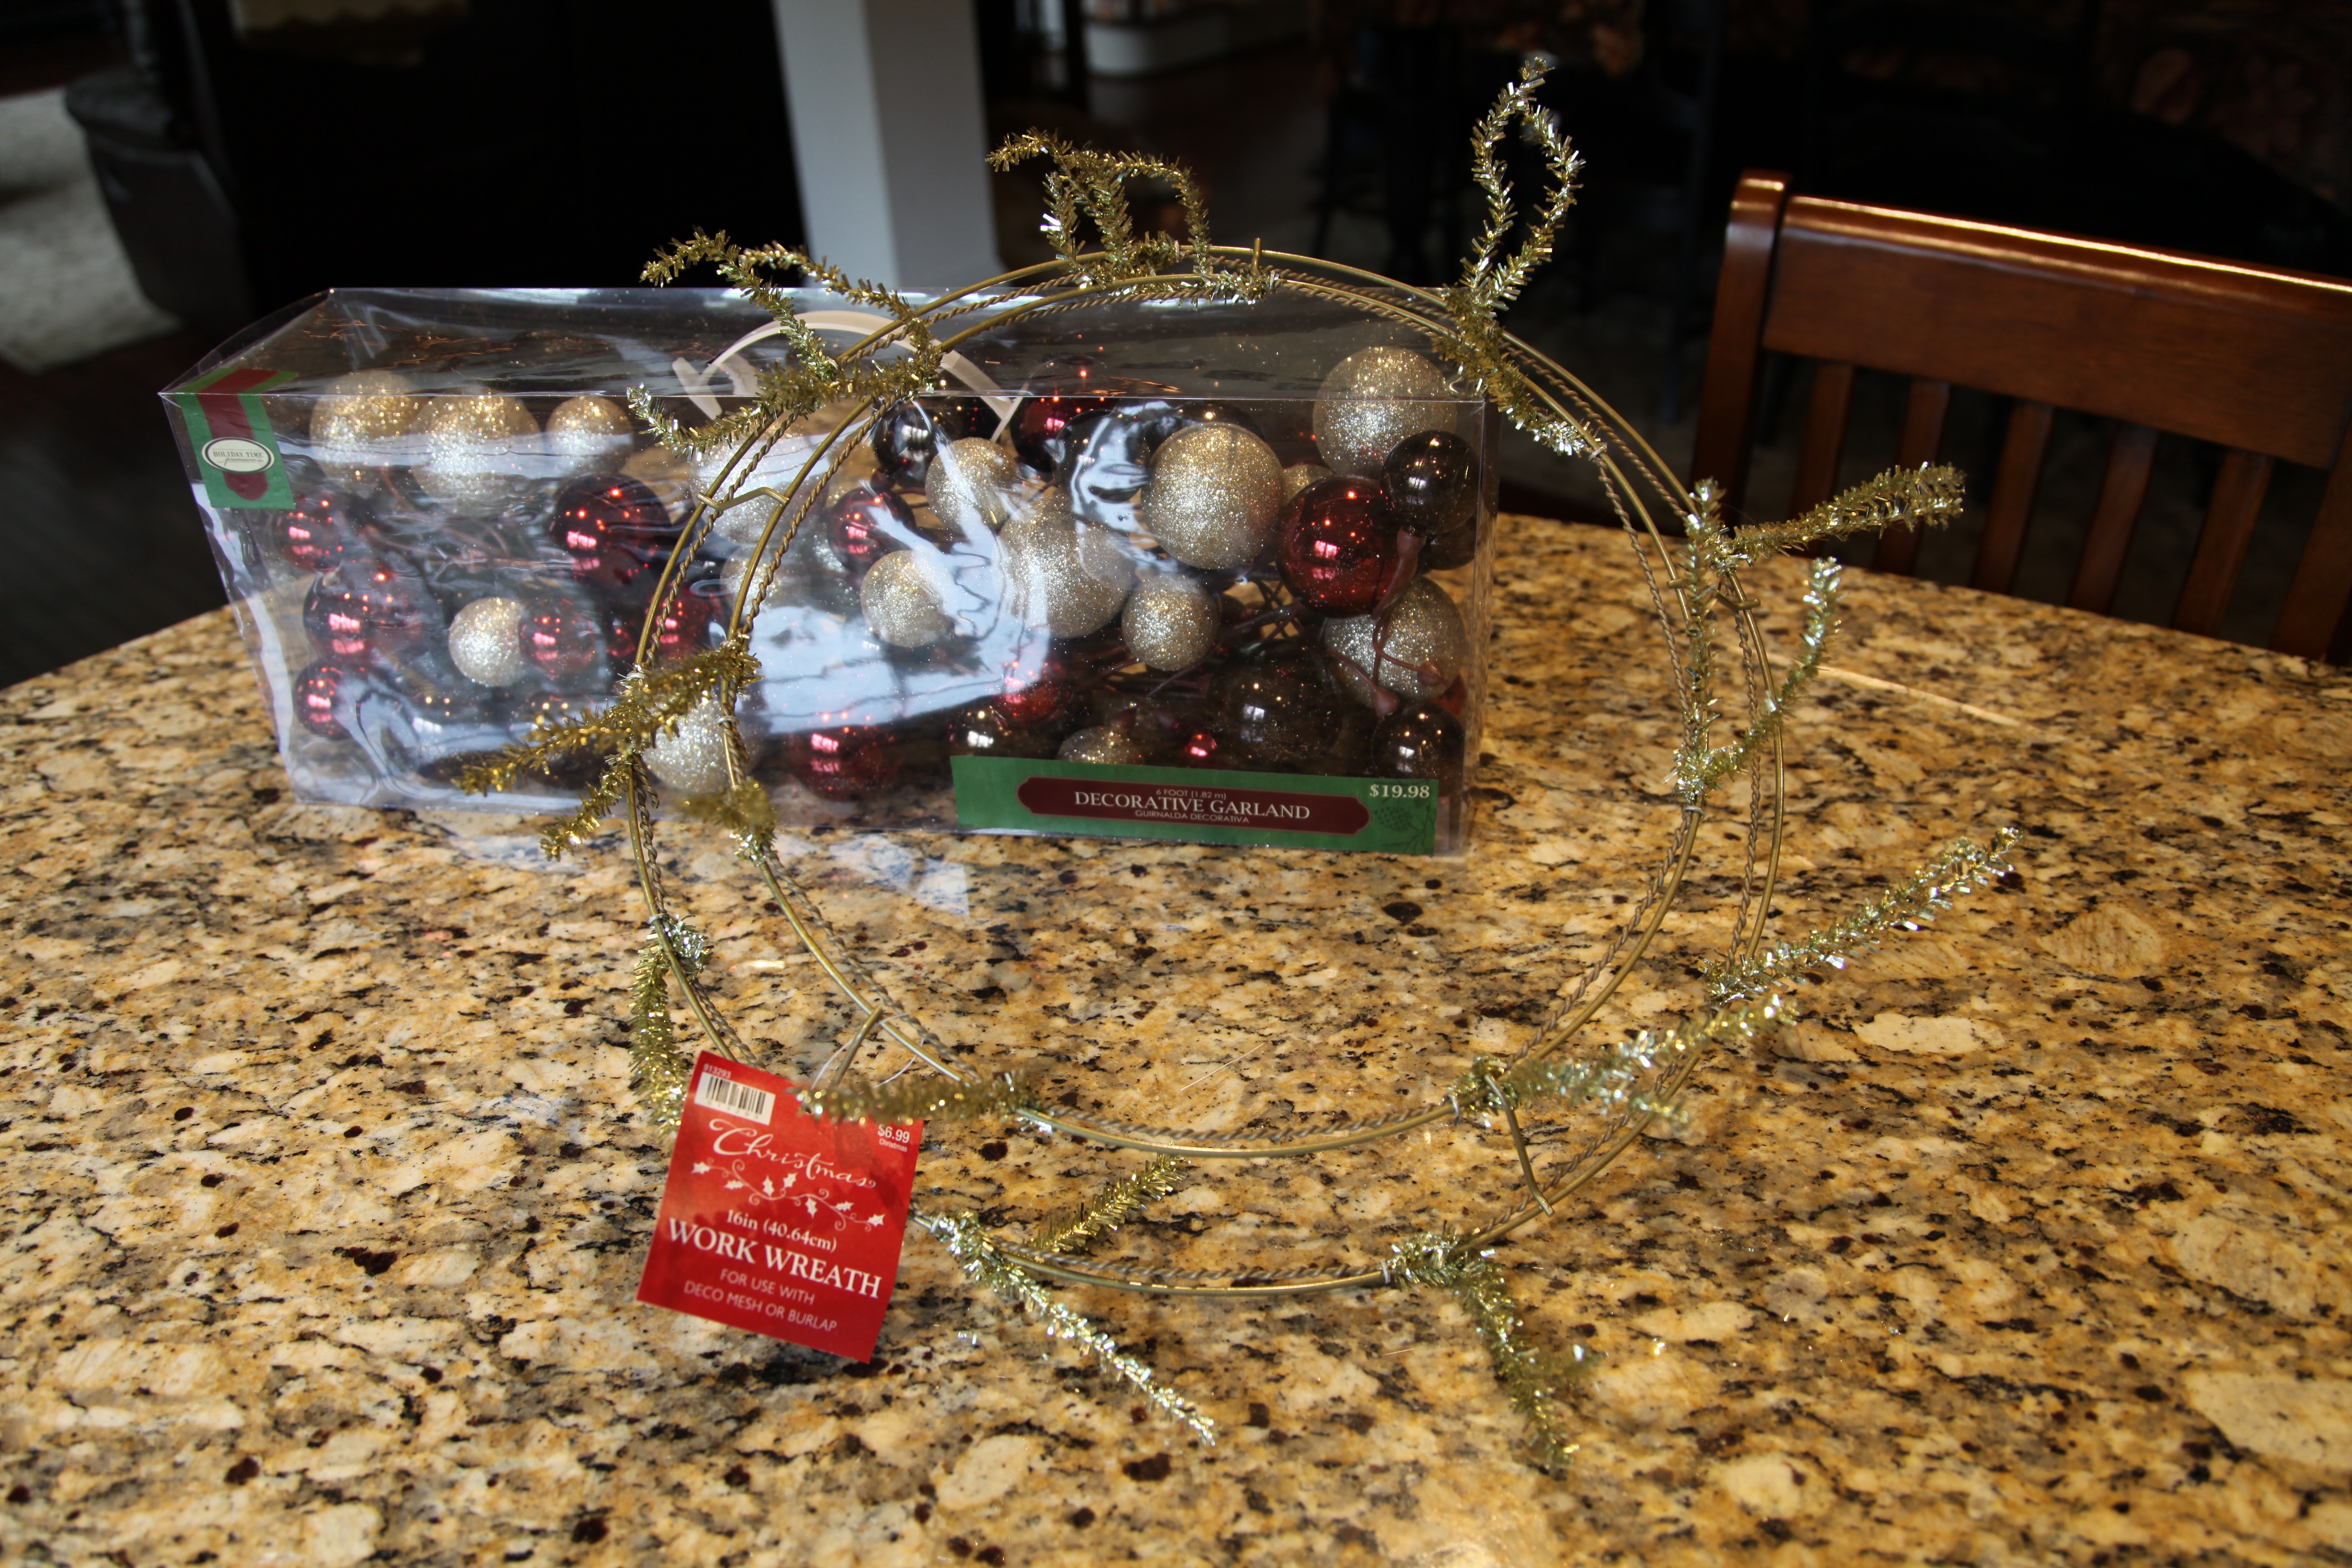
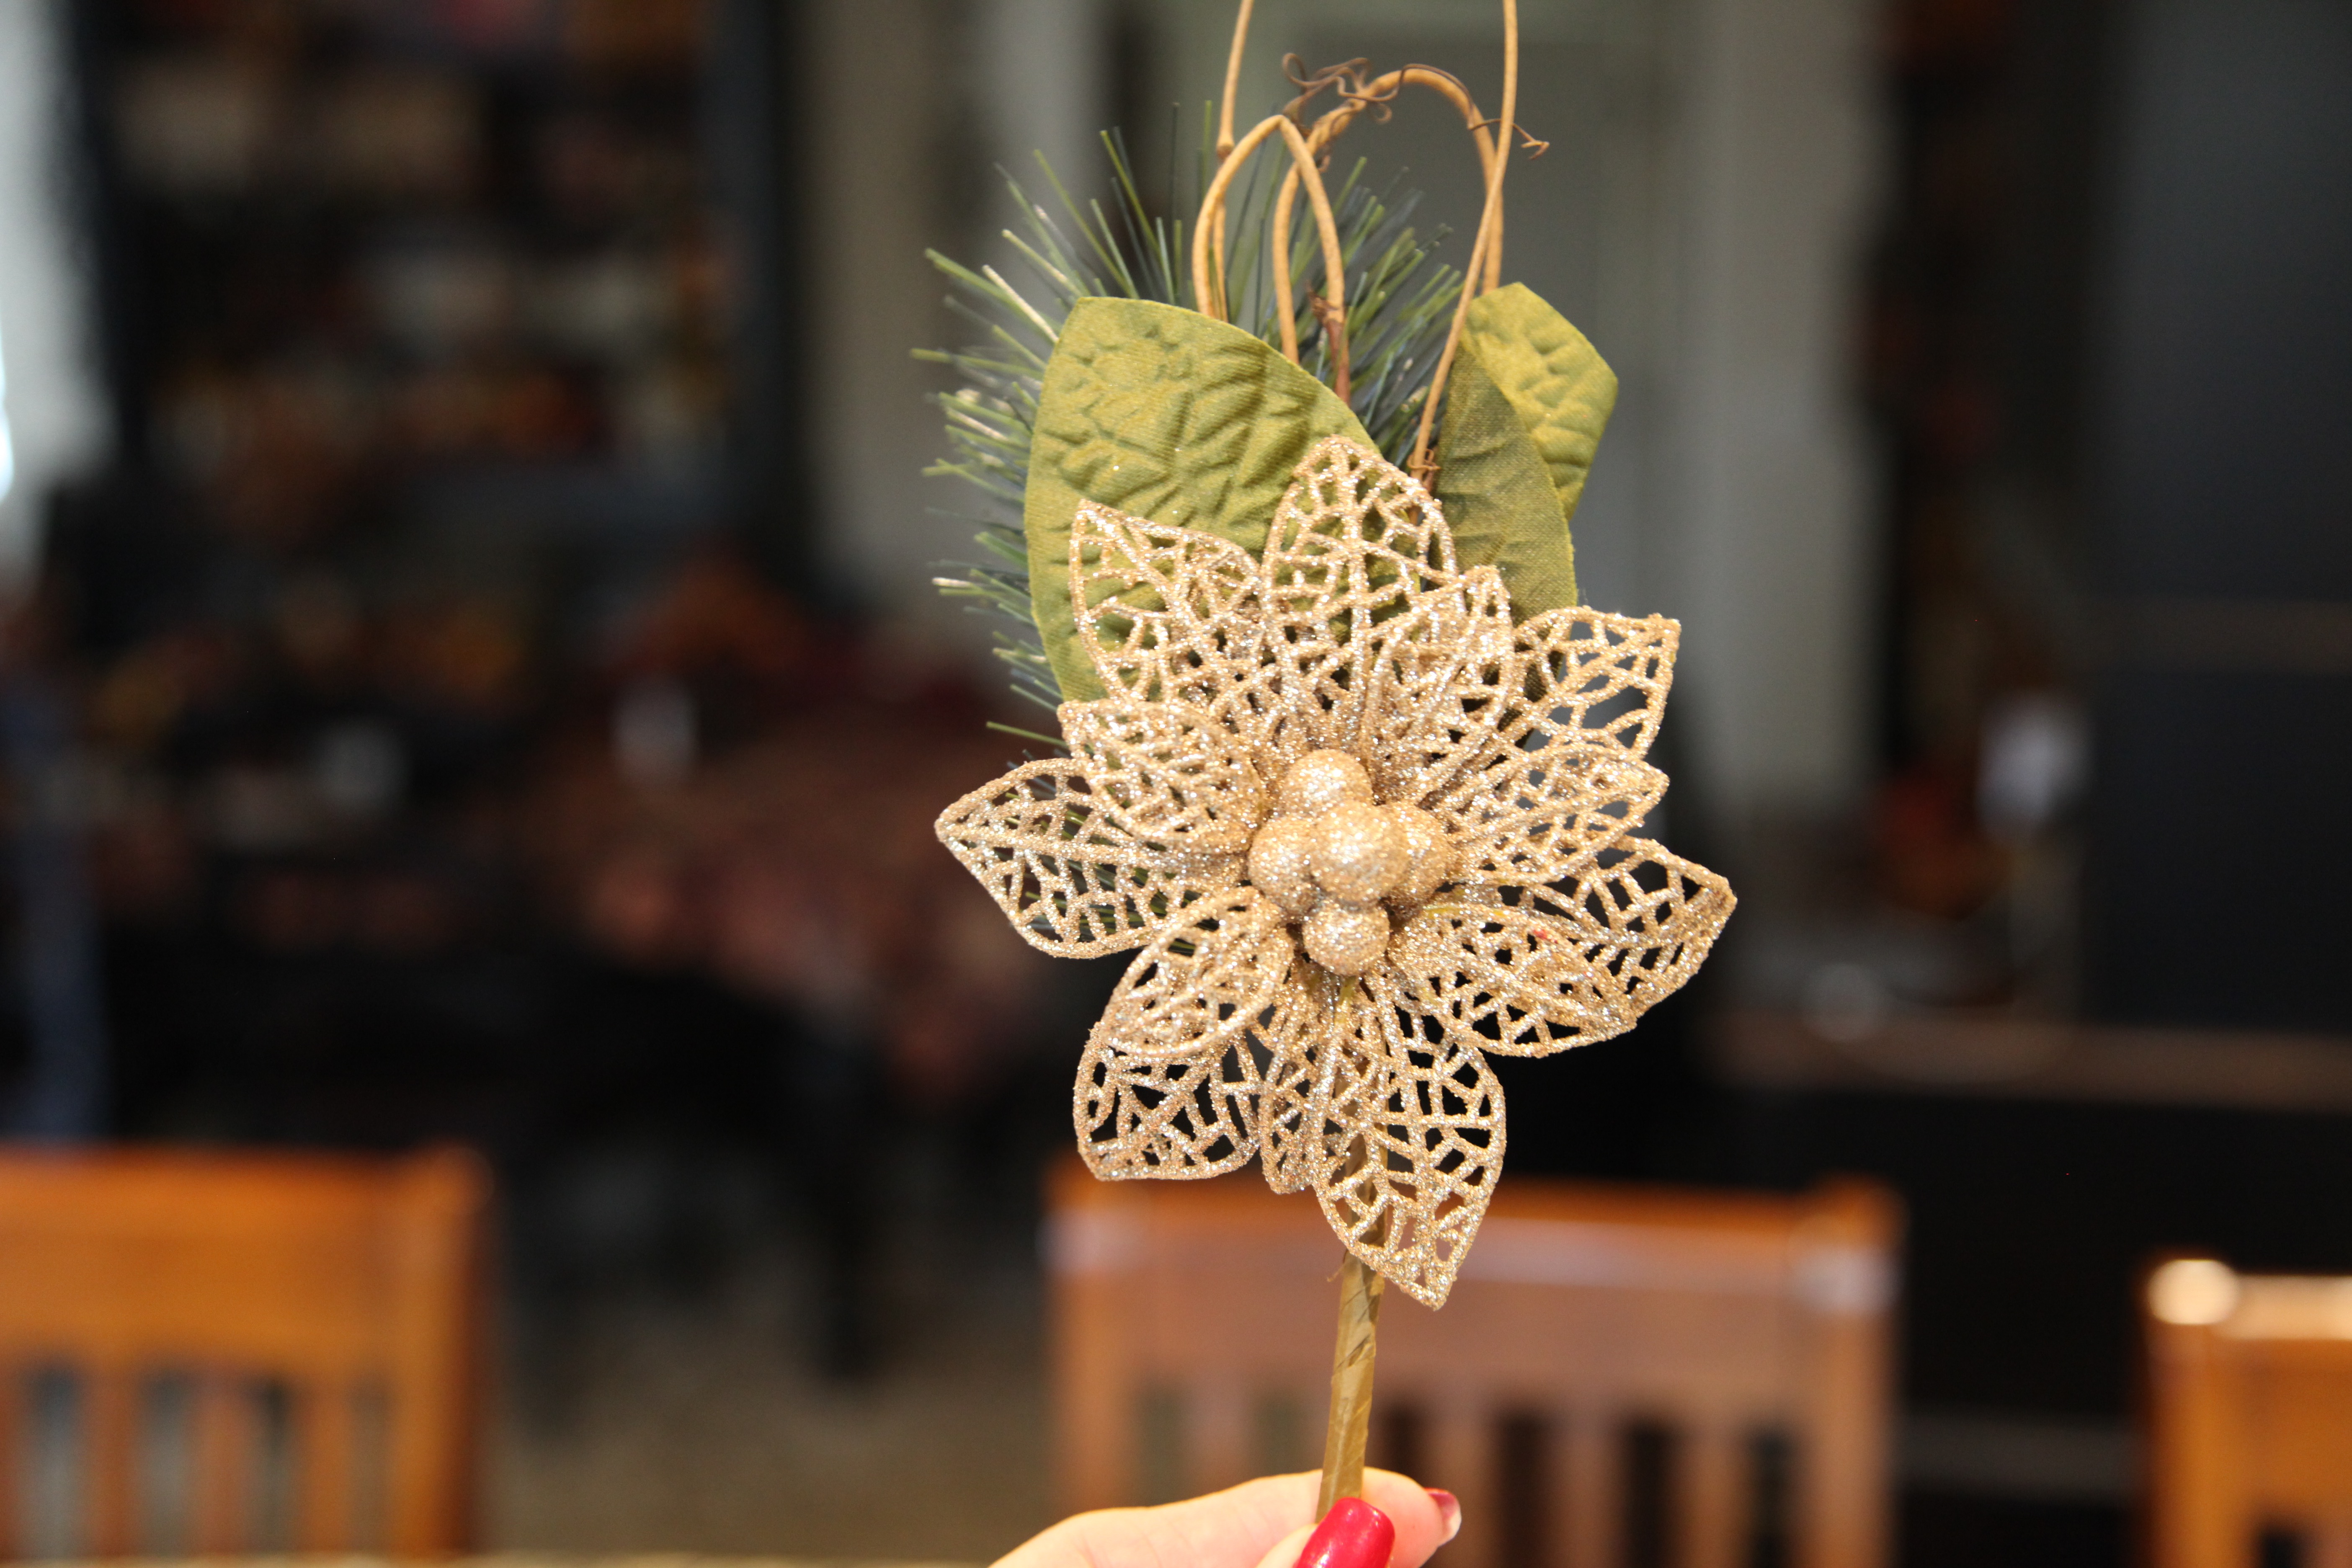
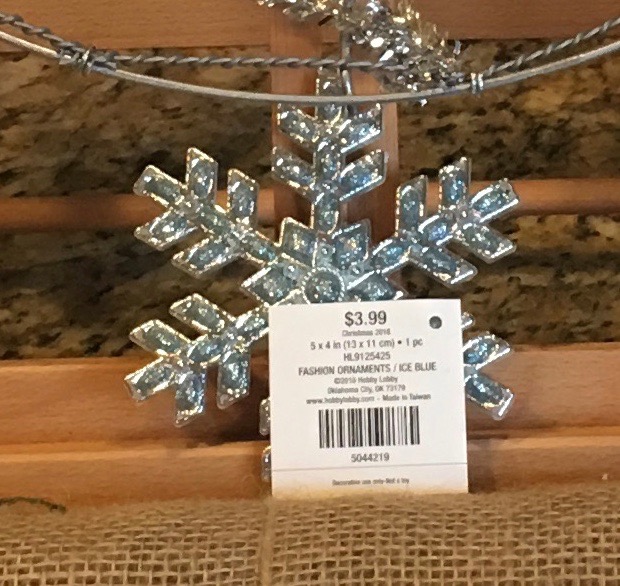
I then zipped around up and down the aisles of Hobby Lobby searching for all of the parts and pieces that I would gather to bring the wreath that was in my mind’s eye to fruition.  The next thing that I found were these snowflakes which were perfect because there were snowflakes on that tree…

IMG_2686 (3).jpg

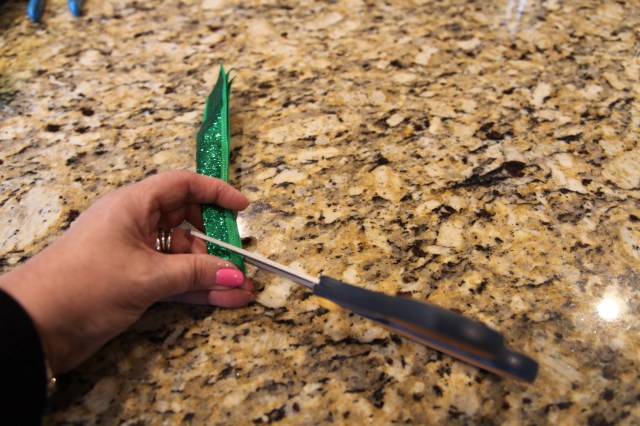
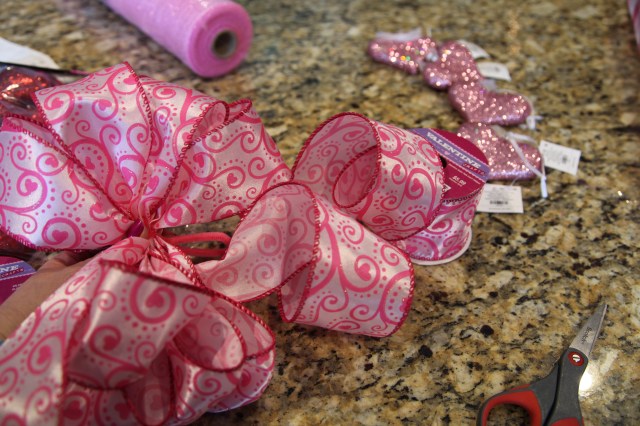
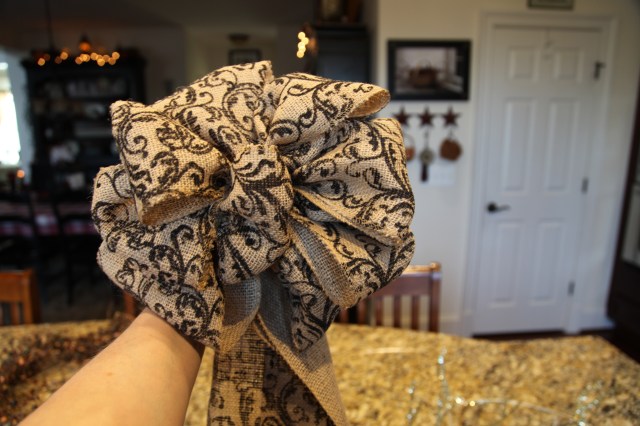
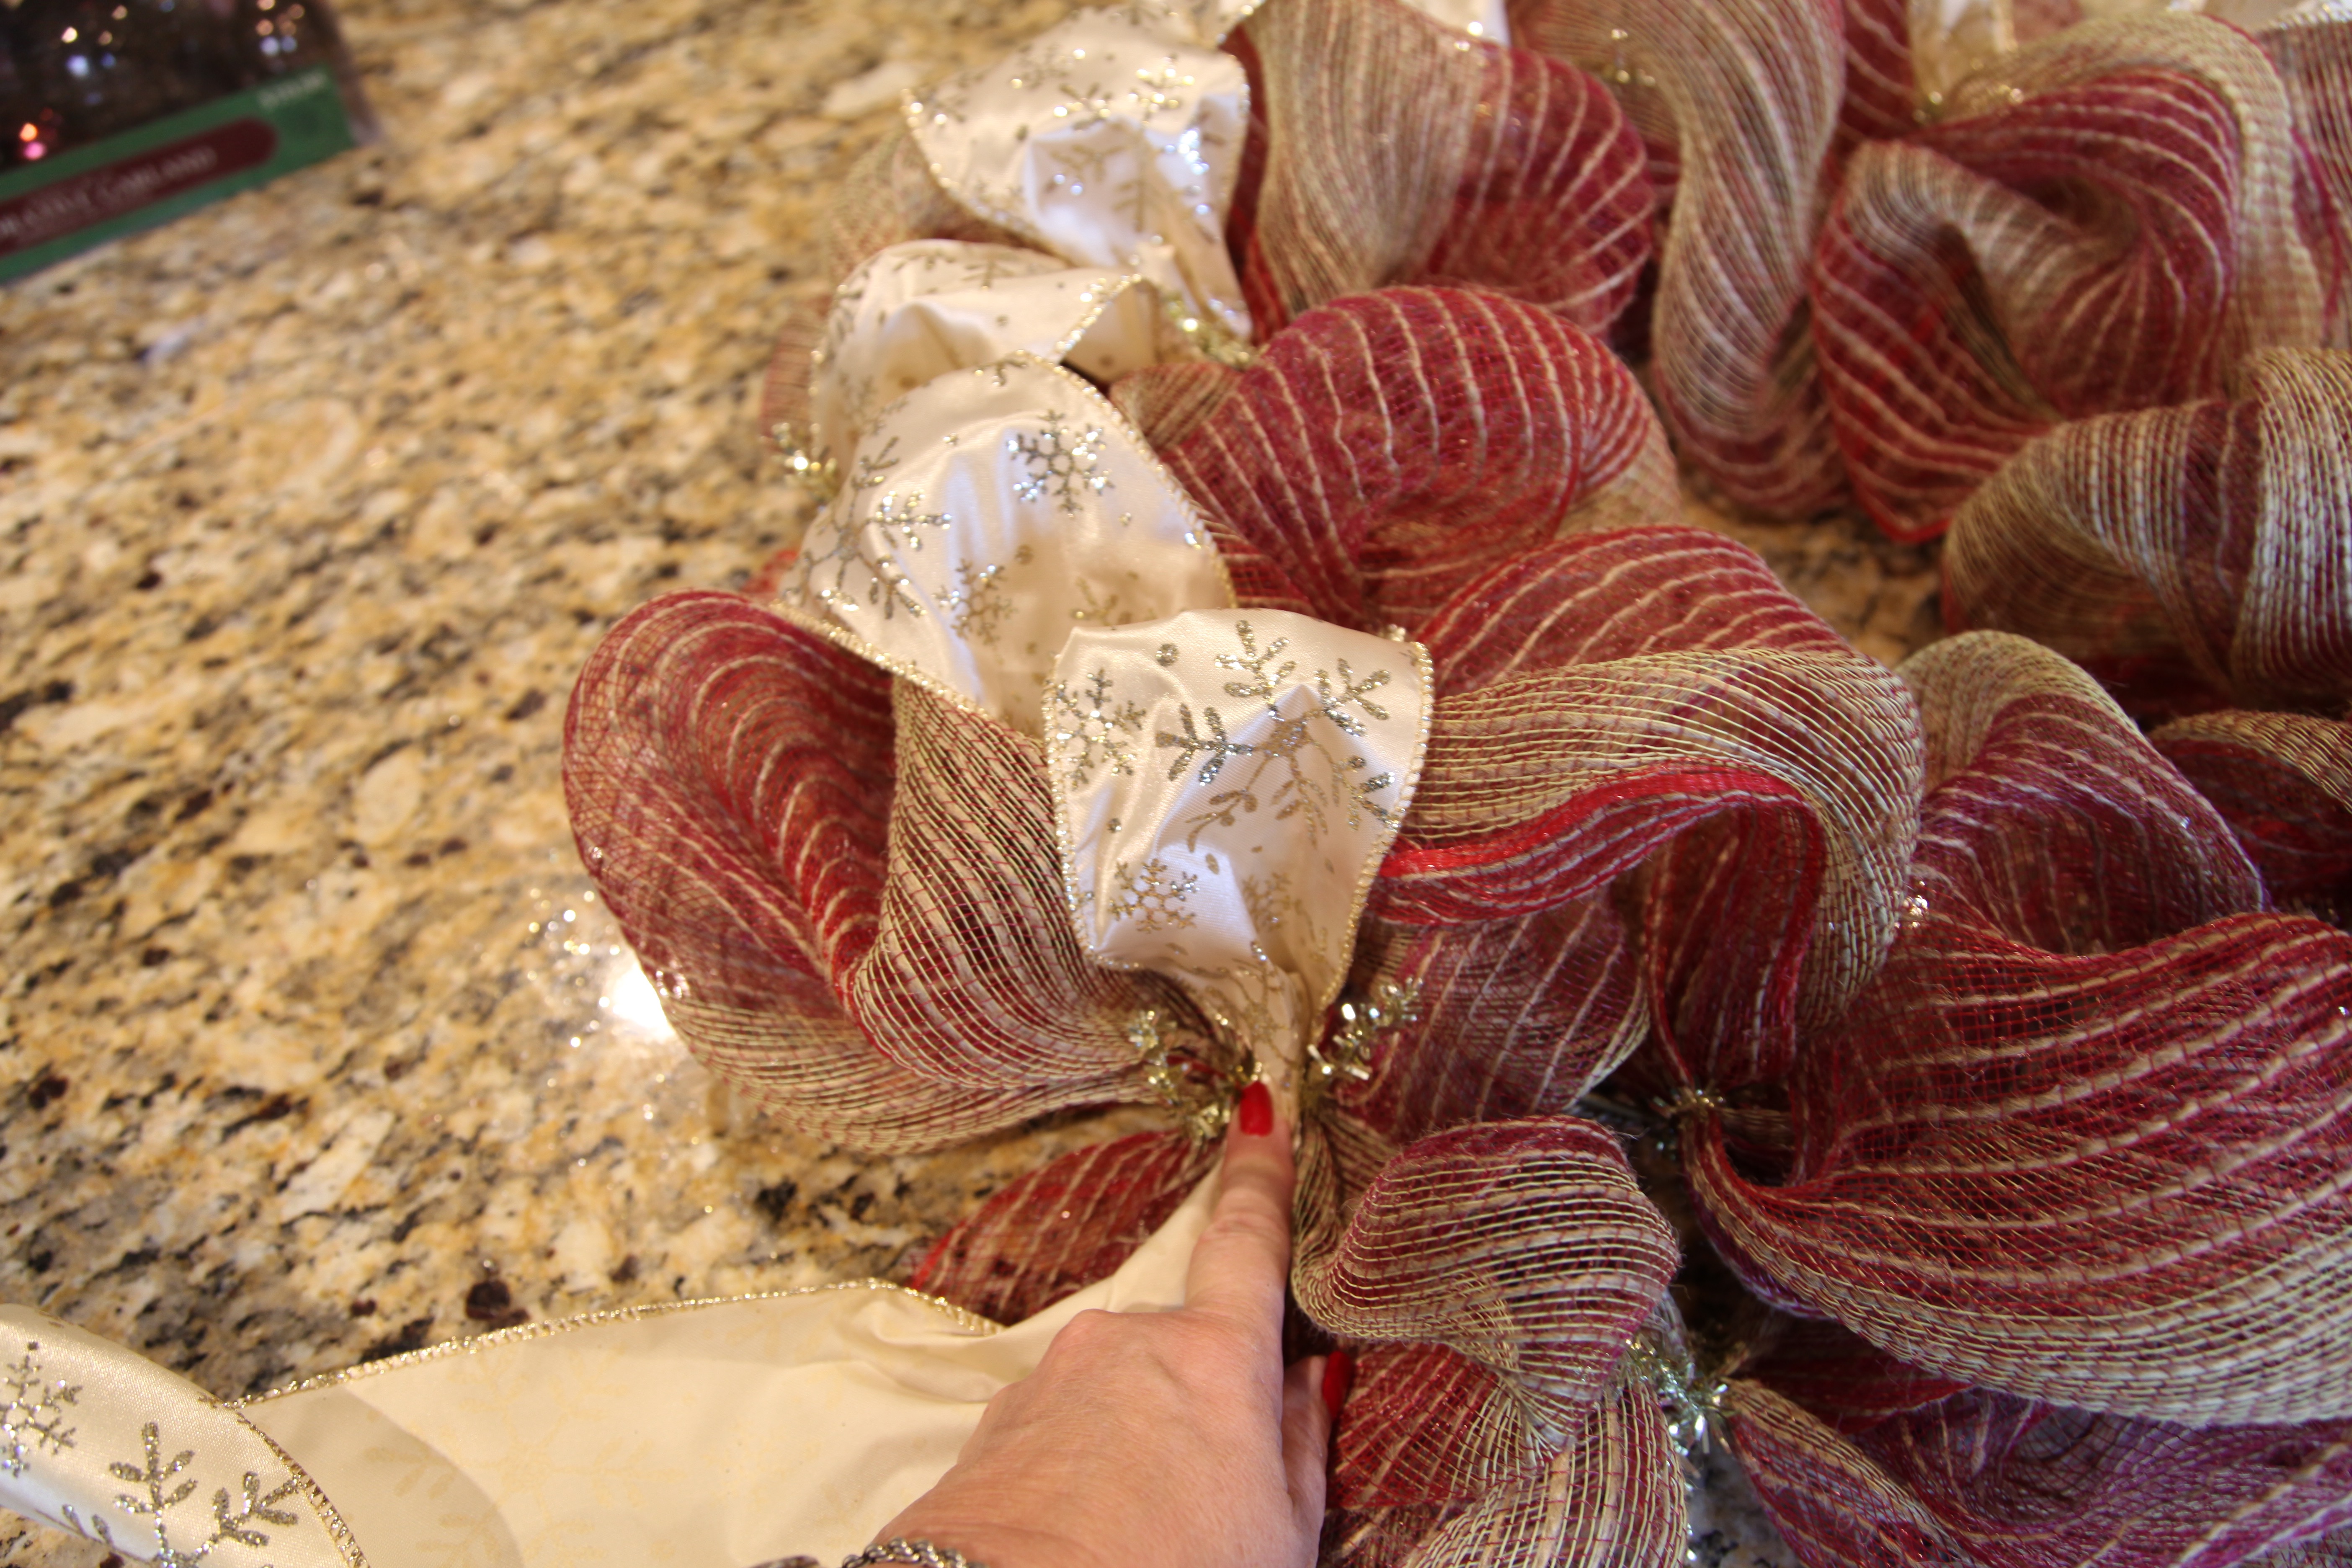
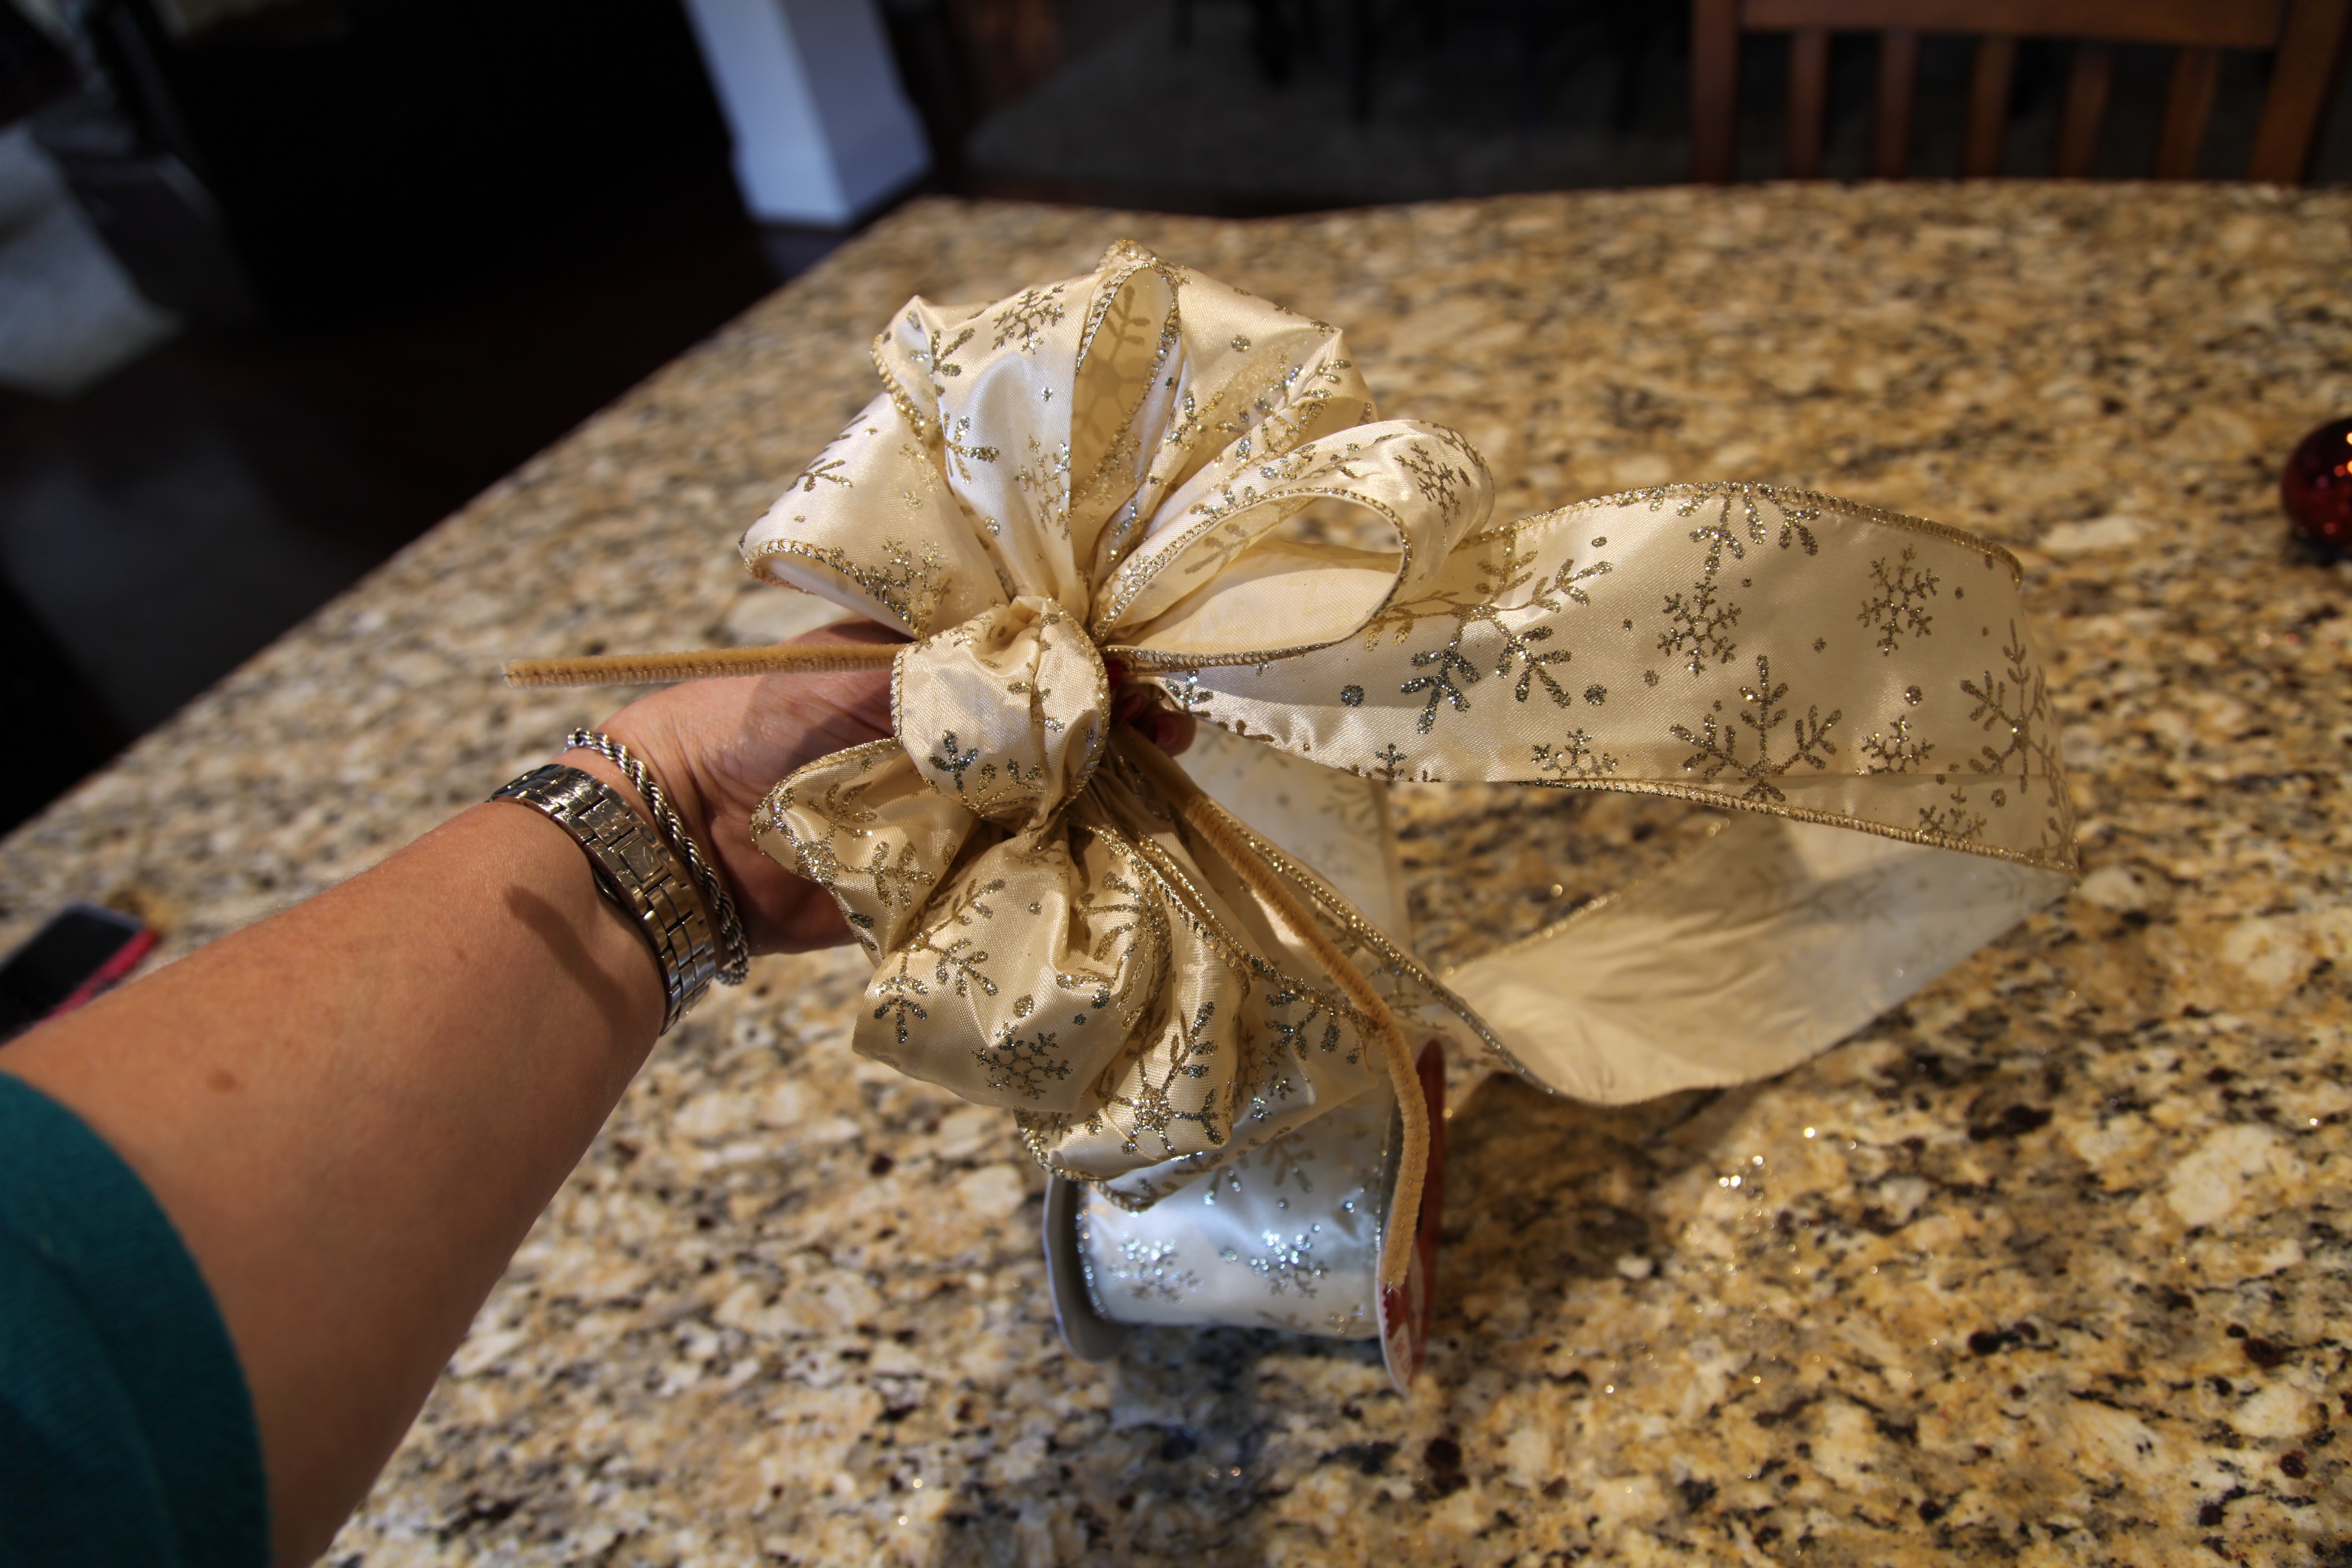
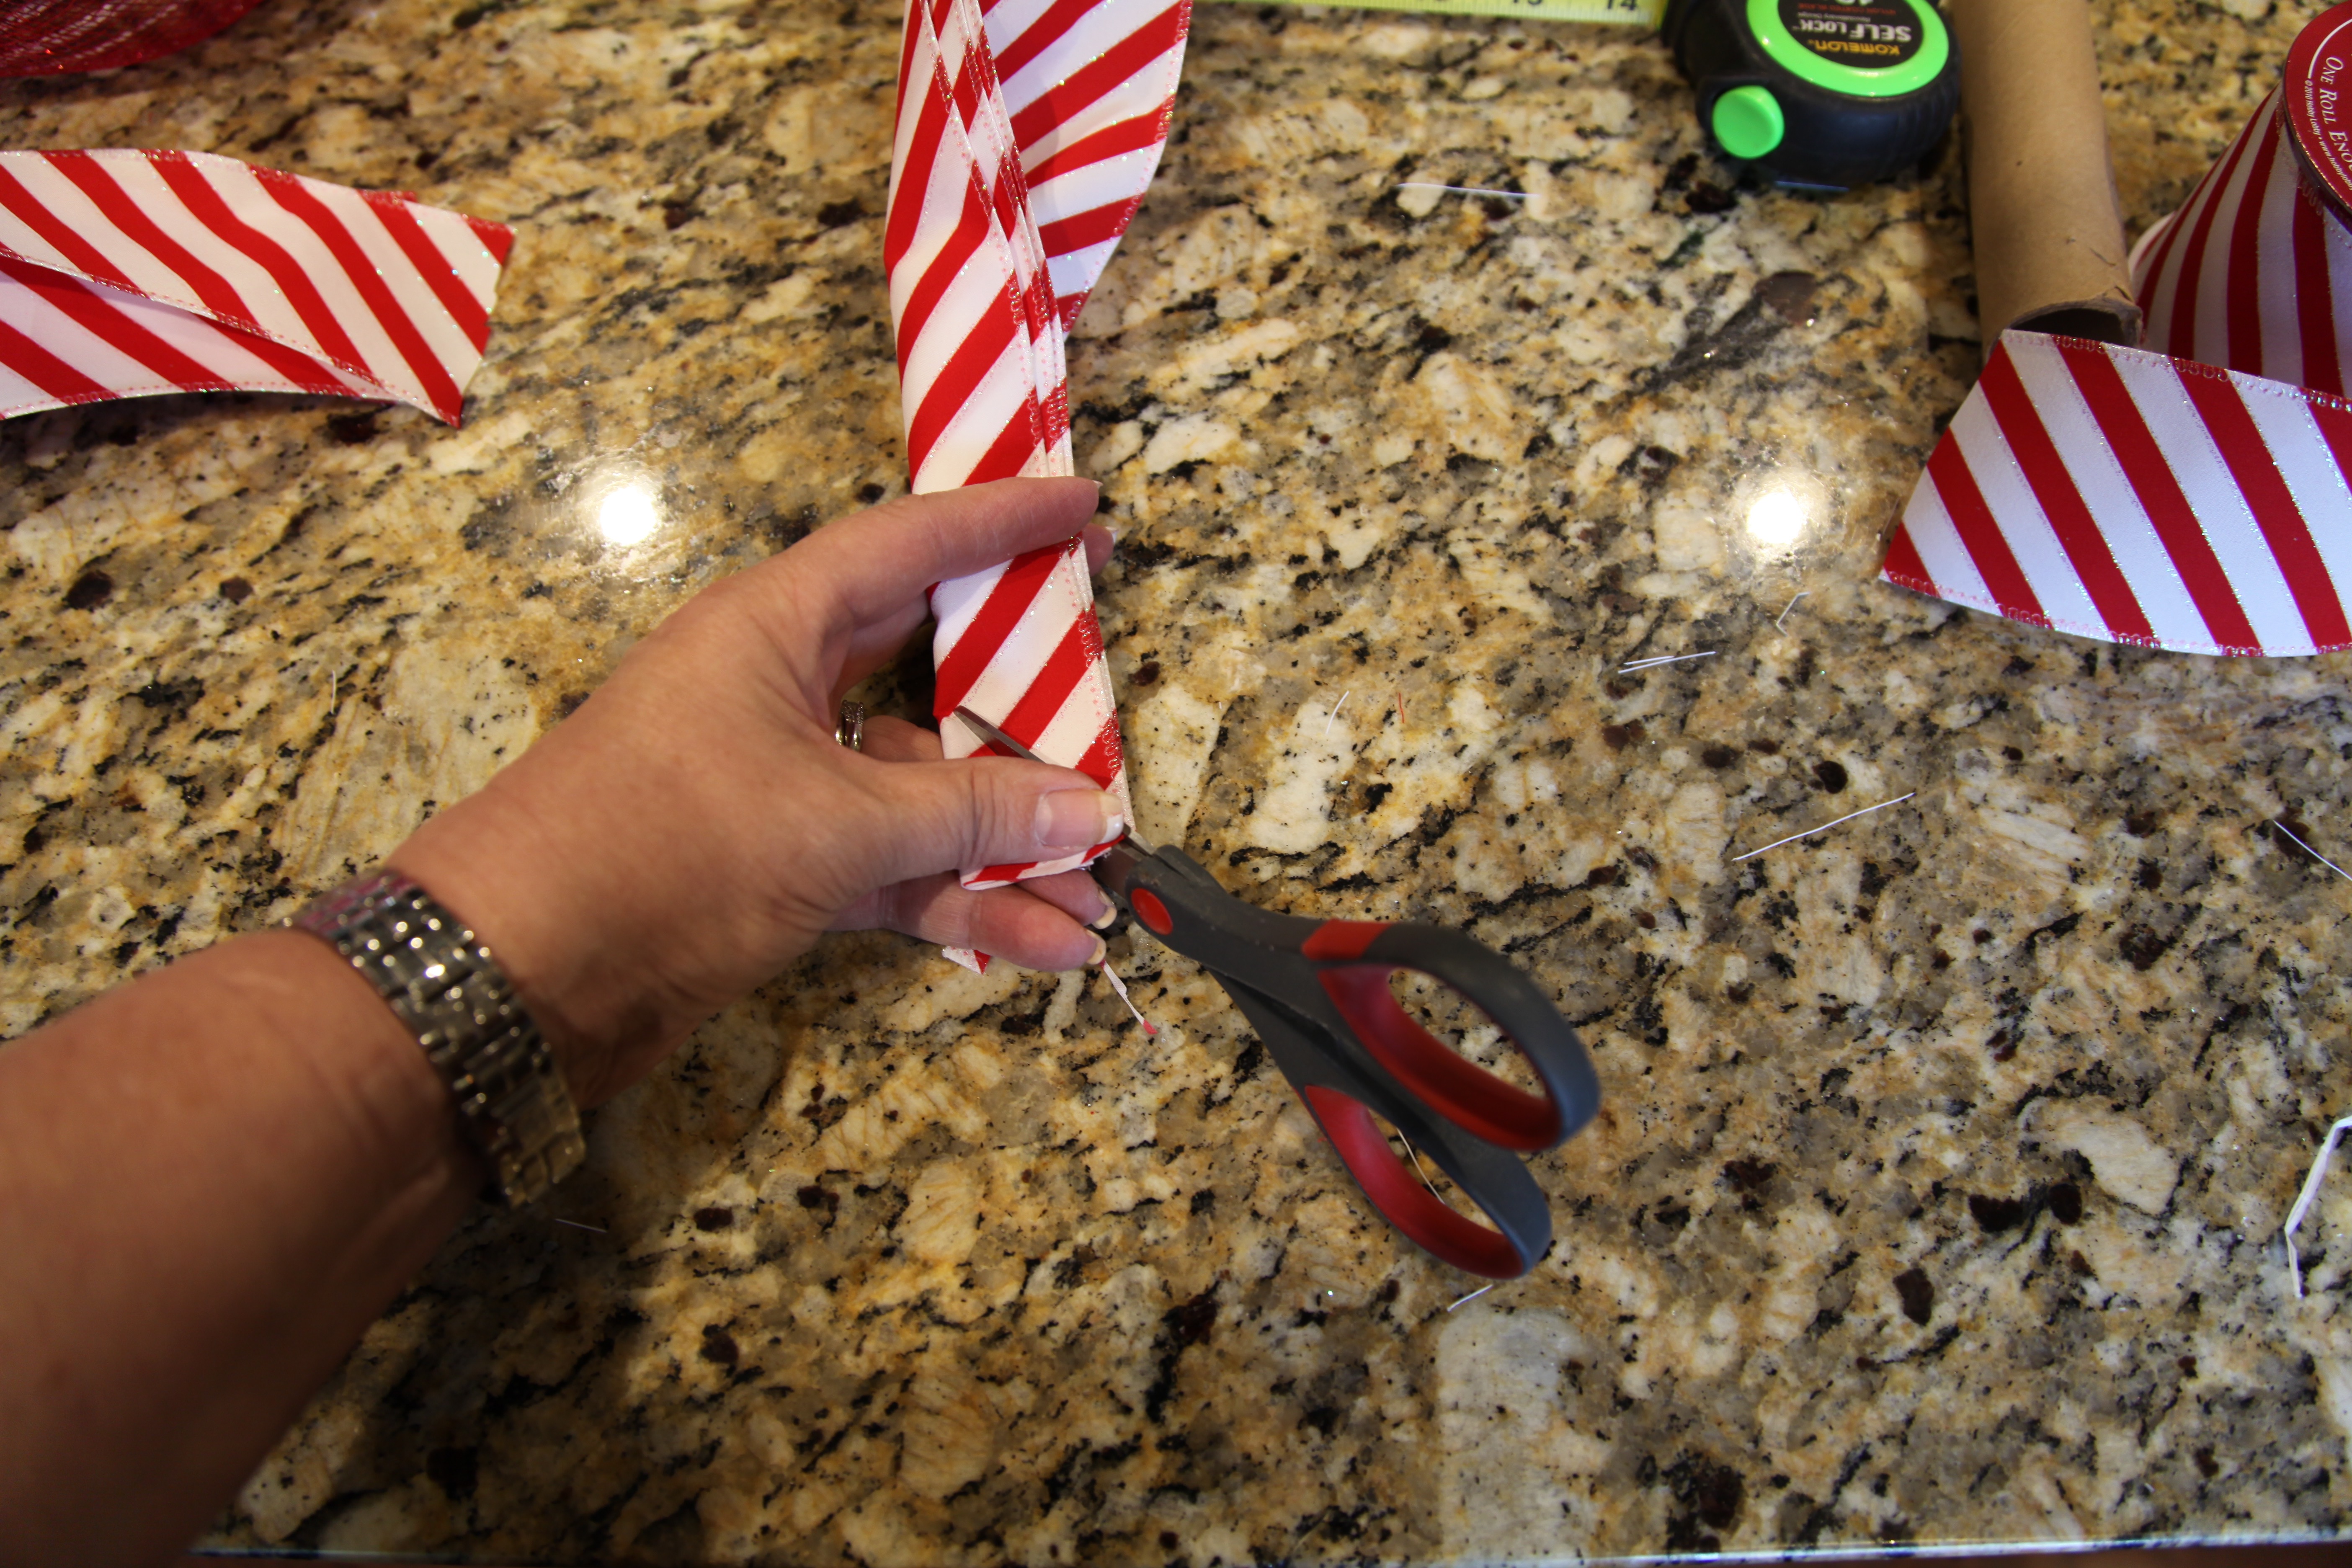
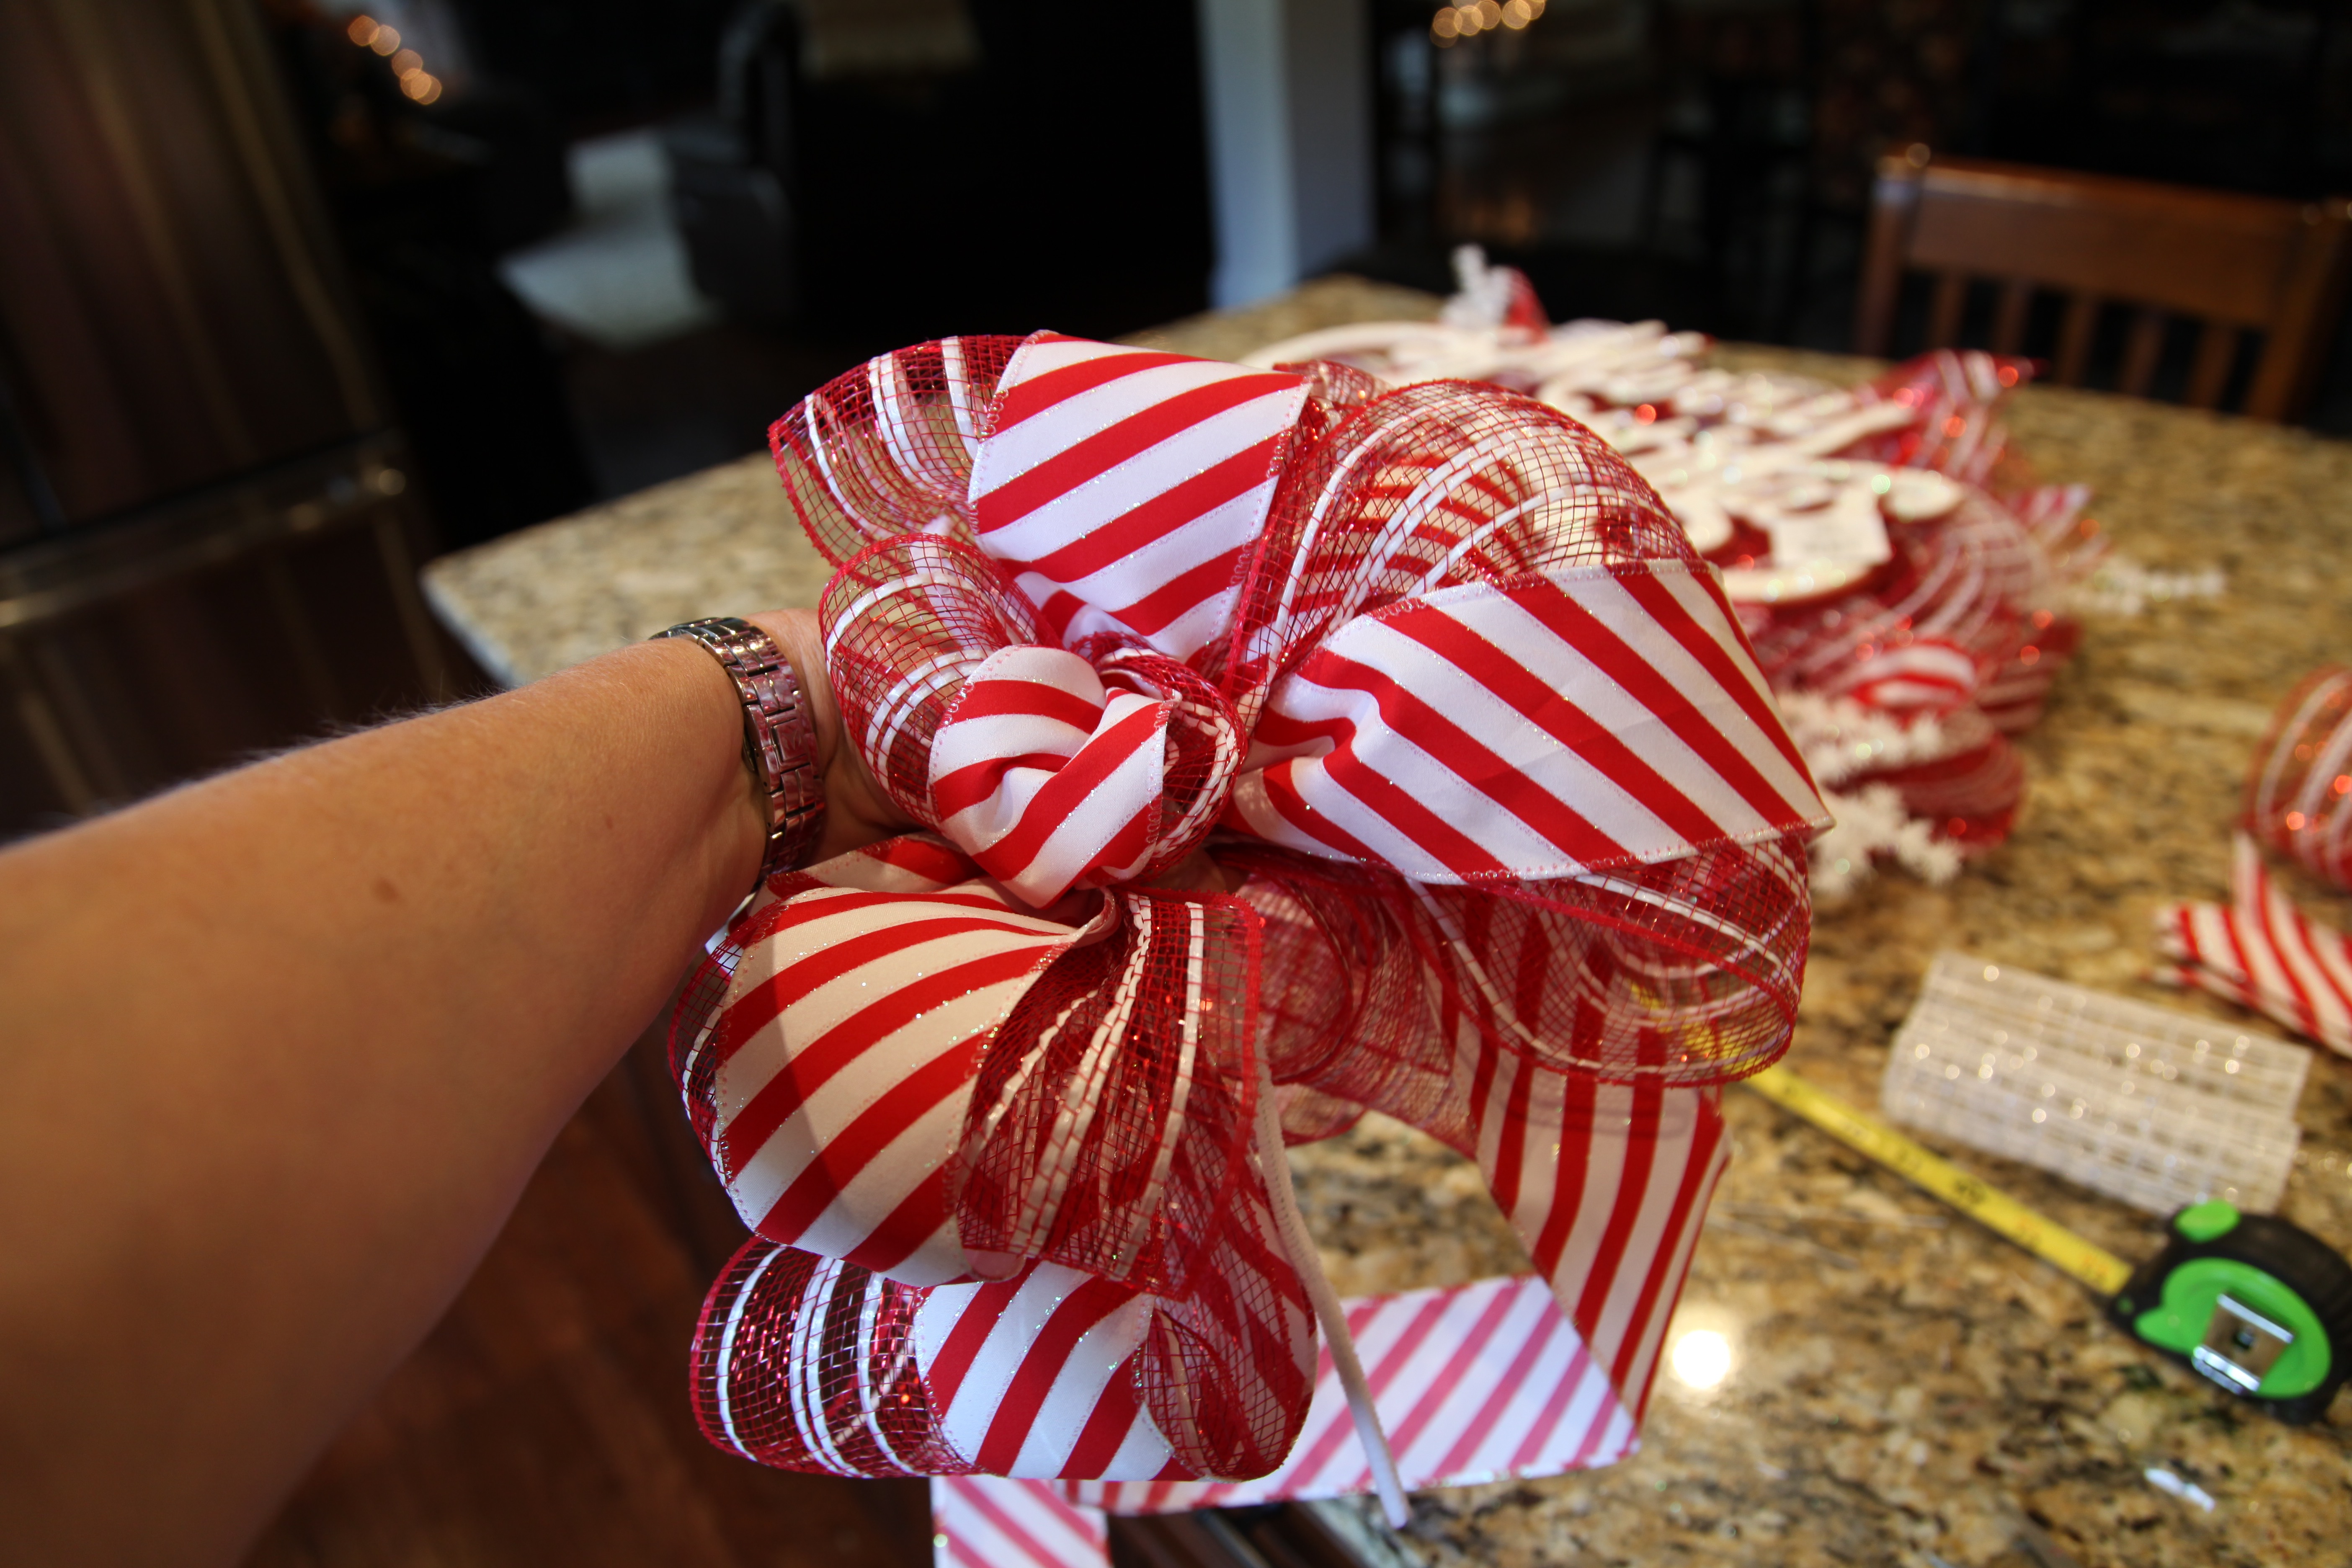
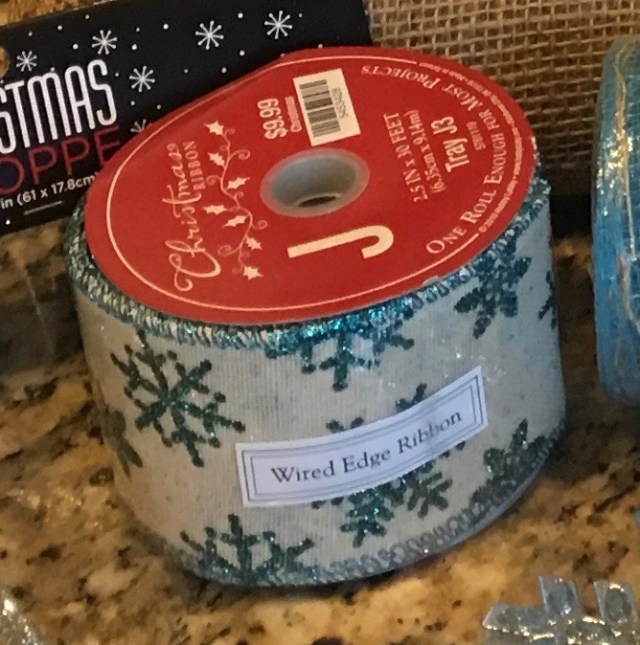
And then I found the wired ribbon that would be for my craft bow pretty snowflakes abounded there as well:

IMG_2686 (4).jpg

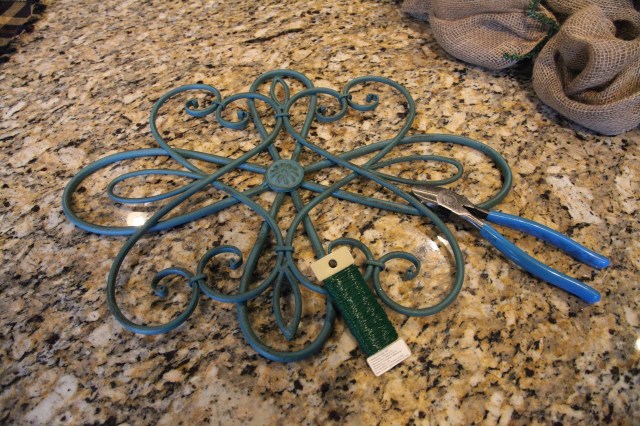
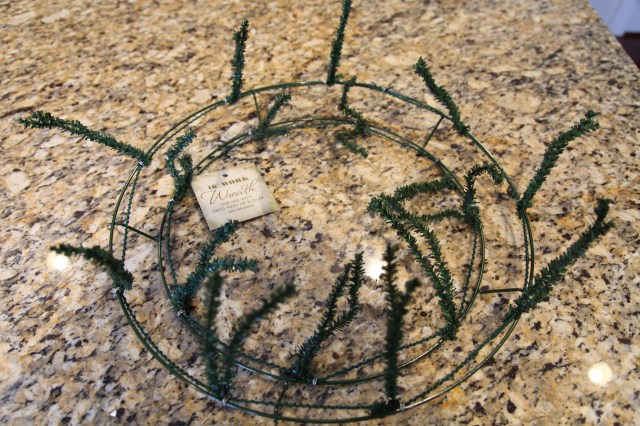
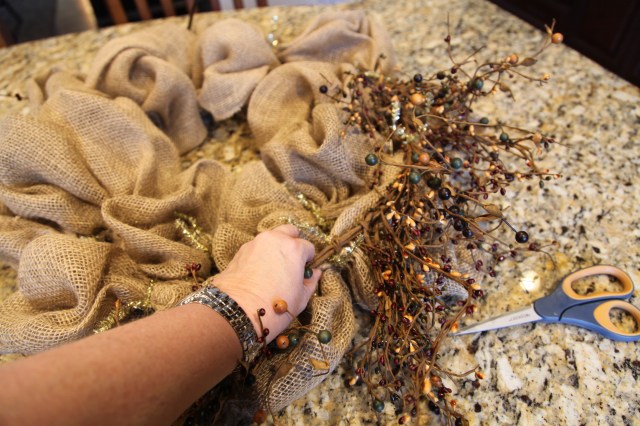
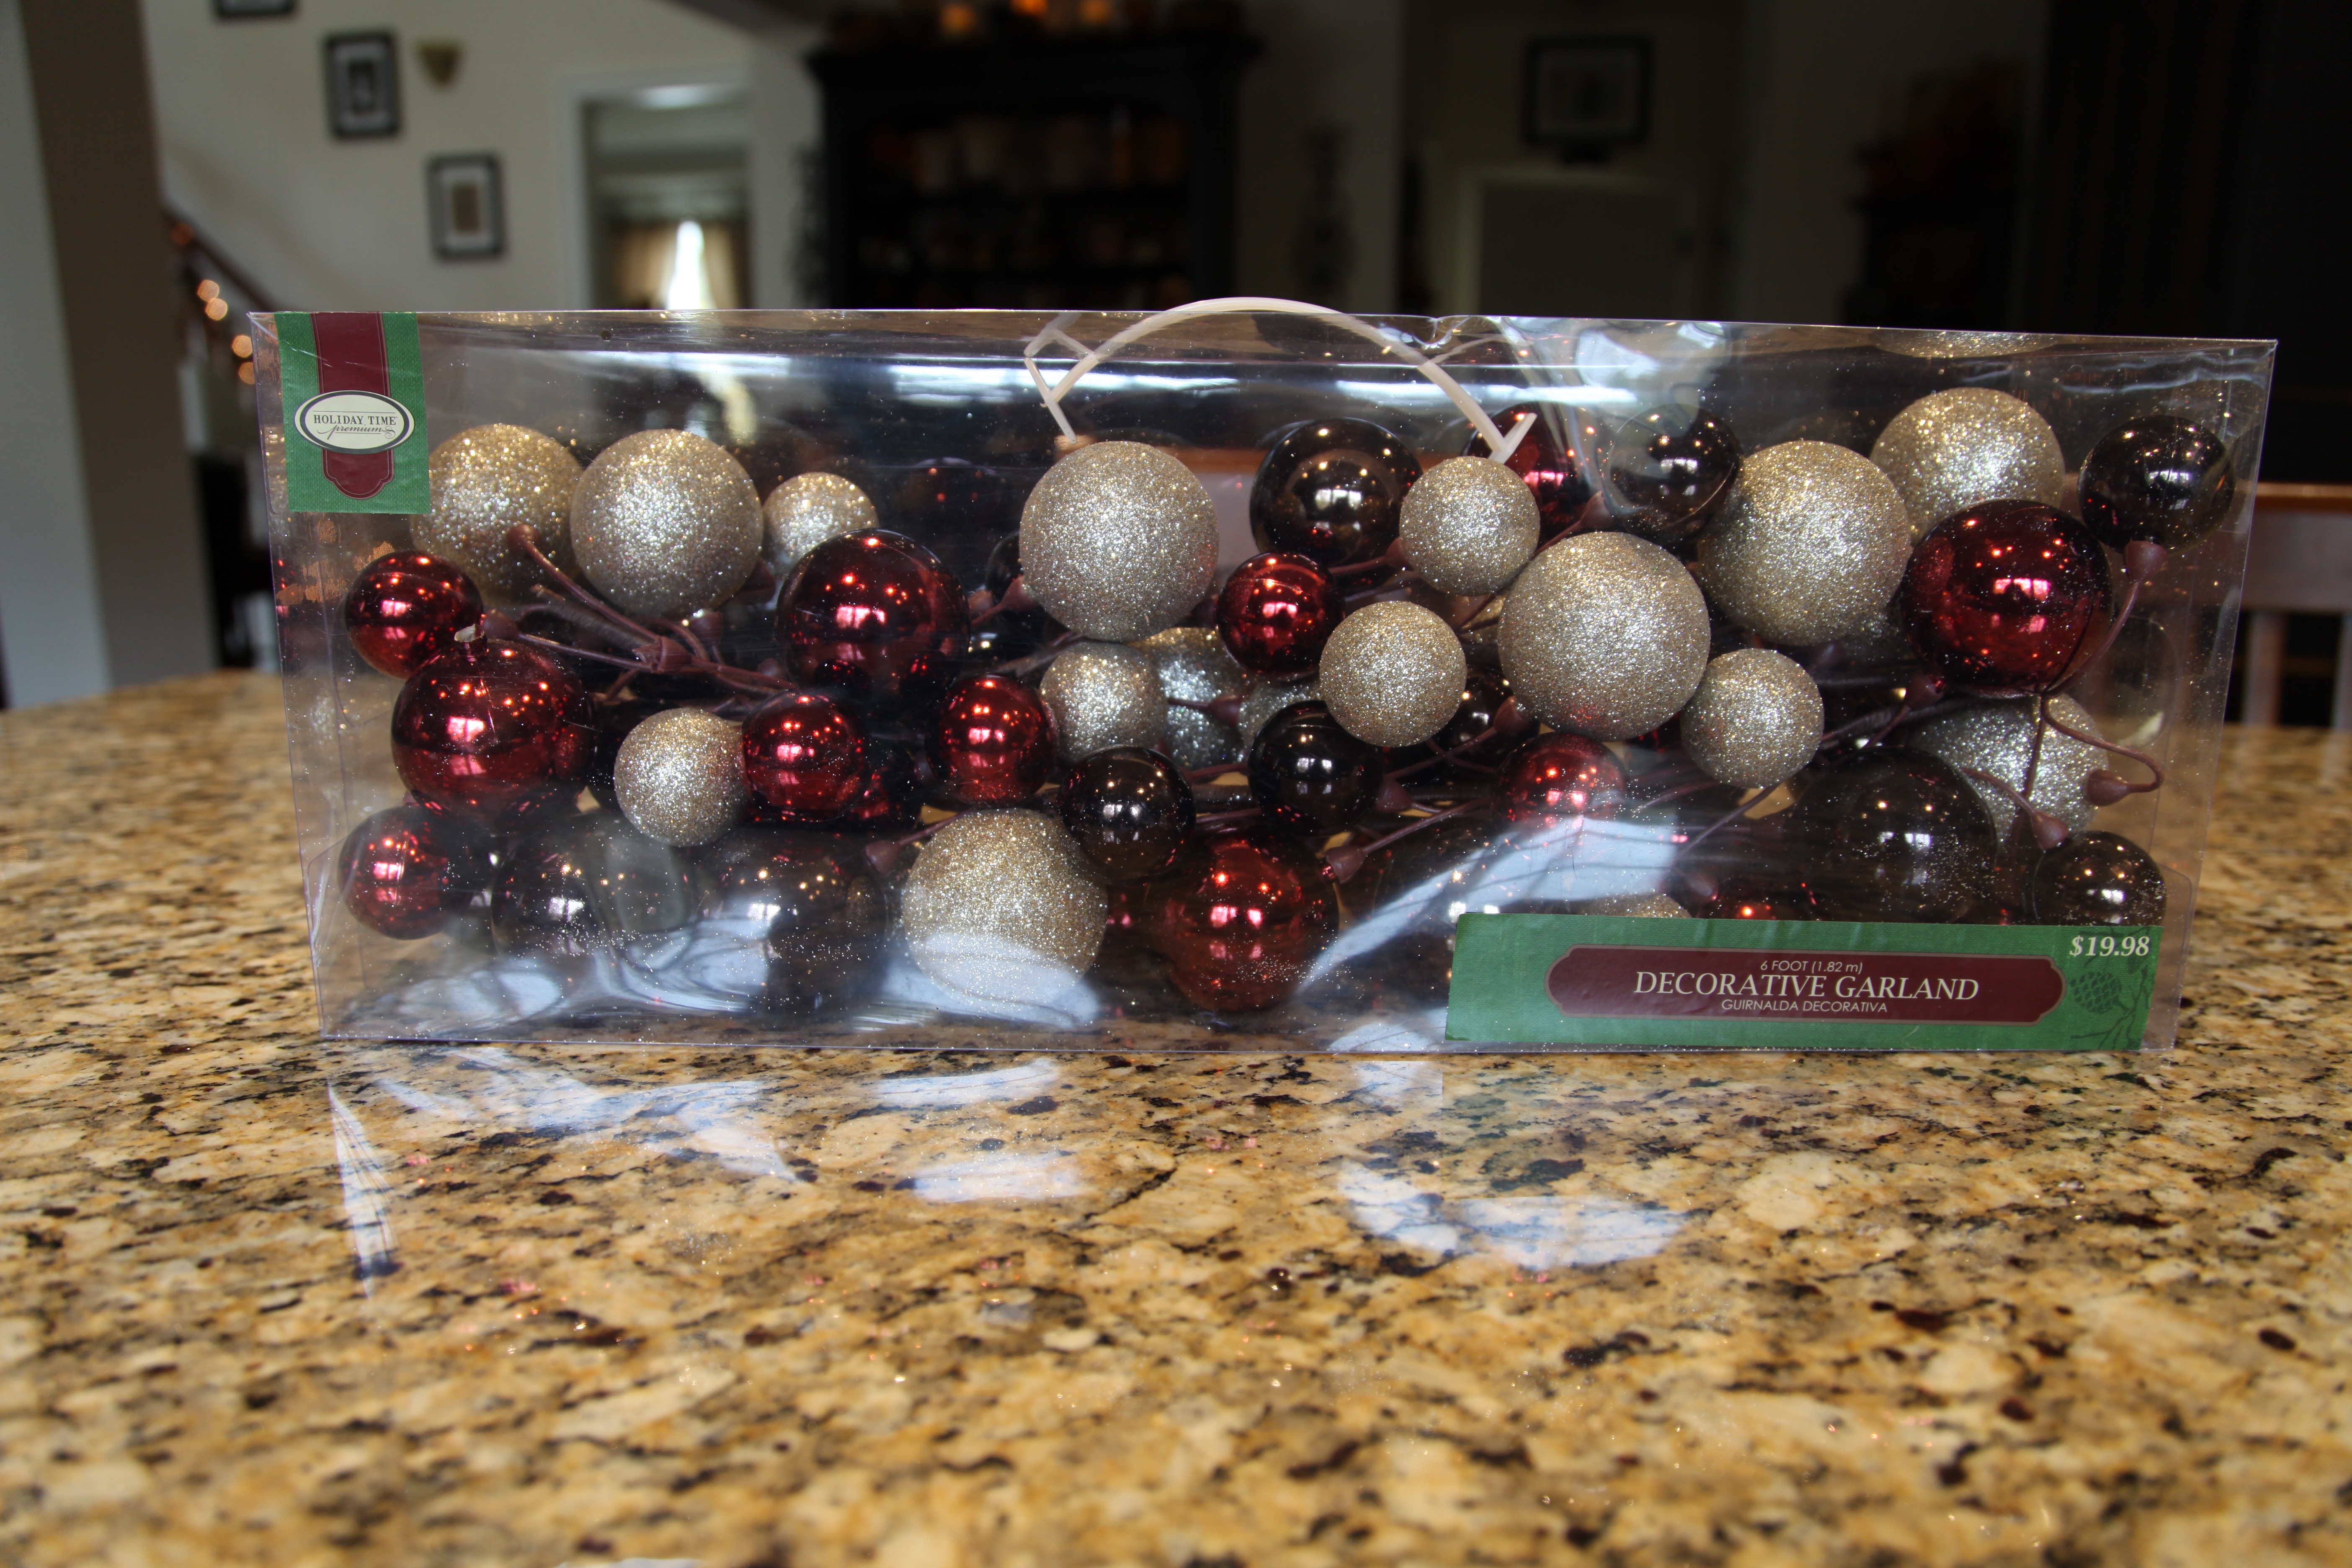
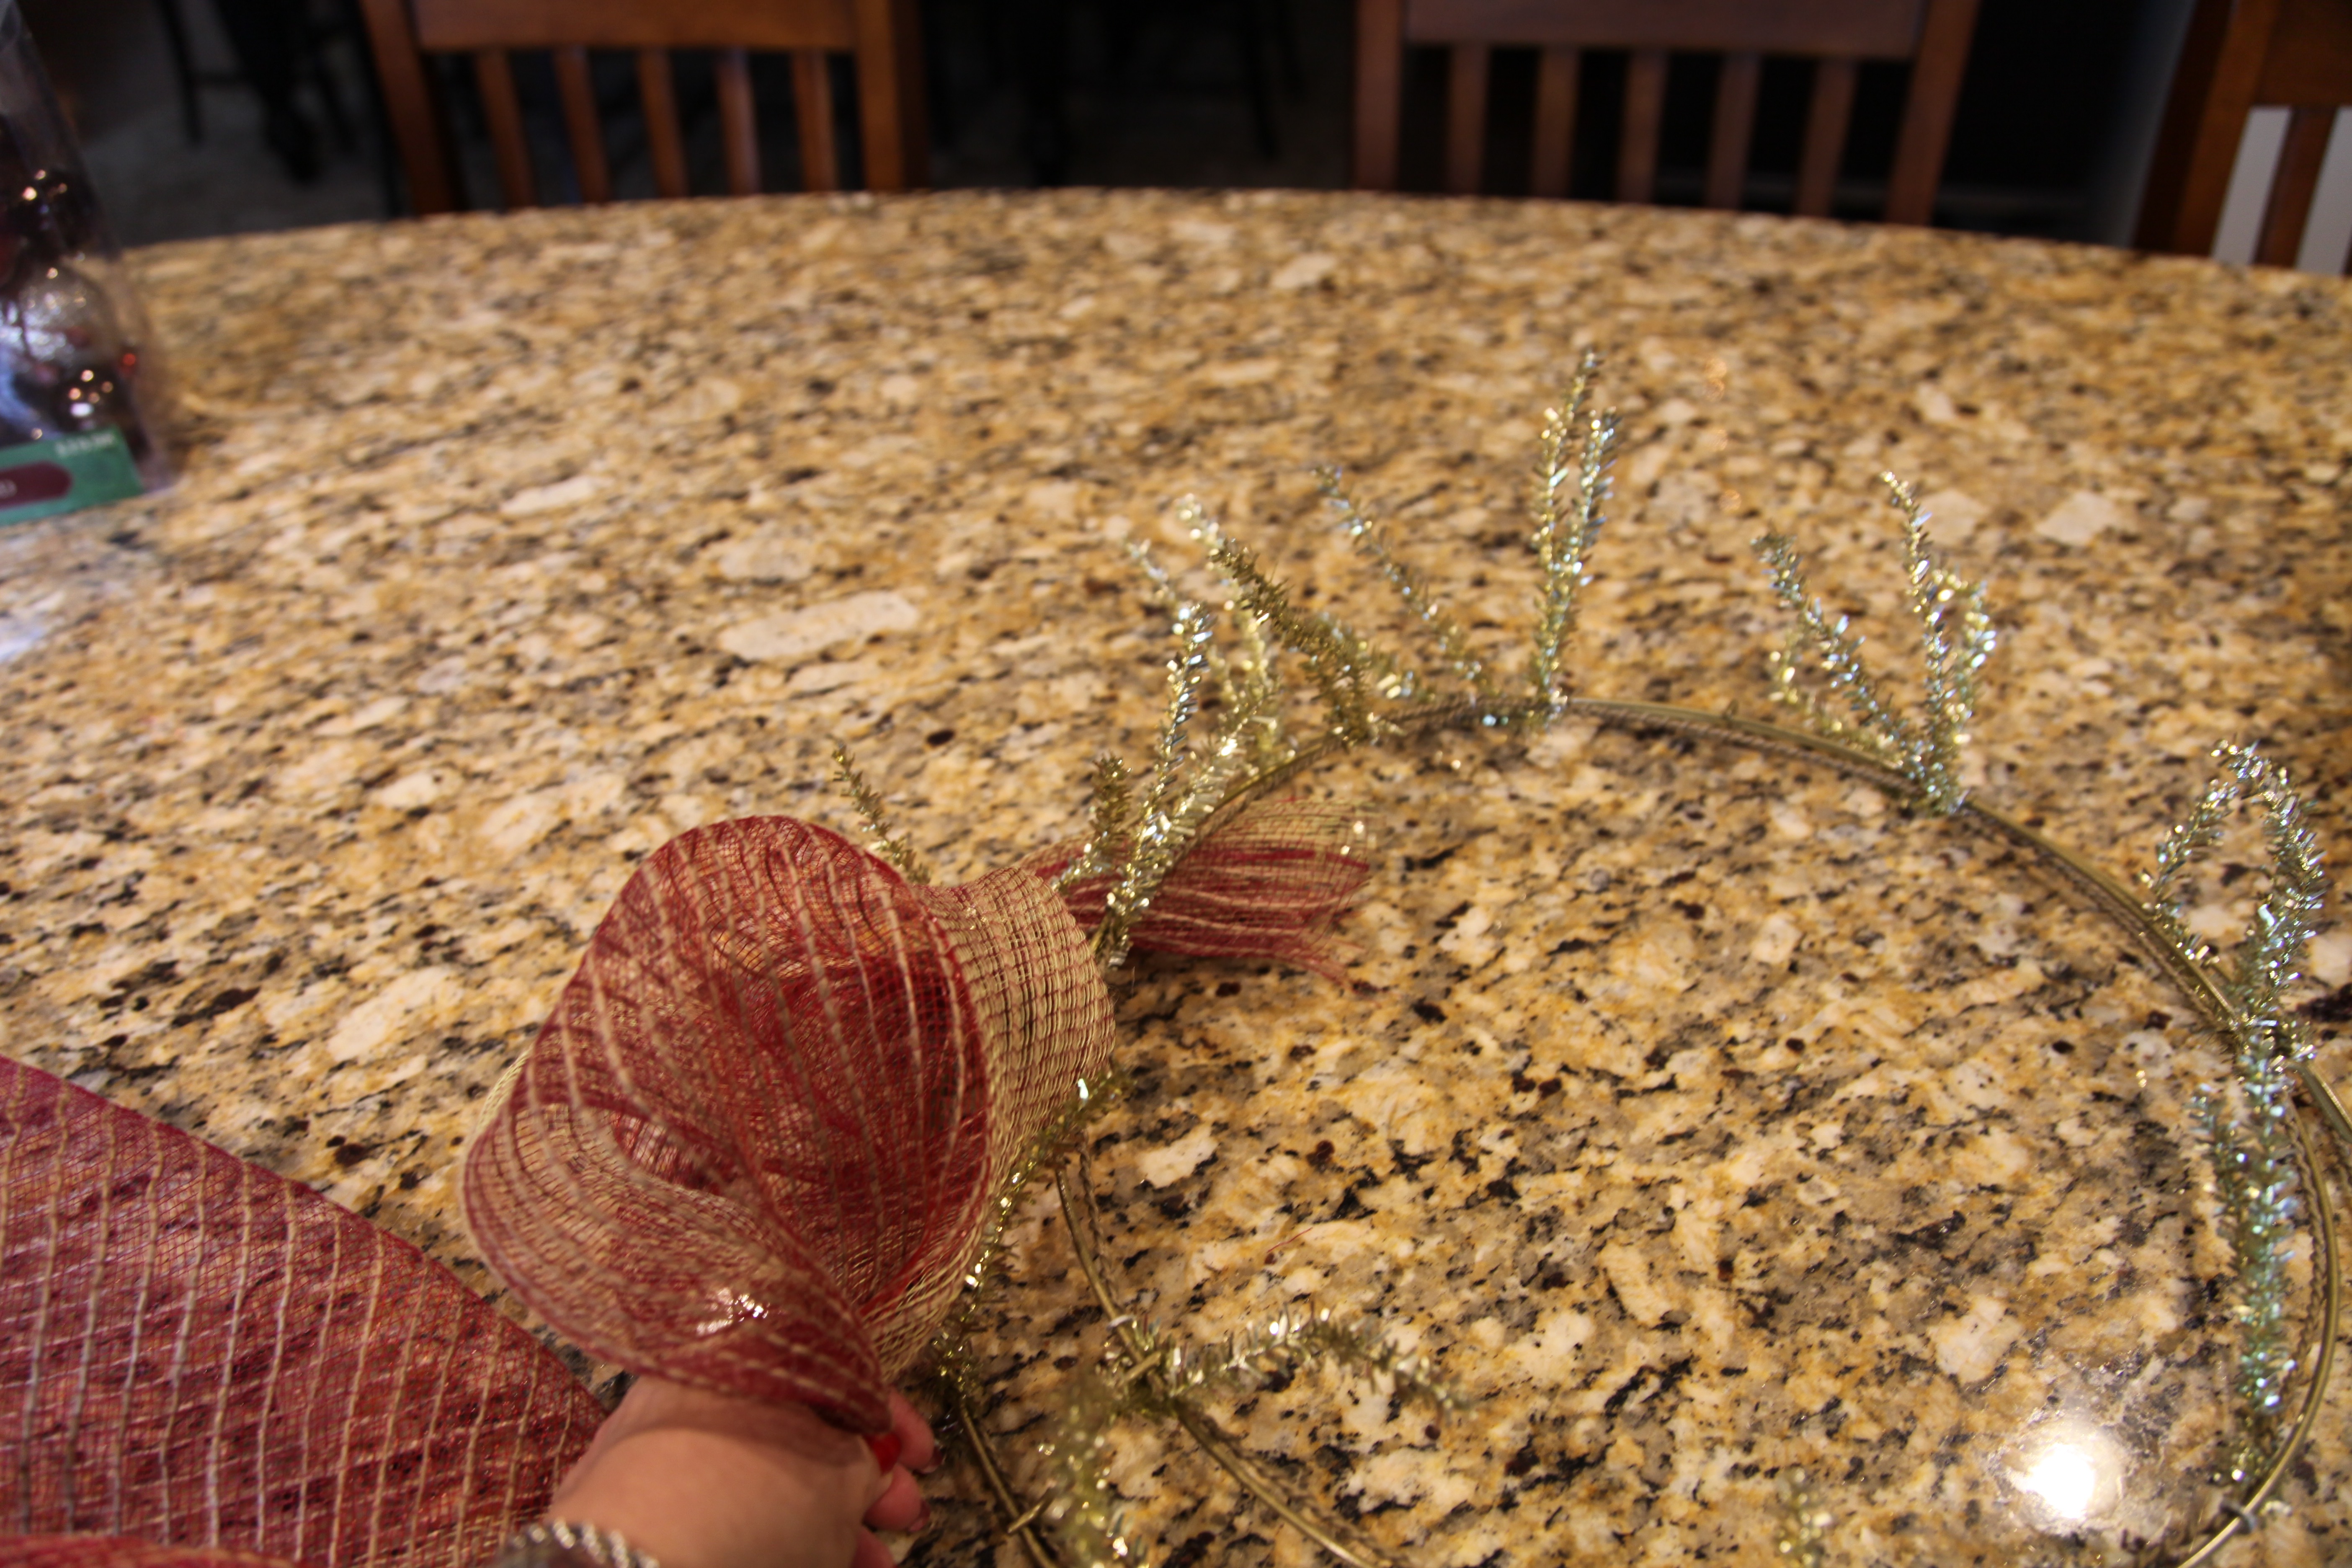
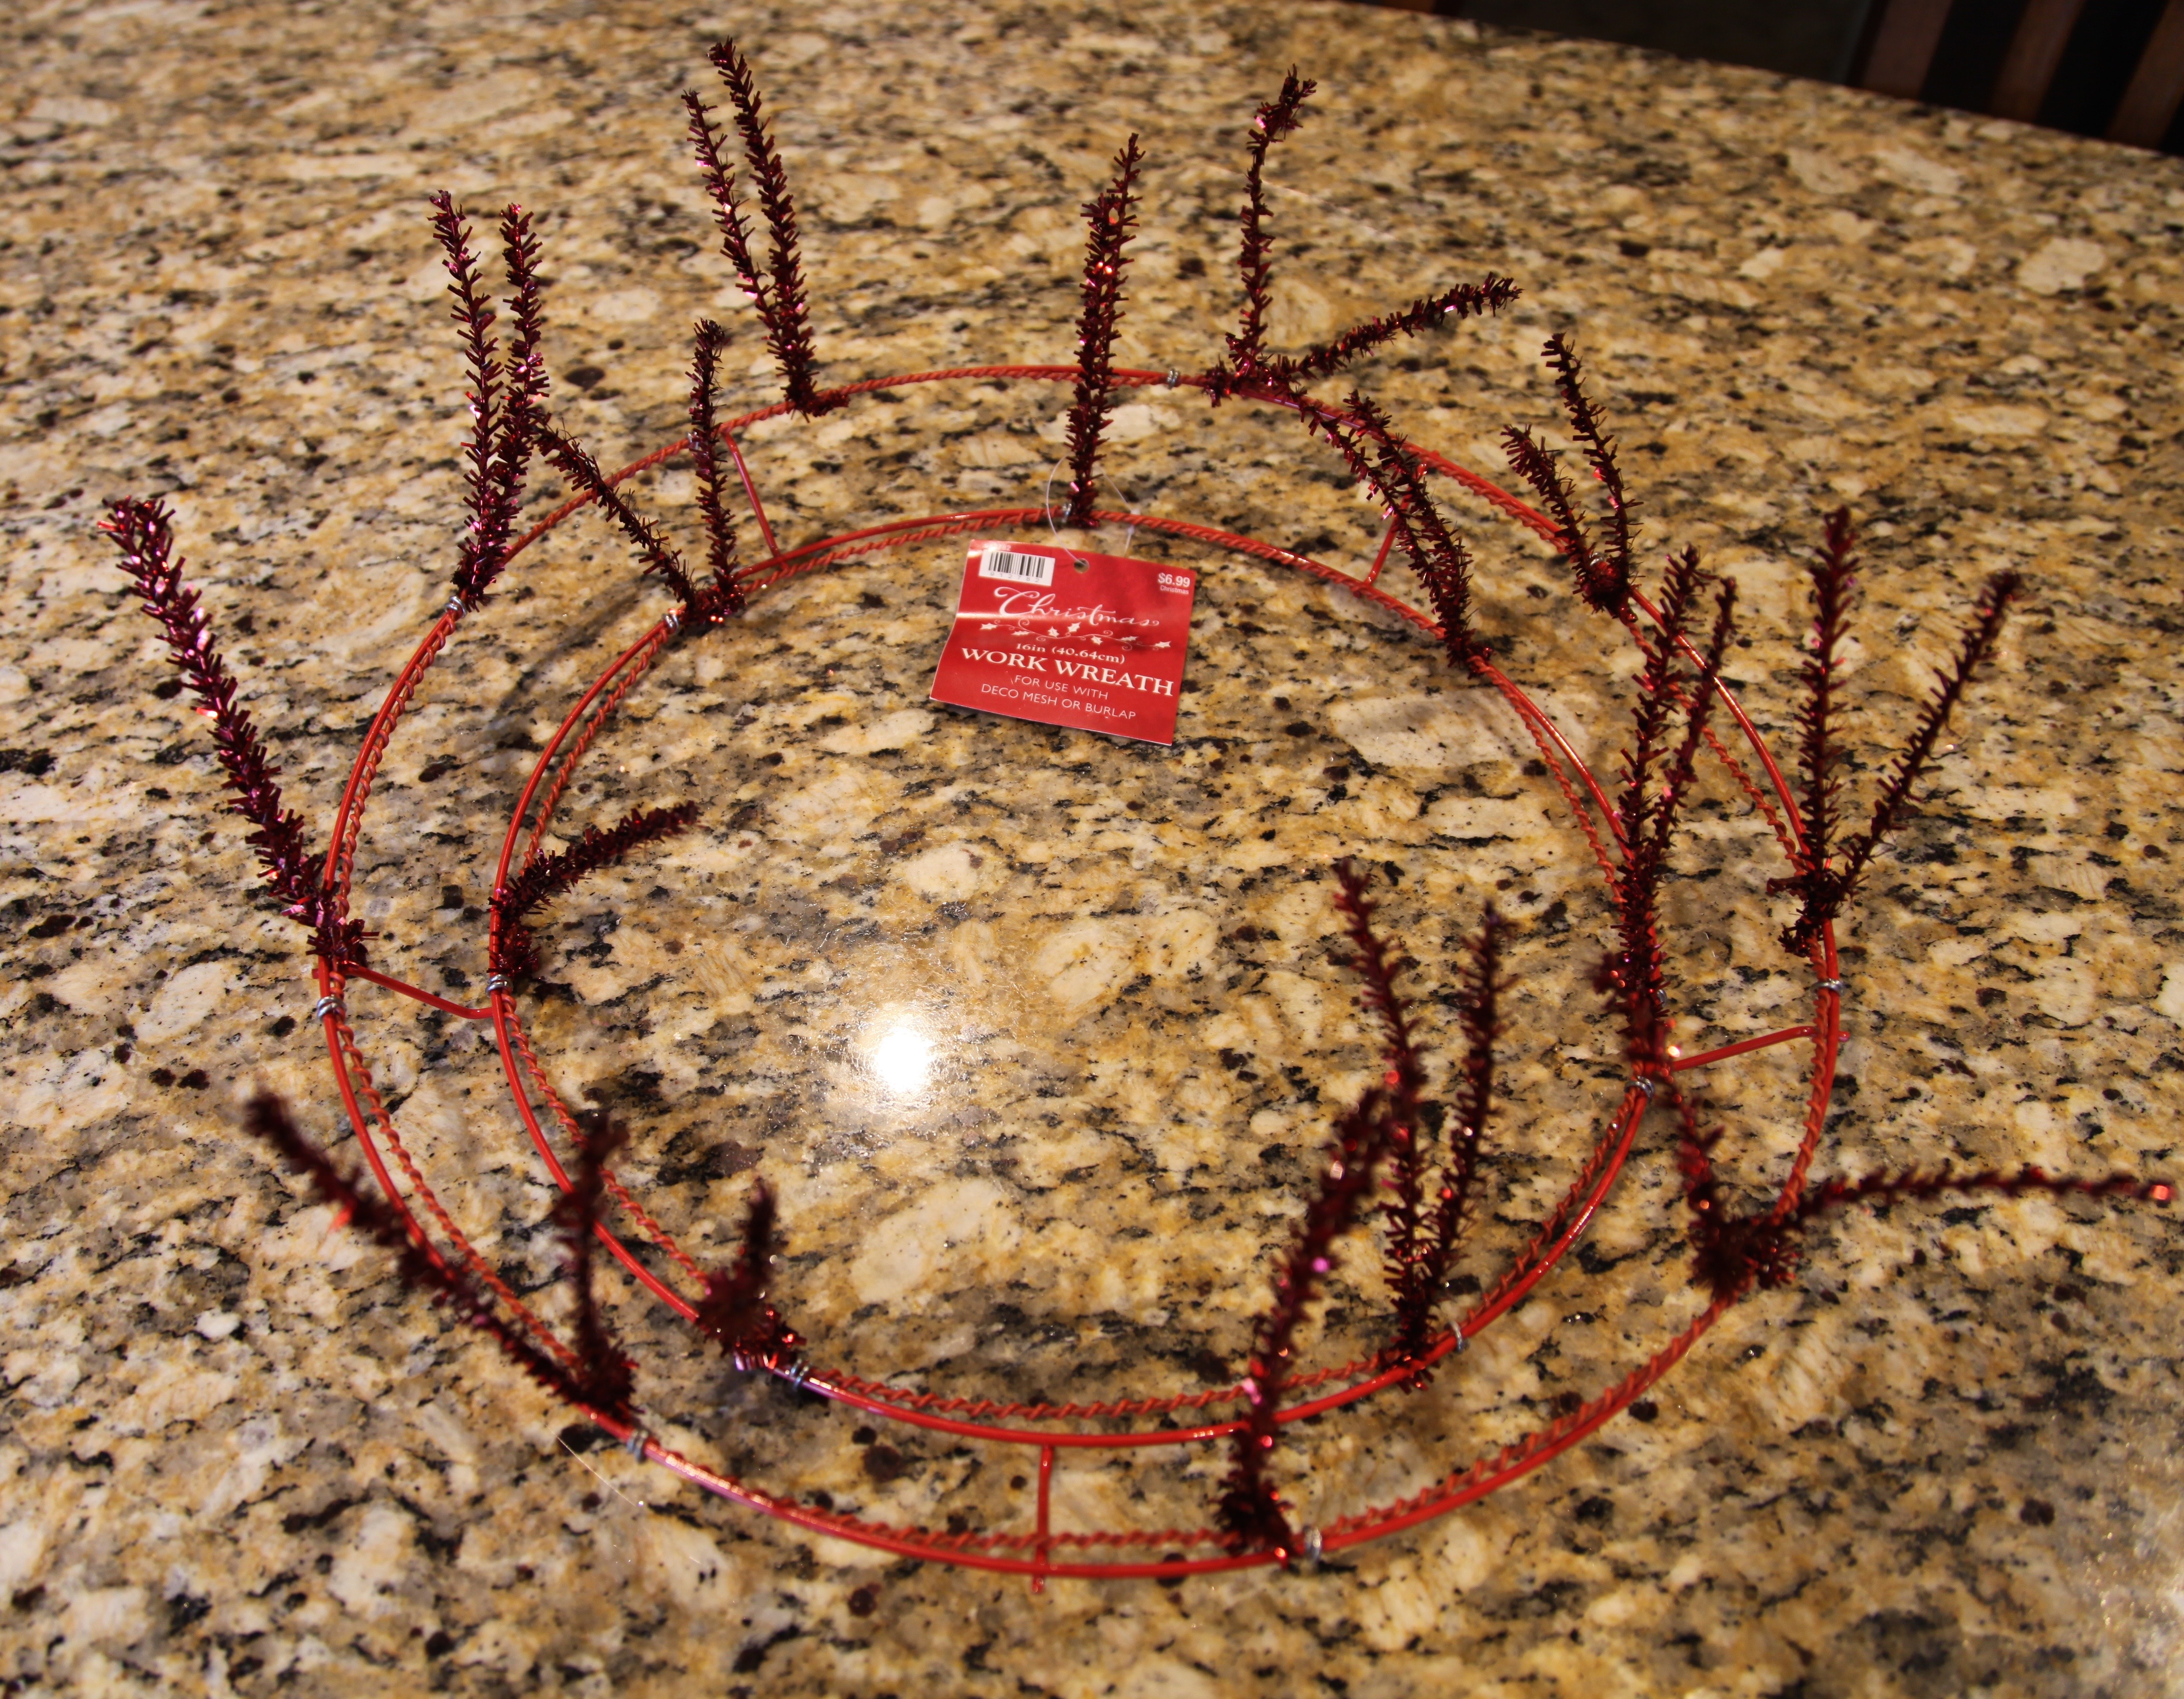
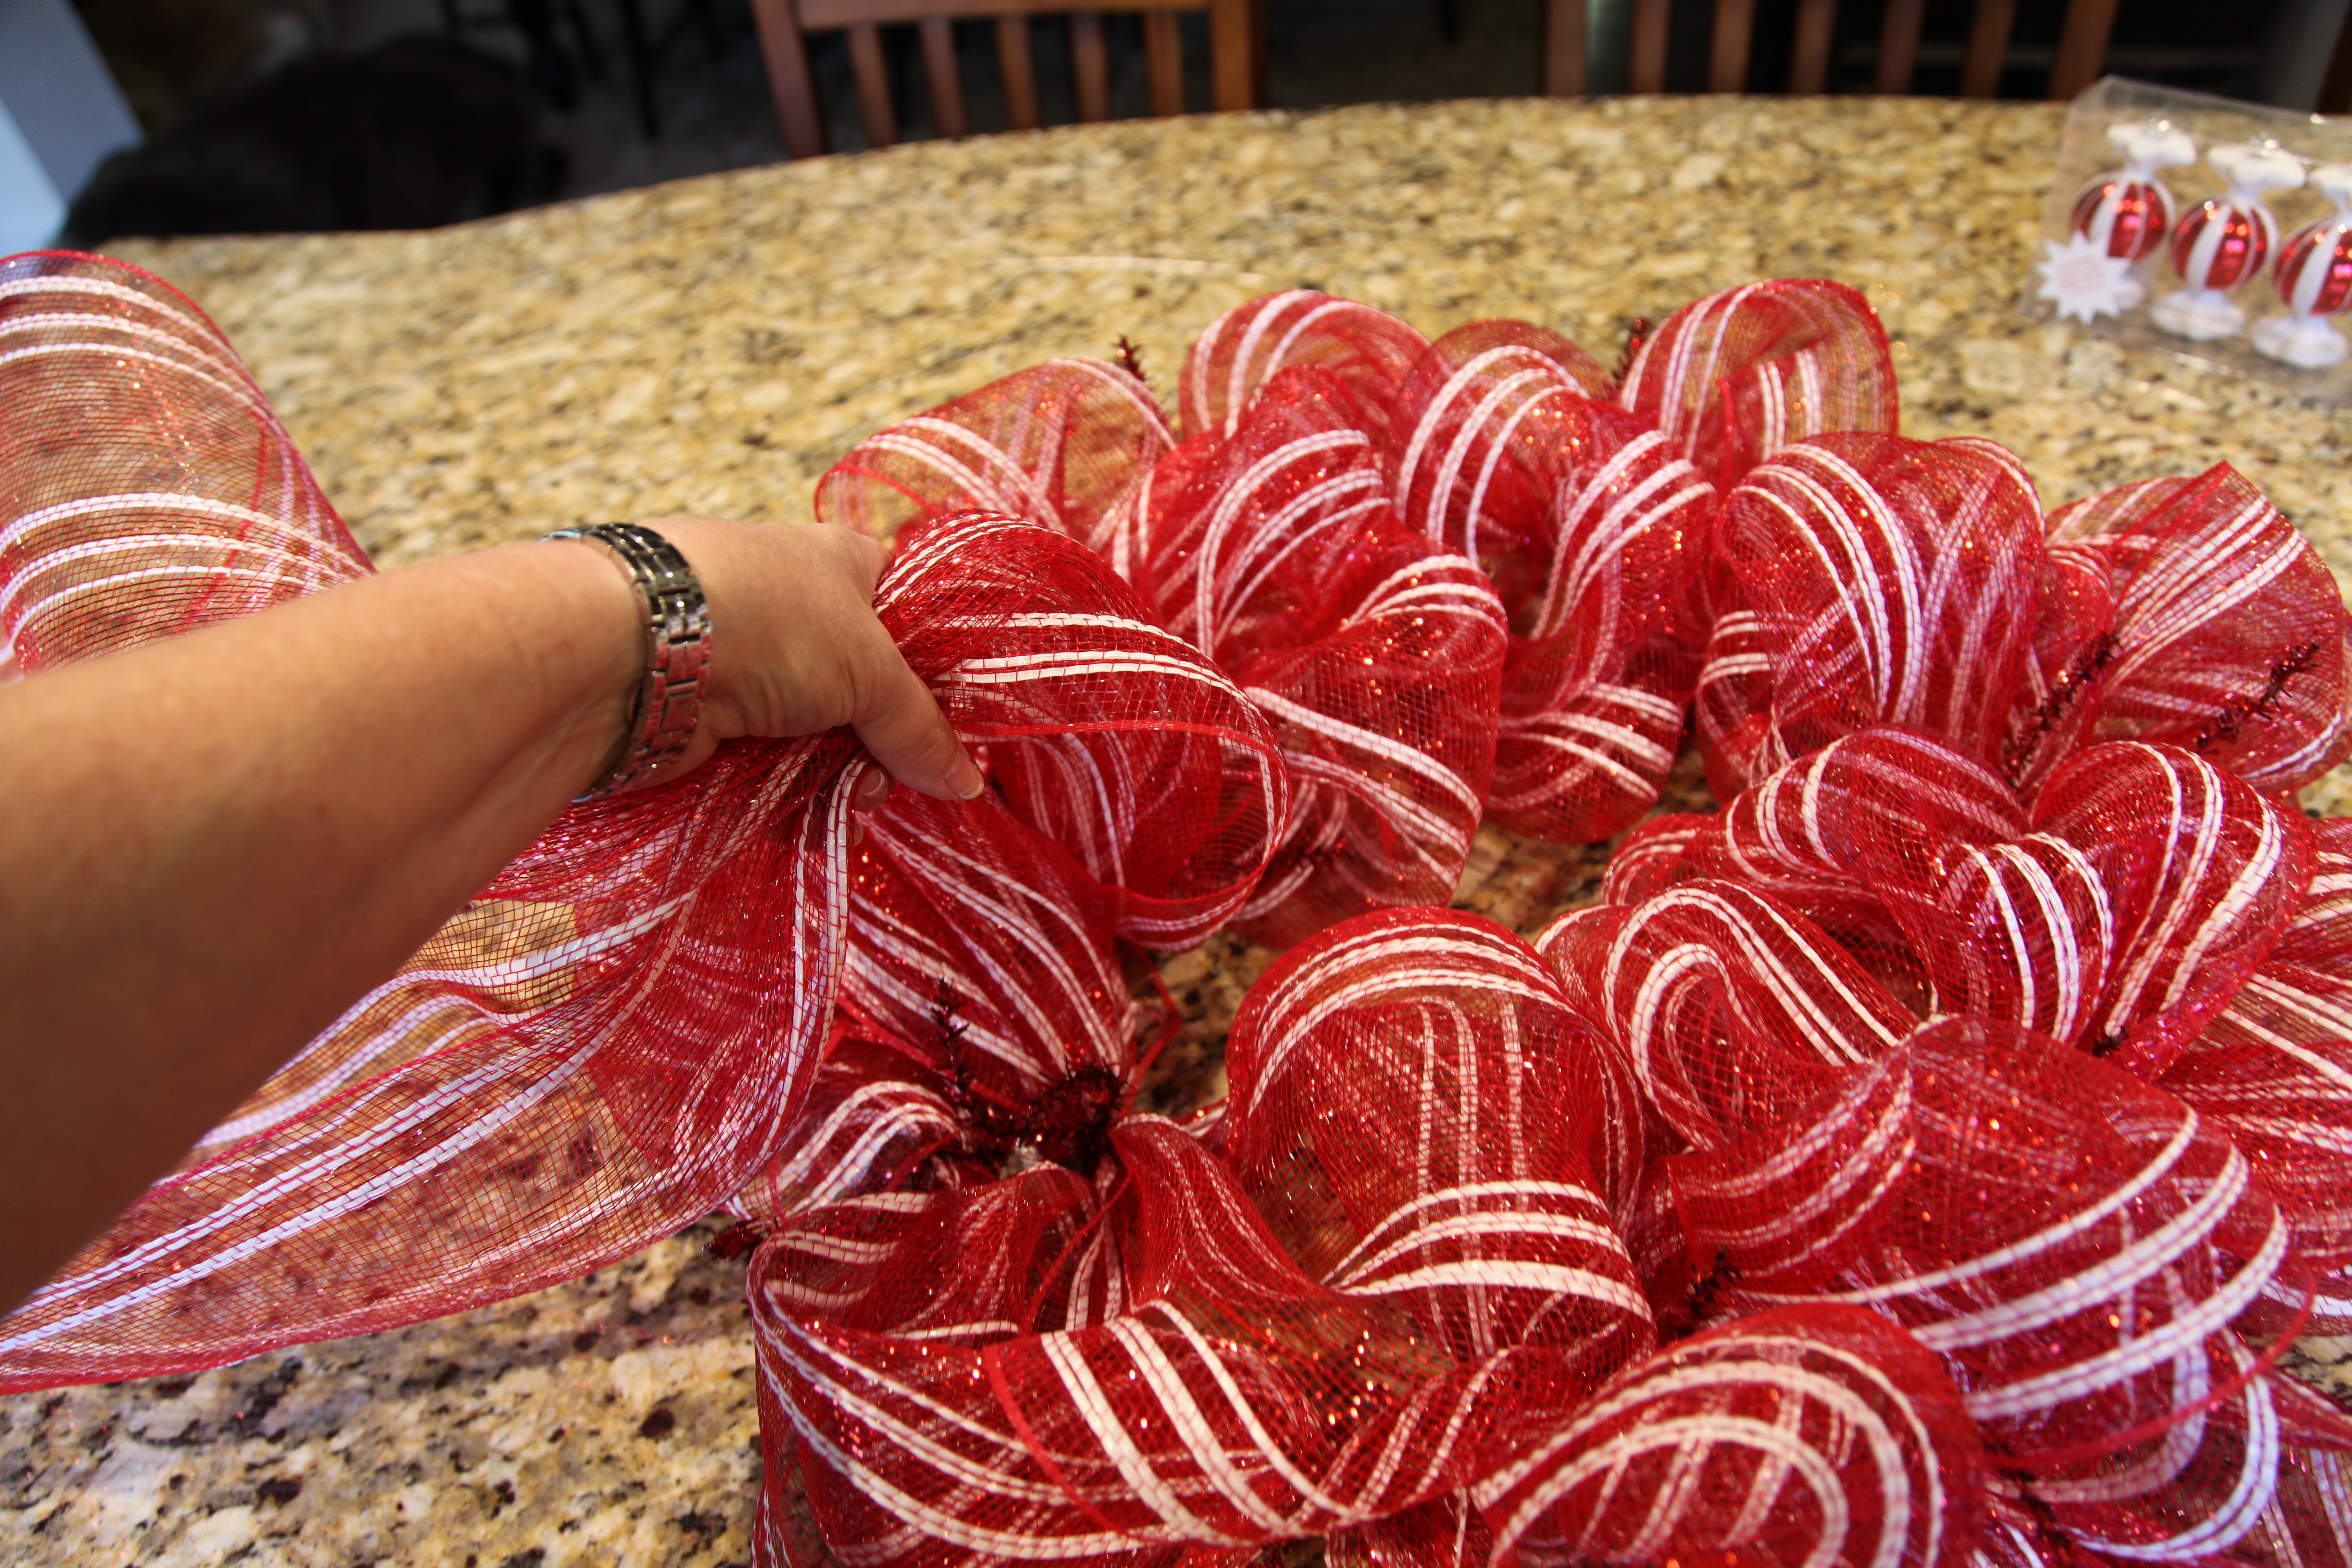
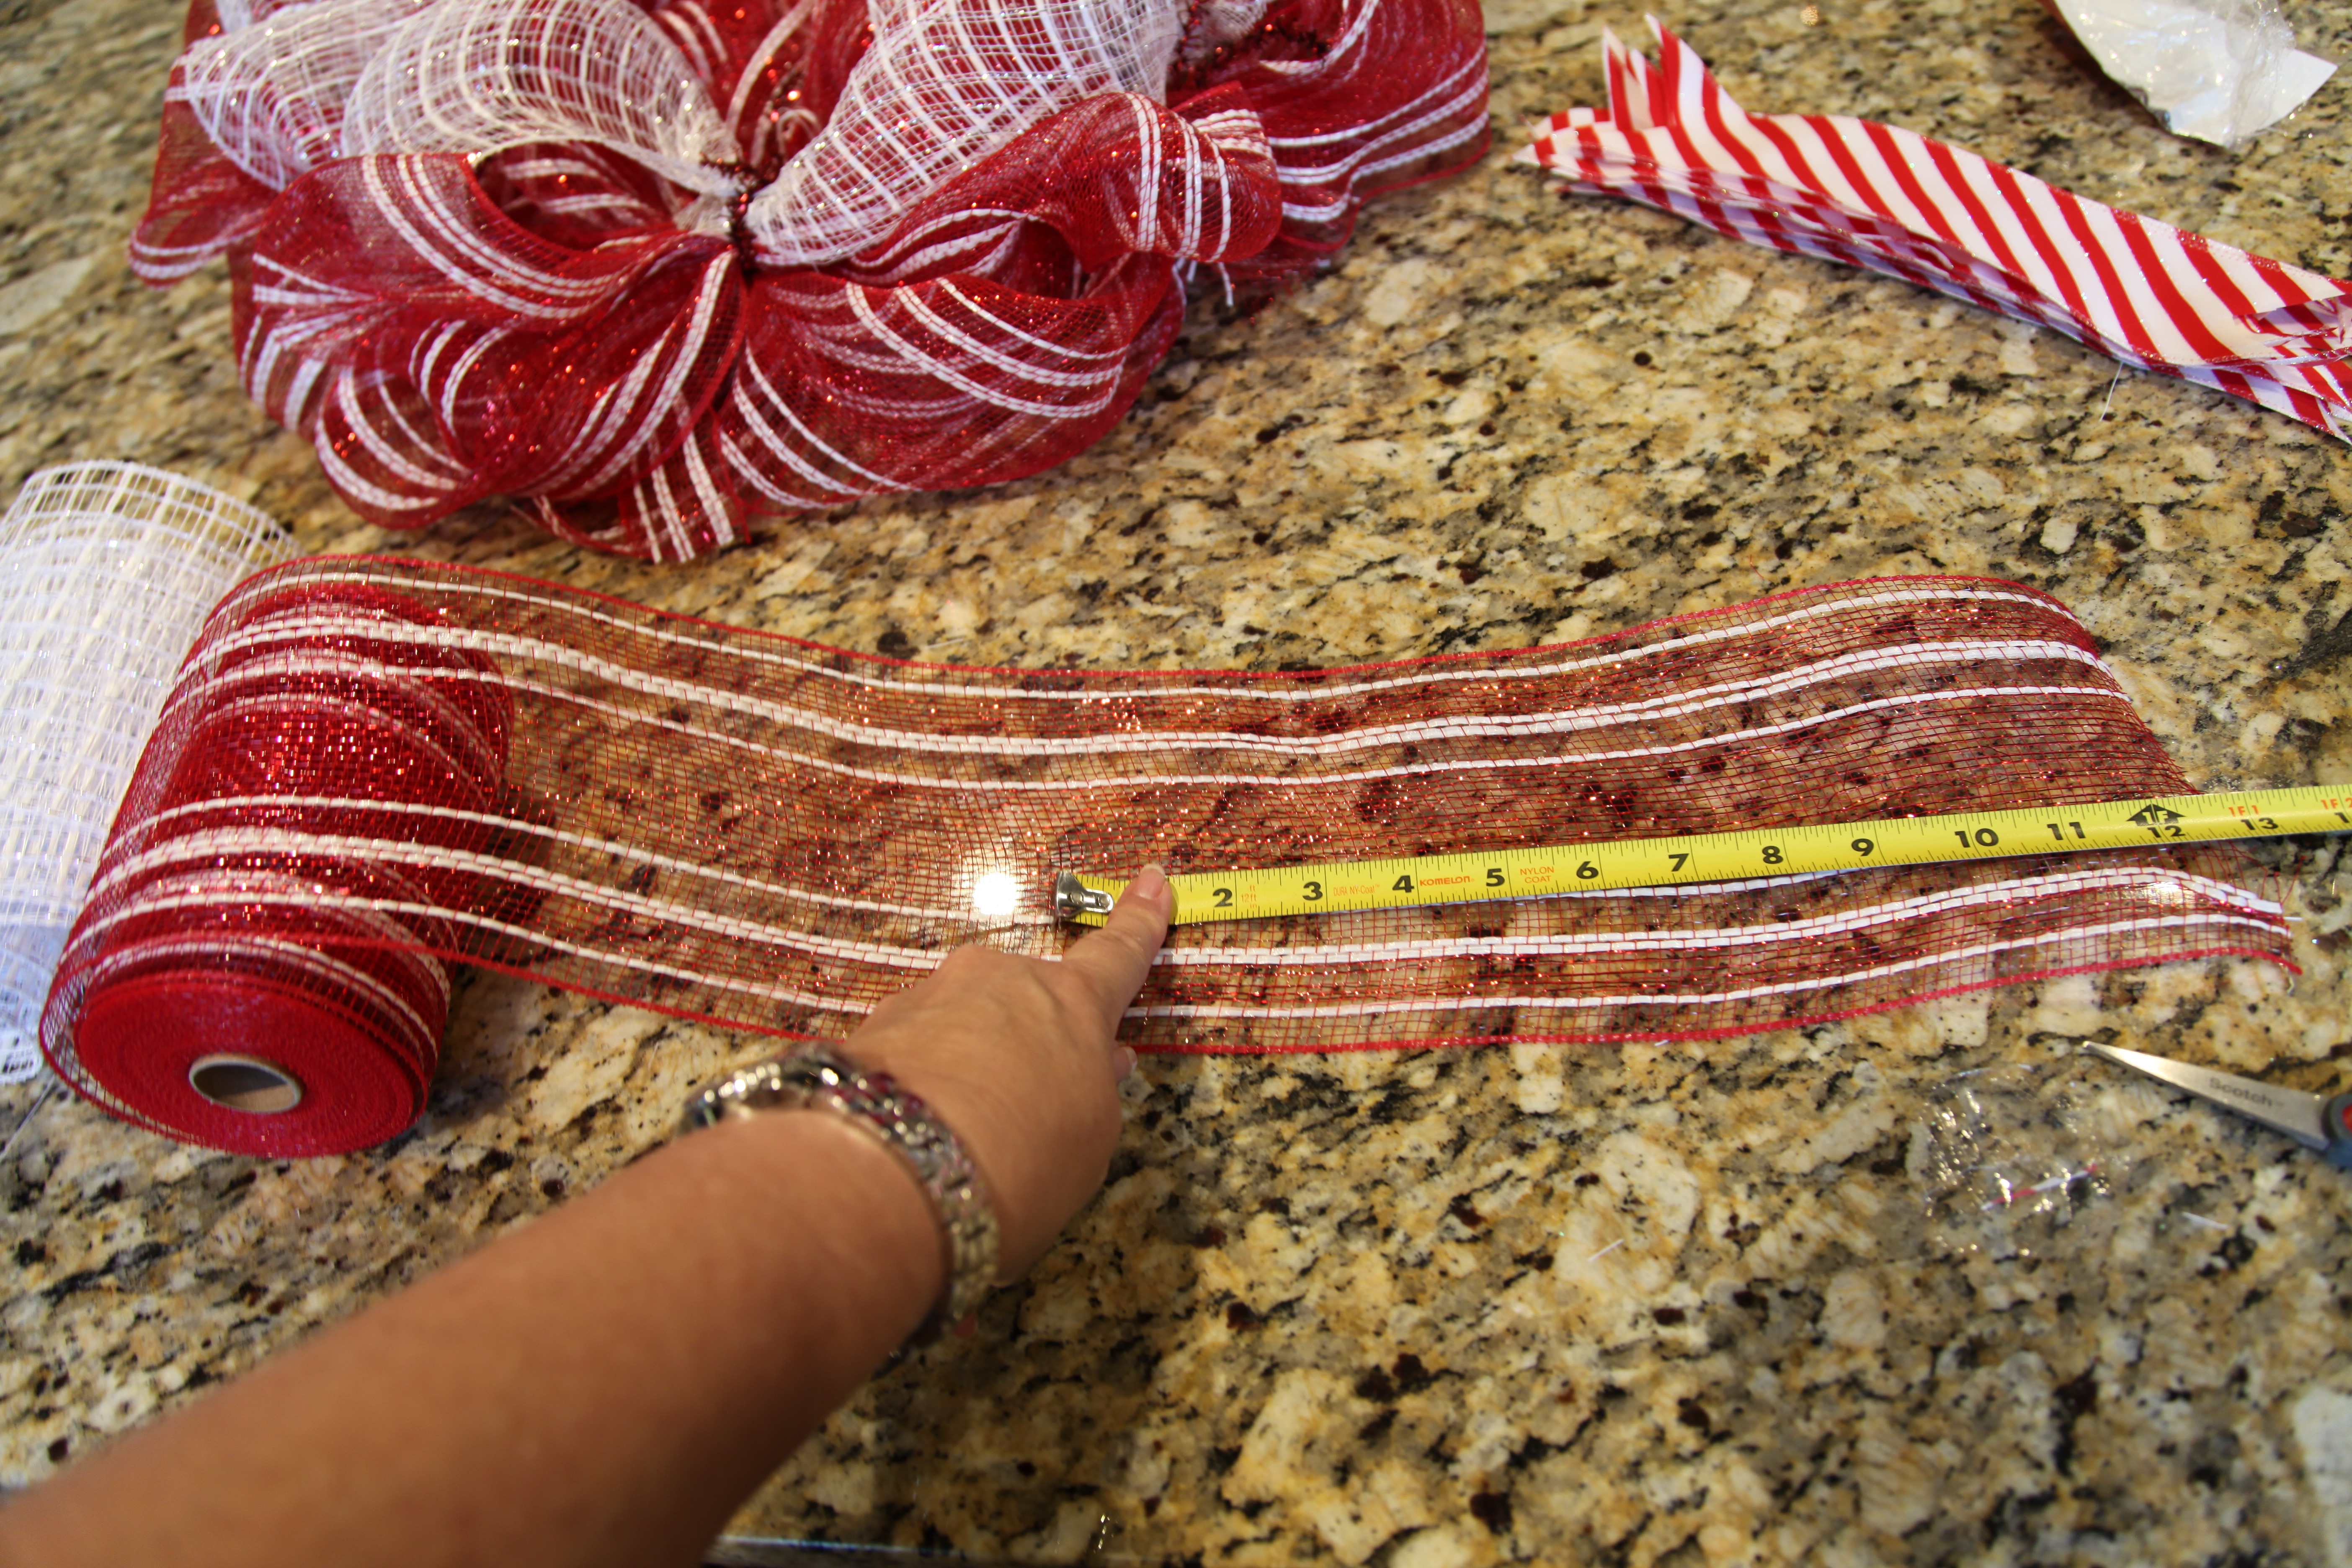
I decided that I wanted to do a burlap wreath, but, since I couldn’t find a coordinating burlap in the exact color that I wanted, I chose to use deco mesh instead–boy am I ever glad that I made that choice because adding that to the burlap just made everything come together.  Here are the supplies that I collected, every single thing that I purchased was 50% off in their Christmas department–except for the burlap runner and deco mesh, but they were on sale this week for 40% off (admittedly, it still cost me about $55 to make):

IMG_2686 (2).jpg

Supply List:

  • 16″ Work Wreath 
  • 1 Skein + a little more of Burlap Runner– 18″ x 15′
  • 1 Skein of Deco Mesh (with jute)–10″ x 30′
  • 1 Roll of Wired Craft Ribbon
  • Metal Christmas Tree
  • Snowflake Ornaments
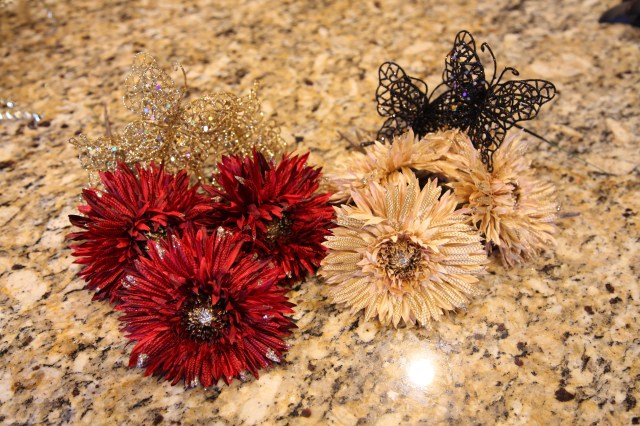
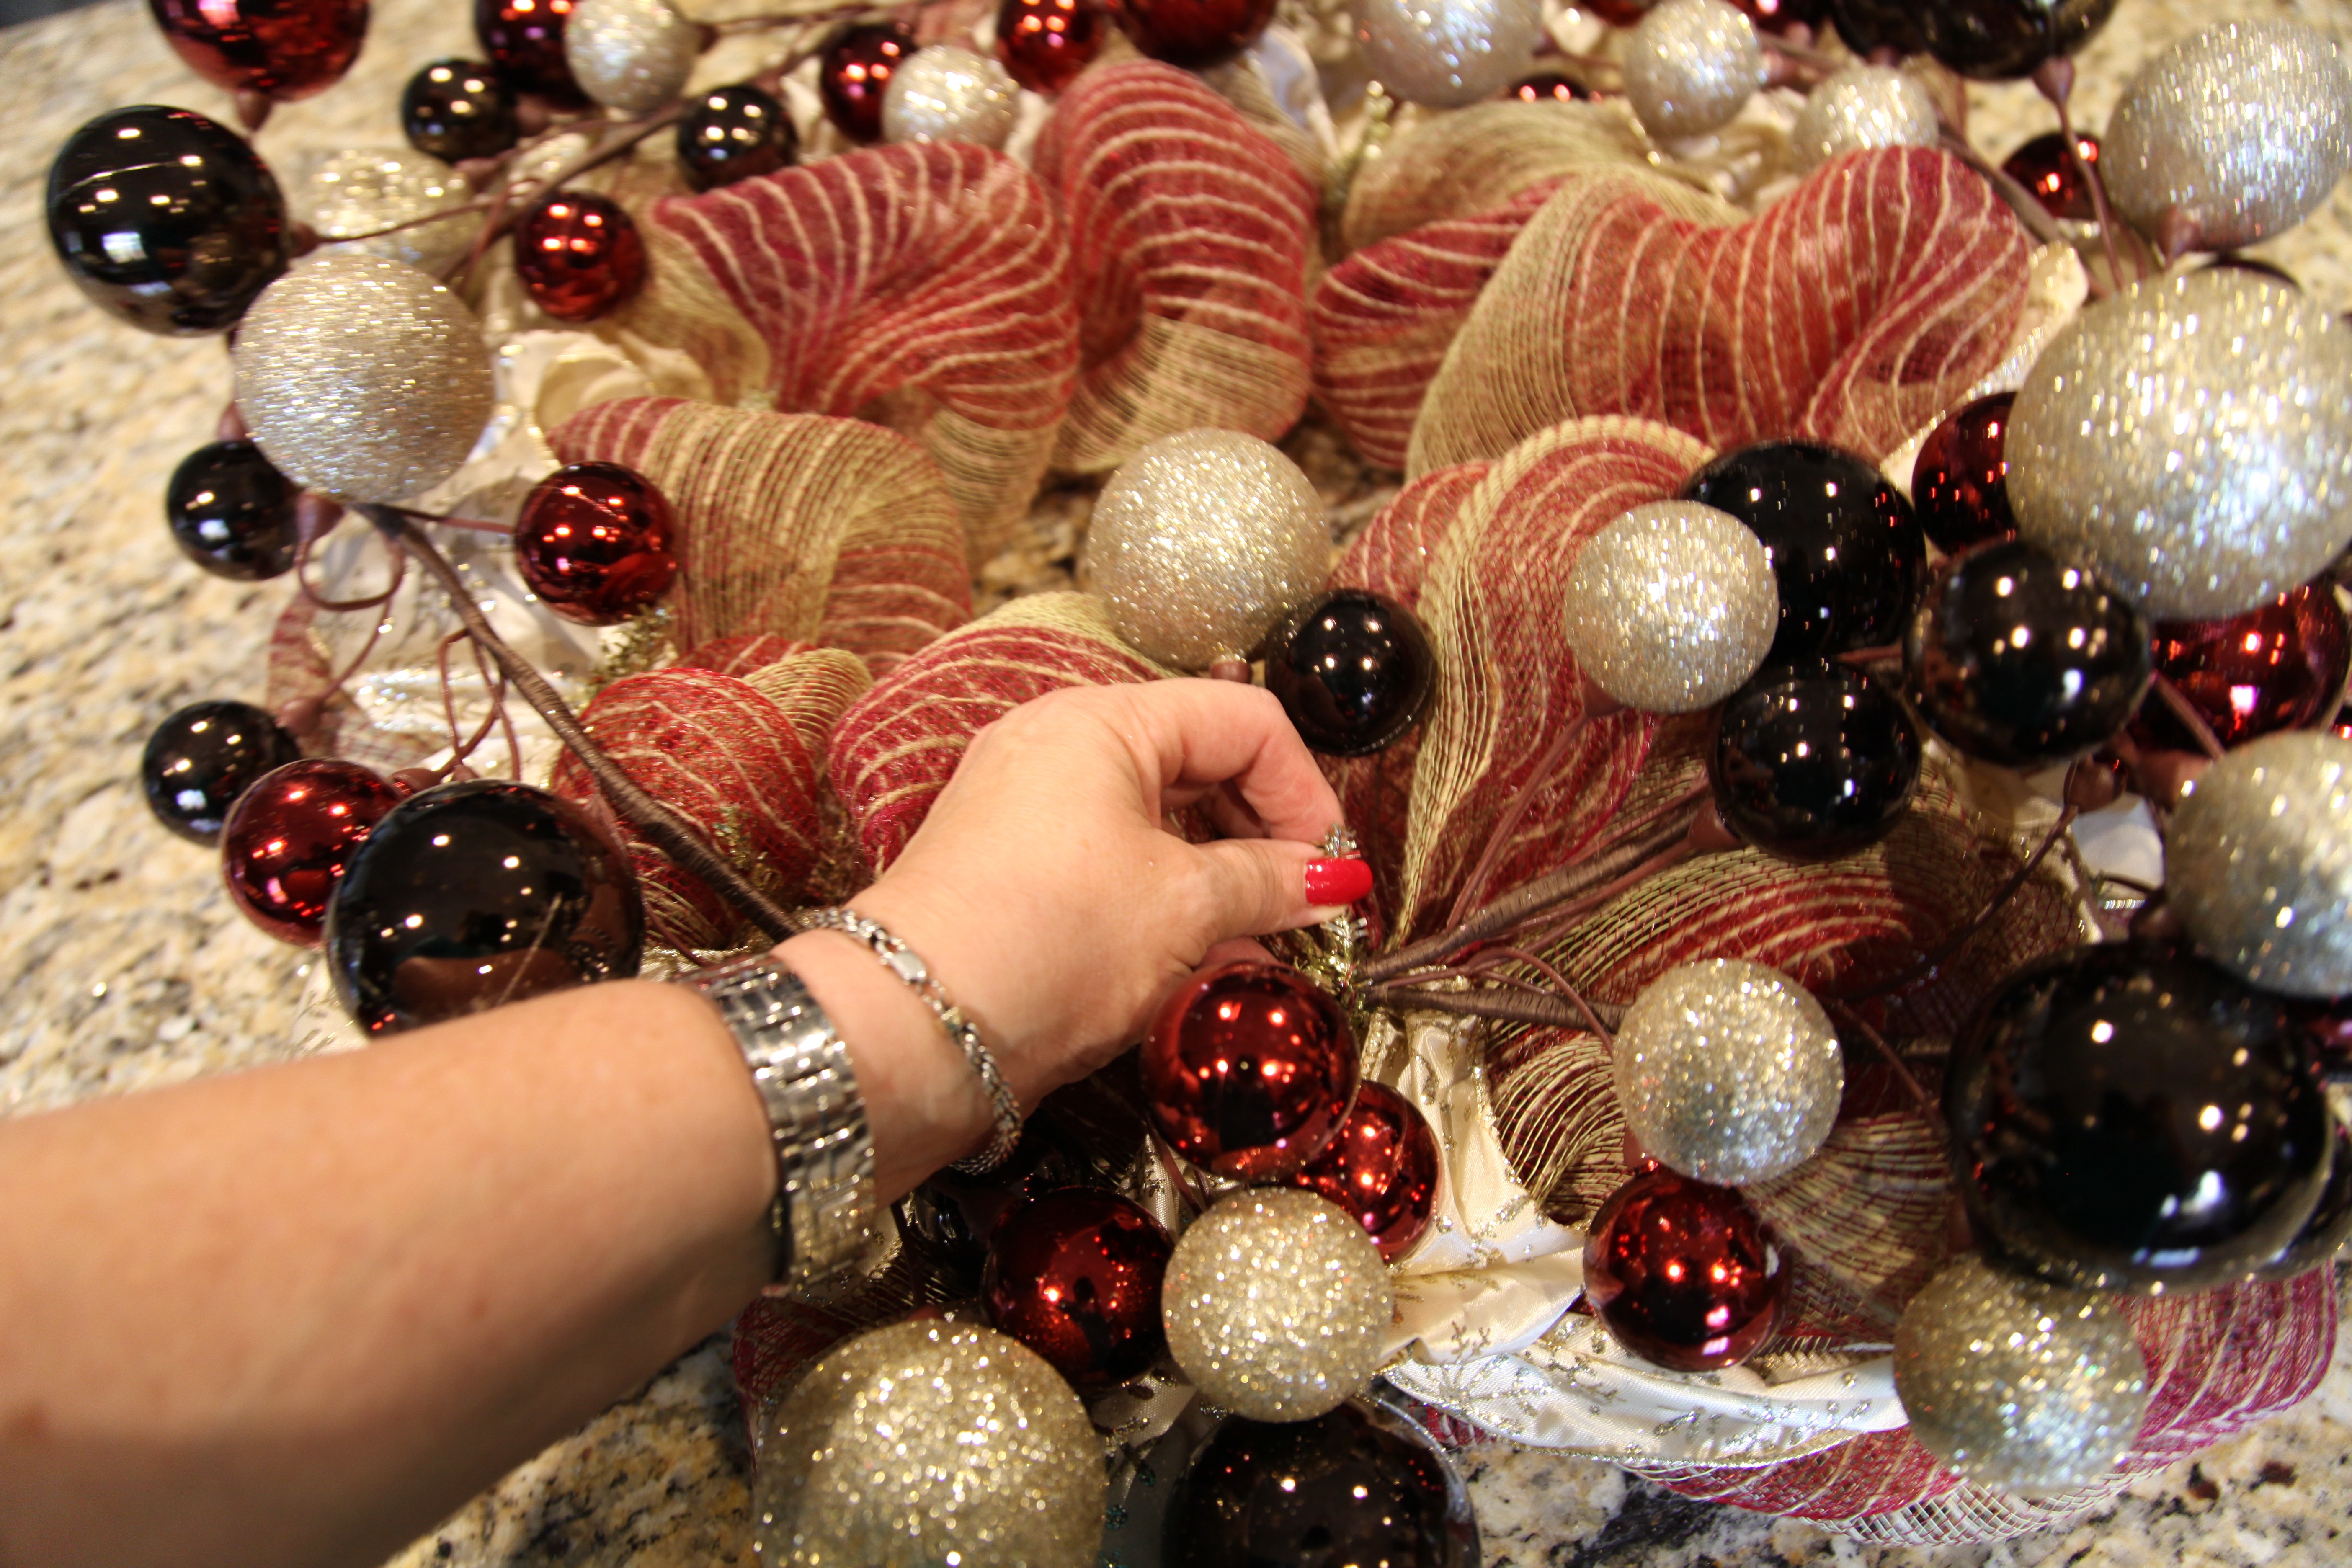
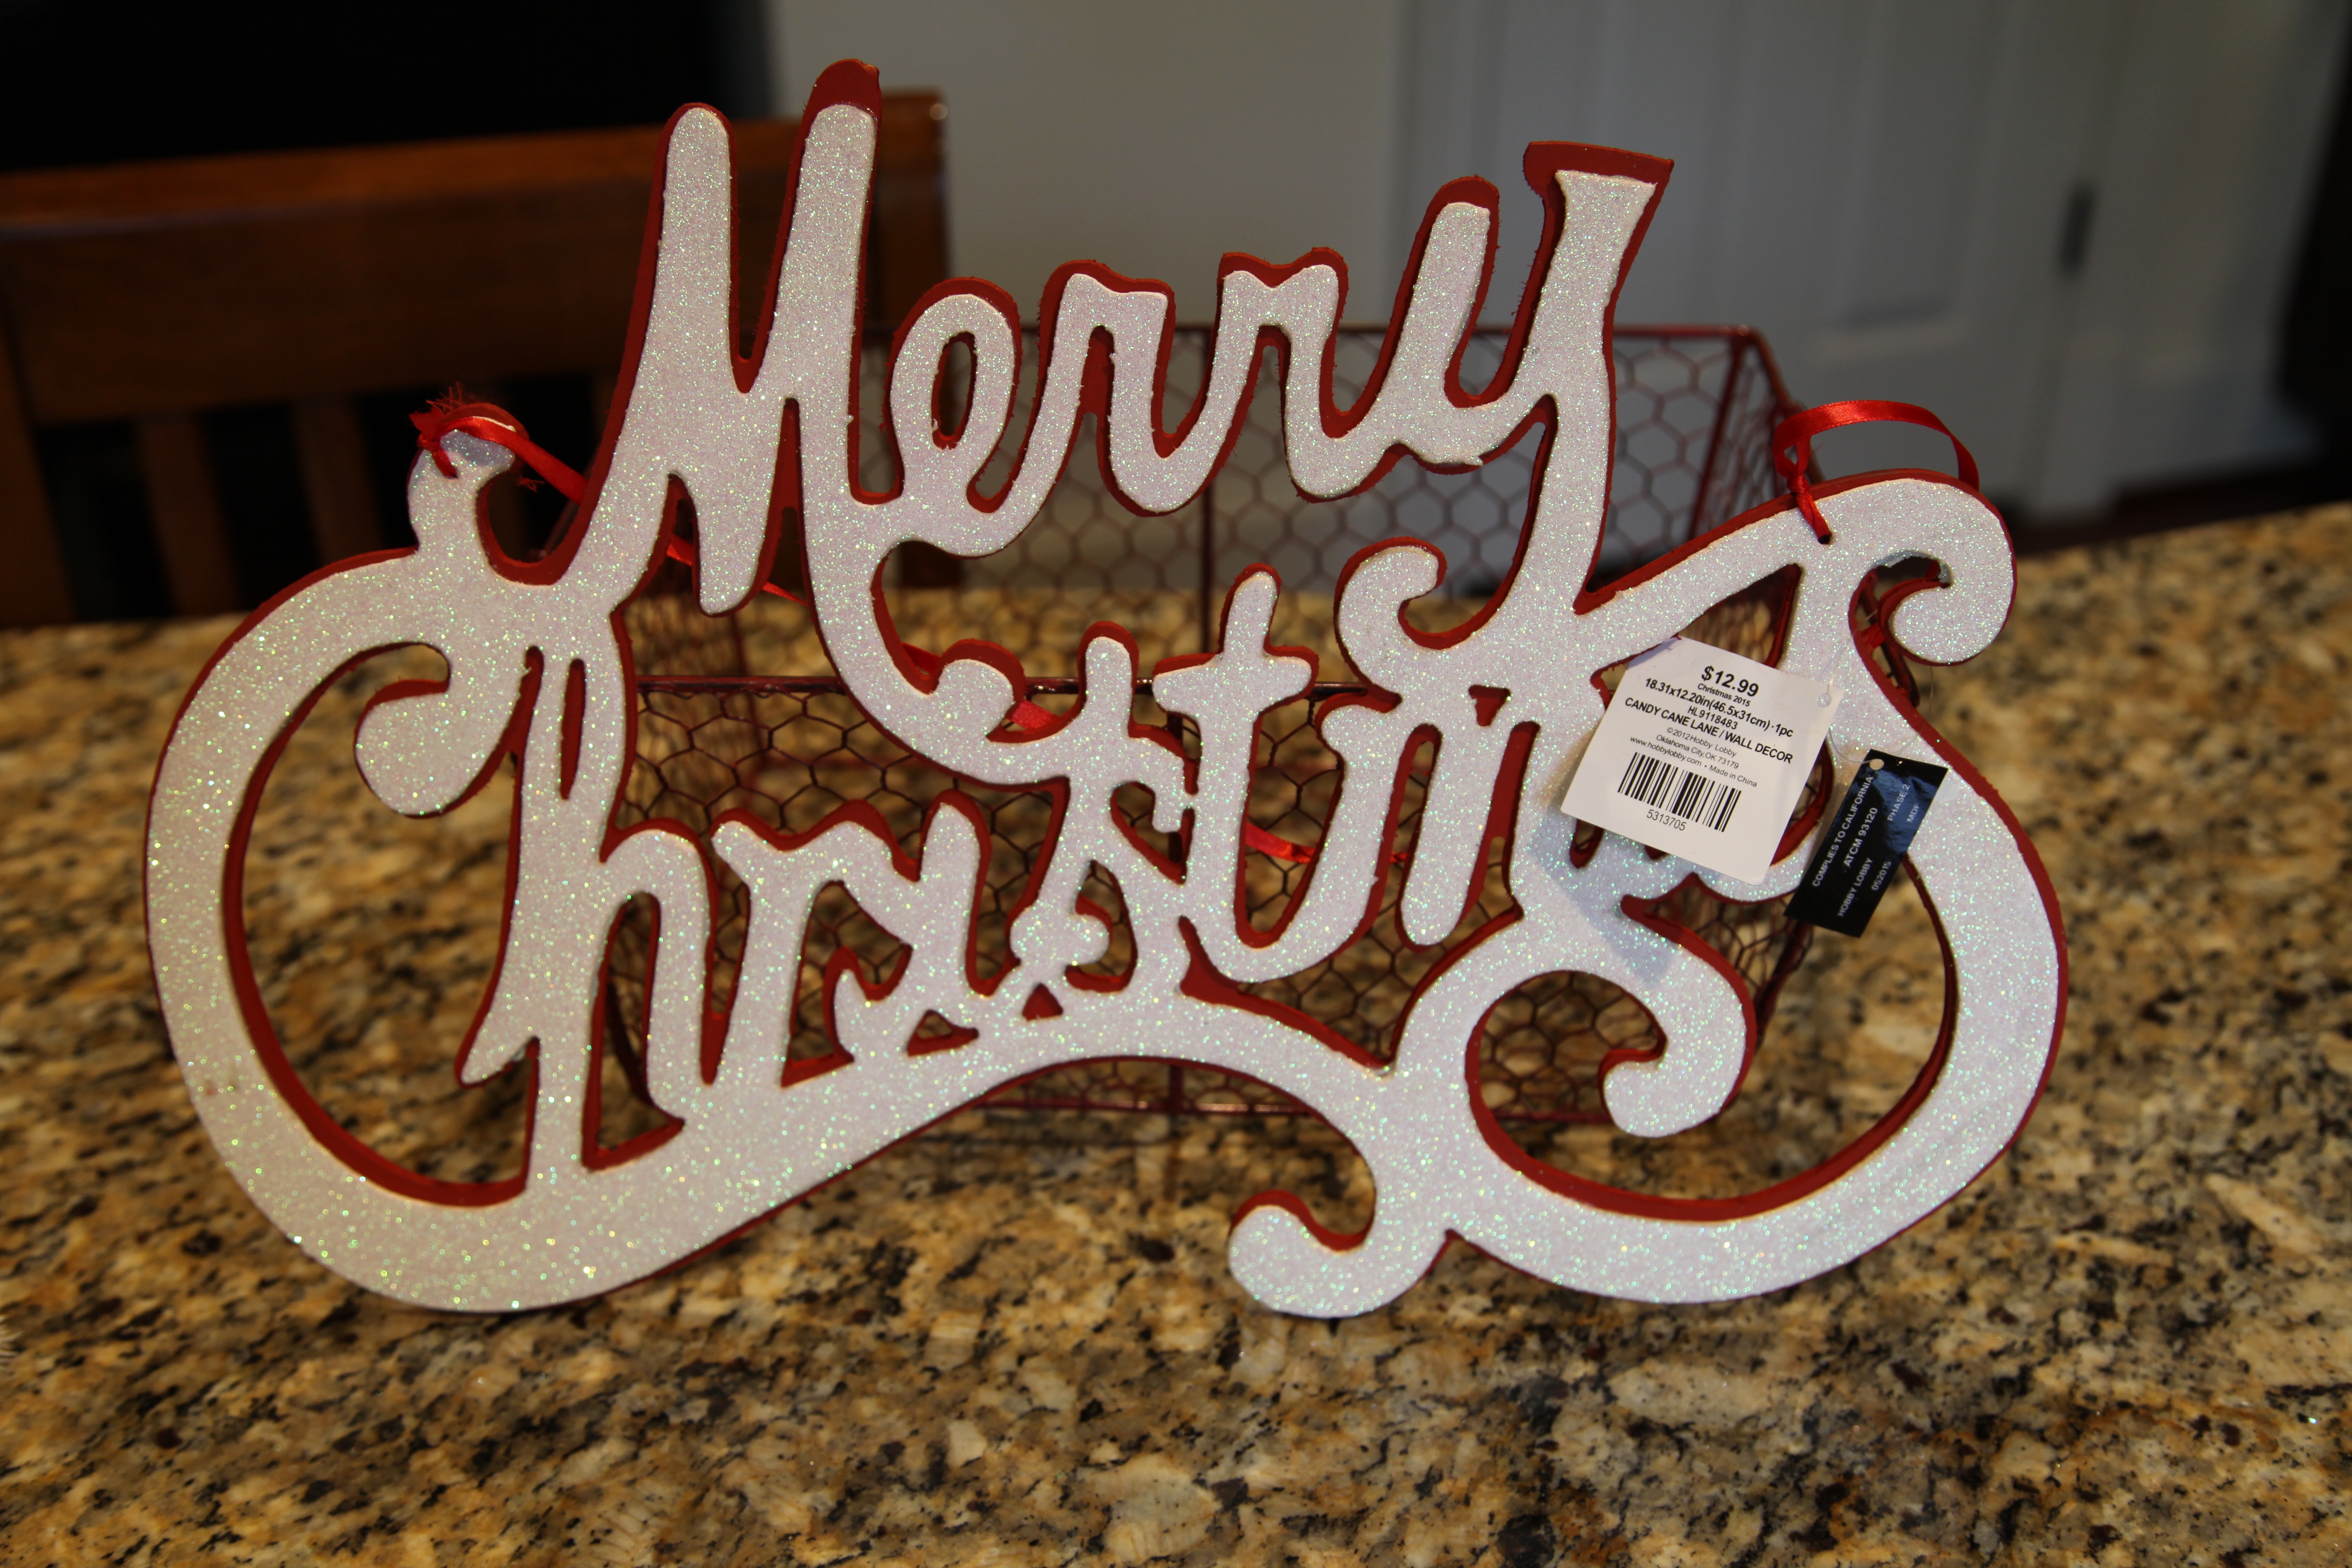
  • Other accent pieces of your choosing
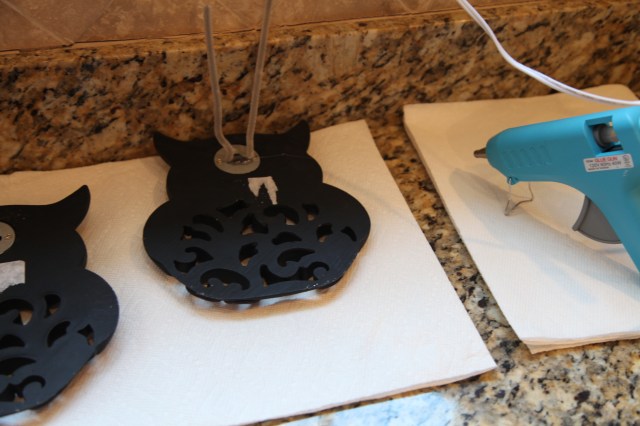
  • Pipe Cleaner (to close bow), Hot Glue Gun


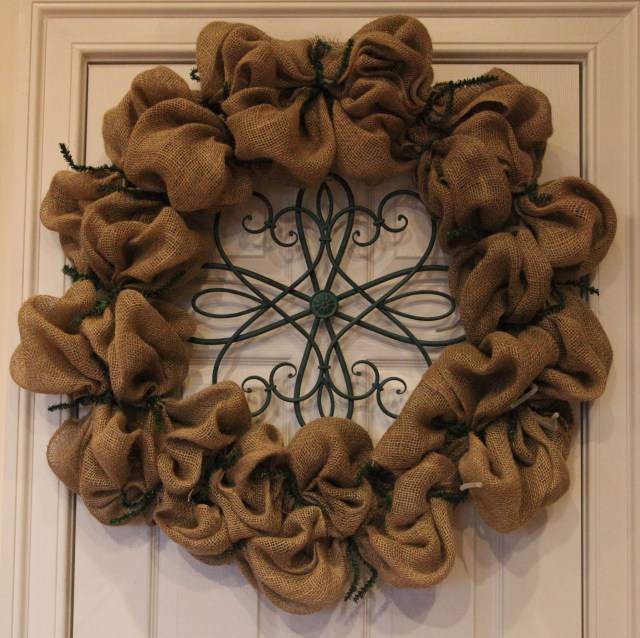
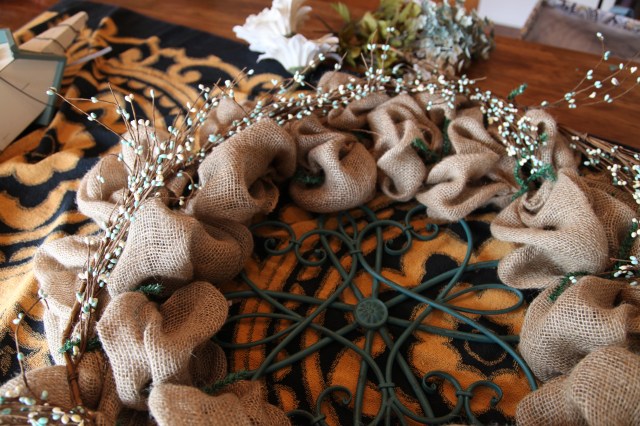
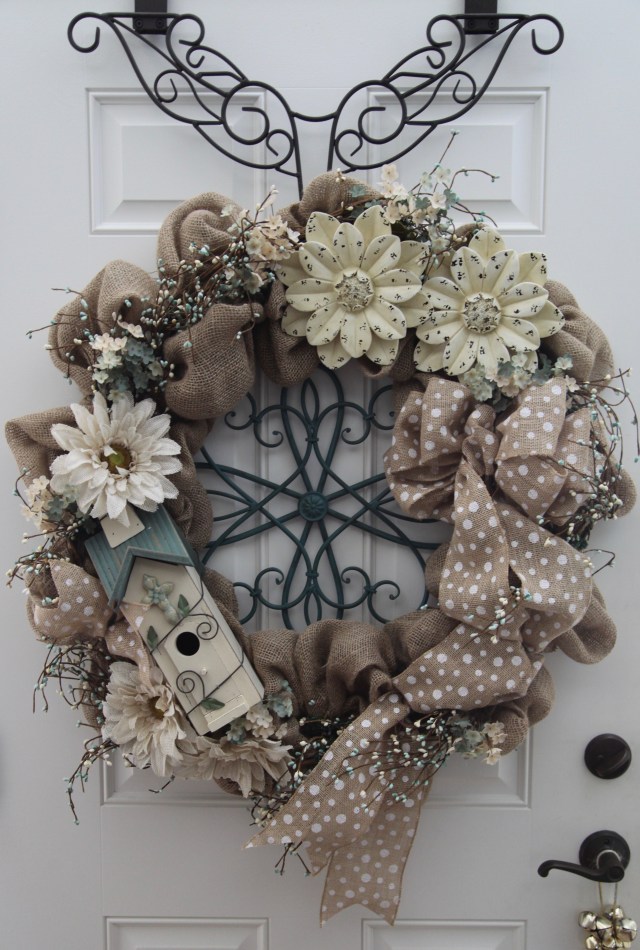
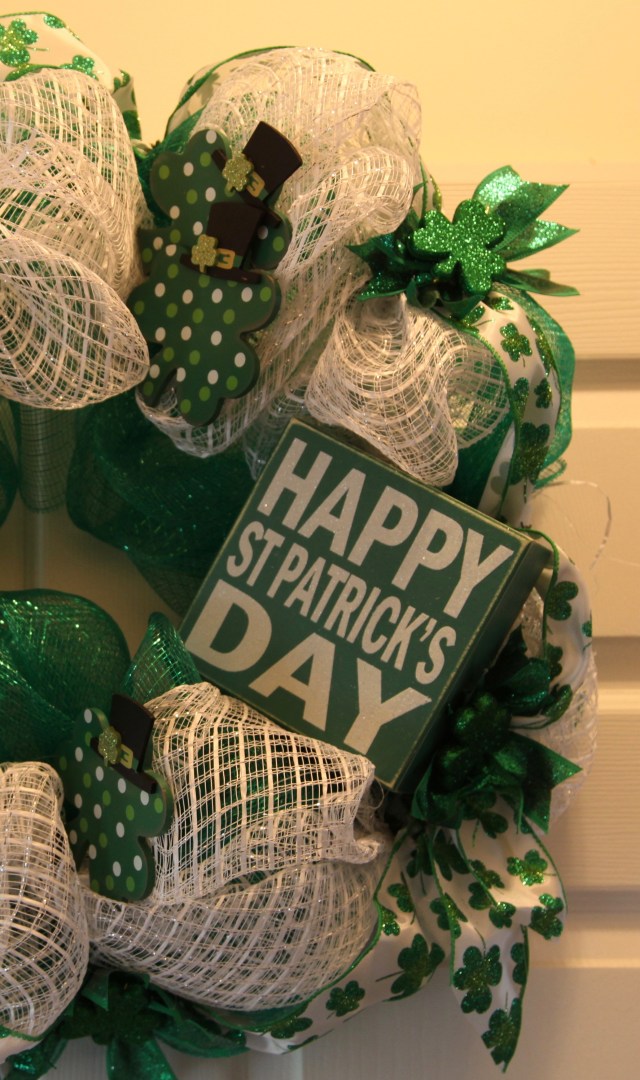
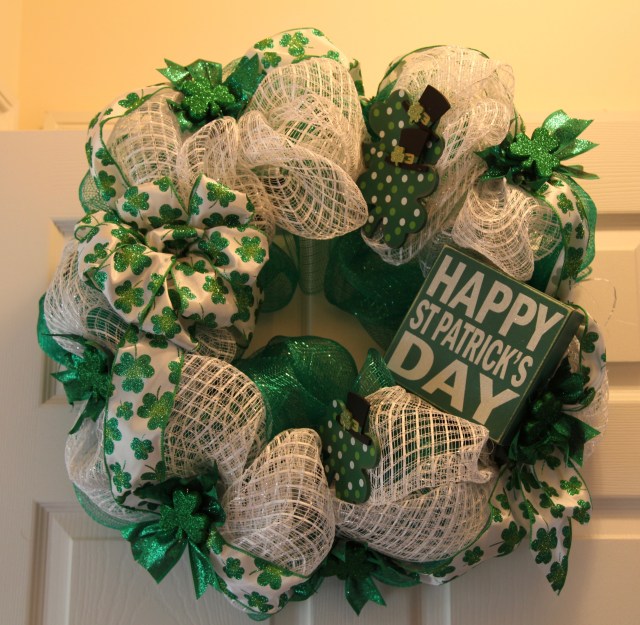
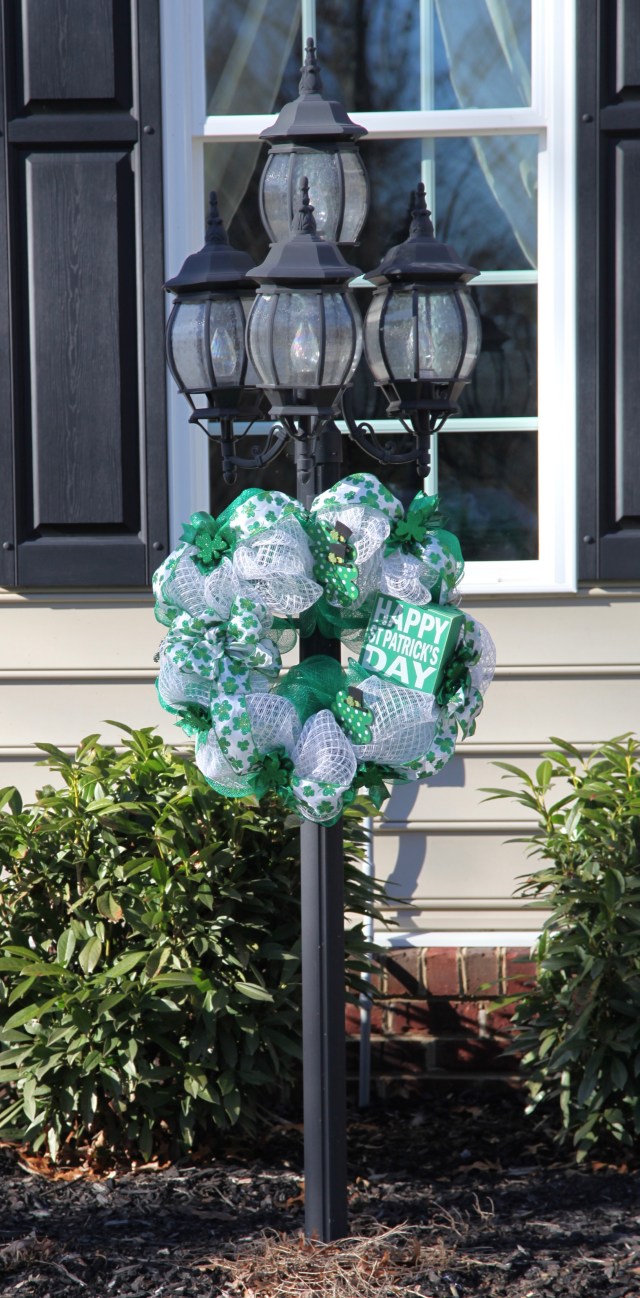
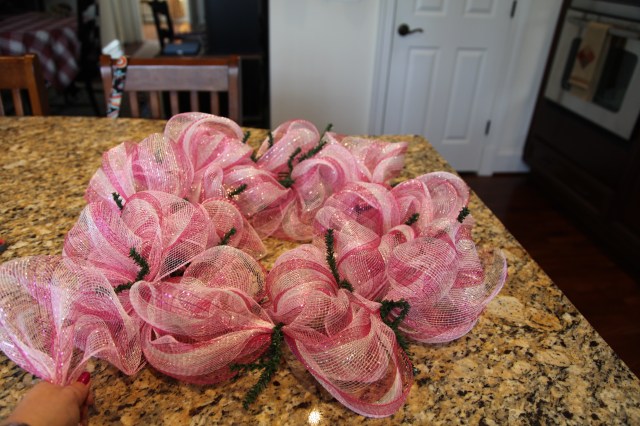
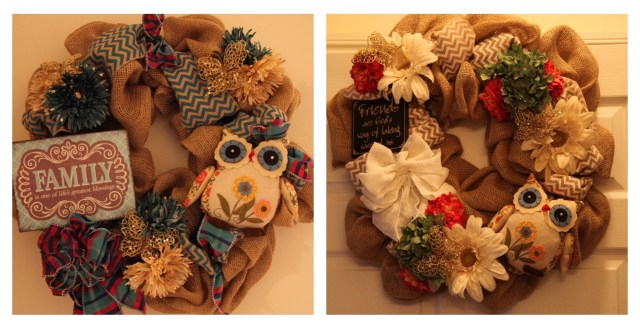
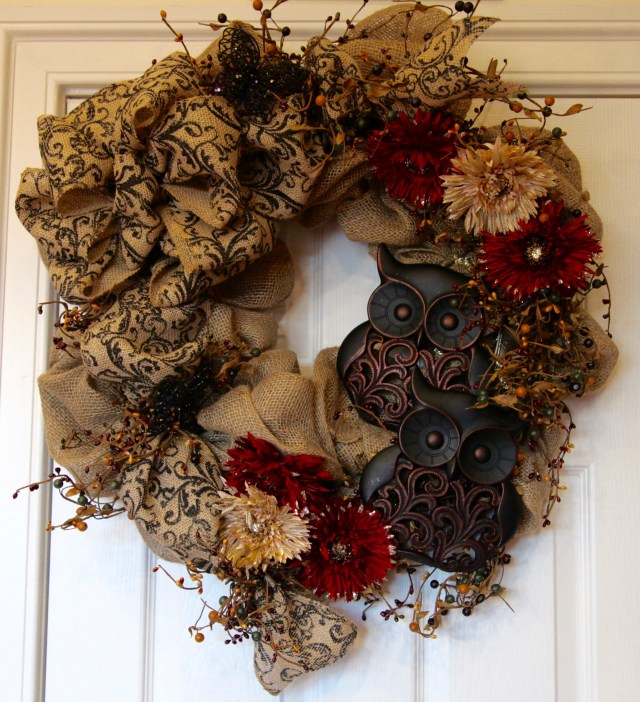
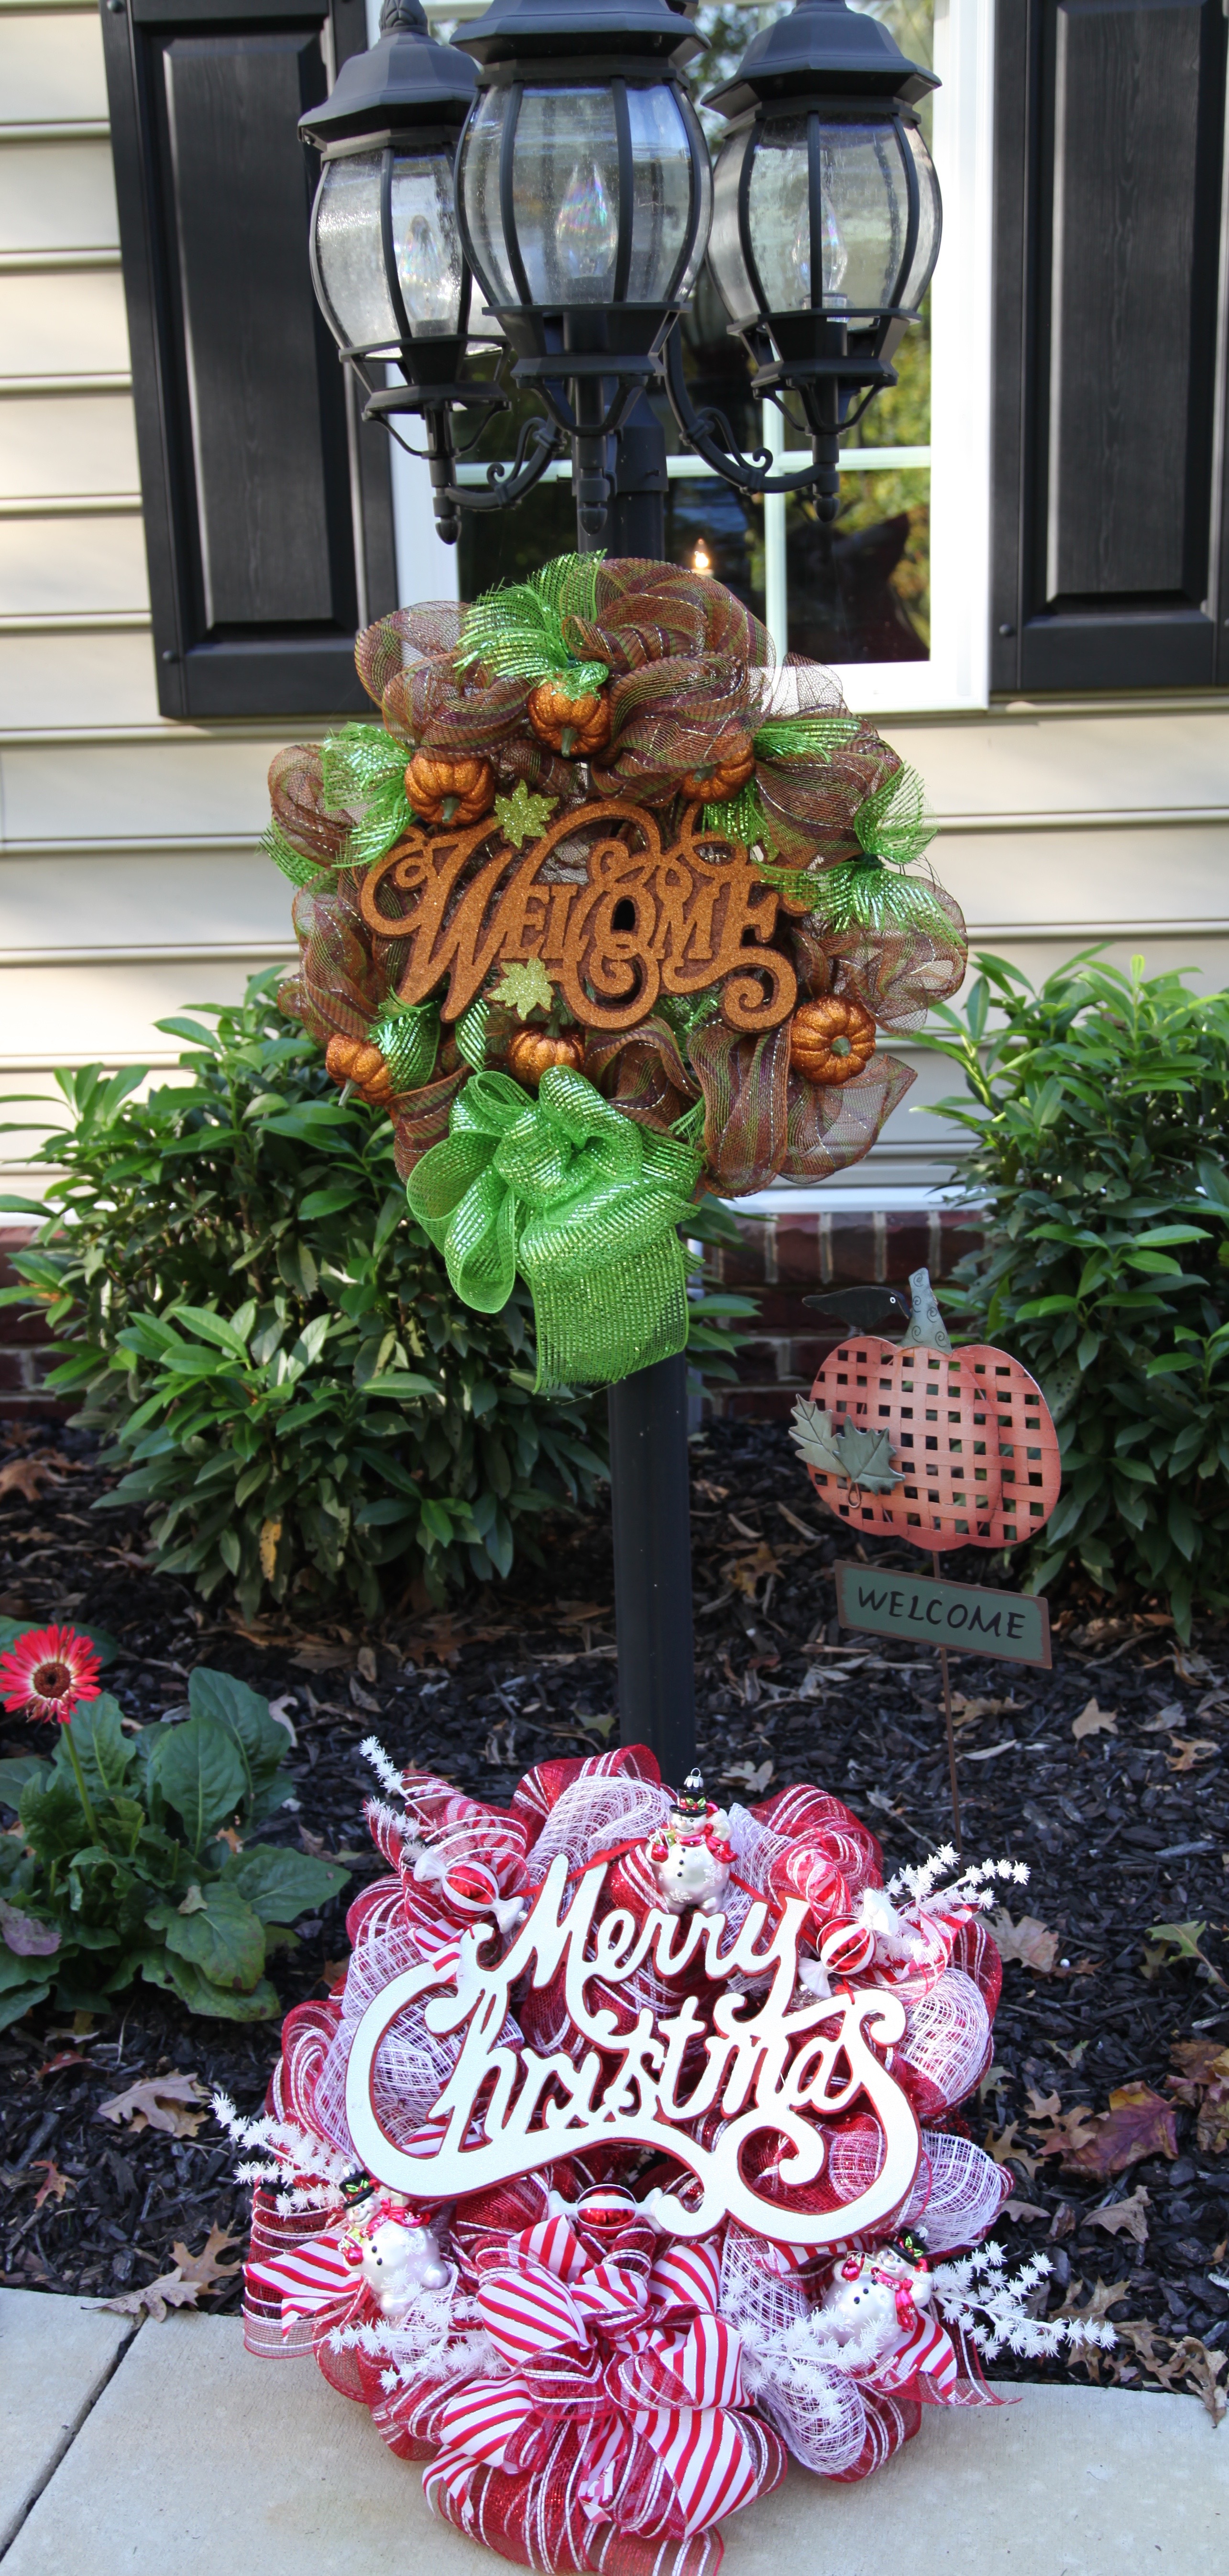
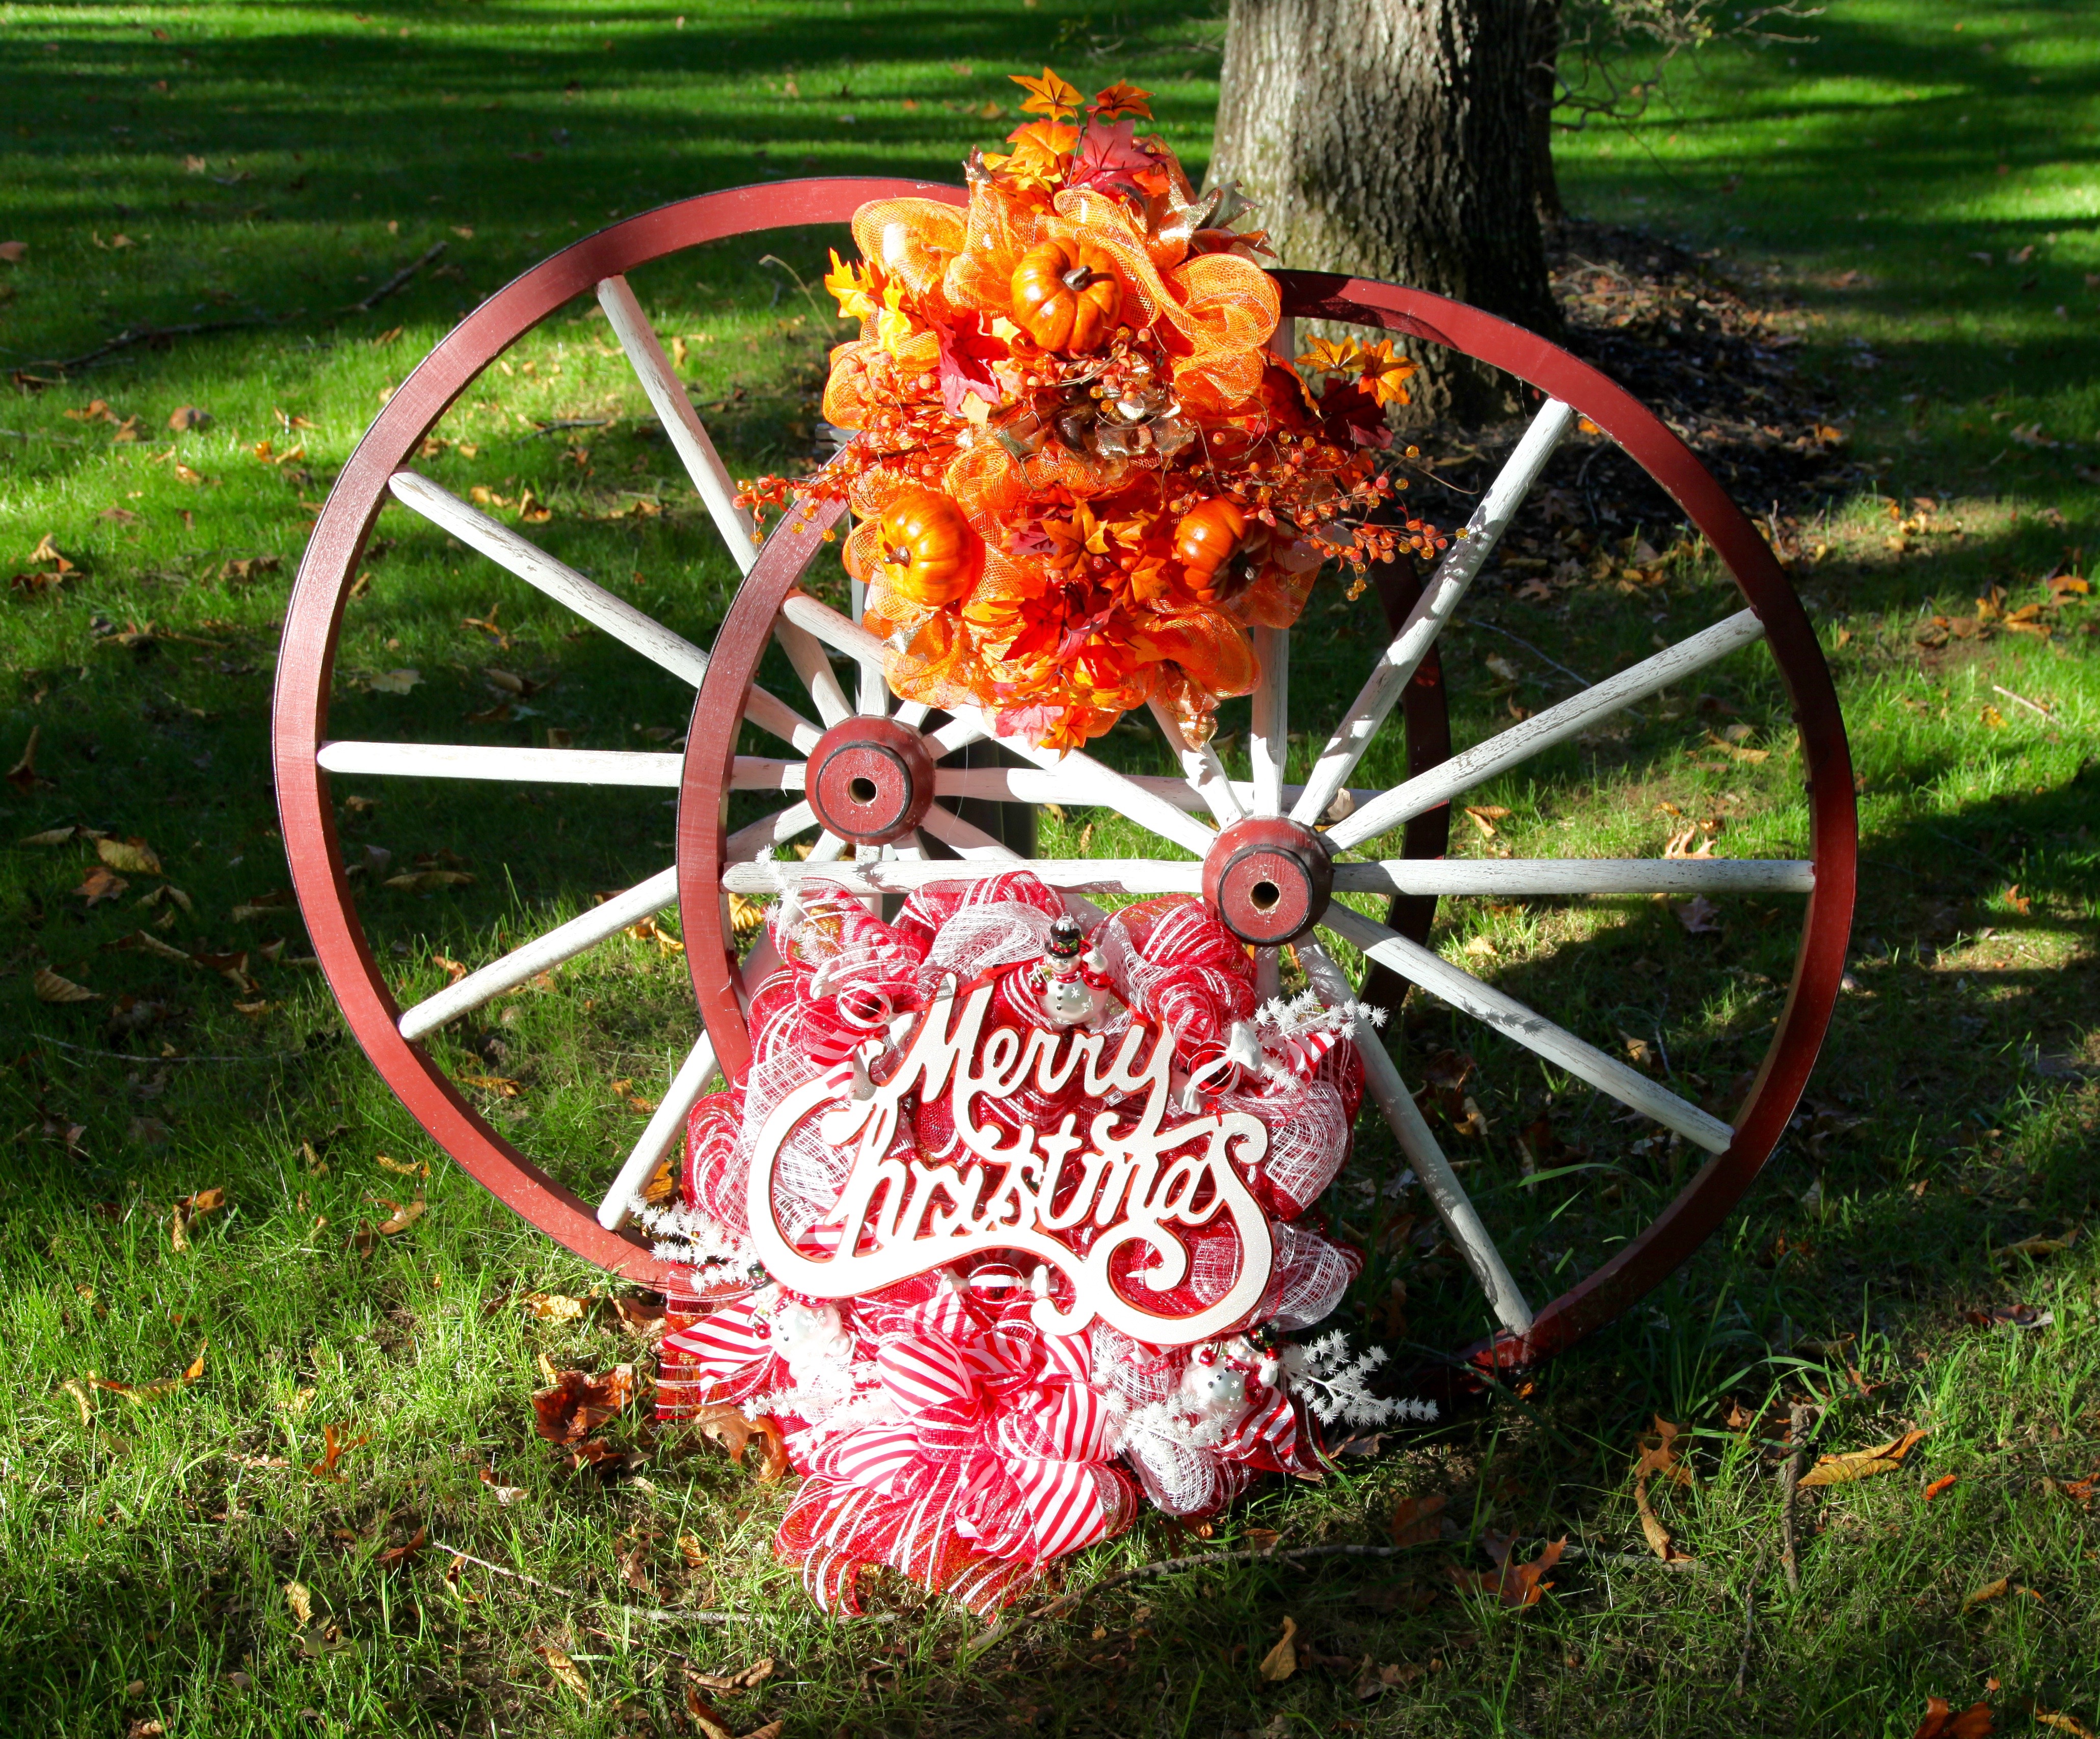
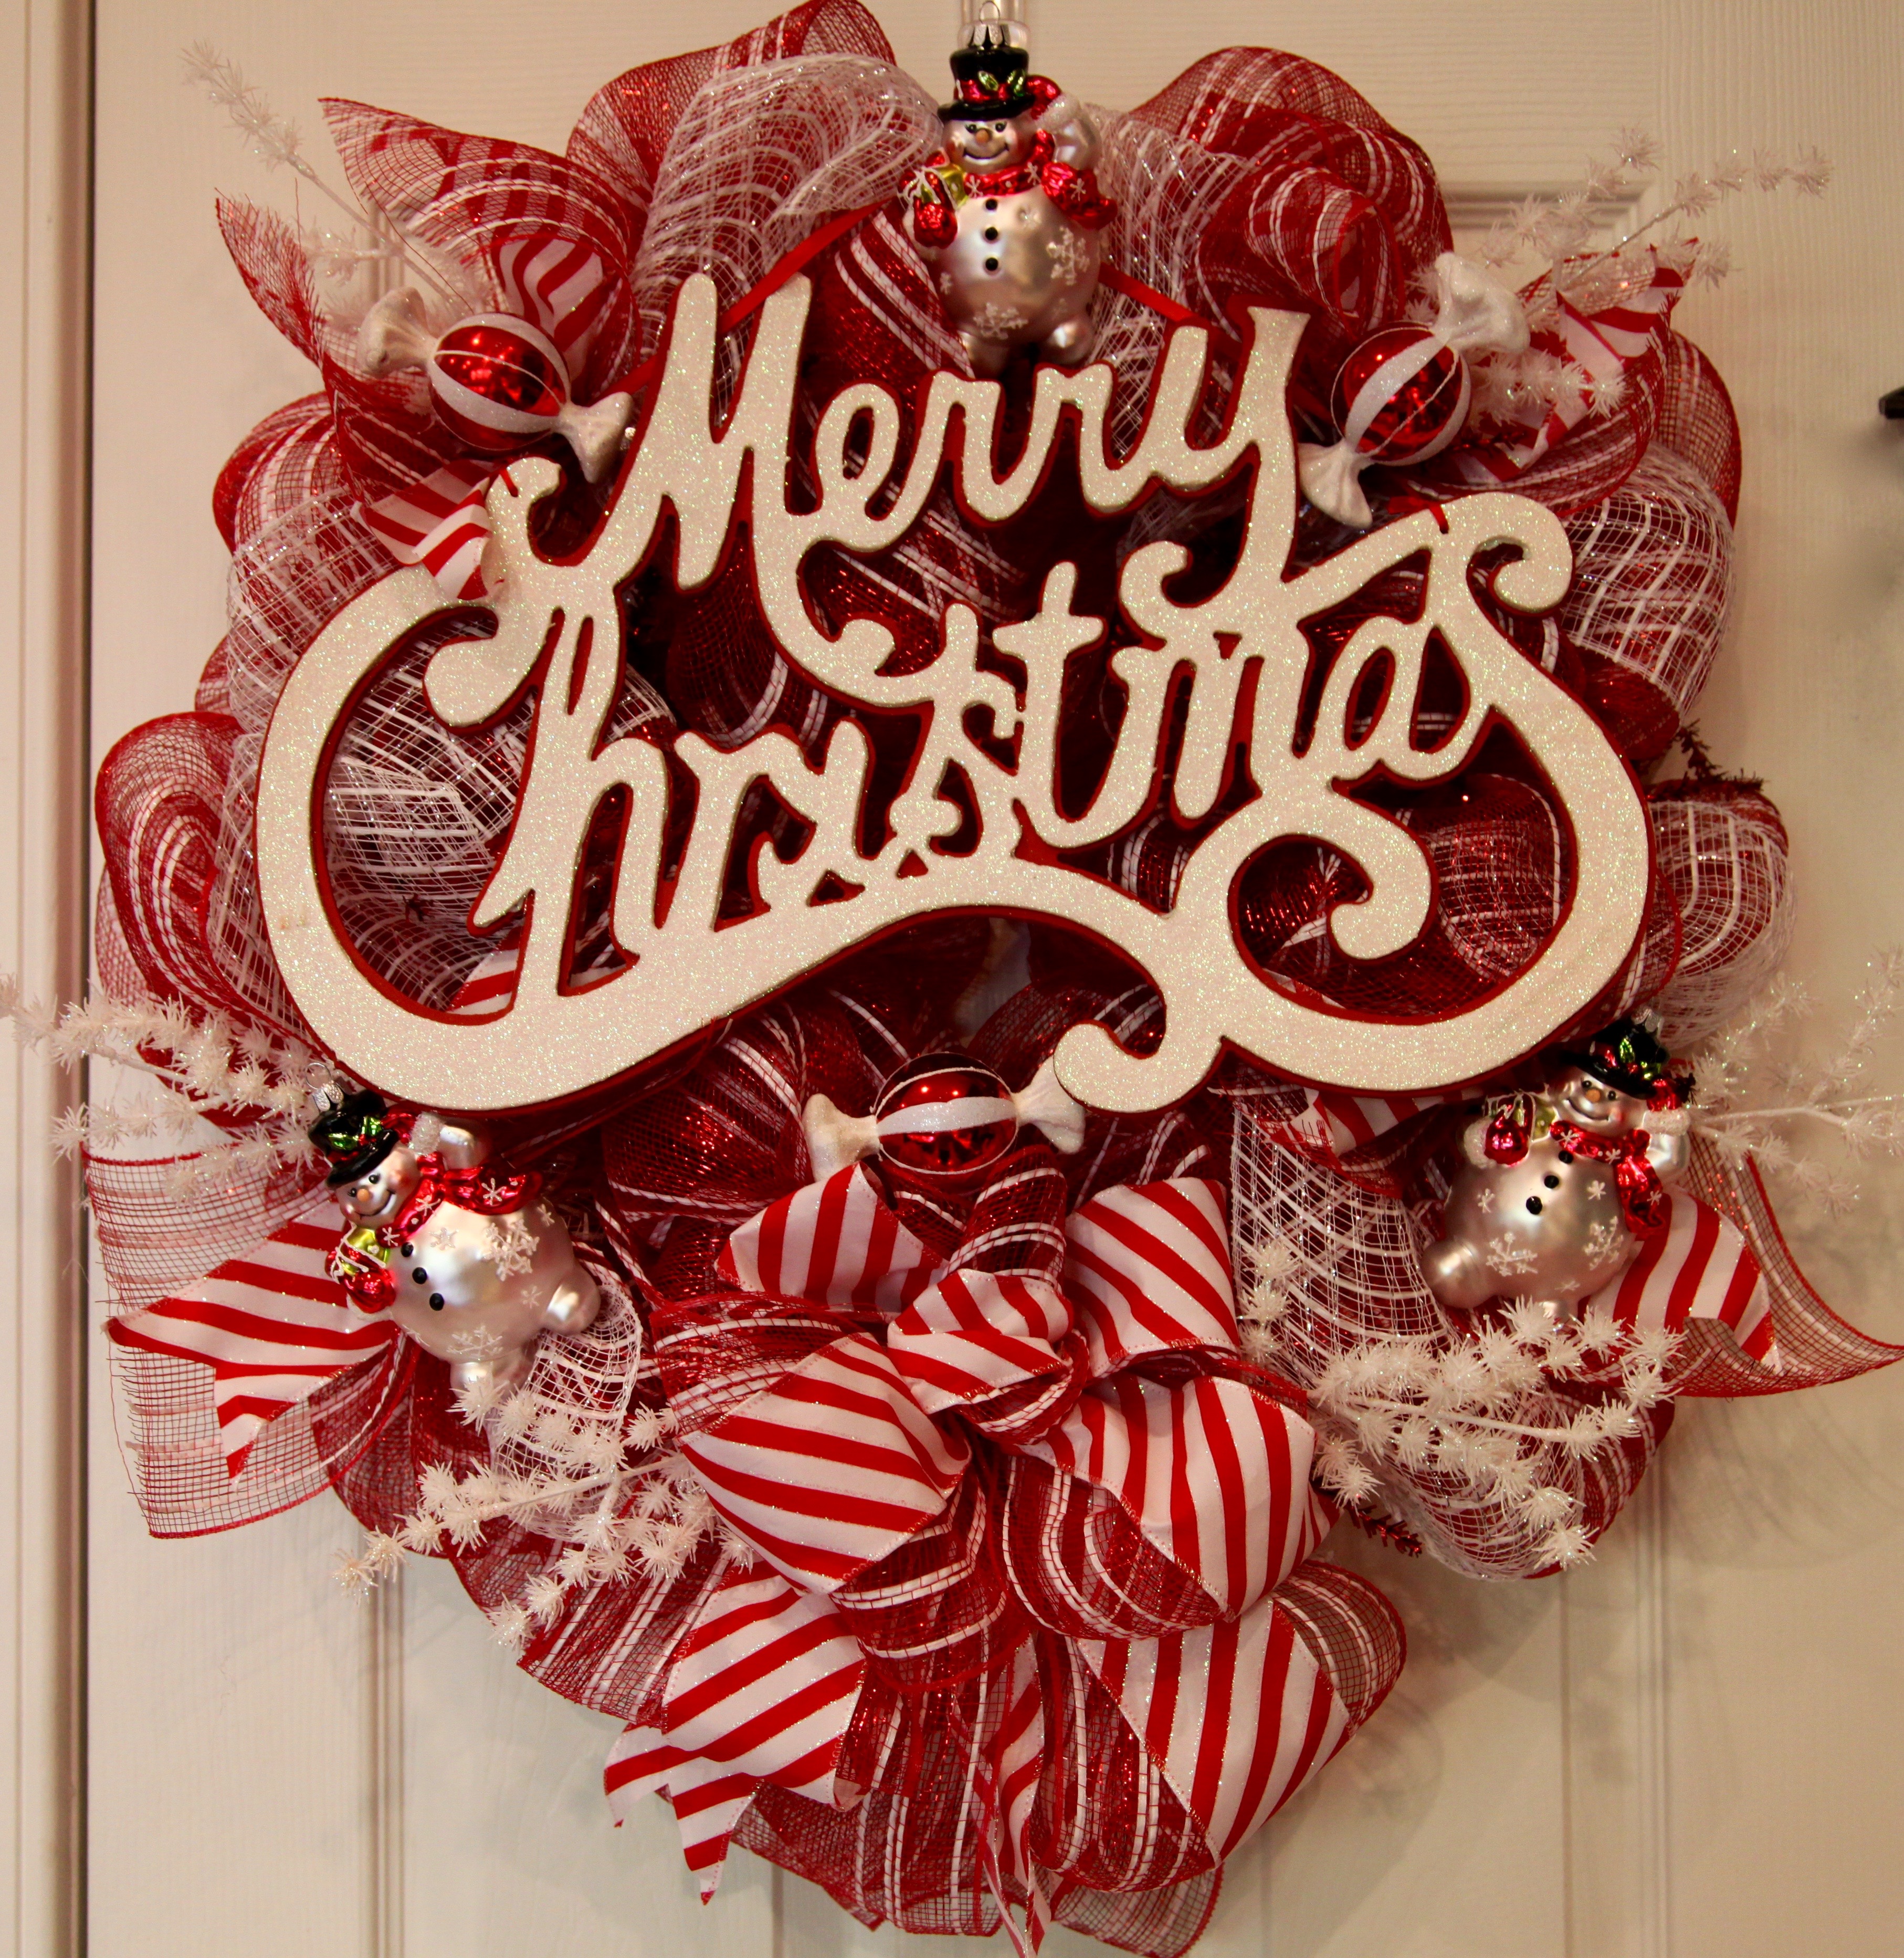
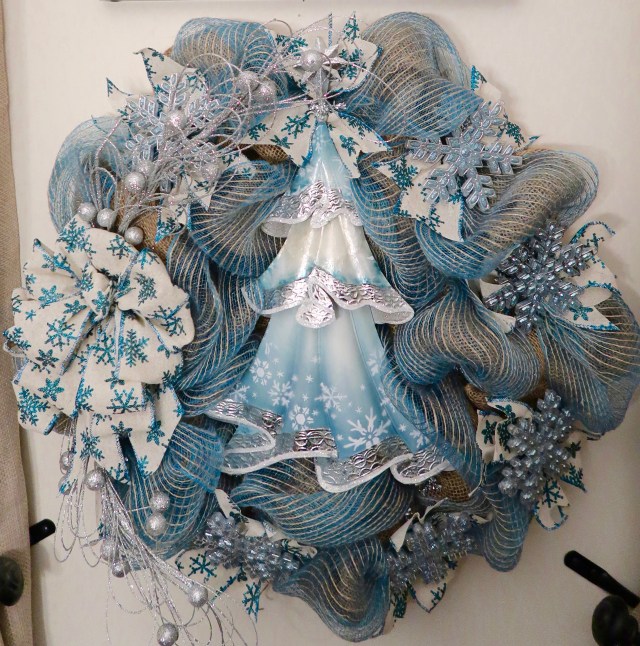
Can I tell y’all how much I adore the finished wreath?  It went together beautifully as you’ll see in my YouTube video tutorial that I’ll post below.  First, here are a few pictures of what turned out to be one of my favorites wreaths that I’ve ever created.

IMG_0827.jpg

IMG_0831.jpgIMG_0830 (1).jpg

Here is a link to my YouTube tutorial:


Until next time, y’all take good care! ❤

**In crafting there are no mistakes, just unique creations**

~Arlynn ❤

Burlap & Birdhouse Wreath & Room Decor (Soft Green and Cream)

As y’all know, our living and dining rooms sit on the front of our home <link to home tour> and are separated by our foyer & front door.  I have found that I really enjoy putting a wreath on the inside of the door.  I have a pretty large foyer and that wreath helps to carry the decor theme from one room to the next.  I use a pretty green color–I see it everywhere–along with cream & burlap as my accent colors in those rooms.  These colors lend themselves to a soft, pretty, warm and cozy design that I have fallen in love with since moving into this house. Also, using these softer colors while incorporating my other favorite design accents into these rooms presents me with a bit of a challenge being that they are not necessarily your typical country themed colors.  In this post, I will highlight a wreath that I made while on a ladies craft day last March; I made it especially to hang on the back of my front door.  I will also show you some other soft country design elements and techniques like I’ve used in my family room/kitchen area (that are decorated in the more typical country colors of burgundy, green, blue, etc…) and carried into these softer hued rooms.

Okie dokie…So, first, let me list some of my very favorite accent pieces that I usually will use to augment my decor:

  • Pip Berries (picks and garlands)
  • Lanterns
  • Burlap
  • Gerber Daisies
  • Dickens Houses
  • Candles
  • Family Pictures
  • Rod-Iron Accent Pieces

As you will see, I’ve tried my best to try and incorporate some of my favorite things into my room designs and into that huge wreath on the door.  Speaking of the wreath, let me describe how I made that real quick…

Here are the supplies that you’d need if you wanted to try to make this wreath, also here is a link showing you a bit more detailed directions as to how to make a burlap wreath:

  • 24″ Work Wreath
  • 2 Skeins of Burlap ‘Runner’
  • Pip Berry Garland
  • Accent burlap ribbon (or whatever accent you might want to use)
  • Wooden Birdhouse
  • Resin Flowers
  • Burlap Daisies
  • Rod Iron Flower & Accent flowers
  • Floral wire

IMG_4542

IMG_4565

IMG_4554

The first thing that I did was to glue pipe cleaners onto the back of the birdhouse and the wooden daisies:

IMG_4563

IMG_4564

And the Birdhouse:

IMG_4562

Then I added the burlap to the work wreath:

Next I turned the wreath over and attached the rod-iron flower using floral wire:

IMG_4543

IMG_4556

IMG_4557

Then it was time to make it pretty, so I went about adding the pip berry garland simply by adding it in on top of the burlap, attaching it into each outer ring’s pipe cleaner…

IMG_4566IMG_4567

Then I added the bow, birdhouse, all of the daisies and other accent flowers…IMG_4568

And here is the finished wreath:

IMG_4764

Here I am at Karen’s house in the middle holding the wreath, I’m flanked by my sweet friends Karen and Katrina who worked on their lovely crafts on that nice day:

IMG_4580

Here are a few more pictures of that wreath in place:

1V4A4862

And of course, the pups always love to pose prettily for a picture–Left to Right–Gracie the Golden, and the Newfoundlands, Sophie and Samson. ❤IMG_4750IMG_4757

Here are some pictures of some of the other wreaths that I’ve made to go on that door at different times of the year:

And now to show you how these rooms are pulled together using that pretty green color, cream, and burlap.  I’ll start in the dining room with the tablecloth,  lantern centerpiece, flanked by rod-iron candle holders and green candles.  OH I also made that wreath hanging on the wall between the windows…

1V4A4848

1V4A4849

The table runner on my Sideboard matches the tablecloth. I also was really happy when I found those sconces that are on either side of the mirror at Hobby Lobby for 1/2 price:

1V4A4860

1V4A4861

1V4A3306

1V4A4850

And then a few decor elements in the living room:

1V4A4851


1V4A48571V4A4859

IMG_3531

1V4A4854

1V4A4847

If you’d like to read more about these rooms, here is a link to my Living & Dining Rooms blog post describing them in more detail (like where we got those rugs from, and more about the living room furniture, that lamp on the side board, etc…<here is a link>.

I’ll tell y’all, I’ll just go into those rooms and drink in the softness of the design…I love it, truly.  It calms my very soul. 🙂

Until next time, y’all take good care! ❤

And remember!

**In crafting there are no mistakes just unique creations**


Easy St. Patrick’s Day Deco Mesh Wreath

All of a sudden, I’ve turned around and it is almost March! What? Wait a second, where did February get off to? No, seriously, March has snuck up on me;  I have found that the older I get, the faster the time passes, honestly, time is flying by now-a-days.  SO, that said, I try to make the very best of every day that I have on this earth, I feel so blessed that I can still move about and be creative.

I gathered all of the materials that I needed for this wreath at, where else, Hobby Lobby. 😉  All of the St. Patrick’s Day accents were on sale for 30% off and I already had purchased the work wreath form for 40% off last week.

IMG_4442

  • 16″ Work Wreath Form
  • 1- 21″ x 10 yard Deco Mesh Roll (Green)
  • 1- 21″ x 10 yard Deco Mesh Roll in White (I used what was left on a roll that I had used for another wreath)
  • 3 Wooden Shamrocks
  • Sparkly Shamrocks
  • Wooden “Happy St. Patrick’s Day” Plaque
  • St. Patrick’s Day wired ribbon
  • Sparkly green wired ribbon

This wreath was quite easy to put together and it only took me about 45 minutes to complete.  I started by attaching the green deco mesh to the work wreath, I simply looped the mesh from one twist tie to the next, around the outer ring and then I moved to the inner ring and did the same thing…

IMG_4448

Then I attached the white deco mesh, this really filled the wreath out nicely.  I honestly didn’t use any specific pattern when attaching this, I just looped and added it on top of the green mesh where I thought it looked nice…sometimes it was in a twist tie located on the outer ring and sometimes it was in a twist tie located on the inner ring.  Very seldom do I just go at something with abandon like that, but, it really worked well with this particular wreath. 🙂

IMG_4449

I then hot glued some pipe cleaners onto the back of the plaque so that I could attach it to the wreath form…

Then while that was drying, I made a bow out of the shamrock wired ribbon and attached it to the wreath…I left two very long tails on the bow.

IMG_4458 (1)

After the plaque was dry, I attached it to the wreath.  I took one long tail over the top and around to the plaque and the other tail around the bottom up to the plaque catching it in the outer ring’s twist ties as I went.  I brought both ties together under the plaque and left two little tails hanging off the side of the plaque…

IMG_4458

I also glued the three wooden shamrocks onto the wreath, two on the top center and one on the bottom center.

I cut the wired green sparkly ribbon into 8″ strips, I used the entire bolt.

IMG_4455

I piled three strips on top of one another…IMG_4452

And then I cut an inverted “V” in both ends…

IMG_4453

Then I attached each tuft of three into the outer ring’s twist ties…I didn’t put them in every single one, I only put them in the places where there needed to be a little somethin’ somethin’ more added; I flared them out to resemble a bit of a star shape.

IMG_4456

I hot glued one sparkly shamrock to the center of each sparkly tuft…cute, cute. 🙂

I stood back and took a look and was satisfied with what I had created.

IMG_4459

I took it outside and hung it on the light post in front of our house.

IMG_4496

And while I was out there, I went ahead and switched out my decorative flags…

IMG_4498

And I walked out to the mailbox and replaced the wooden heart with the wooden shamrock and I made a new green checked bow to match.  If you’d like to see more about how my mailbox gets transformed each month, check out my post Seasonal Mailbox Decor

IMG_4466

I normally don’t redecorate the inside of our home for St. Patrick’s day, but these couple of little touches help the outside to look festive. 🙂

IMG_4468

Until next time, y’all take care!

~Arlynn ❤


Deco Mesh Valentine’s Day Wreath (Pink & White)

This past weekend we had one massive snowstorm around this area and pretty much all I’ve done for the last several days is cook everyone’s favorite dish, watch the news that is reporting on how this area is completely shut down and how it will take days to dig us out, and battle my cabin fever.  I’ve also played with my pups in the backyard, they are having a blast…I think I will write a post in the coming days so that I can show you what a good time they’ve had. 🙂 In the meantime, here are a couple of pictures…:)

IMG_3883IMG_4048

And today, I took a few minutes out to combat my cabin fever and to create a very quick Valentine’s Day wreath.  This wreath literally took me an hour (at most) to make.  It was easy peezy to put together and anyone could do it. 🙂

Here are the supplies I used:

  • 16″ Work Wreath
  • 1 Roll of 21″ x 10 yard Deco Mesh
  • 1 Bolt of Wired Ribbon
  • 4 Heart ornaments
  • 1 Wooden Plaque

IMG_4156

IMG_3668IMG_4162IMG_4159

The first thing that I did was to hot glue some pipe cleaners onto the back of the wooden plaque so that I could easily tie it onto the wreath form…

IMG_4163

Then I looped the deco mesh into the work wreath’s pipe cleaners; I worked my way around the outer ring, then the inner ring, and then I put another row around the outer ring.

IMG_4158

I made a big bow out of the ribbon…and tied it onto one side of the wreath, and then I tied the wooden plaque on the opposite side.  I hot glued the heart ornaments on and called it a day.  Honestly, easy as can be. 🙂

Here is the finished wreath:

IMG_4169

I’m not totally sure where I will hang it quite yet…It will definitely be hung outside, possibly on my light post out front…

IMG_3564

Or I might hang it on my wagon wheels…

IMG_3568

Productivity is a good thing, and today, I felt like I was definitely productive. 🙂 Go me! 😉

Until next time, y’all take good care! ❤

**In crafting there are no mistakes, just unique creations**

~Arlynn ❤

Burlap, Pip Berry, and Owl Wreath

It has become obvious that I have a real affinity for adding owls to my wreaths…after all they are cute little creatures. 🙂  Here are the wreaths that I’ve made in the last year that I’ve adorned with an owl…or two… 😉

Image 10.21.42 AMImage 2

Of course, I don’t have all of these hanging up at one time, and the one on the bottom right was given as a gift to a dear friend.  BUT, as you can see, owls are often my choice with which to build an entire wreath. 🙂

That said, I did not surprise myself when I picked up these two wrought-iron *looking* owls (they are really resin, still pretty heavy though) and started formulating a plan for a wreath that I wanted to make for my powder room.


IMG_3613

Here are the other supplies that I collected so that I could bring the wreath that was in my mind’s eye to fruition:

  • Work Wreath (90% off at Hobby Lobby)
  • Burlap ‘Runner’ (1 – 1/2 Skein)
  • Pip Berry Runner
  • 5″ Burlap Ribbon (for a bow)
  • Burgundy and Khaki colored daisies
  • Sparkly Butterflies


IMG_3626

IMG_3619IMG_3610

IMG_3616IMG_3615

IMG_3611

The first thing that I did was to hot glue pipe cleaners onto the back of those owls…they were pretty heavy and pretty big so I knew that glueing them onto the wreath was not going to be an option, the pipe cleaners provide a nice sturdy way with which to attach the owls to the wreath…

IMG_3614IMG_3617

The next thing that I did was to make a bow out of the burlap ribbon…This was not wired ribbon, but it sure did make up into a pretty bow.  I just taught myself how to make this kind of bow at Christmas time, check out this link to see how I learned: Big Beautiful (Christmas) Bows…

IMG_3618

I then started to build my wreath; so as not to bore you with the “how-to” details here, if you’d like to know how I put my burlap wreaths together here is a link to my Front Door Burlap Wreaths post, in there I describe my process…

As you see in the pictures of the wreaths that I’ve made, I usually will attach a contrasting colored burlap or ribbon to the wreath to add interest. But, I did a little something different with this wreath in that instead of a contrasting burlap or ribbon, I used a pip berry garland.  I attached the garland to each of chenille pipe cleaners on the outer ring of the wreath (I just added it right on top of the burlap that I had already attached)…

IMG_3622IMG_3622 (1)

After that, I tied the bow onto one side of the wreath and the owls onto the other side and I placed the flowers and butterflies where I thought they looked nice and hot glued them in place.  I took a moment to fluff out the pip berries and the burlap.  I pulled one of the bow tails up and around the top and caught it in a couple of pip berry twigs and I did the same thing under the bow and around the bottom of the wreath; I cut the tails of the ribbon into an inverted ‘v’.

In the end, this is what I came up with:

IMG_3627

And here it is hung up in its spot in the Powder Room:

IMG_3629

IMG_3630IMG_3632IMG_3633 (1)

I truly do love the creative process and am very happy with how this wreath turned out.  It fills up that wall nicely and it will be a lovely every-day wreath.  It will most likely hang there until next Fall.

Until next time, y’all take good care! ❤

**In crafting there are no mistakes, only unique creations**

~Arlynn ❤


Christmas Wreath: Ornament & Burlap Mesh (Burgundy & Gold)

Hi All,

I took a trip to Walmart with the intention of purchasing Christmas ornaments to be used to try and create one of those beautiful wreaths made completely out of Christmas ball ornaments.  I have never made one of those wreaths and I thought that I might like to give it a try, so I started perusing around looking for just the right color combination of ornaments.  Walmart does have very large containers of Christmas balls in a dizzying array of color combinations…just not the combination for which I was specifically looking.  I am going to be decorating my family room and surrounding rooms with burgundy and a light gold this year and all of the large containers of the gold ornaments were too dark in color and I was getting frustrated.  ANYway, my cousin Stacey had told me about some new and different burlap/meshy rolls that they have at Walmart  (y’all have met Stacey when she was my guest blogger and she told you about her Deco Mesh Halloween Wreath and her matching Deco Mesh Garland that she created when we got together for a craft weekend).  As I was wandering around continuing to search for what had become a very elusive color of gold ornament, I found the rolls that she was speaking about and gathered several and put them in my cart. I then looked to my left AND right across the aisle my eyes locked on an “ornament garland” in the *exact* colors that I’ve been tossing around as my theme colors for this Christmas!  My wheels started turning as I grabbed up that box of ornament garland–even though it was $20…yikes. Regardless, I was a happy girl because I had found burlap mesh *and* my envisioned color combination of ornaments; I was creating the wreath in my mind as I went around and gathered the other accents that I’d eventually add to the wreath.  This wreath cost me around $50 to make (a bit more than others that I’ve made because of the cost of the ornament garland)…

Here is what I came up with:

Here is the ornament garland:

IMG_2164

I chose to use a 16″ work wreath with the gold metallic chenille twist ties already attached (picked that up at Hobby Lobby in the Christmas section for 40% off):

IMG_2165

I used almost two entire rolls of that meshy burlap and most of the roll of the gold and cream accent ribbon:

IMG_2177

I picked up some gold and pine decorative picks and a few little owls to add as my accent pieces:

IMG_2171 IMG_2170 IMG_2173

Here is how I put it all together:

I started with the meshy burlap…I attached it to the work wreath starting on the outer ring.  I made large loops between each twist tie (probably about 10″ long) and worked my way around the entire ring finishing by adding the last gathered tuft into the same twist tie that I started with. Then, I transitioned to the inner ring and did the same thing around the entire ring.

IMG_2179IMG_2180

I then started to add the gold and cream ribbon. I started at one of the twist ties on the inner ring, attaching into the twist tie and right on top of the meshy burlap.  I continued around the entire wreath working from the inner to the outer twist ties.  I put the ribbon in every twist tie…

IMG_2182 IMG_2184

I wasn’t quite sure how I was going to manipulate that ornament garland into place, but, it was much easier to accomplish than I feared. All I did was get it out of the box, spread it out, and then laid it around the wreath. The ornaments were attached to a rather sturdy, wrapped stem sort of stuff that I could bend and manipulate any way I chose.  I used all of the inner twist ties to secure it onto the wreath.

IMG_2185 (1)IMG_2185

Next, I made a bow (here is my Bow Tutorial video), chose a place to put it on the wreath and tied it on using the pipe cleaner that I had used to tie the bow shut:

IMG_2187

IMG_2195

The garland did overlap in one spot–to the right of the bow, but it filled out that part of the wreath nicely and actually worked out perfectly in the end. 🙂

I then started to place the gold and pine picks and the owls, being a symmetrical person, I admit that I did fiddle around with them a good bit before I got them where they looked good to my eye.  I did hot glue them into place, and I also hot glued some of the ornaments together, they were flipping and flopping around a little too much.  This wreath will be hanging on our family room door that heads out to the backyard, so it is constantly in use, I wanted to make sure everything would be nice and secure.

I tried it out on the door for a few minutes, and I think it is going to work out beautifully there in the family room…

IMG_2196 IMG_2194 IMG_2191

I’m so excited to decorate for Christmas this year because I’m going to be tweaking my decor a bit.  I have gotten a bit tired of the same decorations year in and year out.  Some traditional things will remain the same, like the family room Christmas tree will not be changed a whole lot because it holds all of our special, sentimental ornaments, and I have a few ceramic Christmas trees that my Grandma made for me, they will definitely still be incorporated into the mix. OH yeah, I have a plethora of snowmen as well, I’m sure they will be scattered about. But, I will be changing up my mantel and hearth and most likely I’ll make a spray that will go on my bullnose of my staircase– all three of those places will mimic this wreath…somewhat. 🙂  (I rushed back to Walmart today to gather a couple more boxes of that ornament garland to incorporate in the places that I just mentioned). 🙂  So, I am going to be trying to recreate the old wheel so to speak this year…wish me luck! And stay tuned, after Thanksgiving, the decorating frenzy will begin…haha. 😉

Until next time, y’all take good care! ❤

**In crafting there are no mistakes just unique creations**

Deco Mesh Christmas Wreath (Red & White Striped & Snowman)

Deco mesh has become one of my favorite things with which to make my outdoor wreaths.  It holds its shape and handles rainy or snowy days beautifully. 🙂  I have been making wreaths for my front light post as the seasons pass since last winter, so I decided to go ahead and get my Christmas wreath made today.  Honest to goodness, I wish I could find my “off switch” sometimes, I truly am like the energizer bunny and I am rarely idle. I shouldn’t complain huh? I should be very grateful that I can still put my feet on the floor in the morning and go through my day with an exorbitant amount of energy. 😉 🙂

So, here we go…I used a 16″ “work wreath” which only means that it is a metal form with chenille twist ties already attached.  I actually was able to find one with red twist ties on sale at Hobby Lobby in the Christmas department.

IMG_2135

I was able to do this entire wreath with one roll of deco mesh:

IMG_2137

I started this wreath by unrolling a good bit of the deco mesh and start attaching it to the outer ring of the work wreath.  I then started to make loops using about 10″ of mesh for each loop.  I followed that pattern all the way around the outer ring and then transferred to the inner ring and did the same thing until I had filled all of the twist ties…

IMG_2140IMG_2141

IMG_2142

Now to add a few extra adornments to the wreath, I took some 5″ deco mesh ribbon in the same pattern that I used for the wreath and I cut 4- 12″ strips, and I did the same thing with some red and white striped wired ribbon.

IMG_2149 IMG_2146 IMG_2147 IMG_2148

Then I made a little pile consisting of one piece of the cut deco mesh, one piece of the red and white ribbon, and I added a white “snowflake” pick and bundled them all together and placed them into one of the twist ties on the wreath.  I did that 3 more times strategically placing the 4 tufts around the wreath.

IMG_2150

A bow was next, I made it out of the same 5″ deco mesh and red and white ribbon that I had used for the little tufts.  Here is a link to my “How to make a bow tutorial” (video)…

IMG_2151 IMG_2152

I found a “Merry Christmas” worded sign with glittery white lettering, I was able to tie that into the twist ties; I did glue it in a couple of places as well…

IMG_2138

Next, it was time to place a few snowmen and candy Christmas ornaments; I hot glued them into place and called it done.

IMG_2136

When it is time to decorate for Christmas, this wreath will replace my Fall wreath on the light post…

IMG_2160

Or possibly, it will replace the spray on the wagon wheels…

IMG_2163

IMG_2154 (1)

I’m extremely happy with how this wreath turned out and *bonus* it only took me 45 minutes to make from start to finish; I hope that this will inspire someone out there to try one for themselves.  You can do it!

Until next time, y’all take good care! ❤

**In crafting there are no mistakes just unique creations**