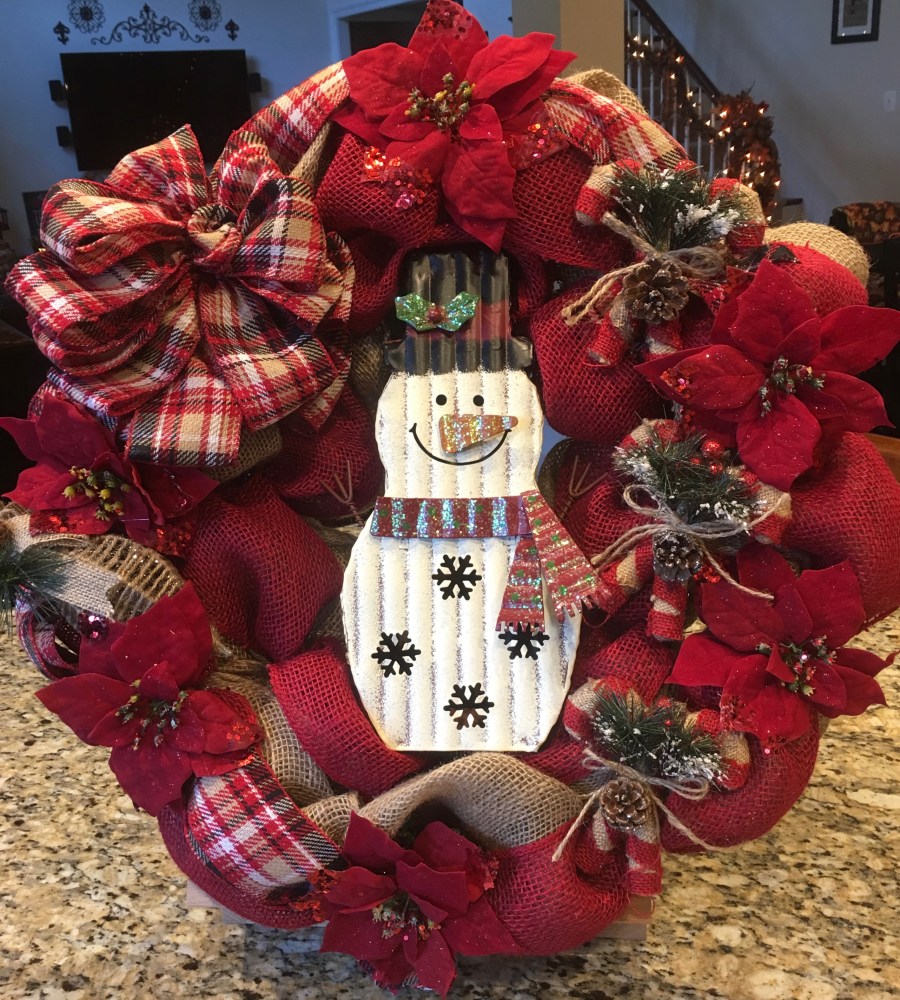
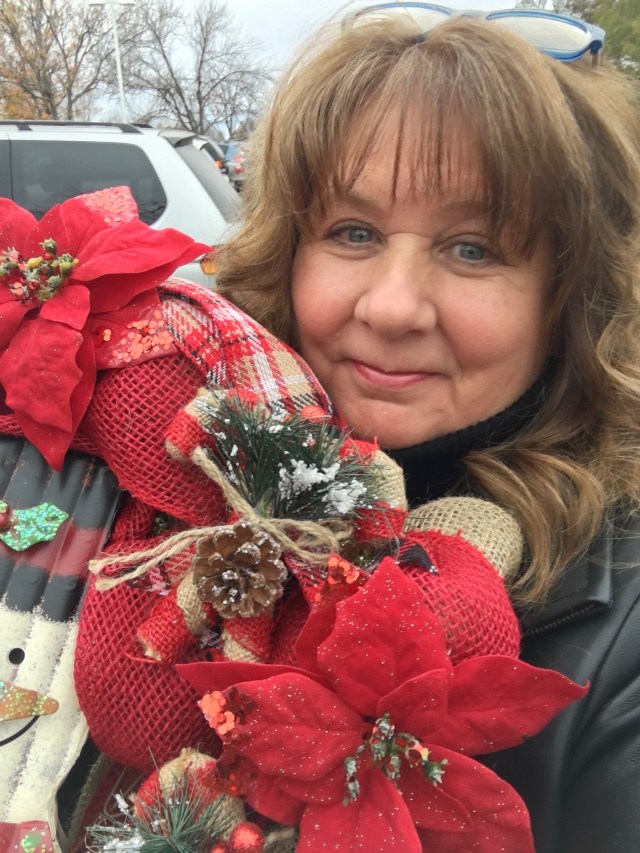
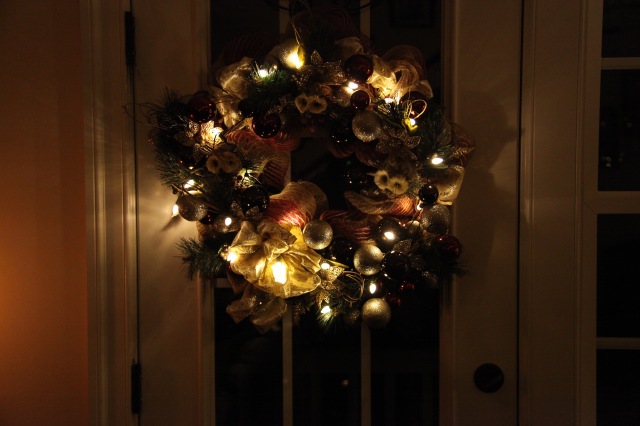
I have officially finished my first crafting project for the 2016 Christmas Season. This burlap and snowman wreath was so much fun to create–This is an easy little wreath that anyone could create without too much trouble. I’ve made a tutorial video and have just uploaded it to my YouTube Channel, I will post a link to that below.
Let me give you a tiny bit of a back story about this wreath. My daughter Christin is a teacher and one of her colleagues has asked me to come to their school and teach (what me teach?) a class showing how to make a burlap wreath. 🙂 So I humbly said that I would be honored to do that, and then I started to wrap my brain around what I might like to make as a demonstration for them–I thought I would make a burlap wreath to display, one that they could refer to as we were creating, and then I needed to make one while I was teaching them the steps–I decided to buy supplies to make two of the same wreath, I will be donating one of the wreaths to the school for them to use to raffle off, proceeds will go to their “Relay for Life” team to help combat cancer–A horrible illness that has affected our extended family several times . 😦 So, donating a wreath that could possibly bring in a little money to help…no brainer for me. 🙂
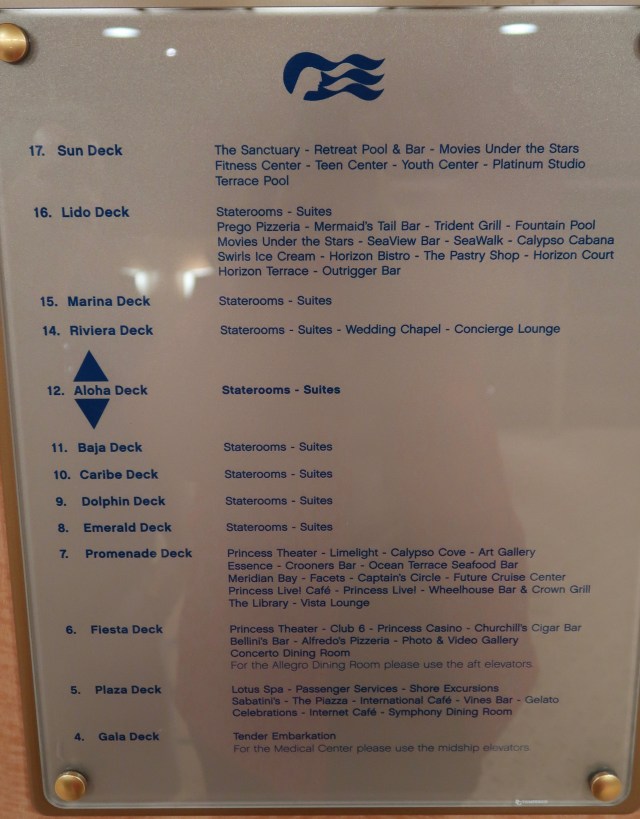
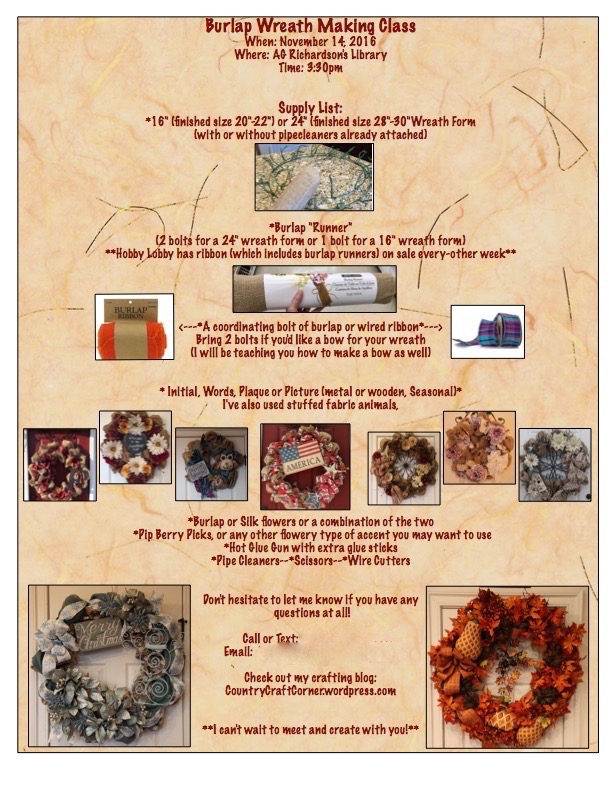
Here is the “Supply/Informational” sheet that I provided to them so that they could prepare for our little class:
And I also provided this collage picture to show them what supplies I had gathered for my wreath:

Here is the supply list if anyone out there would like to make this wreath for themselves:
- 16″ Work Wreath
- 1 Roll of Burlap Runner (18″x15′)
- 1 Roll of Solid Burlap Ribbon (5.5″x15′)
- 1 Roll of Coordinating Wired Ribbon (for a craft bow)
- Snowman (or other item of your own choosing)
- Burlap’y’ Christmas Ornaments
- Coordinating flowers…i.e. Poinsettias/Pine picks
- Scissors, Pipe Cleaner & Wire Cutters
- Hot Glue Gun
Here is a link to my tutorial video on my YouTube Channel:
Wish me luck y’all!! I yammer along here on my blog and yes, now in my video tutorials, but, I’ve never taught a class—I mean, I’m not nervous about getting up and talking to those folks, I just want it to go well and I want to be a help to those that attend…OH gosh, it will all work out, and in the end, this wreath will help to combat one of the most horrible diseases on the planet, cancer. *That* is a good thing. 🙂
Until next time, y’all take good care! ❤
**In crafting there are no mistakes, only unique creations**
~Arlynn ❤
***UPDATE***UPDATE***UPDATE (11/15/16)
Oh my gosh y’all!!! I “taught” my burlap wreath making class last night, but, can I tell you something?! The ladies in this class were absolutely awesome and truly didn’t need too much instruction. 🙂 They were all very talented and they were ready to work to create something gorgeous for their homes…AND they did!! Here are a smattering of pictures of our time together, creating, laughing, and enjoying one another greatly. I feel like I have gained many new friends, friends that I will definitely cherish. OH what a wonderful evening it was!!
Here I am standing in the parking lot of our daughter’s school–Yes, I was a wee bit nervous and excited. I was fixin’ to go and teach teachers…what?! lol
We were spread out and ready to go in the library–And of course, me, who is never at a loss for words started out the class by introducing myself a little bit…


And then we got started, I honest to goodness only gave a tiny bit of instruction as I was standing up there and then I started circling around the room and helping each lady get started, and they took it from there! I did make all of the bows that you’ll see, it is a skill that needs to be honed and goodness knows, I’ve been making them for over 35 years now…BUT, the ladies made my bows look fabulous and I need to take a lesson from them and how they fluffed them out and arranged them on their wreaths so beautifully—I’m telling you, these girls were amazing!!!
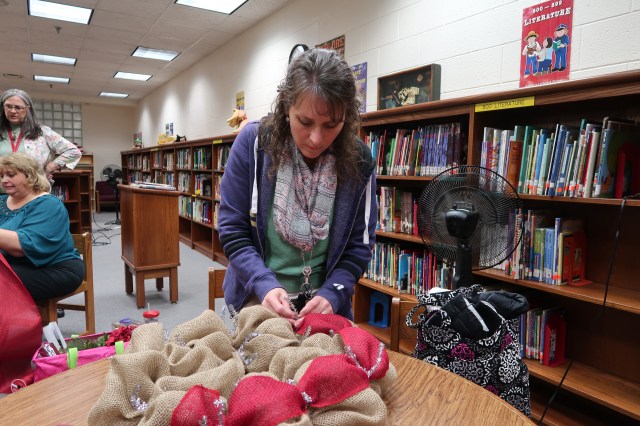
The ladies were diligent workers, here are a few pictures of them in action and in deep concentration as they let their creative juices flow. 🙂 I LOVED watching them–And I tried my very best to make myself available whenever anyone had a question–They told me that I did a good job–I will take them at their word. ❤
I unfortunately didn’t get a picture of this wreath and this awesome Mom and daughter team, but, it sure was looking pretty as we were working on it here–SO sorry I didn’t get a picture girls!!! (I’d love to see a picture of the final product when it is completed)

Hahaha…OH Lawd, we were in deep conversation here huh? LOL

Here are pictures of the ladies with their gorgeous creations (some of the wreaths didn’t get completely finished, but, ALL were so, so, so pretty no matter the state in which they left). 🙂
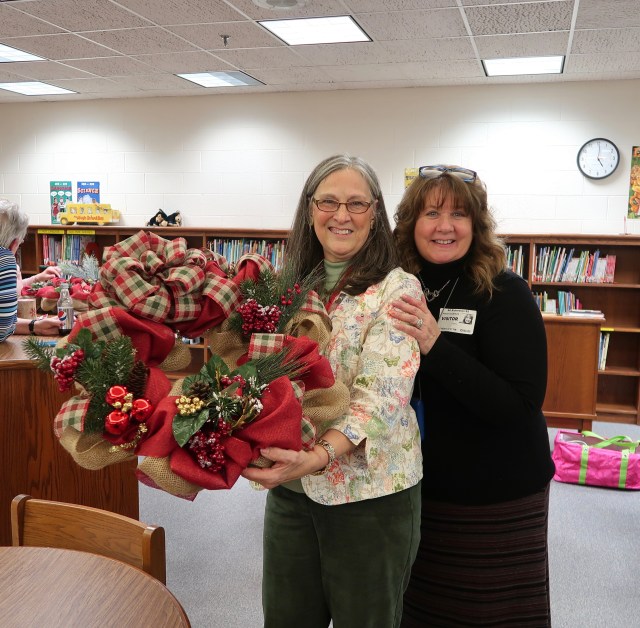
First, let me say that this sweet lady didn’t need my help at all–She said she came for the camaraderie (and trust me this was a wonderful group of ladies with which to spend time), check out the beautiful wreath that she created! WTG Nancy!!

And here are the rest of the ladies that I was able to help…Again, I was amazed at their creativity, tenacity, and desire to make beautiful Christmas wreaths for their homes. 🙂
Here is Kate–That plaid ribbon…OH yes, I need some of that!! Such a pretty wreath! The accent pieces that she chose to pair with that ribbon…so, so, so pretty!! 🙂
This is Janice–I can’t wait to see her finished product, you should have seen some of the accent pieces that she had at the ready, we just ran out of time……Such a lovely wreath in the making though. 🙂

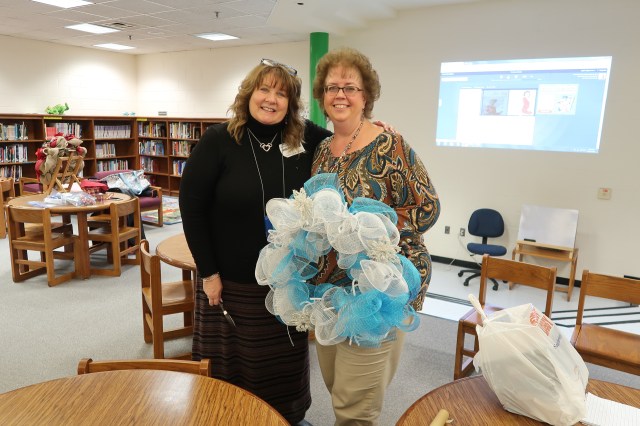
This Peggy with her big, beautiful deco mesh wreath–She didn’t quite get it finished, but, again, it is going to be just gorgeous when she adds her other lovely other accent pieces. 🙂

This is Joan—Her wreath looks SO pretty and it matches her genuine sweetness…All she needs to do is to add her lettering and a few more accent pieces…Wow, is that ever going to make a statement wherever it gets hung. 🙂
This is Denise and she is the lady that pulled our evening together (thank you Denise!!). 🙂

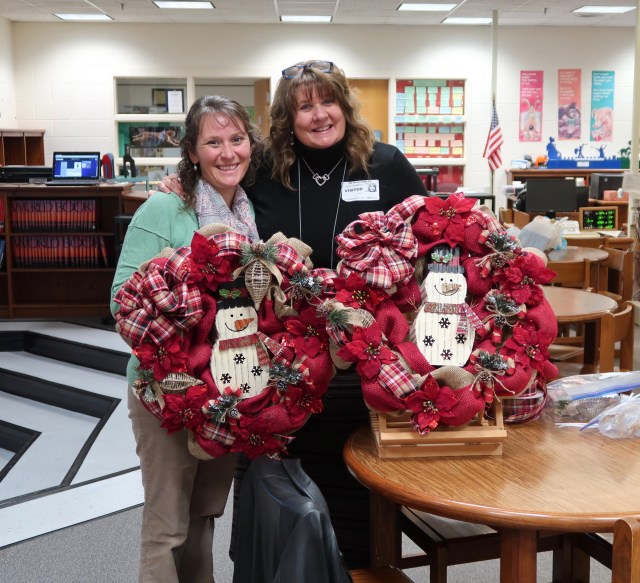
And this is Tabitha—I kind of sprung a little ‘surprise’ on her…and thank goodness she was a willing participant with my surprise. At first, I fully intended to demonstrate how to make a burlap wreath by actually going through the steps as I made my own wreath explaining as I went–trust me, there would have been no way that I could have made a wreath while there, I ran around answering questions, making bows, and chatting it up with these ladies–I’m a pretty good multi-tasker…but, not that good…lol. 😉 As I stated above in my original blog post, I made that other Snowman wreath to set up as a demo and I also donated it to the school to help raise funds for their Relay for Life team (or for whatever other good cause for which they might want to use the proceeds–They will be raffling it off). 🙂 ANYway–I had brought along all of the parts and pieces to make an identical wreath and thankfully Tabitha said that she would stay to create it — At the end of the evening, she took her beautiful creation home with her; she did a fabulous job!!!
Our daughter Christin is one very, very lucky young lady to have all of these wonderful women in her life…They are all very, very special!!! VERY special! Christin was there too btw, she is the one that clicked off these pictures, and in her own quiet way, she also helped some of the ladies by answering questions and sharing her own talents.
**To all of you ladies that attended, know that you touched my heart of hearts with your kind words, your desire to create, and your sweet, sweet ways–My life is forever changed after meeting all of you and spending time creating with you! Thank you for having me and for trusting in my ability to help y’all make something that you’ll have in your homes for many Christmases in the future…(((HUGS))) all around!!***
Life is good!!!
Until next time, ya’ll take good care! ❤
**In crafting there are no mistakes, just unique creations**
~Arlynn ❤


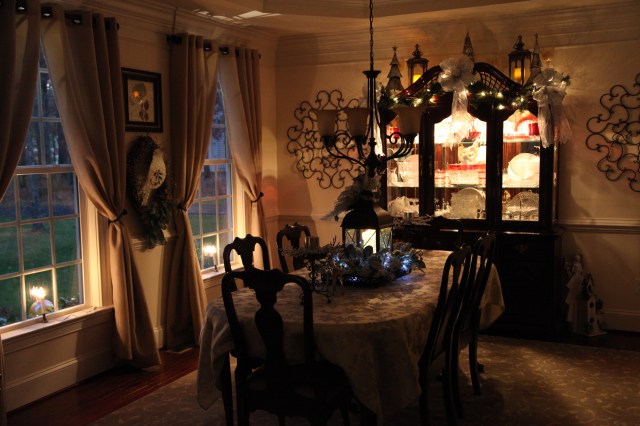
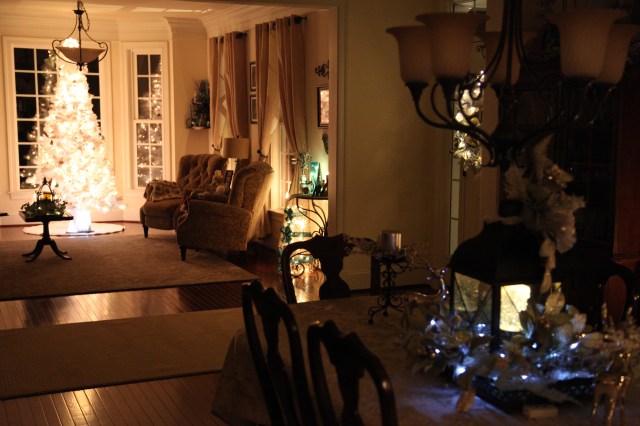


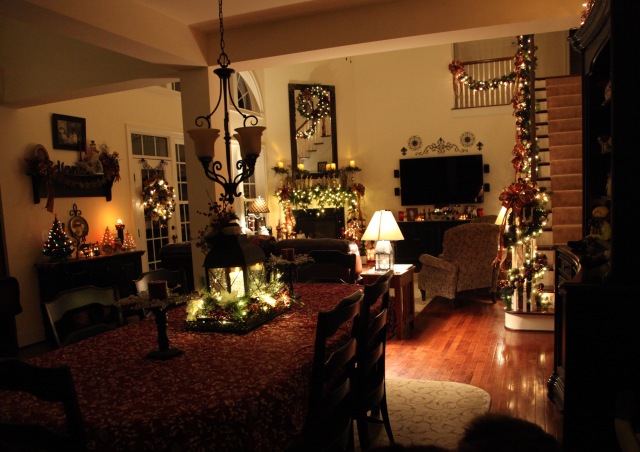

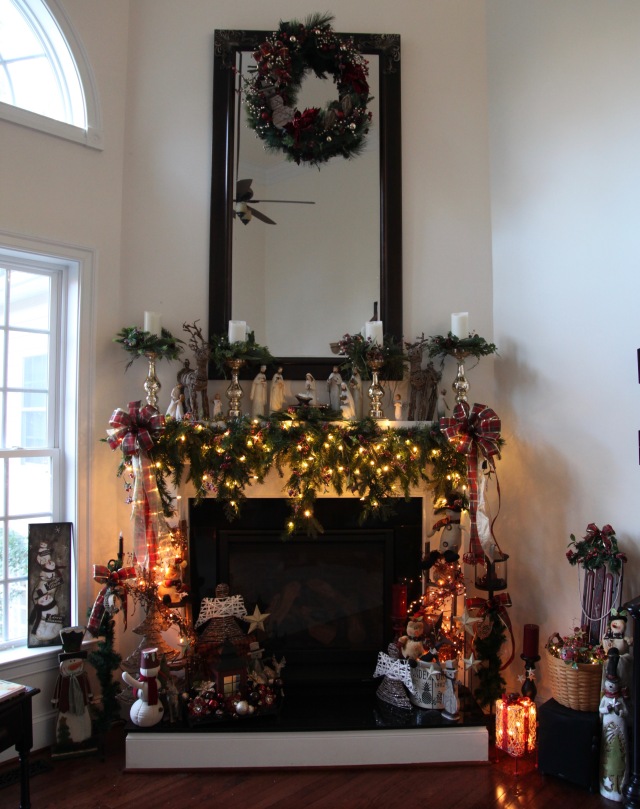


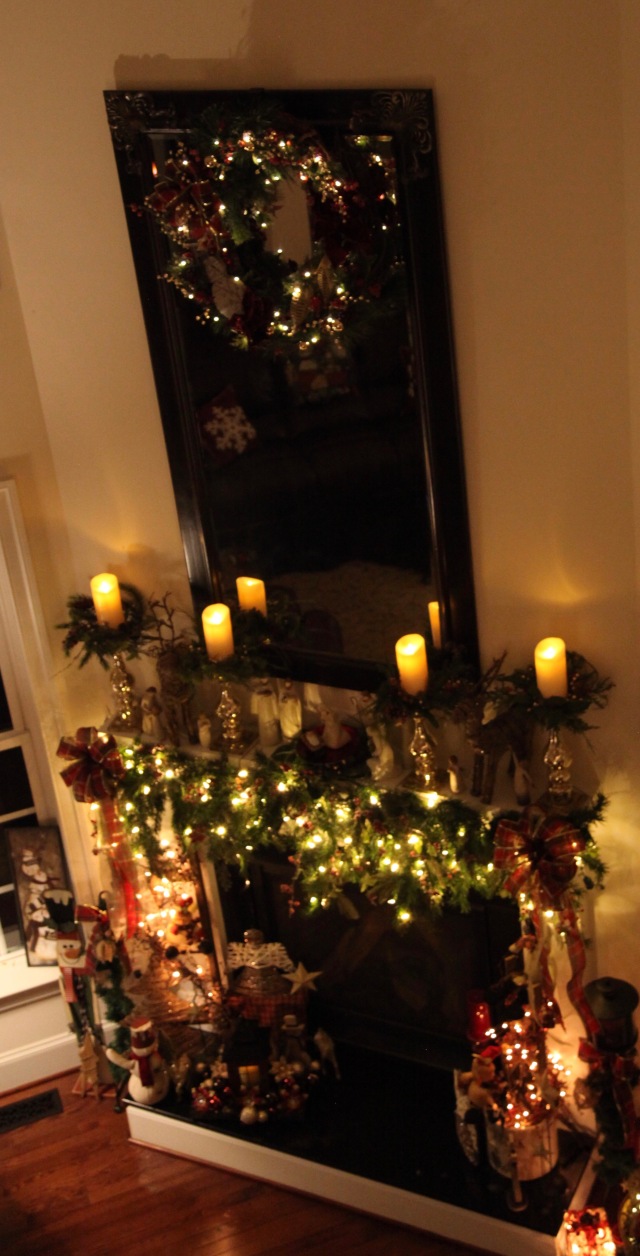


 Here is the link to last year’s blog post where I explain all about the mantel and hearth: