Here is the last installment of my Video Home Tour series (for the time being). I’ve had a really great time compiling all of these for (hopefully) your viewing pleasure. 🙂 This one is 10 minutes long and I take you on a short tour of the main level giving you different views of the accent lighting and at the end, you’ll get a good view of the pups and the patio while we go through our nightly routine. 🙂
Thank you all for your wonderful comments on all of my posts, here on my blogs and on Facebook when I put my links in there as well. Y’all are awesome!!!
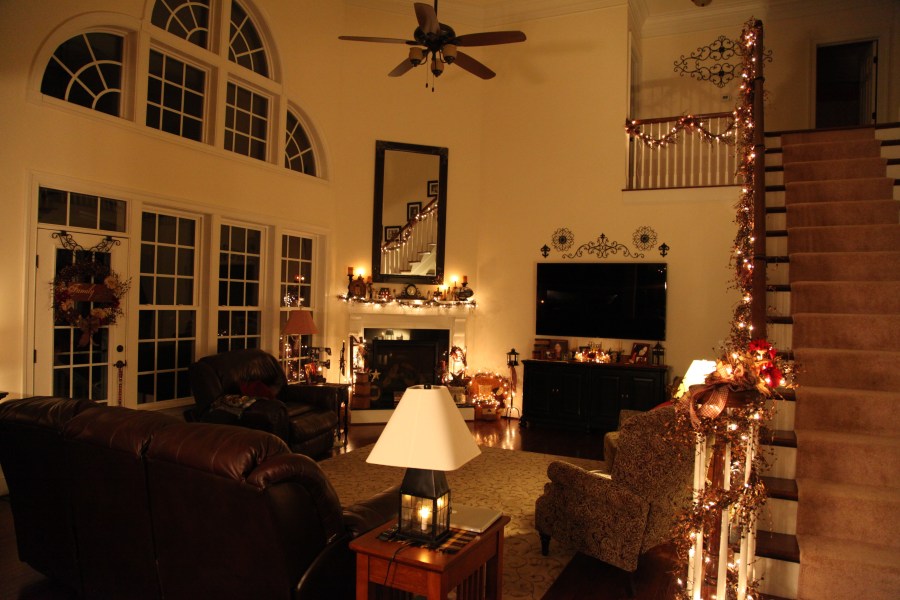
Here is my 6th and second to the last installment in my Video Home Series. Well, until I start decorating for Fall that is. 🙂 In this short (under 6 minutes) video, I show you the specialty lighting that my hubby Chris has worked so hard to put into place. If you’d like to know more about how he created this lighting design, here is a link to my “Special Outdoor Lighting” blog post.
Until next time, y’all take good care! ❤
~Arlynn ❤
**Here is a link to the last installment in this little Series**:
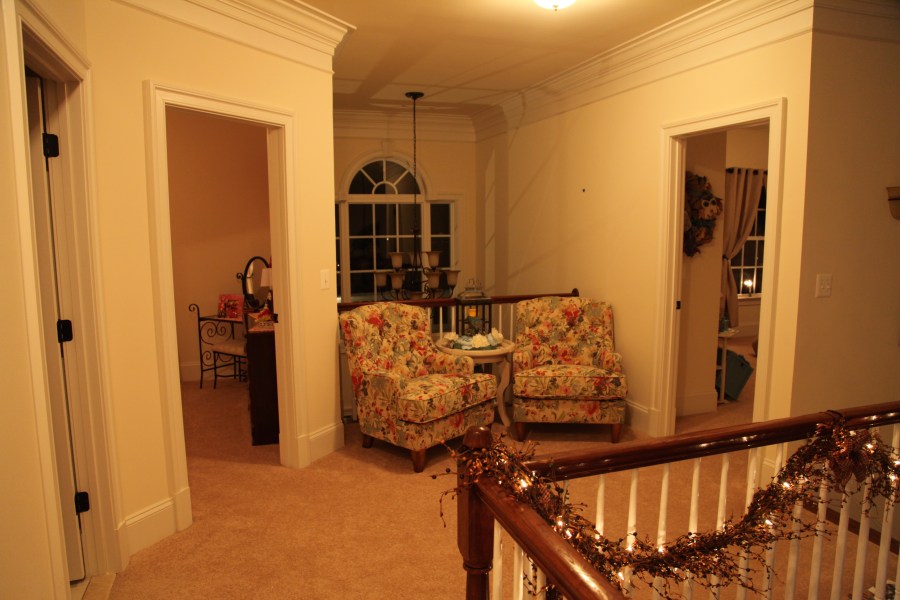
Here is the 5th installment of my Video Home Tour series…Gosh, I’ve had a blast creating these little movies for y’all! 🙂 In this one I take you on a short tour of our master bedroom and bathroom, and then I head on upstairs and give you a tour of each of our guest bedrooms and show you the cozy little landing at the top of the stairs. I laugh at myself a couple of times in this one because as I mentioned in one of my previous posts, I now know what words and phrases I use WAY too much, i.e. “Anyway”, “My Hubby or Husband”, and “Actually”–to name a few. 😉 lol
SO, I will hush up here and give you a link to the video–Just in case you’d like to know more about a particular area, I will provide you links to all of my blog posts where I give you even more details about each space that I cover in this video. I hope you enjoy this one and giggle along with my repetitiveness too. 😉 🙂
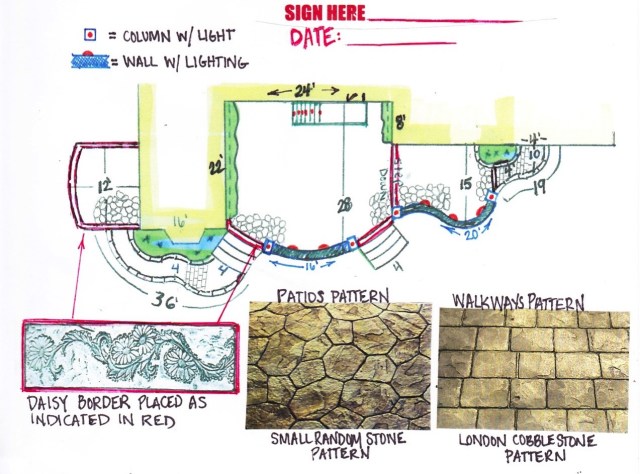
Continuing on with my video home tour, in this my 4th installment, I show y’all our “Mud Room” which is my little catch-all room and the one we breeze through when entering through the garage. I then move on out into the garage for a bit of commentary–I don’t linger too long in either place. 🙂 Then I move on out to the backyard patio. I explain a bit about the patio in the video, but, I wanted to share with y’all the original design drawing that we were given–the patio was created exactly to these dimensions and matches this design except that we opted to only have one exit off of the patio as opposed to the two that you see depicted in this picture.
If you’d like to read about the entire process and see pictures of this patio in its varying stages of construction, here is my Backyard Patio entry. Also, in the video I speak about how we hosted a family reunion here; I thought I’d give you a link to my Family Reunion Decor and Craft Projects blog entry–My colors were red and white accenting with red and white gingham, gerber daisies, and mason jars. 🙂
Also, you’ll see our sweet Gracie at the end of this video, and I tell you that she had to have a procedure done on one of her eyes. Let me lament a little further on that statement here. She had been diagnosed with Glaucoma in her left eye and we had been aggressively treating it with several different eye drops–meant to reduce the pressure in her eye. I’d been taking her to the vet for regular eye pressure checks and despite all of the eye drops, her eye pressure was still up pretty high; she was not acting as if she was in pain, and even though she was on daily pain medication for her arthritis, she still *might* have been feeling poorly (research likens the pain of Glaucoma in dogs to the pain one might feel from a migraine…As a migraine sufferer, I know first hand how that feels and I didn’t want her to have that pain daily). So, we decided on a procedure called “Chemical Ablation of the Cilary Body” (instead of having her eye removed). This procedure involved a Gentomycin injection into the affect eye that required mild sedation. Gentomycin is toxic to the ciliary body and it in effect ‘kills’ the eye, which in turn decreased the intraocular eye pressure thus taking any pain that she might have been feeling completely away and it resolved the glaucoma. Gracie did beautifully through the procedure and we now know that she is no longer in any pain, her eye may look a little funny, and she is definitely blind in that eye, but, she gets around wonderfully well and is such a blessing to us. 🙂 ❤
Here she is before that procedure, you can see that her left eye is quite swollen and bulgy. 😥
And here she is now-a-days, I took this picture a couple of weeks ago, her eye is much less swollen–As you can see, she is a happy girl and we now know for sure that she isn’t in any pain because of Glaucoma. ❤
ANYway <~~~Another one of the words that I use A LOT in my videos..erg…haha, here is my little home tour video, I managed to stay comfortably under 15 minutes with this one. 🙂
The back portion of our house is definitely the heart of our home, it is where most of the cooking is cooked, crafting is crafted, and chatting is chatted. 🙂 Memories are made here that will be cherished forever. In this the 3rd installment of my home tour, I take you through the family room, kitchen, powder room, and laundry room. I show you what I’ve created in each space and give you some details of how we came to make some of the choices that we made while building this home. My hubby is mentioned *a lot* in this little film, he has done some very spiffy things–he is a jack of all trades as you will see. I laugh at myself as well because I now know what words I use more than any others…”Love it” & “ANYway” are two phrases/words that come to mind…hahaha. 😉 I will not ramble along further here in the body of this blog post because, trust me, I chatter along enough in this video. 😉 I will leave you with links though just in case you want to check them out after you’ve watched my little tour.
Well, I’ve been a videoing fiend over here in this house of ours. 🙂 I’ve really enjoyed working on this little project. It is taking me a while to edit and compile these videos, but, just like my crafting, I love the creative process. Doing each of my Blog posts whether it be strictly through my words and pictures, or be it, as in this post, mostly with video, I still enjoy going through the creative steps to bring each blog post to life. So, here is the 2nd installment in my new Video Home Tour series. In this one I describe the living and dining rooms, these rooms sit on the front of our home and I’ve chosen to use a pretty green color as my main accent color because I adore the color and the way these rooms are situated in our house, they lend themselves quite nicely to a softer look. I will not ramble on in the body of this blog post as I do enough rambling along in the video…lol…but, I did want to give you a couple of links to two specific things that I show you in this video.
This is the wreath hanger that I use–As I go through my tours you’ll see that I have several of these; they are nice and sturdy and can handle any heavy items you might want to hang upon them. Here is a link from Grandin Road for my “Adjustable Wreath Hanger”
Also, I talk about the table pad that I have on the dining room table. Here is a link for Affordable Table Pads.
And that is all I will say here in the body of this post. I hope you enjoy this tour of two of my favorite rooms in the house. 🙂
Here is the very first video in a new Series that I’m in the process of creating. I’m going to attempt to give y’all a little video tour around our home. Hopefully, this will aid in further introducing myself to all of you sweet folks who’ve been so generous in your comments and love! I will try to show you some of the things I’ve created for each room and to explain more about how I pull decor accents together to make one cohesive design. 🙂
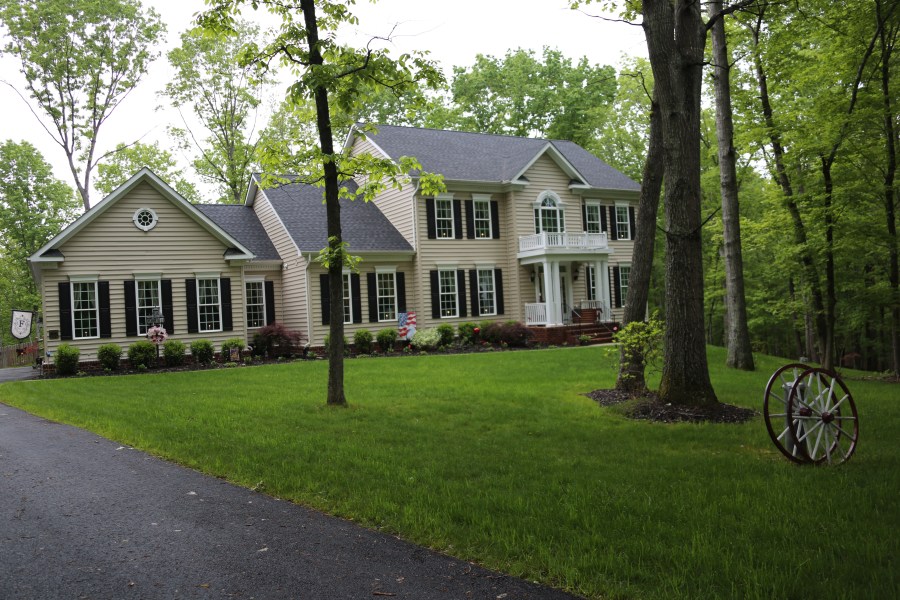
First up, I give you a little tour of the front of our home, flower bed, etc… I genuinely hope you enjoy this new little venture–my mind is always working to try to make this little blog of mine better and to make a trip here pleasing to the eye (and hopefully to the ear in this grouping of videos). 🙂
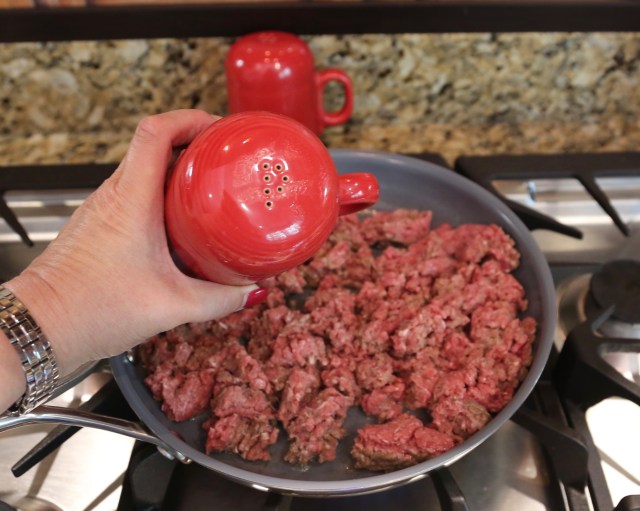
My hubby texted me this morning and asked me to make spaghetti for dinner this evening. I hadn’t made spaghetti in literally years because, well, we just don’t eat like that now-a-days. This was going to be a big spurge for us. 🙂 This is one of my oldest and dearest “tried and true” recipes…truly nothing too special, but it always and consistently tastes great. 🙂 Of course, I didn’t have the ingredients that I needed, so off to the store I zipped so that I could make us a special (but simple) little dinner. Here are the ingredients I use to make my spaghetti sauce, it is nothing too complicated. I always let this cook for quite a while in the crock pot, oh yes, the house does smell really good while this is bubbling away. 🙂
1 lb. ground beef
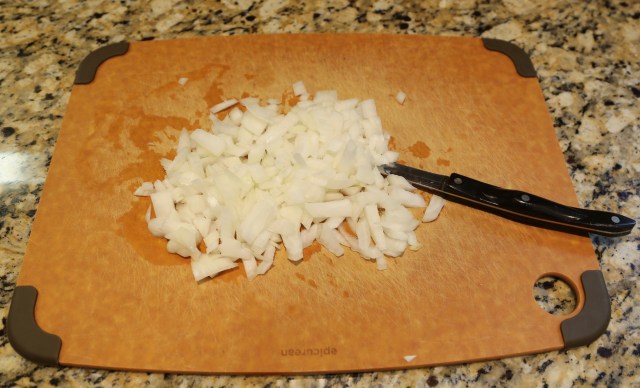
1 medium onion (diced)
1 large 28oz. can diced tomatoes
2 15oz. cans tomato sauce
1 sm. can tomato paste
1 package of McCormick’s spaghetti sauce (Italian-Style, flavored with mushrooms)
1 1/2 t basil
1 1/2 t oregano
2 t garlic powder (in lieu of 2 cloves of fresh garlic minced because I neglected to buy any while at the store…go me…erg…)
2 t sugar – or more if you like your sauce sweeter
Salt & Pepper to taste
1 Box of Spaghetti
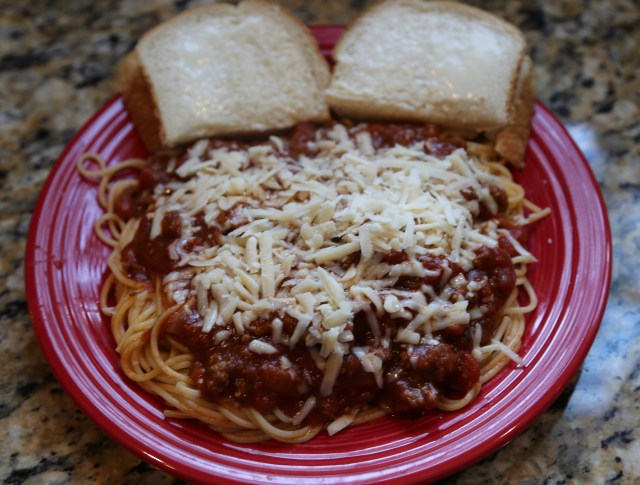
Fresh Parmesan (for sprinkling on top when served)
Brown ground beef & onion together (and fresh garlic) along with salt and pepper to taste in fry pan. Drain grease off of the meat and pour into a crock pot. Add remaining ingredients, stir, and cook for 2 hours on high, then turn to low and cook another couple of hours or until you are ready to eat.
In the meantime grate up your parmesan cheese and place it in the refrigerator…
Cook up your spaghetti (or whatever your favorite pasta might be)
Sometimes I’ll serve a small salad with this, but, not this evening, we chose to simply have bread and butter (not my oh so buttery garlic bread–I’ll give you that recipe another day) but, just plain old bread and butter.
YUM–My mouth was watering!! It was wonderfully good if I do say so myself. 😉
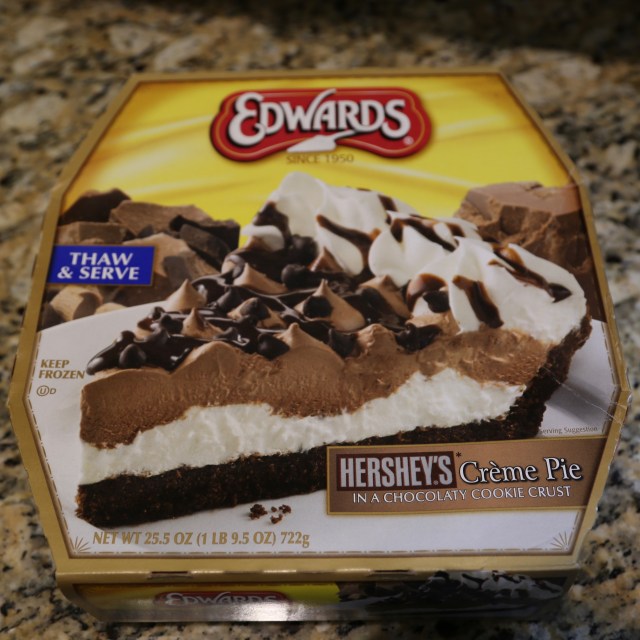
AND get this…I picked us up a decadent little chocolate pie for dessert…I can’t tell you the last time we had one of these either–it’s been a long, long time.
There are days that we just don’t want to watch what we eat, diet, starve <~~~ just kidding…;) We are both now sufficiently stuffed and quite satisfied. 🙂 I think we might just have leftovers tomorrow night!! 😉
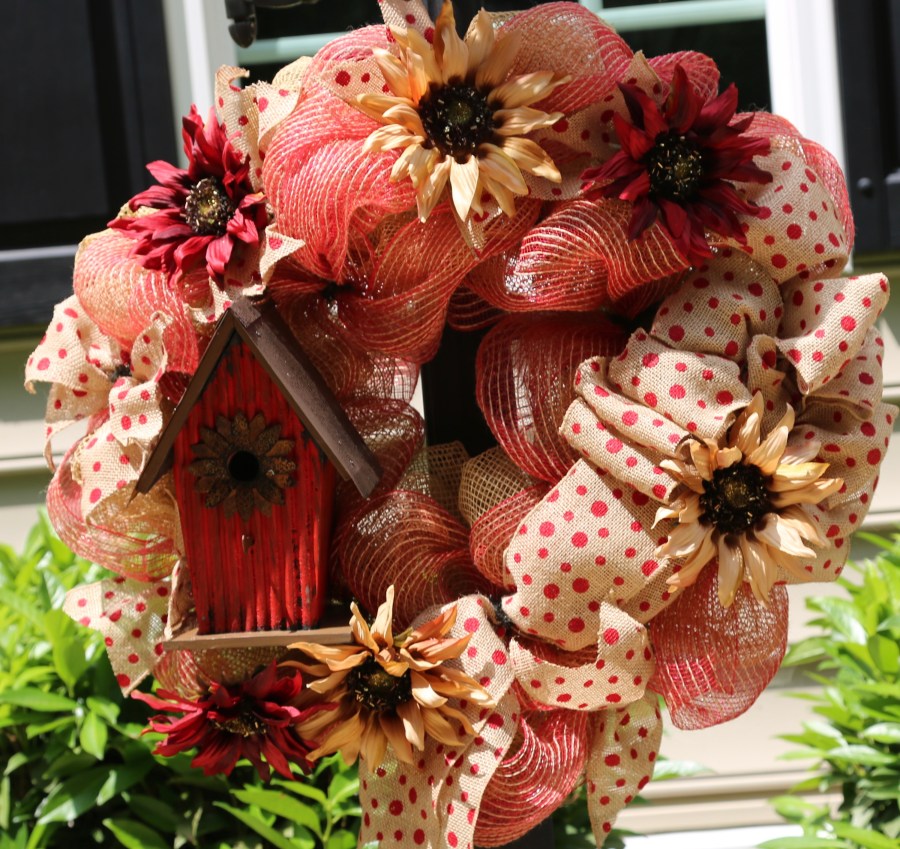
To say it has been hot in our neck of the woods is an understatement! It has been so hot that one of my outdoor wreaths has been losing its glued on accent pieces…<sigh>. A couple of weeks ago, I had redecorated the Little Red Wagon (<link to video tutorial showing you how I created that decor) that sits on the front porch. In addition, I had made a new Burlap & Birdhouse (<~~ link to video tutorial) front door wreath. Red, cream, and khaki were some of the colors that I incorporated into the decorations. I just happened to have a grapevine wreath already made and decided to go ahead and hang it on the front light post…welllllllll…That has ended up to ***NOT*** be one of my brighter ideas as the temperatures have soared and so has the humidity with it…that poor wreath that was held together by hot glue started to lose its accent pieces, they were literally melting off. I knew I needed to make a new heartier wreath to hang out there asap.
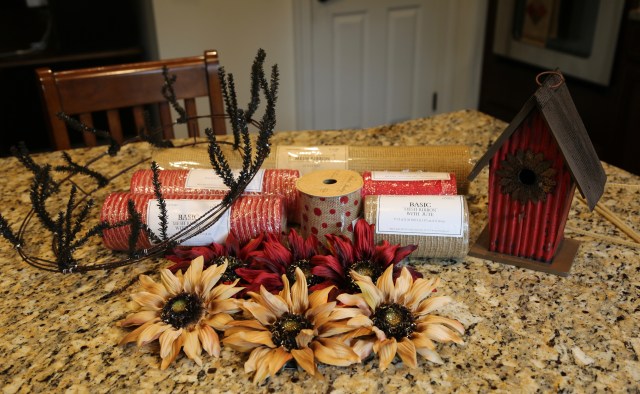
So, I decided to make a Deco Mesh wreath to replace my poor, pitiful, mess of a grapevine wreath. 😉 Here are the supplies that I gathered so that I could create a new, tougher, wreath that would be able to handle the heat, humidity, and occasional thunder storm.
16″ Work Wreath
1 Roll Large Deco Mesh (burlap color)
1 Roll of Medium Deco Mesh (red and burlap color)
2 Rolls of Burlap & Polka Dot ribbon
Red and Khaki colored daisies with clips on the back
1 Wooden Birdhouse
Pipe Cleaners
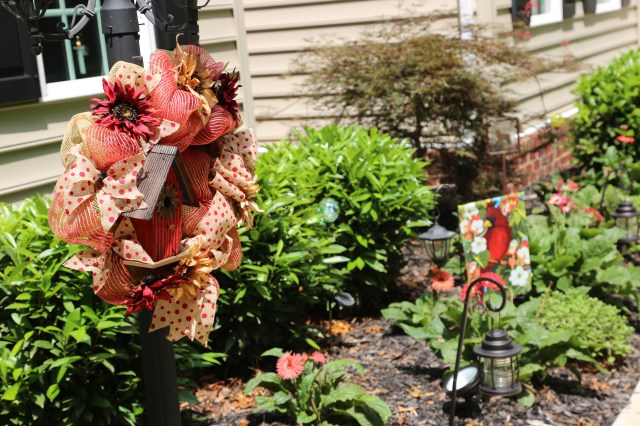
After watching my grapevine wreath literally melt in the heat, I did not want to use any glue on this wreath, so those flowers have clips on the back and my hubby drilled holes in the back of the birdhouse and fed tie wraps though them so that I could then loop pipe cleaners through them and tie the birdhouse onto the wreath. I show you all of that in the video, so here is a video tutorial showing you how I created my new sturdier front light post wreath:
Here is a close-up of the finished wreath:
In the end, I’m much happier with how this wreath looks out there on that light post, and now I know I’m not going to come home and find different accent pieces strewn about in my flower bed. 😉 lol All in all, it was a very productive day!
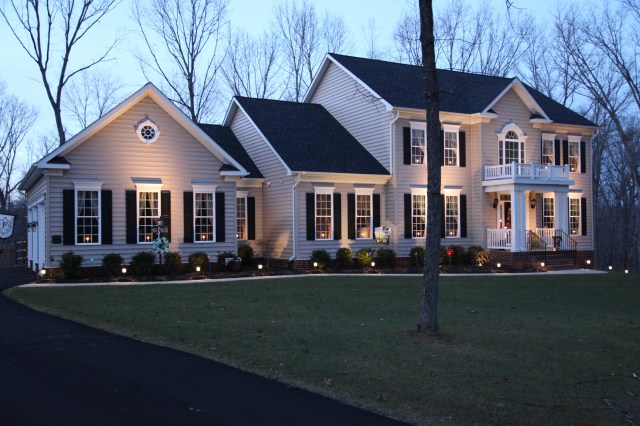
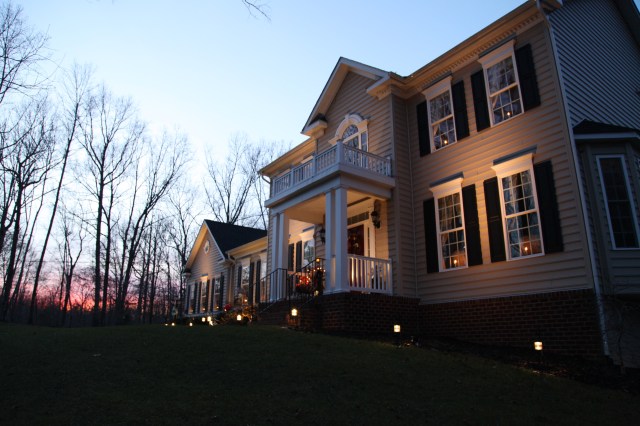
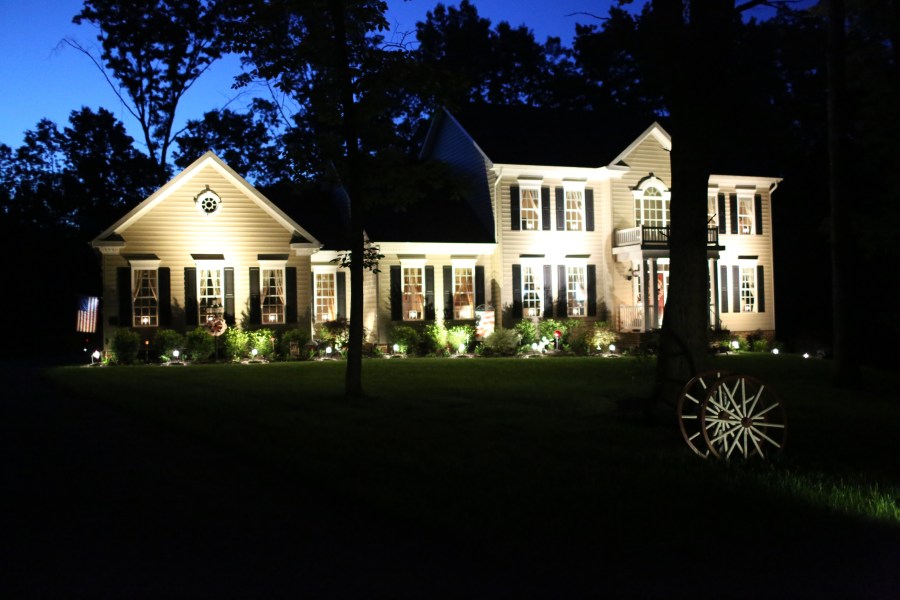
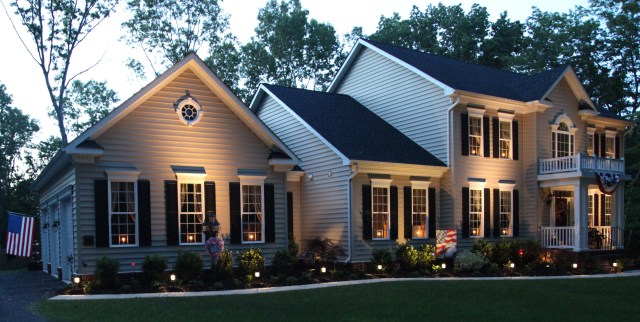
Ohhhh hang on a sec…I promised in the video that I would provide a link that explains about those lights in our windows (and all about our outdoor accent lighting). Here is a link to my Special Outdoor Lighting Blog post, and here are a couple of pictures of our house at night:
Until next time, y’all take good care!!
**In crafting there are no mistakes just unique creations**
~Arlynn ❤
ONE more little thing…haha…I make a sculptured bow in this video, here is a link to my “How to Make a Bow” tutorial.
Yes, can you believe that I’m already making something to add to my Fall decorations? The Fall accents have been out in all of my local craft stores for weeks now, and Hobby Lobby even has Christmas stuff out! Goodness gracious! At this point they might just want to leave the stuff out all year along huh? 😉 JUST kidding of course, but, it does seem to appear earlier and earlier each year. For crafters like me though, I will admit that it comes in handy. 🙂
I decided to go ahead and make myself a new Fall Deco Mesh wreath to hang out on our front light post. I will start decorating for Fall in September this year so that I can share my little cozy corners and different centerpieces with y’all. 🙂 Anyway, I hosted a little craft day here at my house yesterday with my dear friends Karen and Trina, and as they were sitting at my kitchen island doing their needlepoint projects (gorgeous works of art!!), I made my wreath. They were so patient and sweet with me when it was time for me to talk for the camera…haha–Trust me, when we three Southern ladies get together we do tend to chat right on along for the entire time…I am blessed to have them in my life!! ❤
Here are the supplies I used to create this wreath:
16″ Metal Wreath Form
1 Large (long) Roll of Deco Mesh
1 Small (short) Roll of coordinating Deco Mesh
1 Roll of Fall ribbon (for a bow)
1 Largish sized Fall accent piece
Other Fall accent pieces
Hot Glue Gun
Pipe Cleaners
All righty, here is the finished wreath, and you’ll find the video tutorial below the picture:
If you have any questions at all, please don’t hesitate to leave them in the comments below–I will do my very best to try and answer them. 🙂
Until next time, y’all take good care! ❤
**In crafting there are no mistakes just unique creations**


 Here is my 6th and second to the last installment in my Video Home Series. Well, until I start decorating for Fall that is. 🙂 In this short (under 6 minutes) video, I show you the specialty lighting that my hubby Chris has worked so hard to put into place. If you’d like to know more about how he created this lighting design, here is a link to my