It’s Beginning To Look A Lot Like…Summer!

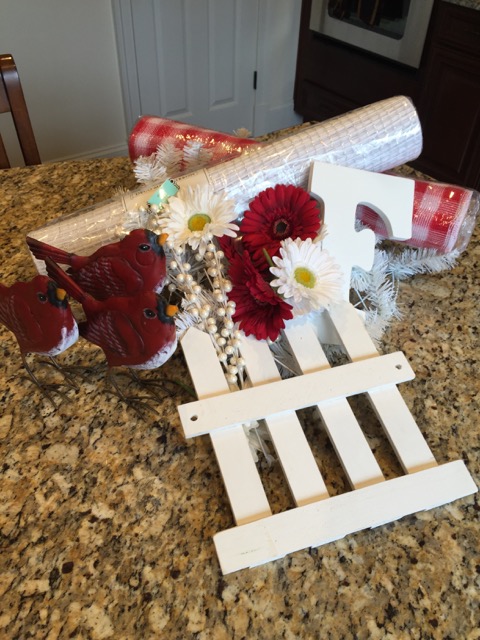
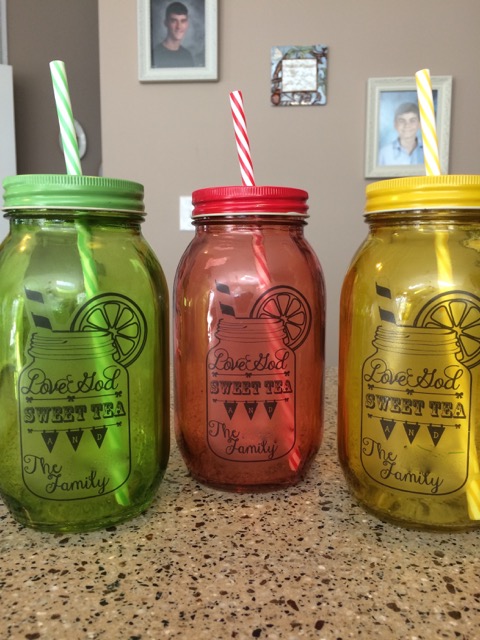
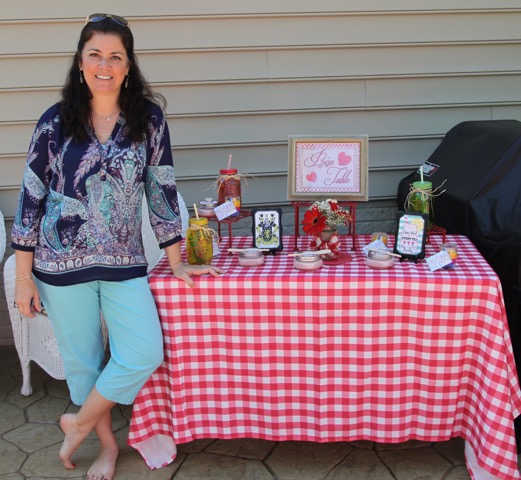
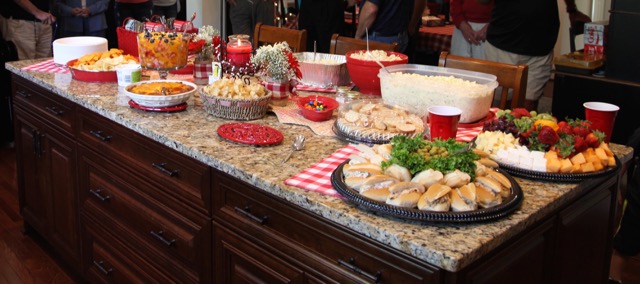
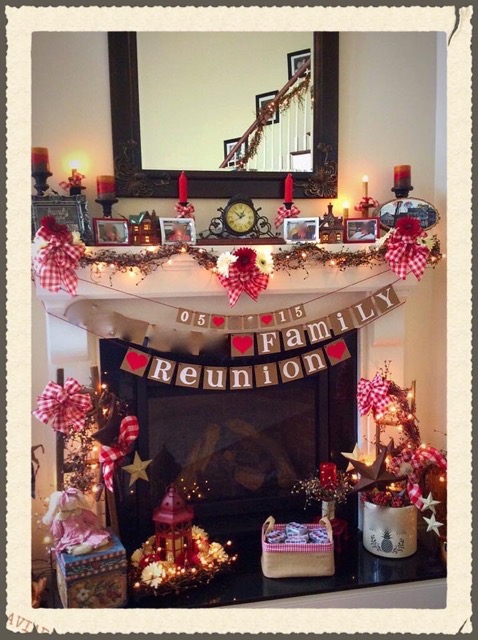
As most of you know by now, I absolutely love to decorate and redecorate our home…I truly am in my “Happy Place” when I’m able to switch out to a new fresh look.  Such has been the case for the last couple of weeks when I diligently worked on putting my Easter decorations away and redecorating with some summer decor accents.  At first, I had told myself that I was going to use ALL of my red and white gingham decor pieces–the ones I had used for our Family Reunion. I came up with that idea after one of my YouTube subscribers has asked me how I set up my kitchen island for buffets or dinner parties.  That brought to mind the red and white gingham, mason jar, and gerber daisy decor and hence my decision to switch back over to that for summertime.  I did change that family reunion decor up a bit when I decorated though, I ended up using just a touch of red and white gingham and throwing in pops of yellow and red here and there. Come along with me as I walk you through all that I created.  Let me start by sharing a YouTube video that I created and where I show and tell about how I came up with the Family Reunion decor and accent pieces, talk about how I might set up my island for a buffet, and I demonstrate how to make a quick and easy centerpiece. 🙂

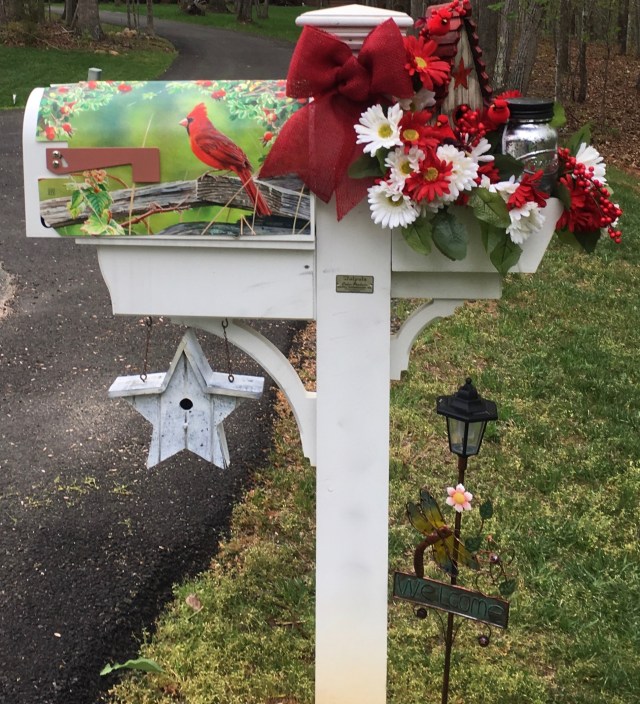
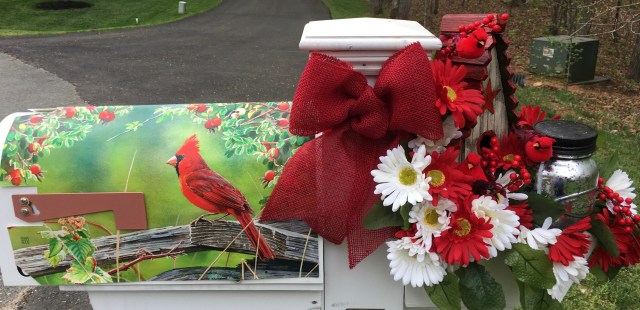
I was now ready to start the redecorating frenzy–And trust me, it is a frenzied event when I go to switch my decor out.  Thank goodness for Chris and his muscles and good knees, as he helps me by carrying bins up from the basement. The very first place I started to redecorate was out at the mailbox on the Monday right after Easter. 🙂 Here are a few pictures of my mailbox design, and then I’ll share my YouTube video in which I show you how I put said design together. 🙂

IMG_5337IMG_5345IMG_5341

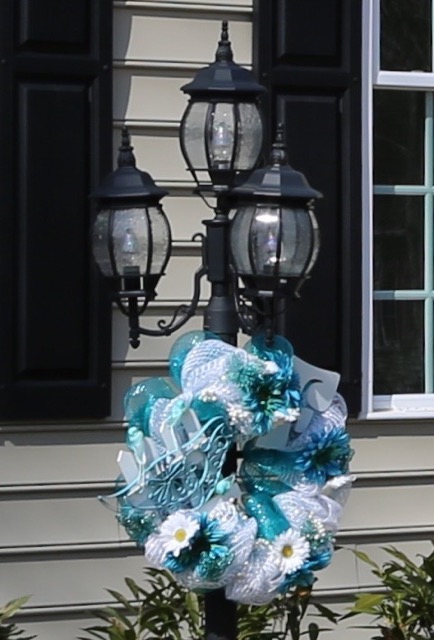
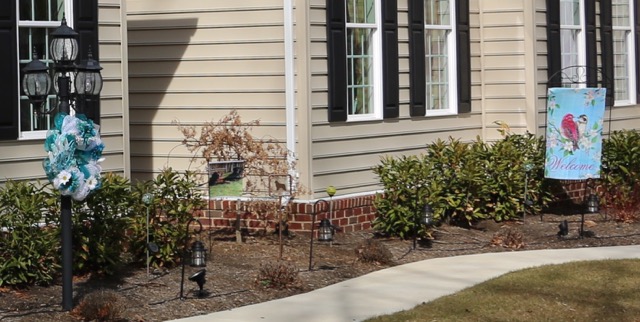
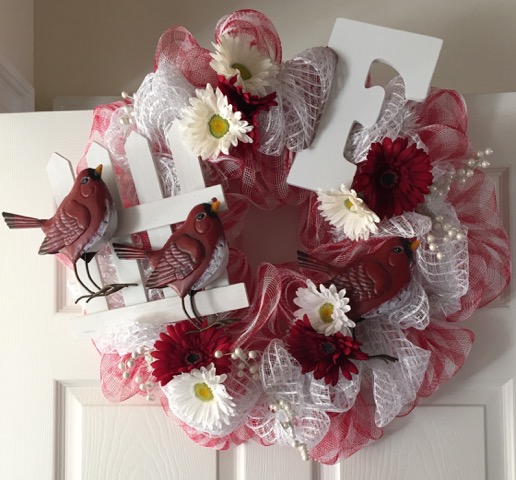
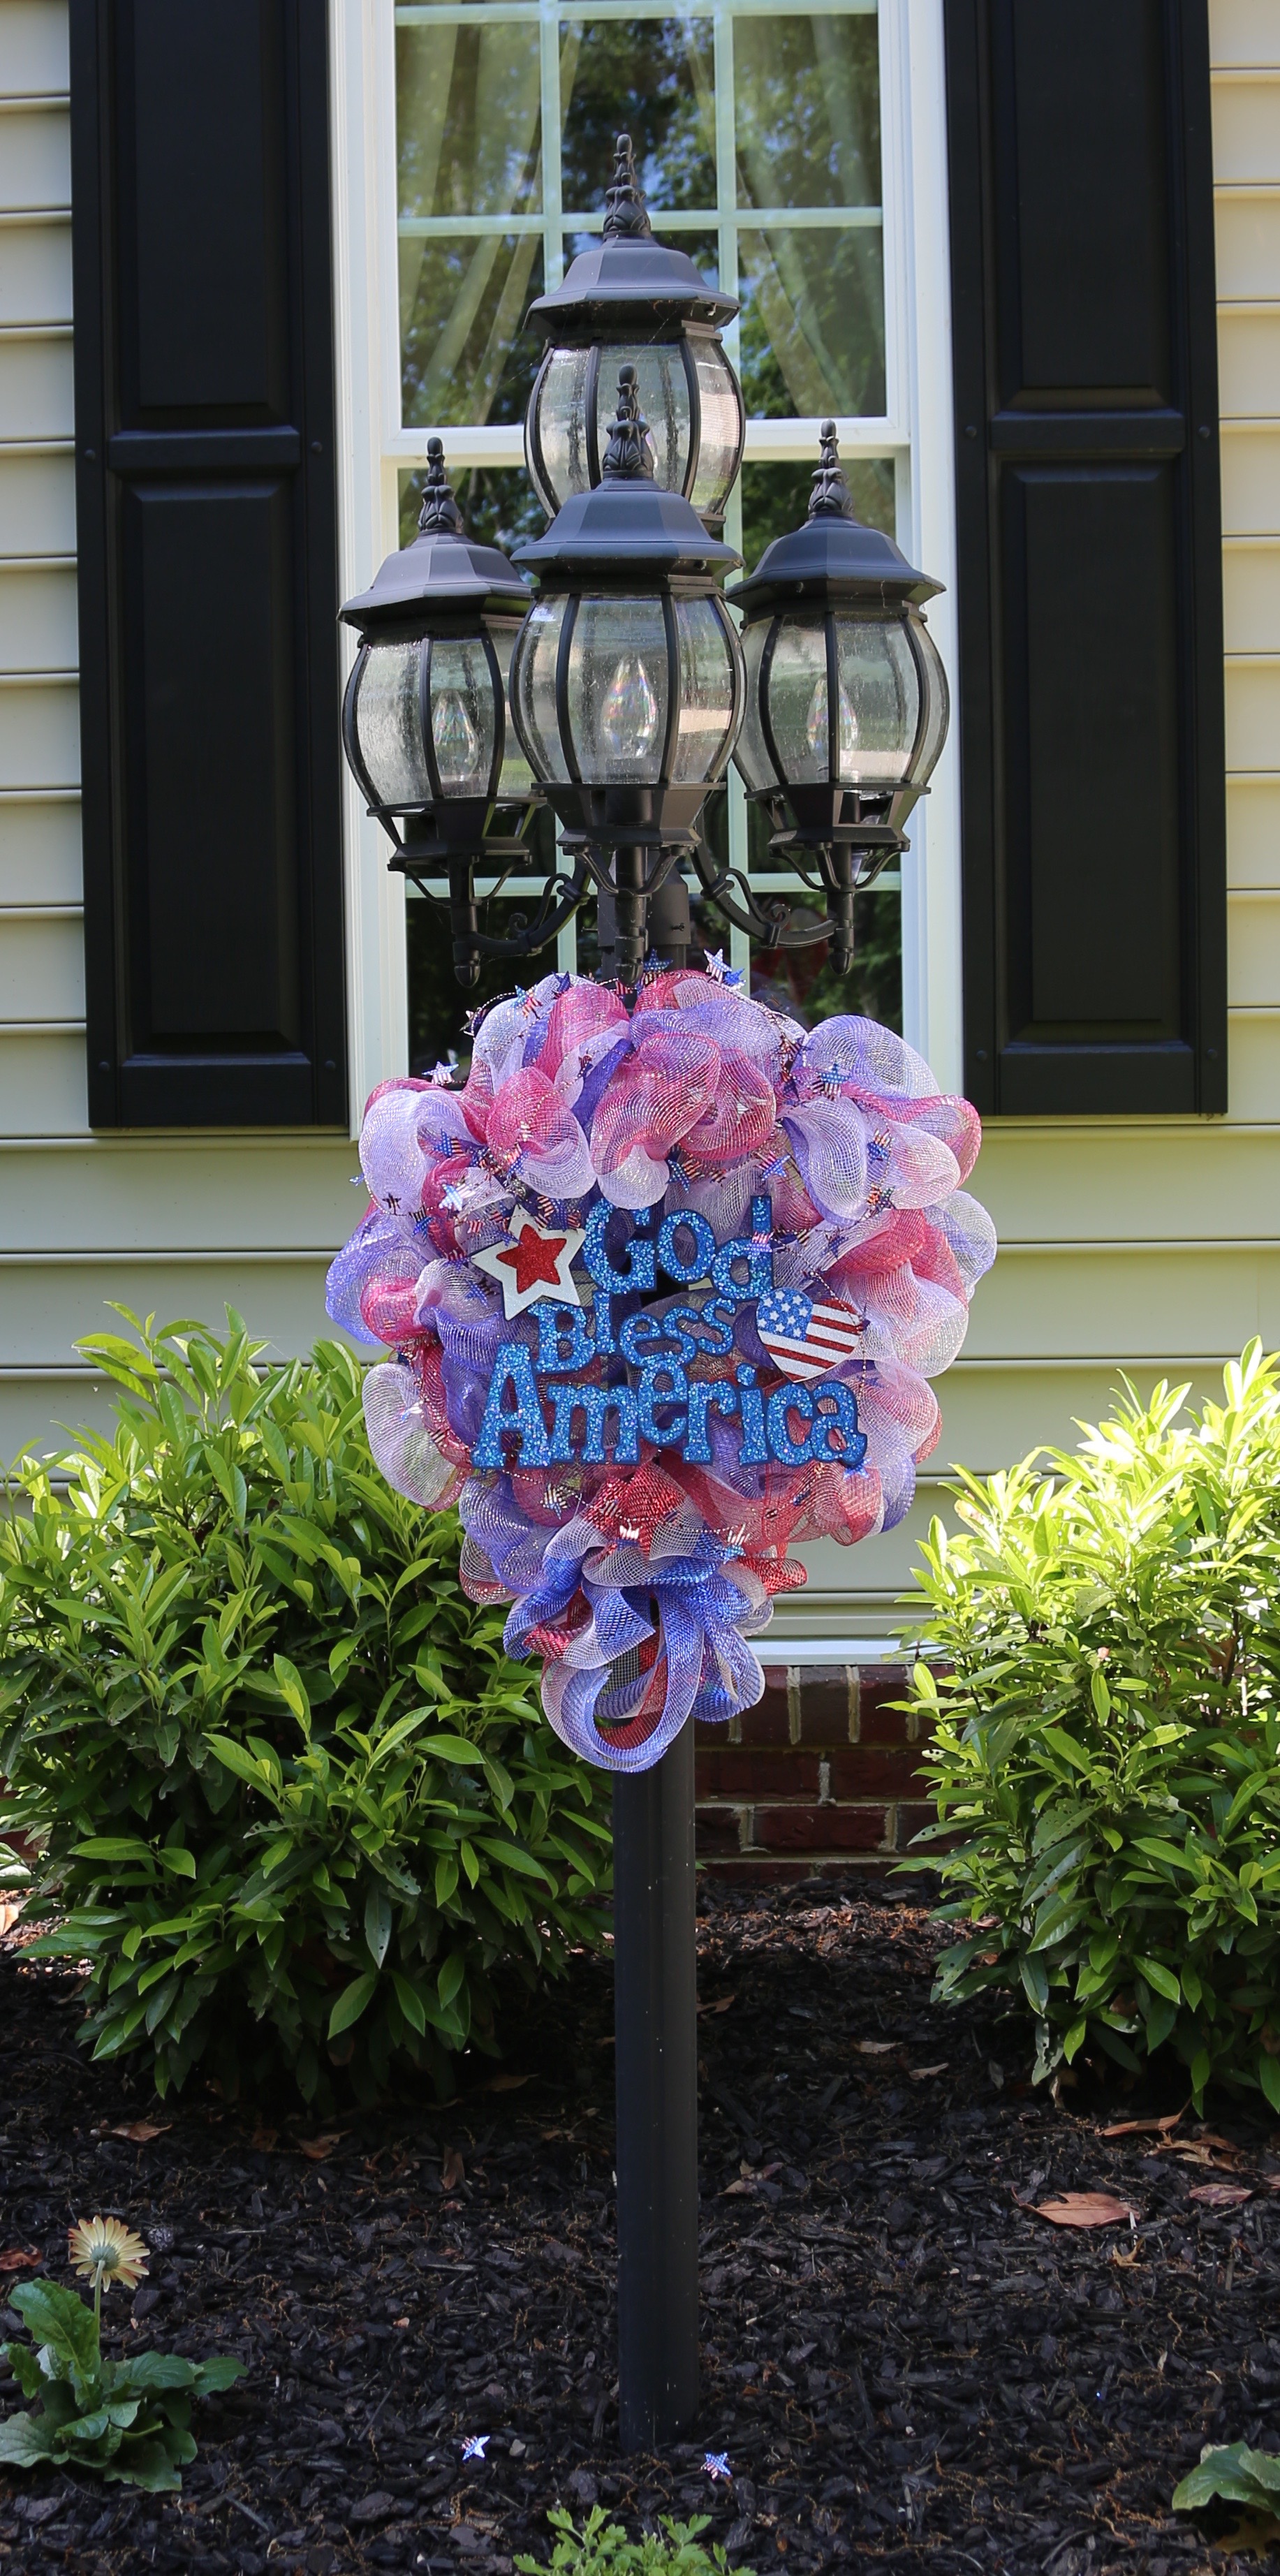
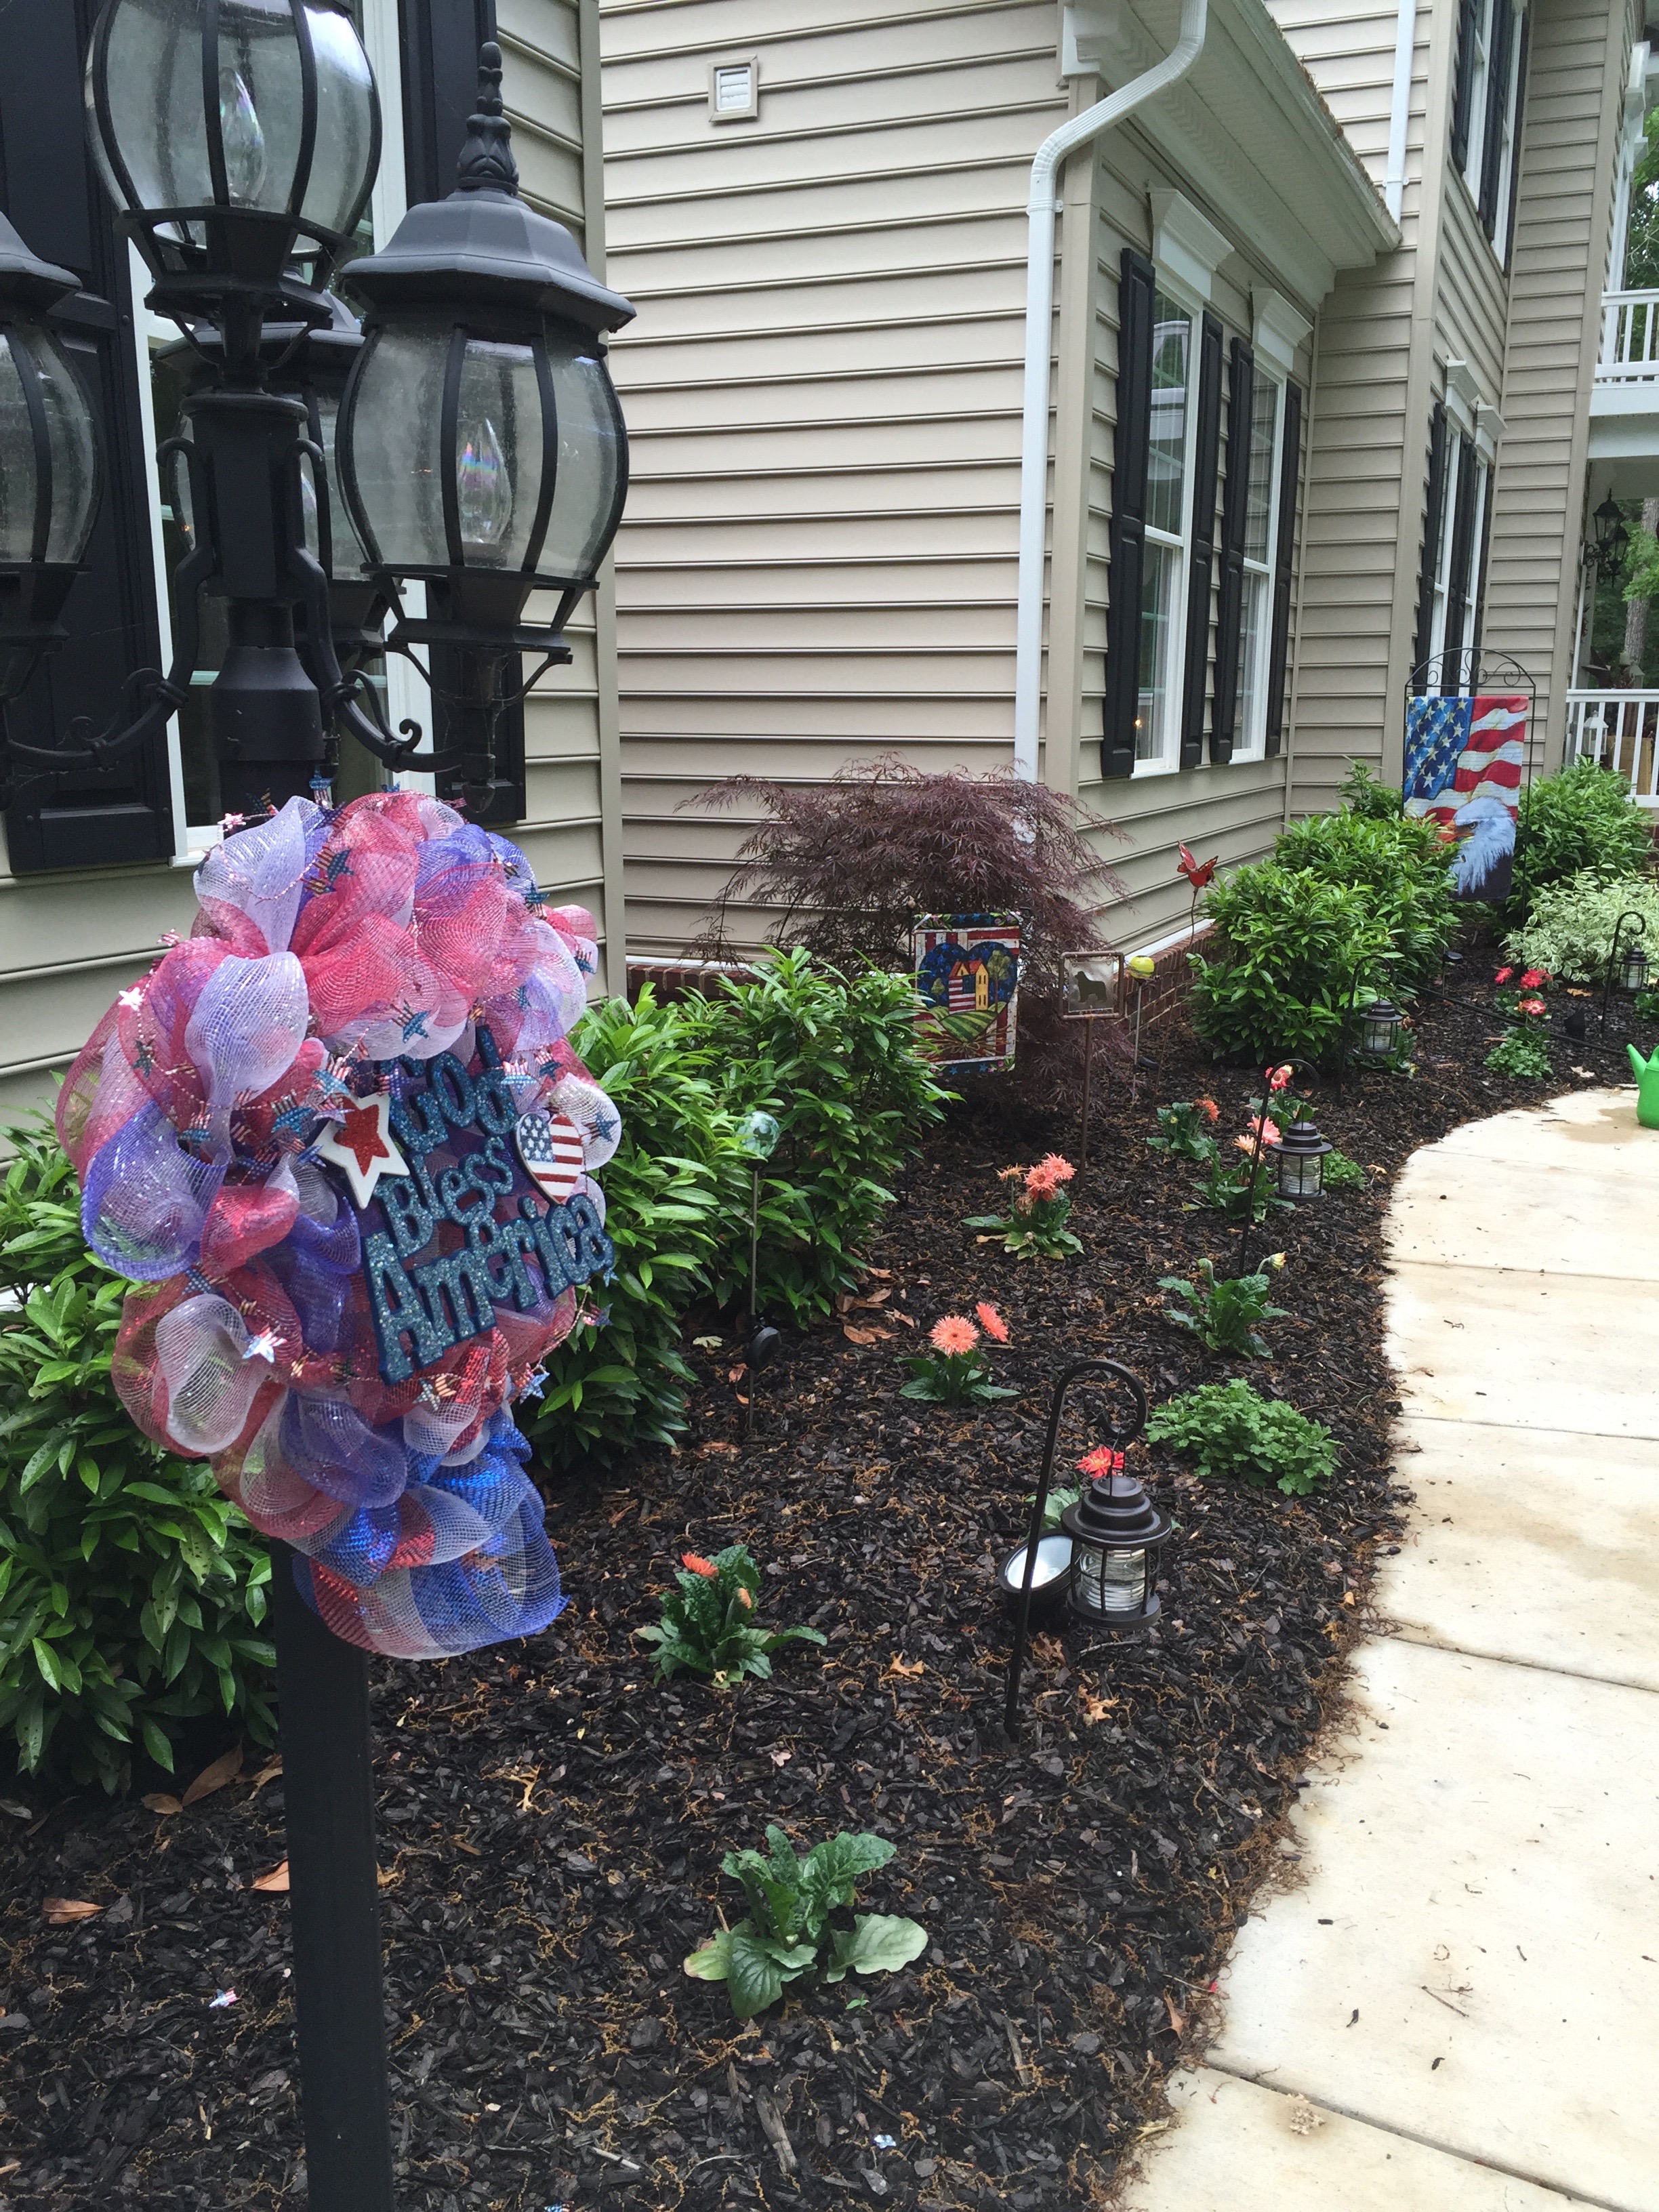
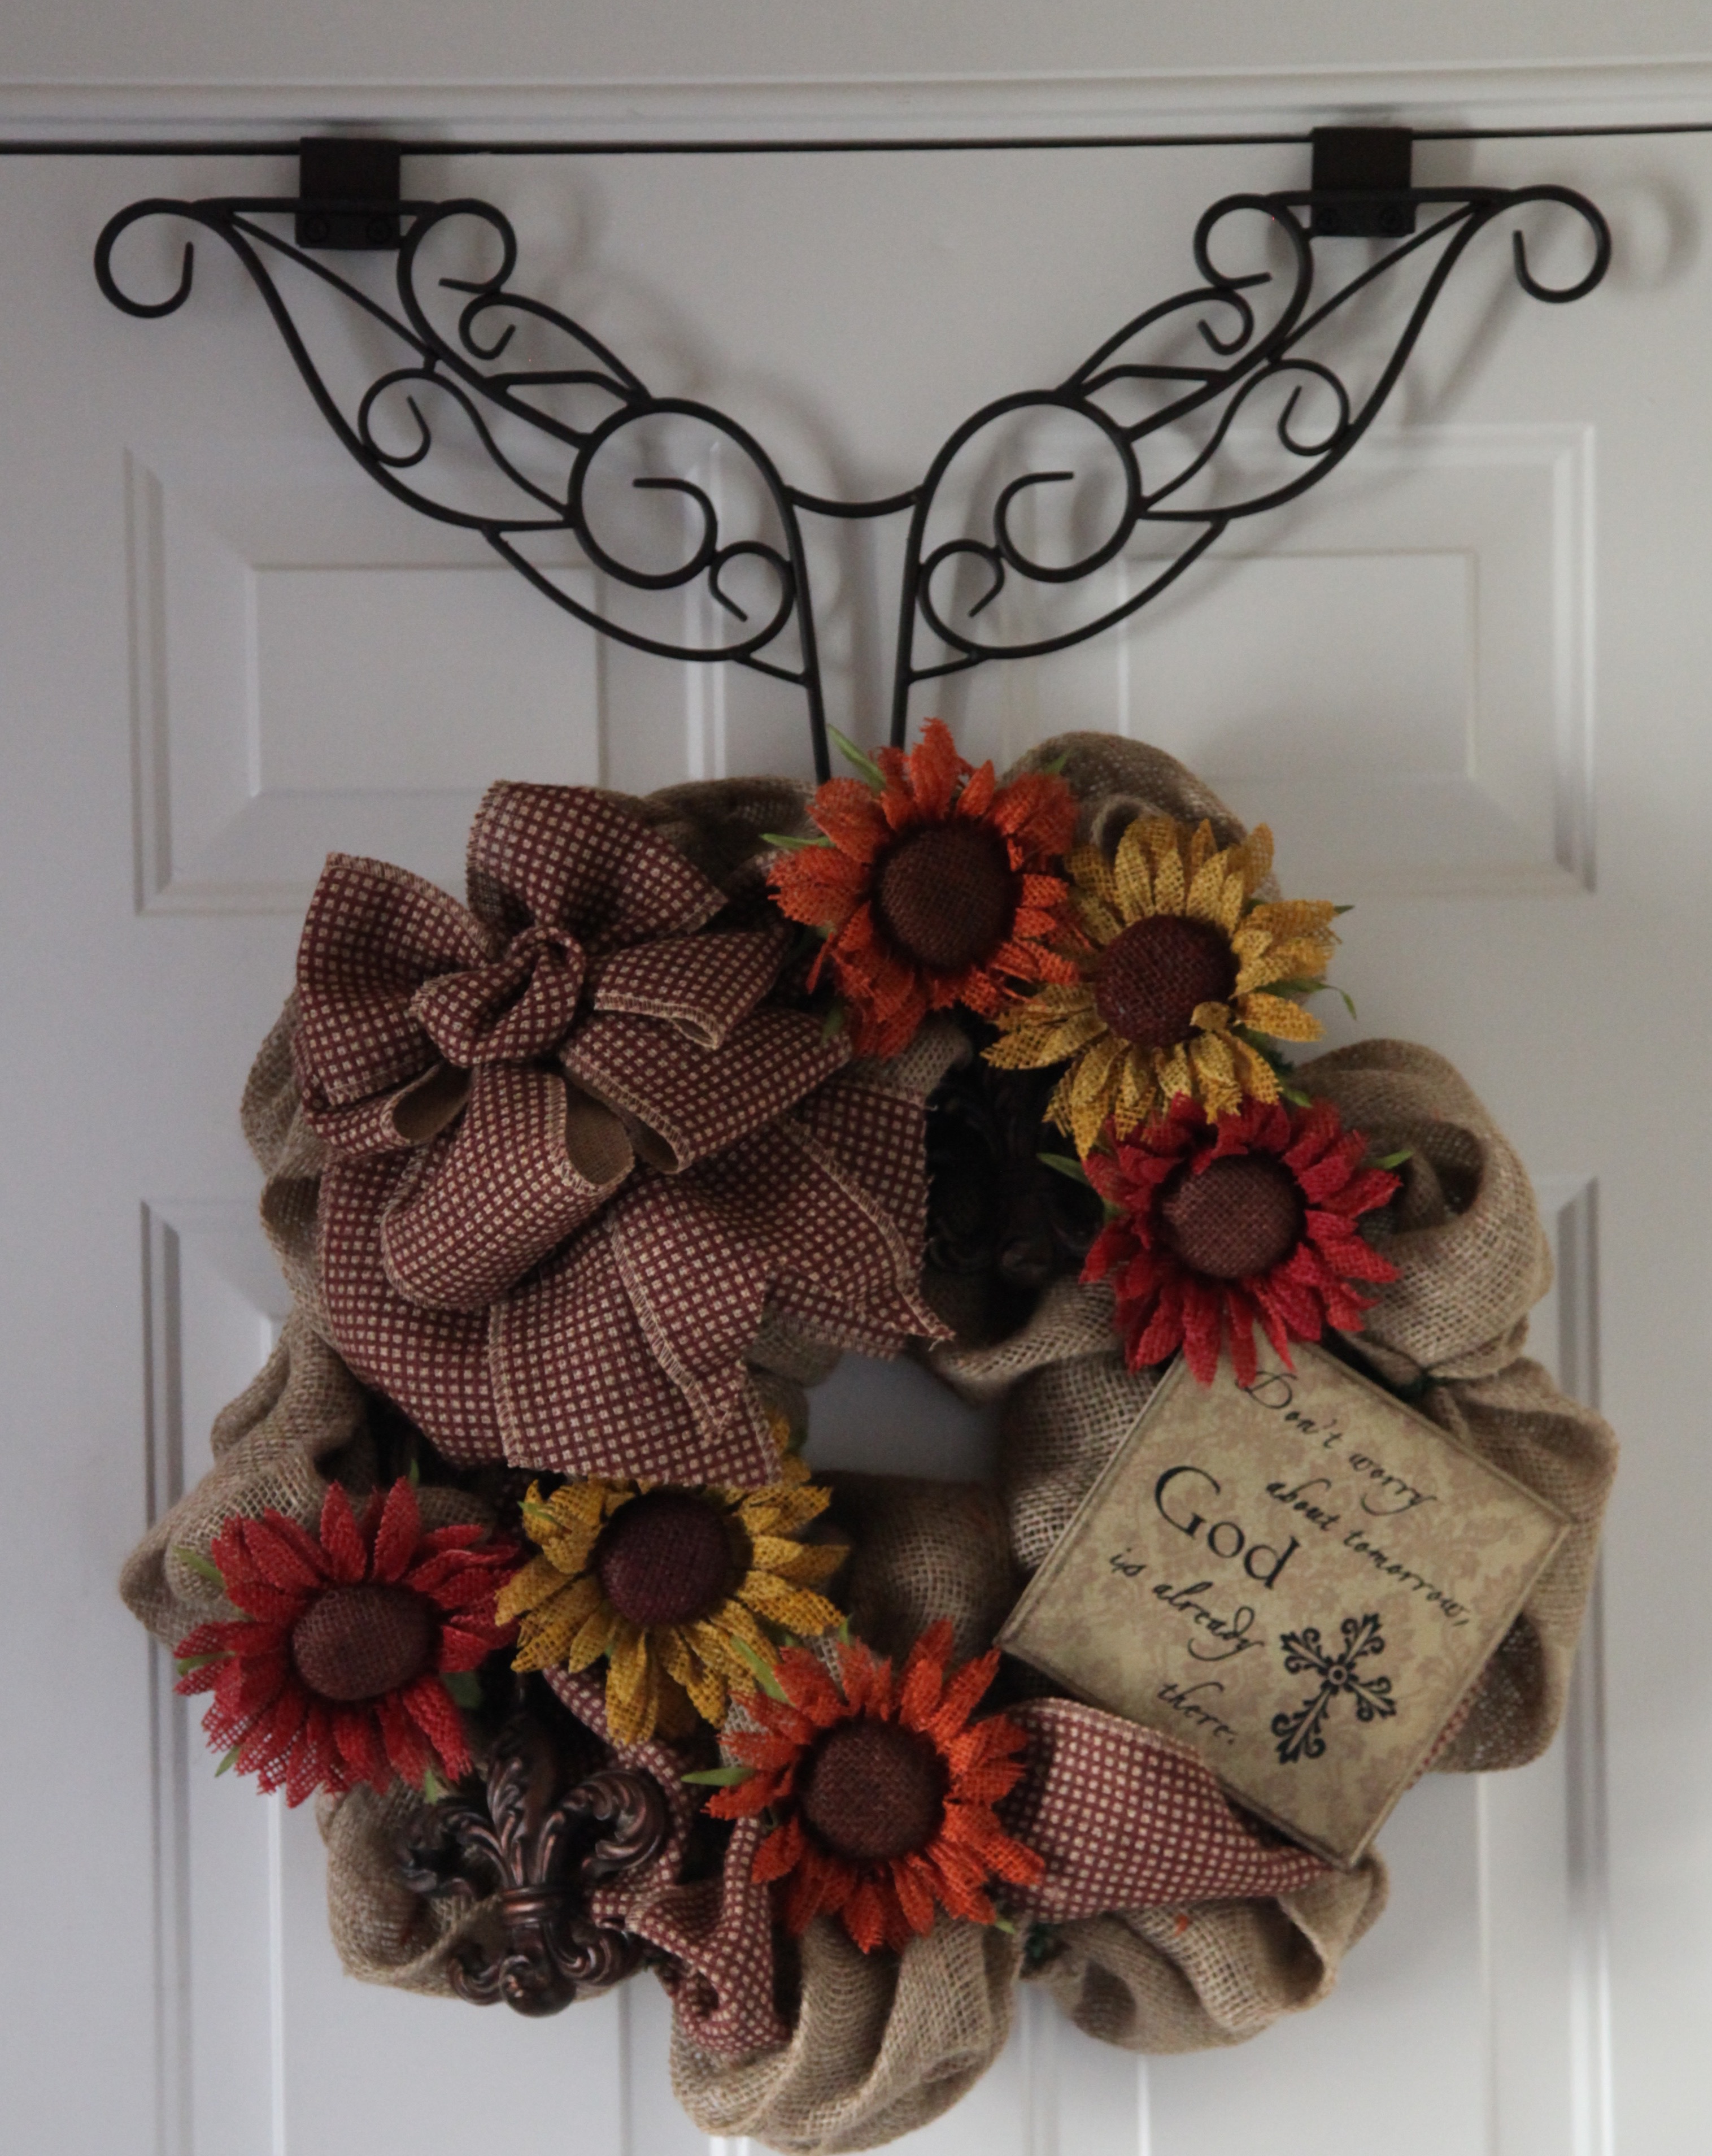
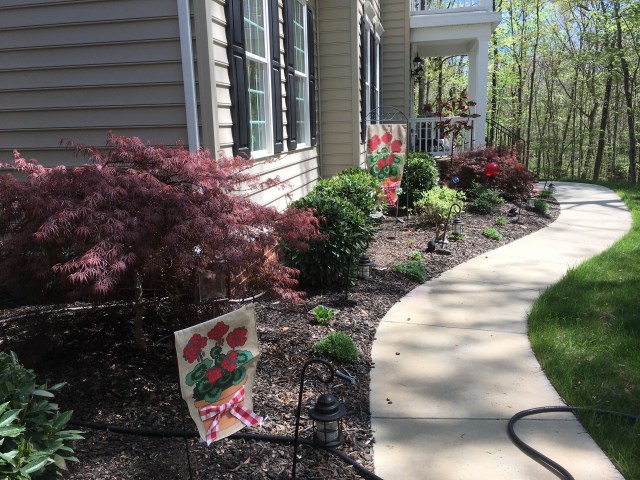
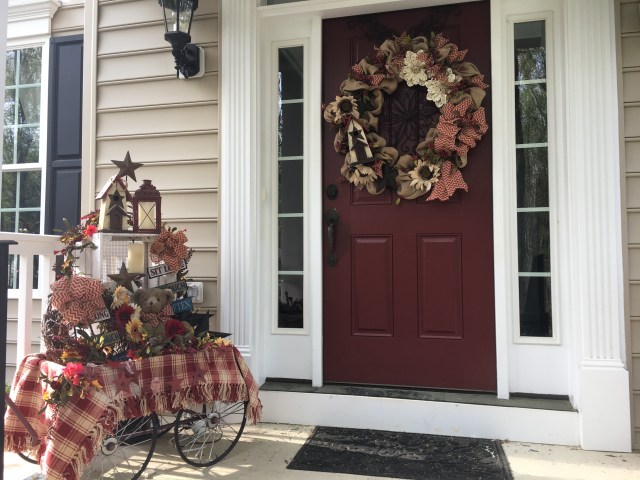
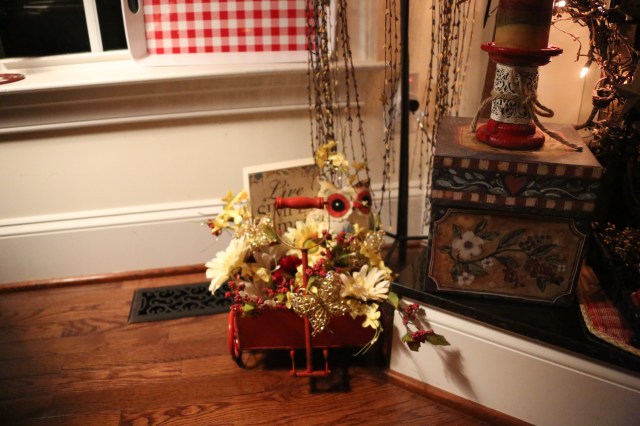
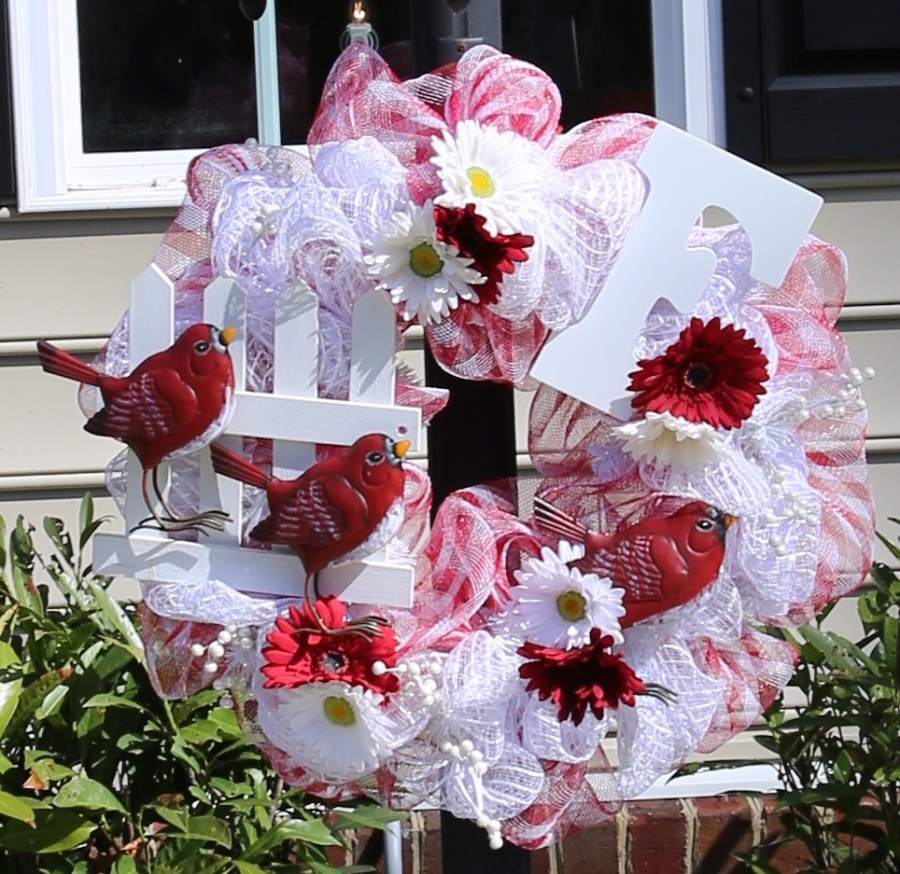
Next, I moved onto the other outdoor decor.  I switched out the wreath on the front lamp post, changed out my flags, switched out the gazing ball for a red one, and recreated the Little Red Wagon arrangement, finishing up by replacing the front door wreath:

IMG_5352.jpgIMG_5365IMG_5364

Here is the little red wagon in the evening hours:

IMG_5369.jpg

And here is my YouTube video where take you for a little walk down the front sidewalk and then I demonstrate how I decorated my red wagon:

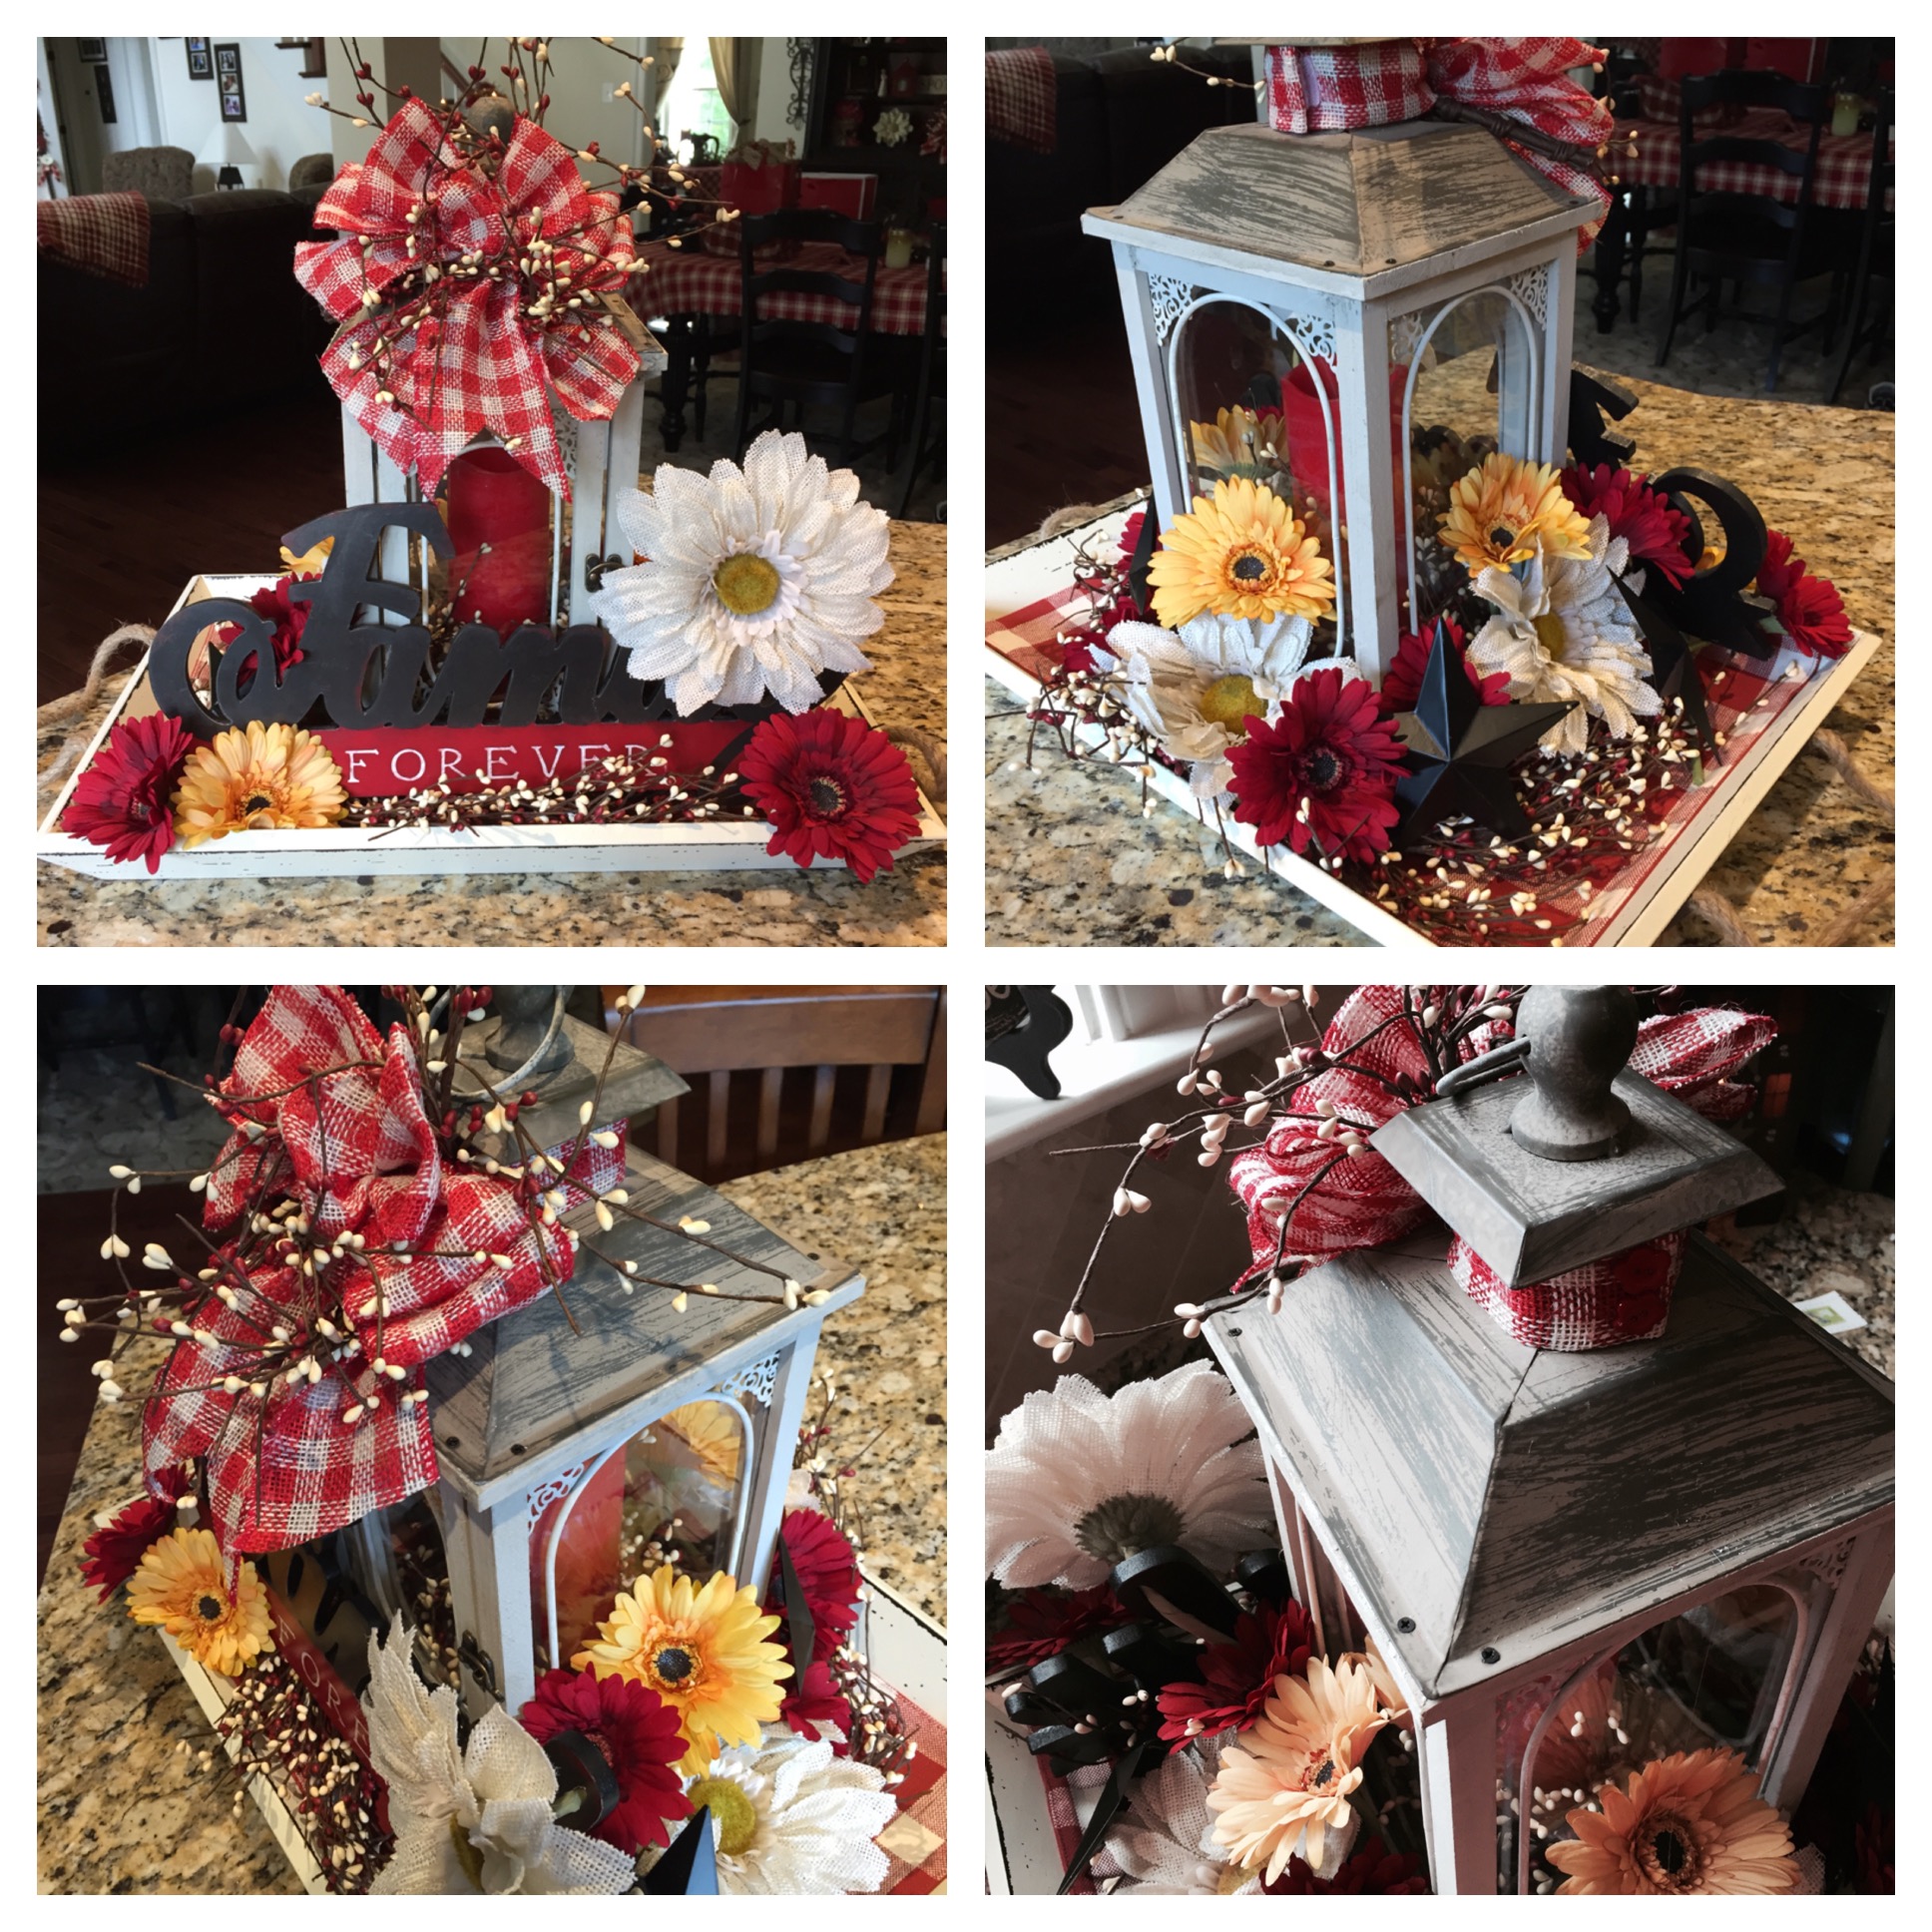
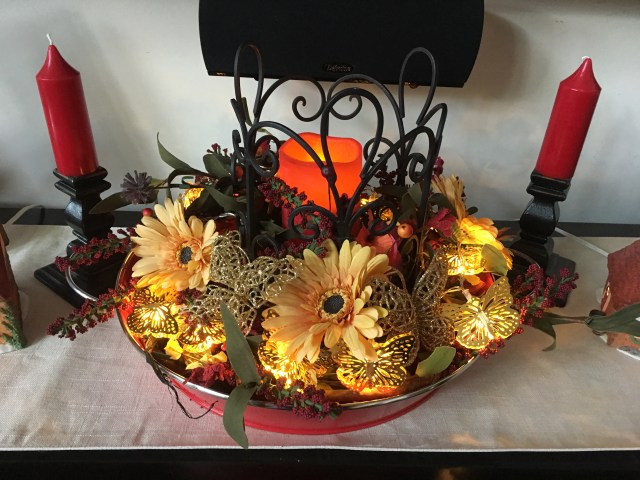
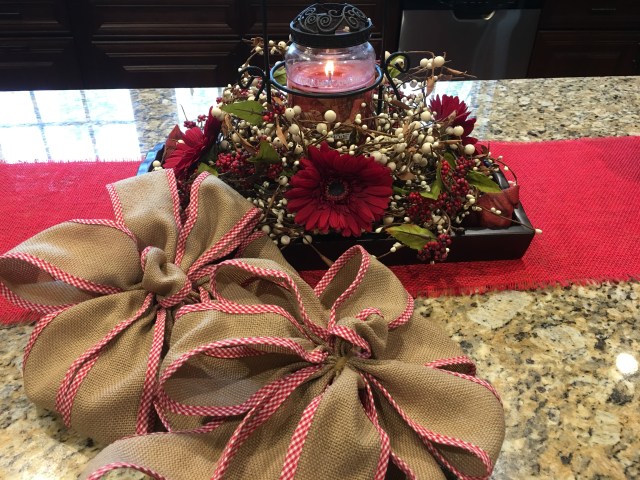
All righty, now that the outside was all switched out, I proceeded into the house and started redecorating in there.  The very first thing that I worked on in there was the centerpiece that sits on the kitchen island, and to make a copious amount of bows to be used on our staircase.   Here is a video where I share how I put that together along with showing you items that I purchased from CraftOutlet.com.; it also includes a bow tutorial.

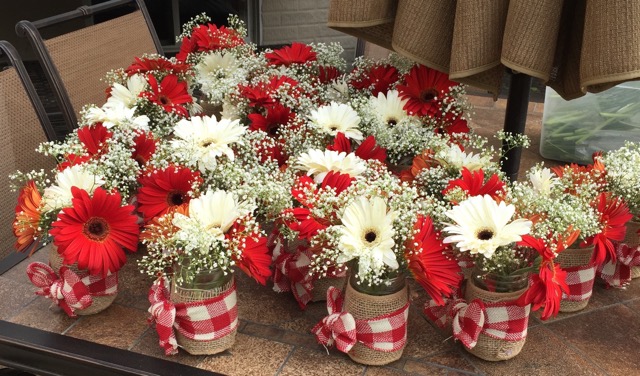
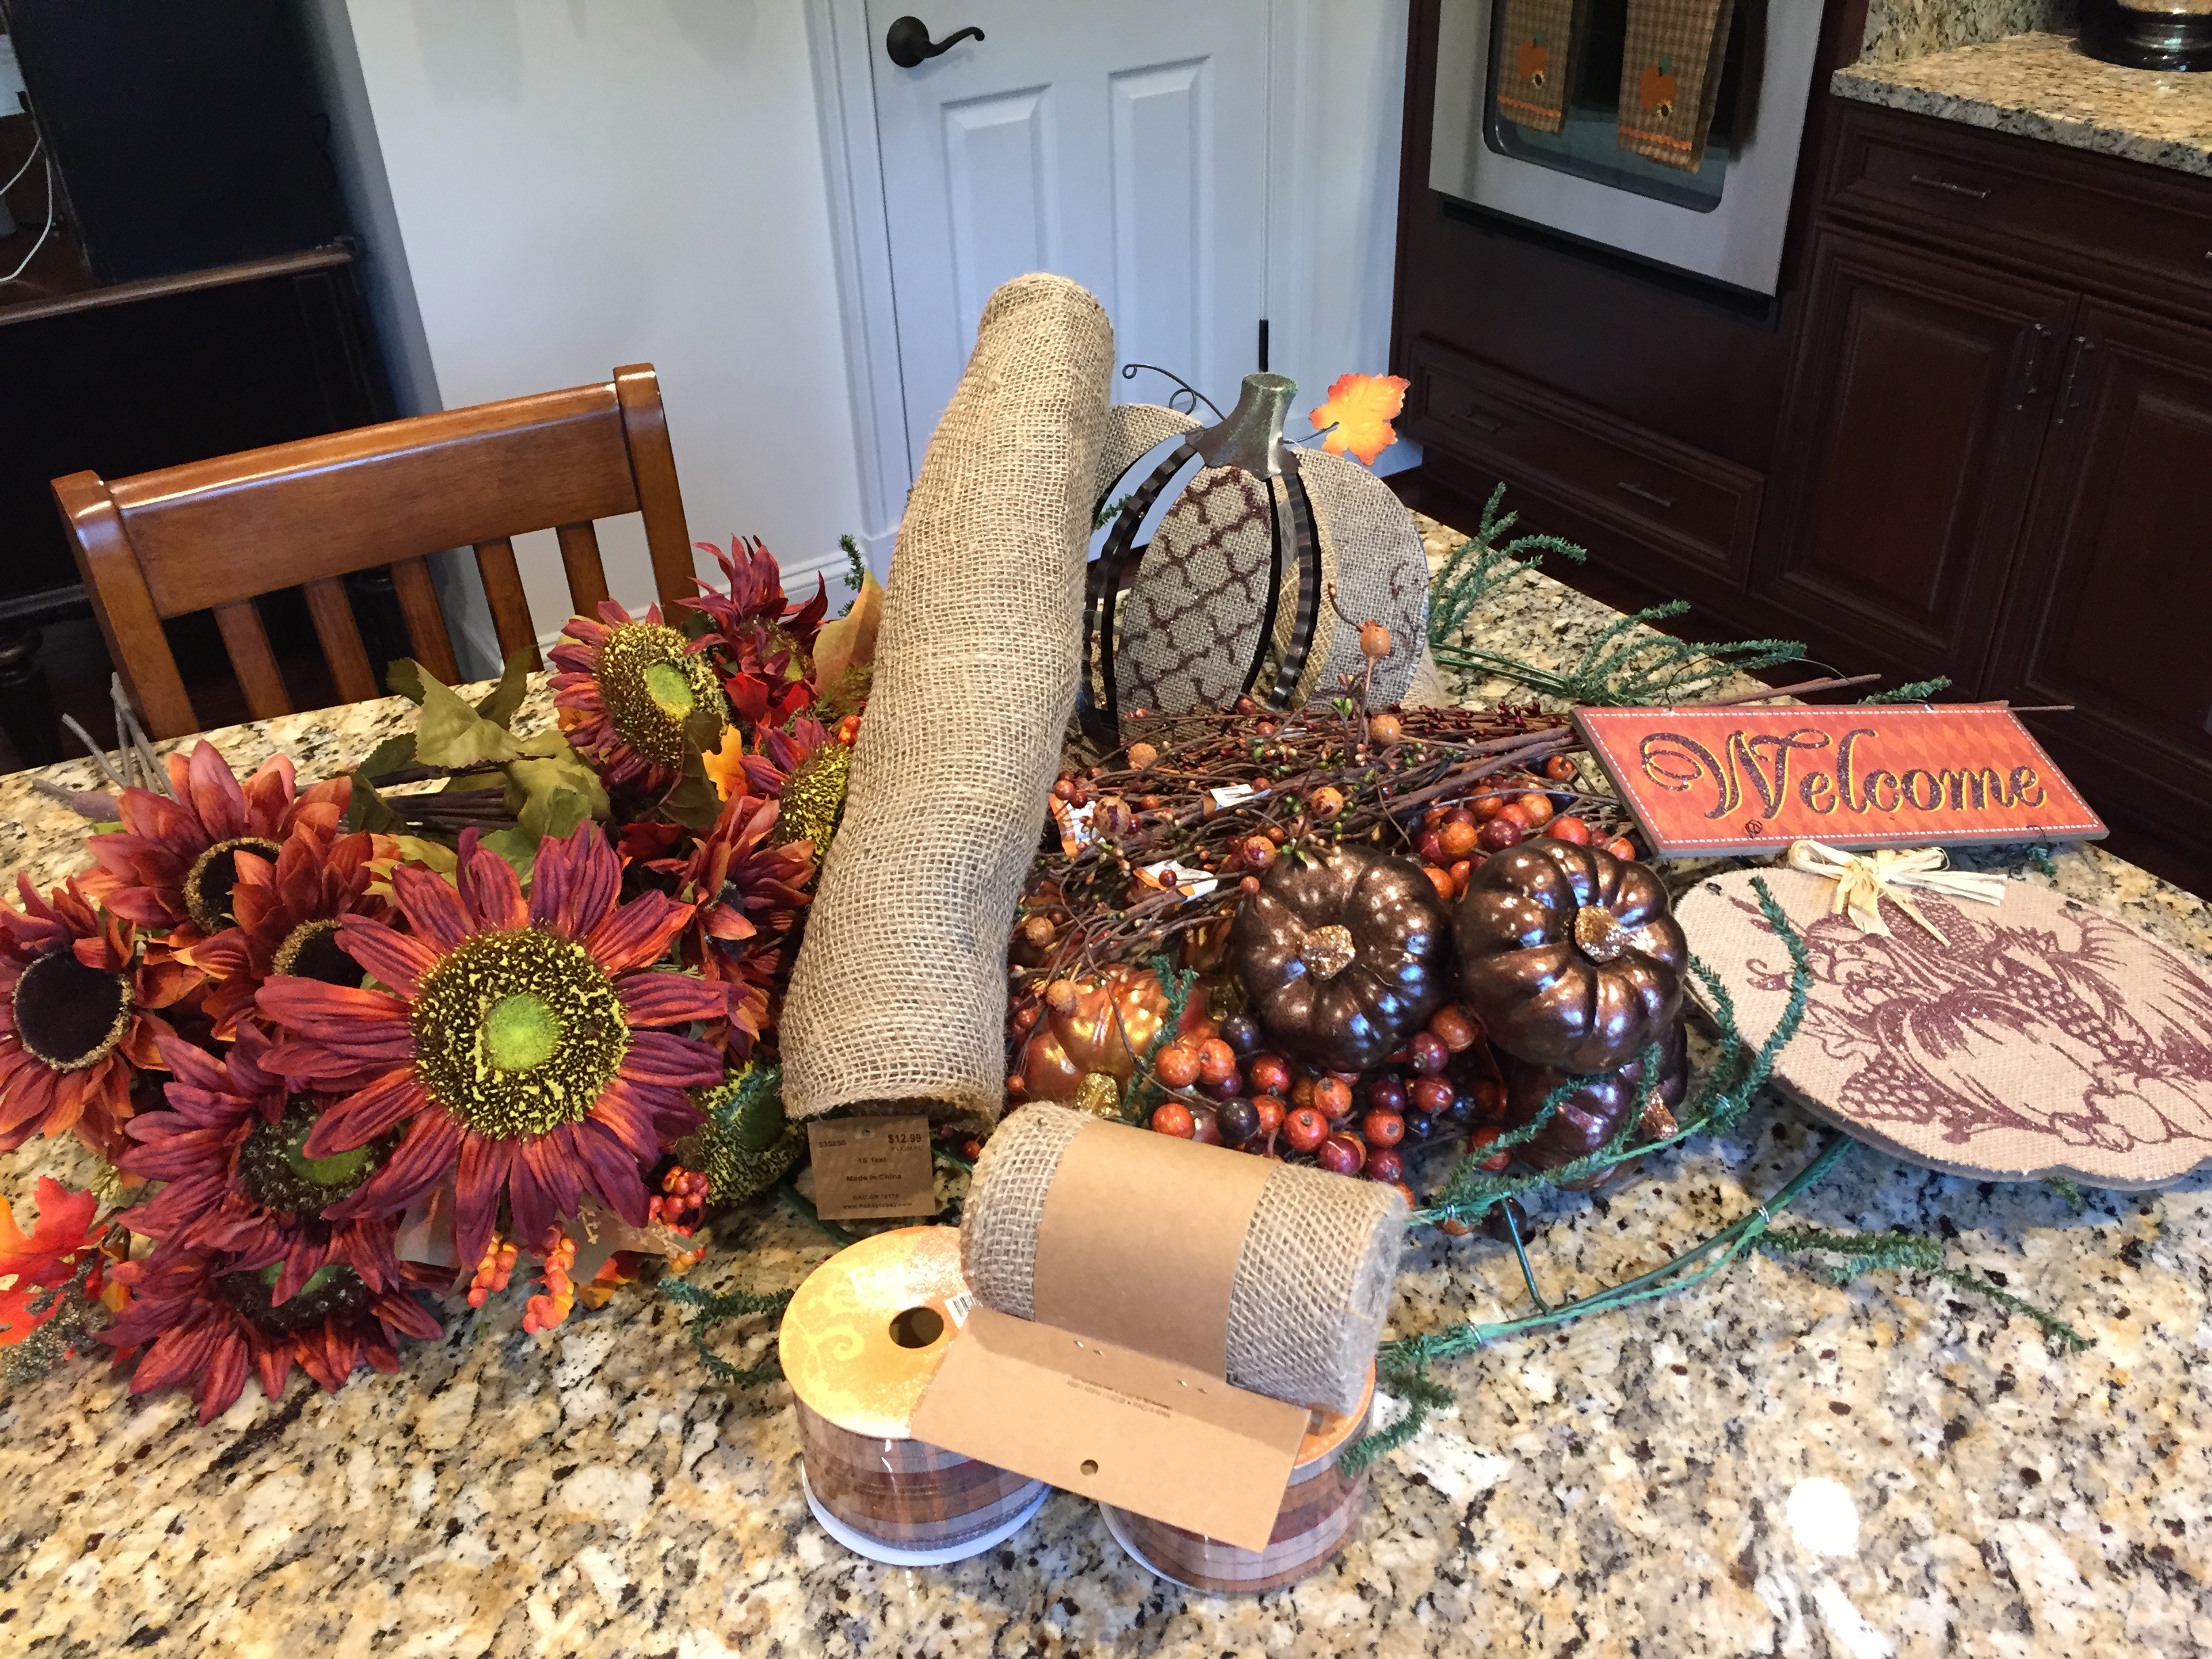
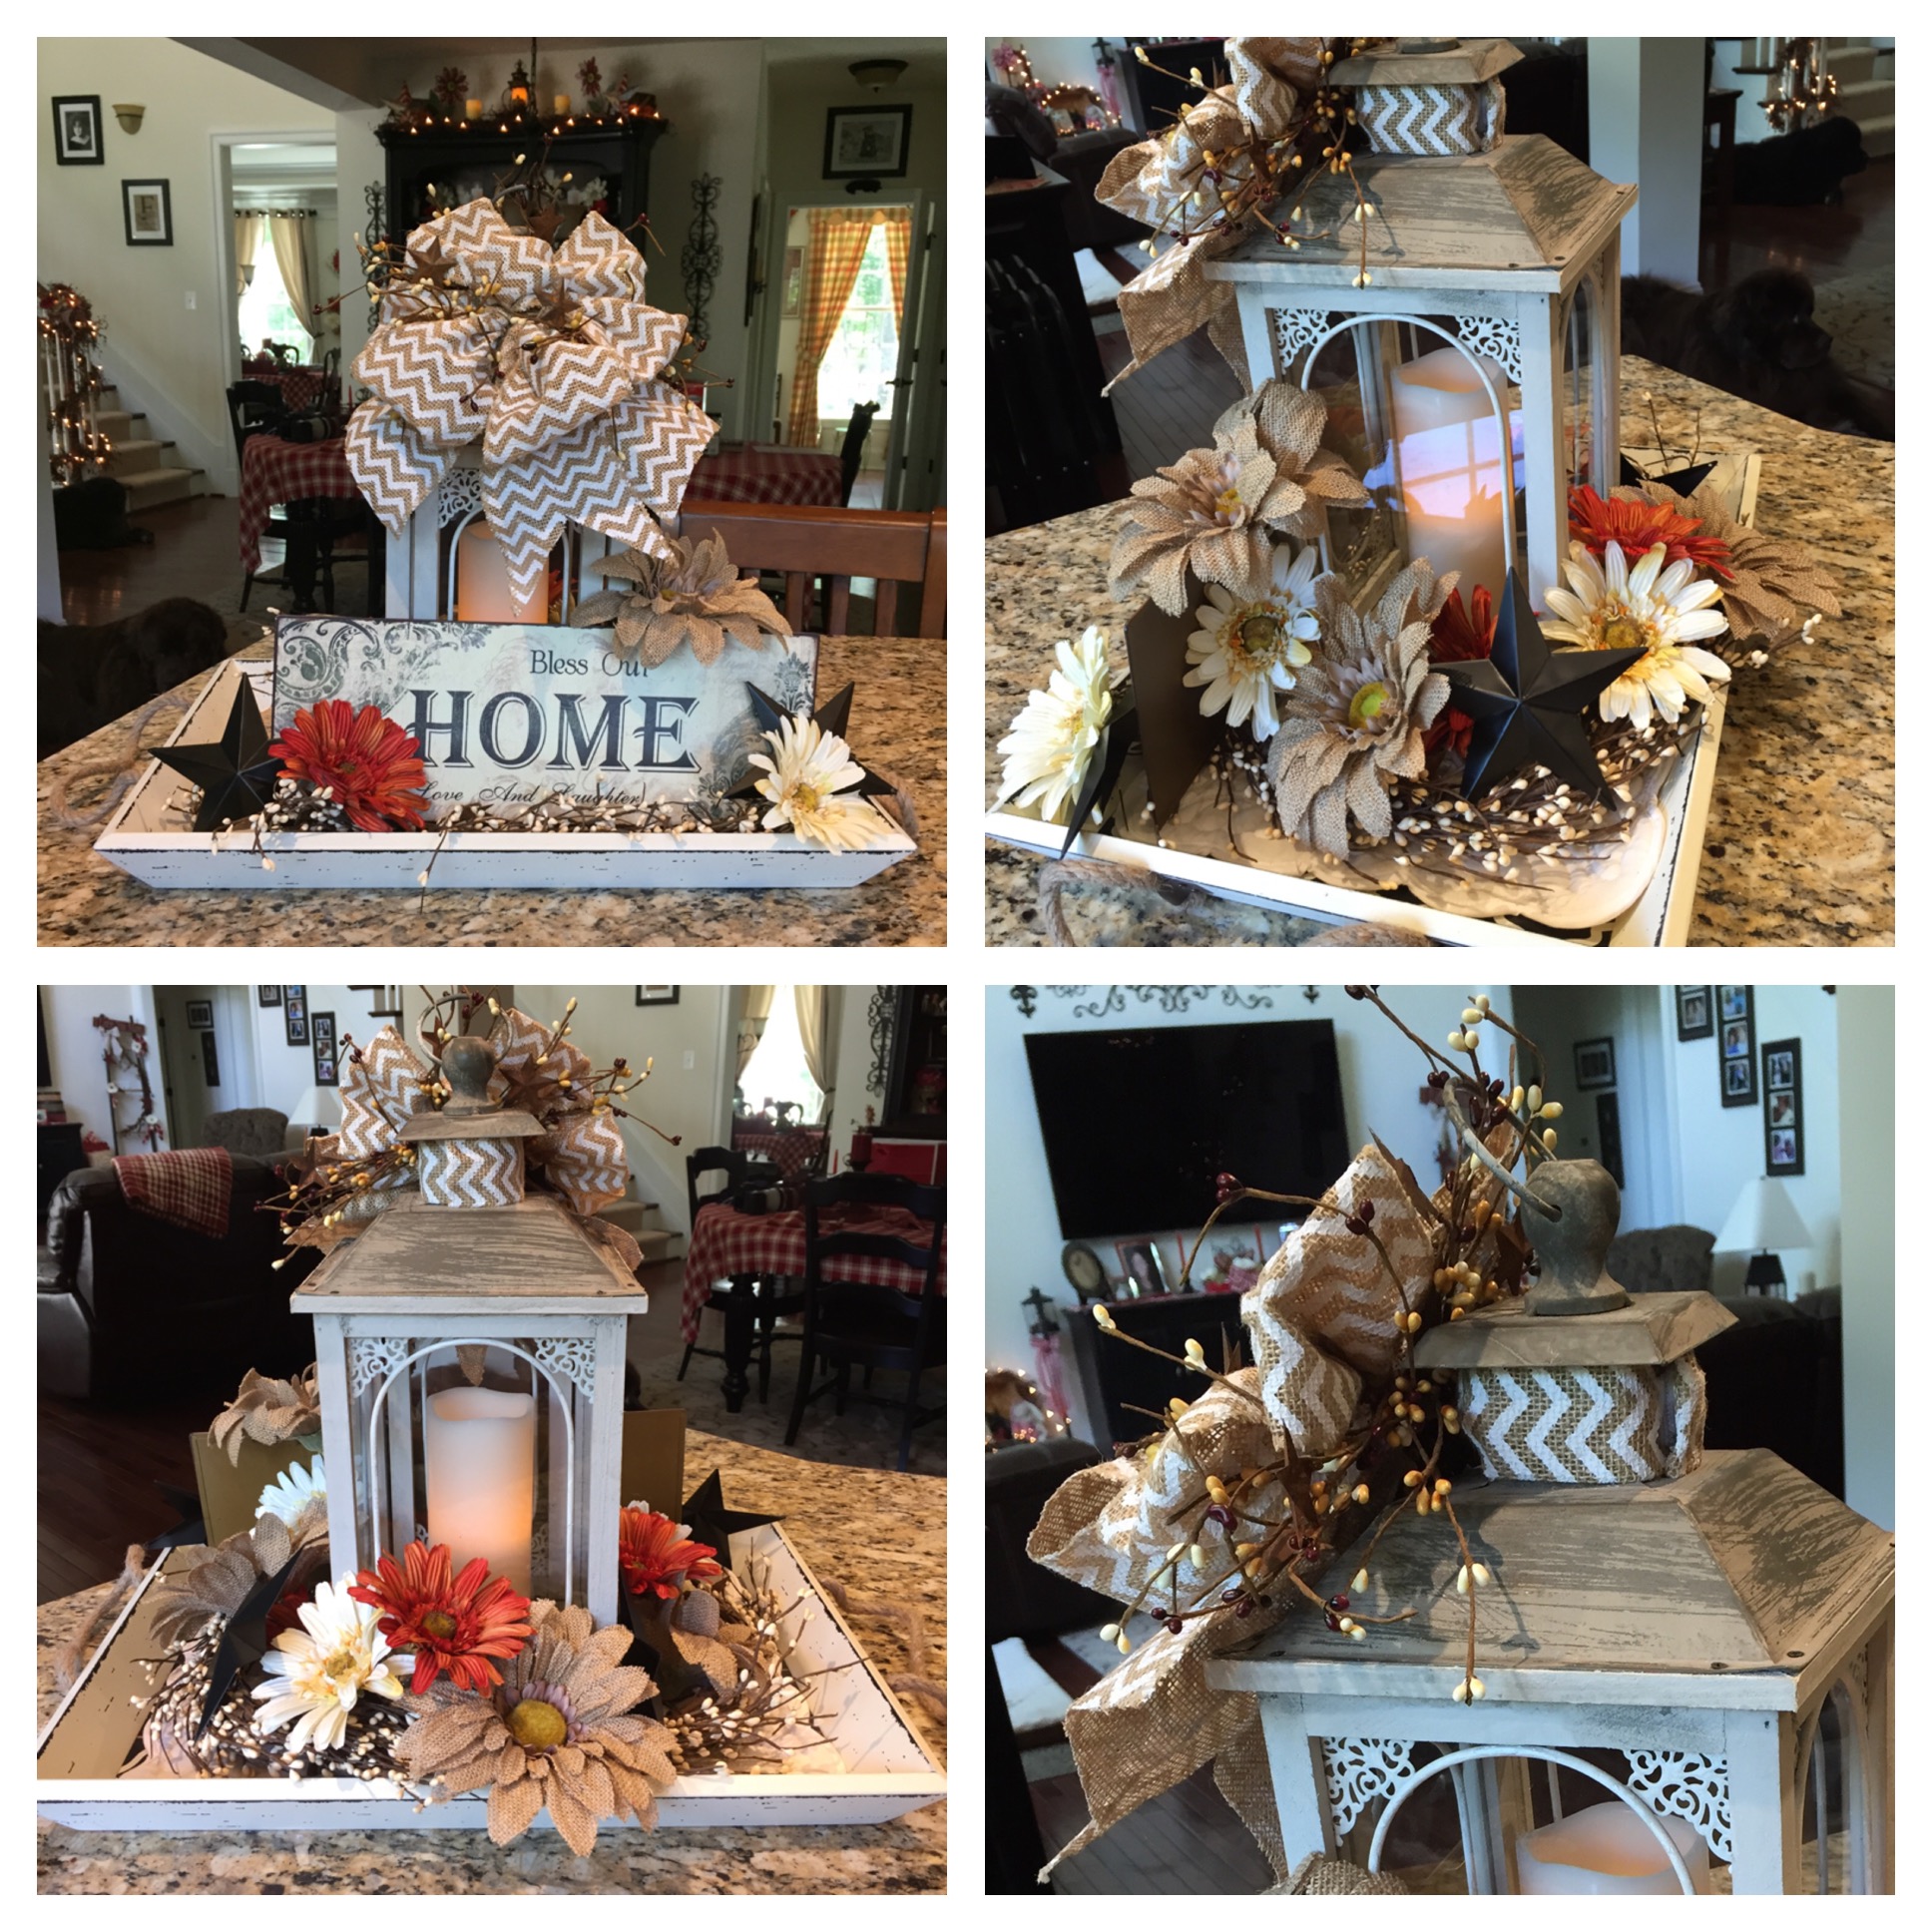
My next task was a pretty large one, it was time to change over some and create other new centerpieces.  So the first thing that I did was go around and collect all of the Easter centerpieces and arrangements and congregate them onto my hub, the kitchen island.  Here are all of the arrangements that I had made for Easter:

IMG_5401.jpg

I was sad to have to deconstruct these beauties, I had worked hard on them. 🙂  Here is a video where I show you how I took these apart and packed them away and how I created my new centerpieces for the summertime.

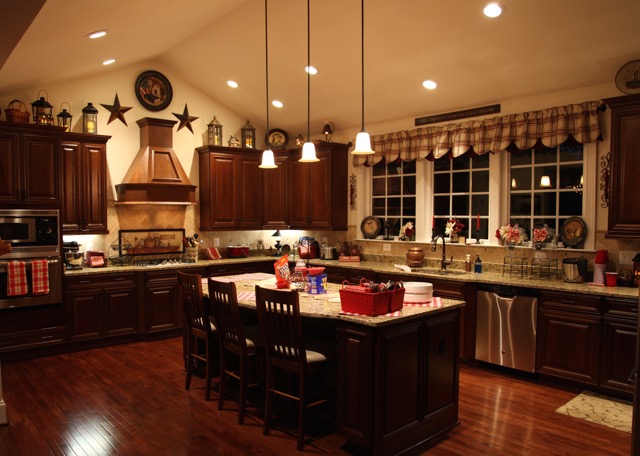
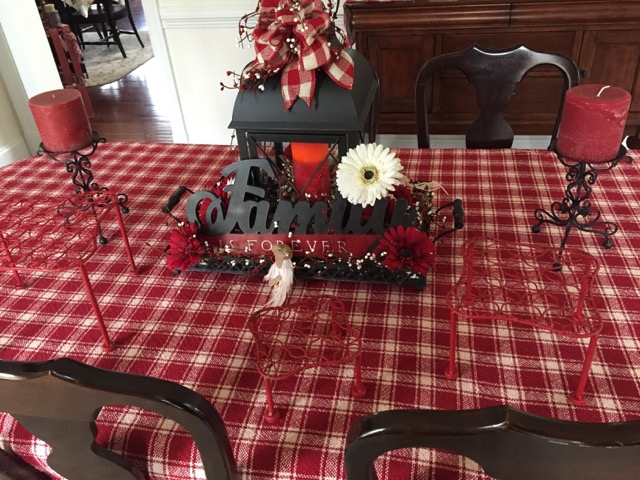
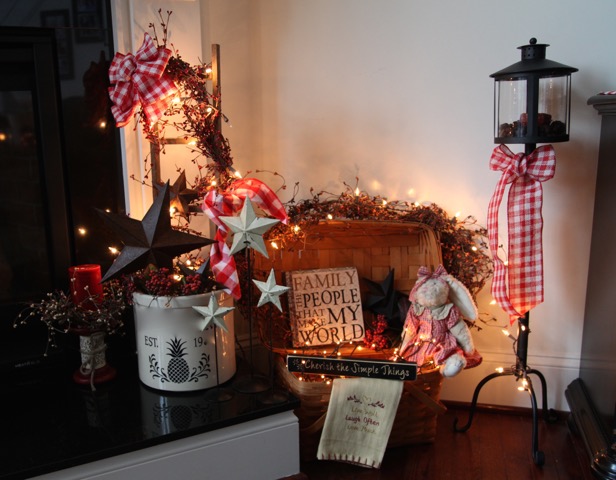
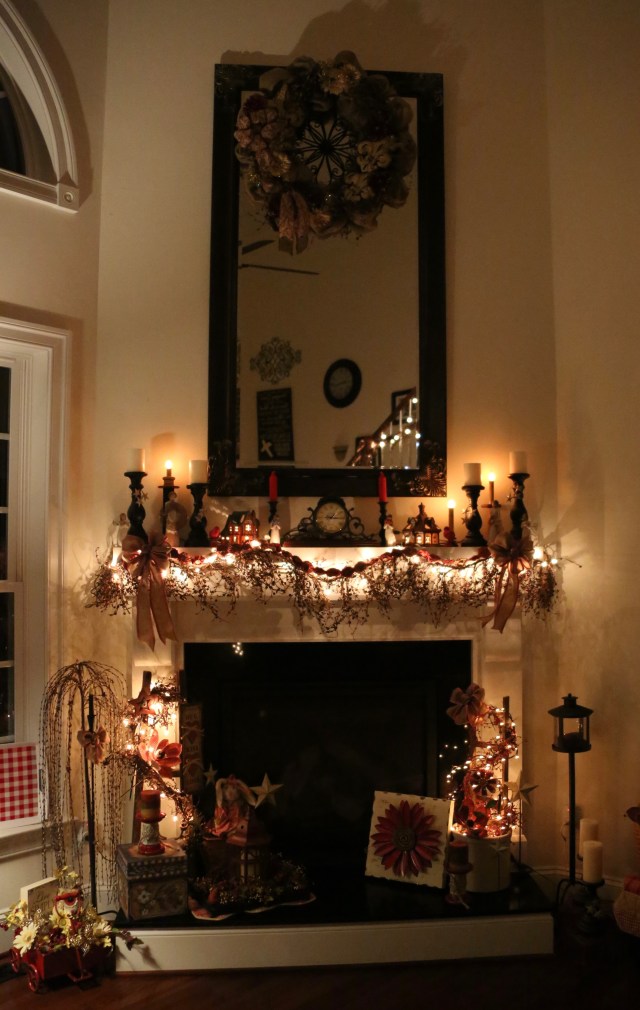
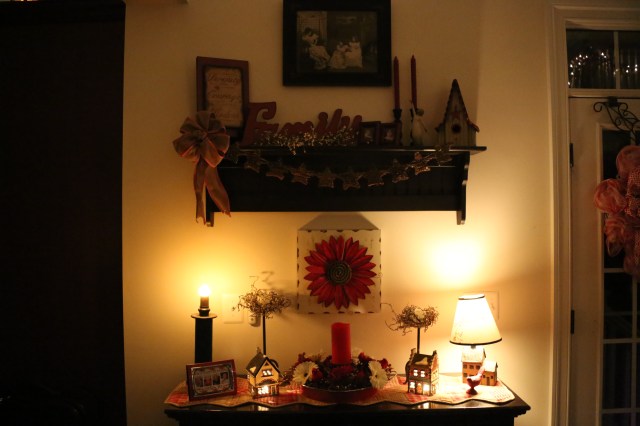
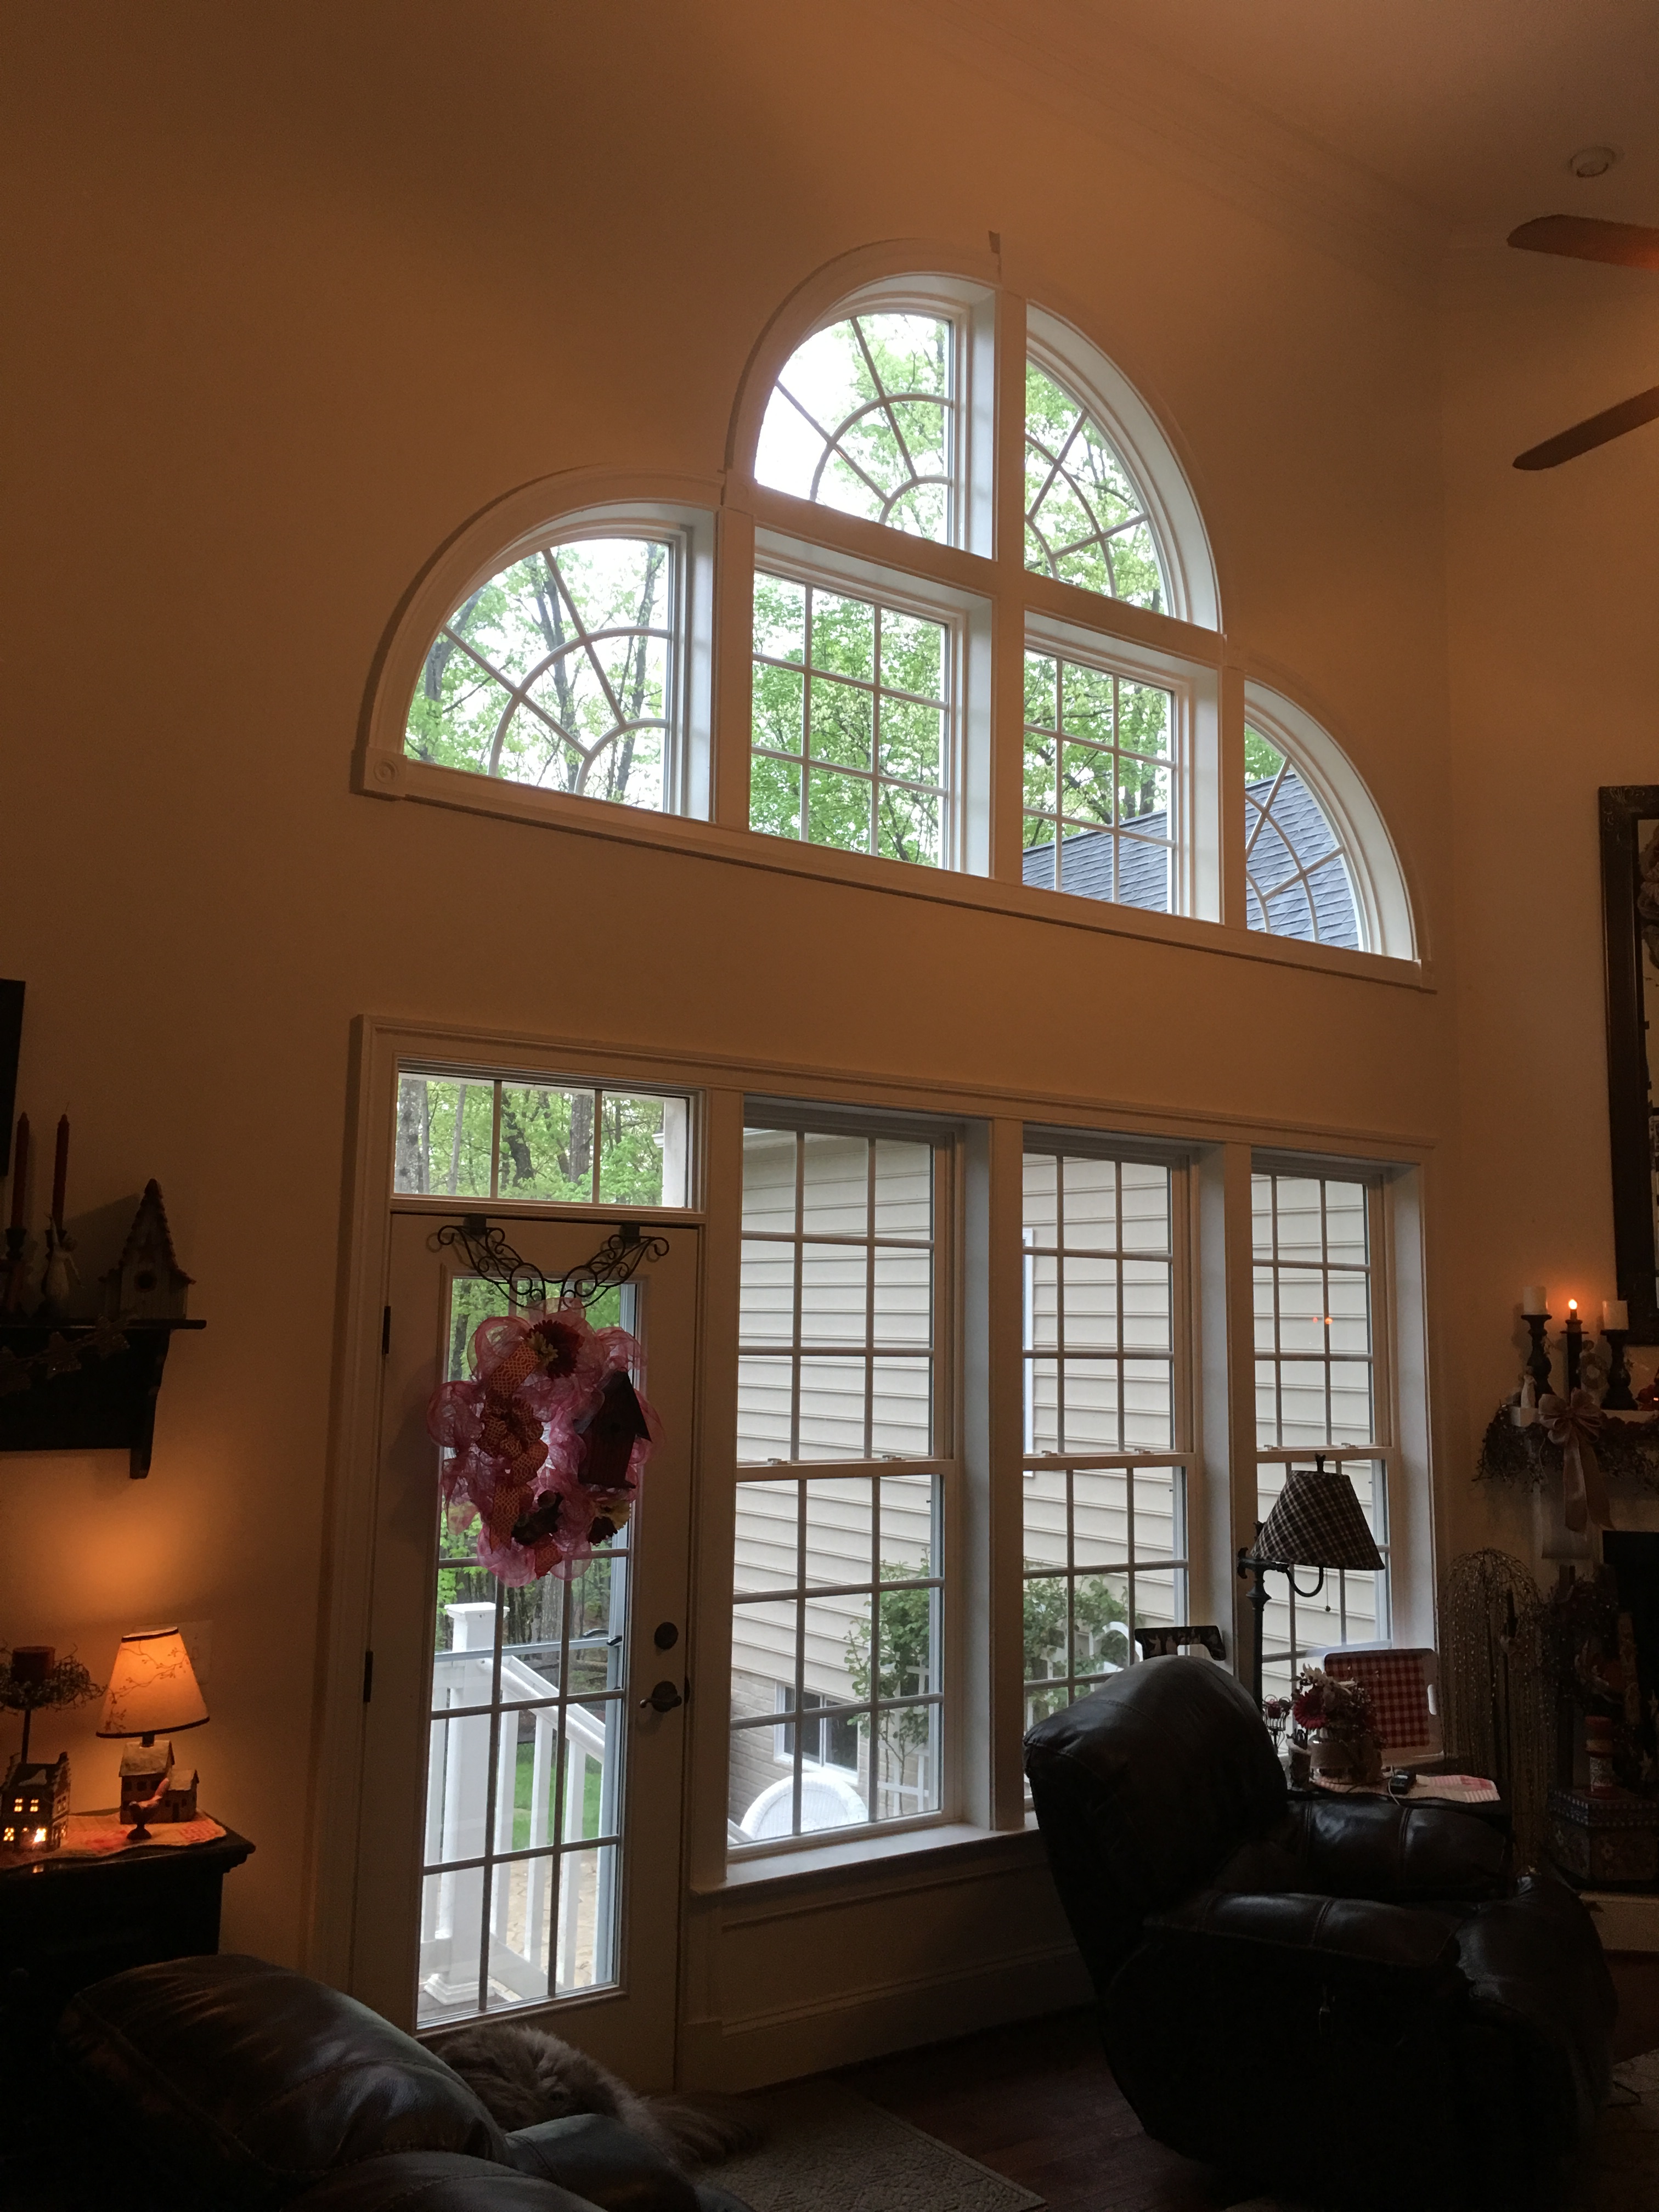
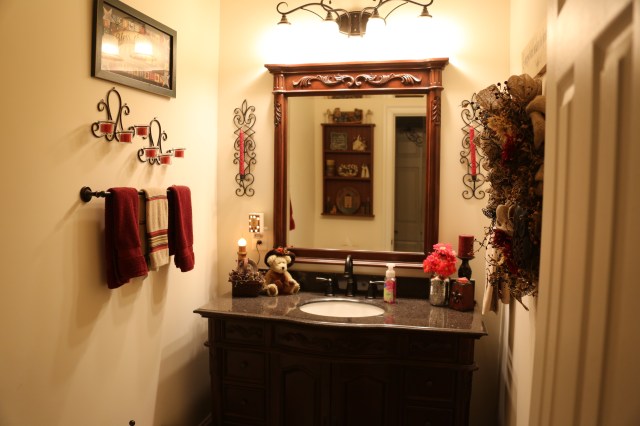
Here are some pictures of the family room, kitchen, kitchen eating area, and powder room redecorated for summertime:

IMG_5420.JPG

1V4A8993.jpgIMG_5418.JPG

1V4A8990.JPGIMG_5422.JPG1V4A8986.jpg1V4A8992.jpg

1V4A8987.JPG

1V4A8984.JPG1V4A8983.jpg

1V4A9000.jpg1V4A9001.JPG1V4A8975.jpg1V4A8972.JPG1V4A8970.JPG1V4A8980.JPG1V4A8971.jpg1V4A8969.jpg

IMG_5477.JPG1V4A8978.jpg1V4A8982.jpgIMG_5391.jpg1V4A8979.JPGIMG_5389.jpg

IMG_5437.jpg

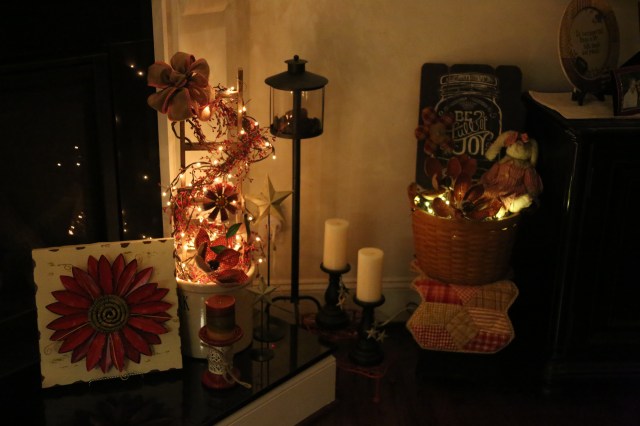
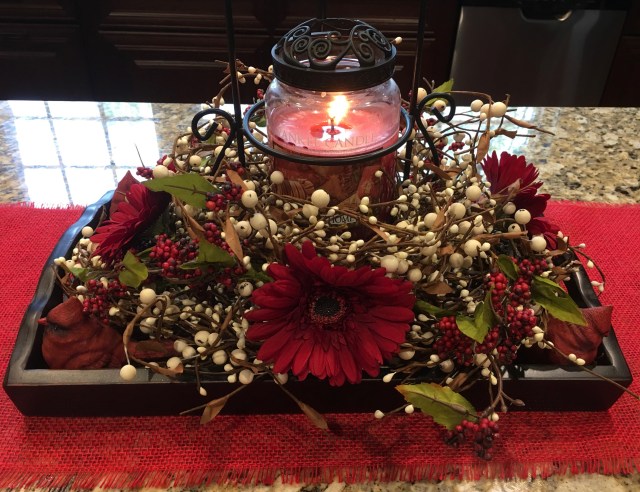
Here is a video where I show you how I put together this ^^ sweet little arrangement:

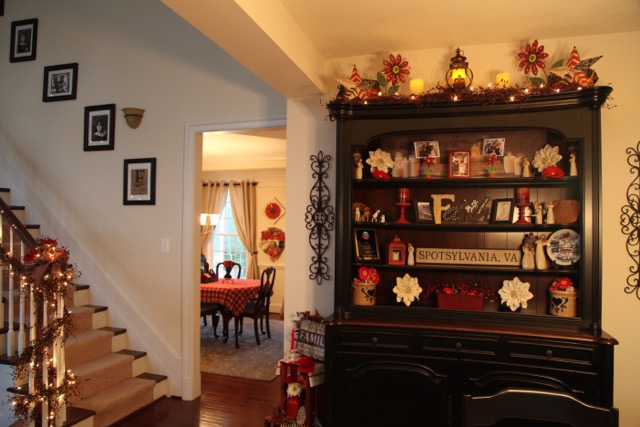
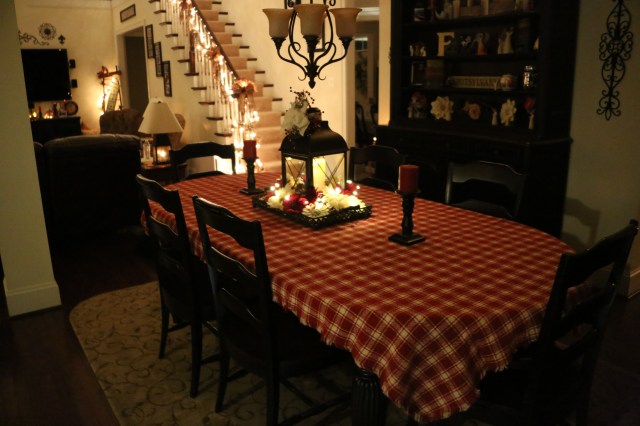
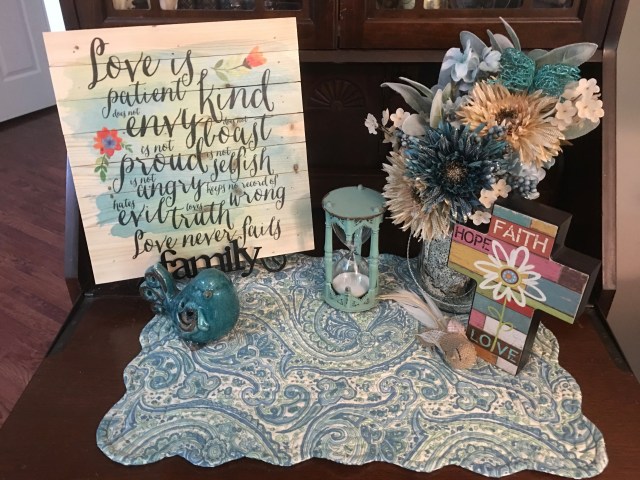
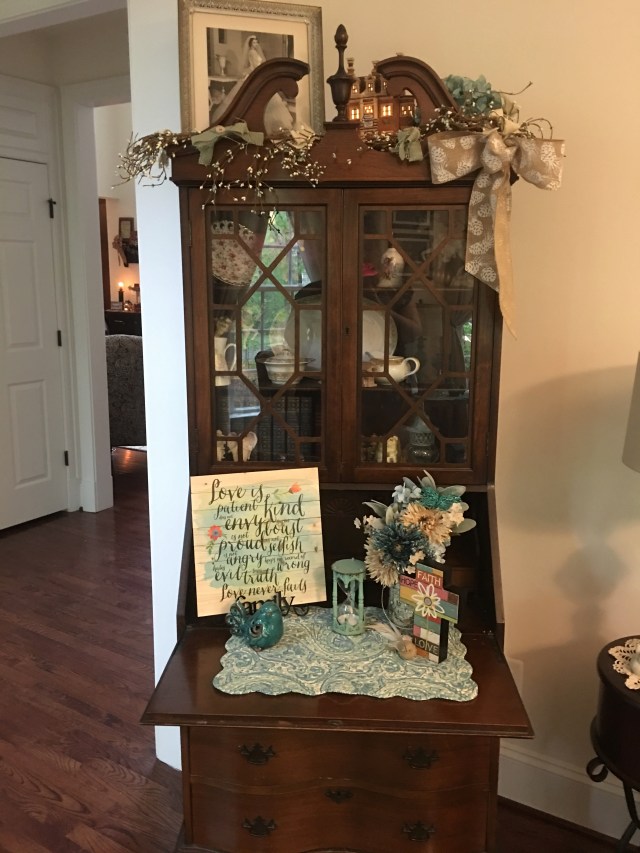
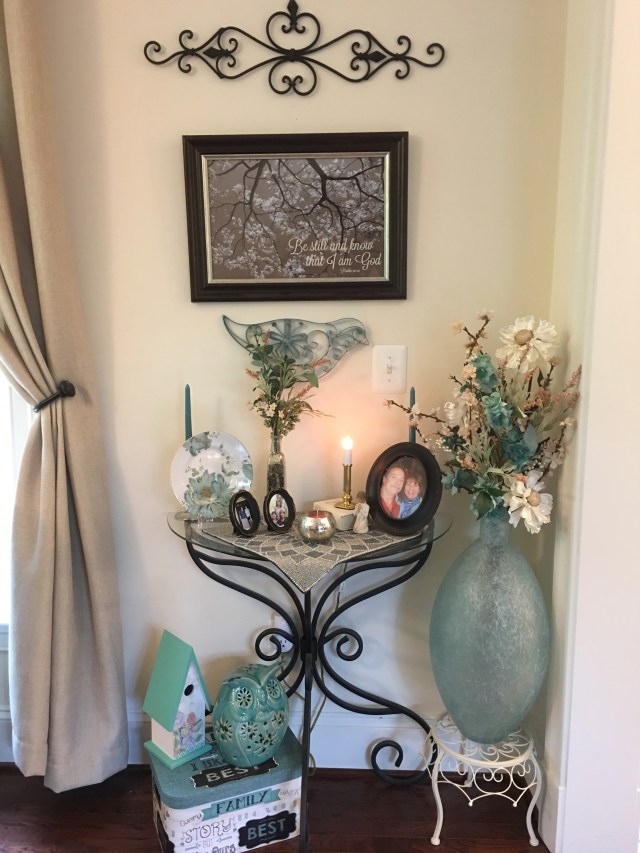
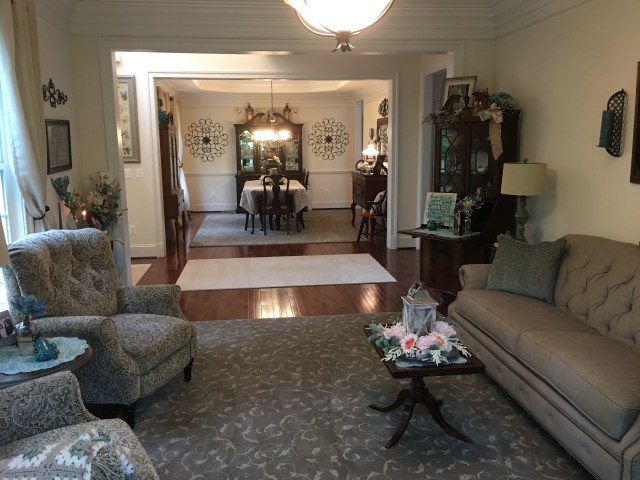
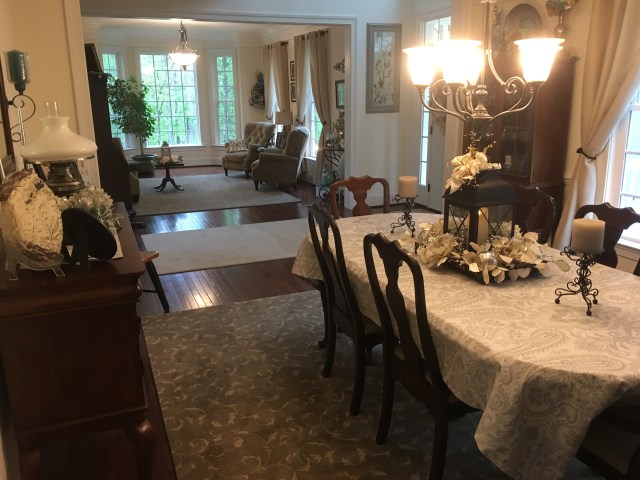
Now it was time to move on into the Living and Dining rooms–I didn’t do too, too much in there because I decided that I would leave my “generic” decor with the green accents in there for summer.  I did recreate my dining room lantern centerpiece and I created a new little arrangement in a mercury glass mason jar..first pictures of those arrangements and the other living/dining room decor, and then a video showing you how I created both arrangements. 🙂

IMG_5468.JPGIMG_5469.JPGIMG_5471.JPGIMG_5463.jpgIMG_5465.jpgIMG_5474.jpgIMG_5472.jpgIMG_5470.JPG

And, I was finally finished…This process took me a couple of weeks to complete.  Here is a video where I give an entire house tour showing you all of the redecorated spaces up close and in detail (and I even venture upstairs and do a quick little tour up there as well):

All righty, that does it for now…As y’all can see, I’ve been a busy lady over here in Virginia.  We are ready to go (decorating wise) for summer, and it has been feeling like summer as of late too, temperatures have already been in the 80’s and 90’s! Yikes!! Welcome to summertime in Virginia…100 degrees with 100 percent humidity….Not even kidding about that…lol. 😉

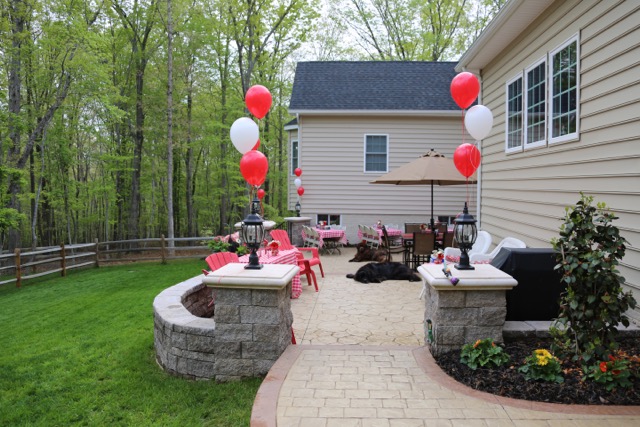
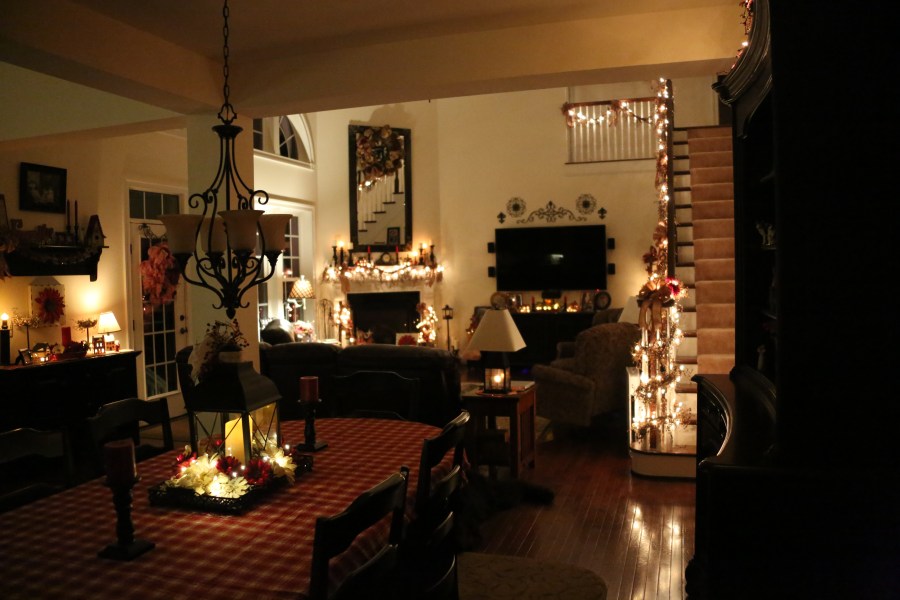
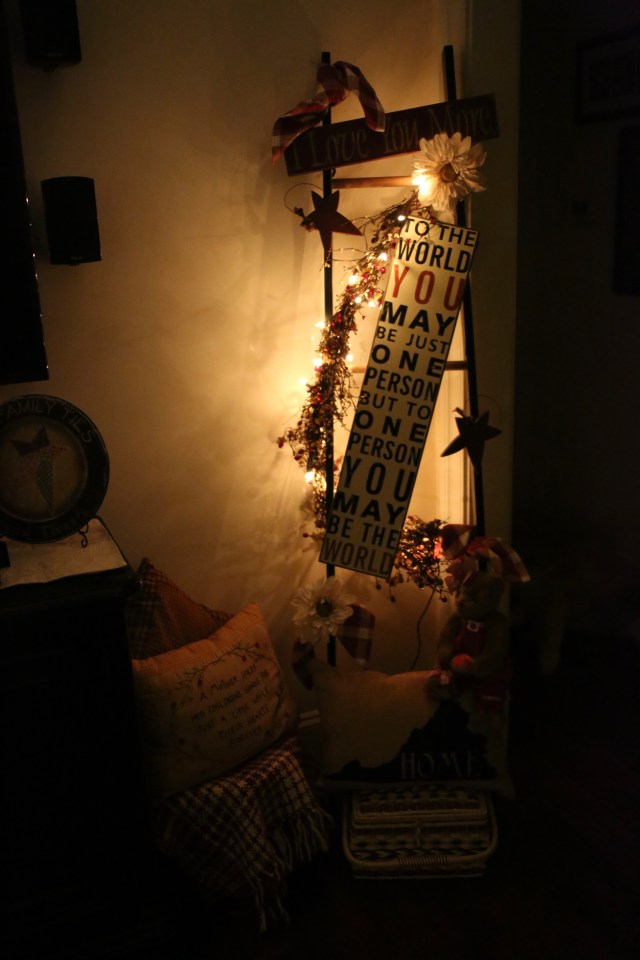
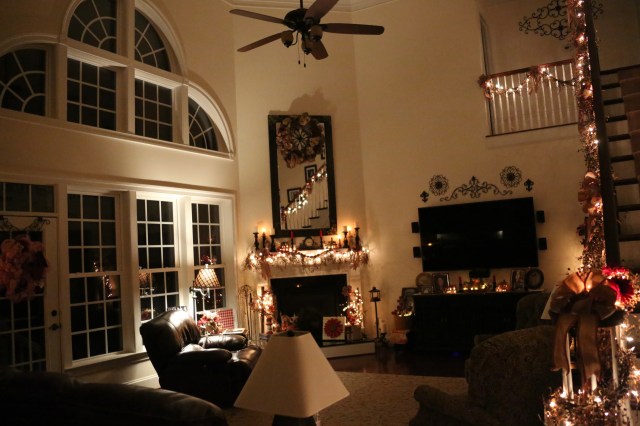
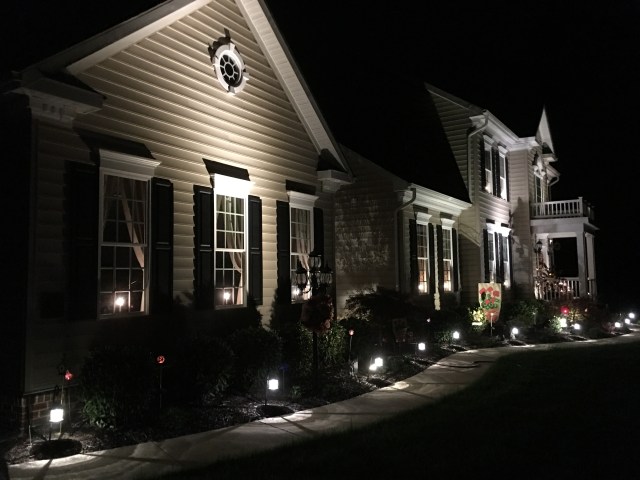
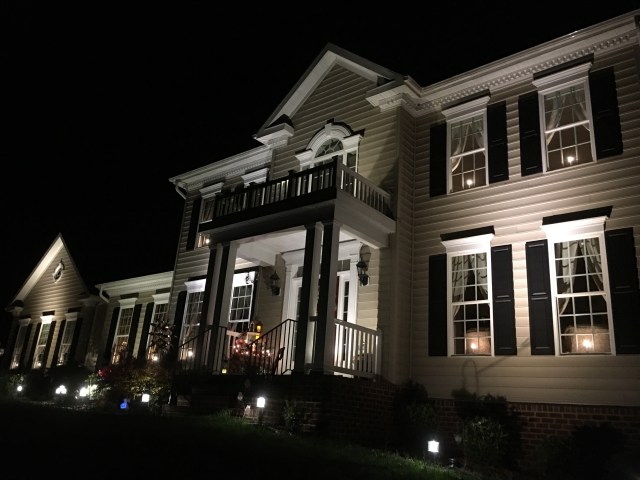
Here are a couple of more shots of the house after dark, Chris did such a fabulous job on the outdoor lighting!

IMG_5377.jpgIMG_5375.jpg

~Until next time, y’all take good care! ❤

**In crafting there are no mistakes, just unique creations**

~Arlynn ❤

Deco Mesh Wreath Ideas

I love a challenge and I love to try my hand at new creations. Deco mesh has been around for quite some time, but, I had never tried to create anything with it until just recently.  Goodness knows, I had made plenty of burlap wreaths and I felt as if I’d mastered how to make one of those, so I thought, how hard can it be to use deco mesh in the place of the burlap?  So, I tried it and it turns out that I am able to use the same burlap wreath making techniques as I described in this blog post.  The meshy material is very easily manipulated and it provides a beautifully full background for any other crafty components that might be added, i.e. a wooden or metal sign, an initial, flowers, birds, etc…

I have not made many of these wreaths and of those I’ve made, I have only hung one on the inside of the house; the deco mesh colors are rather bright and vibrant, not that that is a bad thing at all, but the words, “bright and vibrant” don’t necessarily describe the rest of my interior home decor.  The one pictured below hangs in one of our guest bedrooms that we’ve dubbed “The Happy Room”, so dubbed because the decor I’ve chosen for that particular room is very bright and vibrant and hence very suited for a wreath made out of deco mesh…;).IMG_1605
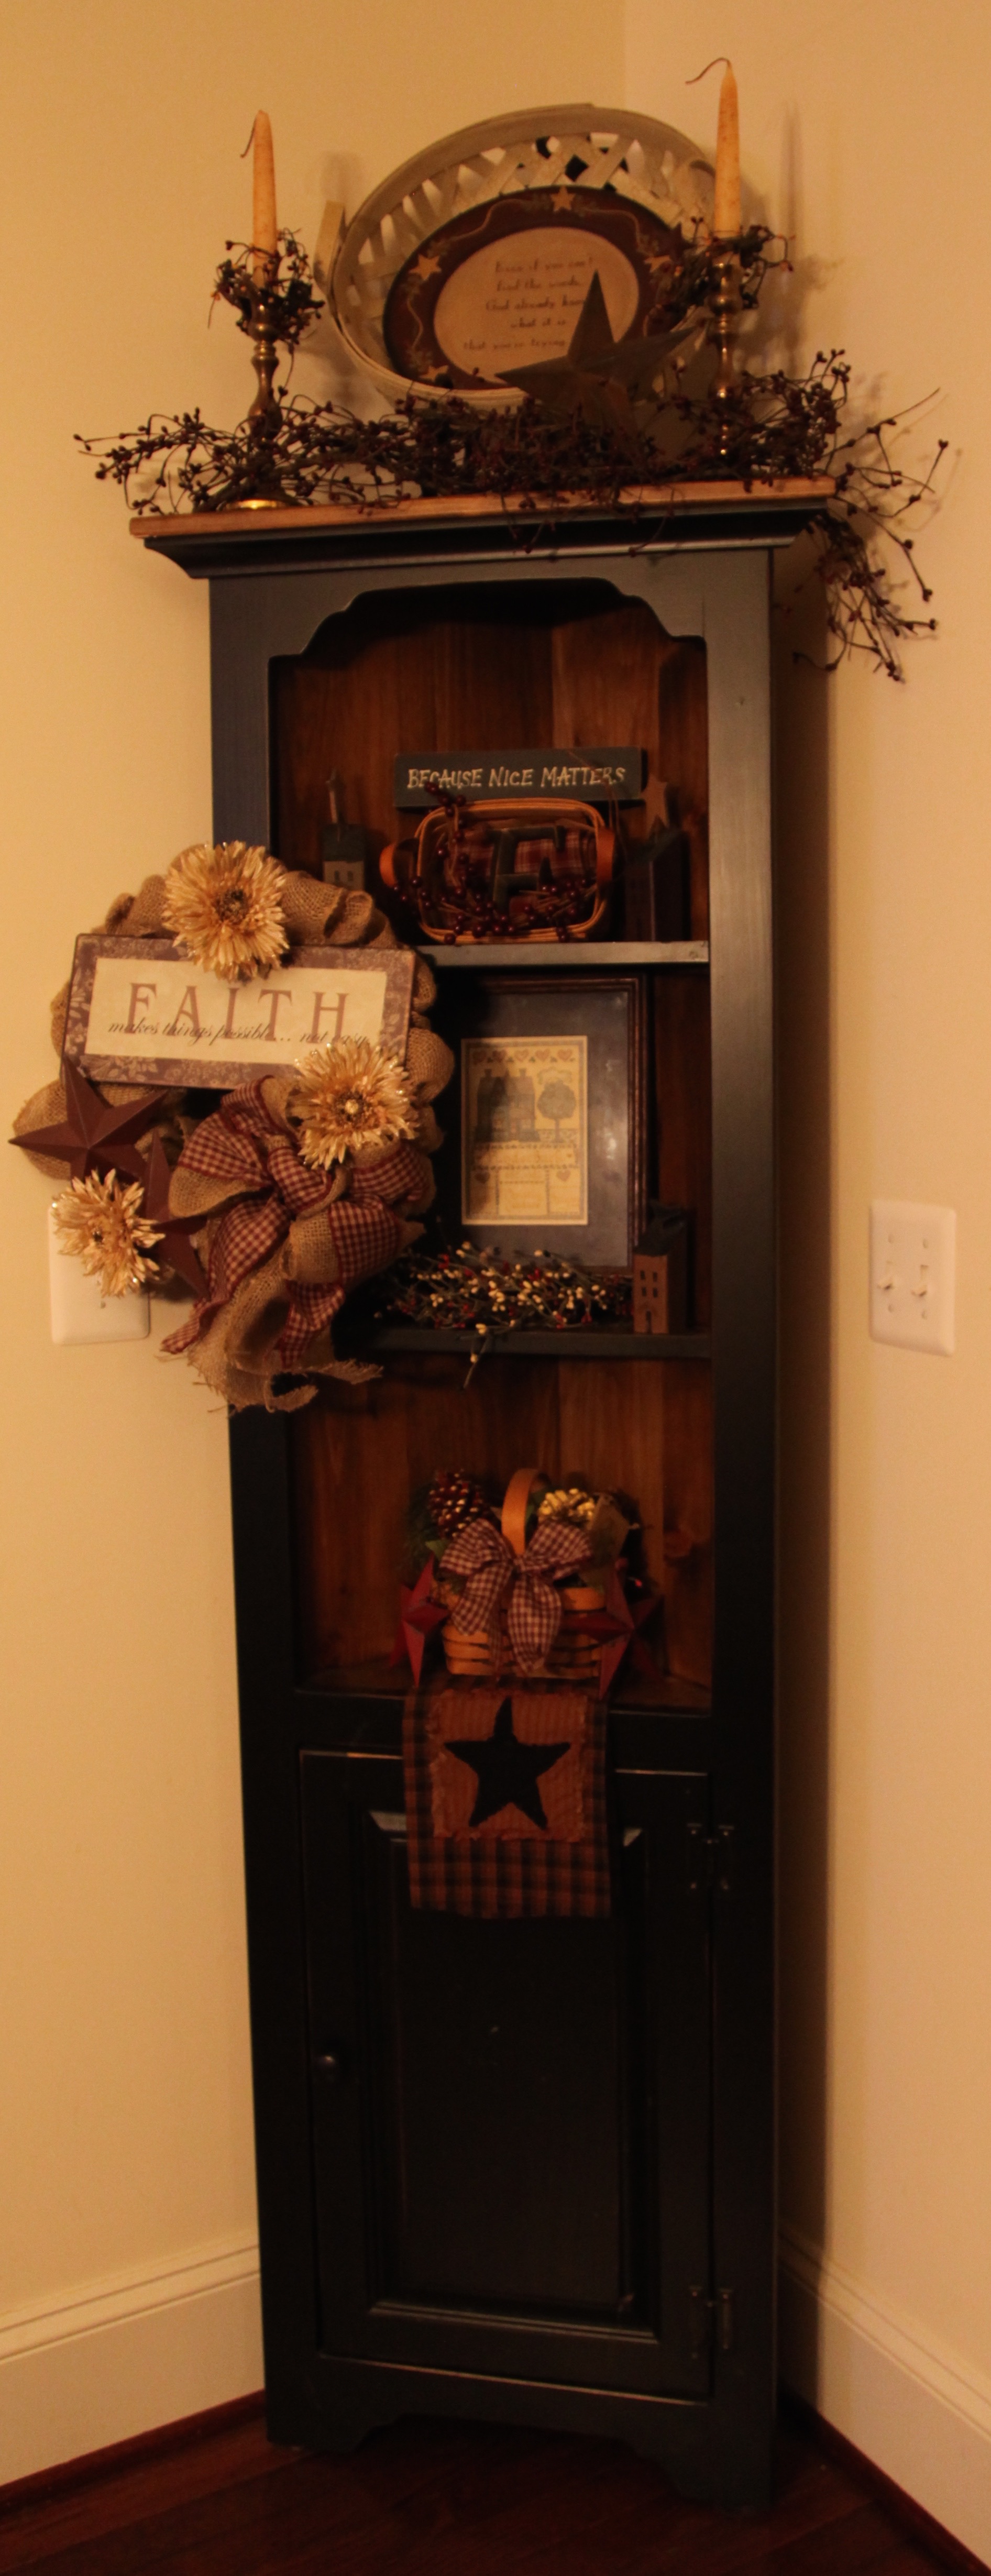
There is the finished wreath in the picture below hanging above the little vanity:IMG_1604One day when I was in what my hubby calls my happy place (Hobby Lobby), I found that “Happy” sign, so I knew I just had to make something for the Happy Room with it, so, I attempted to make my first deco mesh wreath; it turned out to be so cute and whimsical. I surprised myself!  Admittedly, I stepped *way* outside of my proverbial country box, but I really like the end result and how it fits into the Happy Room’s decor:
IMG_6234 IMG_8949

I used a 16″ metal form for this wreath and I hung it outside on our light post; I paired it with my late winter/Easter decorations. These wreaths are great to use outdoors, they hold up to the weather quite nicely, and they are so very colorful and can easily be seen from the road.

IMG_9575 1V4A0260 1V4A0233So, now I’ve gotten into the habit of making a deco mesh wreath to hang on the front light post for each Season or for whenever I change out and to match my decorative flags that I display in the front flower bed.  For this wreath, I wanted to make something that would pair nicely with all of our family reunion red and white gingham decor.   You can imagine my delight when I found the red and white gingham option in deco mesh. Yippee!! 🙂 (The link will lead you to my blog post describing all of that fun decor and craft projects that were created for our reunion). 🙂 IMG_6902 1V4A0450 IMG_6906 1V4A0449

Next, it was time to make a Patriotic version to pair with my decorative flags.  🙂 1V4A0852 IMG_7710

And last but not least, I made this deco mesh wreath to hang on the outdoor light post, it pairs nicely with the Fall decorative flags that are seen while walking down our front sidewalk.

IMG_8453 IMG_8454 1V4A2741 1V4A2742

I am thrilled that I trusted myself enough to go ahead and step out of my box and attempt to utilize deco mesh for my wreaths.  I am especially happy with how they look on that light post and I know that I will be making more and more of these wreaths as we go forward in time. They are so easy to make and they make a big, bold statement. I love them!

Until next time, y’all take good care! ❤

**In crafting there are no mistakes just unique creations**

Family Reunion Decor and Craft Projects

Hi Everyone!

I should tell you that I am a very family orientated lady and I am extremely blessed to have the extended family that I have.  I am an only child, but I am very close to my aunts, uncles, and cousins, it is almost like the cousins are siblings more than we are cousins.  We’ve been brought up with good morals and values and a very strong faith. So, last Christmas (2014) when my dad and I were sitting and chatting and he suggested that I host a family reunion I jumped at the chance. My extended family is scattered throughout 4 neighboring States and we are not able to get together very often; we hadn’t had a family reunion in many years. It was an understatement to say that I was excited that I was going to have my entire family in our new home.  So, as I normally do, I went into planning mode.  The first thing I did was do a search for some kind of “Save the Date” announcement, I settled on this magnet, and I was able to find it online here. Everyone loved them and I’d venture to guess they are still attached to some of the family members refrigerators as it is on mine here.

zY7cr0js5q1VRafs8CiMtTeLyPLXix3FSMbOeU8Qh5M=

Next, it was time to pick a theme, meaning something for me to build my decor around. So I chose, red and white gingham, mason jars, and red and white gerber daisies.  While I was preparing for the reunion, I worked very hard to incorporate my “themed” pieces into the decorations, crafts, and basic home decor.  I pretty much redecorated my home for this reunion–yes, that might seem a bit over the top, but, I really was excited to have everyone here and I wanted things to be extra nice. 🙂

IMG_0287

The next thing I did was get in touch with two of my cousins and asked for their assistance.  My cousin Stacey volunteered to make up some games and provide prizes for the winners of said games.  She also created “Certificates of Awesomeness”, t-shirts, and plaques specially designed for our family (by her) and gave them to the older generation and our generation (1st cousins).  She gave a special trinket to Cori who had made and decorated a gorgeously beautiful and very tasty cake. She also graciously gave a couple of niceties to my two daughters and a very special something to me.  Stacey put on a fantastic ‘show’, telling stories and and poking fun as she presented all of her creative homemade gifts. It was a blast, definitely one of the highlights of the day!  Here are some of the things that Stacey created for her prizes and gifts–she is so very talented!!

IMG_7221 IMG_7220 IMG_7219 IMG_7218 IMG_7217 IMG_2655 IMG_2654 IMG_2651

And here is the gorgeous plaque that she gave to me…SO sweet!

IMG_8897

Here is Stacey standing beside her prize table and being her animated self while giving out her very special gifts–THANK you Stacey, you did an awesome job! ❤

IMG_0327IMG_0328IMG_0458

Here are some pictures of Cori and her cake and the dessert table…YES, we love our sweets! lol 😉 THANK you Cori! ❤

IMG_0343DSC00636IMG_0398

Here are the three of us together…Me in the pink pants, Cori in the middle, and Stacey in the green pants:

DSC00639

Each family that came to the reunion, (I do believe we had almost 40 people in all), brought food to share, good thing we have a pretty big kitchen because almost every inch of the island and the surrounding countertops were full of some of the most delicious food on the planet. I think everyone brought their ‘signature’ dish which made for some good eats that day!

IMG_0293IMG_0279IMG_0402

It took me months and months to prepare and I loved every single second of every project that I took on. I thrive on the planning process and to plan something for my family…well, I was over the moon with excitement and motivation.  Here are some of the things that I  created and a couple of things that I had someone else create.

I made a deco mesh wreath to hang on the light post that sits beside our entrance sidewalk:

IMG_6906IMG_0332

I purchased red and white gingham tablecloths and made lantern centerpieces for both the kitchen and dining room tables. I also purchased candle holders and red candles to flank the centerpieces.  I also made a lantern centerpiece to be added to the fireplace hearth decor.

IMG_7136 IMG_7041 IMG_6990 IMG_6976 IMG_0287IMG_0221

I redecorated pretty much the entire lower level of our house including the mantel and the fireplace hearth, a couple of cozy corners, the kitchen hutch, and some other pieces of furniture and shelves.  I tried to incorporate the color red, red and white gingham, and added “family” touches (as in plaques talking about family) and our family’s own photos which I placed in red and white frames and some in sweet little clip picture holders.  I tried to add special touches incorporating my “theme” here and there throughout the decor. I also had created a slide show and had it playing on the tv throughout the entire day–everyone loved that! 🙂

1V4A0524IMG_0223 IMG_0222

IMG_0217 IMG_0258 IMG_0262 IMG_0264  IMG_0270 IMG_0289IMG_0304

As the day drew closer, I decided that I would make all of the centerpieces for the outdoor tables.  Each arrangement consisted of a quart size mason jar filled with fresh gerber daisies and baby’s breath. I placed the jar on a white ‘charger’ plate, added a red paper doily and surrounded the jar with a pip berry ring (that I made).   In addition, I made pint size mason jar fresh flower arrangements to sit around and augment the indoor home door.

1V4A03111V4A0512IMG_7200 IMG_7197 IMG_0283  1V4A0552 1V4A0548

I thought and thought about what to do for party favors.  I wanted it to be something that they could take with them and use for years and years and that every time they looked at it they would be reminded of the day.  So while perusing around the Internet, I stumbled upon this website and they worked with me to create a “mint tin” that I filled with red and white peppermint candies.  They were a huge hit at the reunion. **Score**!! 😉

IMG_0162

One of the last things that I did was to hang this banner. It really completed the entire look.  I did not make this banner, instead I ordered it from this Etsy shop here.

11173373_10205905267264734_3336662848339832945_n

Finally, the day had arrived and it was time to hang balloons out front and out back, set up tables on the patio, and set out a little chalkboard sign on the front porch.  We were ready to go!!

1V4A05391V4A05381V4A05361V4A05371V4A04331V4A0552 1V4A0546 1V4A0543 1V4A0542

We had a marvelous time that day.  The feeling that fills the air when we are all together is magical, honestly.  We all sing and many play instruments, so we sang some of our favorite old hymns and our grandma’s favorite hymn that none of us can get through without sobbing “Thank You Lord for Your Blessings On Me”, ate ourselves into oblivion, laughed till we cried, and cried when we had to separate at the end of the day.  It was a wonderful day, one that I hope will be held closely and lovingly in everyone’s memory.  I’m hoping to host a family reunion every year for as long as everyone will be willing and is able to travel to us here in Virginia. ❤

**I love you family!!!**

**In crafting there are no mistakes just unique creations**

Burlap Wreaths and More Burlap Wreaths

Hi to all of you lovelies out there!

I am like the energizer bunny, I hardly ever sit still and I am always planning my next project, event, trip, decor change, etc…  One of my hubby’s nicknames for me is “The Planner”; I know I must drive the poor man crazy at times! 😉  So, when I was gathering pictures for this blog post, I surprised myself with the sheer number of wreaths that I’ve made this past year .  I’ve created some of these for my own use here in our home, and I’ve created a few to give as gifts. My plan for this blog entry is to just *show* you the different wreaths, if you would like to know how to make one you can reference one of my earlier blog posts here. 🙂

So here goes:

This one hangs in our “mud room”, I hung it on the door leading to the garage–I added that wreath hanger that you see in the picture on the left, it is awesome.  You can find it online here:

IMG_8779 IMG_6048

I made this one for one of our guest bedrooms…

IMG_8806 IMG_8807

I threw this one together because I wanted a little something more for on that corner shelf:

IMG_8455IMG_6473

I made this one for a dear friend who loves owls:

IMG_6229 IMG_6231 IMG_8938

I made this one for a friend…She asked me to make her something to hang on her Mom’s nursing home room’s door:

IMG_6252IMG_9256

I made this one for another one of our guest bedrooms, I actually utilized an old Boyd’s Bear Bunny that had been stuck in a box in my basement for years:

IMG_9537IMG_1665 IMG_1595

I hung this one in the laundry room…:)

IMG_9343IMG_6517IMG_6519

I made this one to go with the family reunion decor (red and white gingham, gerber daisies, and mason jars):

IMG_6471

This one was to add to an Easter grouping that I had put together out on the front porch:

IMG_9580 1V4A0229

I made this one to be hung on the front door from Memorial Day through July 4th. You’ll also see our pups in one of the pictures below. The Newfoundland dogs names are Sophie and Samson (brown), and the Golden’s name is Gracie. I love them like crazy! ❤

1V4A0847 1V4A0860 1V4A0849

And last but not least, I just made this one the other day.  This is for a very dear friend of mine who lives in another State.  My hubby is constructing a box for me to pack it up in for shipping…it is 30″ in diameter (as wide as some front doors, in other words, it is huge). 🙂

IMG_8837 IMG_8847 IMG_8849 IMG_8850 IMG_8857

Well, that does it for the burlap wreaths that I’ve made in the past year.  I’ve also made some grapevine and deco mesh wreaths as well–subjects for another blog. 🙂 I hope that one of these wreaths will inspire one of you to try to make one for yourself. You can do it! And I’m right here if you have any questions at all, feel free to leave me any questions in the comments.  Happy Crafting!! ❤

**In crafting there are no mistakes just unique creations**

The Lantern Centerpiece Gift

Hi Everyone!

I always enjoy giving homemade gifts to people that I know will appreciate the planning, preparation, and plethora of work it takes to create an entirely new concept just for them. My dear friend Karen is one such person. Karen and I have been friends for over a decade now, our daughters were in the high school marching band together and Karen and I were very involved in the Band Parents Association.  She and I had much more in common than just our girls though, she is also a crafter and she can create beautiful things that I admire greatly. So, when she and her hubby built a beautiful new home my wheels started turning and I tried to come up with a new and different Housewarming gift.  What does a crafter give another crafter?  It can be tricky…luckily, our ‘talents’ lie in different realms of the crafting world.  Karen herself actually gave me the idea of what I ended up making for her.  She texted me one day to ask me if she could borrow my red gingham tablecloth to use for an upcoming get-together.  Well, when she asked me that the light went on in my head and the bells started ding, ding, dinging, I knew exactly what I wanted to make for her; a lantern centerpiece 🙂  First, I purchased her a red gingham tablecloth of her own. Then I made a lantern centerpiece with a red gingham bow, pip berries garland, red and white gerber daisies, black metal stars, a red battery operated candle, and a “Family” wooden sign, all arranged in and around a cream colored wooden tray and cream colored wooden lantern.  I also put a red gingham placemat in the tray to serve as a nice decorative base for the design.

**Side note–I love arranging my lantern centerpieces in trays, the tray provides an anchor for the entire design and *bonus* it is easily picked up and moved from place to place**

Here is that finished centerpiece:

picstitch 2

I then thought, well, I don’t want to pigeonhole her into having to use the red gingham accents all of the time, so I took it a step further and supplied her with the necessary materials with which to change out the red gingham accents and insert a more neutral design; utilizing the same metal stars, lantern and tray.  I made a new bow out of chevron and burlap ribbon and supplied a different colored pip berries garland, a cream colored battery operated candle, different colored gerber daisies, a different “Home” sign, and a neutral placemat. Also, I made it so that she could easily change out the bows by hot gluing velcro on the ends of a piece of the same ribbon and attaching it to the bows;  they were then secure when in place, pretty, and functional. 🙂

Here is that version of the centerpiece:

picstitch

I packed up all of the neutral design materials along with a picture of how she might want to switch out the red and white gingham elements and replace them with the more neutral elements.

IMG_7526

I delivered the red gingham version of the centerpiece to her with the neutral version packed in a gift bag.  I immediately knew that I had chosen right in giving her a homemade gift because when I handed it to her, her sweet eyes welled up with tears and I got the very best hug ever! My day was made, completely made!

In my opinion, it is *always* better to give than to receive, and when it comes from your heart and is made with love and with the receiver in mind,  it makes for a good day all around.

**LOVE you Karen** ❤