Hi All,
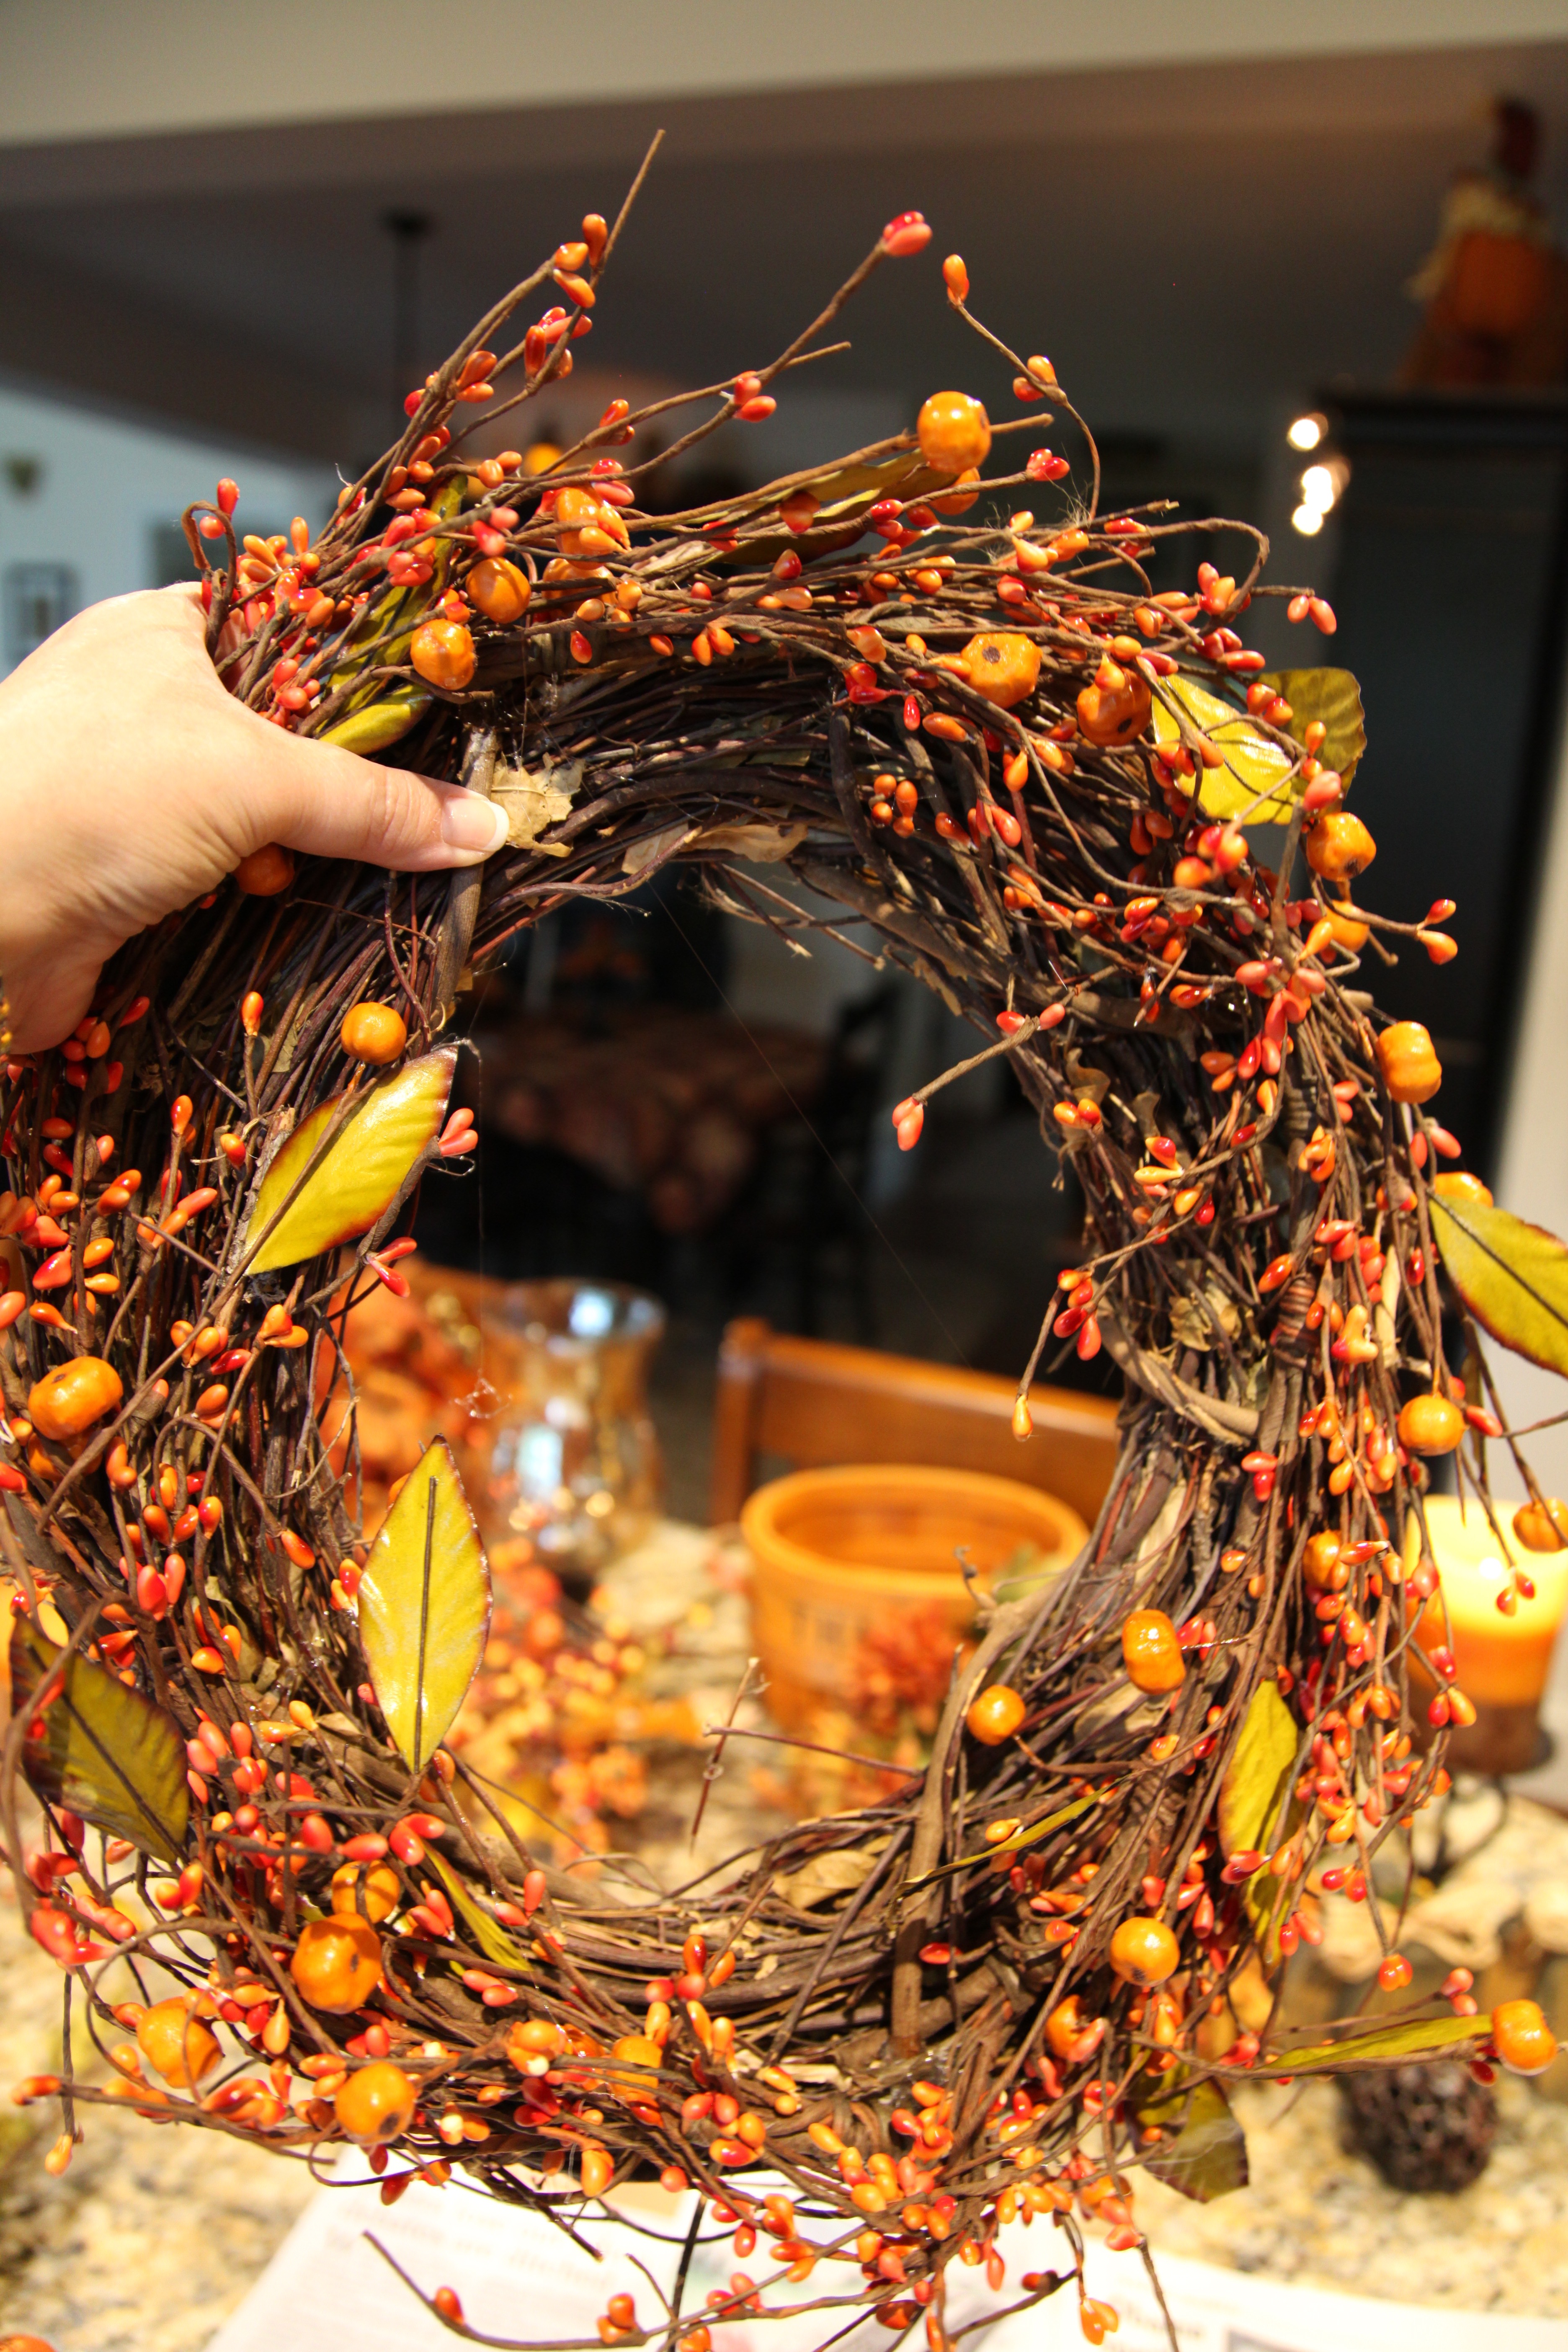
There are days when I wish my “off” switch was more easily found, lol, my brain is always going a million miles an hour and it is hard to harness its energy and focus on tasks that need to be or that I want to get accomplished. 😉 Of course I’m teasing–well mostly. 😉 My brain really has been working overtime since yesterday afternoon though after I found a rather small, oval shaped grapevine wreath when I was wandering aimlessly around Hobby Lobby.
Here it is along with a bunch of other Fall accent pieces that I will be using to show you how to make a small oval wreath and then use the *same* wreath to make 3 different centerpieces. I’m all about using the same basic staple pieces and building and layering on different decor to change the feeling, for instance, from casual to more formal or from one Season to another.
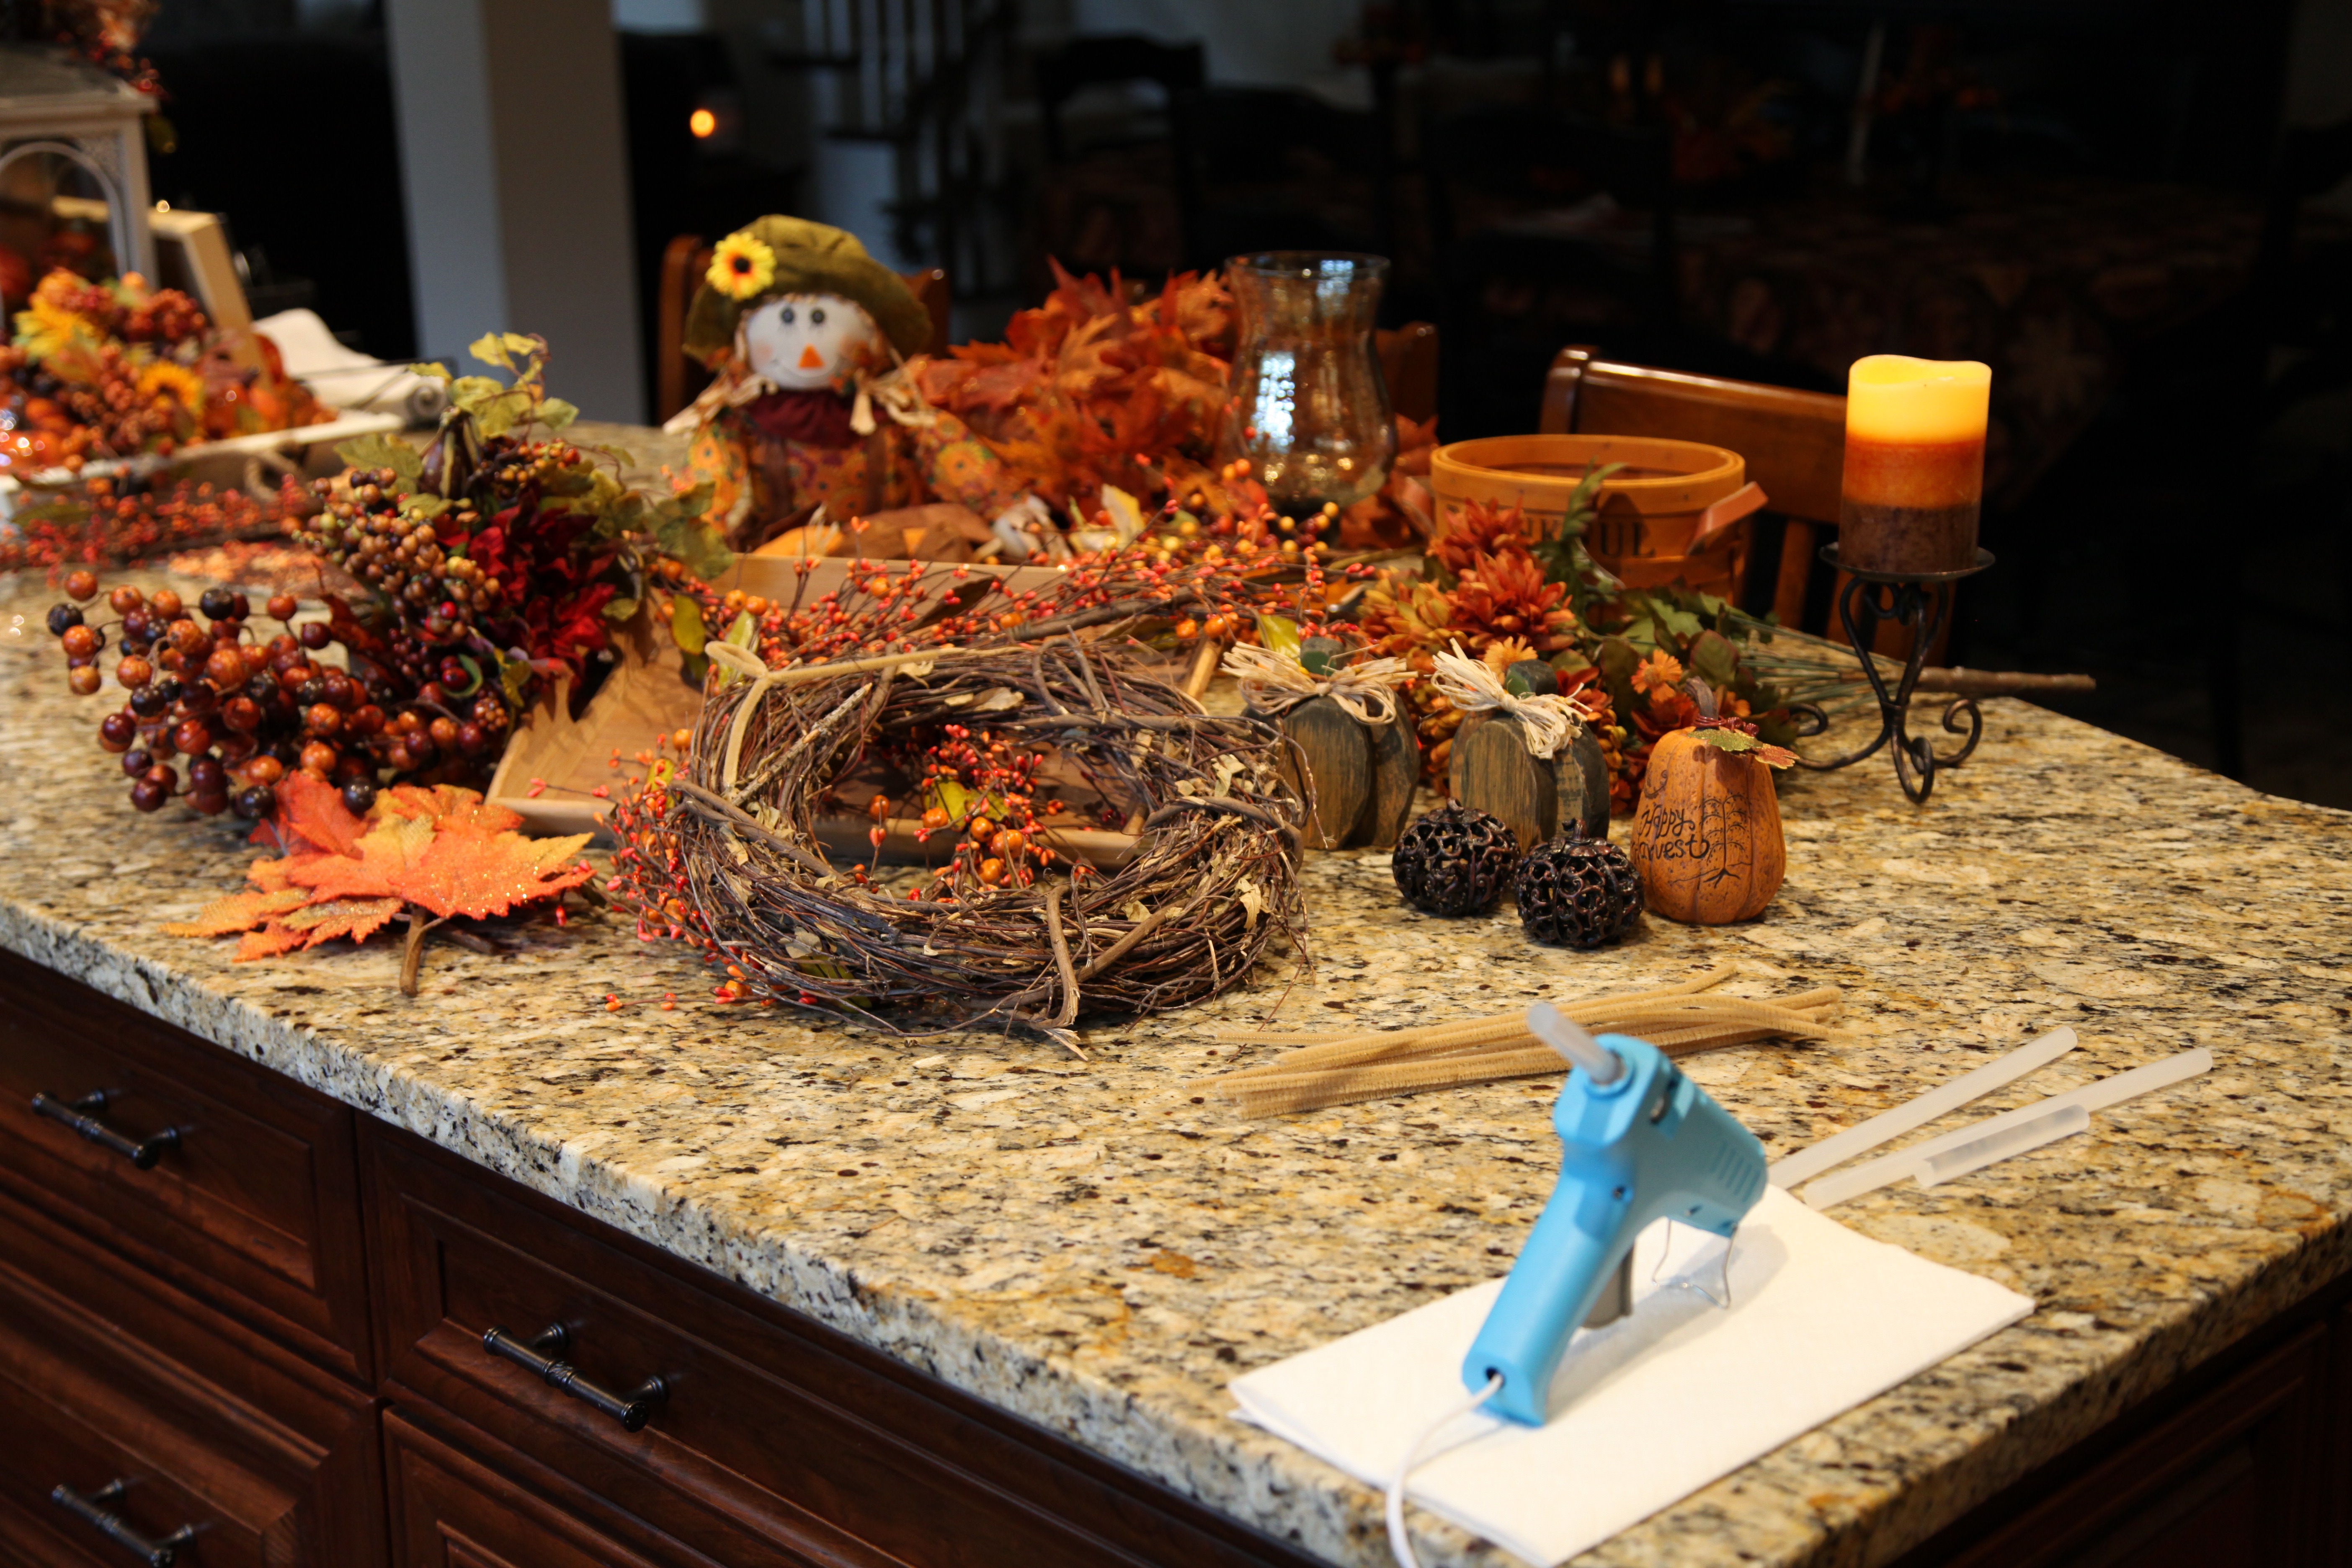
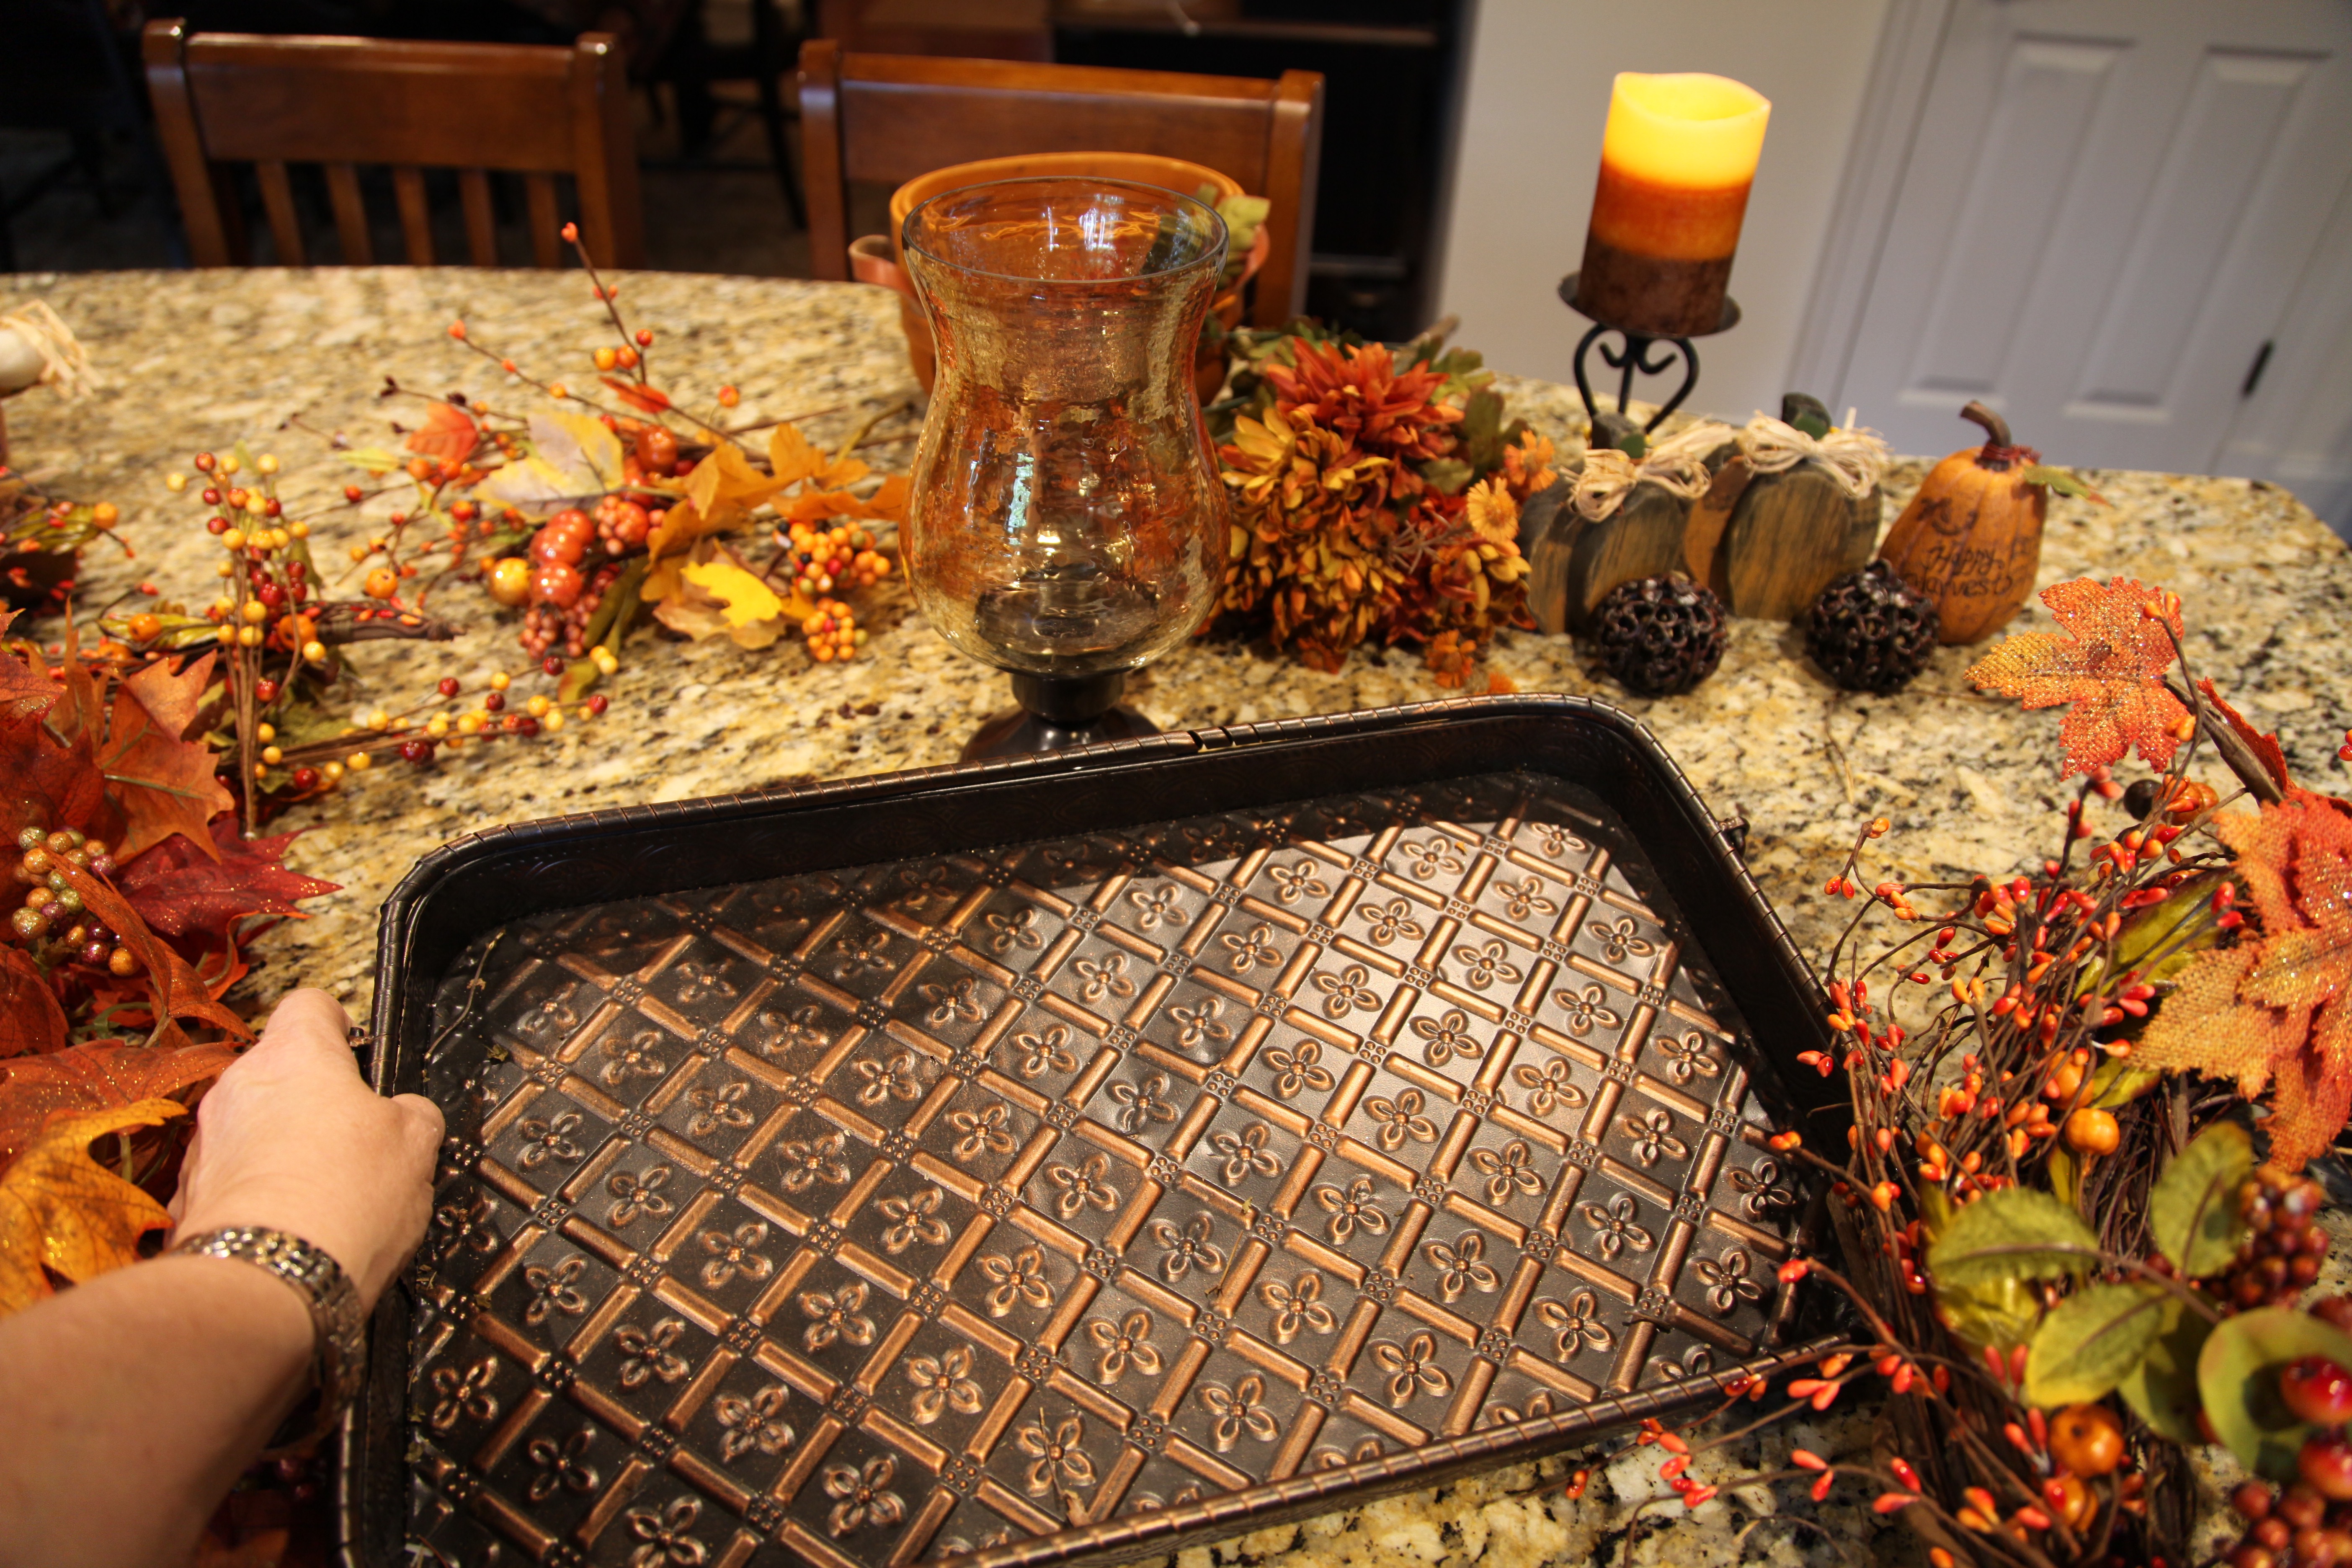
Some of the accent pieces that I gathered include a oil-rubbed bronze metal tray, various wooden pumpkins, Fall floral picks, a Fall themed pip berry garland, Fall ribbon, a scarecrow, a leaf garland, a wooden basket, a couple of candle holders, and a battery operated candle.

So the very first thing that I did was to make a pipe cleaner ‘hanger’ and I glued that to the back of the grapevine wreath; it is not hard to do, just make a loop and hot glue the heck out of it.
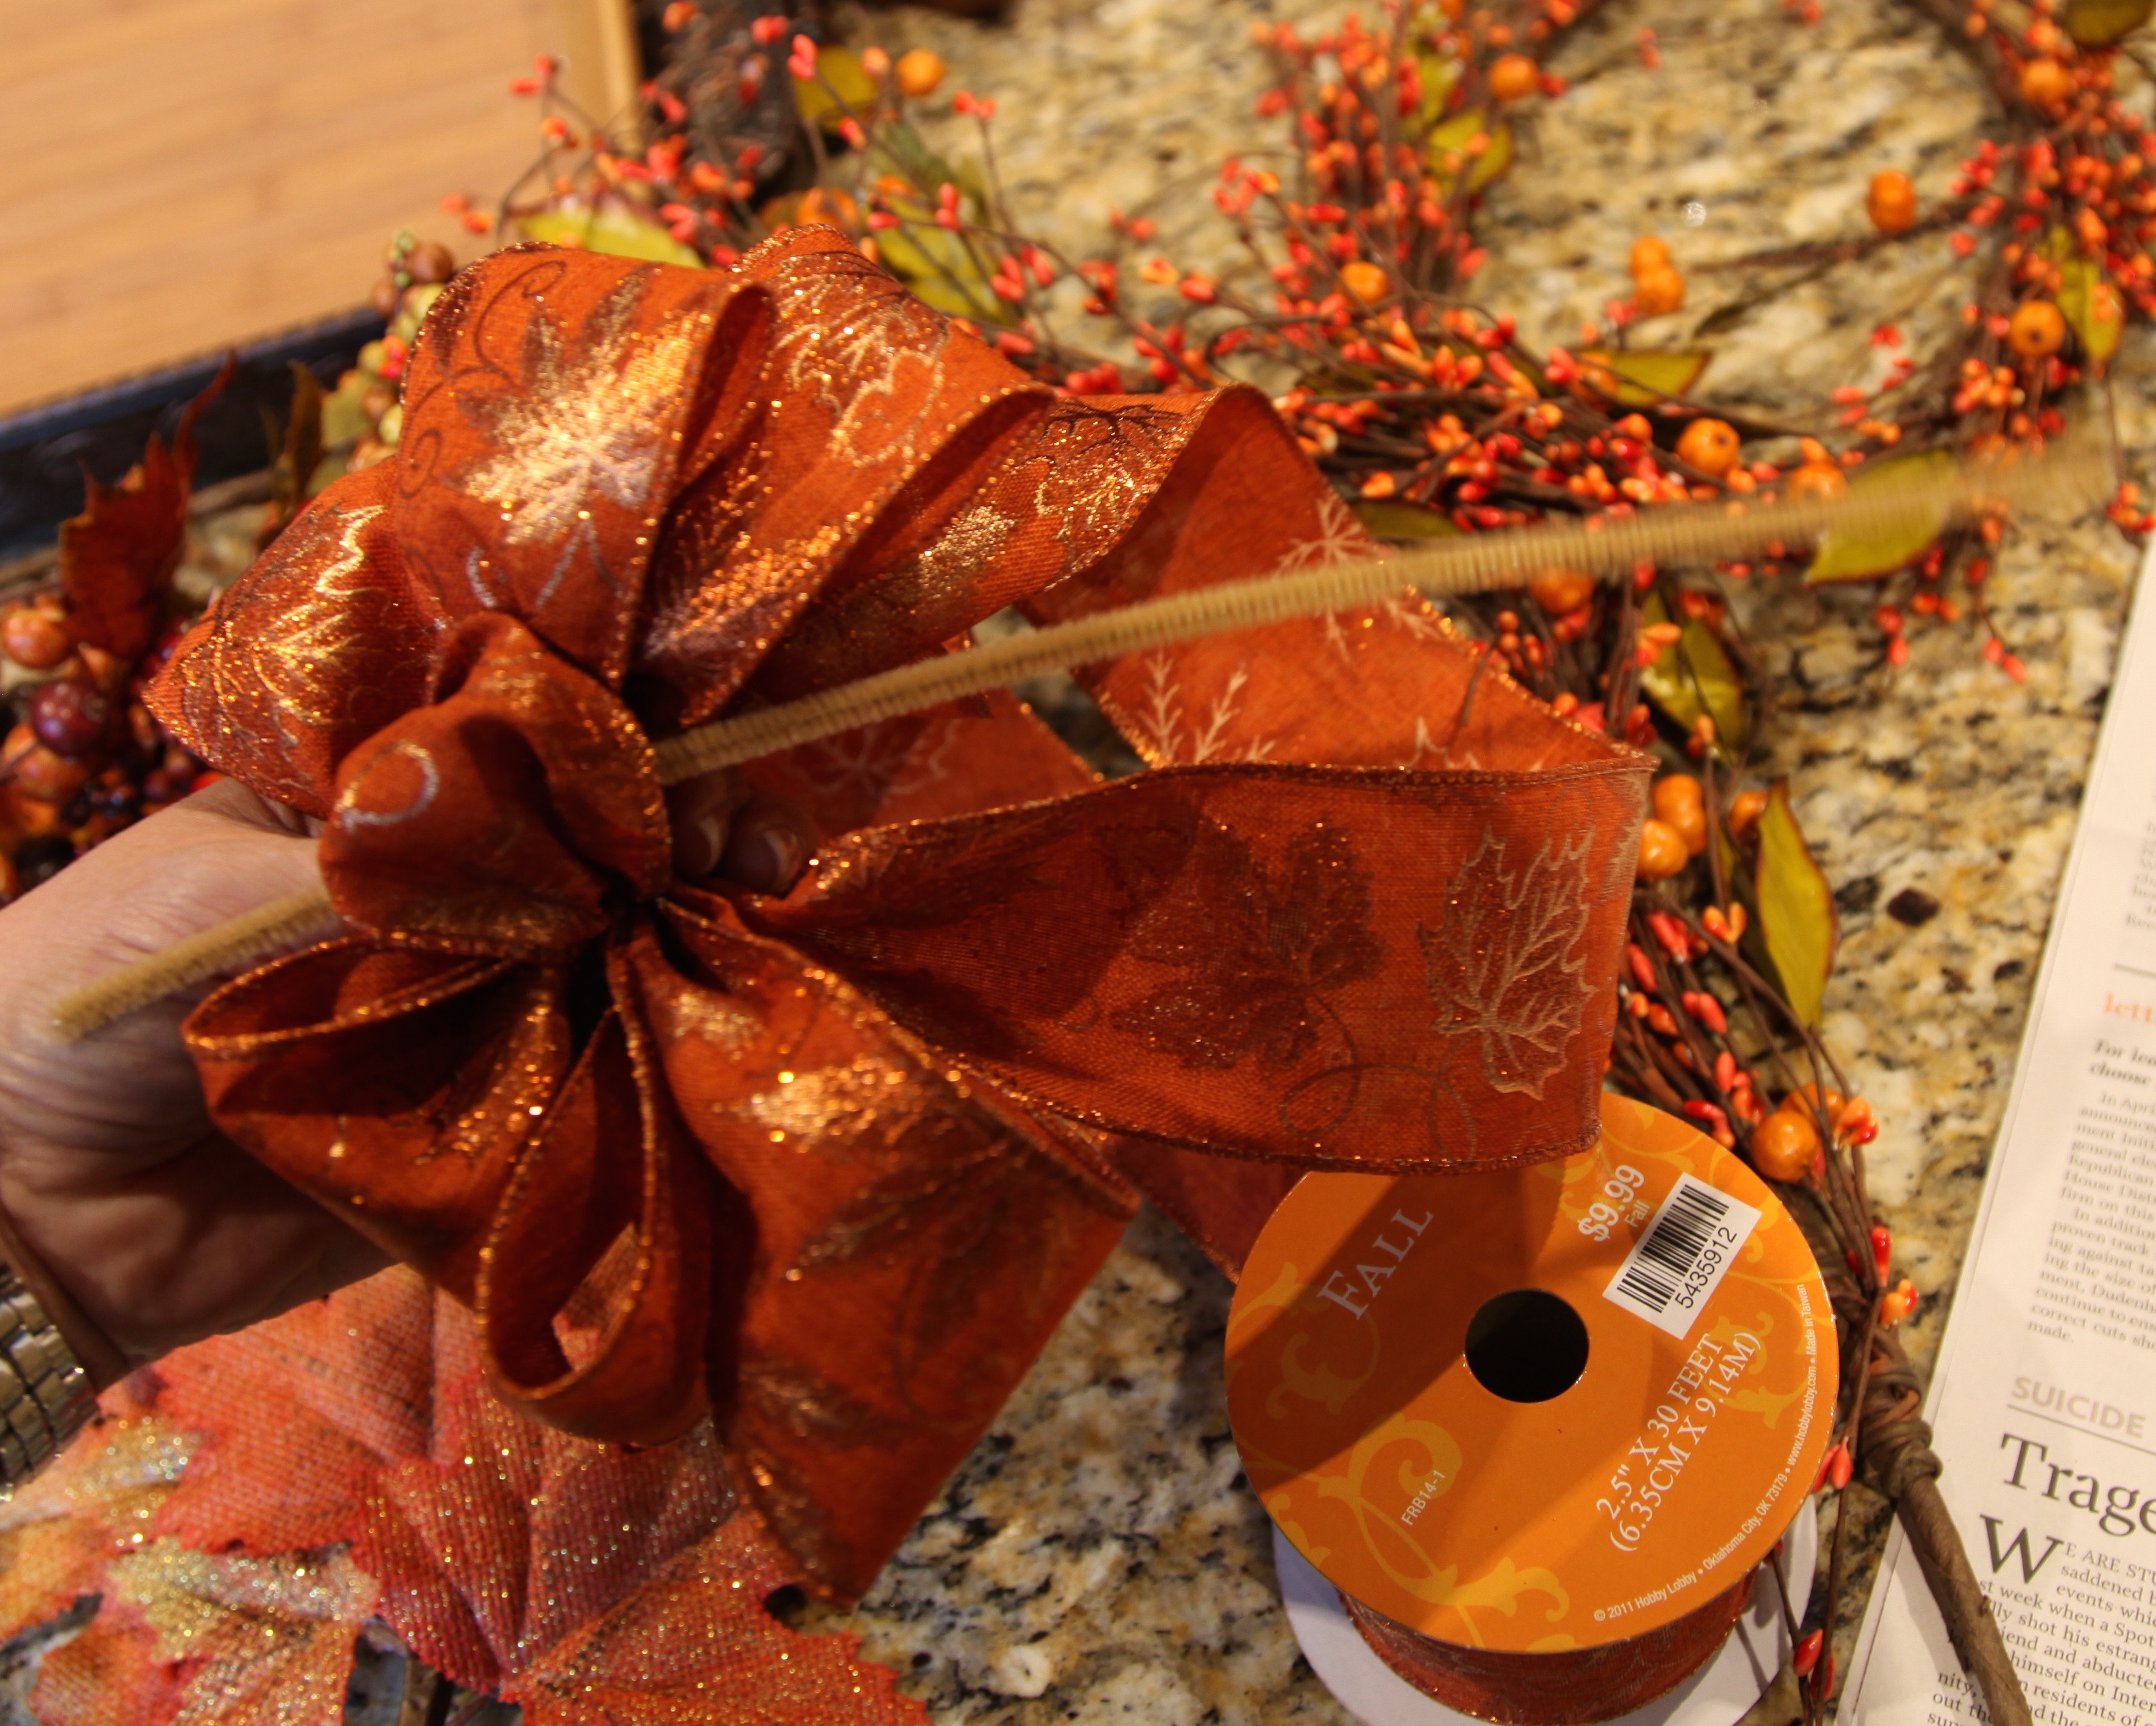
Next, I made a bow–I really am going to make a bow tutorial for y’all one of these days…honestly, I promise!

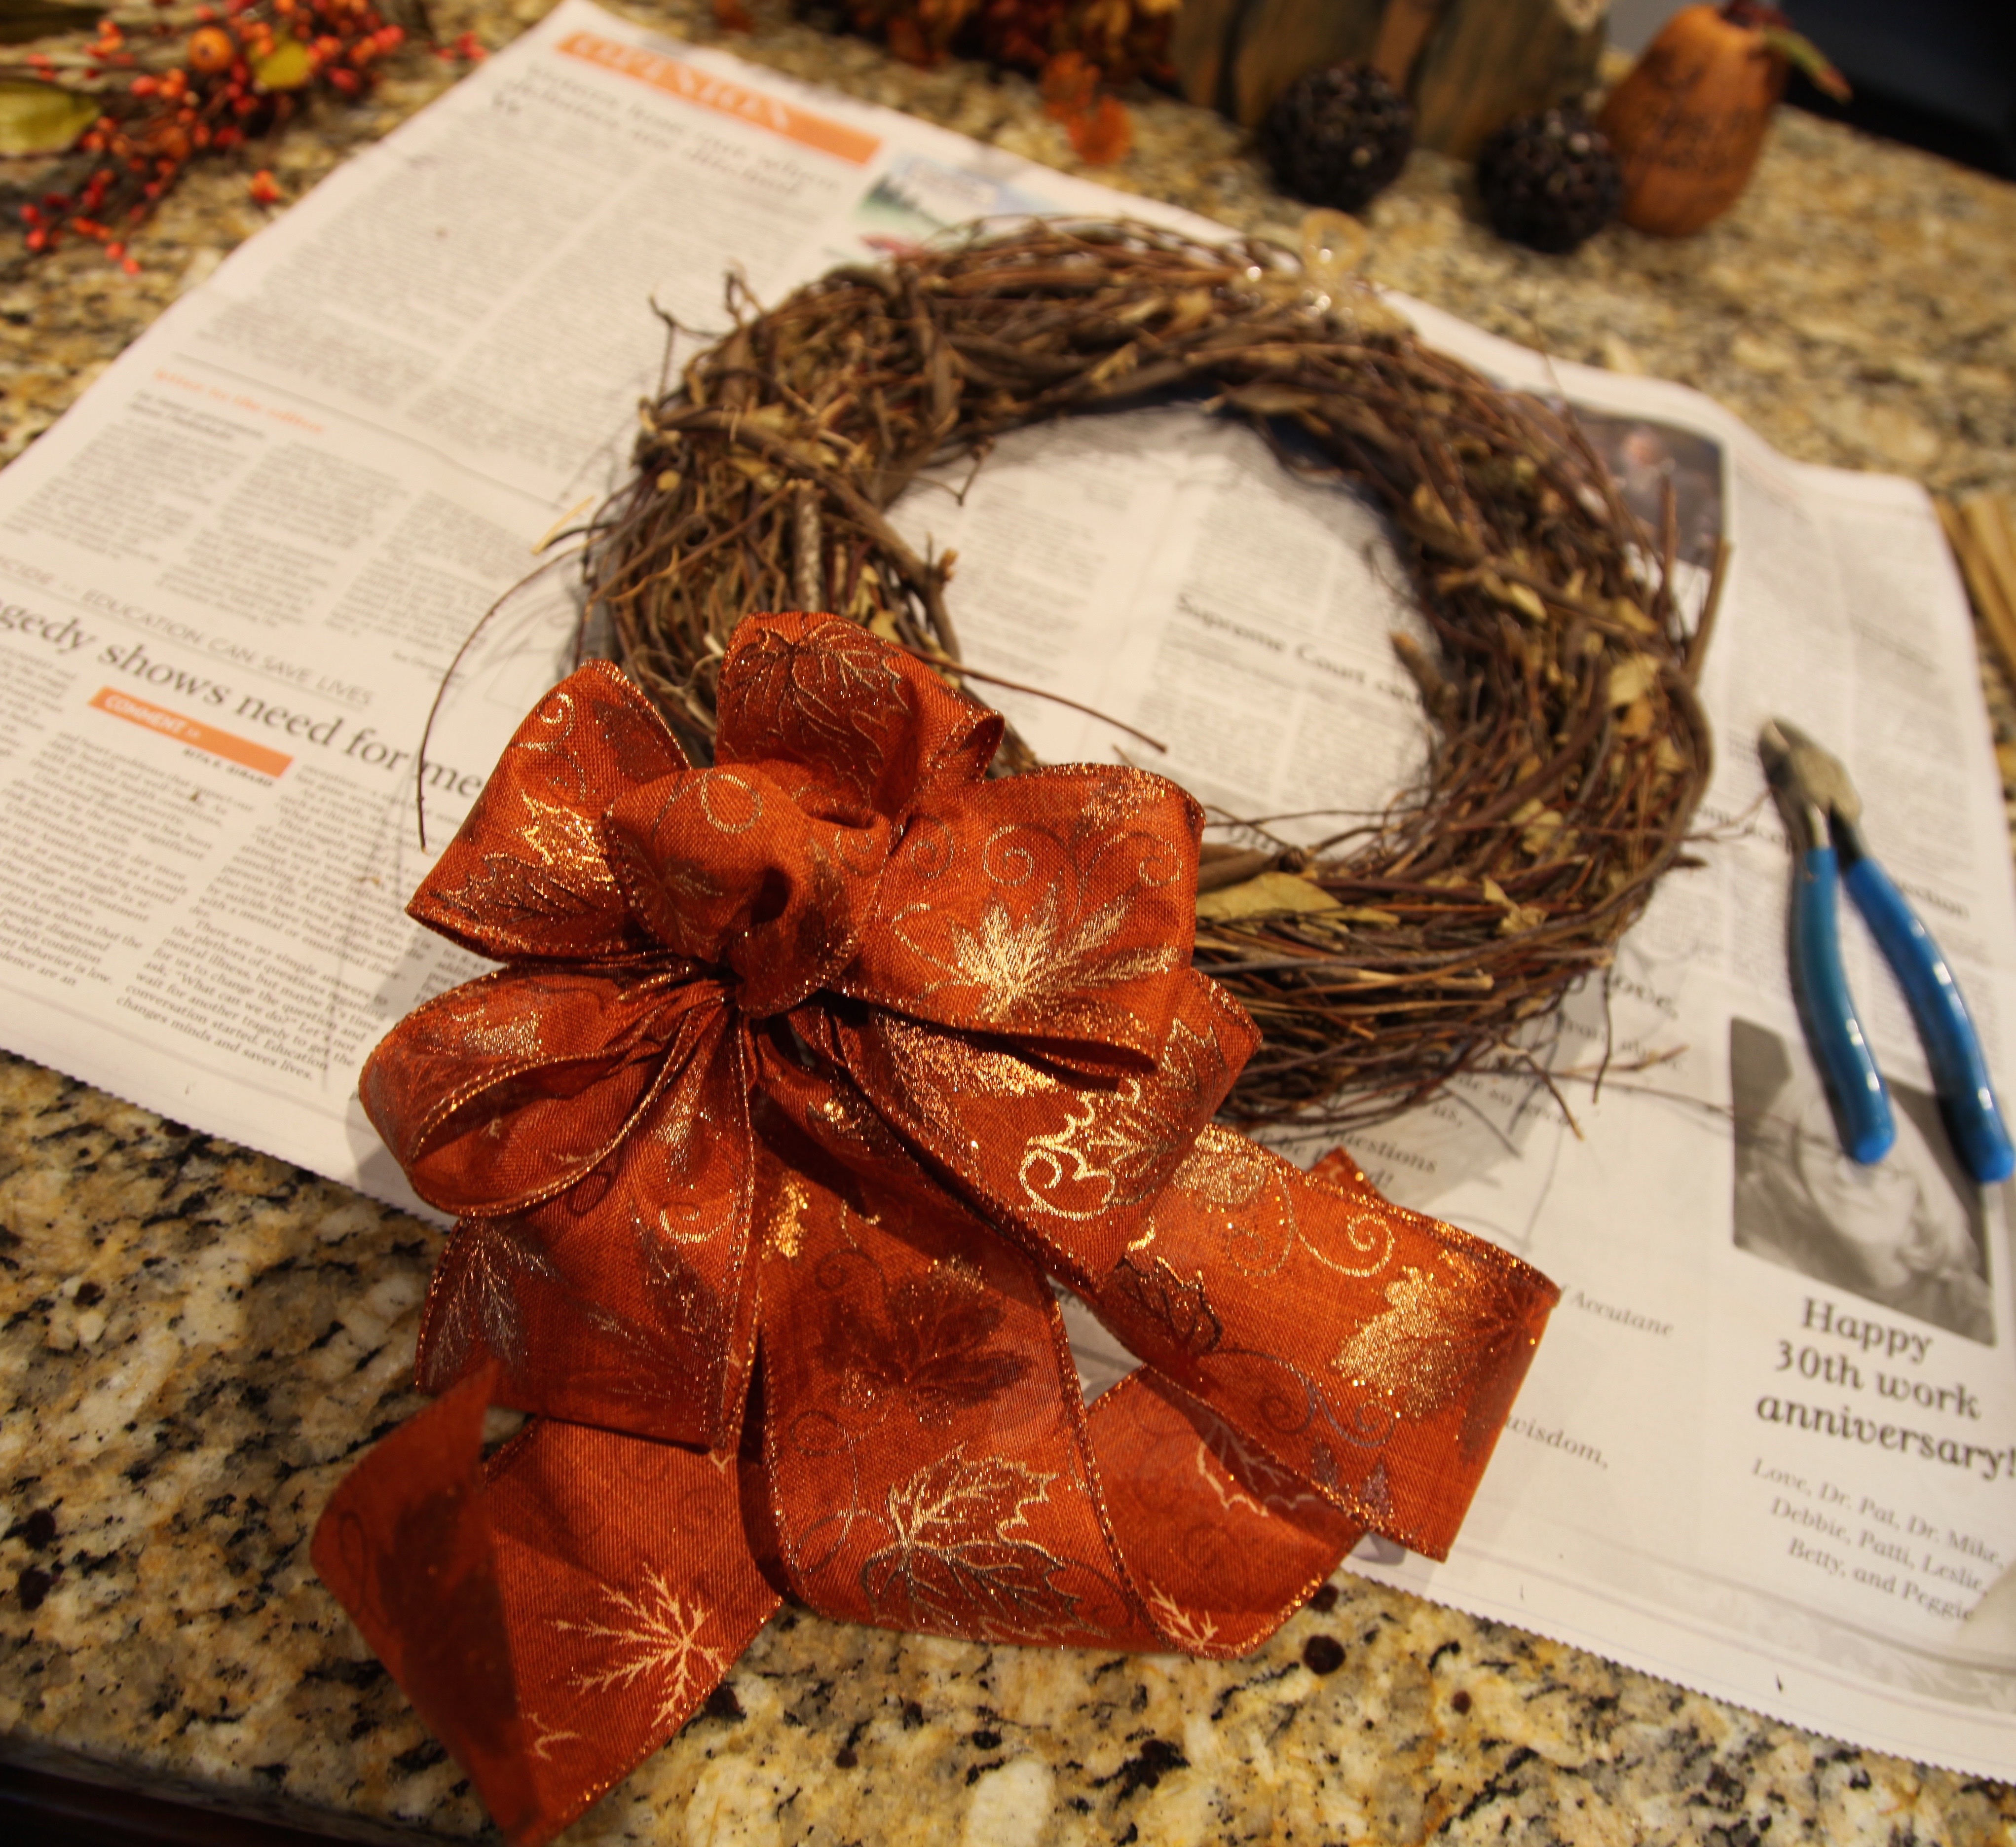
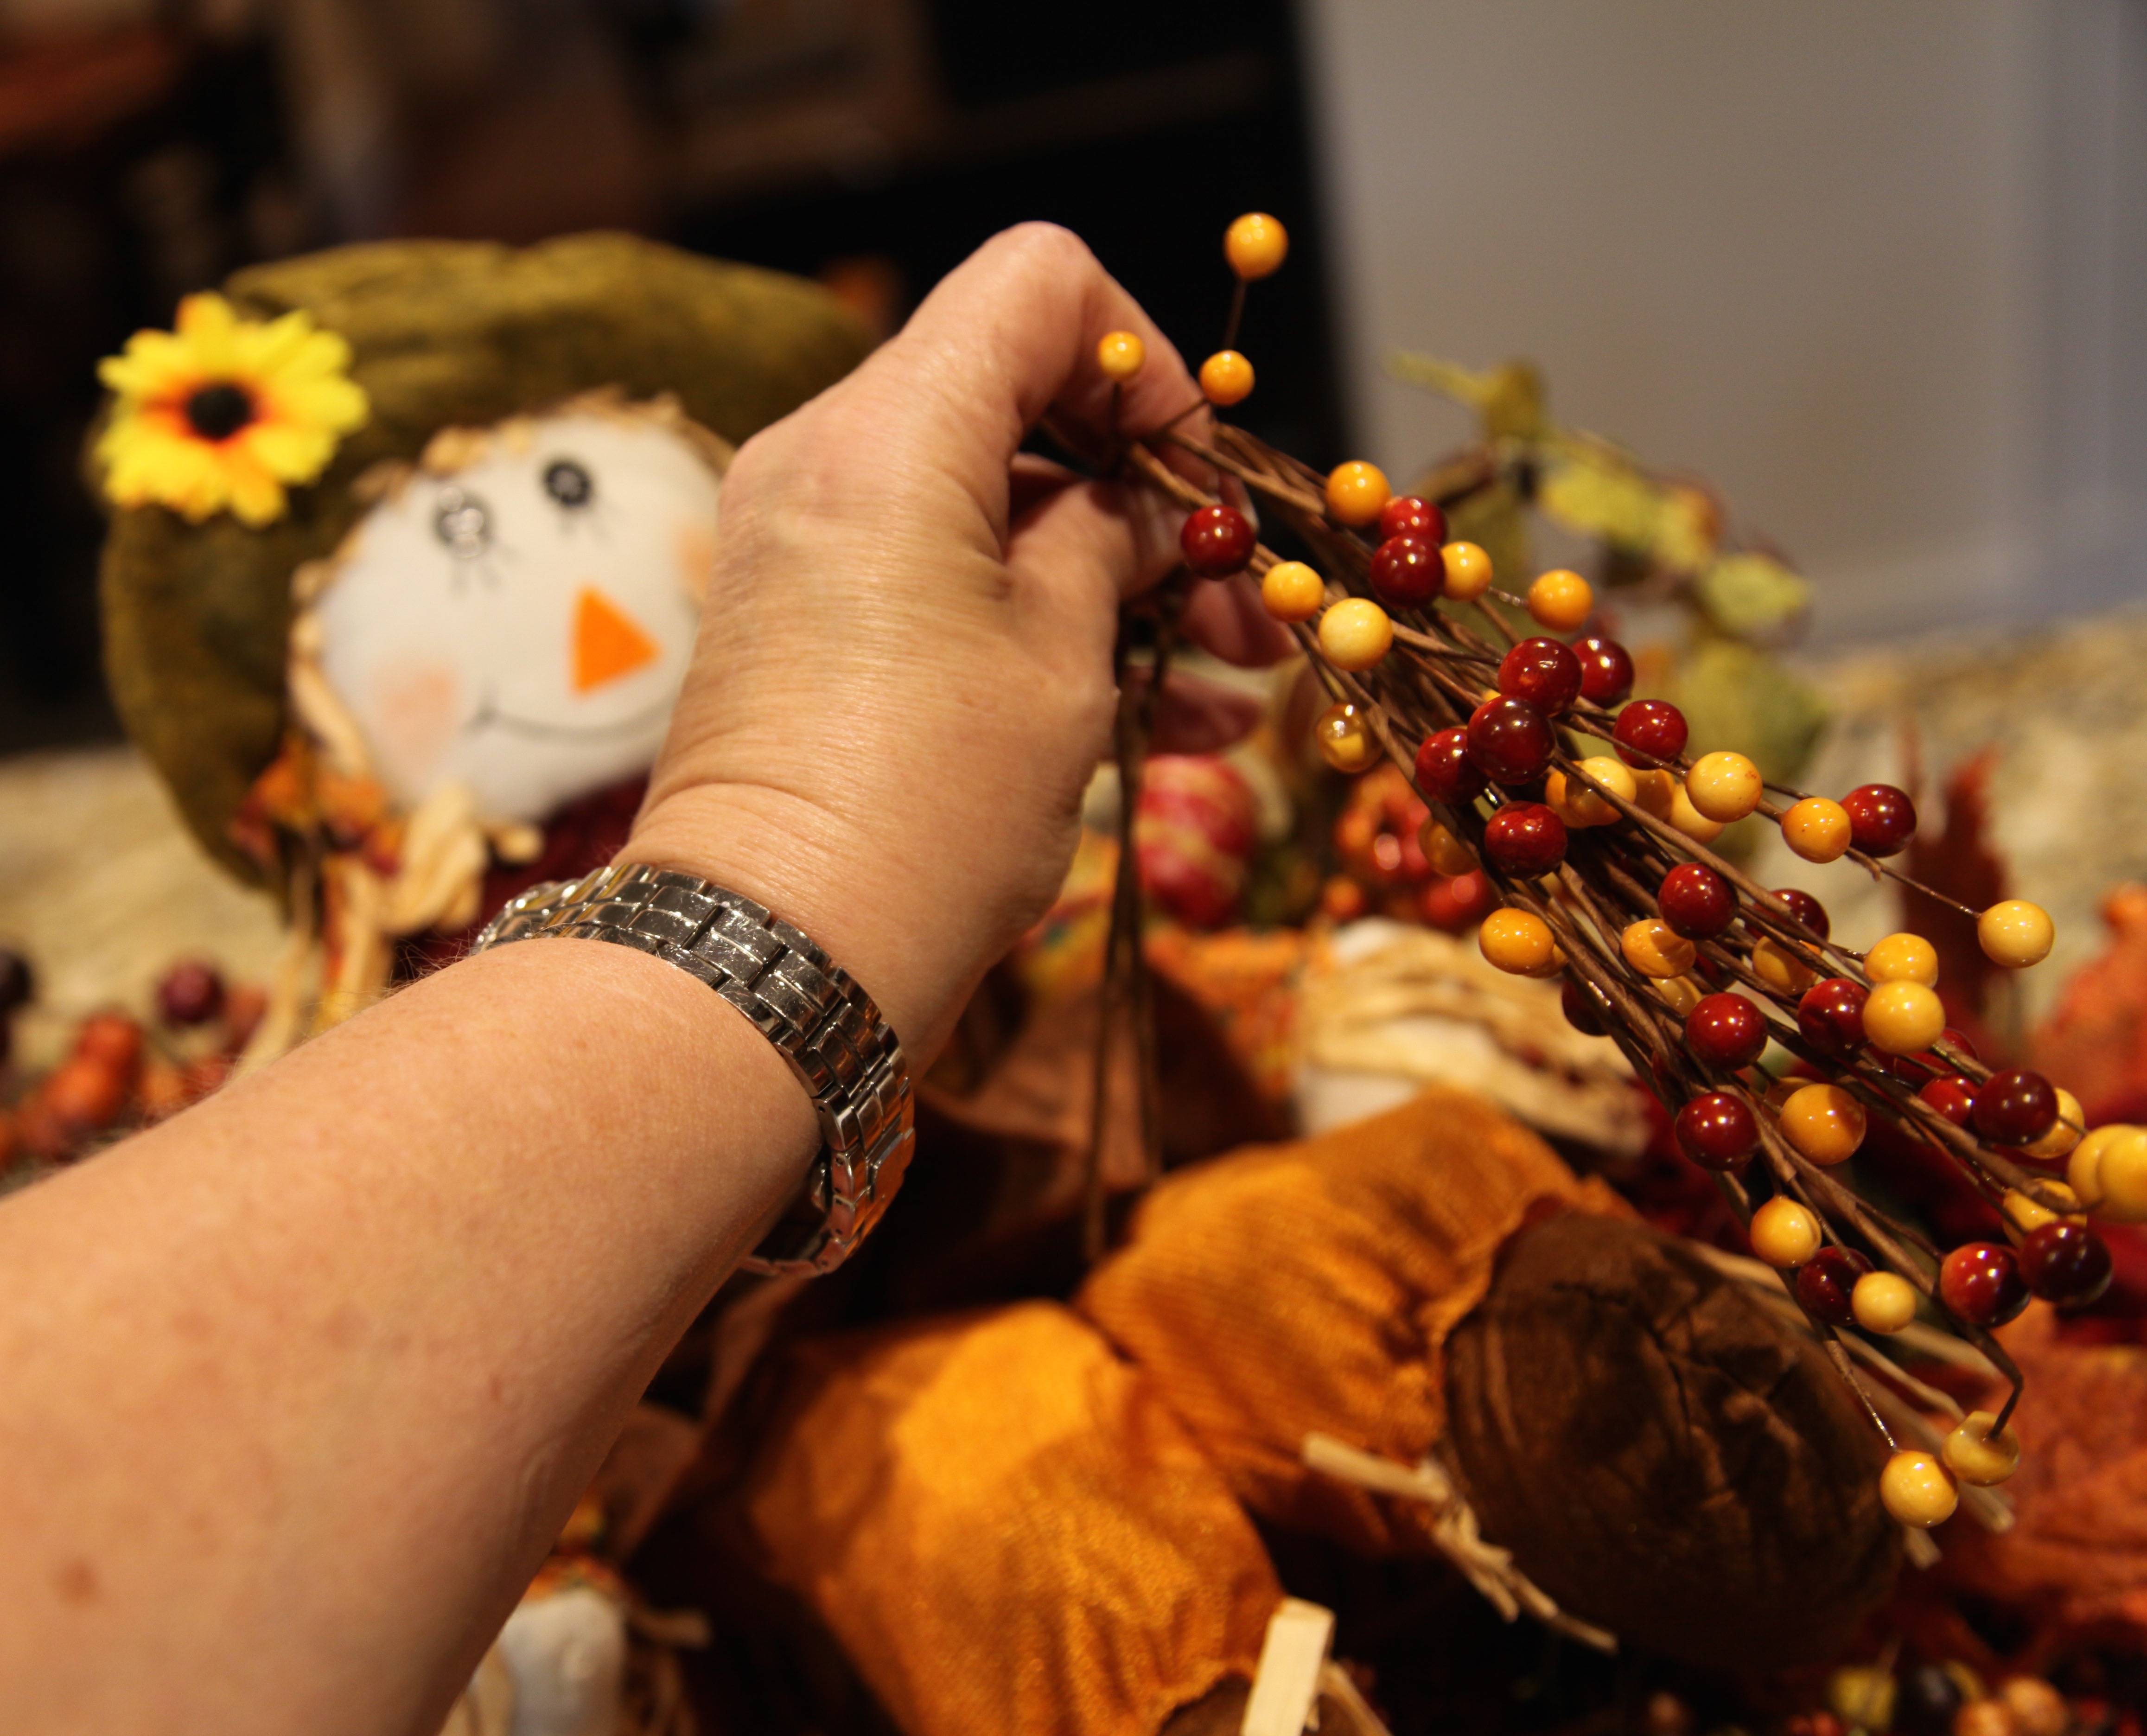
After the bow was made, I grabbed up the pip berries garland and started to lay it onto and around the wreath form measuring how much I needed.

Then I trimmed off the excess garland and proceeded to hot glue it into place on the wreath.

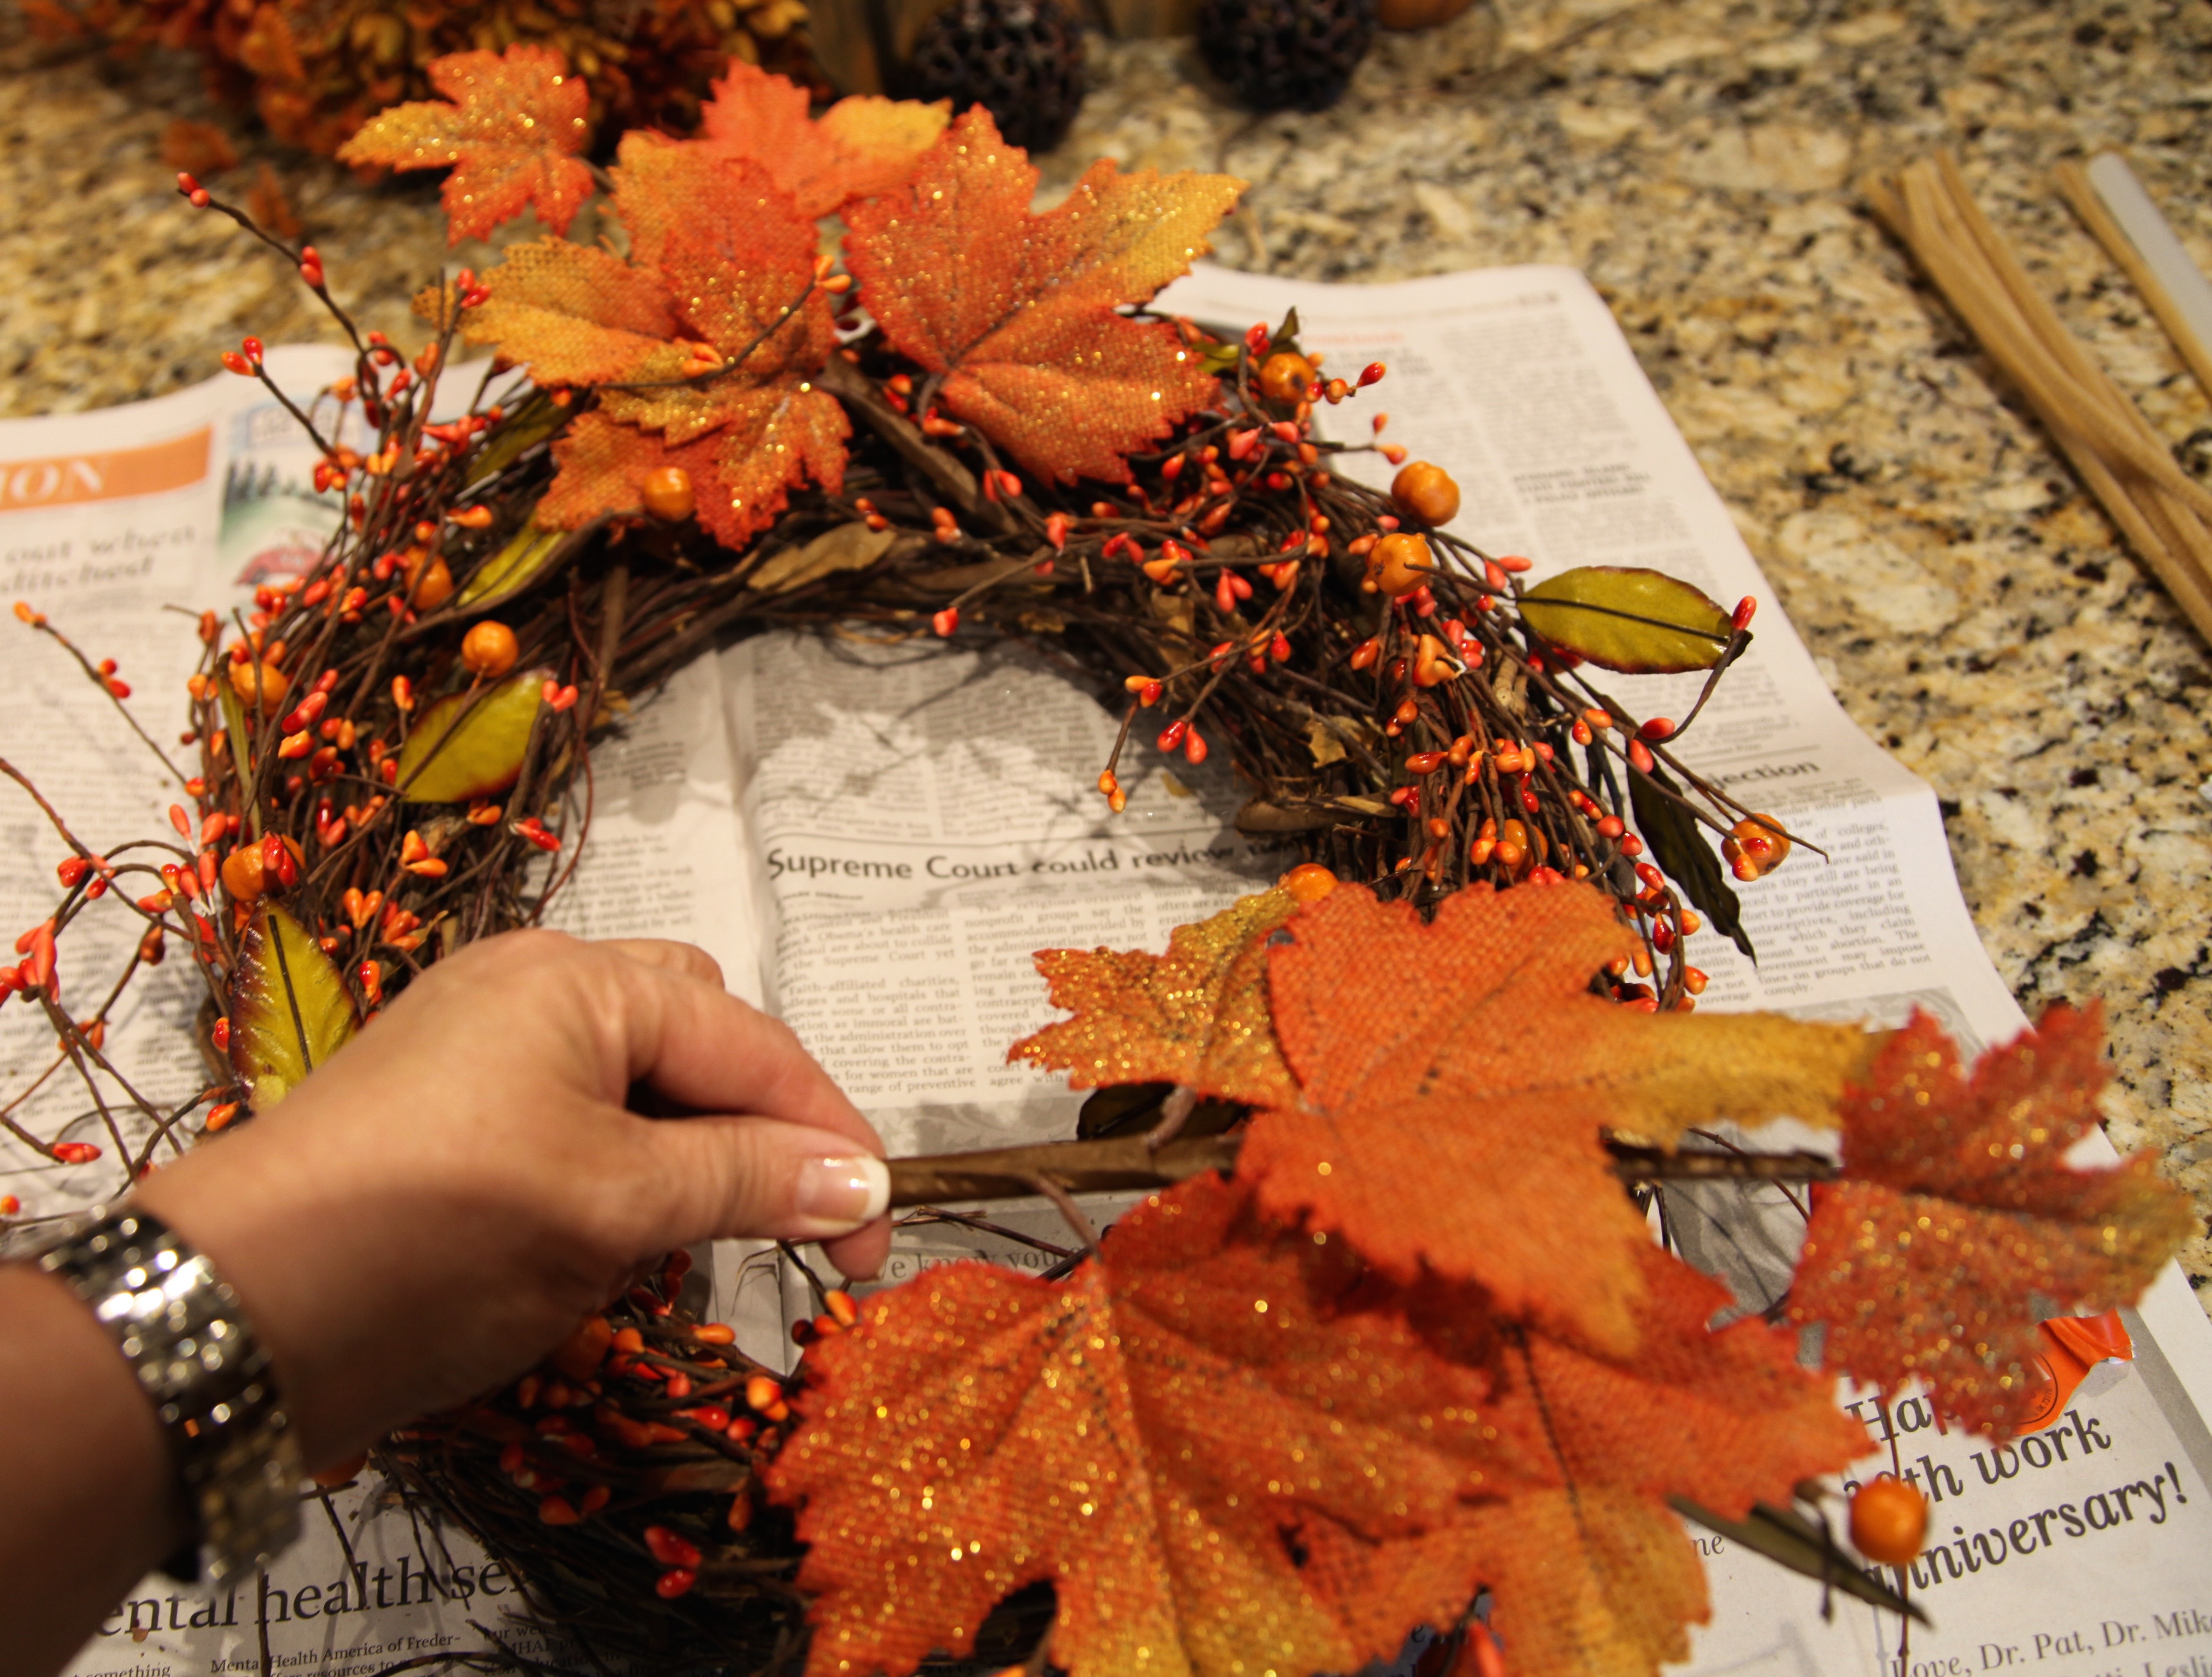
The only other things that I glued into place on the wreath were these two Fall leaves picks, one at the top and one on the bottom.
After that, I attached the bow simply by wrapping the pipe cleaner that I used to tie the bow shut around the wreath and twisted it closed to hold it on the wreath (I did not use hot glue), and I added a Fall sunflower pick that had some larger pip berries and leafy accents on it; I didn’t glue it on either, instead, I stuck the pick in between some of the twigs of the grapevine wreath. That is *all* I put on the wreath and I called it done.
I carried it around my family room and kitchen trying to figure out where I wanted to hang it, *if* I decided to use it as a wreath–I’ll explain that statement after I show you the different places the wreath landed.
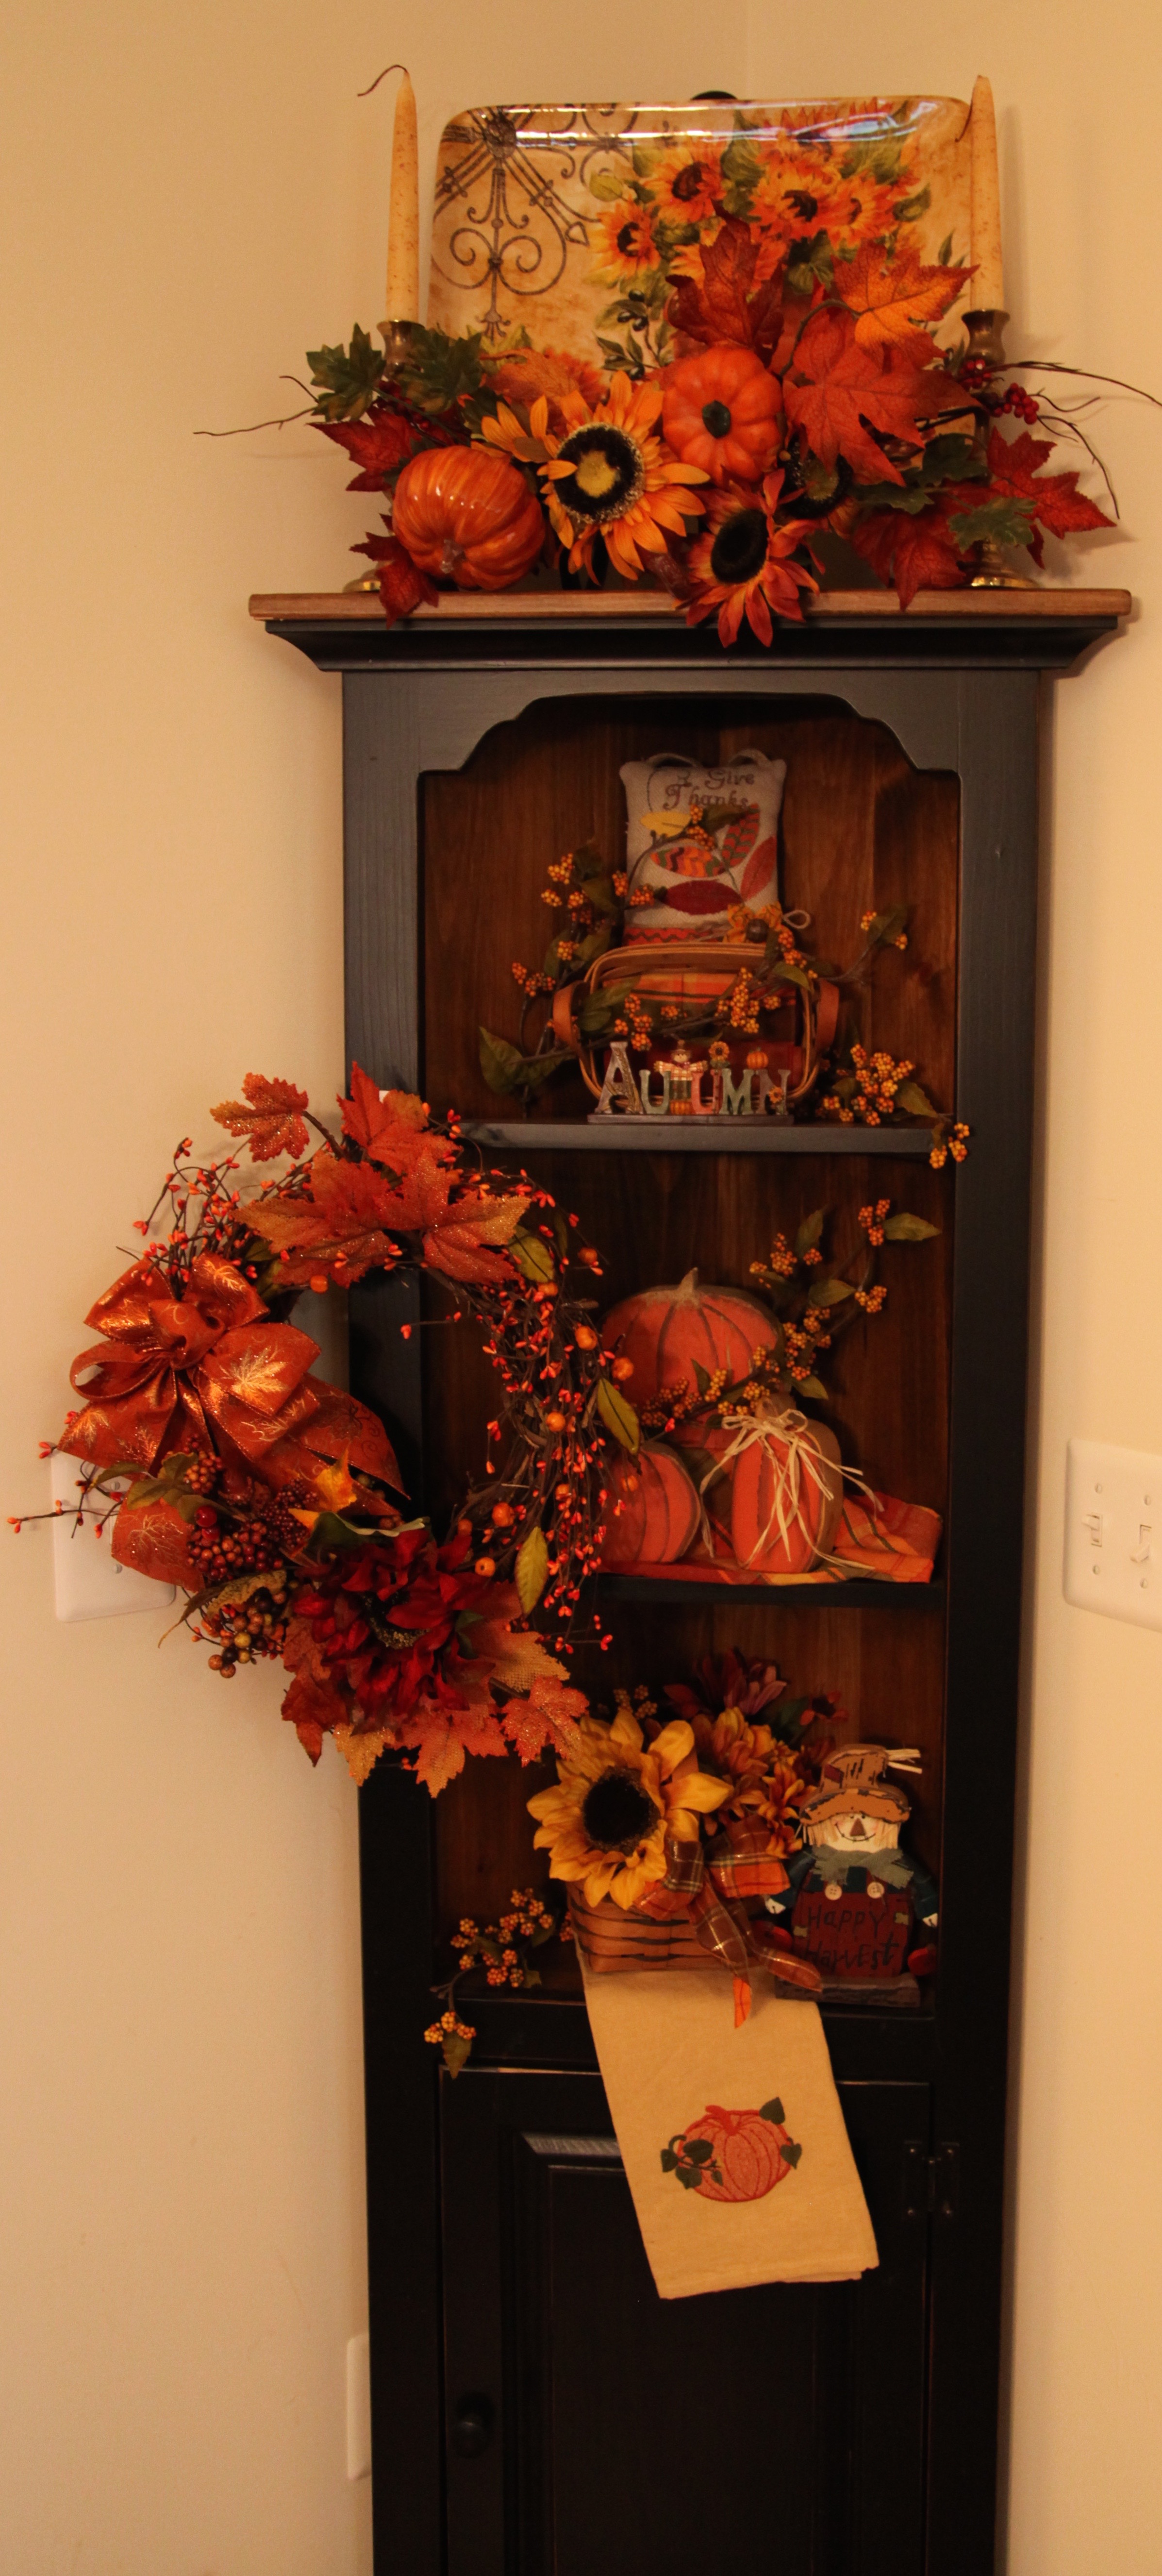
The first place I tried it was on this corner shelf …hmm, yeah, it looked okay there, but, nah, let’s see where else I could put it… 
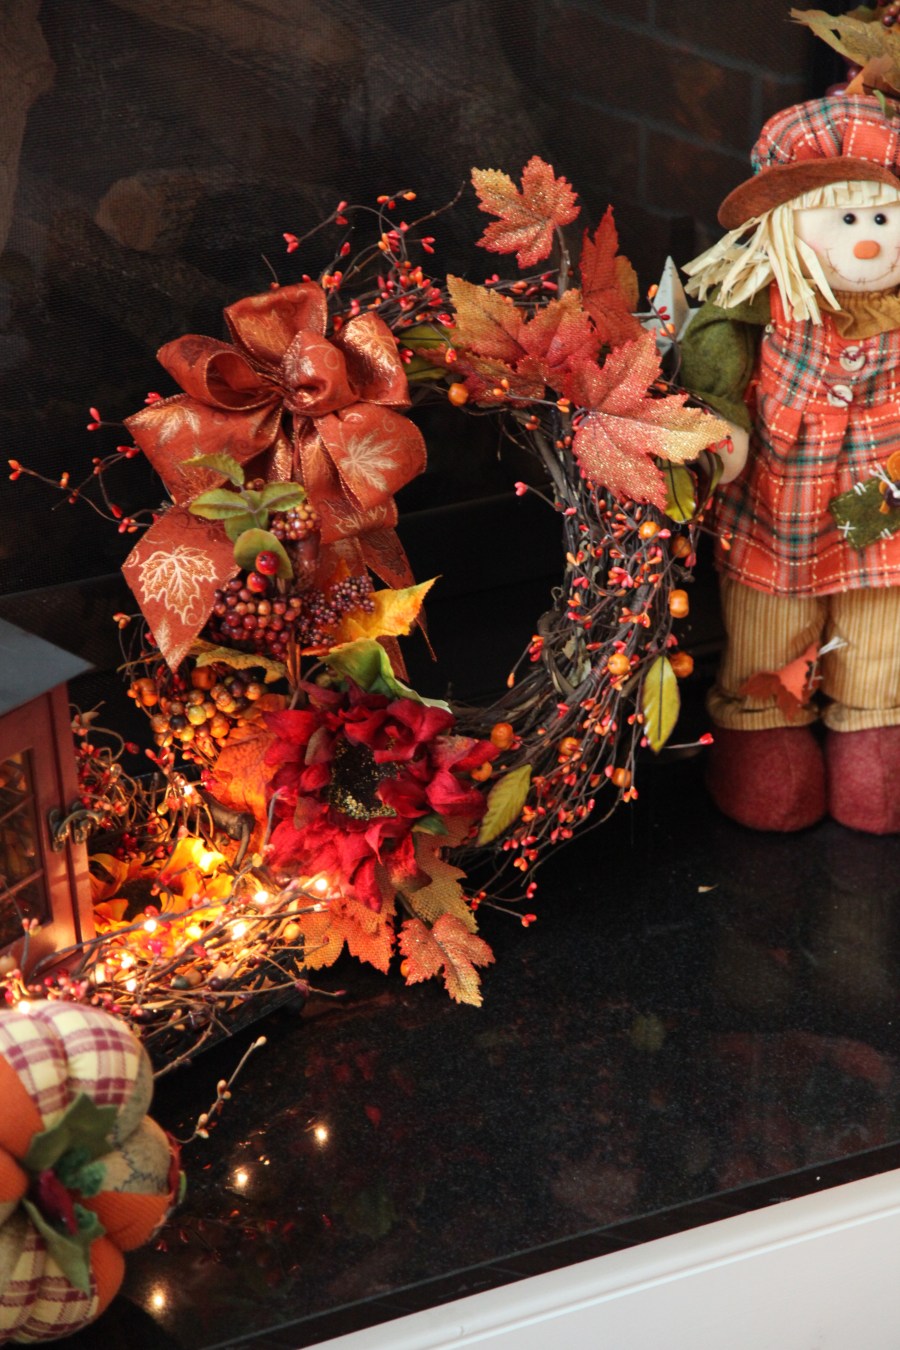
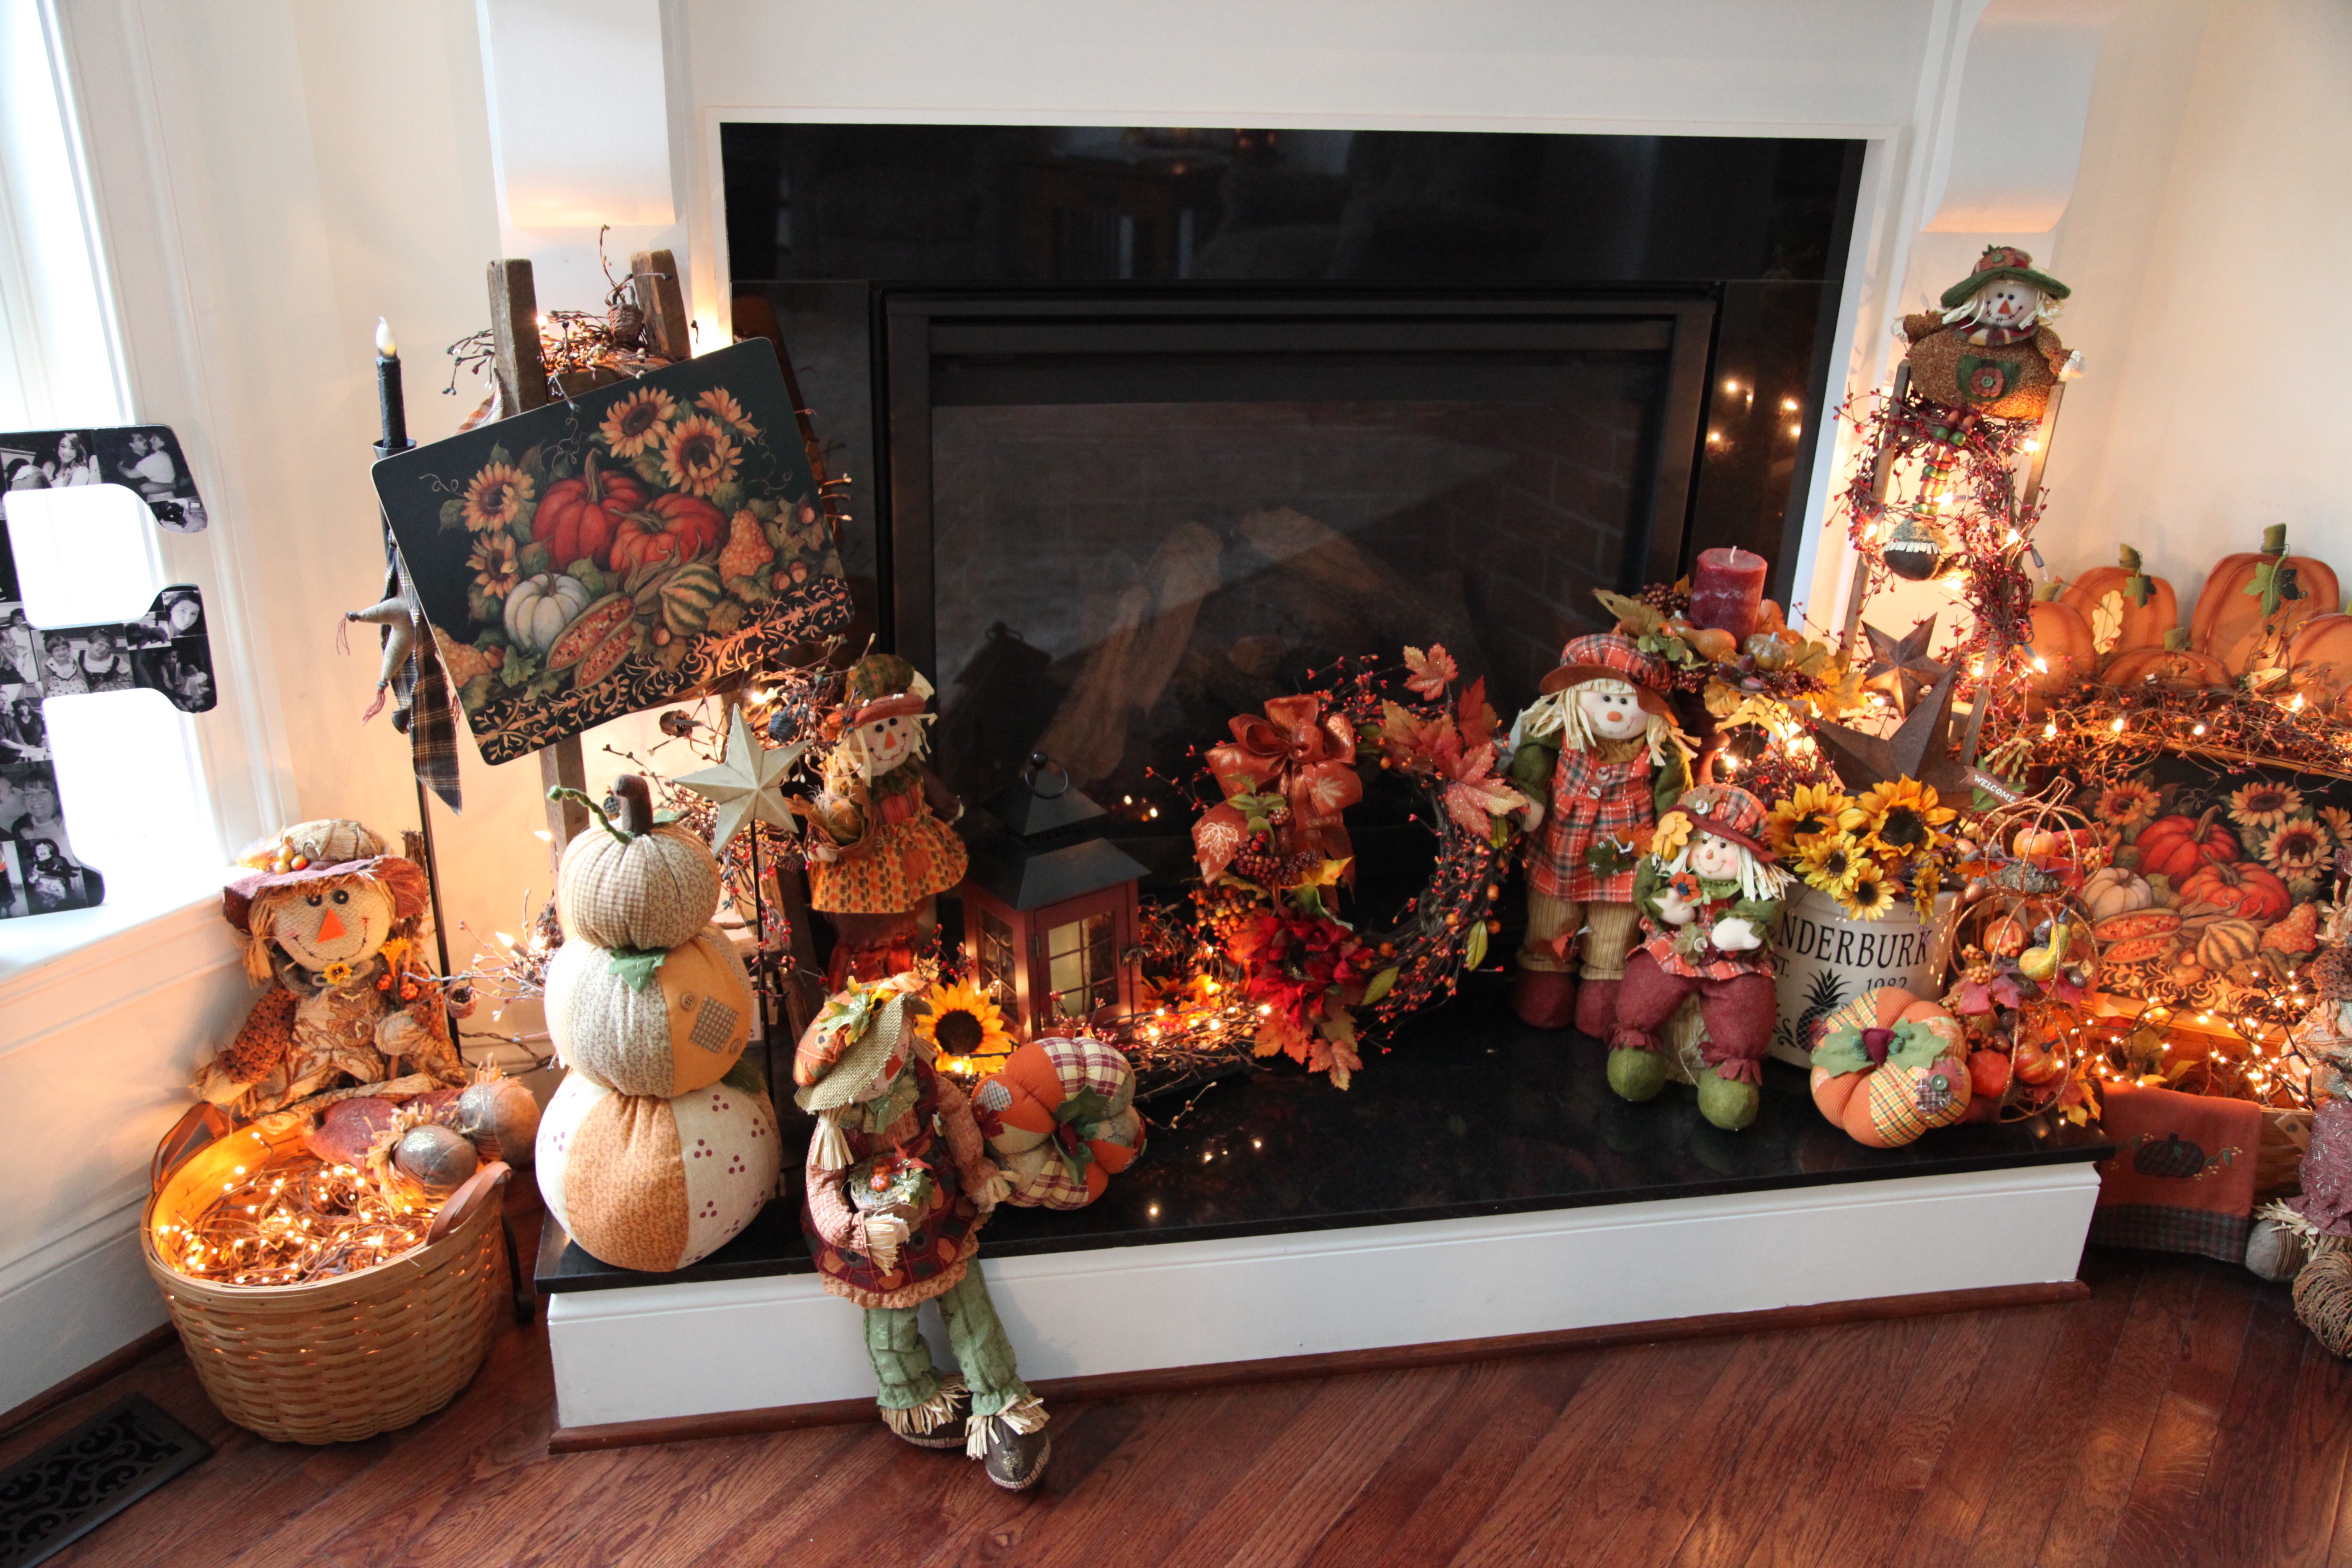
How about on my hearth, hmmm, nope, it’s busy enough on that hearth as it is…It looked cute there though, but, I tried one more place…


The last place I hung it was on that lamp…yep, looked really cute there, but I was already admitting to myself that I did *not* need yet *another* wreath hanging anywhere…so…I decided to do something different with it…
Here are three different centerpieces made with this wreath and a oil-rubbed bronze metal tray.
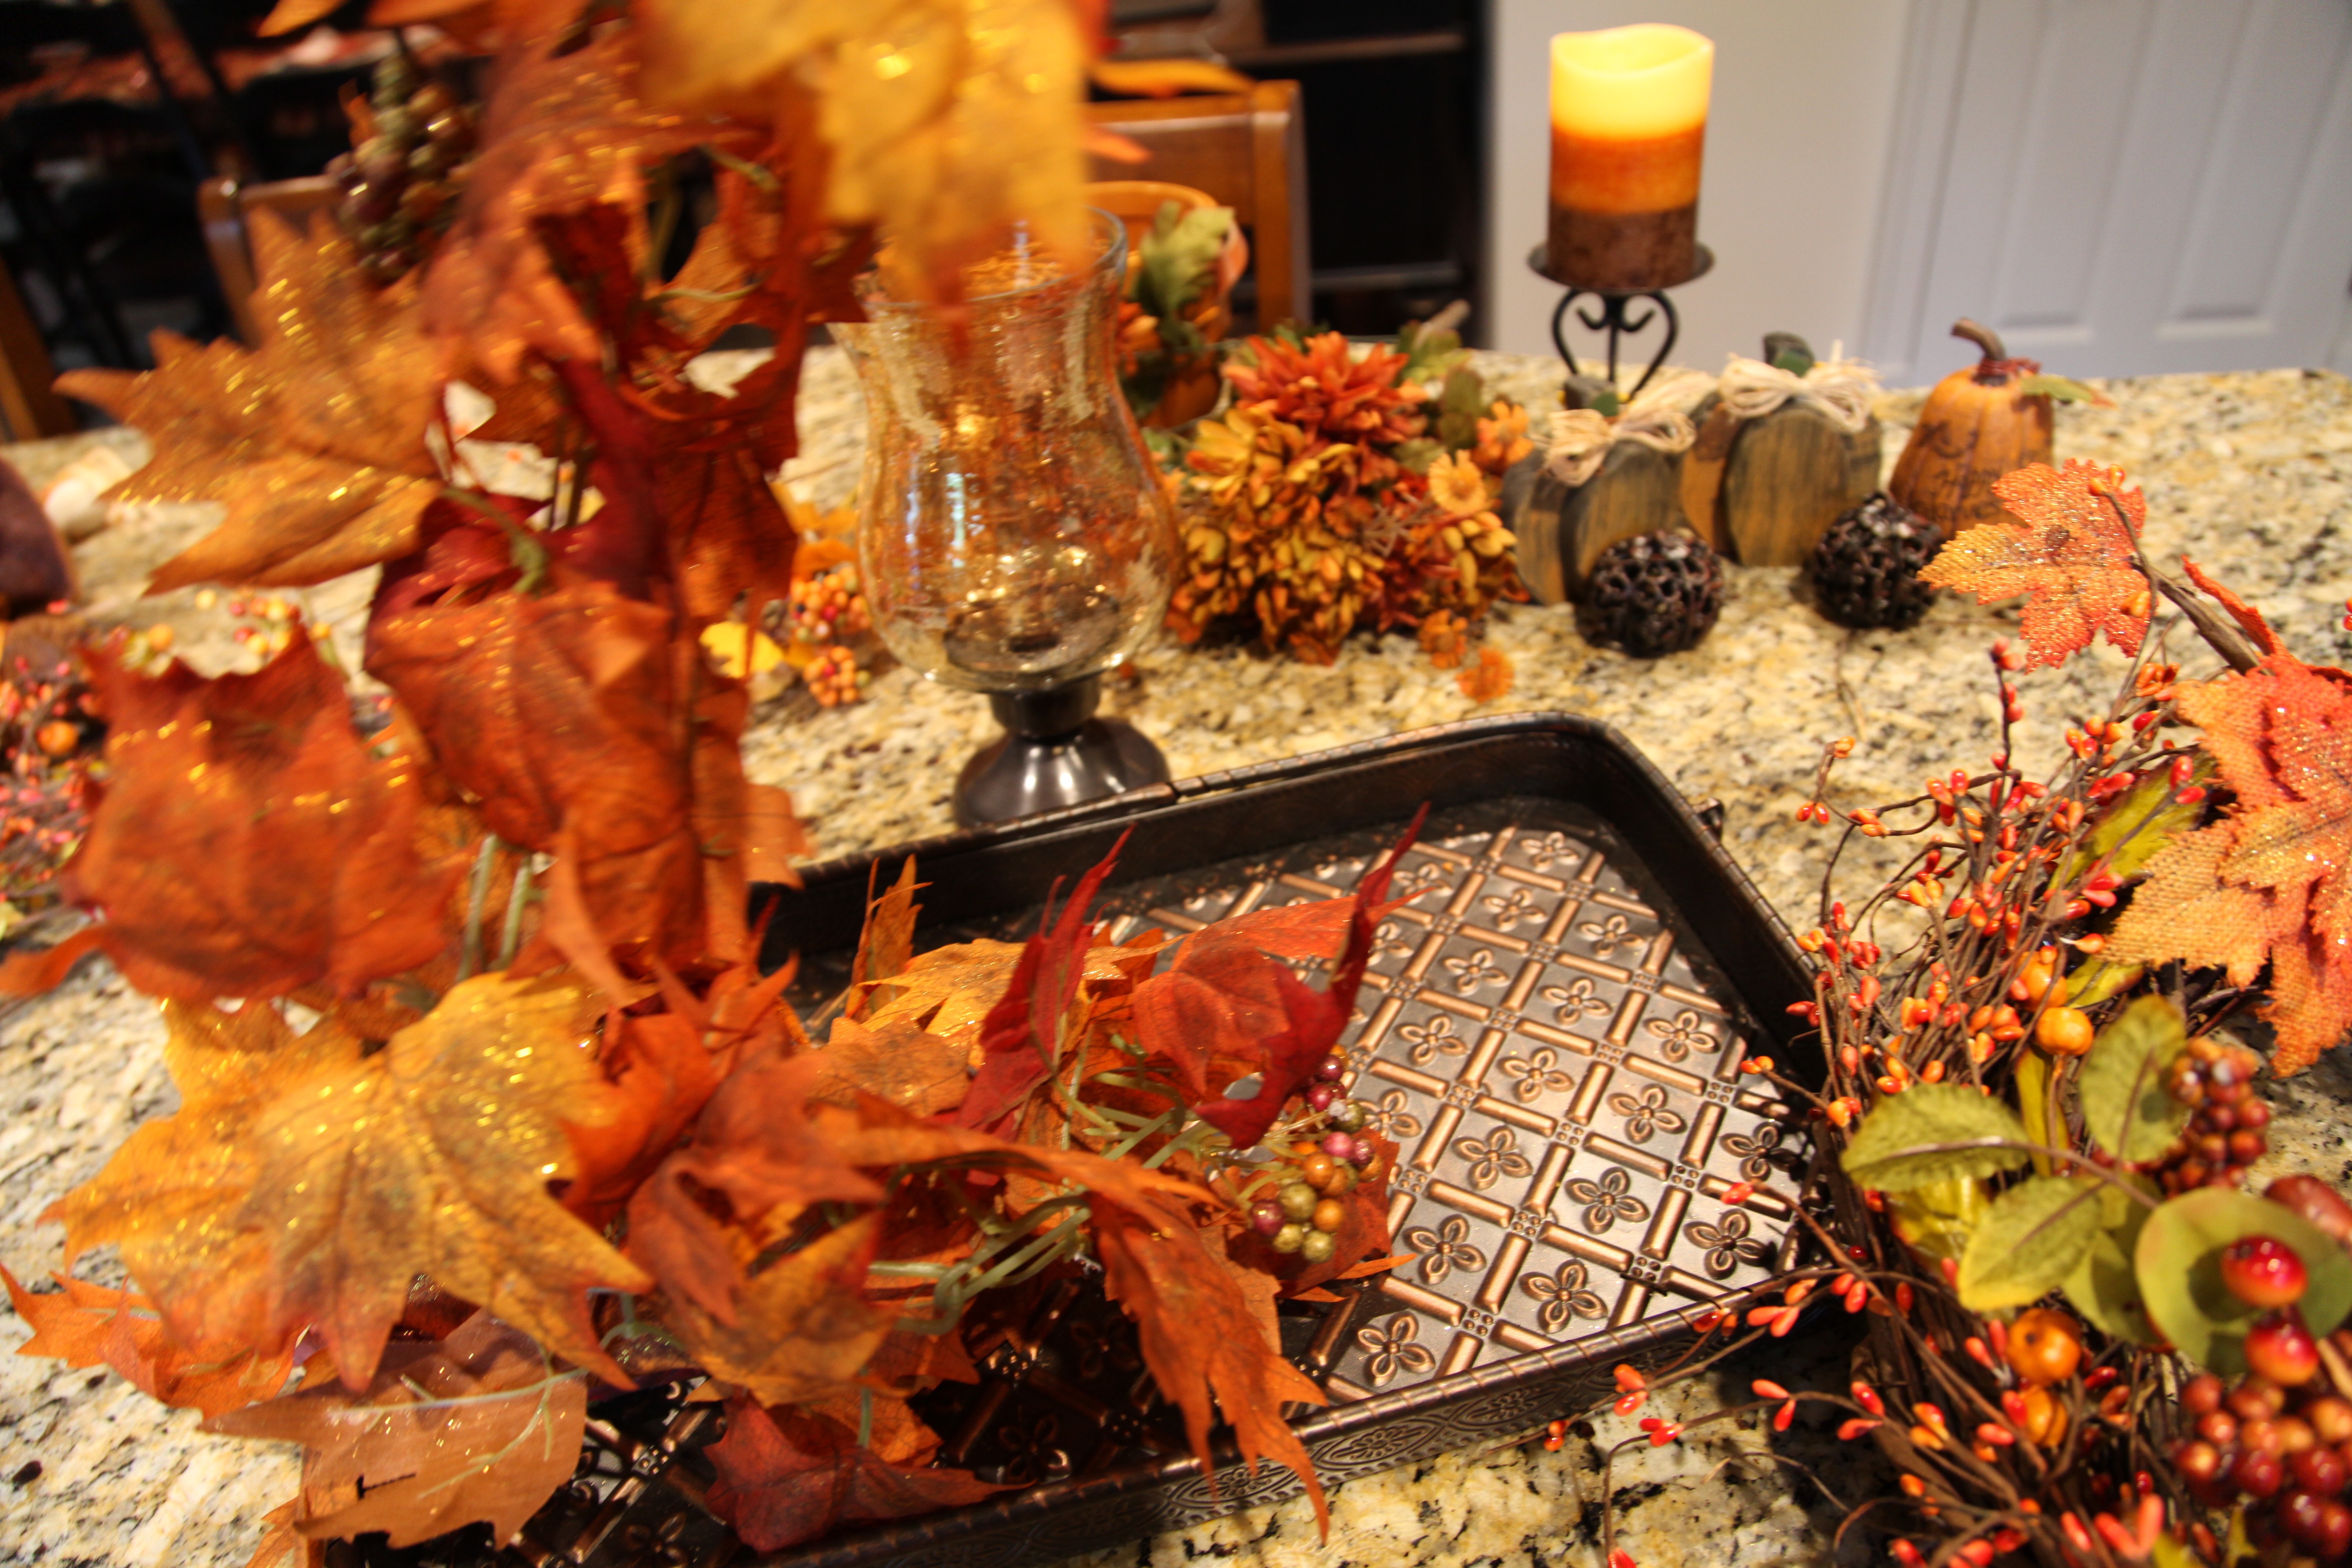
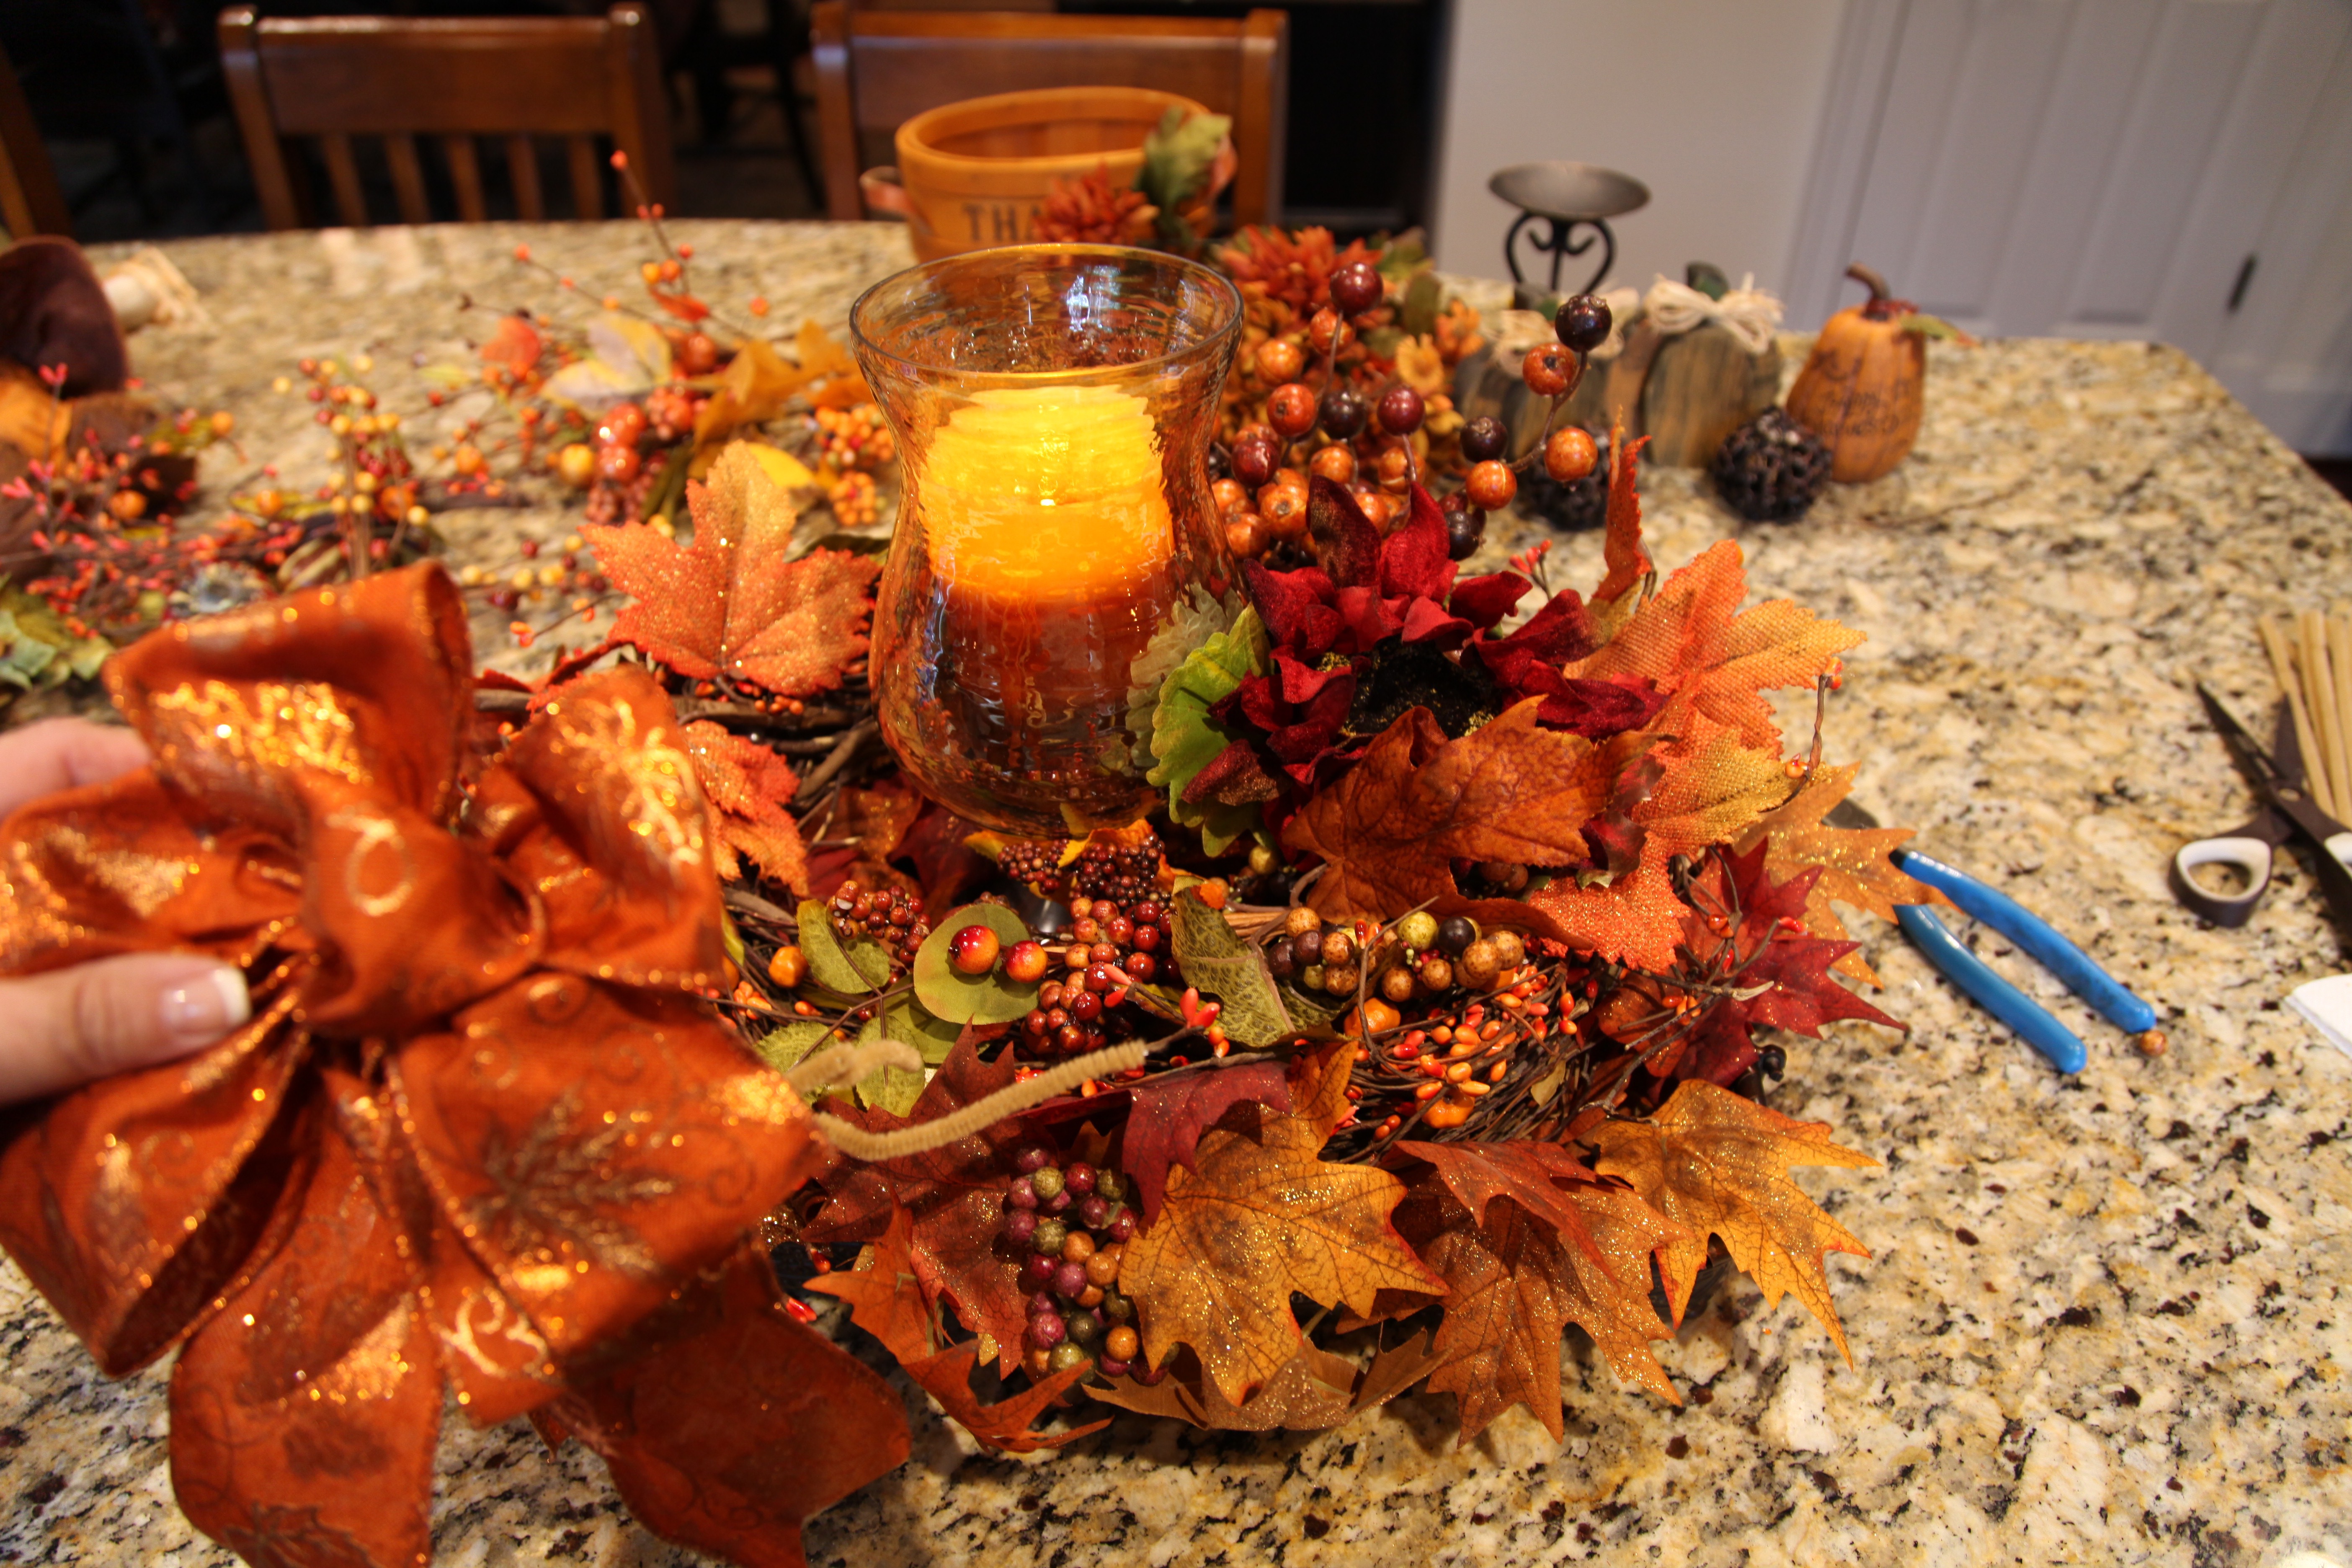
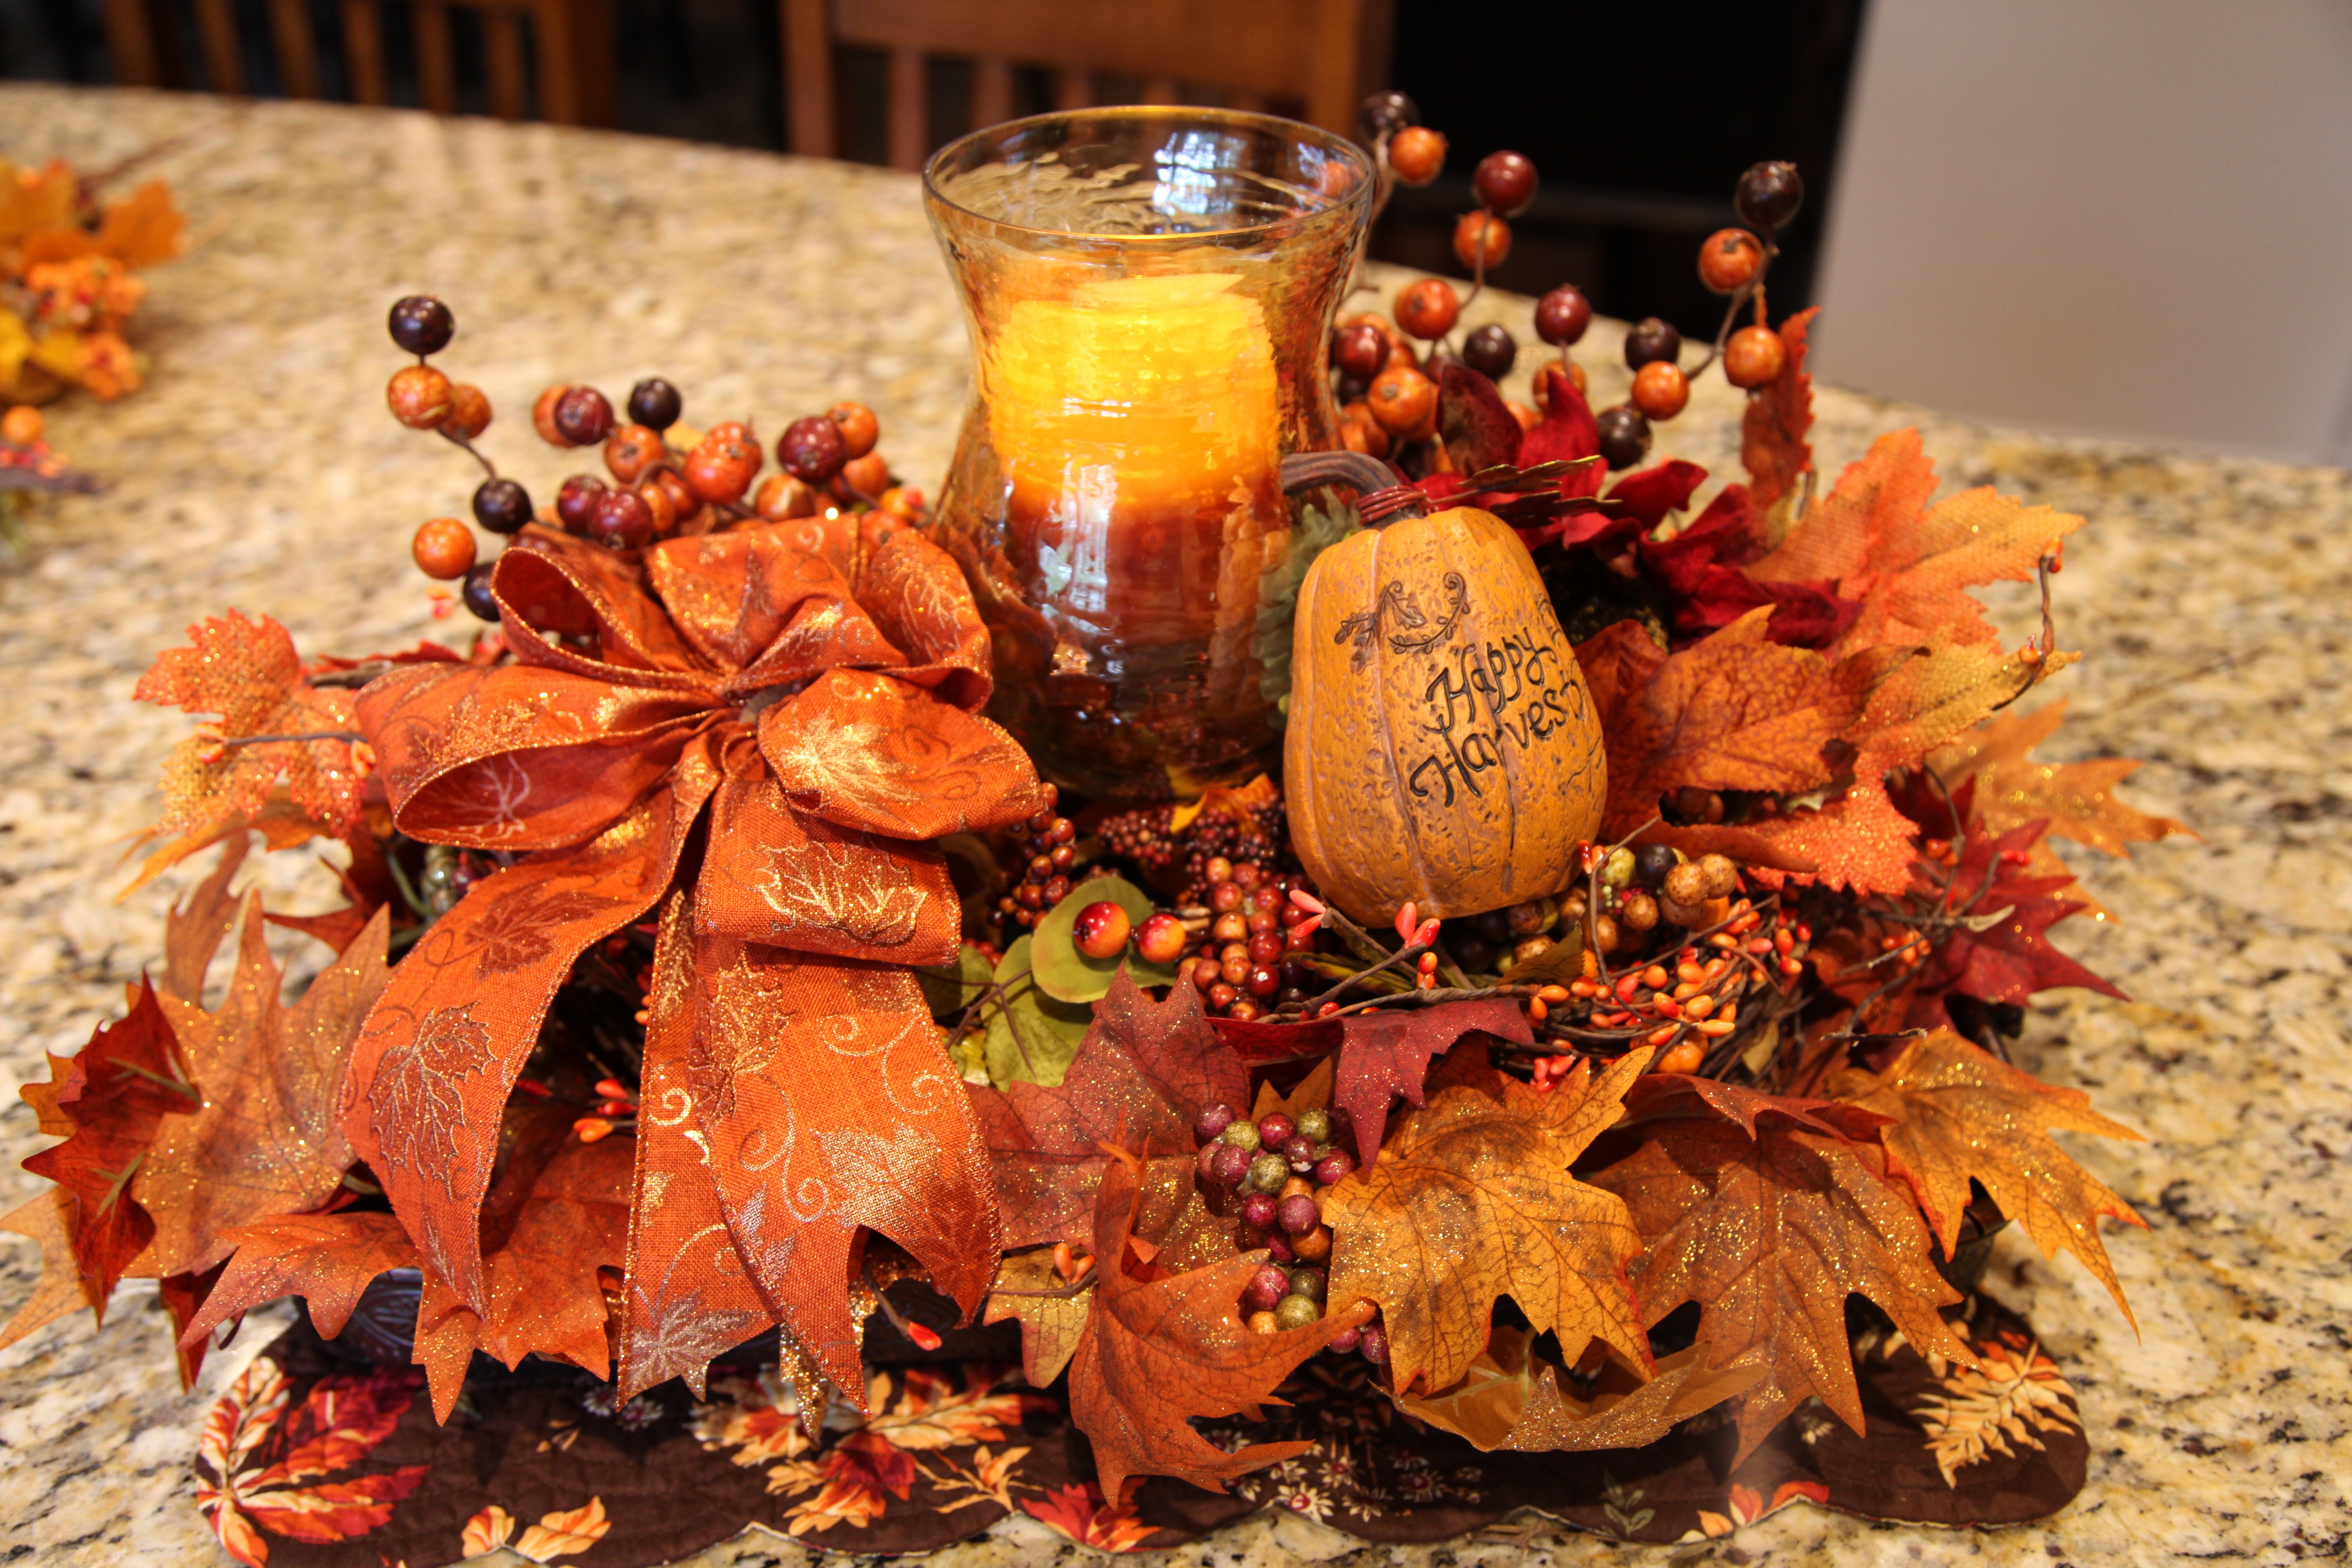
First, I took the leaf garland and wrapped it around the inside edge of the tray. Then I placed the wreath into the tray sideways (I removed the bow and that sunflower pick). After that, I placed the hurricane lamp candle holder into the center and started to surround it with Fall picks, then I placed the bow where I thought it looked pretty and added a little resin pumpkin…too cute!
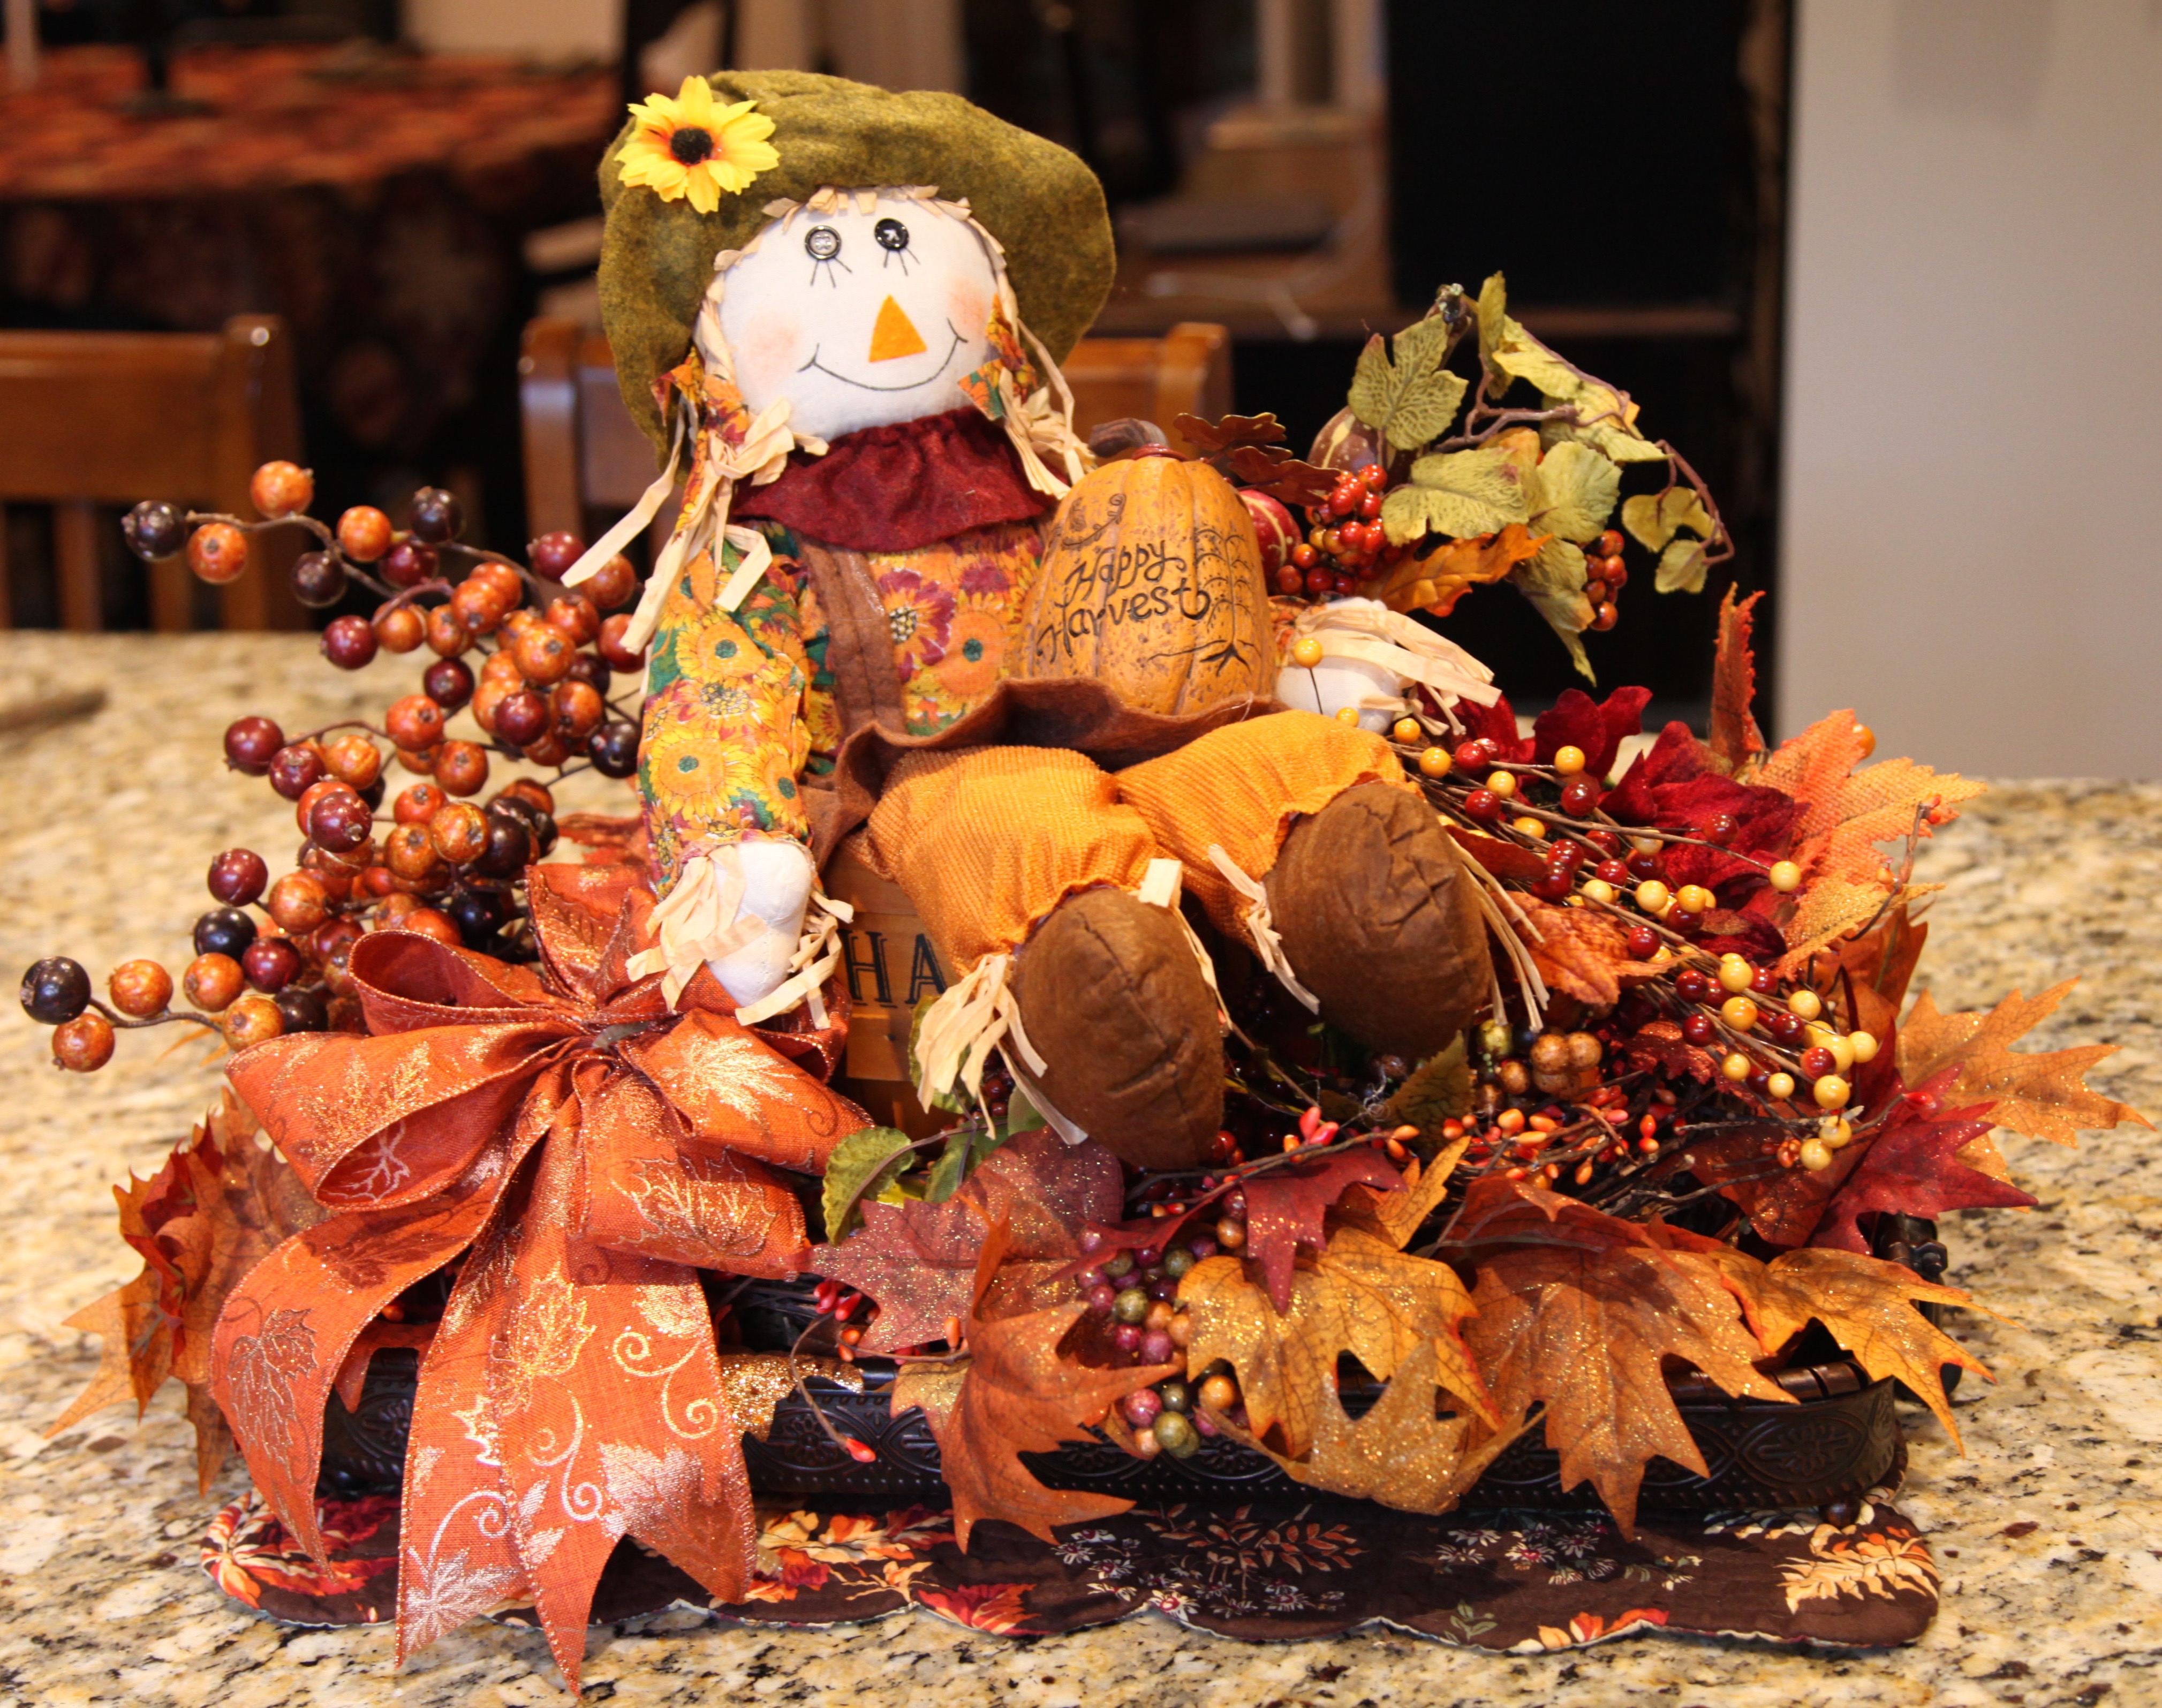
Okay, I really liked that one, but I thought I might try to make something a bit more casual, so here is what I tried second. I removed the hurricane lamp, bow, pumpkin, and picks. I then snugged a wooden basket into the center, placed that sweet scarecrow into the basket, placed the bow, and then filled in and around the basket with additional Fall picks. Then I sat the resin pumpkin on the scarecrow’s lap:


And here is that finished centerpiece, more casual, but cute as can be. 🙂
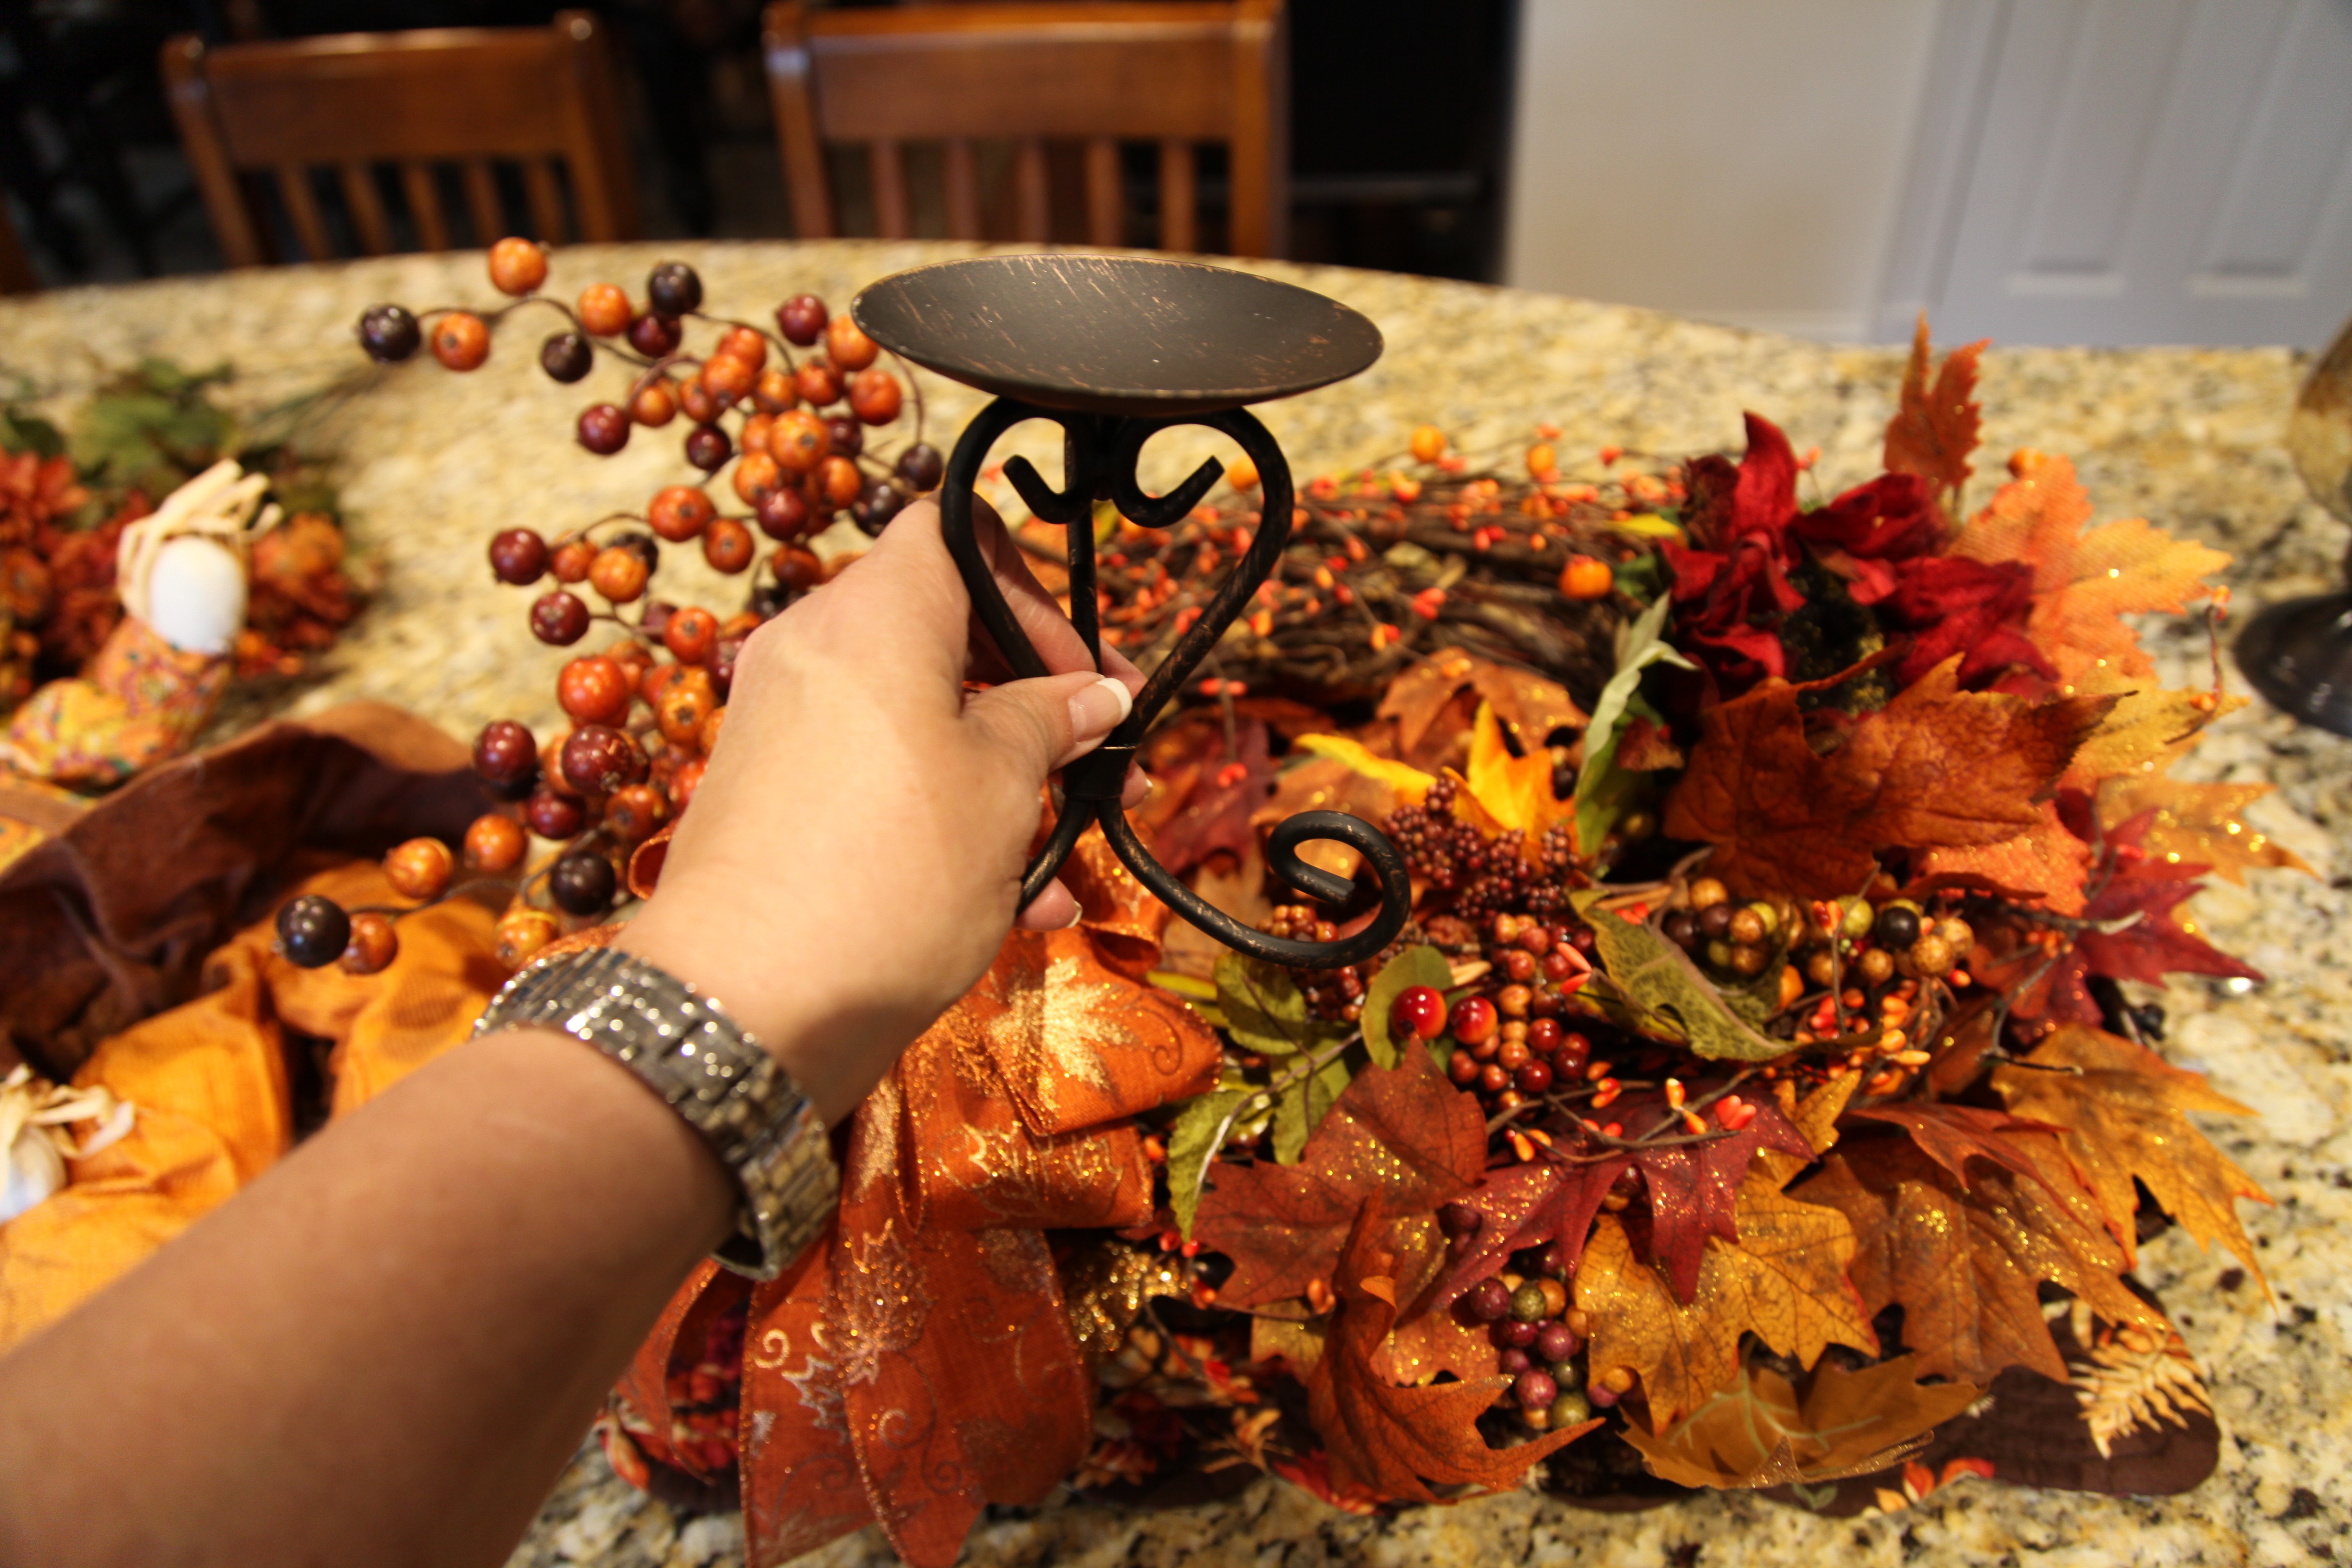
I liked that one just fine, but I thought since I had gone to the trouble of digging out that black candle holder that I might as well try to do something with that as well. So, I once again went into “deconstruction mode” and reconstructed the third centerpiece like this:
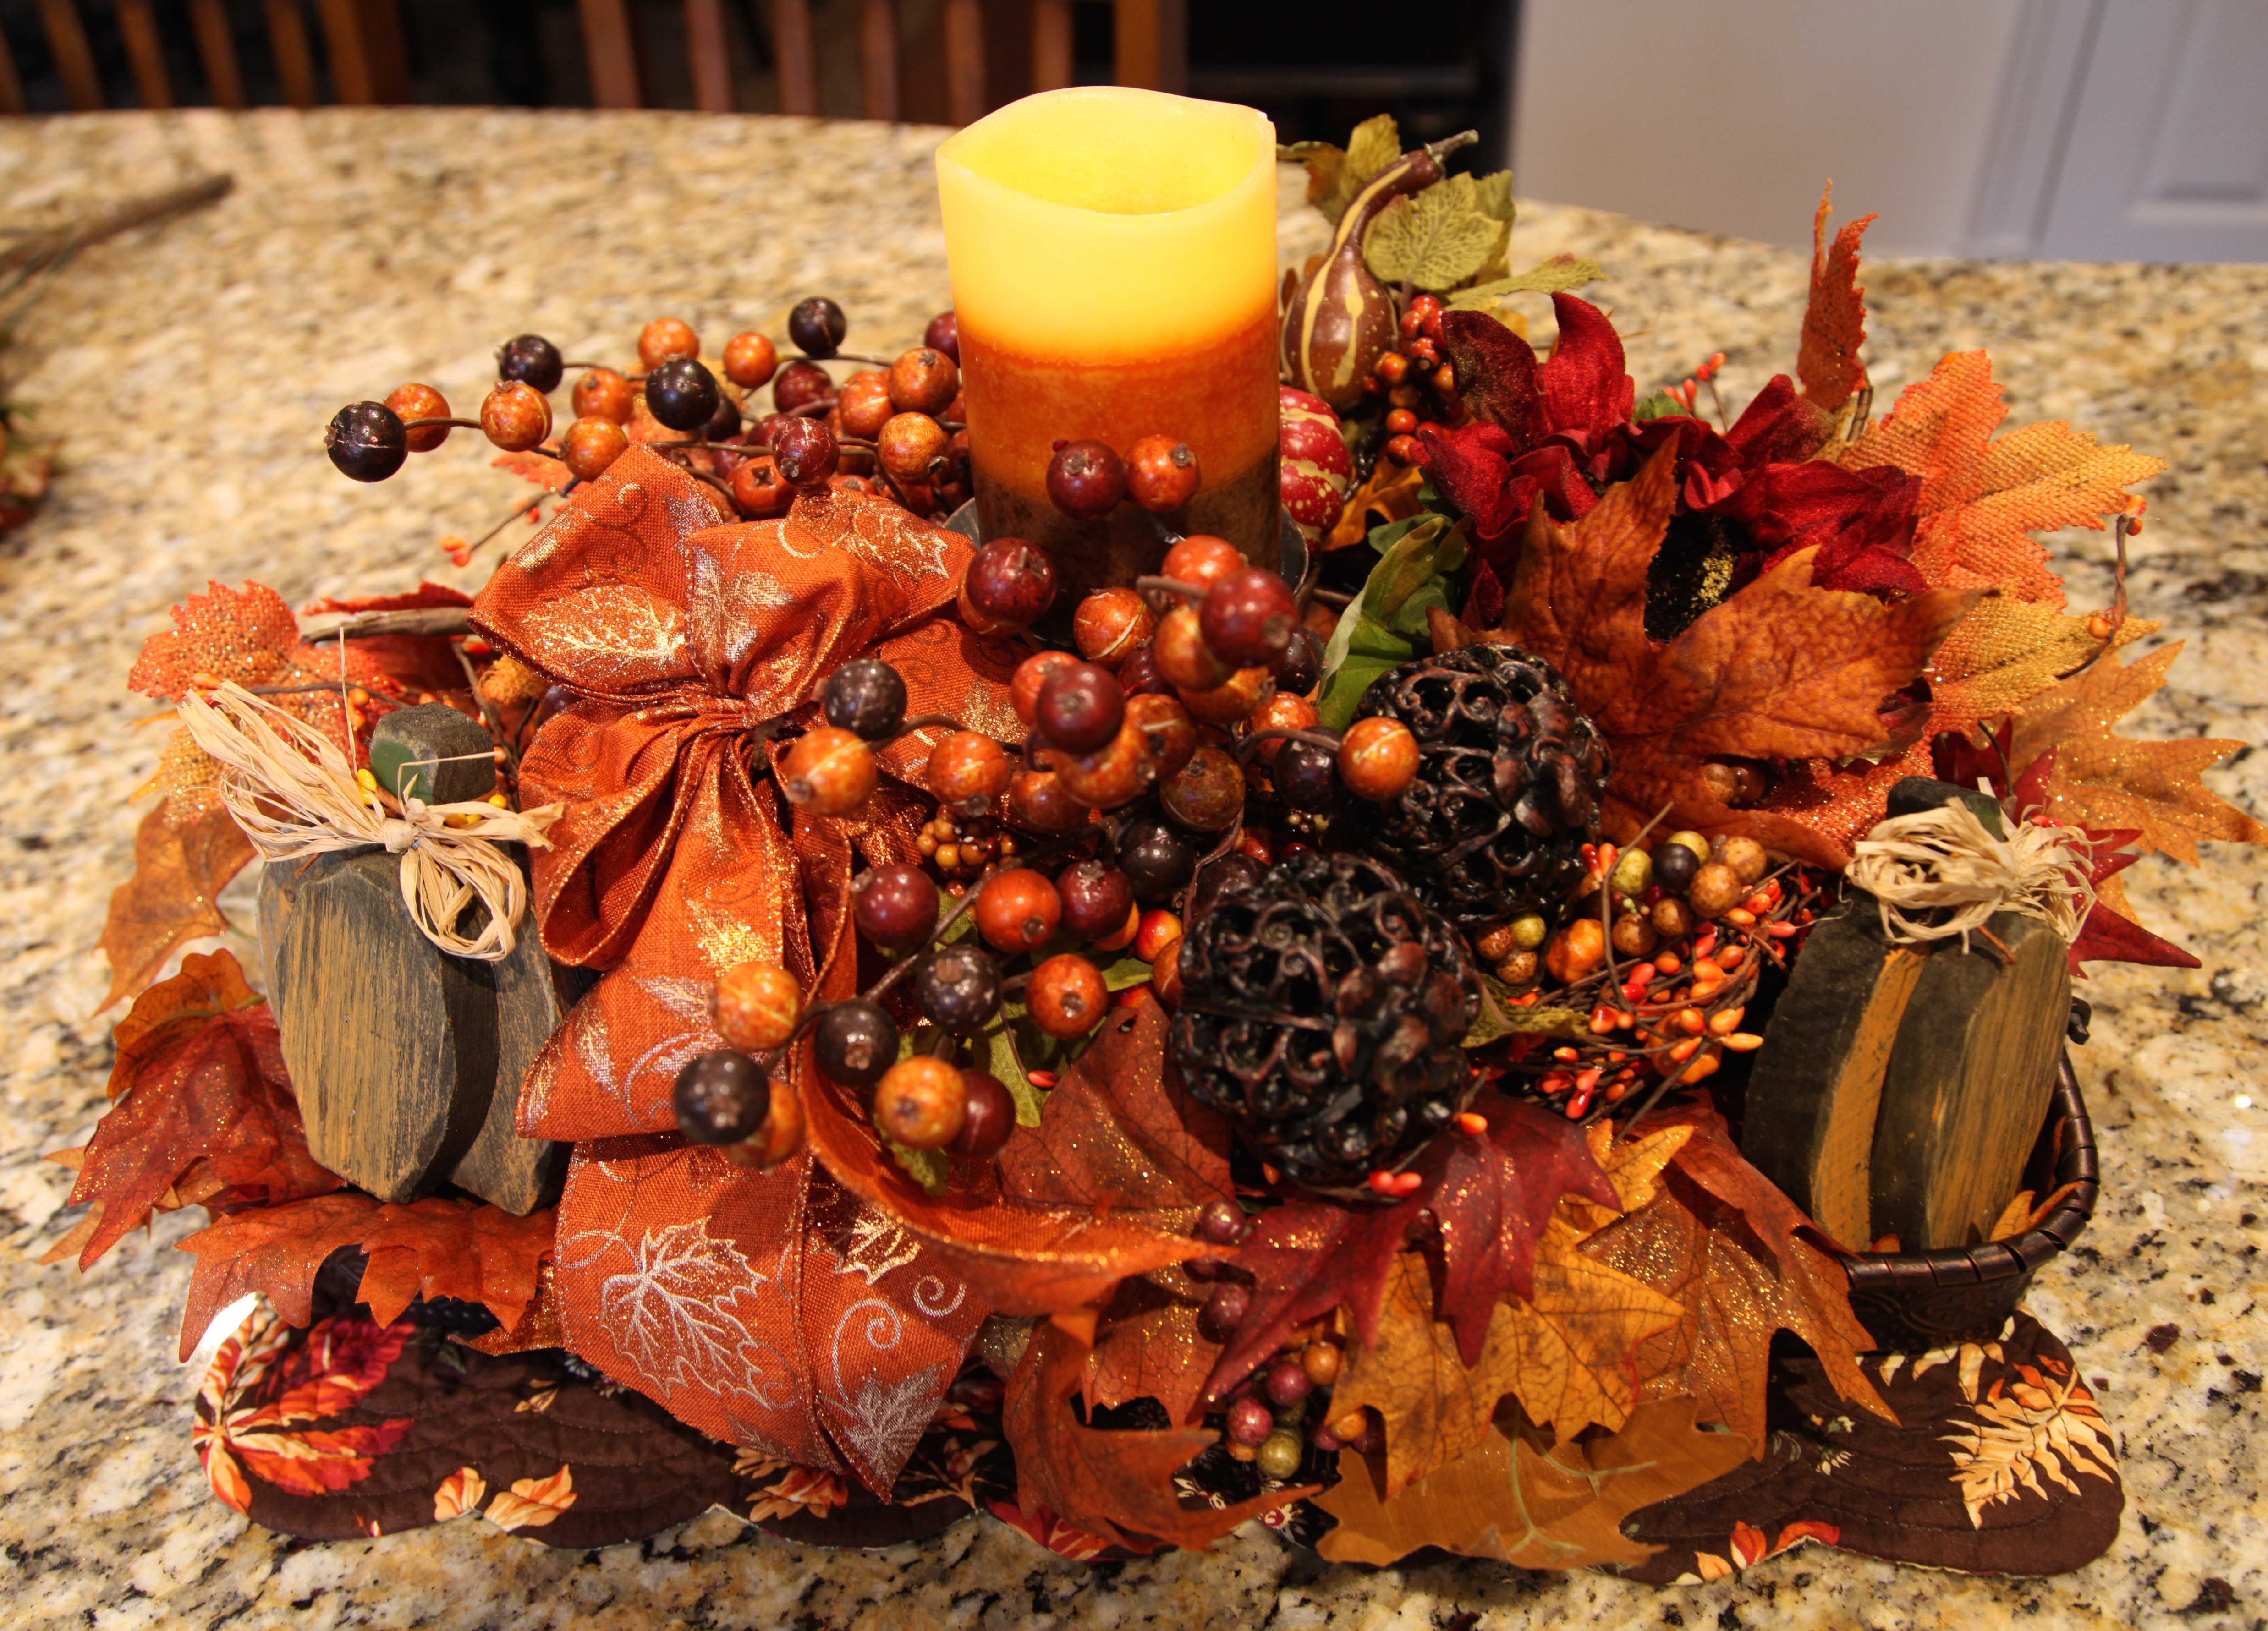
Honestly, that was my least favorite design ^^^^
This is what I ended up creating and where I chose to place it:


I placed it on our desk that sits in the kitchen eating area, it is going to look pretty in the evenings with that candle glowing in that hurricane lamp.

So, for now, my brain is at rest, goodness knows what I’ll come up with next! I hope that this little post has shown you that if you have an old wreath laying around or if you find a neat form to use to create a wreath, that there are other things that you can do with it instead of hanging it on a wall.
Until next time, y’all take good care! ❤
~Arlynn
**In crafting there are no mistakes just unique creations**

I love all three of the flat wreath options but my favourite is the last one, and I love it in that desk!
LikeLike
Aww, thanks Liz!! We love that desk too, it was the hubby’s choice, I was blown away when it was delivered. 🙂
LikeLike
Pingback: Happy Fall Y’ll 2016 Series: Family Room Fireplace/Mantel & more–Video Included – Country Craft Corner