
It’s time for another post from my awesomely talented cousin Stacey! Wait till you see what she has in store for y’all today! OMGosh, she is so inspiring, I think I want to give this “Light Up Christmas Canvas” a try!!
Here is a picture of Stacey and me taken a couple of months ago, she is the one on the left and I’m sort of behind her and on the right. 🙂

Take it away Stacey!
Hello!! It’s Arlynn’s cousin Stacey again!! A big THANK YOU to Arlynn for allowing me another guest spot!!
I’m going to show you how to make this light up Christmas canvas!!

AWESOME RIGHT?!?! The best part; YOU can totally do this too!!!
First, let’s get all our supplies together. You need a canvas, (I chose a rather large canvas of 24X36) graphite paper, some battery powered lights, paint, paint pen, brushes, glue gun, and your imagination! I also used some glitter glue to add a little extra sparkle around the lights. You can NEVER have too much sparkle!

The hardest part of this whole craft is deciding on what you want your image to say. I knew I wanted my canvas to light up so I wanted something that alluded to “light”.
Some other ideas I kicked around were “The Stars Were Brightly Shining” and “O Star of Wonder, Star of Night”, “All is Calm, All is Bright”. But, I also liked “Joy to the World”, “ O Holy Night”, “Come Let Us Adore Him” and “Merry Christmas”. You may choose whatever makes your Christmas heart sing with joy!
Again, I chose a large canvas but you may choose whatever size will work best in your home. I bought a computer program called Mindcad Tiler. This will take a picture file and turn it into a banner or several page poster. This is what I use to create my template. I can only imagine there are hundreds of these types of applications online. Whatever works best for you. I printed my template and added the stars where I thought my lights would work best.

My next step was to paint my canvas. Since it’s a Christmas canvas, sparkle and shine was a MUST!! I chose some glitter acrylic paint from Target. I’m sure there is better paint to use, but I was there, and I’m lazy and didn’t want to run all over town looking for “special” paint for canvas. (If you have read some of my earlier entries, you may remember my laziness)

OoOoOohhhh!! SPARKLE SPARKLE!! Get those brushes out and paint that whole canvas!! Don’t forget the sides!!
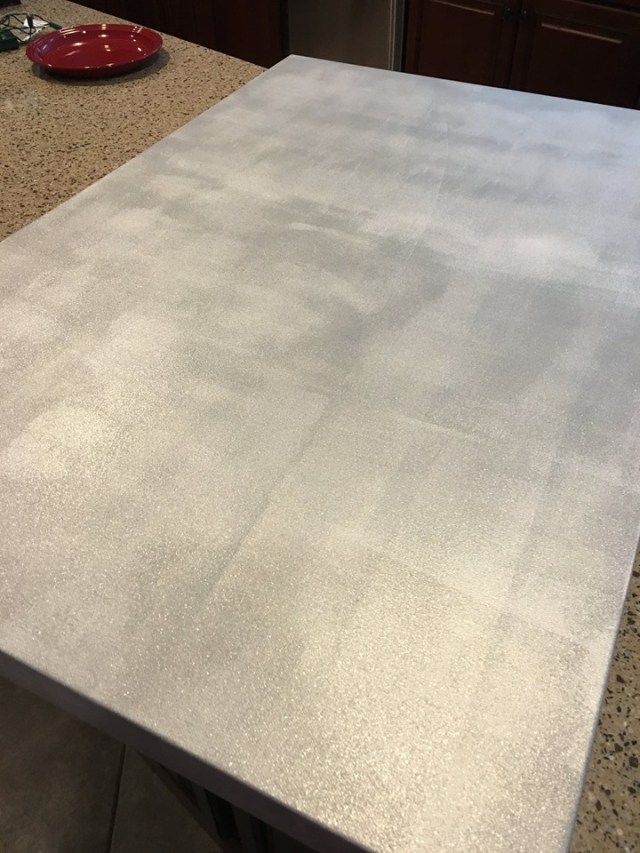
At first I was kinda bummed about the splotchy, patchy look of the paint. But, after I let it dry, I realized it was a happy accident! It really adds texture and interest instead of just being flat. Nice!! Laziness to the rescue! I decided to roll with it.
OK, your canvas is all painted and ready! Grab your template and graphite paper. Lay your graphite paper ink side down towards the canvas and your template on top.

Then, trace your image! The graphite paper will leave an outline and all you will need to do is fill it in with your paint!

Two game changing words for you…PAINT PEN!! These things are seriously awesome!! It’s exactly what it calls itself! A pen filled with paint!! YES!

I did all the script with this paint pen. I love you Sharpie. I used the water based paint pen with a medium tip. I found it with the painting supplies at Michaels when I bought my canvas. I’m sure all the craft supply stores sell them. Seriously, this is the best thing ever!
YEA!! All filled in!!

As you can see, I included the little stars with my template. I knew this is where I wanted my lights to go. I didn’t outline them in black. I just left the graphite outline. I allowed them to kind of fade into the background. I didn’t want to draw the eye away from the script.
You can also wait until after you have your script on the canvas and lay out how you would like your lights that way. Just be sure you space your lights in such a way that the strand will reach. I found a string of 20 battery-powered lights with a timer at Wal-Mart! You could also reuse some leftover plug in lights and up-cycle them and give them a new life. I didn’t want to have to plug in my canvas every night (hello laziness) so I went with battery powered timed lights.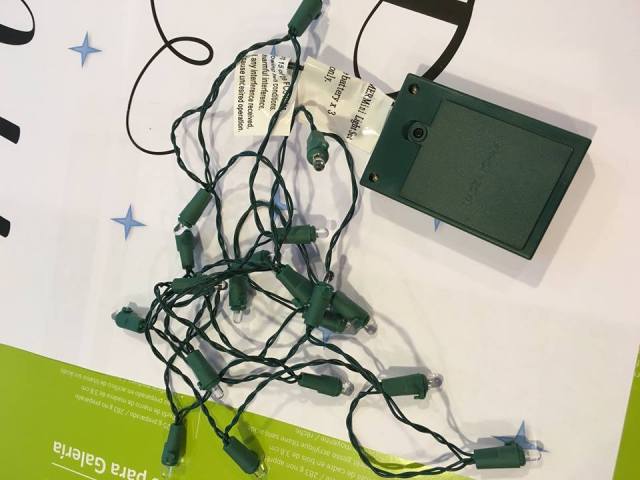
Before I poked the holes for the lights, I embellished the stars with some glitter glue. Love this stuff. Found it at Michaels with the craft paints.


It has some really pretty iridescent glitter already in the glue. I thought that would be really reflective and the glue adds a 3D element. I used the glue to make some little dots just to add a little more interest.

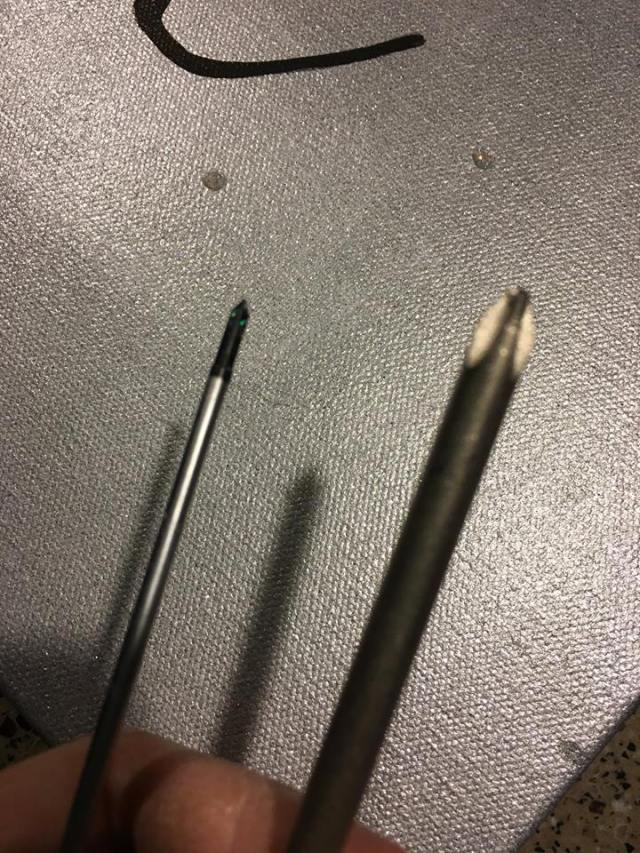
Time to poke some holes. I used some screwdrivers to poke my holes. I think an awl would work great too. I would recommend not using a knife or blade to make your holes. I think a slit would split and not give a finished look to your holes. I also went with a smaller screwdriver to start so that the hole wouldn’t be too large and the entire light would push through! You only want the glass part of the light to come through the canvas. I used the larger screwdriver to widen the holes just enough for the top of the light to poke through.
Poke, poke, poke! All your holes are poked, time to push in your lights. I ran a ring of hot glue around the light to hold them in place.
From the back of the canvas, push just the glass light part through the canvas.

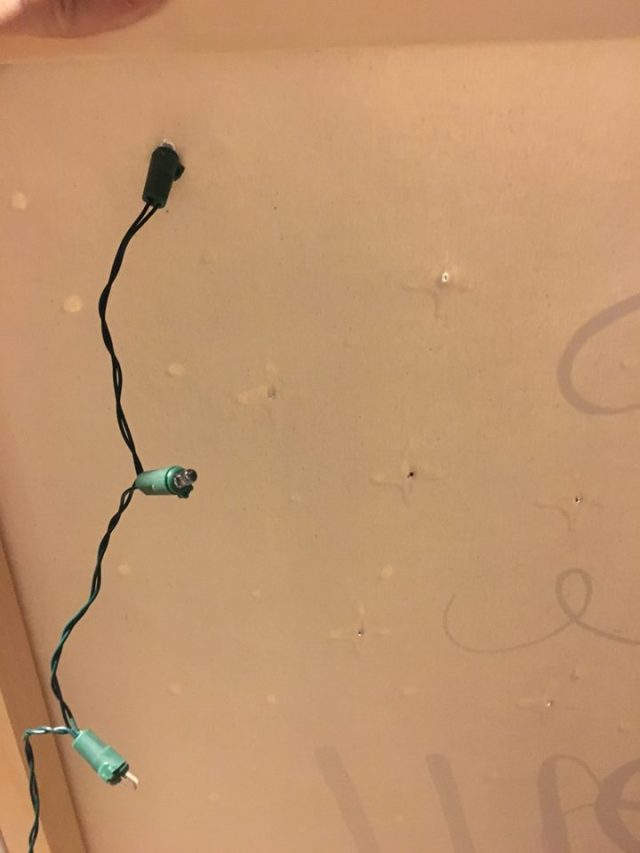
Here you can see what the front of the canvas will look like with just the little light sticking through.

Here’s the back of my canvas with the lights glued in place.

I realized, too late, that I didn’t plan on how I would attach my battery pack. Sooo, I got crazy creative and came up with this. I used a saw tooth picture hanger and a doubled up heavy-duty rubber band! Sometimes, I even impress myself! LOL! (wow, Stacey, nice. Lazy and humble? SMH) Anyway, this does double duty. It immobilizes the battery pack AND allows you to still reach the batteries so you can change them. (You could also just use some tape, or Velcro etc. to hold yours in place)


All that’s left is to hang that glorious canvas and turn on those lights!! AMAZING!! Look at what you created!! Time to bask in all the Christmas Spirit your canvas will inspire!! MERRY CHRISTMAS and GOD BLESS!!

**Arlynn here again…Wasn’t that amazing?!! I LOVE it!! And Stacey makes it look so easy, she is absolutely awesome!!!
**Thank you Stacey…LOVE you a bushel and a peck and a hug around the neck Sweetie!! MWAH!!**
I am so grateful to Stacey for taking some time out of her busy schedule to contribute her talents to my Blog, especially today as I had planned on writing an entry describing my outdoor Christmas decor. I still have a few things to accomplish today, but, I promise that I’ll get that post up tomorrow. 🙂
Until then, here is a sneak peak at the front of my house all decorated up for Christmas:
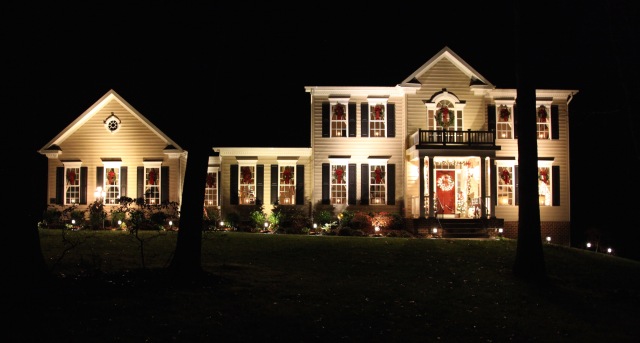
Until next time, y’all take good care! ❤
**In crafting there are no mistakes just unique creations**

Cousin Stacey is right, you can never have too much sparkle! Love this idea. Thank you for letting Cousin Stacey guest post, Arlynn 🙂
LikeLiked by 1 person
Isn’t Stacey a ton of fun Lizzy? She is exactly how she sounds in this post, happy, energetic, upbeat, and sweet as can be. 🙂
LikeLiked by 1 person
That was awesome! I love this. I may look into downloading that Mindcad Tiler as it may help make those really cool chalkboards as well.
Oh… and your house is STUNNING!!
LikeLike
Hi’ya Nancy! OH yeah, I bet the Mindcad Tiler would definitely work when making those chalkboard crafts. 🙂 Thanks about the house, I have a whole “Home Tour” section if you’d like to see inside too…haha. This is a new home, we had it built as our retirement home a few years ago. 🙂
LikeLiked by 1 person
Spectacular! I will be right over for the home tour… I would love some hot chocolate if you have any. 😉
LikeLiked by 1 person
You are welcome to come on over any time and I definitely have cocoa! 😉 🙂 While we’re waiting for your visit, you can check out my “Home Tour” tab and get a sneak peek. 😉 🙂
LikeLike
Pingback: Christmas 2015: Doggie Treats & Stockings | Country Craft Corner
Pingback: Fireplace: Mantel & Hearth | Country Craft Corner