I’ve spent a ton of time here in my Blog showing you how I transition from one Season/Holiday to the next via my decor. But, I have not shown you how I came up with my generic/every-day decor and how I made it work through-out our home. When we were building our new retirement home…
I spent the months that it was being built trying like heck to figure out how I was going to decorate. In my other home, I admittedly went a smidge overboard with my decor–in other words, I filled every single wall/corner/shelf that was blank and available. Don’t get me wrong, I think I did a good job, I just think I didn’t need to do quite as much…less is more and all of that you know?! 😉 SO, I knew that I loved “country” decor, but not the primitive everything looks really old kind of country–I do love that look too, but, I didn’t think it would be appropriate for this home. Okay, so I was getting frustrated trying to hone in on exactly where to start, after all, I was going to have to recreate the wheel so to speak–start from scratch–pull my hair out and…well you get my drift. One day, I finally sat myself down and listed the things that I love and things that I’d used throughout my many years of decorating that always turned out nicely. My list included:
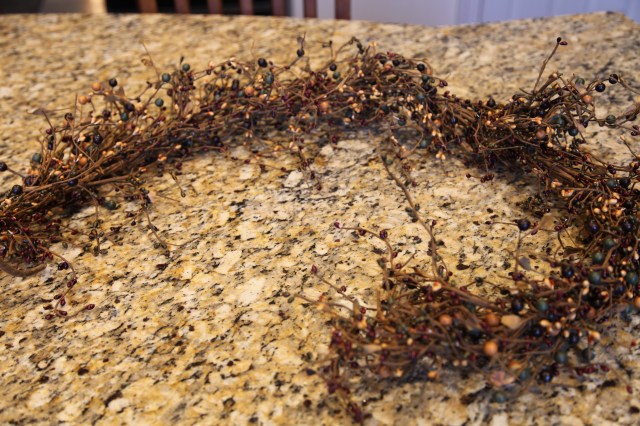
- Pip berries (garlands and picks),
- Lanterns
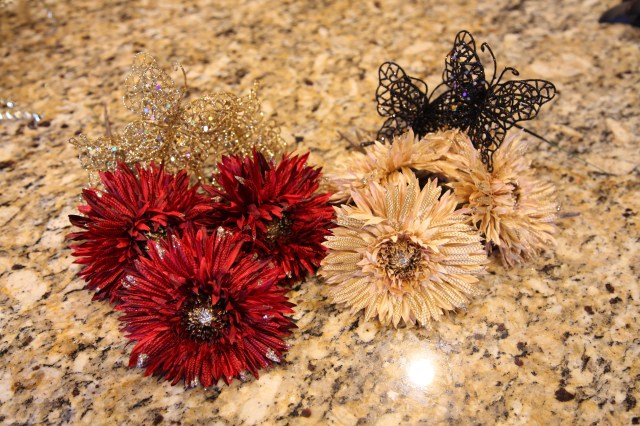
- Gerber daisies
- Fleur-de-lis
- Baskets
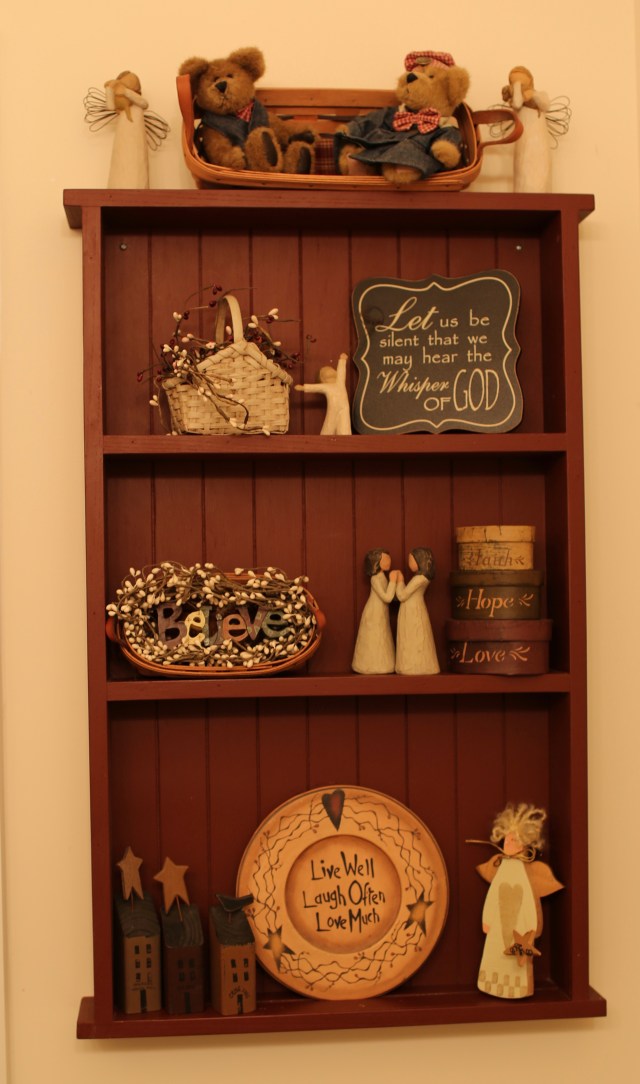
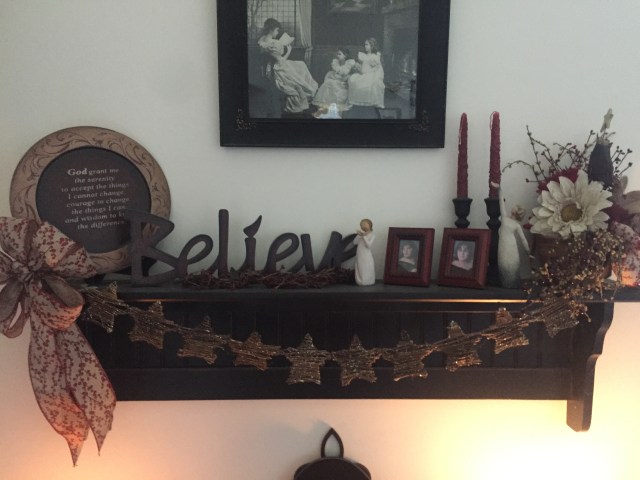
- Willow Tree Figurines
- Dickens Houses
- Wooden Plates
- Mini-lights
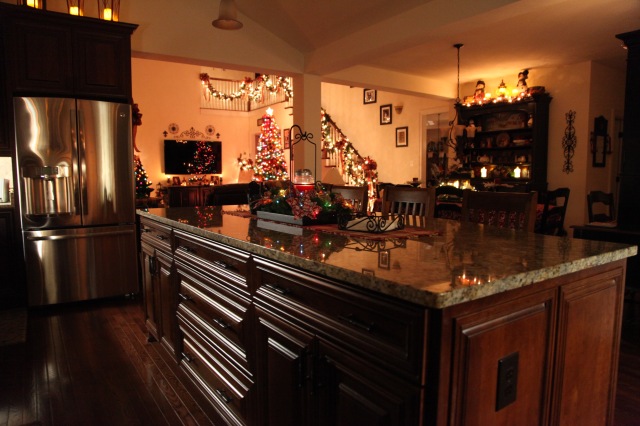
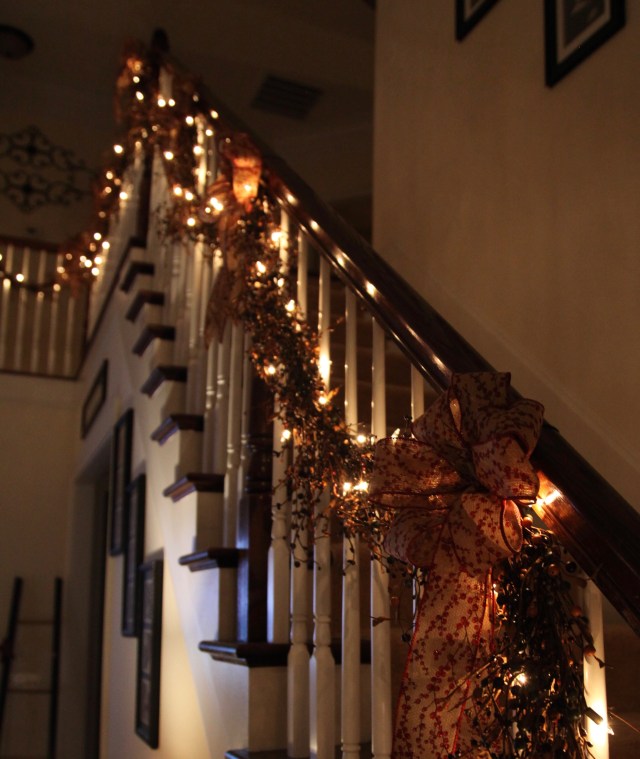
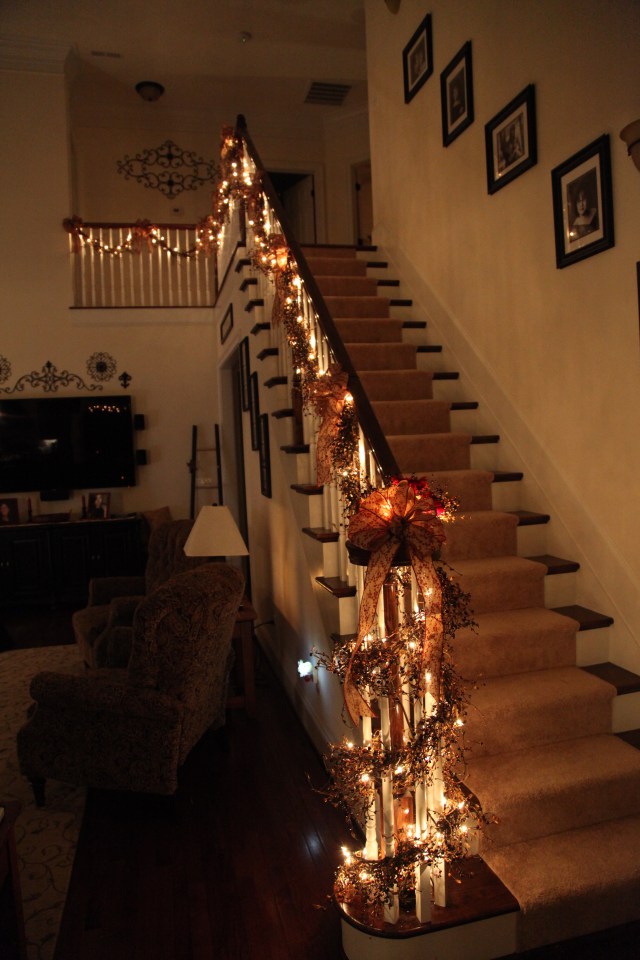
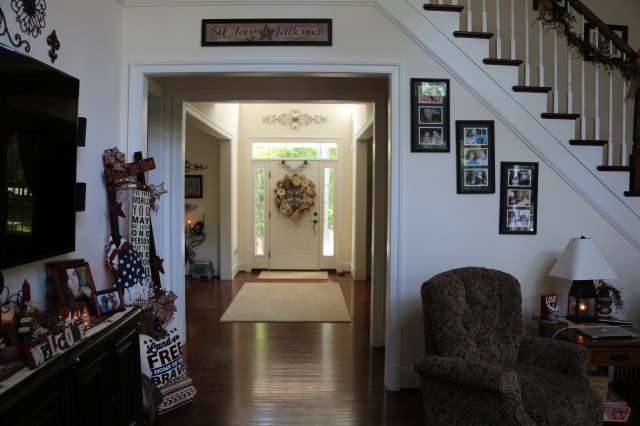
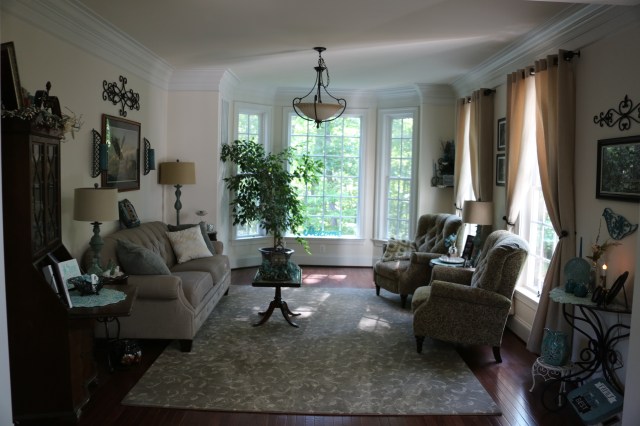
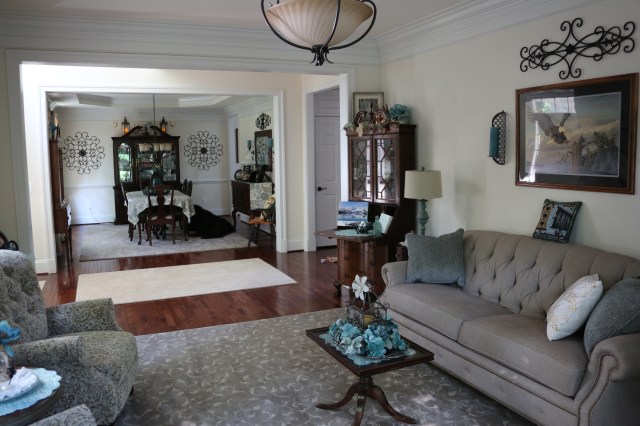
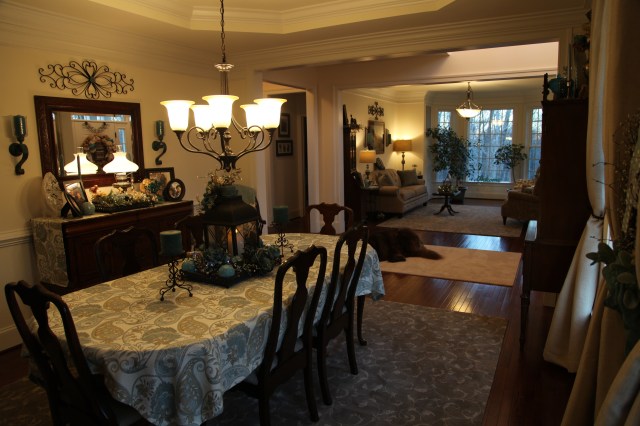
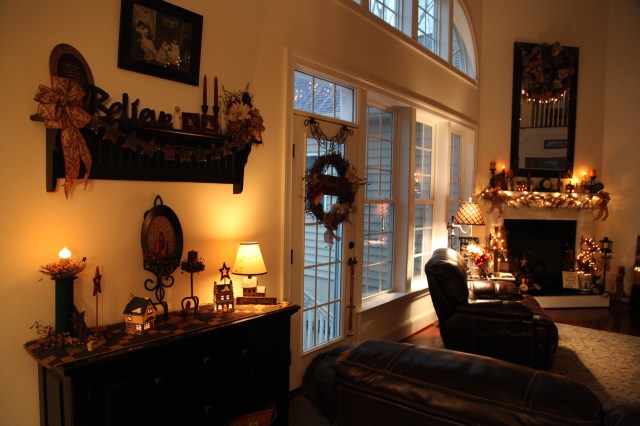
That was rather an eclectic little list I had going, but, as you’ll see, my “theme” became all of those things rolled into one cohesive design that has worked out beautifully in this home. I will highlight the back part of our home in this entry where I’ve used burgundy, khaki, & cream as my major color scheme. The staircase separates the family room/kitchen/eating area from the living and dining rooms that sit on the front of our home. I’ll do a separate post describing those rooms at another time; I use khakis and creams in there as well, but my main accent color in those rooms is a soft green.

Instead of explaining each and every decor element, I think I will just show you some pictures and give you links to my blog entries that will show you how I put certain things together.
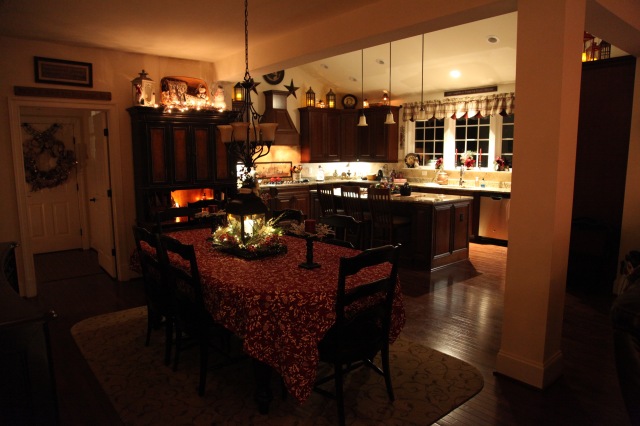
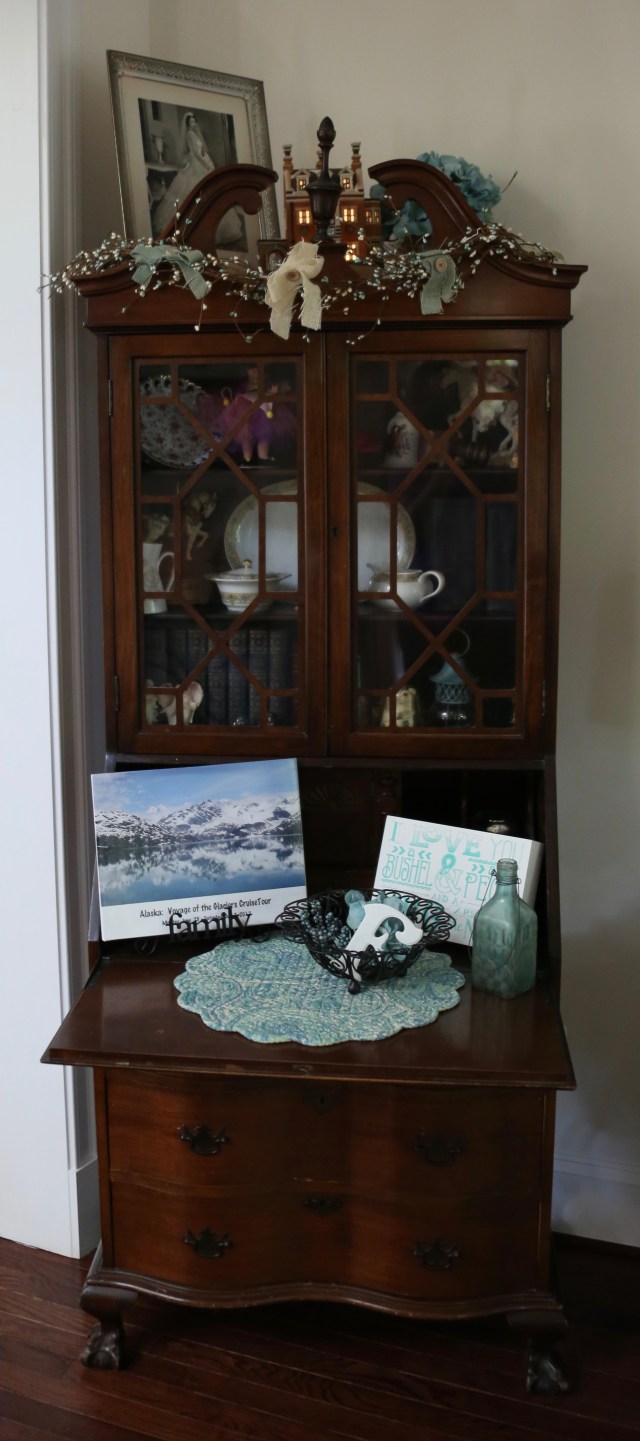
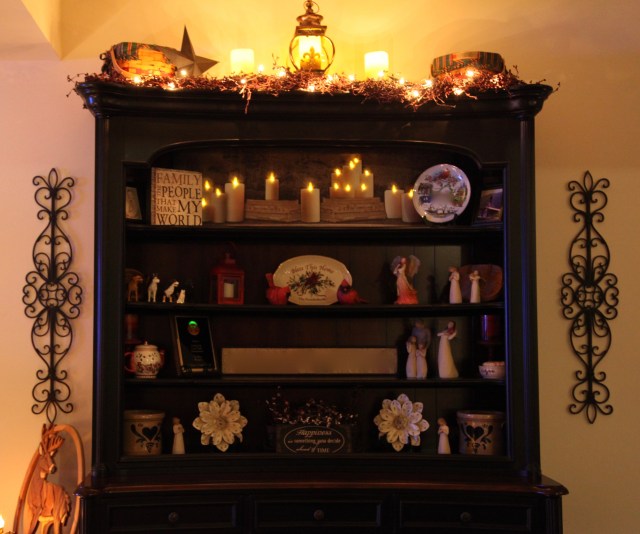
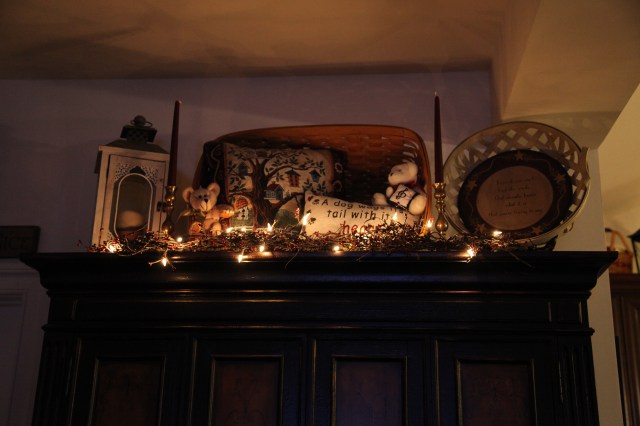
Let’s start out with the kitchen, as you can see by the pictures below, I incorporated lanterns, baskets, wooden plates, and dickens houses among other things to create the Above The Kitchen Cabinet Decor…


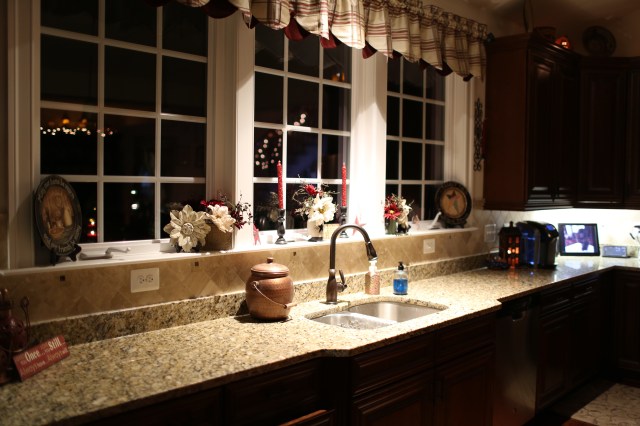
I love to work with those kitchen windows; I’ve incorporated wooden plates, gerber daisies (wooden and silk), pip berry picks…Here is my The Ever Changing Kitchen Window Decor post:

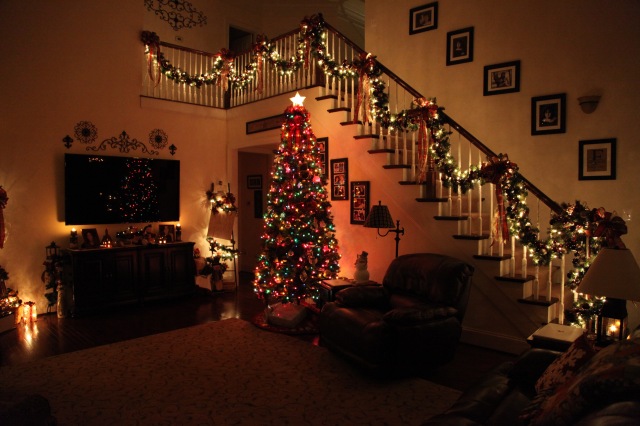
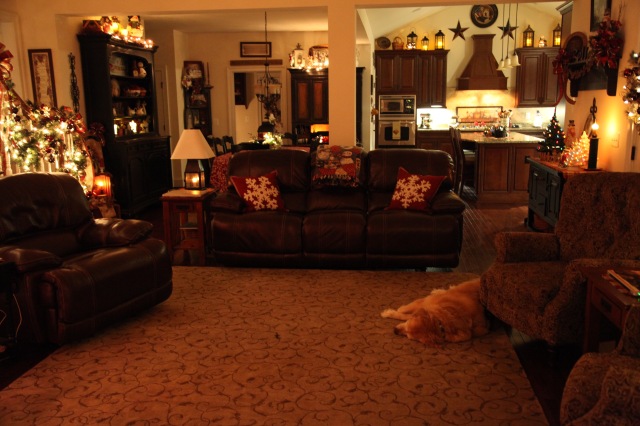
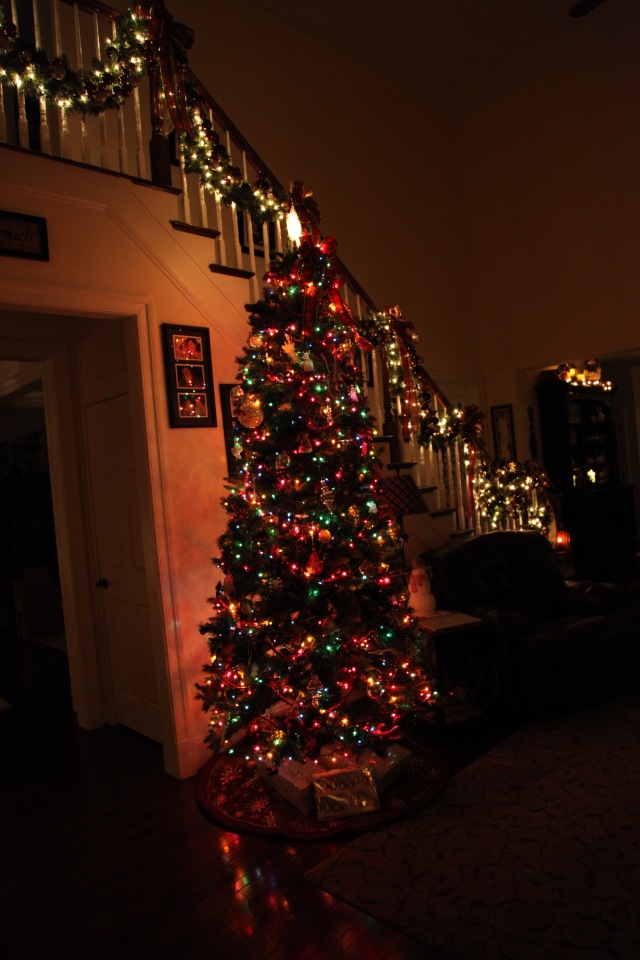
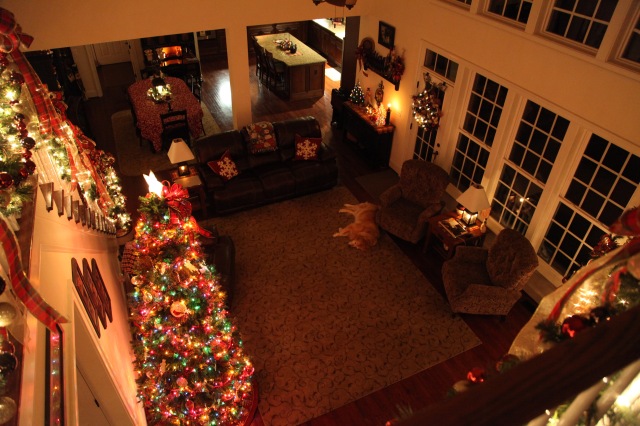
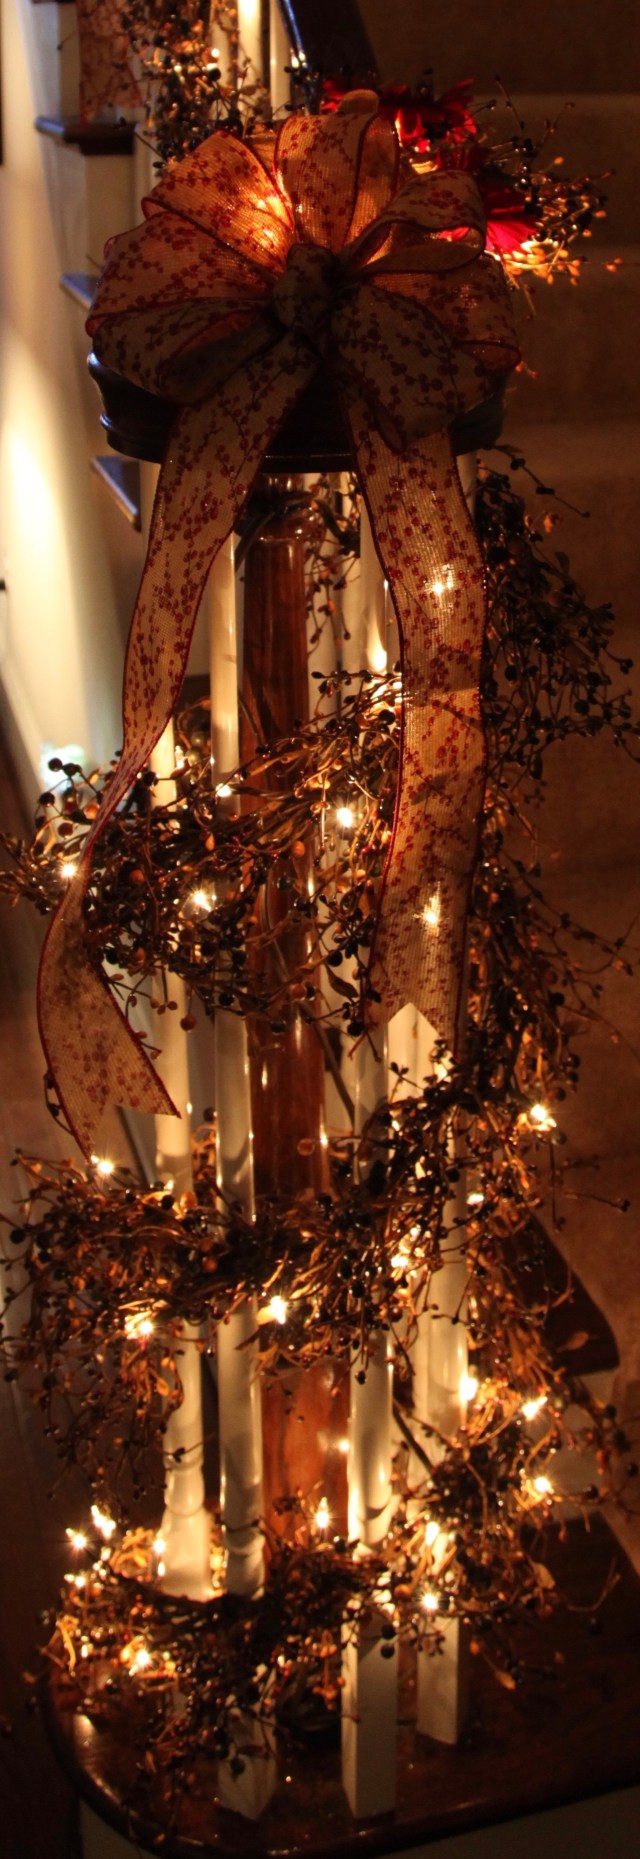
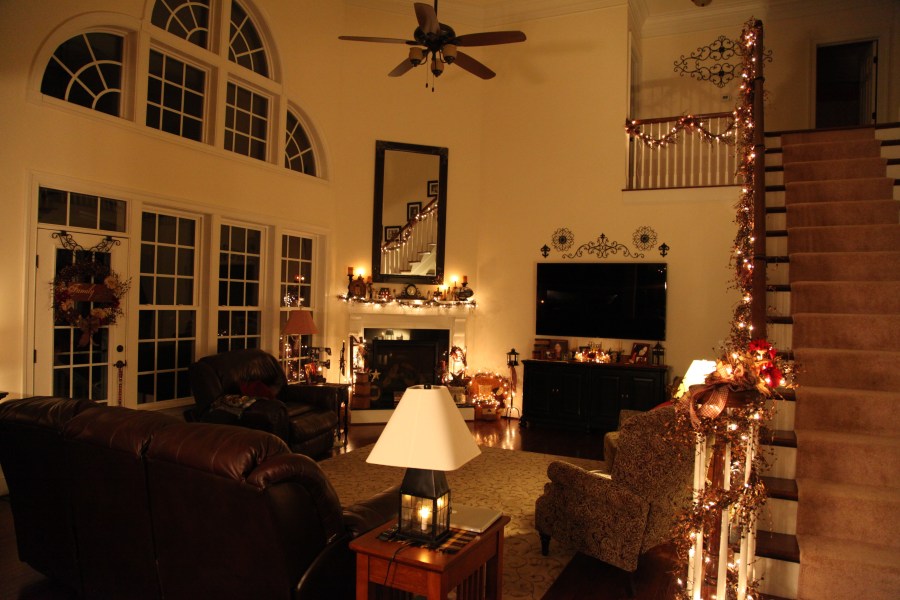
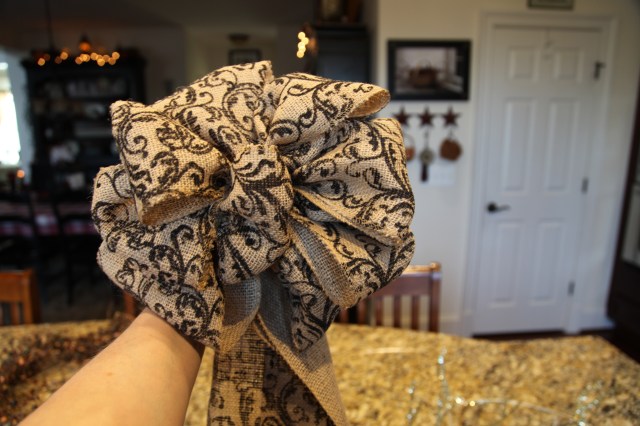
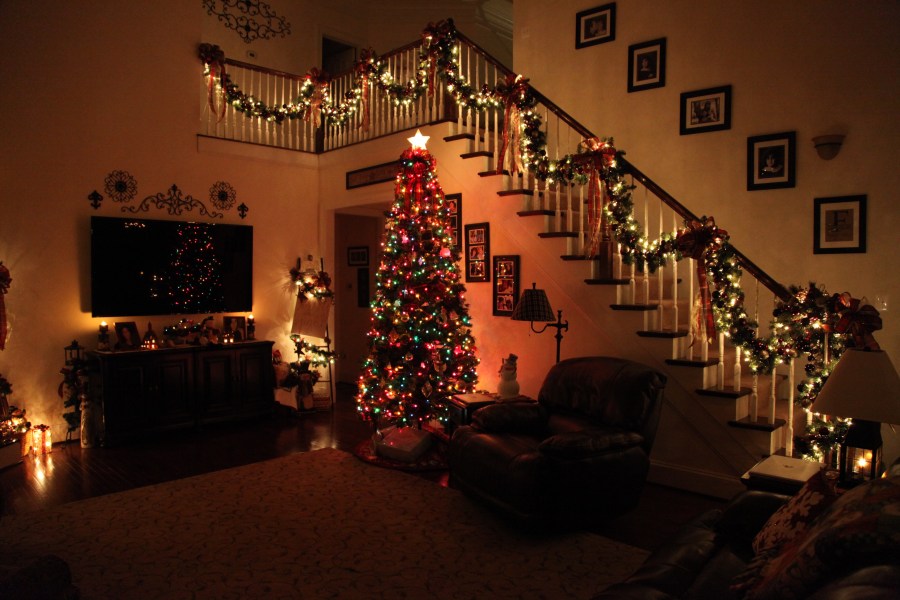
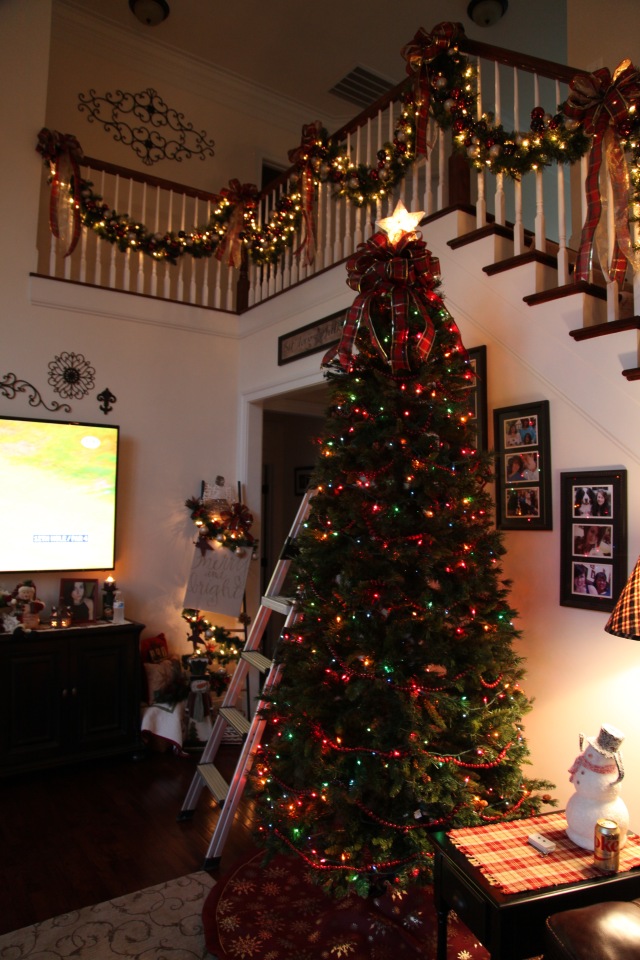
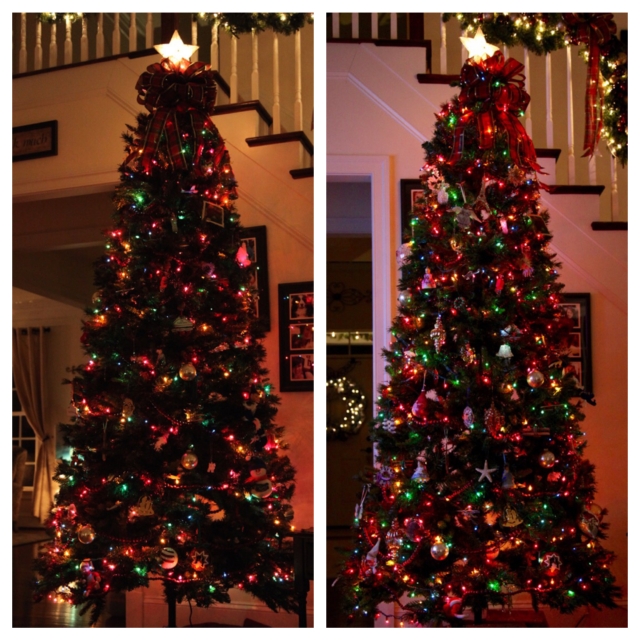
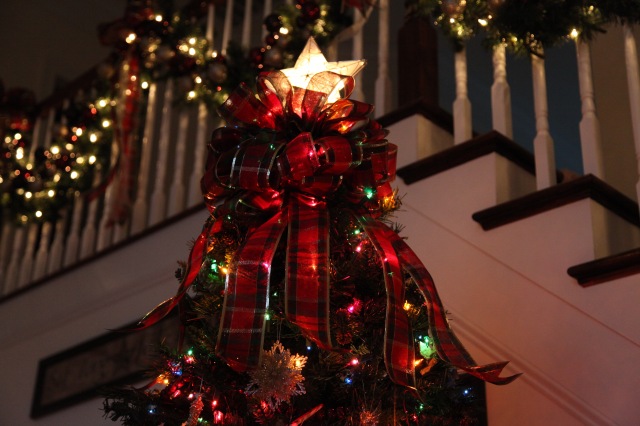
Moving on into the family room area, our staircase is such a focal point, and my daughter actually gave me the idea to hang pip berry garland wrapped in white lights onto the railing. Talk about warming up a large space, adding that lit garland and then making bows to go at the swag points has become one of my favorite design elements in the house (we do switch it out for Christmas with pine garland); the entire idea started by me using burlap and swagging it onto the staircase). Here is a link describing all of the different ways in which I’ve switched up the Staircase Railing…My most recent design is pictured below…
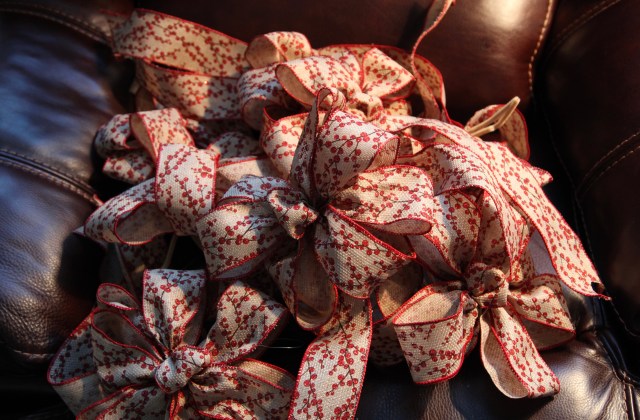
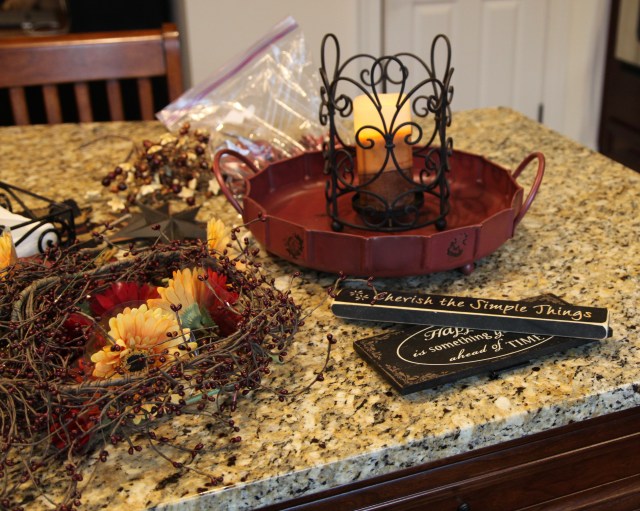
I made all of those bows, and then I made a swag our of pip berry picks and gerber daisies to attach to the bullnose…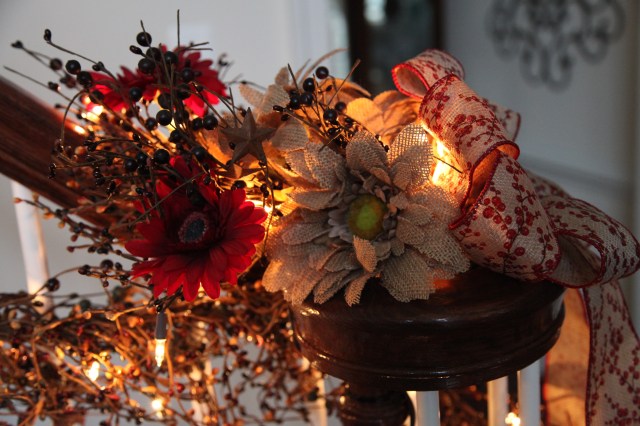
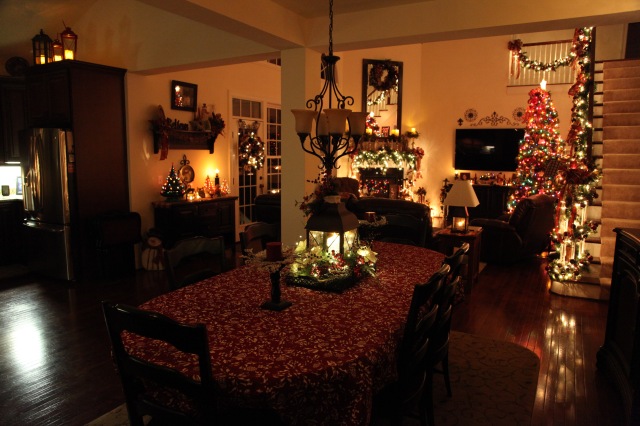
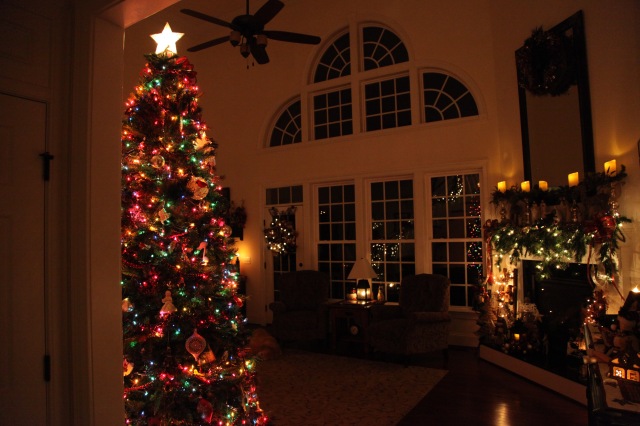
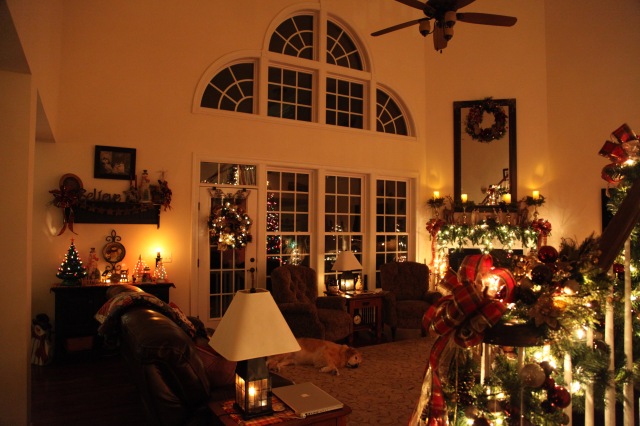
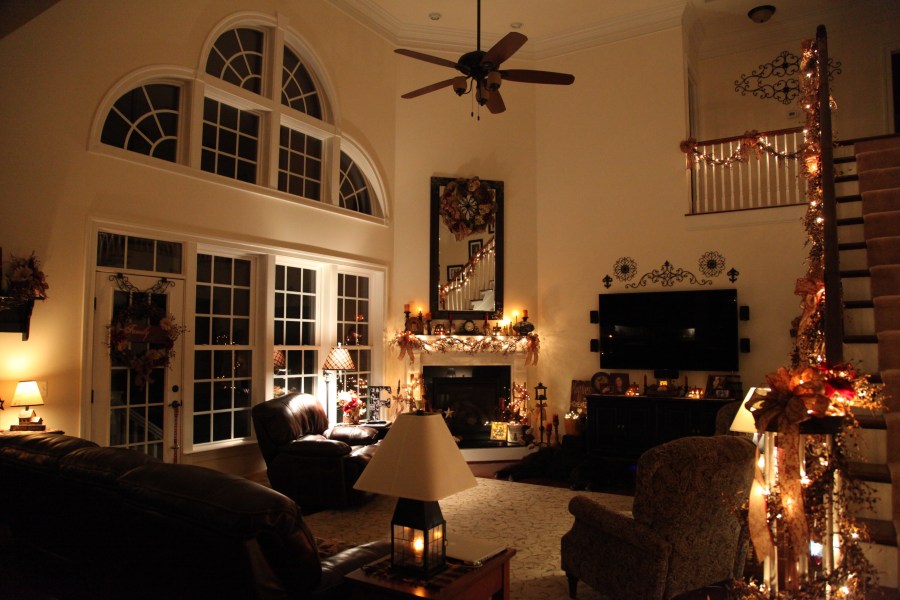
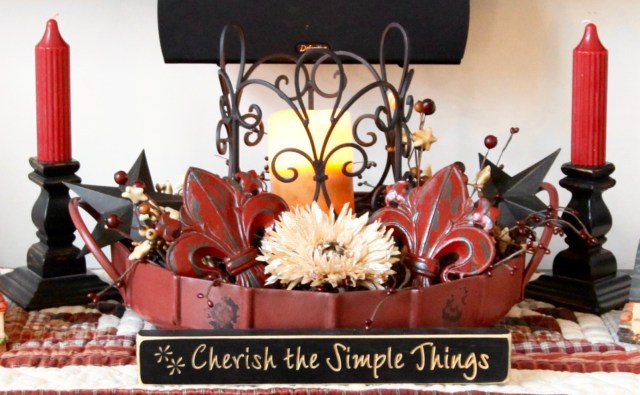
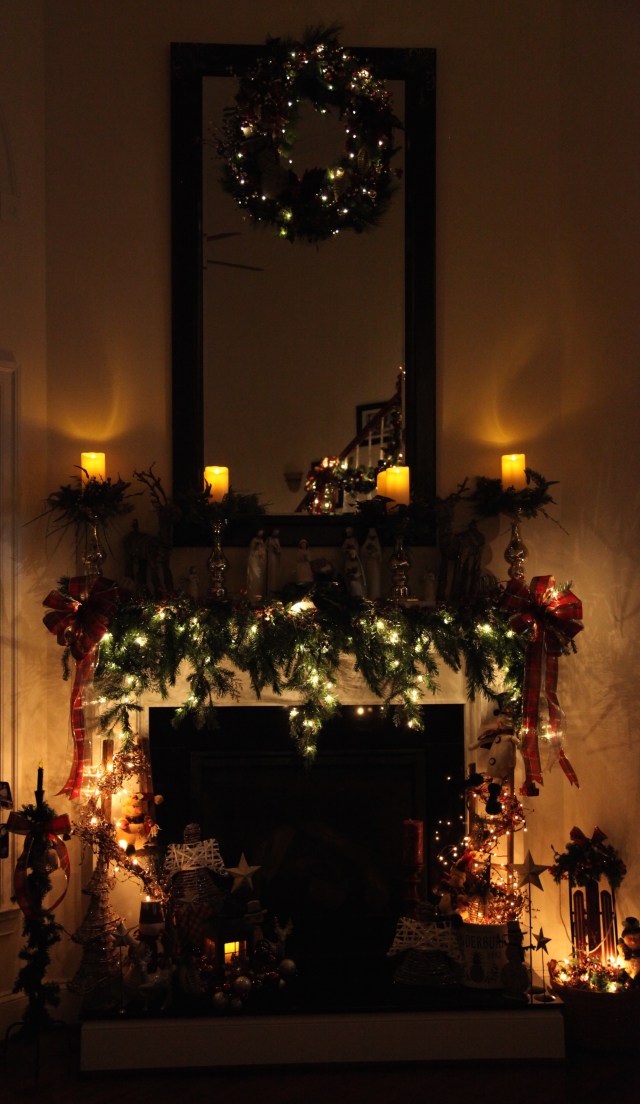
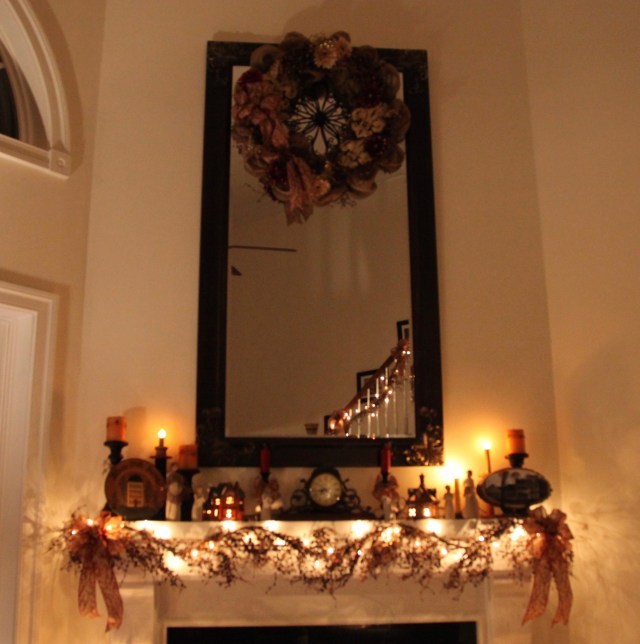
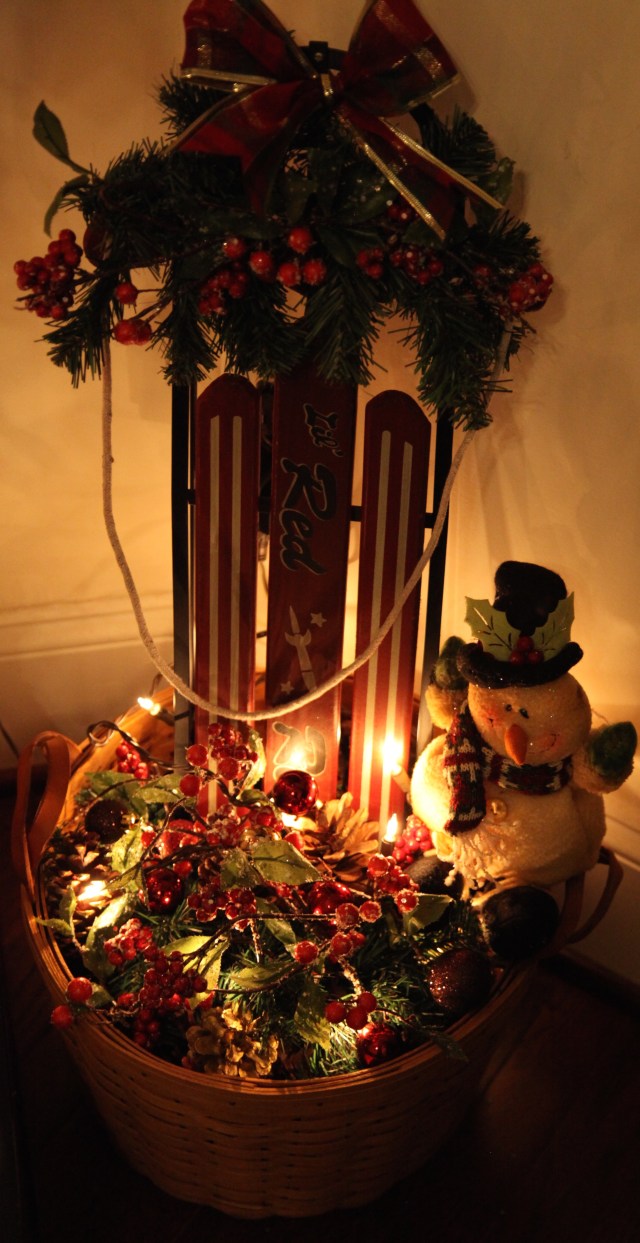
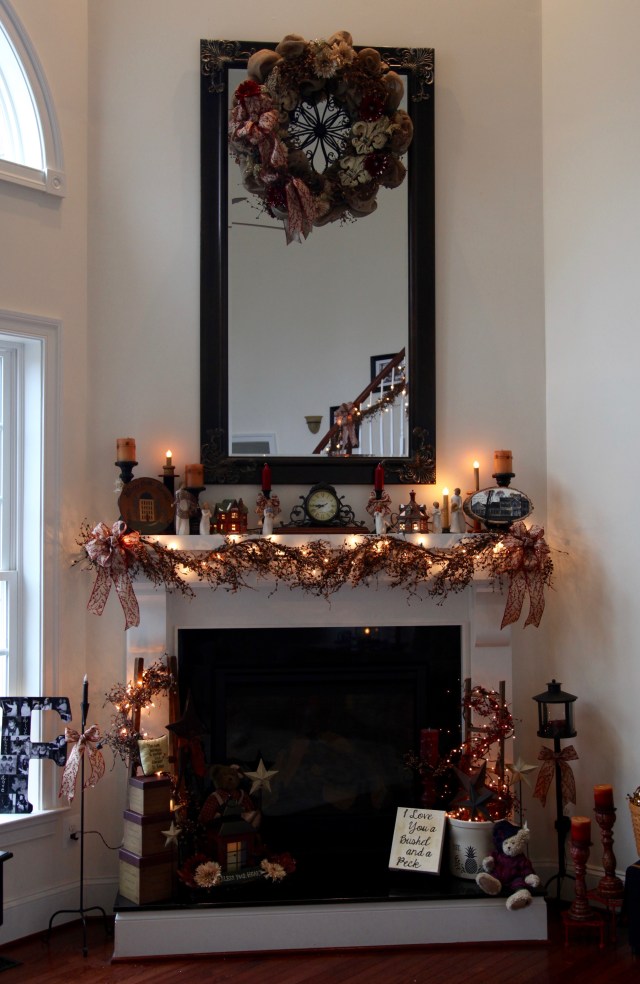
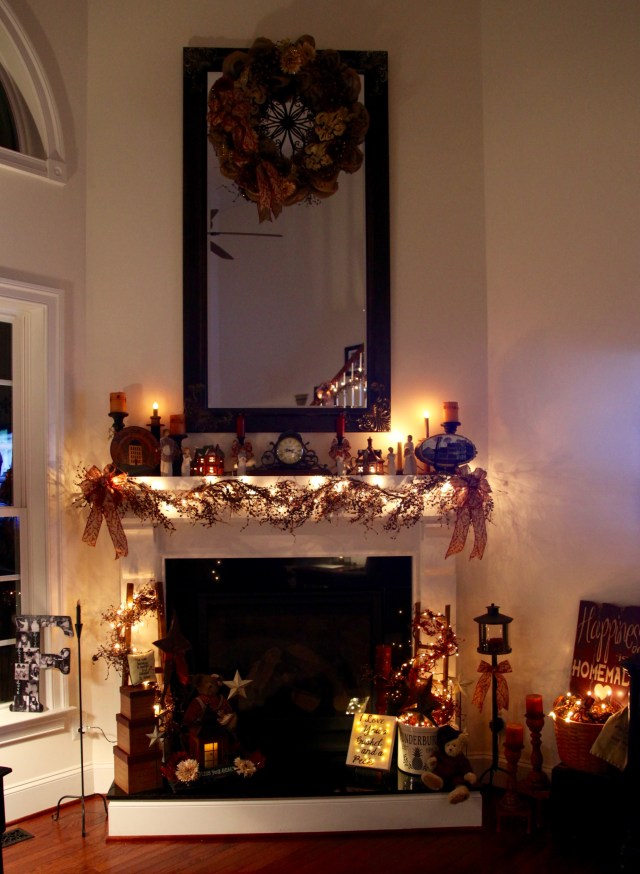
The fireplace is another focal point; I typically decorate the mantel and hearth. I have utilized, a pip berry garland, dickens houses, willow tree figurines, wooden plates, and a few other accent pieces to pull it all together.
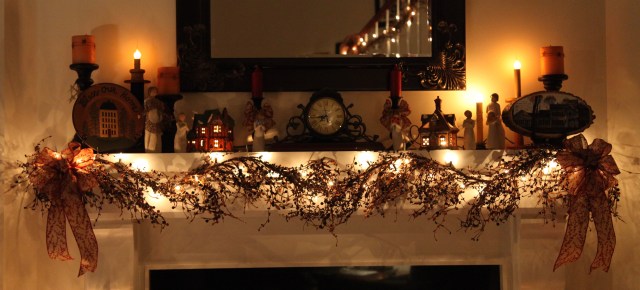


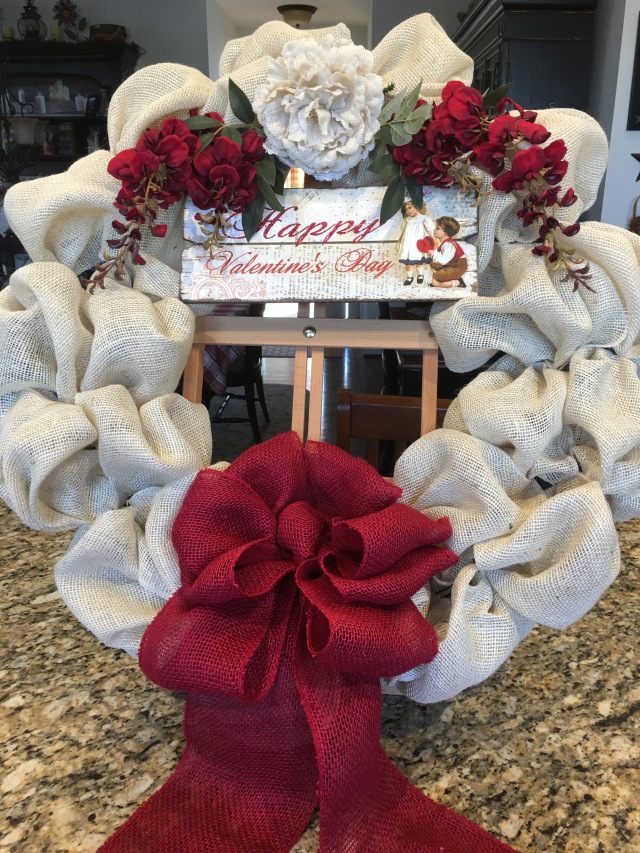
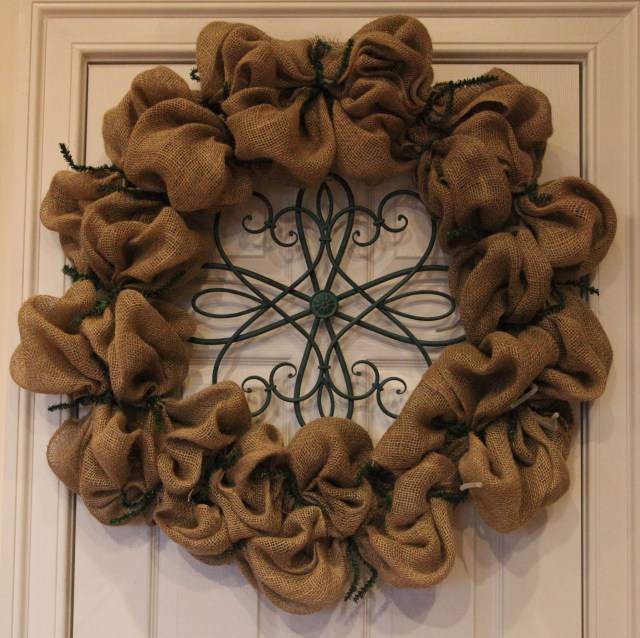
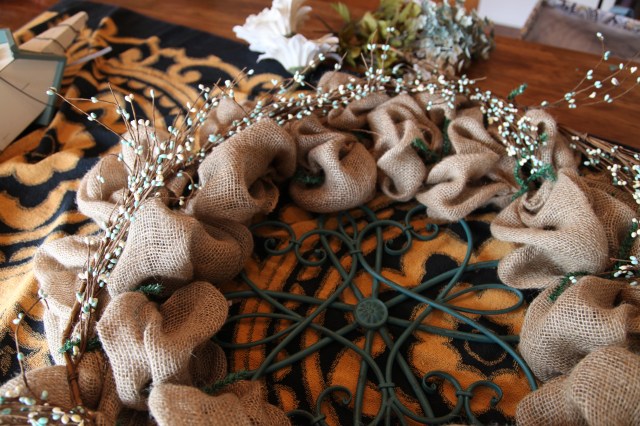
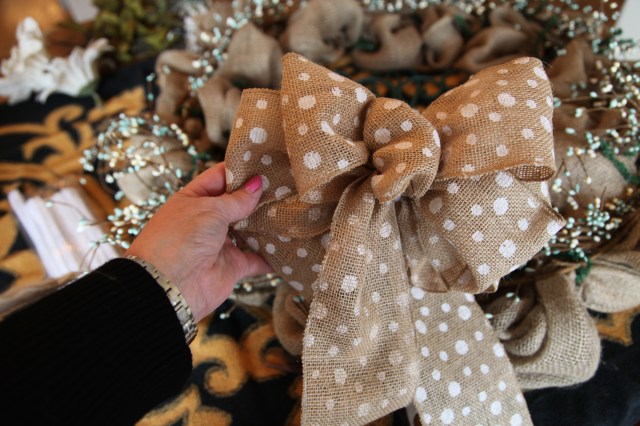
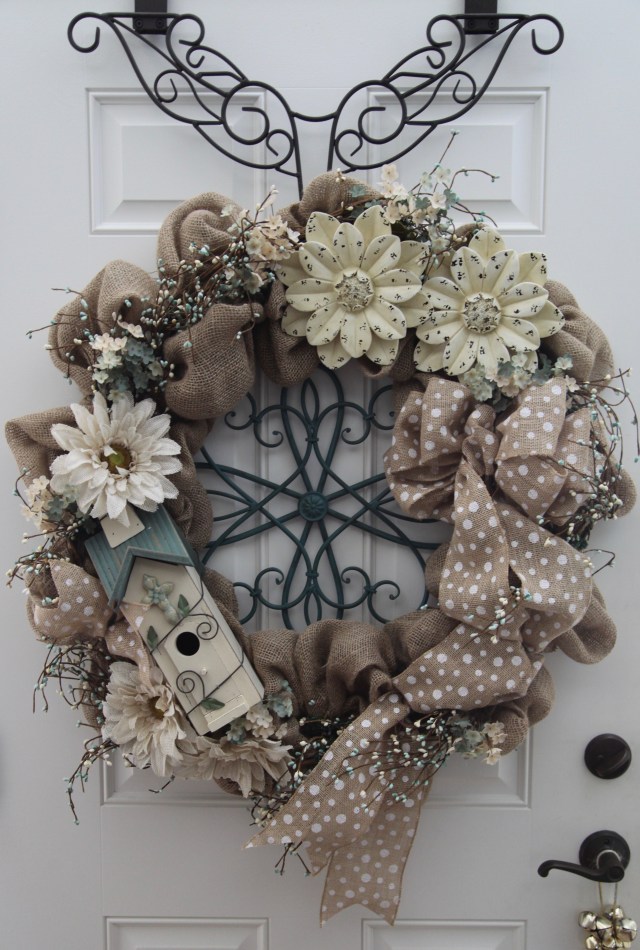
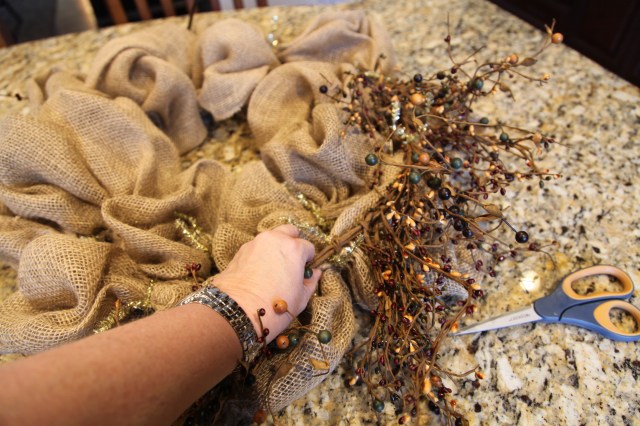
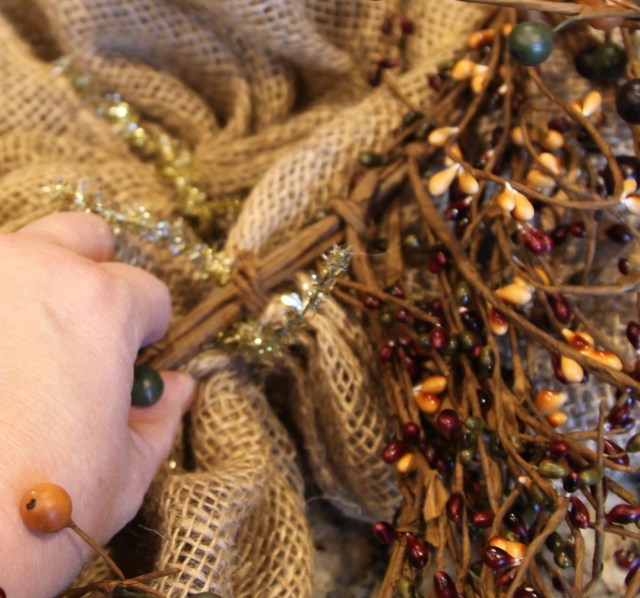
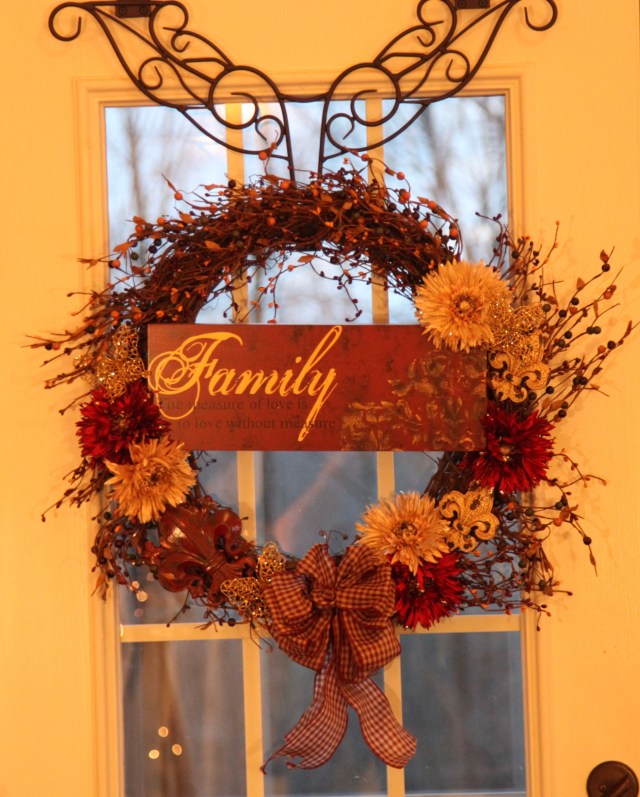
I made the wreath that is hanging on the mirror above the mantel…If you’d like to try one for yourself, here is a link as to how I created it…

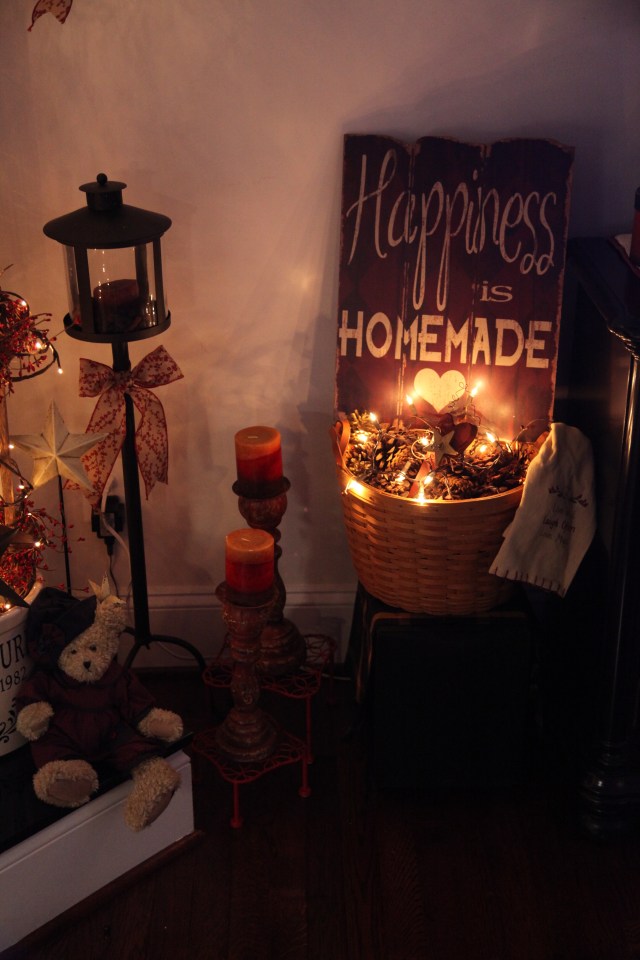
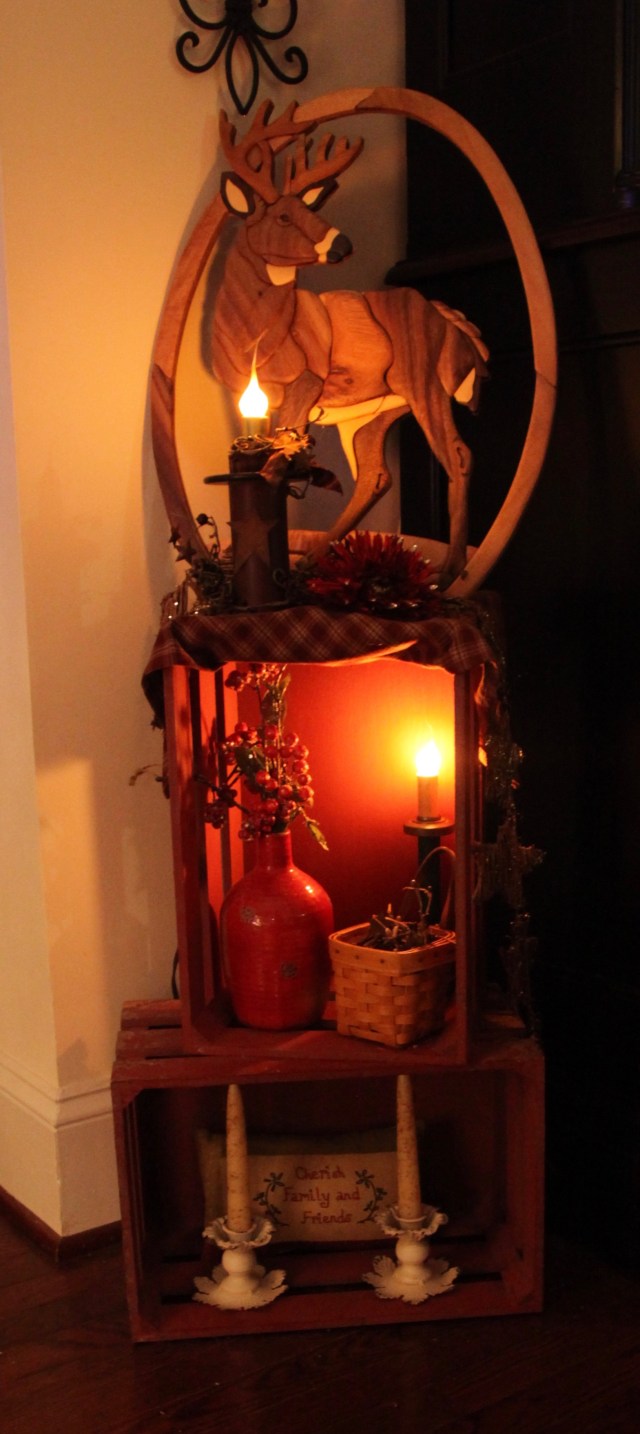
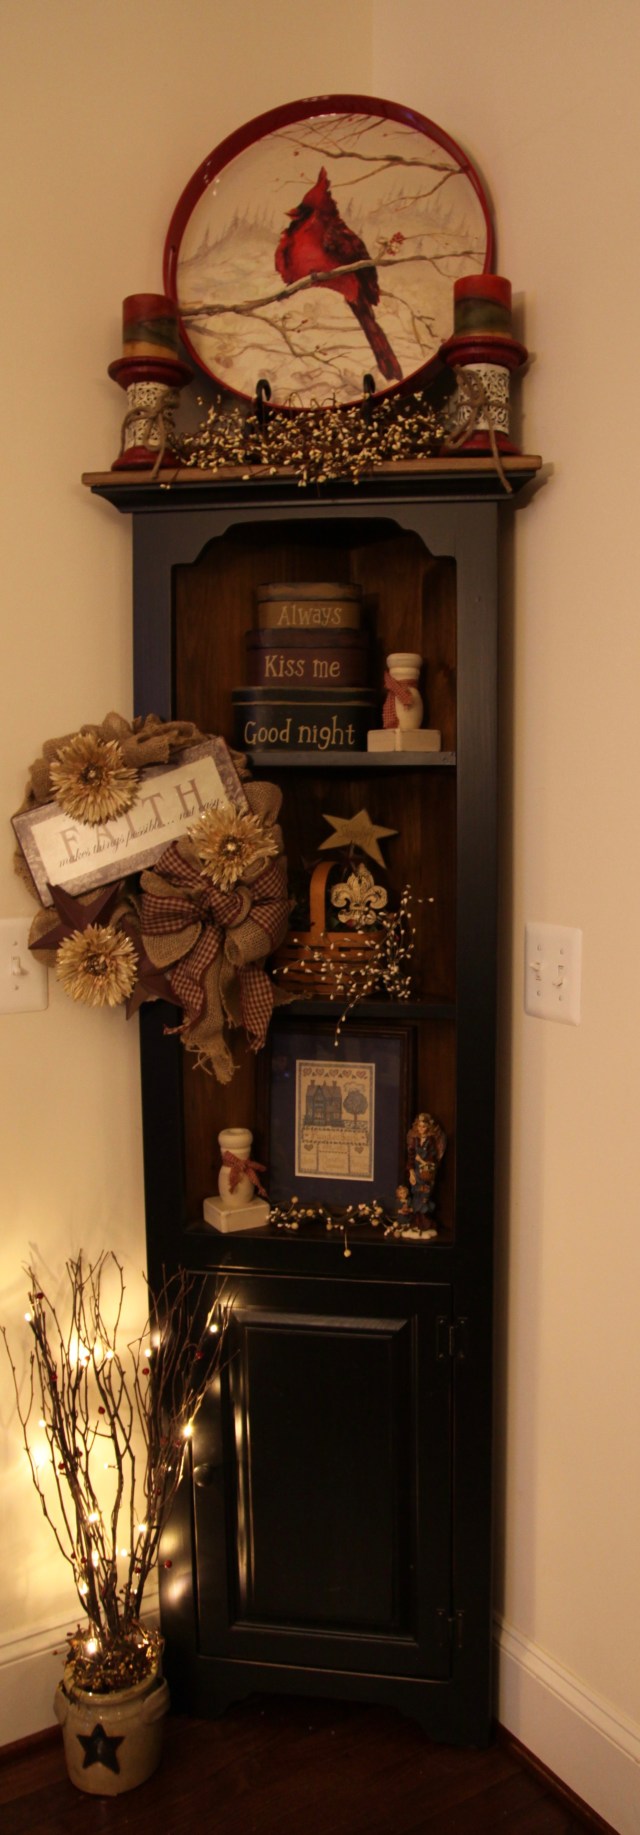
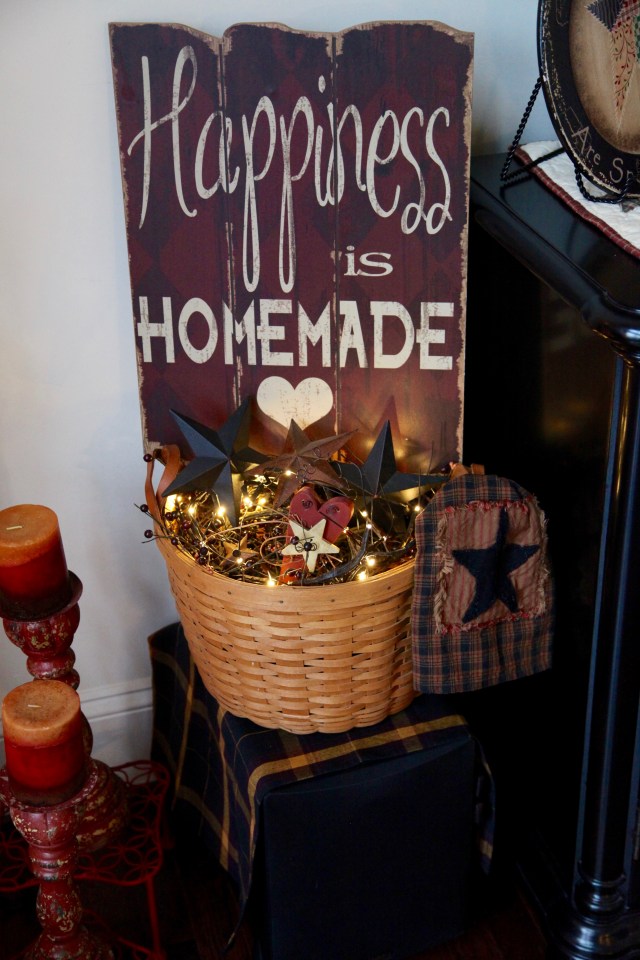
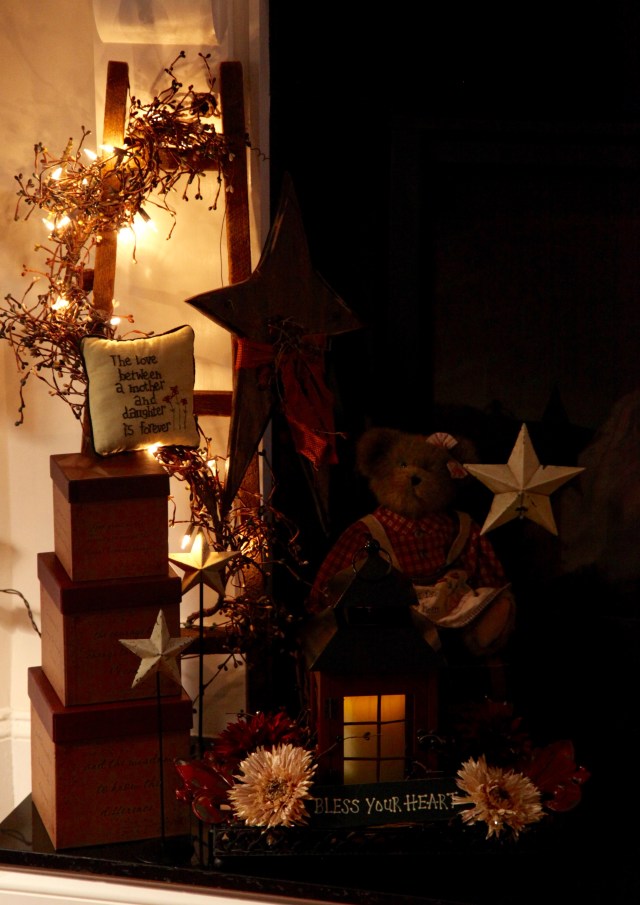
Creating Cozy Corners is another little design trick that I’ve honed over the years…I implemented my little trick on either side of the hearth as shown above, and also in the corners on either side of the credenza as shown below…

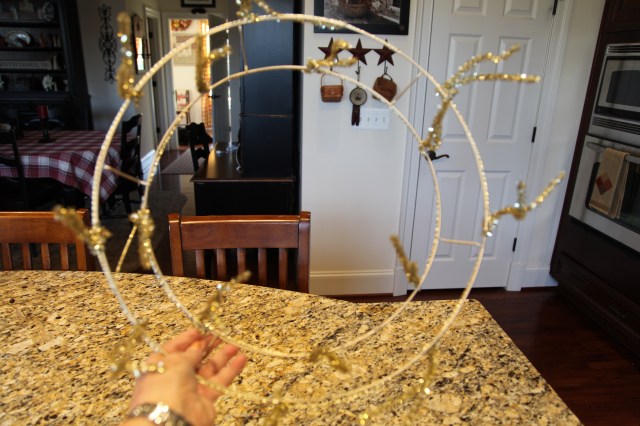
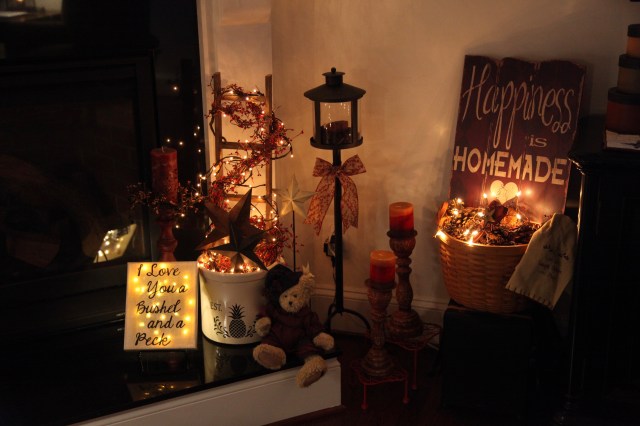
 As seen in the picture above, I have found that adding Rod-Iron Scroll’y’ Pieces and Accent Lighting to my space helps to pull everything together nicely…

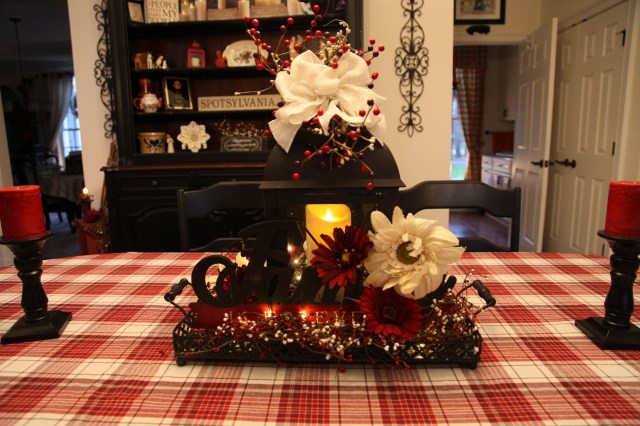
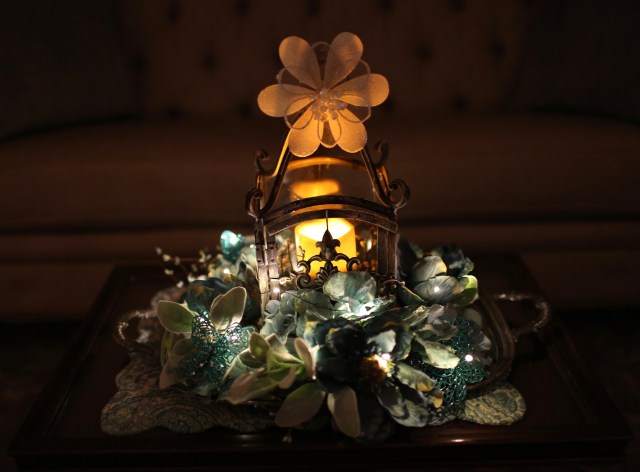
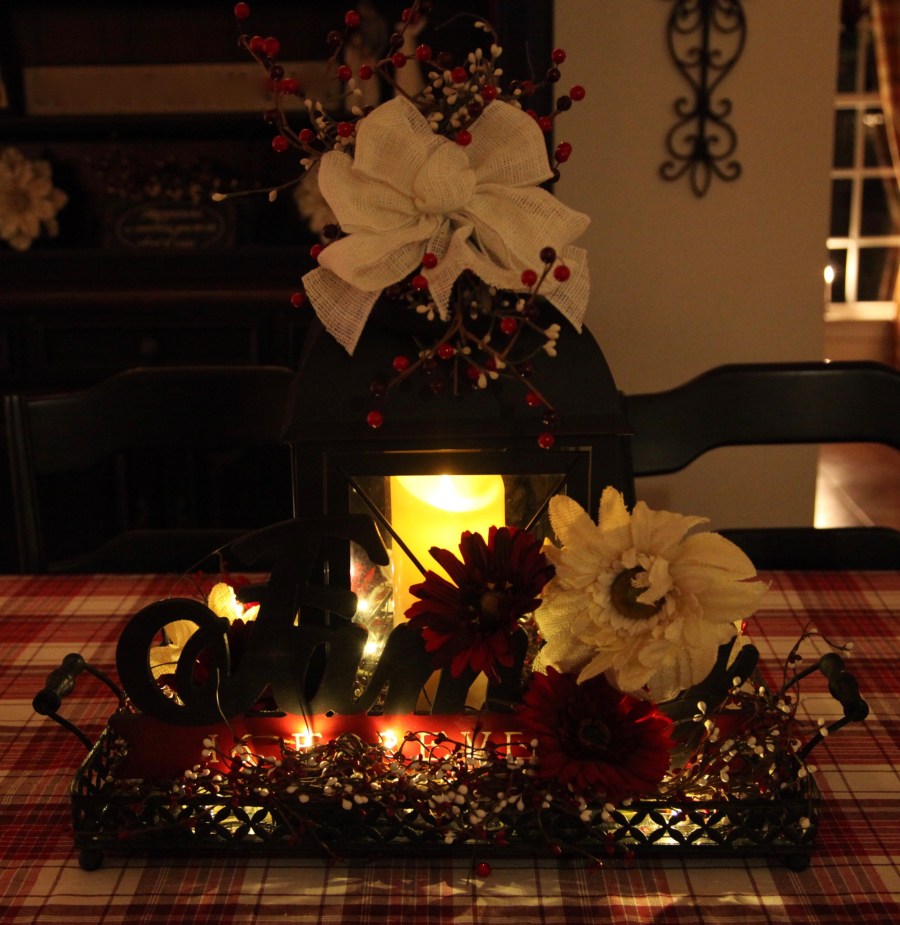
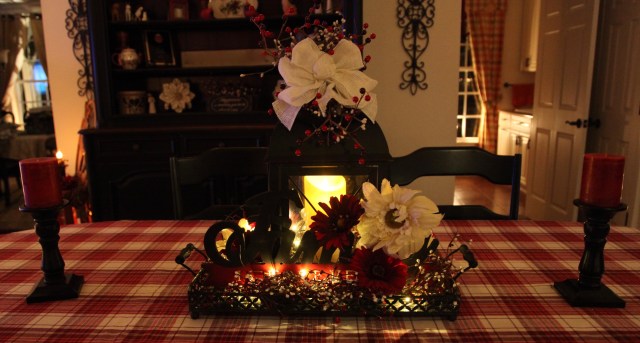
Lanterns are some of my most favorite things with which to work…I use them to create table centerpieces and have them scattered about throughout our home…


I found that flour-de-lis candle holder in Hobby Lobby and I used it much like I do my lanterns…
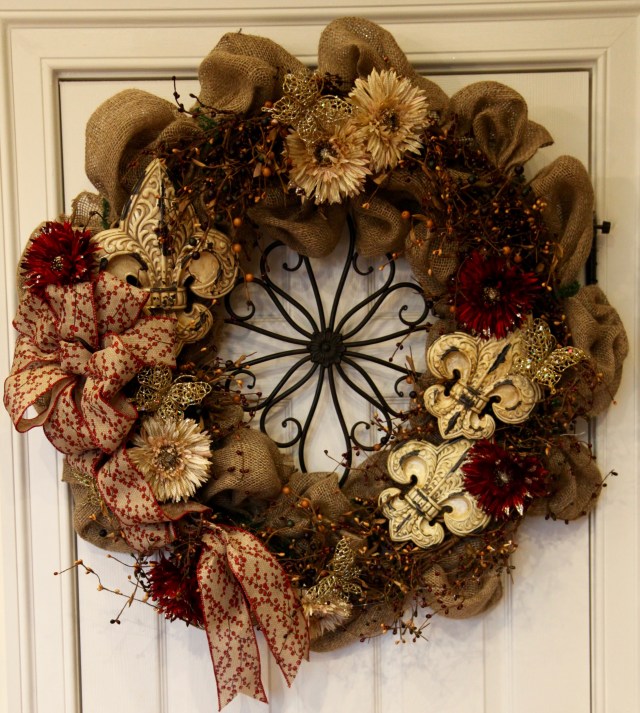
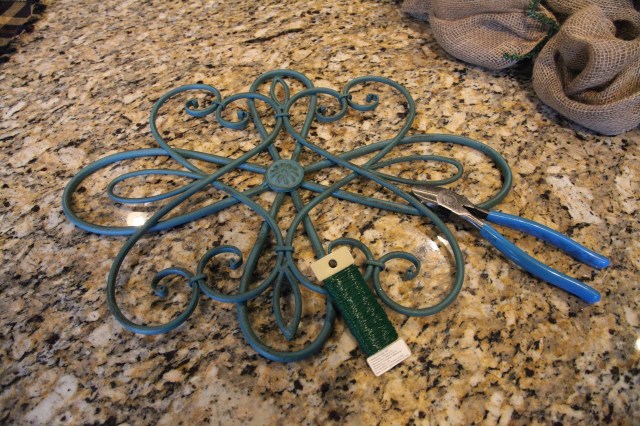
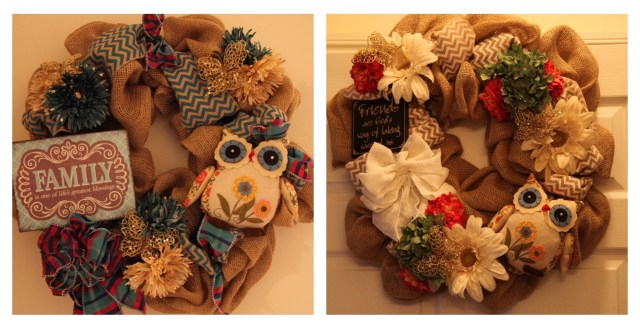
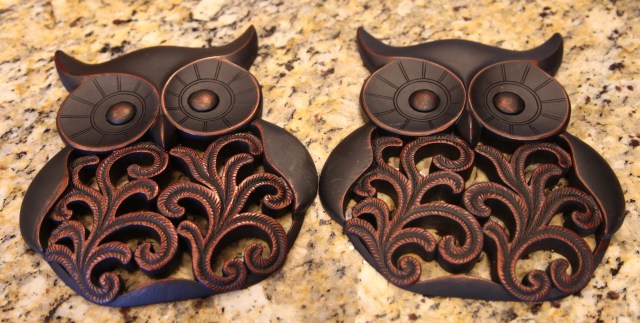
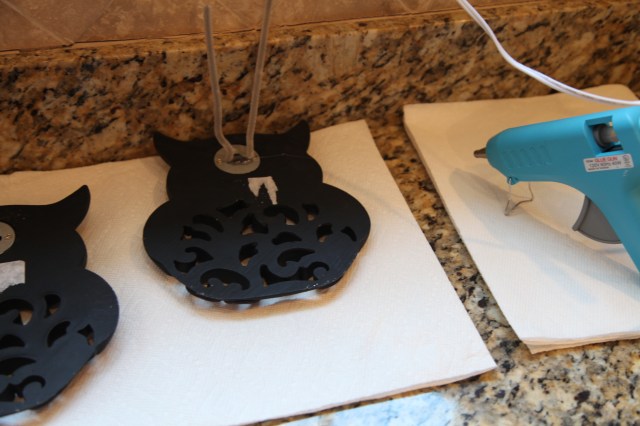
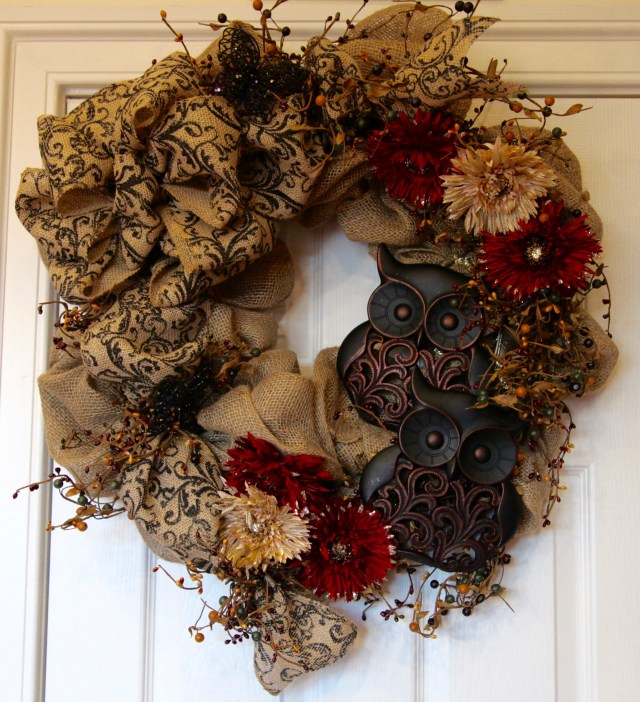
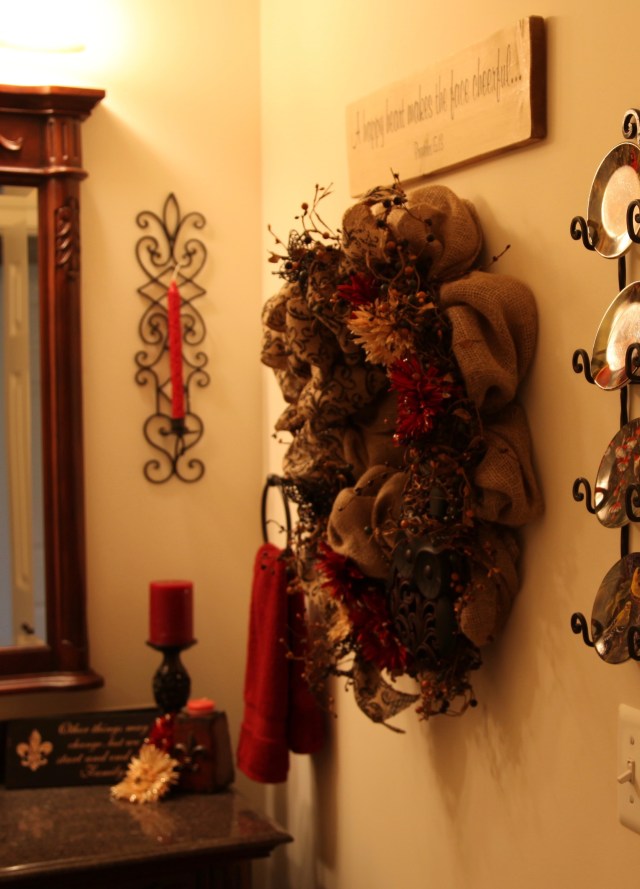
Here is the Powder room, I have tried to decorate it in much the same way as I did the kitchen and family room areas as it is close by. I just made this wreath right after Christmas, I tried to pull in all elements of my decor, i.e. gerber daisies, rod-iron (owls), pip berries (I used a pip berry garland)…OH goodness, why don’t I just give you a link, here is how I made that Burlap, Pip Berry, & Rod-Iron Wreath. 🙂


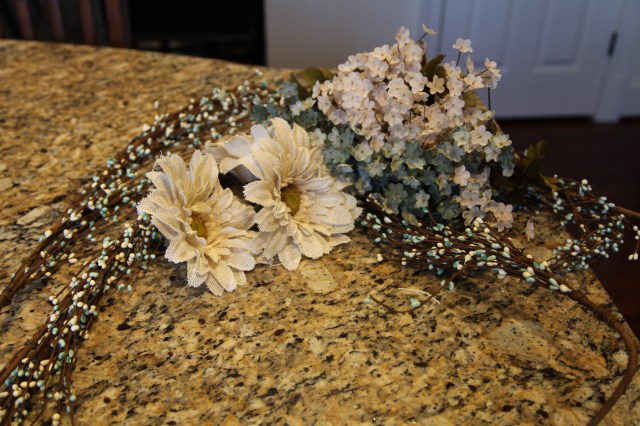
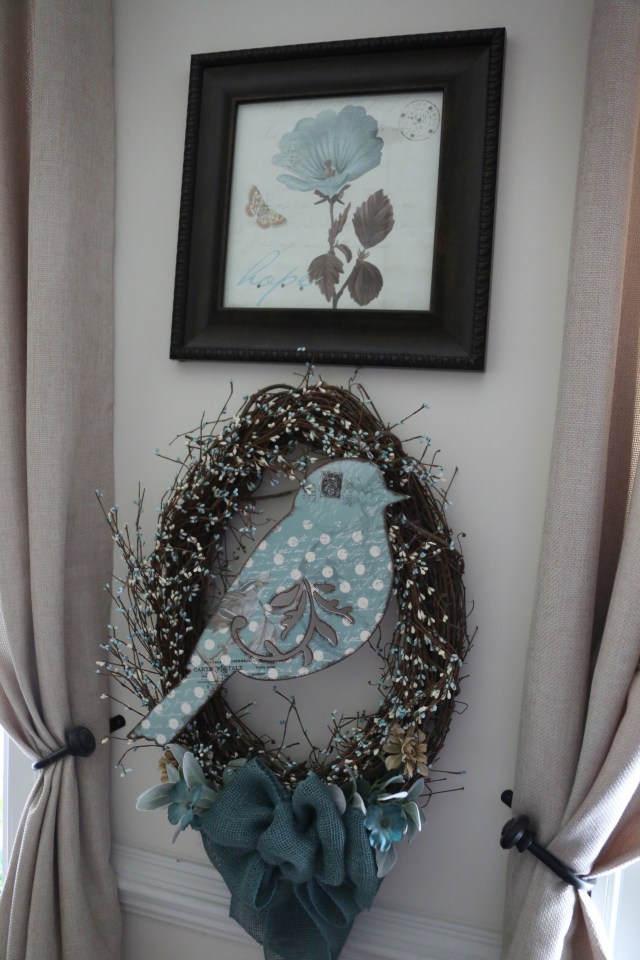
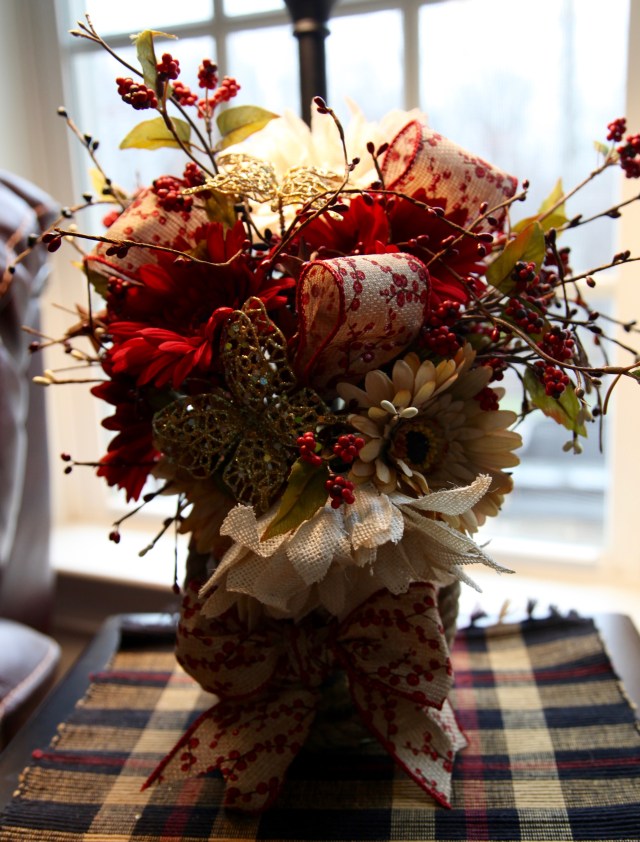
Lastly, one other way that I pull all of my decor together is my incorporating some of the same accent elements into my little flower arrangements, for this decor theme, I’ve used pip berries, gerber daisies, and that same burlap ribbon that I used to make the staircase bows.
I made these little arrangements for the kitchen window decor:


I made this basket arrangement to sit up on a shelf in the family room:
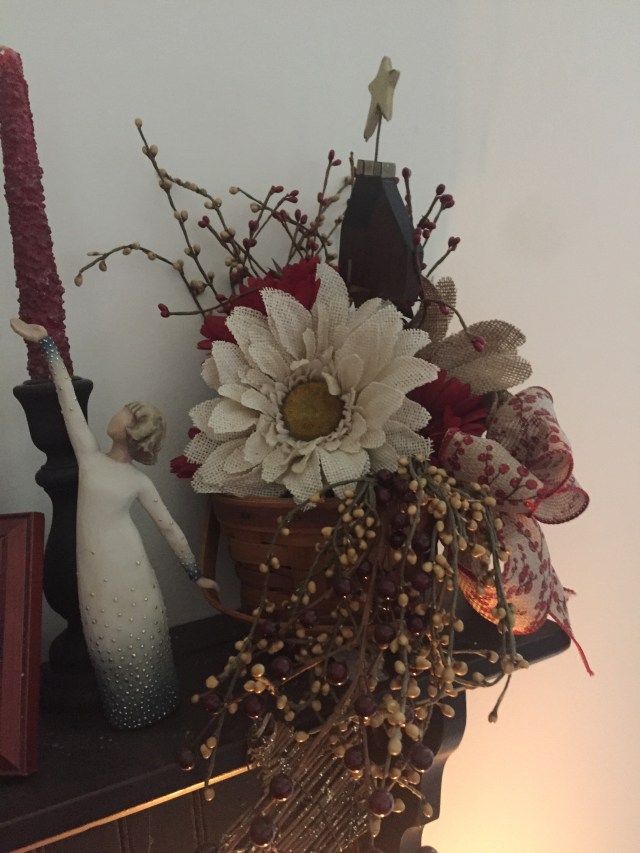
And one more, I made this arrangement to sit on a table in the family room:

My goal is to always create a warm, cozy, & welcoming space and I think I’ve accomplished that goal nicely–I sure stressed for a long time while trying to pull it all together in my head though. It wasn’t until I got moved into this home and started to work with the different spaces that it finally all came together into one cohesive design. I hope that I’ve helped to maybe give you an idea of how to incorporate your favorite things into your home decor and in turn how to make one cohesive design–You can do it, all you need to do is to start compiling a list of the things that you love. 🙂
Until next time, y’all take good care! ❤
~Arlynn ❤


")


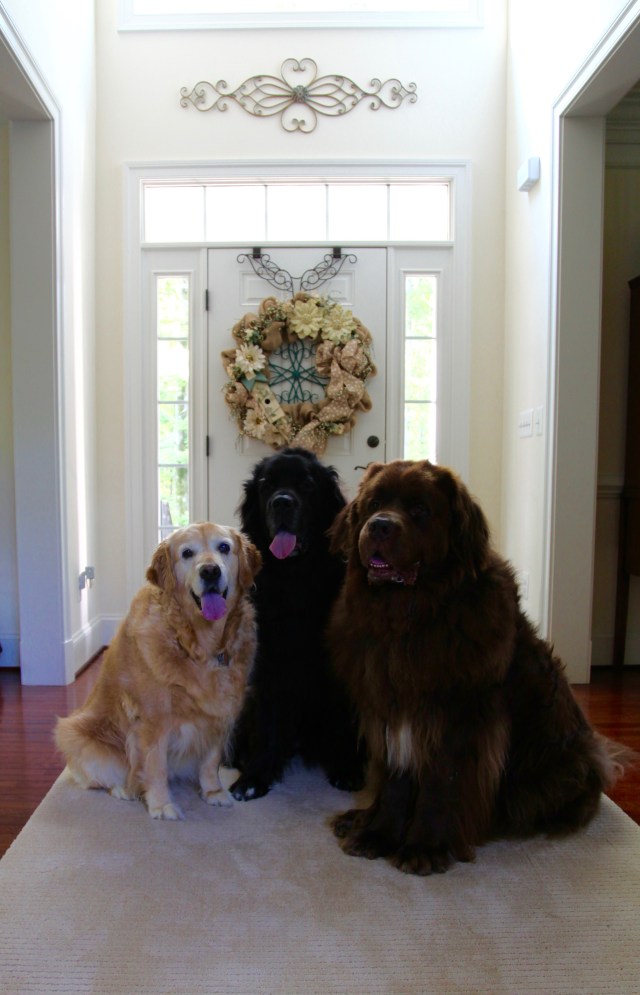
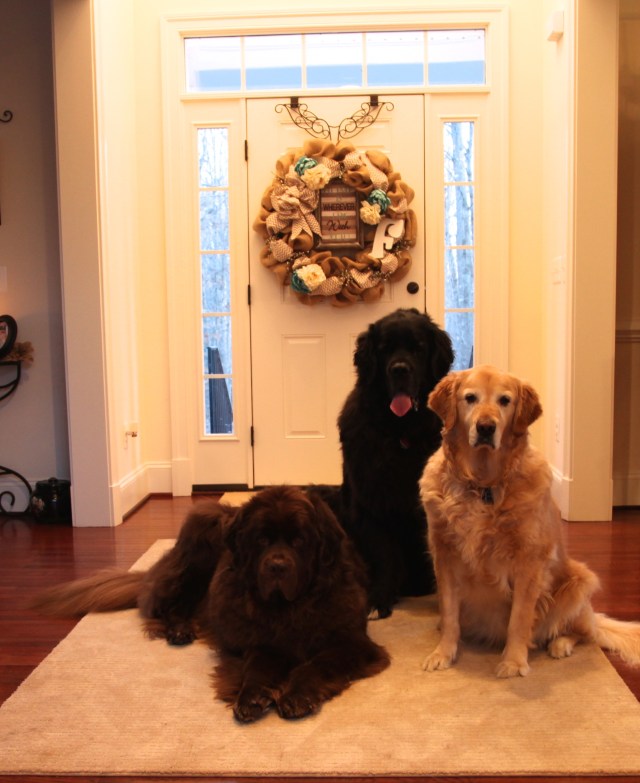
 Here is my ever vigilant helper Samson the Newfoundland, this boy is never too far from my side, he is great company and I just adore this fella!!


")

")
")


")