All of a sudden, I’ve turned around and it is almost March! What? Wait a second, where did February get off to? No, seriously, March has snuck up on me; I have found that the older I get, the faster the time passes, honestly, time is flying by now-a-days. SO, that said, I try to make the very best of every day that I have on this earth, I feel so blessed that I can still move about and be creative.
I gathered all of the materials that I needed for this wreath at, where else, Hobby Lobby. 😉 All of the St. Patrick’s Day accents were on sale for 30% off and I already had purchased the work wreath form for 40% off last week.

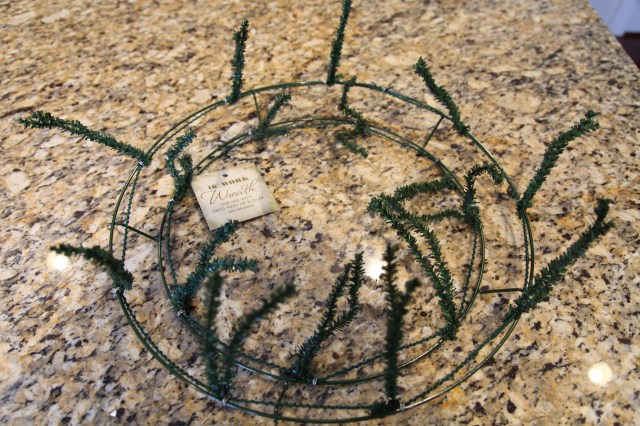
- 16″ Work Wreath Form
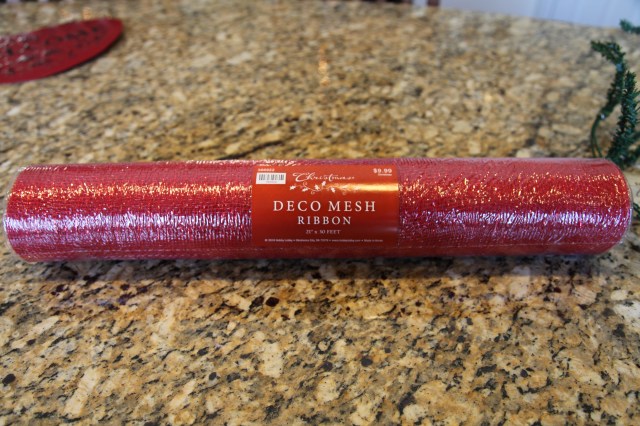
- 1- 21″ x 10 yard Deco Mesh Roll (Green)
- 1- 21″ x 10 yard Deco Mesh Roll in White (I used what was left on a roll that I had used for another wreath)
- 3 Wooden Shamrocks
- Sparkly Shamrocks
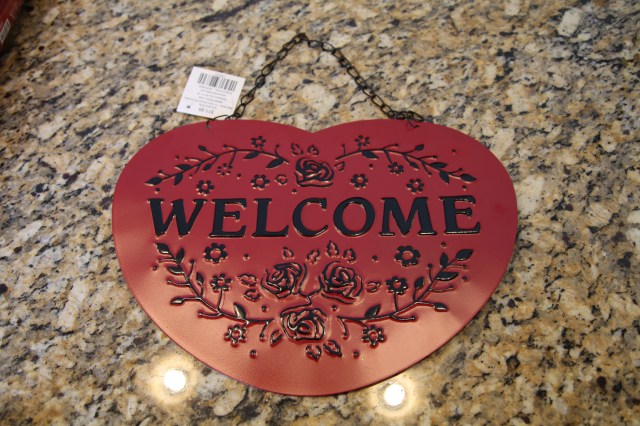
- Wooden “Happy St. Patrick’s Day” Plaque
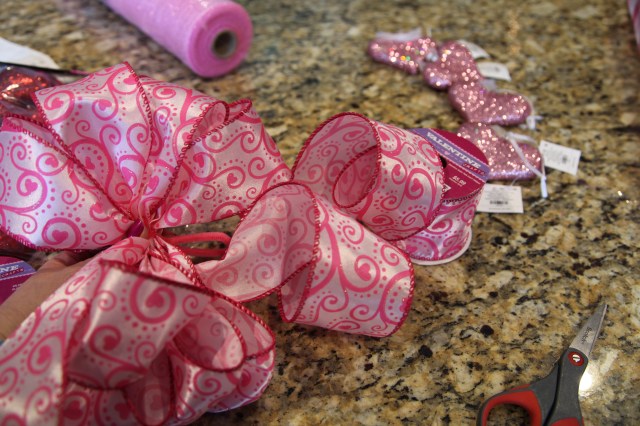
- St. Patrick’s Day wired ribbon
- Sparkly green wired ribbon
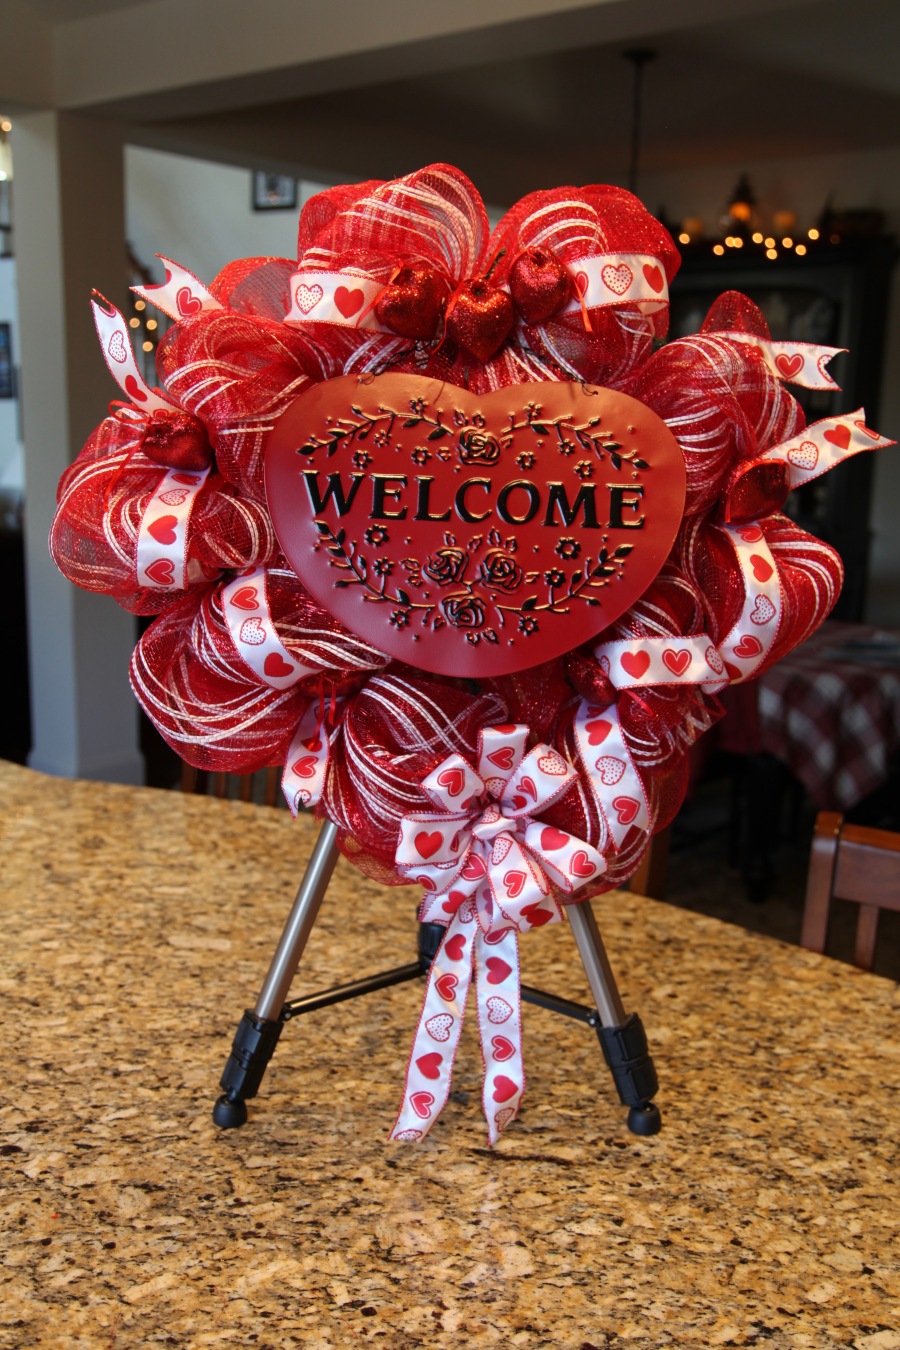
This wreath was quite easy to put together and it only took me about 45 minutes to complete. I started by attaching the green deco mesh to the work wreath, I simply looped the mesh from one twist tie to the next, around the outer ring and then I moved to the inner ring and did the same thing…

Then I attached the white deco mesh, this really filled the wreath out nicely. I honestly didn’t use any specific pattern when attaching this, I just looped and added it on top of the green mesh where I thought it looked nice…sometimes it was in a twist tie located on the outer ring and sometimes it was in a twist tie located on the inner ring. Very seldom do I just go at something with abandon like that, but, it really worked well with this particular wreath. 🙂

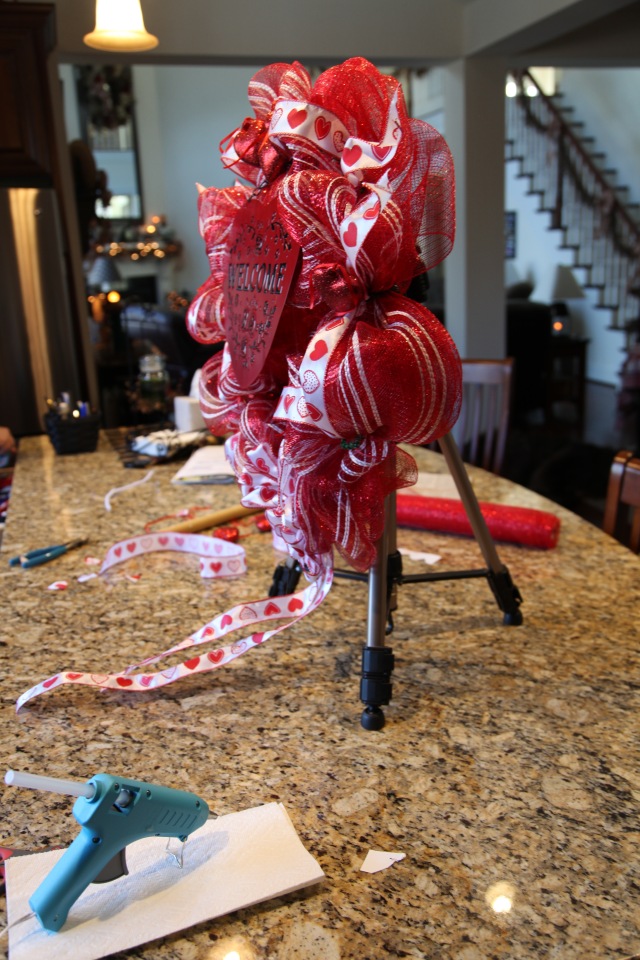
I then hot glued some pipe cleaners onto the back of the plaque so that I could attach it to the wreath form…
Then while that was drying, I made a bow out of the shamrock wired ribbon and attached it to the wreath…I left two very long tails on the bow.

After the plaque was dry, I attached it to the wreath. I took one long tail over the top and around to the plaque and the other tail around the bottom up to the plaque catching it in the outer ring’s twist ties as I went. I brought both ties together under the plaque and left two little tails hanging off the side of the plaque…
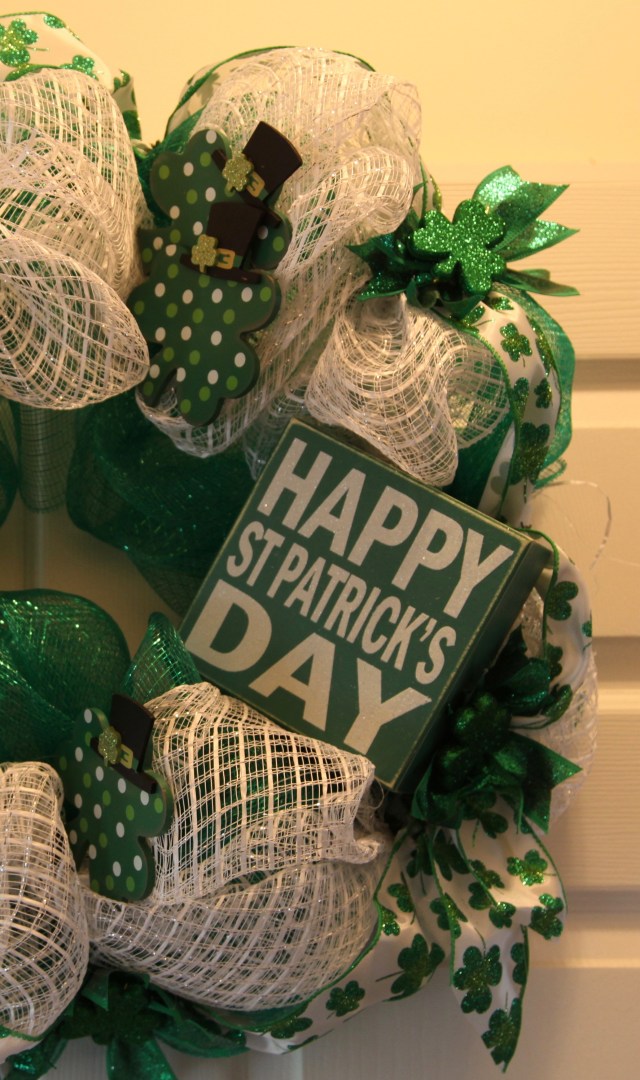
I also glued the three wooden shamrocks onto the wreath, two on the top center and one on the bottom center.
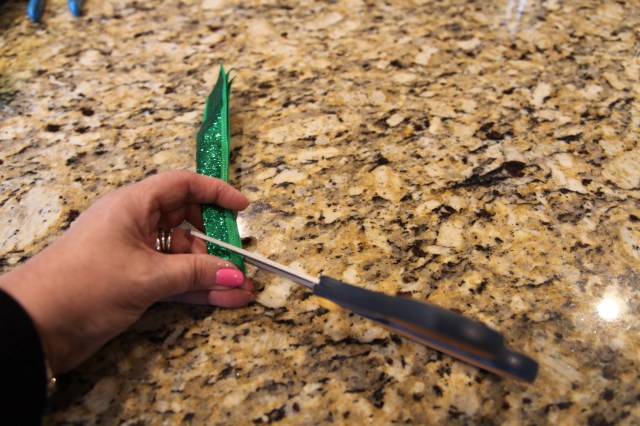
I cut the wired green sparkly ribbon into 8″ strips, I used the entire bolt.

I piled three strips on top of one another…
And then I cut an inverted “V” in both ends…
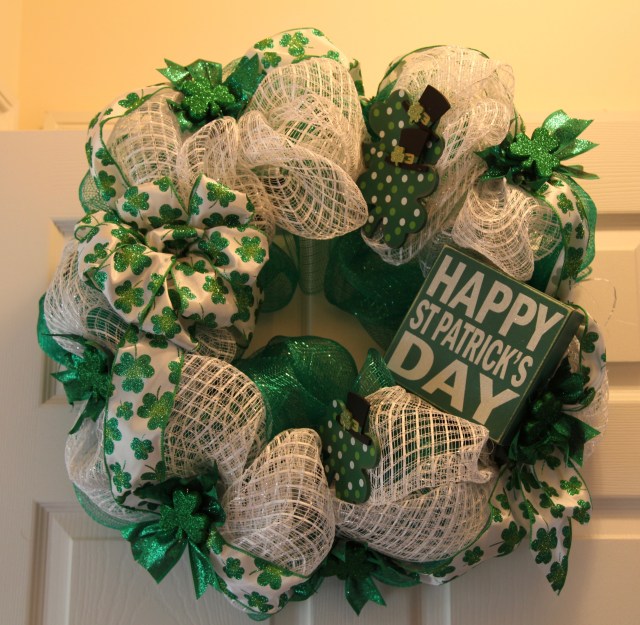
Then I attached each tuft of three into the outer ring’s twist ties…I didn’t put them in every single one, I only put them in the places where there needed to be a little somethin’ somethin’ more added; I flared them out to resemble a bit of a star shape.

I hot glued one sparkly shamrock to the center of each sparkly tuft…cute, cute. 🙂
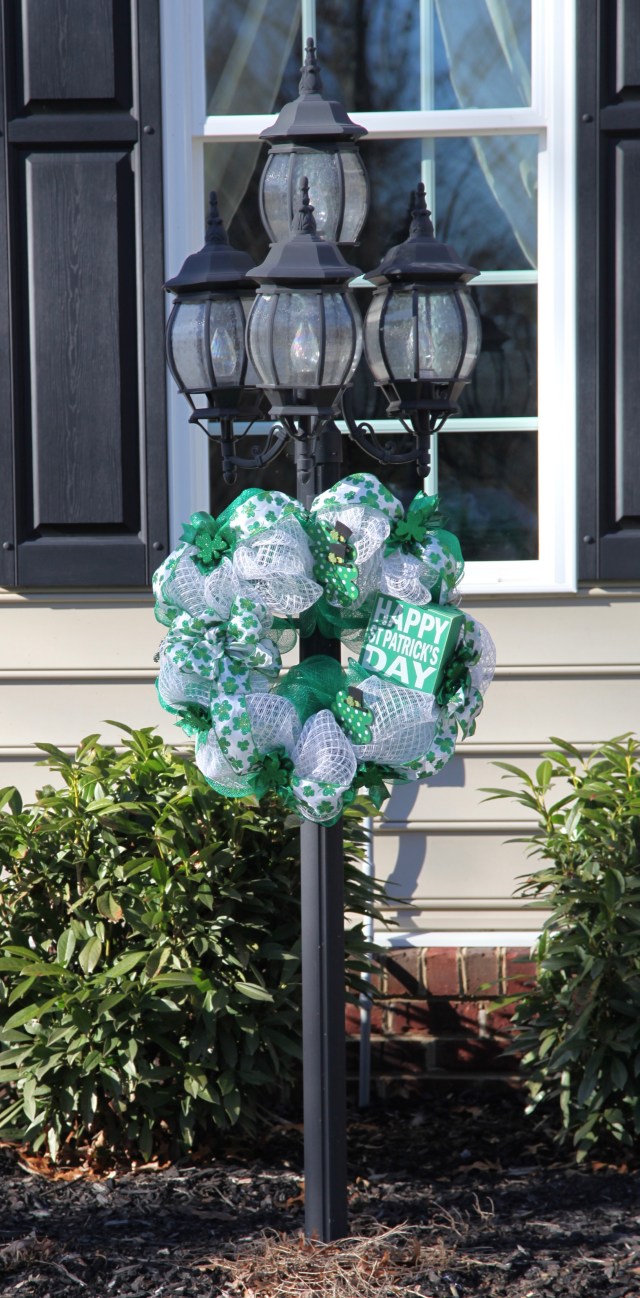
I stood back and took a look and was satisfied with what I had created.
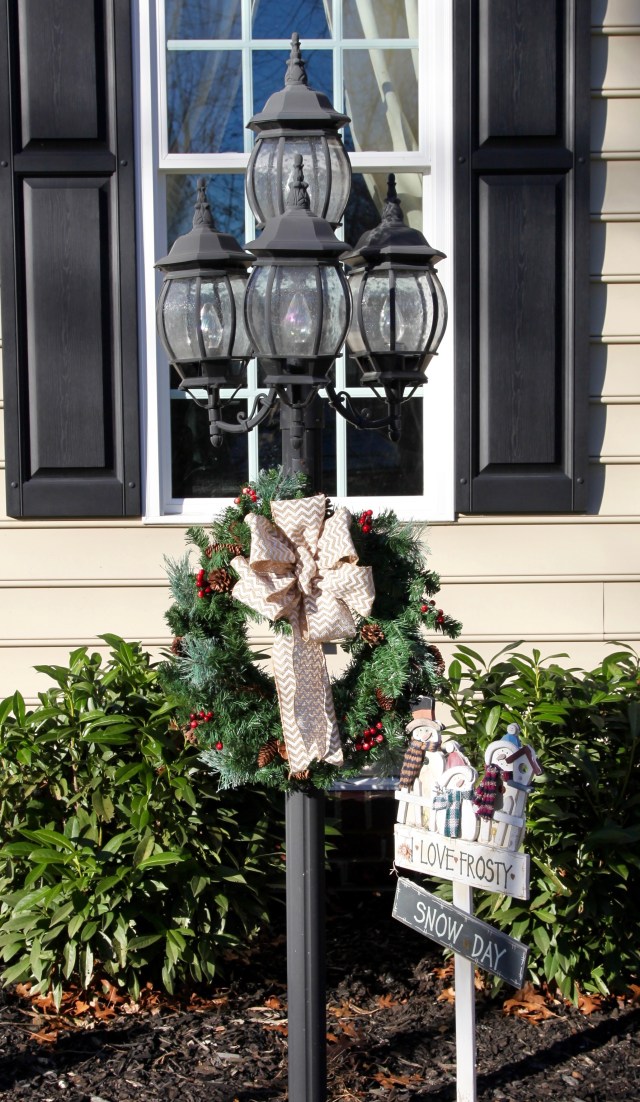
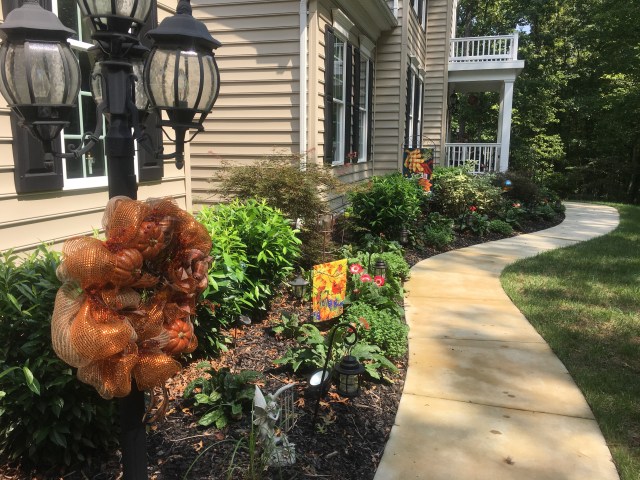
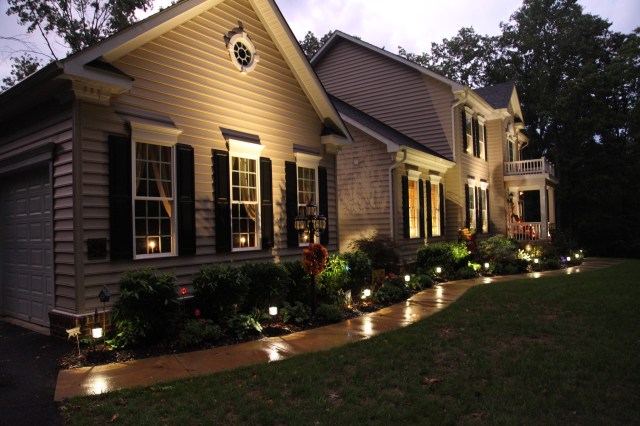
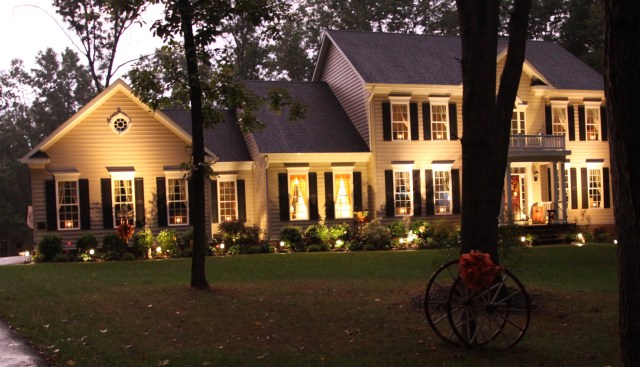
I took it outside and hung it on the light post in front of our house.
And while I was out there, I went ahead and switched out my decorative flags…

And I walked out to the mailbox and replaced the wooden heart with the wooden shamrock and I made a new green checked bow to match. If you’d like to see more about how my mailbox gets transformed each month, check out my post Seasonal Mailbox Decor…

I normally don’t redecorate the inside of our home for St. Patrick’s day, but these couple of little touches help the outside to look festive. 🙂

Until next time, y’all take care!
~Arlynn ❤


 See that wooden heart hanging under the mailbox? That is actually meant to be hung on a little decorative pole (I had it hanging on the front porch of our other home). I didn’t have a place that I wanted to hang the decorative pole here at this house, but, I’ve been using all of the “signs” that I collected throughout the years to augment my mailbox decor.


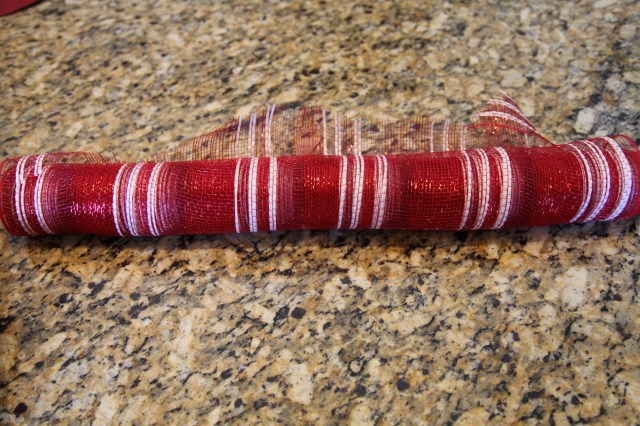


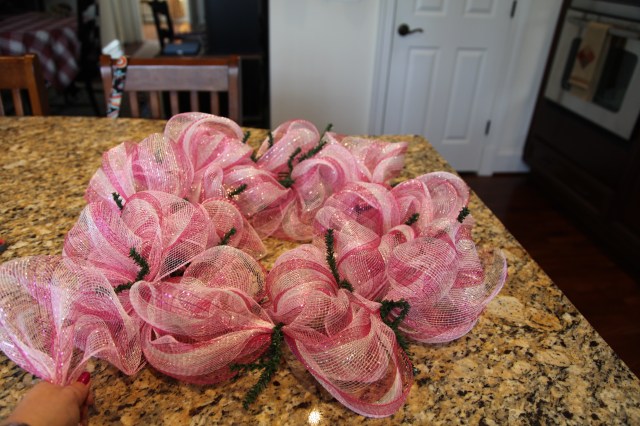
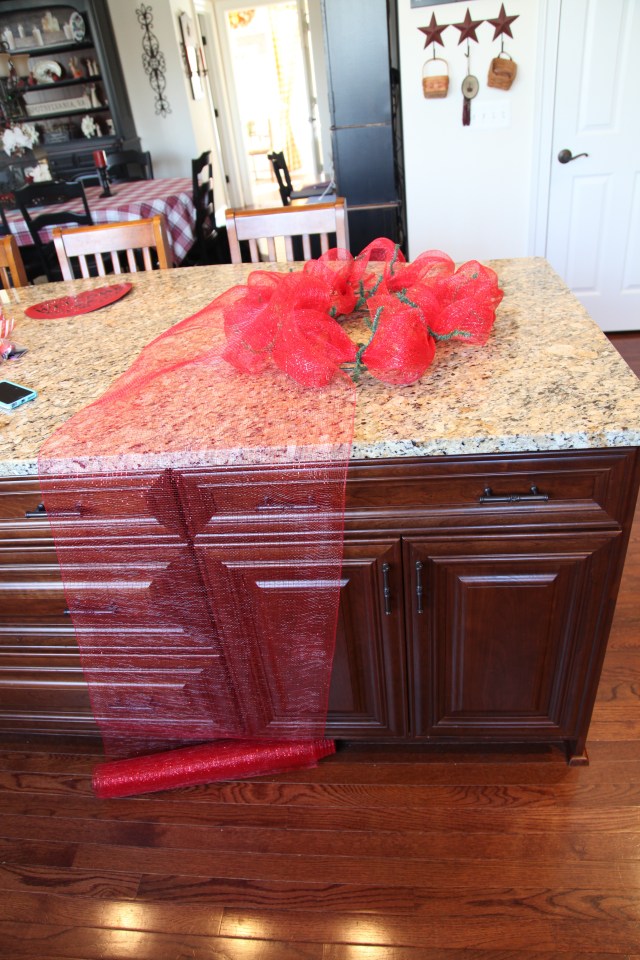 Then I added a row of the red and white deco mesh starting at the inner ring and working my way around the form alternating between the pipe cleaners on the inner and outer rings…
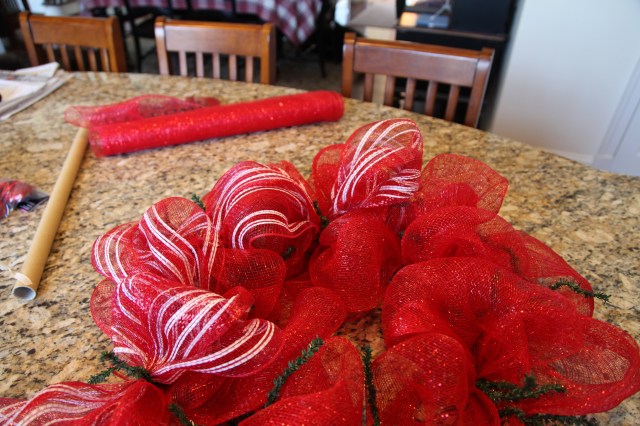


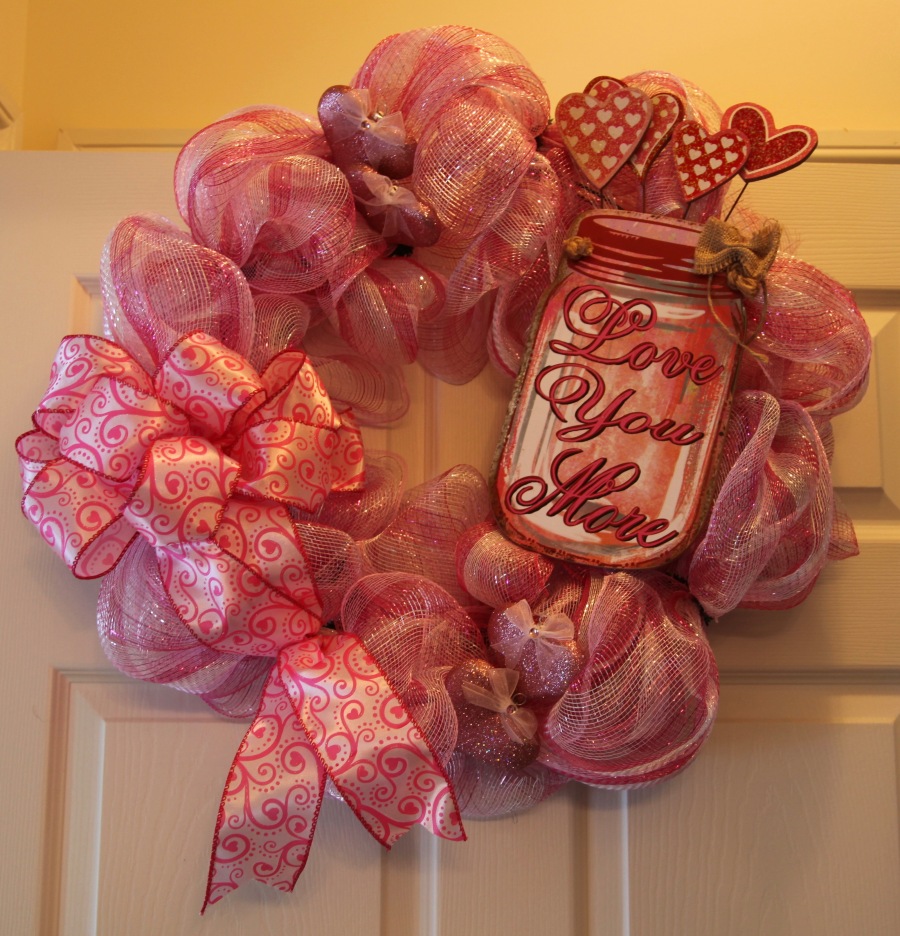
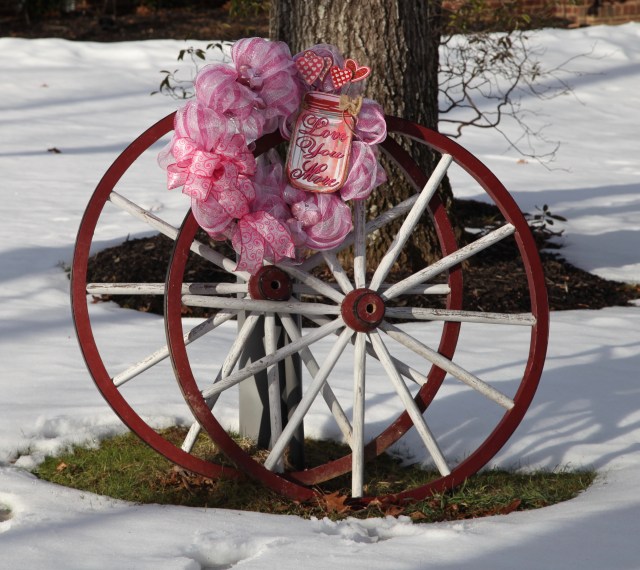
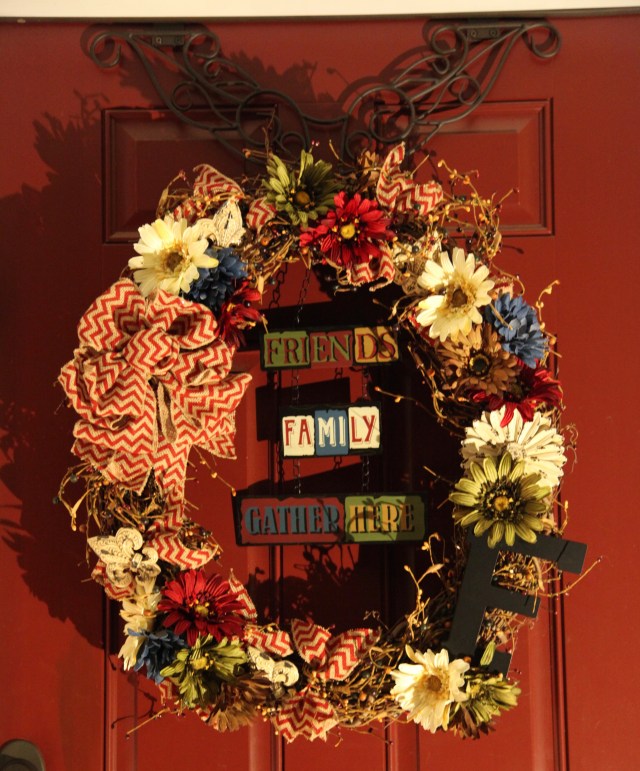
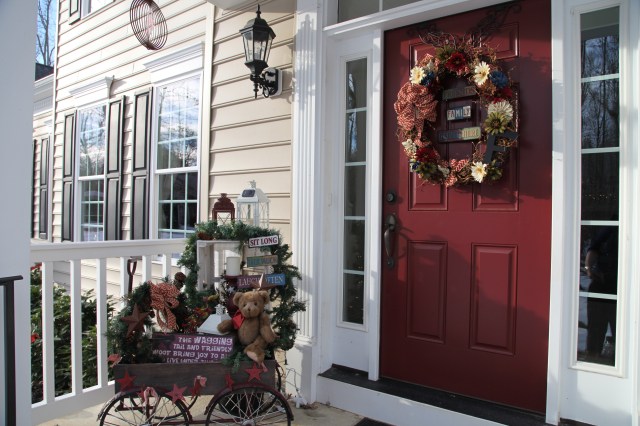
 Blog post coming up soon to show y’all where I ended up putting the pink and white Valentine’s wreath and to show you a few other things that I did to the front porch to transition that decor to a more generic country themed feel. 🙂 In other words, Valentine’s Day is not represented EVERYwhere in my decor…only outside with these two wreaths and just a couple of little things on my mailbox. 🙂