

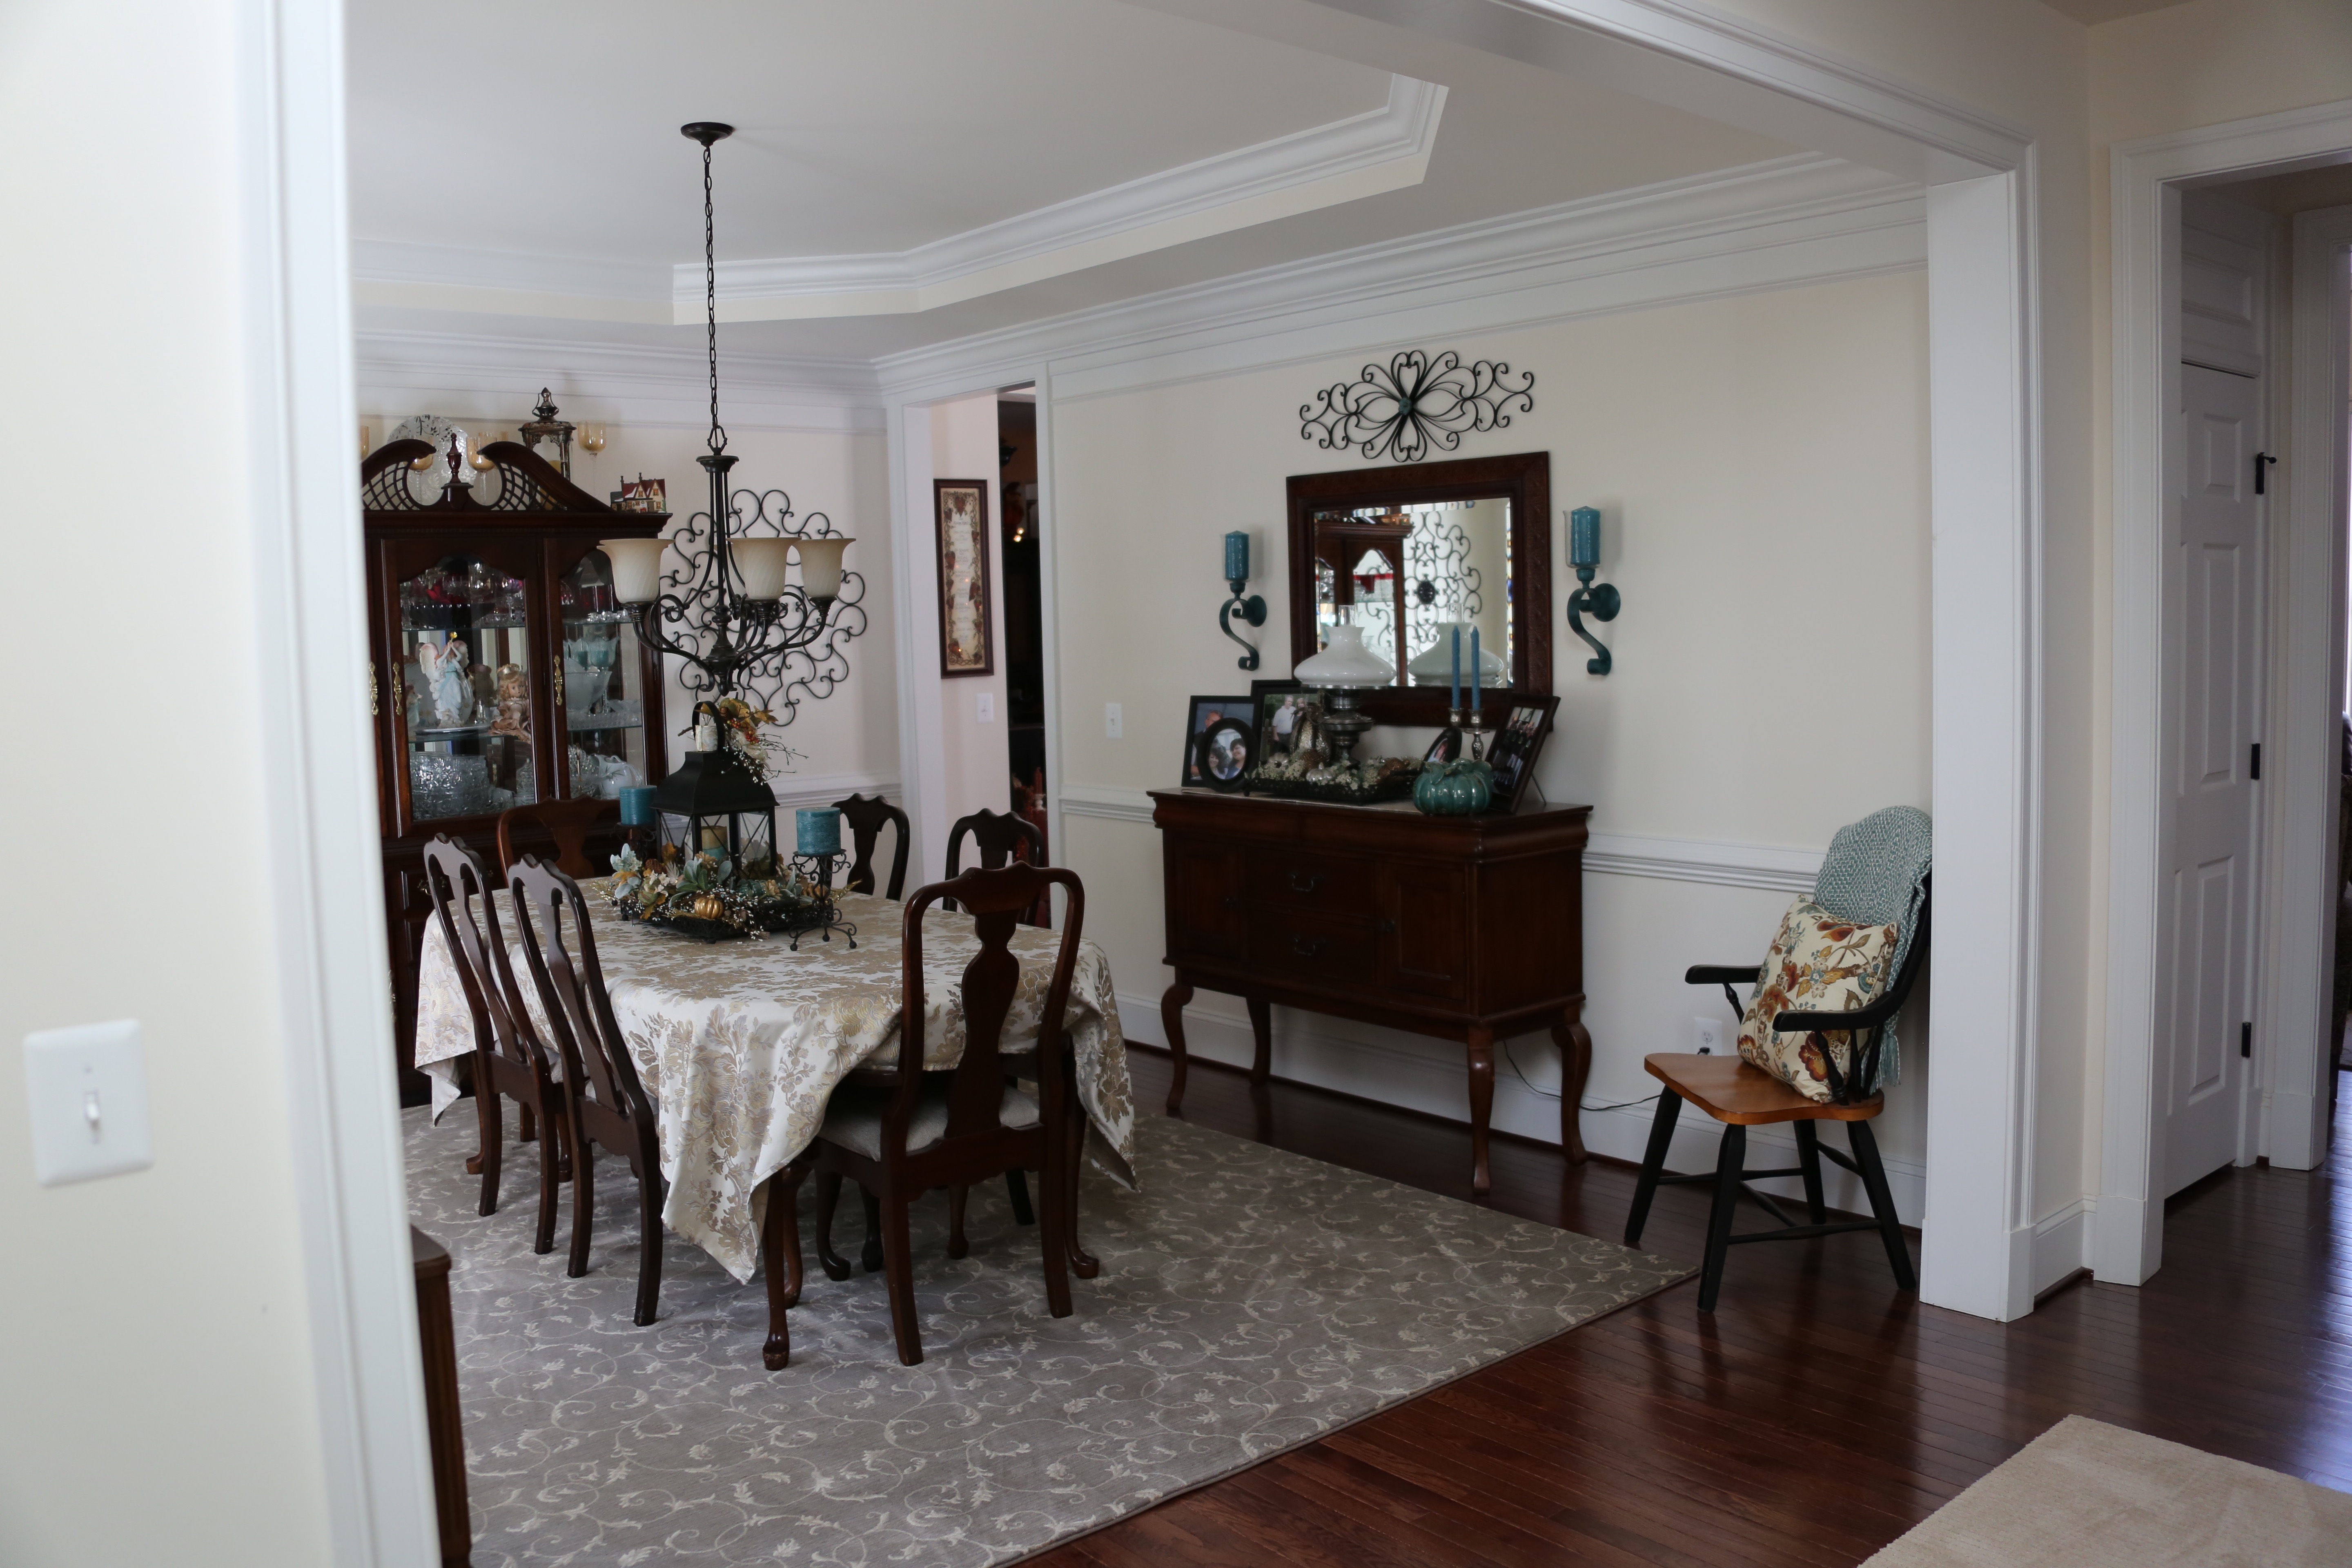
Now that the decor in the back of the house including the staircase was completely transitioned over to my every-day decor, it was time to tackle the two rooms that sit on the front of our home, the living and dining rooms that are separated by a foyer. I was able to complete these rooms in one day.
The first thing that I did was to change out the dining room table’s tablecloth and the sideboard’s table runner. I was thrilled that I found a matching set last Spring (I found the tablecloth at Home Goods and the table runner at World Market). 🙂


I love the paisley pattern, it pulls in all colors that are in the room and highlights the green color that I use in most of my accents; they couldn’t be more perfect. 🙂
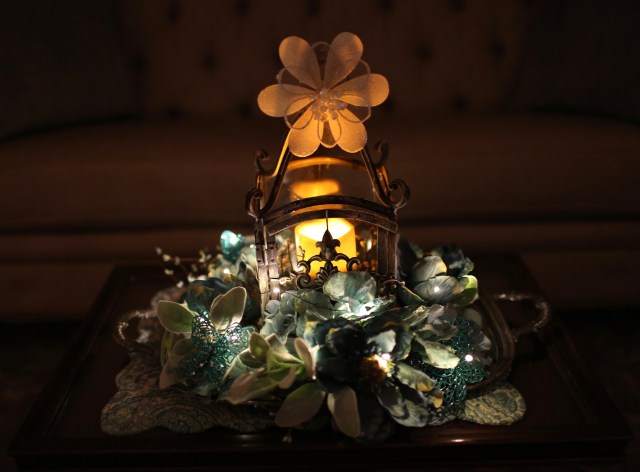
The first thing that I decorated was the sideboard, I started with that pretty lamp…
**A bit of a back story on the lamp, it was my Grandmother’s and she passed it down to my Mom who cherished it for many years. My Mom, bless her heart, passed away a few years ago and now the lamp belongs to me and I will cherish it for the rest of my time on this earth. It is a very special family heirloom**
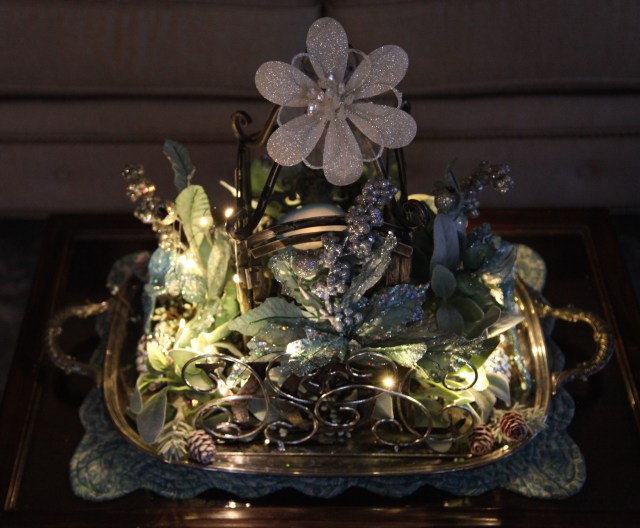
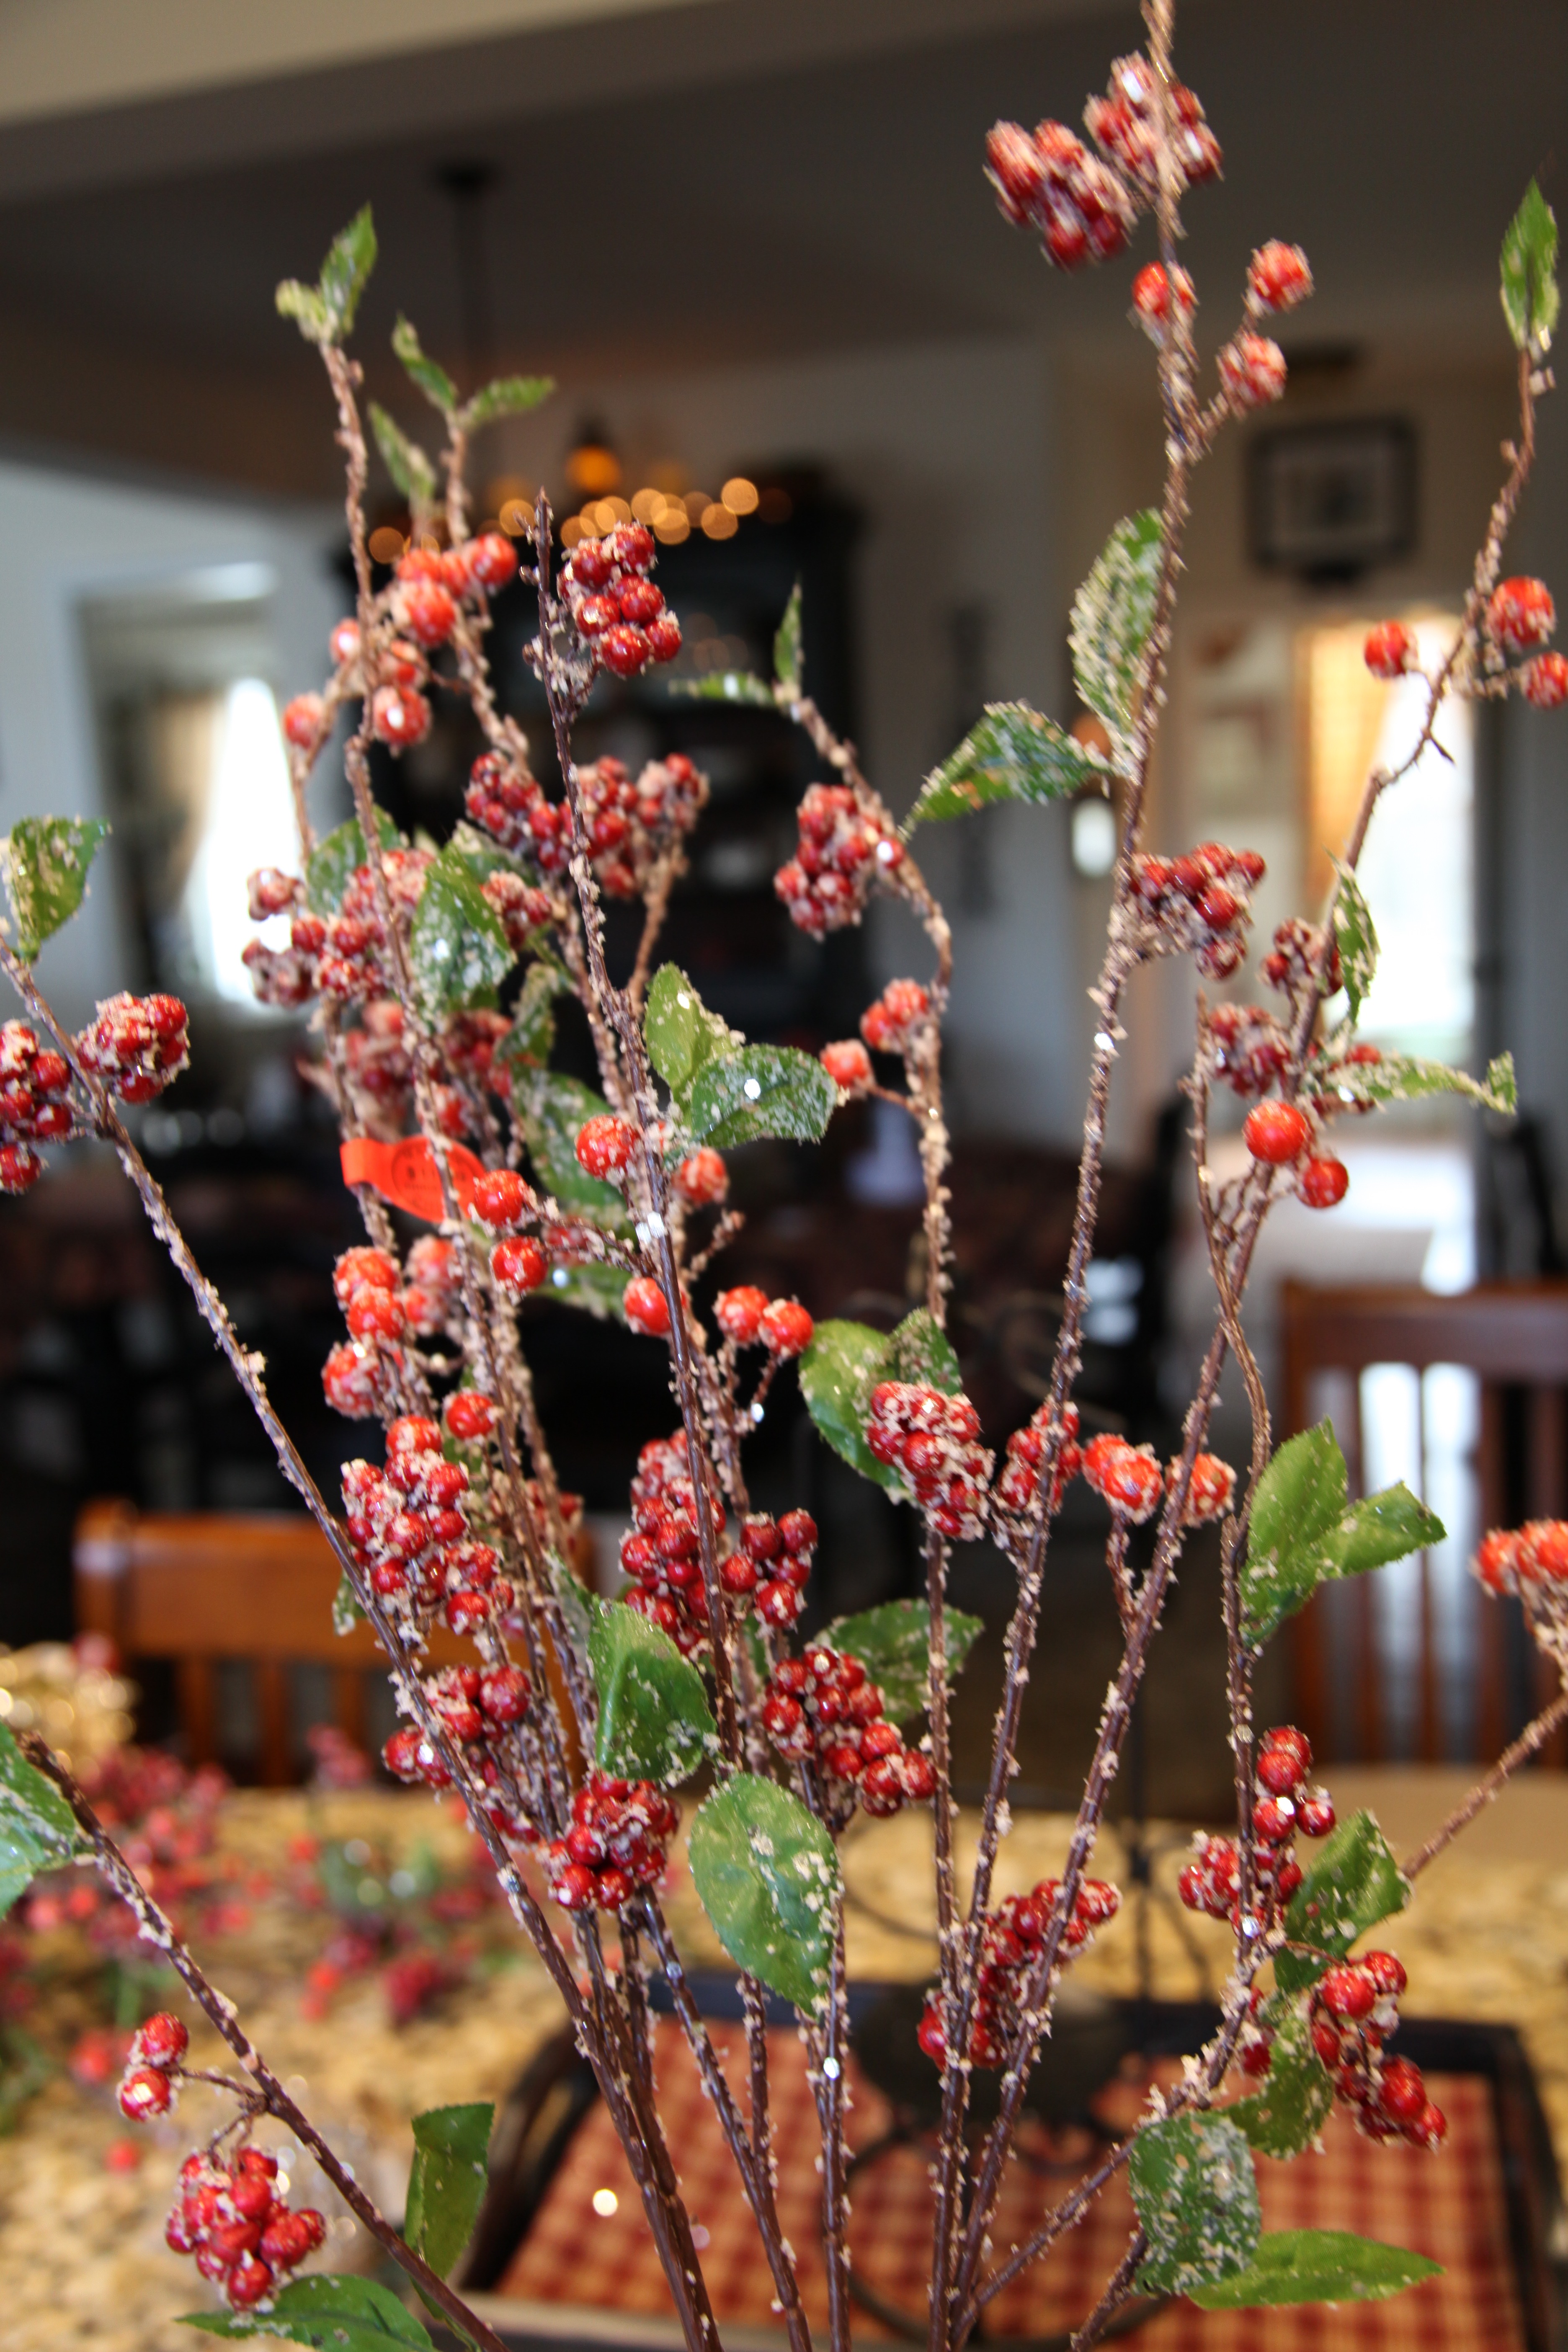
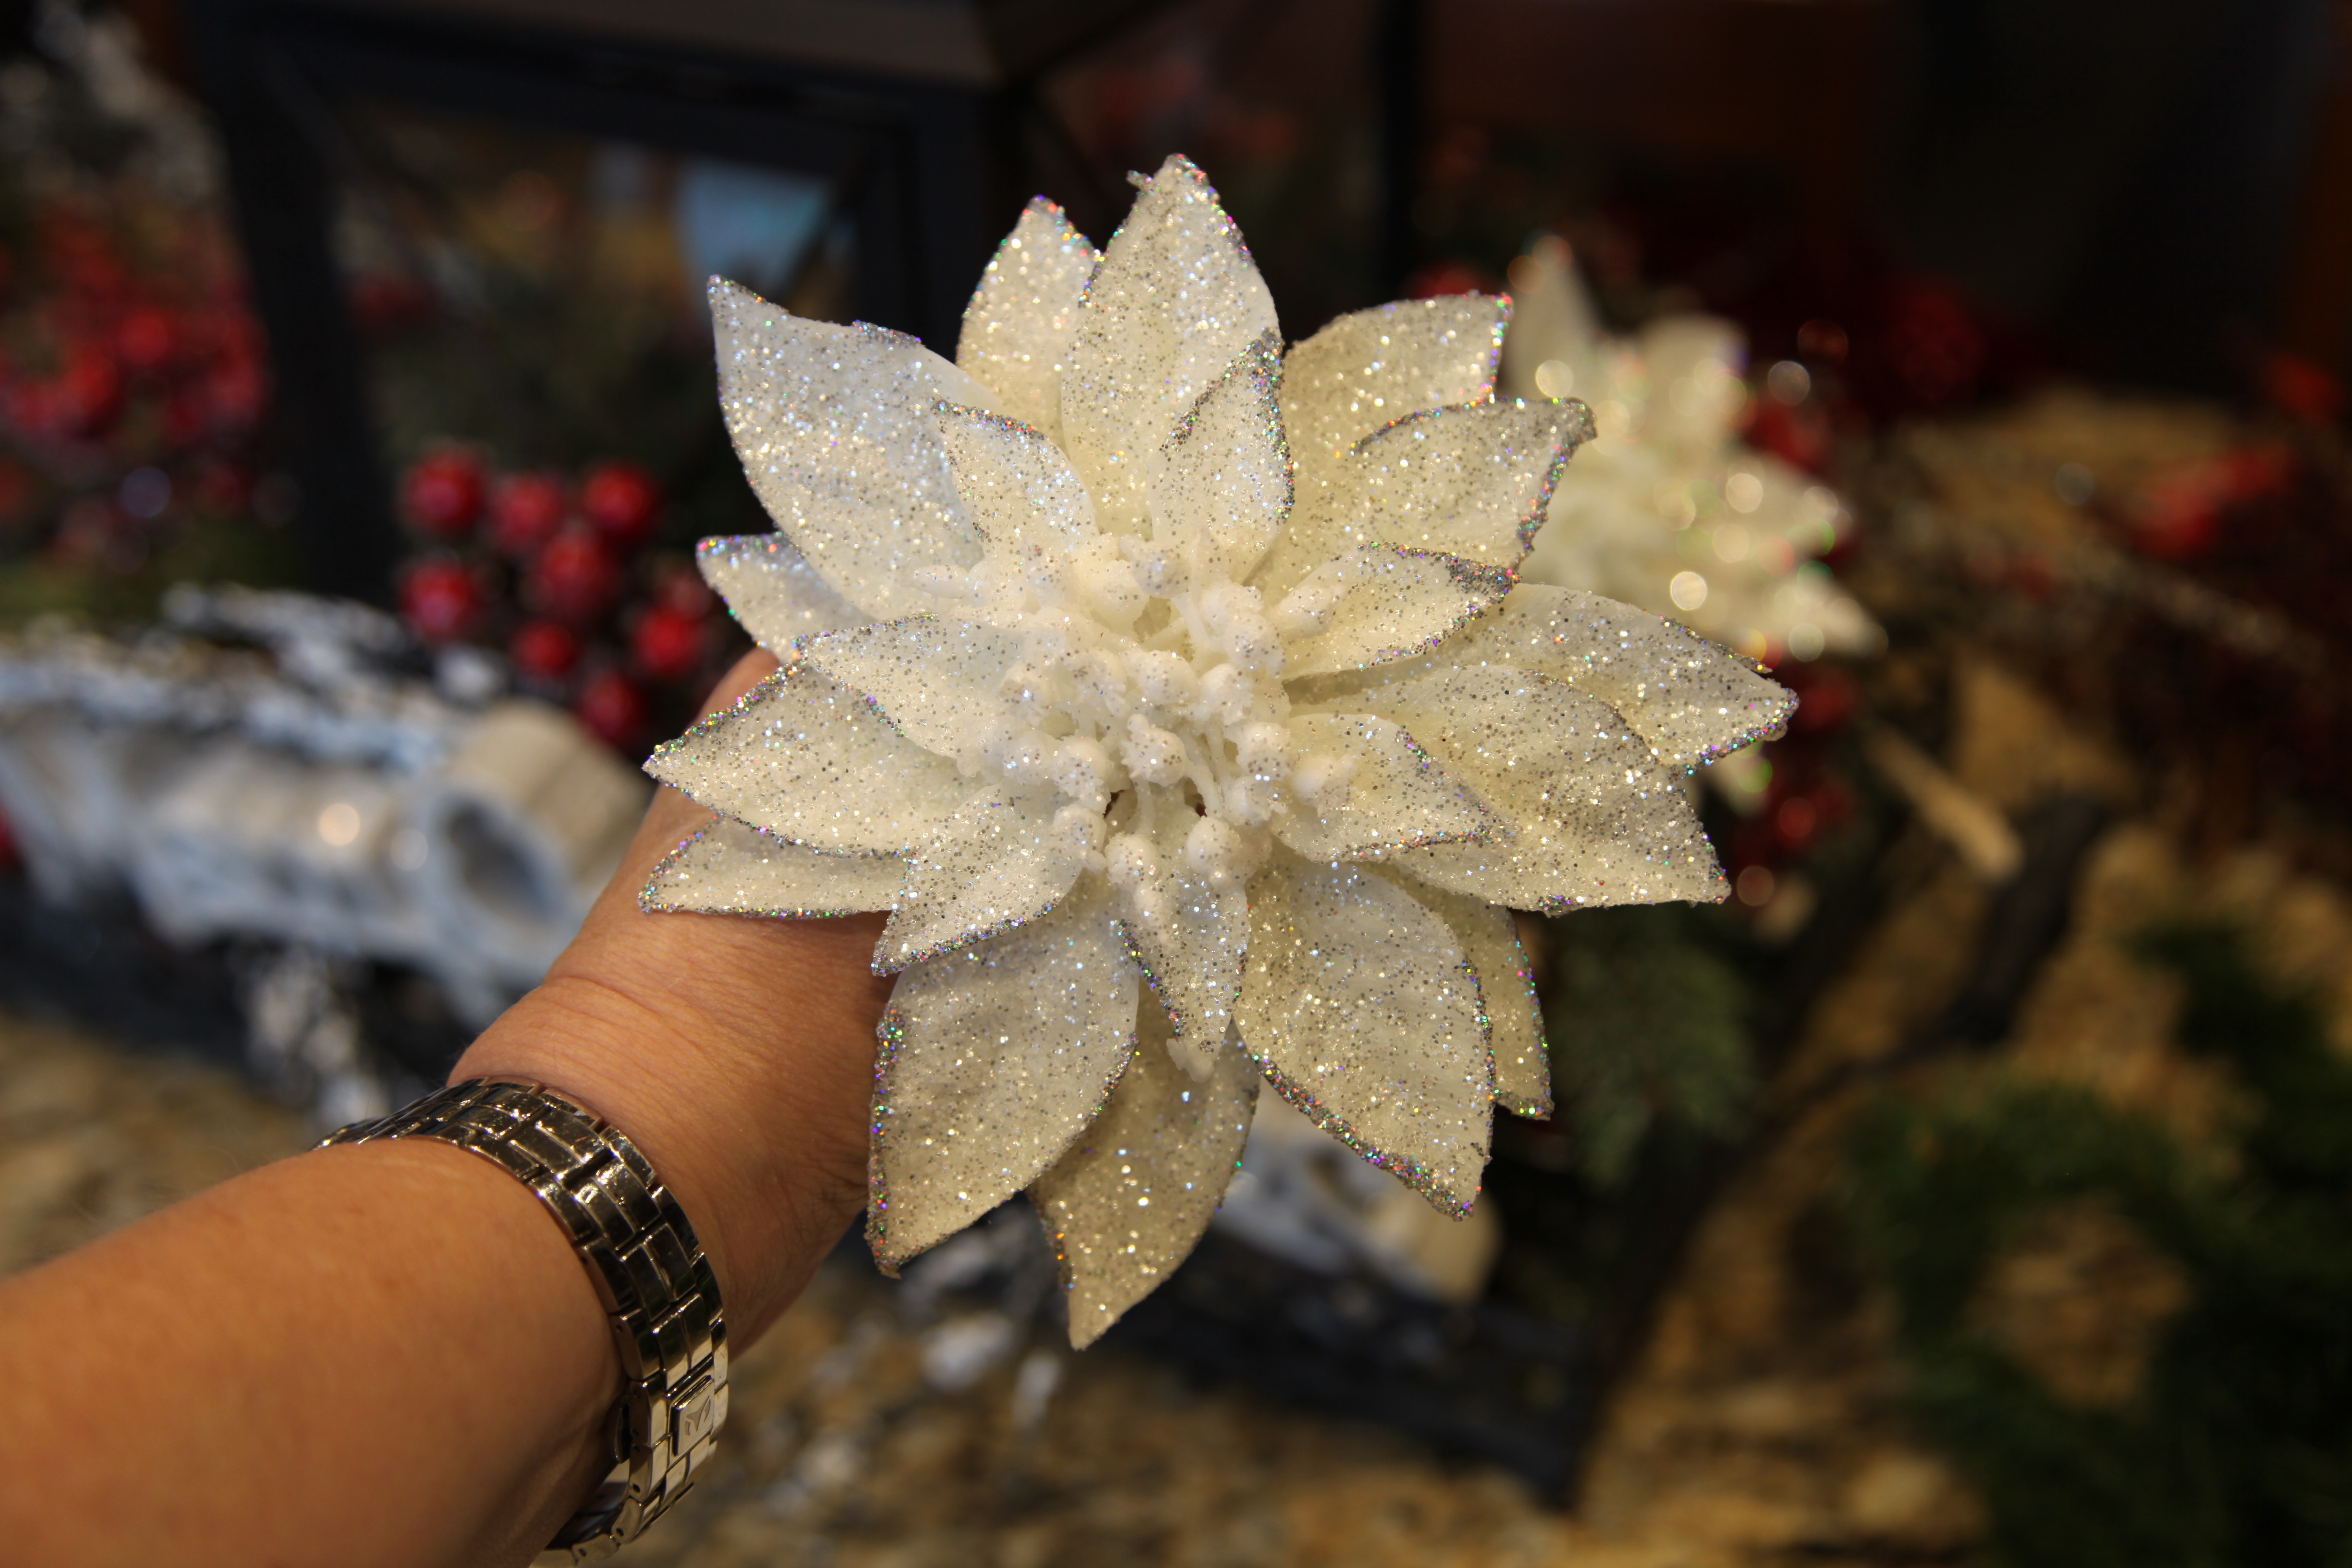
That said, I placed the lamp on a mirrored tray and I built a flower arrangement around the lamp, much like I do with my lantern centerpieces.

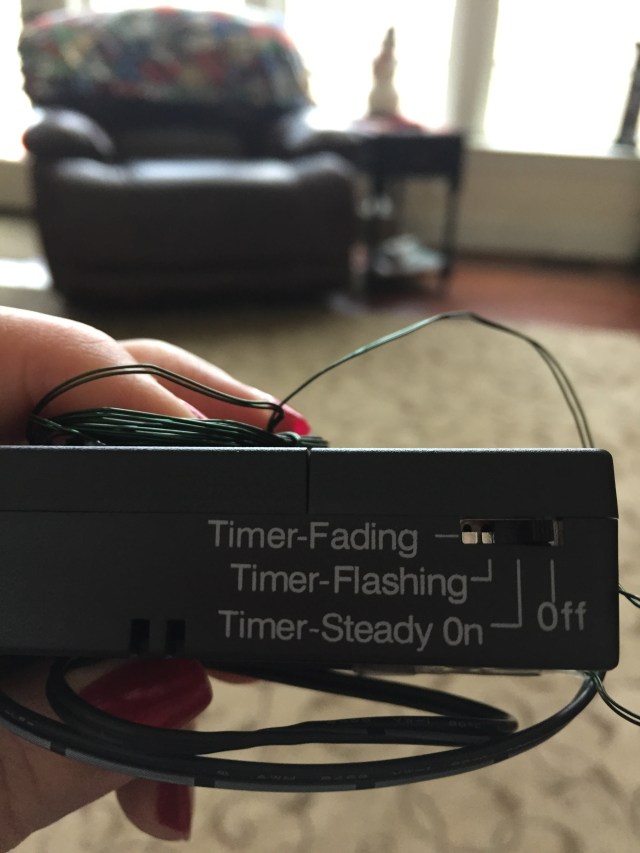
As you can see, I also added a strand of timed battery operated mini warm white lights…Here is a better look at it in the evening hours:

I added some family pictures, a lovely bowl displayed on a plate holder that my aunt and uncle got us as a housewarming gift, and I threw together a little flower arrangement in a mason jar to match the arrangement around the lamp:
")

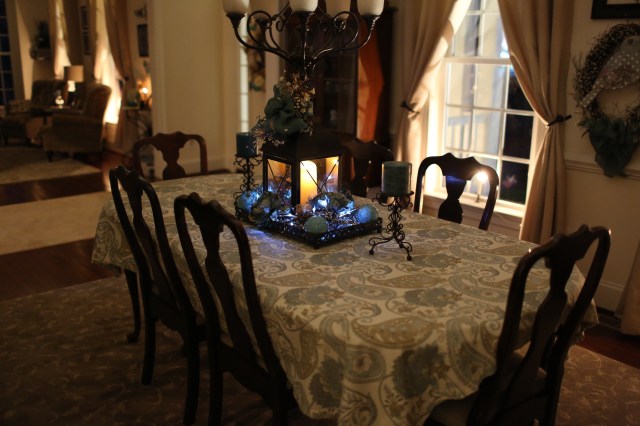
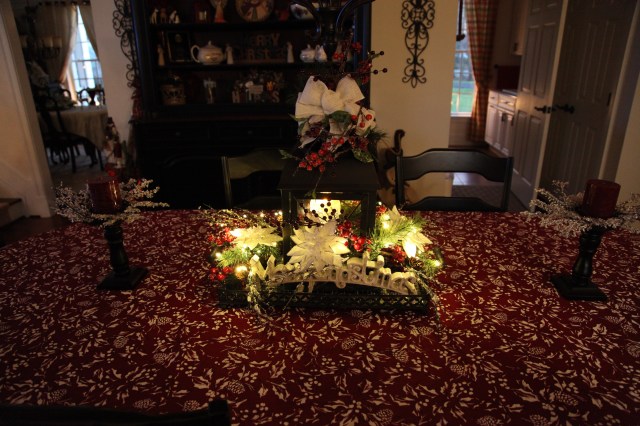
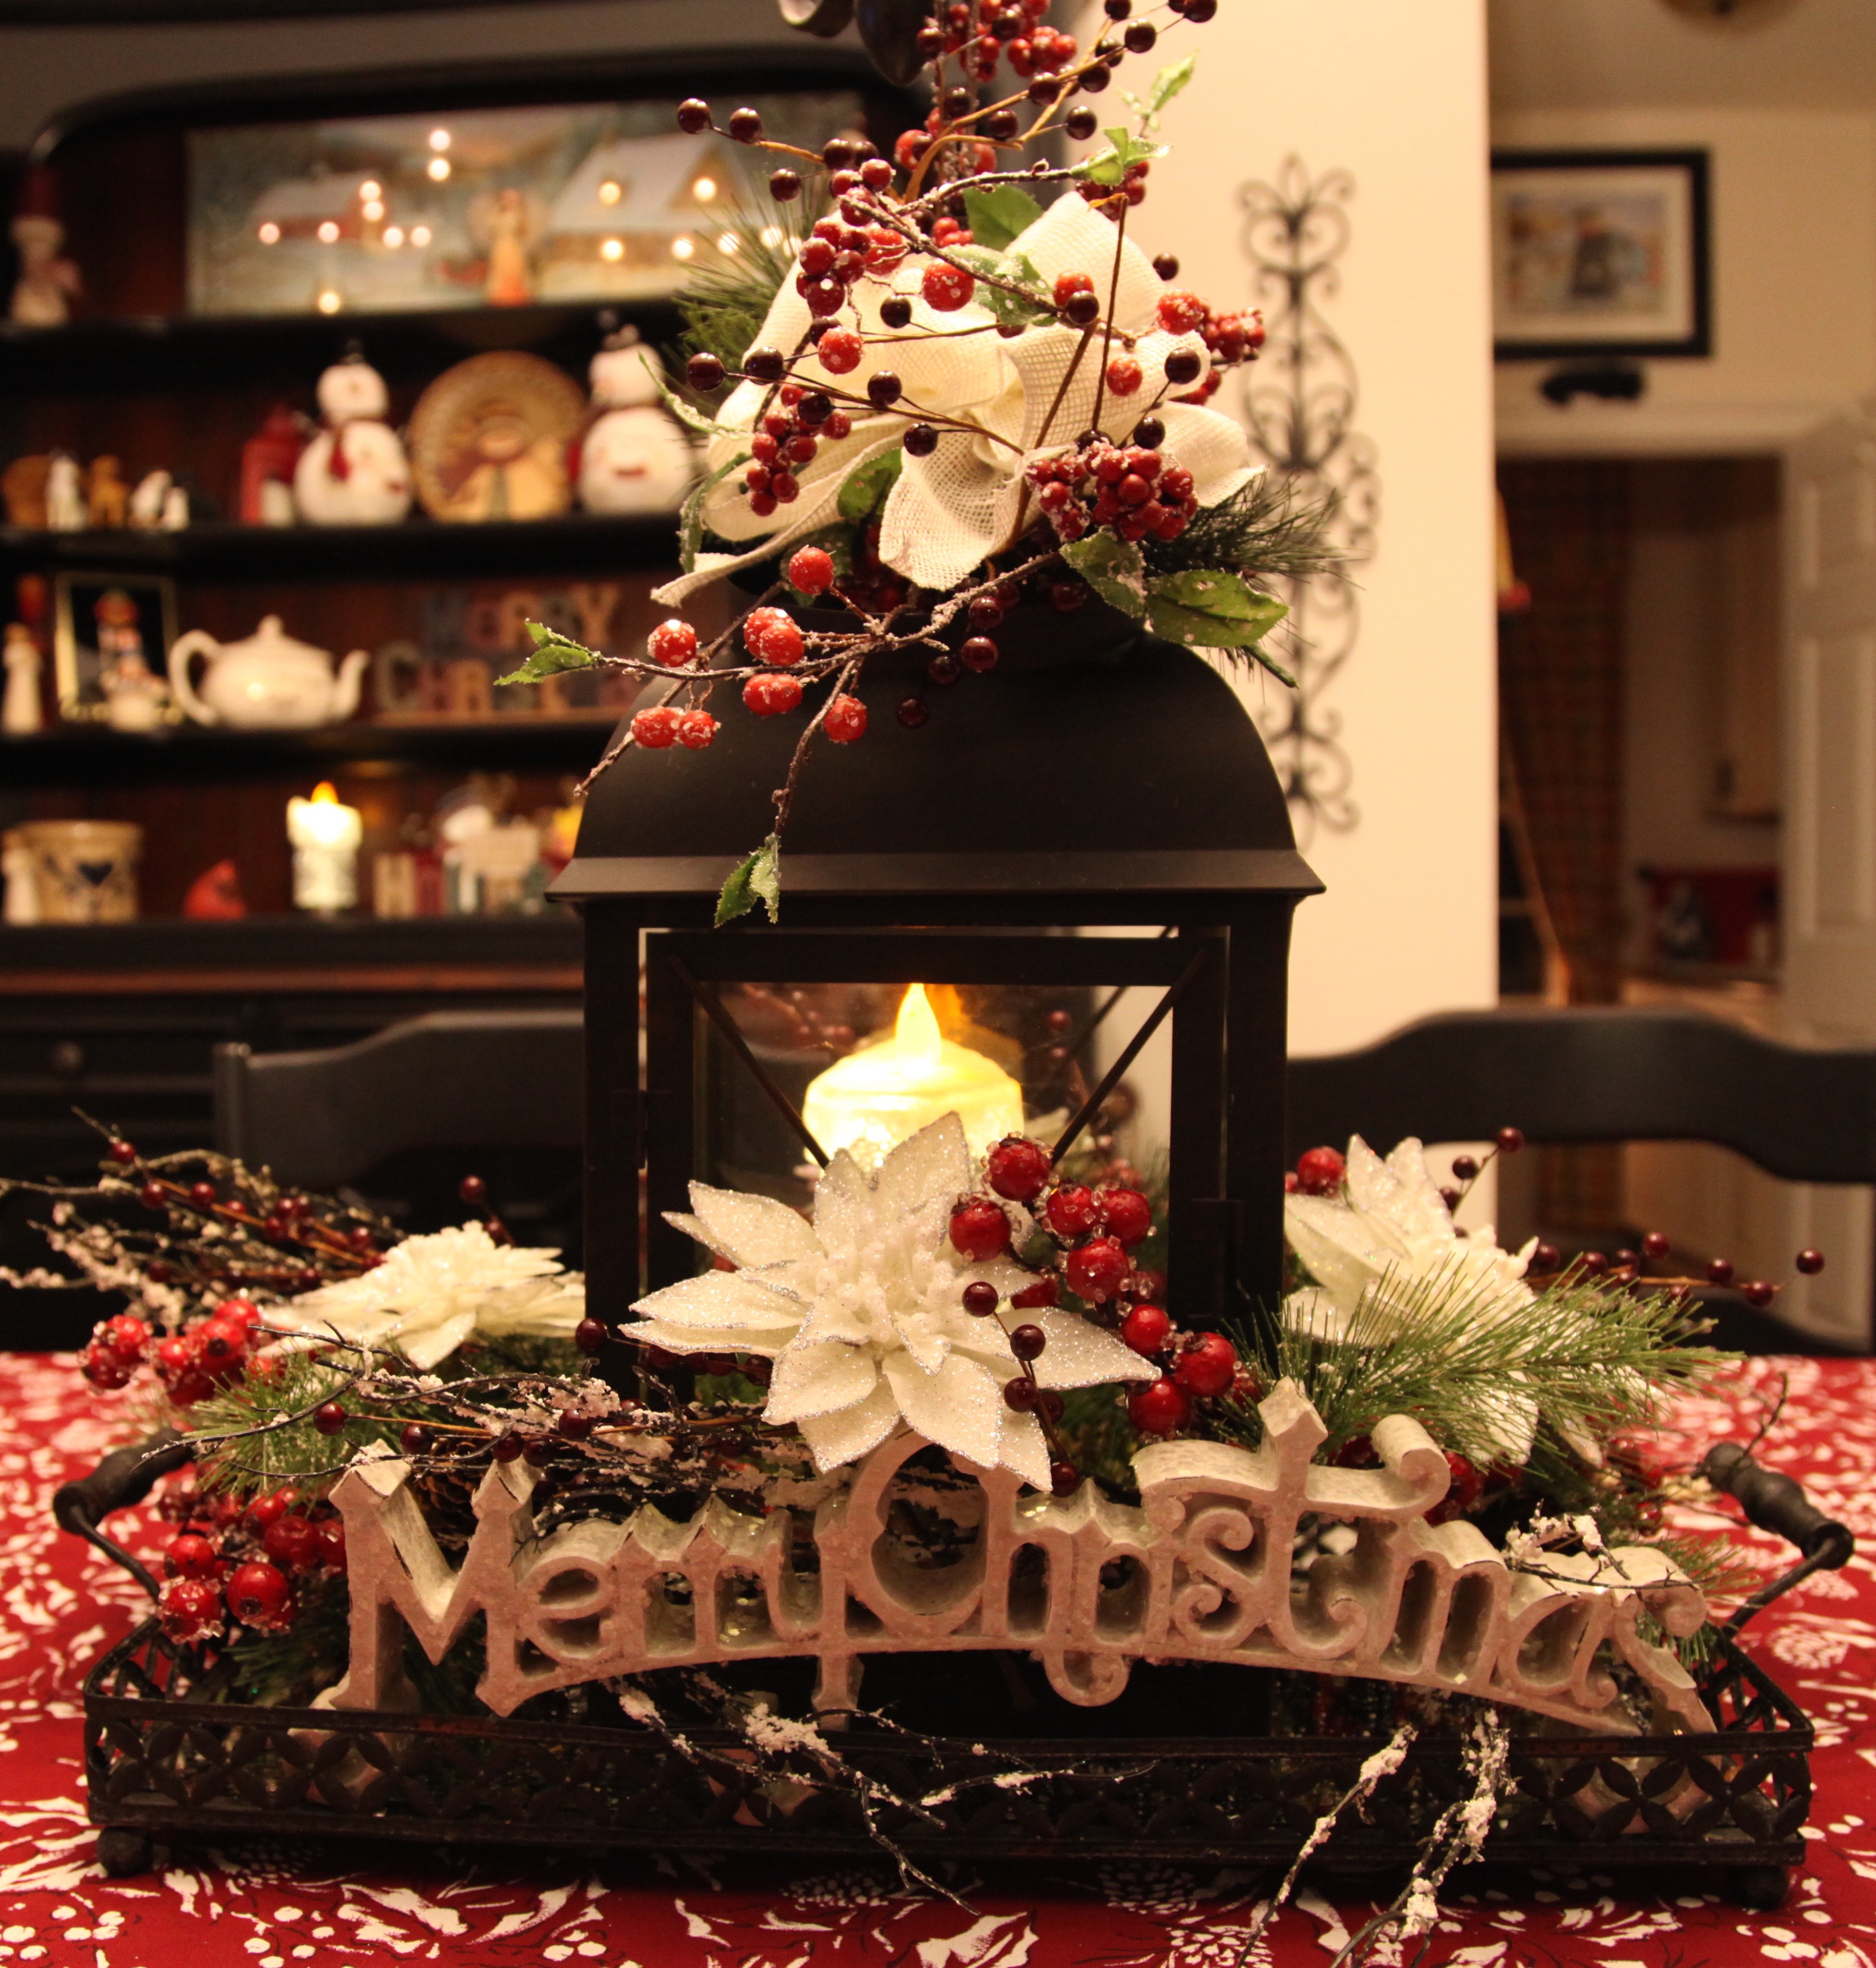
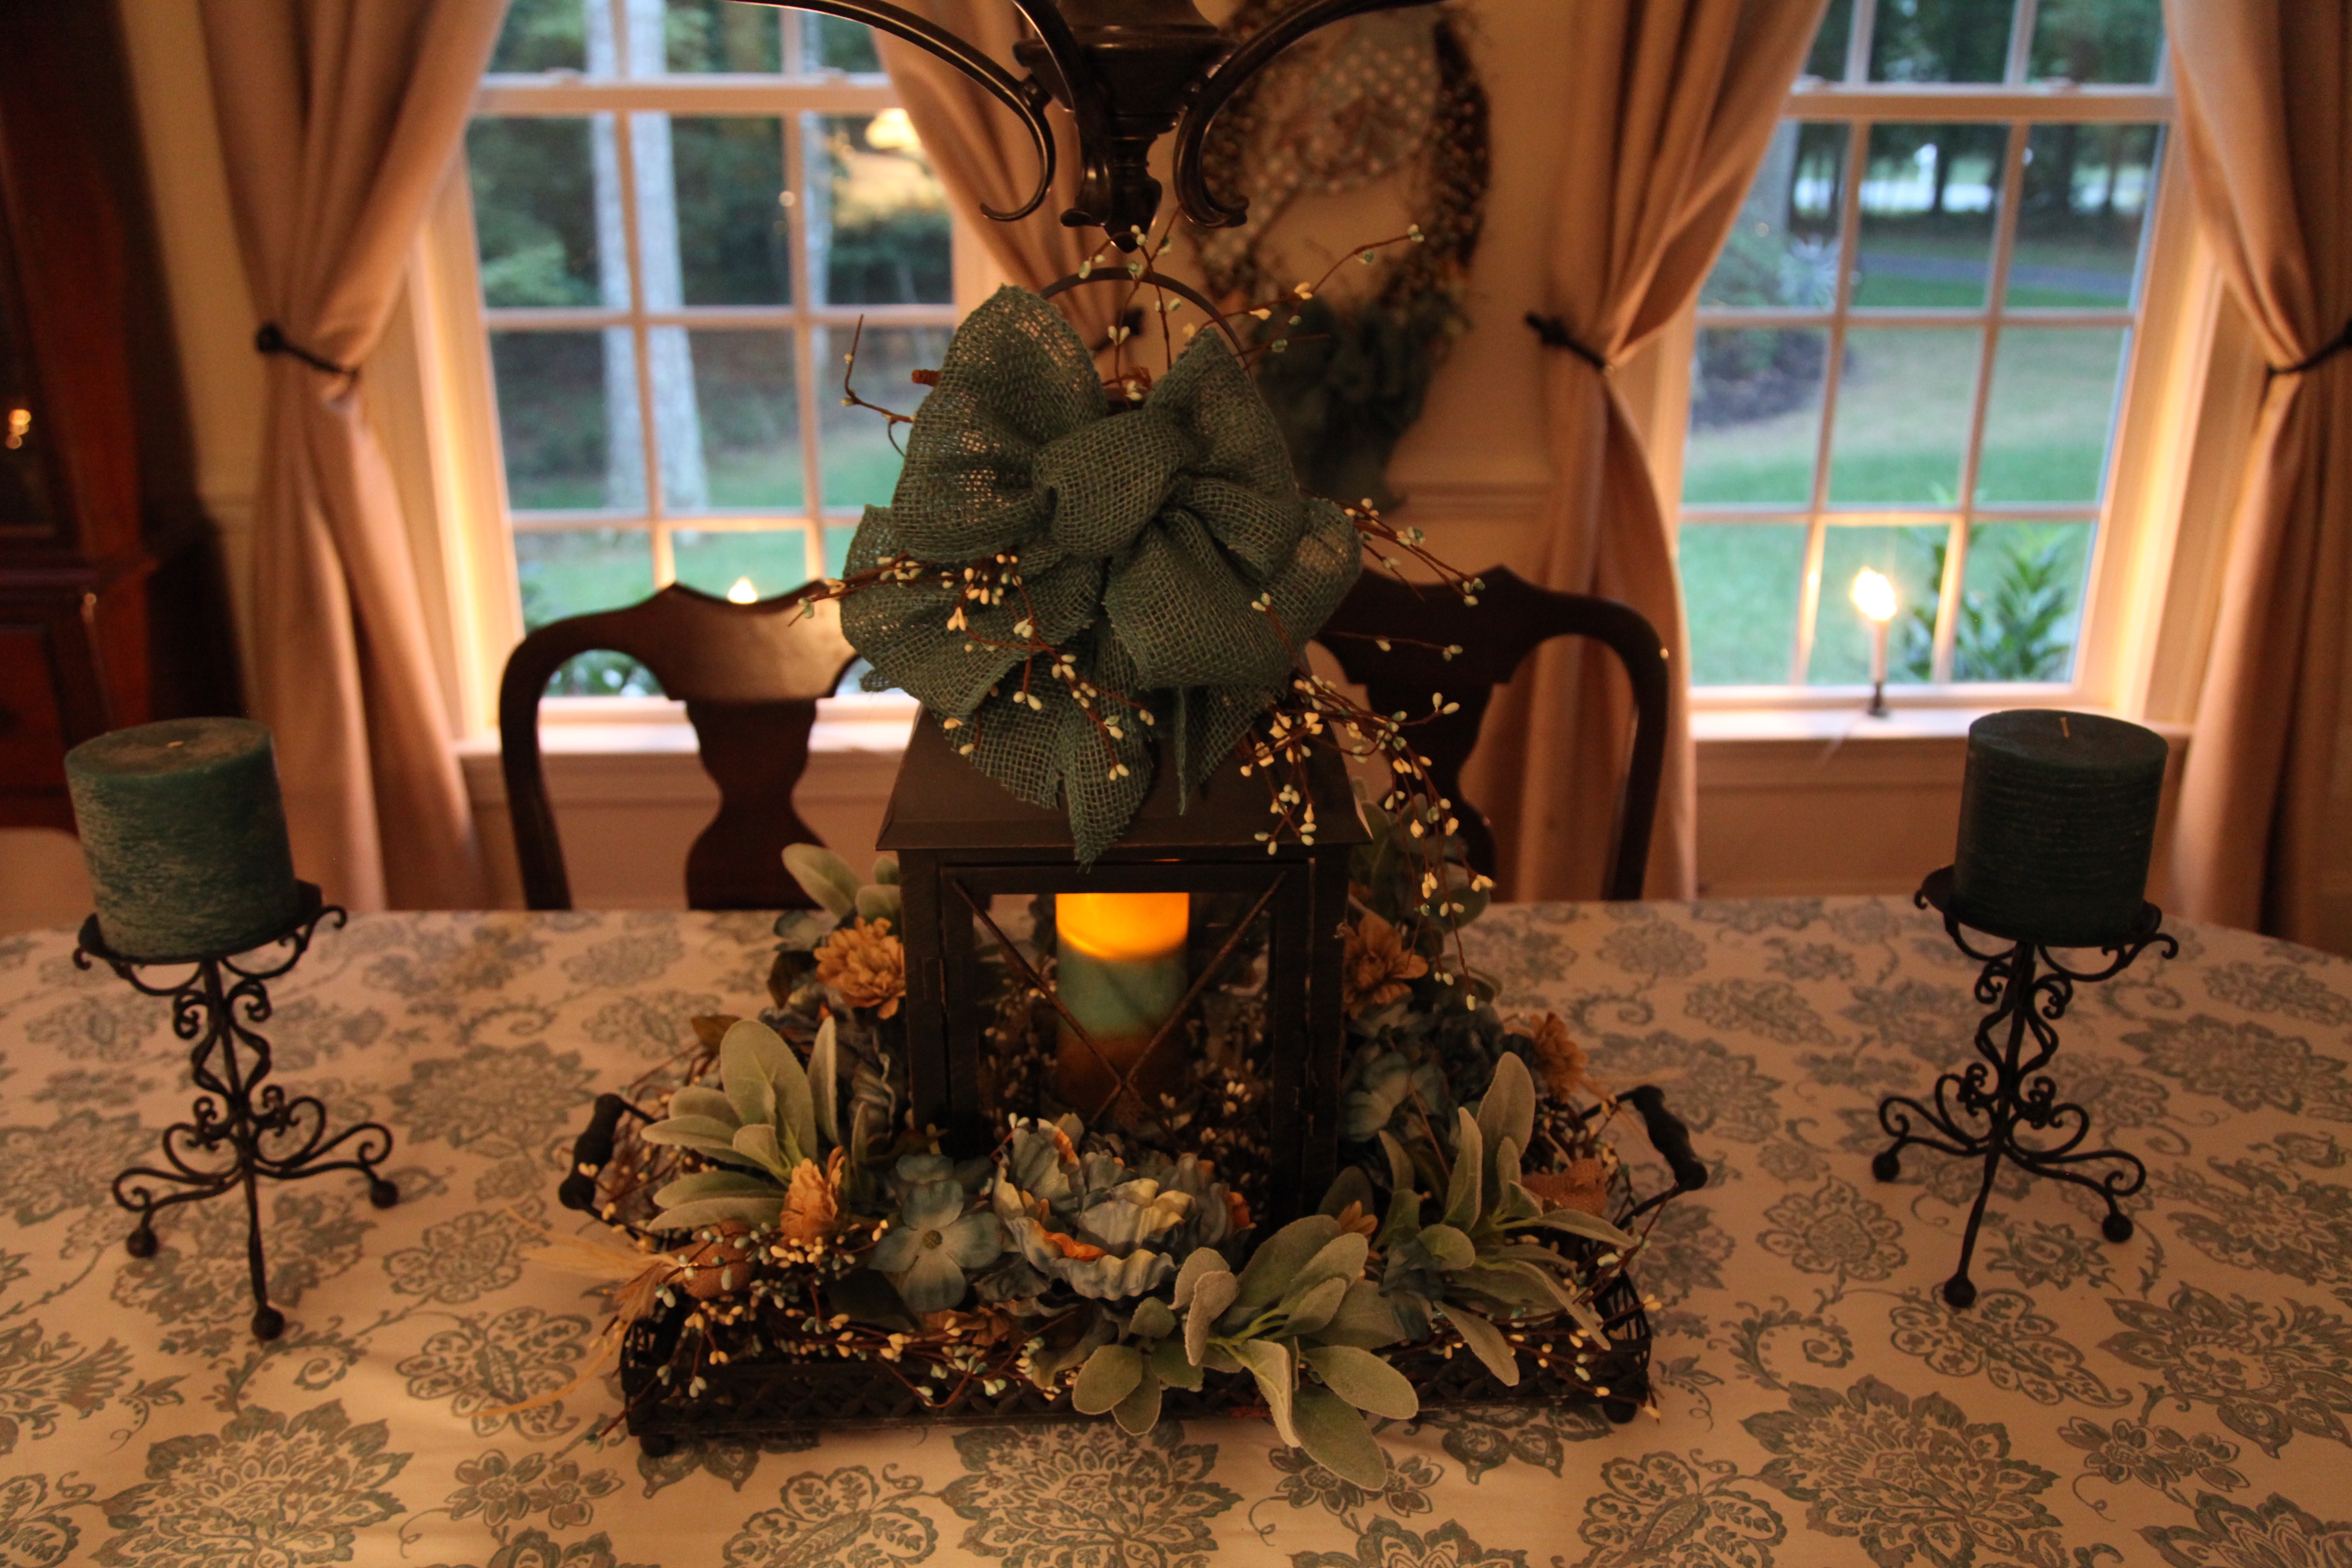
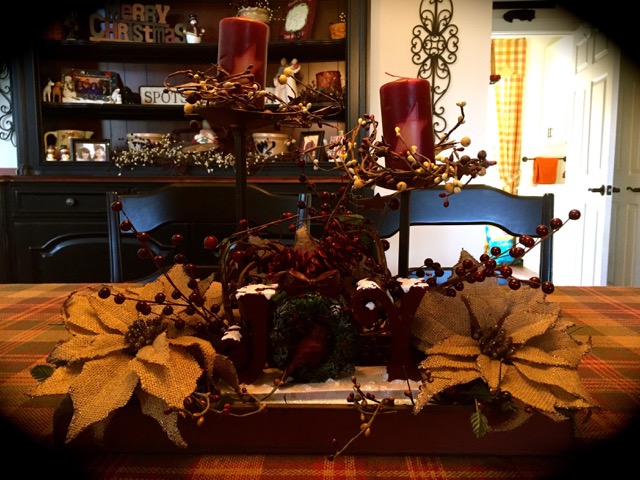
Then I moved on to a lantern centerpiece that I would place on the dining room table. I won’t go into great detail as to how I put it together here, but if you’d like to know more about the ins and outs of creating a lantern centerpiece, check out my A Dressier Lantern Centerpiece post.
That said, there is one thing that I want to tell you about before showing you pictures of the completed centerpiece. I found these LED bendy branch lights at Michaels and I just couldn’t pass them up. They glow a blueish green color and look beautiful lit up in the evening hours. 🙂
Here are the lights that I purchased (if you search for these, please be careful to make sure that the the branches bend, they do sell ones where the branches are stiff and those of course wouldn’t work in a flower arrangement):

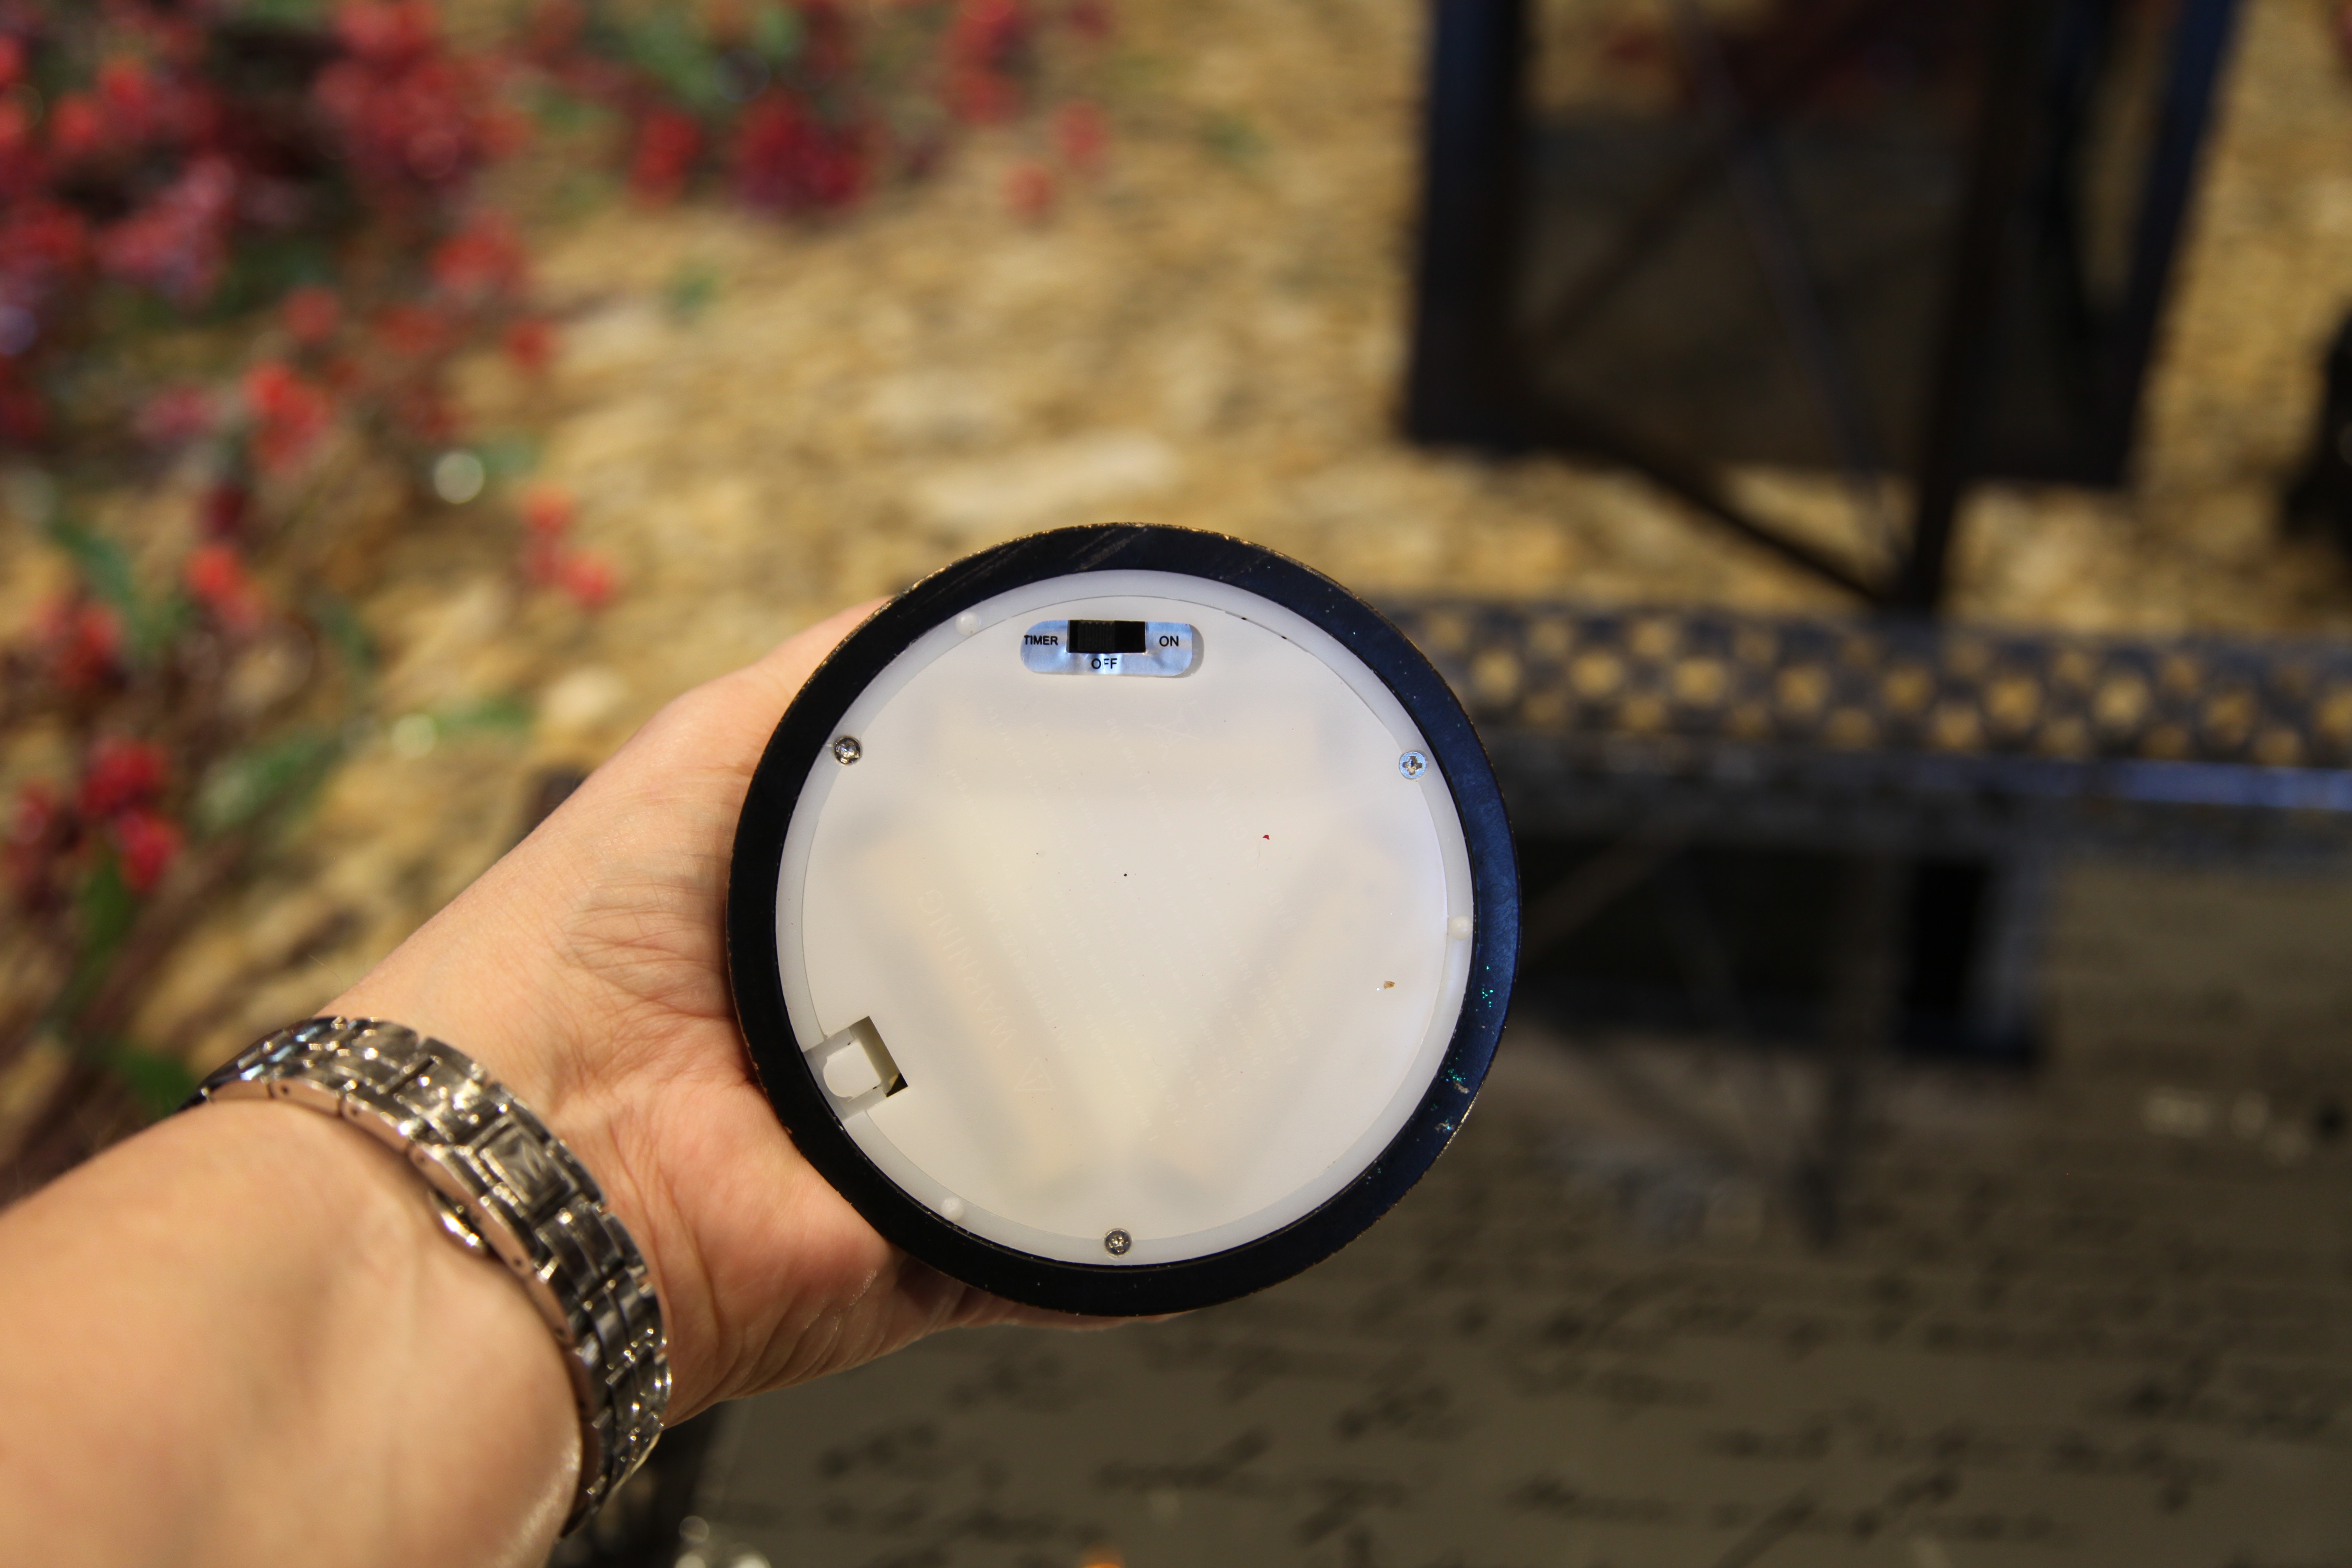
I decided to use one of my Luminara battery operated candles in this lantern, it came with a remote control, but, actually I have set the timer on the candle itself, it comes on in the evening and stays on for 5 hours…

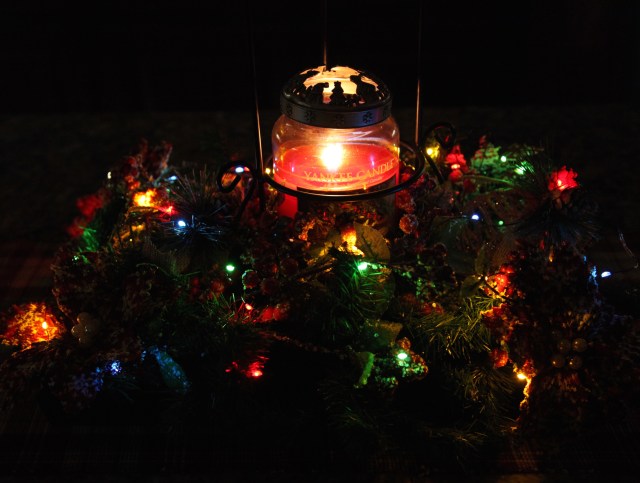
Here is the finished centerpiece:


And in the evening with those pretty bluish lights on:

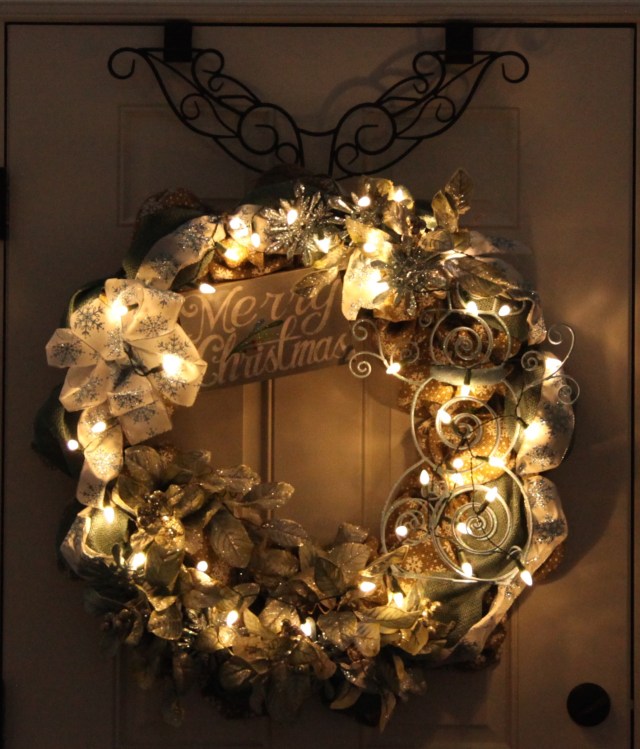
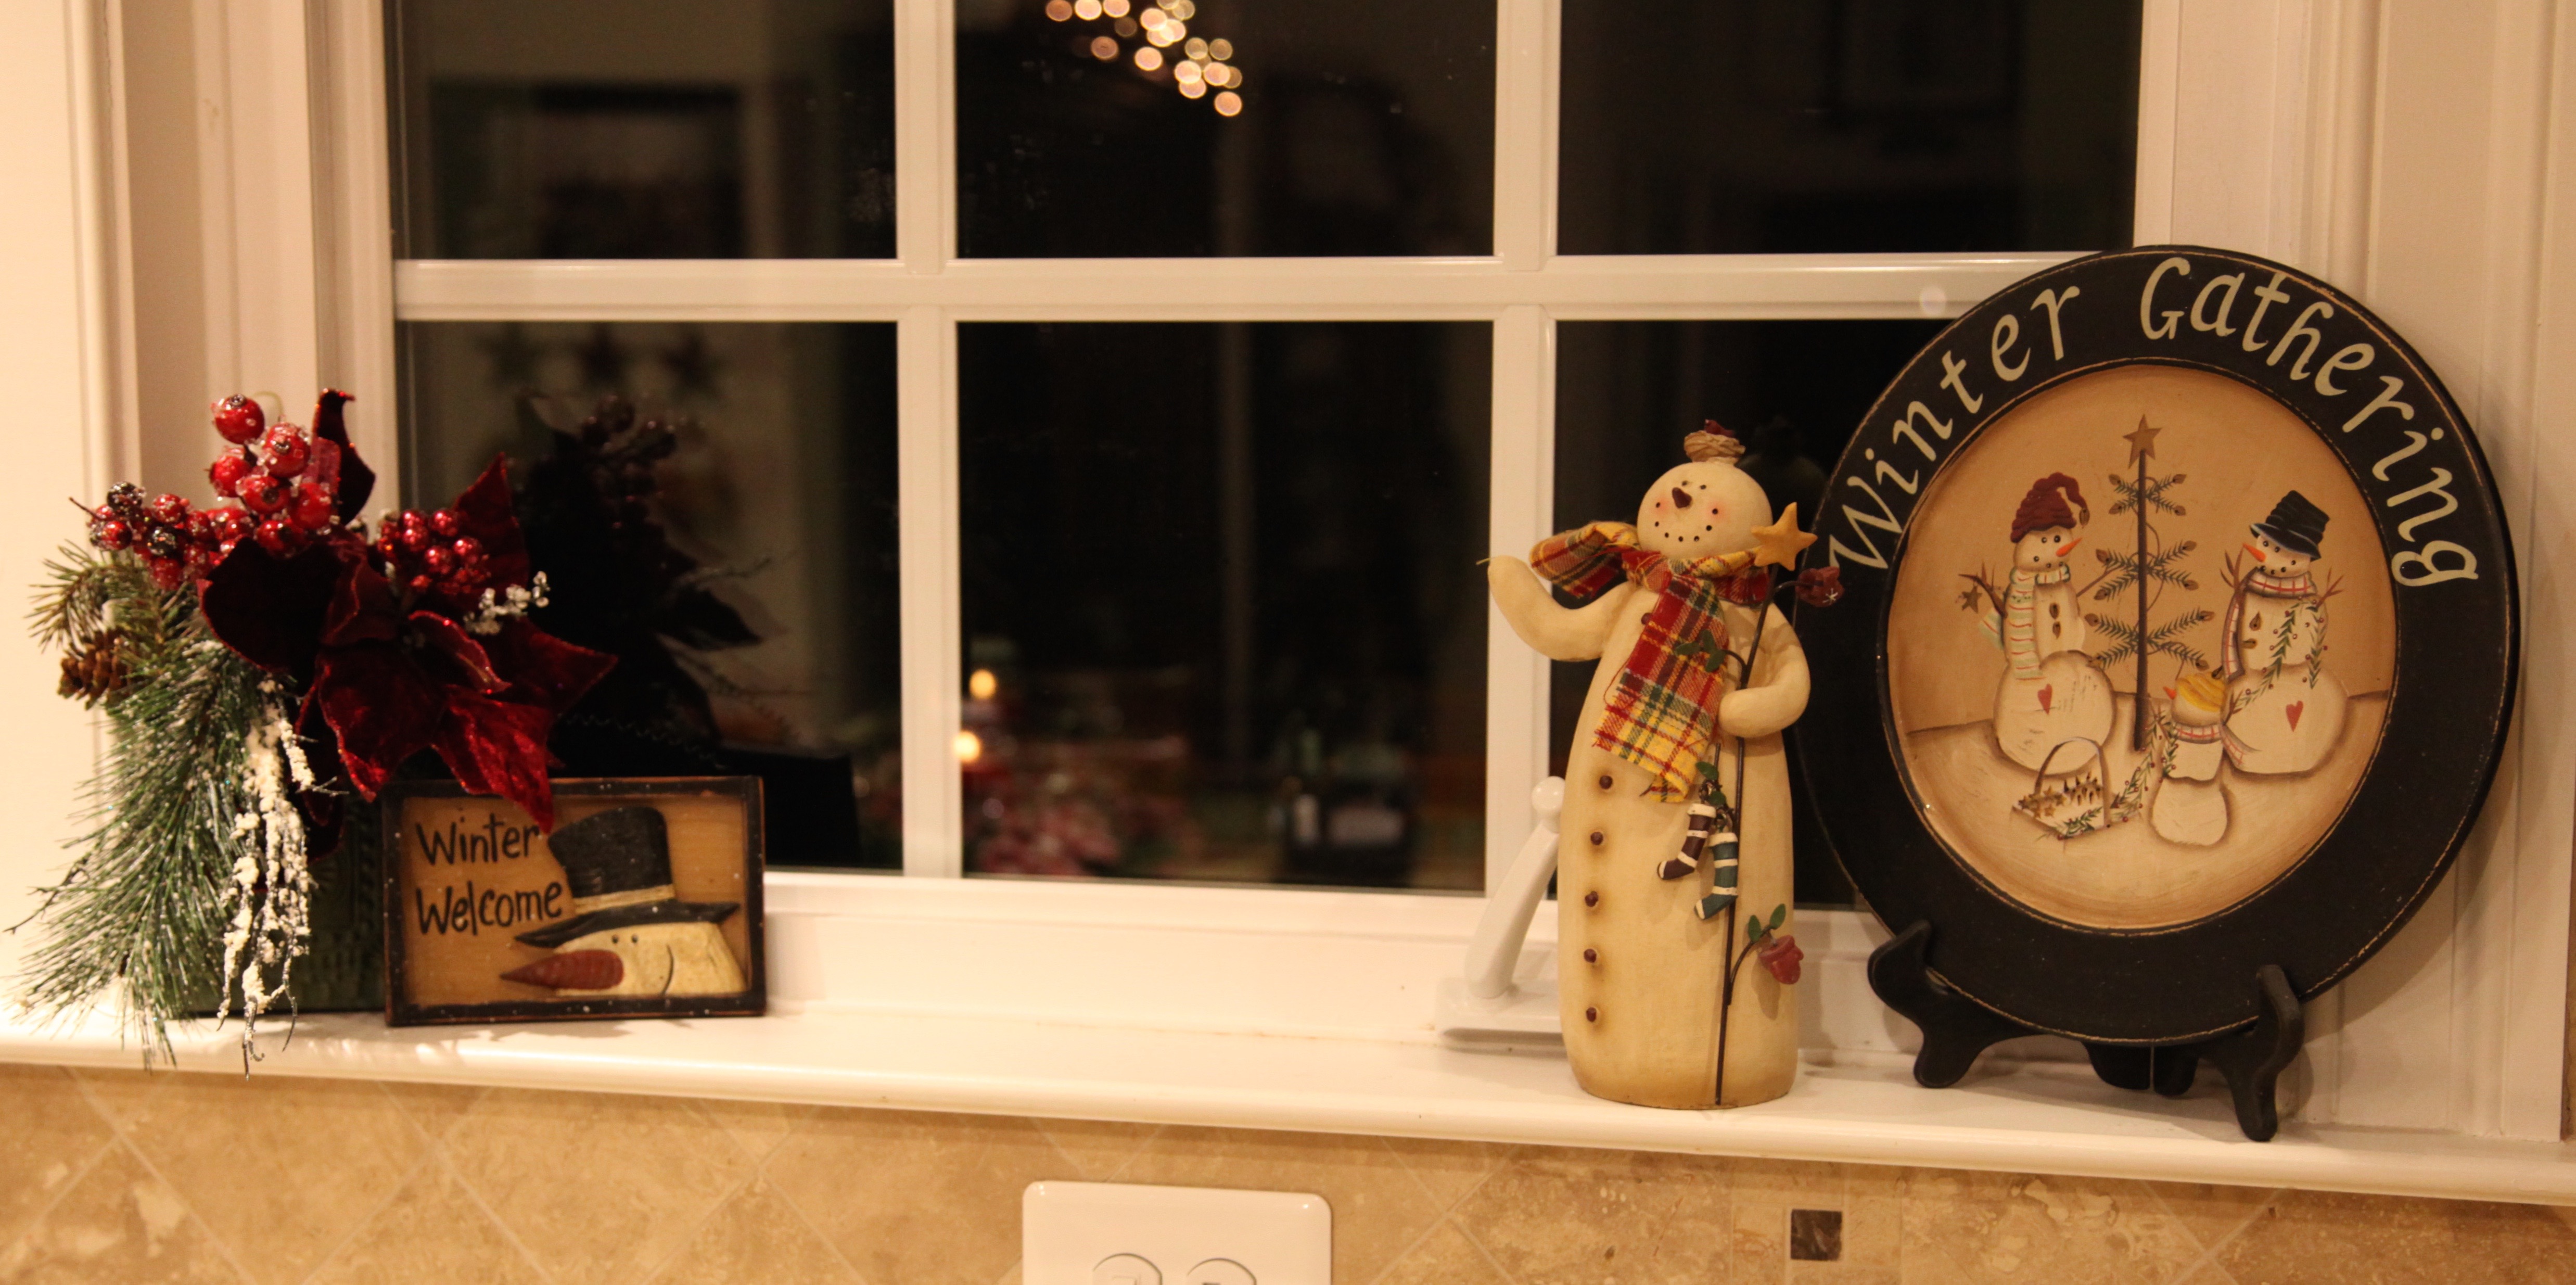
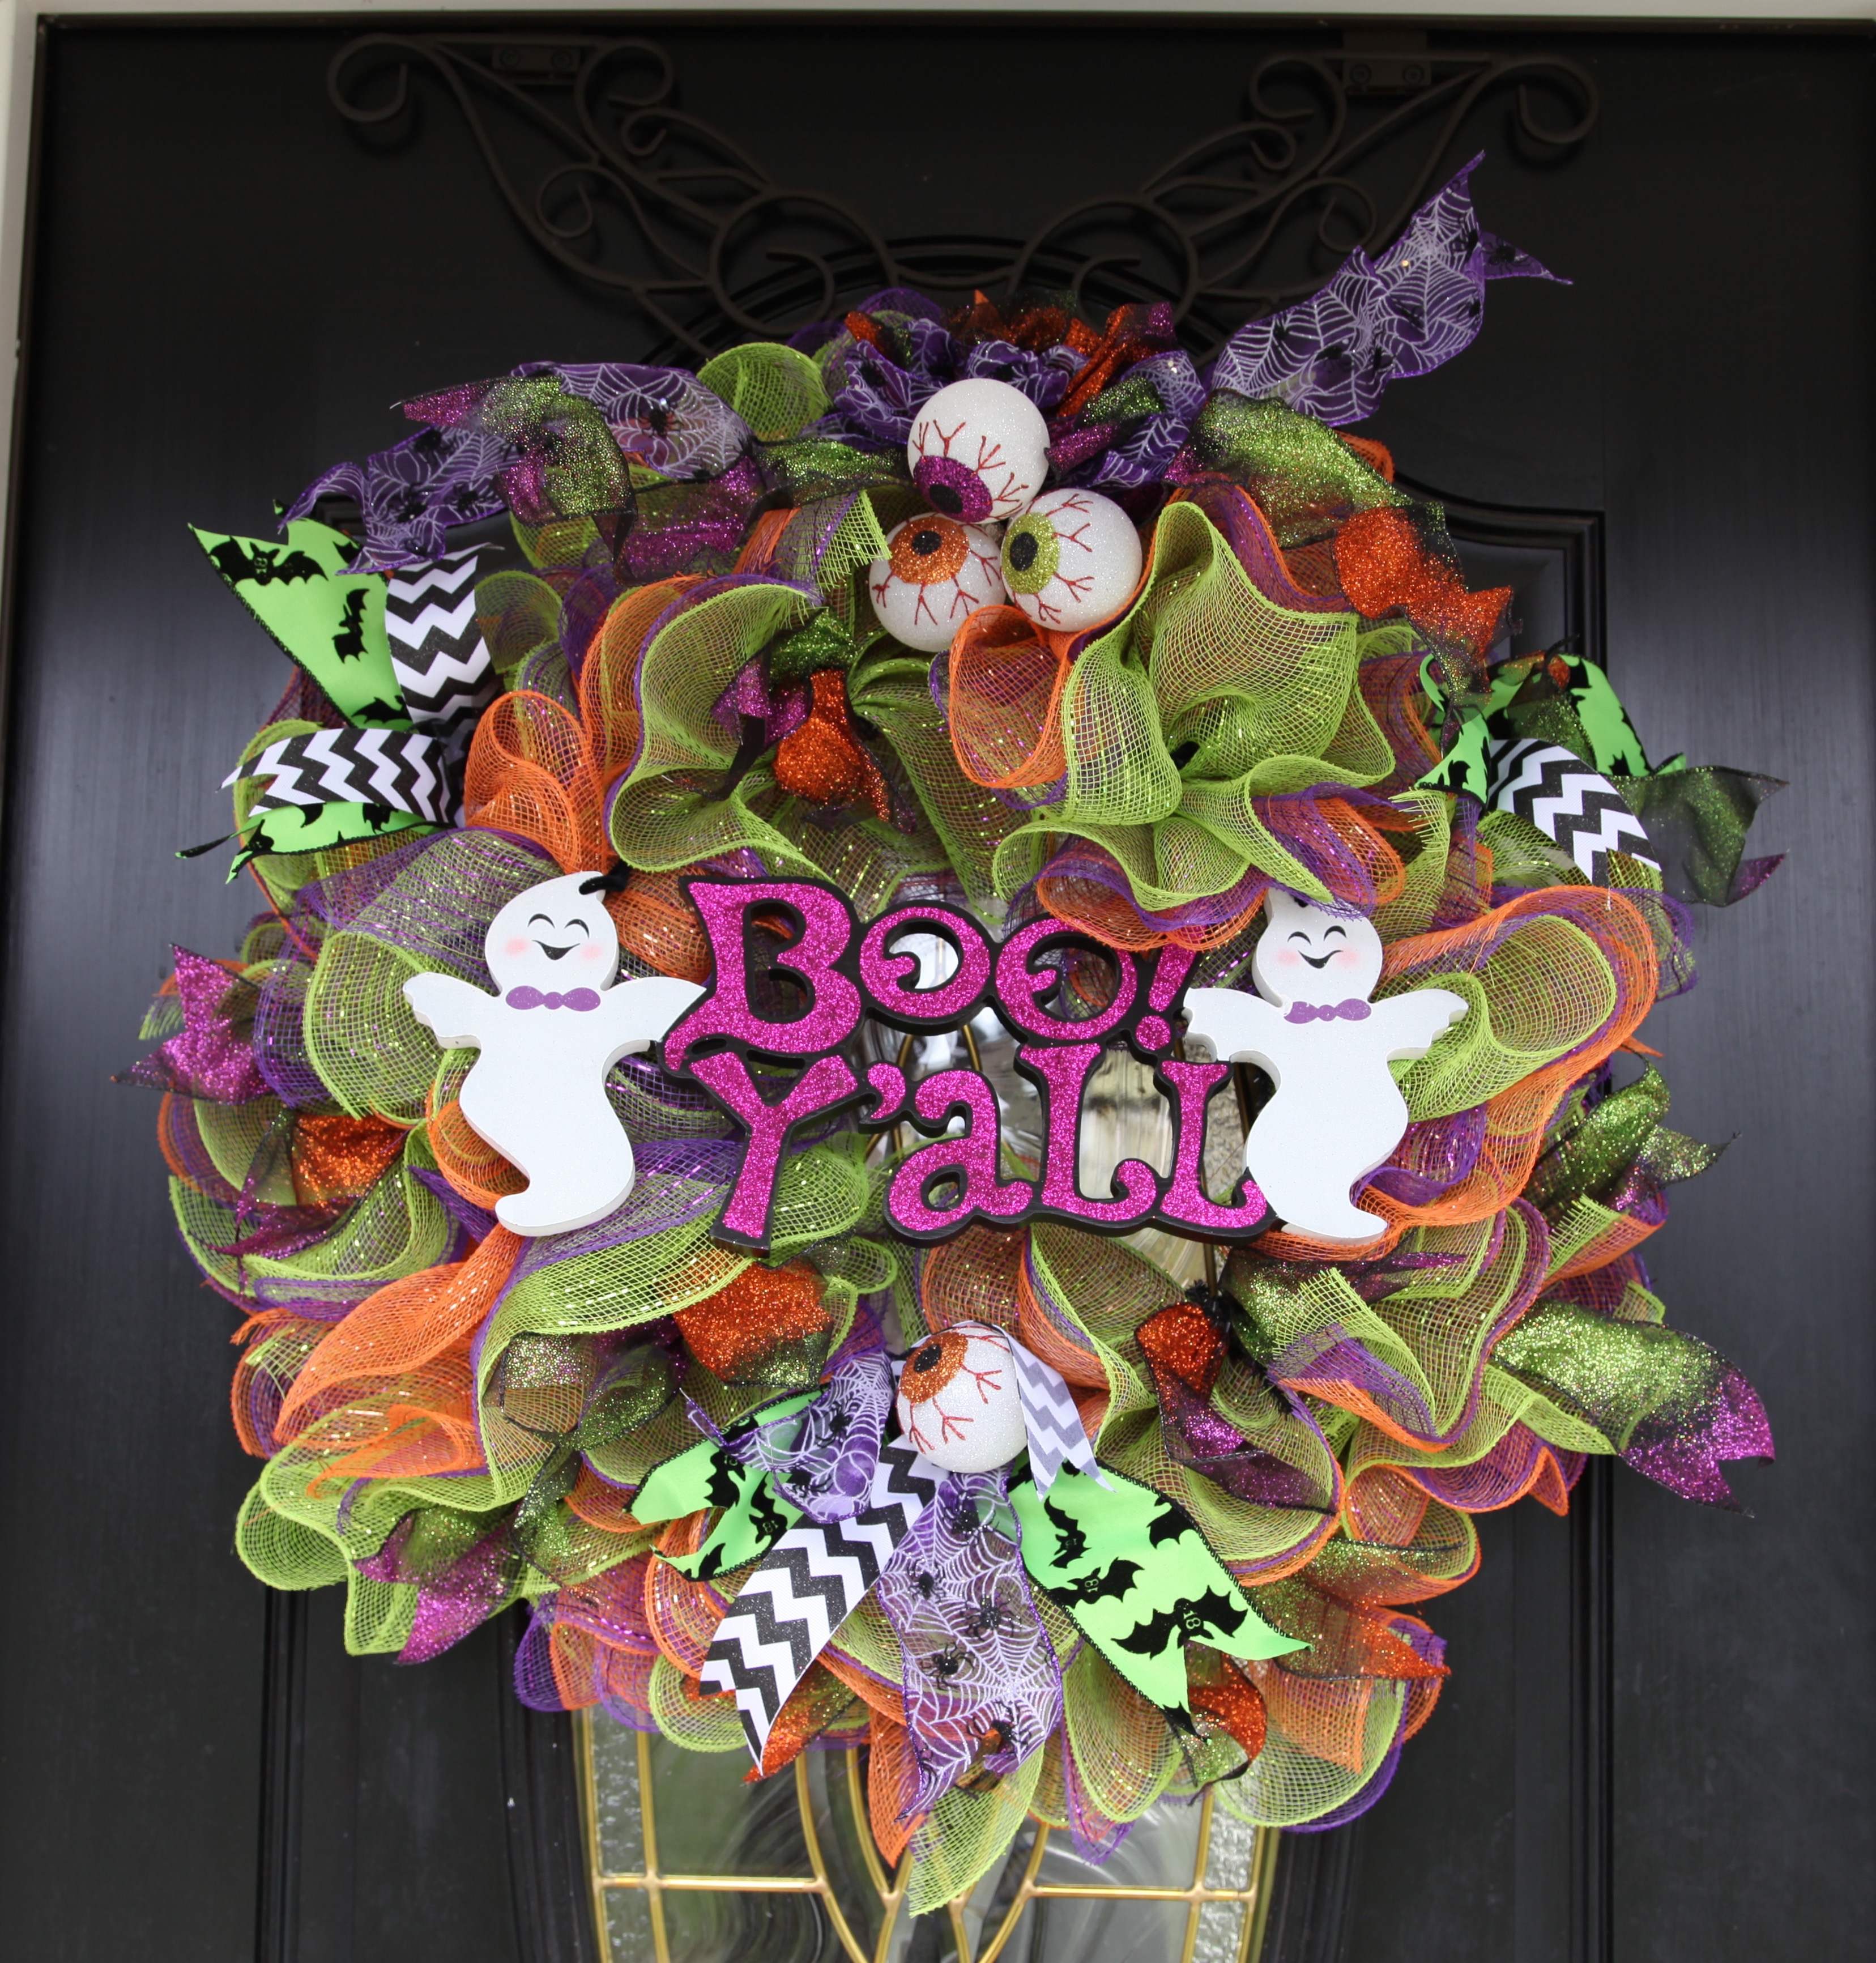
Then I moved to the foyer, I simply replaced the Burlap Snowman Wreath with this one:

If you’d like to know how I put this wreath together, check out my blog post entitled Front Door Burlap Wreaths:
 Here is my ever vigilant helper Samson the Newfoundland, this boy is never too far from my side, he is great company and I just adore this fella!!

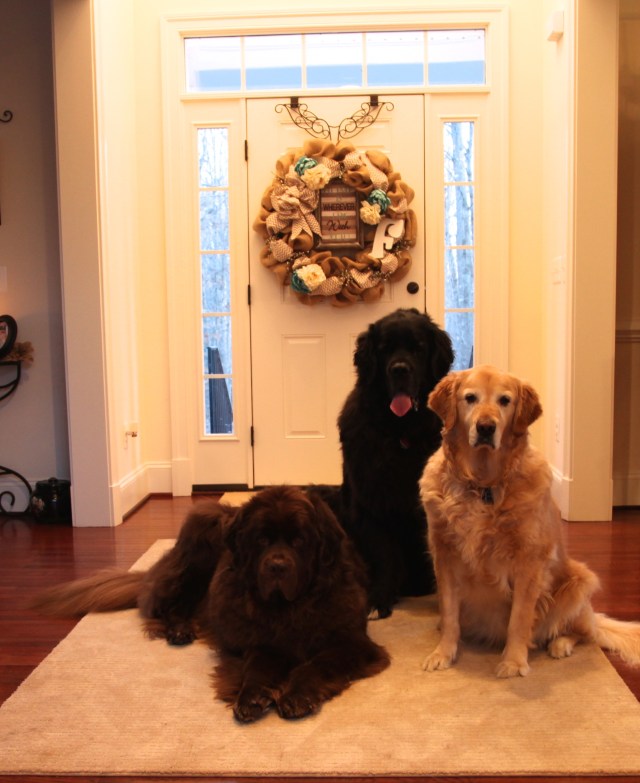
And here are all three of our pups, the Newfoundlands Sophie and Samson and the Golden Gracie. ❤ ❤ ❤
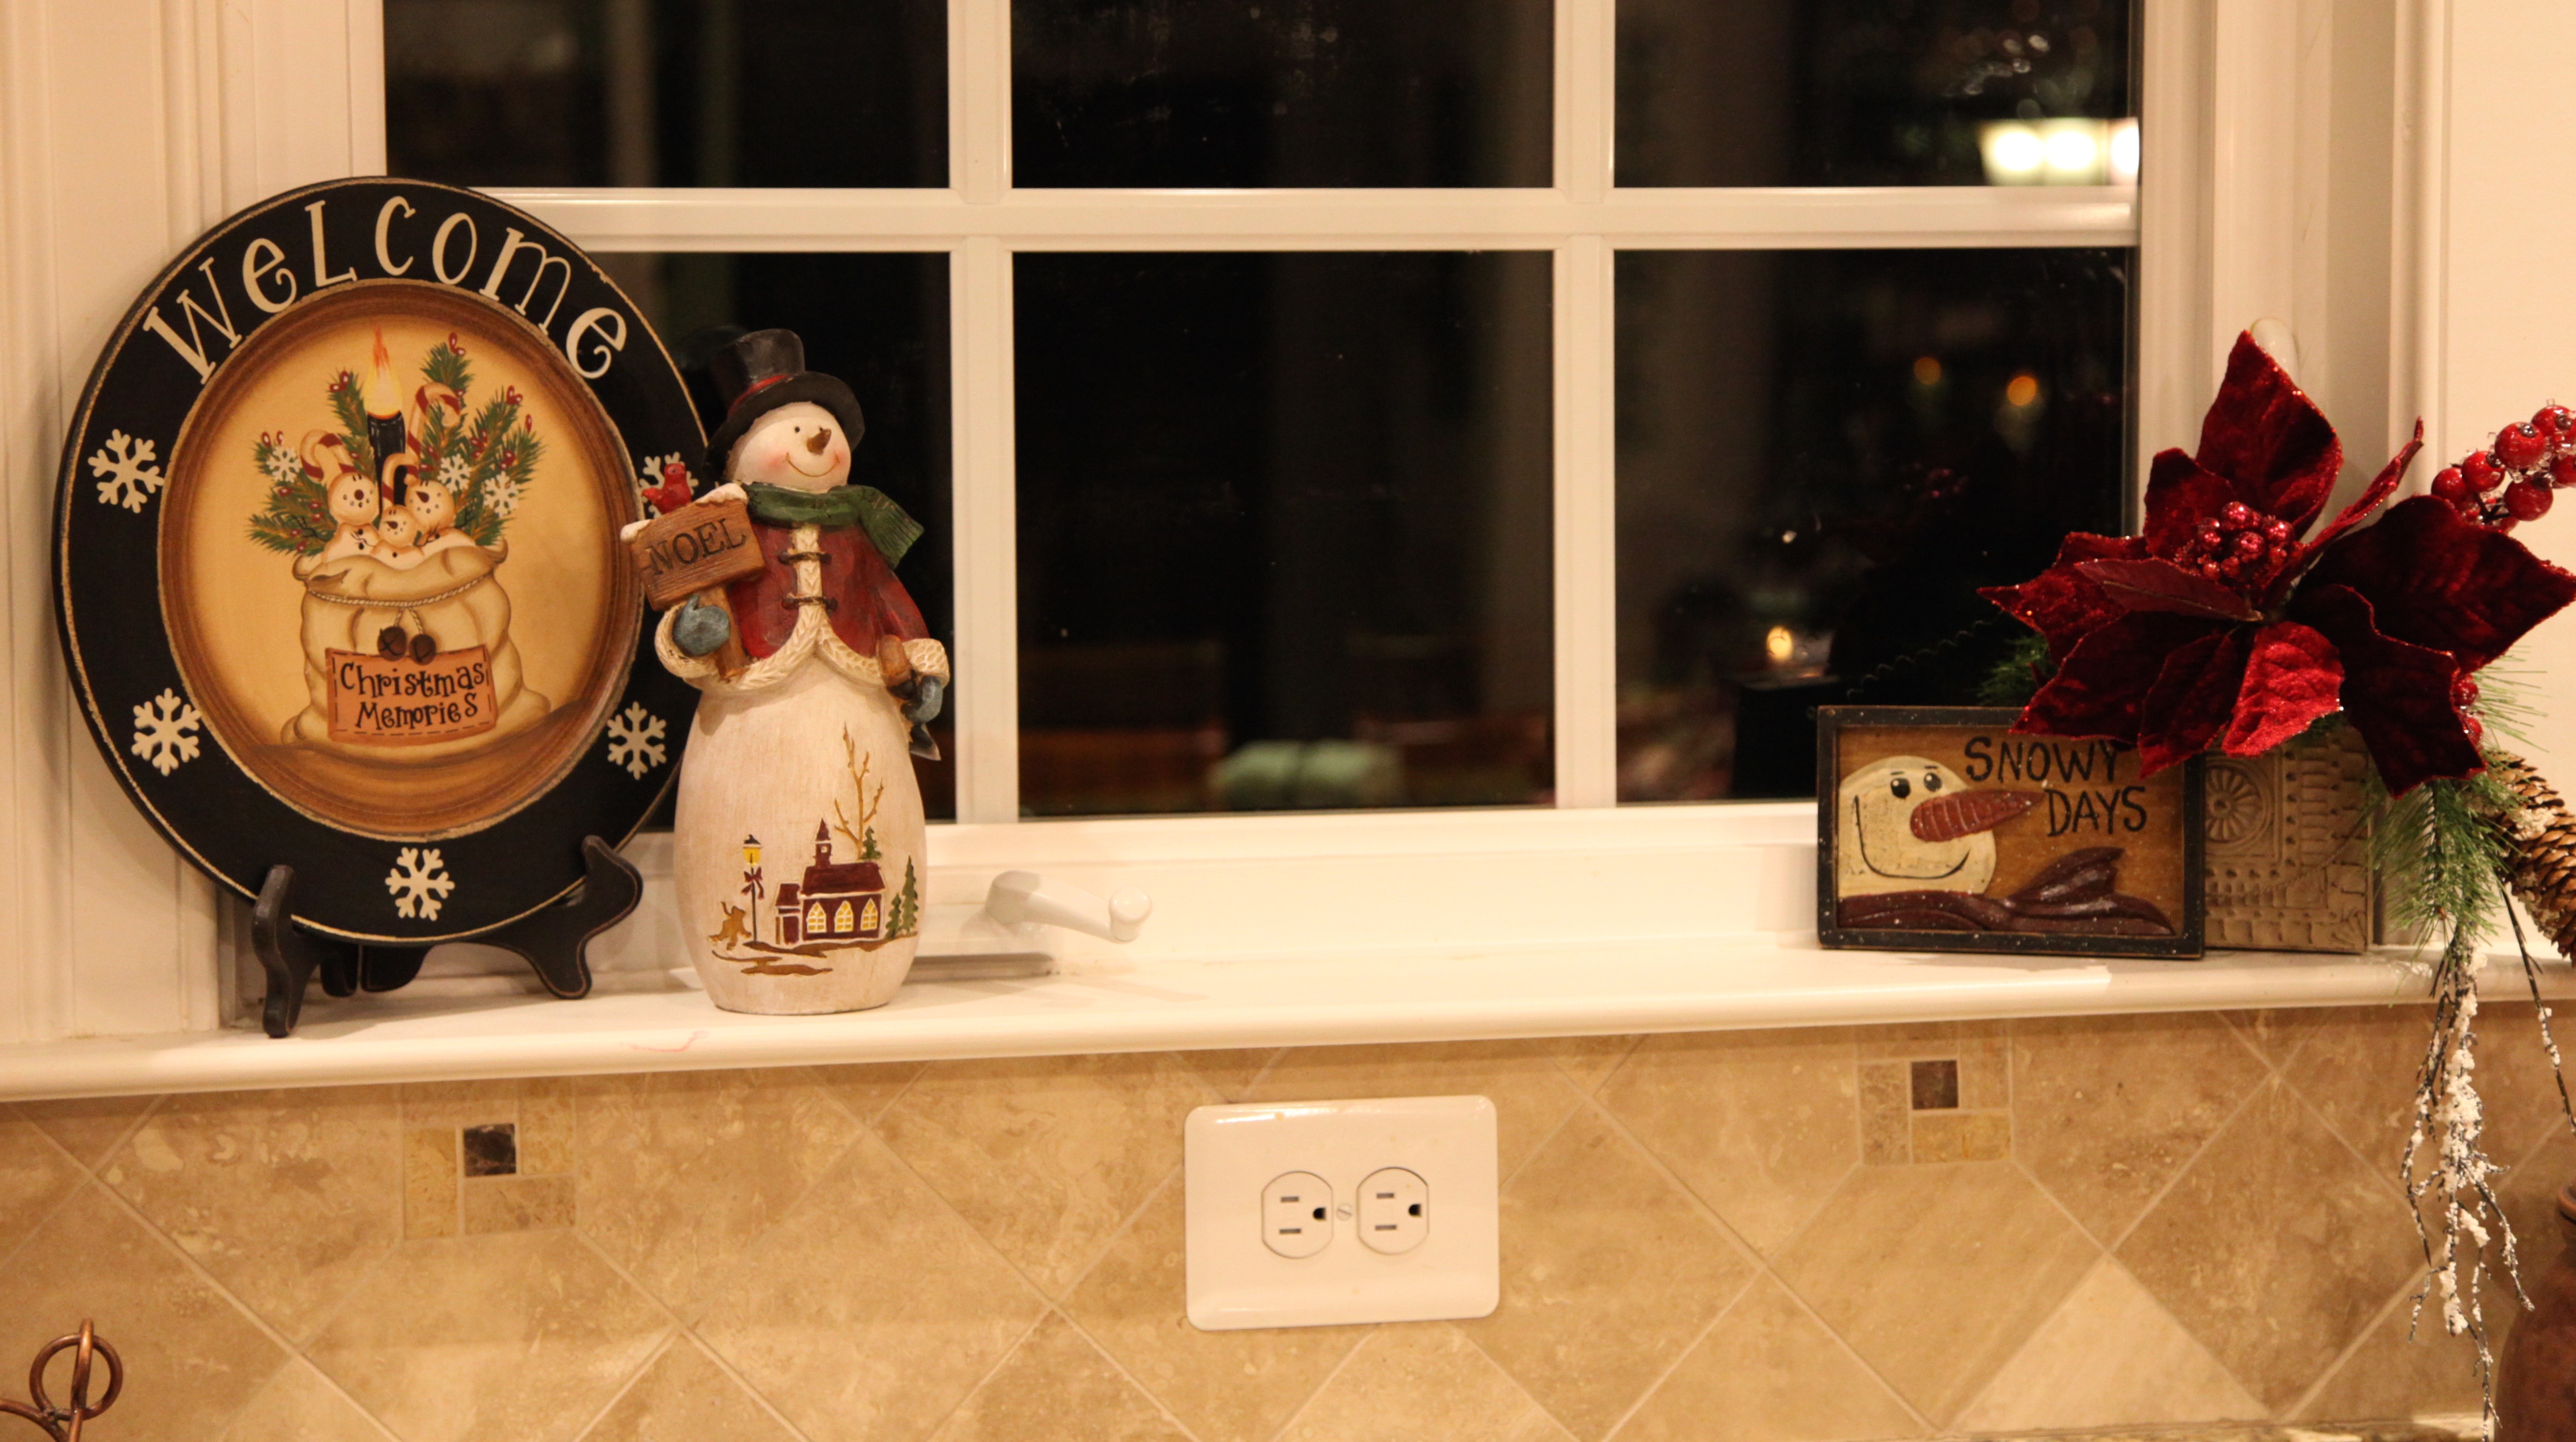
I finished my decorating by moving to the living room and placing just a few accent pieces and pictures on my secretary and on a glass table grouping. I also redid the lantern centerpiece on our little coffee table:


Here is a look at the finished rooms:

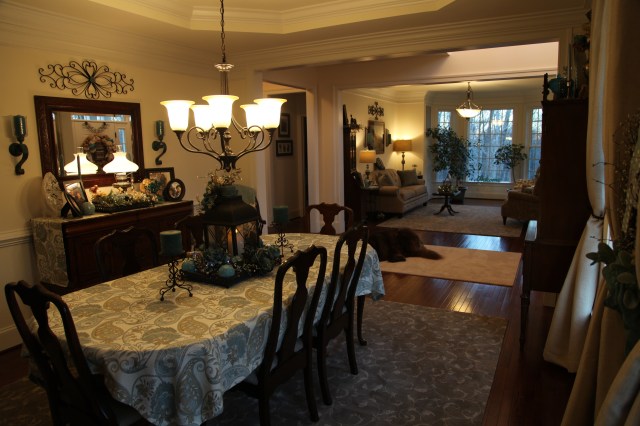
And with that, I had completely transitioned all of my indoor decor from Christmas back to my every-day theme. I do love Christmas but, I will admit that I was quite happy to get everything back to normal. 🙂
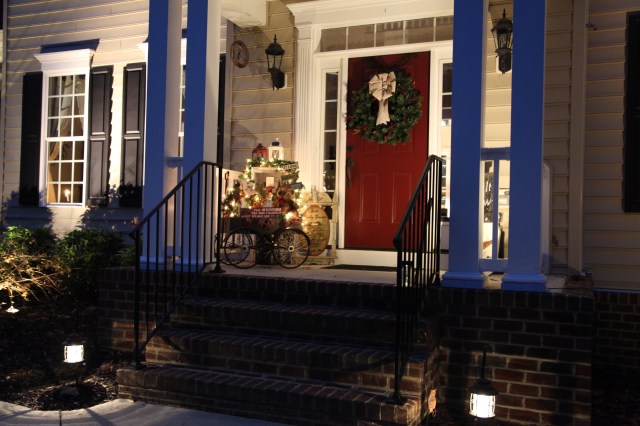
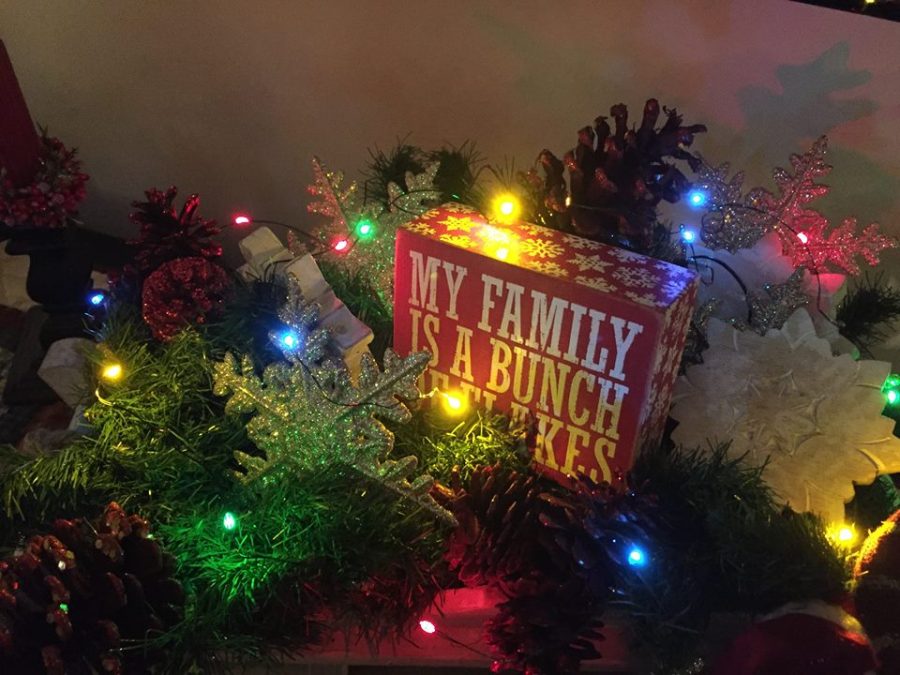
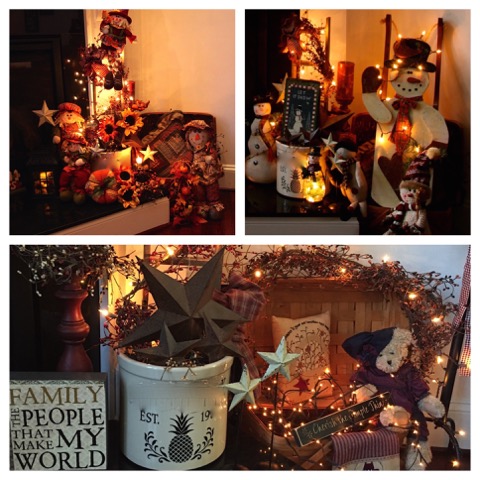
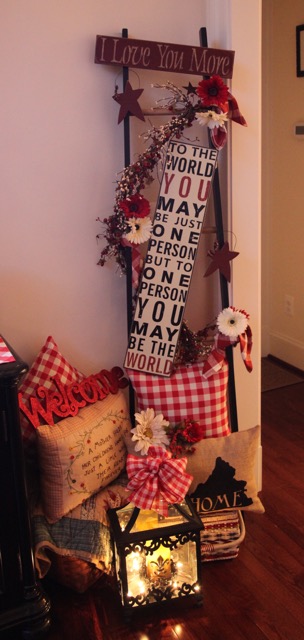
I have one more post to do in this little block of entries and that is one describing what I did outside…and that wasn’t all that much honestly, but, it did include redoing my little red wagon decor…
There it is from a distance:
Until next time, y’all take good care! ❤
**In crafting there are no mistakes just unique creations**
~Arlynn ❤


