I’ve thought long and hard about sharing more about myself on my “crafting” Blog, more to the point I’ve tossed around specifically sharing my struggle with weight loss. I’m not too sure many will be interested, but, I’ve decided that if my sharing and ramblings might help just one person in their journey through life, then it will be worth sharing my story.
Creating this Blog site back in September of 2015 was one of the most challenging things that I’ve done in quite a long time; I’ve never thought of myself as a “writer” so to speak. But, my friend Liz and my family encouraged me to at least give it a try because they felt as if I had something to offer folks out there in this great big world of ours. I have found that it seems that my Blog is doing rather well and I’m touched and honored that it has caught on. 🙂 When I started writing my entries, I *thought* that I would always just stick to the subjects of our home, my crafting, diy projects, my decorating, our vacations, and that I’d occasionally write a post about our sweet pups. But, as I continue to meet new people and to build more friendships through this Blog, I’d like to give y’all more a glimpse into what makes me, well, me. As we go through life, our experiences, whether they be good or bad, happy or sad, exciting or boring, challenging or easy shape and mold us into the people we become.
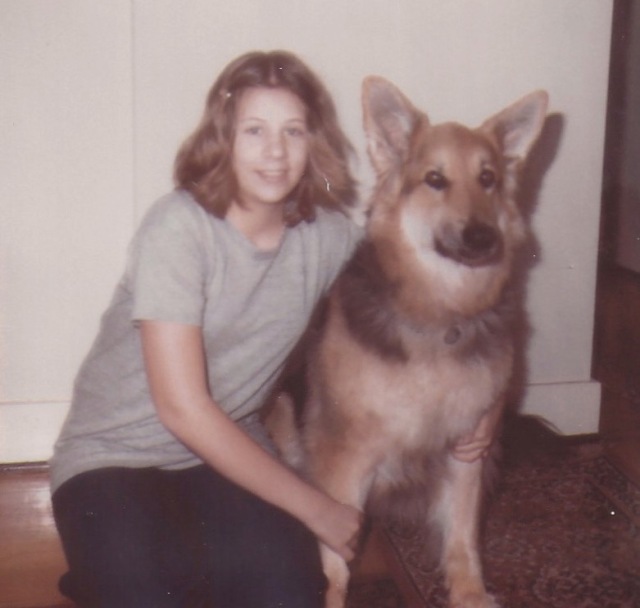
As a child, I never had a very high self esteem, in fact, I never thought that I was worth much even as a shy, gawky, teenager (painfully shy).
Here I am as that gawky teenager with my precious german shepherd Nikki; I had grown taller here, so I had thinned down a bit, but I was heavy as a child for a time as well. Mostly right before puberty, I honestly did grow out of it and didn’t struggle too awful much until after I was married…
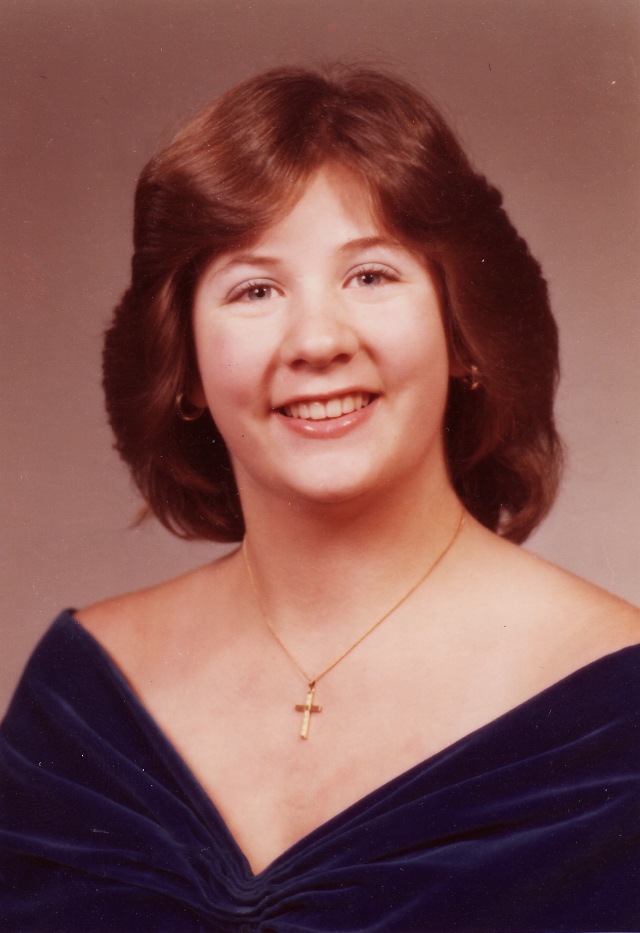
My shyness dissipated a bit after I was given the alto solo in my high school’s Spring concert in my Senior year (I do not have a picture of that time). As nervous as I was, I managed to get through that solo without passing out…lol. I always had very good friends in high school, being in chorus helped me immensely. I grew up in a very small town and I literally went to school with the same group of kids from kindergarten through high school. A lot of us have reconnected on Facebook in the last several years…nice, very, very nice. Here is my Senior portrait:
I got my first job while I was still in high school and was forced (literally) to interact with strangers (that I NEVER meet now-a-days…haha) while working at a steakhouse. I started to gain some self-worth when I realized that I enjoyed talking and interacting with others and it seemed that for the first time in my life, I was actually someone who had a little something to offer. The rest as they say is history, from then on, I became, I’ve been told, someone who is an upbeat, positive, generous, and an all-around sweet person. I try very, very hard each and every day not to be an angry, ugly person…folks like that just suck the very energy out of me and I don’t want to be like that…ever..
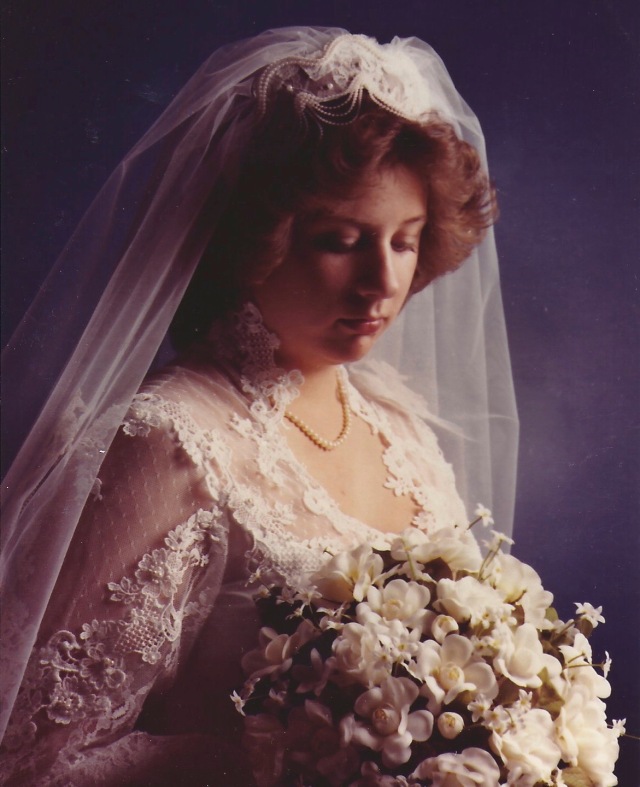
Through it all, I struggled with my weight, it had always been a bone of contention in my life. I have waged battle on and off through the years. Thankfully, my hubby of over 30 years has loved me through thick (fat), thin, and everything in between, he is an awesome man who loves me for me, not for what I weigh. ❤ I was 20 years old when we got married…one of the very happiest days of my life.
So regarding my weight loss struggles, let me begin by saying that I’ve only tried one fad diet in my past and it was one that required me to take a copious amount of vitamins and drink protein shakes. I was somewhat successful in my endeavors with that diet (I will not tell you what it was, no need). Short synopsis of that time of my life back in 1987, I had already given birth to our first daughter and she was 3 years old—just a precious little soul too! ❤ Here are some pictures of my beautiful oldest daughter:

I had started this diet and actually lost around 40 pounds and then I found out I was pregnant with our second child, so, of course, I immediately went off of the diet (stopped taking the vitamins and drinking the protein shakes) and made an appointment with my OBGYN. All was well with my blood work and I was as healthy as could be. Fast forward a bit to when I was around 5 months pregnant, one day when I had my daughter out swinging on the swing set, I noticed that I had a blurry hole (for lack of a better word) in my visual field. Quite alarmed, I headed to my eye doctor, stumped, he sent me to a retinal specialist who determined after a visual field test that I had enlarged blind spots in both eyes and that my optic nerve was quite swollen which sent up red flags, set off alarms, and caused he and his staff to huddle all around me handing me orange juice and crackers (remember I was pregnant and had been in that office for hours). That doctor called my OBGYN doctor, they consulted and thought it best to send me to a neurosurgeon because they were both convinced that I had a brain tumor and that IF it was operable I was going to need to have immediate surgery to remove it! WHAT? “I might not live to have my child” was spoken softly to me; I was scared to pieces. Well, after a visit to the neurosurgeon, a CT scan (non-contrasting) of my brain, and a spinal tap, it was determined that I didn’t (thank the good Lord) have a brain tumor but instead I had something called “Pseudo Tumor Cerebri” (fake brain tumor) and in my case, it was caused from an overdose of vitamin A (a non-water-soluble vitamin) in combination with my pre-natal vitamins. To say that I was much relieved was an understatement and little did I know that a diagnosis of Pseudo Tumor Cerebri could have been a pretty devastating thing, but, for some reason (I look UP to Him) I was never affected the way some are affected and the way that some who suffer with what can be quite a debilitating affliction. The *only* thing that I was left with was that I can never take Vitamin A in concentrated form again…I’ve got my lifetime supply. Now, I can eat foods that contain Vitamin A, I just can’t take concentrating vitamins; I take a daily multi-vitamin called “Stress Tabs”, every vitamin included in that multi-vitamin is water soluble so I have no issue at all and have had NO lingering effects AT ALL from the Pseudo Tumor Cerebri since the day I was diagnosed…NONE. ANYway, our daughter was born as healthy as could be 4 months later…she weighed 10lbs. and is a blessing to this day; she just turned 28 years old. Here are some pictures of that beautiful blessing:

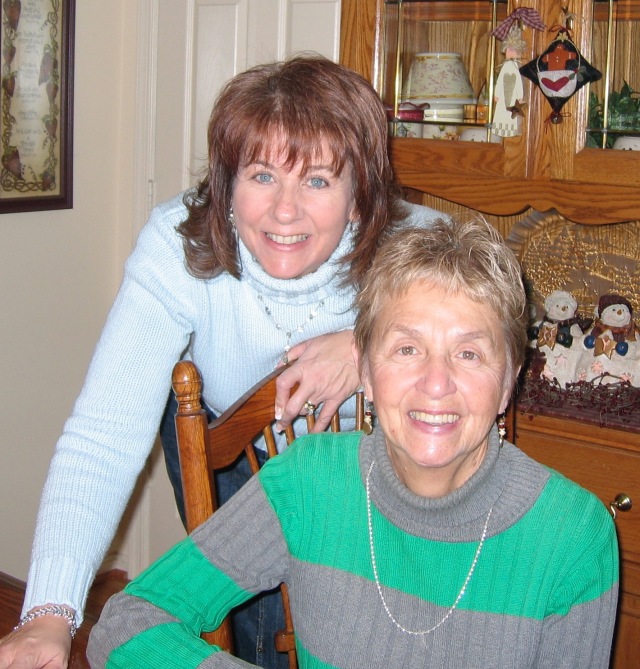
The reason I told you that entire story was that after going through that very stressful situation, I promised myself that I would never try another fad diet again and with that, I have actually been successful at losing weight through the years by simply changing my eating habits and adding exercise to the mix (walking in my case). I will admit that even with my tried and true weight loss tactics, I’ve still ridden on the proverbial roller coaster through the years. I will admit that I am a “stress eater”…NOT making ANY excuses here, but, in very stressful situations (my hubby’s open-heart surgery, my mom’s fight and subsequent passing from Alzheimer’s disease, to name two) I have tended to fall off of the eating healthily wagon. It is a frustrating attribute of mine that I am not proud or excited to admit to, but, I stopped beating myself up about it long ago. Nuff said… Here is a picture of me with my precious Mom before she became ill:
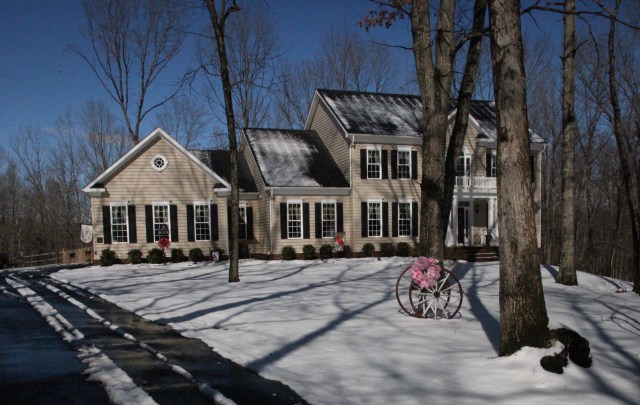
My latest battle with weight loss began about a year and a half ago several months after we moved into our new home–because of course I had eaten my way through the very stressful process of building this new house. So as in the past, I changed my eating habits and poof I started to lose weight. I was somewhat successful and my weight was coming off slowly–whoops, wait a minute, let’s throw menopause into the mix…UGH. Stupid menopause, I am not going to lament forever about what a miserable process we women must endure with “the change”, but honestly, it has been pretty yucky and it has not made losing this weight any easier. I refuse to take replacement hormones (I just hate taking prescription medications if I can at all avoid it), so I’ve powered through while taking some natural supplements to help control the hot flashes and other annoying symptoms. I’m coming out the ‘other’ side of things now and I feel as if I’m finally just about finished as my symptoms have subsided greatly. ANYway, back to this diet…I have lost around 55 pounds in that year and a half. I struggled through the Holidays without gaining too much weight–about 5 pounds…and now that it is February and we have an Hawaiian cruise coming up, I’ve been able to get that 5 pounds off and will hopefully lose a bit more. I know I will never be a skinny-minny, and I don’t really want to be, I just want to be comfortable in my own skin. Also, I will admit that I like to try to look fashionable and put together. NOT that a plus sized girl cannot look fashionable and put together, I am just tired of being a plus sized girl. Also, I FEEL so much better when I’m at a healthy weight…not to mention my knees feel better too.
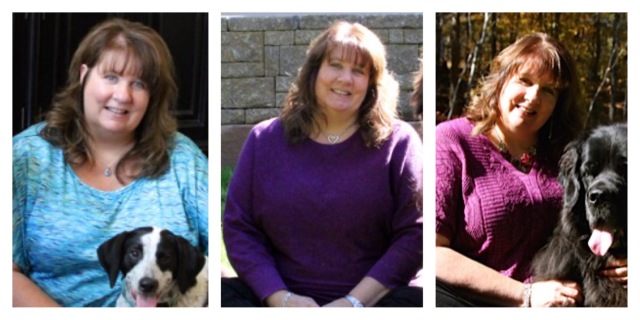
Here are a few pictures of me at my heaviest:
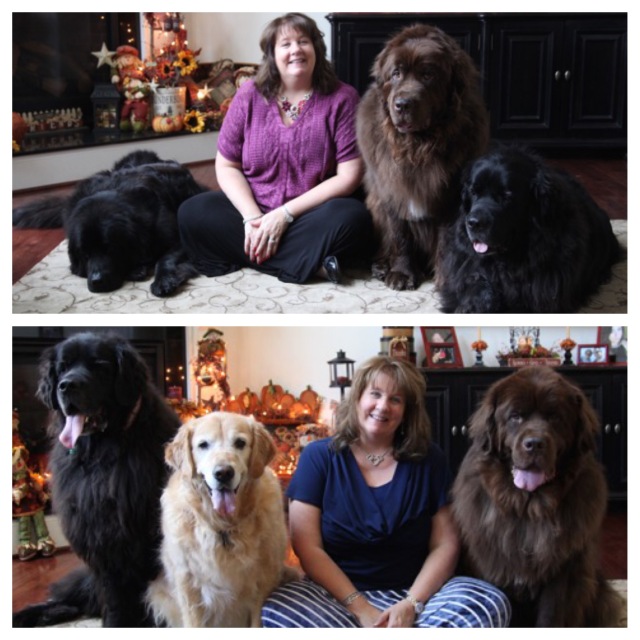
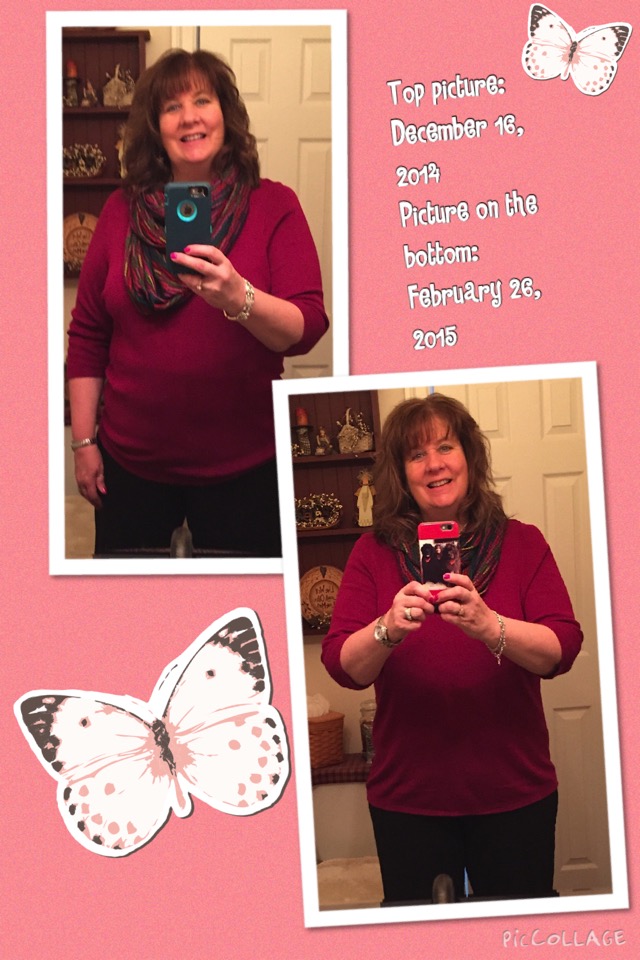
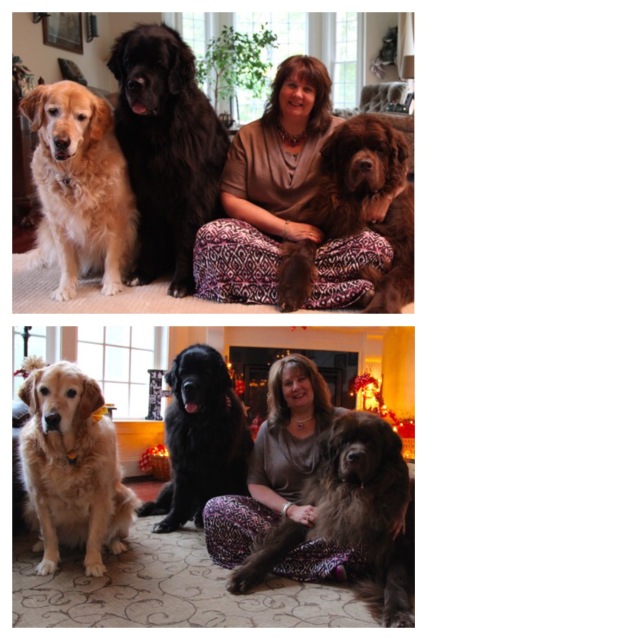
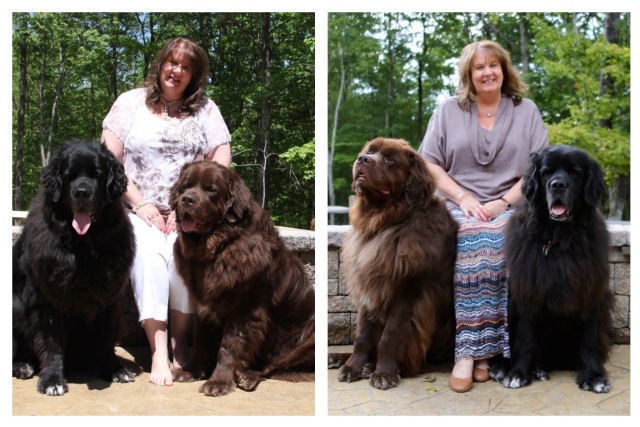
And here are a few comparison shots of me going through the weight loss process:


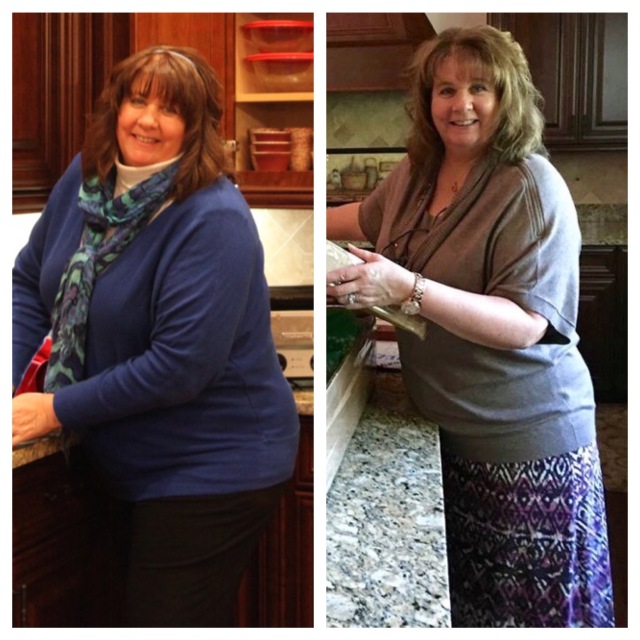
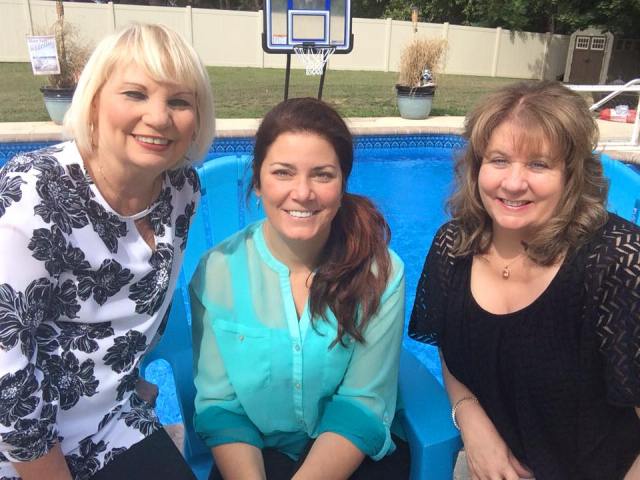
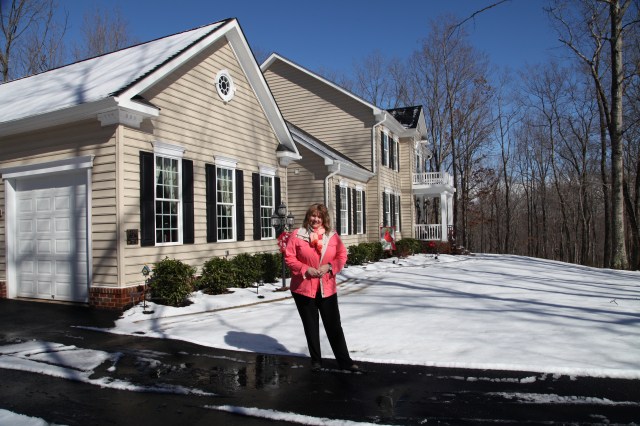
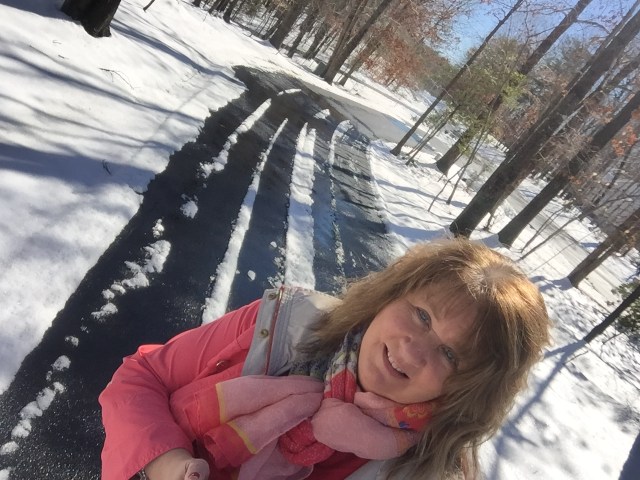
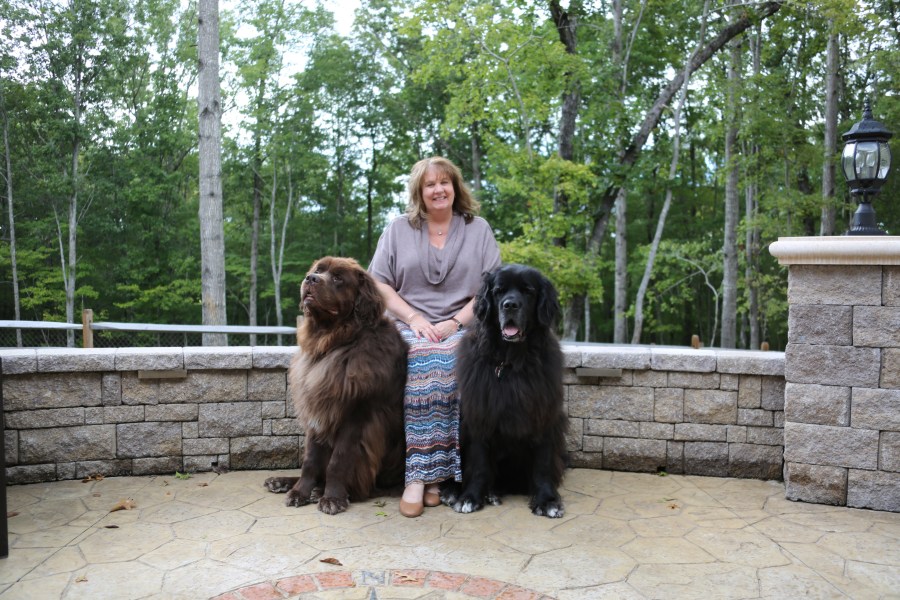
This is how I looked last week (February 2016)…New hair cut, new outfit, and still ‘dieting’. 🙂

I am FAR from thin, in fact, I probably could lose another 40 pounds and still not be thin (NO kidding…I do not lie to myself here).
SO my battle continues, truly though, it is not really a battle, it is a lifestyle change, one that I know works for me, one that I engage in daily, and one that I will continue to wage each and every day. One thing that I know for sure is that the most important thing to hone is my thought process; I know from past experience that losing weight is definitely a mind over matter technique, one that I need to work hard to achieve at times, but one that I’ve wrangled and perfected.
**I must put this in here…I am not writing all of this to ask for any weight loss help or weight loss tools or any other such thing. I know what works for me and I know what foods I can eat that help me keep healthy while losing weight, so please don’t give me advice or suggestions. I’m okay as is…I honestly don’t need help…:) 🙂 **
I have found that cutting most carbohydrates out of my diet is the key. I eat breakfast every morning too, might only be yogurt but it is something. I eat small little items through the day, fruit, veges, etc…and I eat a nice balanced dinner. I tend to eat a lot of salads and a lot of chicken, it is a good thing that I love both things huh? 😉 I refuse to starve myself to lose weight. This is my formula for successful weight loss and I can continue to eat this way for the rest of my life. NOW, I need to haul my butt outside to do some walking, when I add that in, it really helps to speed the weight loss process along…and that helps me to feel even better. 🙂 I am now 54 years old and yes, I do struggle on some days to maintain a healthy lifestyle. BUT, now-a-days, my self esteem is pretty good…yes, I still can get down on myself, but most days, I’m a happy lady who is full of energy and ready to face whatever life has to offer.
ANYway, there we go, a little glimpse into ‘me’…I wear my heart on my sleeve (I’m told) and my purpose for writing this entry was to further introduce myself to you and also to show people out there who might struggle with their weight that they are not alone in the fight. ❤
Until next time, y’all take good care!
~Arlynn ❤


 *And* I wrote a post describing the


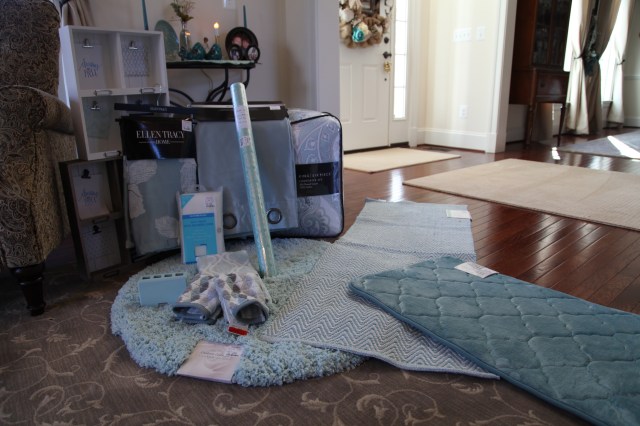
 While we were in the rug aisle, we both gravitated to and picked up this very fluffy round rug…Oh my goodness gracious, it is so soft!!


")


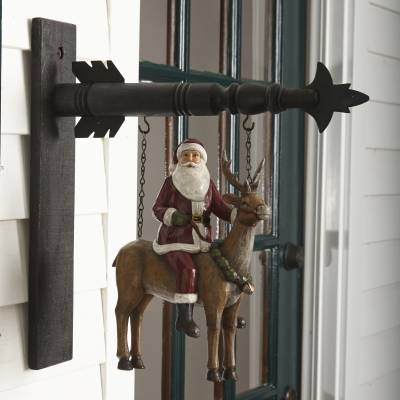


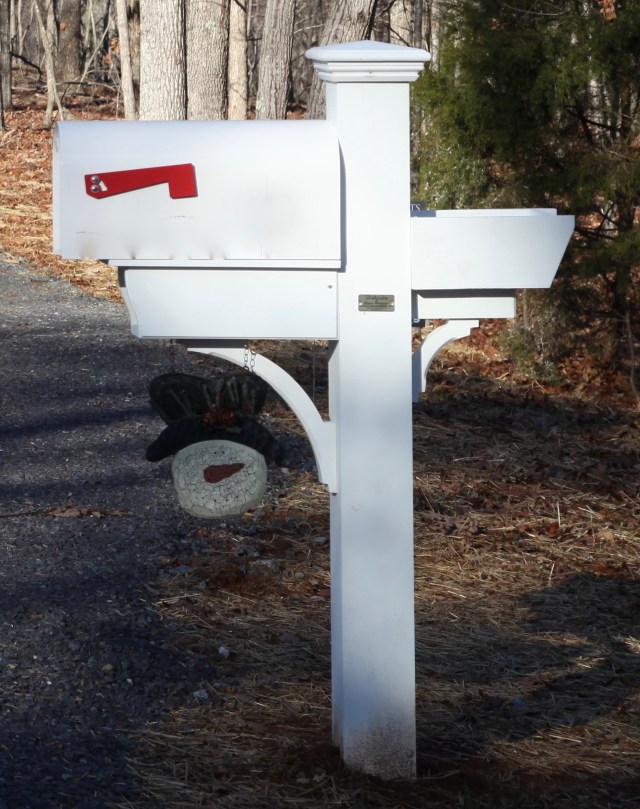
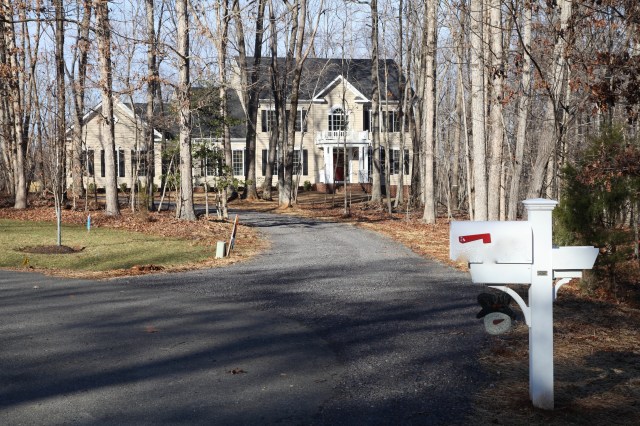


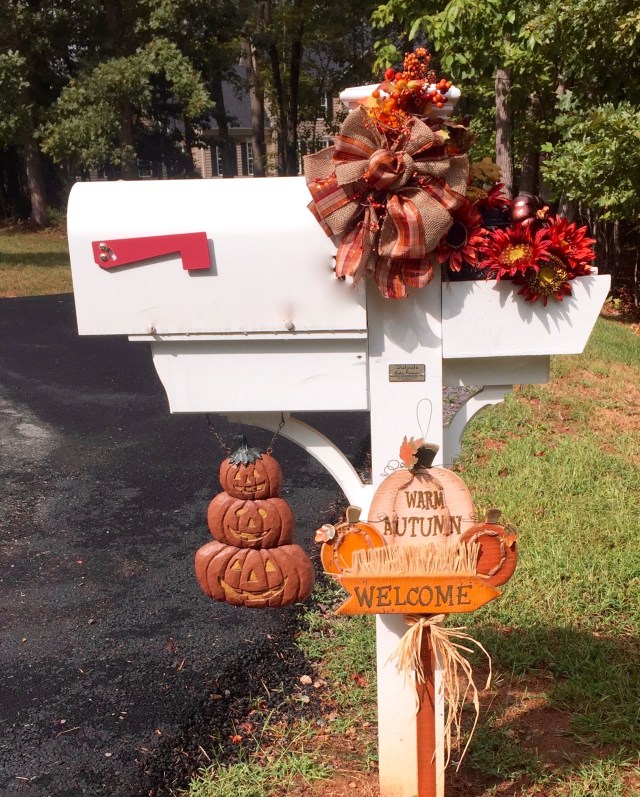


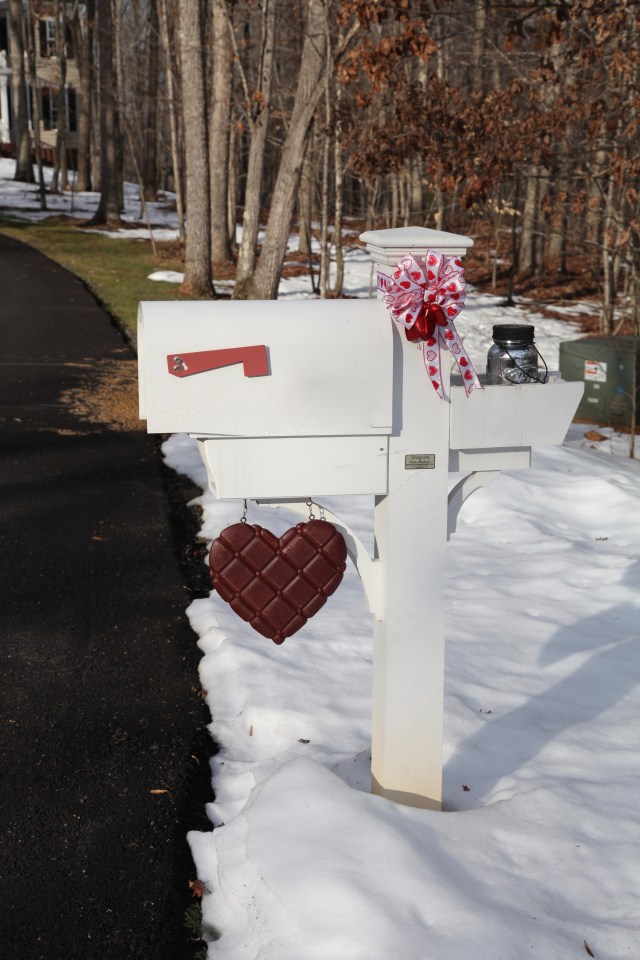


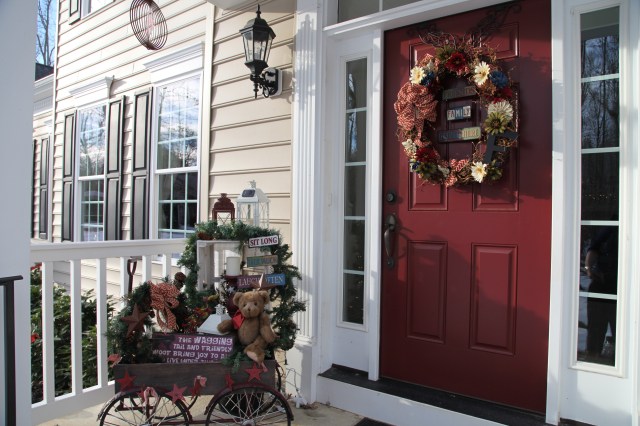


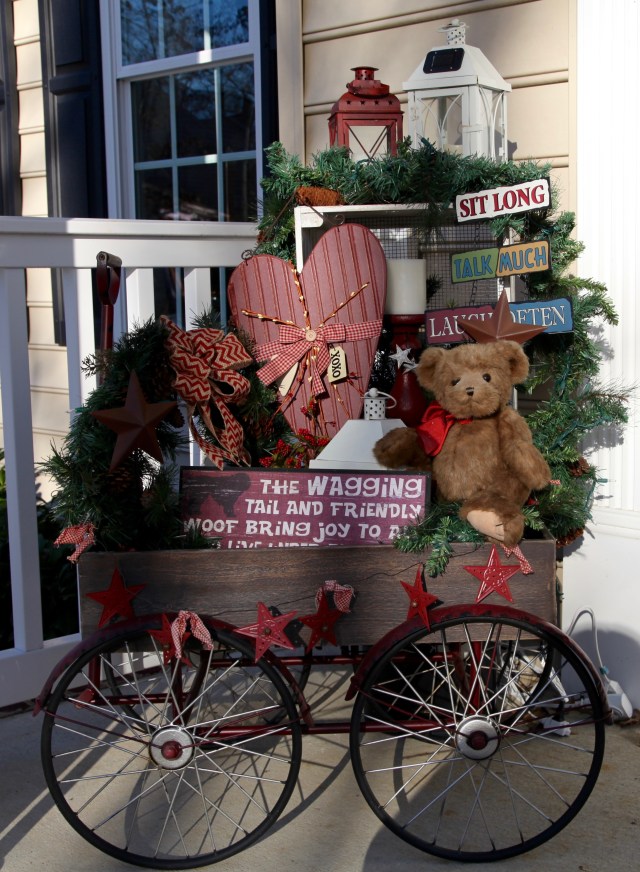
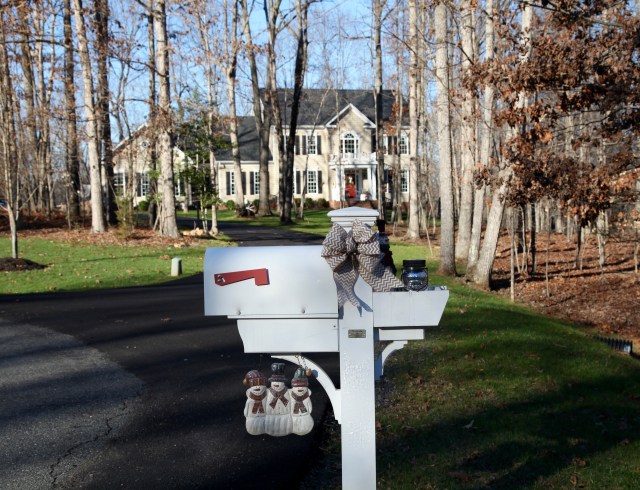
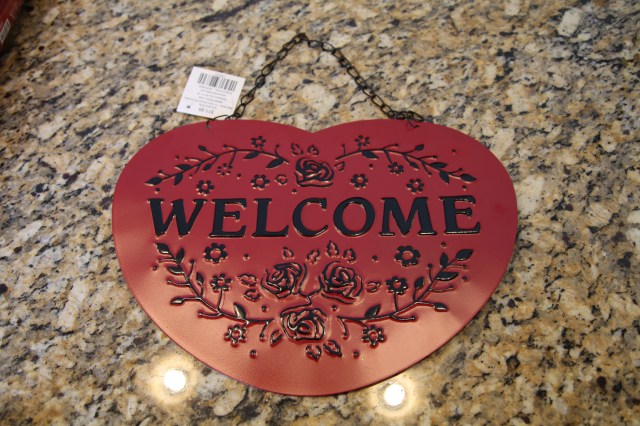
 See that wooden heart hanging under the mailbox? That is actually meant to be hung on a little decorative pole (I had it hanging on the front porch of our other home). I didn’t have a place that I wanted to hang the decorative pole here at this house, but, I’ve been using all of the “signs” that I collected throughout the years to augment my mailbox decor.
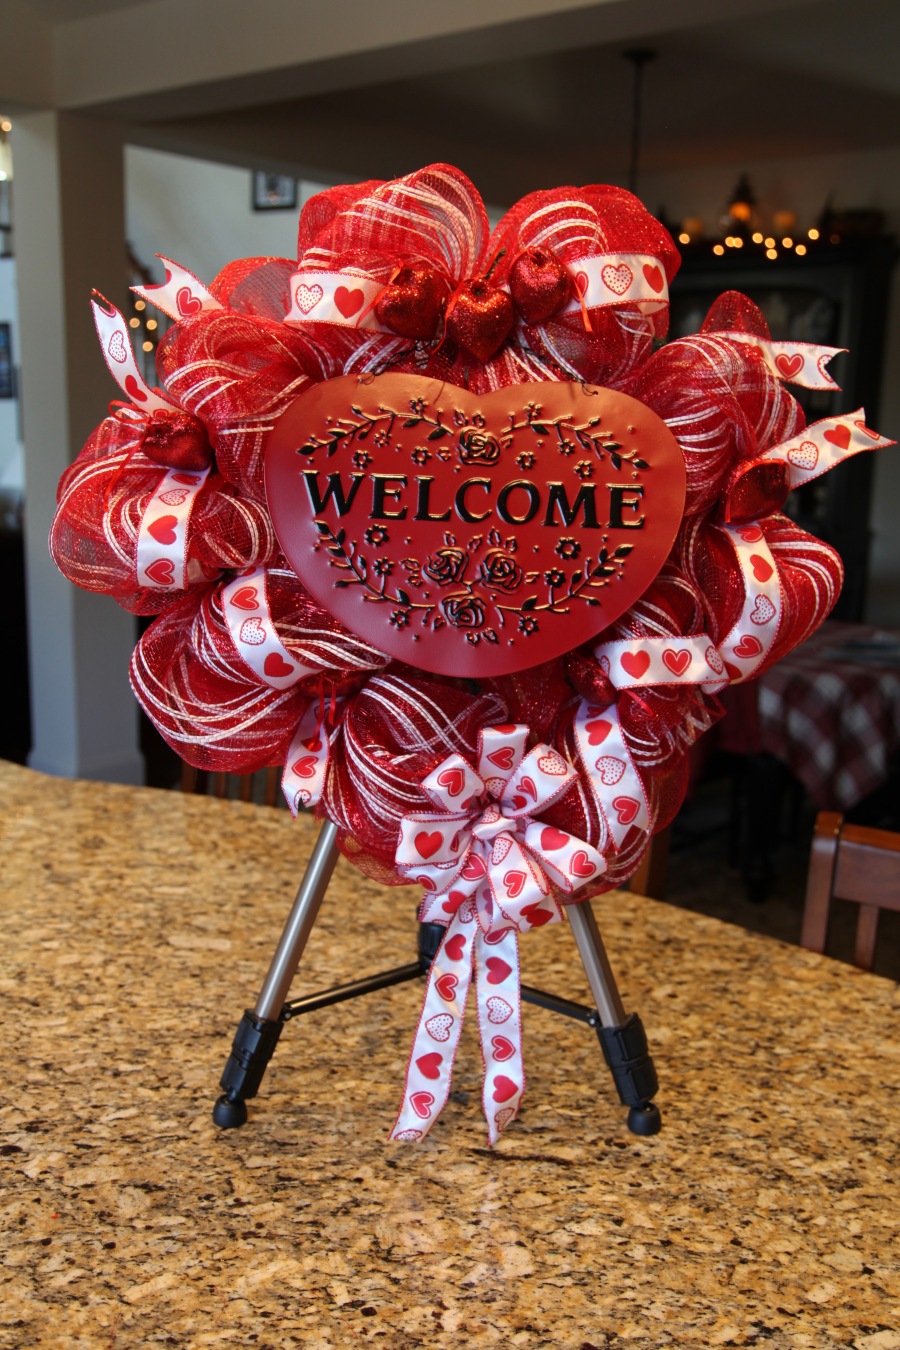


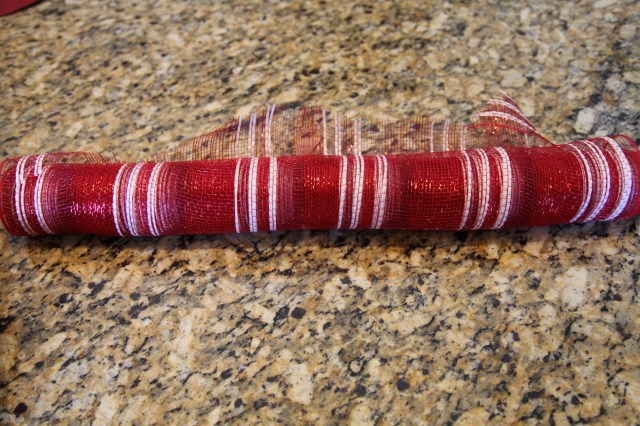


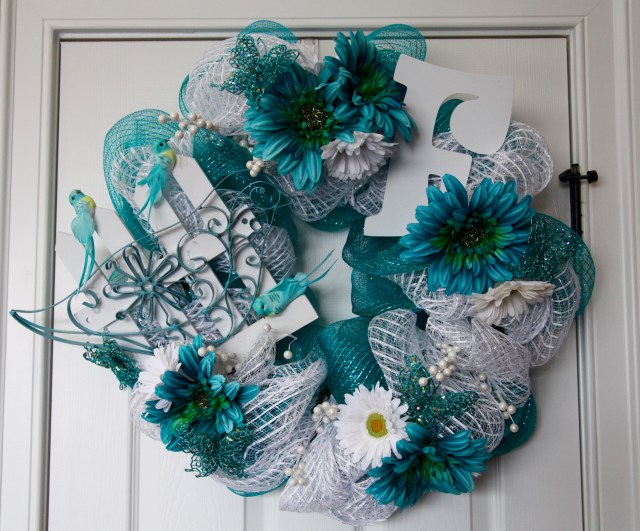
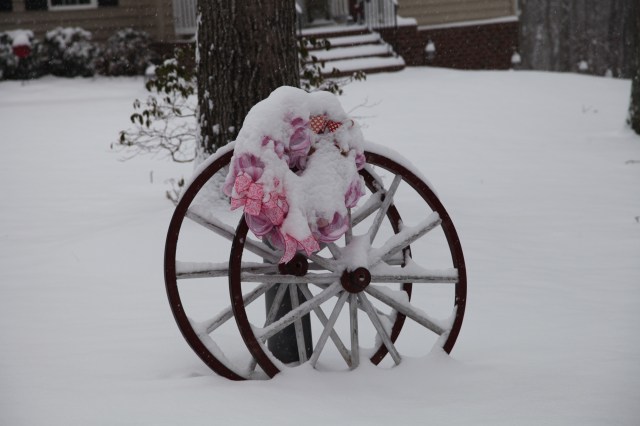
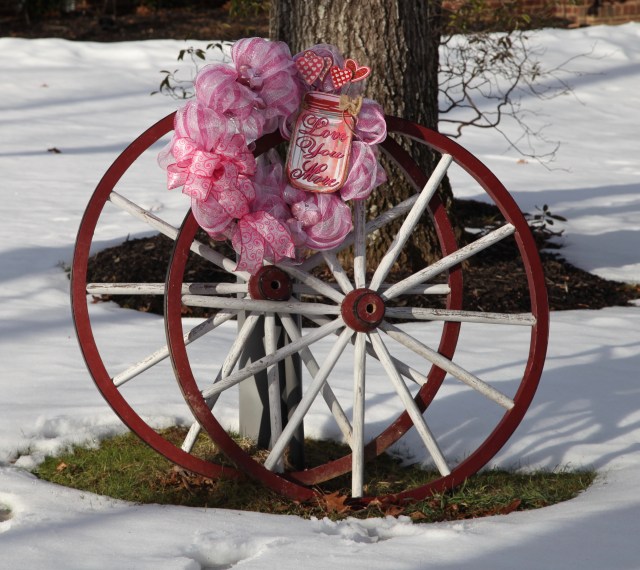
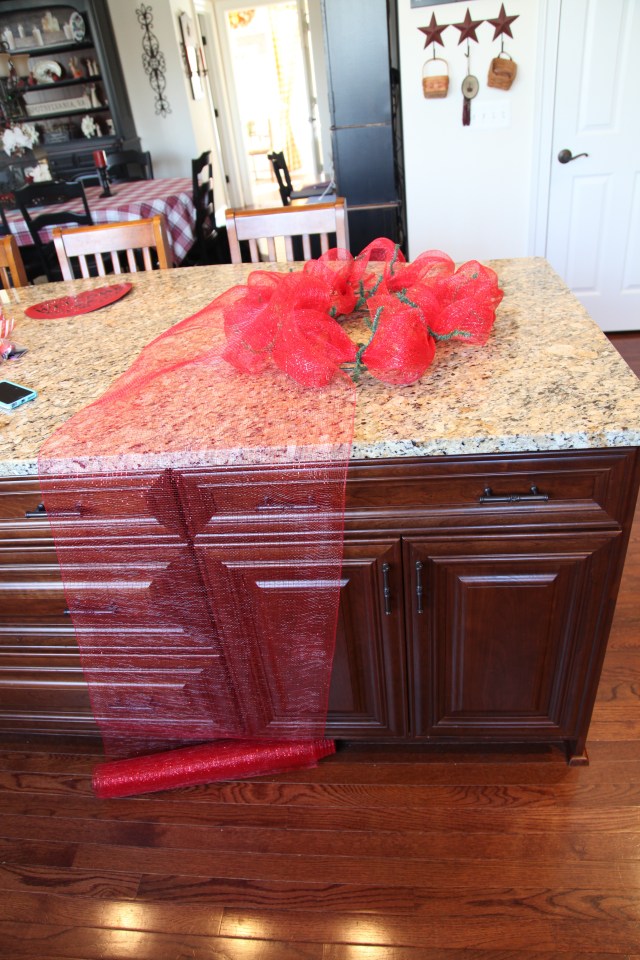 Then I added a row of the red and white deco mesh starting at the inner ring and working my way around the form alternating between the pipe cleaners on the inner and outer rings…
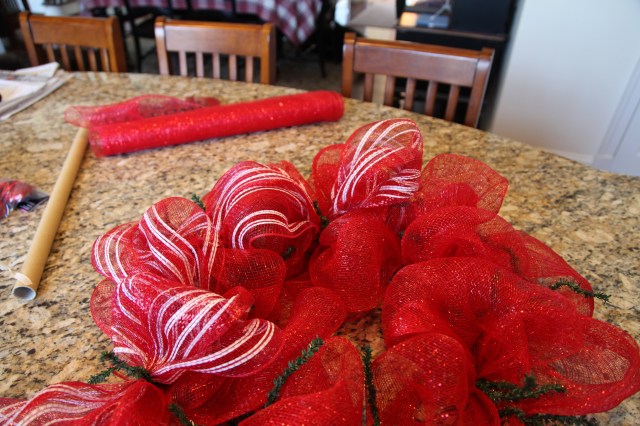

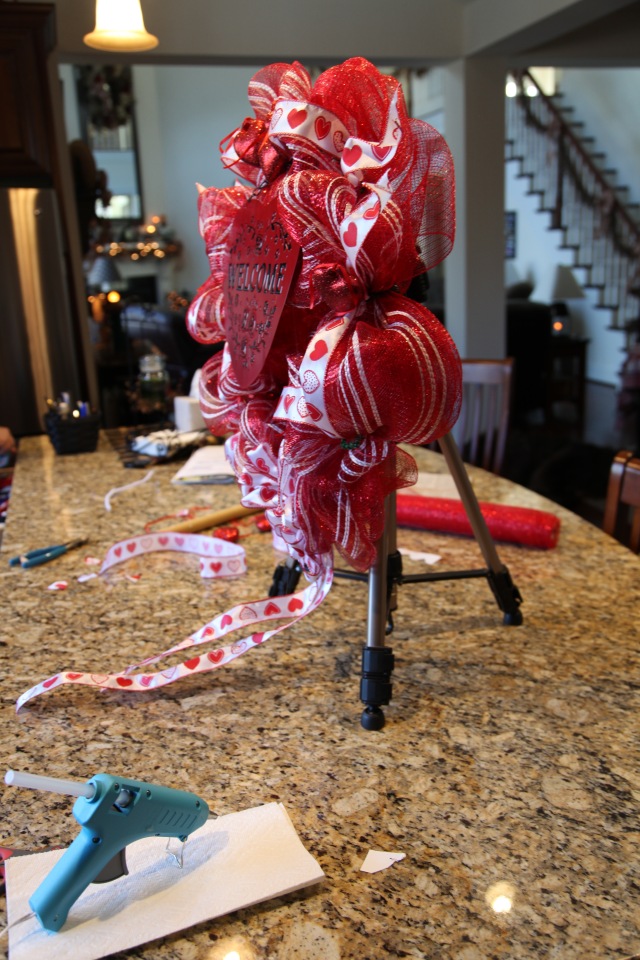

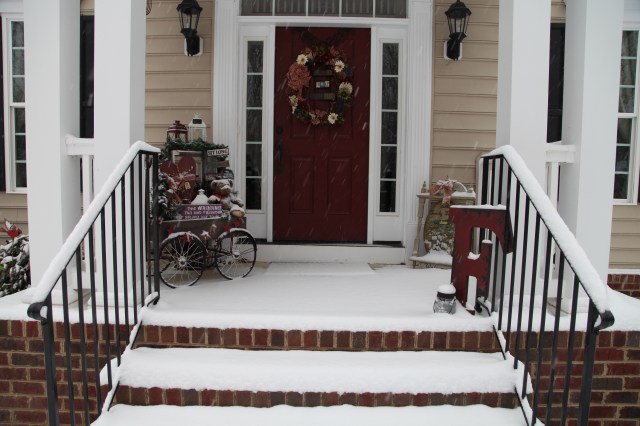
 Blog post coming up soon to show y’all where I ended up putting the pink and white Valentine’s wreath and to show you a few other things that I did to the front porch to transition that decor to a more generic country themed feel. 🙂 In other words, Valentine’s Day is not represented EVERYwhere in my decor…only outside with these two wreaths and just a couple of little things on my mailbox. 🙂