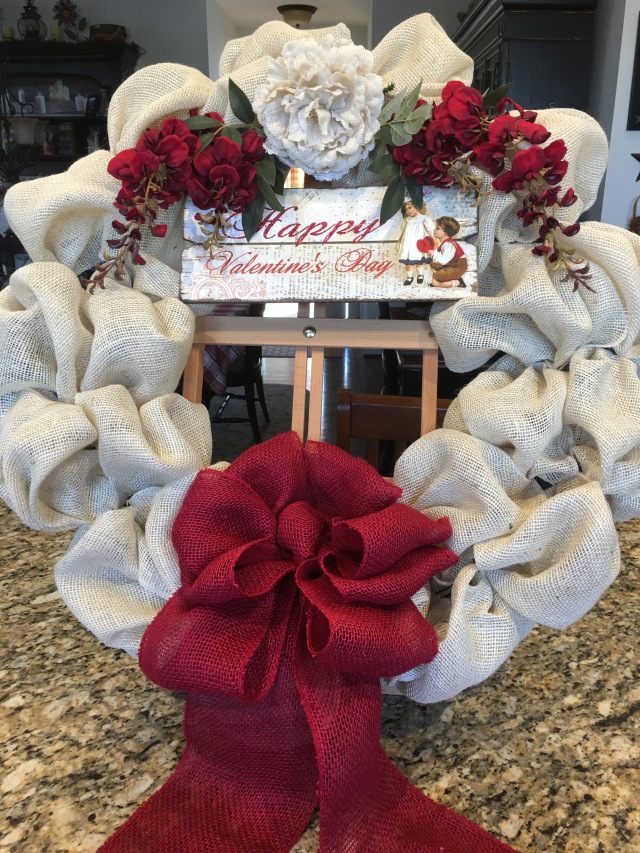
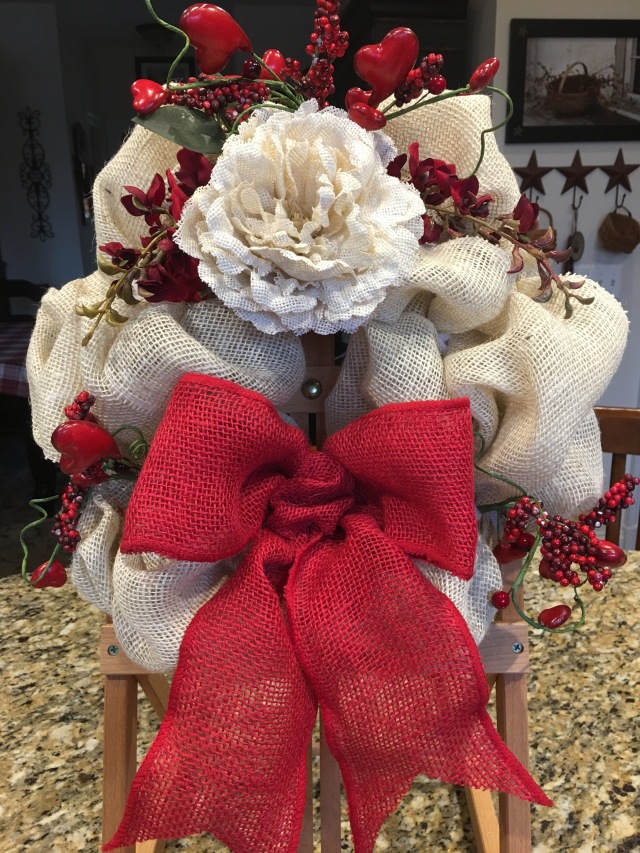
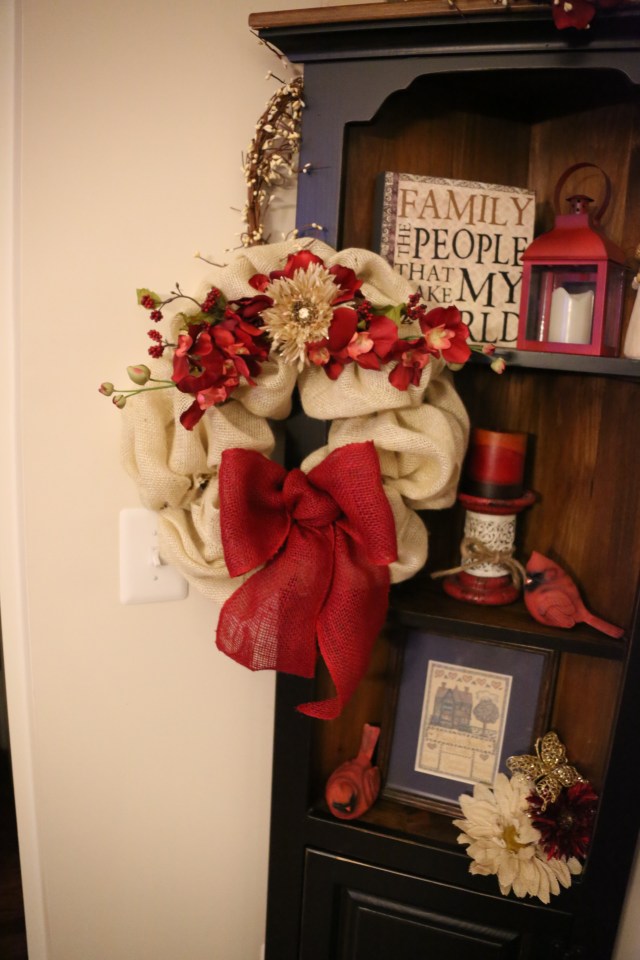
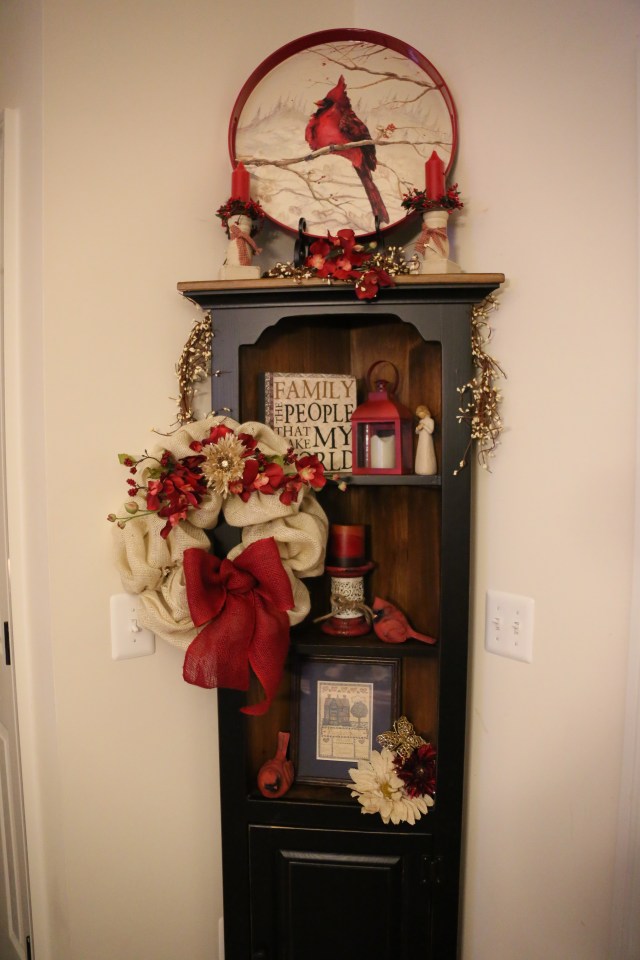
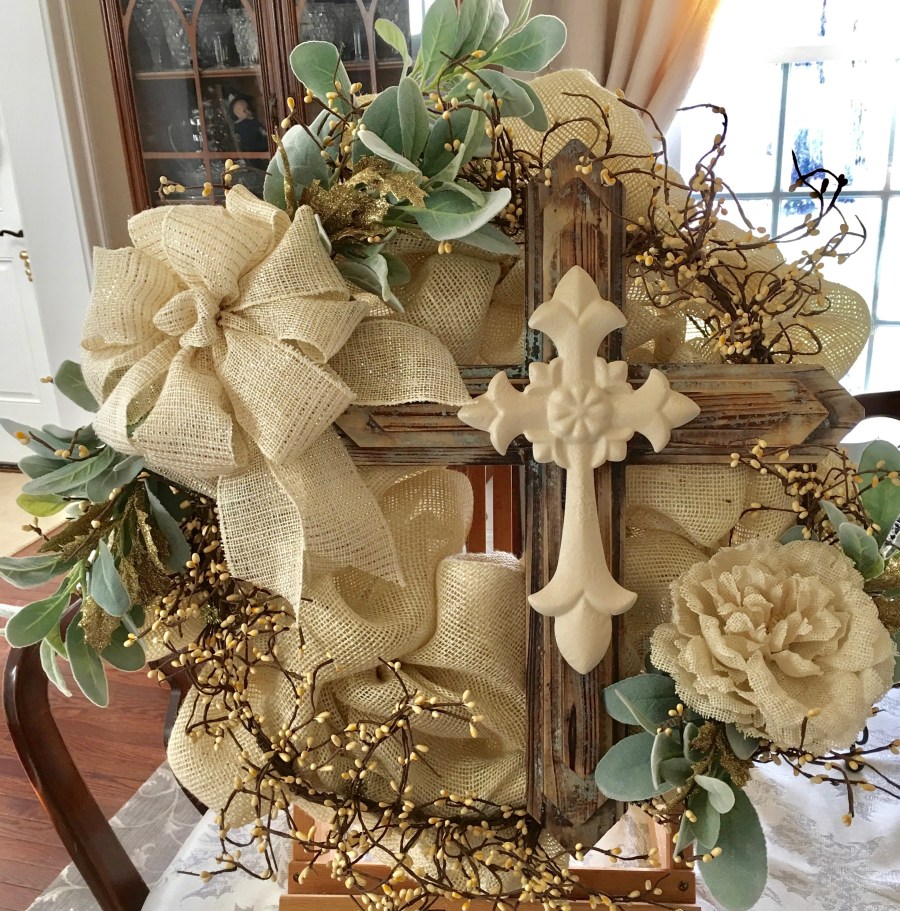
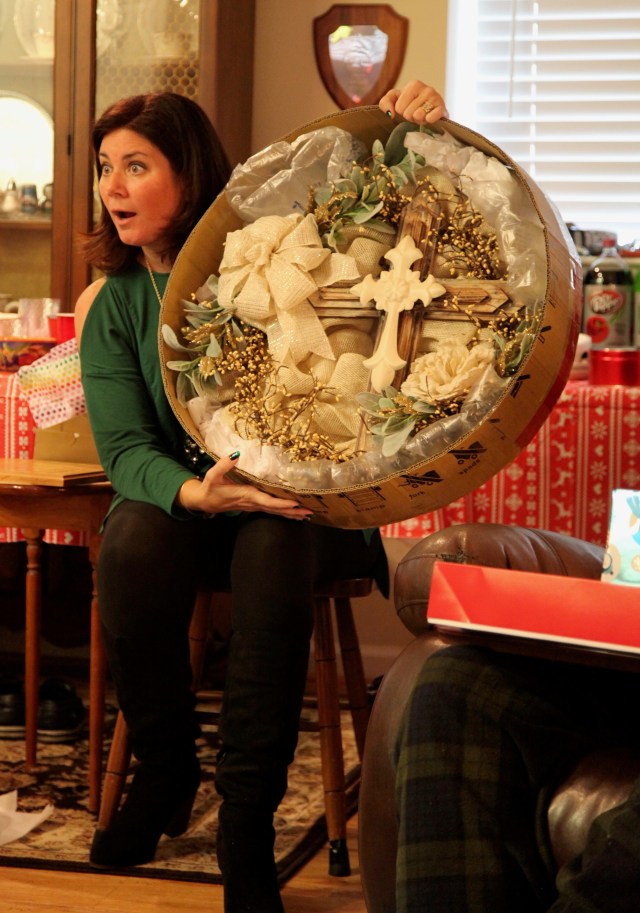
Okay, go ahead, call me anal retentive, you’d be smack dab on the money if you did…lol. 😉 All right, so some of you may have seen my blog post about this my Large Cream and Red Burlap Valentine’s Wreath:
I made that wreath to hang on my front door for February…Here is my YouTube Tutorial if you are at all interested btw….
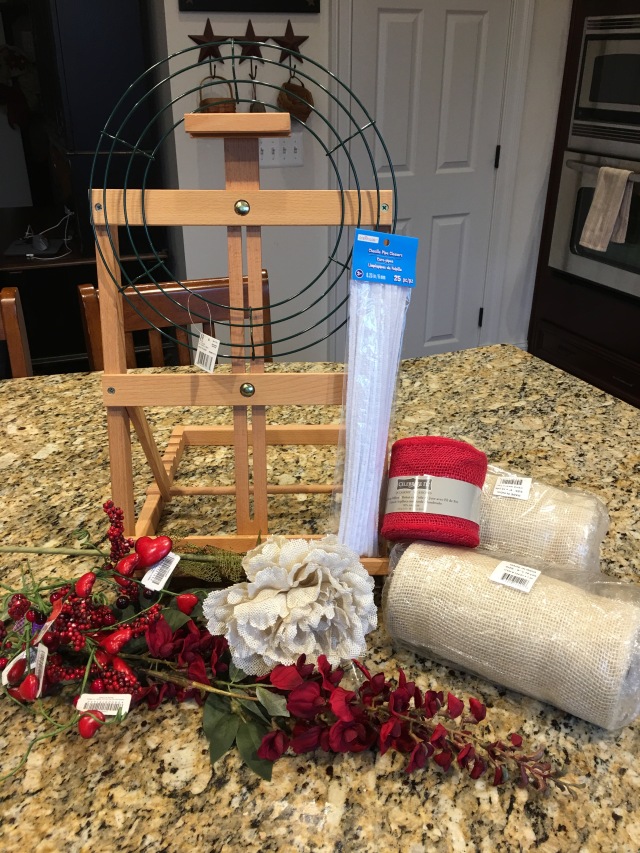
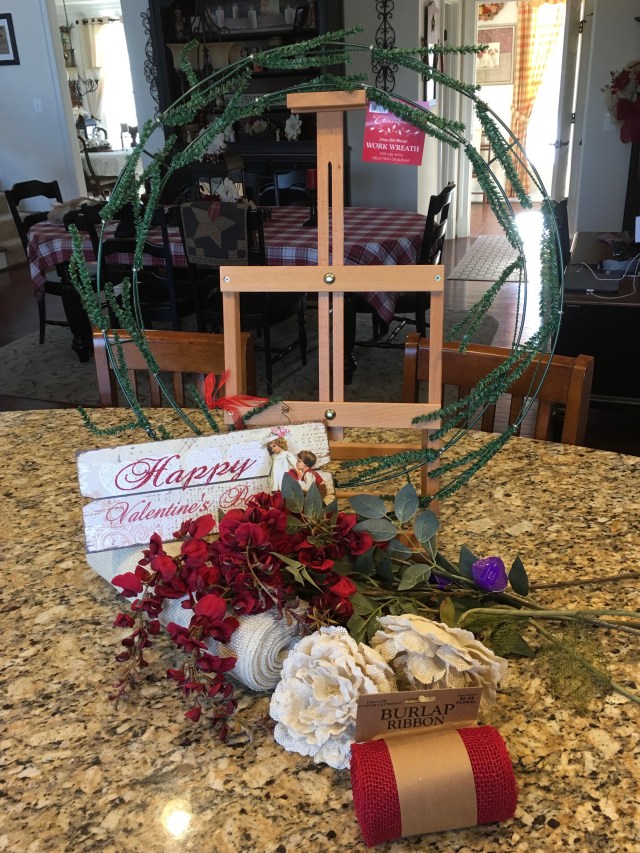
ANYway, I knew that I’d be changing out my Little Red Wagon decor for Valentine’s Day as well, so I decided that I would make a matching baby wreath to go along with that big one to use as an accent piece in the wagon. I’ve made a YouTube video tutorial of me making that little wreath as well, I’ll post a link below, but first, here are the supplies that you’d need if you’d like to try one for yourself–it really is very quick and extremely easy, I promise:
- 1- 12″ Metal Work Wreath
- White Pipe Cleaners (to add to the work wreath)
- 1 Roll of 9″ x 10 yards of Off-White Burlap
- 1- Roll of Red Wired Burlap Ribbon
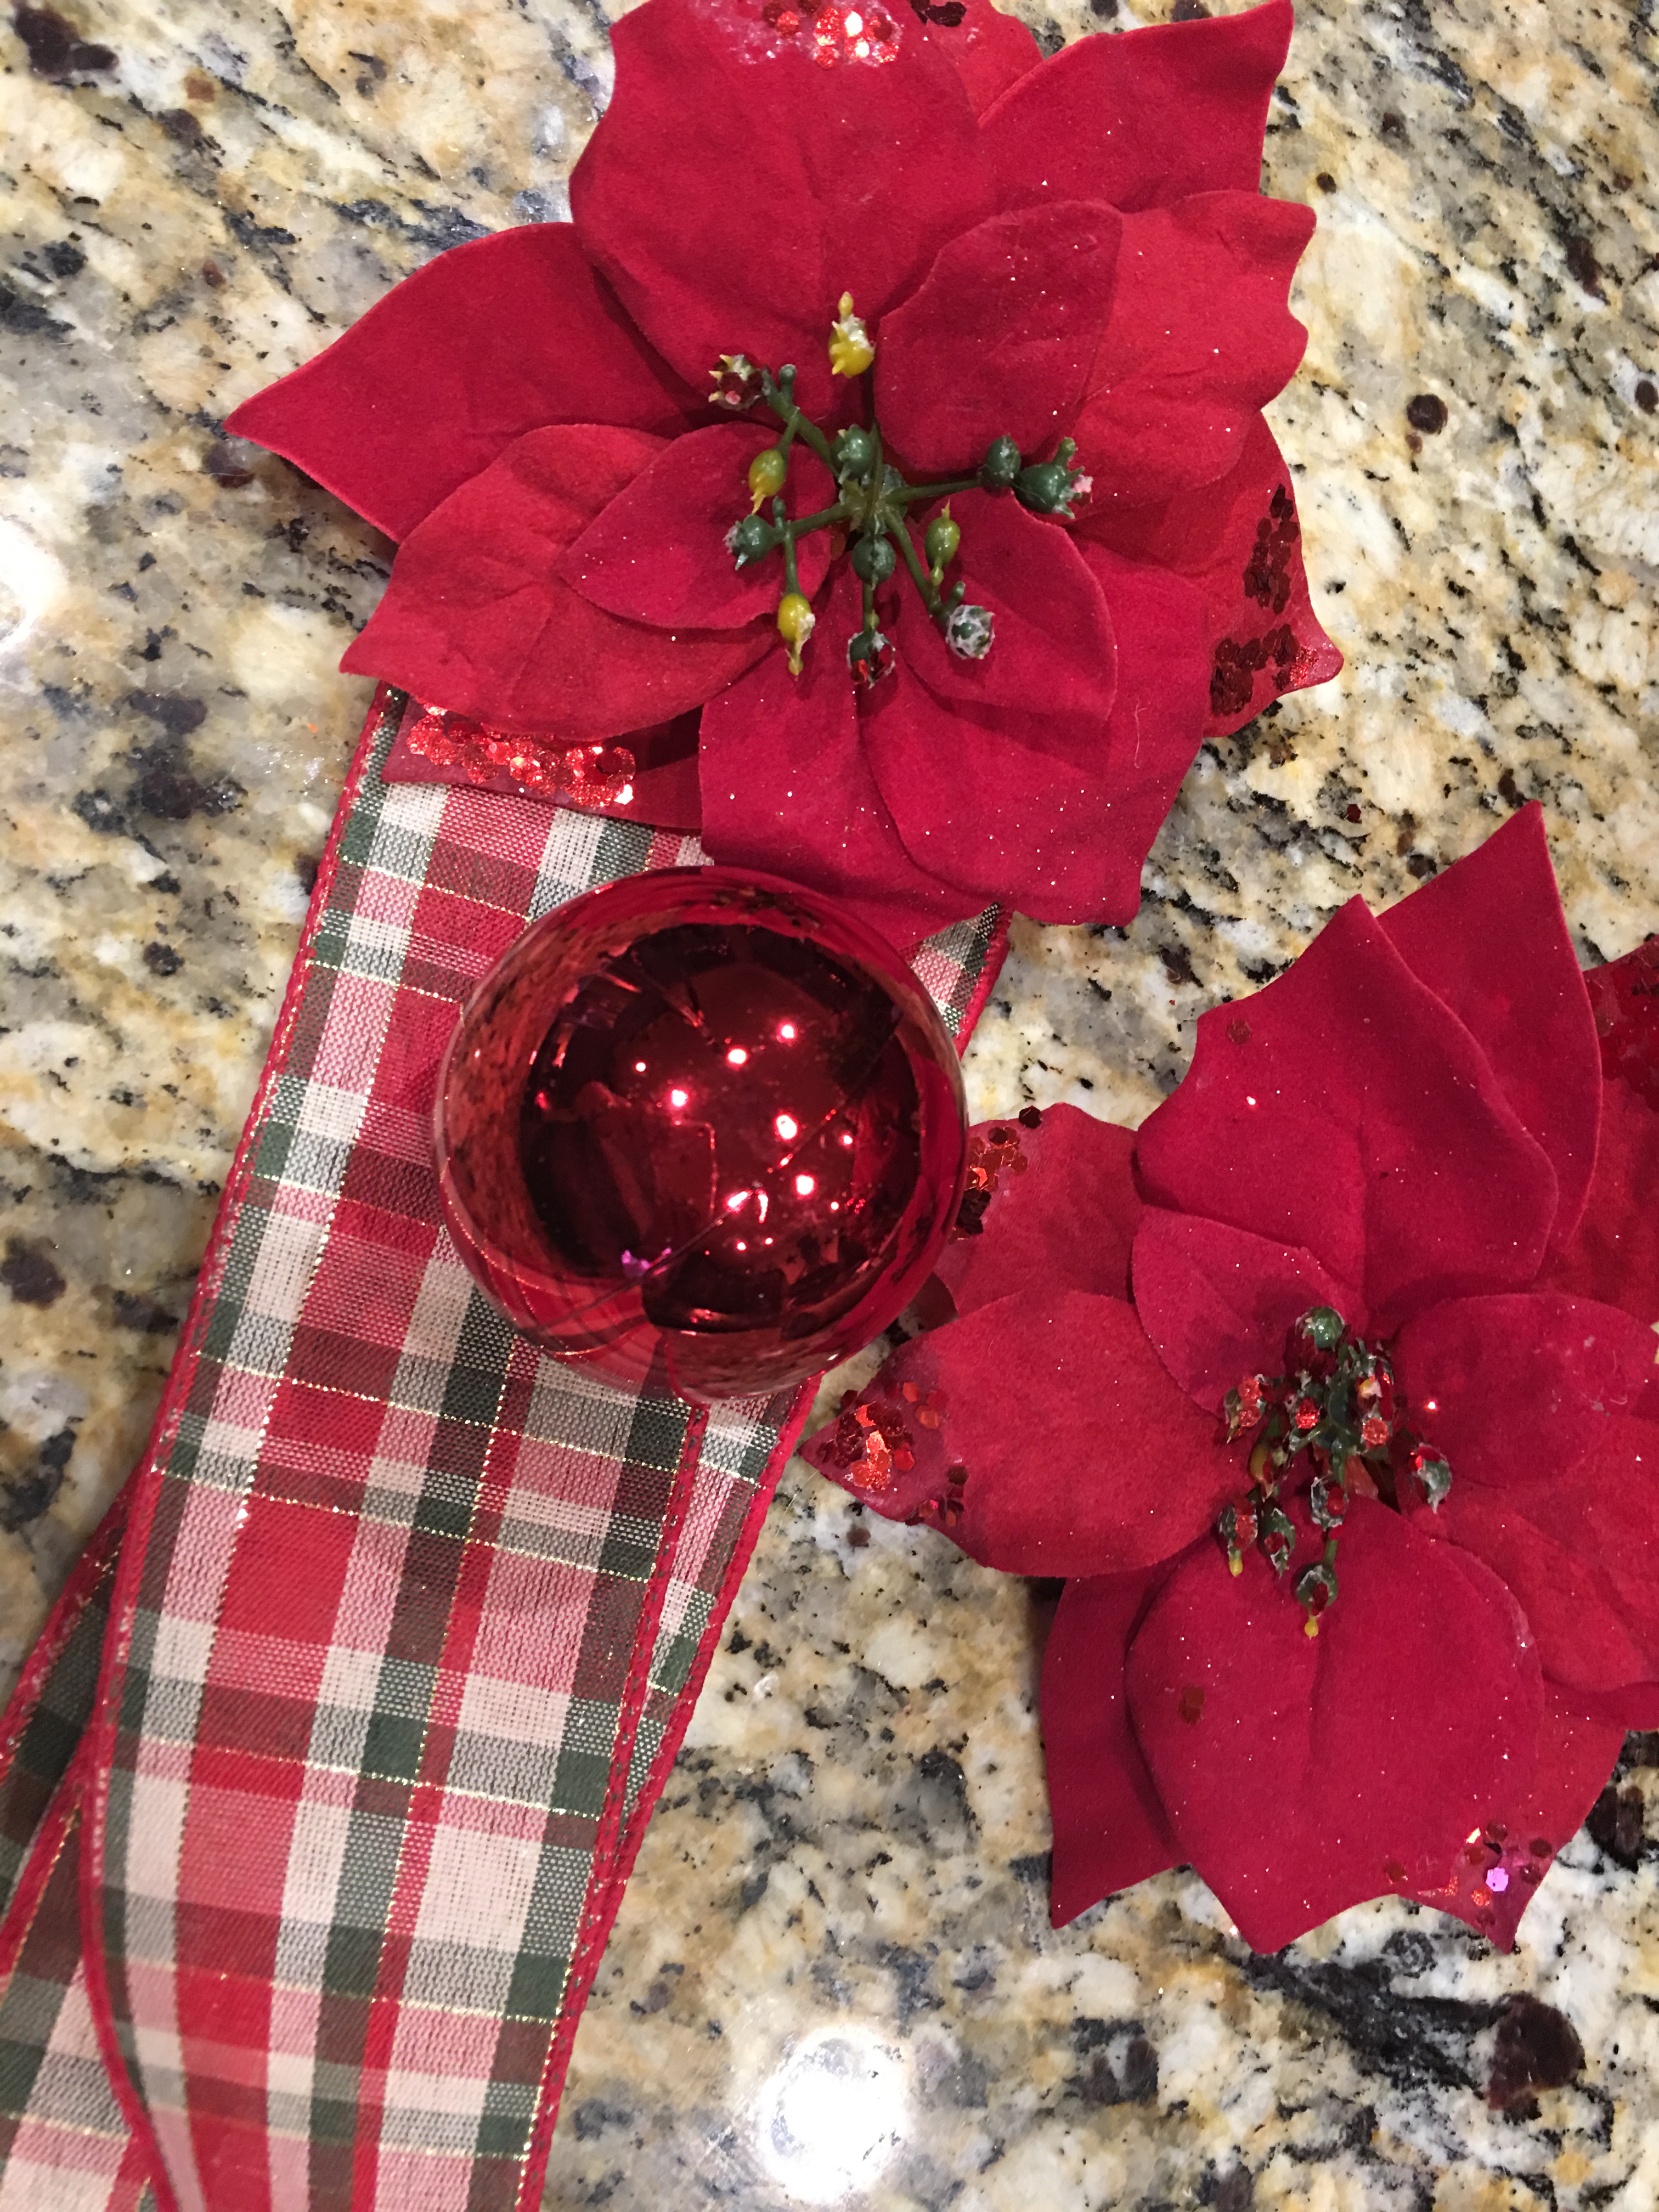
- 1 Stem of Red Flowers
- 1 Cream Burlap Flower
- 5- Valentine Heart and Berry Picks (I got mine from AC Moore)


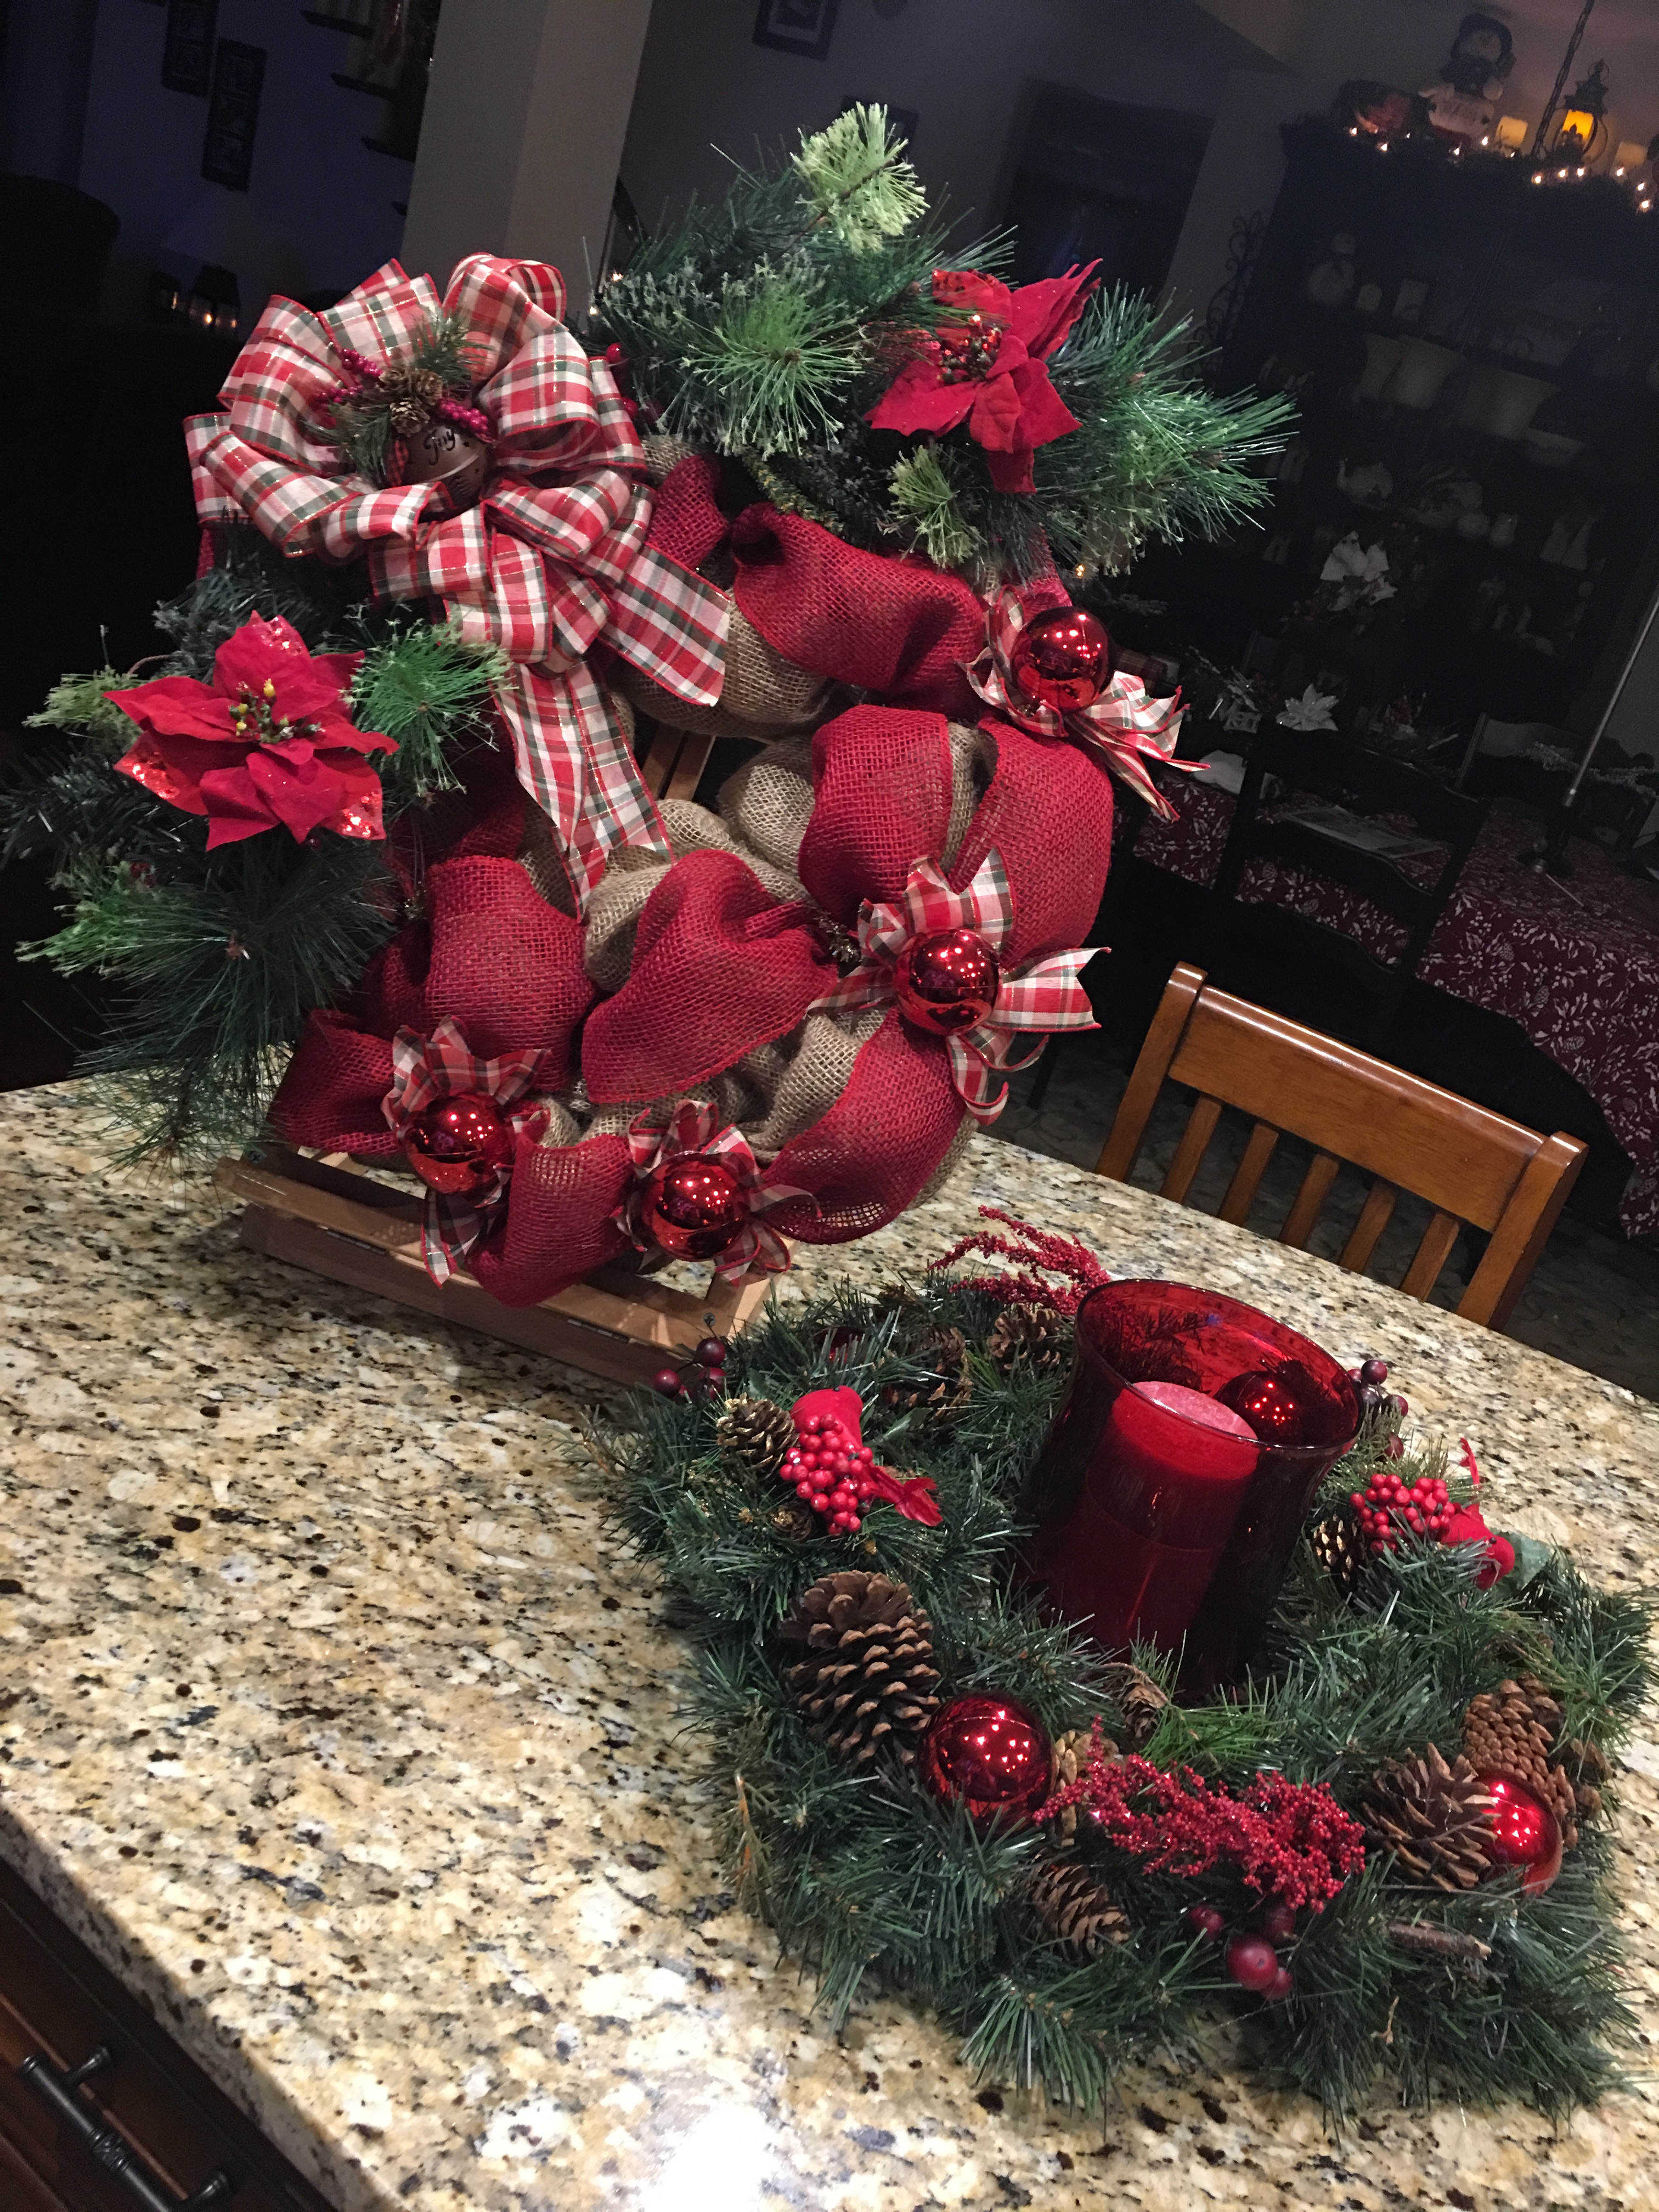
Here is the finished wreath:
And here is me holding both wreaths together:

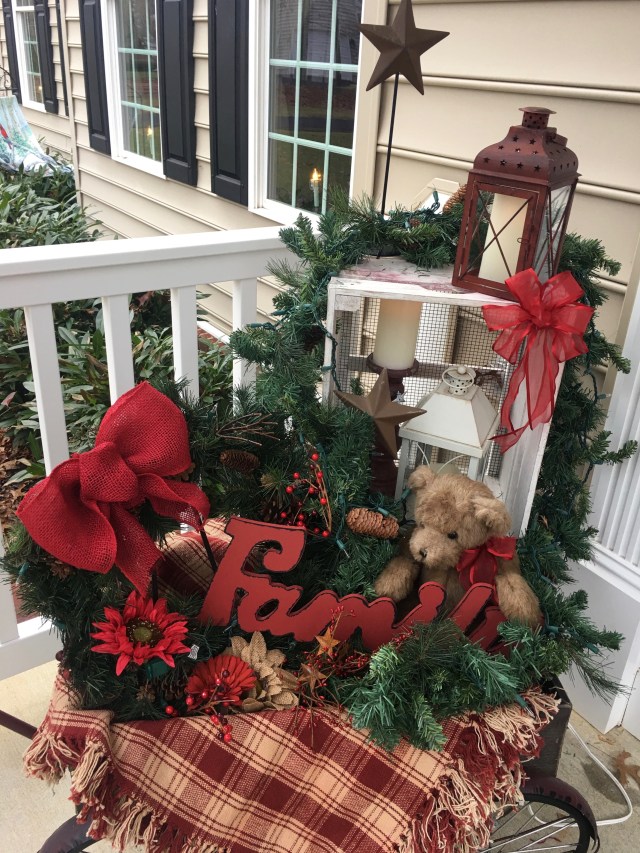
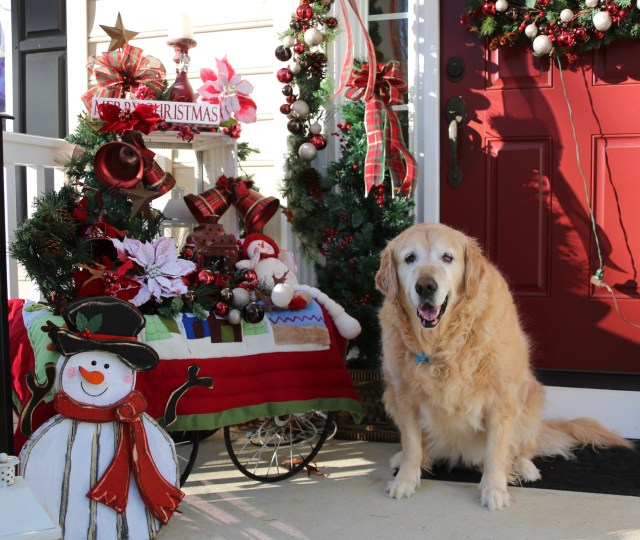
And here is how that little wreath looked when I put it into my little red wagon:
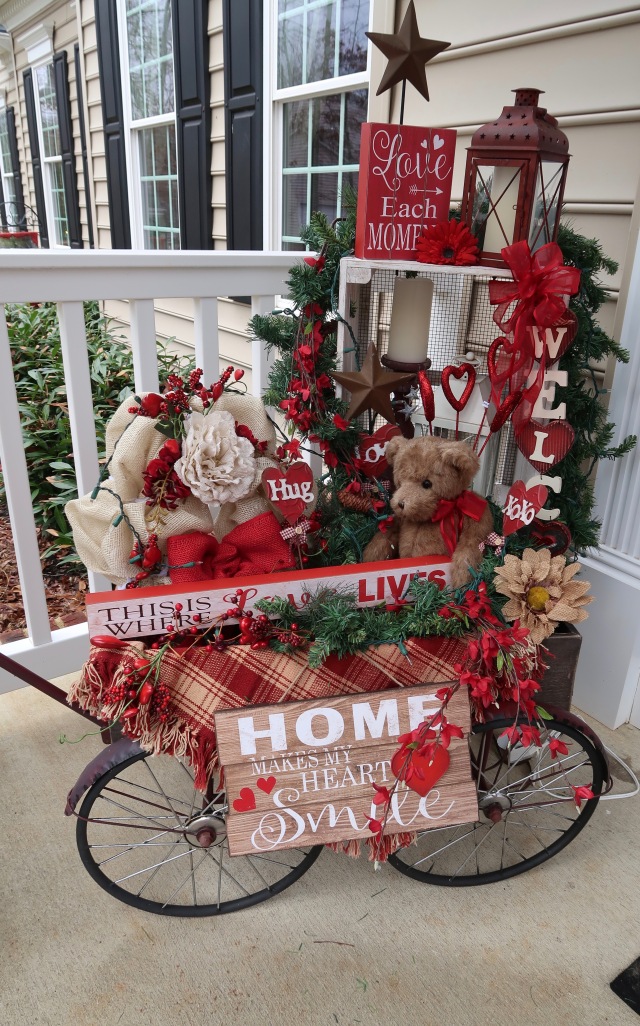
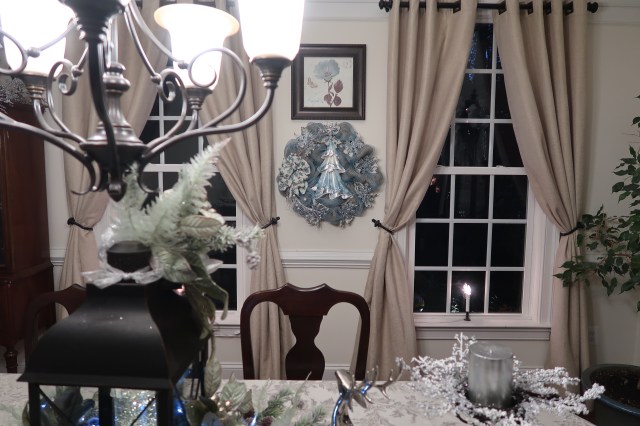
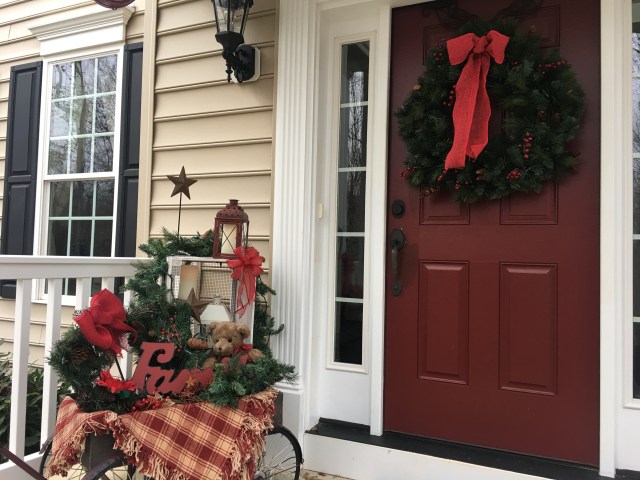
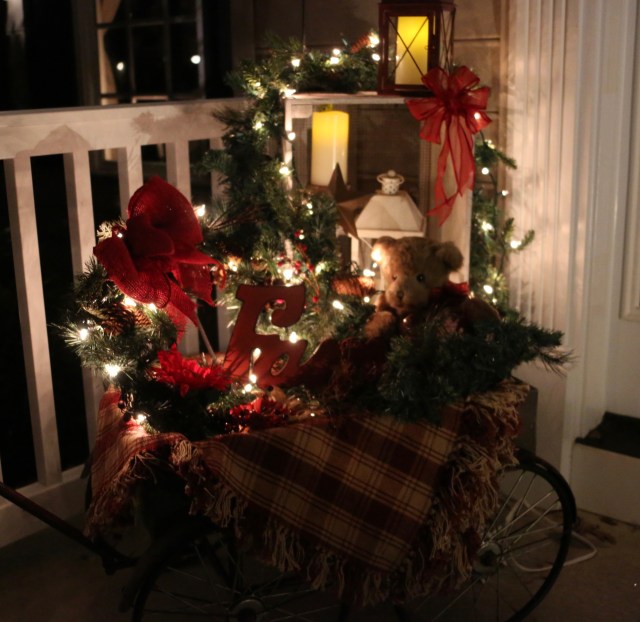
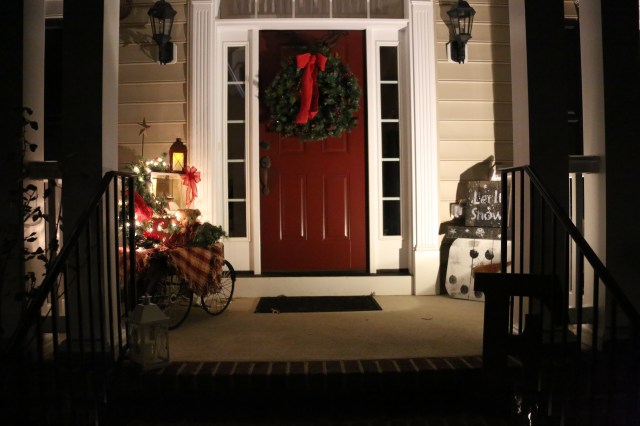
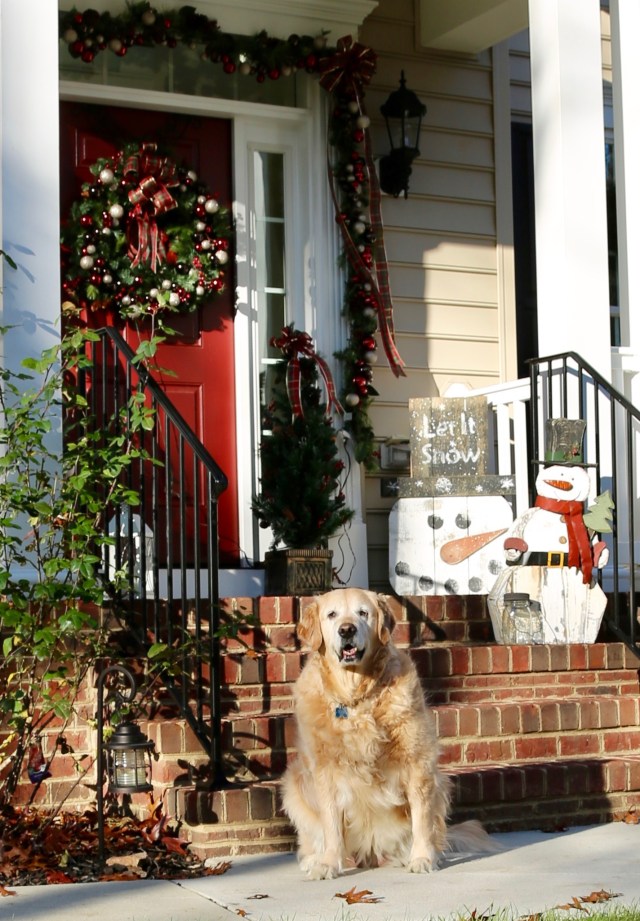
And a picture of the front porch done up for Valentine’s Day. **BTW**, I’ve made a brand new Home Tour Series for my YouTube channel–I’ll be writing a separate post and I’ll give you all of those links in there, but, I will stick a link for the one where I show you more of how I decorated the outdoor spaces for Valentine’s Day.

Okie dokie…Now for those links:
Here is the link for this sweet little red and cream burlap wreath:
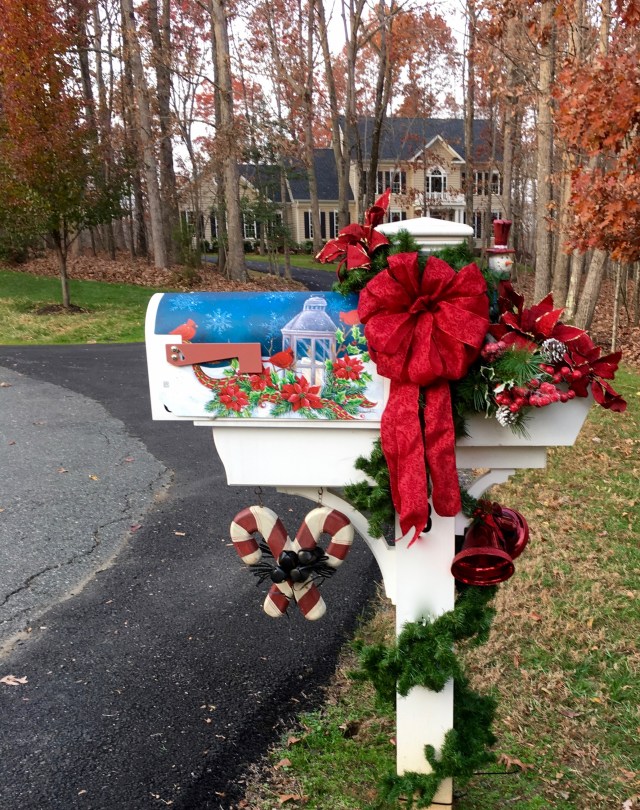
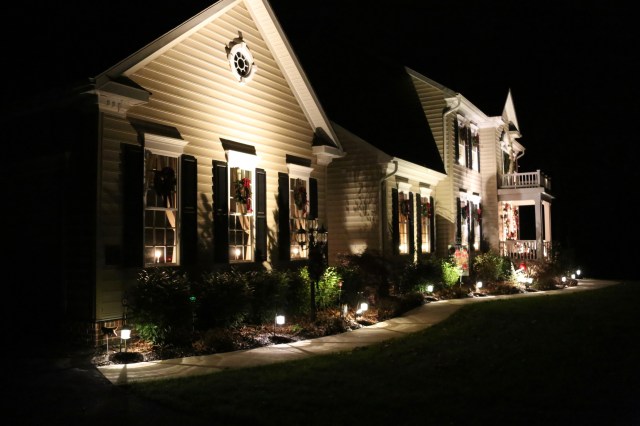
And here is a link to one of my Home Tour Series videos that show you my other outdoor Valentine’s Day decorations and also tells you about the other outdoor choices that we made when building this home:
Stay tuned for the rest of my Home Tour Series videos as I’ll be writing that little blog soon (you can always find them in my “Country Home Tour Series” playlist on my YouTube channel if you’d like to go and take a peek. 🙂
Until next time, y’all take good care!!
~Arlynn ❤


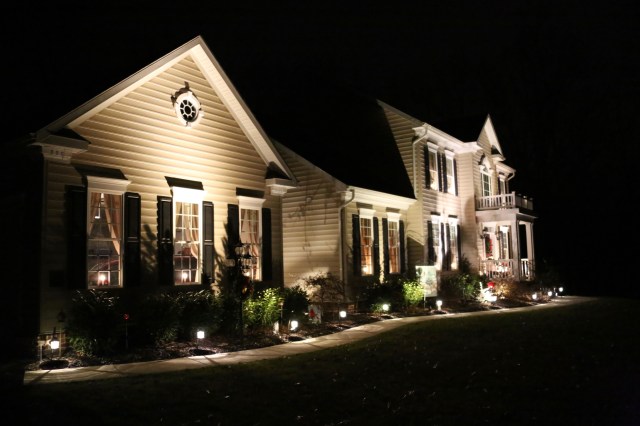
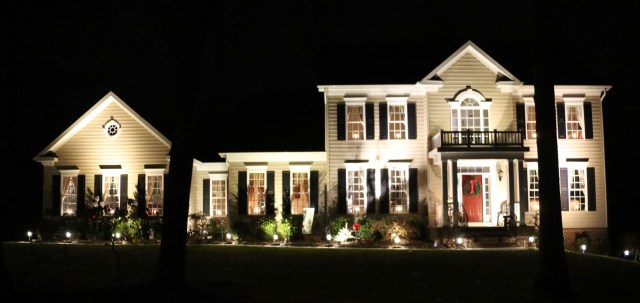


 And then I give you a tour of the outdoor decorations…