My very favorite time of the year is almost here, Fall! I love this time of the year because of the arrival of cool crisp mornings, the changing of the leaves that follow, and the warm feelings that fill the air with the approaching Holidays. I have decorated for Fall early this year so I thought I would go ahead and share my creations with you here in my brand new Blog. I hope that one of my wreaths, centerpieces, groupings, or cozy corner creations will inspire you to get your decorations out and begin to transform your home into a warm and inviting space with which to welcome your family and friends for the Holidays. My decorations will stay up until Thanksgiving Day, that is the day (literally) that I will start decorating for Christmas. We always decorate the Christmas tree after we finish our Thanksgiving feast and that is the first of many Christmas decorations that will follow.
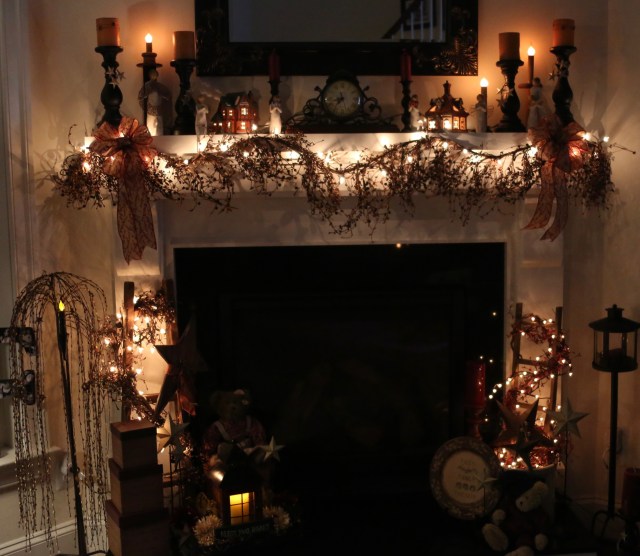
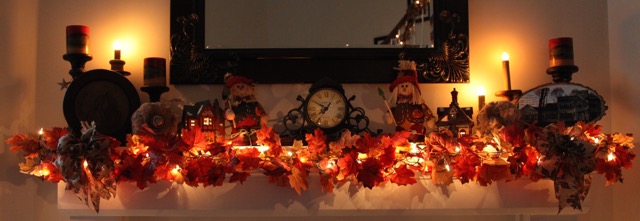
I always start my change of Season decor with the fireplace hearth and mantel. Just to let you know too, before I change my decor out, I spend a day packing away a good bit of the existing decor so that I can start with a clean slate. Of course there are some things that I leave in place and build upon, for instance regarding the mantel and fireplace, I keep the candle holders and clock on the mantel and the ladders/pip berries/white lights and country crock on the hearth…those items stay in place all year round and I just decorate on and around them. I have also placed baskets and a couple of other items on either side of the fireplace, they too stay in place and I use them as a base with which to build my Seasonal (or generic-depending on the time of year) decor.


When building this look, I take it a “section” at a time, meaning, I’ll start with the mantel, build the decor on that and work my way around the entire fireplace. When working with the hearth, I will usually gather all of the materials that I think I might need, sit down, and just start playing with it; sometimes I can see the end result, sometimes it doesn’t come to light until I’m completely finished. I love the creative process and I love it when I can stand back and be proud of what I’ve created. And trust me, these creations don’t come to fruition at the snap of a finger or the twitching of a nose…haha…sometimes I’ll tweak it for hours until I get it exactly how I want it to look. No, I am *not* anal retentive at all…LOL… <~~~I fib! 😉
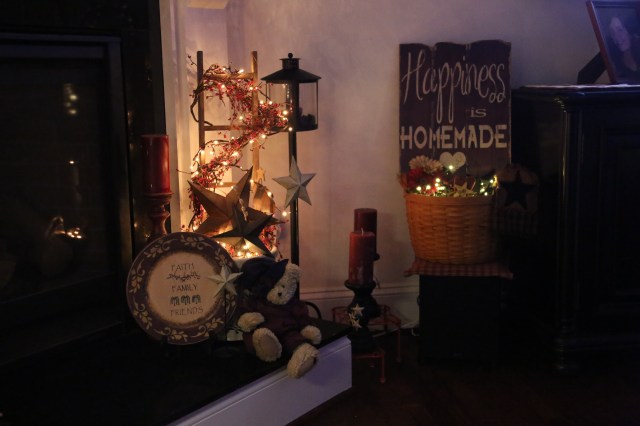
This next ‘cozy corner’ was so much fun to create. I had purchased that ladder in Williamsburg over the summer so it was a new piece for me. It presented me with a bit of a challenge as I wanted to hang a rather large wooden plaque on it. I managed to attach it onto the ladder by gluing twine on it to use as a handle of sorts and I attached it with a pipe cleaner. I added pip berries, a few stars and another little canvas picture/plaque (by using command strip velcro to hold those items in place); that canvas actually lights up when turned on. Once I had the ladder the way I wanted it to look, I started to build the rest of the arrangement, when packing up my other decor, I had only left the Longaberger basket and the sewing box in place (that was my Grandmother’s–never gets put away). I added a Fall themed throw and pillows, a Boyd’s Bear that is dressed in Fall clothing, a scarecrow, a rather large “F-A-L-L” plaque.

This is a centerpiece that sits on a credenza in the family room. I use the basic rod-iron fleur-de-lis candle holder throughout the year. For this look I added a rod-iron tray and used pip berries as a candle ring of sorts, added some pine cones, larger berries, a wooden pumpkin and called it done.

I made this wreath; I used a grapevine wreath form, leaf garland, pumpkins, and plaid ribbon. This was not hard to make and it has turned out to be one of my very favorite wreaths. I hung it on the family room door with one of my spiffy wreath hangers that you can get at Grandin Road here.


The pip berries garland will stay on the staircase railing all year round. If you would like to know more about how I came up with that decor, you can reference an earlier Blog of mine entitled “Staircase Railing Ideas” here. I simply made a new bullnose arrangement, and put Fall bows at each swag point going up the staircase to create this look.


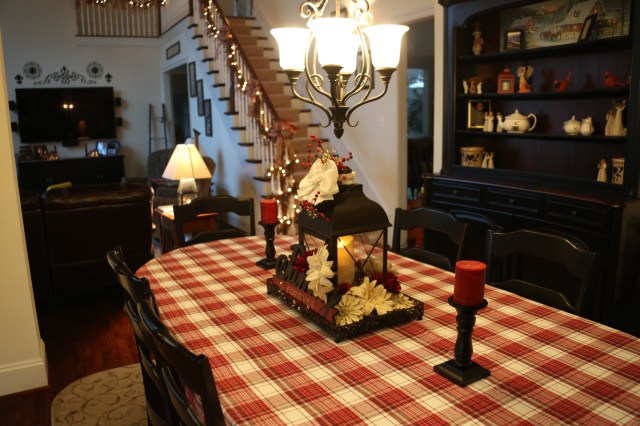
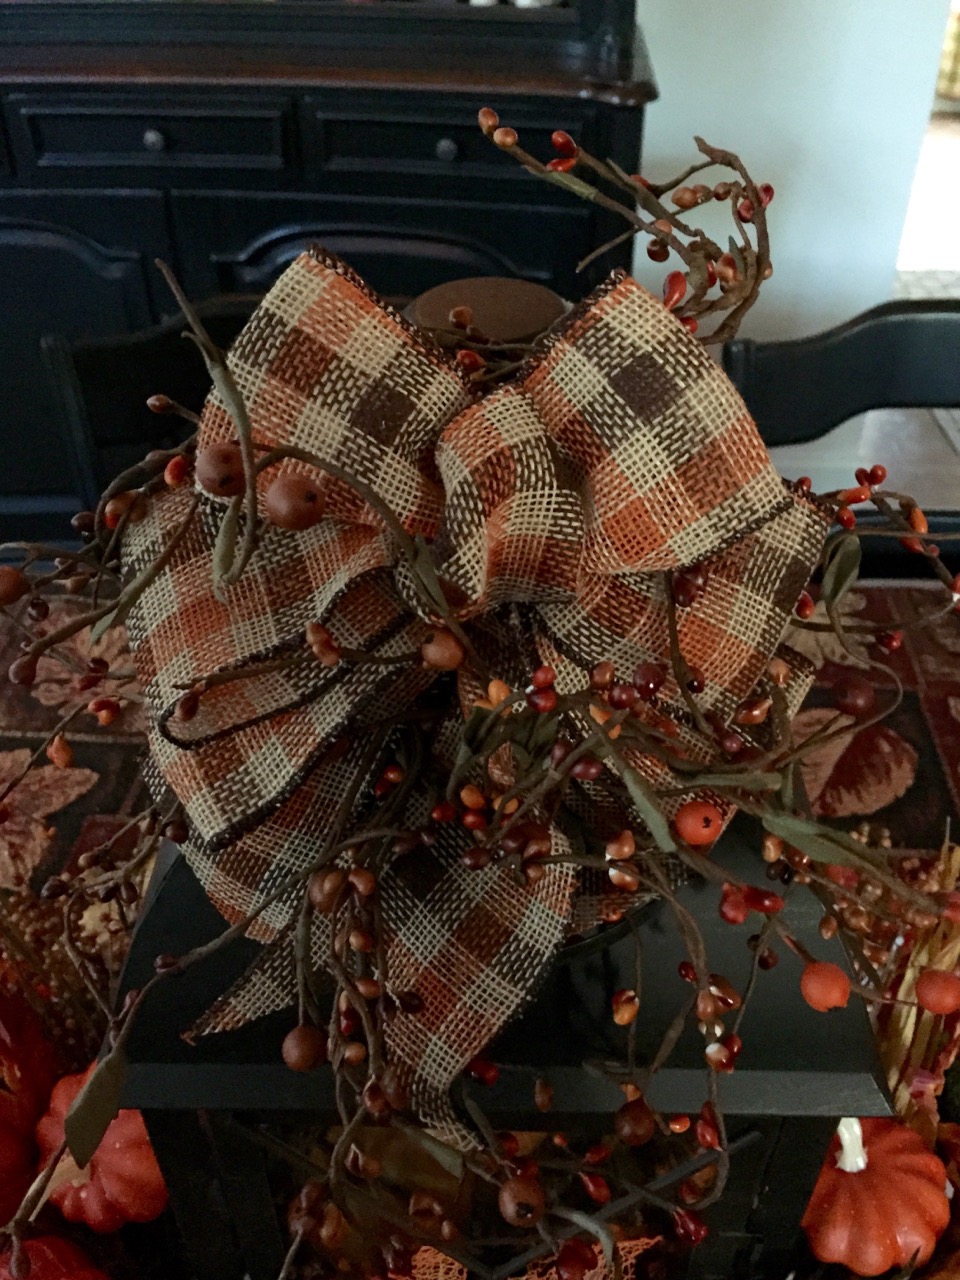
This is the kitchen table’s lantern centerpiece. Here is a Blog explaining how to create these Lantern Centerpieces; trust me, they are not difficult.


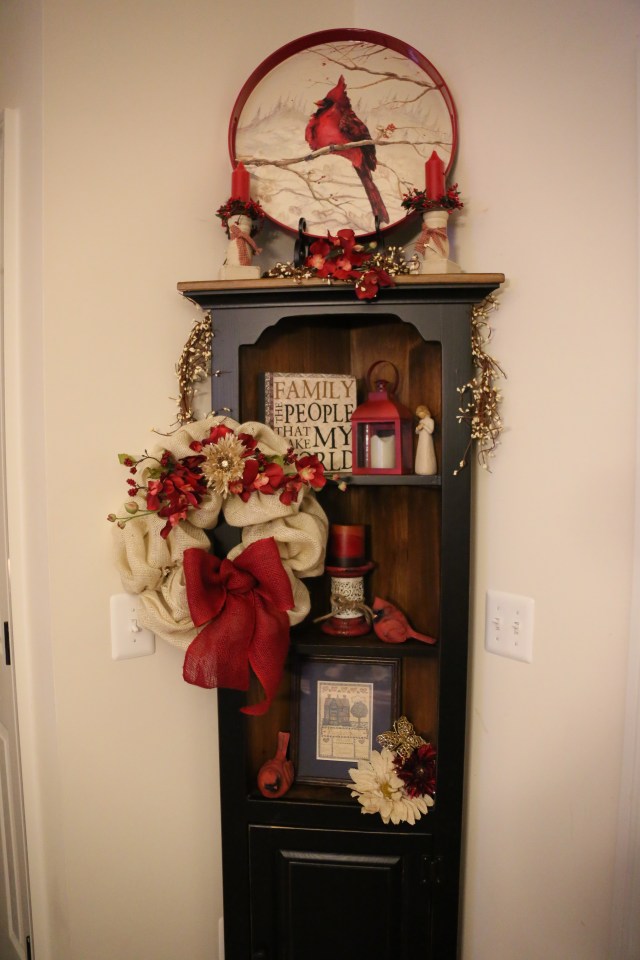
This is the hutch that sits beside my kitchen table. I changed out pretty much everything on this hutch save the lantern, candles, and lit pip berries garland up top. I gathered all of the things that I wanted to place on the shelves and I started to create, moving from one shelf to the other trying to make it look inviting and pleasing to the eye.
**As you can see, I use the same technique as I work my way around the house. The decorating process is so much easier when I take the time to remove any decor that I will not be using while redecorating.**


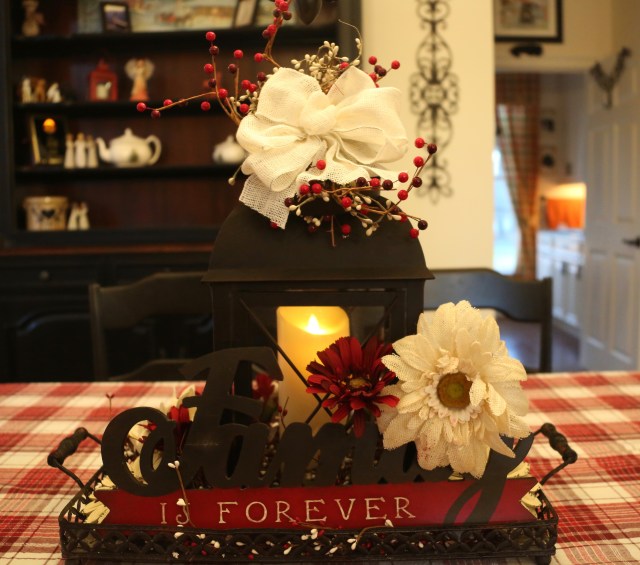
This lantern centerpiece sits on top of my kitchen island…I really love creating these centerpieces, so much fun!

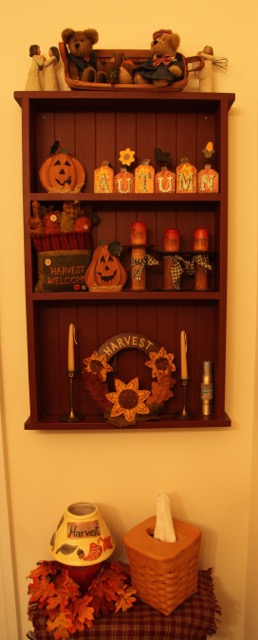
This is a corner shelf that sits in the kitchen’s eating area.

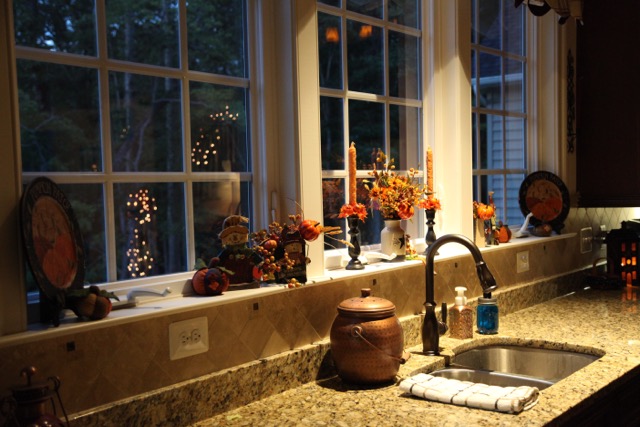
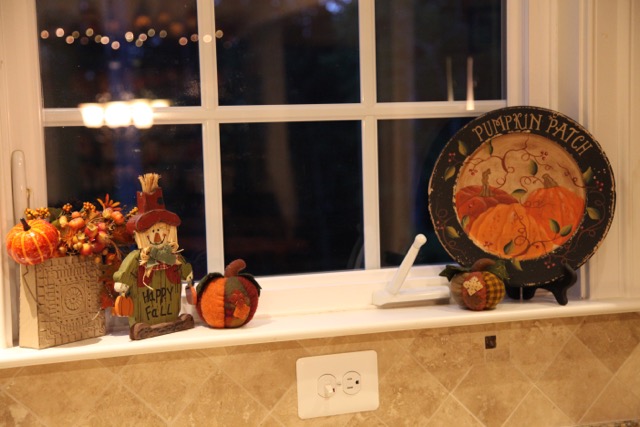
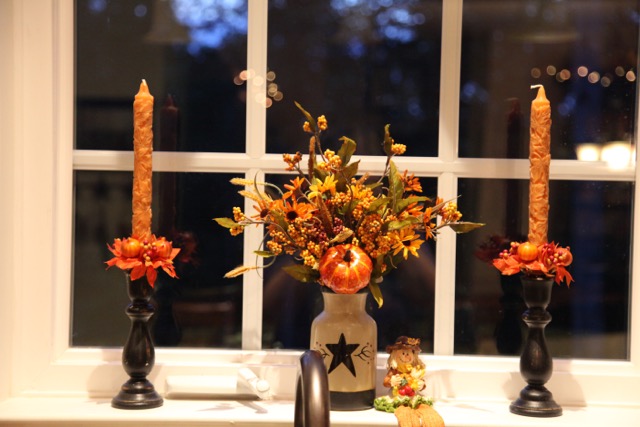
Here are my kitchen windows:


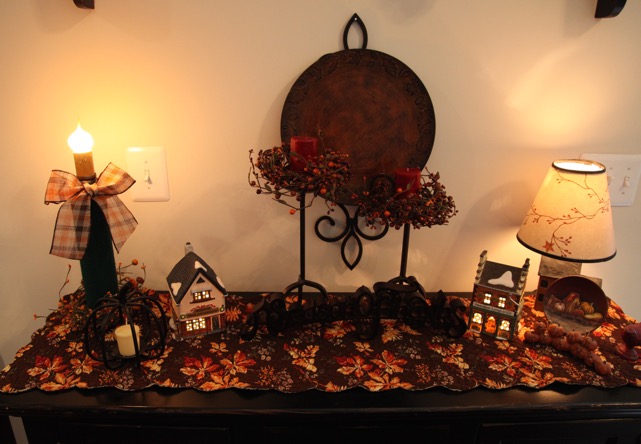
This is a shelf and table that is located between my kitchen and family room, I made the pip berry candle rings and the flower arrangement in the basket.


This is the powder room, my hubby made that shelf:


All of the previous decorations are located in the family room, kitchen, kitchen eating area, and powder room, those rooms are located on the back of our home. We also have a living and dining room that are on the front of our home (separated by the staircase). I decided to challenge myself this year. Throughout the year I use a pretty green color as my accent color in those rooms so I wanted to try to incorporate that color into my Fall decor as well. Plus I wanted it to look a bit more polished (if that makes sense) in those rooms…more formal might be a better way to put that. 🙂 So here is what I came up with:


A closer look at some of the decorations that I created for these spaces:
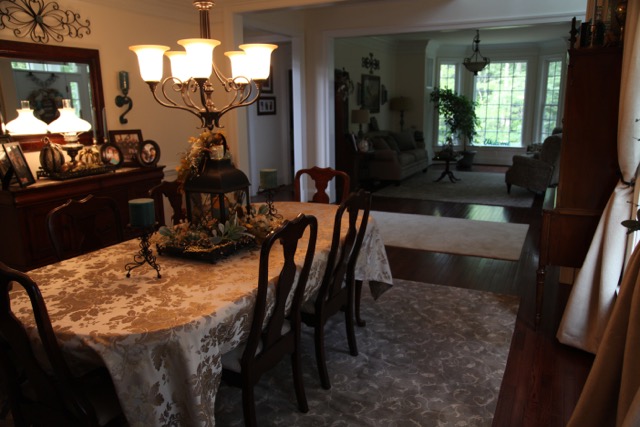
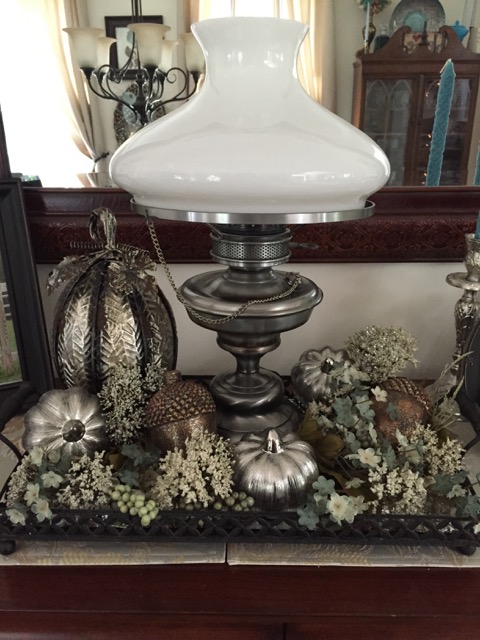
This lamp was my grandmother’s and then my mom’s and now it is mine. It is a very special piece to me, so I always want to do it justice when incorporating it into my decor. It sits on my dining room’s sideboard table and this is how I pulled that green color into the surrounding decor. I used a tray to hold the lamp and the arrangement. I utilized some silver toned pumpkins, berries, and a few flowers:

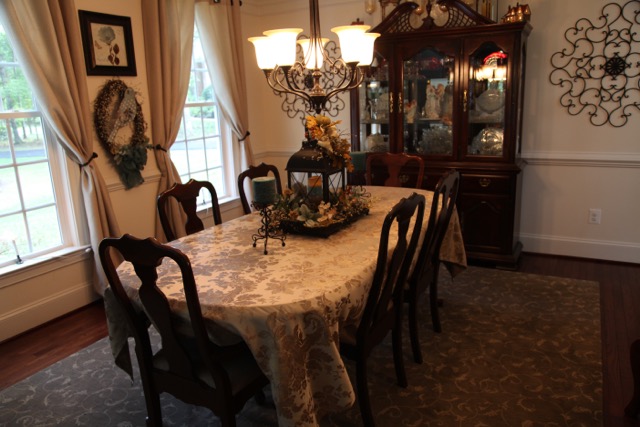
I found the tablecloth at my local Home Goods store, and then I created a lantern centerpiece for the dining room table, again, trying my best to incorporate that pretty green color:


I got that rod-iron, glass topped table at Kirklands along with the pre-lit hurricane lamp. As for the table top decor, along with the hurricane lamp, I arranged a glass pumpkin in that green color and added Fall’ish greenery to the little mercury glass vase incorporating said things to the existing decor already in place. I found the box that is sitting on the floor at our local Michaels store and the wooden scarecrow head and cream glass pumpkin at Hobby Lobby.

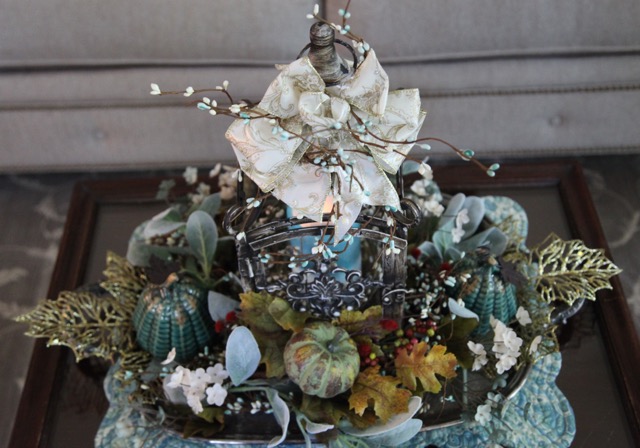
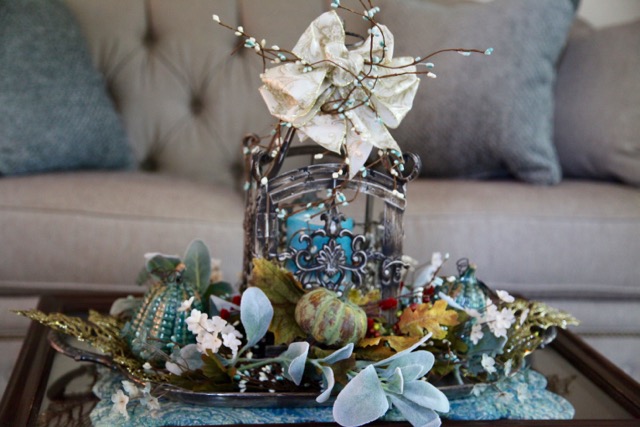
Here is another very special piece of furniture, a glass topped coffee table. It too was my grandmother’s, then my mom’s, and now it is mine. I used a silver tray that was my mom’s as the base for the lantern centerpiece.


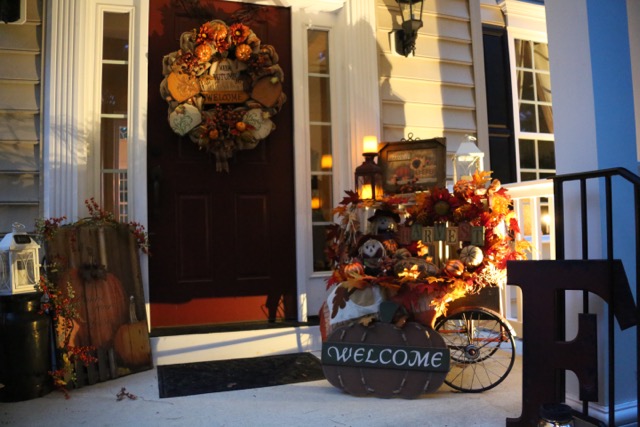
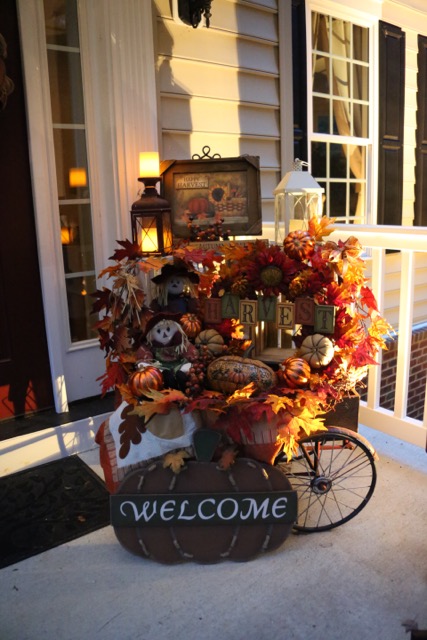
So that did it for the inside decorating. I then set my sights at what I might like to do with the exterior space. With that in mind, I finished decorating after making that front door wreath the other day when I met up with two of my very dear friends at a “Craft Day” (when we get together at one of our homes and do whatever craft we want to do as well as talk, laugh, eat, visit, and just enjoy our time together). The arrangement to the right of the front door was started by me gathering up a couple of crates, my grandma’s old milk can, and a wooden red wagon (link to how I switch out my Red Wagon Decor); those three pieces anchored and provided some different height options for me to create the entire grouping. Again, as I described above, I gathered a bunch of Fall stuff that I thought I *might* use and I started arranging it and tweaking it until it was arranged to my liking (that took a while).


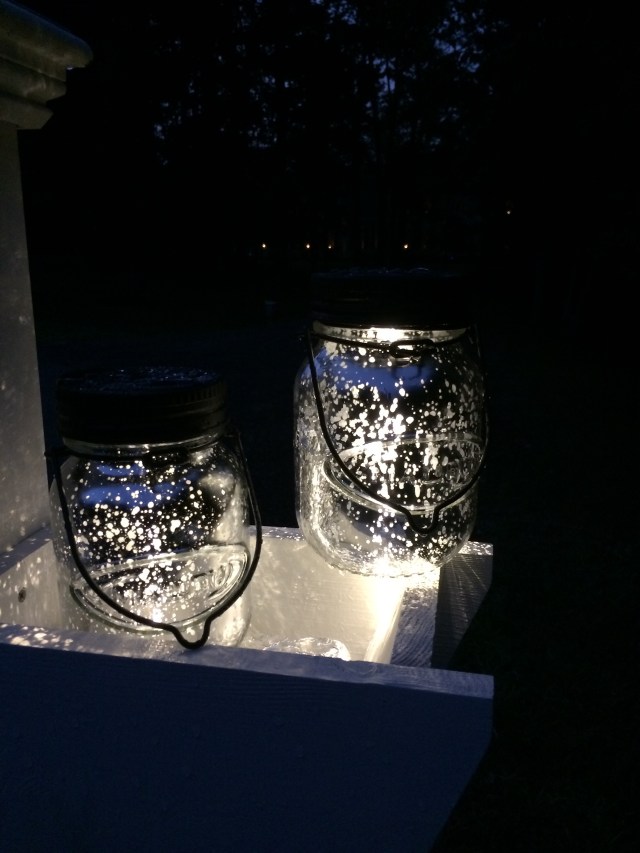
I moved down to the flower bed and I added a deco mesh wreath that I made to the light post (subject of an upcoming Blog), I changed out the decorative flags, and I switched out the gazing ball.


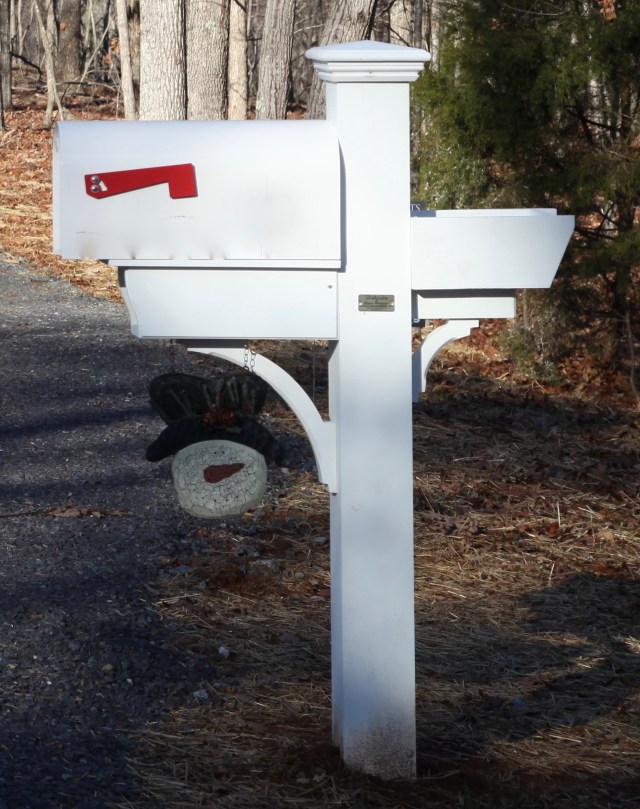
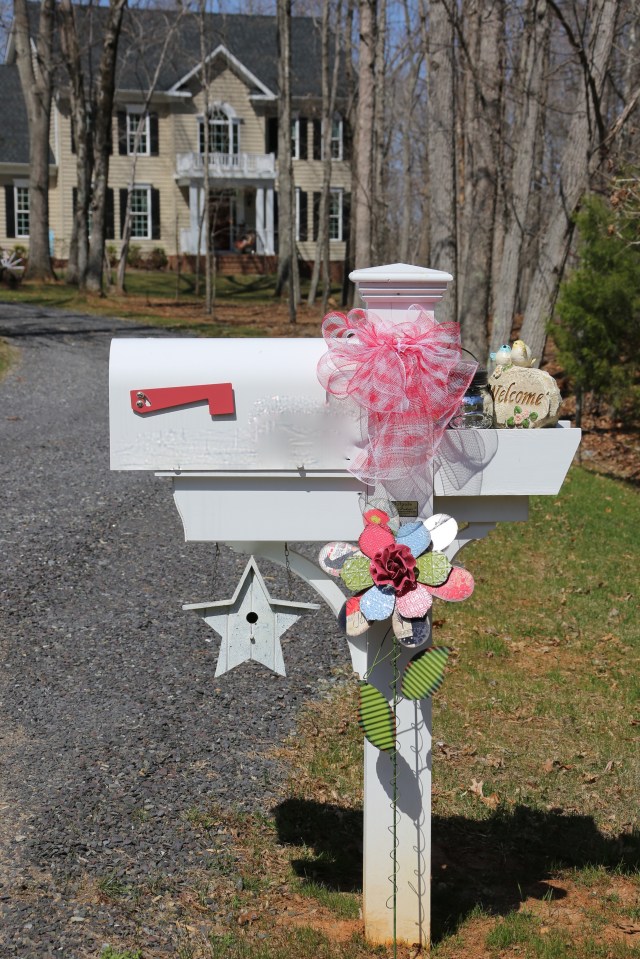
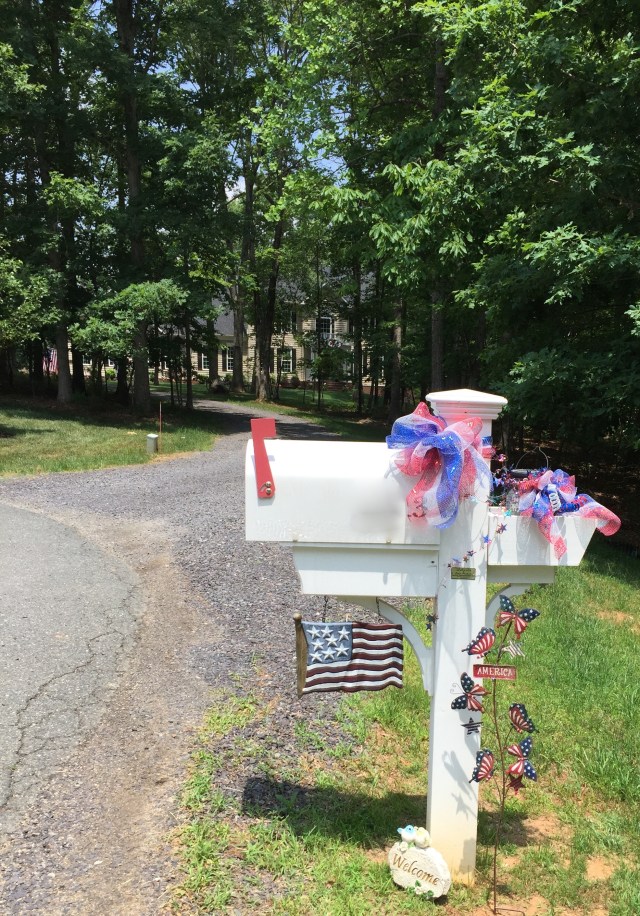
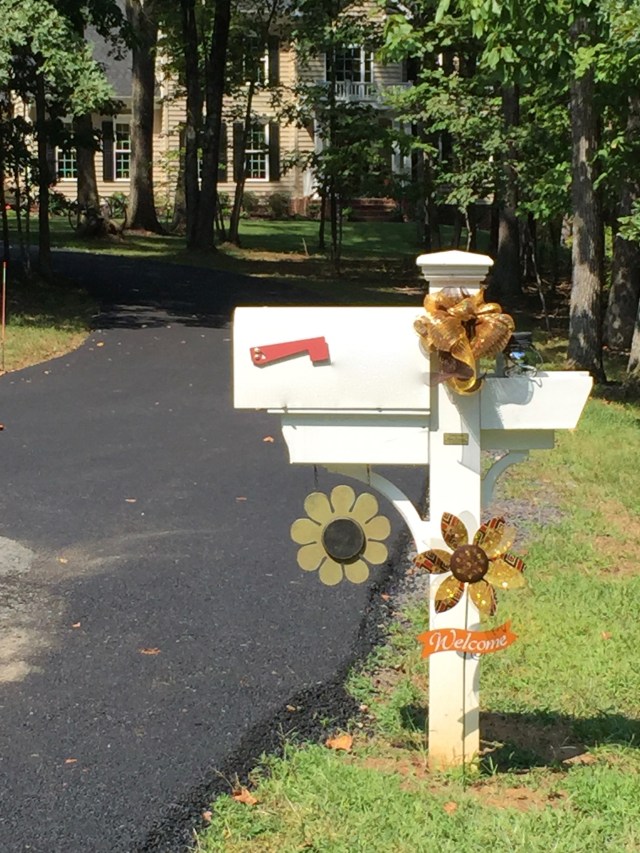
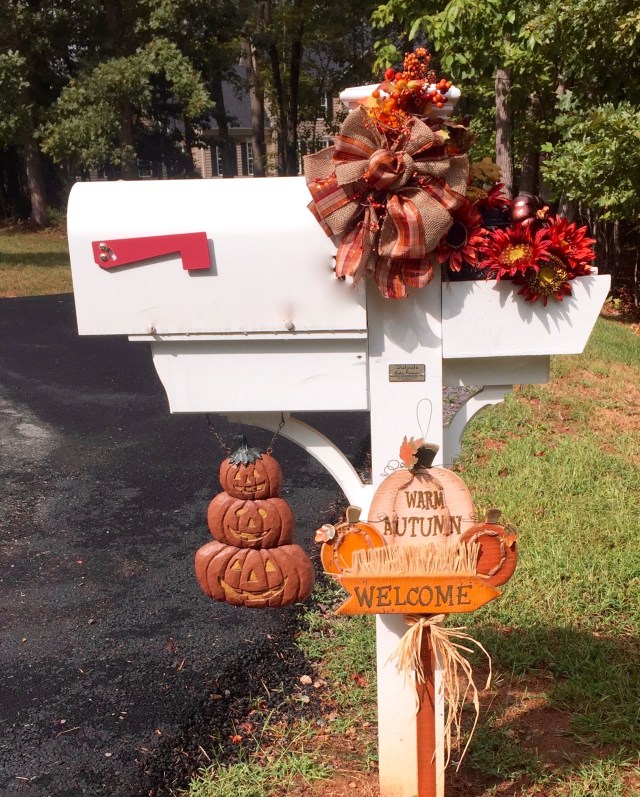
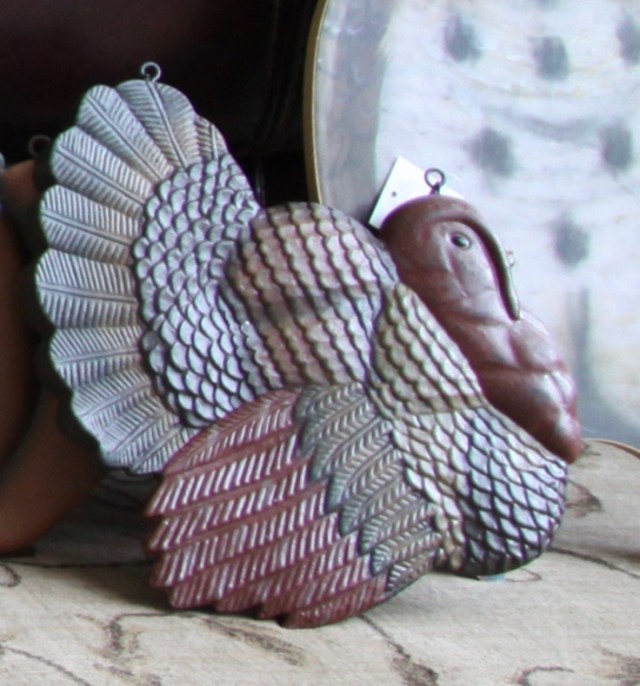
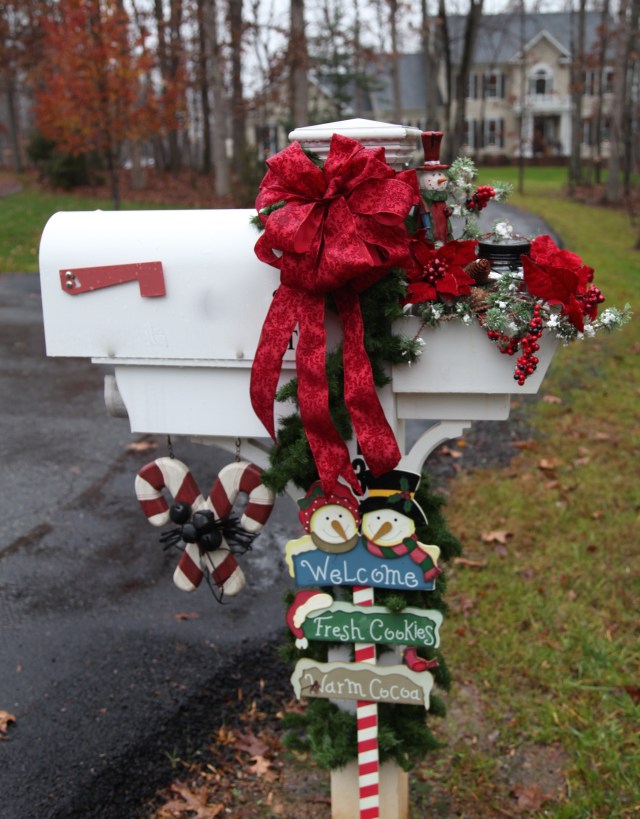
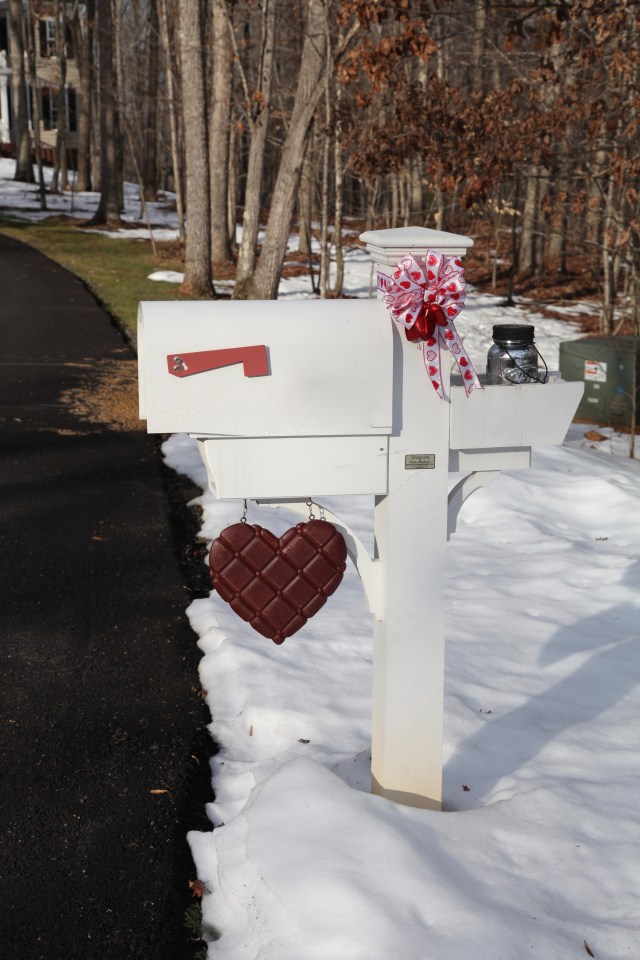
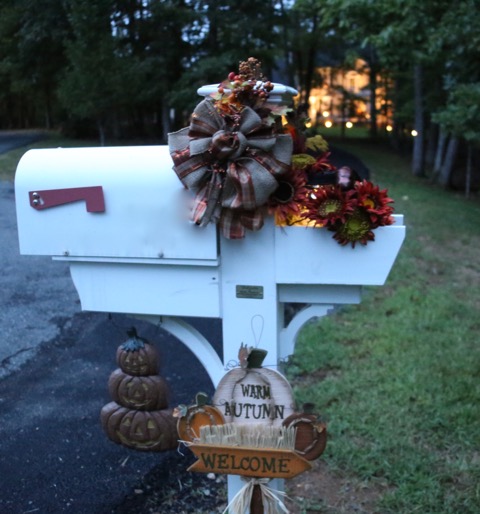
I can’t forget about my mailbox…haha…You would not believe the amount of people in my neighborhood who actually decorate their mailboxes for *every* Holiday or *just because*. 🙂 Fine by me, I love to decorate ANYthing at ANYtime…lol…;) Here is a link to my “Seasonal Mailbox Decor” blog post if you are interested in seeing what I do with it for the rest of the months/Seasons of the year.

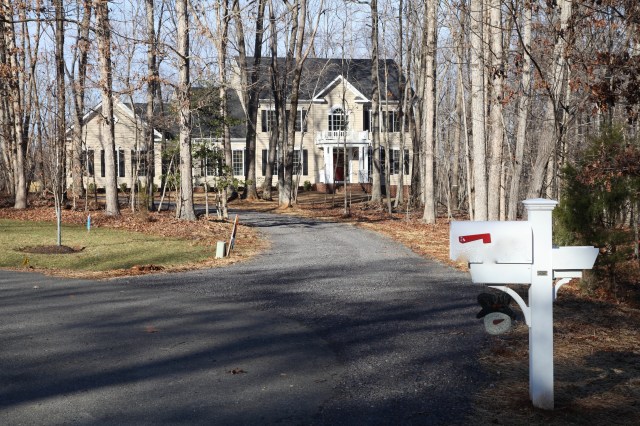
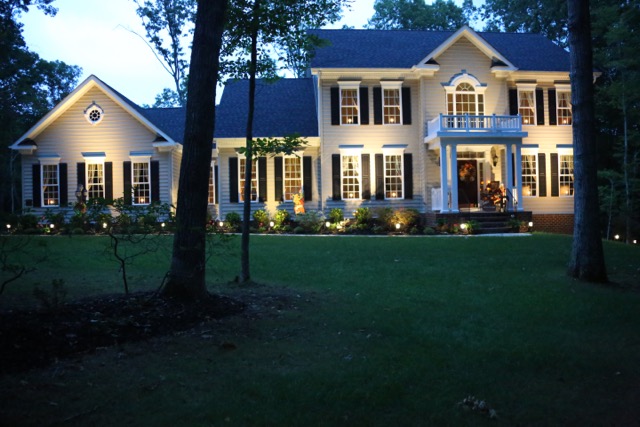
And here is the house from a distance. The lights stay lit in the windows all year long (we have a “Holiday Light Package” which allows us to flip one switch inside to control all of those window lights…nice little option for a girl who loves to have lights in her windows). 🙂 My hubby has done a great job of installing pathway lights, a few ‘up’ lights, and wash lights to light up the front of the house in the evenings. He has all of those lights on a timer and they go on at dusk and off 6 hours later. Here is a link to how the hubby and I created our “Special Outdoor Lighting”.

Well, that does it for this year’s Fall decorating. I am very pleased with how it all turned out; it did take me almost a month to get it all changed over, but I had to recreate the wheel so to speak in a few places. Also, I decorated the inside and then waited a couple of weeks until we were into the month of September to decorate the outside. I had a great time turning on my creative juices and letting my imagination run a little wild. I hope that any guest who might come to visit feels at home and comfy cozy when they enter; that is always my goal, to have a warm, welcoming, home, one that doesn’t make people feel like they can’t relax. 🙂
One more picture…Here are my pups sitting in front of the Fall adorned fireplace…They sure look comfy huh? 😉 I just love them!! (Left to right: Gracie, Sophie, and Samson) ❤

Until next time!! Y’all take good care! ❤
**In crafting there are no mistakes just unique creations**